|
| Group |
Round |
C/R |
Comment |
Date |
Image |
| 21 |
Apr 19 |
Reply |
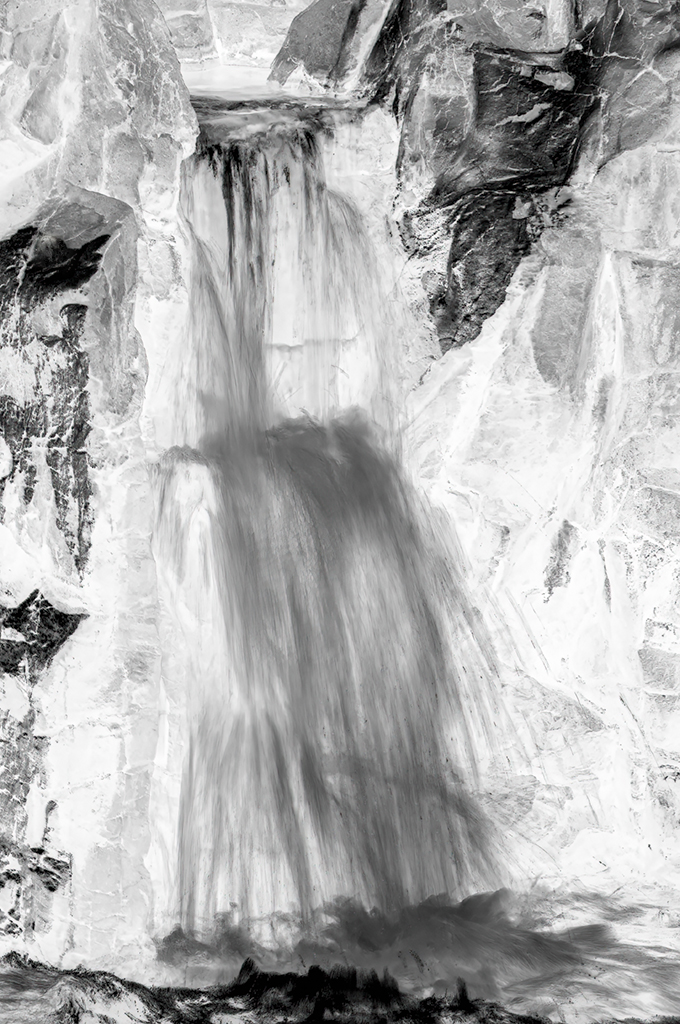
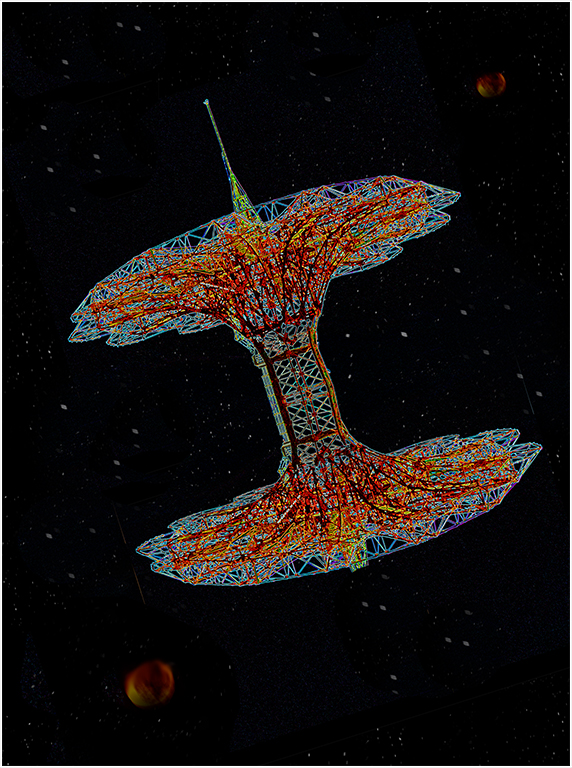
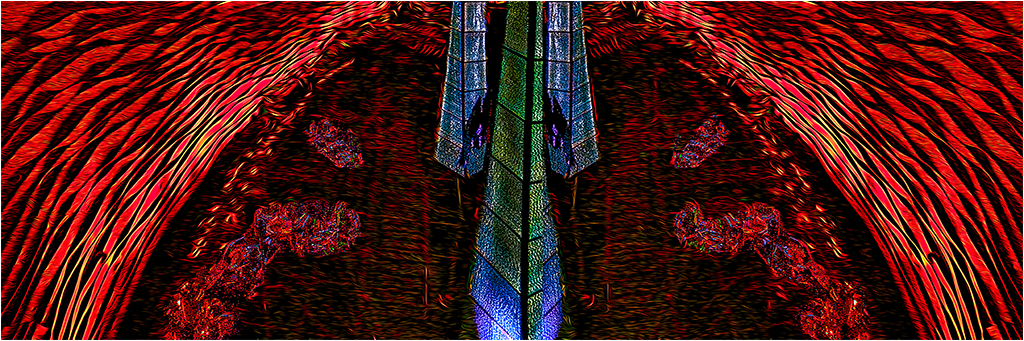
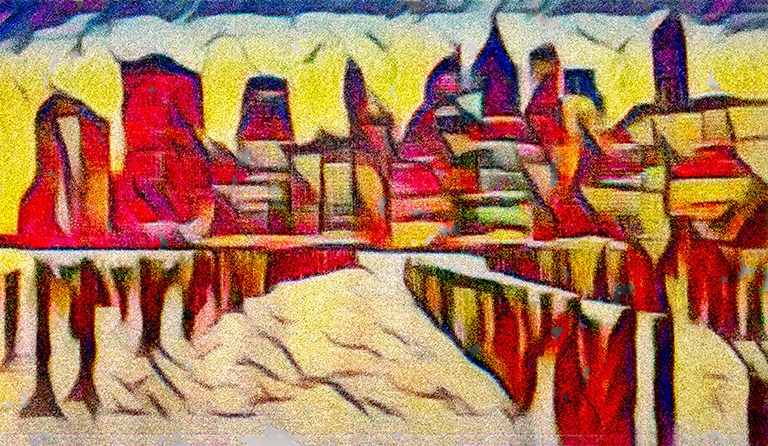
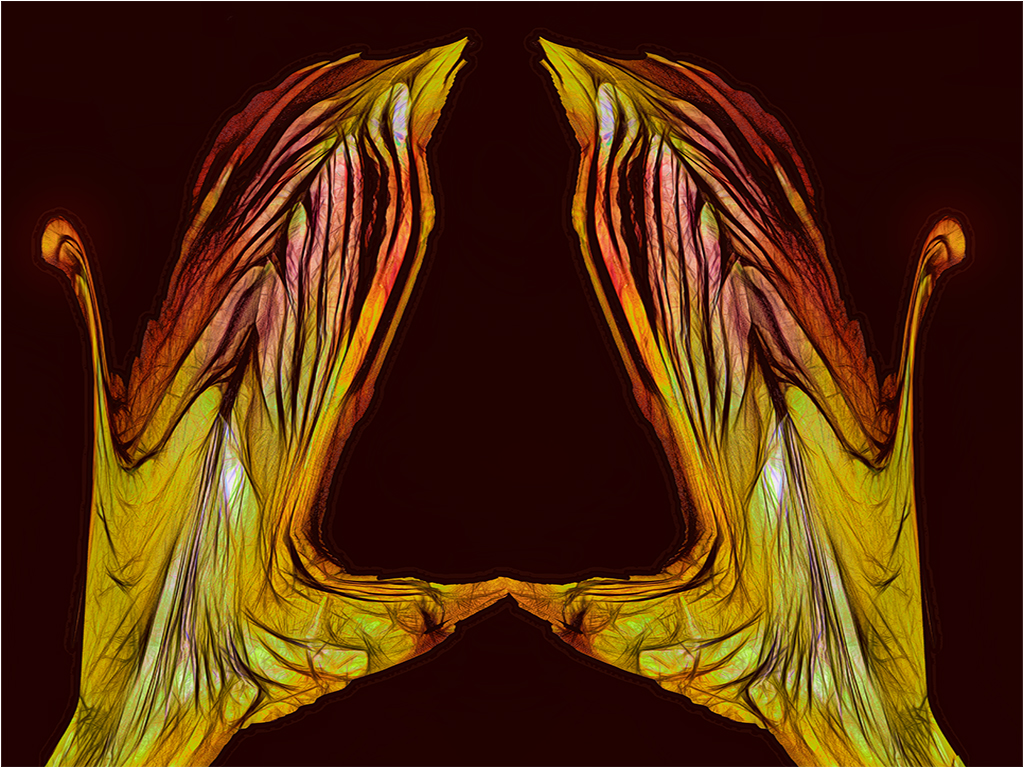
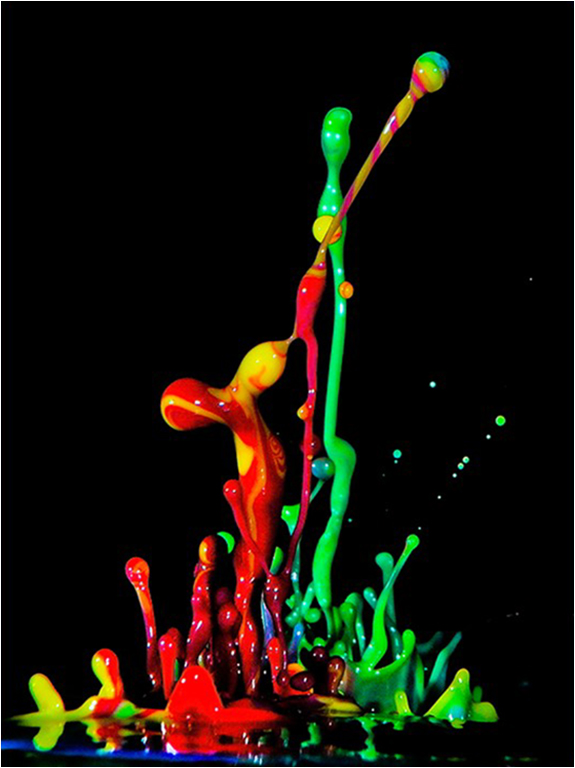
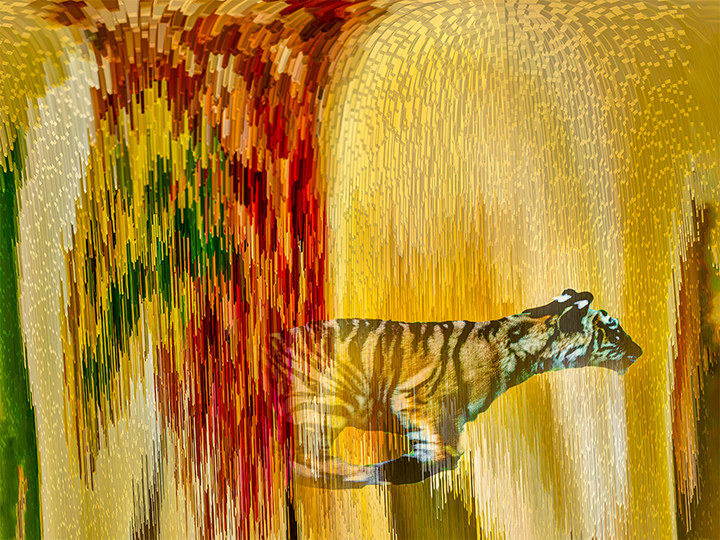
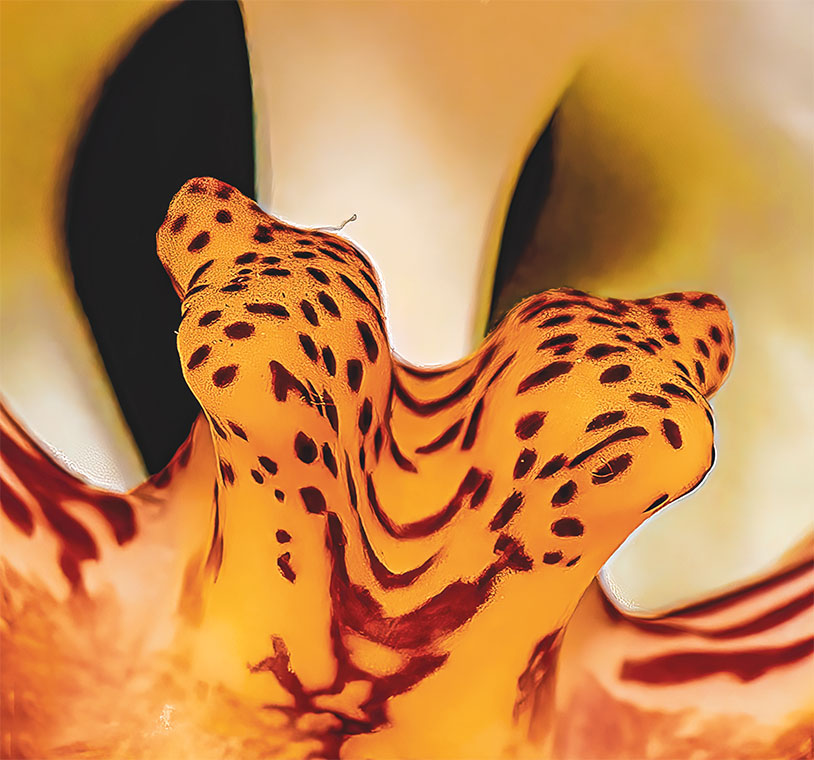
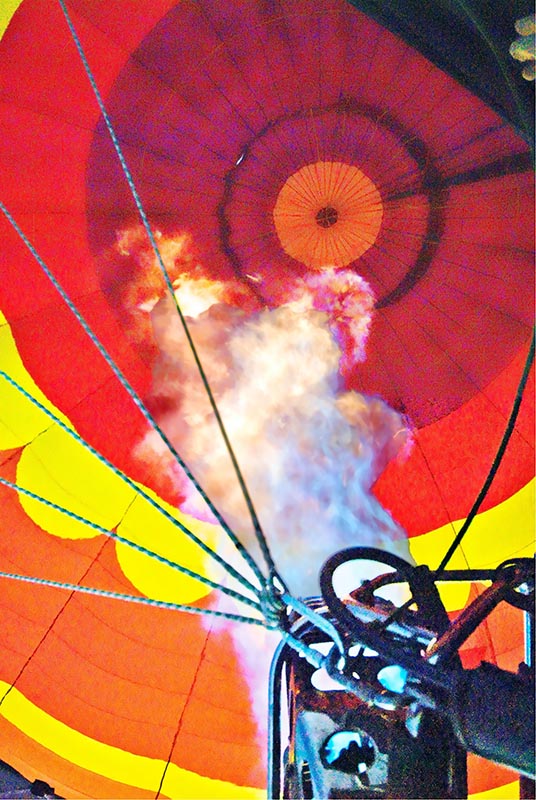
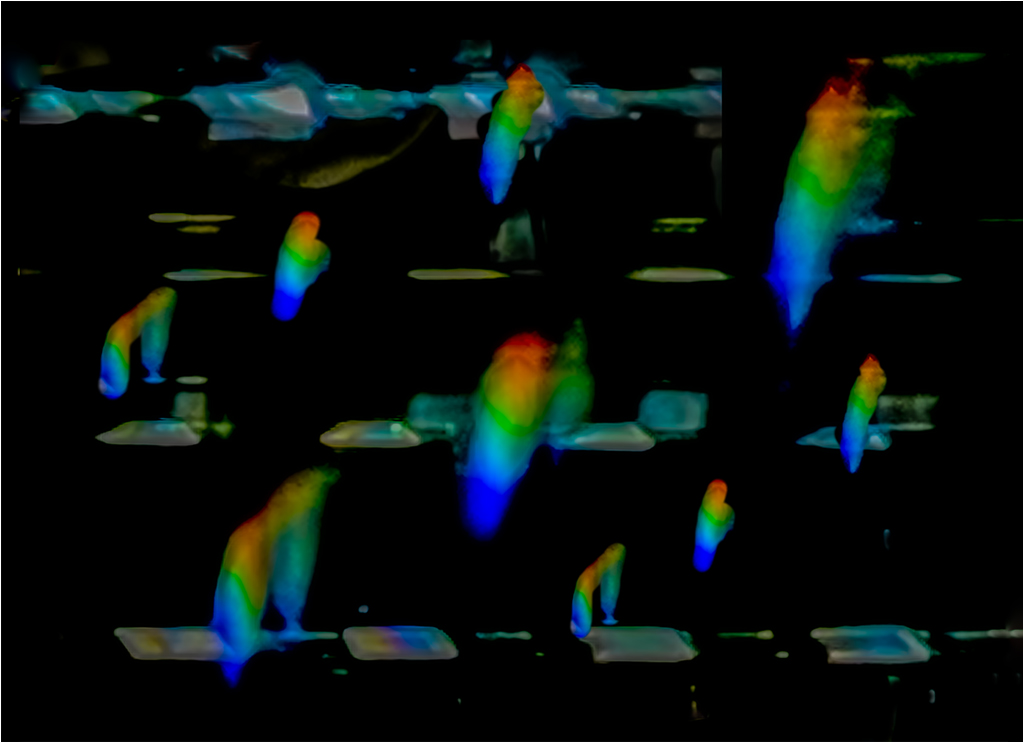
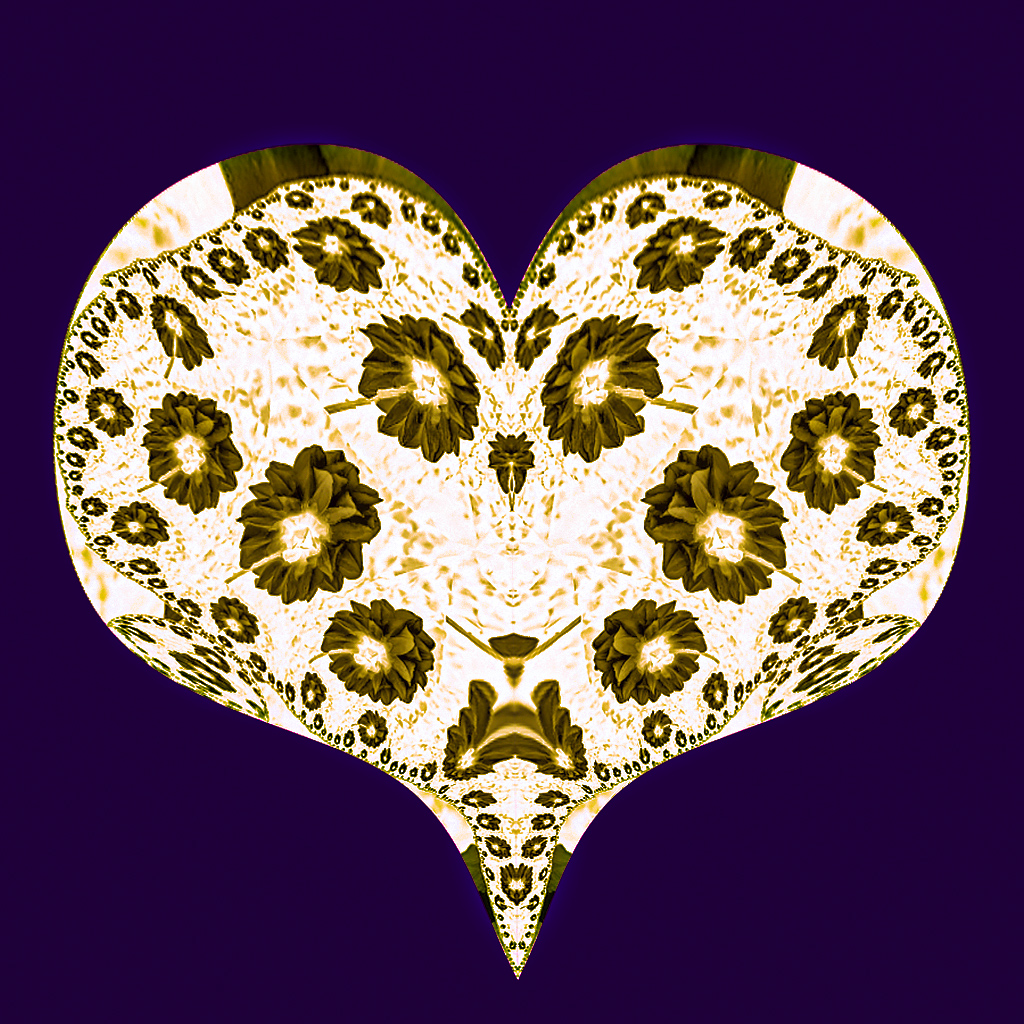
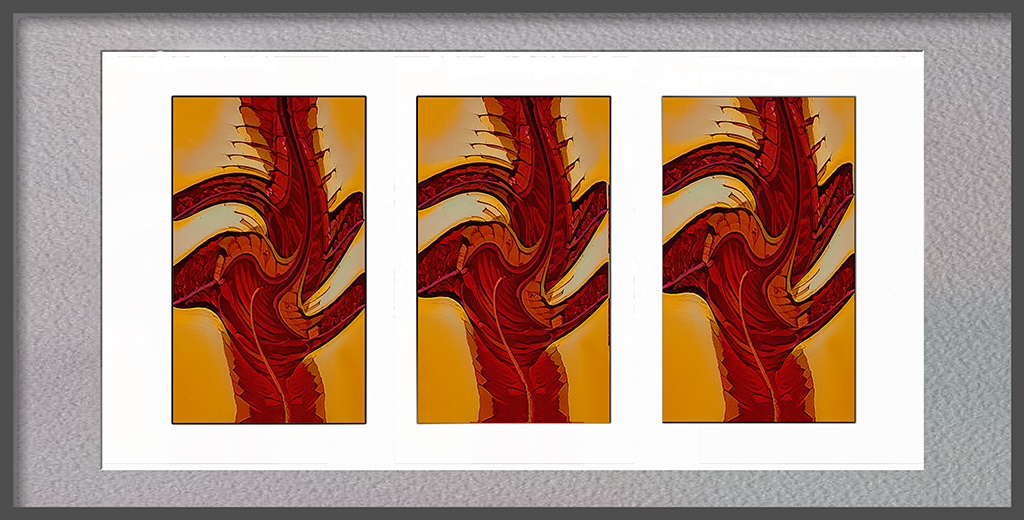
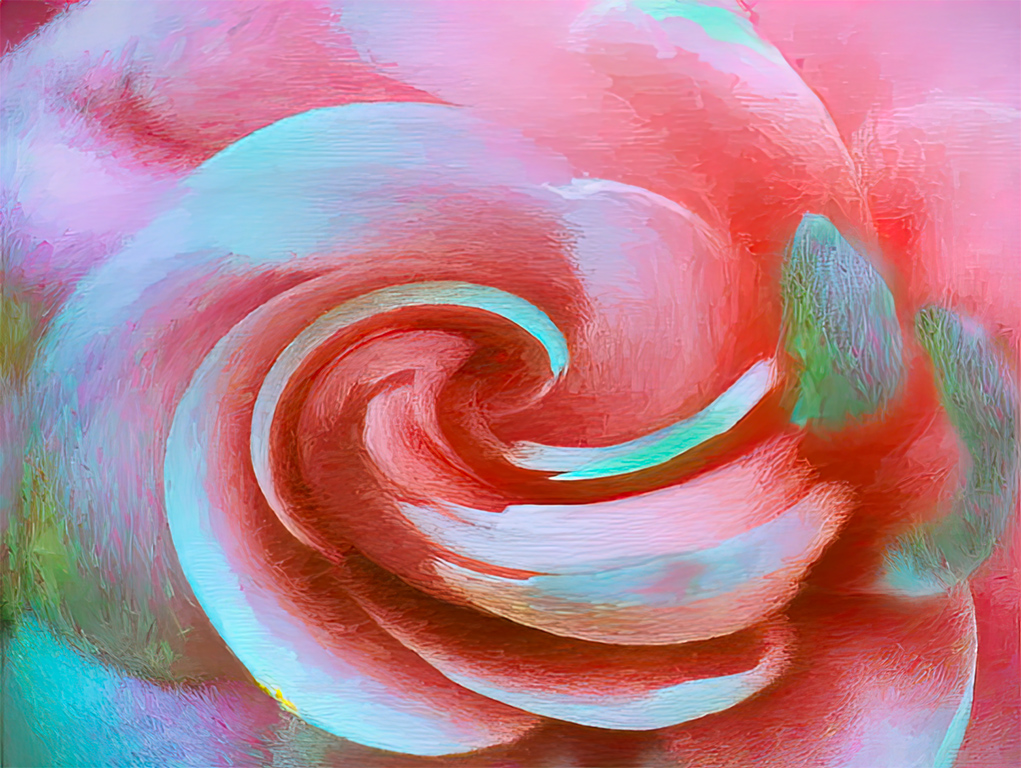
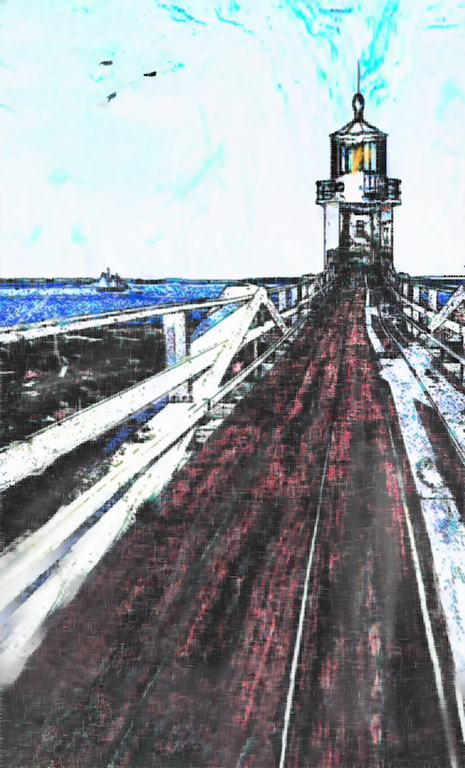
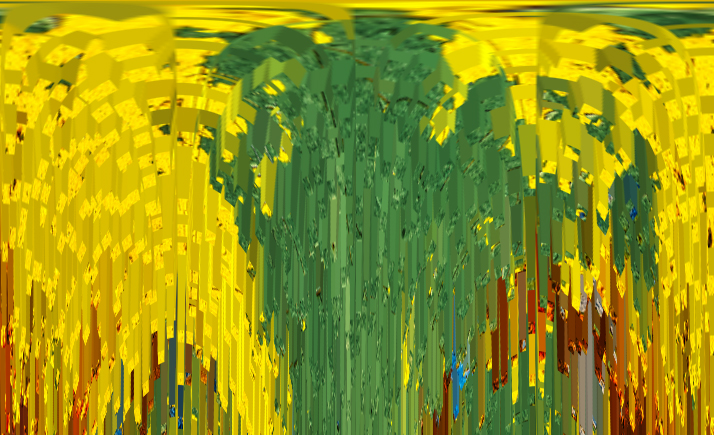
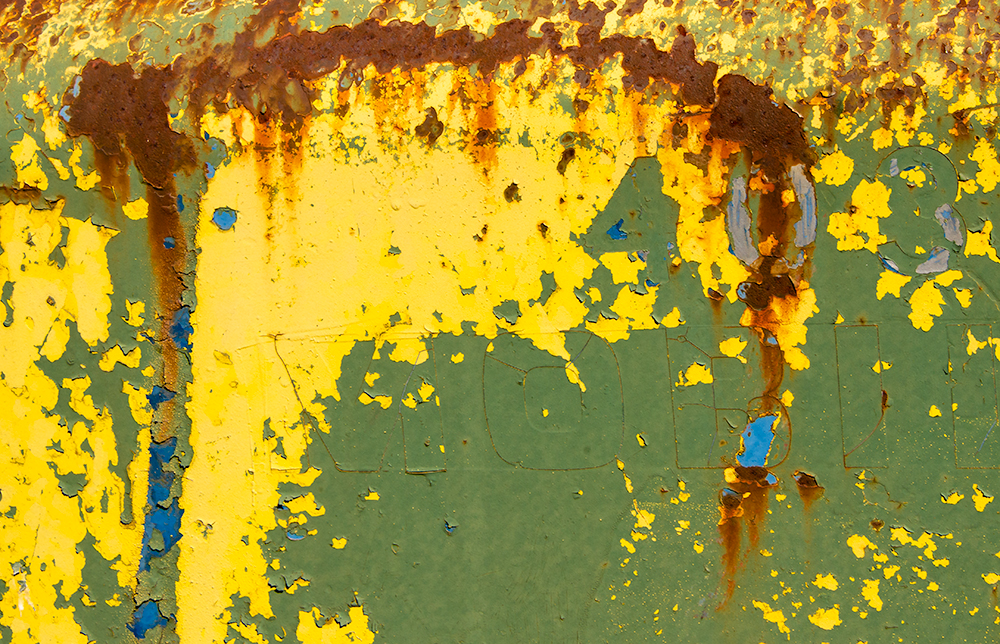
I could not resist playing. I applied the polar coordinates filter as polar to rectangle, and have something that might be used in connection with a waterfall. All from an old rusty tractor. I guess a lot of things can be digitally recycled. |
Apr 26th |
 |
| 21 |
Apr 19 |
Reply |
Thanks for your idea. I will try it. |
Apr 26th |
| 21 |
Apr 19 |
Reply |
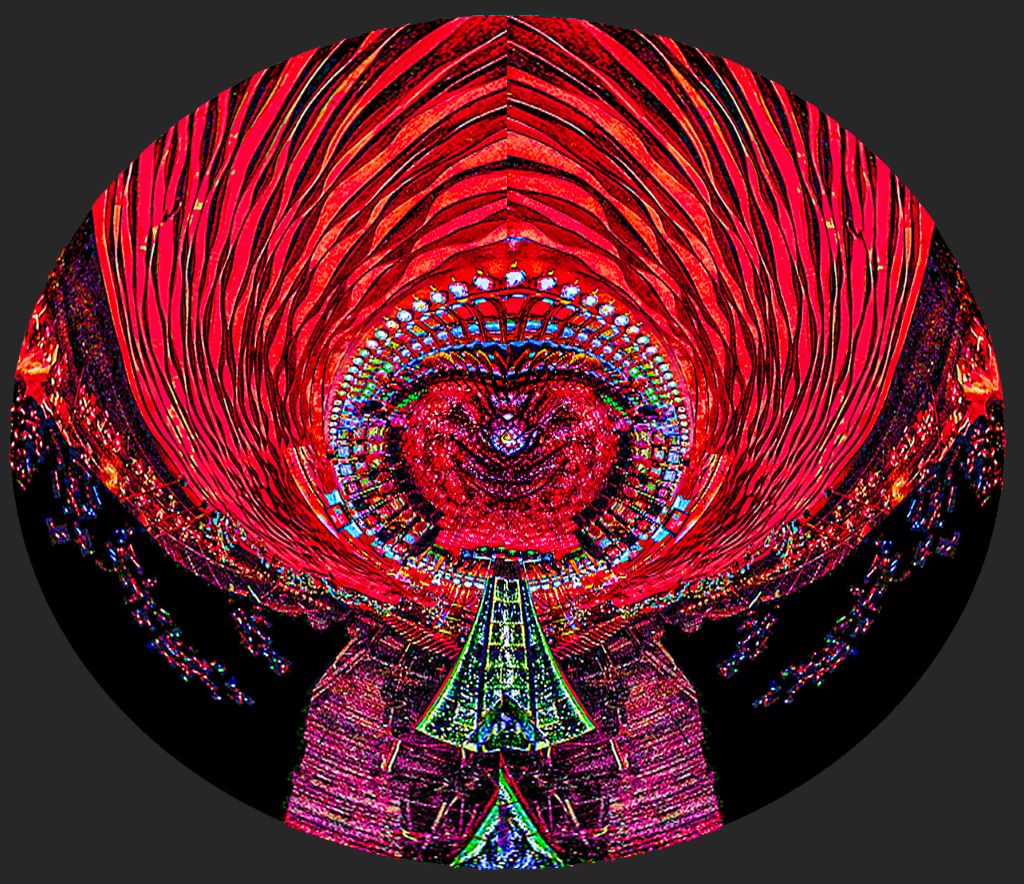
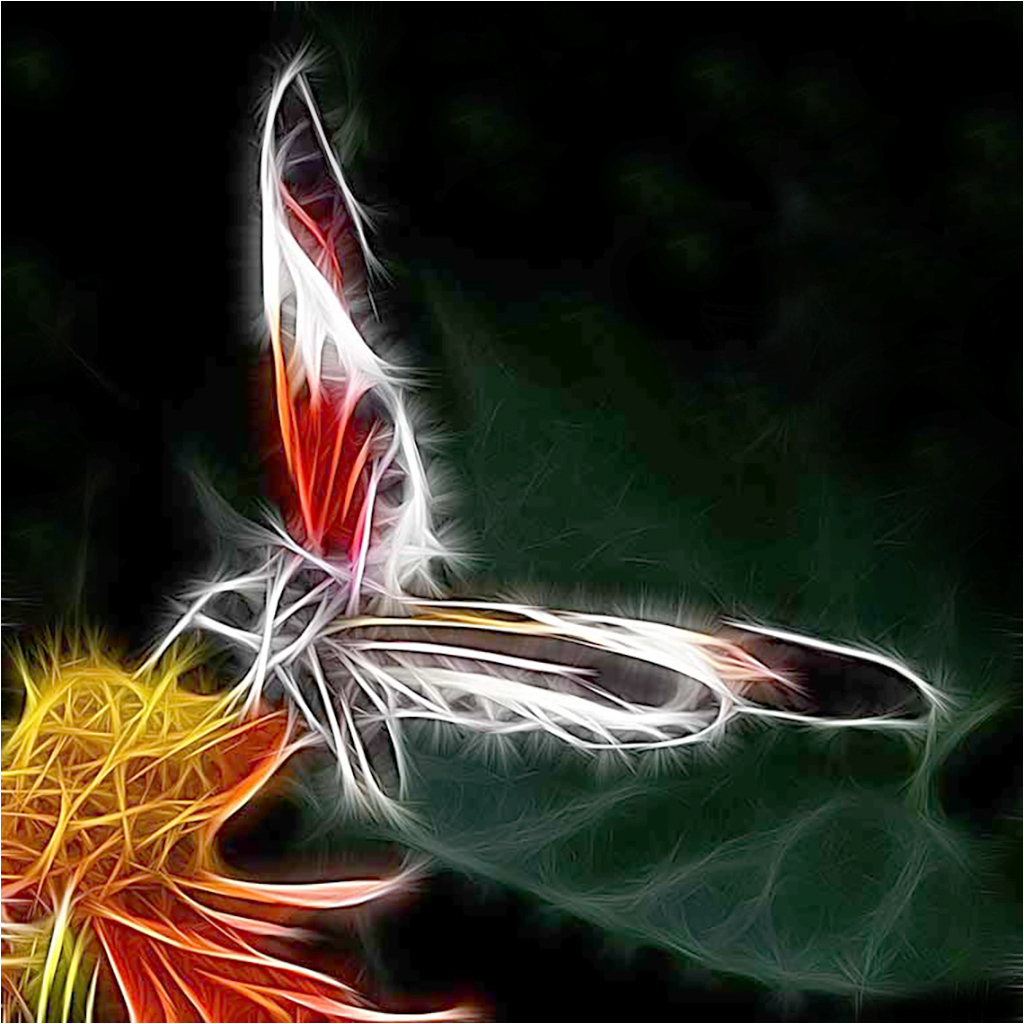
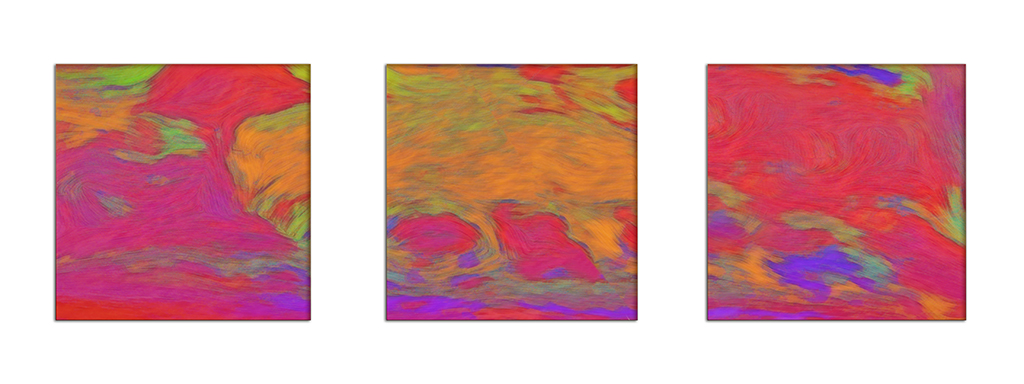
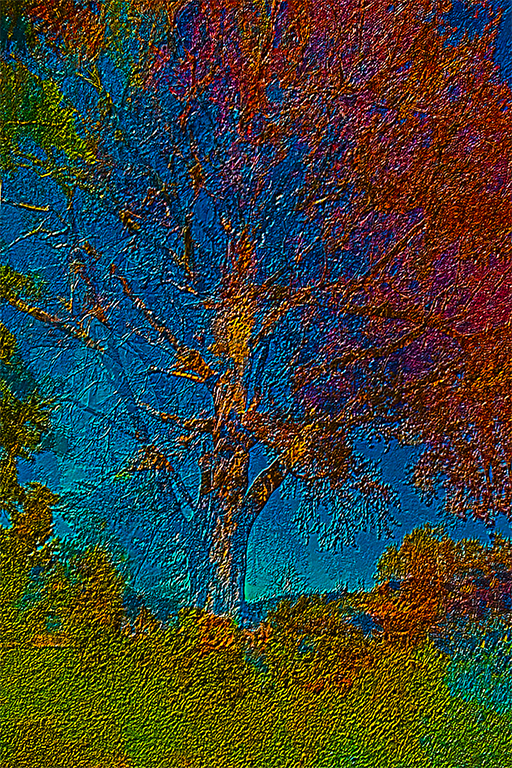
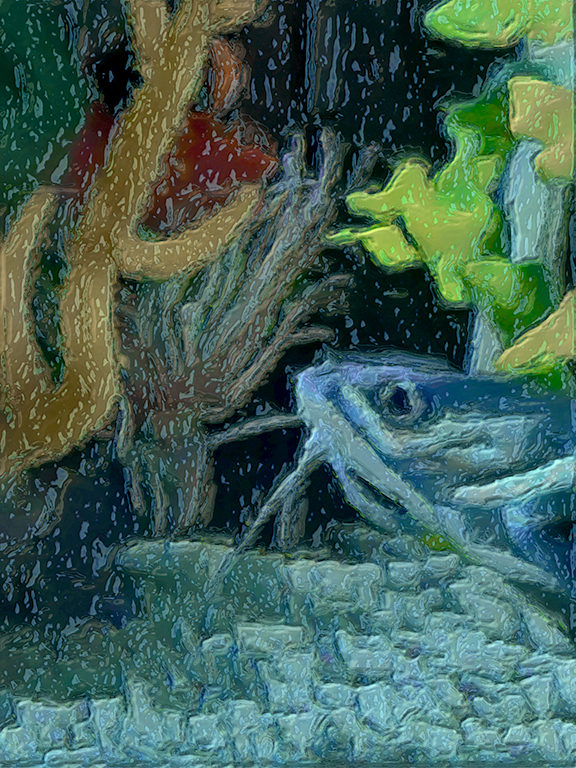
While I was typing my reply, I decided to try a the extrusion filter with a radius of 10 pixels and a depth of 90. Without any other adjustments, I got a the attached image. I am not sure I like it, but it gives you an idea of what that filter does. It's a totally different image. |
Apr 26th |
 |
| 21 |
Apr 19 |
Reply |
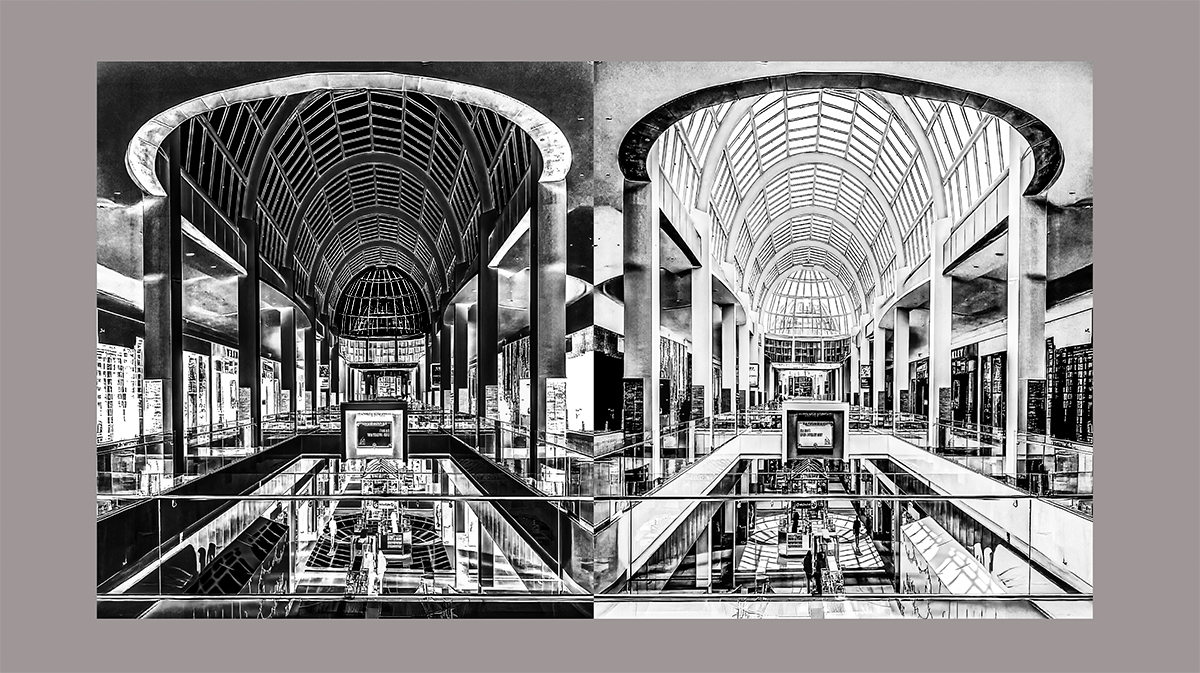
Photoshop Edit |
Apr 26th |
 |
| 21 |
Apr 19 |
Reply |
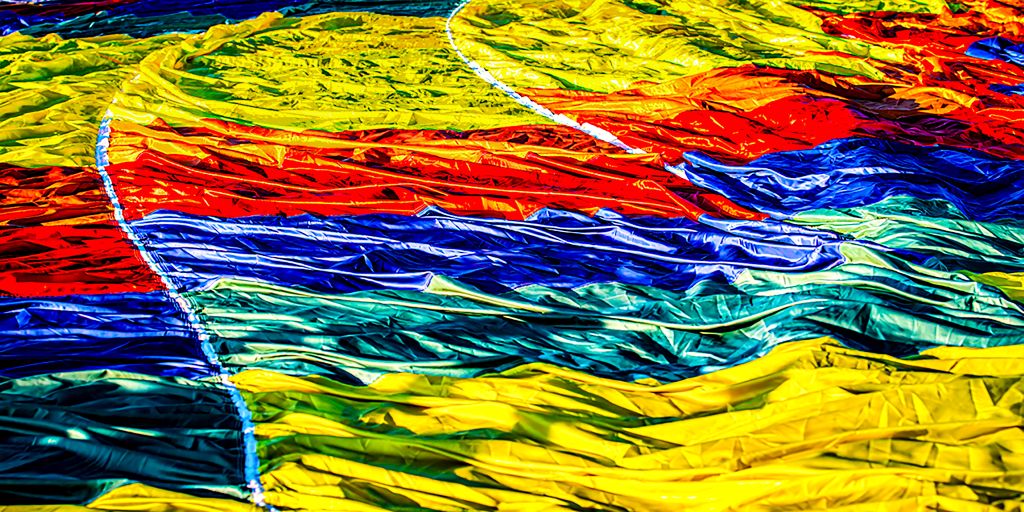
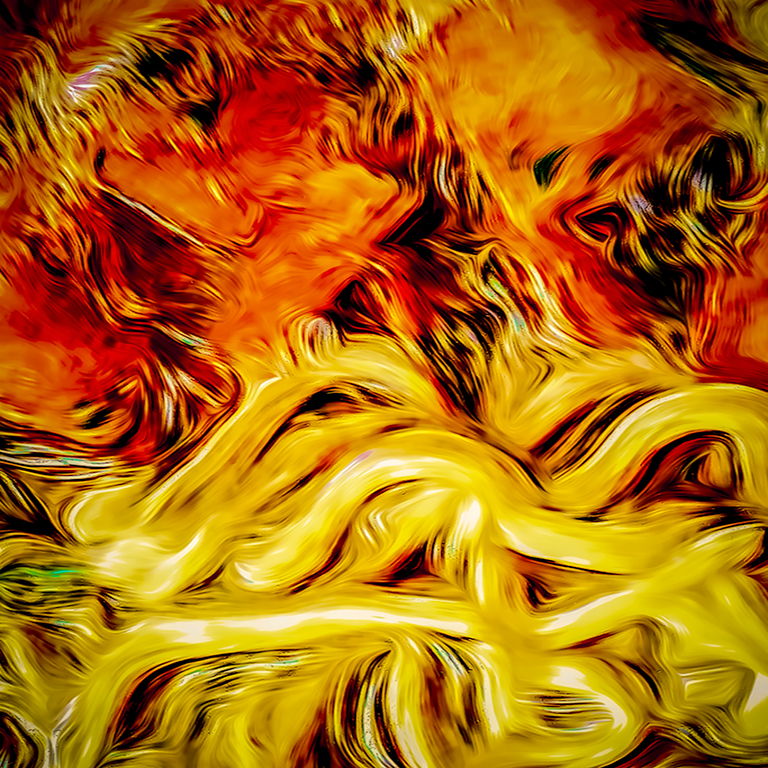
Aurora Edit |
Apr 26th |
 |
| 21 |
Apr 19 |
Reply |
Lightroom edit |
Apr 26th |
 |
| 21 |
Apr 19 |
Reply |
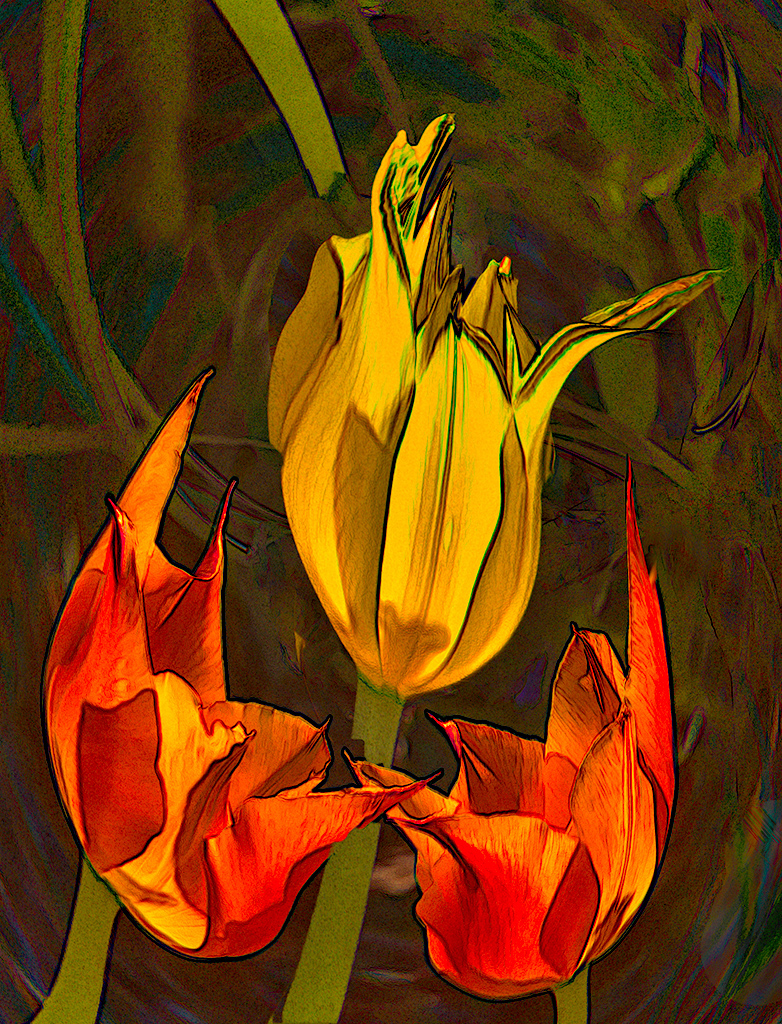
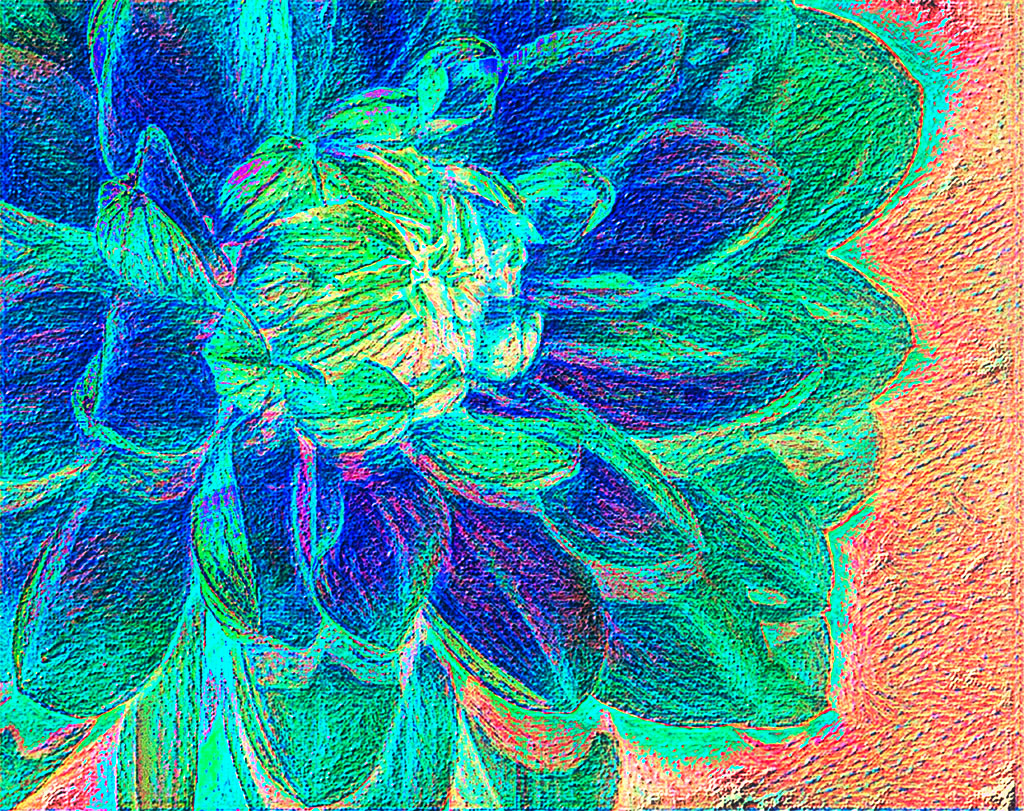
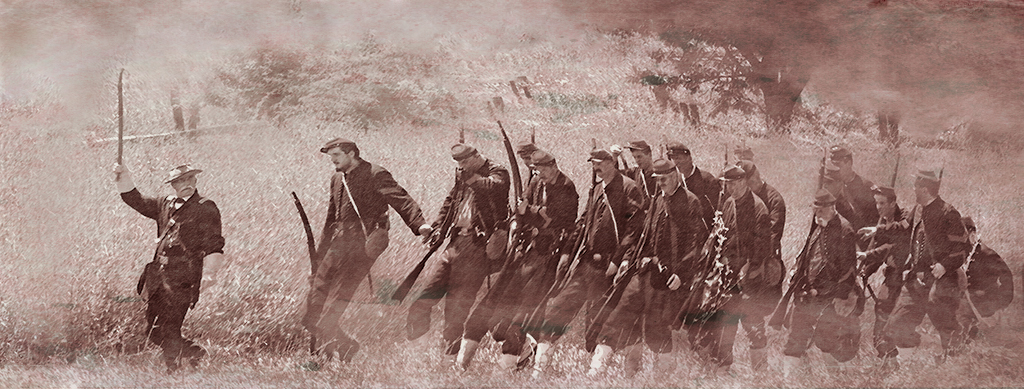
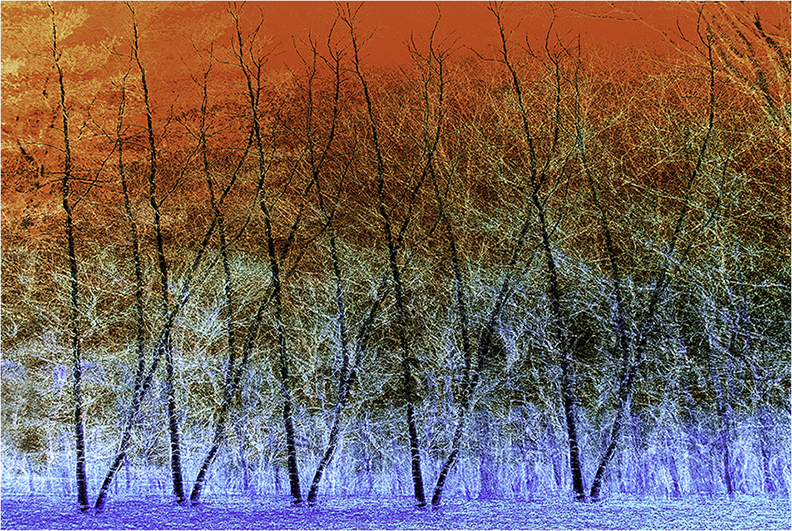
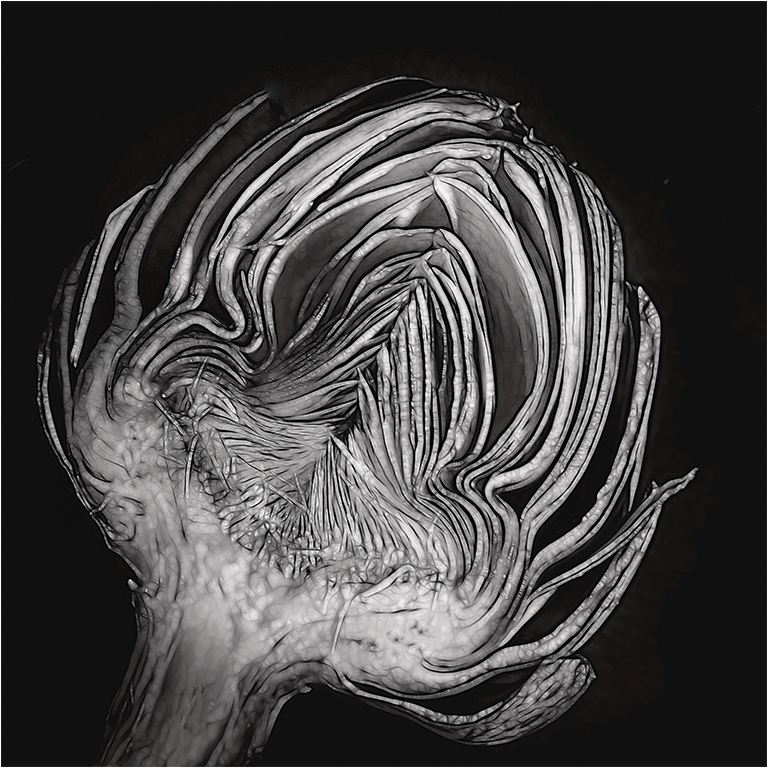
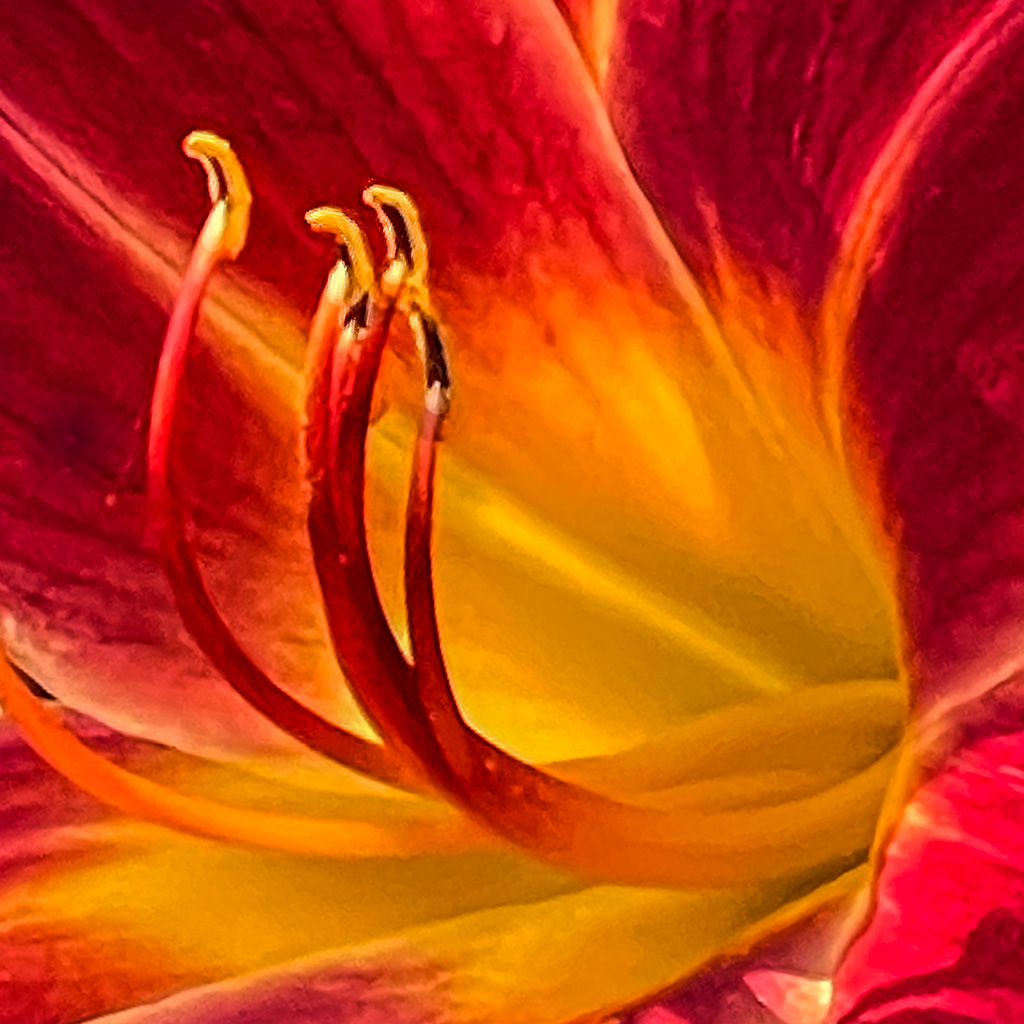
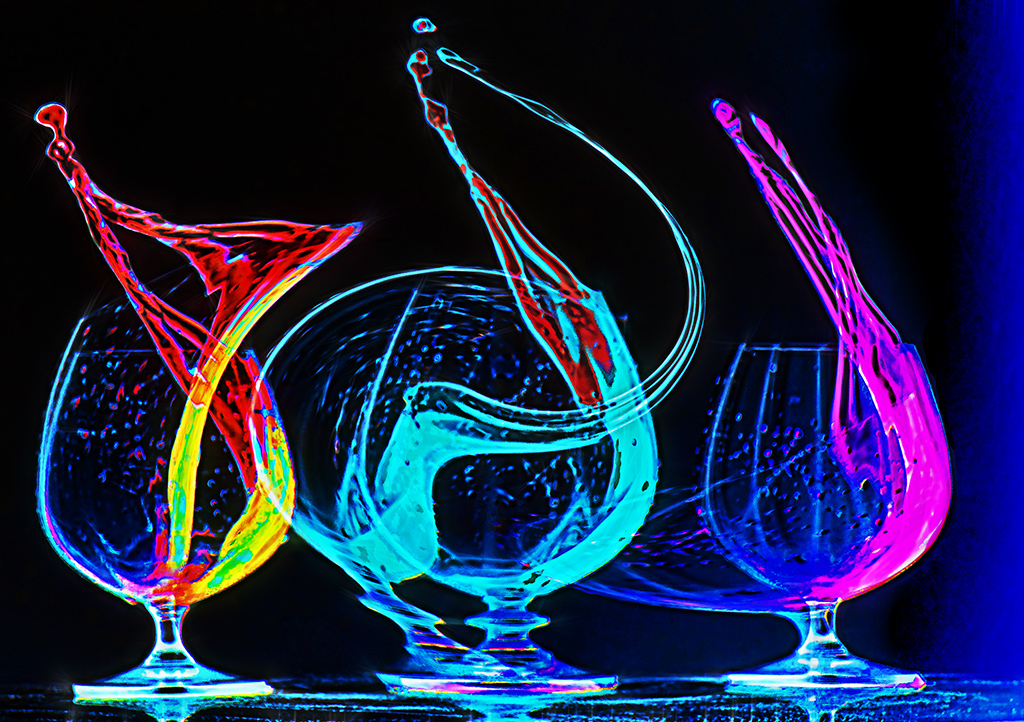
Joan, As I stated above, I was inspired by your idea. I had not thought of that concept before. I do agree that Brian's version is a much better image. To start I will send you one of the transition images in each transmission. (Resized of course.) I created a preset in Aurora, so that there would be some confluence of color. Since some of the other images were taken on a different day and location, as well as cropped and rotated, each one differently, it would be a real PITA to locate them. The process used on the top image should give you a pretty good insight into the process I used. To answer your question about extrusion, it's located in PS under "stylize" on the main filter menu. I used a different level of extrusion on each image. It can be used for a lot of different effects. e.g. Try masking your image of a succulent that you previously submitted, and use the extrude filter, with a very low radius, and high depth, then put that image on a separate layer and play with different transmissions. While most of my experiments don't work, some do.
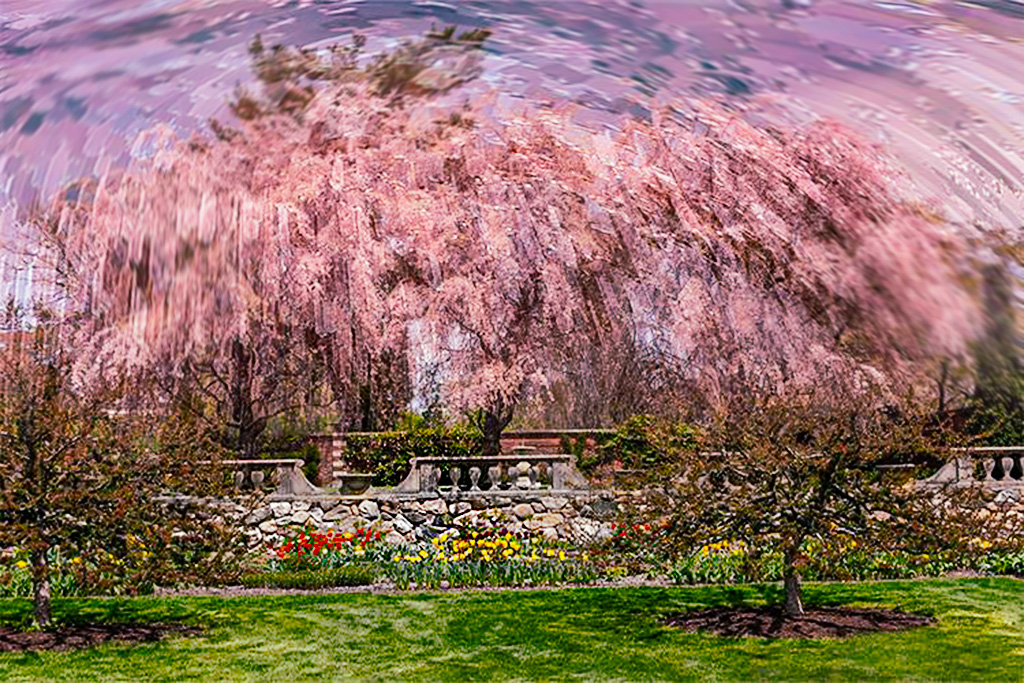
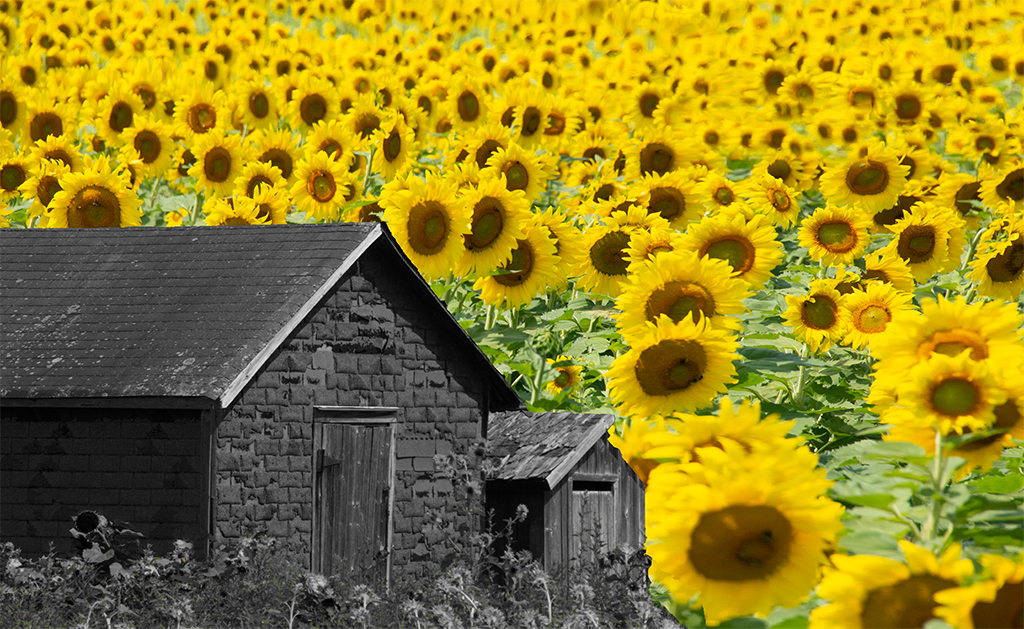
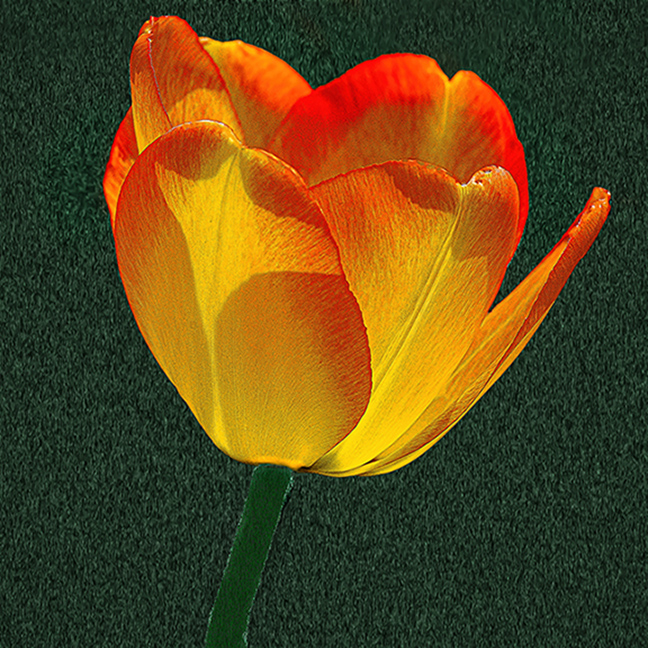
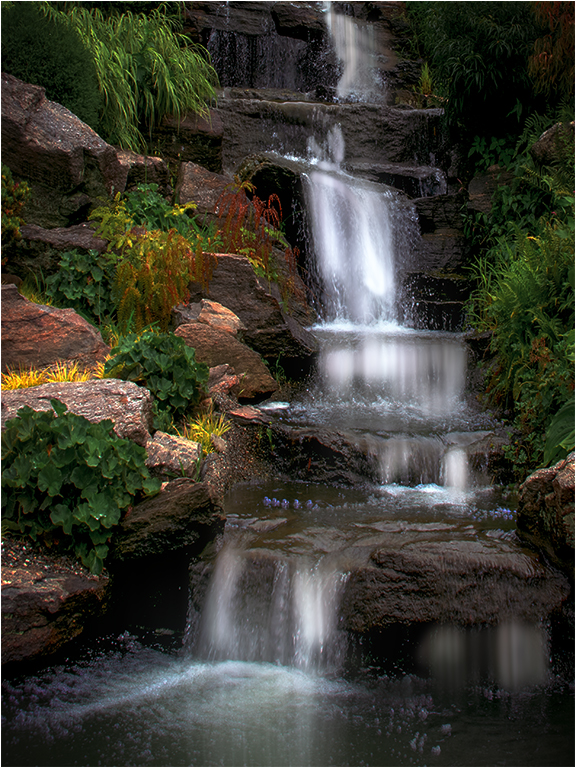
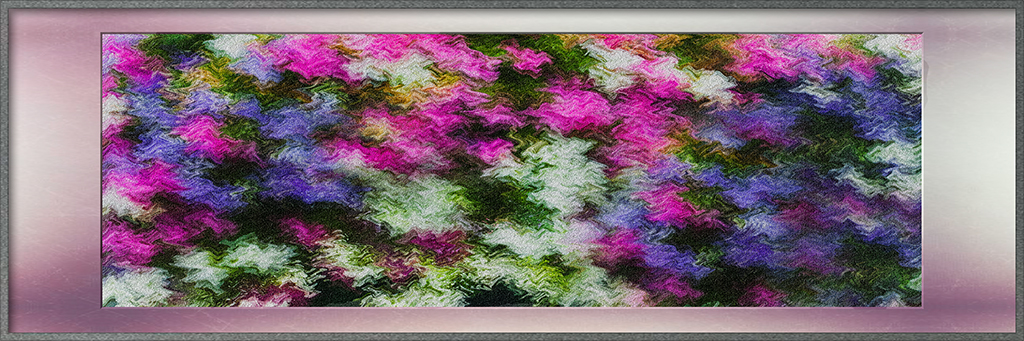
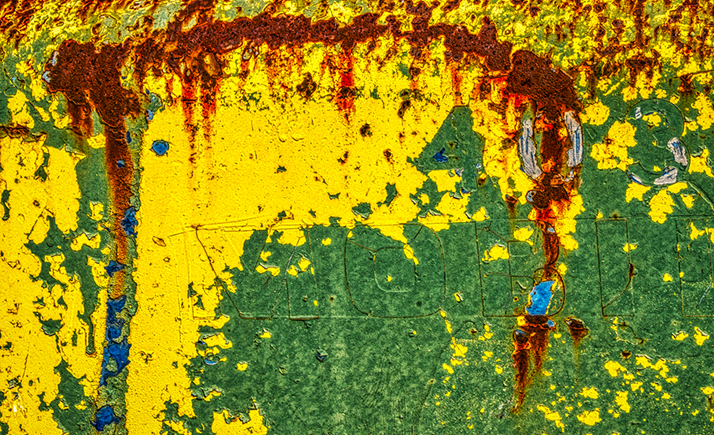
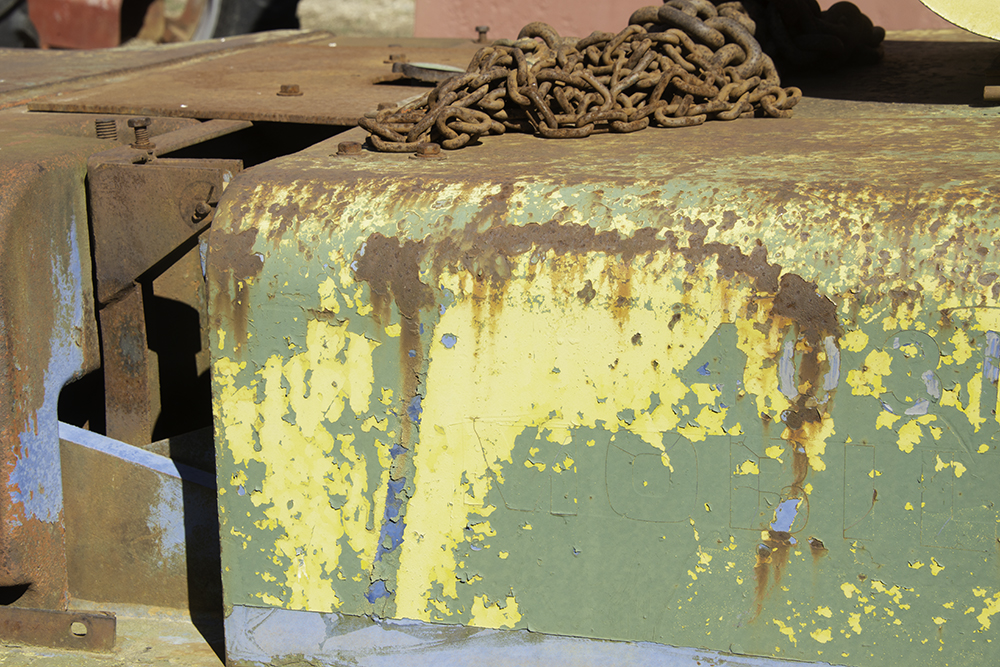
Back to the subject, here is the original unaltered image. |
Apr 26th |
 |
| 21 |
Apr 19 |
Reply |
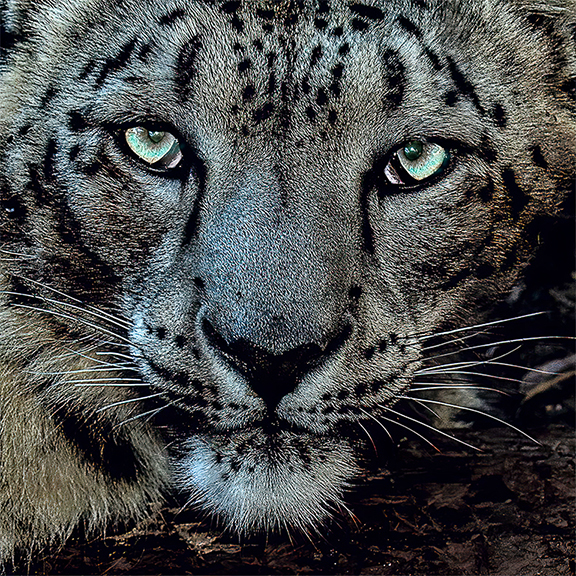
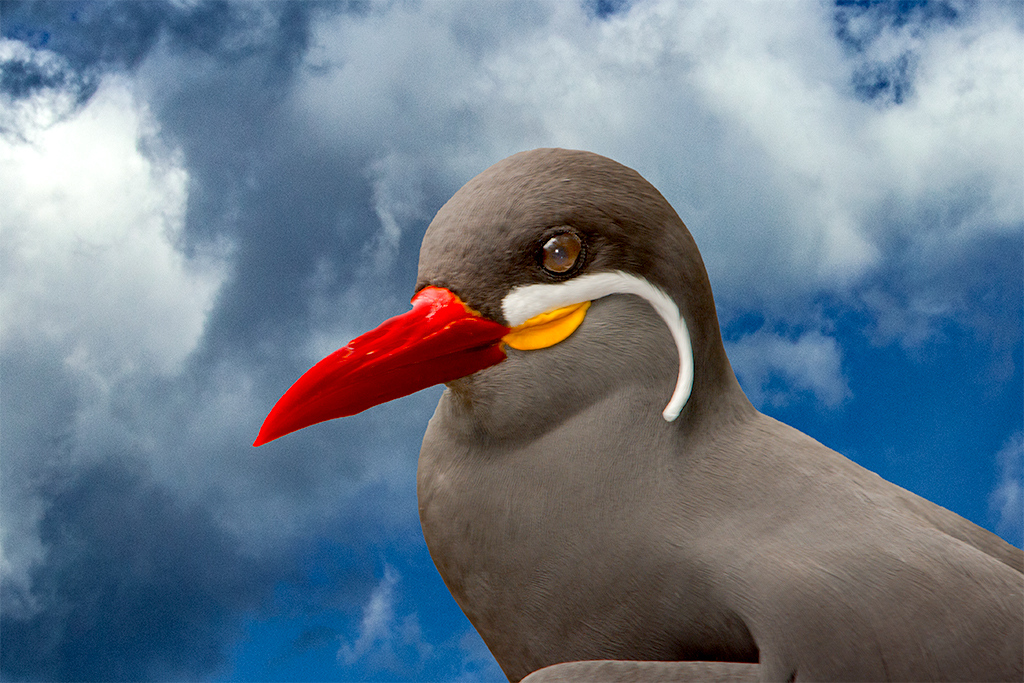
White halos are a common issue. Matt Koslowsky has a video on YouTube on how to get rid of them. "https://www.bing.com/videos/search?q=youtube+matt+kloskowski+tutorials+halos&view=detail&mid=FE4E494A1C3BAA7EE2BAFE4E494A1C3BAA7EE2BA&FORM=VIRE/" |
Apr 24th |
| 21 |
Apr 19 |
Comment |
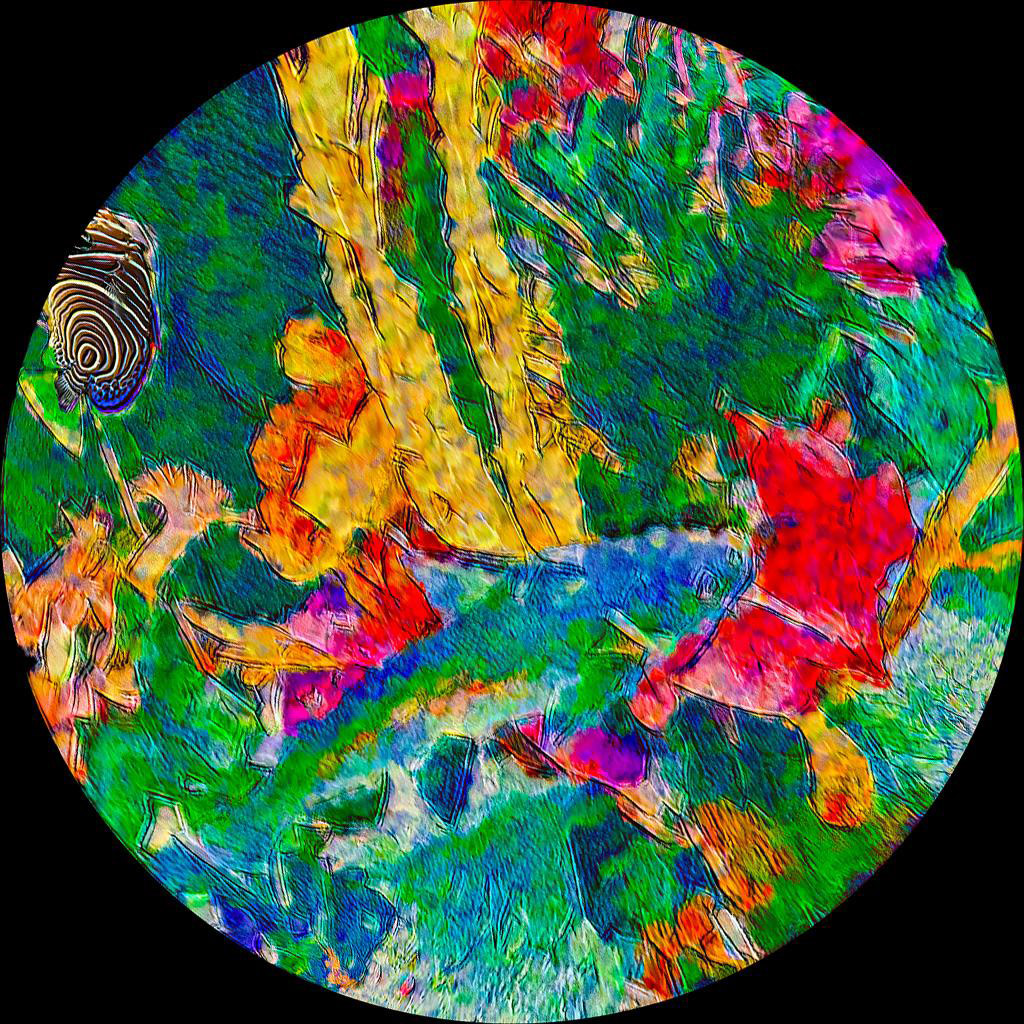
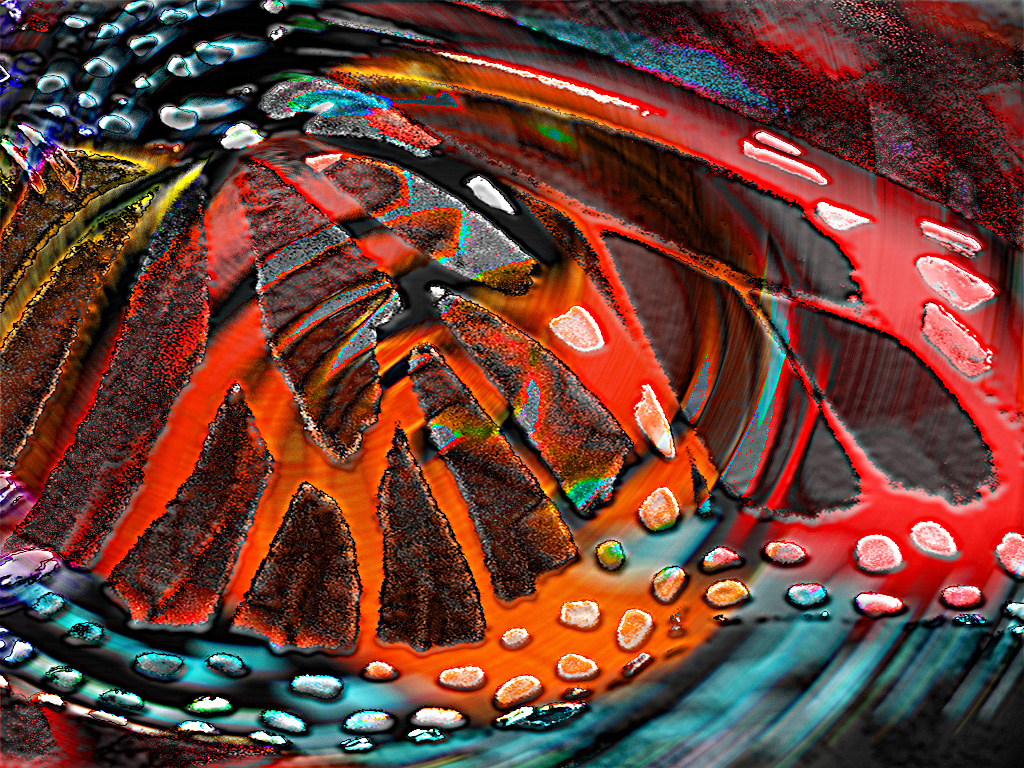
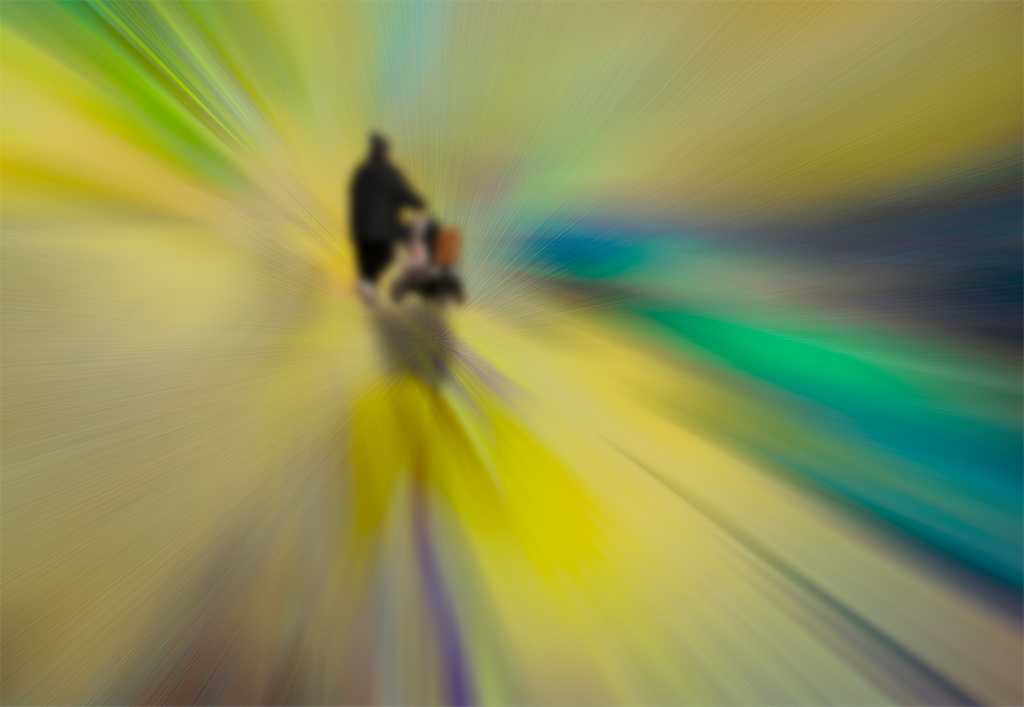
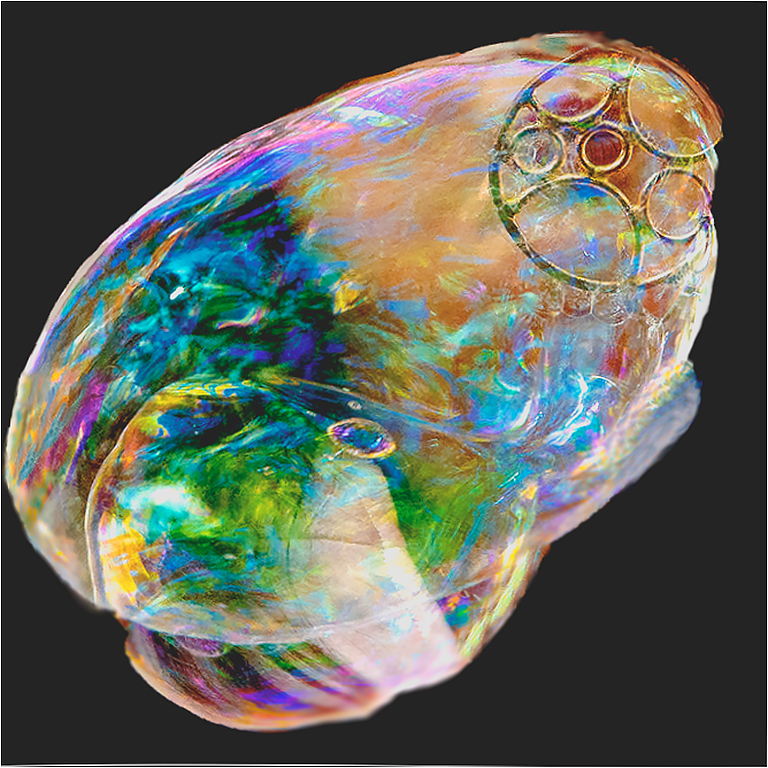
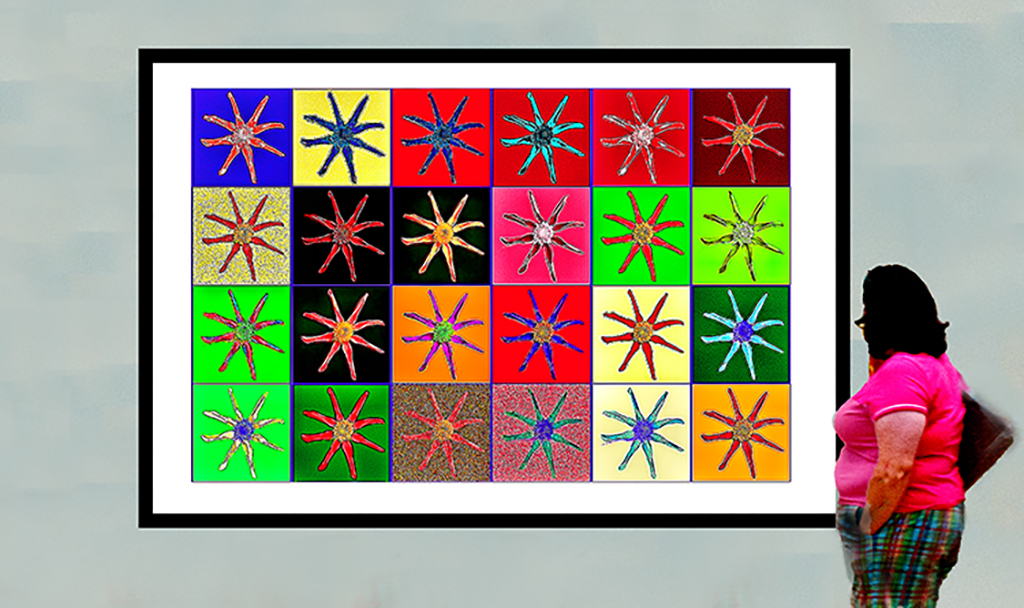
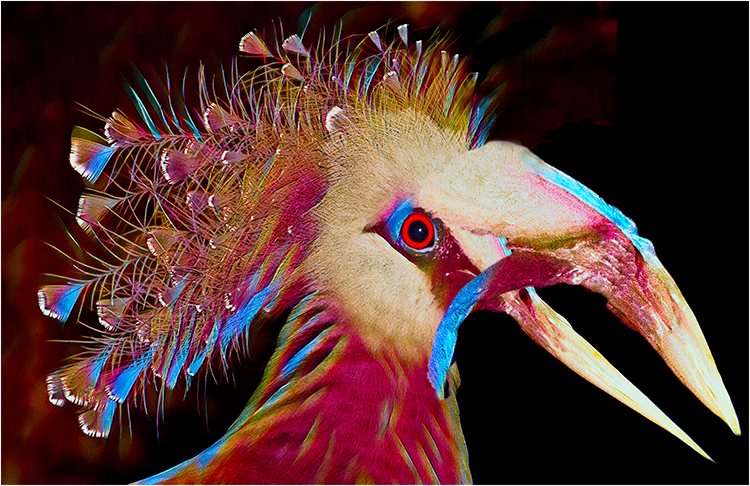
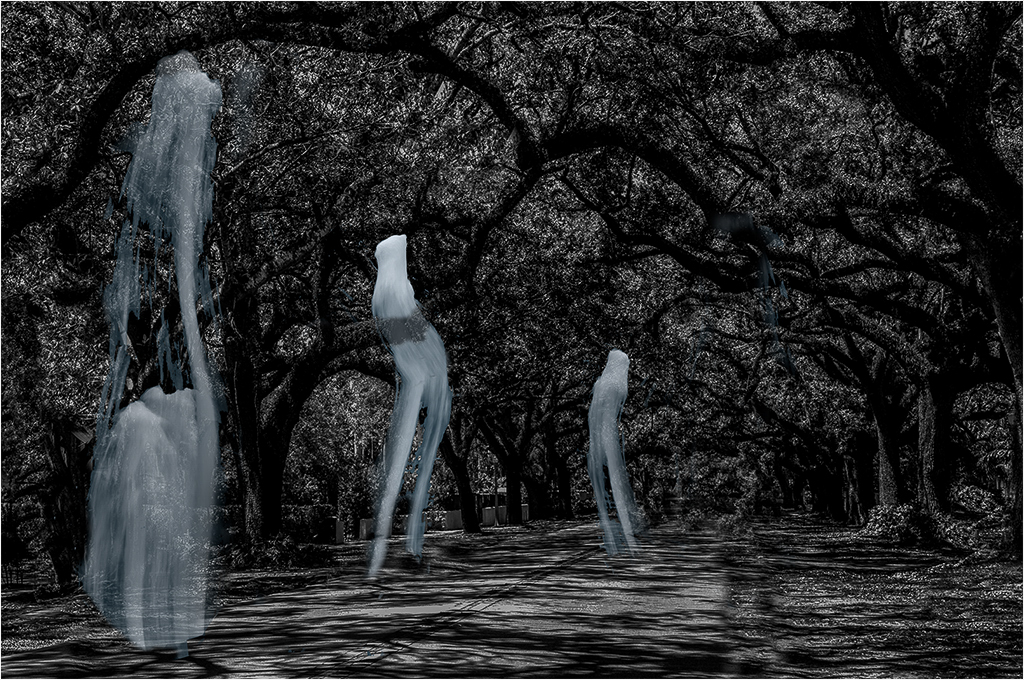
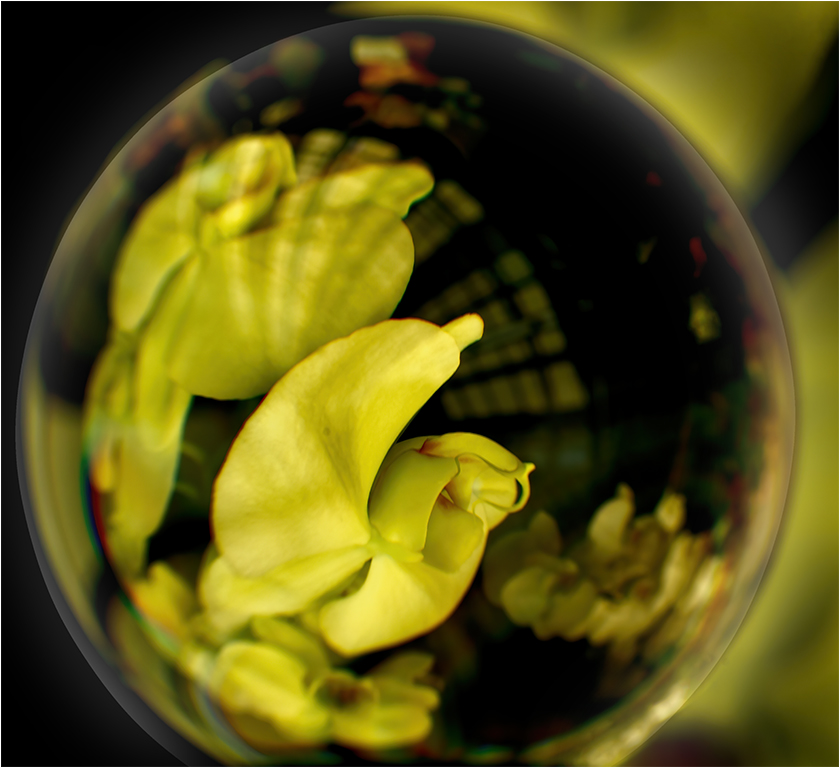
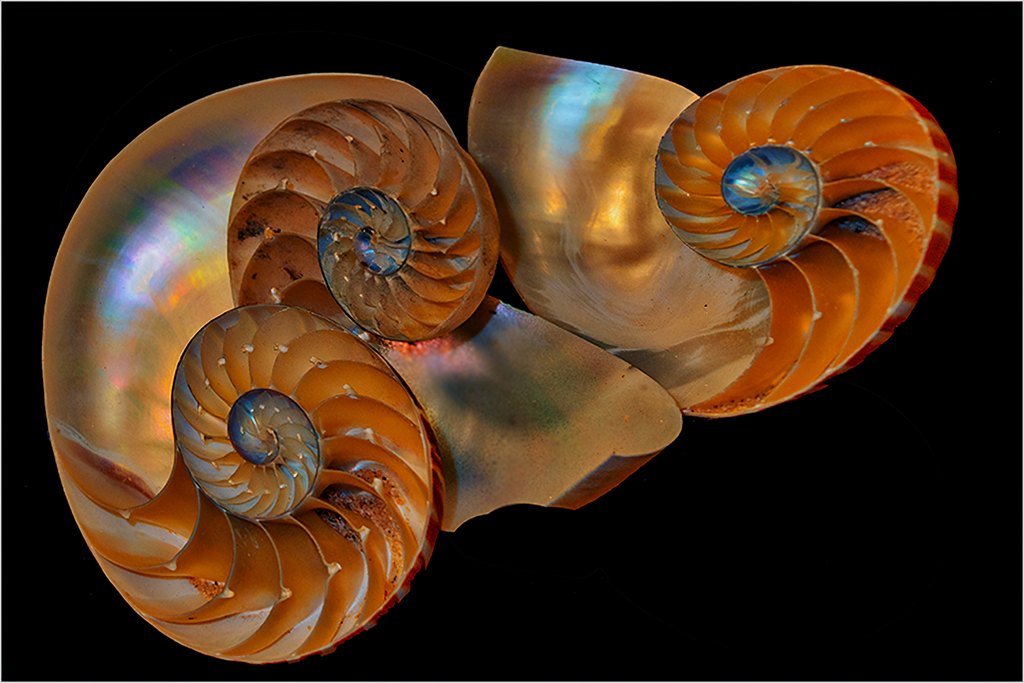
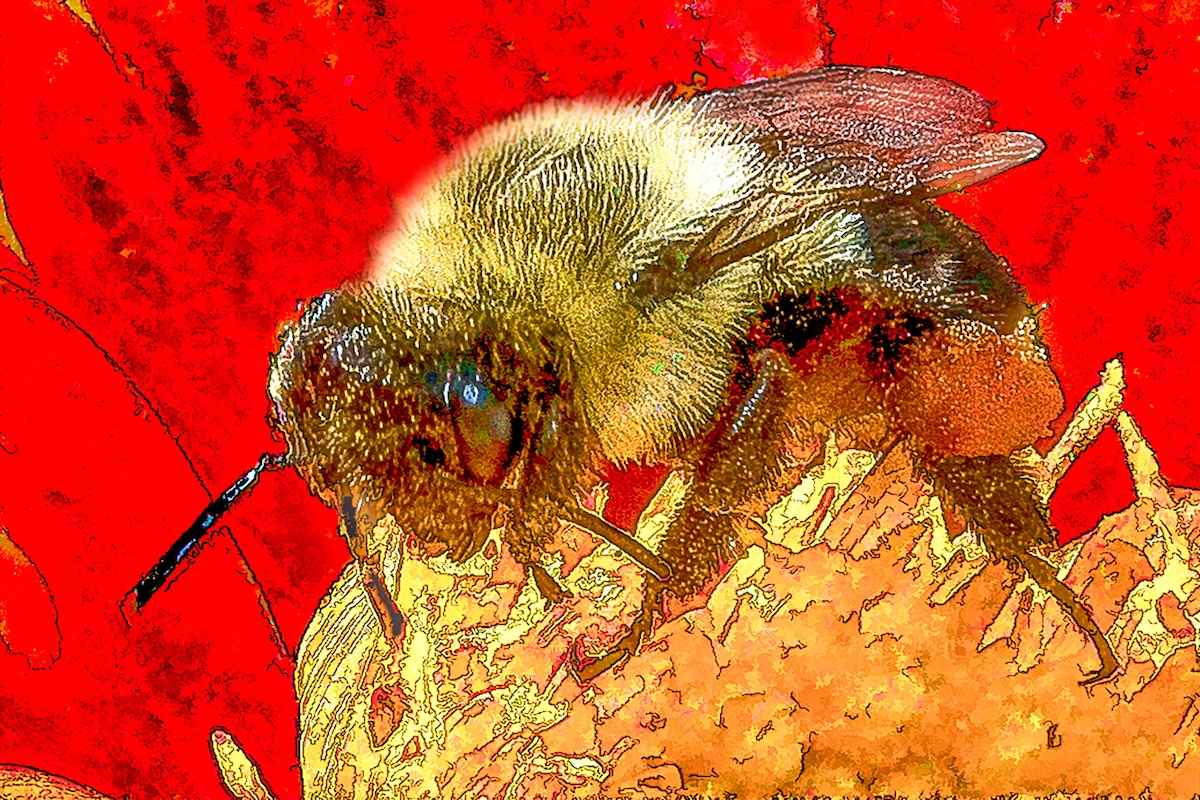
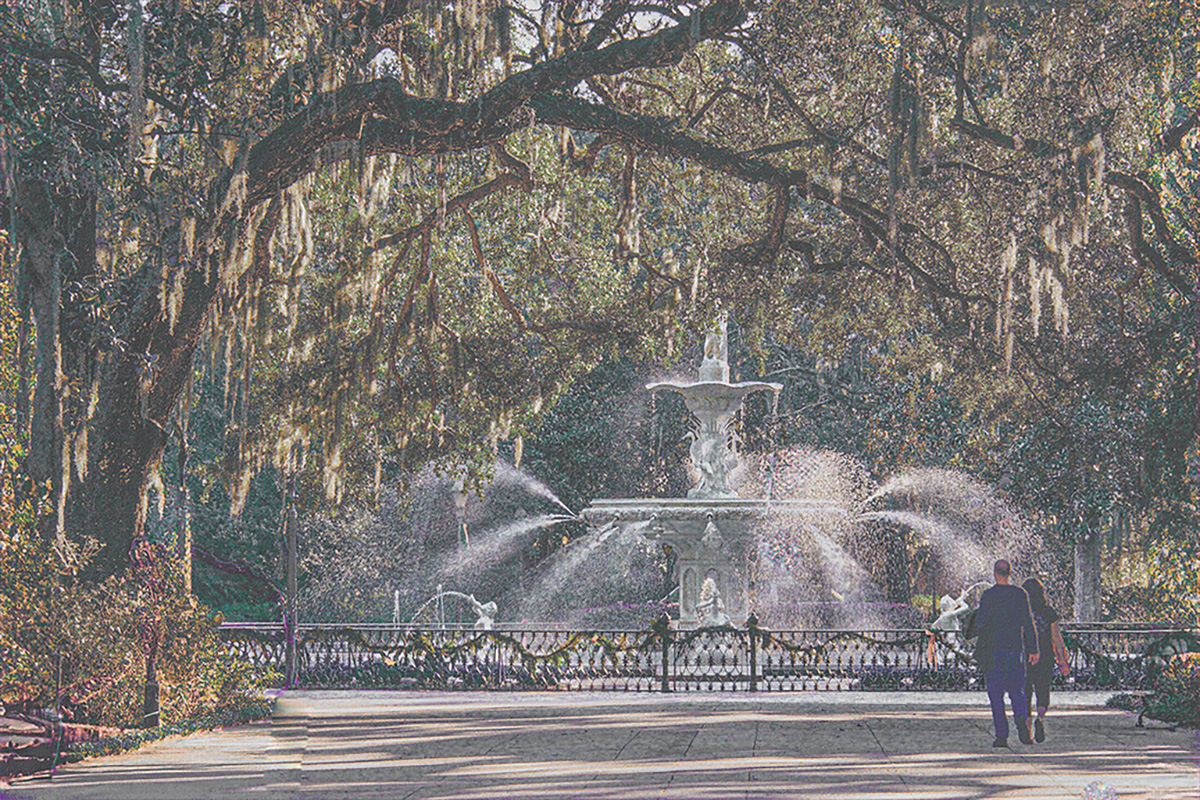
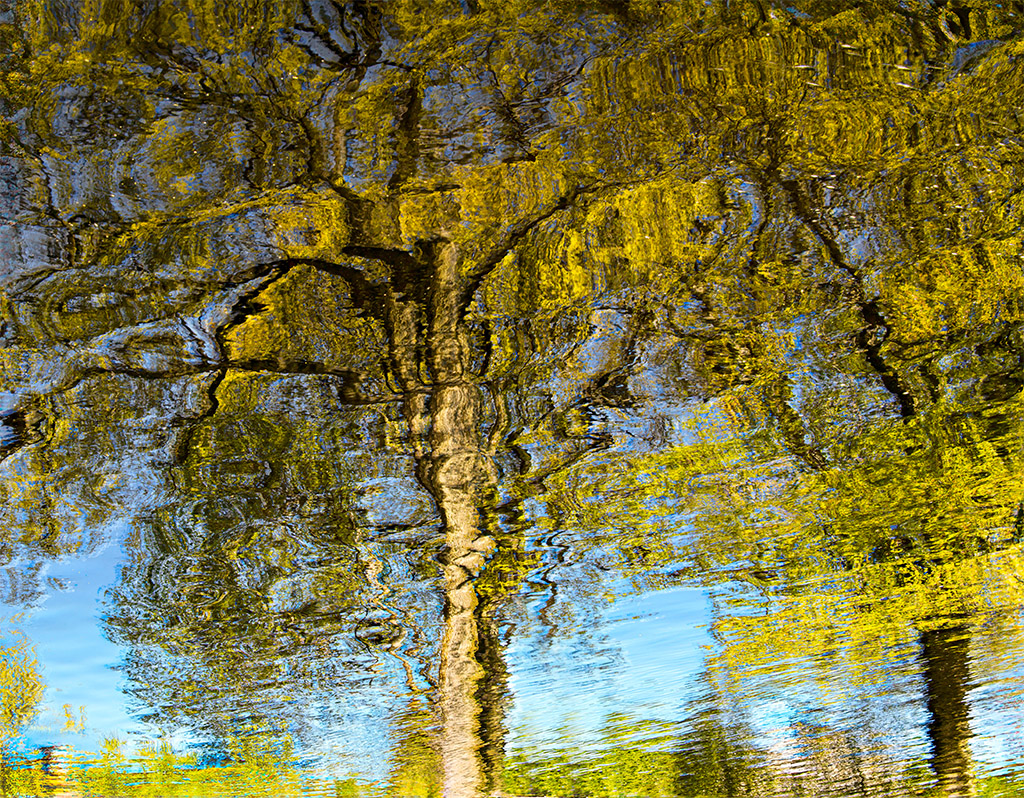
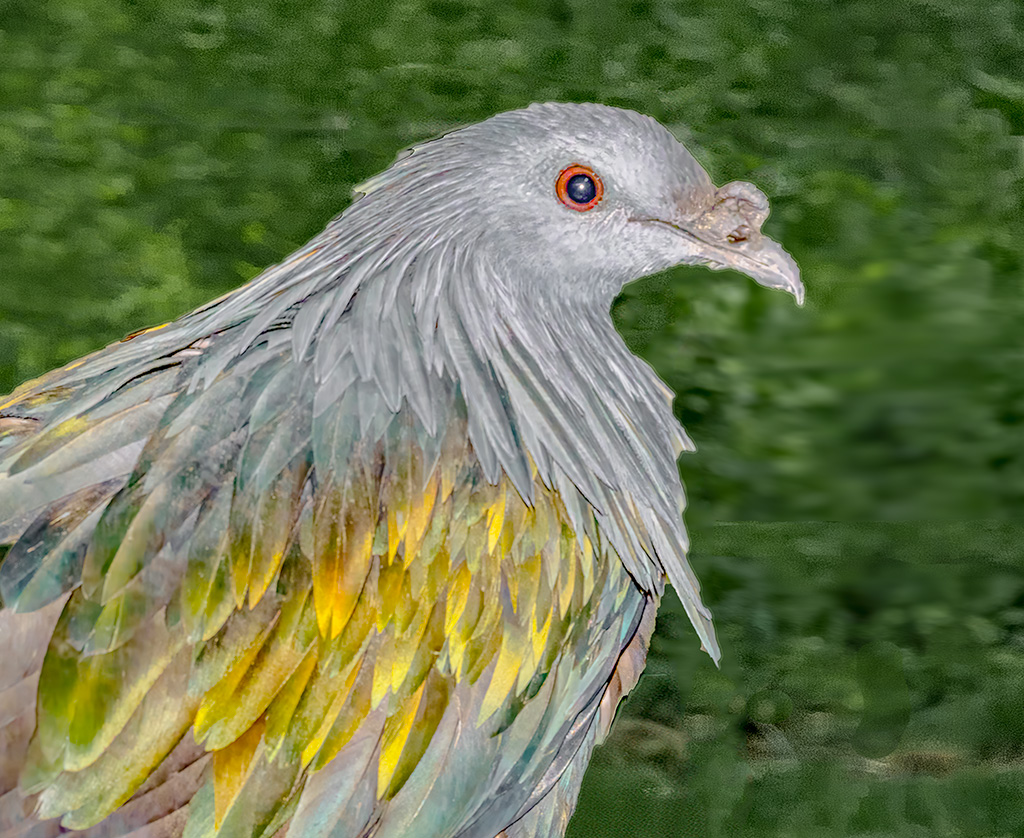
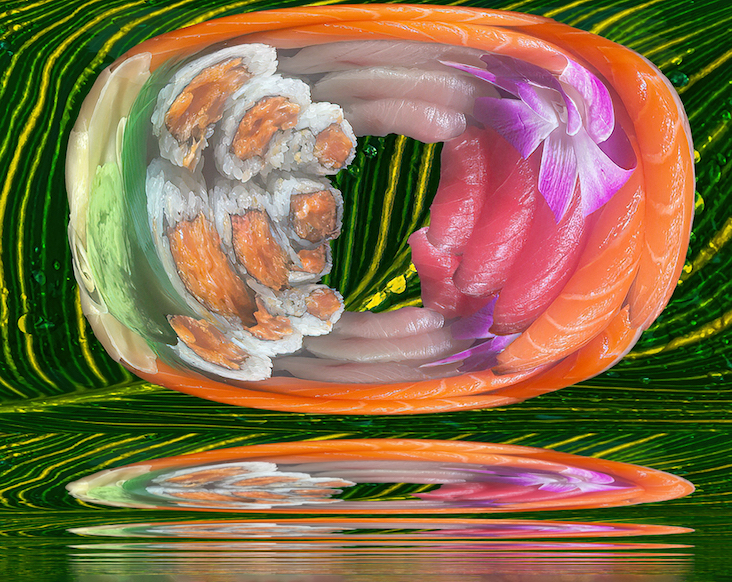
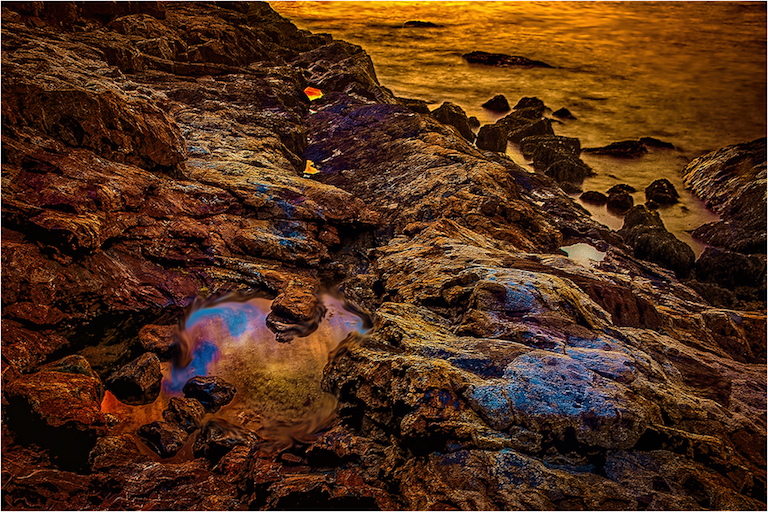
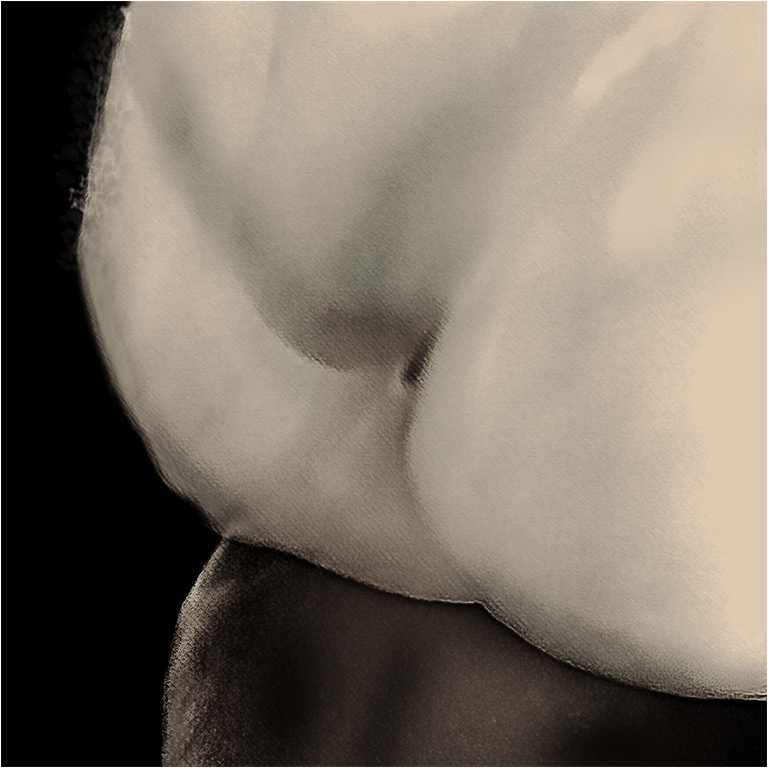
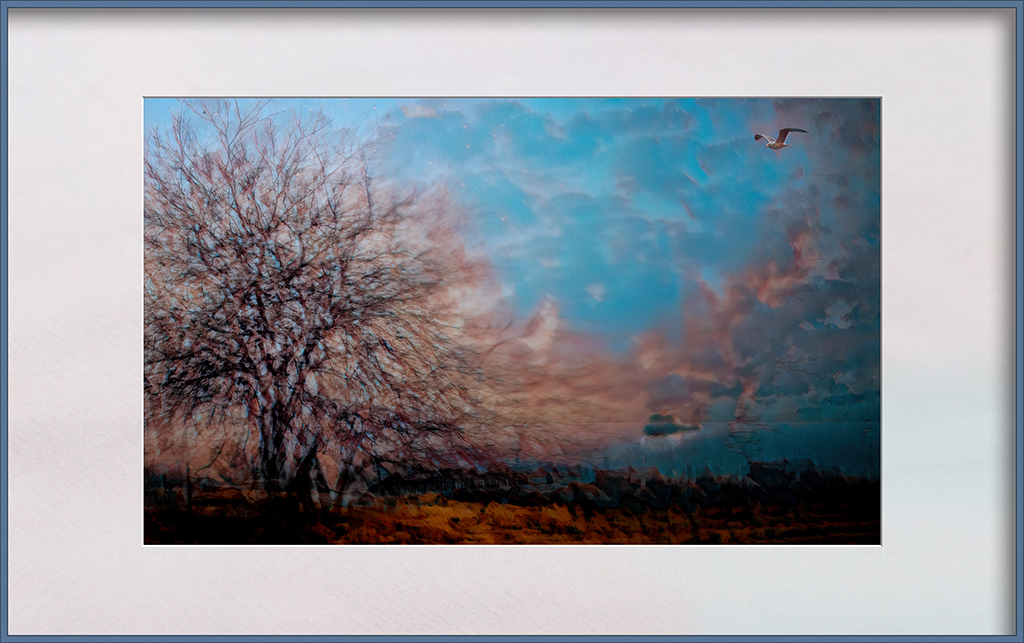
Barrie, I agree with Brian that something is needed, but I don't think a bird would do it for me. I see this image as an impression of shapes and colors. To my eye a moderate change in perspective, would help. I applied a curves adjustment to the center portion, a slight increase in saturation of the foreground, and added a haze to the background. |
Apr 24th |
 |
| 21 |
Apr 19 |
Comment |
I like your unique approach. I cannot add much to Brian's and Barrie's comments, as I agree with both. |
Apr 24th |
| 21 |
Apr 19 |
Reply |
Brian, Thank you for your comments. After viewing your version, I think it is clearly much stronger than my original. The blurred area in my original was overlooked by me. I had started to blend the borders between the images, realized that was not what I liked and got distracted before I restored things back to the original. I felt amused and complimented by some of the comments at my CC meeting. Many thought I simply took a picture of someone else's art work. |
Apr 12th |
2 comments - 9 replies for Group 21
|
| 63 |
Apr 19 |
Comment |
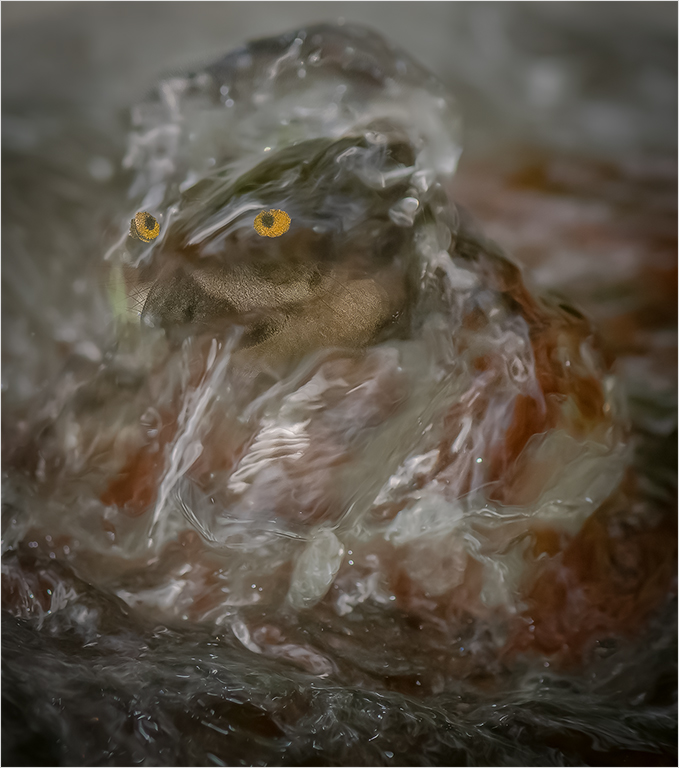
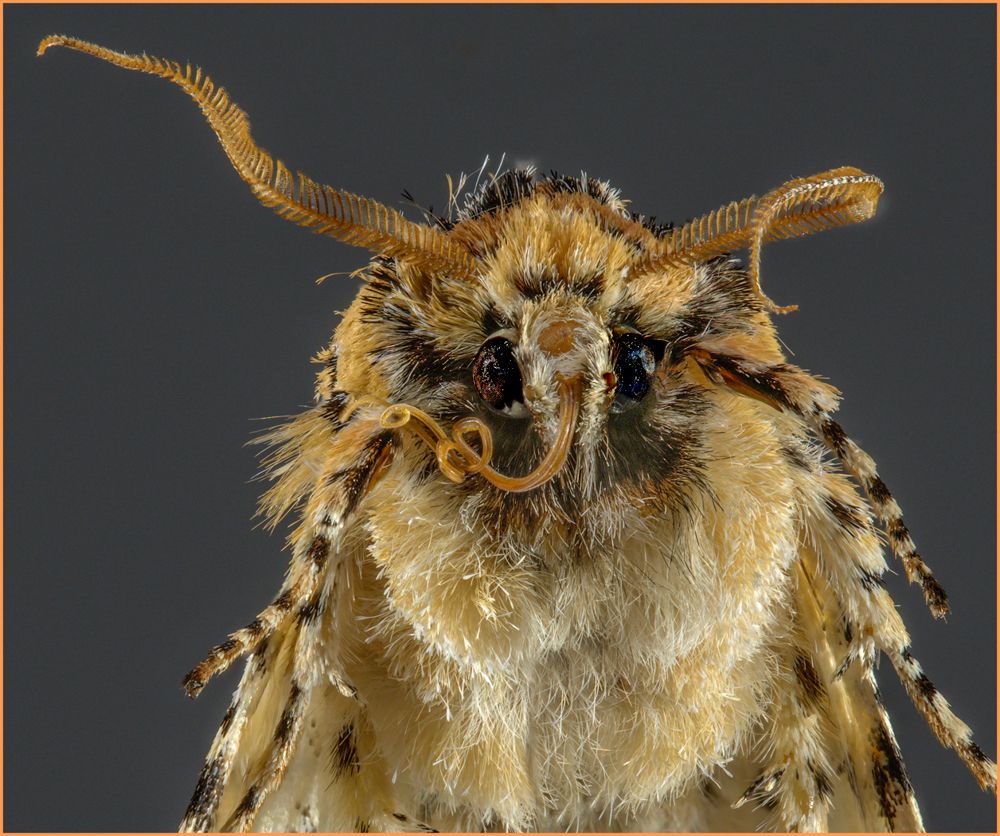
Hi Neal, The moth is clear and sharp. It fills the frame nicely. I don't know if I have the patience to do focus stacking. You might be able to get some life back into its eyes by masking everything but its eyes, and making some adjustments in levels, to your taste.
Peter Newman visiting from Groups 83 & 21. |
Apr 18th |
 |
1 comment - 0 replies for Group 63
|
| 83 |
Apr 19 |
Reply |
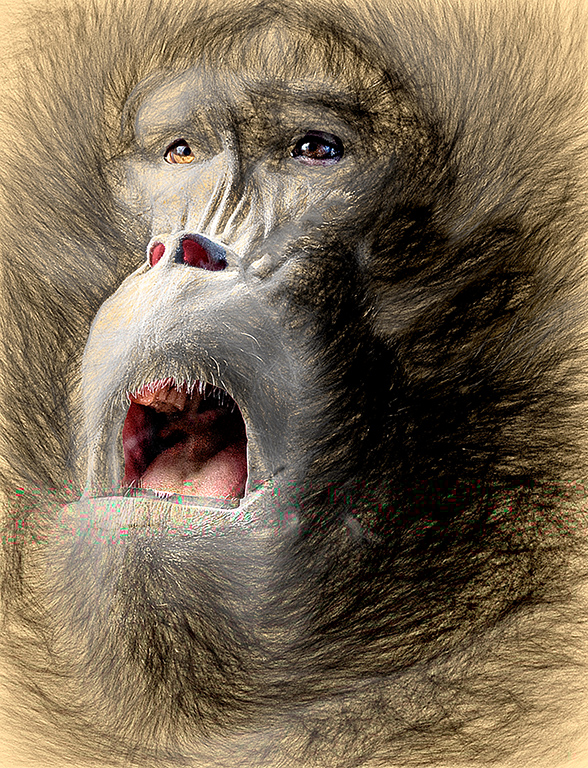
I must add that method works best on monochrome images. I have a personal issue when darkening over exposed whites, that are not burned out. They turn a telltale gray. To minimize this make a new layer using multiply as a blend mode. Then make a selection of the portion to be changed and mask it in the luminescence channel. Then play with the mask for accuracy copy the masked area to the new layer, complete with mask. the adjust the opacity to taste and merge the layers. This method takes a lot of practice. |
Apr 26th |
| 83 |
Apr 19 |
Reply |
Judith, There must be, but I am not sure how. As a suggestion which I have not tried: go into 8 bit mode; play with the HSL, sharpen, sketch and contrast filters. They interact. Or, if you have NIK, you might find an effect you like. I must add that DXO admits there is a font legibility on some 4K monitors. I have the issue, but one of my friends, who has an Apple system and a 5K monitor does not have that issue. |
Apr 18th |
| 83 |
Apr 19 |
Reply |
Hi Judith,
There are many ways to do things in PS. One of my favorite ways to make spot exposure adjustments is to use the "alt" key and simultaneously press the new layer icon. In the text box that appears change the blend mode to overlay, and check the box to fill with gray. Make sure the foreground is black and background is white. You can easily switch them by pressing the "x" key. I set the brush tool flow for about 5% and using the new layer, either lighten or darken the area as desired. I use a low fill % for control. I can always go over the area multiple times. If I make it too dark, or too light, I can easily adjust that area by switching the foreground and brush over the same area. It takes some experimenting, but once you get used to that method, you will find it gives more natural looking adjustments. |
Apr 15th |
| 83 |
Apr 19 |
Comment |
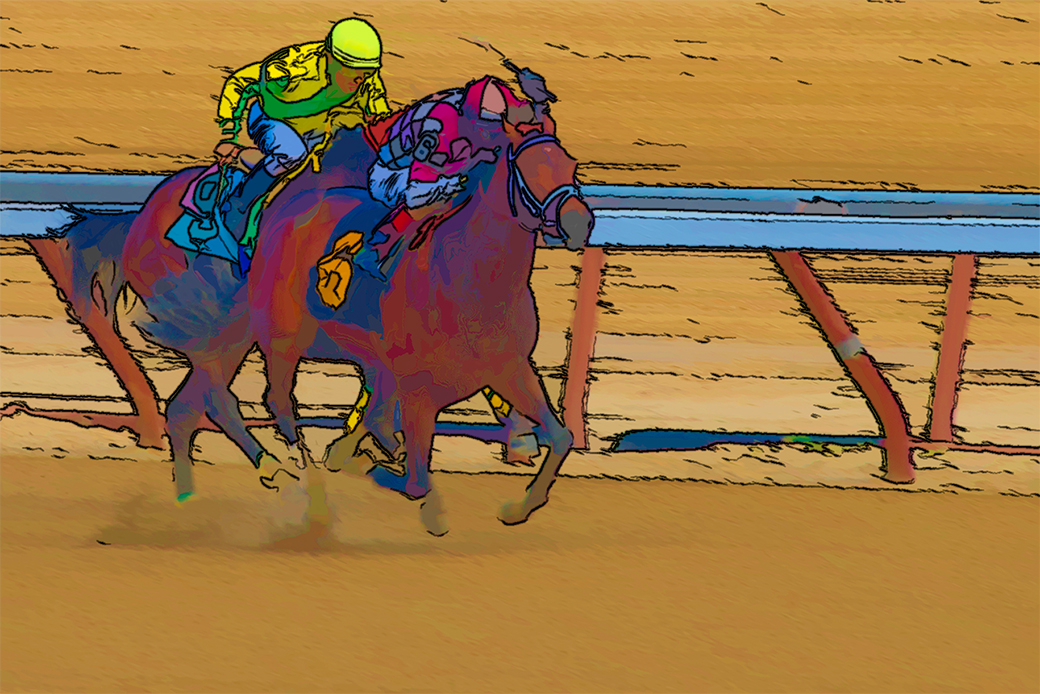
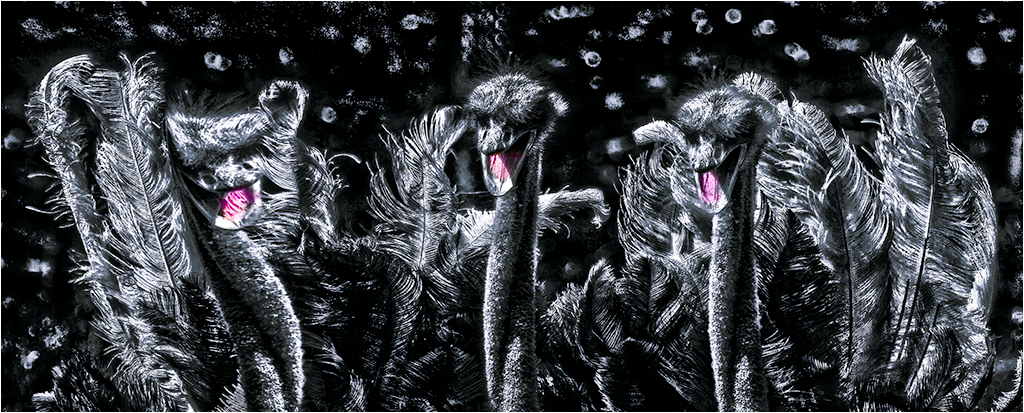
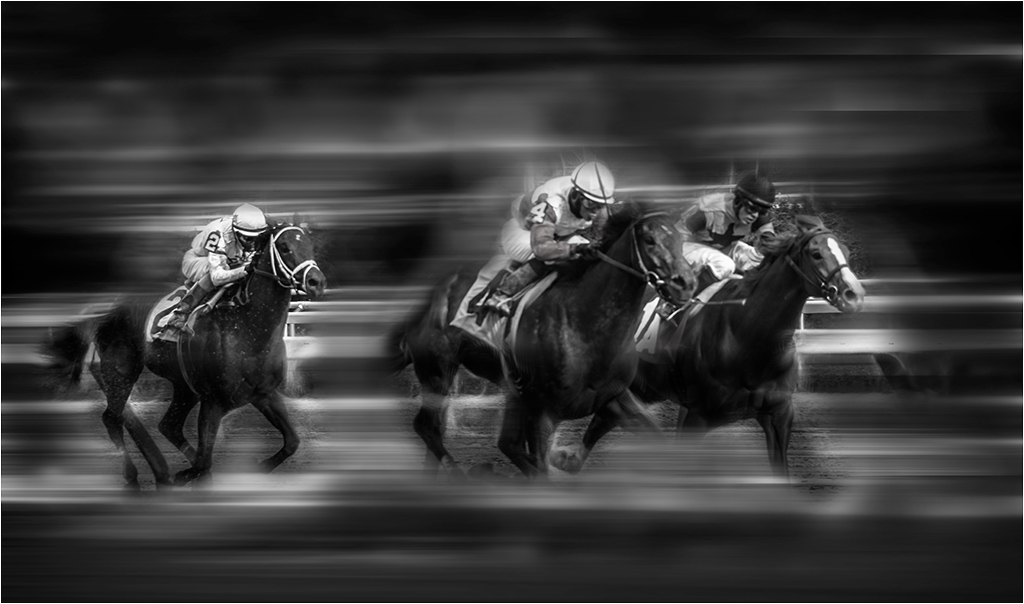
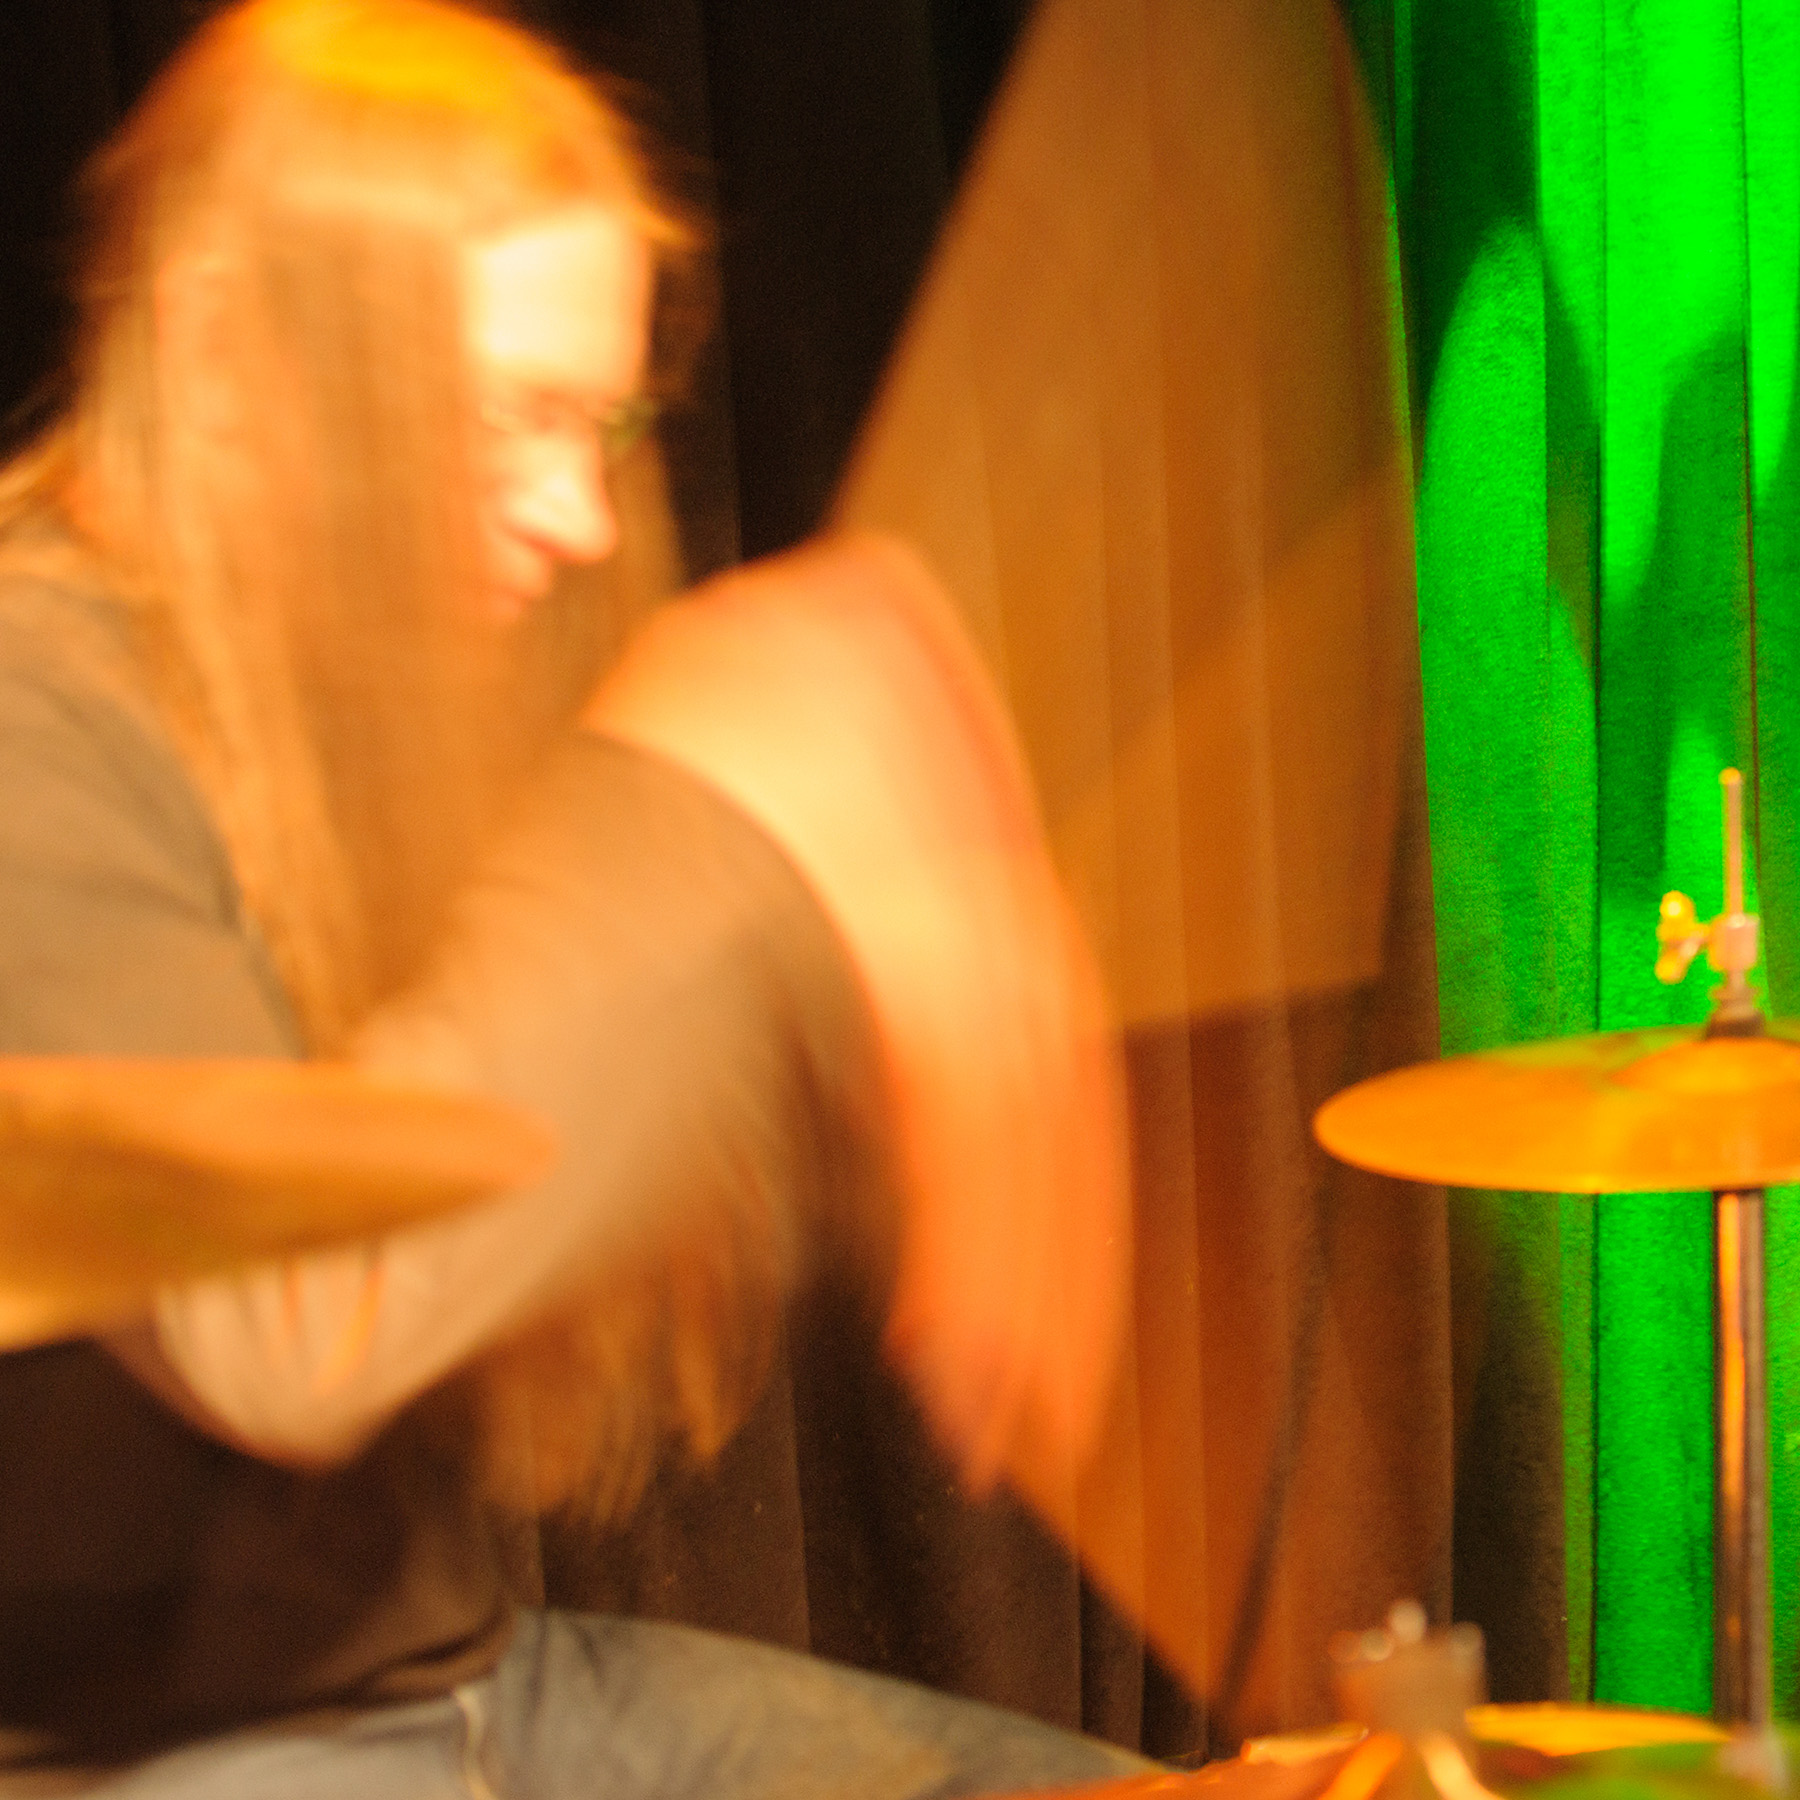
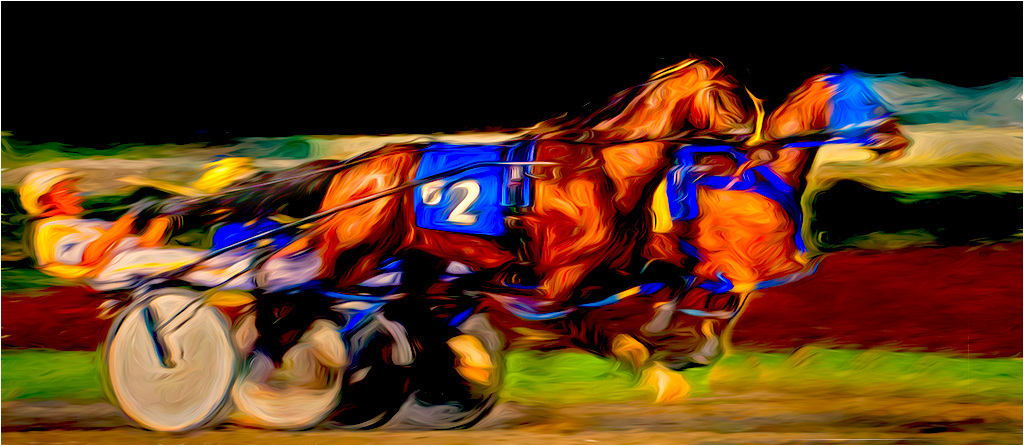
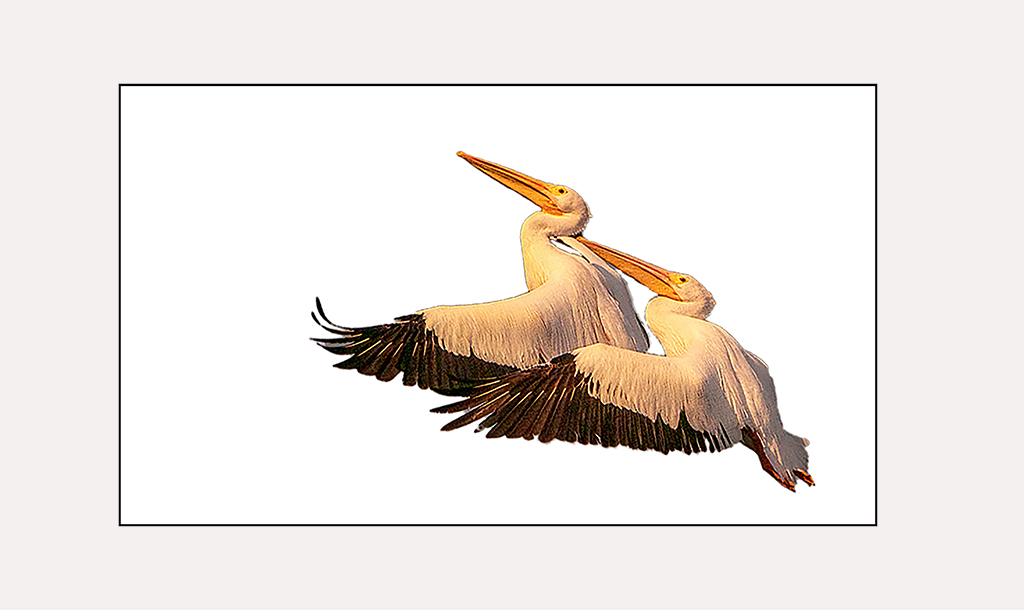
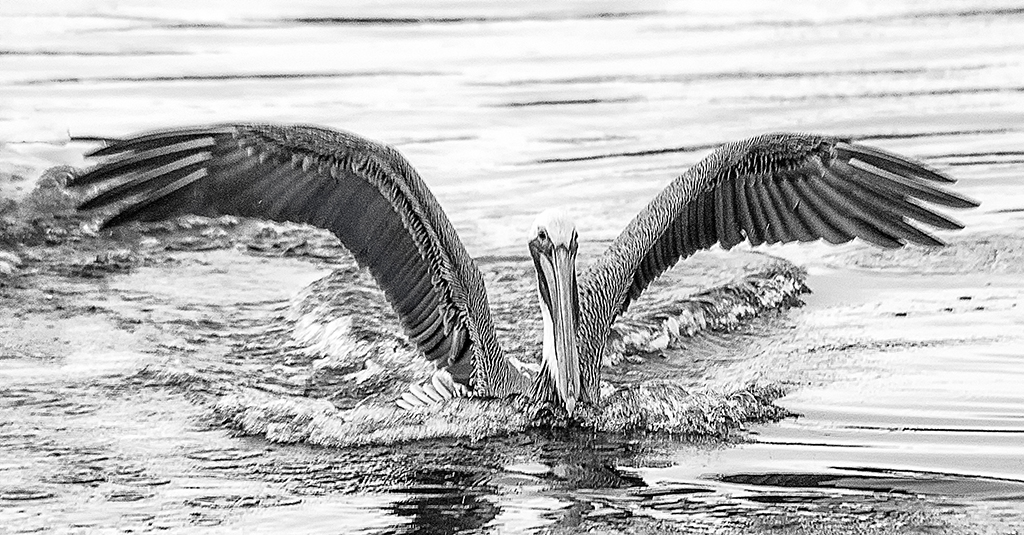
Hi Jane,
That image holds my interest, and shows the birds in action. In this type of image I like that the birds are a bit soft. I think a tack sharp image would be too stiff for my taste. However, I agree with Tracy about cropping the foreground. |
Apr 15th |
| 83 |
Apr 19 |
Reply |
Thank you. It took a bit of playing, as I explained to Judith. |
Apr 15th |
| 83 |
Apr 19 |
Reply |
Thank you. |
Apr 15th |
| 83 |
Apr 19 |
Reply |
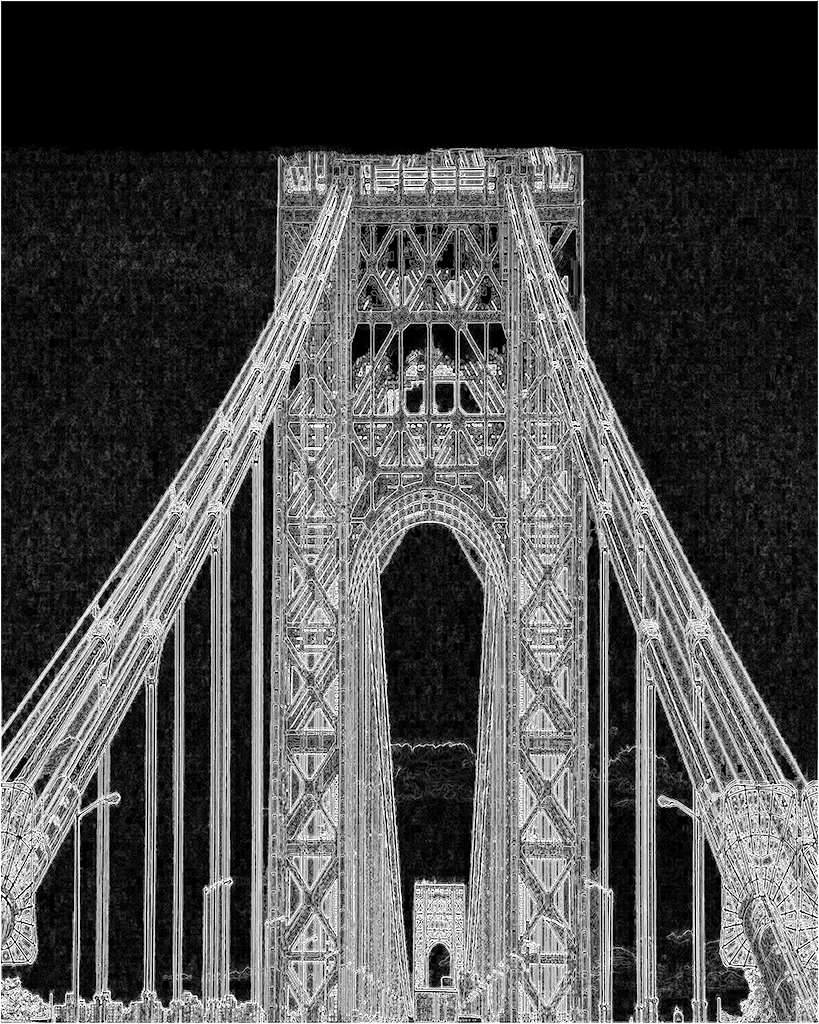
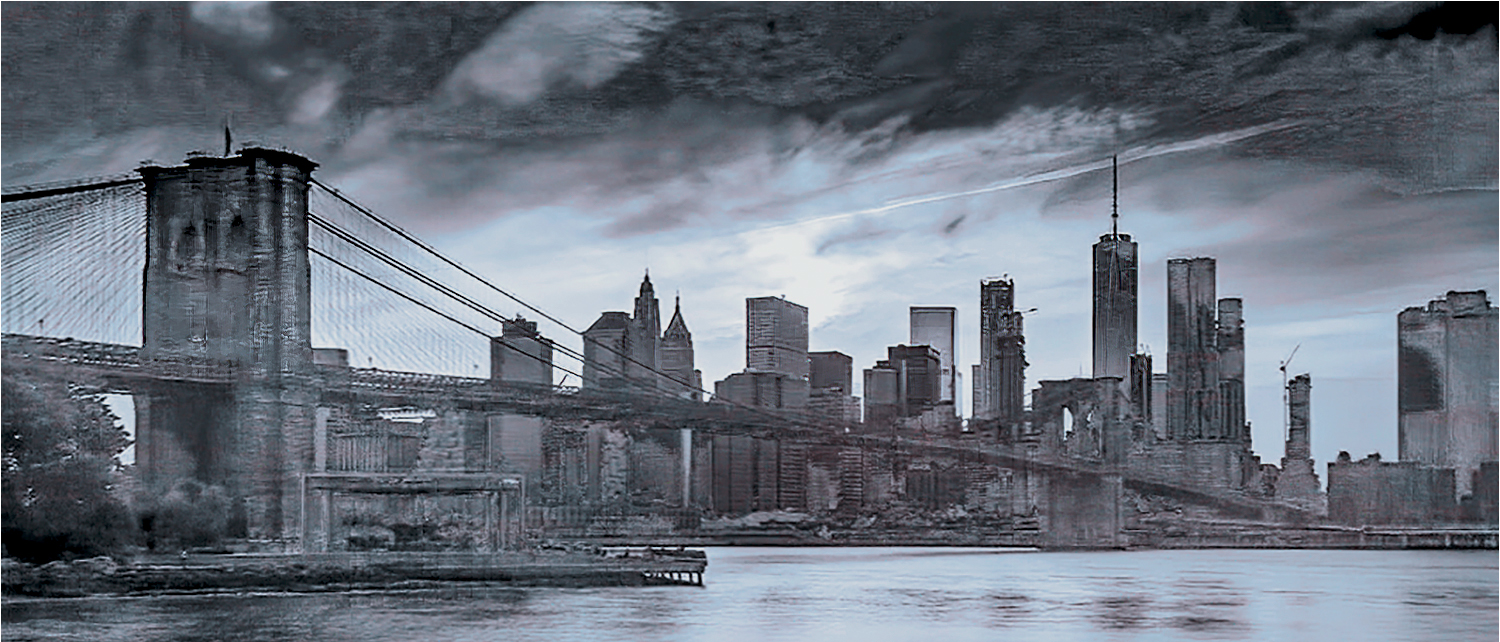
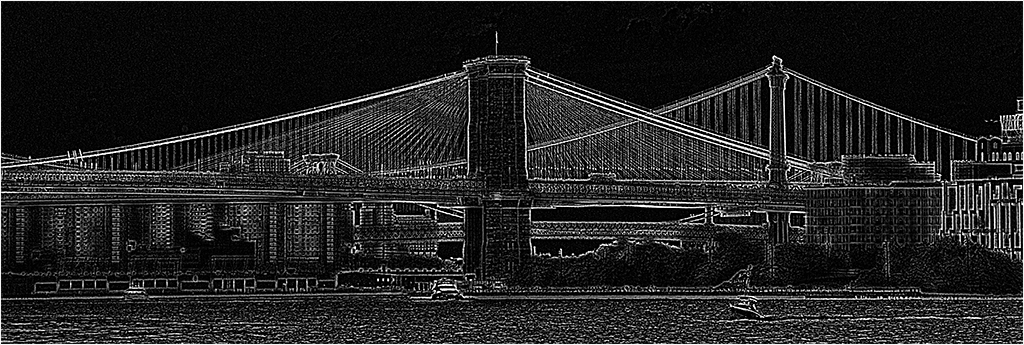
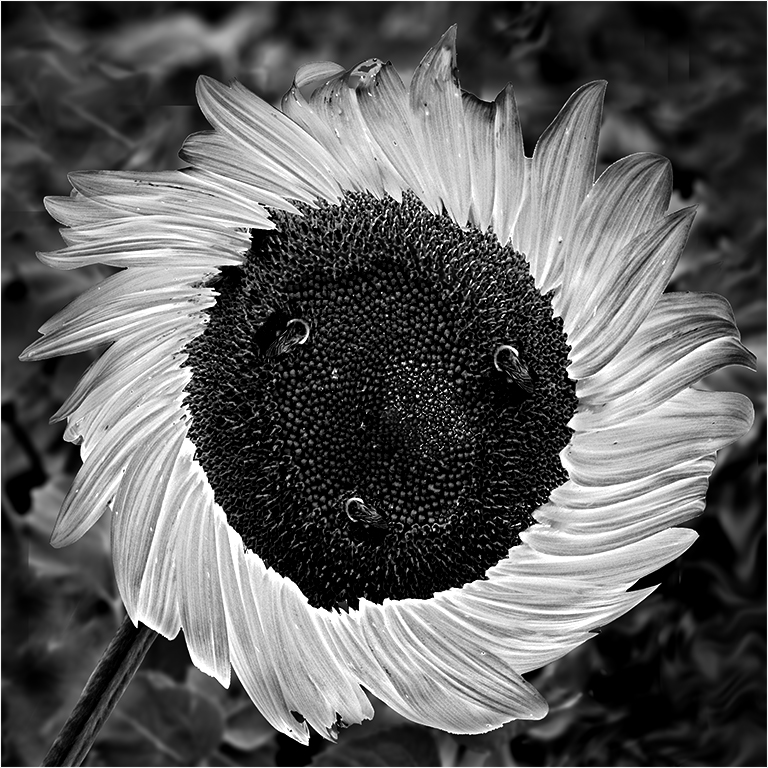
Judith,
As requested. used 8 bit mode; high key conversion in Topaz. Then used the invert filter in PS, did a high pass sharpening, got rid of the clouds; curves filter until it looked as decent as I could get it. |
Apr 15th |
1 comment - 6 replies for Group 83
|
4 comments - 15 replies Total
|