|
| Group |
Round |
C/R |
Comment |
Date |
Image |
| 65 |
Mar 18 |
Comment |
Hi Lynne! Thanks for your comments. Yes, I did use a tripod and, as you said, I forgot to mention it. Have a great day! |
Mar 23rd |
| 65 |
Mar 18 |
Comment |
Hi Lynne! Thanks for your comments. Yes, I did use a tripod and, as you said, I forgot to mention it. Have a great day! |
Mar 23rd |
| 65 |
Mar 18 |
Comment |
Thanks, Mary your comments are spot on I agree wholeheartedly! |
Mar 15th |
| 65 |
Mar 18 |
Comment |
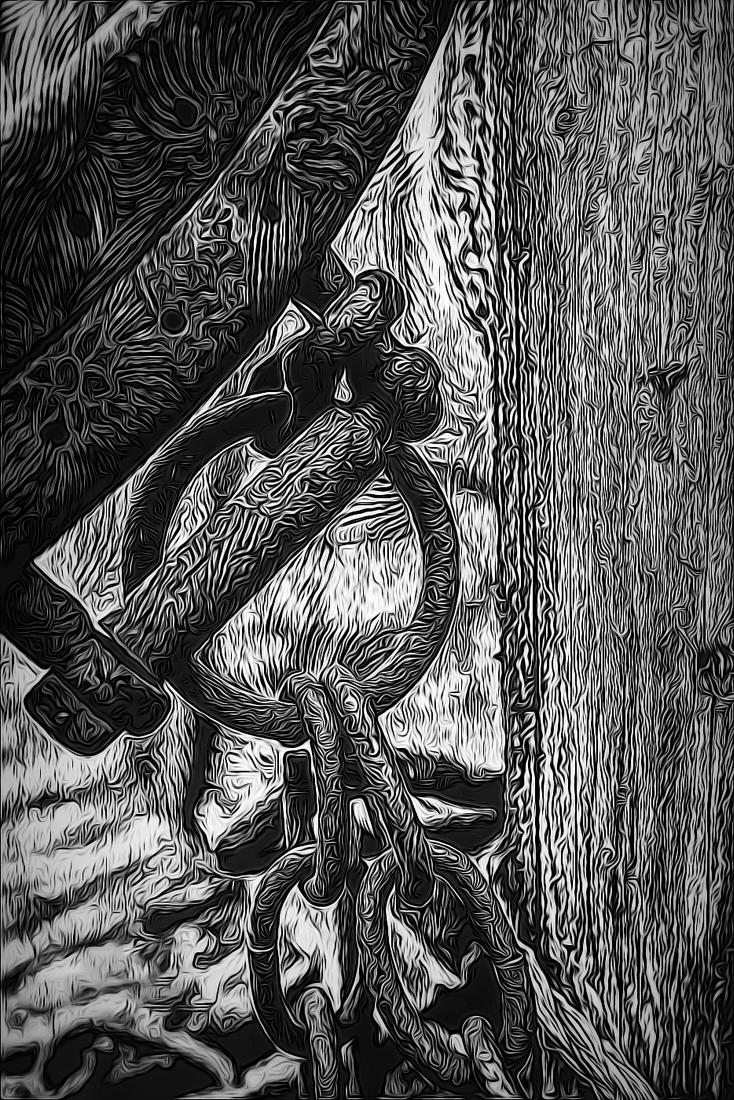
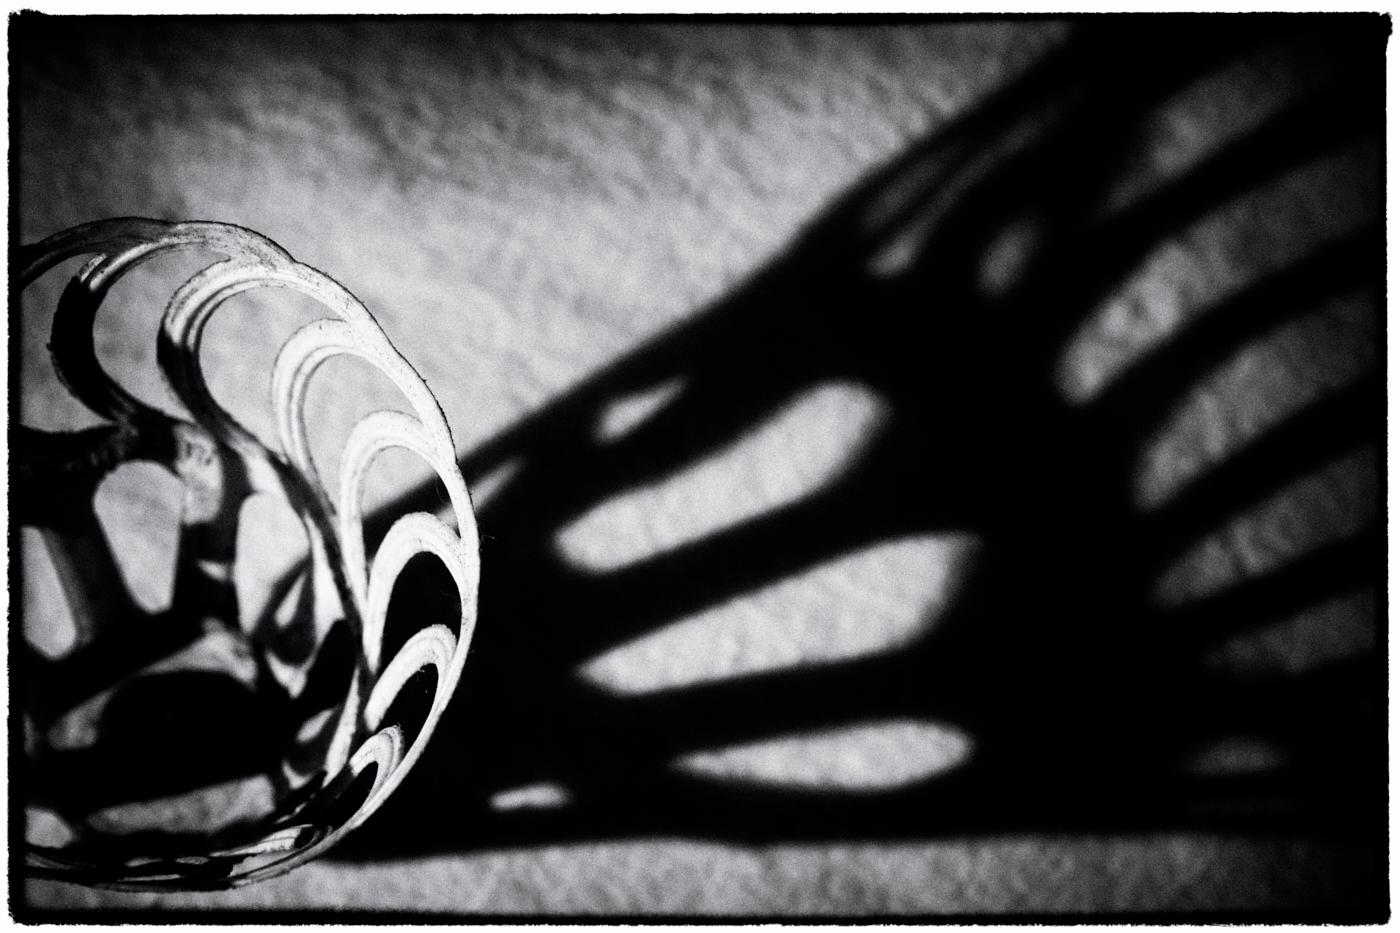
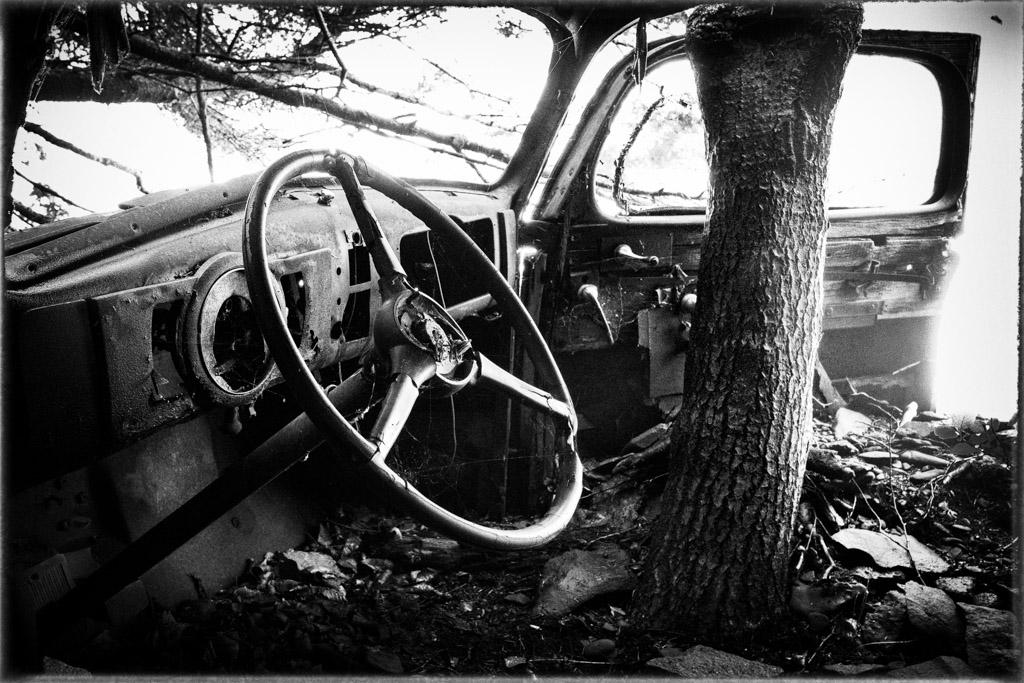
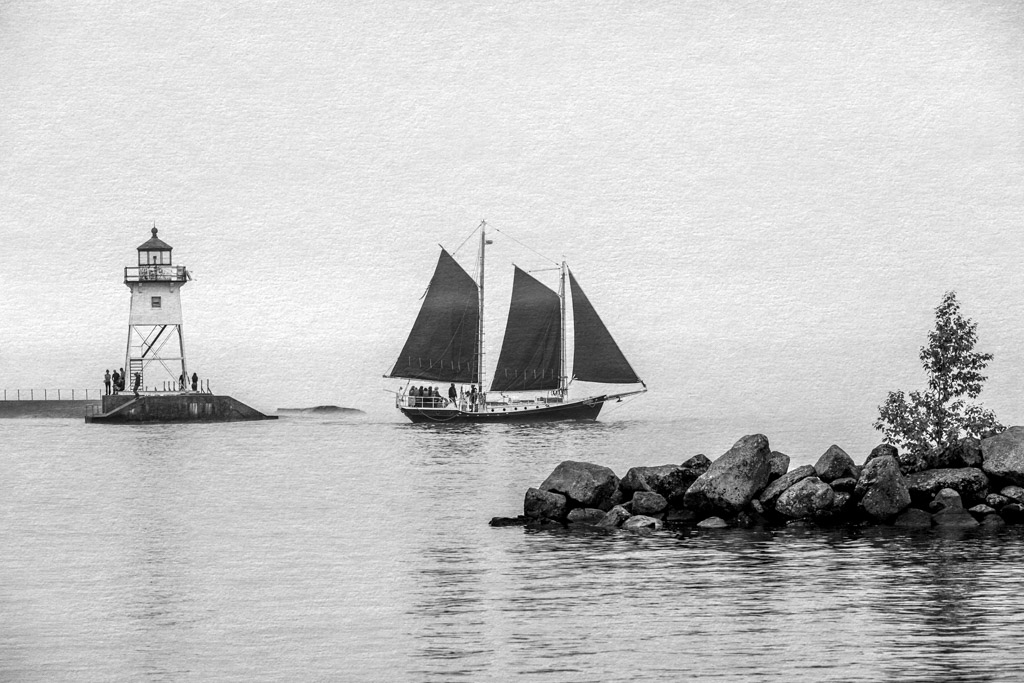
Hello Charles, I see you are being creative with your photo this time and challenging us with a difficult critique. I had to think long and hard as I have not seen a macro photograph of a clipper before. But they say never say never!
I struggle with that white and black item in the background, it draws the eye away from the subject. Whereas the solid black item in back accentuates the clipper. Perhaps a solid black background would set this subject off nicely and give it a more regal flair!
But looking at the rule of thirds diagram the subject isn't popping. There is more negative space around it that seems to make the subject be more stagnant in the photo. How about trying a different angle. What if you did a macro shot of the front section of the clipper. The area where the resistance is has a round pin. What if you shot from the blade edge to the back side of the pin and put it in the upper right powerpoint area of the rule of thirds? That is one suggestion. The other would be to photograph it like a product. Use a high-key white background to make it stand out strong and shiny as the subject.
It is funny how something so simple as a nail clipper could be a real nail-biter to compose (pun intended)!! I am anxious now to see what the others in this group have to offer you for helpful suggestions. With all this said it is just one subjective opinion. Have a great day Charles!! |
Mar 15th |
| 65 |
Mar 18 |
Comment |
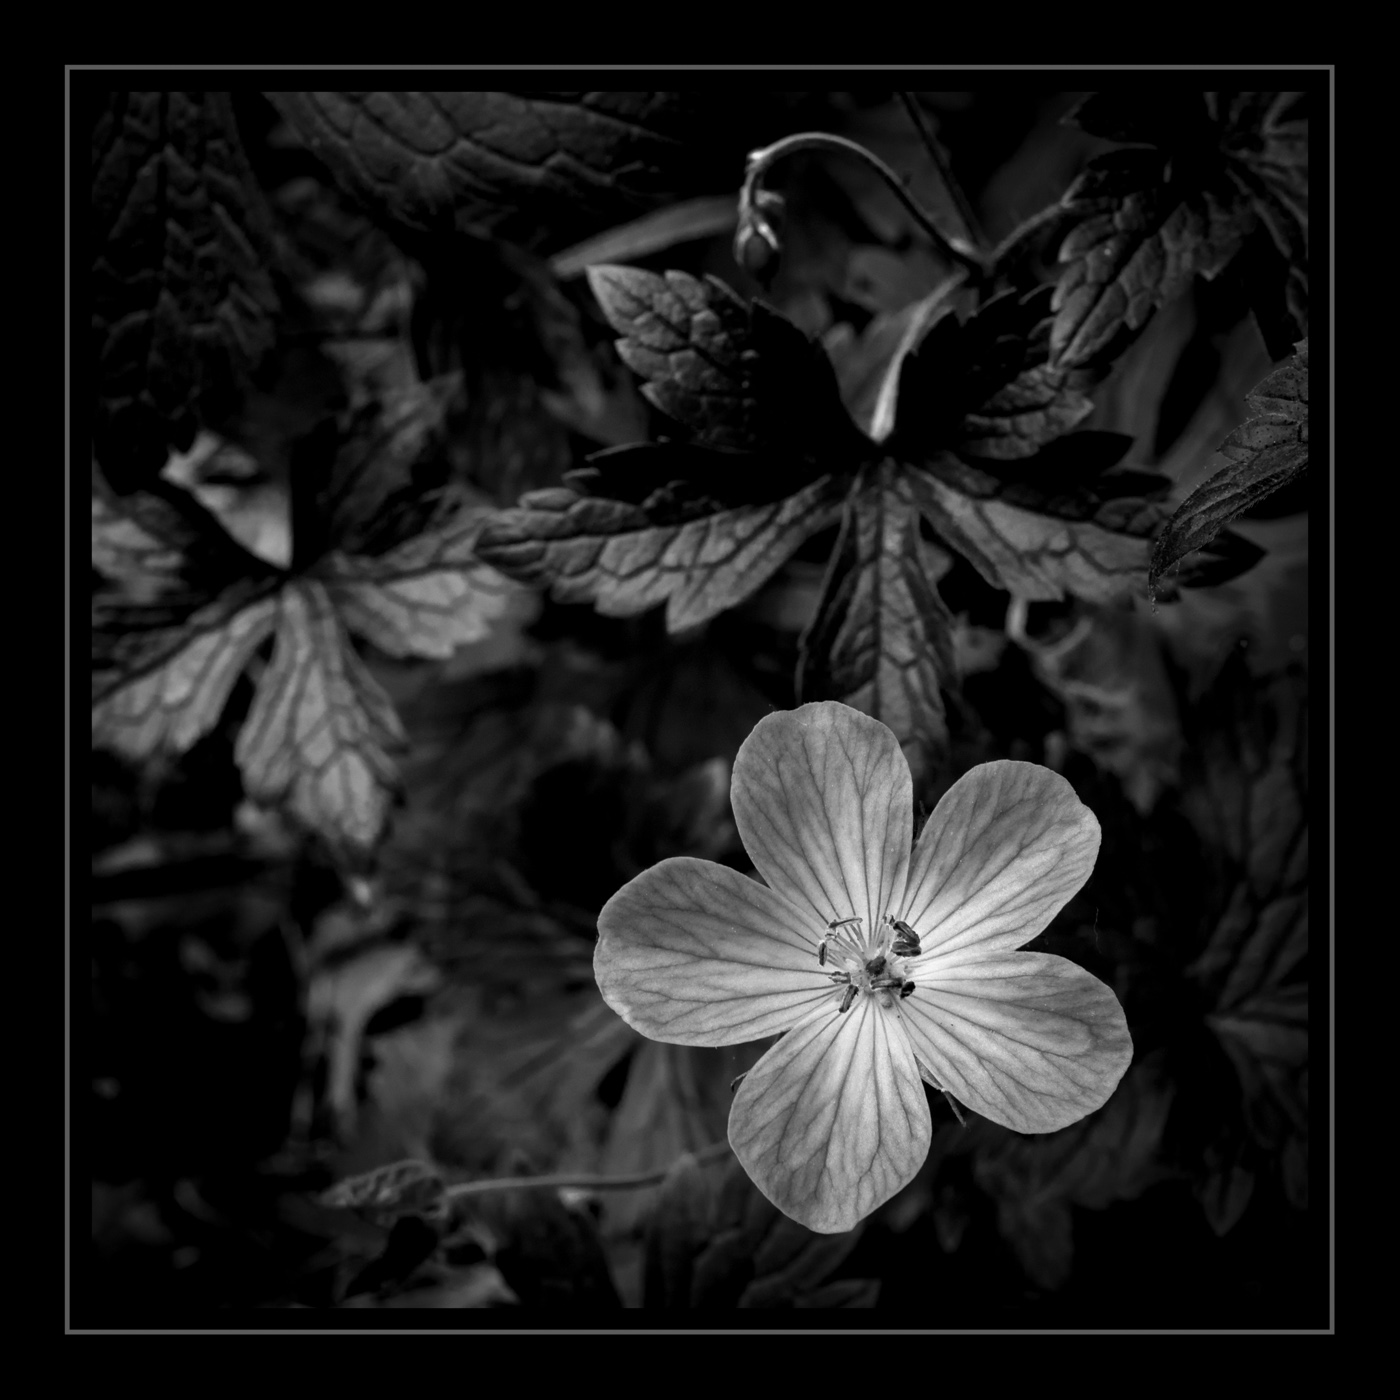
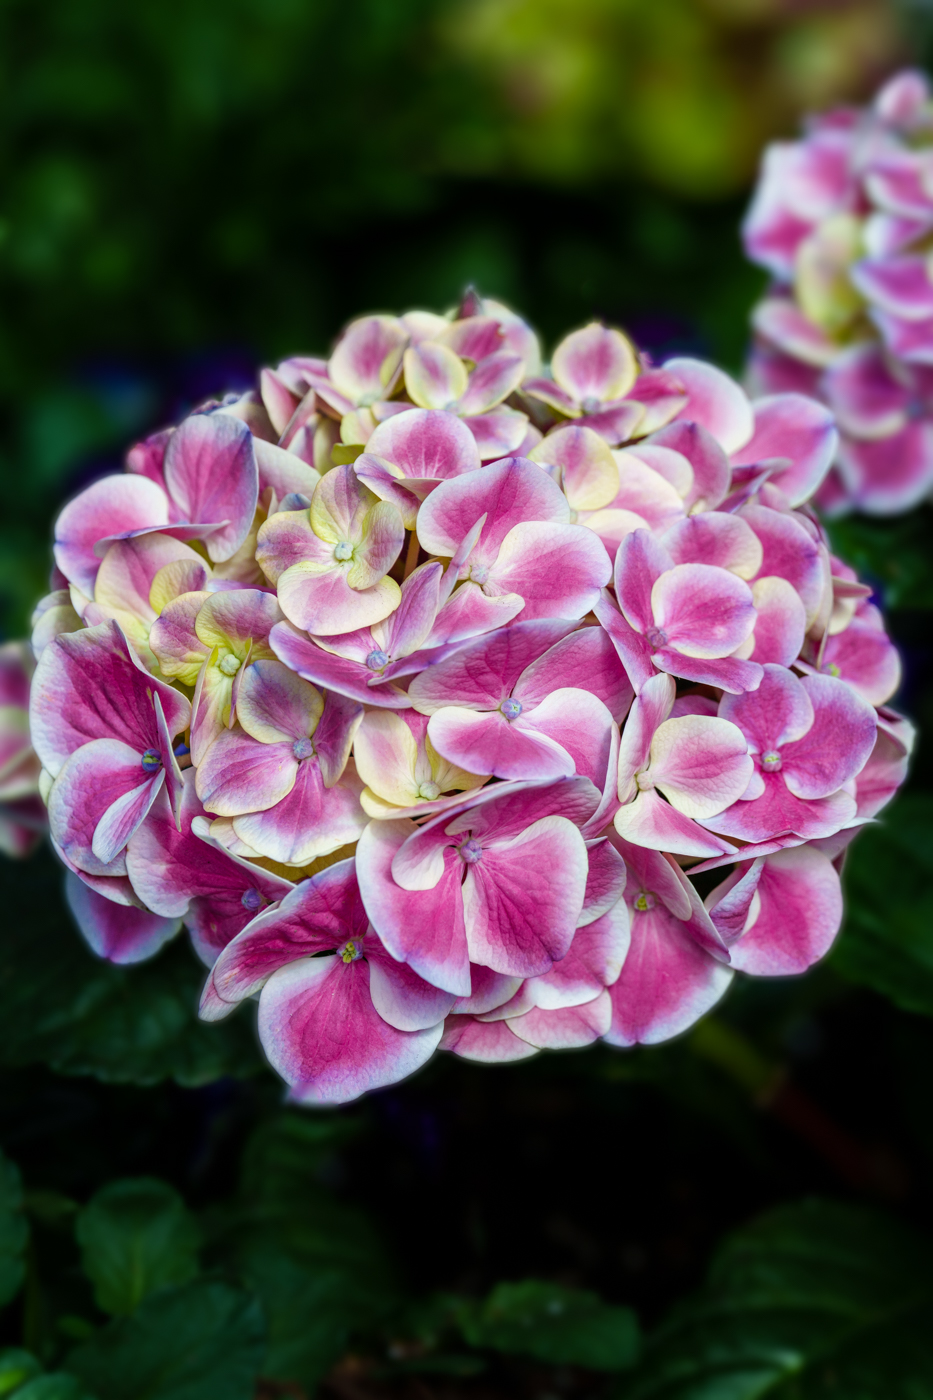
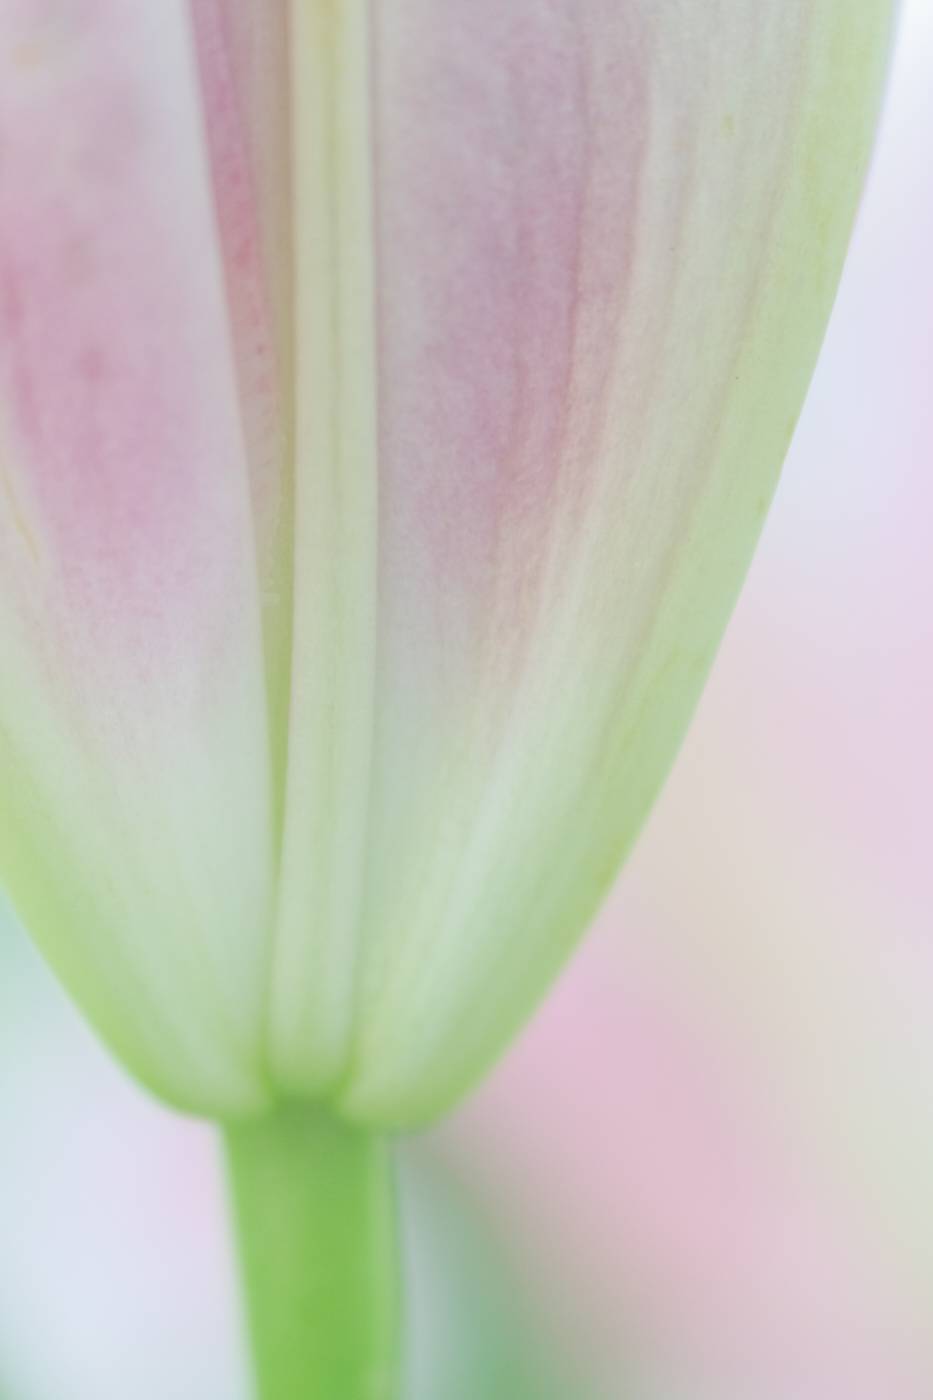
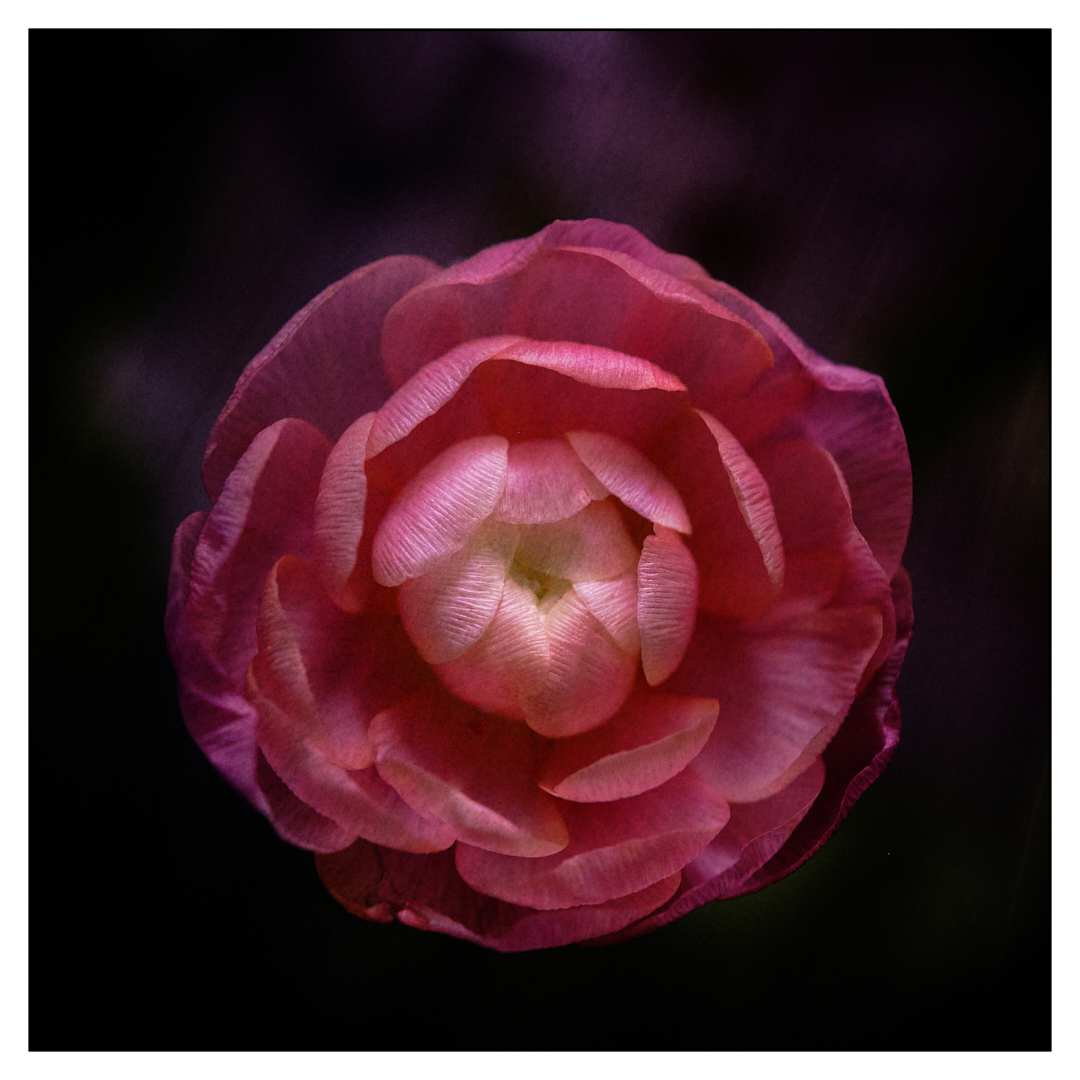
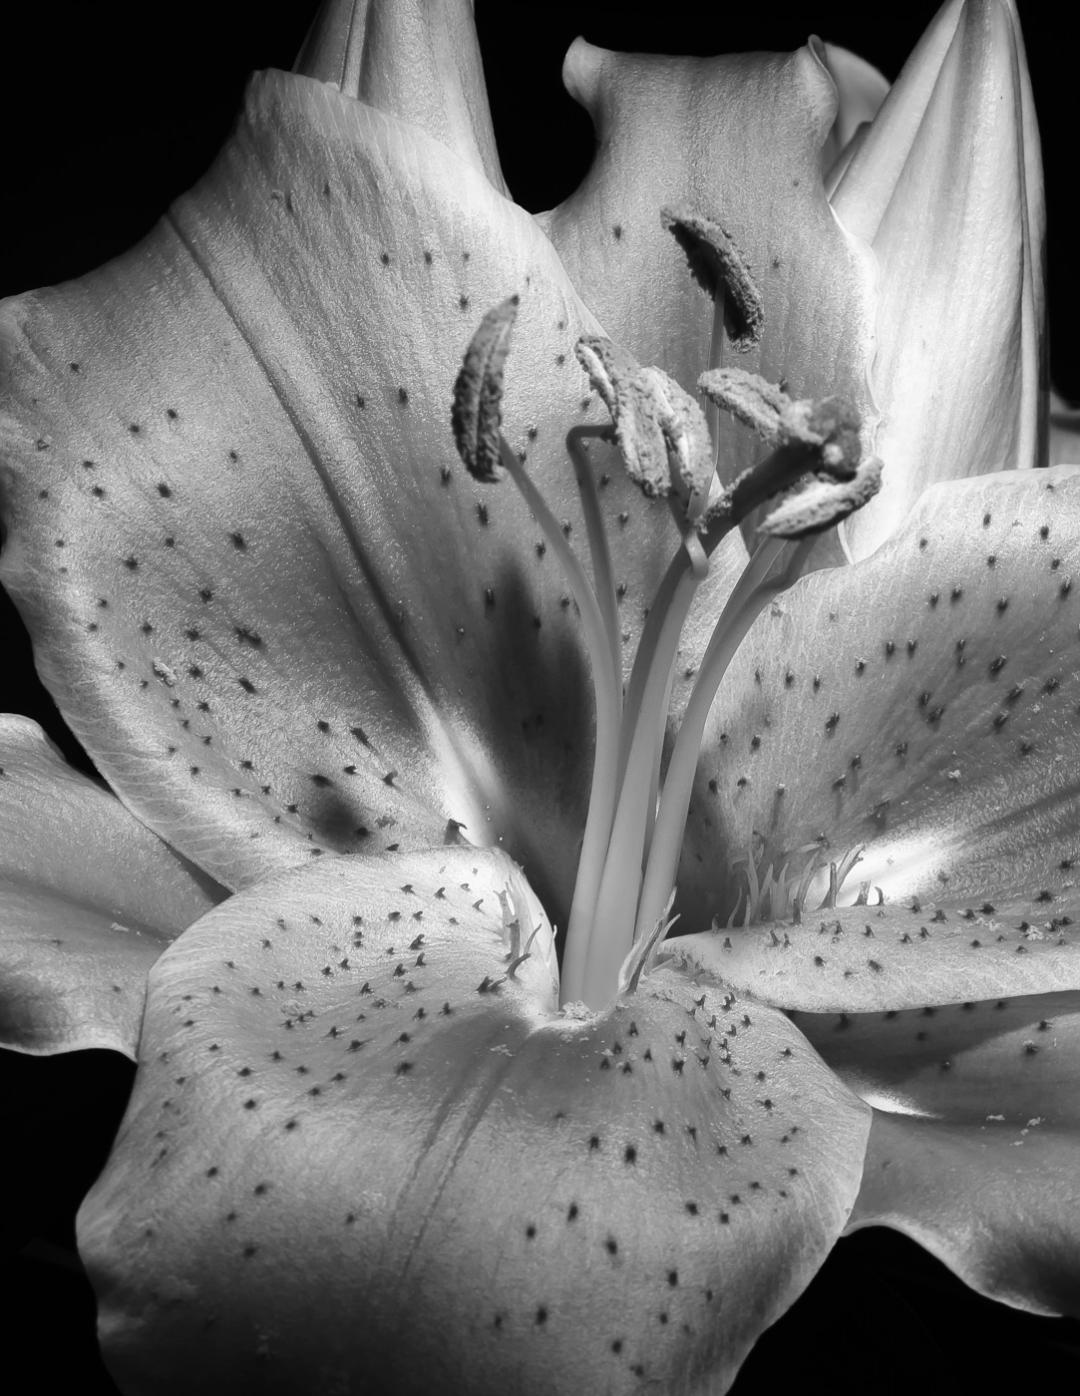
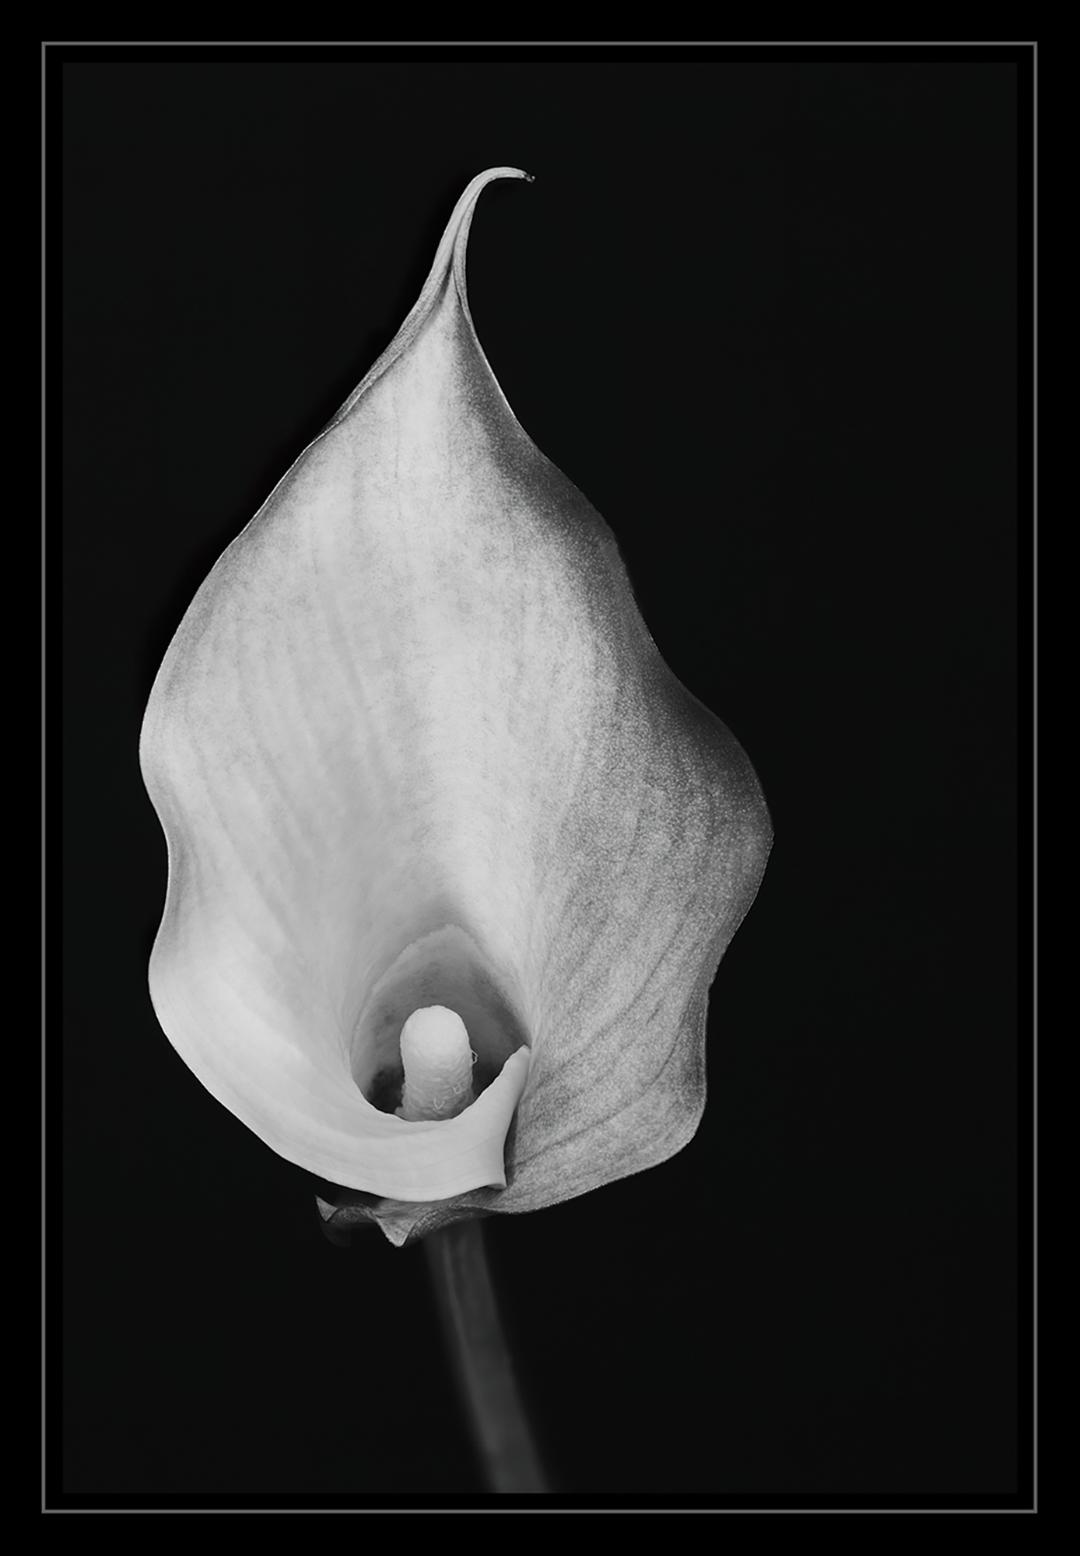
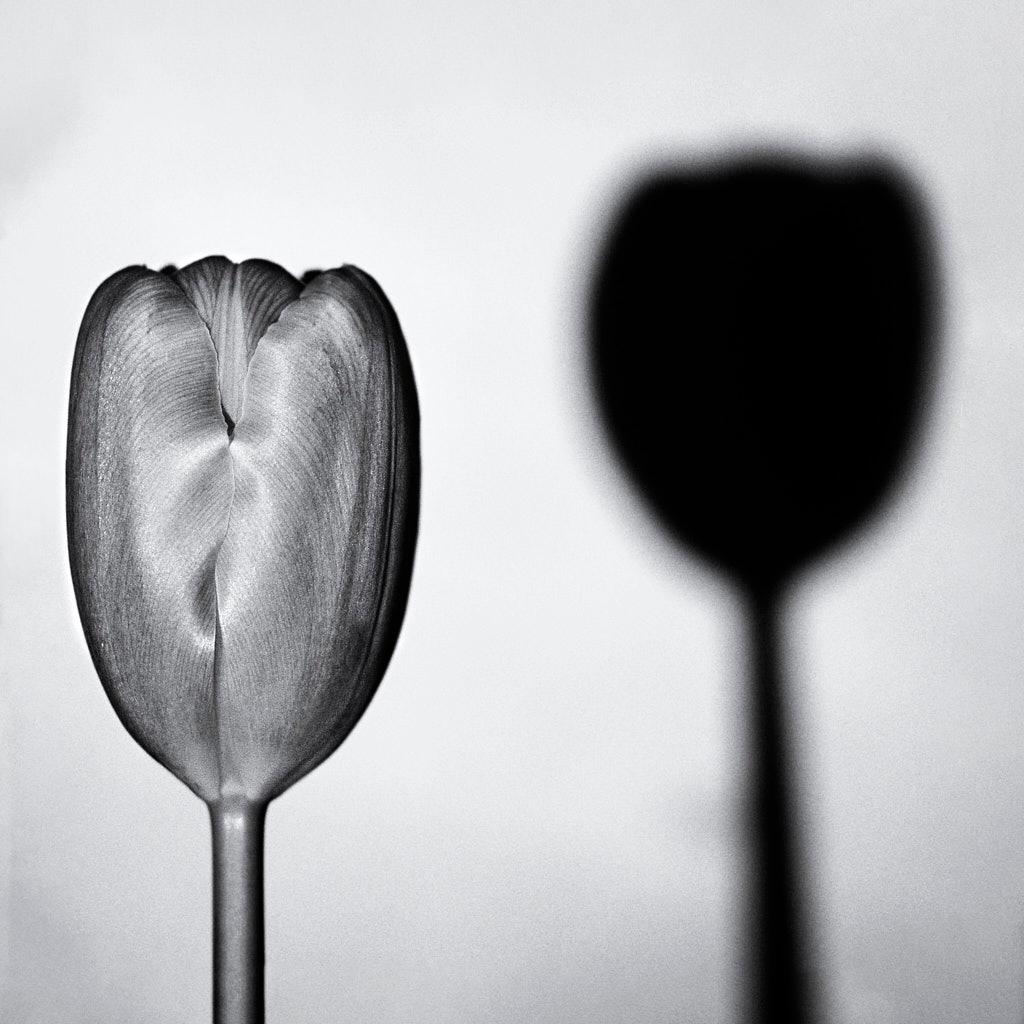
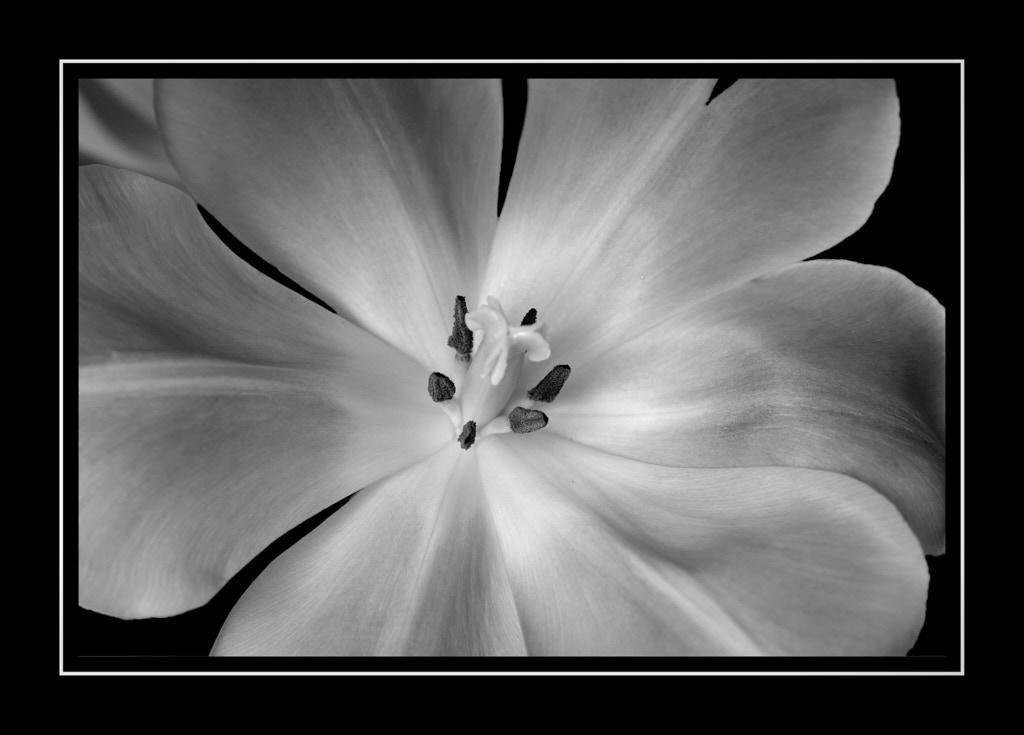
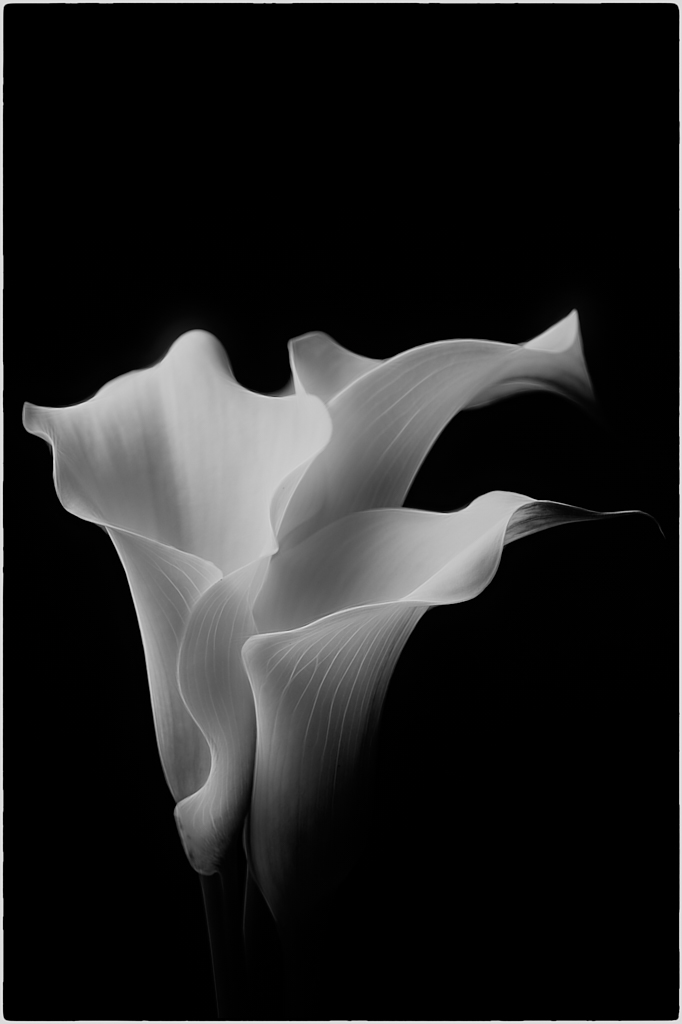
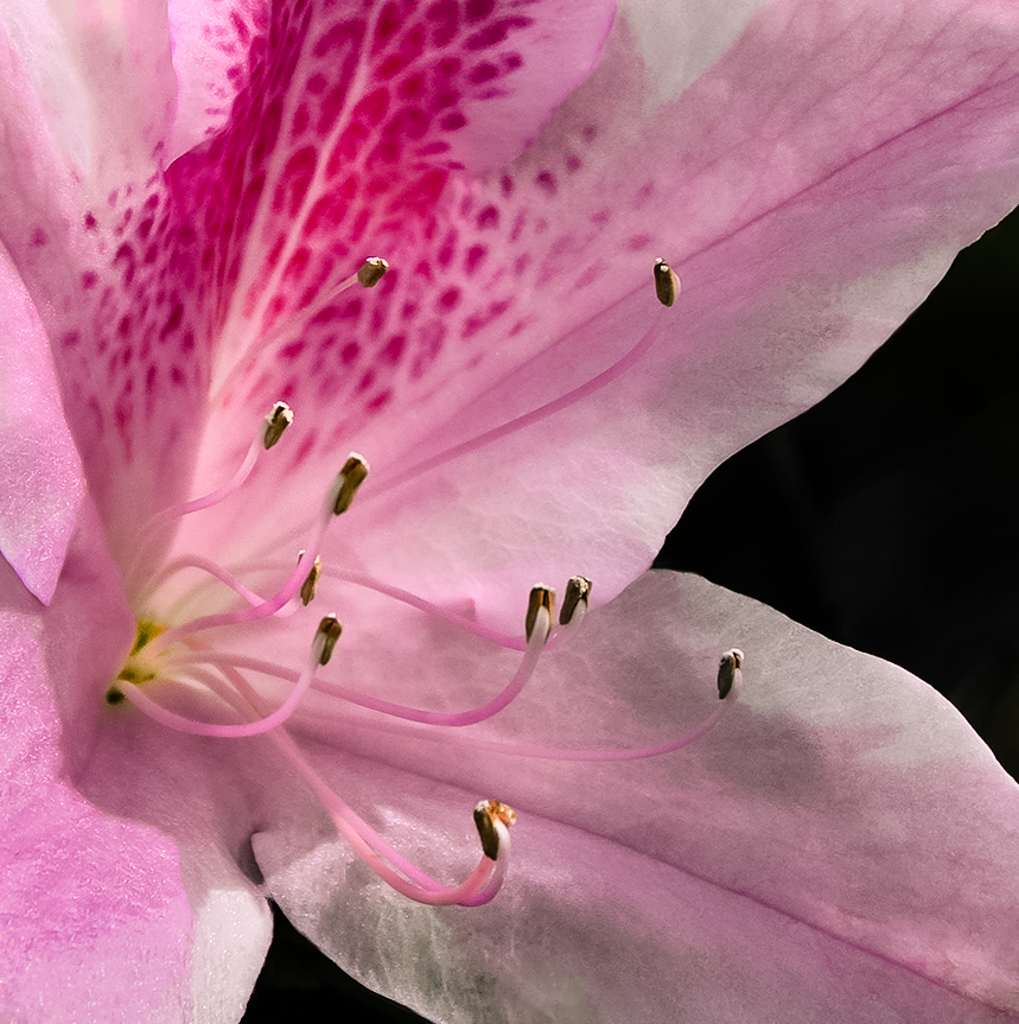
Hello Lynne, what a lovely flower. I am very jealous of your Florida weather this time of year. I am in Minnesota, and we are nearing the end of our winter with melting snow and mud now appearing! But it won't last long I am hopeful!!
I think with this image because the darker pink area consumes more space than the stamen, and the stamen are so tiny their detail isn't in view, that I would make the darker pink area the sharpest focus area; it is probably a subjective opinion on my part. The other option is to try a different angle and see if you could get the stamen and petal in focus but I think you would have to focus stack for that to happen.
The only other comment I have is turn up the brightness of the overall image. There seems to be a shadow cast and brightening it up will give it more life. If you have an off-camera flash sometimes that helps if it is convenient.
The edits I used in Lightroom include highlights 40, shadows 28, whites -17, created a soft S curve in Tonal Curve, changed Point Curve to medium contrast, a little sharpening, noise reduction 20, color 20, and added Len Correction and remove chromatic aberration.
Have a great day in lovely Florida. My son and girlfriend are there now for spring break and they say it is beautiful!!
Cheers, LuAnn |
Mar 15th |
 |
| 65 |
Mar 18 |
Comment |
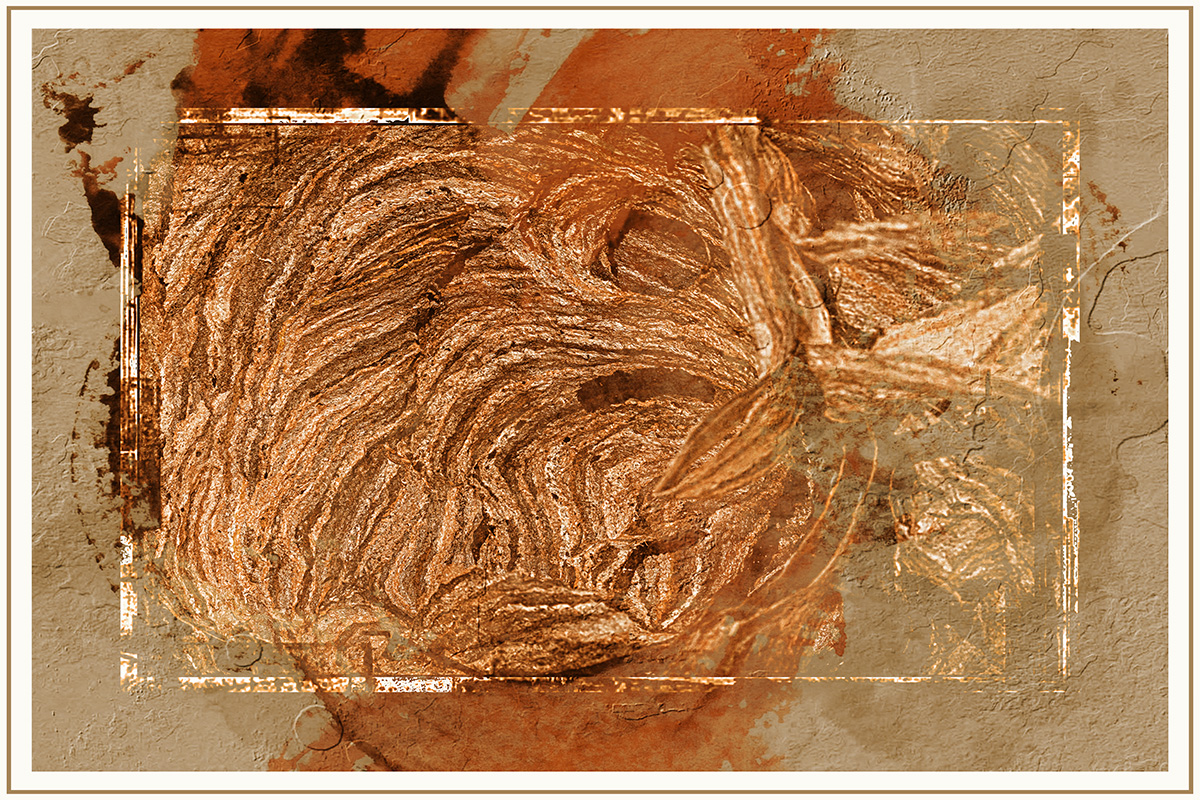
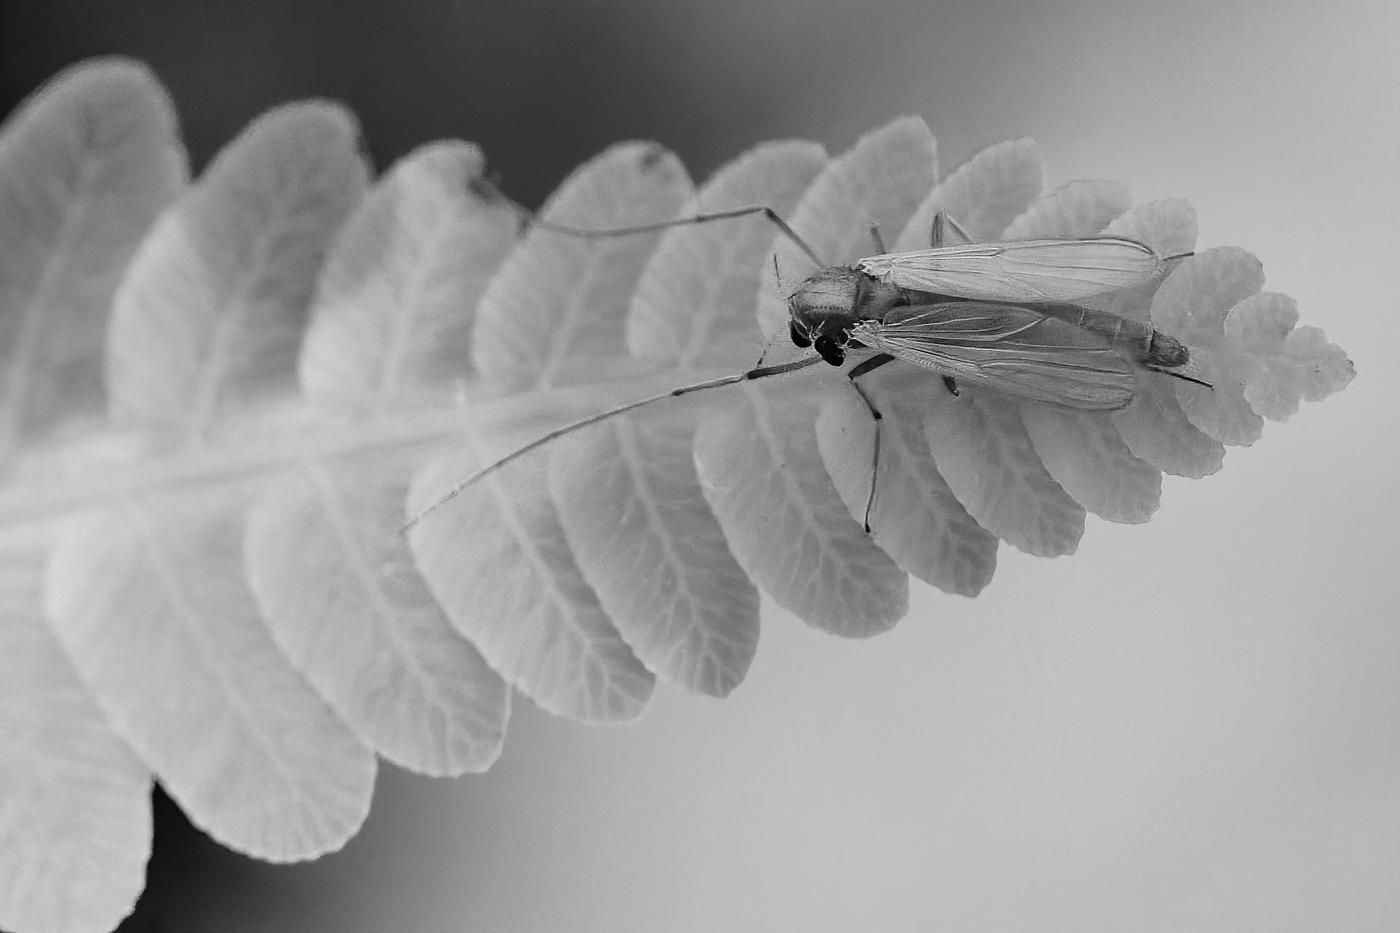
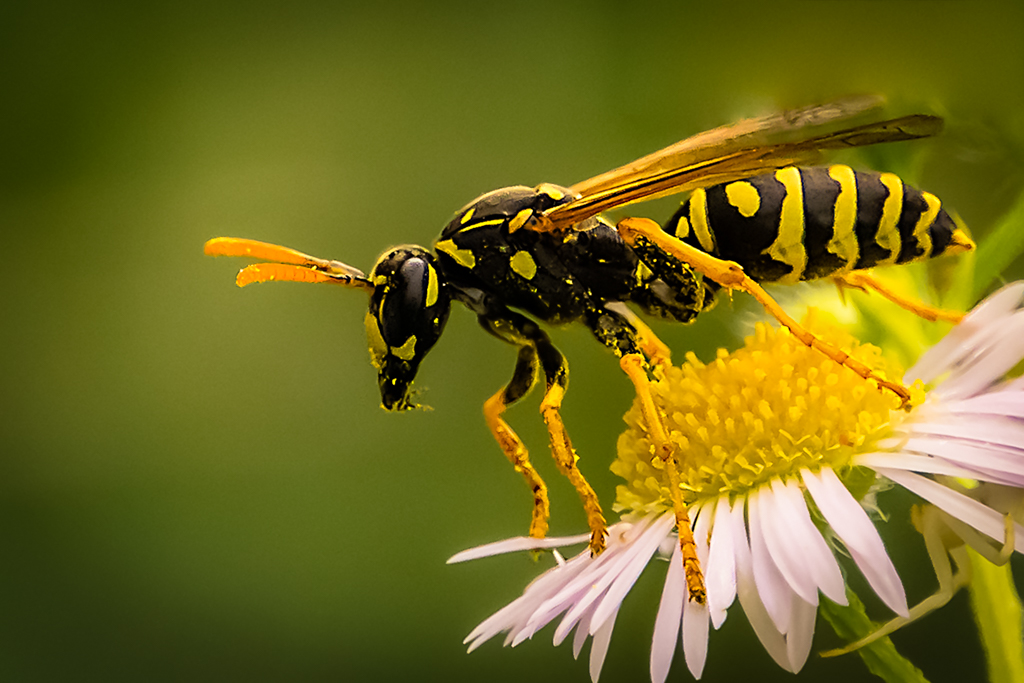
Hello Angela, love your photo its a great close up of a hornet, or is it a wasp? A hornet is a wasp, but not all wasps are hornets. I had to look it up on the internet to understand the difference and what I found out is hornets are not native to North America. I did not know that!
I did some quick Lightroom edits that included: -4 contrast, -13 clarity, 20 vibrance, defined an S curve in tonal curves, changed Point Curve to medium contrast, sharpened, added 48/14 on highlight split toning, added lens correction and removed chromatic aberration, and added a little vignette.
Looking at the insect with the rule of thirds its body is at the upper right powerpoint but the head in the center of the frame. You could, with another opportunity, try to focus one of the powerpoint areas of the rule of thirds with the head in alignment.
I think you could get even deeper bokeh if you opened up the aperture to f/2.8 or closer to that number; f/6.3 is not blurring the back flower enough. Or, as I have done in my edited photo, you could try to edit out the flower in the back. It contains a light colored area which draws the eye to it and ultimately takes you off the edge of the photo. I love the daisy. The white and yellow are great compliments to the green background; when does mother nature ever get her colors wrong!
I had a nest of these insects in my horses stall once. That brave horse lived with that nest for quite a while coming and going from his stall every day for over a month. Till the day came and I found it in the ground. I stabbed the nest with my rake and wow did I get hit with a swarm of killer wasps!! They bite hard!! Oh my gosh!!
Have fun when you photograph insects but do stay safe my friend.
Kind regards, LuAnn
|
Mar 15th |
 |
| 65 |
Mar 18 |
Comment |
Hello Anika, You are very talented to have made this pendant, bravo! I see you used a 50mm lens. With this not being a true macro lens (I have this lens and use it frequently) then you have some flexibility here.
You might try showing off your pendant as they do with jewelry displays. You could flatten the fabric background to start. This also would help keep the focus on the pendant instead of drawing the eye to the folds in the fabric. Try taking the shot a little further back. This would give you a bit more room to work with and give the subject space to breath. This also gives more space to position the necklace into the frame. If on the other hand you only want to portray the pendant, then I would suggest removing the necklace and see how you like that shot. But if you want the necklace too (I would like that) then give it some space and show more of it.
With regards to the hot spots, I don't know what your light source was but if you used a flashlight or small light fixture try using a piece of thin cloth or parchment paper taped over it (or use a rubber band) to diffuse the light and cut the reflection. I use a 12" photography diffuser they run about $10. That often will eliminate a hot spot. You should also try moving your camera ever so slightly to see if that eliminates the hot spots.
I see you do have some shadowing and to eliminate that just add another diffused light source. What a fun project and great subject. Again, this group has really inspired me with great subject ideas! |
Mar 15th |
| 65 |
Mar 18 |
Comment |
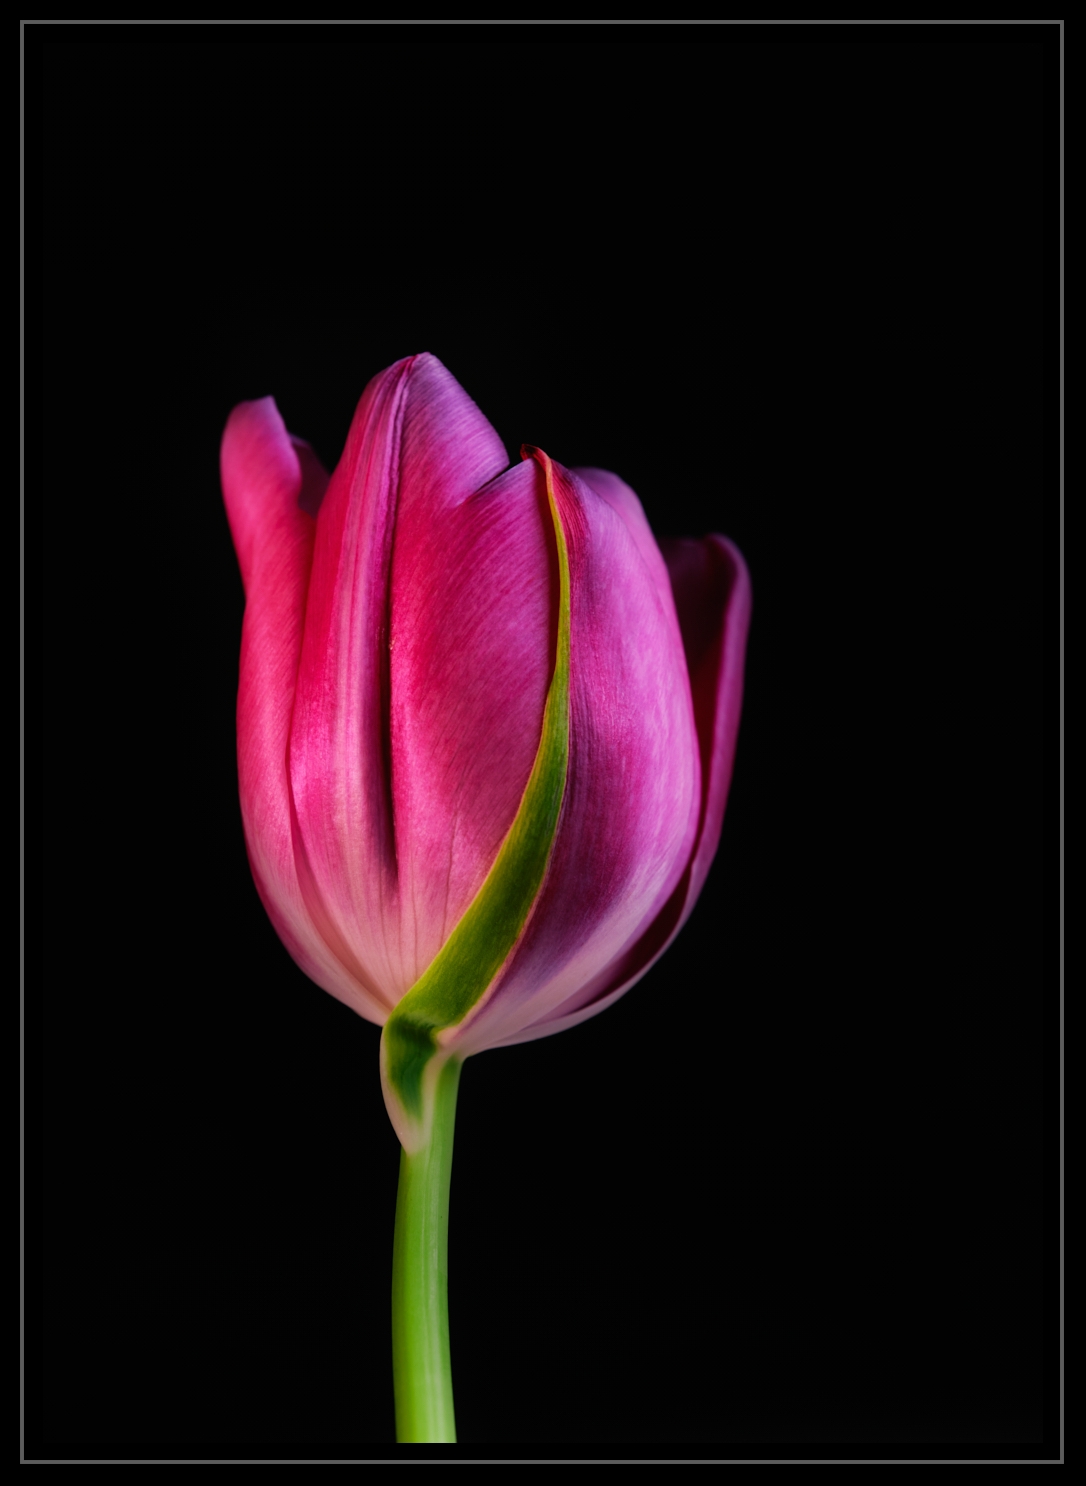
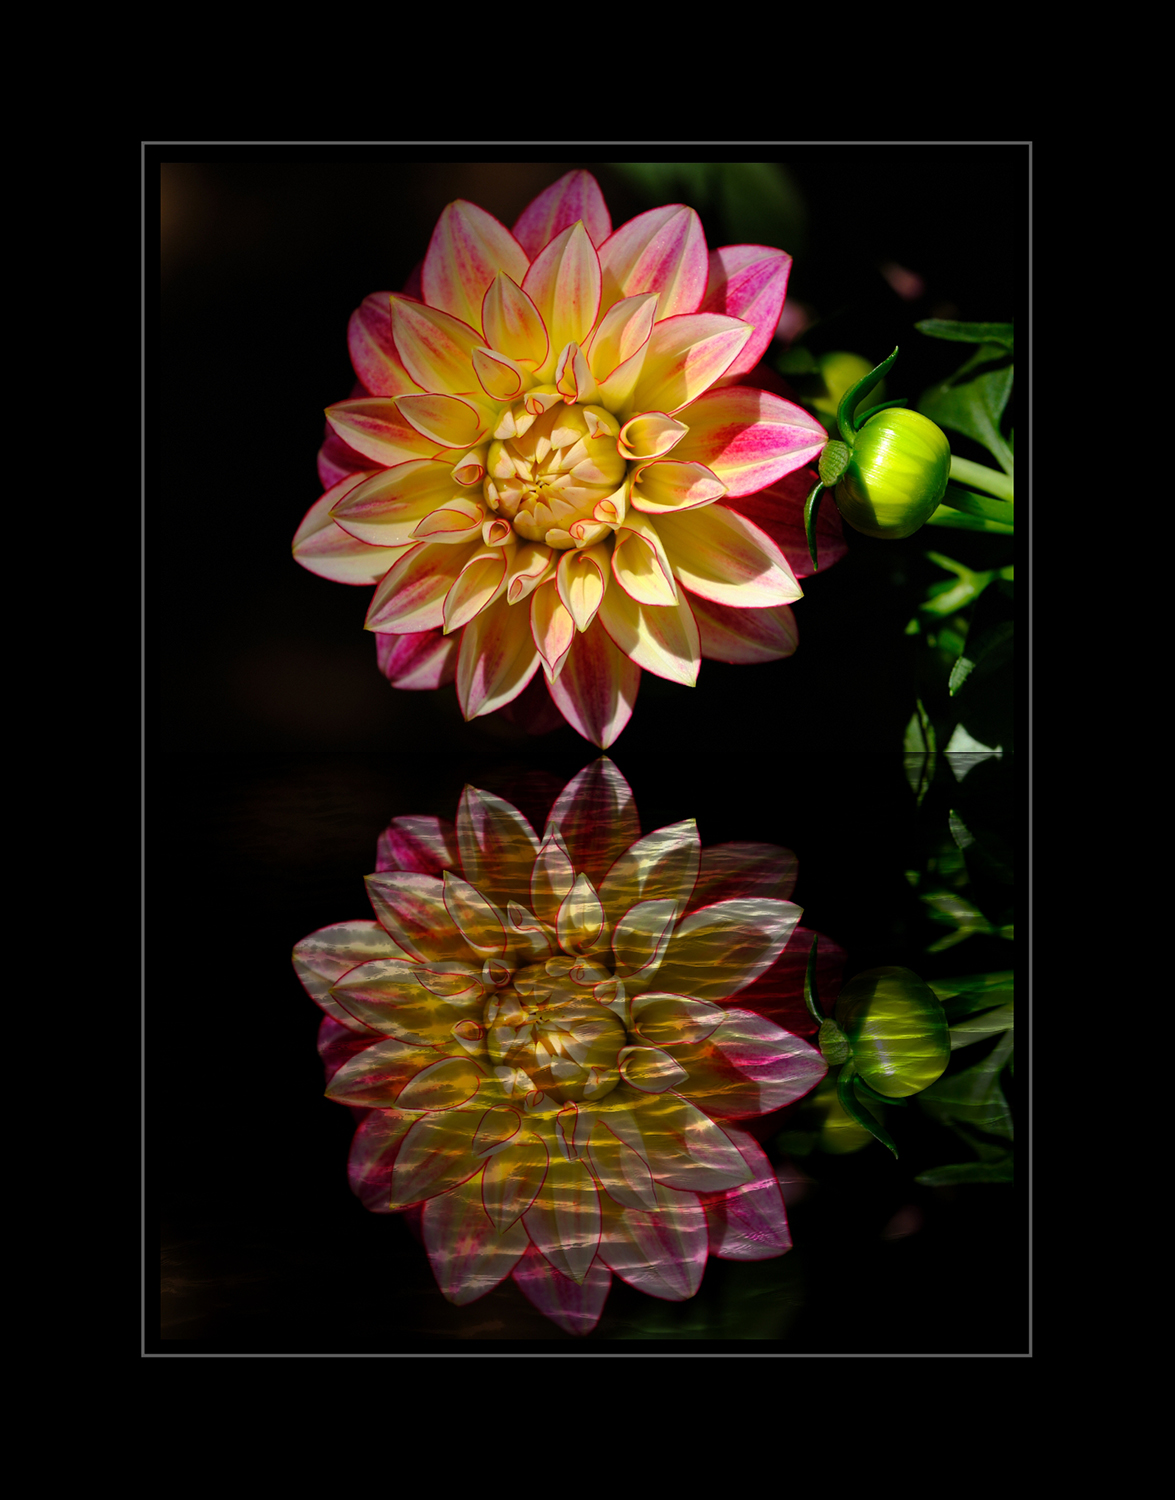
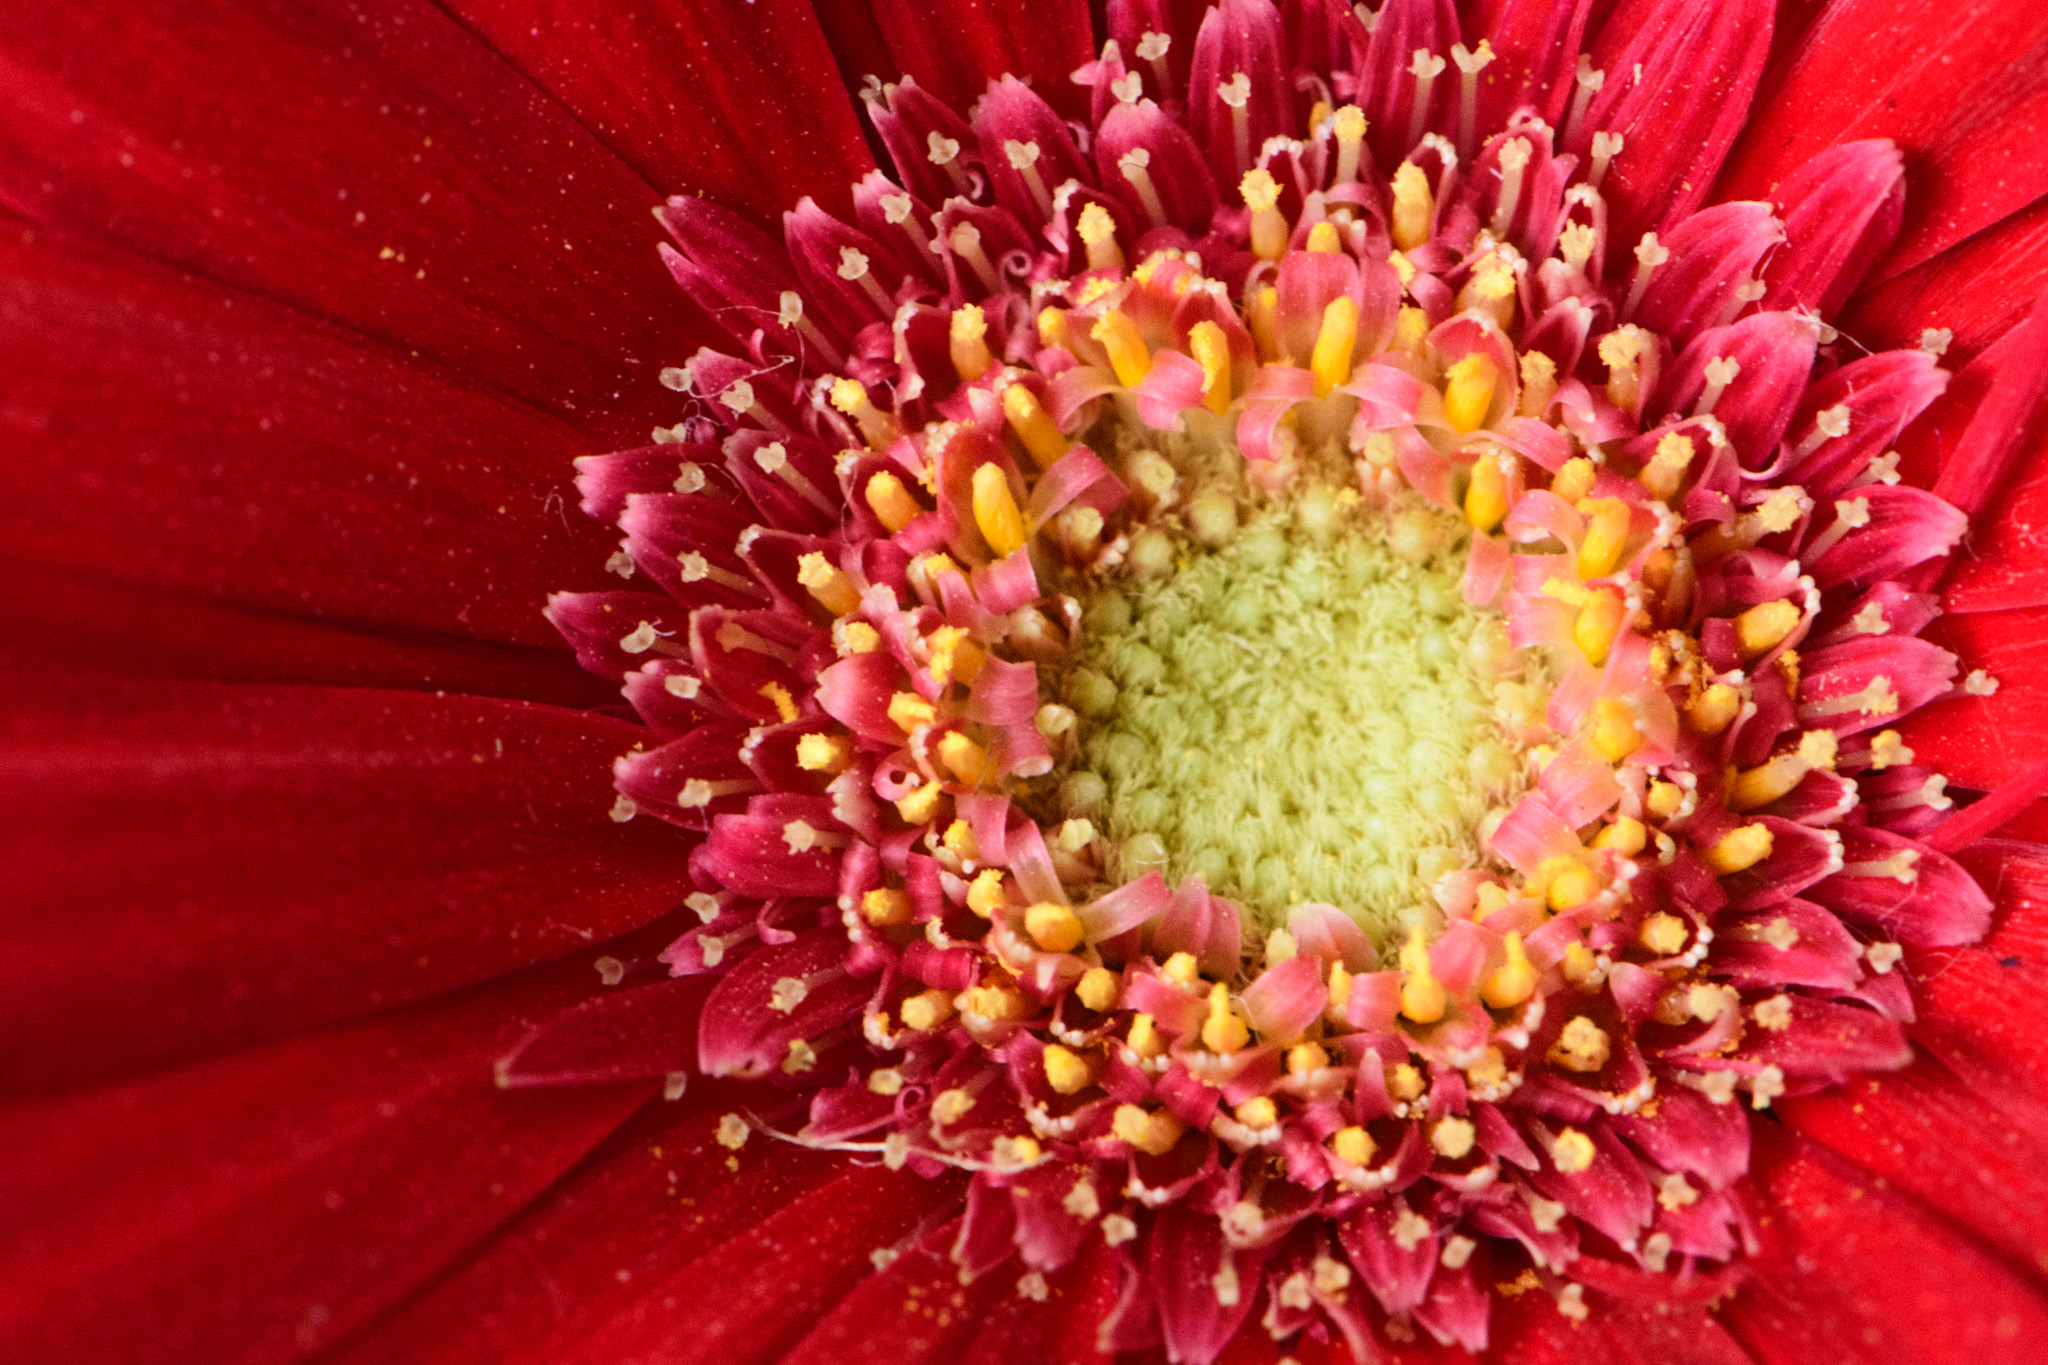
Lovely image, Mary. I like the color and composition. The daffodil is such a beautiful flower. Did you know its meanings includes: creativity, inspiration, inner reflection, memory, and forgiveness? You have inspired me to do more spring flower photography!!
Low-key photography is a favorite of mine. I like the mood it presents. My suggested fine-tuning is to remove the tiny black speck on the top petal as it seems to draw my eye. With reference to the stem, I would not burn just the end of the stem because it is too obvious and unnatural. I would ever so slightly take the brightness down on the whole length of the stem. With a photograph of a flower, a stem is an expected element you just want to have the brightness more on the flower head. I would also make sure that the black background is uniformly darkened by taking down the dark slider a little bit more. Finally, I am not a fan of the colored borders. When I look at fine art photography I just don't see them used much.
Kind regards, LuAnn |
Mar 15th |
| 65 |
Mar 18 |
Comment |
Very interesting image, Janos. I have to agree with Charles and with the corrections he made. You are making great progress since your last entry. |
Mar 15th |
| 65 |
Mar 18 |
Comment |
Let me respond to your critique, Charles by saying I am a newbie when it comes to macro photography. The image I submitted is only my second shot. It may be a while before I come close to getting it right. About the softness of the photo, I am trying to find uniqueness from the norm. I don't want to be like everyone else. I want my shots to be different, and I like soft focus. I didn't get it right this time so that I can work on in the future.
I did do a photo stack in Photoshop CC. I am sorry you don't believe me. In paragraph 2 sentence 3 I stated, "Then it was off to Photoshop CC for photo stacking." I may not have gotten it right, here again, with that first attempt but I figured out I did not complete the steps after the stacking was done to sharpen the focus. Did you know that after doing a Photoshop stack you can go back to each layer and add back any lost sharpness from the individual layers below with masking and the brush tool? I did not know that! But how could I this is my second macro, and I am a beginner with Photoshop CC. I would go back and try again, but I flattened the photo, so the layers are gone on this one, lesson learned.
Next, you talked about cutting off some of the flowers center petals. I am confused as to how this technique works. In portrait photography it is ok to cut off the top of a person's head, how can I use this technique with a flower when I want to focus on the center? You said to leave the whole center structure present, but with portraits, you don't have to so why is it different with macros?
Thanks for the discussion.
|
Mar 10th |
10 comments - 0 replies for Group 65
|
10 comments - 0 replies Total
|