|
| Group |
Round |
C/R |
Comment |
Date |
Image |
| 72 |
Jan 19 |
Reply |
Thanks for your comments. I didn't crop away any of that foreground so I am stuck with this capture. I'll remember your suggestion when capturing a similar image.
Mary Lou
|
Jan 17th |
| 72 |
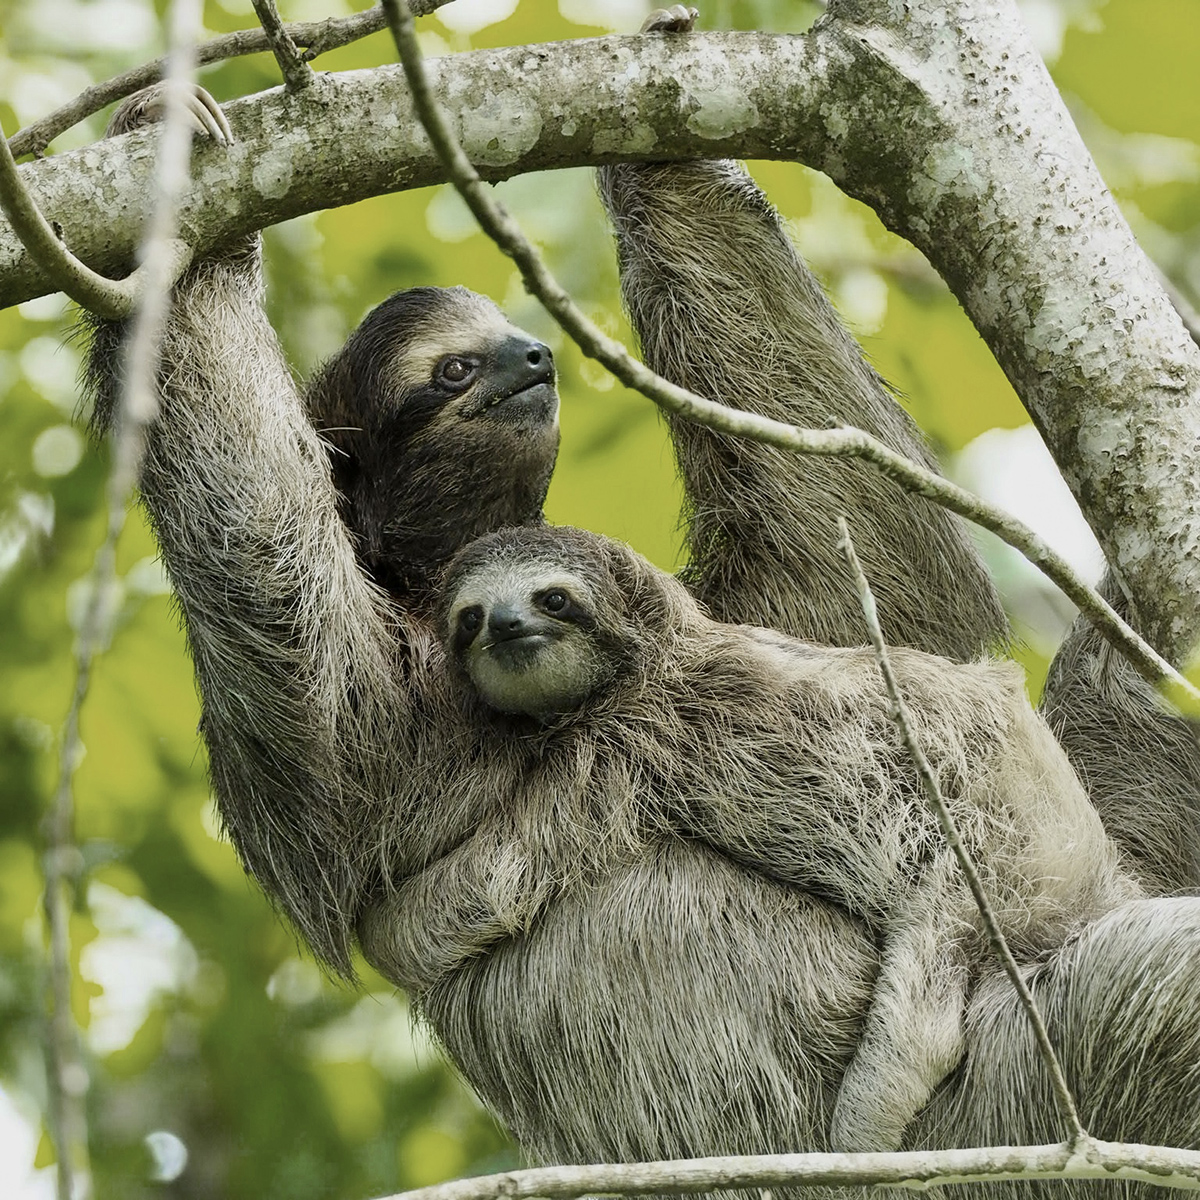
Jan 19 |
Comment |
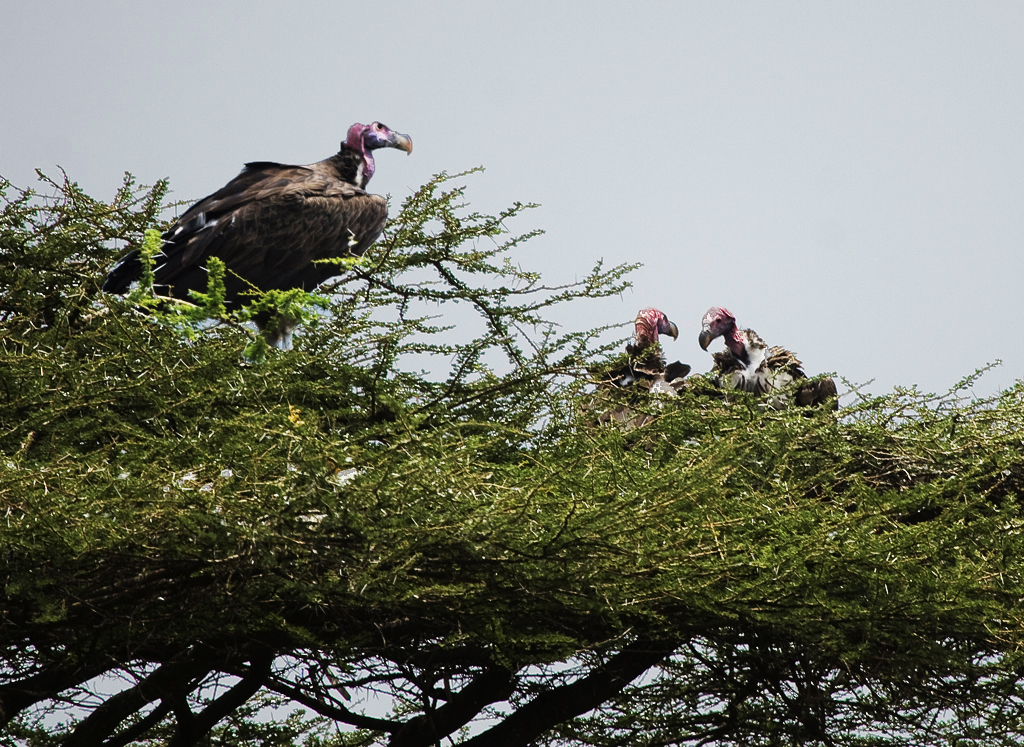
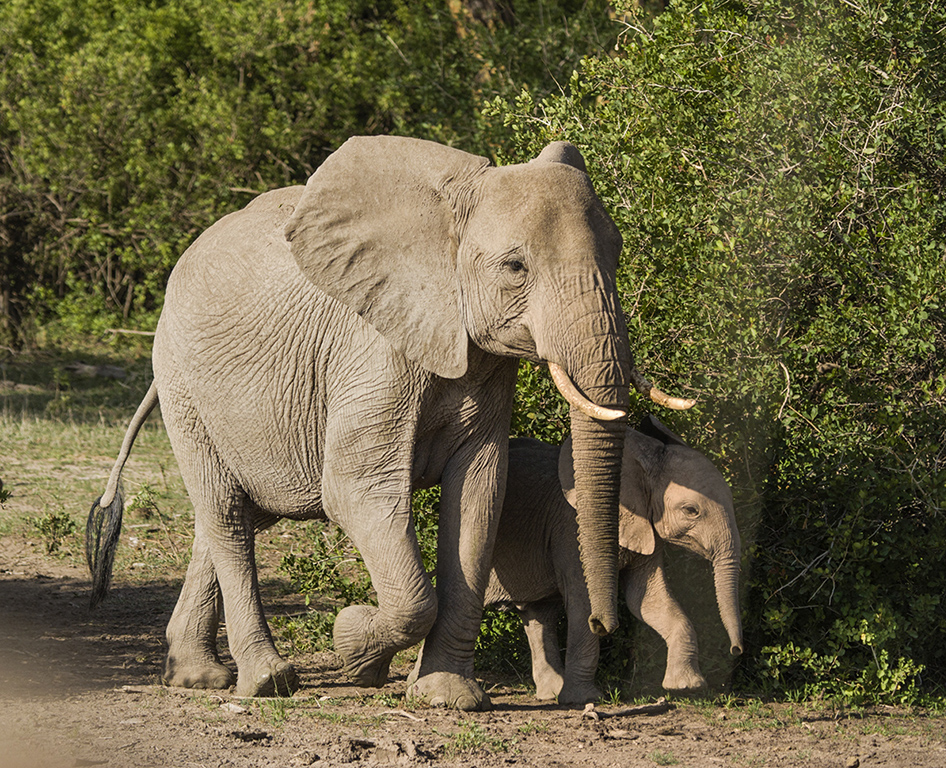
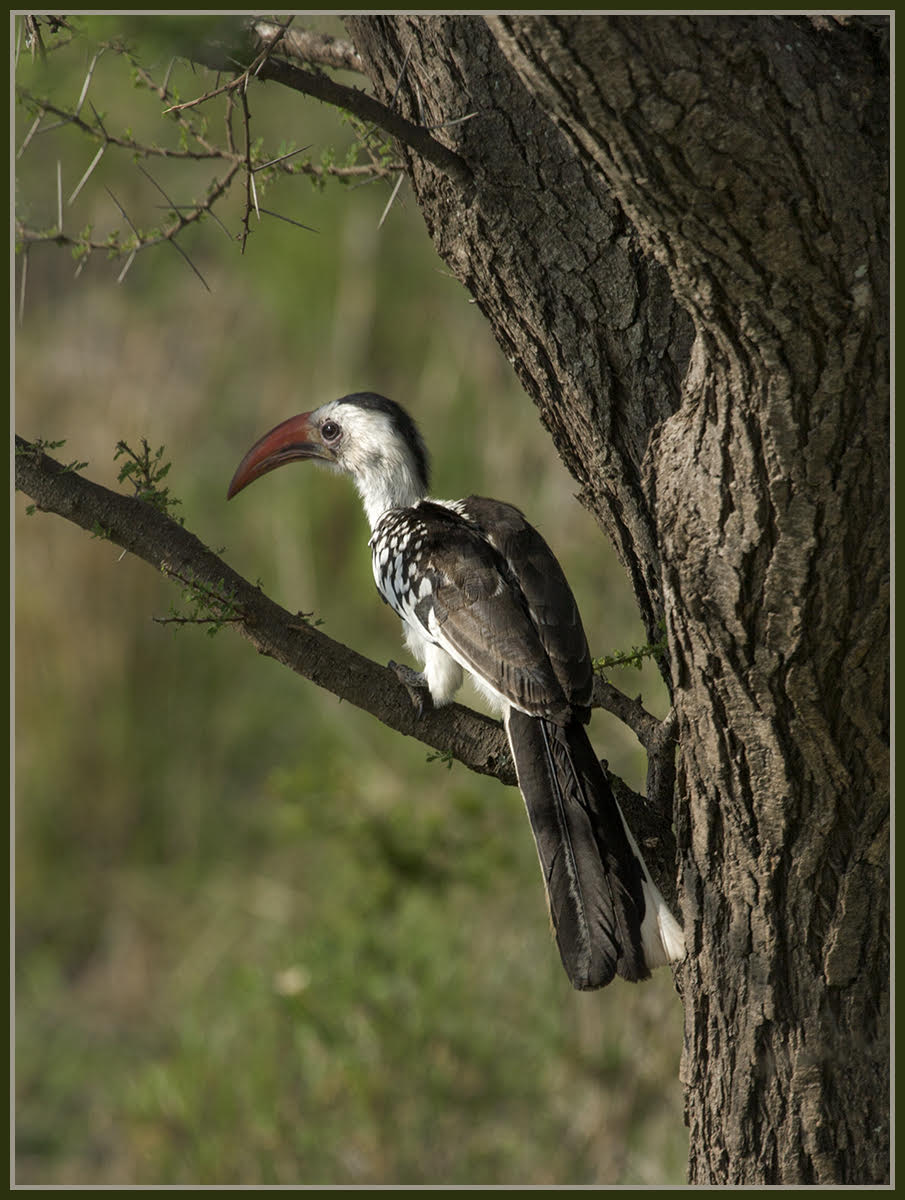
Isaac, I haven't spent near as much time focusing on birds so I am always impressed by such great portrait shots.
I player around as usual and left in more of the nest. Your crop makes a better portrait.
I noticed that I didn't brighten the image as much as you did. I think it depends on your purpose. As a portrait your level of brightness works best
Thanks for sharing. |
Jan 16th |
 |
| 72 |
Jan 19 |
Comment |
I couldn't get the program to include my updated Mama and Baby shot so I am making a new entry to do this. |
Jan 16th |
 |
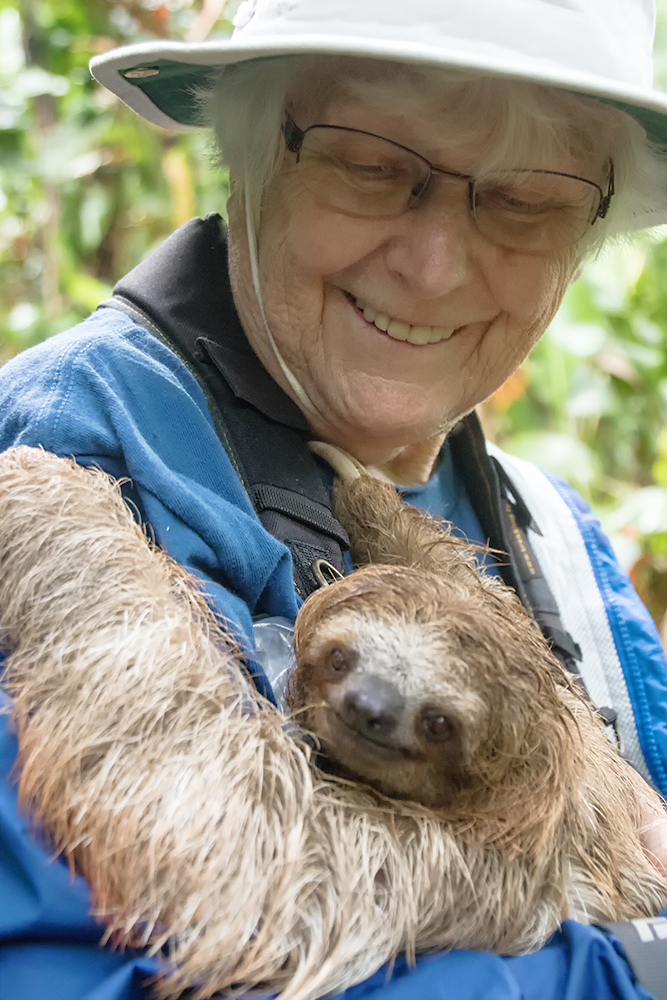
| 72 |
Jan 19 |
Reply |
I know you haven't had time to do much post-processing but I used a Hue/Saturation layer in the Editor Mode and activated the yellow channel. I then used the color picker tool to click on the yellow in the background. Then I lowered the saturation and the lightness a bit.
As usual, I turned to Viveza2 to use control points over the sloth's head to add a bit of contrast and structure
Great shot! |
Jan 16th |
| 72 |
Jan 19 |
Comment |
My personal favorite. |
Jan 16th |
 |
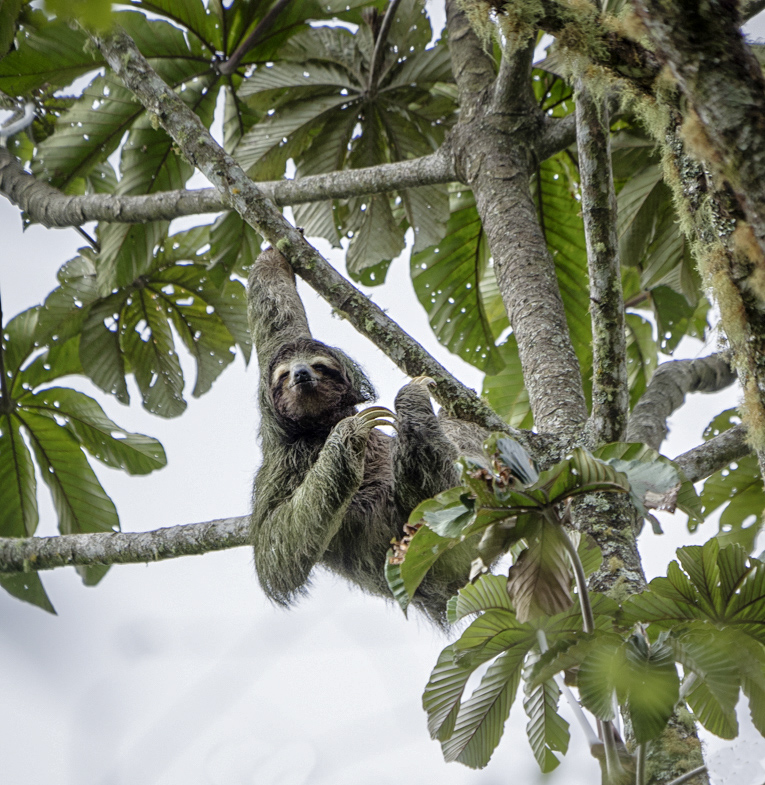
| 72 |
Jan 19 |
Comment |
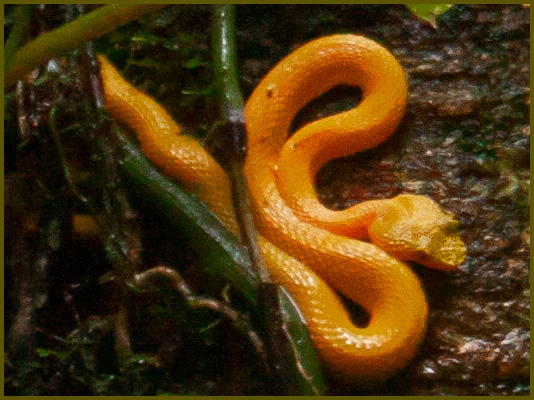
Adrian, I, too, have enjoyed my trips to Costa Rica. I'll attach a favorite sloth image. I was in a rehab facility.
I just saw your second entry. The baby is unique. I love it.
As for the first image, I agreed with the previous crop suggestion. I did my usual play with luminosity masks and with Nik Viveza2. In Viveza, I used control points on the sloth and added contrast and structure.
I always do tests, throughout my work, where I compare the original image with my development. It helps to determine whether the steps were helpful
I wish I were with you in Costa Rica. |
Jan 16th |
 |
| 72 |
Jan 19 |
Comment |
whoops, I didn't get the image. |
Jan 16th |
 |
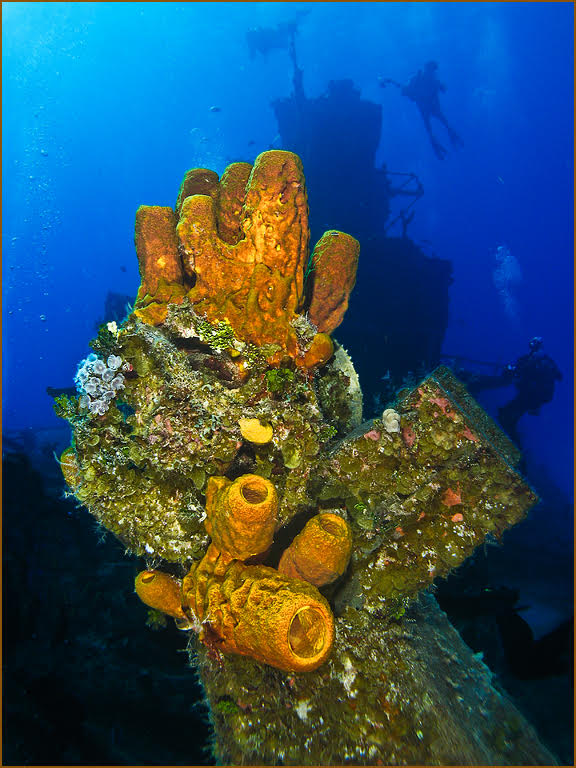
| 72 |
Jan 19 |
Comment |
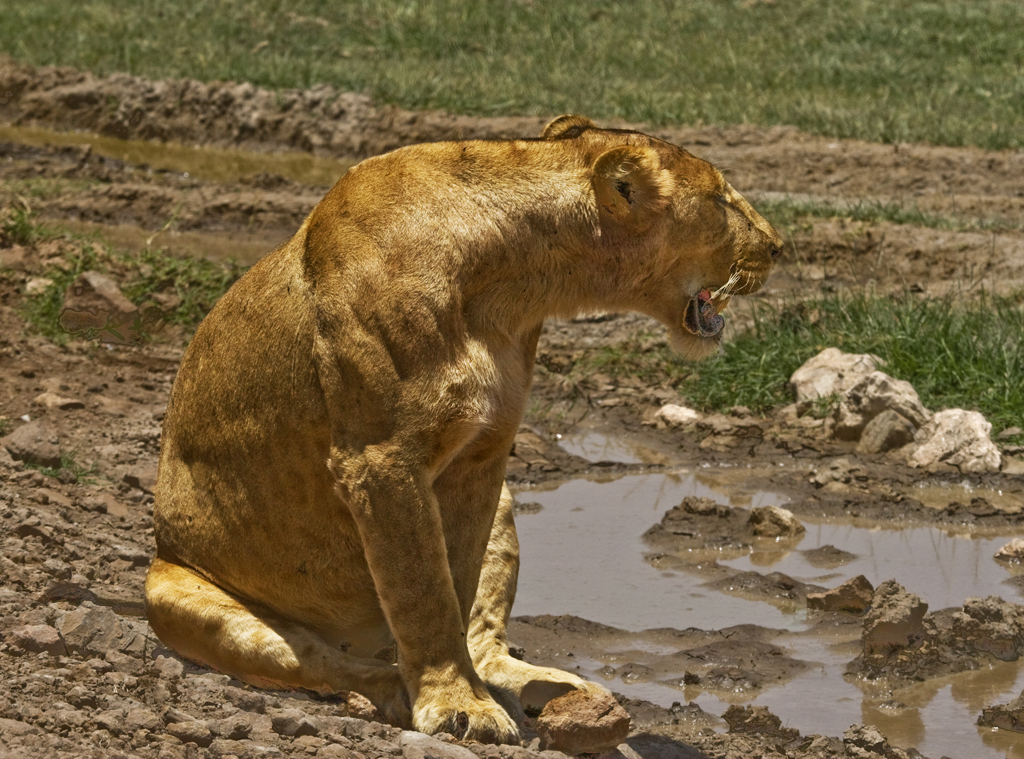
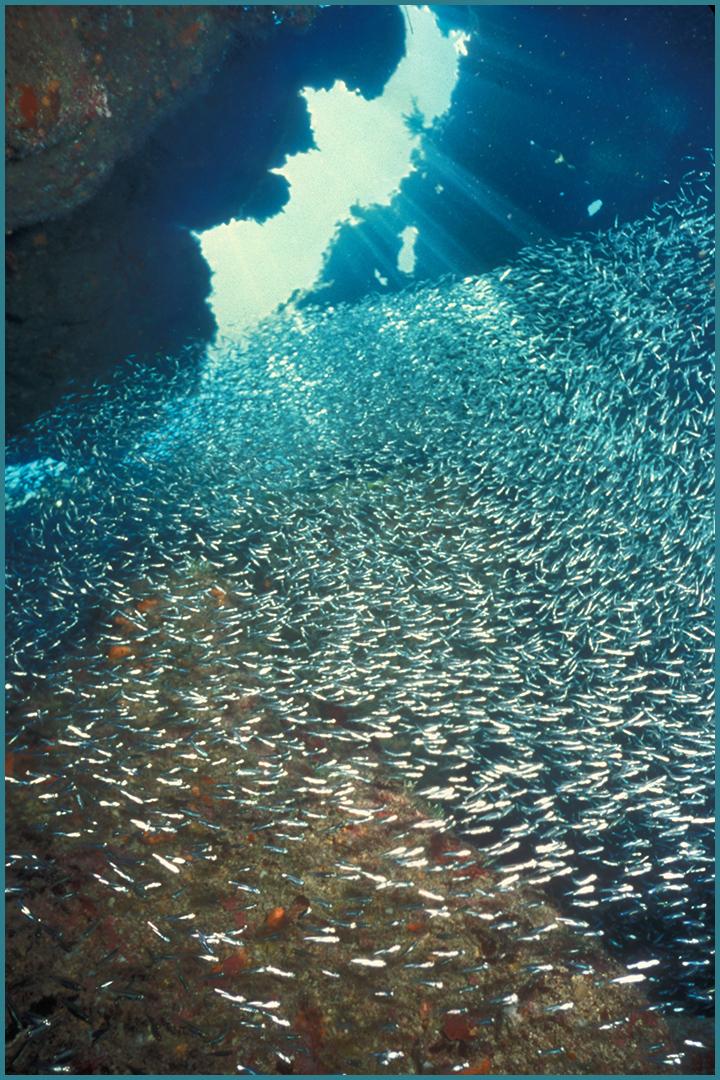
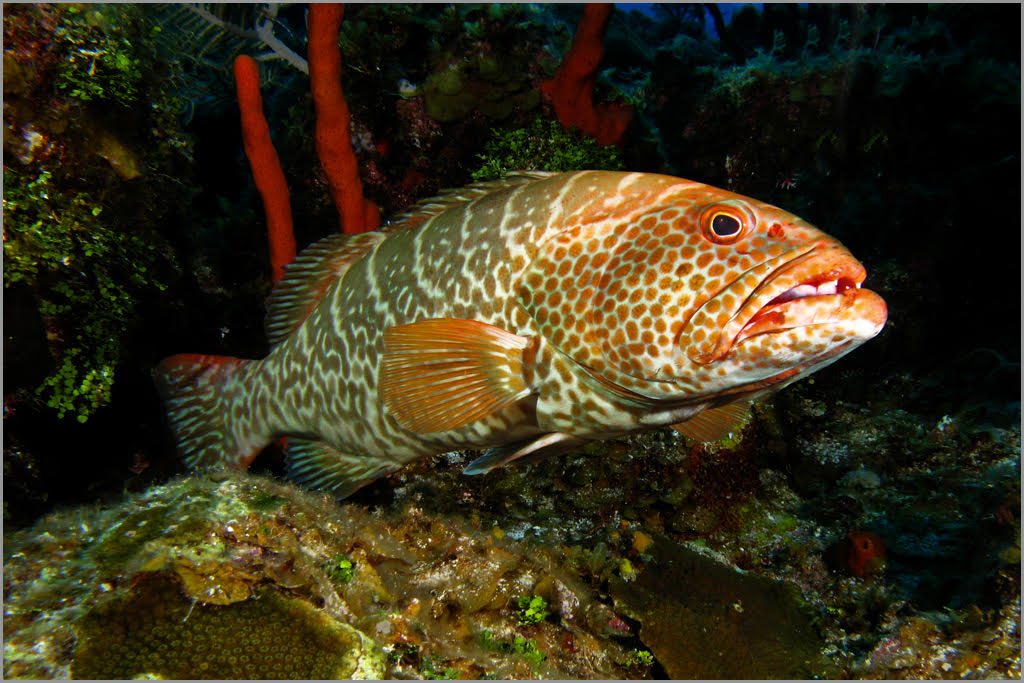
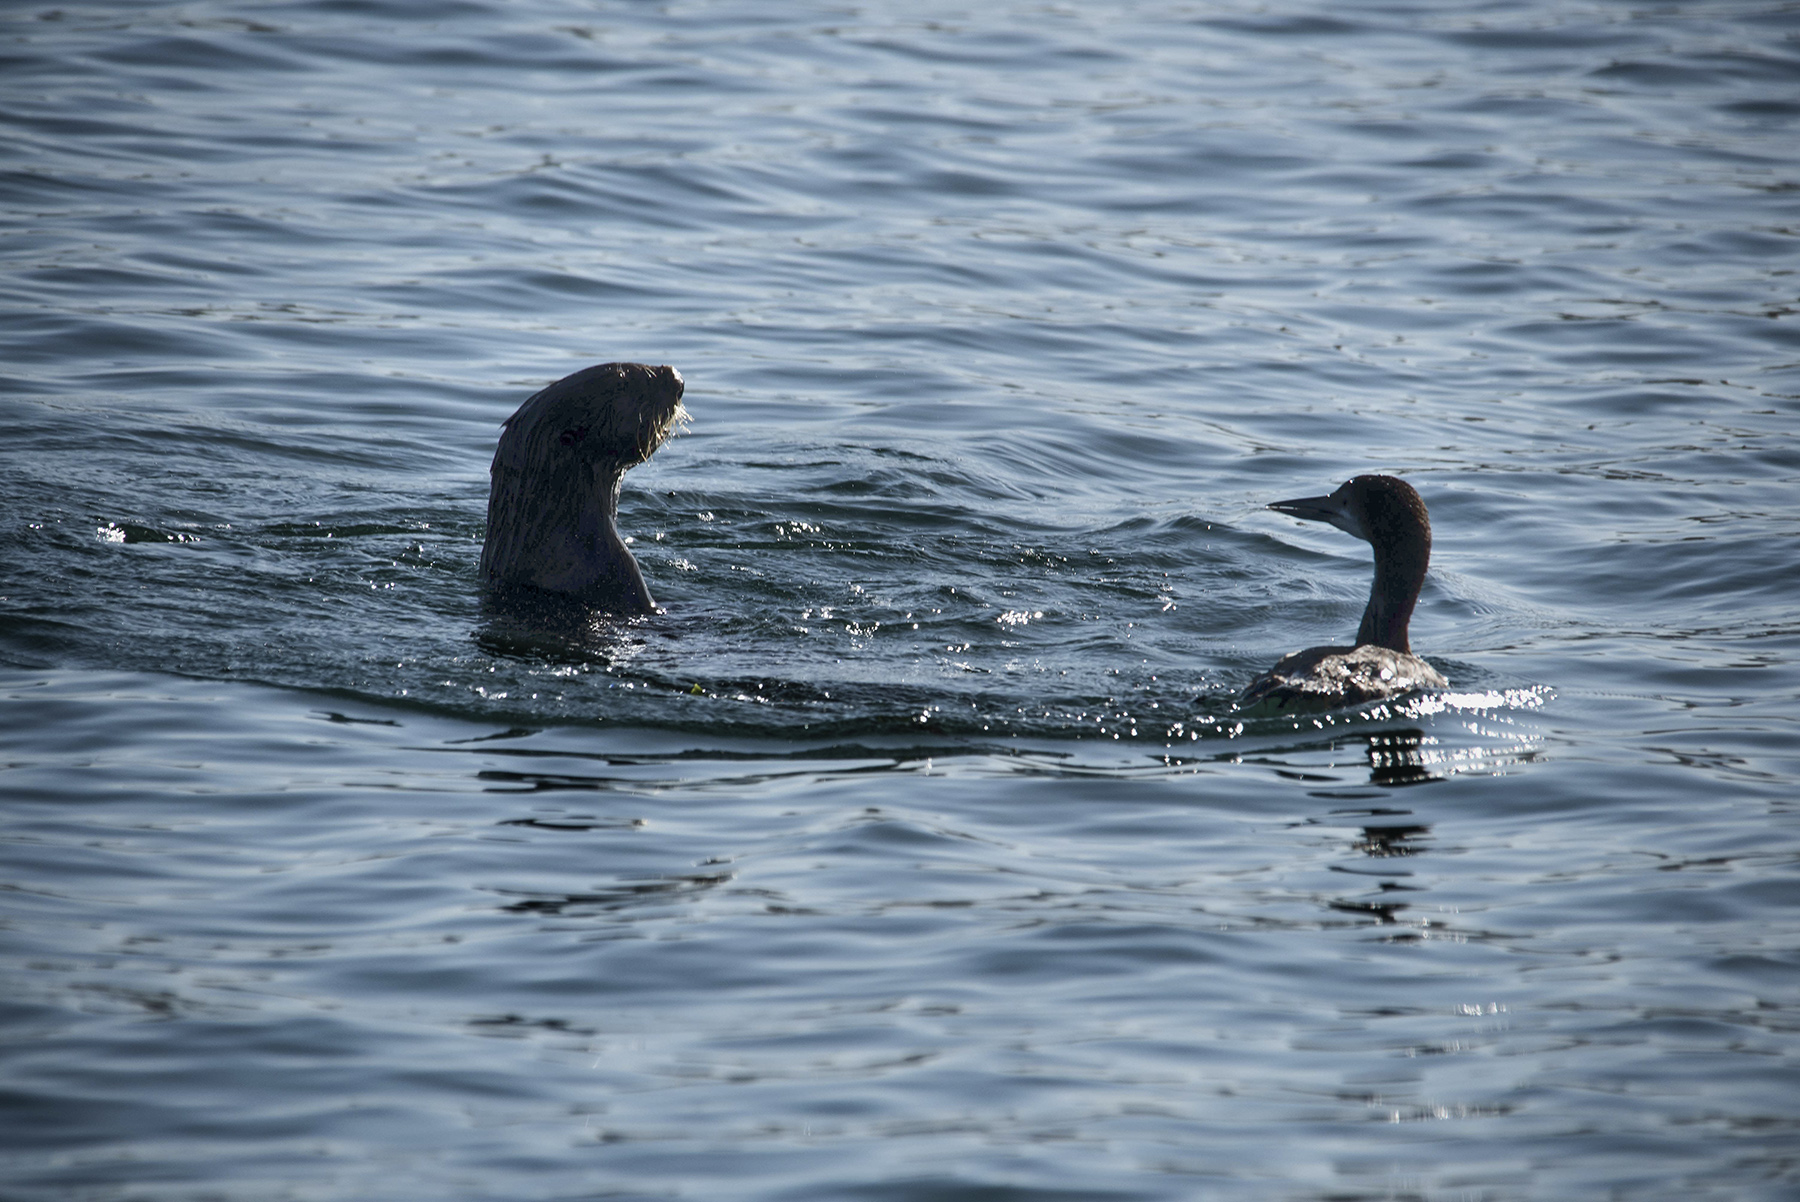
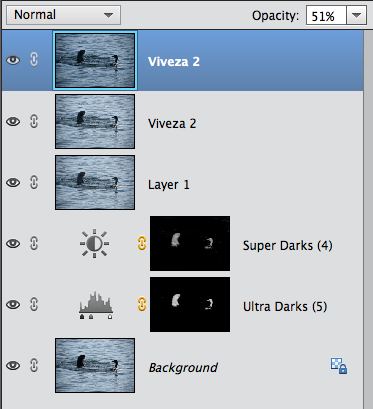
I agree that the angle of light is causing the most problems in this image. I like the fact that the 2 creatures are watching each other. I think that is an important component in the composition.
As usual I played around with luminosity masks and wit Ni Viveza2. It helped a bit to focus on the very darkest pixels in trying to bring back some detail in the creatures. One extra step I took was to alter the mask on the Levels Adjustment layer in order to remove the water from the adjustment. I frequently find that manually altering a layer mask can make it better suit the image.
Viveza2 also allowed me to slightly darken the water while removing the animals form the effect. (control points again)
I will try to upload both the image I worked on and a screen shot of the Layers Panel. If I'm successful you will notice that I used Viveza2 twice. I first worked on the animals and then decided to go back and work on the water.
I'm glad you shared this priceless moment! |
Jan 16th |
 |
| 72 |
Jan 19 |
Comment |
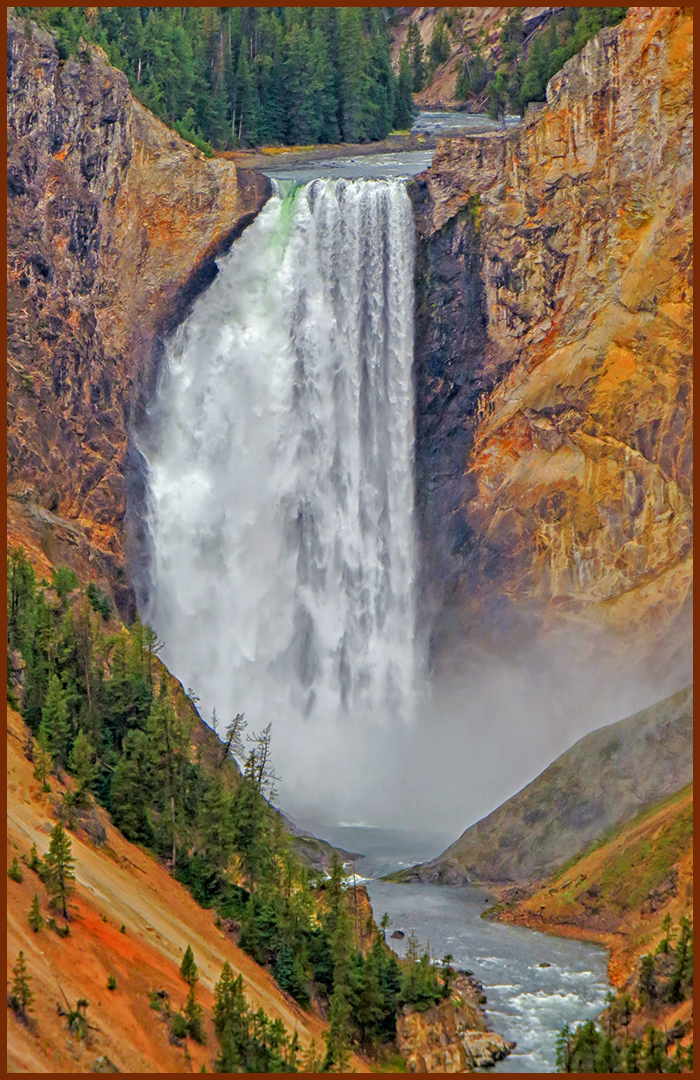
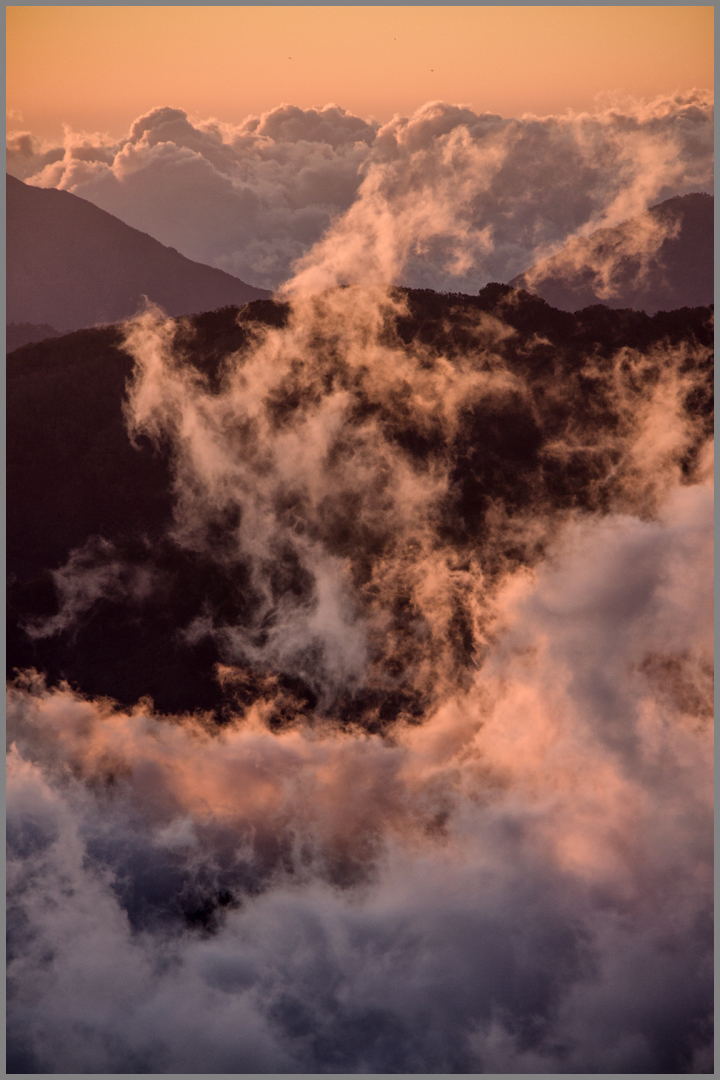
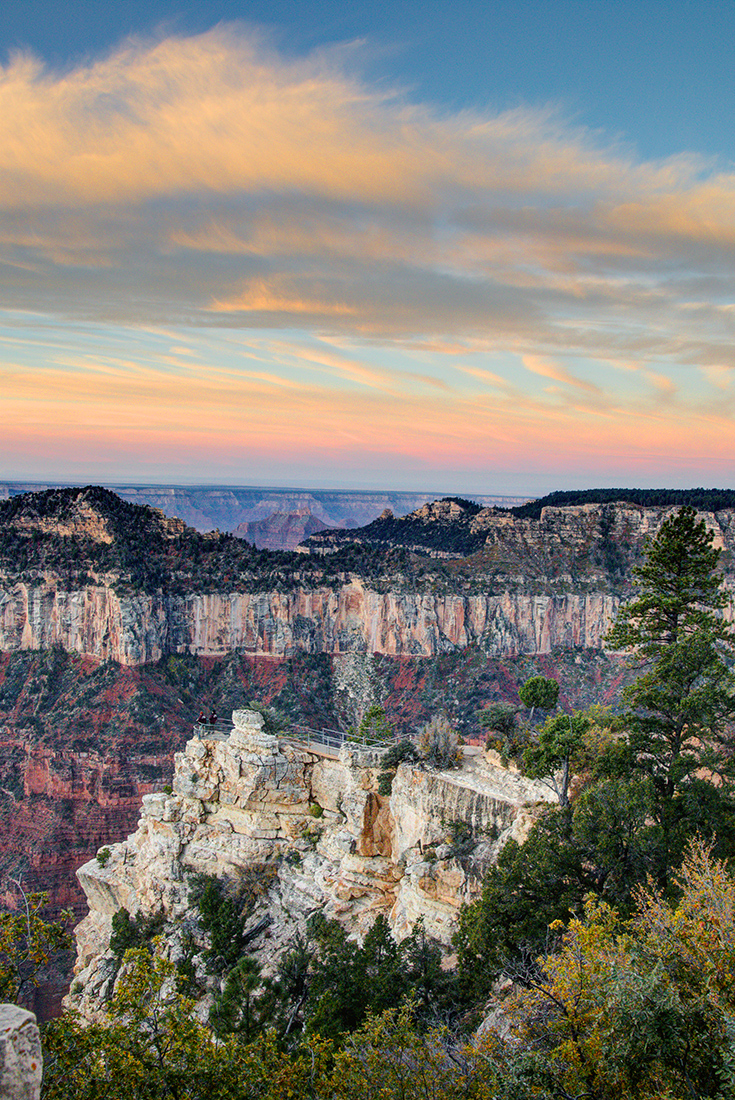
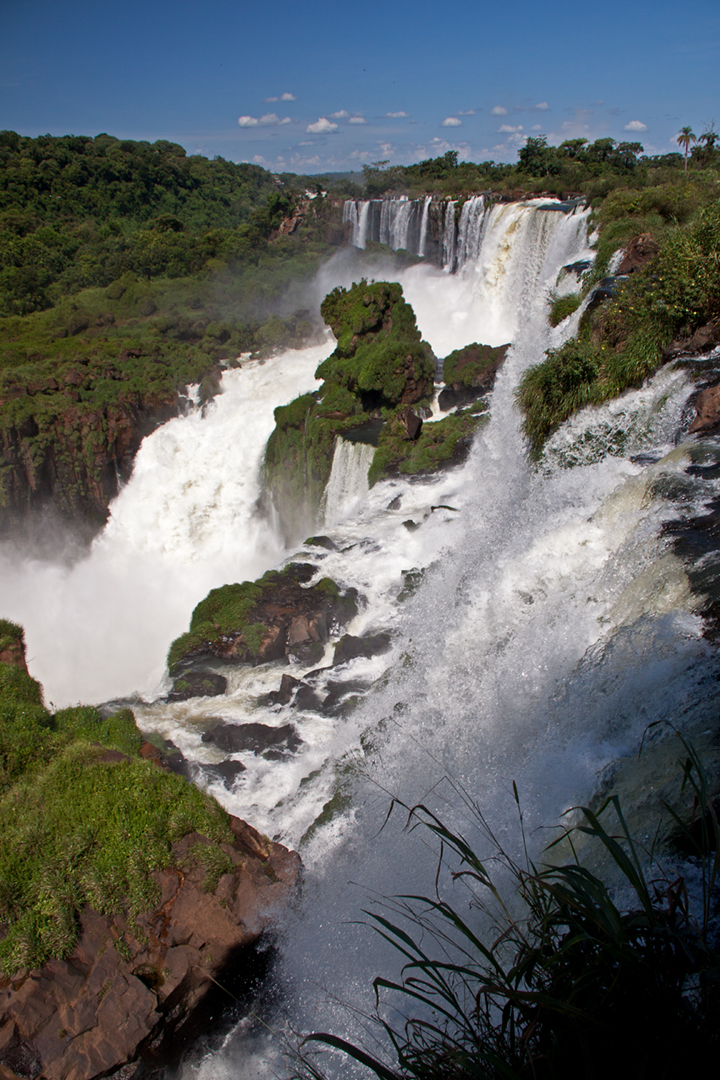
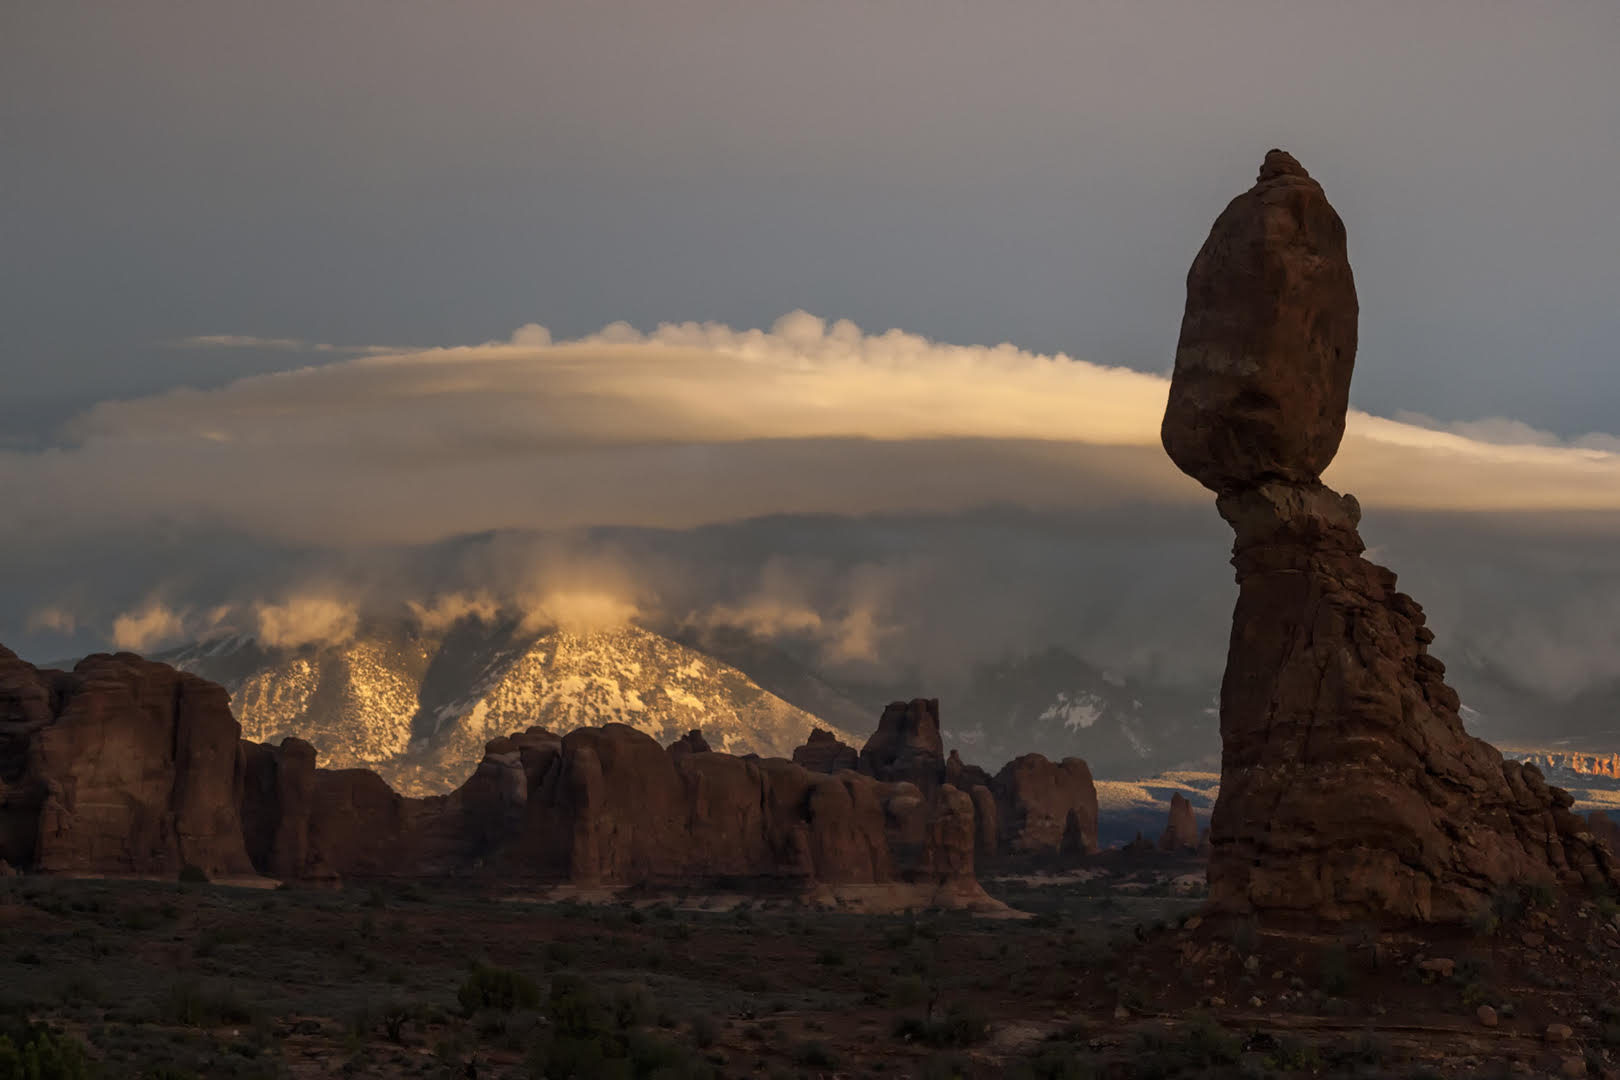
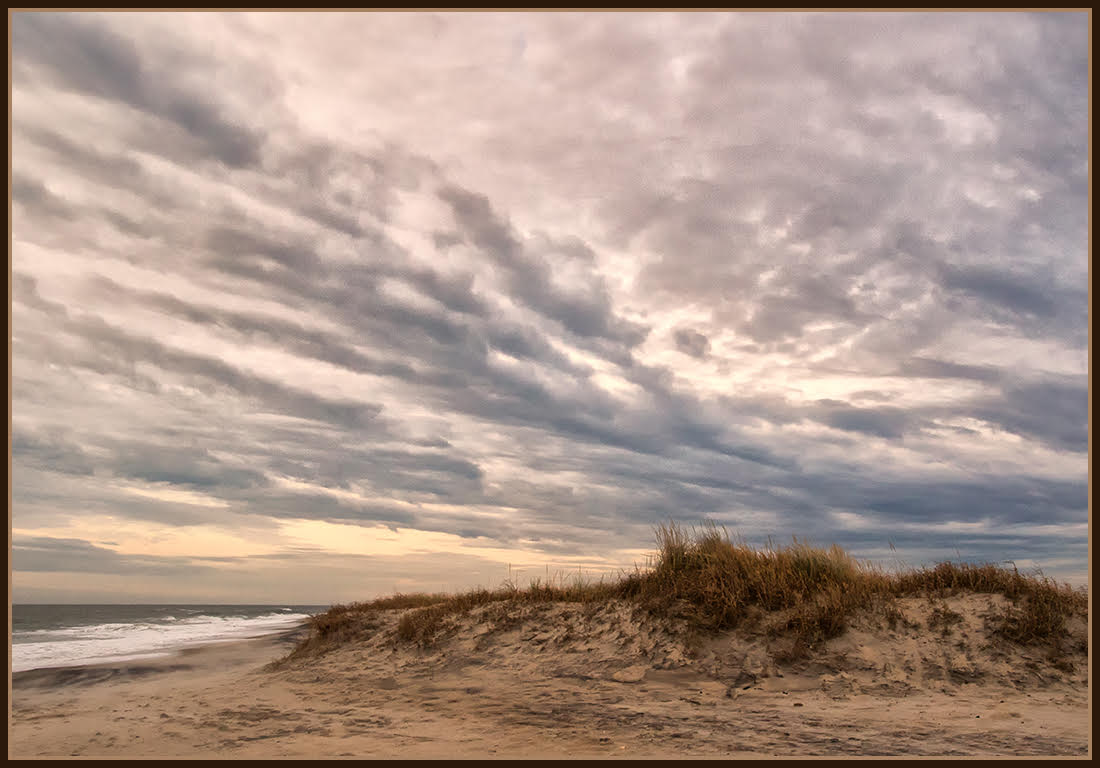
This is an image with high impact! It would make a great exhibit image. If I were to walk down a hall with a photo exhibit hanging, I would be compelled to stop and take in this photo.
I, too, like to use Nik Software. When I get an impressive sky, I turn to the wonderful control points which allow one to process just a limited part of the image.
I lived in Oregon back in the late 50's and traveled back there more recently. My focus was waterfalls but I didn't get to this one. Too bad...
Great Shot! |
Jan 16th |
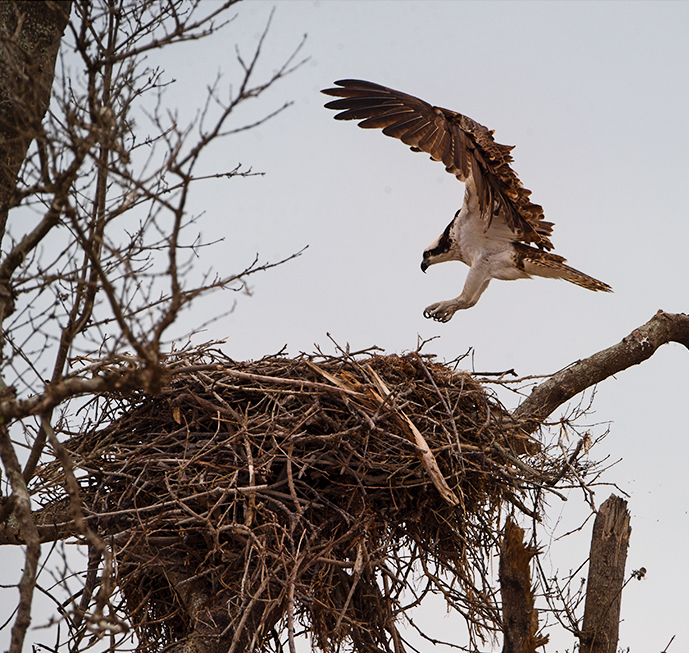
| 72 |
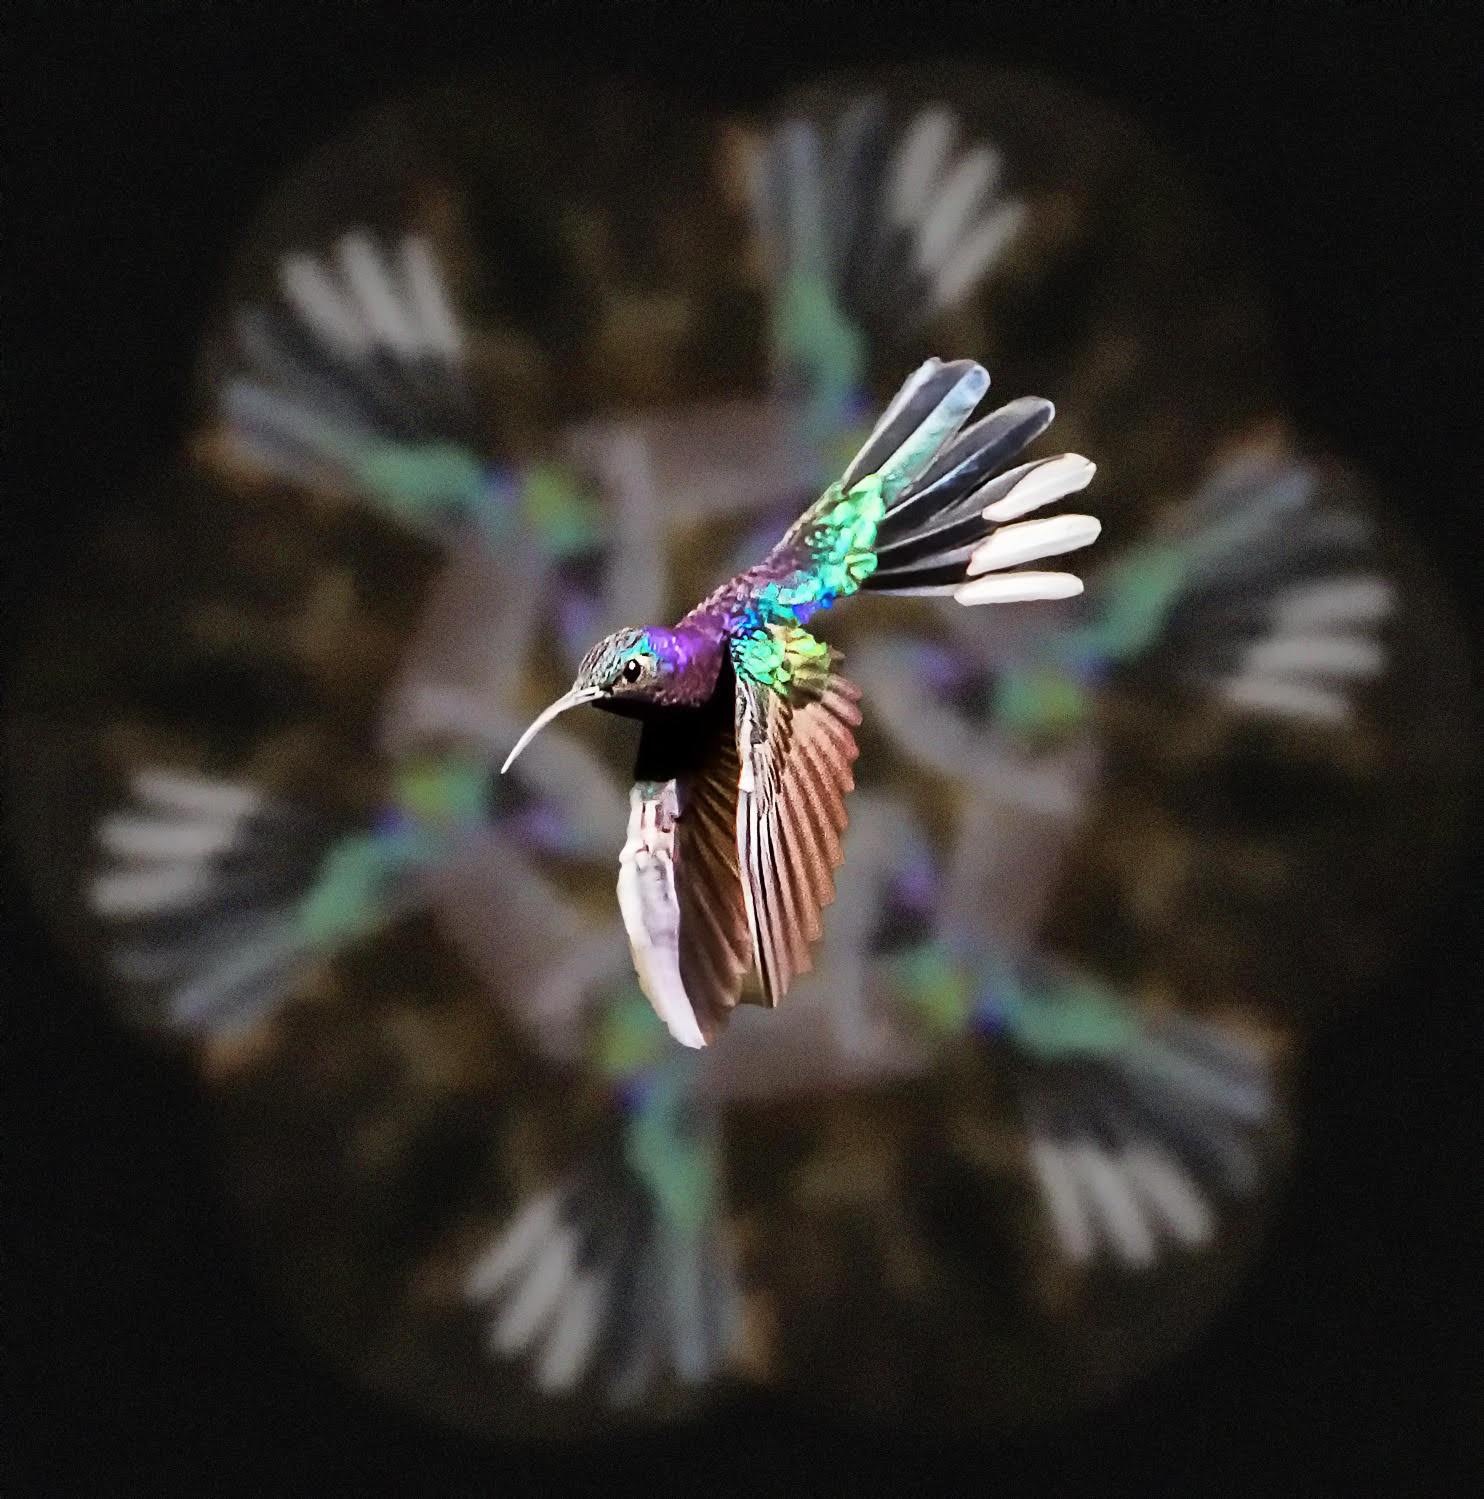
Jan 19 |
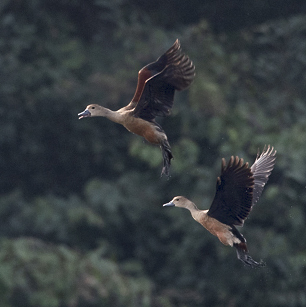
Comment |
Abhijeet, I, too, like the action you caught. This image is a very small copy but I played around with it. I opened it in "Camera Raw" in Photoshop Elements. (Jpegs can be forced to open in ACR. I prefer the tools there, even if the image is not in Raw format.) I used the exposure slider to increase the exposure and then I adjusted the white and black points to give you a full range of light. I then, also, added a small amount of clarity.
Once it was open in the Editor Mode, I utilized the great tools that come from installing Tony Kuyper's free set of luminosity masks and selections. This enabled me to bring out some more detail in the darker parts of the wings without lightening the rest of the image. I then selected the background with the Magic Wand tool and used an adjustment layer for Levels to slightly darken the midtones. My final "playing around" included using the spot healing brush to take away the scattered water droplets. I fully recognize that some of these adjustments are purely personal preferences and don't necessarily improve the image unless they lead to something which fits into your concept for the image.
My cropping also brought back "breathing area" around the upper bird. I didn't flip it but that is also a possibility.
I appreciated your out of focus background. Nice Image. |
Jan 16th |
 |
| 72 |
Jan 19 |
Comment |
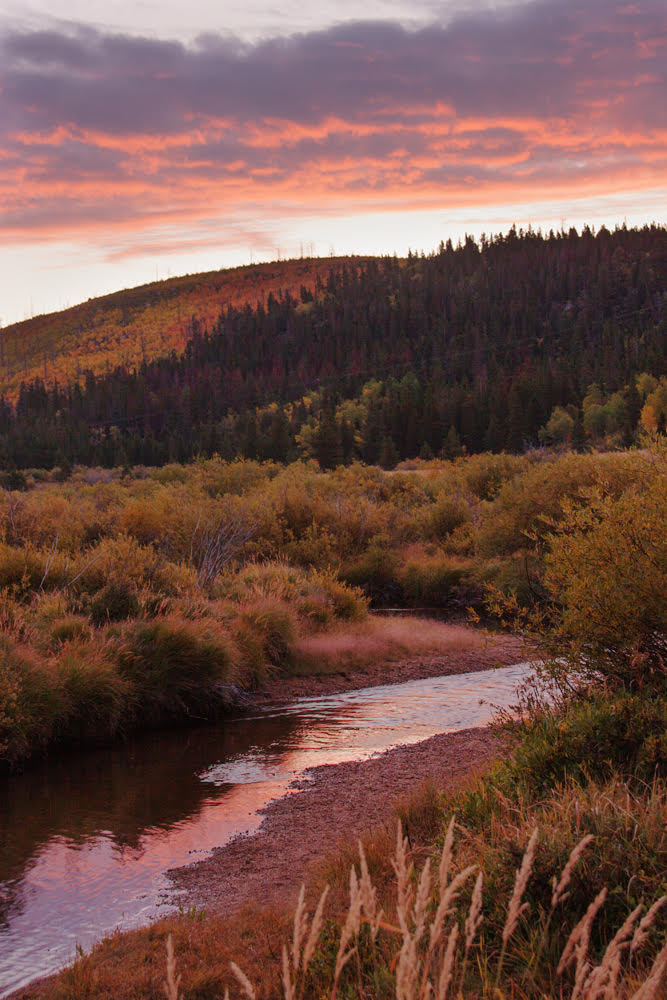
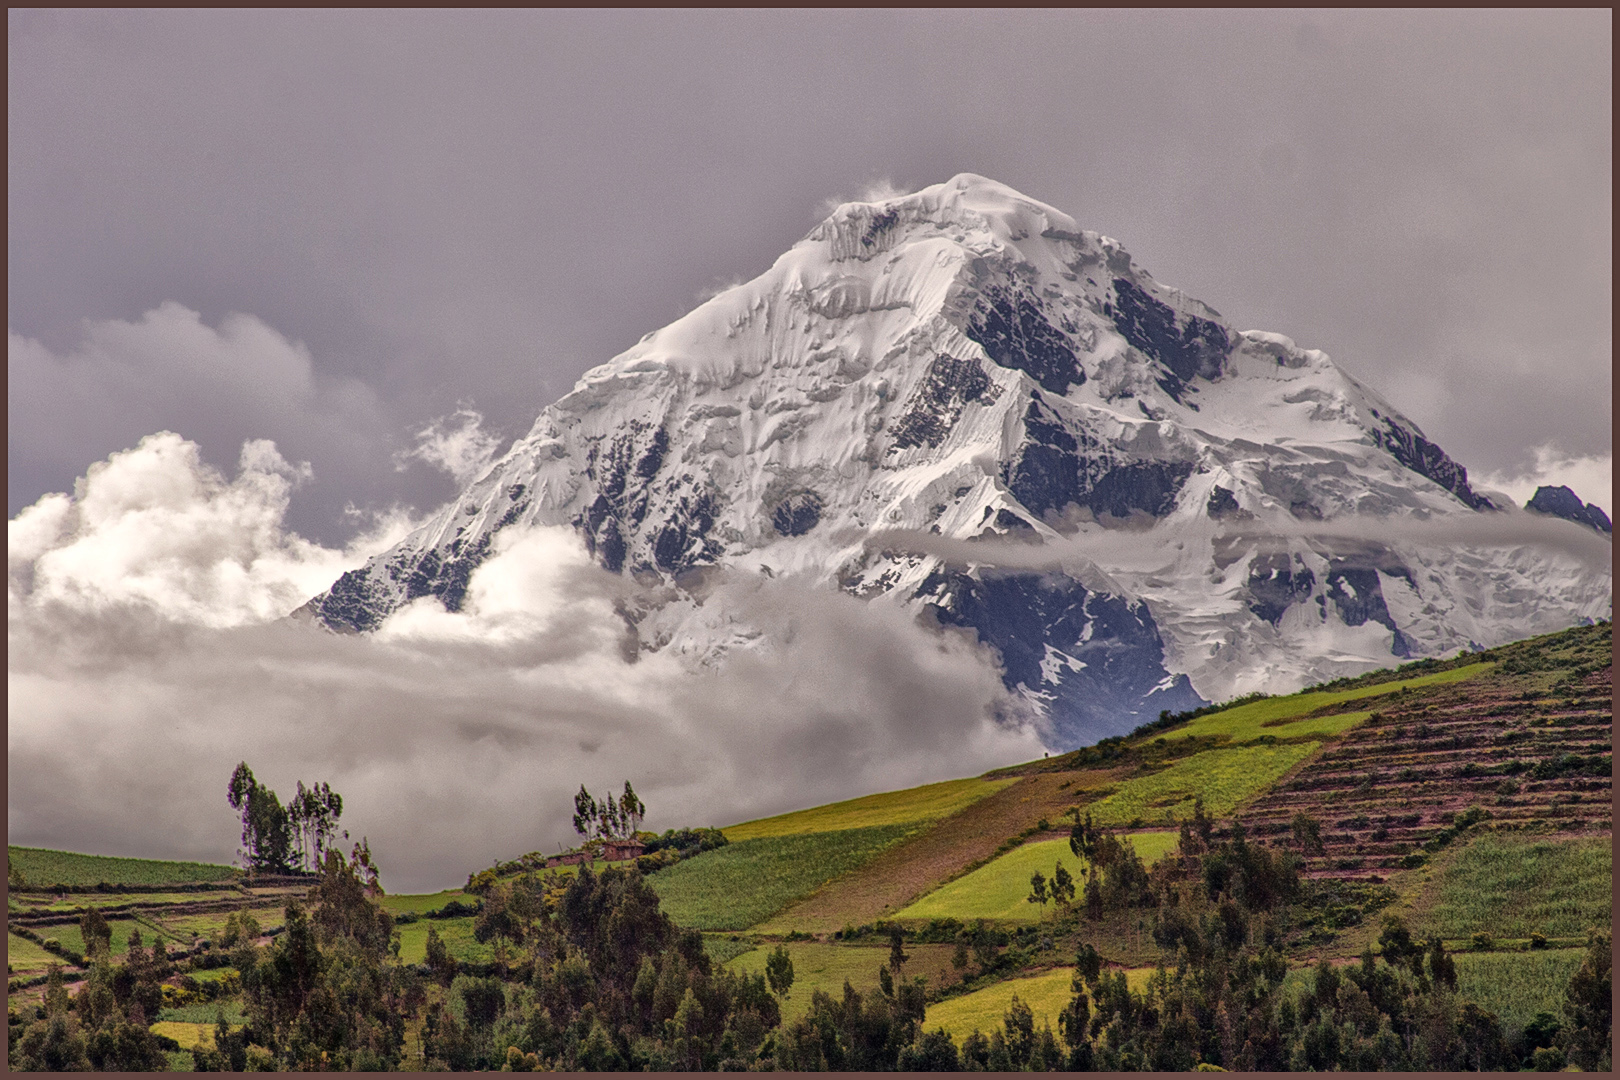
Wow! what a sunset you caught in the background. I find that when I get a good portait shot, I often don't have a spectacular background. All of the colors complement each other! Great Shot! |
Jan 16th |
9 comments - 2 replies for Group 72
|
9 comments - 2 replies Total
|