|
| Group |
Round |
C/R |
Comment |
Date |
Image |
| 64 |
Mar 24 |
Reply |
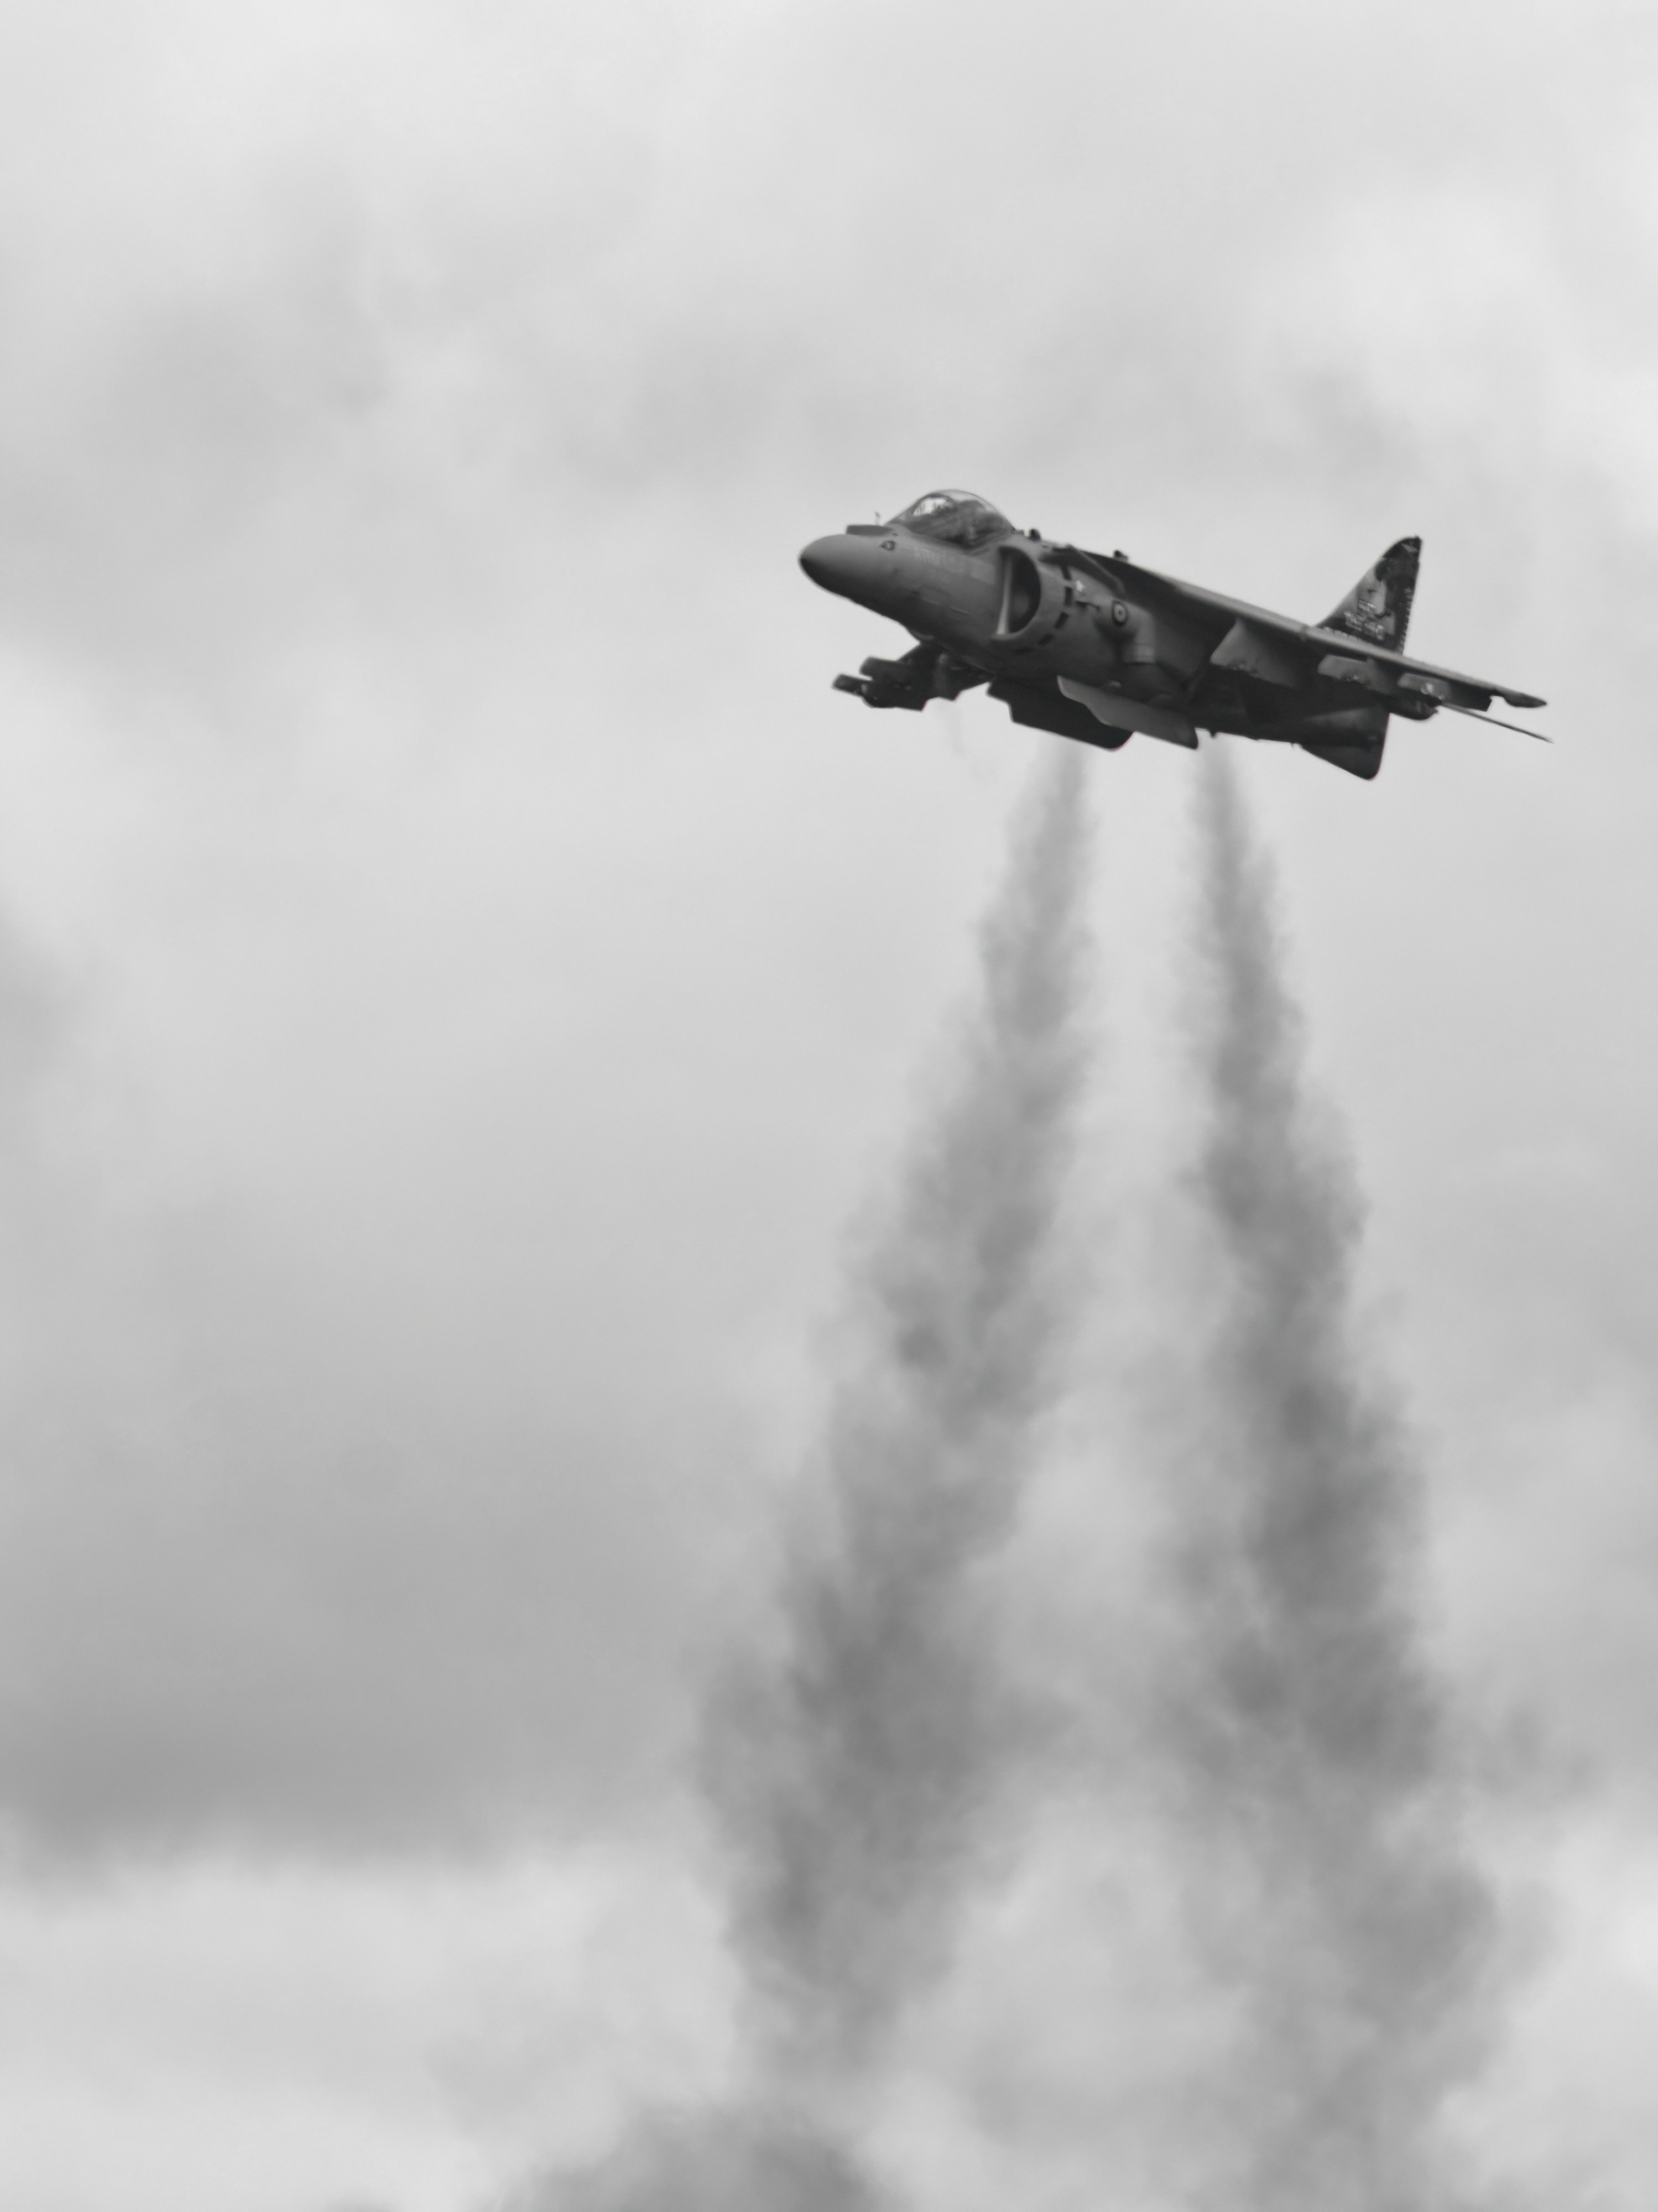
Thanks, Jerry. I took a lot of images that morning, and this one stood out for me. |
Mar 27th |
| 64 |
Mar 24 |
Reply |
I think you're all right, I was too brutal! A little more in front of the dog would have been better for me, in hindsight. |
Mar 27th |
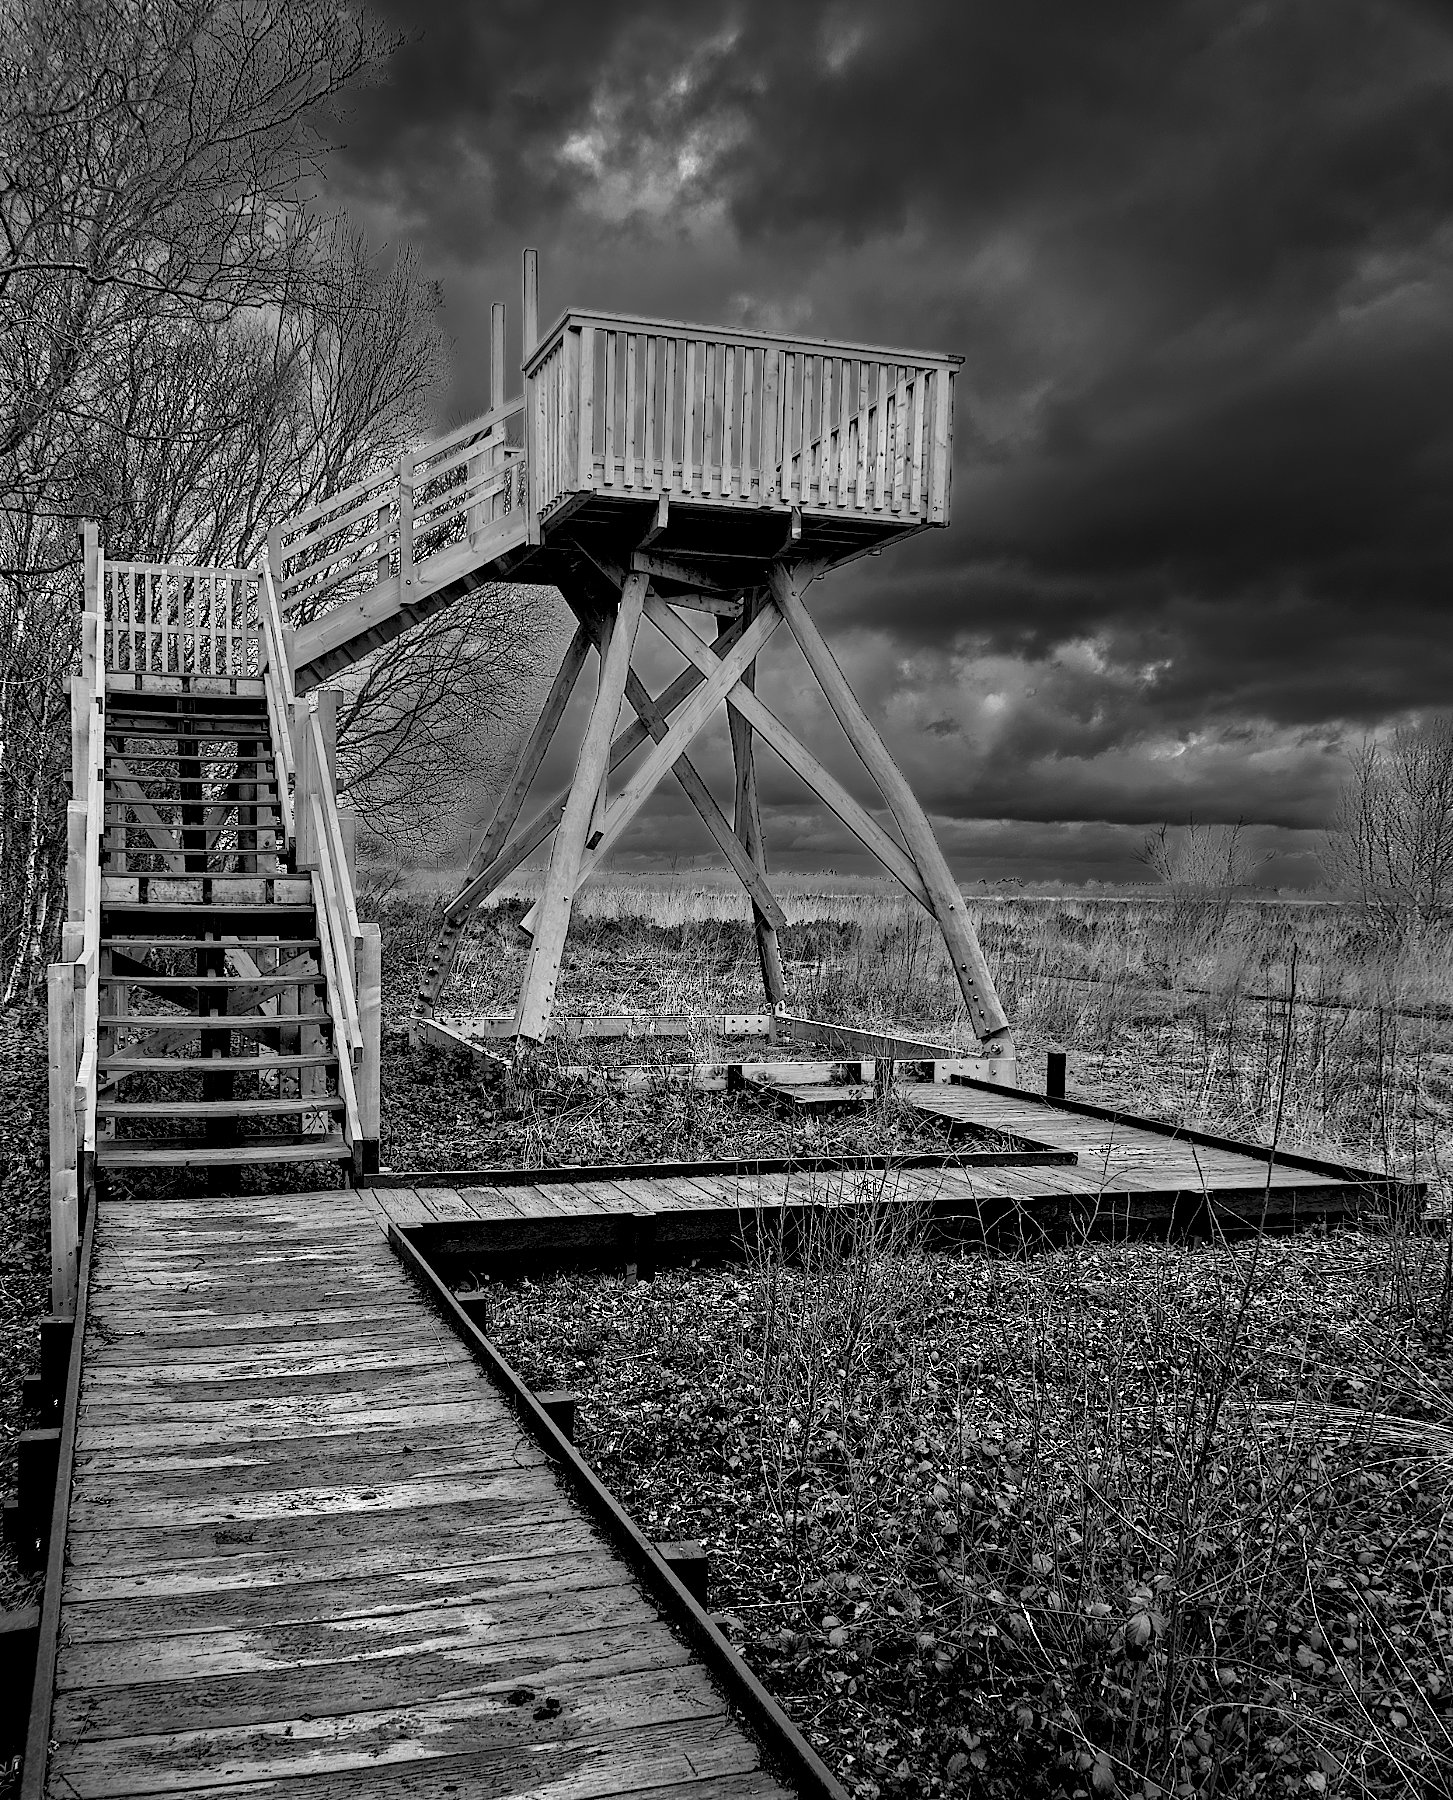
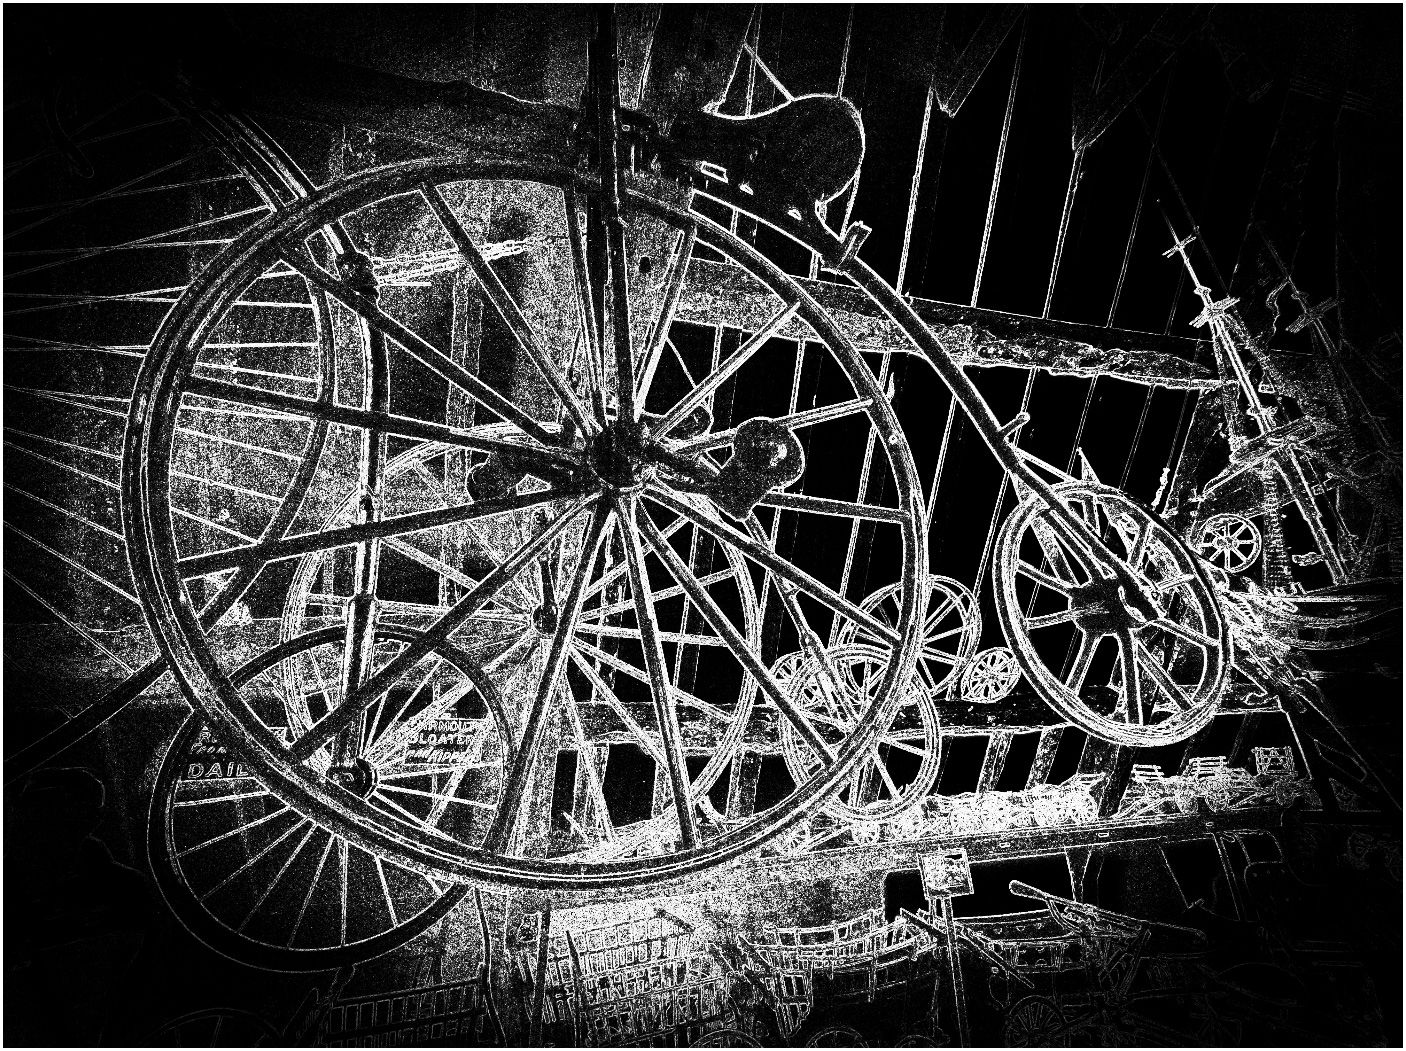
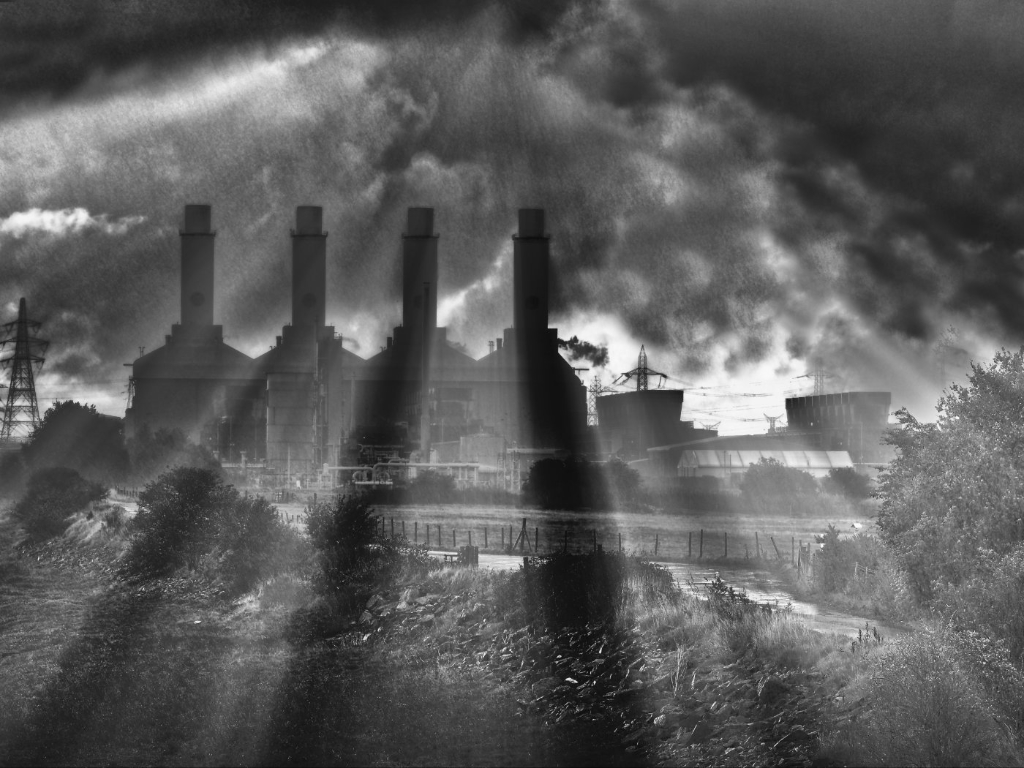
| 64 |
Mar 24 |
Comment |
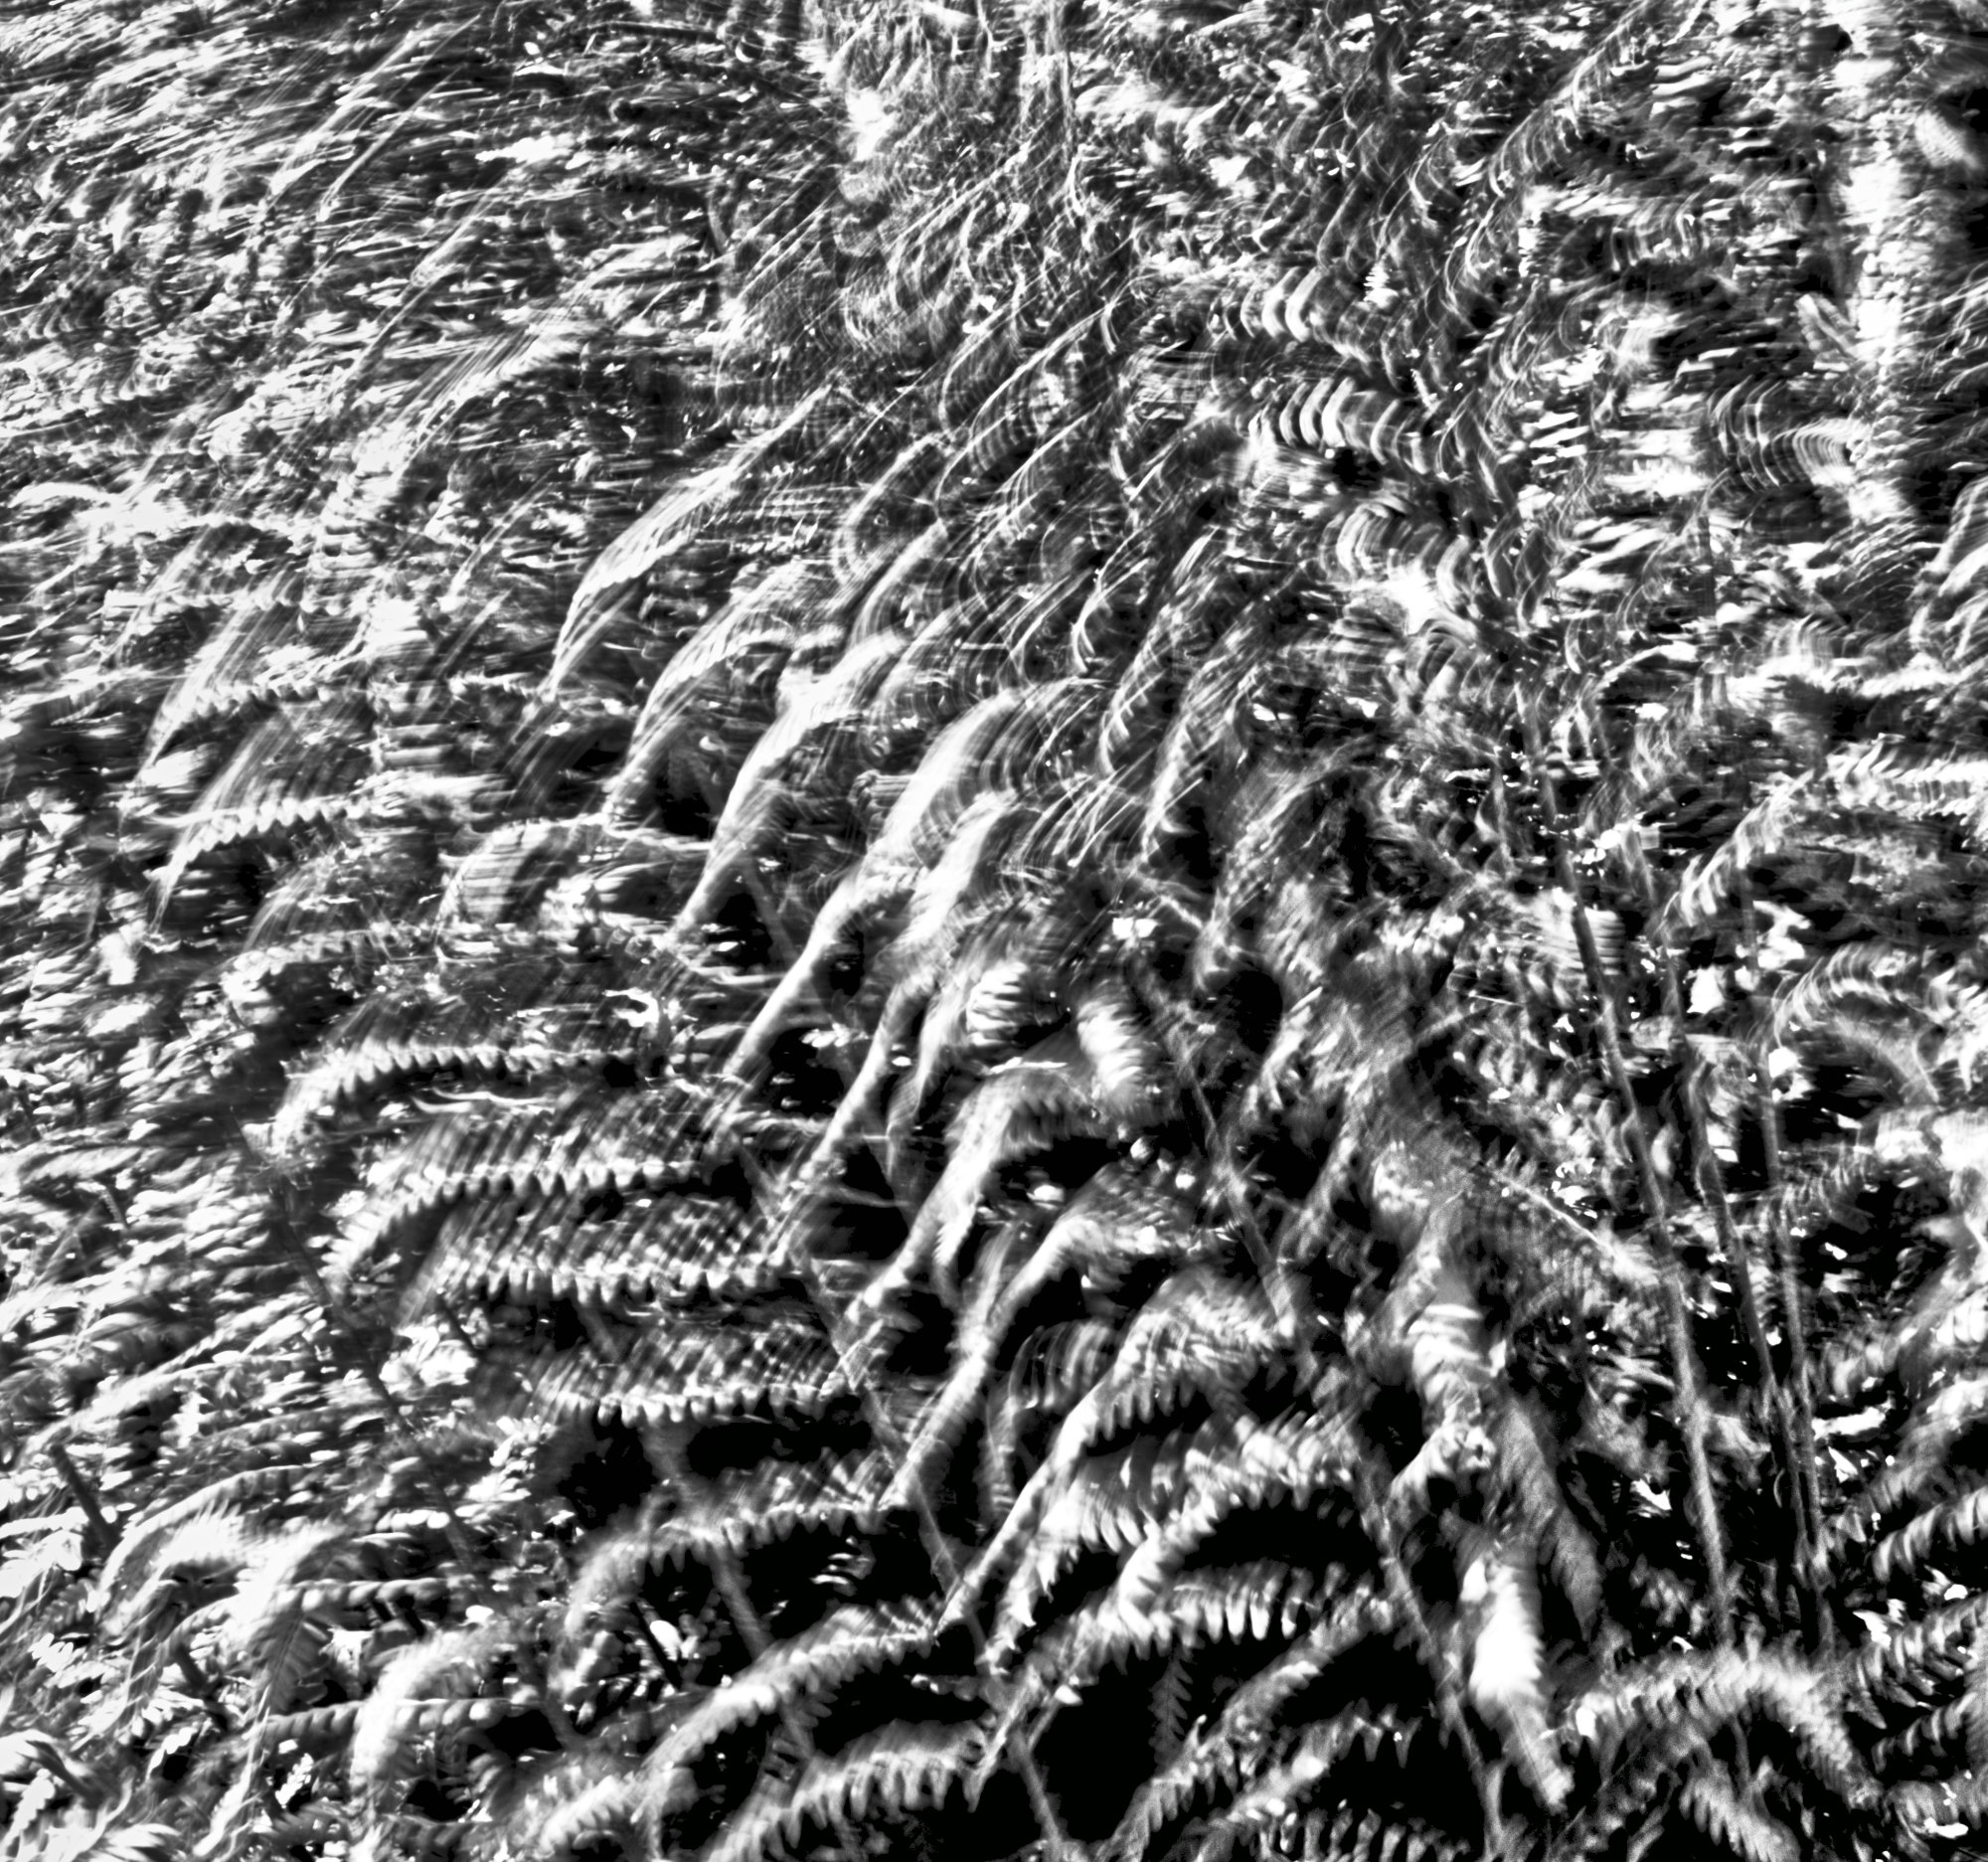
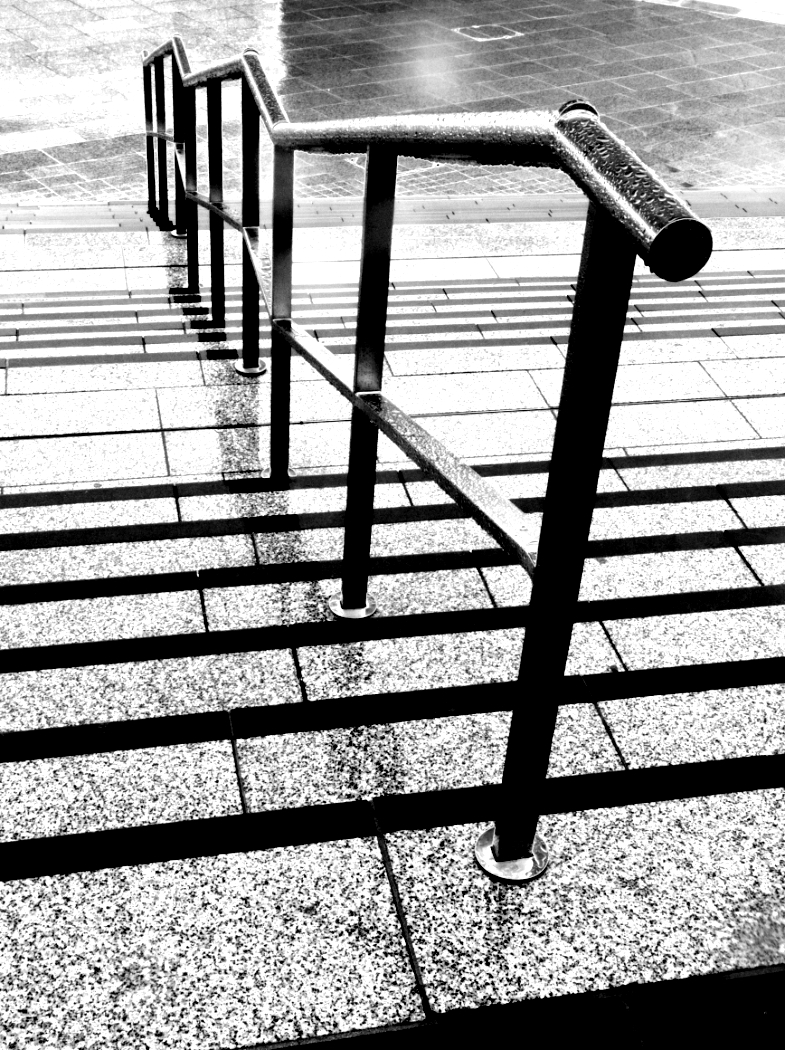
A nice try, as lines and geomtrical patterns are often good sujects for mono. But to me, this picture is too fussy, there are lines and details everywhere. It doesn't seem to be a natural image for high key, and I prefer John's third version. Perhaps even a little darker, especially the sky. |
Mar 27th |
| 64 |
Mar 24 |
Comment |
I've probably said before, but IR is never my cup of tea. It looks like a negative to me, so I took a screen shot and inverted it in Affinity, but I didn't like the result either. Sorry! |
Mar 27th |
| 64 |
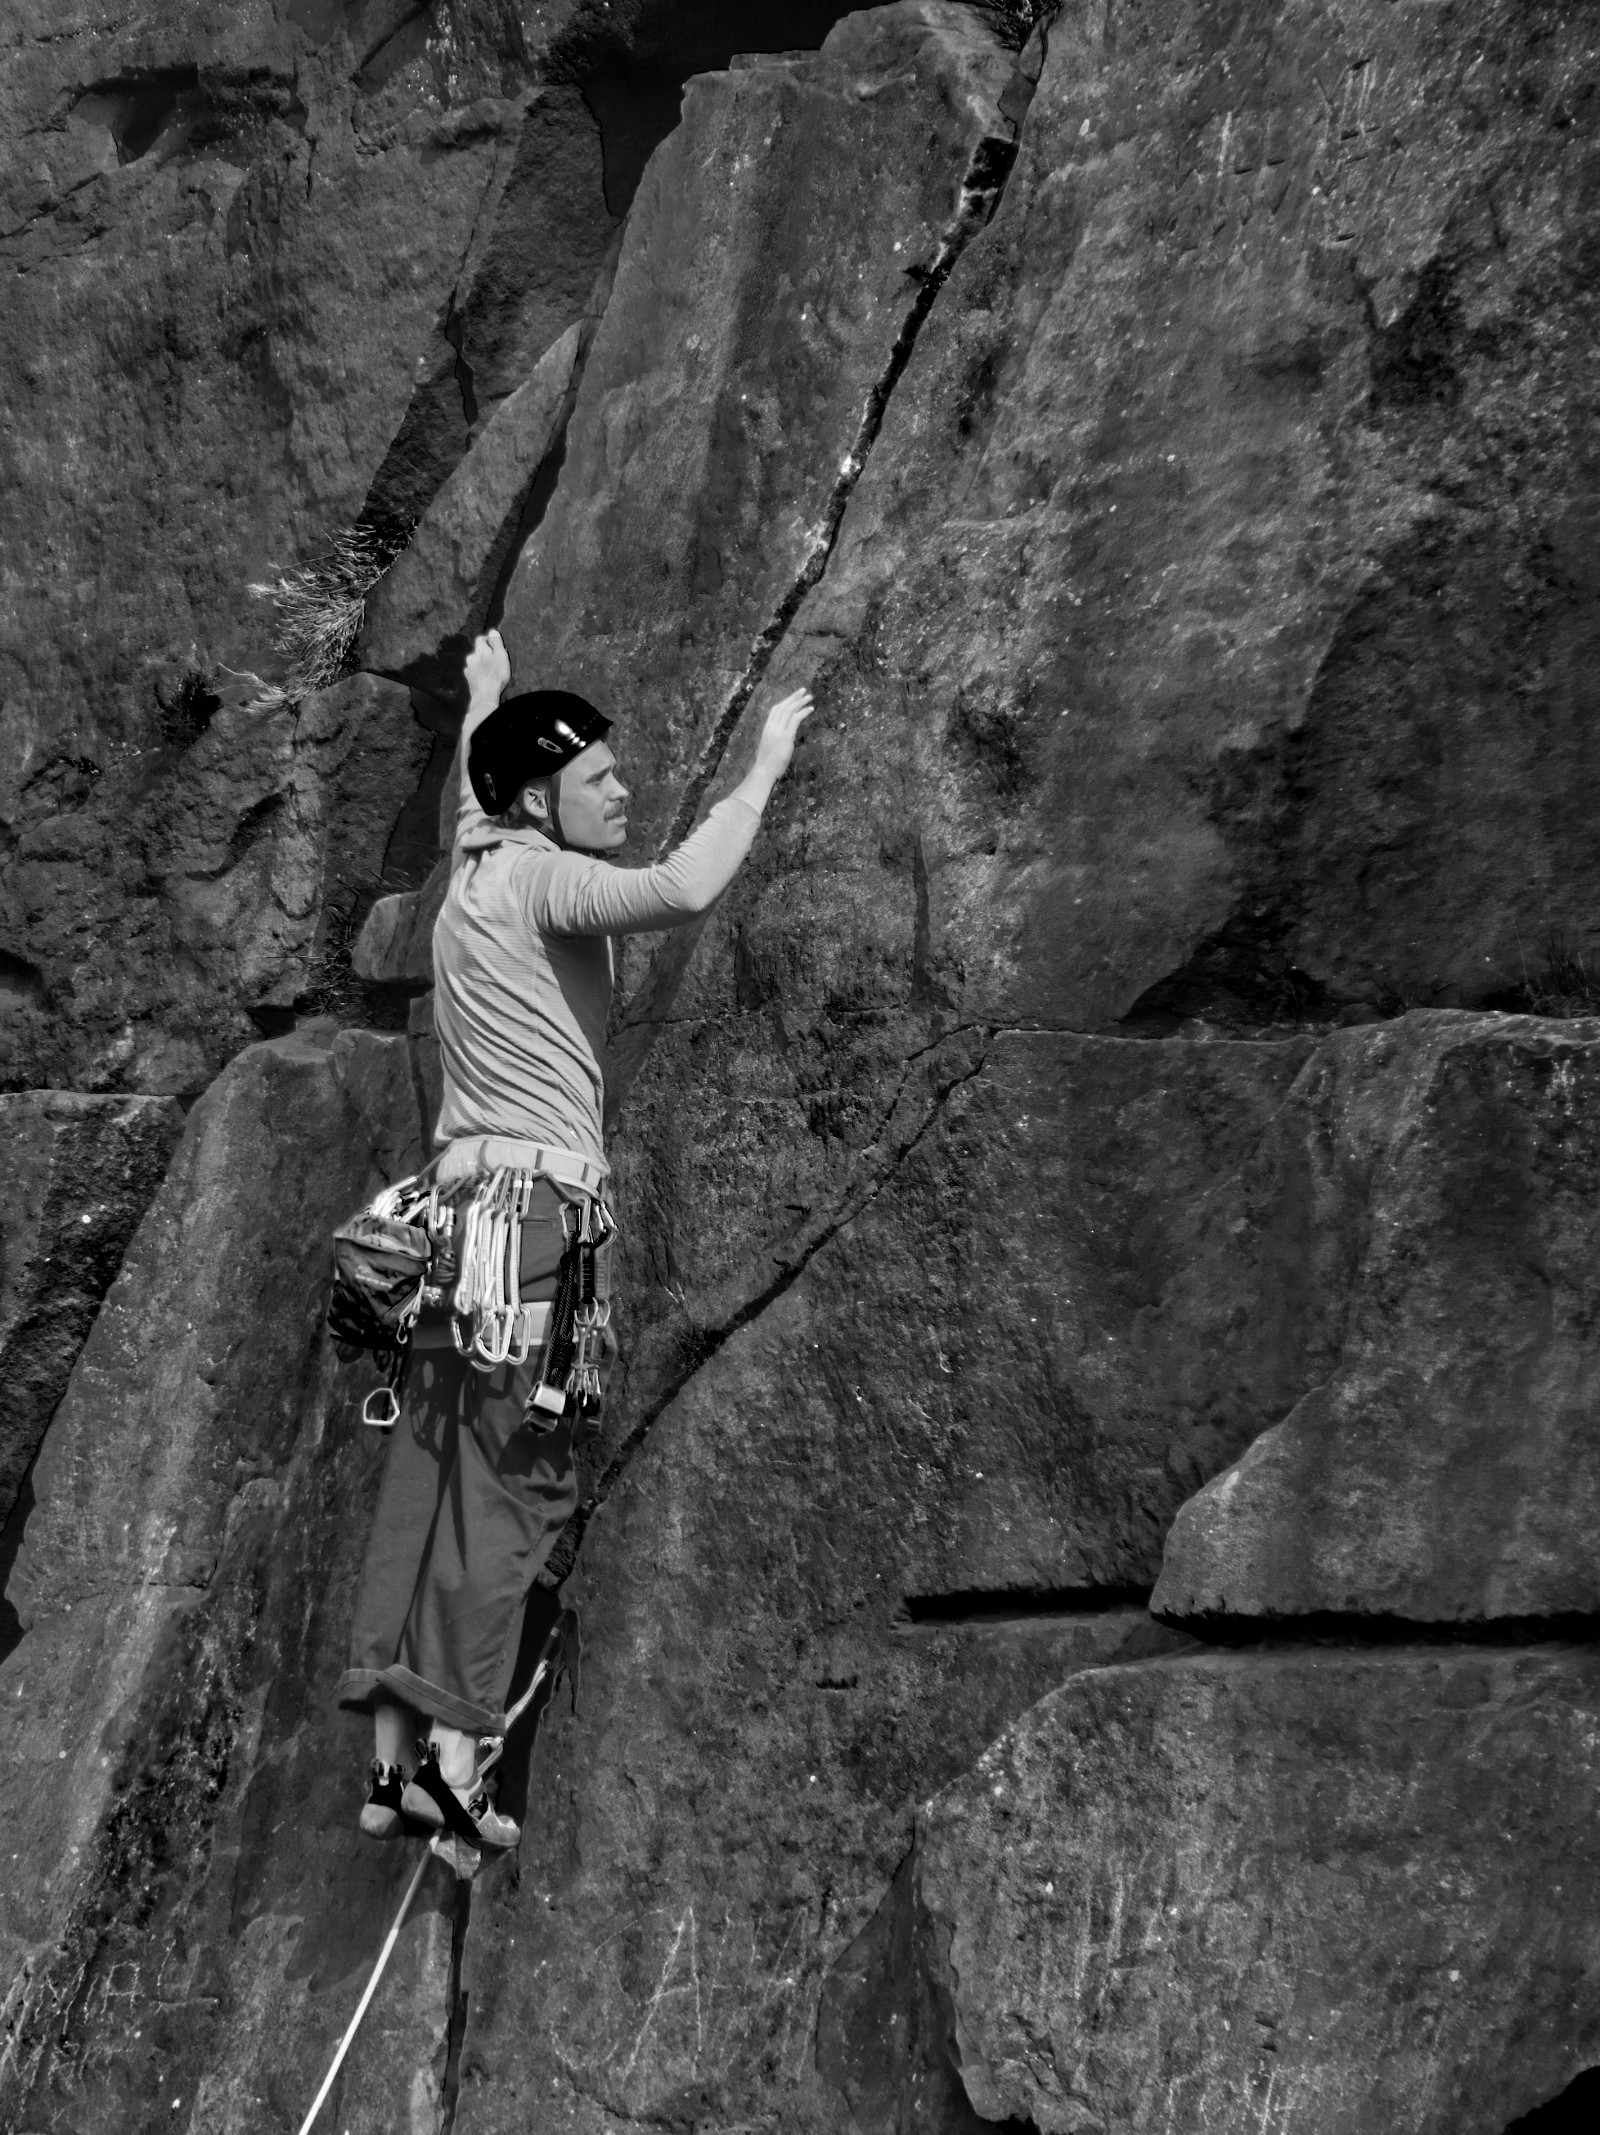
Mar 24 |
Reply |
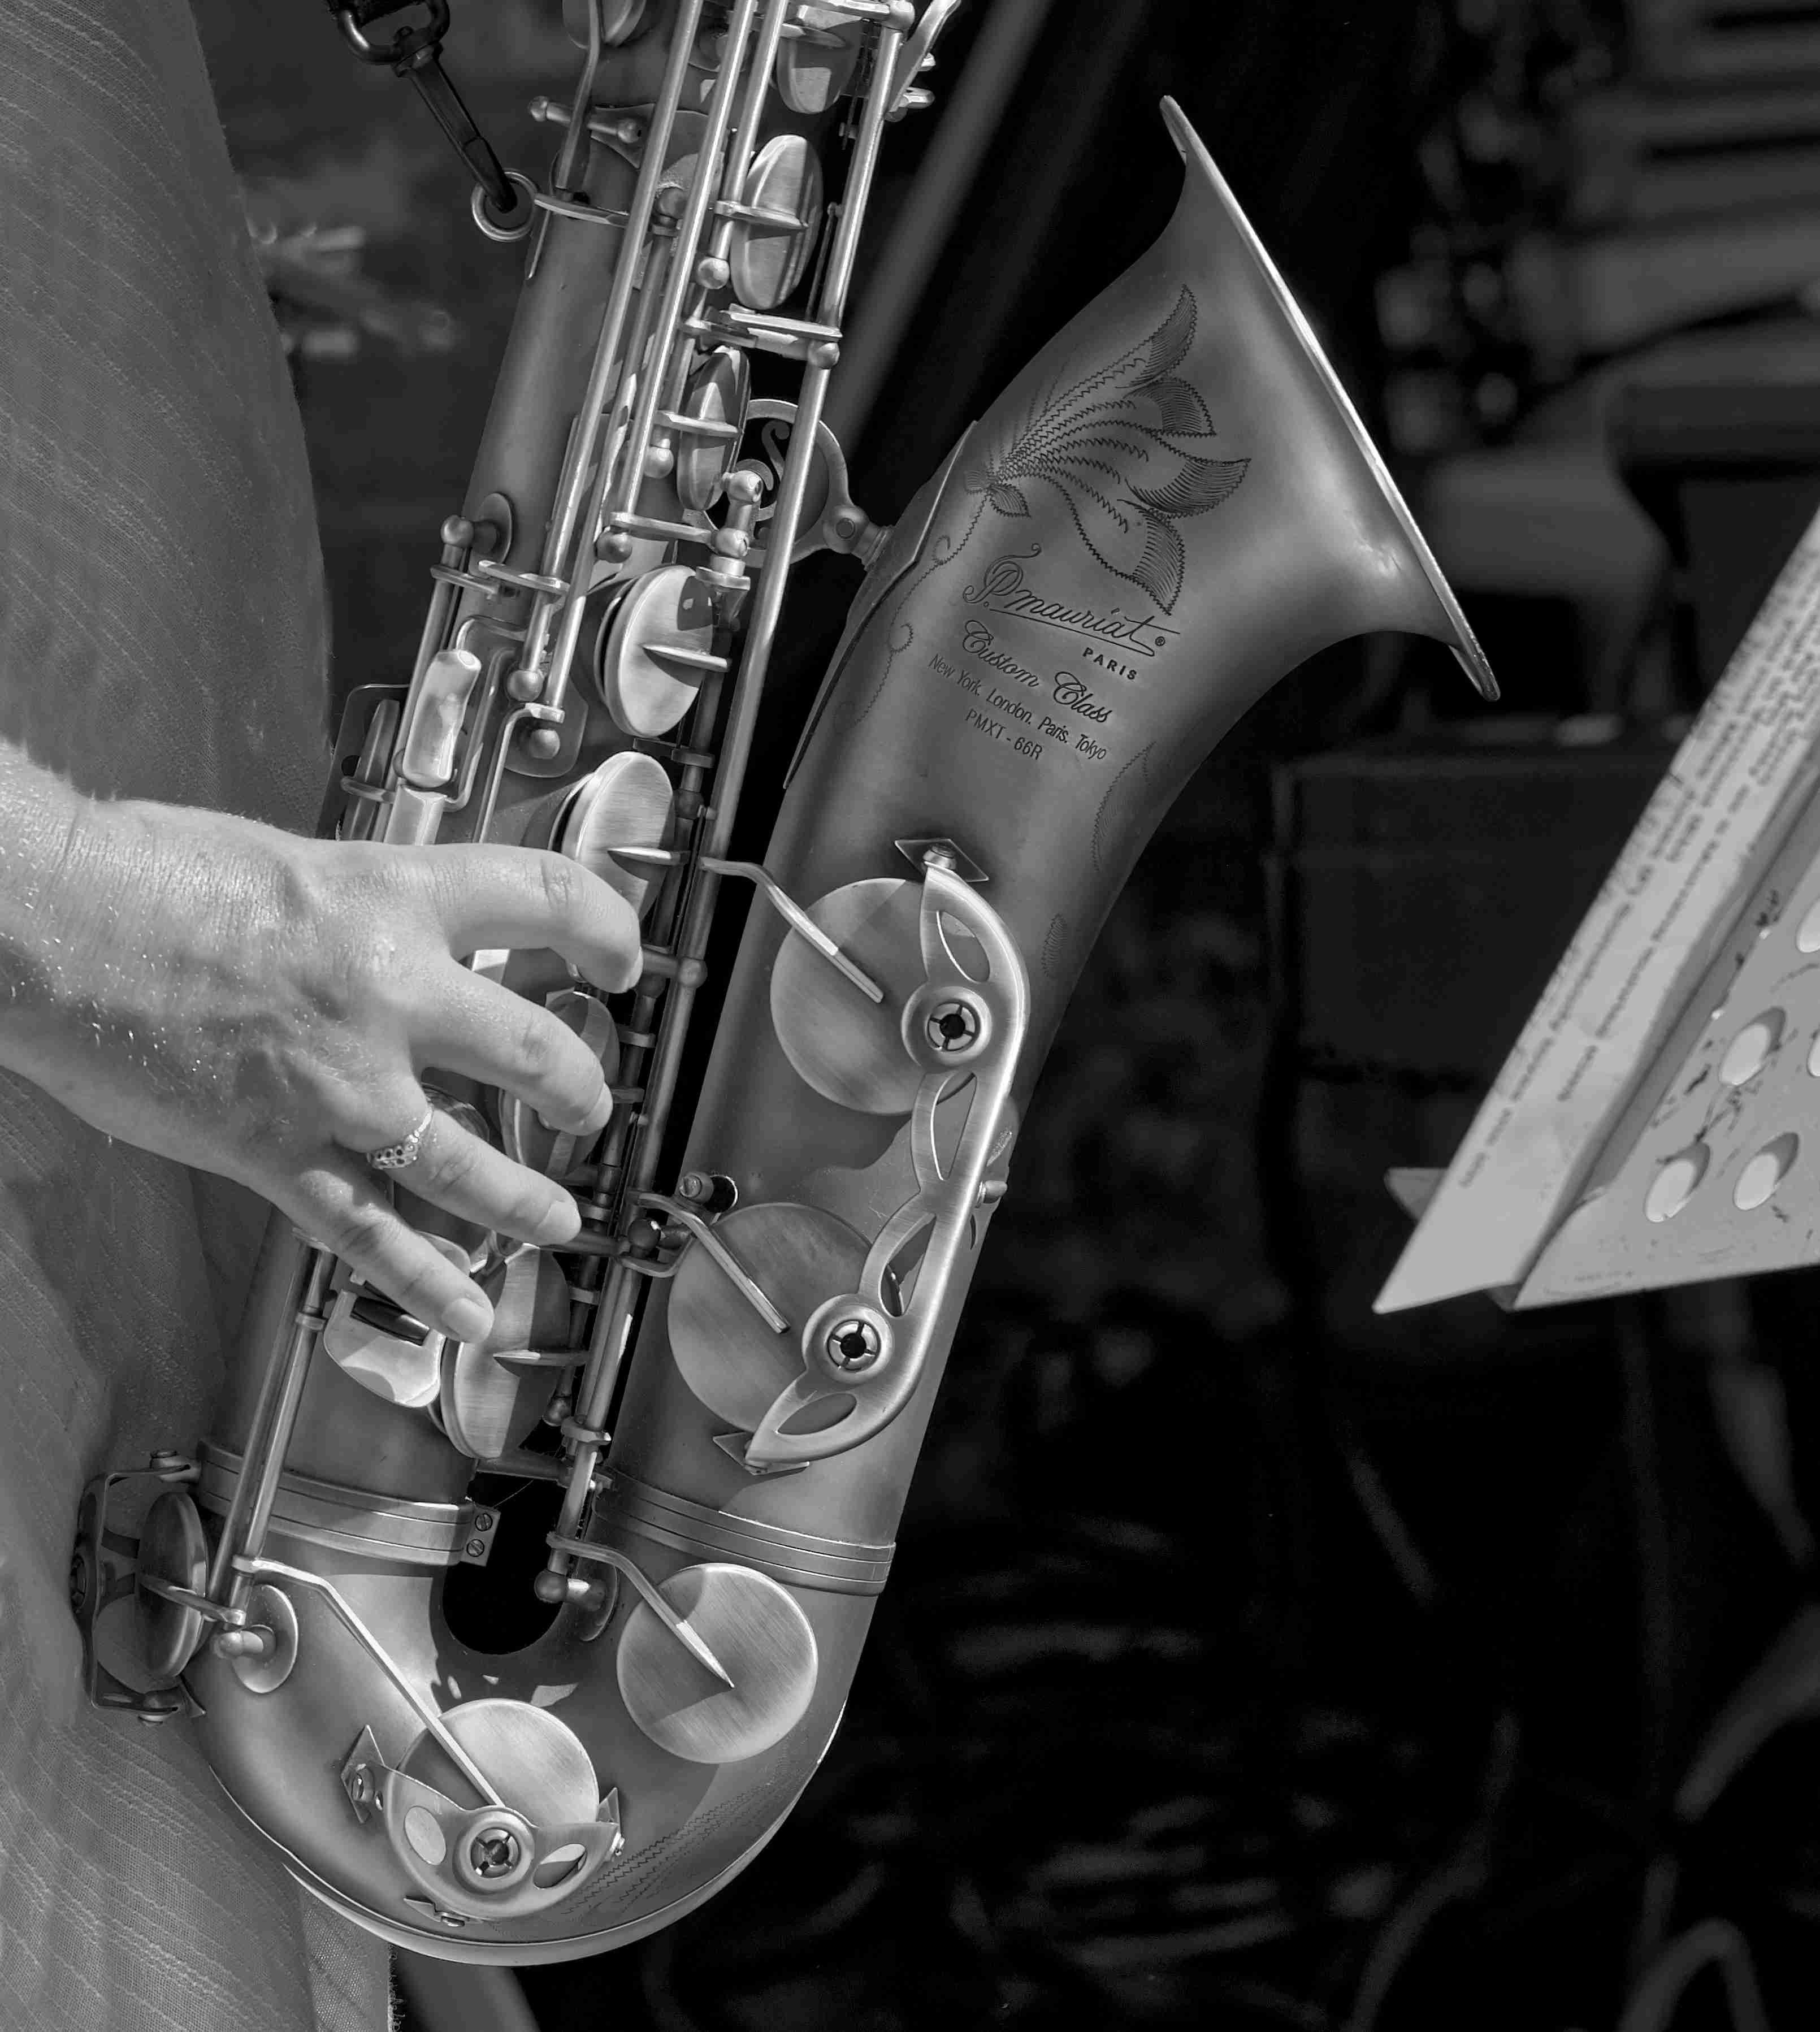
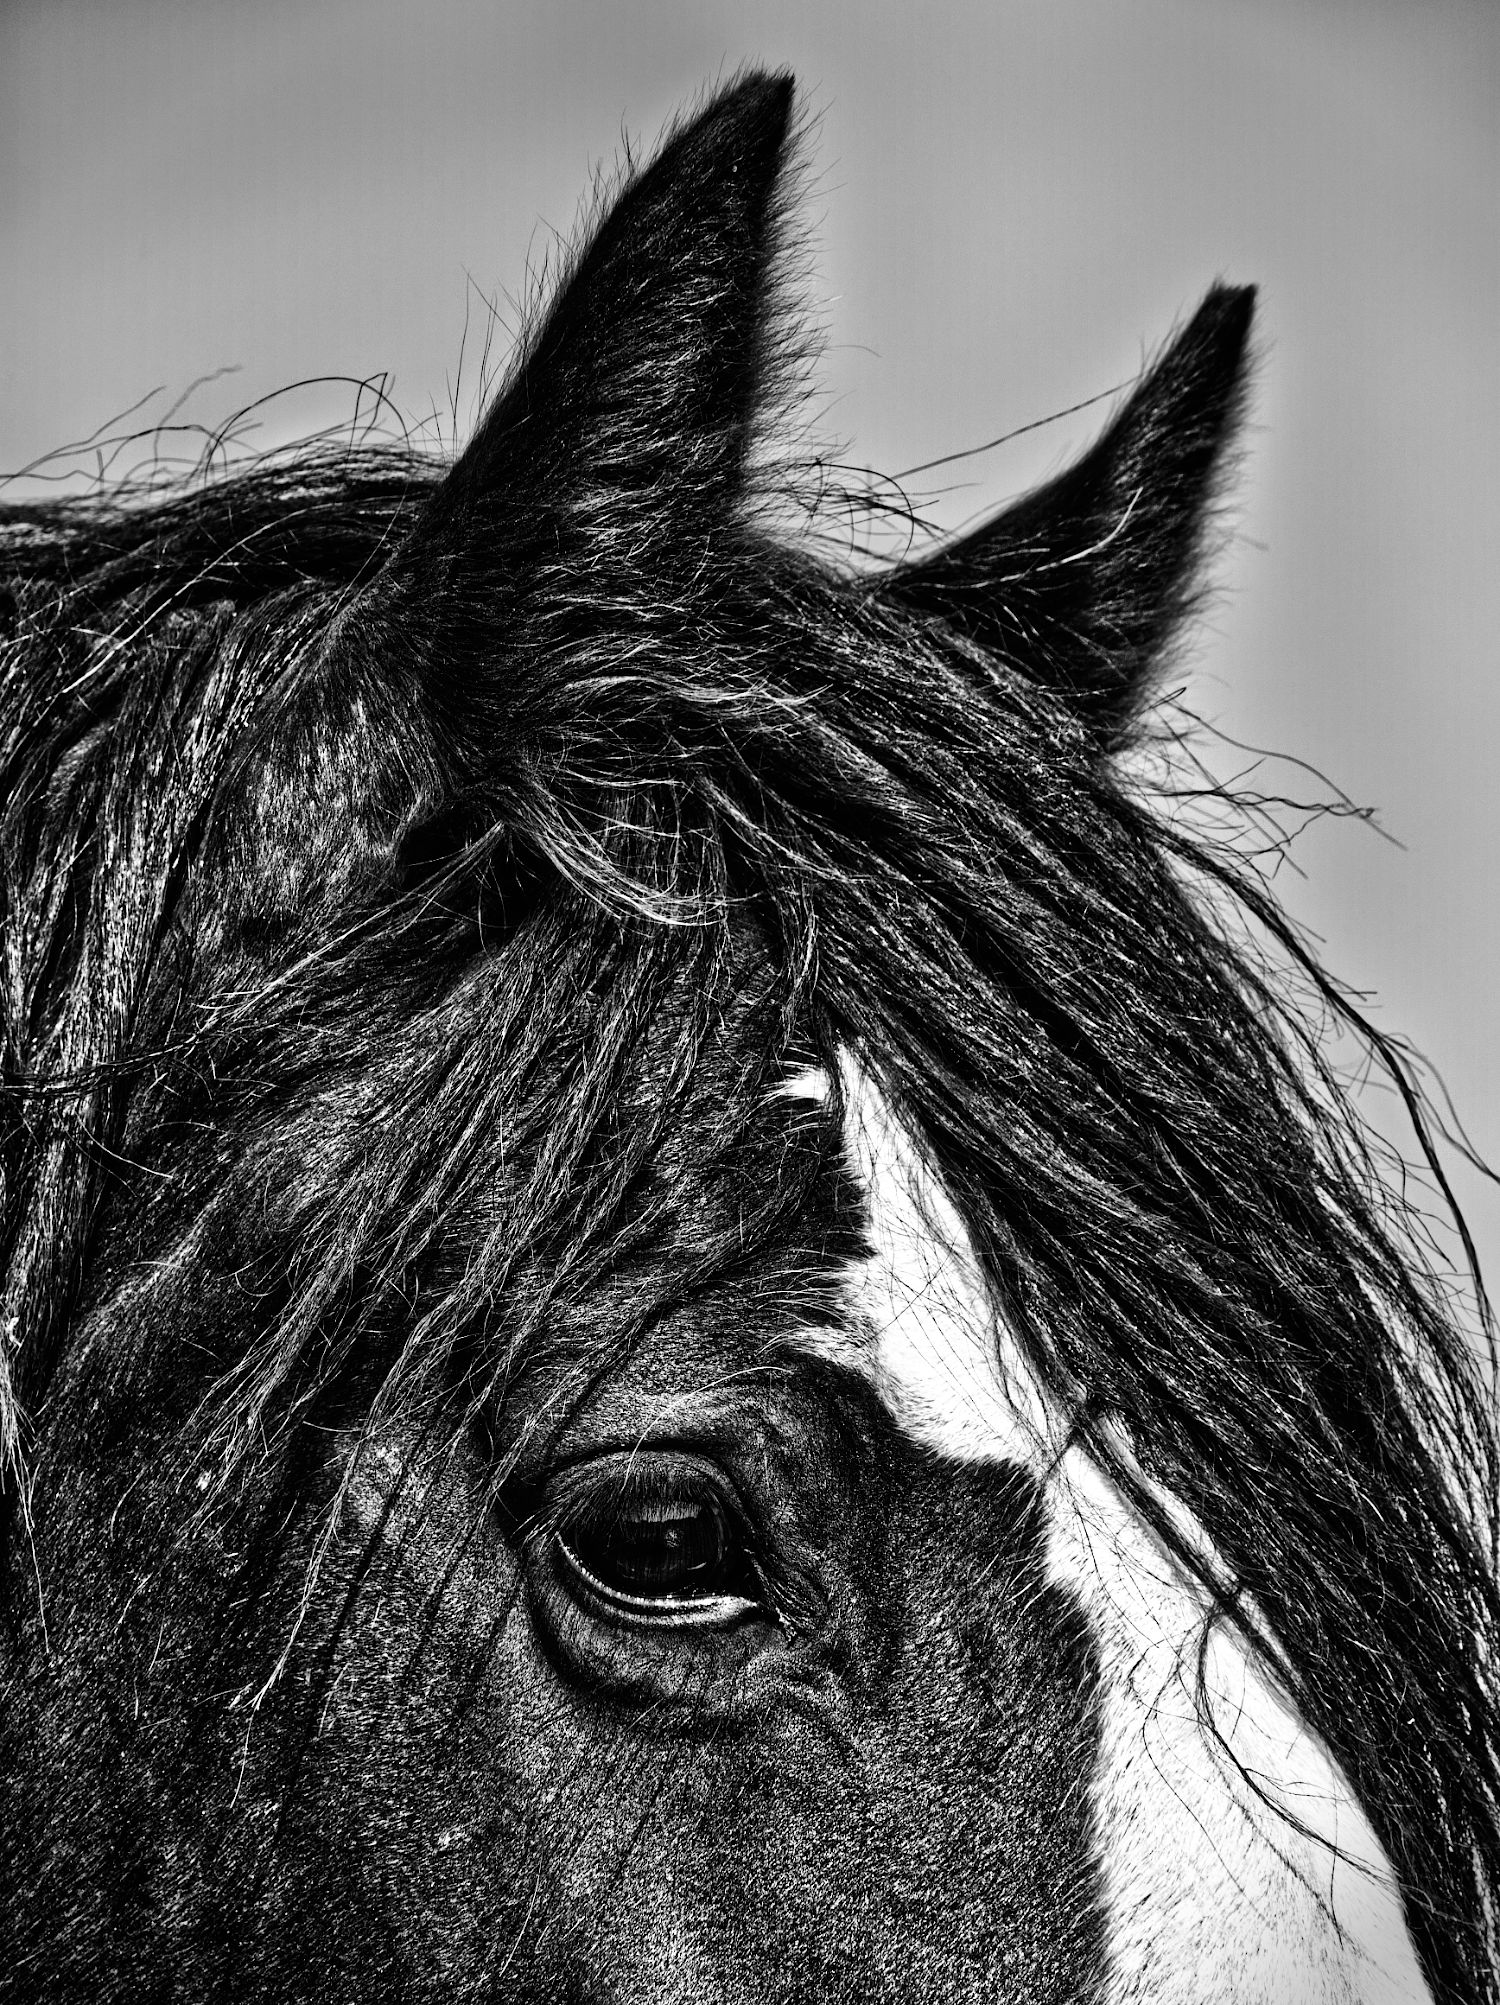
Thanks, Stan. I always focus AF single + manual, and use the focus highlight to make sure I've got the right area. |
Mar 23rd |
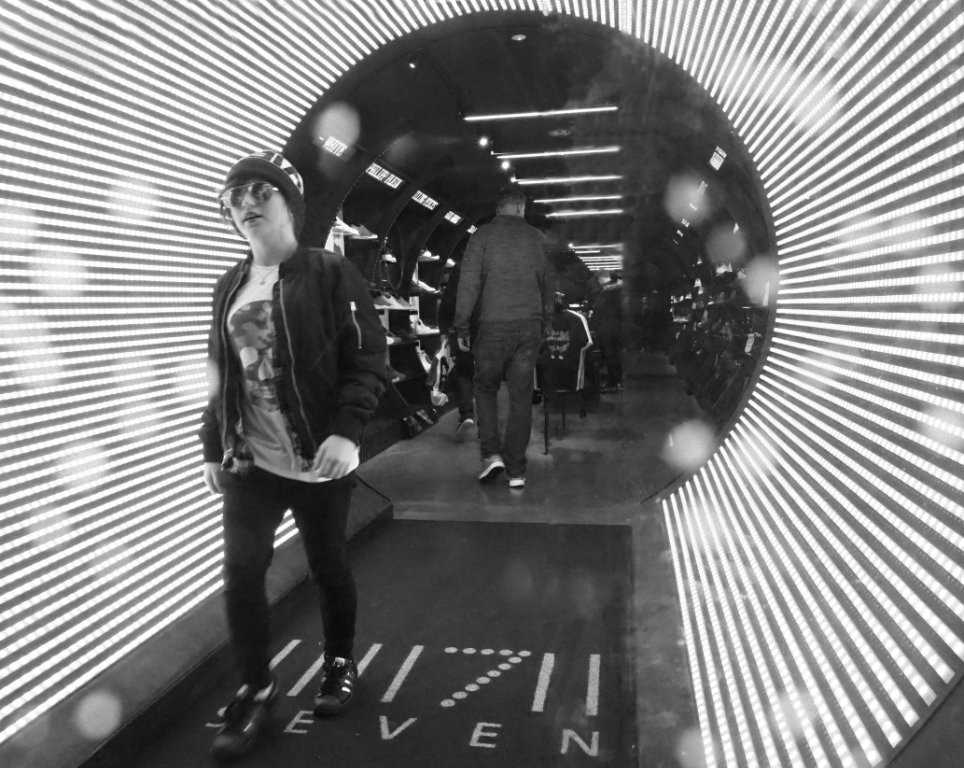
| 64 |
Mar 24 |
Reply |
Thanks, John.
I rarely use a tripod, which I know is no excuse, as I have at least 3 at home (mainly for macro work). An interesting thought, I'll remember it for next time. Although as I pointed out to Chris, the stabilisation of this camera is great, I could easily have gone to f16 or f22 hand held.
I usually think "less" rather than "more" depth of field for non-macro images. I guess it's because micro 4/3 has an inherently larger depth of field for a given focal length and aperture. I remember my 35mm days with some longing but won't change to full frame for weight reasons. I recently sold my 7-14mm f4 lens and replaced it with prime lenses 9mm, 17mm and 25mm at f1.8 and f1.4 just for getting smaller depths of field, but I didn't carry them that morning either. The latest Olly lenses at these focal lengths are f1.2 I think. I'm tempted but they are expensive! And heavier. There are so many ways to take a given scene, and I guess someone will prefer each one, but I think this strikes a balance that I like. |
Mar 17th |
| 64 |
Mar 24 |
Reply |
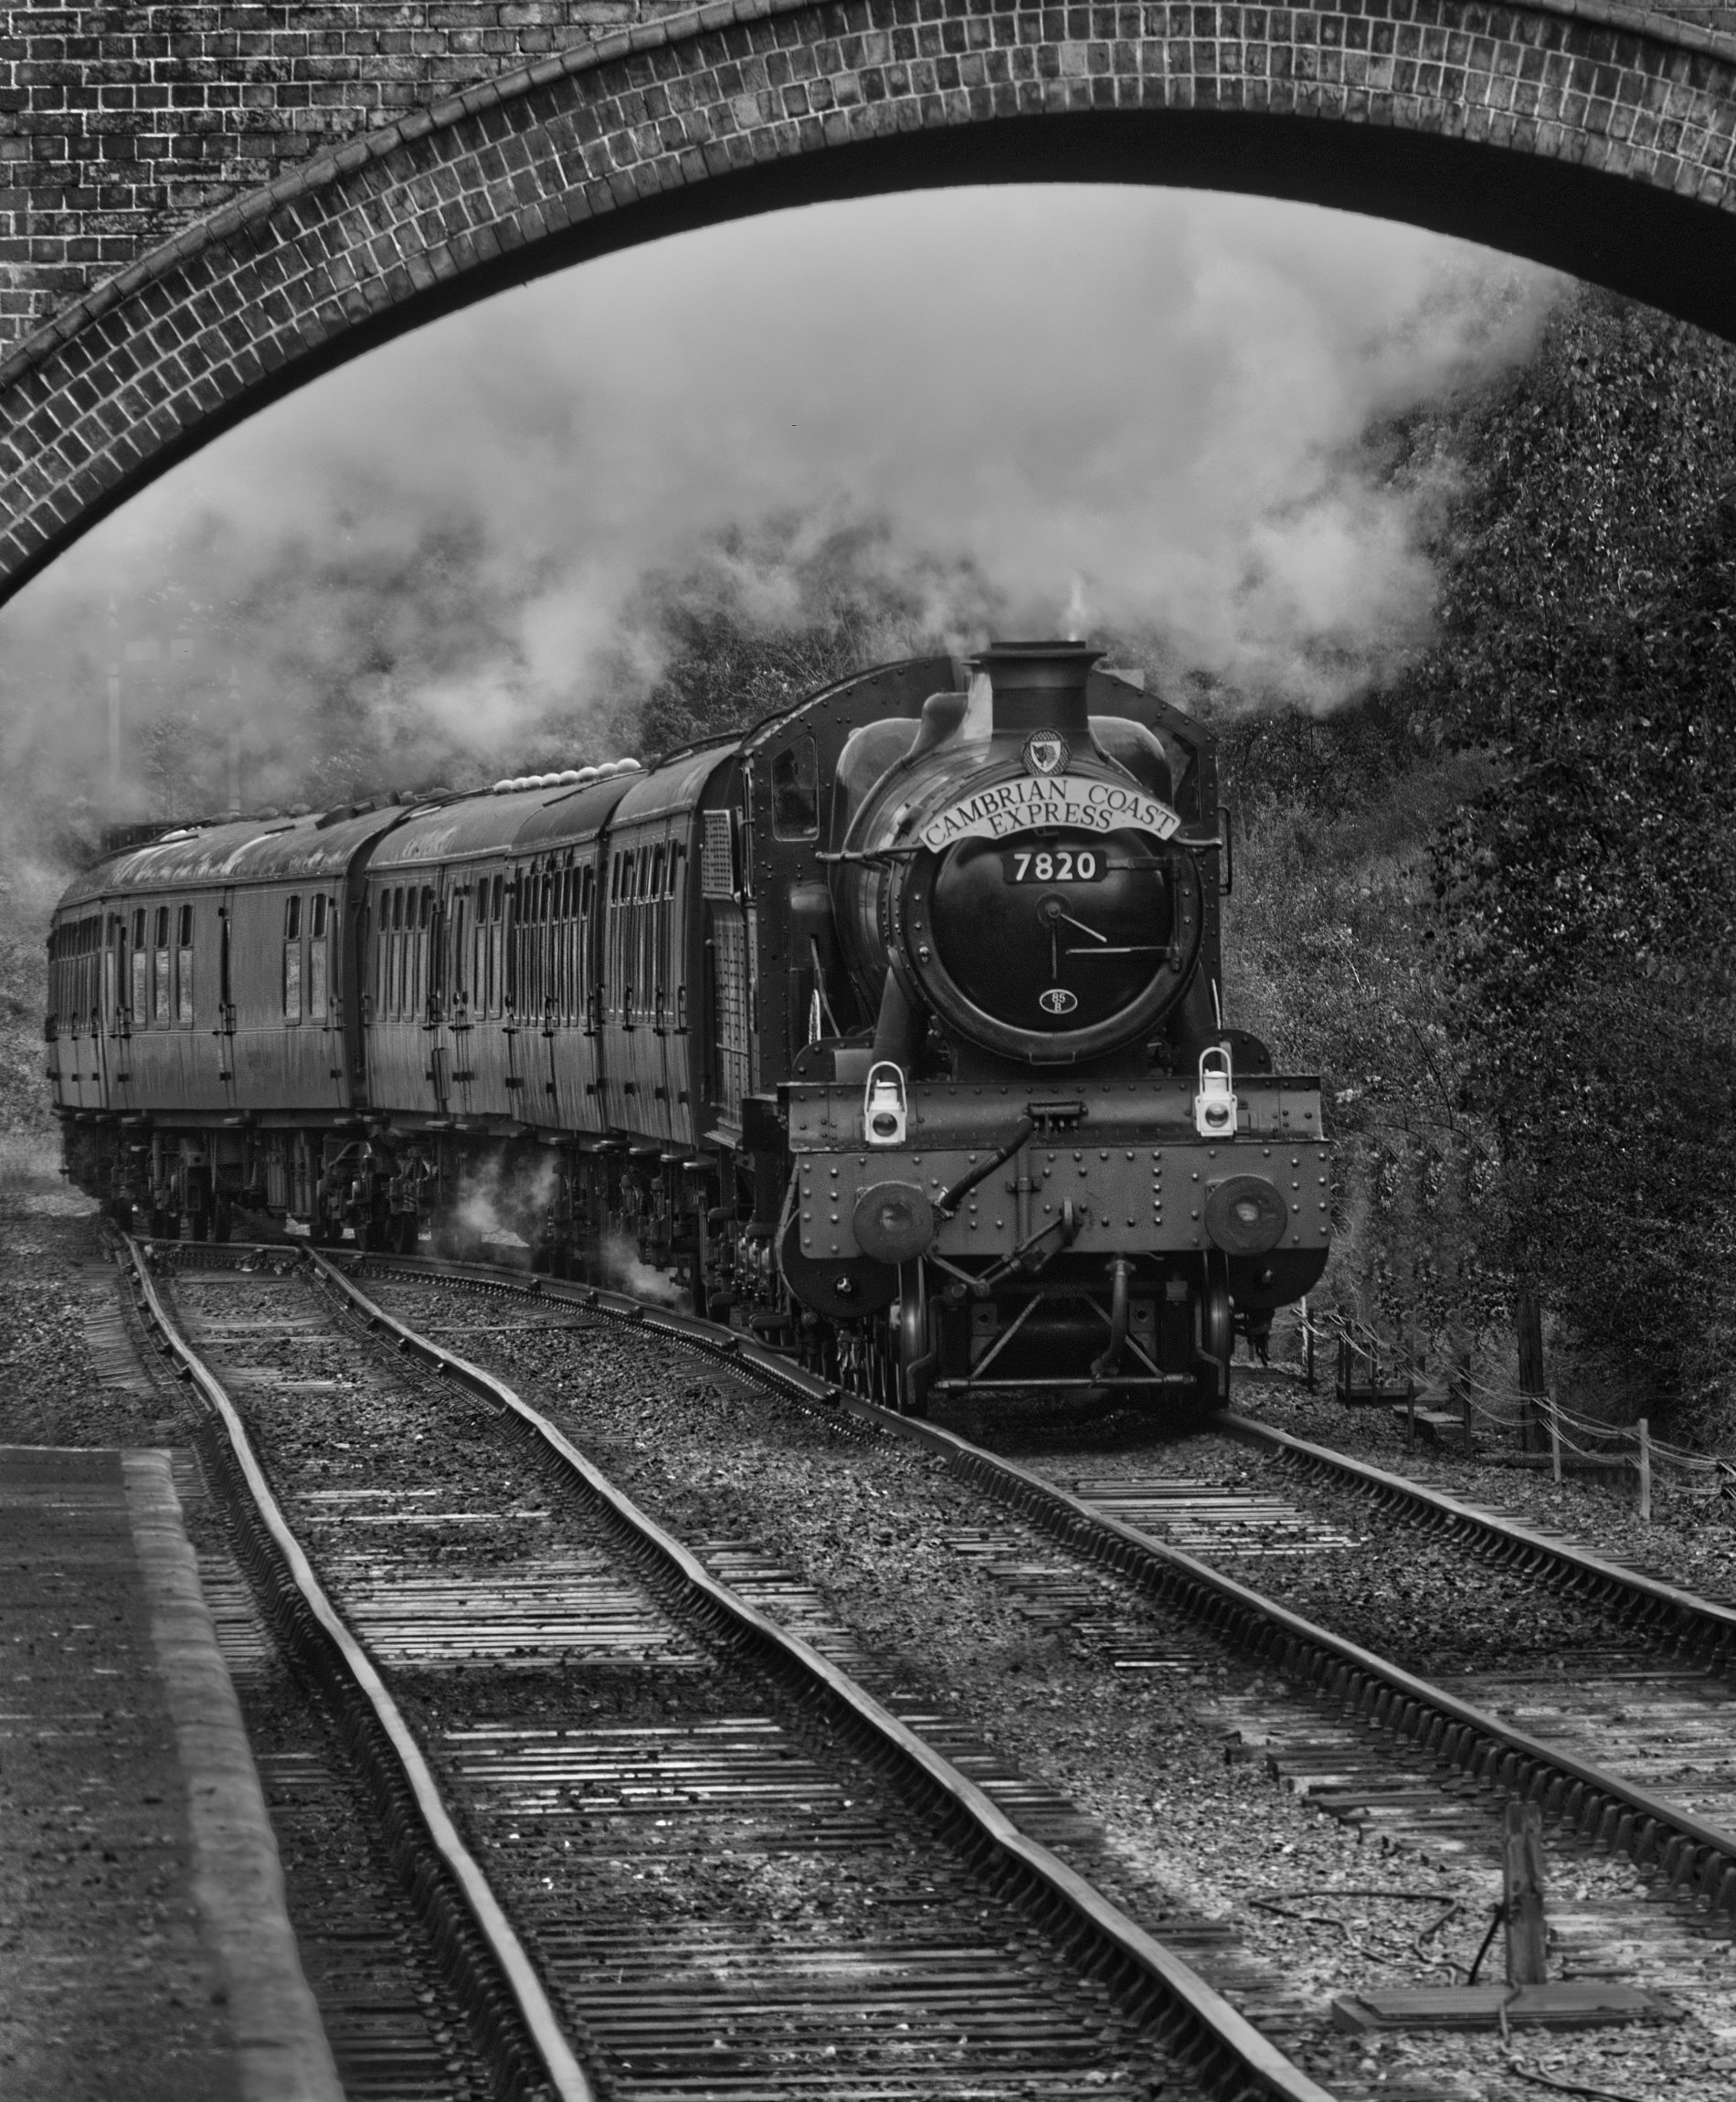
Thanks Chris.
I don't think it's camera shake. This camera at 1/60sec and 42mm is rock solid in my hand, I can go down to 1 sec if I'm careful and still get a sharp result. I just liked the mist and the mood it caused. |
Mar 17th |
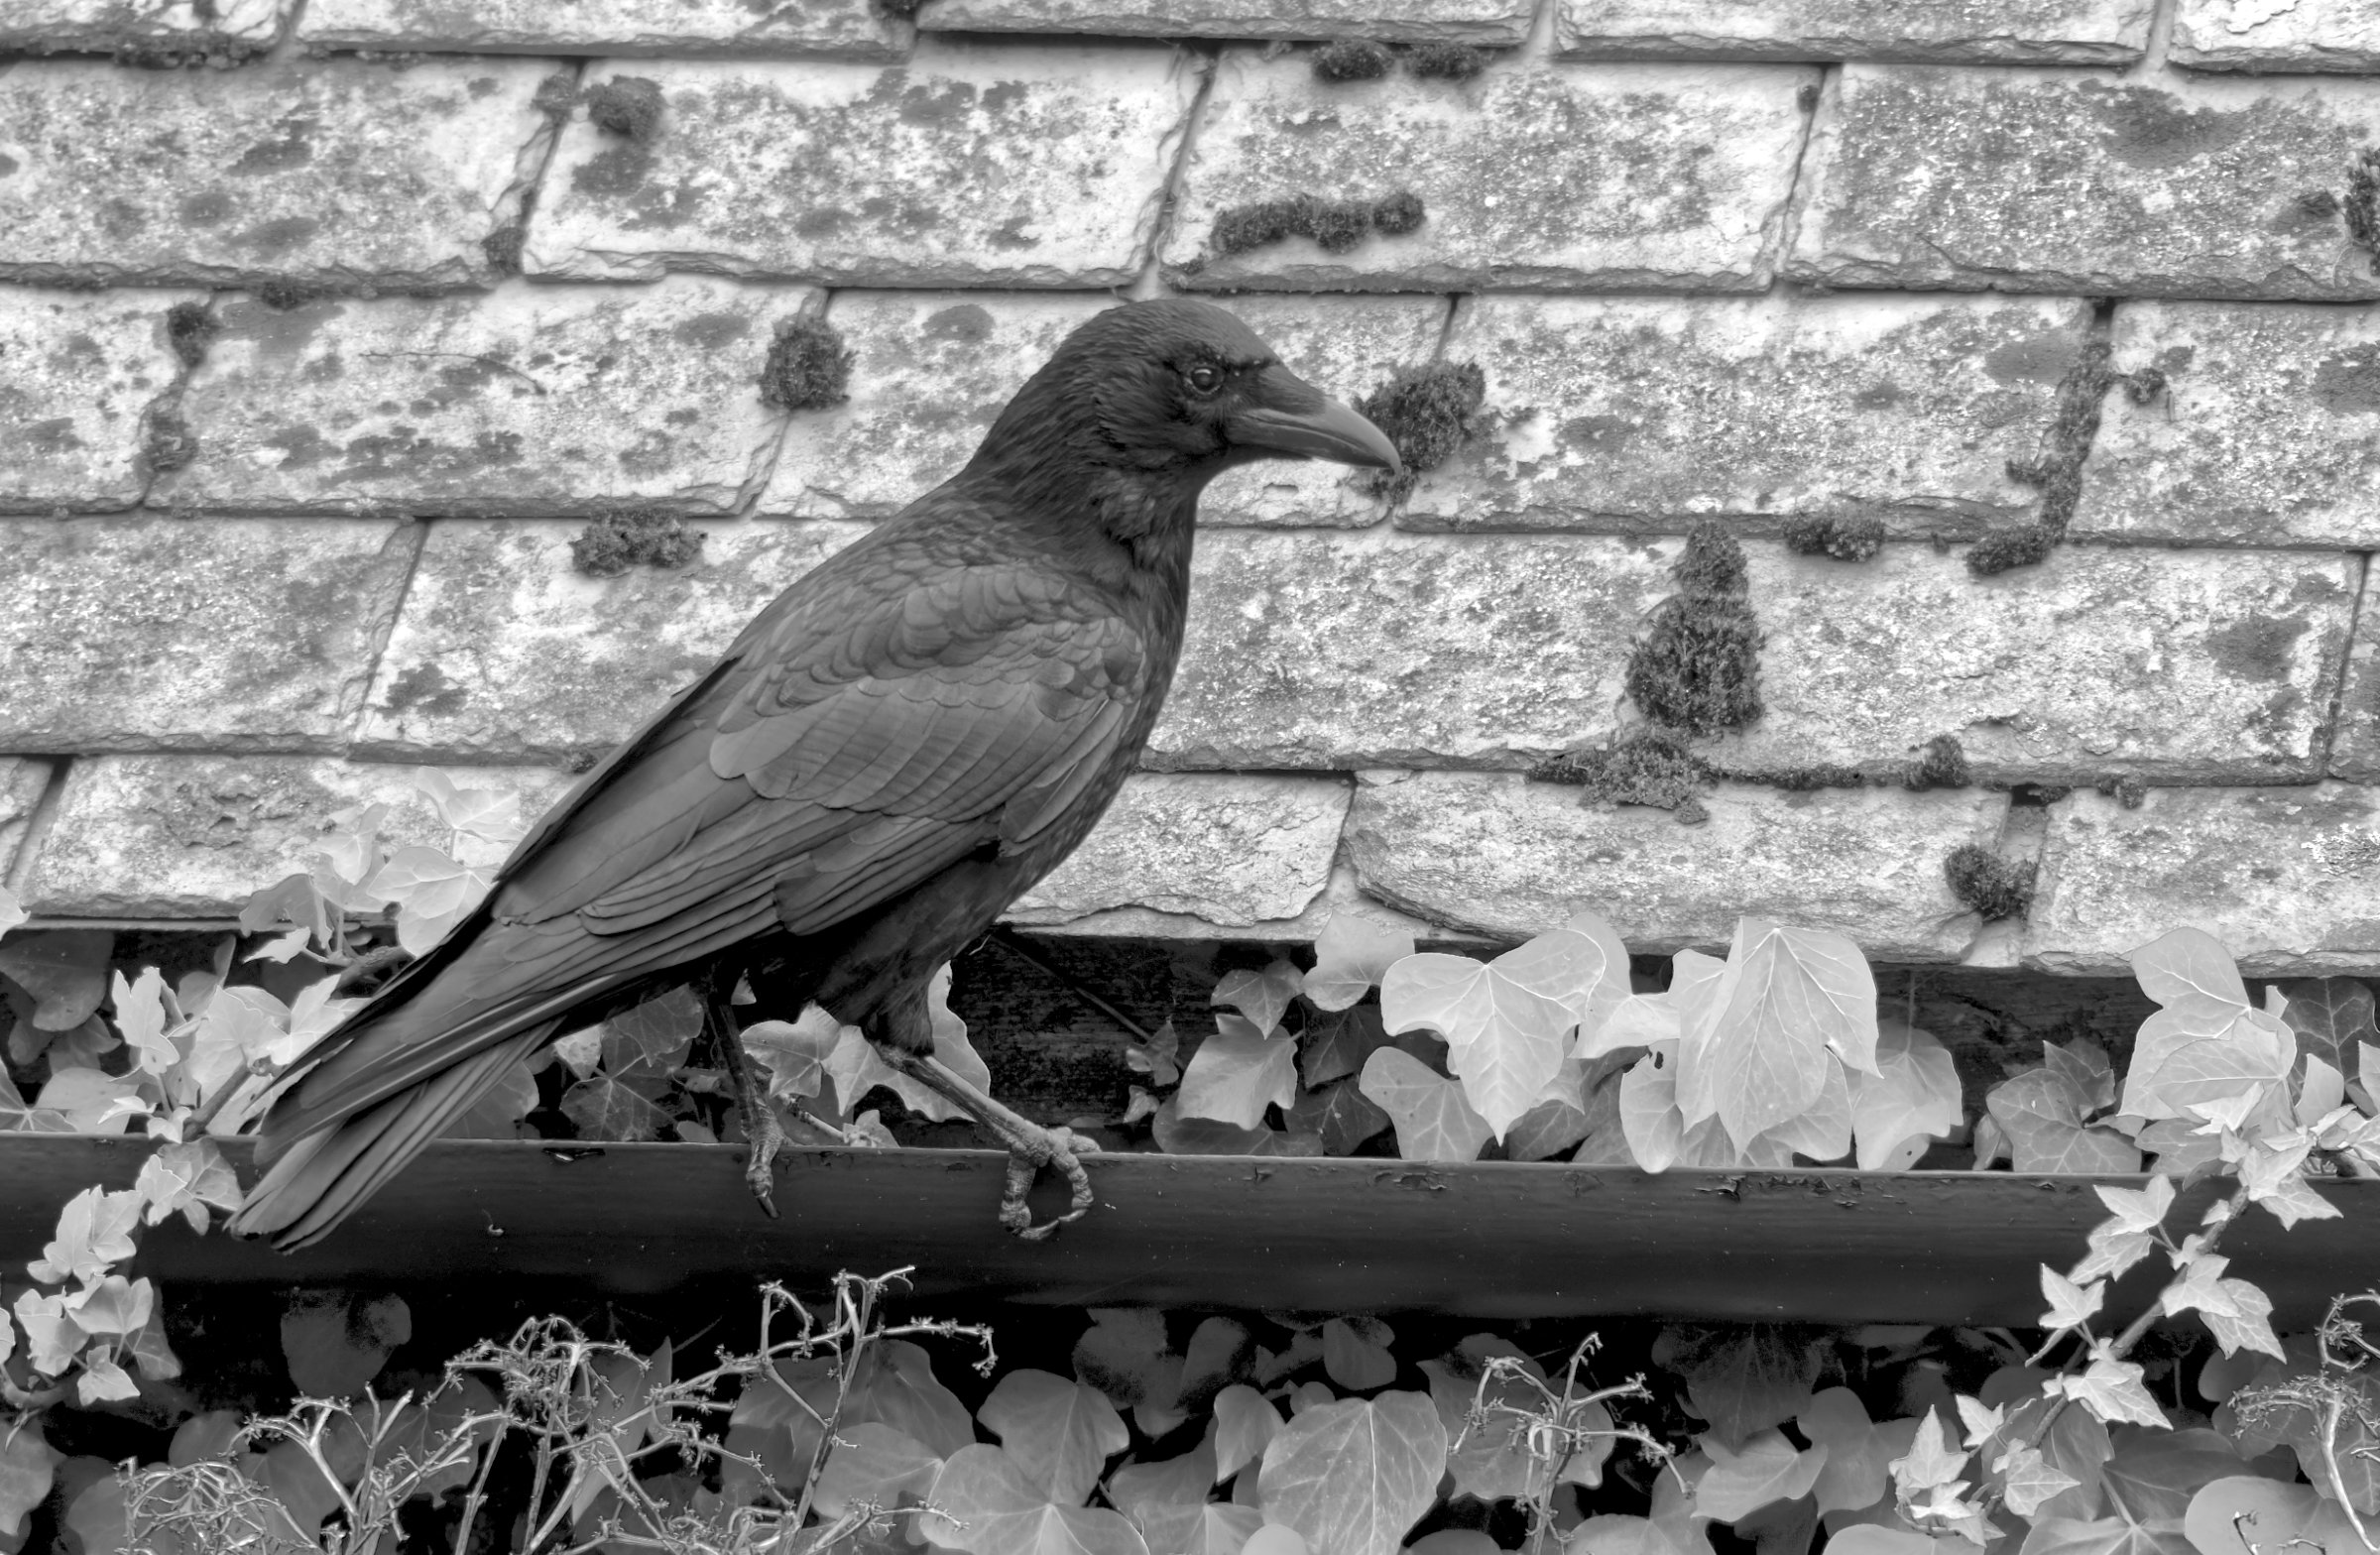
| 64 |
Mar 24 |
Comment |
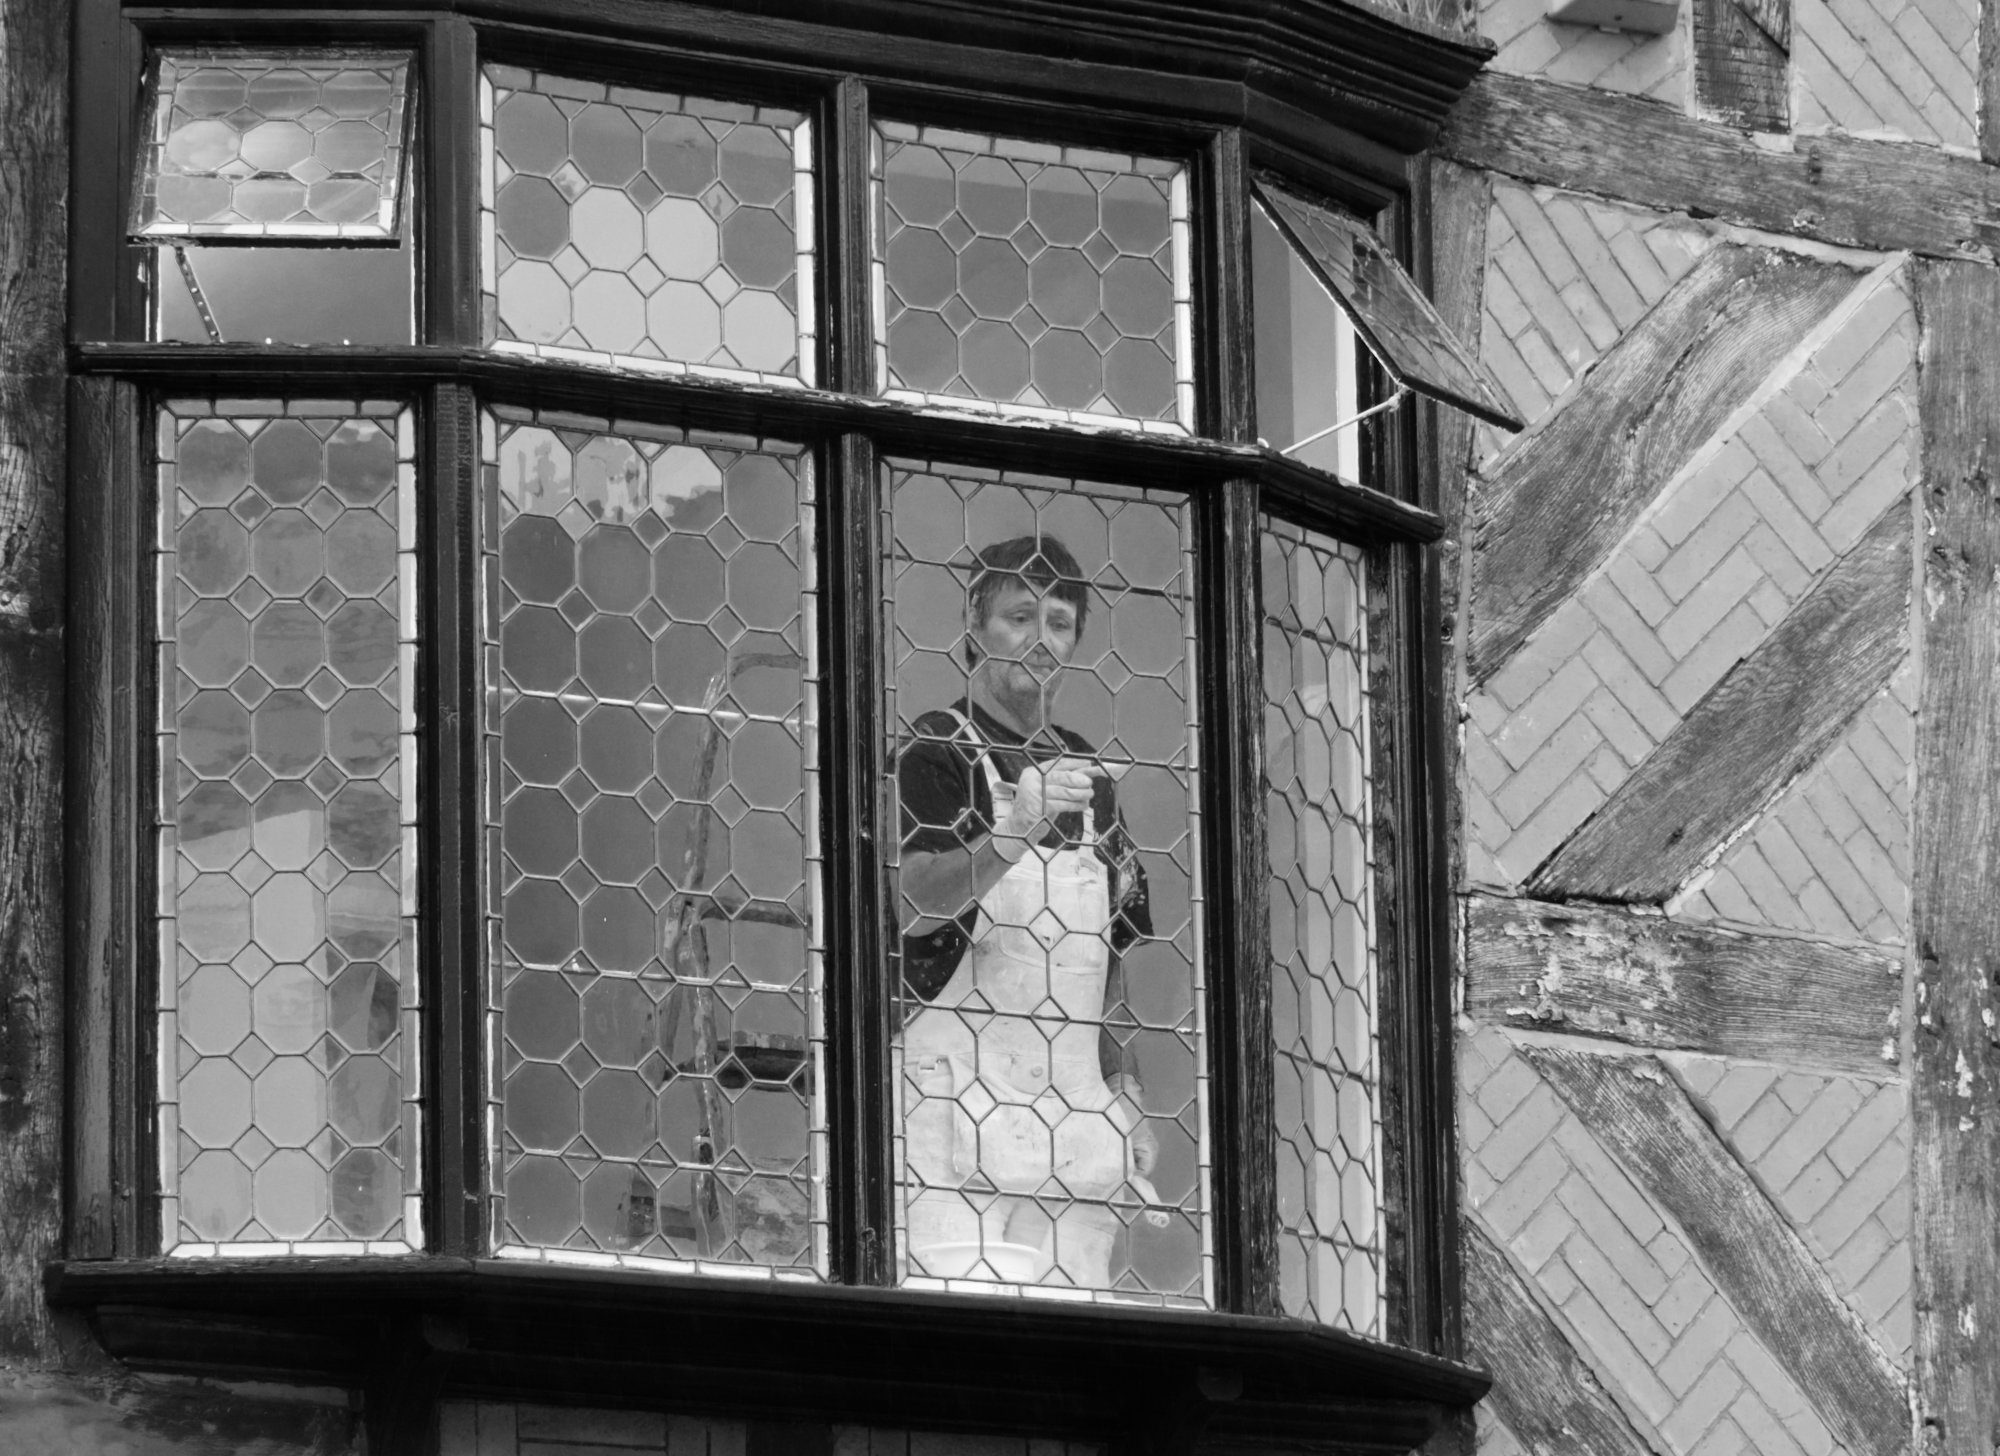
Nice photo, Chris, you've made a modern variation on the "all elements the same (eg windows shut) but one with something different" (eg person in window, window open, etc). I like the fact that some windows are white and others appear to be grey, which adds to the pattern and interest for me.
|
Mar 13th |
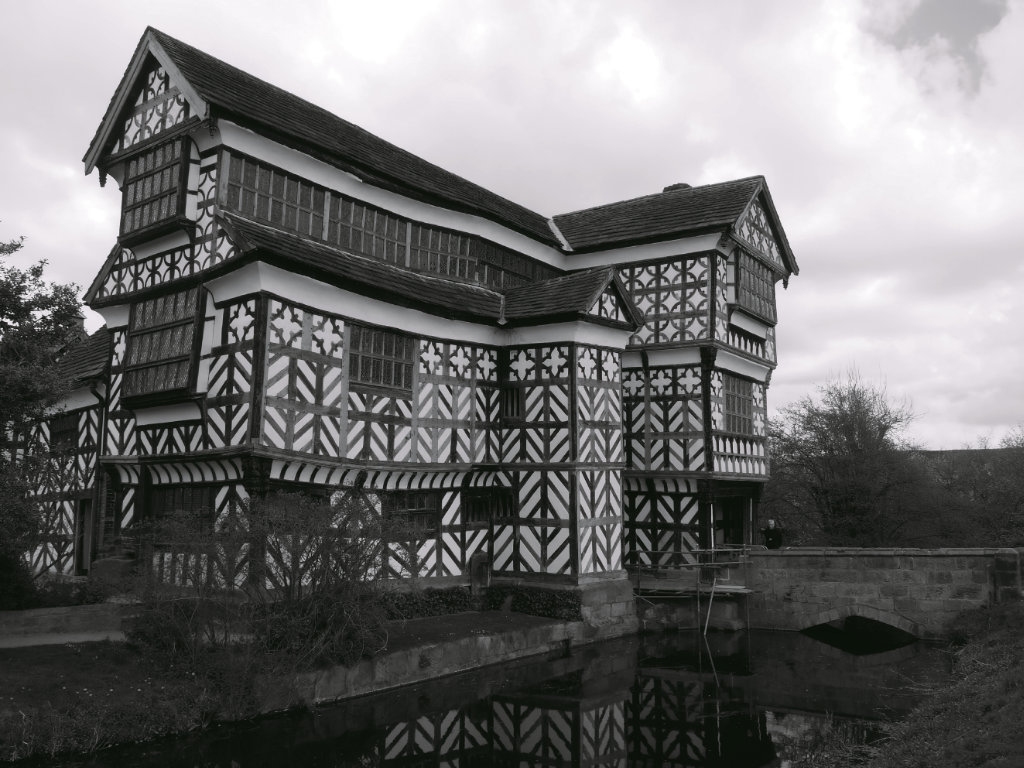
| 64 |
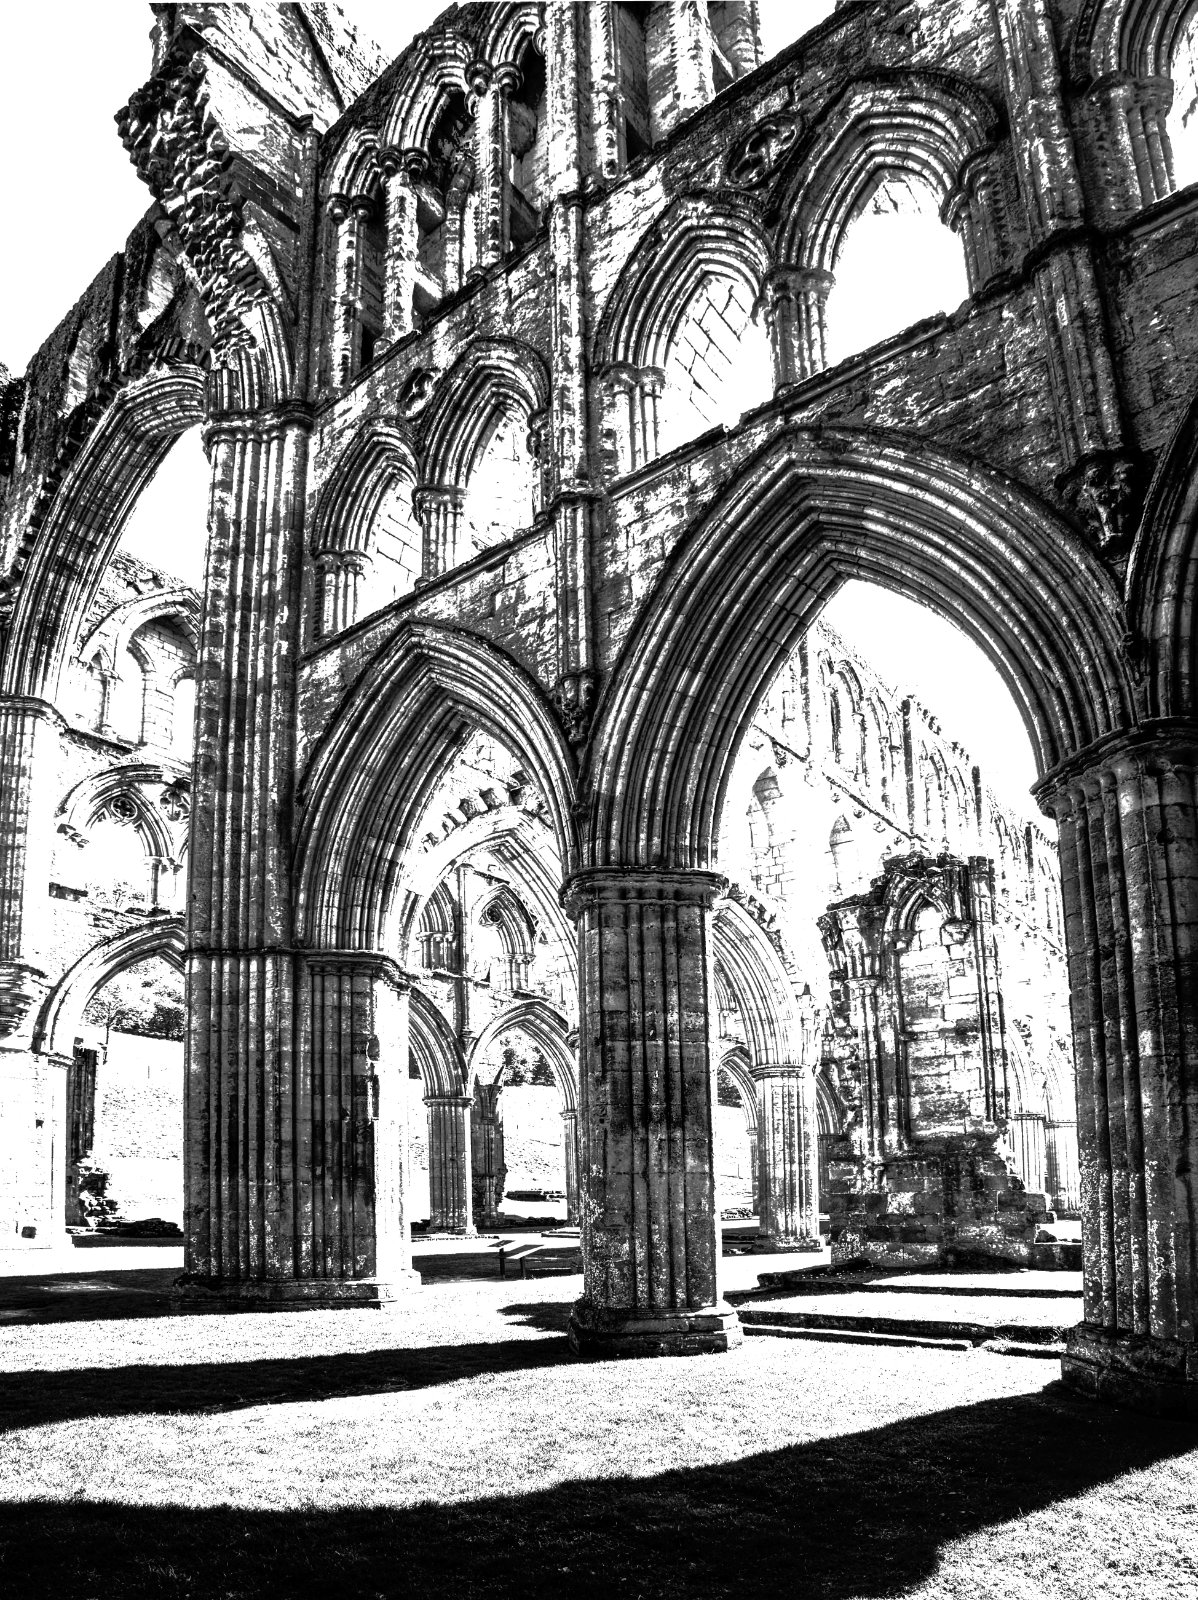
Mar 24 |
Reply |
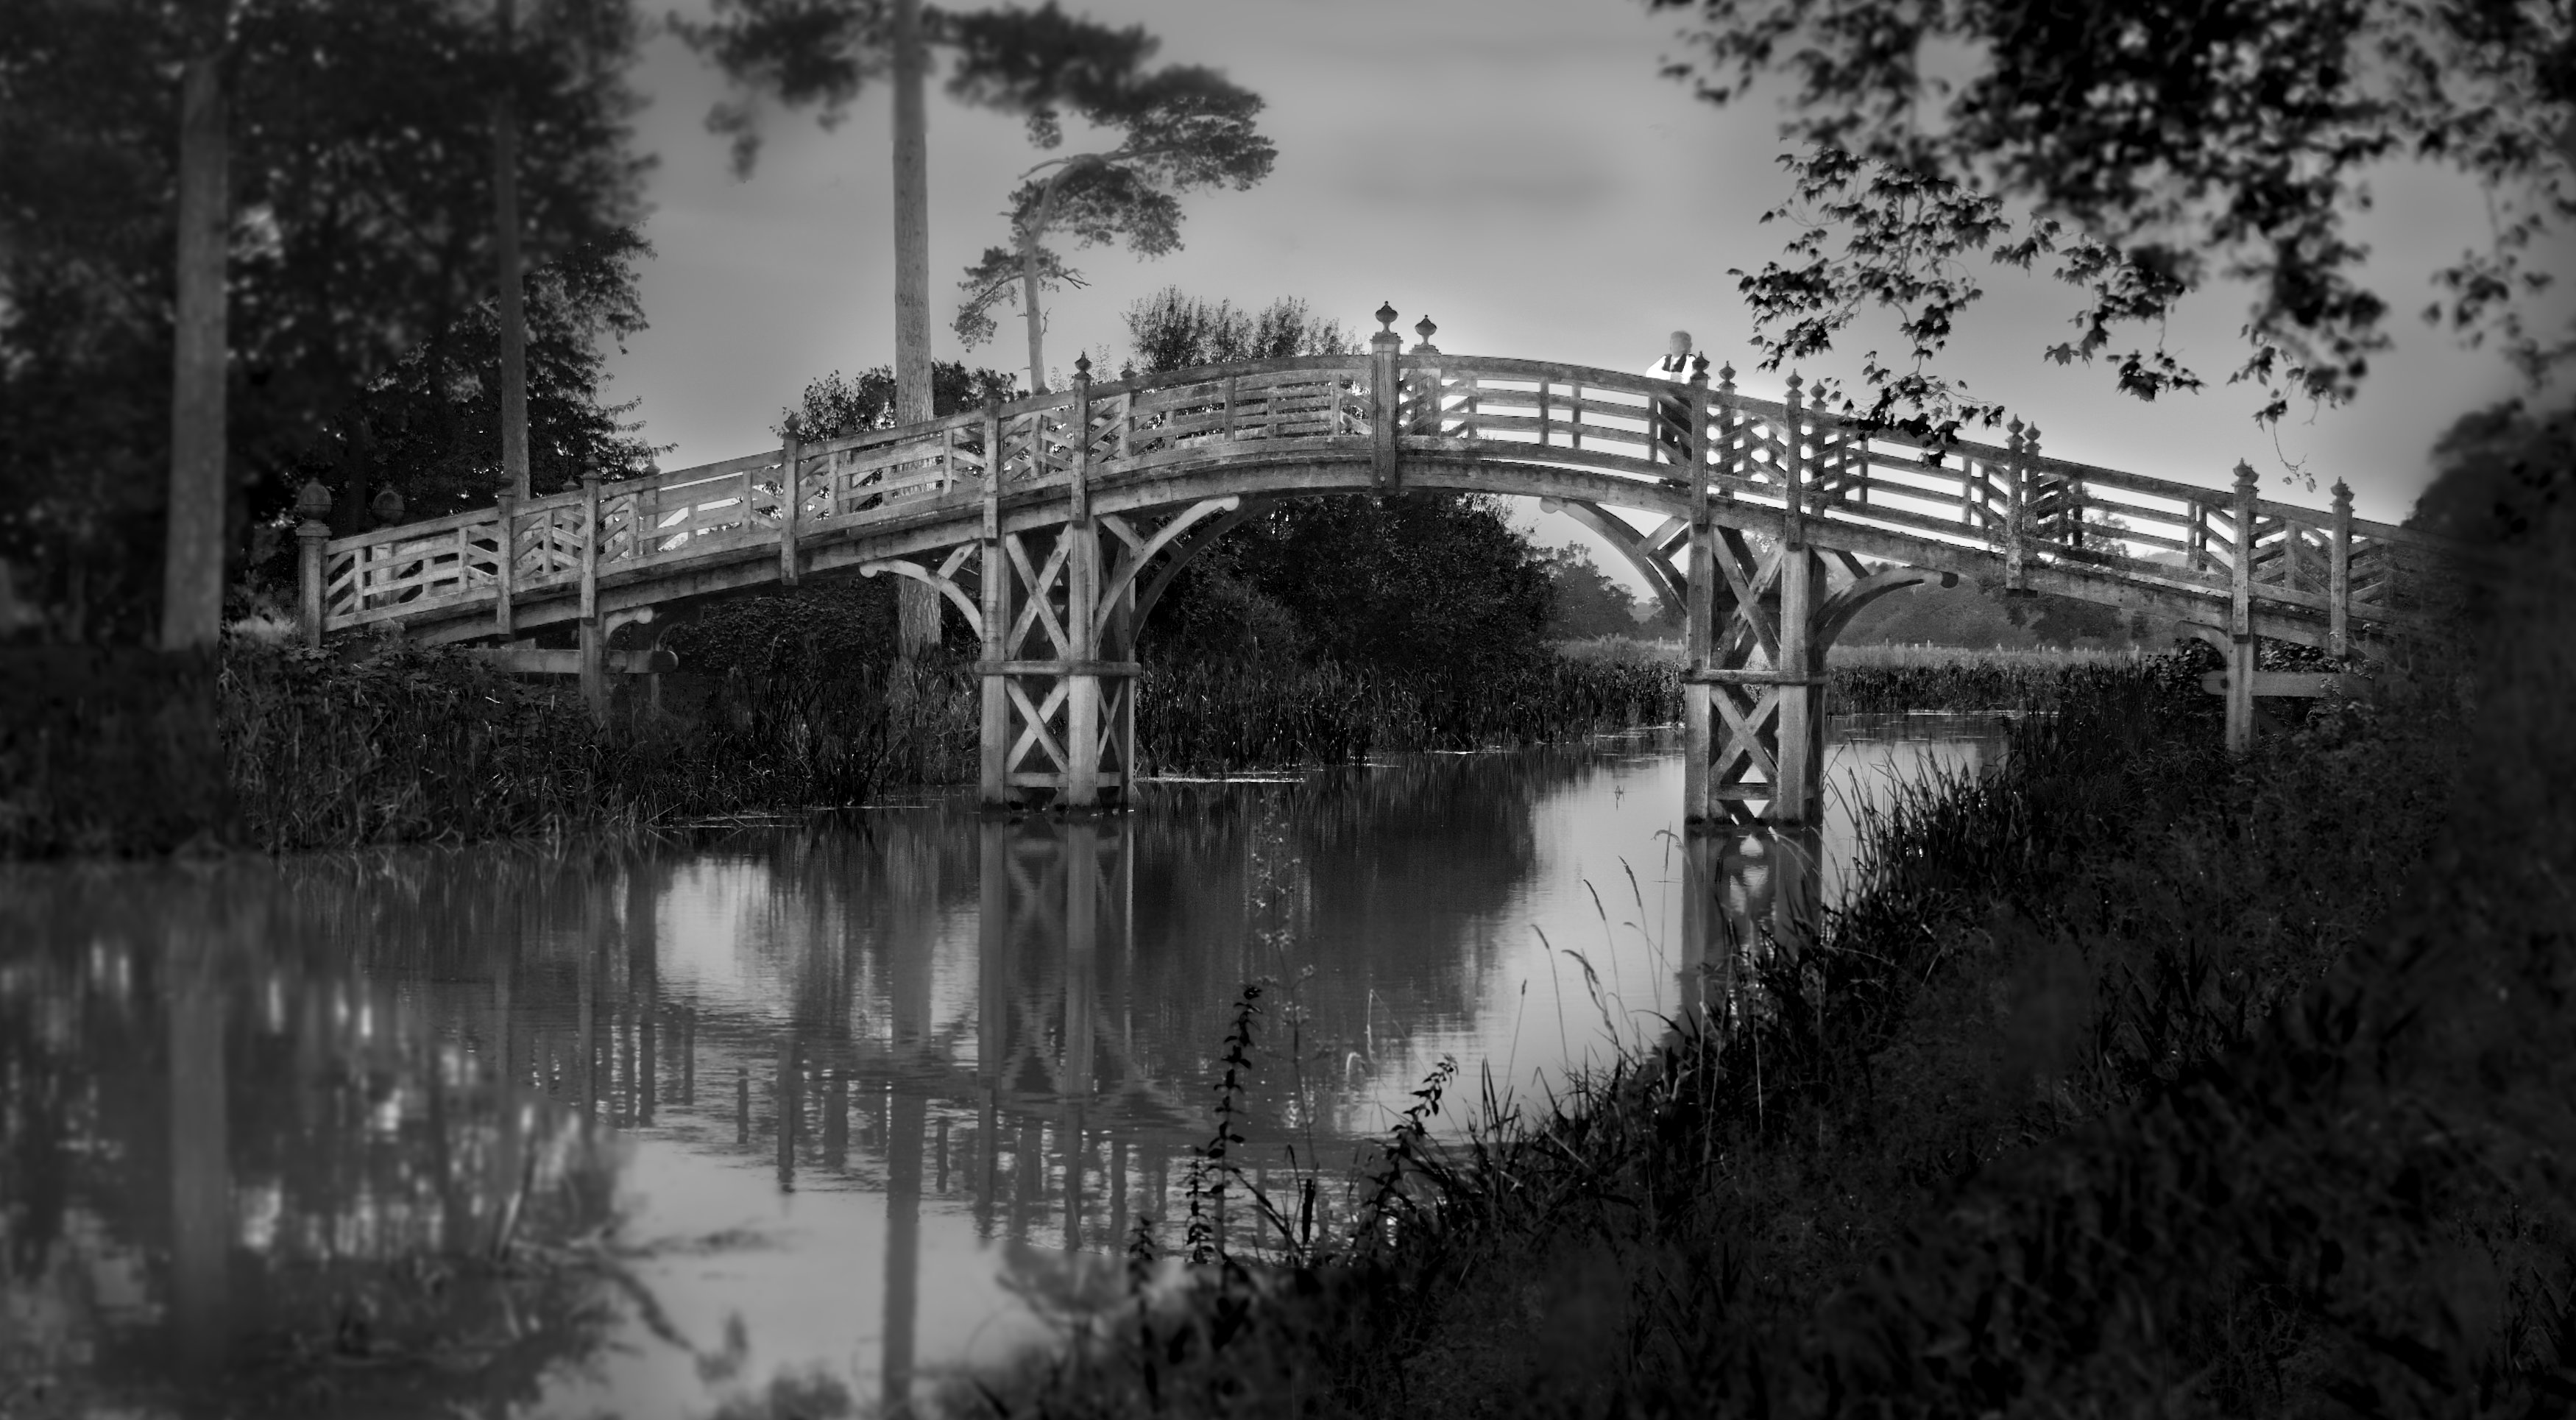
Thanks, Keisha. Welcome to our group!
Canals in England meander through the countryside, and can often be hidden away. But they all go to, or close to, towns, as they were originally made as ways to transport goods before railways displaced them. Now they are mainly for leisure. This place is about 2 miles from Whitchurch in north Shropshire, a few miles from where I live in Cheshire.
I read your bio and see you are interested in macro. I am the administrator for Group 95 which is for macro. We are a bit low on numbers at the moment, so if you fancy joining that when you've got your feet under the table here, you would be welcome there too. DD allows use to be a member of 2 groups. |
Mar 12th |
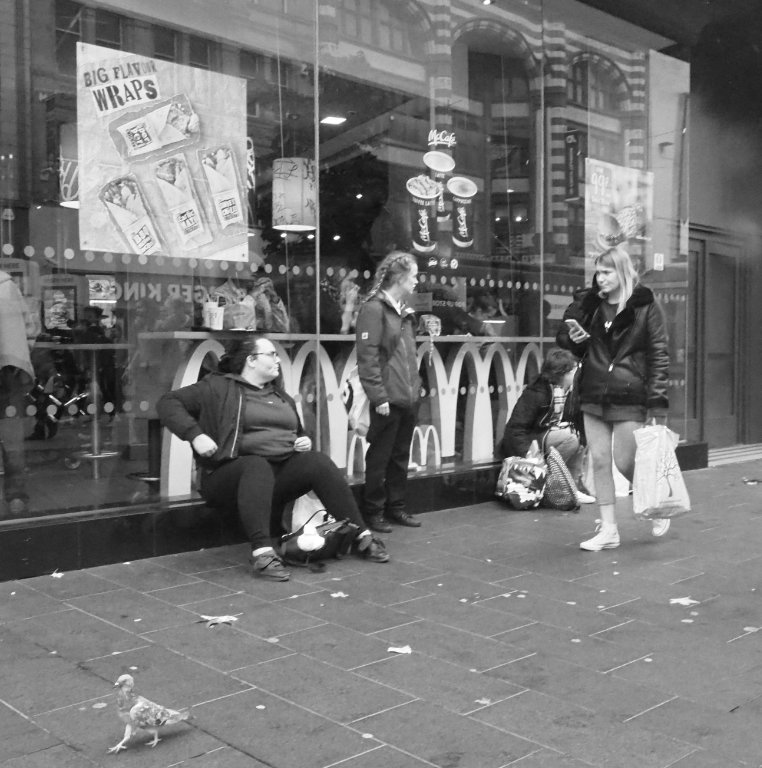
| 64 |
Mar 24 |
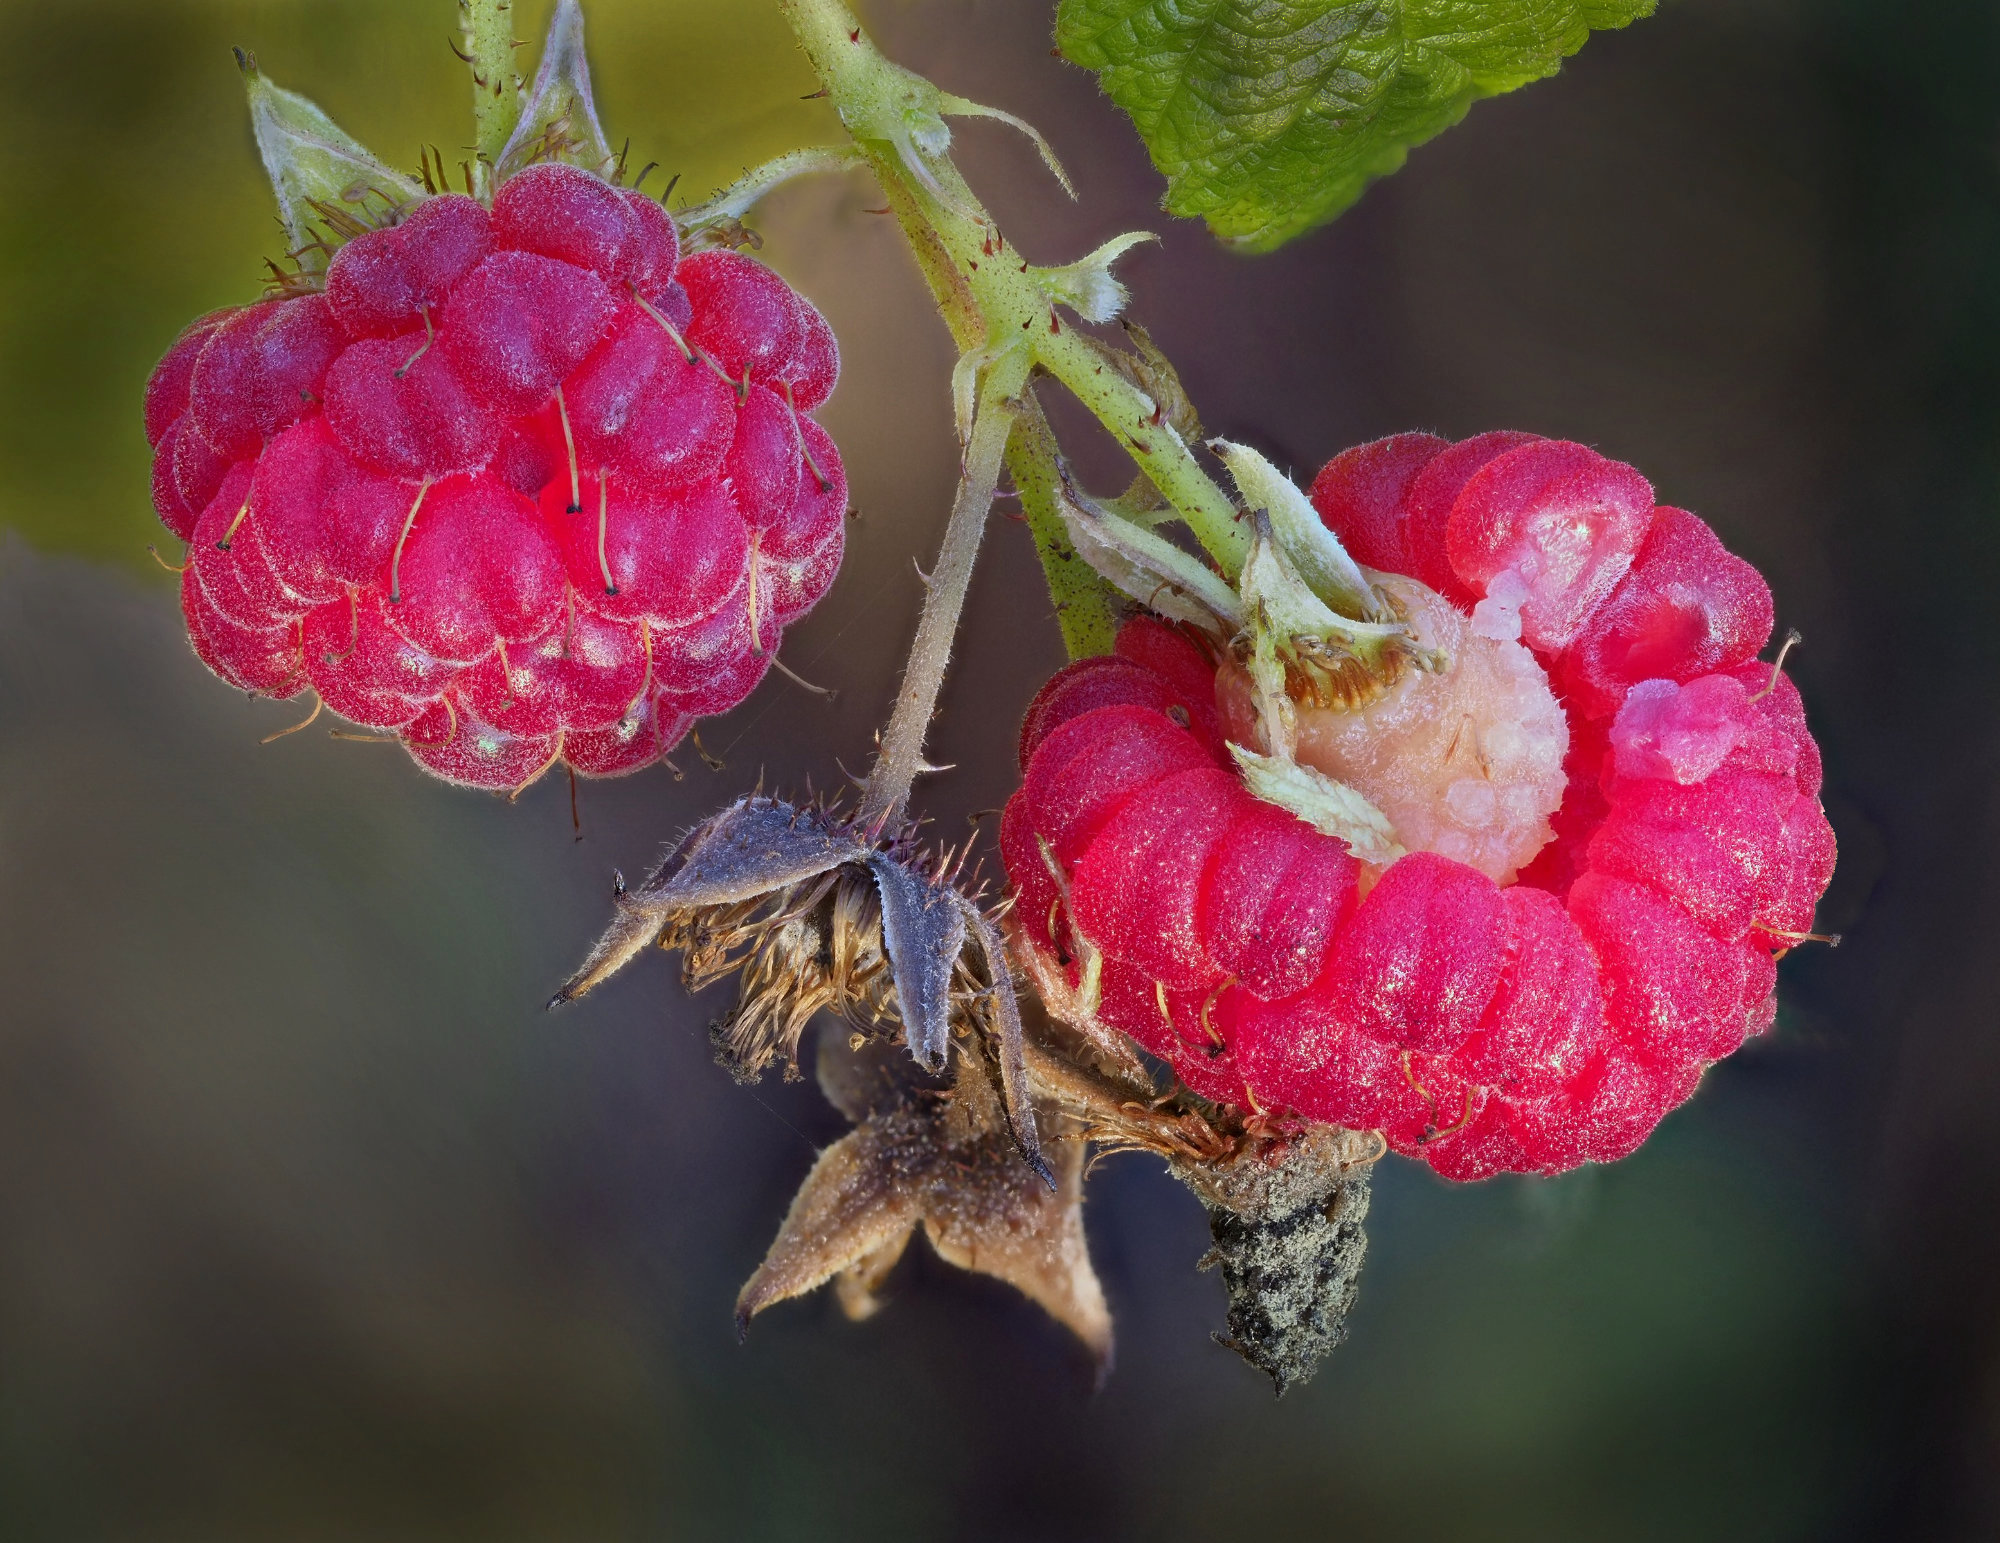
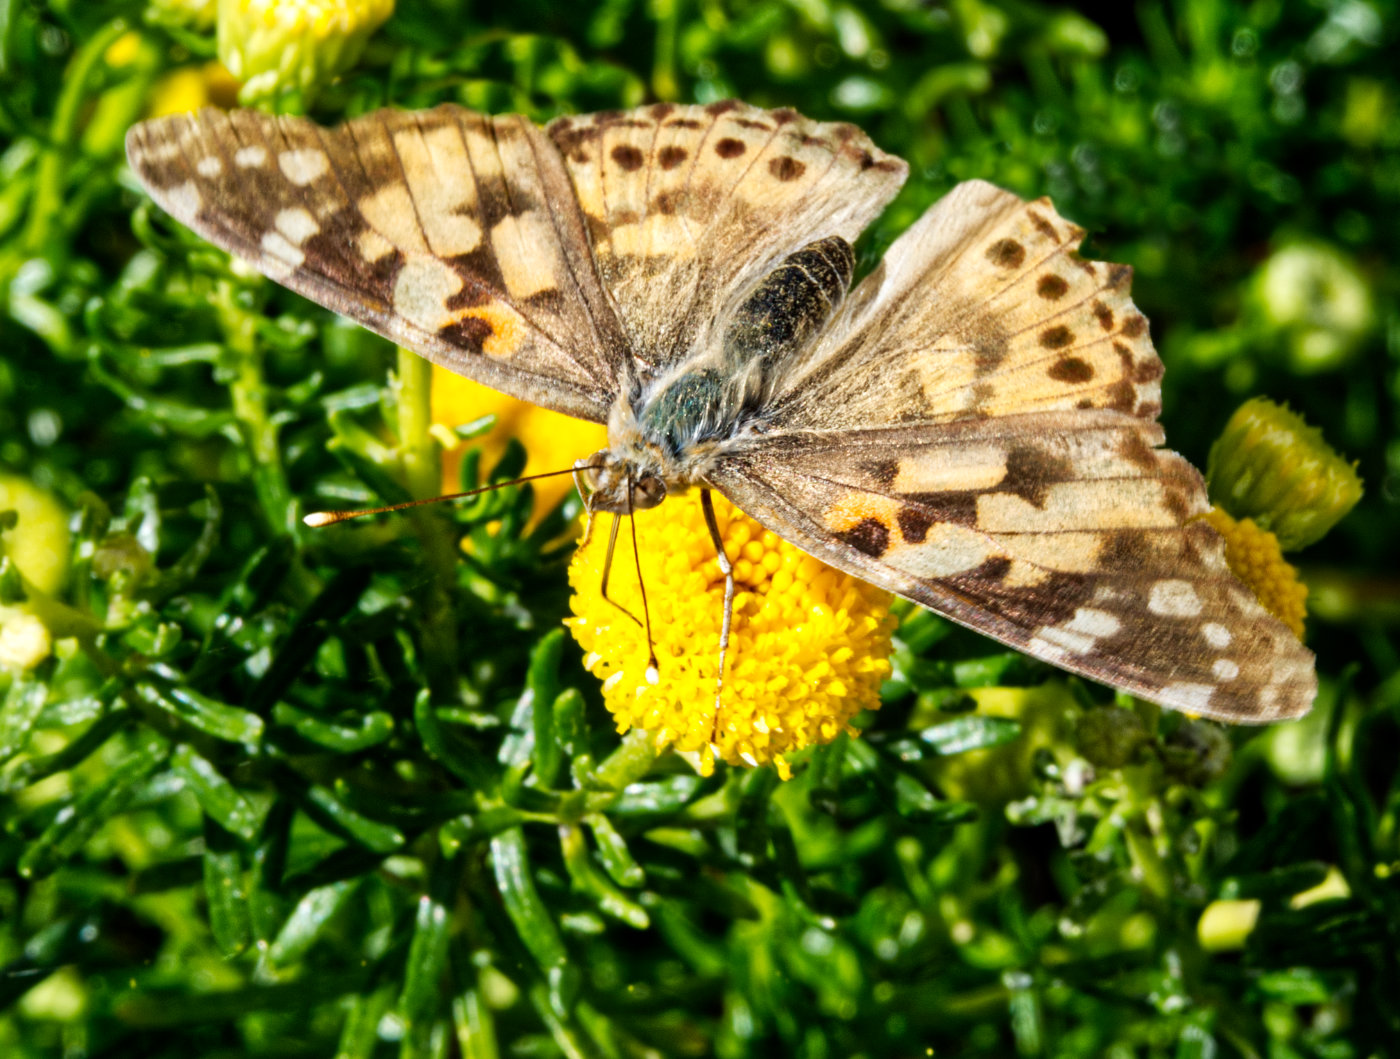
Comment |
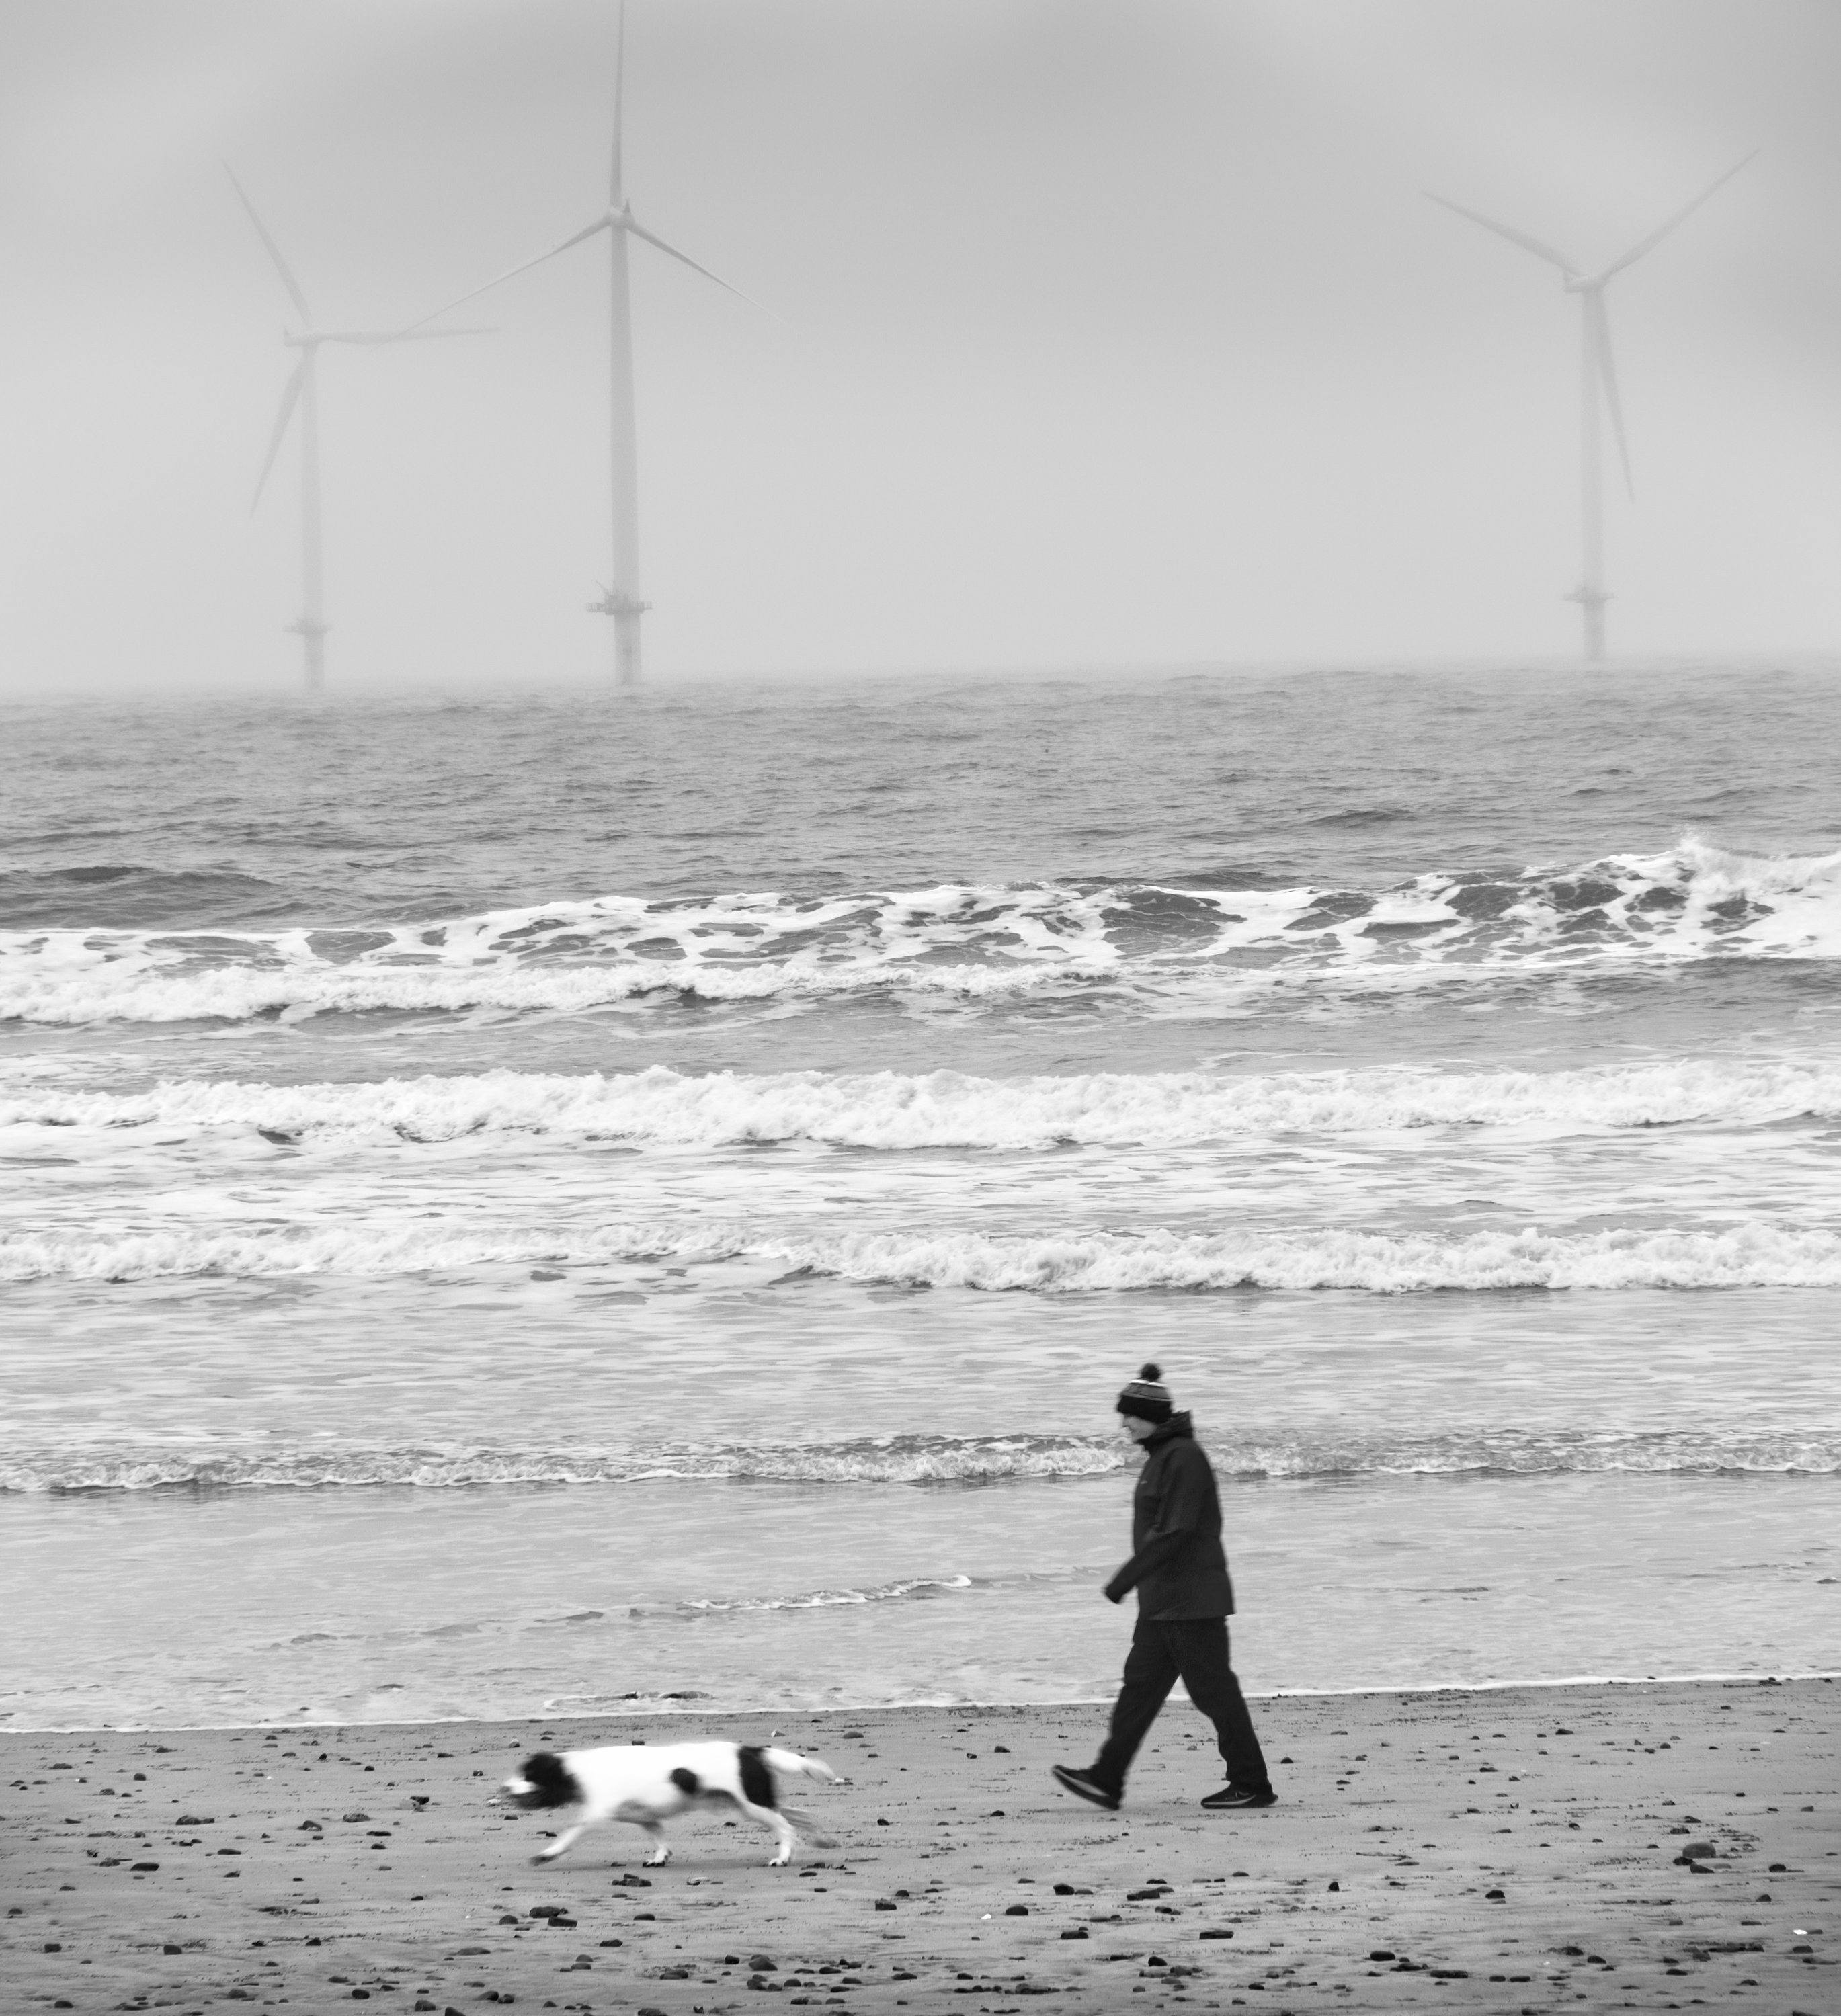
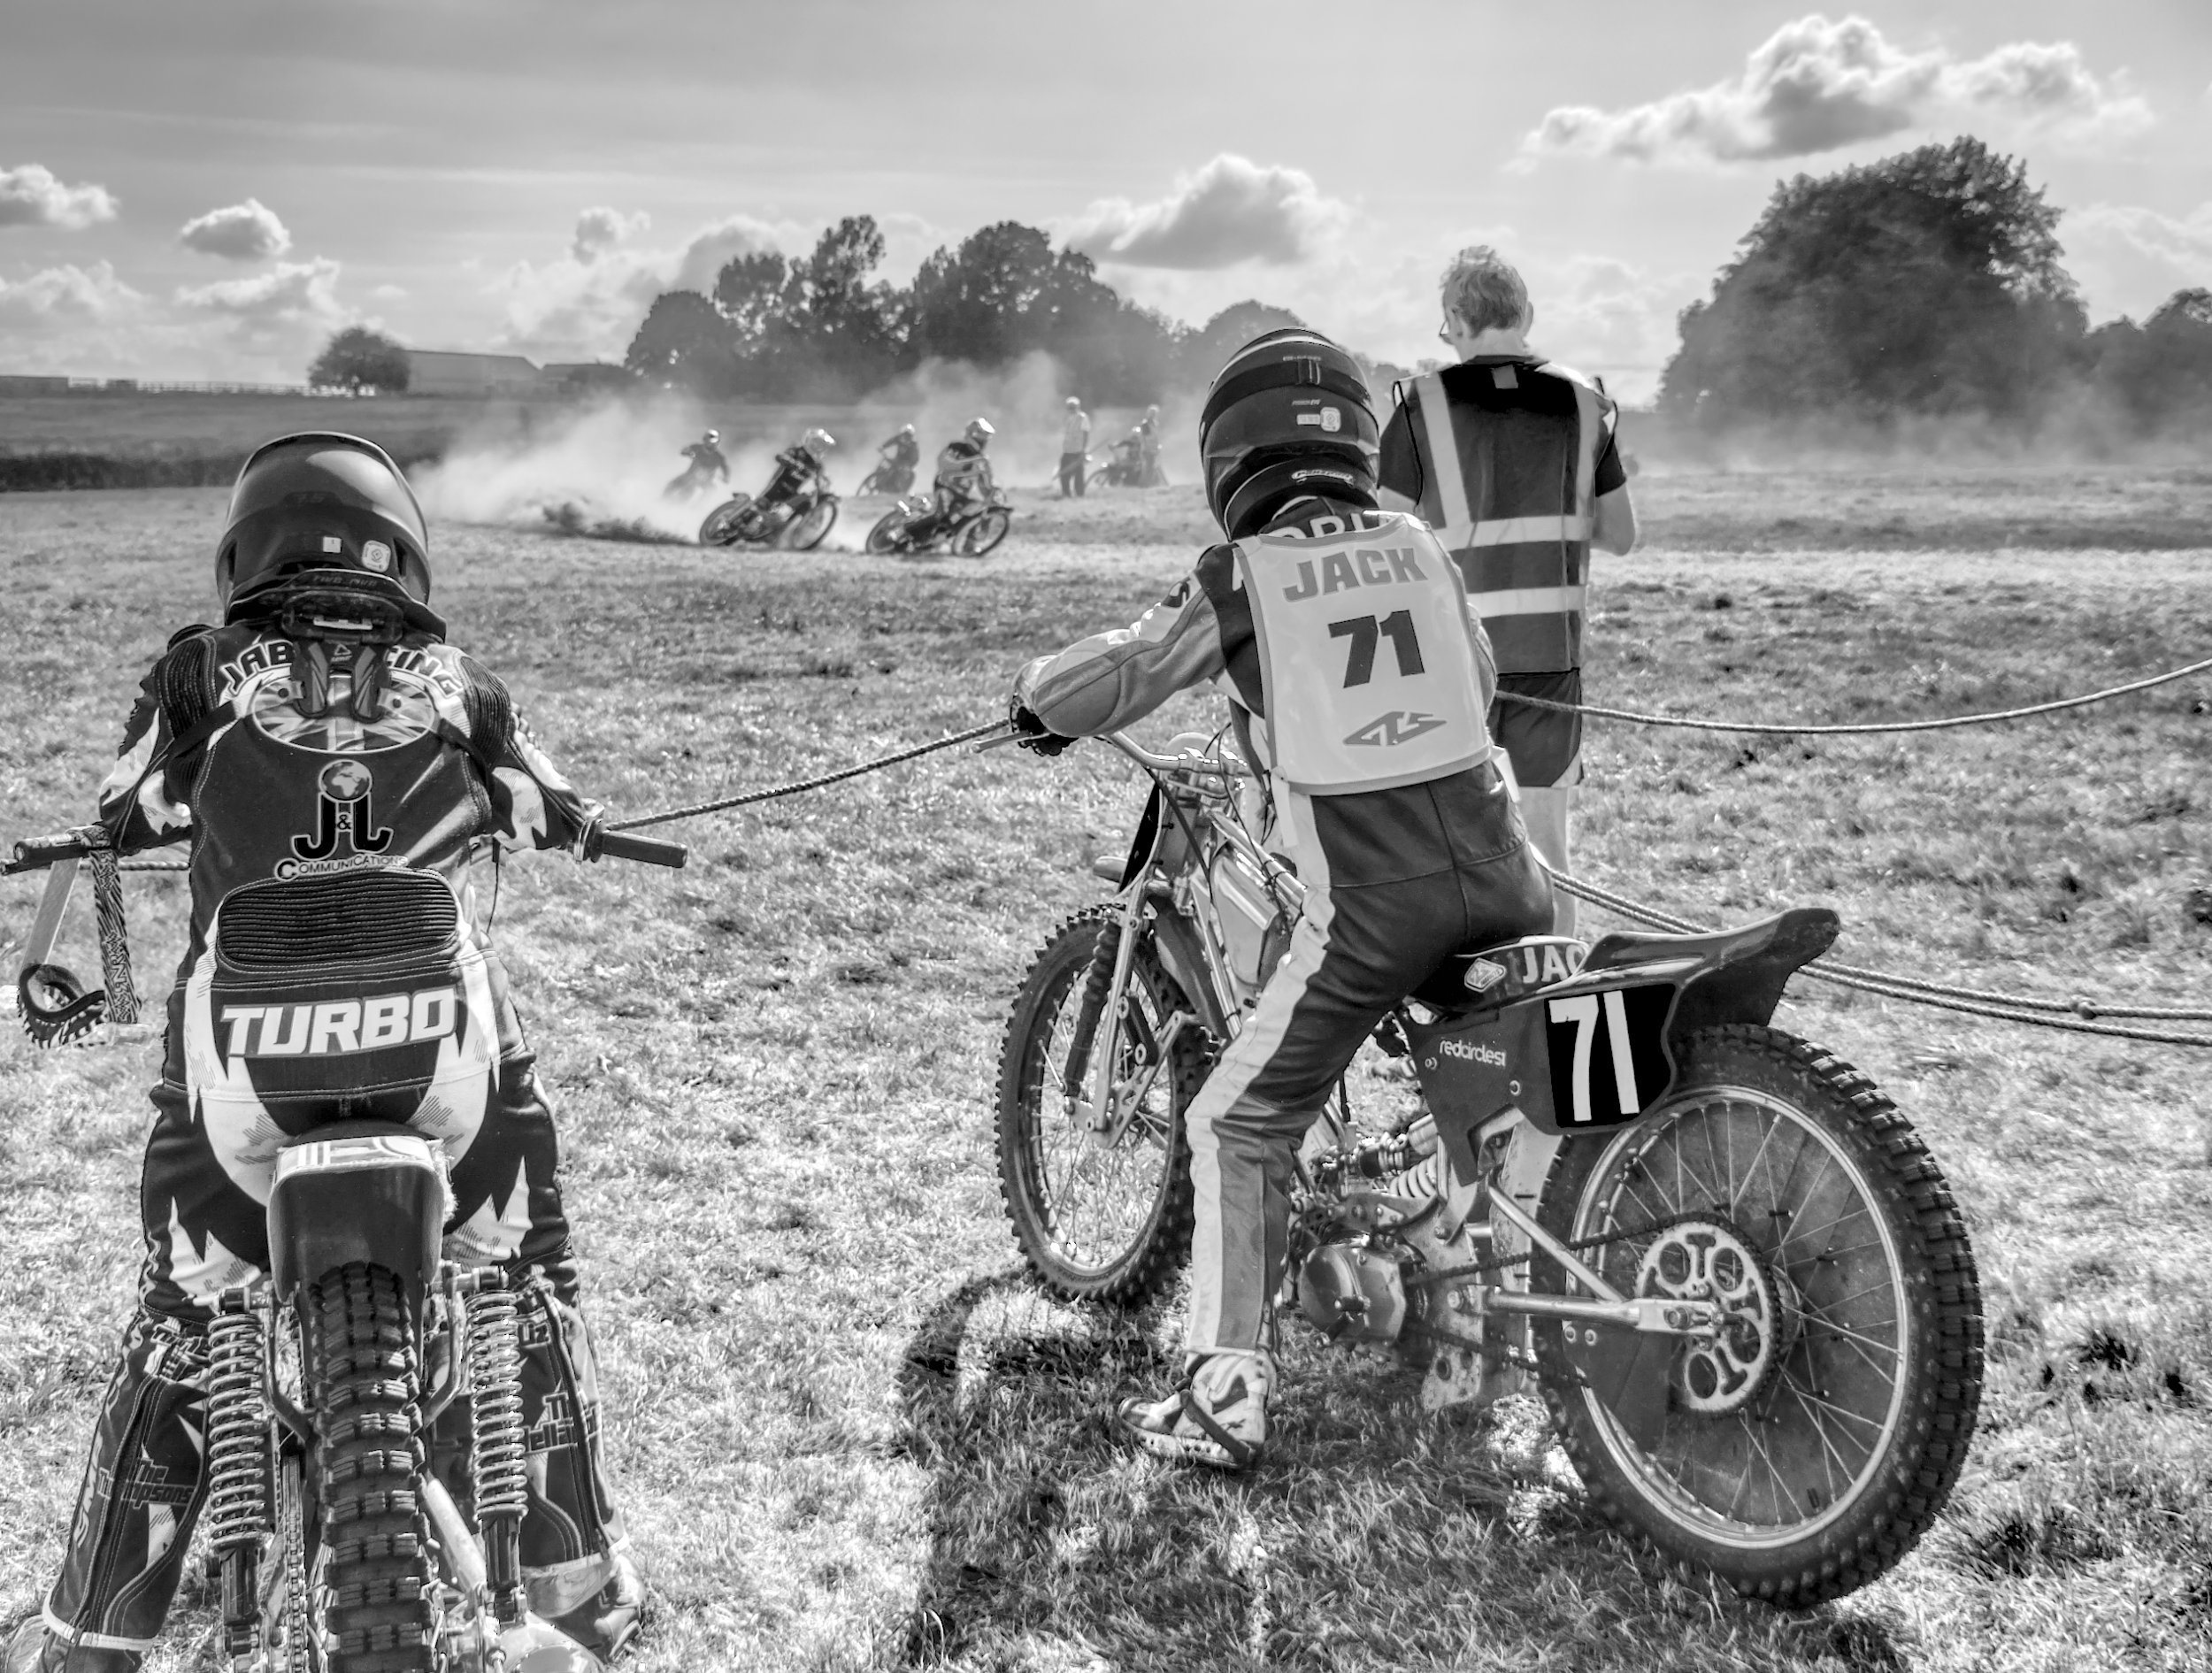
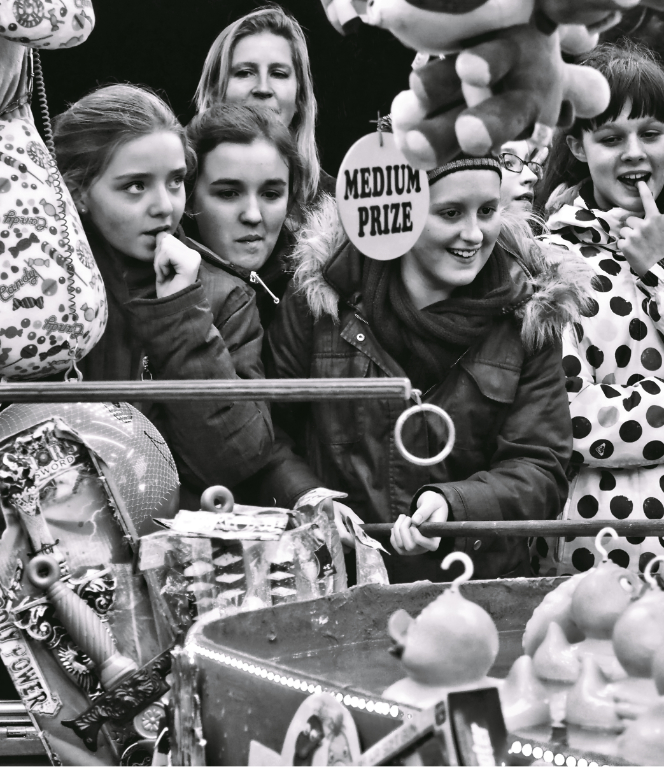
I agree, a super shot of the dog. How much better the mono is over the colour original!
But I also agree, the area outside the tube isn't adding anything, rather it is detracting, so I'd crop hard. I've added a little contrast in this version - |
Mar 11th |
 |
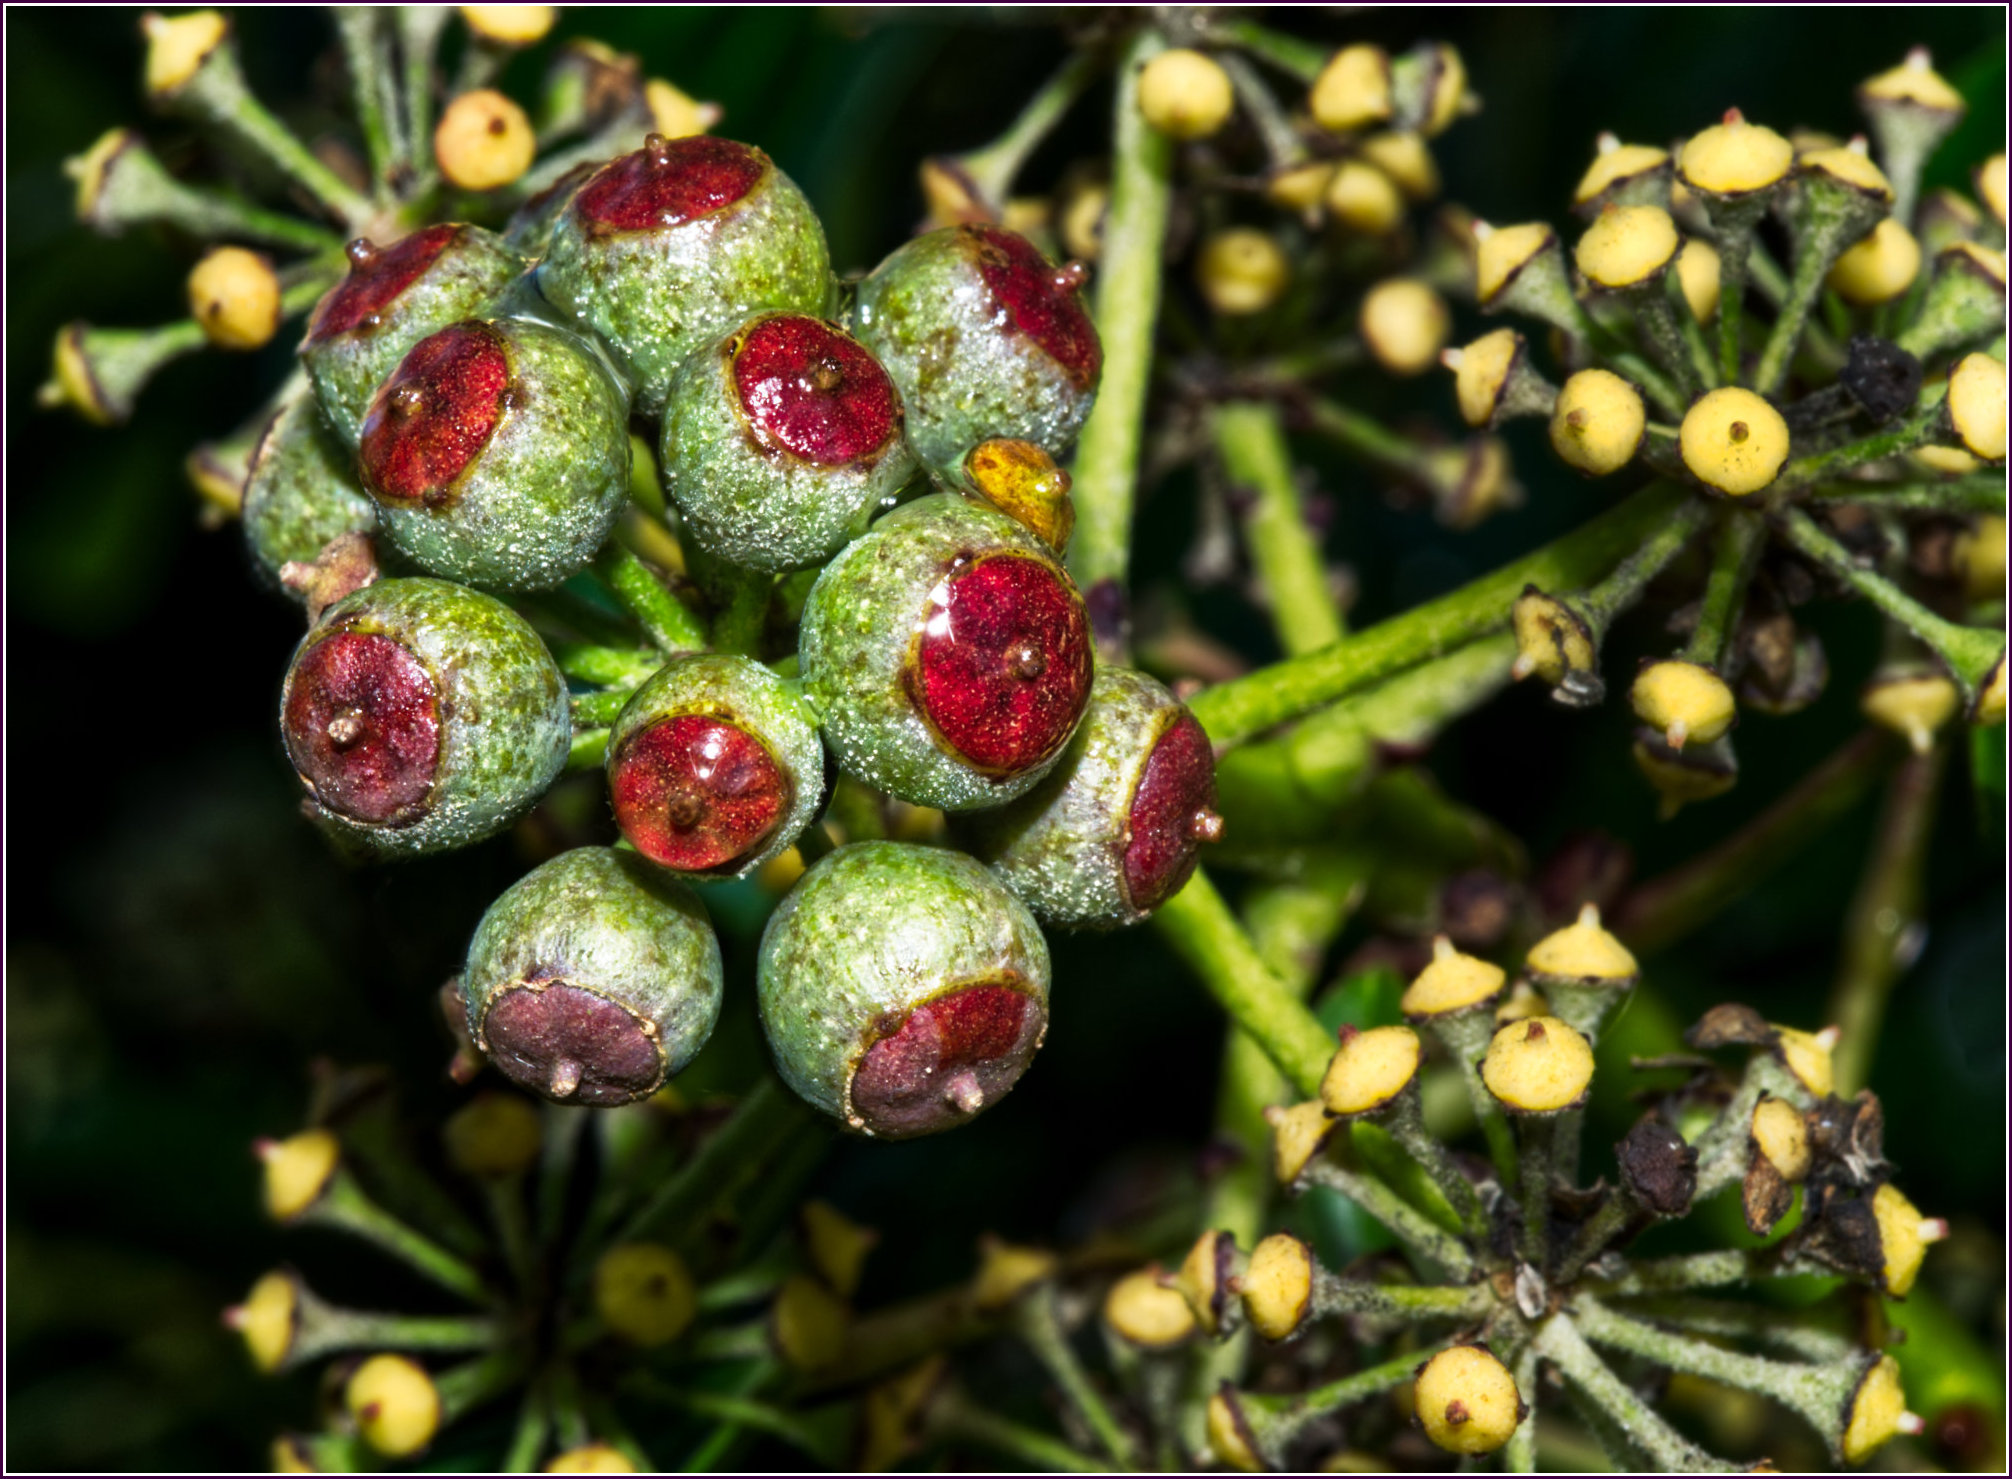
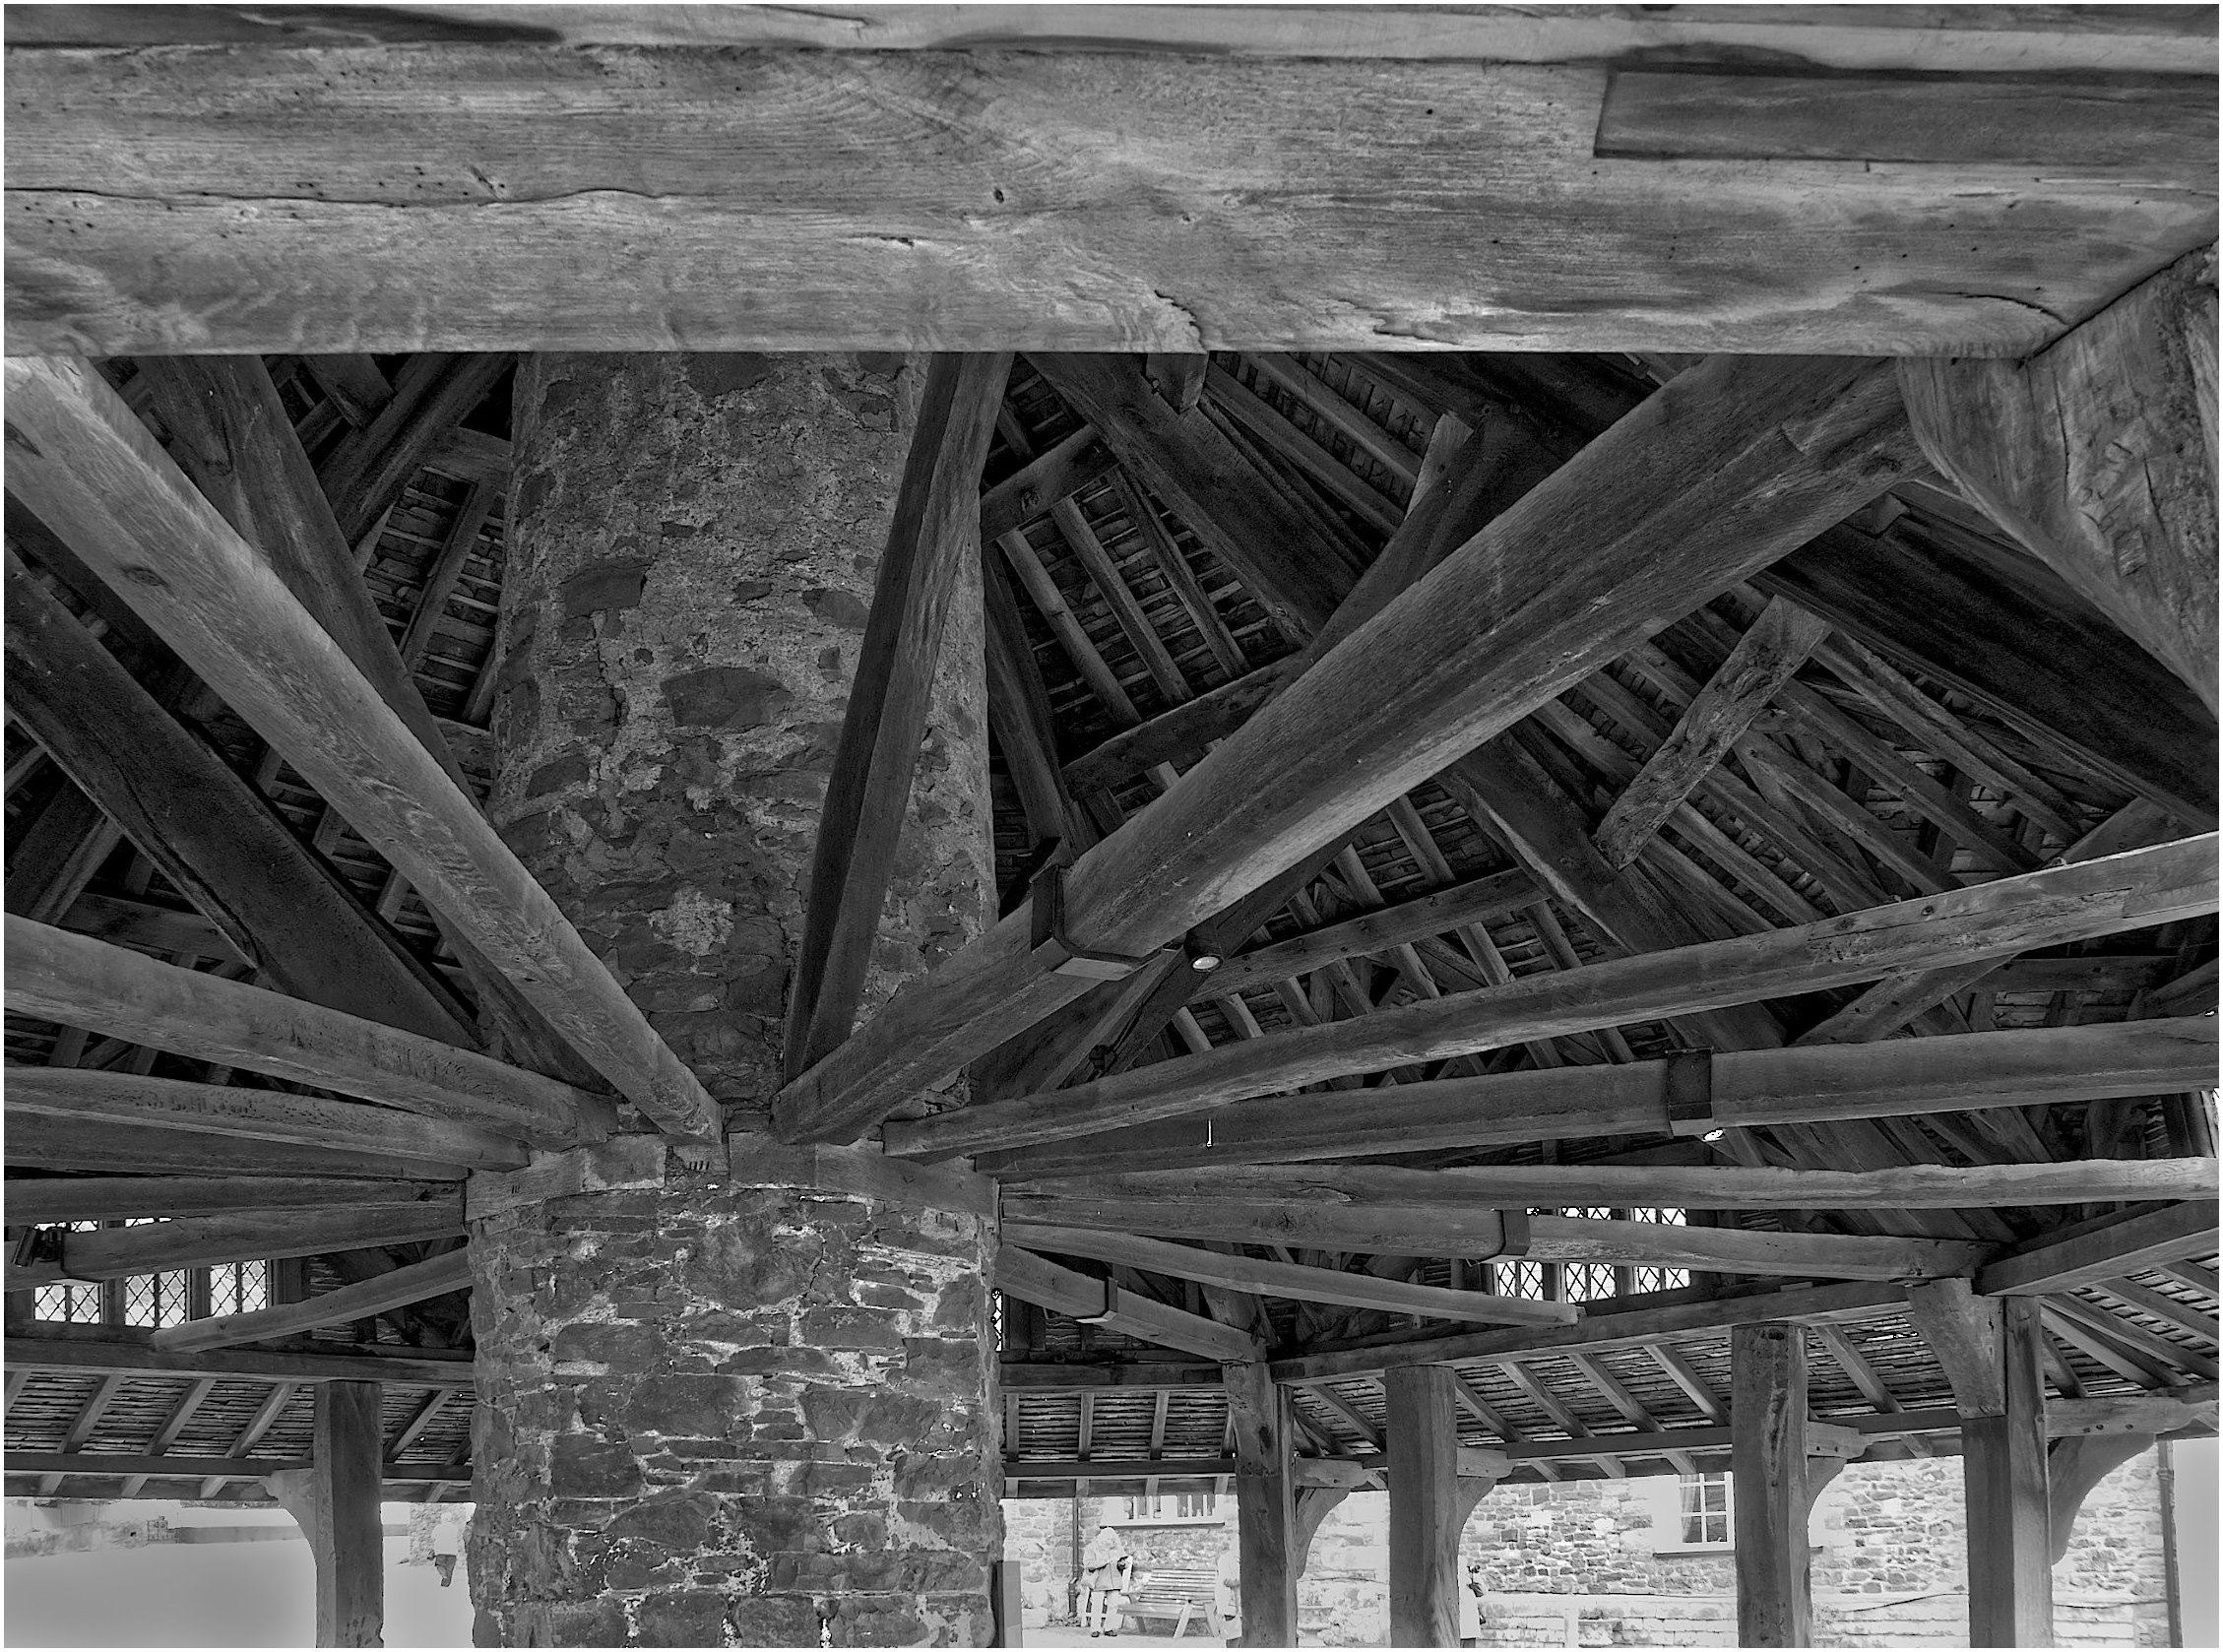
| 64 |
Mar 24 |
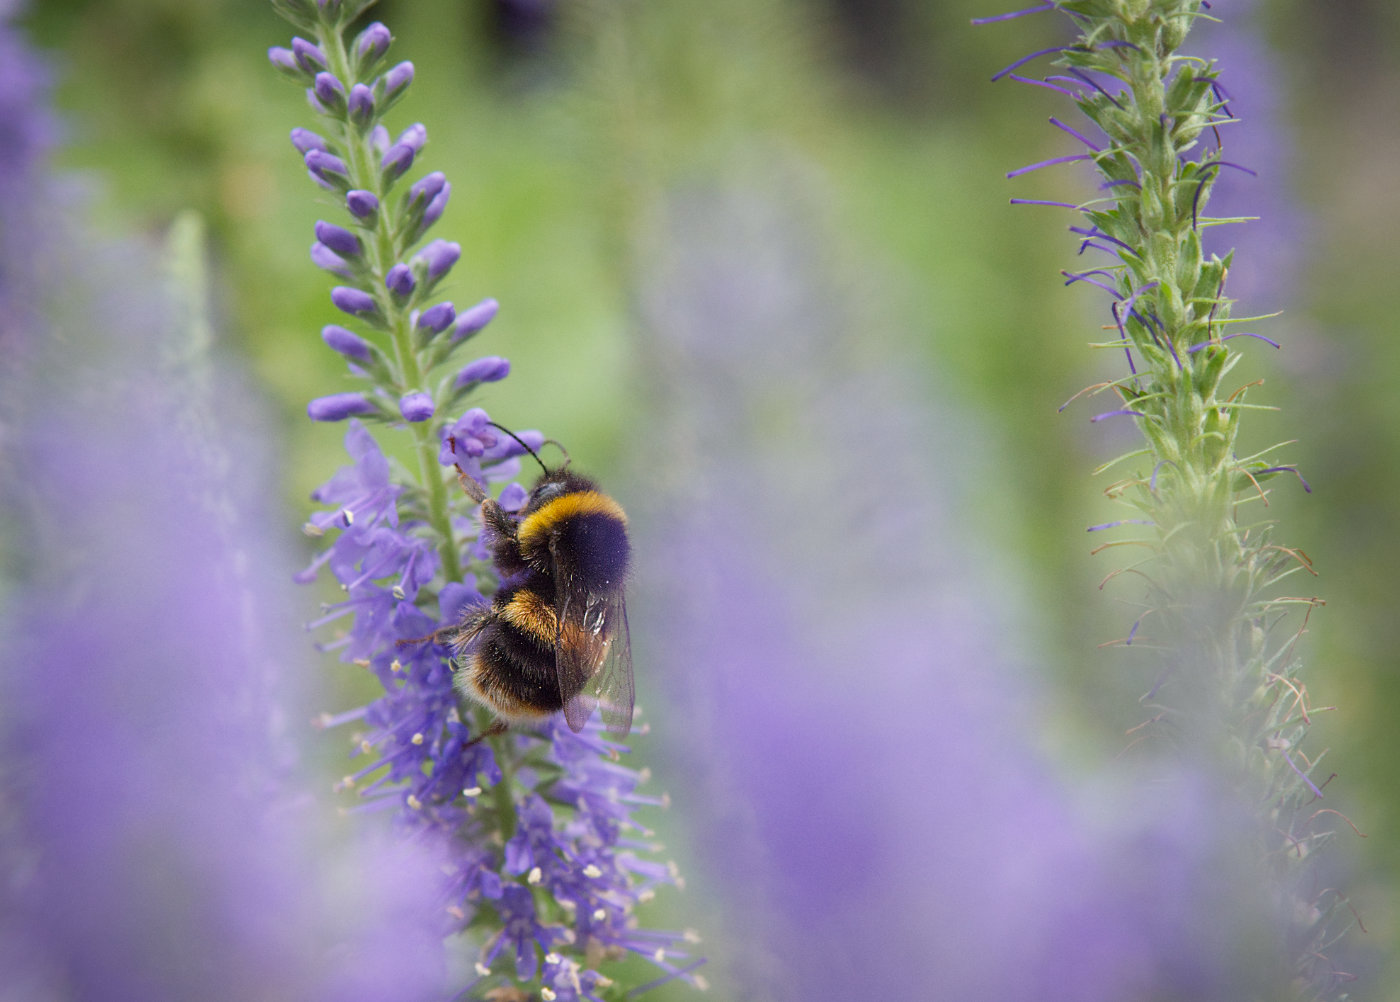
Comment |
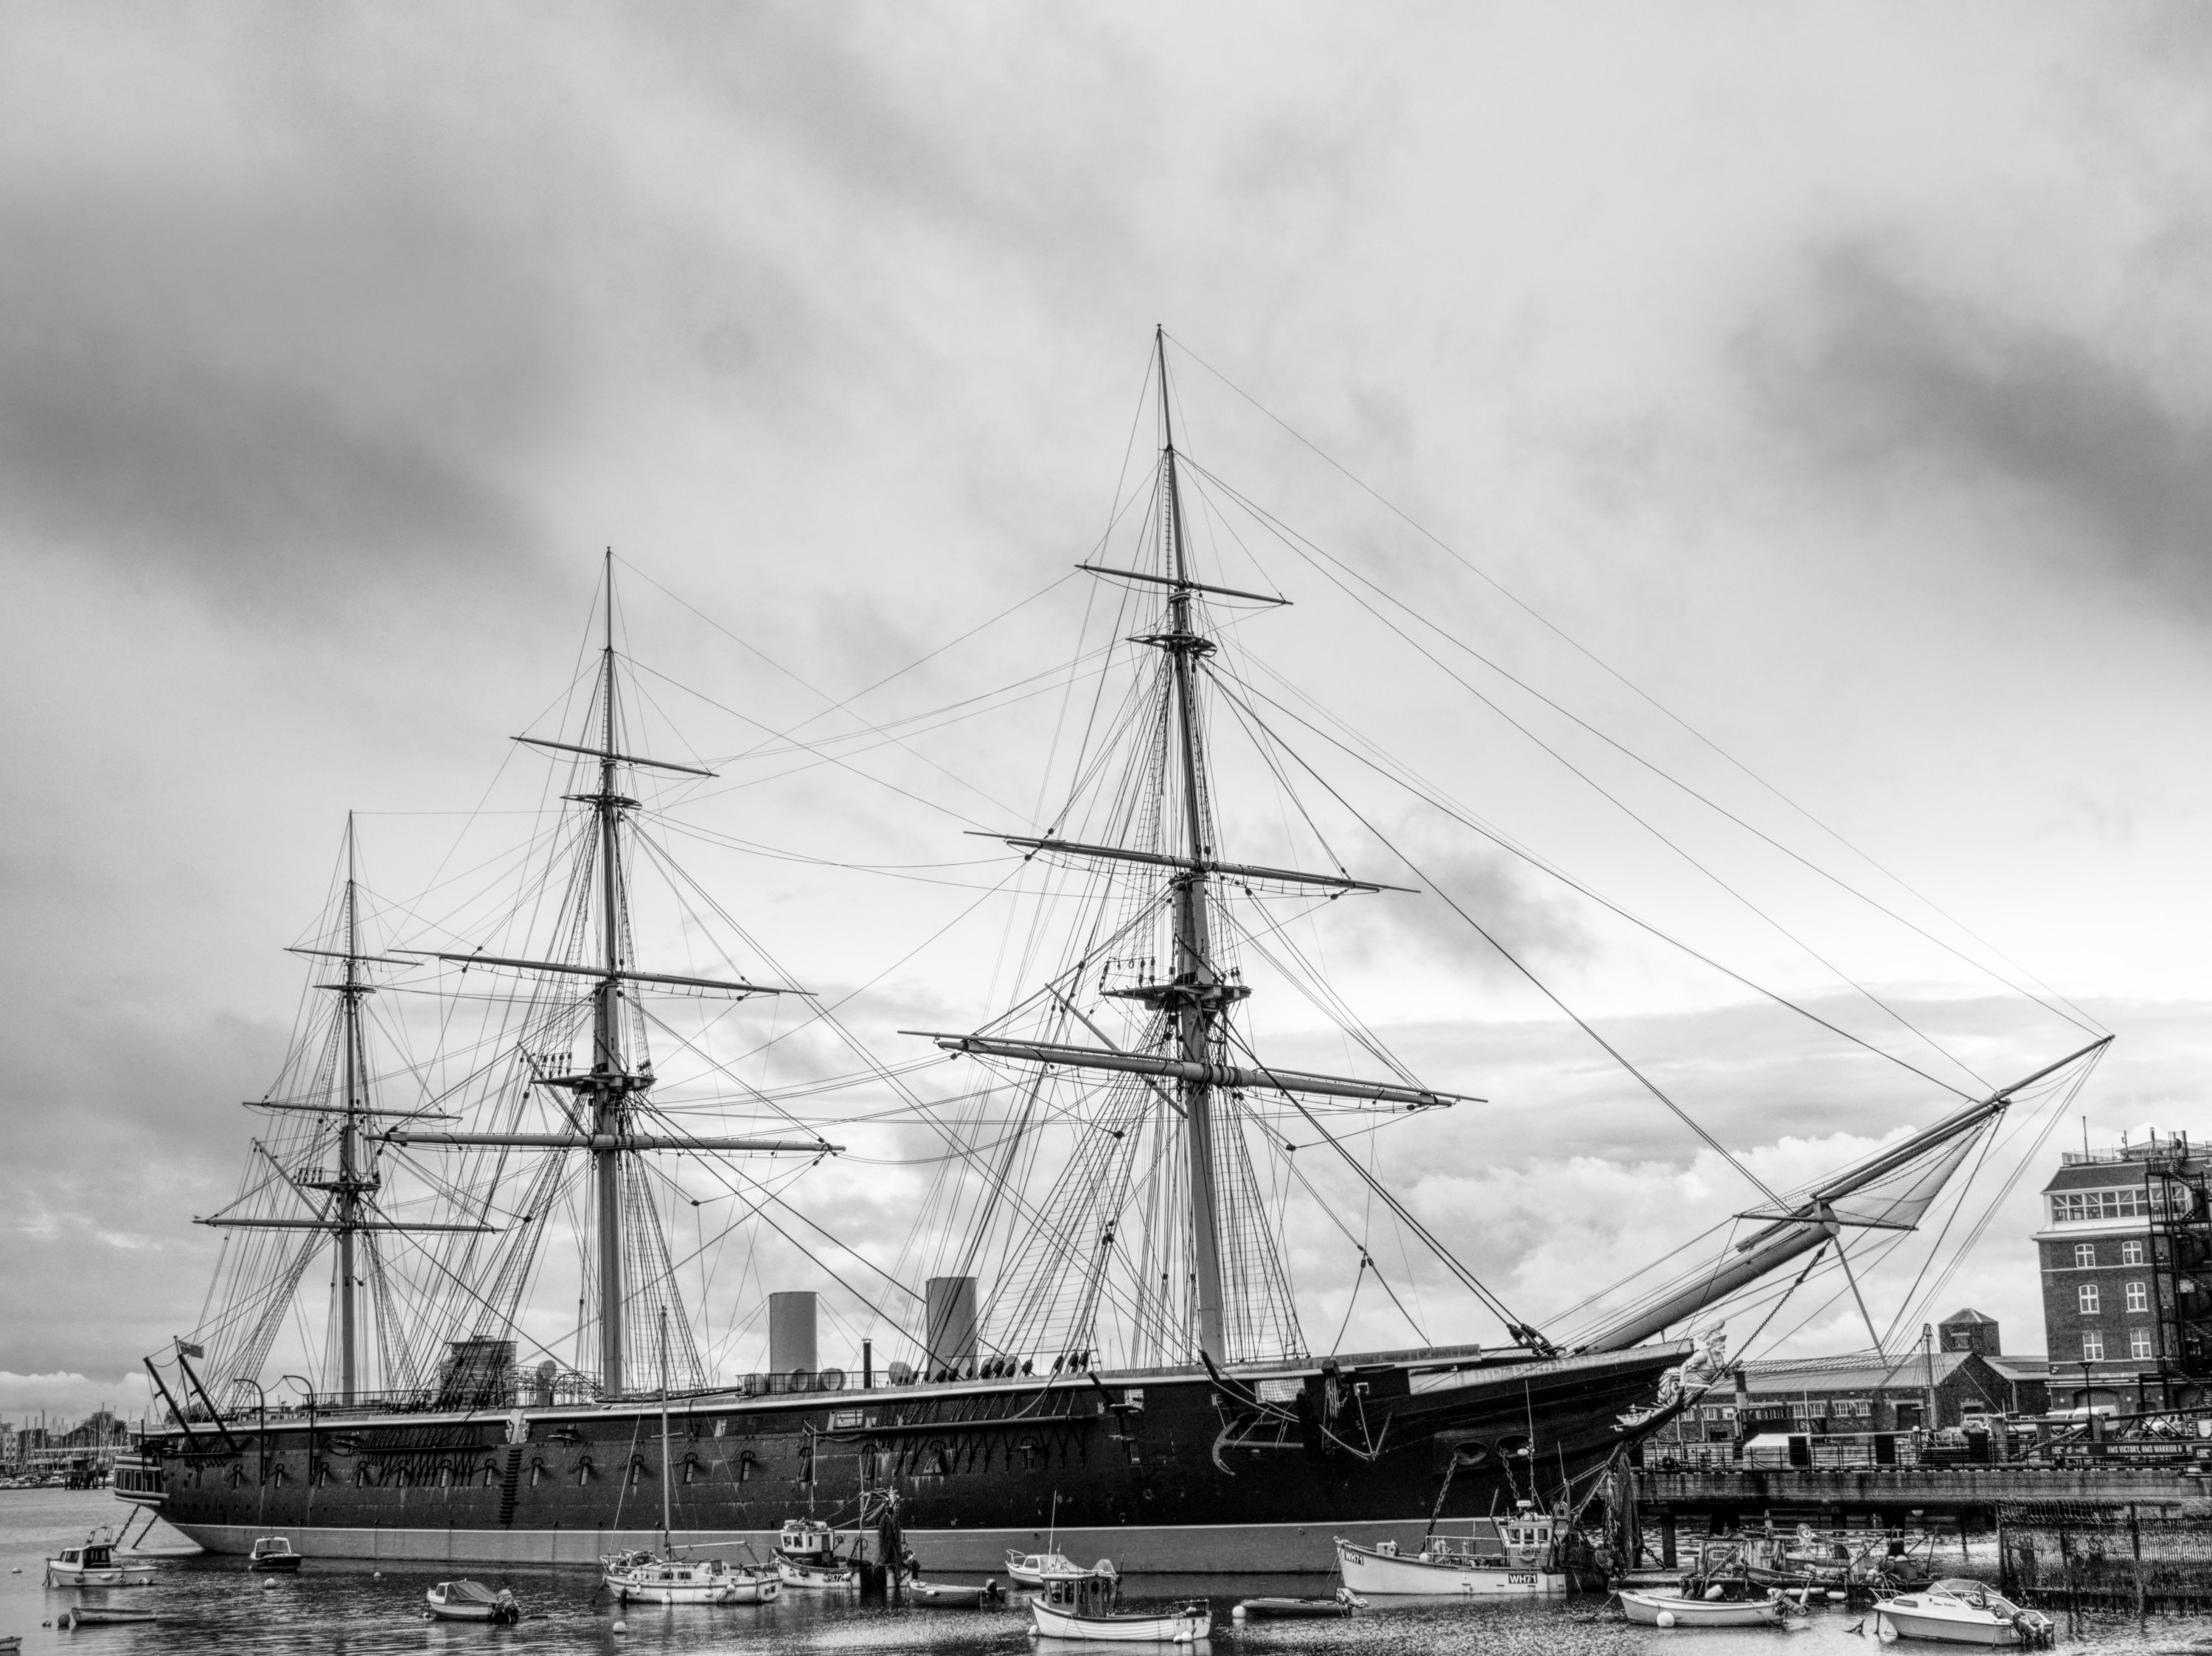
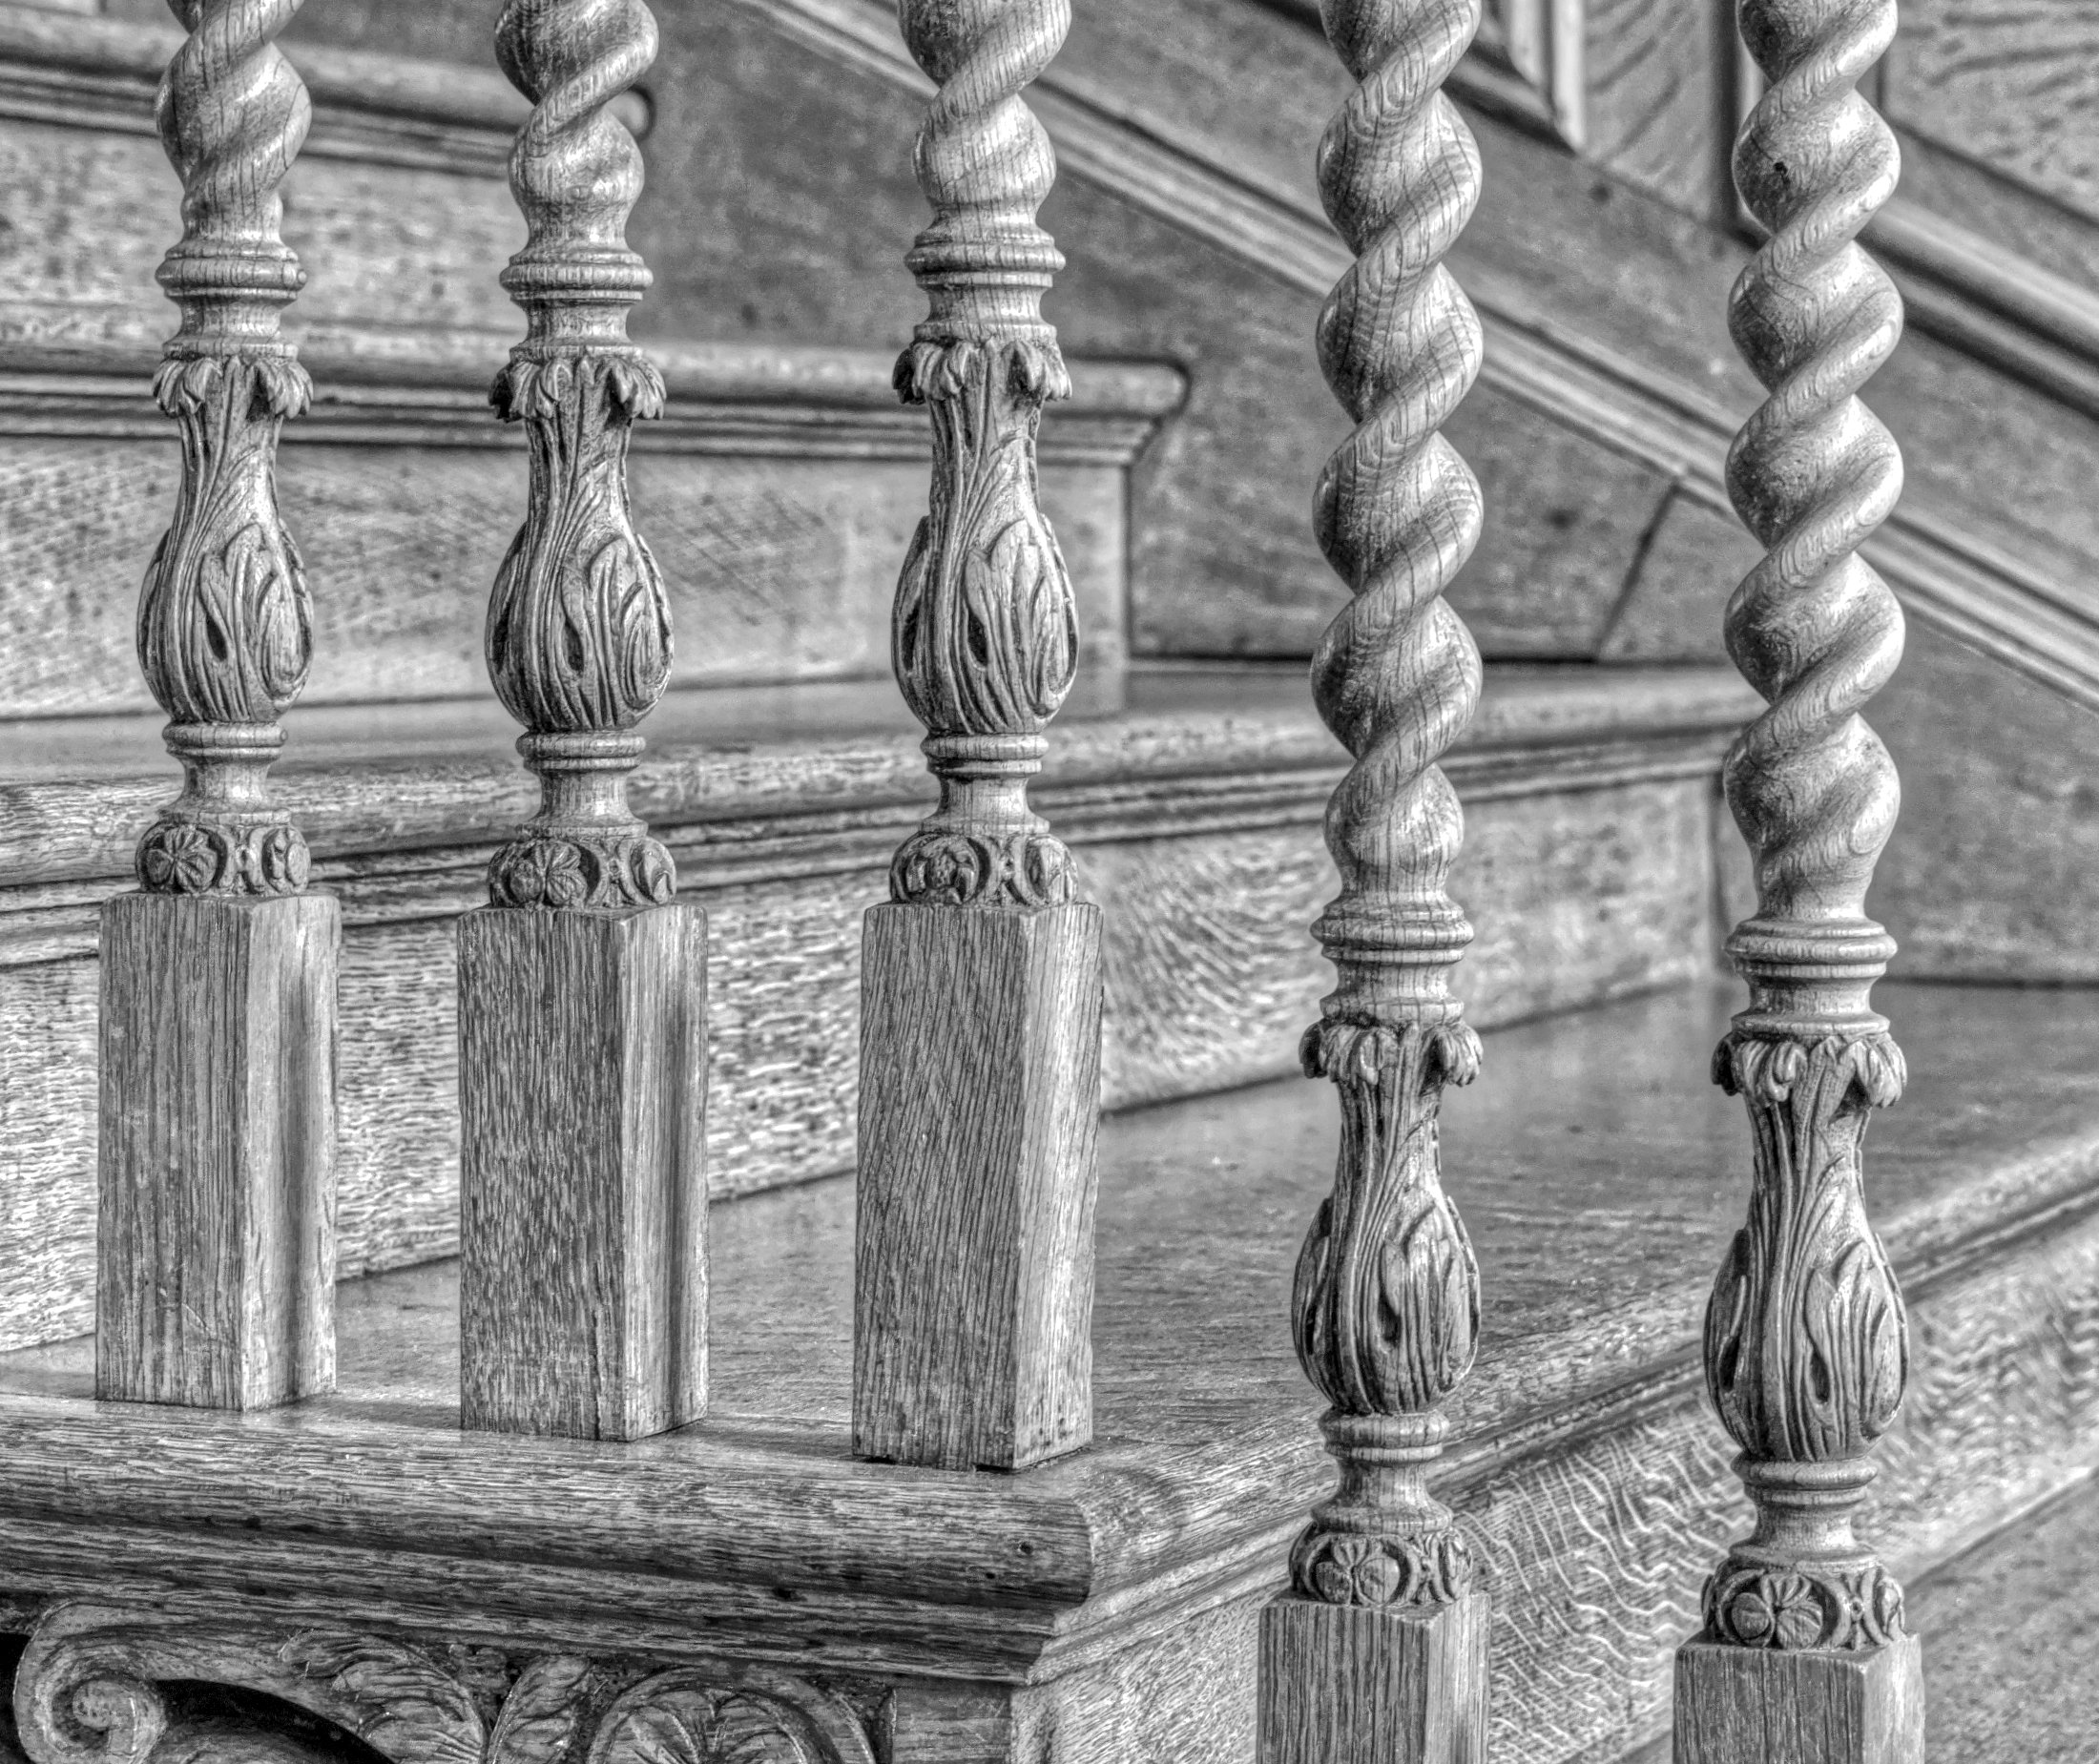
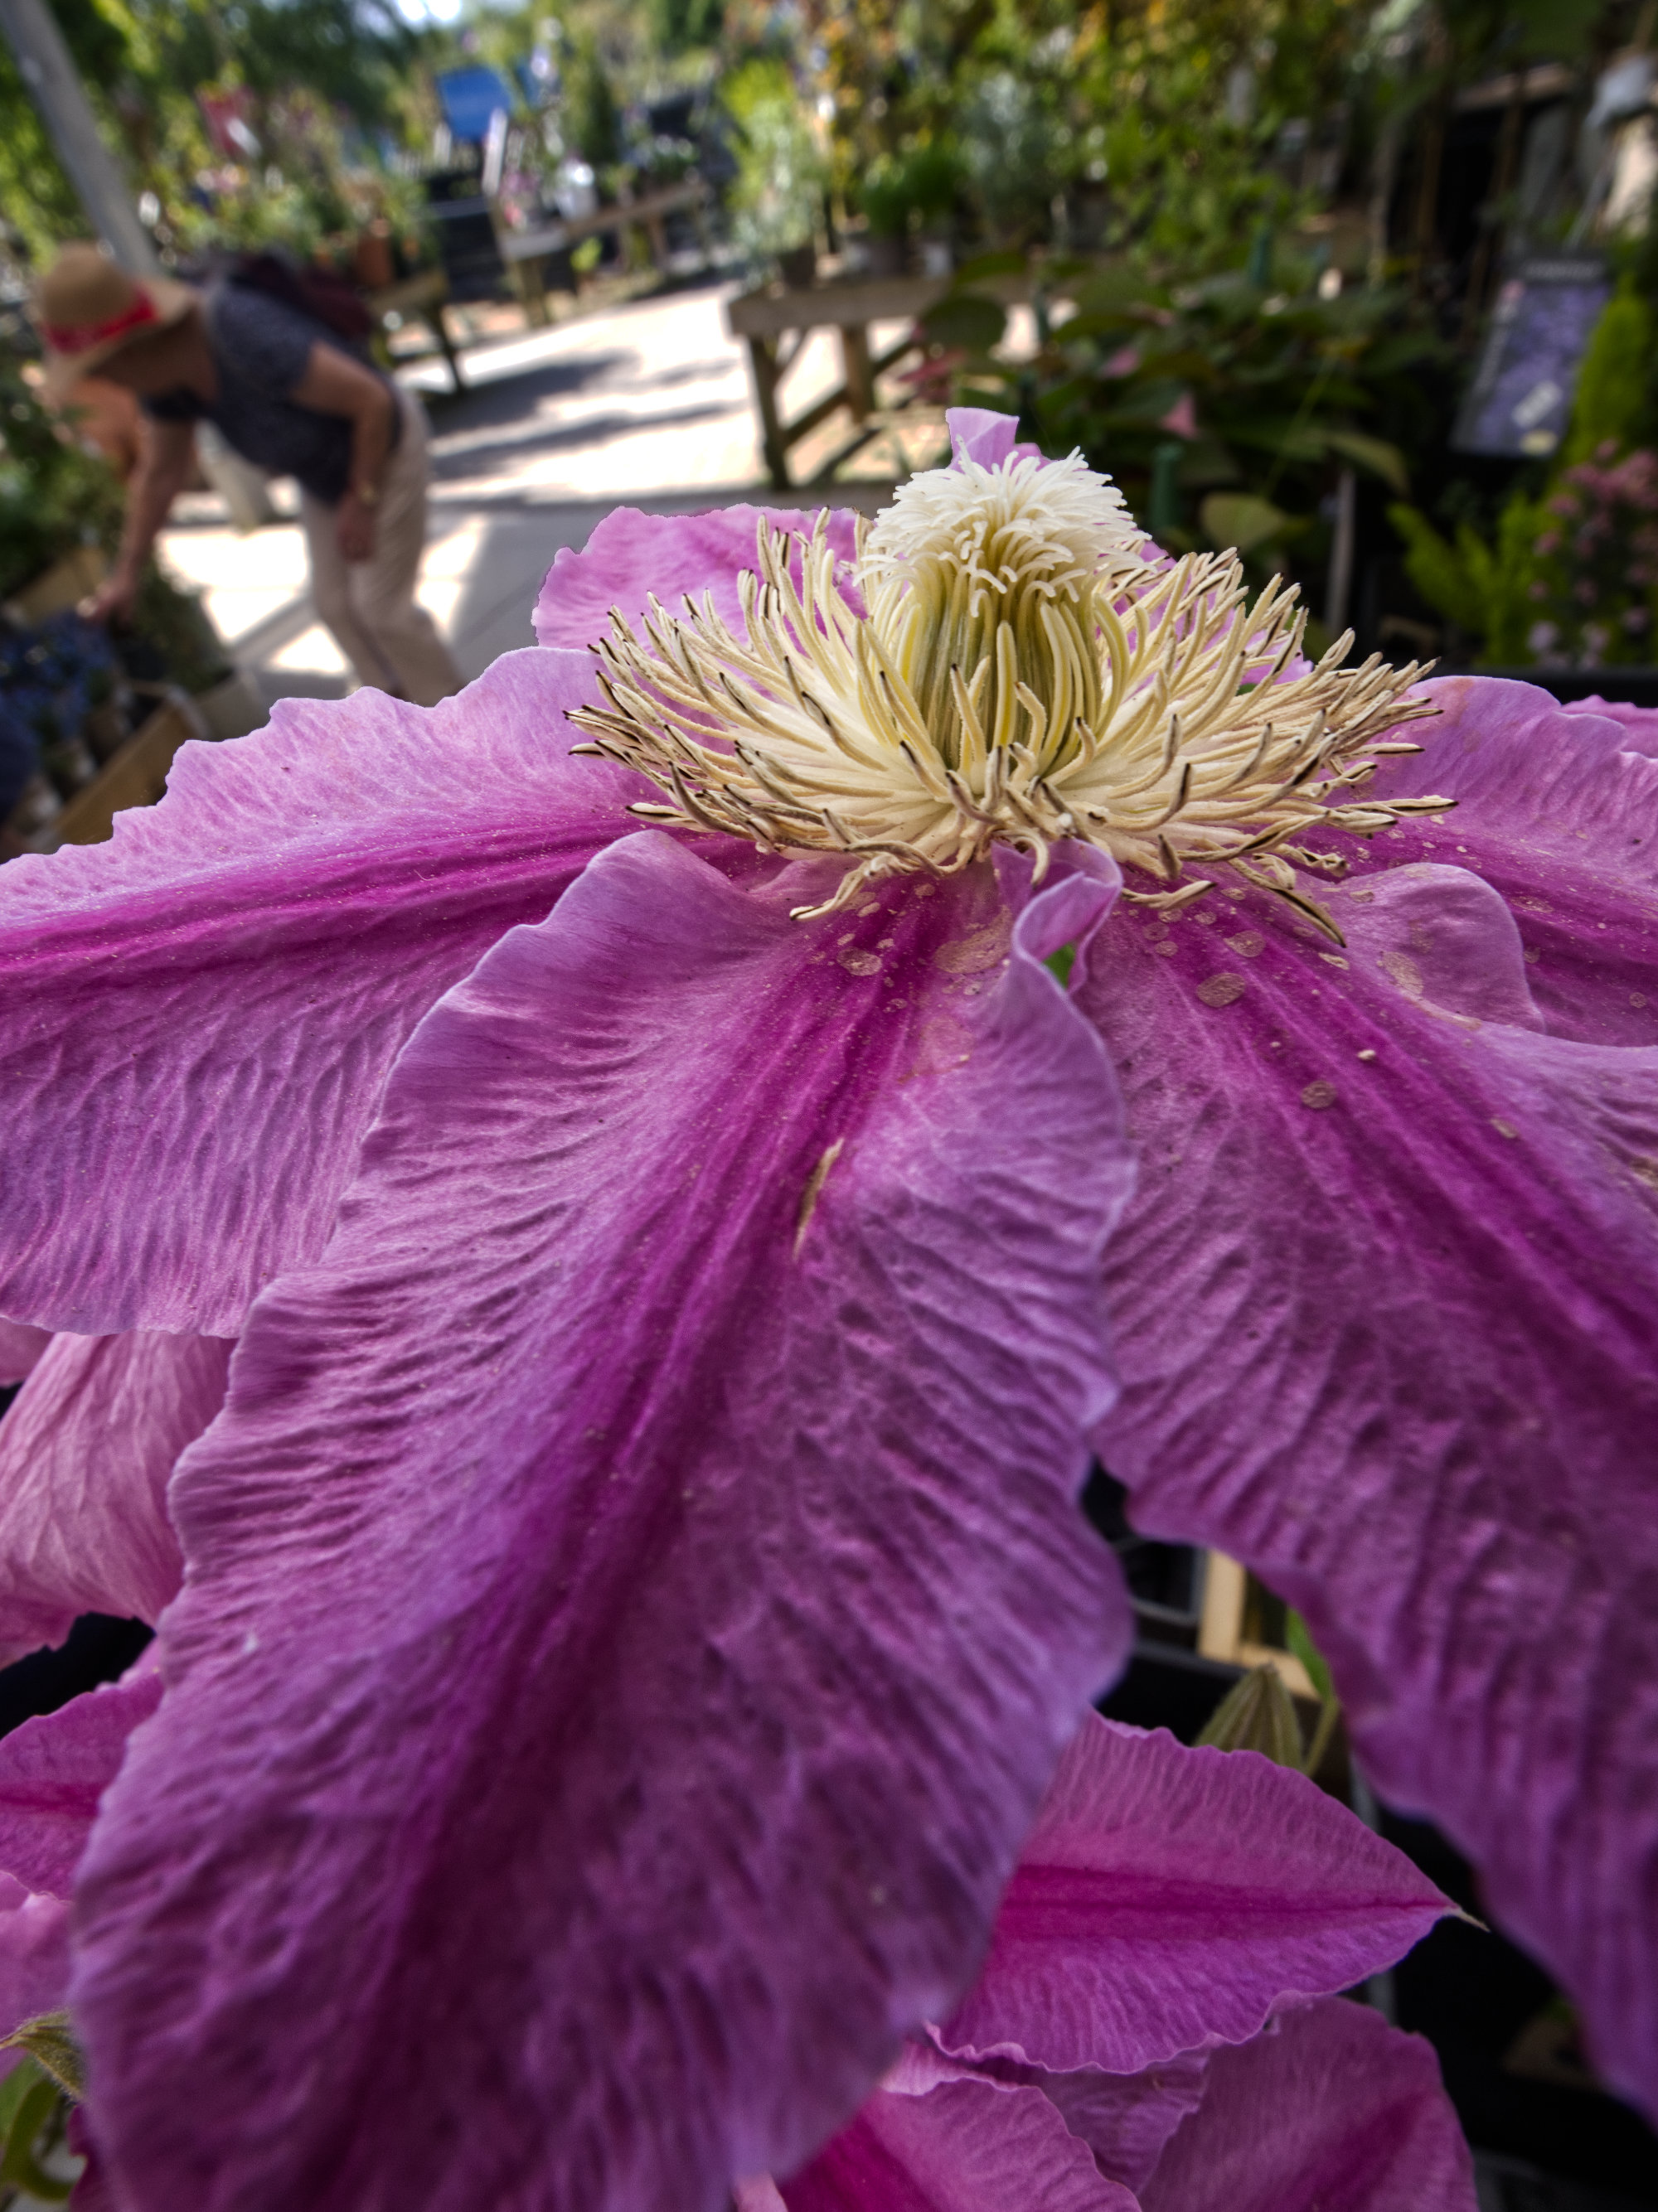
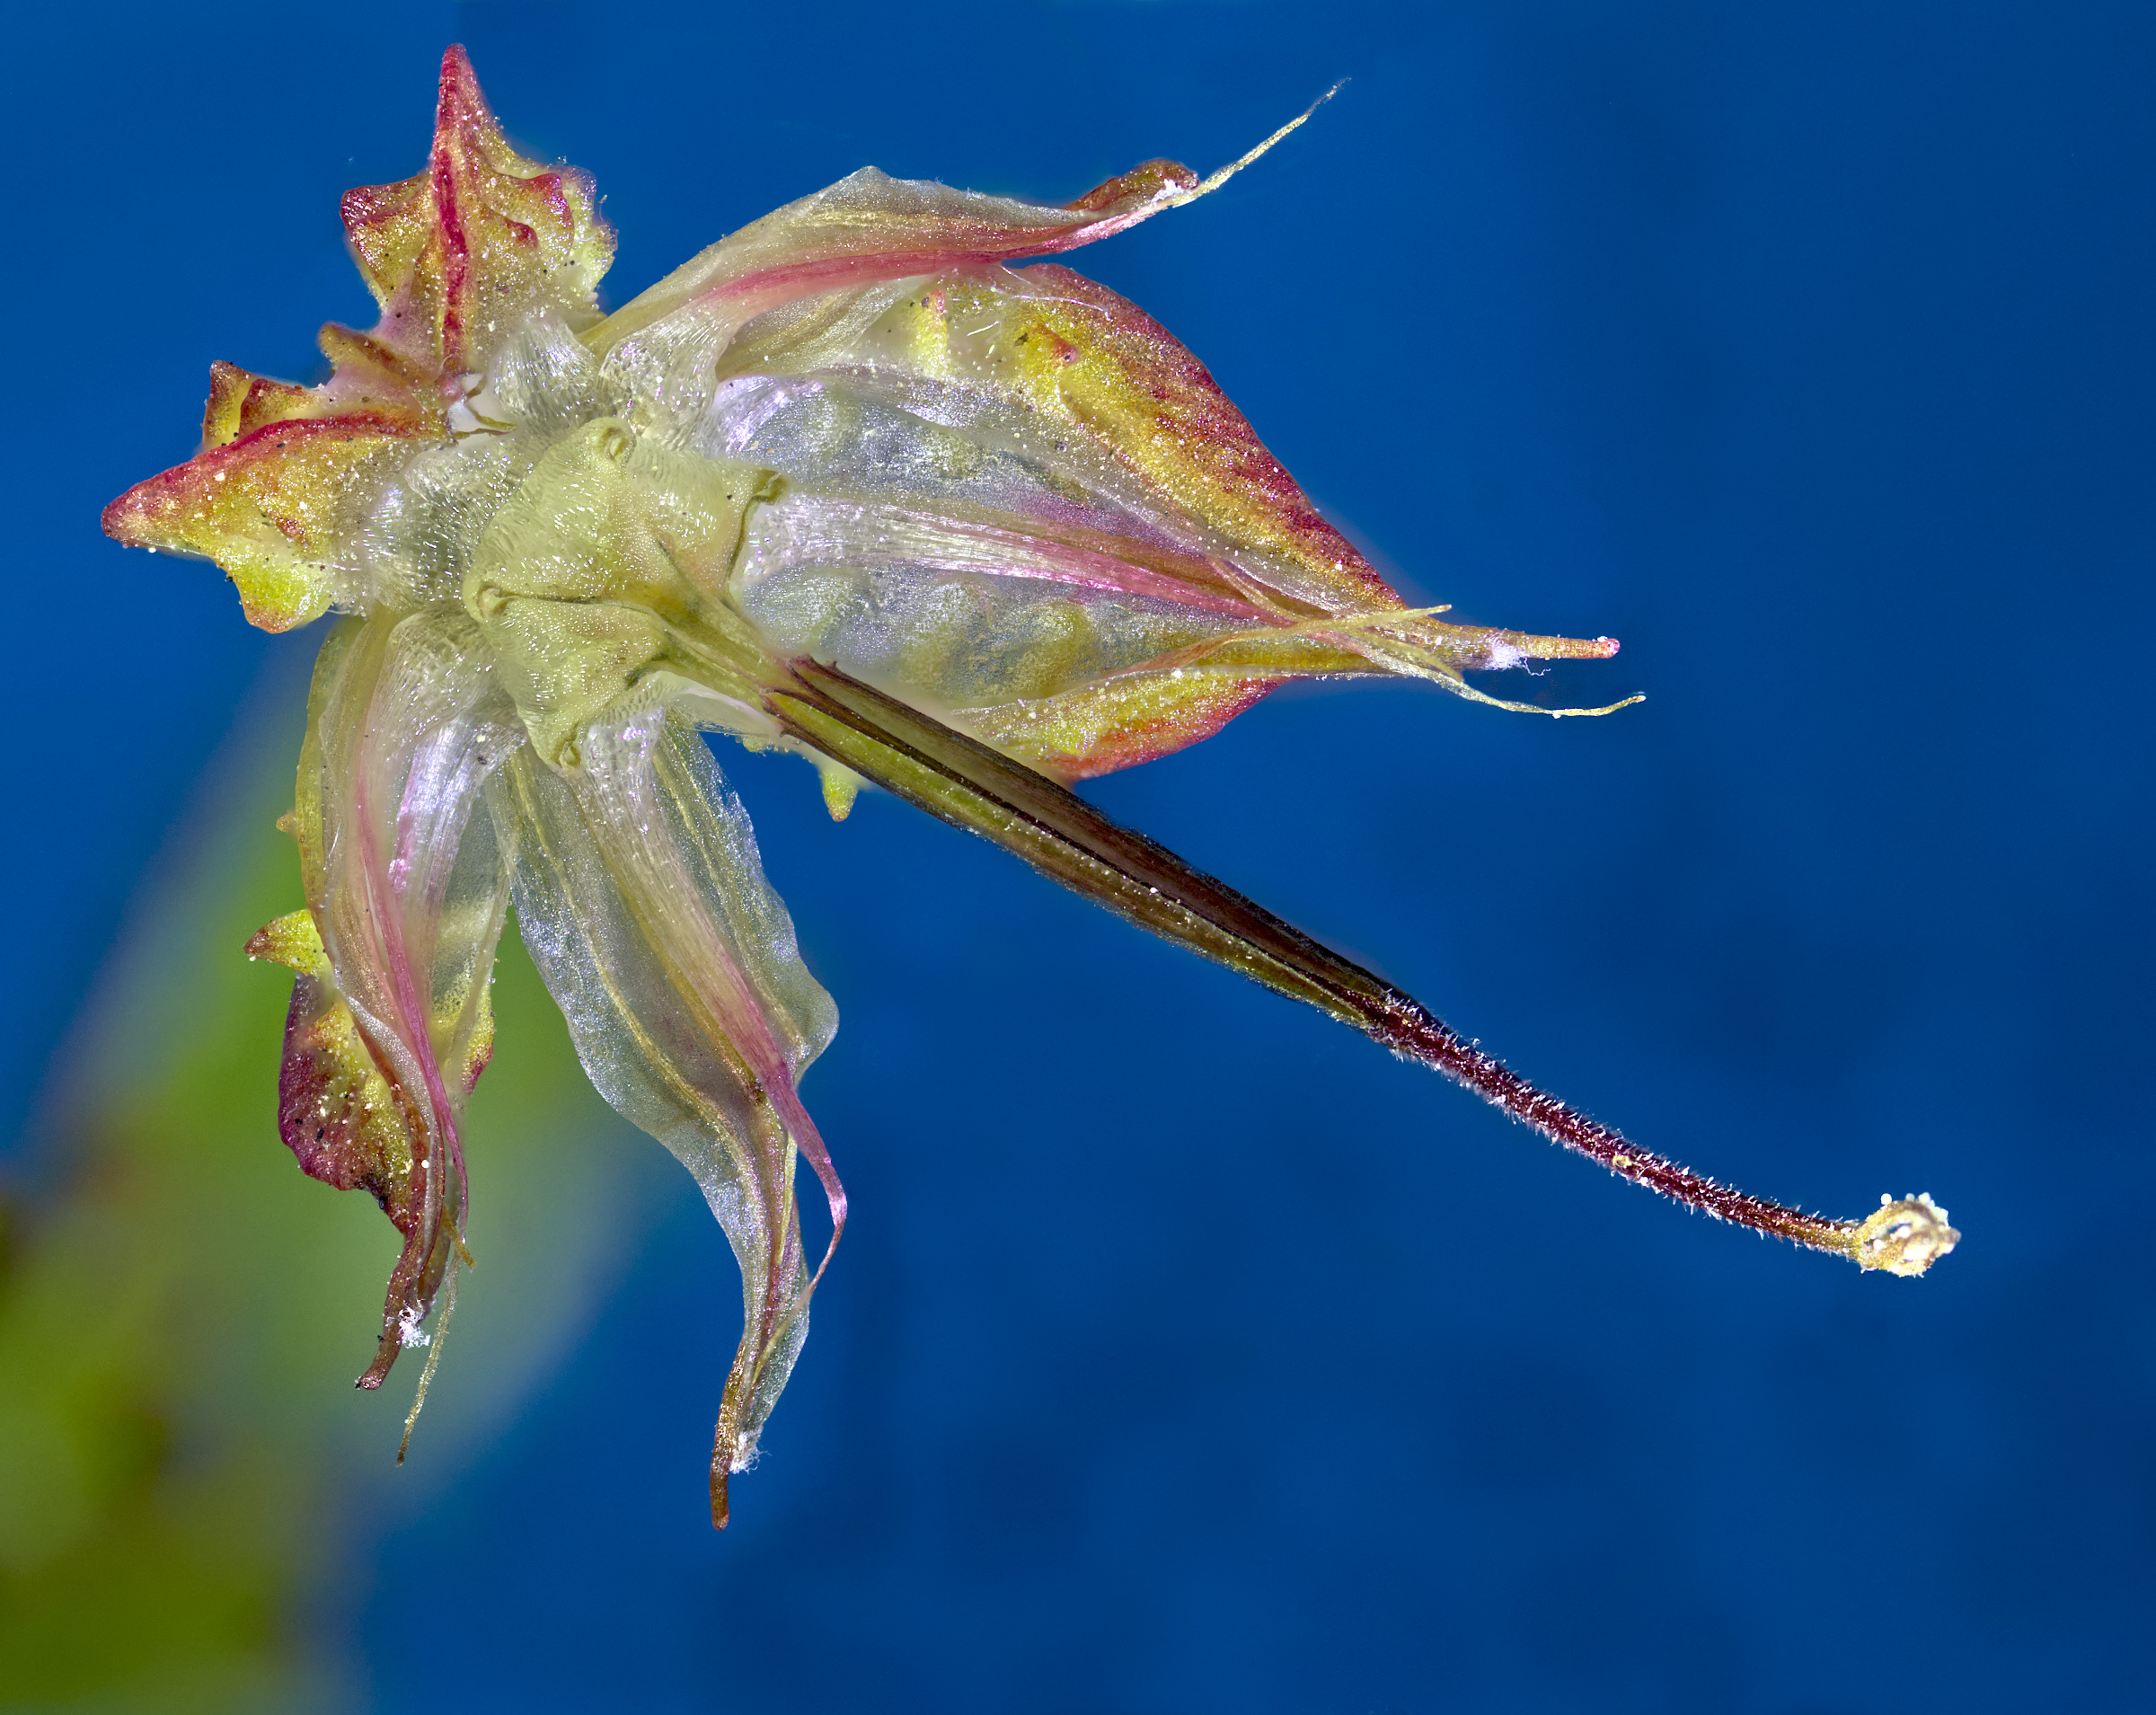
I agree, the strength of this photo for me is the detail. I like the composition too.
It reminds me of a previous photo on Group 64 - maybe taken by you on the same trip? |
Mar 11th |
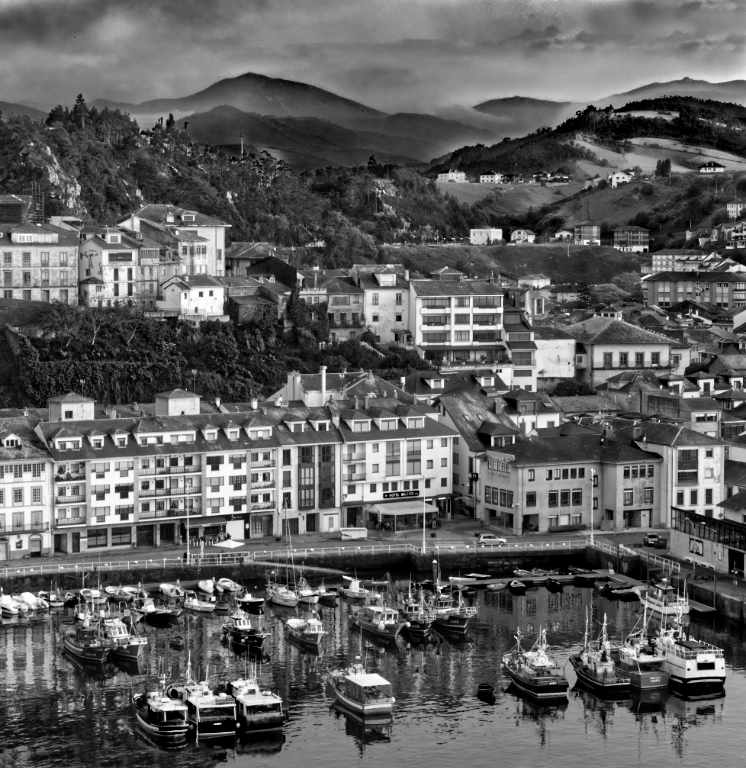
| 64 |
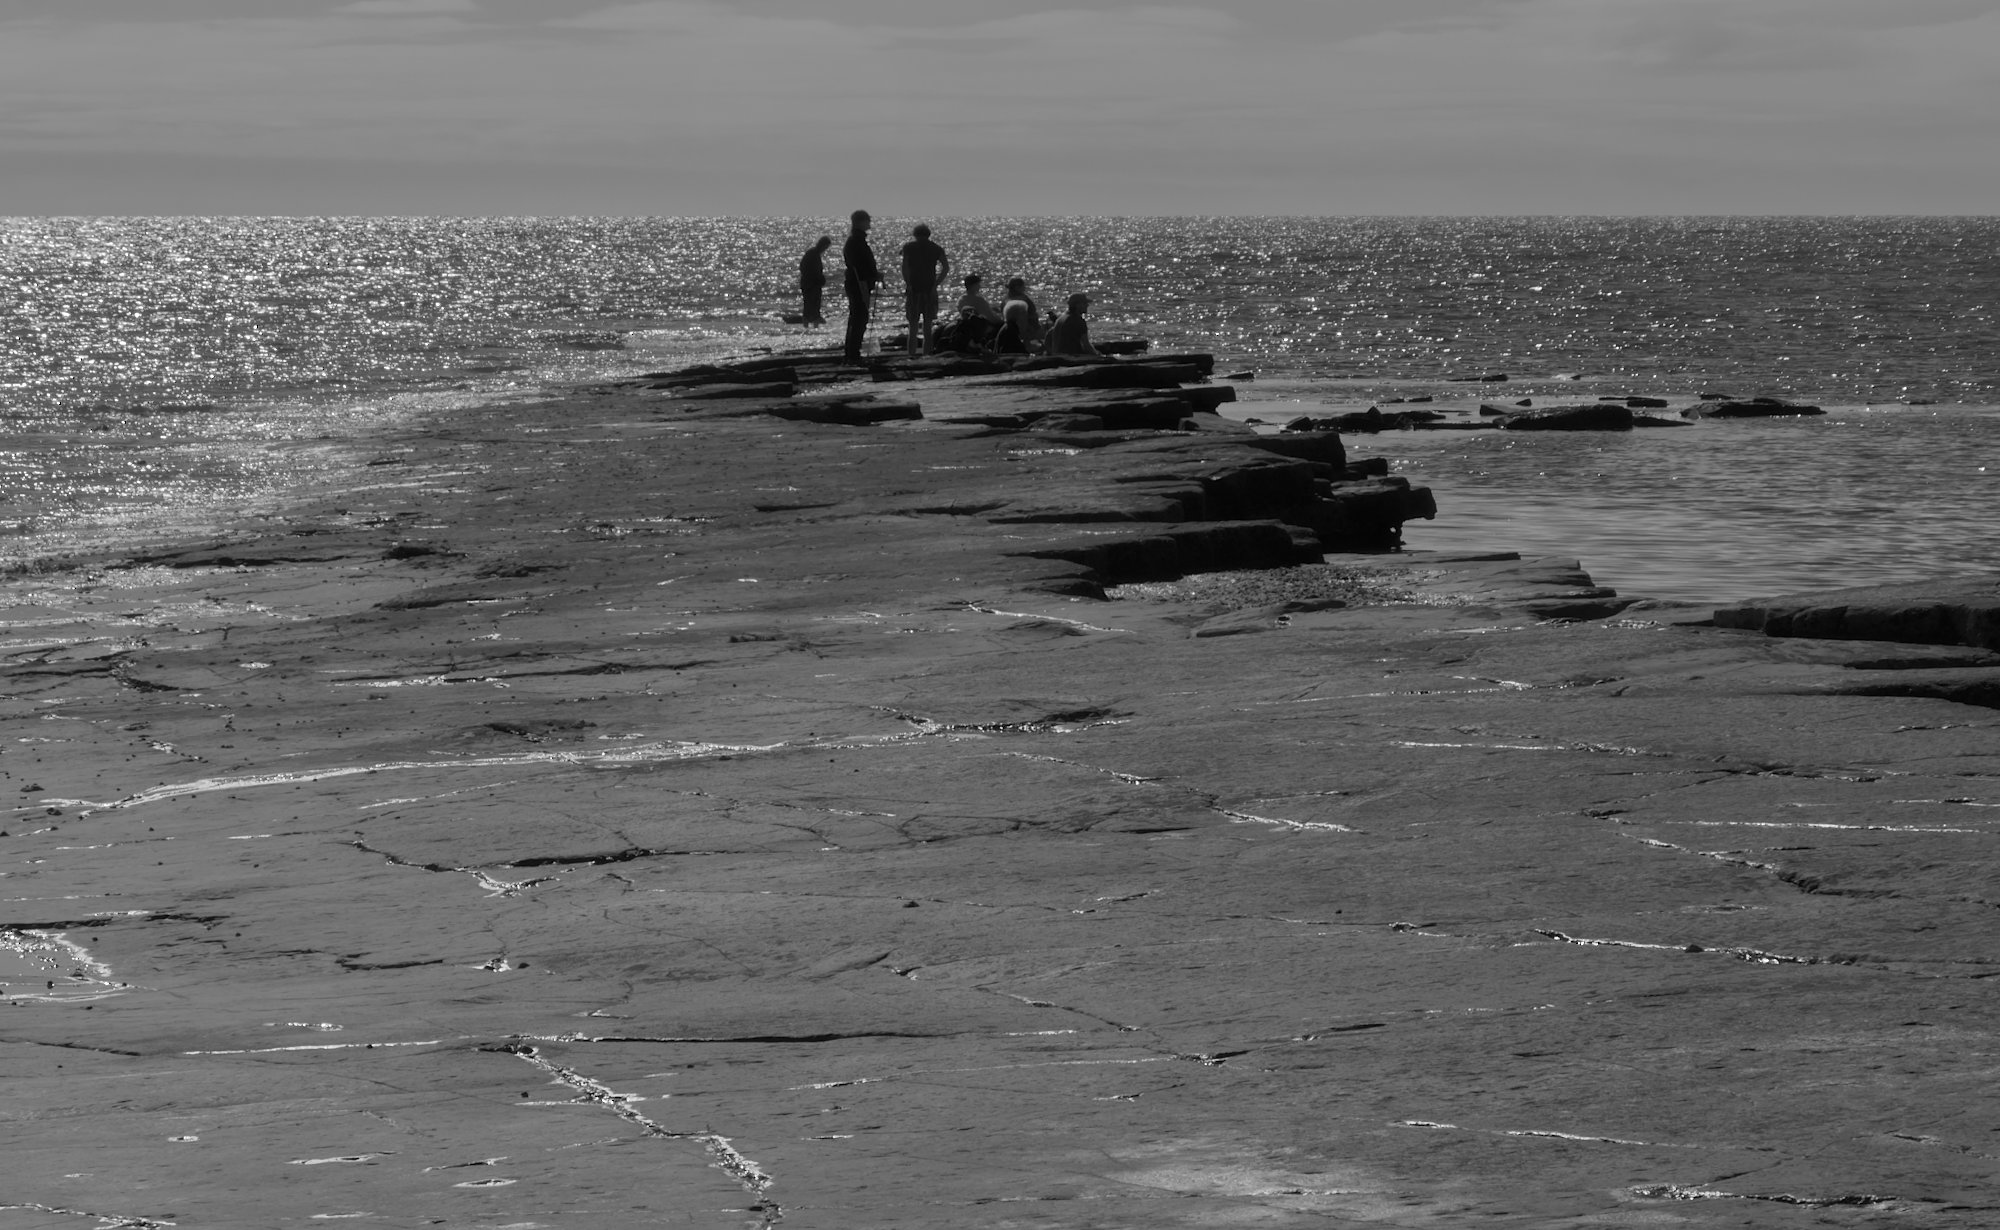
Mar 24 |
Comment |
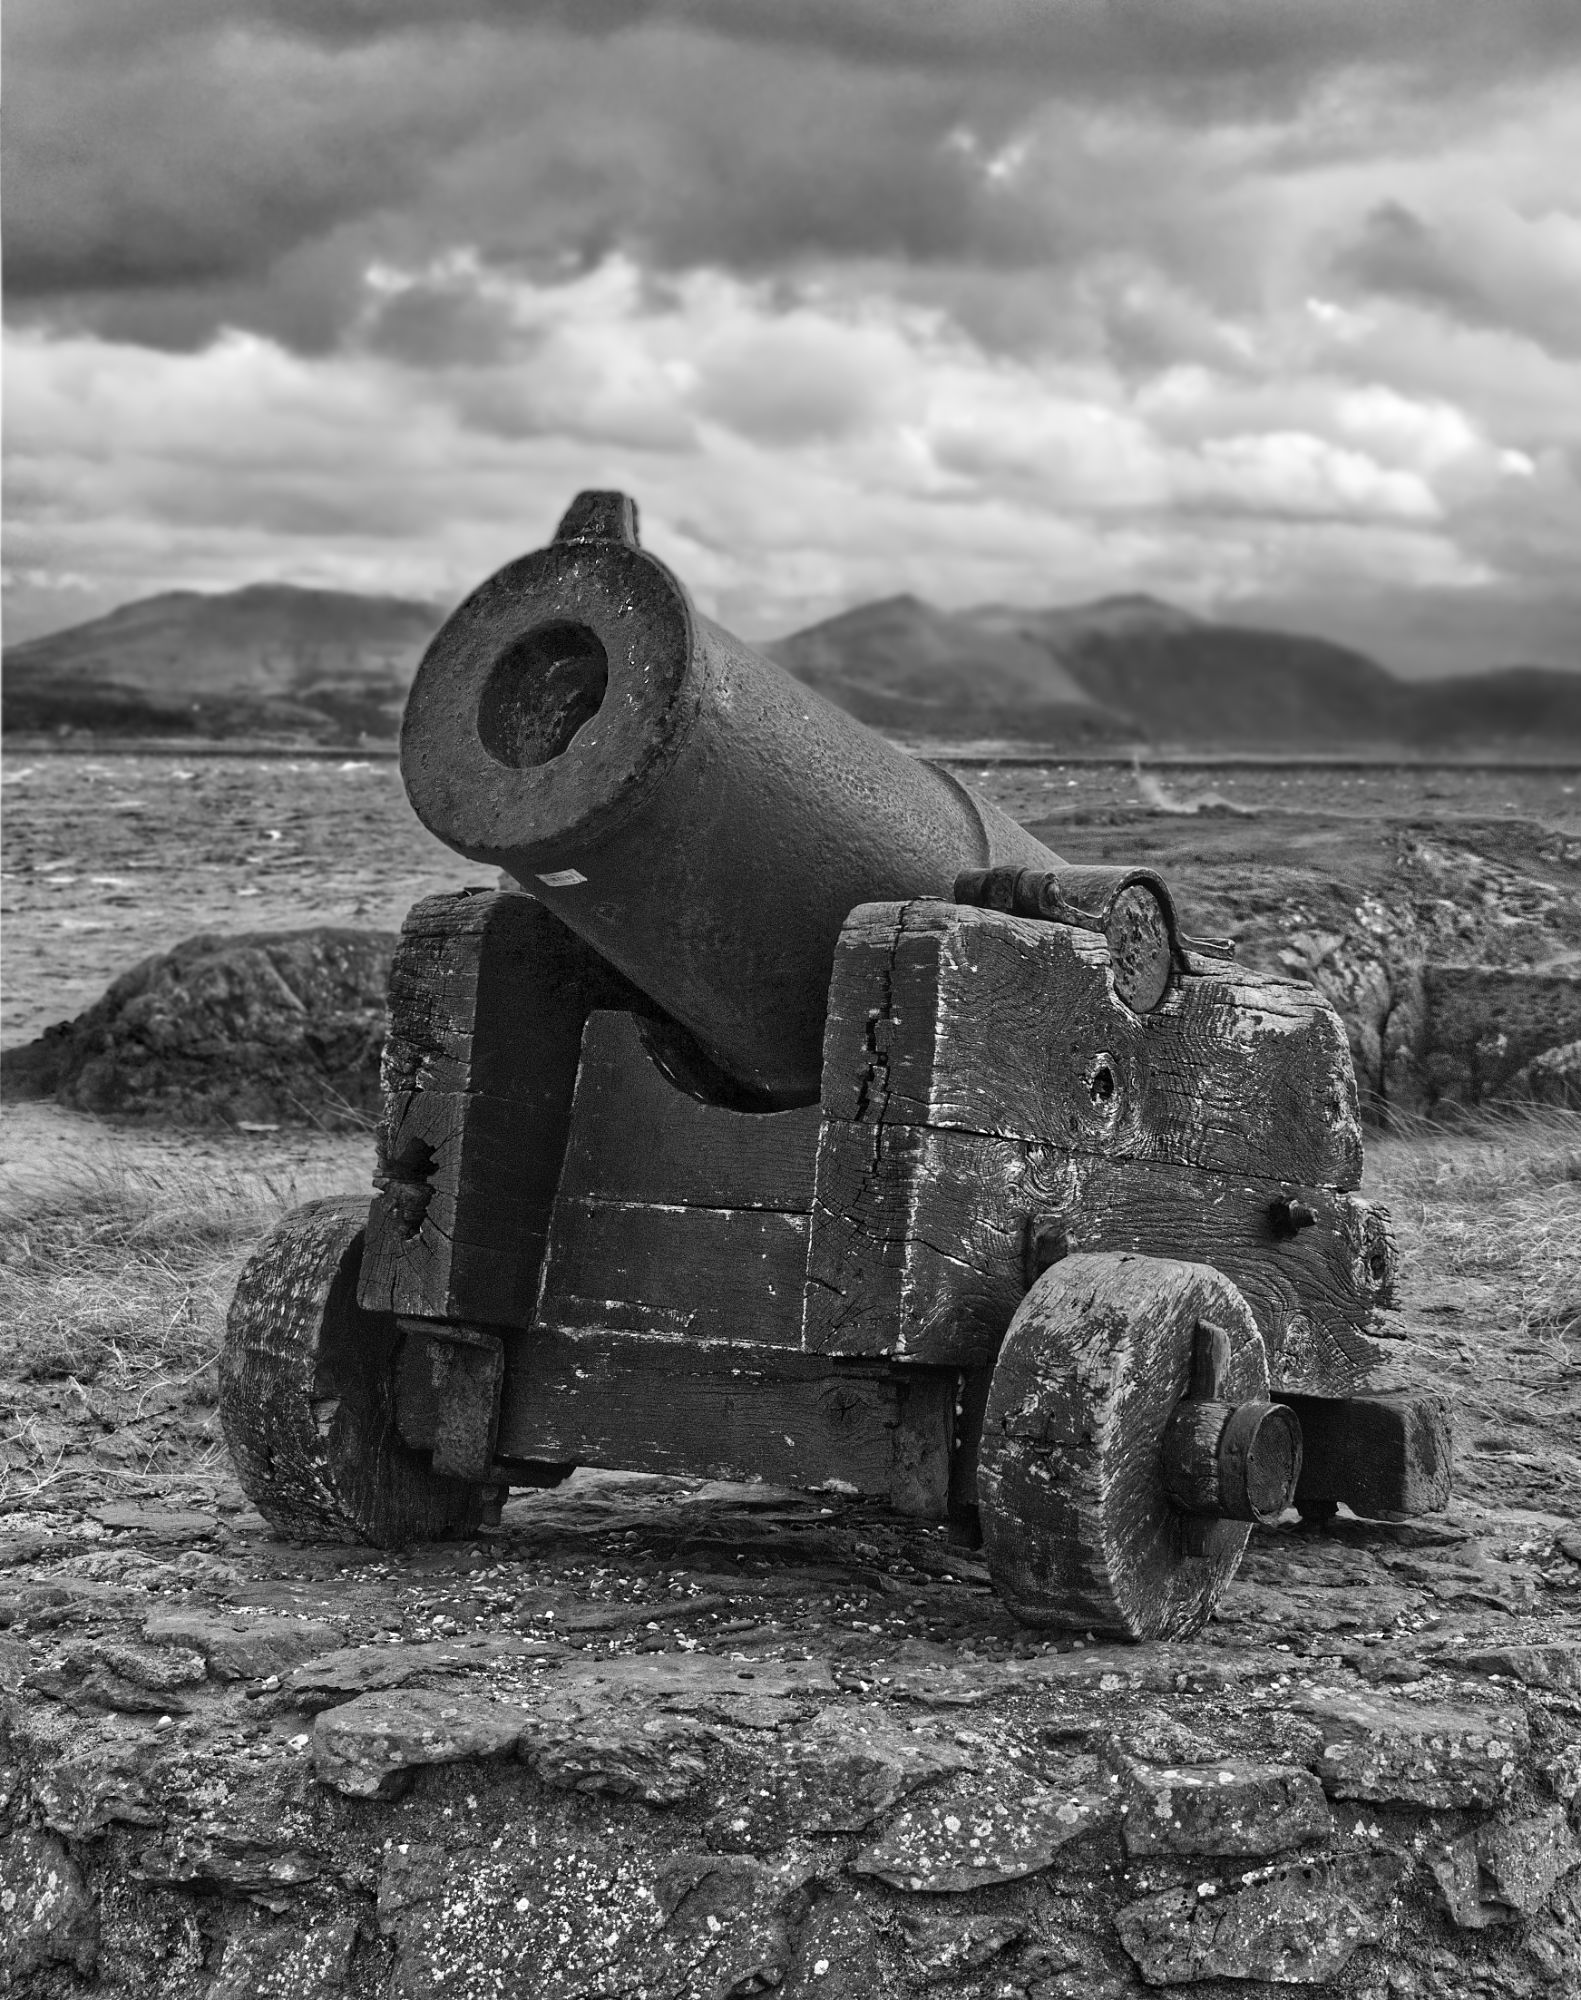
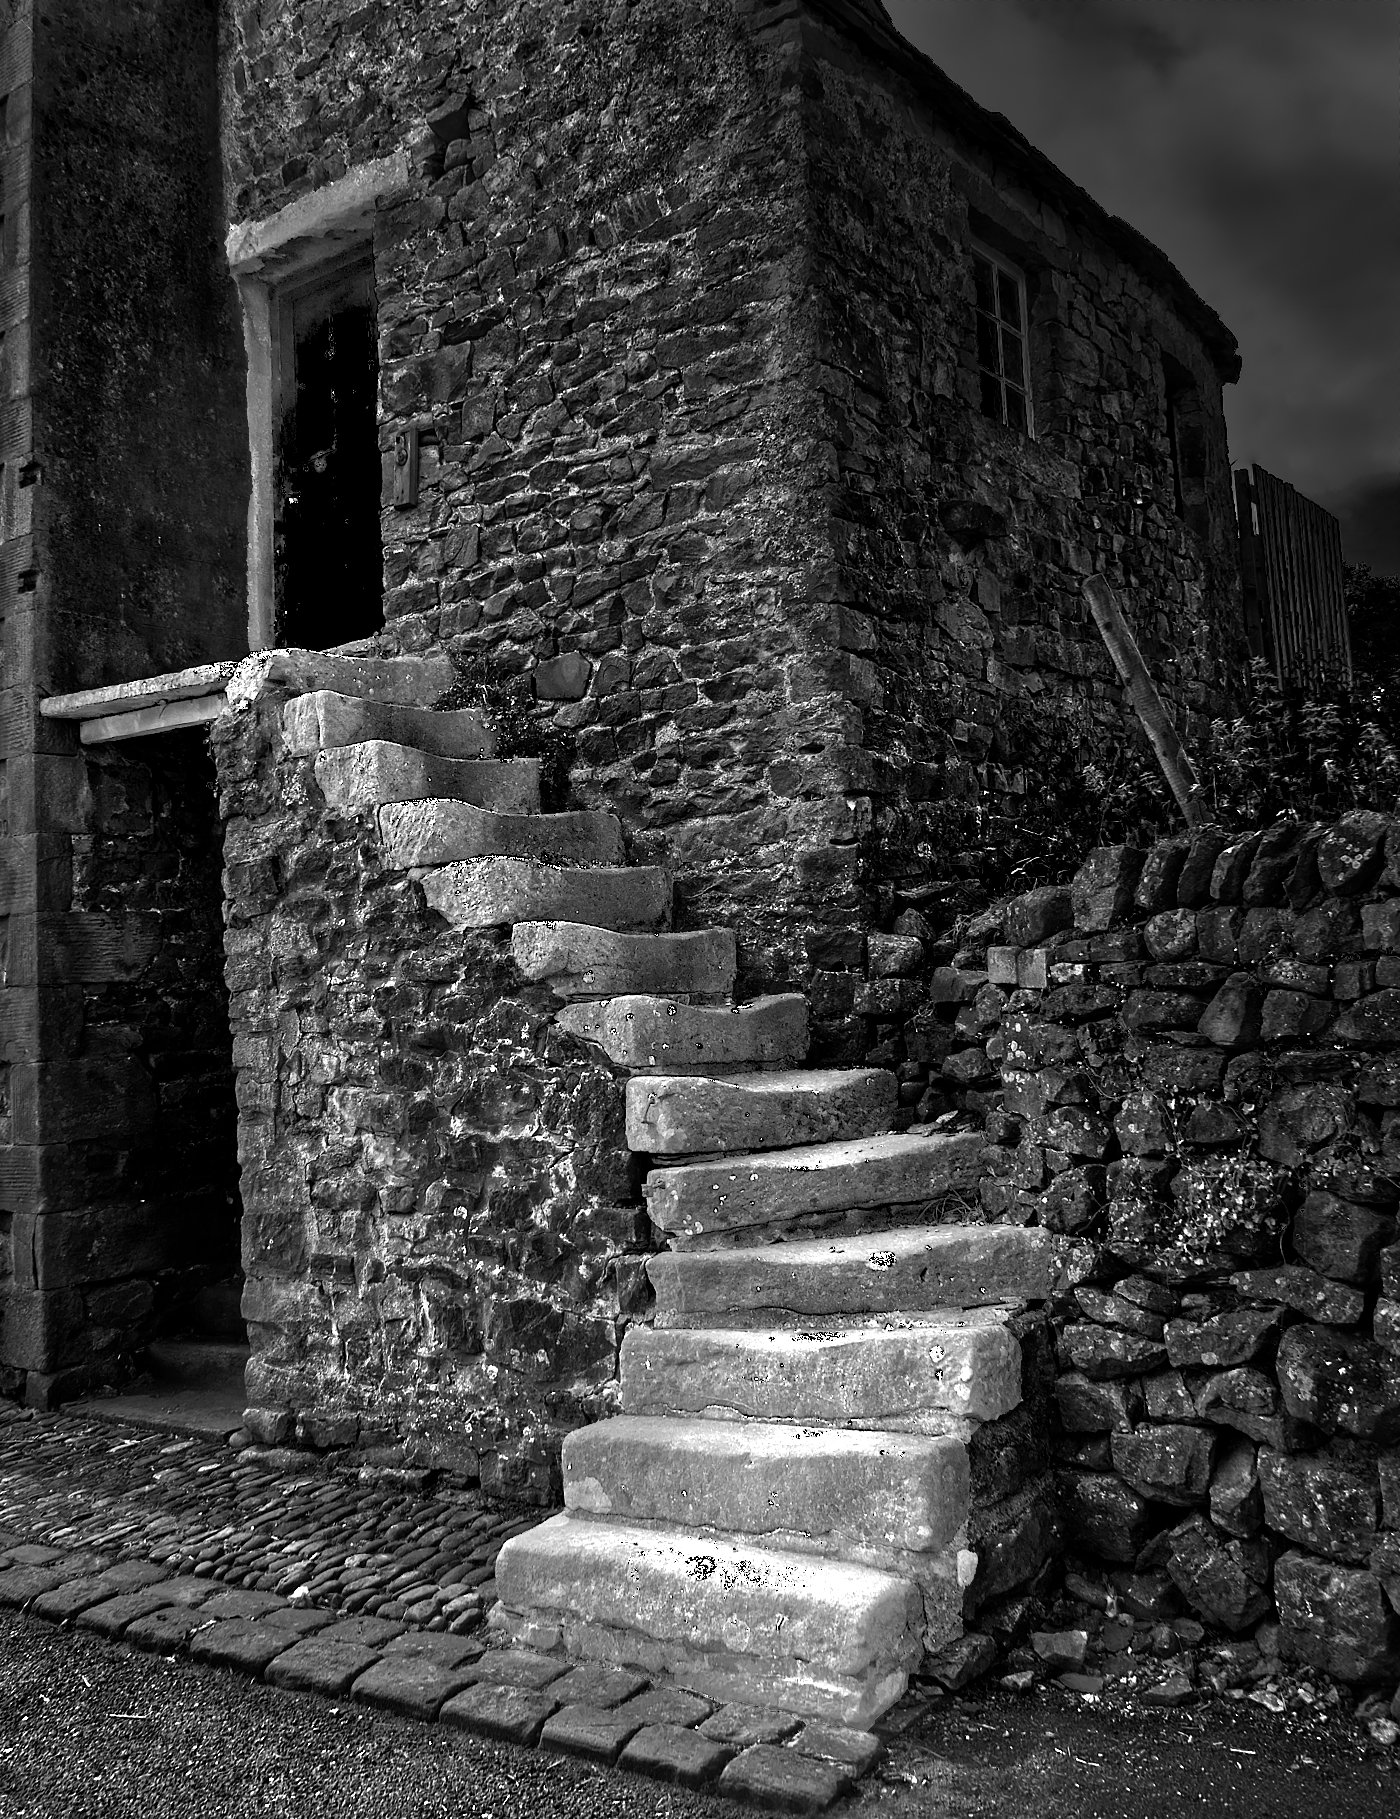
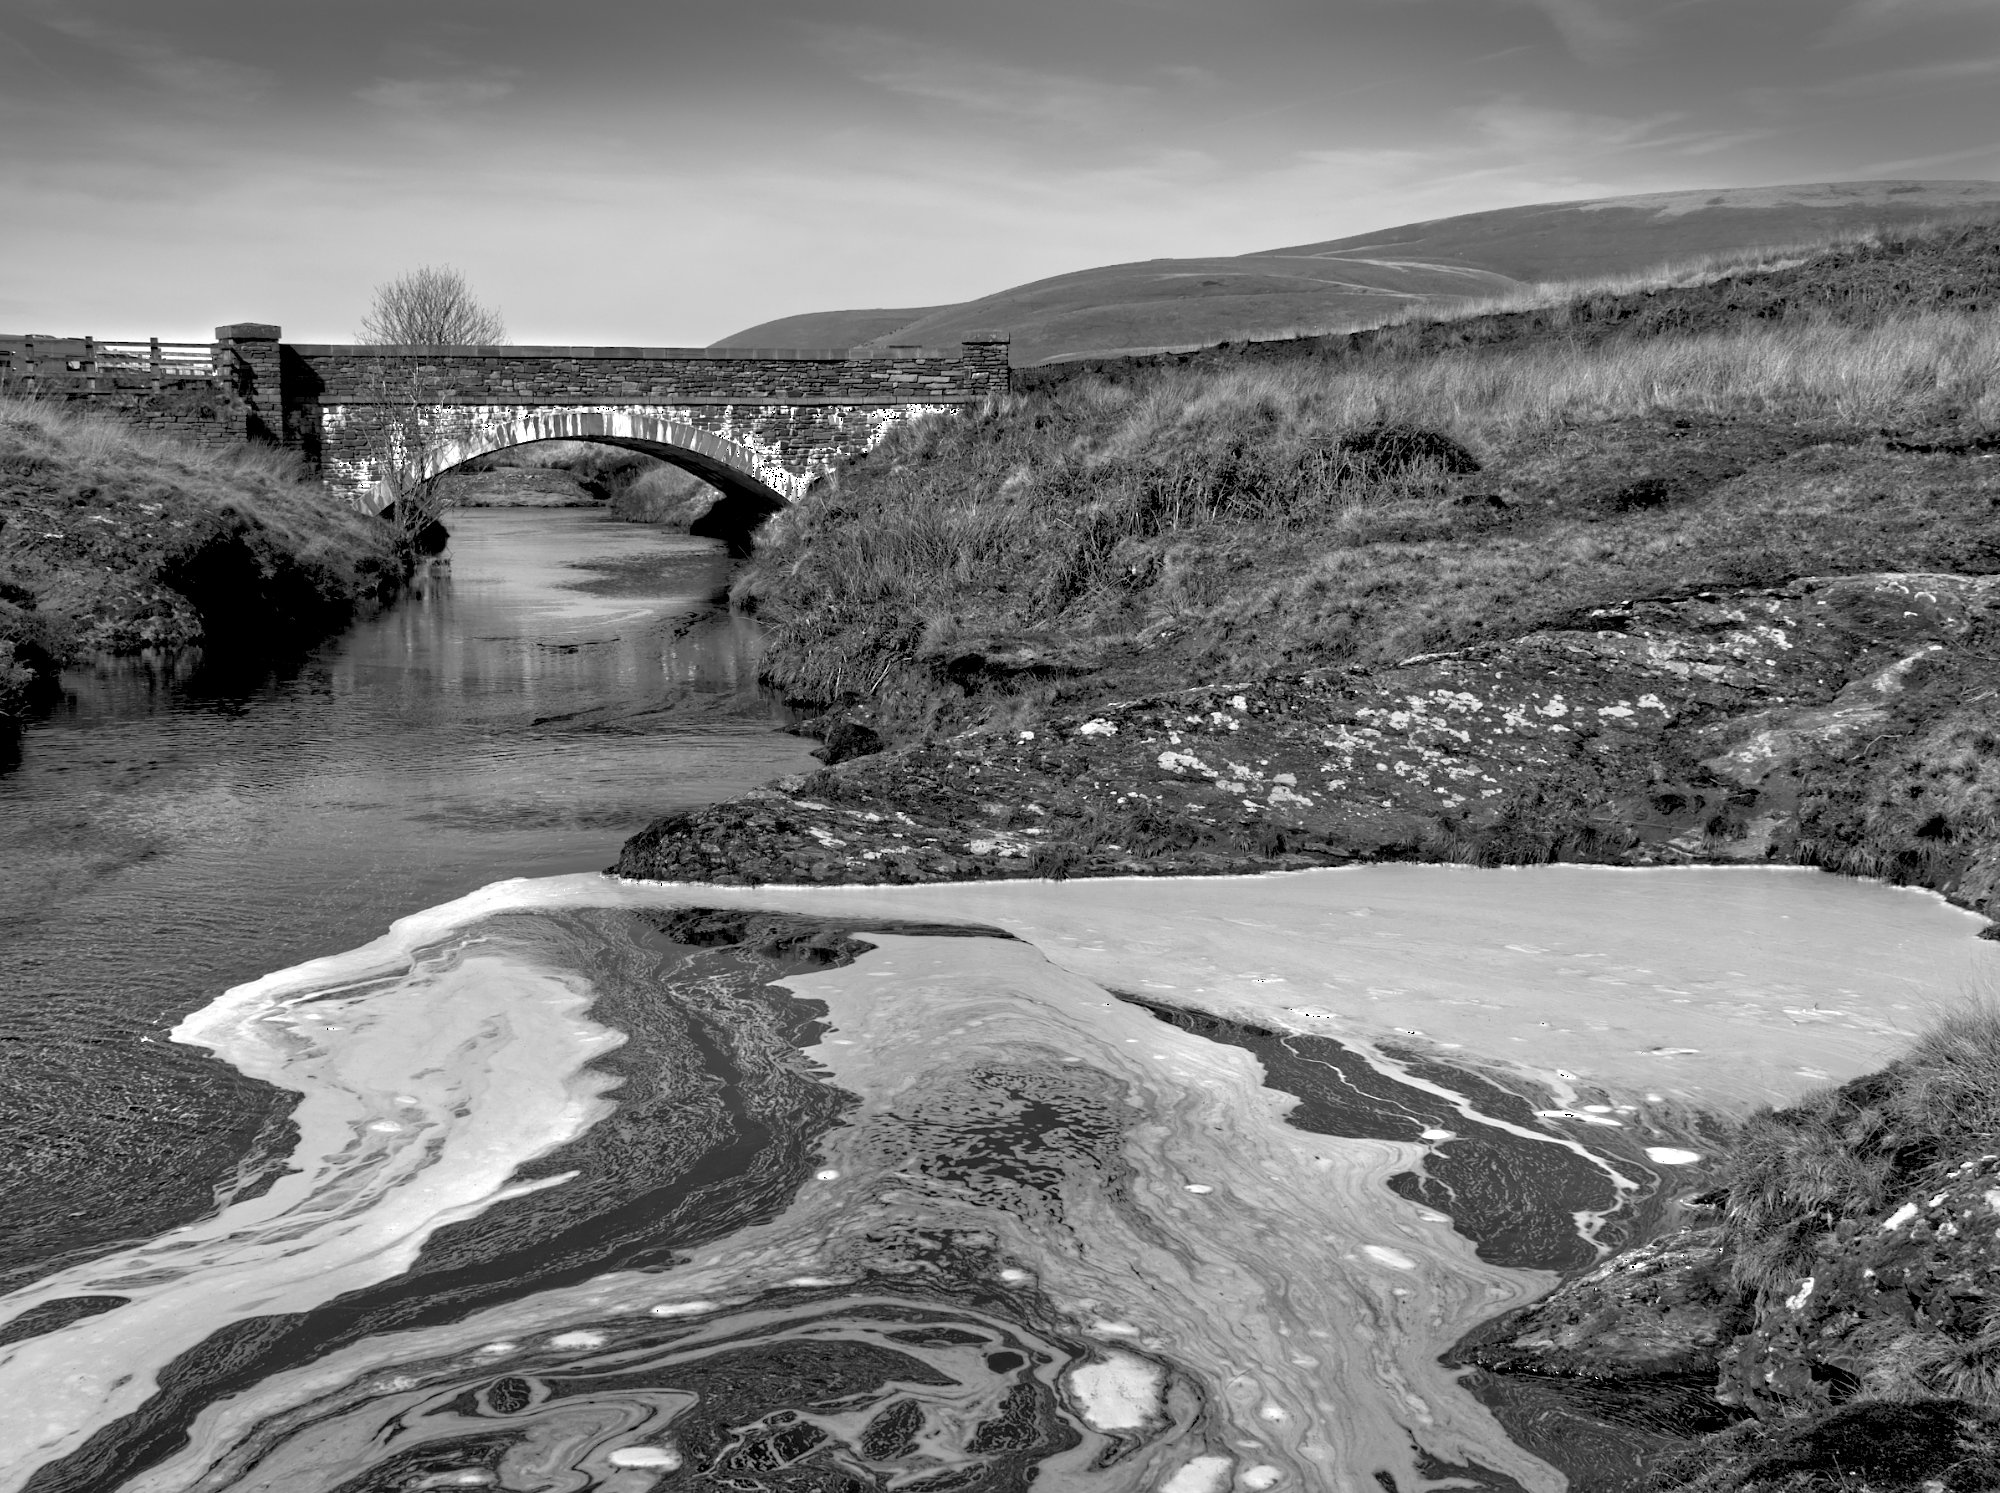
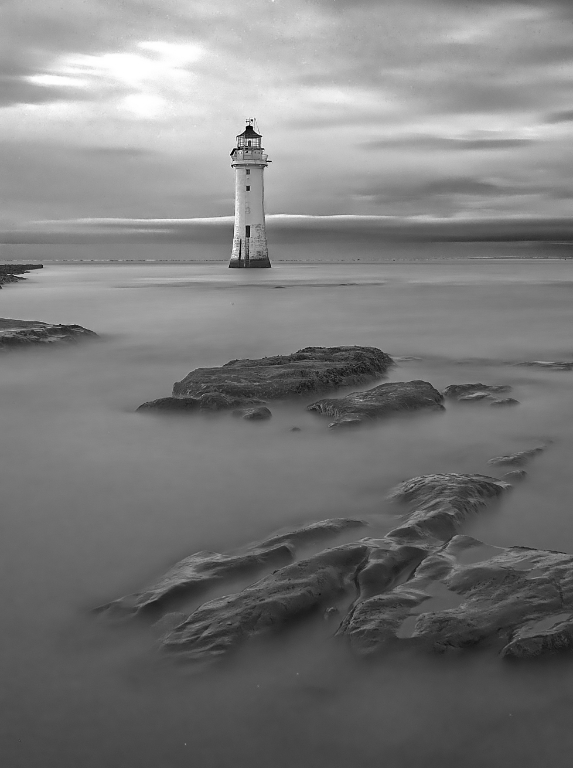
A super shot, John. I love the feeling of depth and diagonals emphasising the lighthouse. I've only realised in recent years how important it is to get a foreground, middle ground and far ground in a landscape to give it life.
I'd agree with Don, perhaps a little more contrast and darkness in the sky would add to the drama. Also the mono version doesn't show a clear demarkation between the tree and the rock on the left, so perhaps fiddling with the green slider might make that clearer and add to the depth. |
Mar 11th |
| 64 |
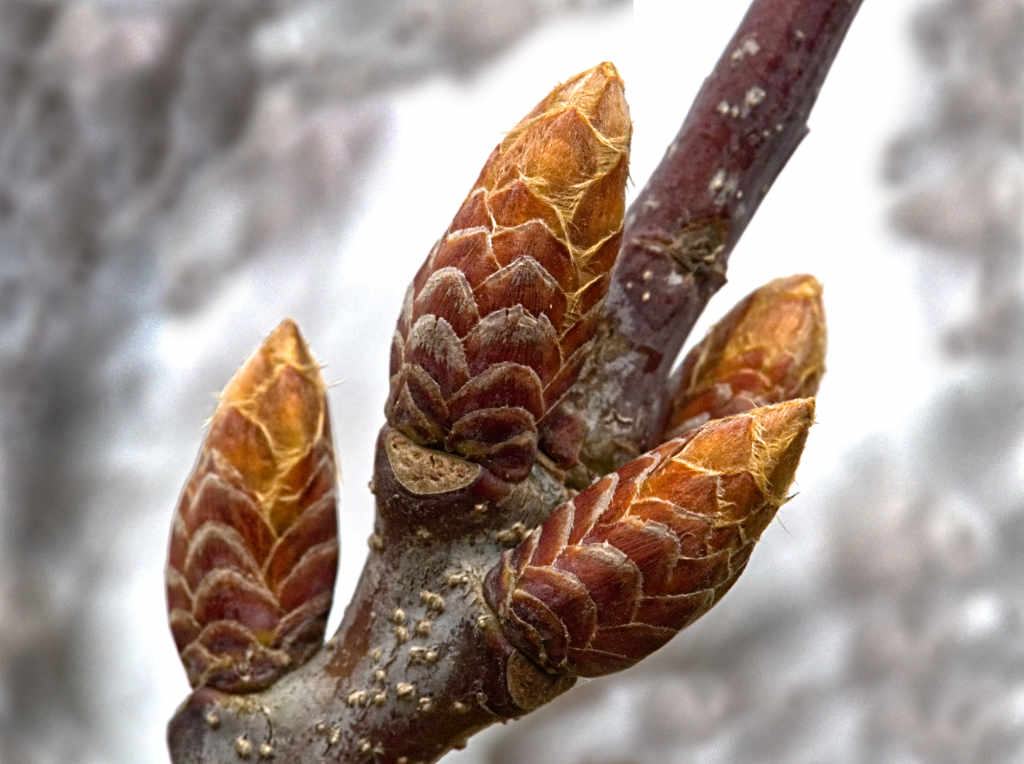
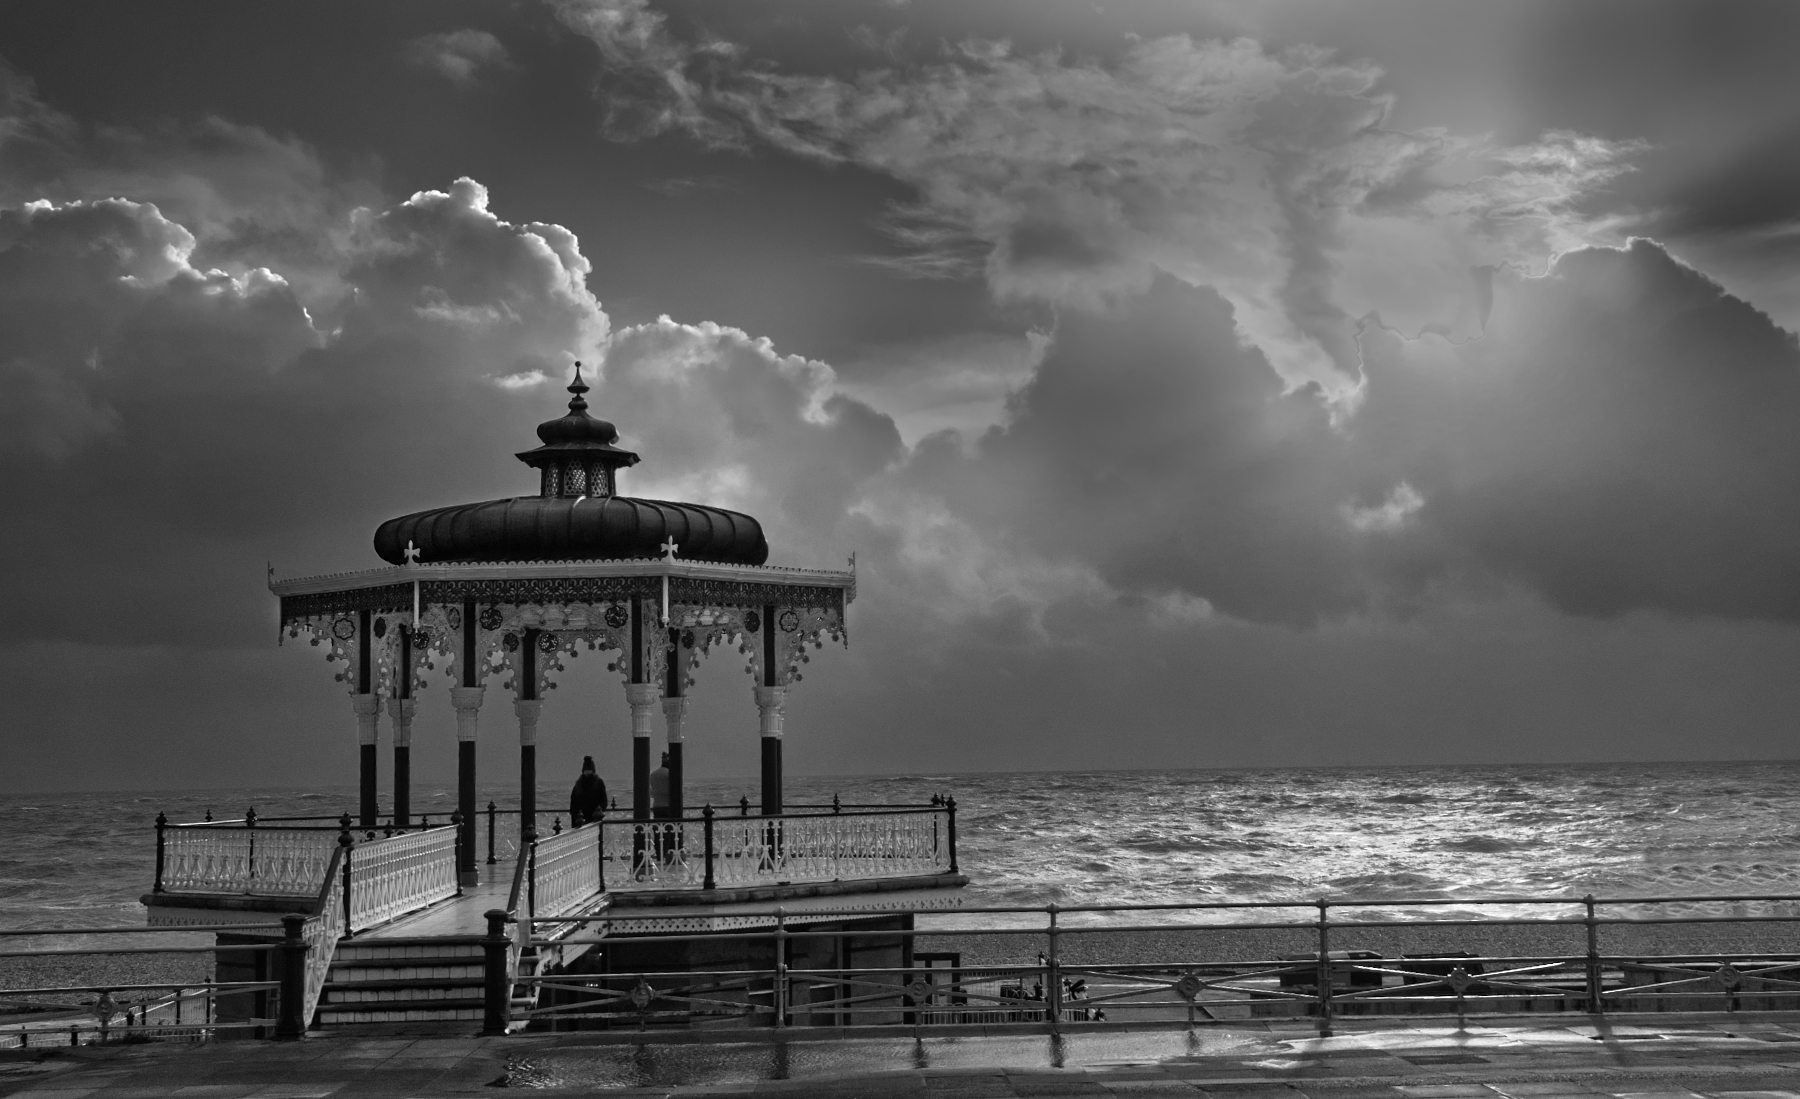
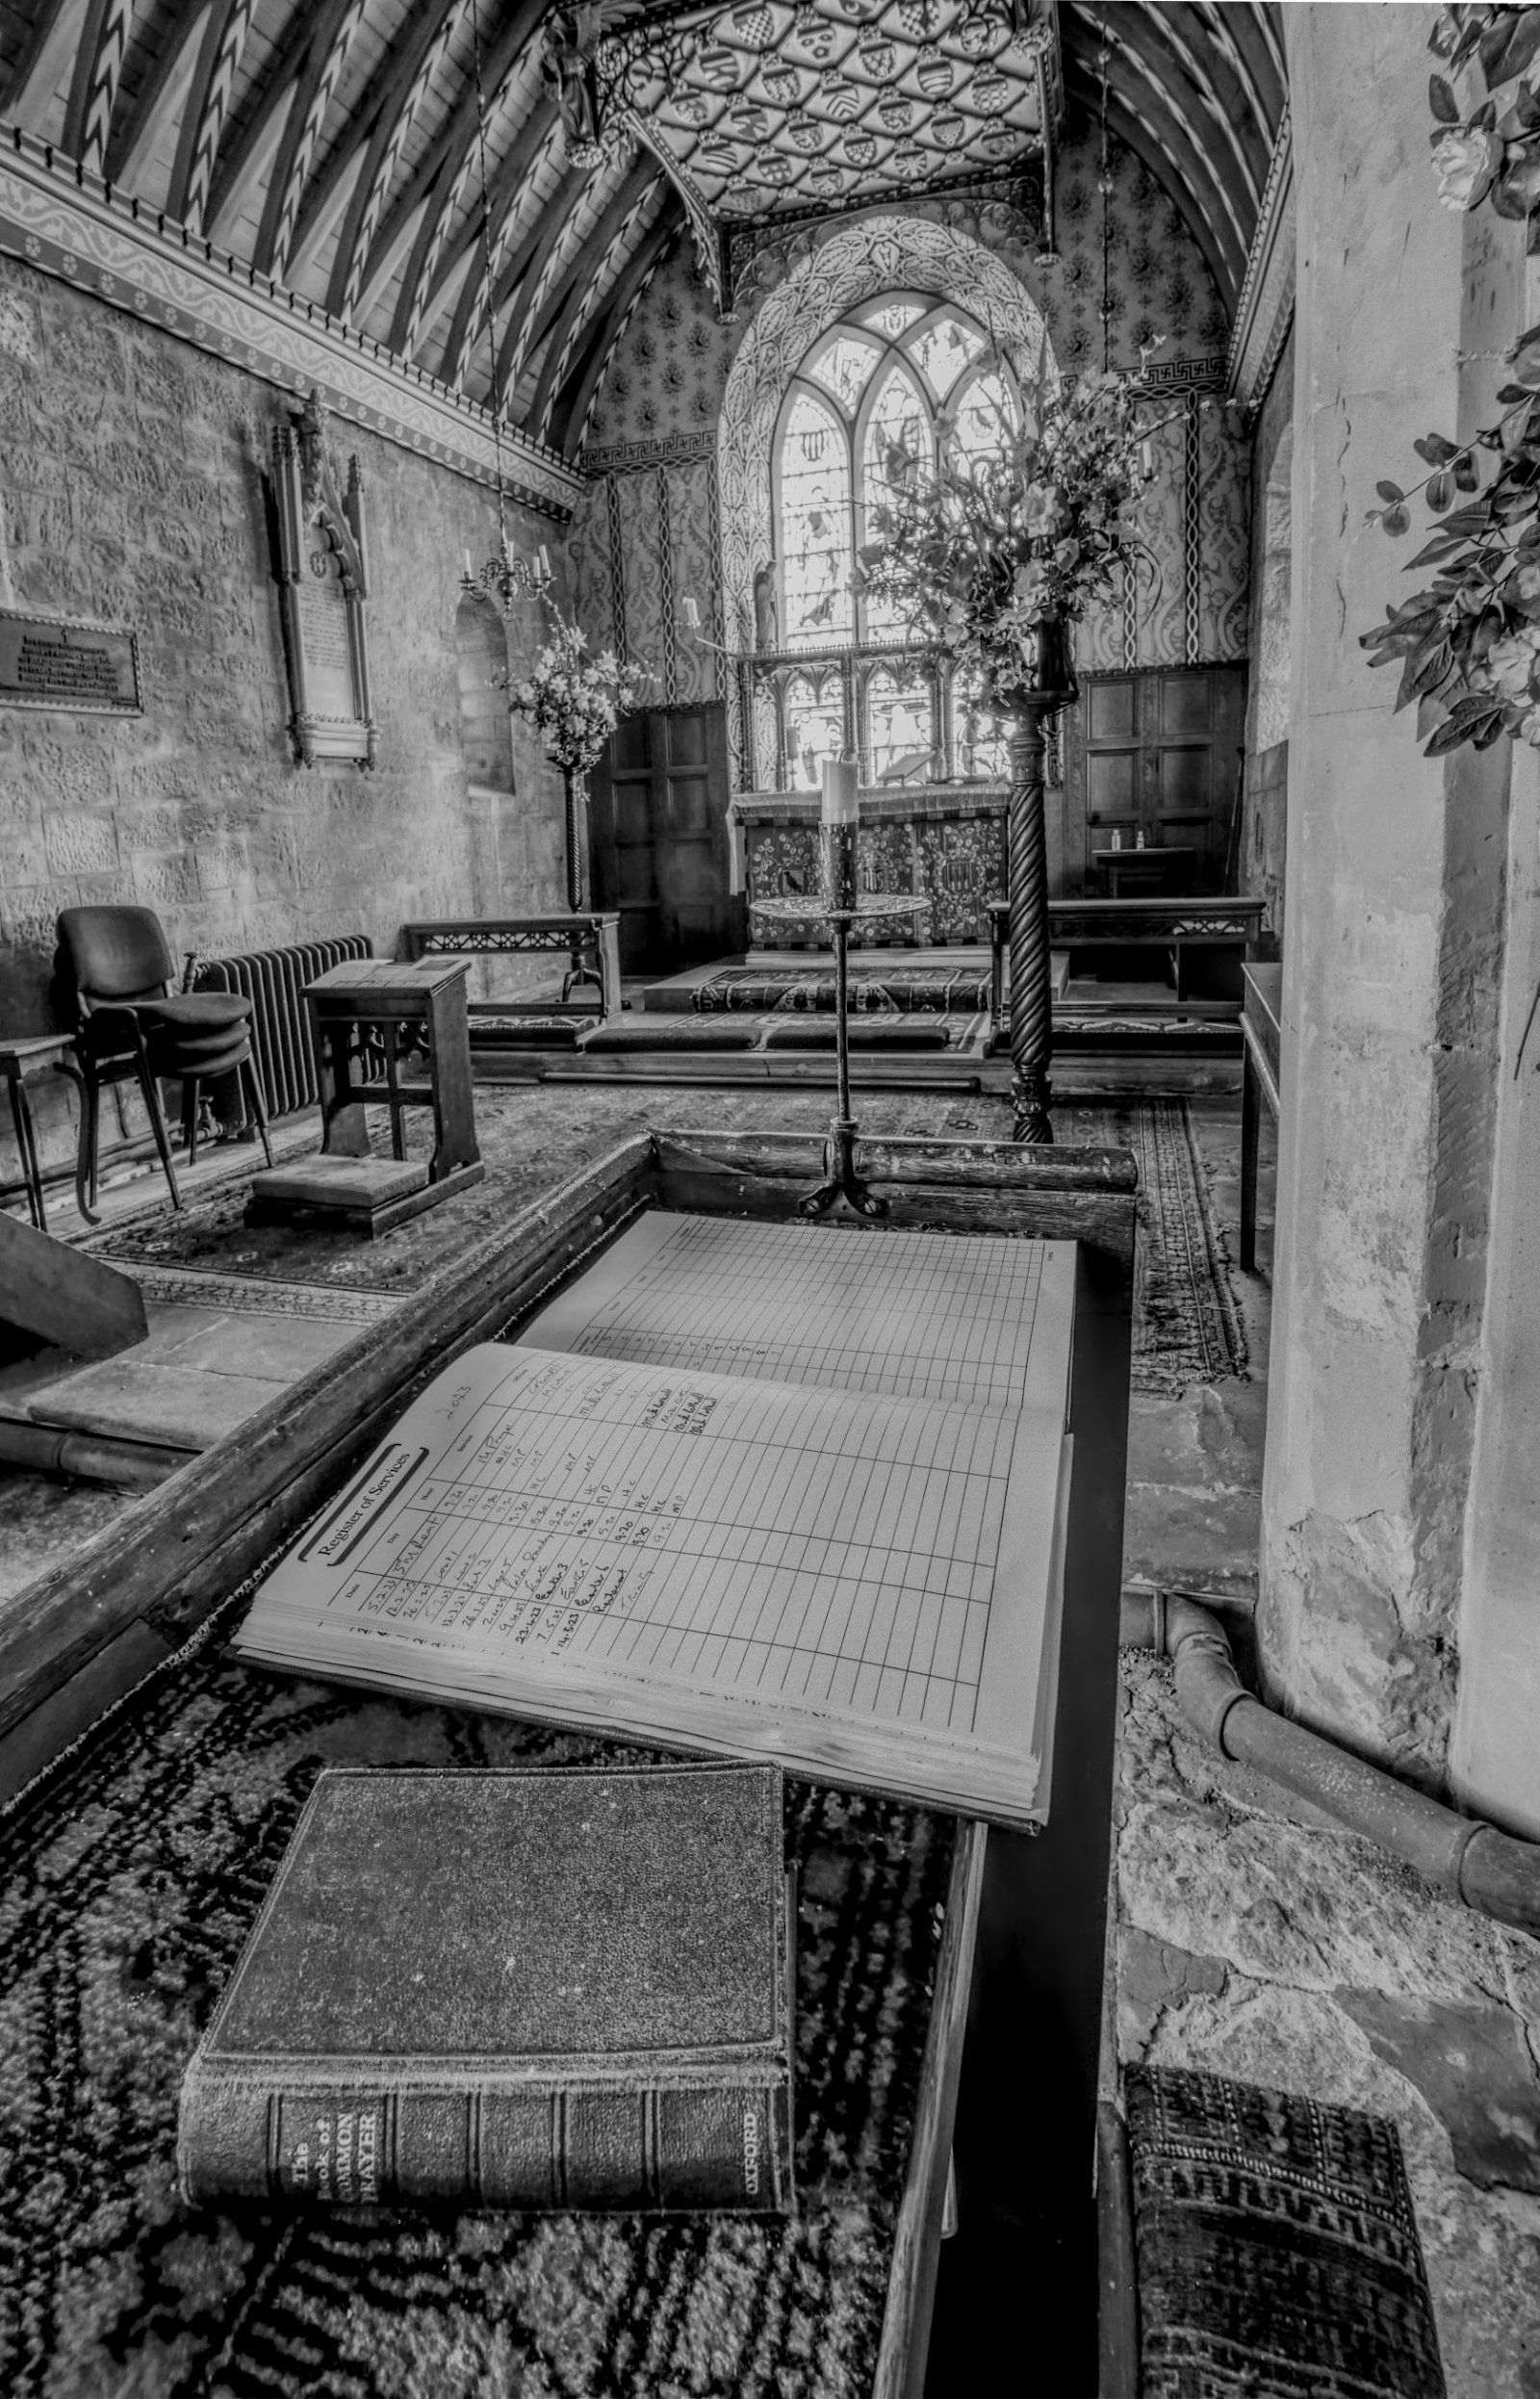
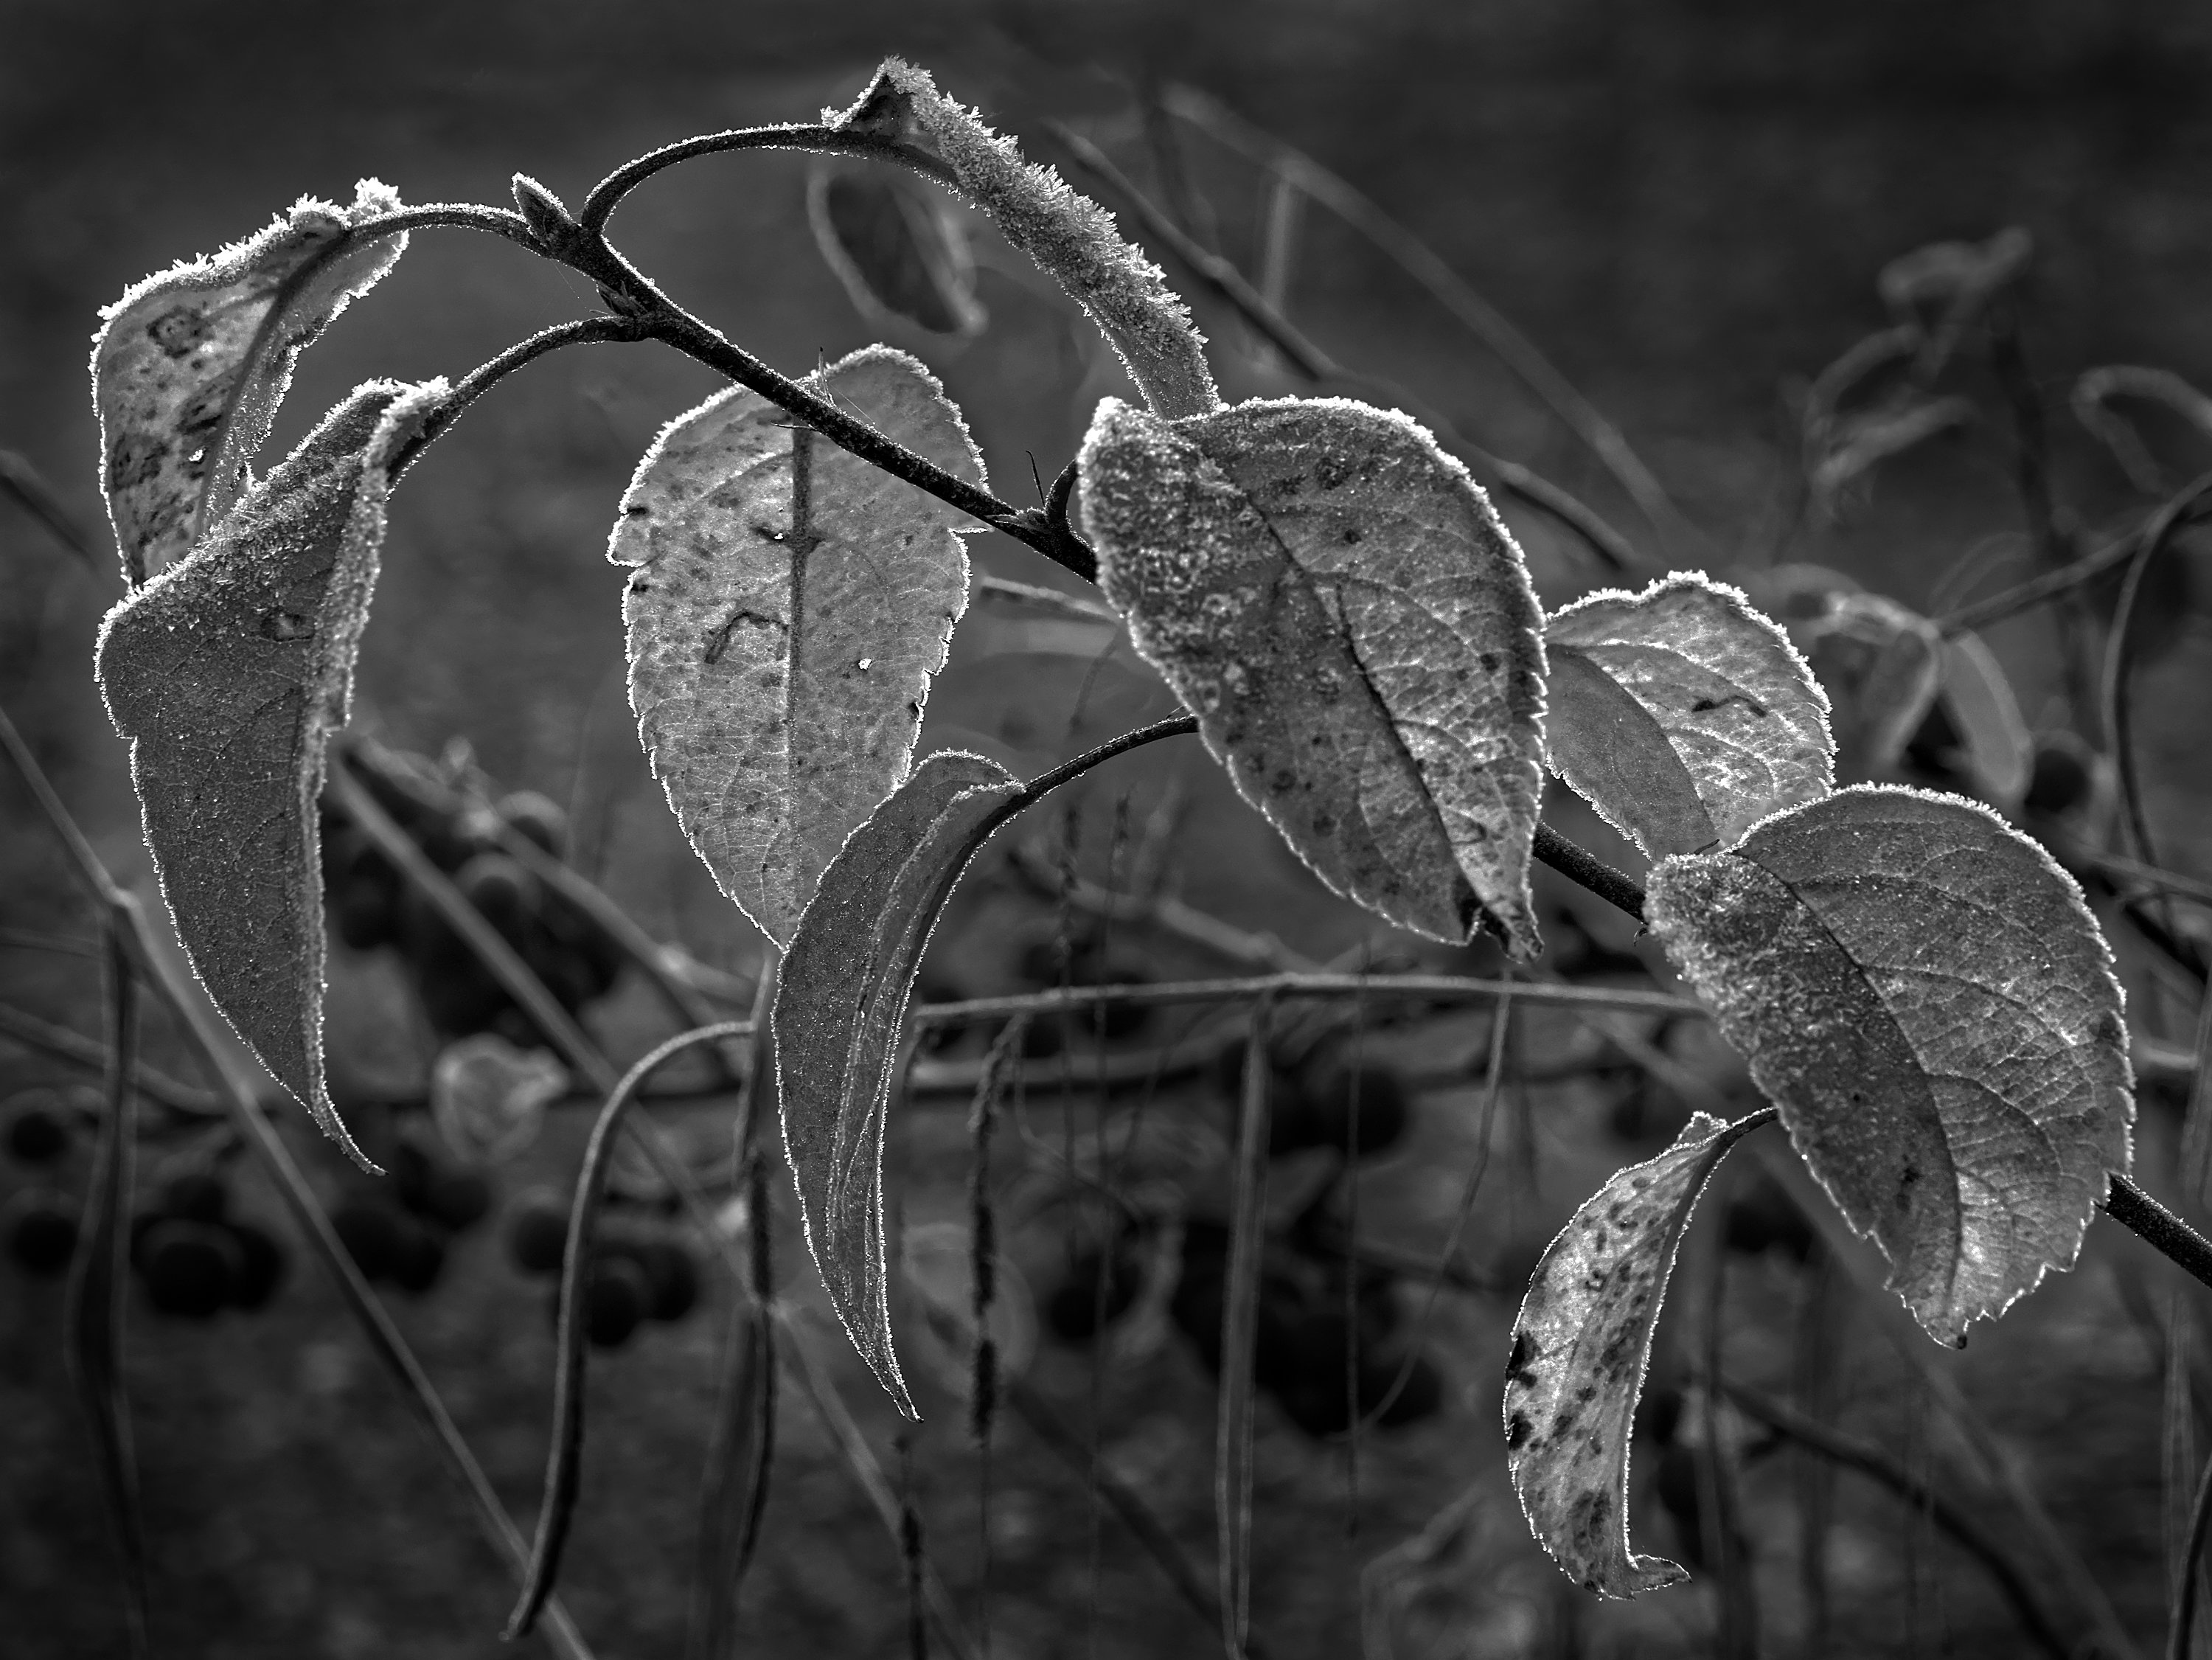
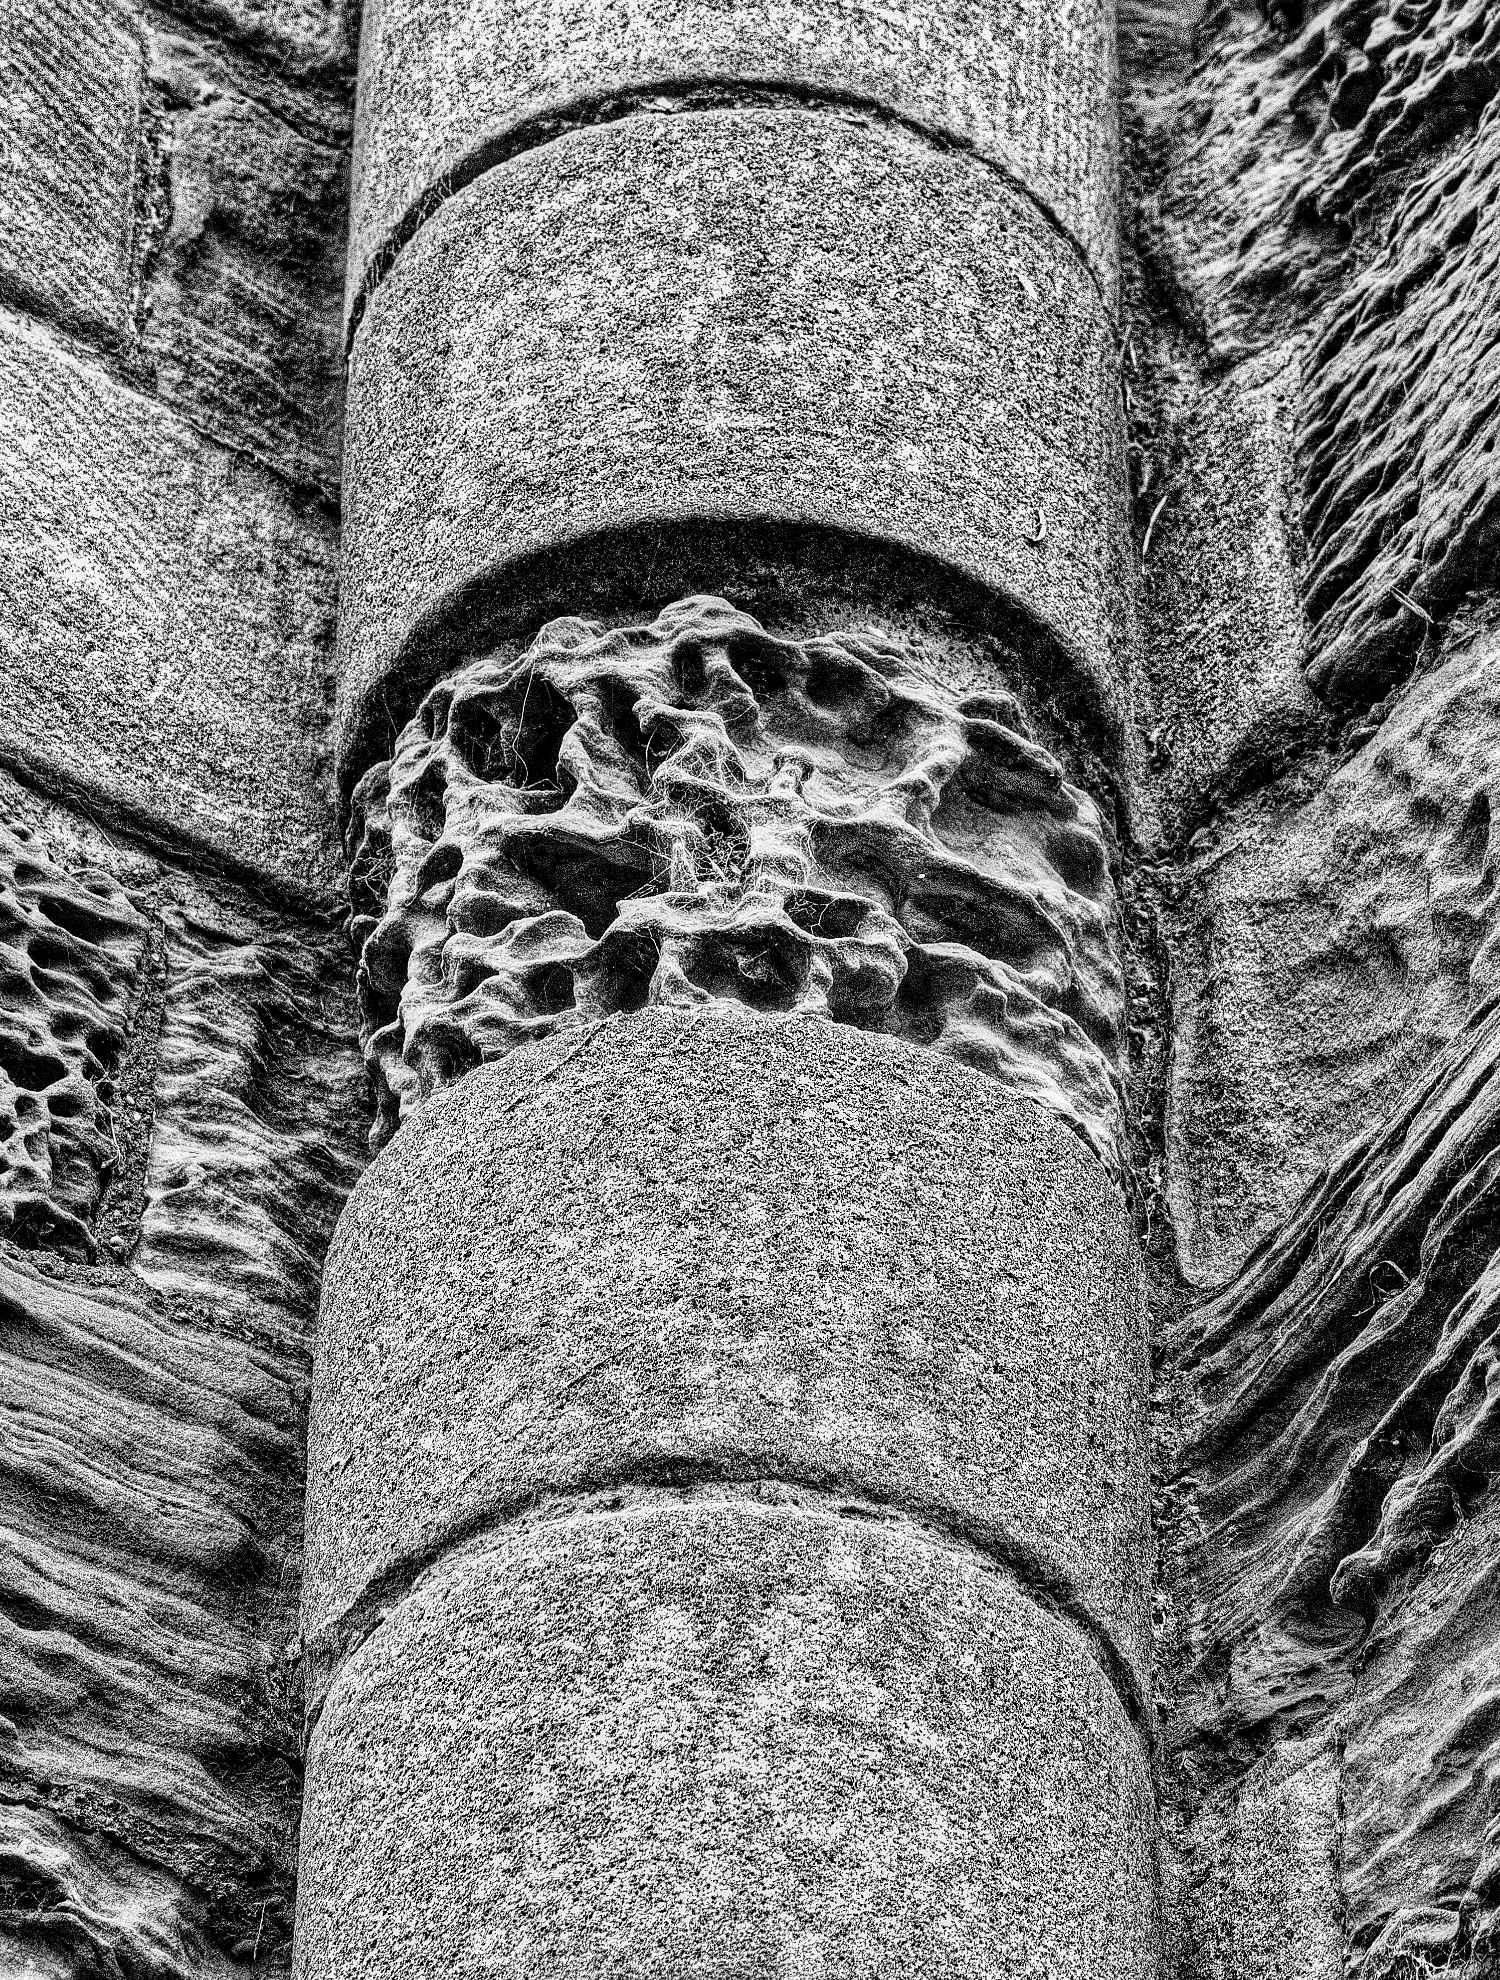
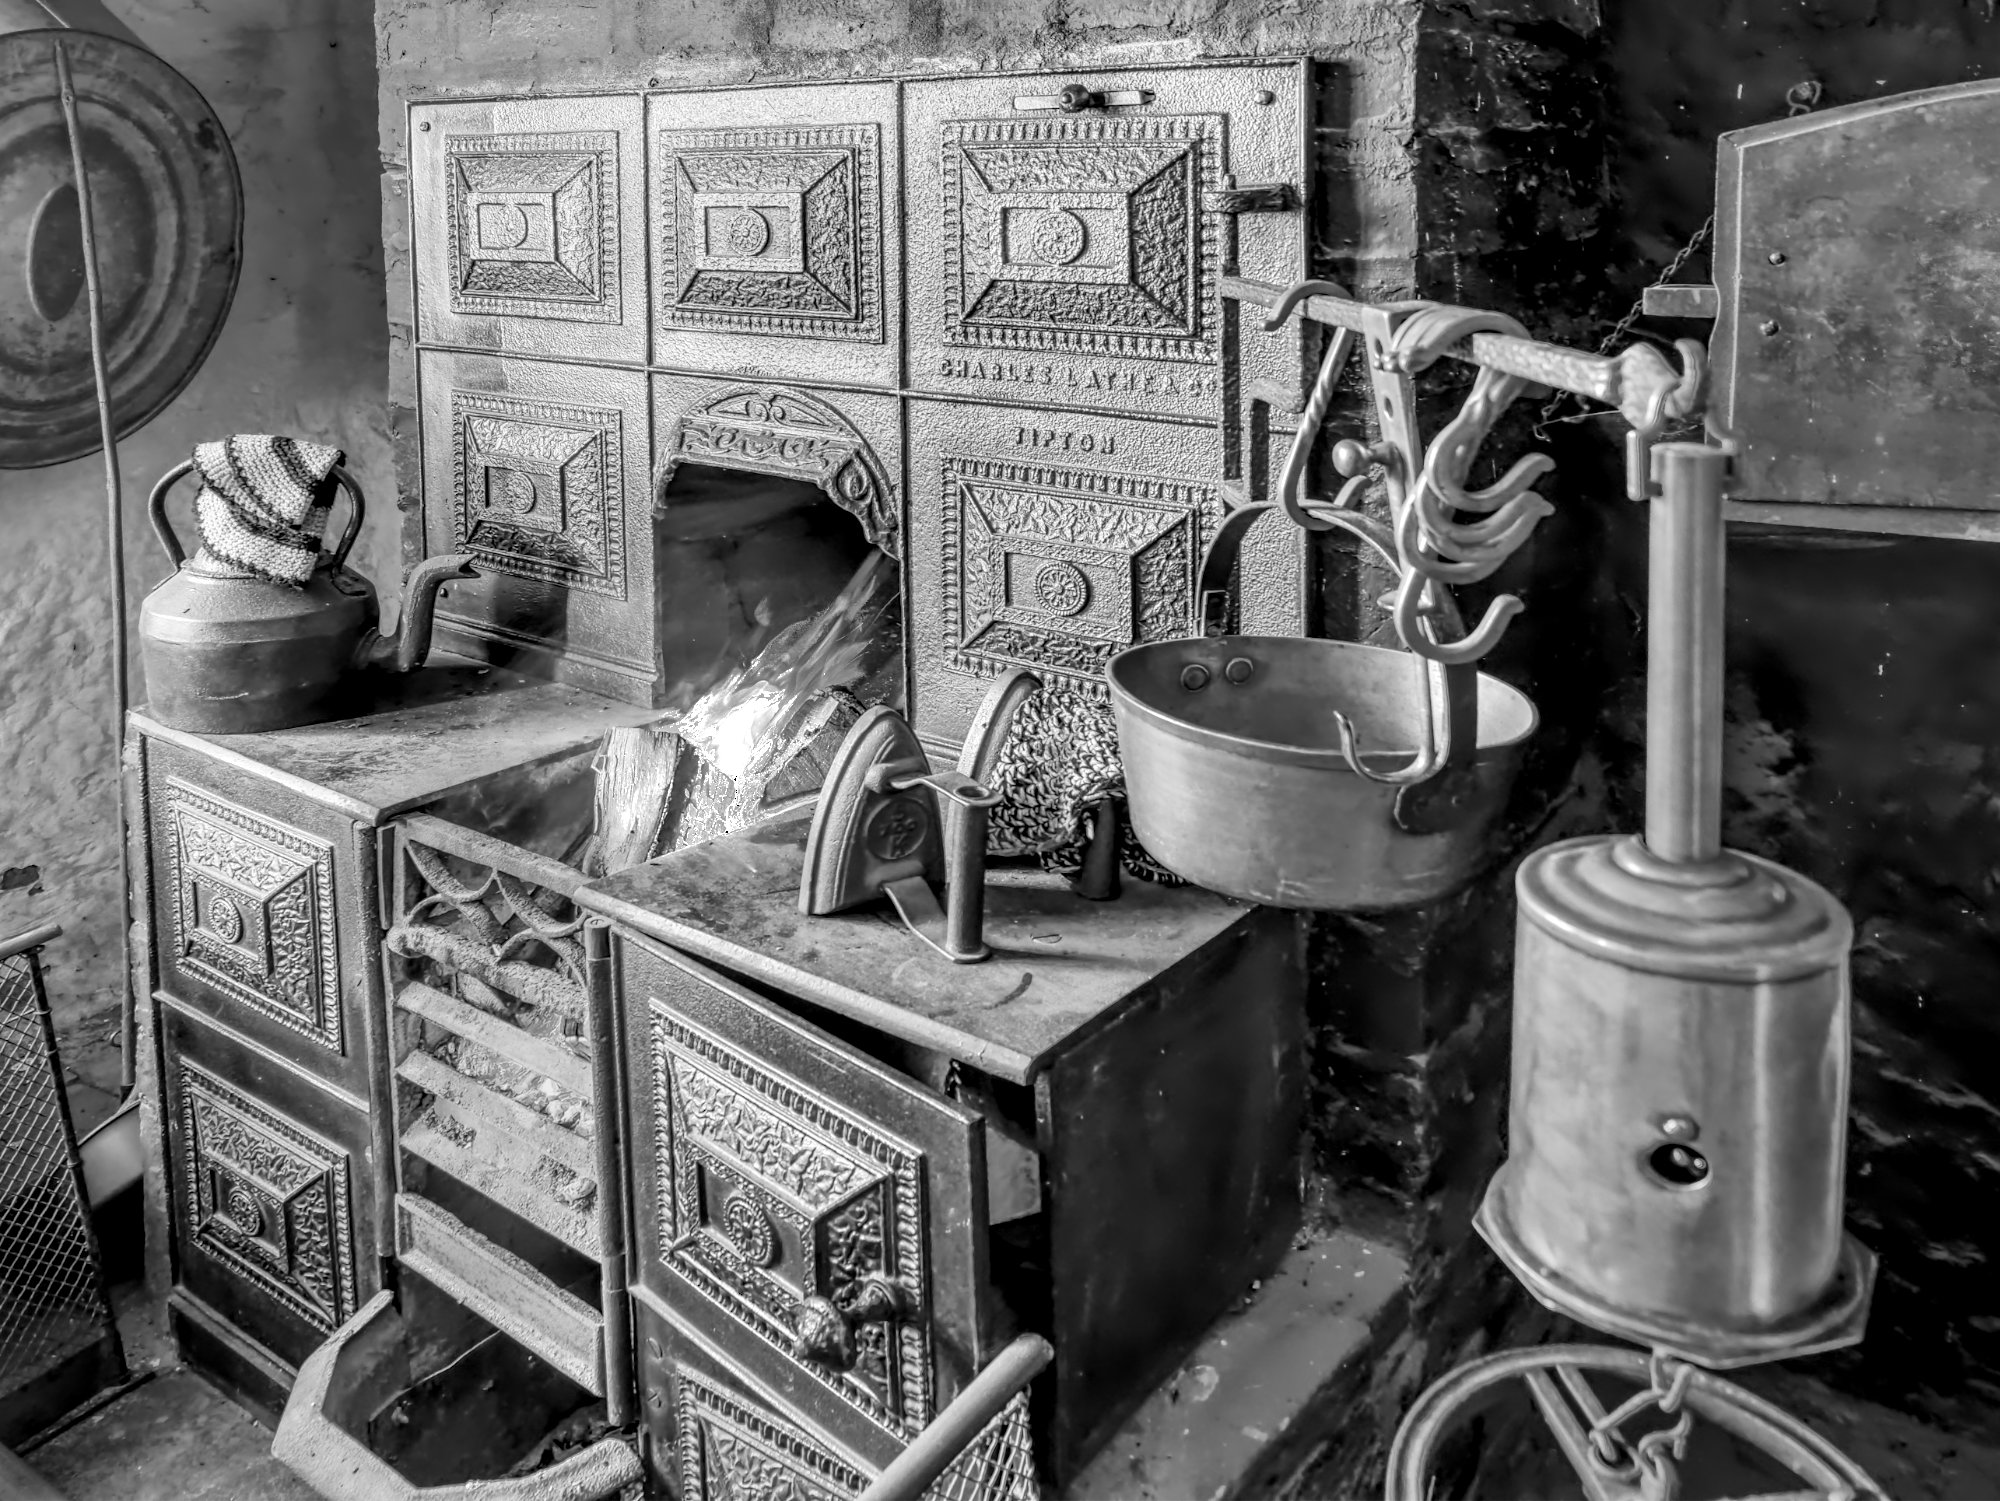
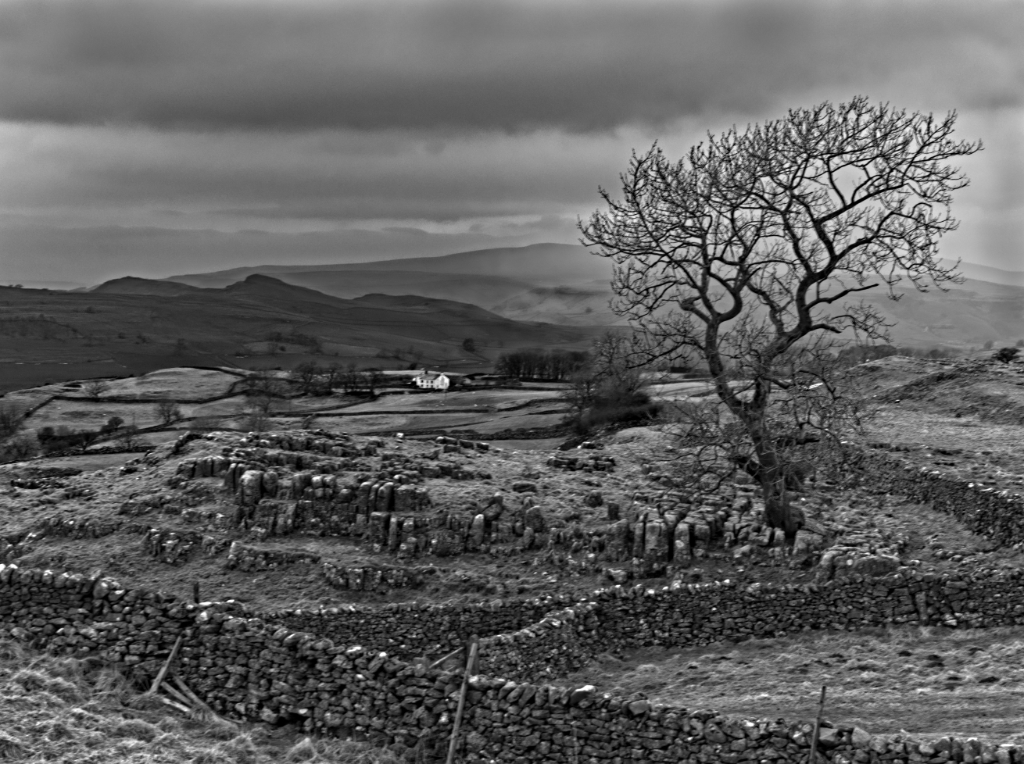
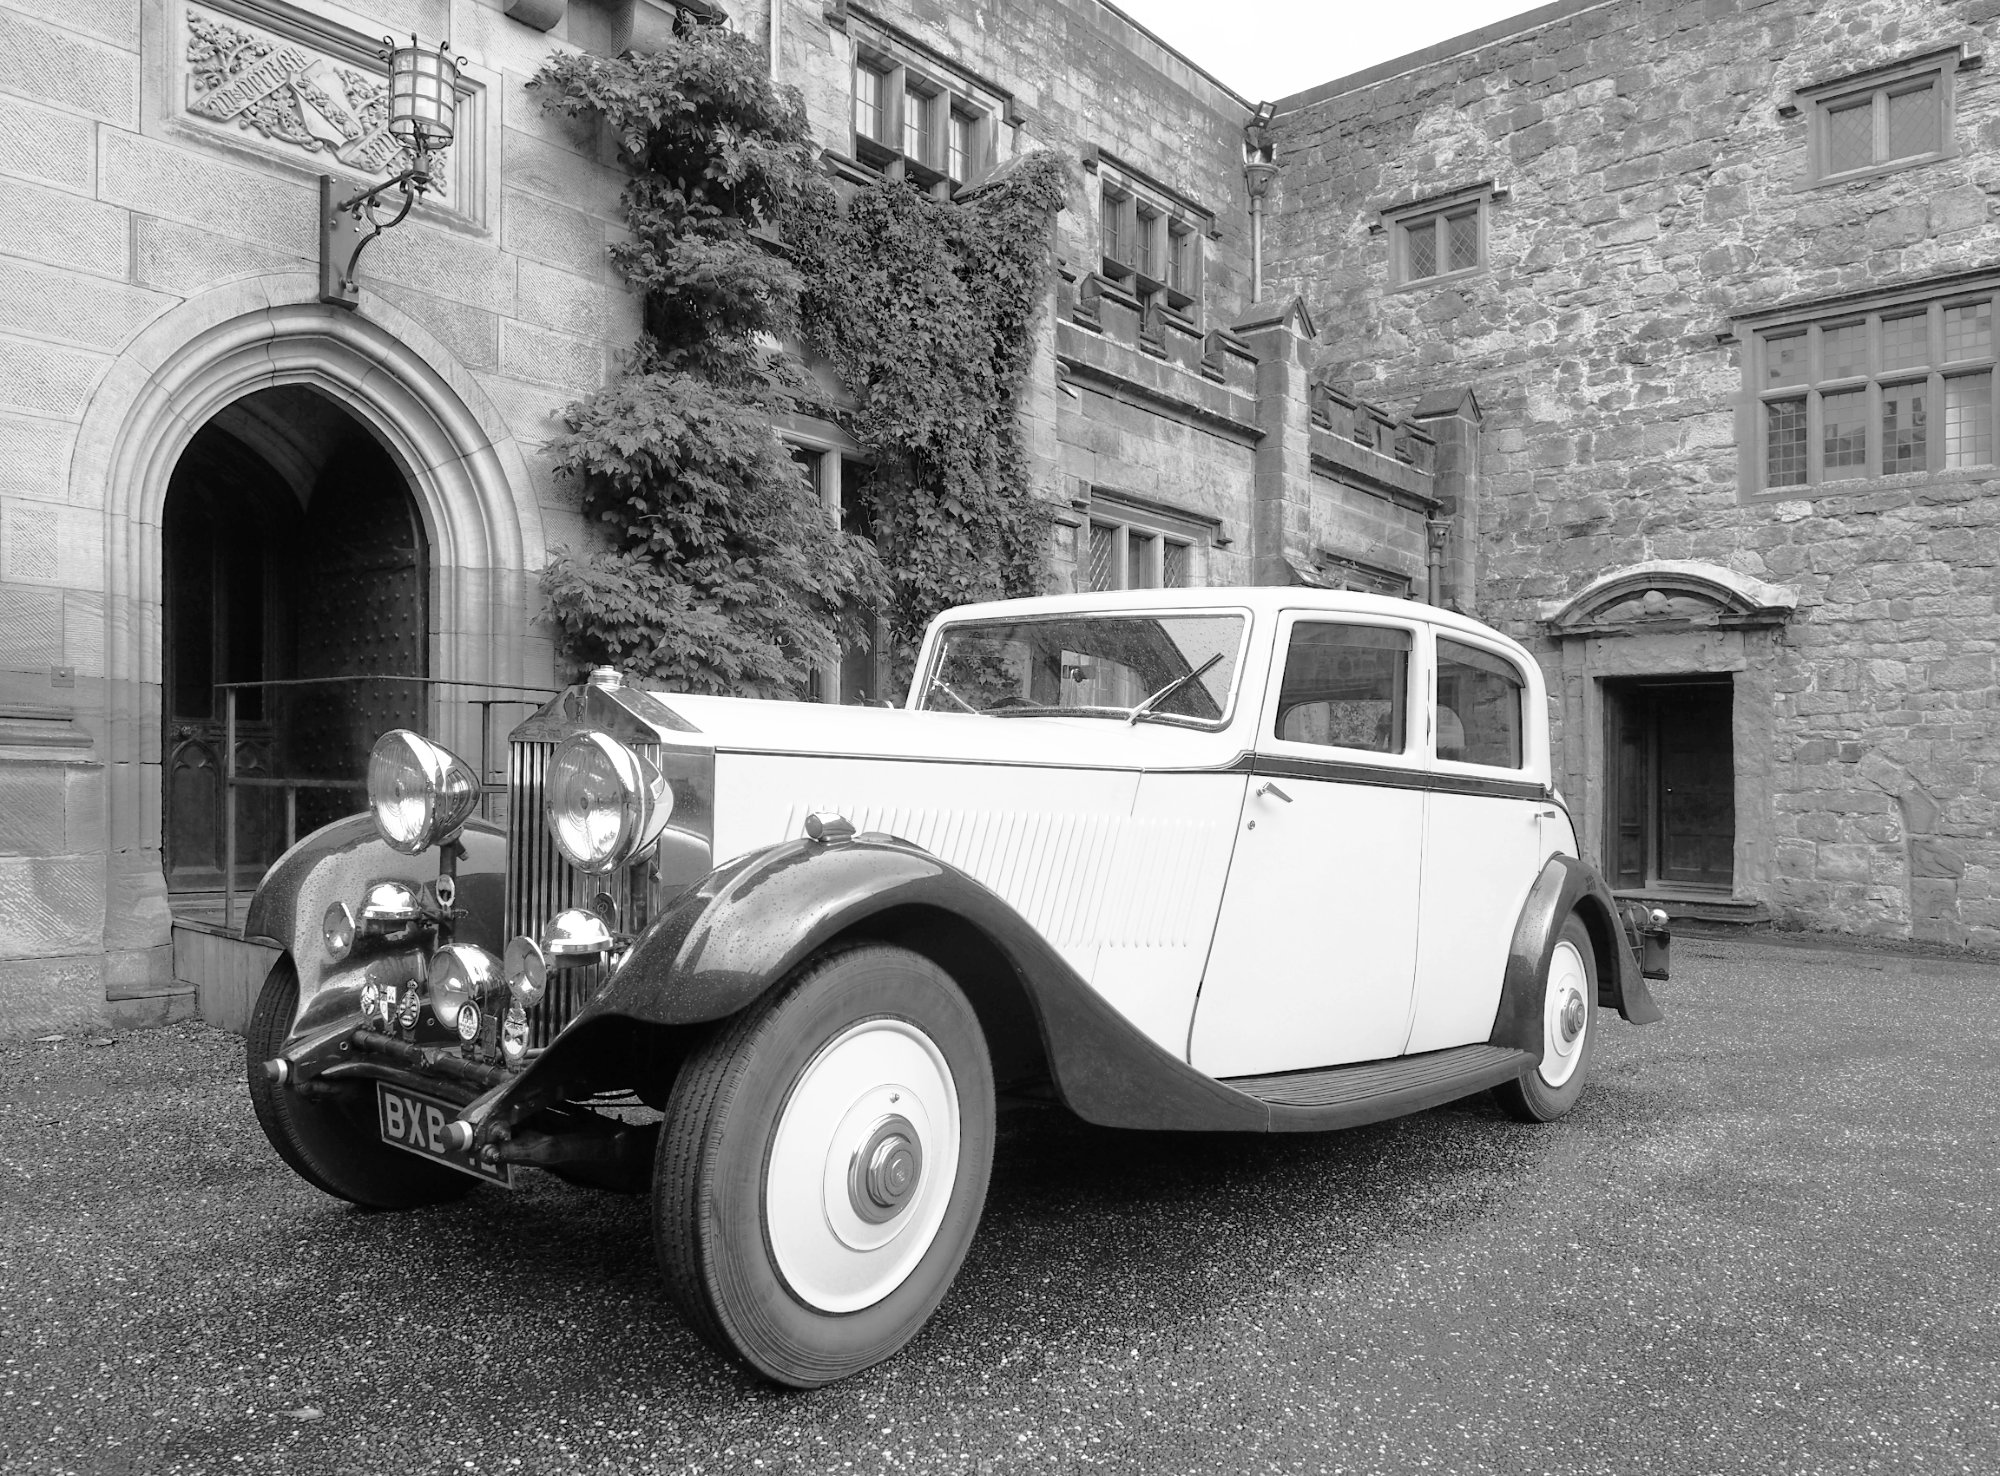
Mar 24 |
Comment |
Thanks, Don. I didn't do anything special, just my usual RAW processing then a mono layer in Affinity. I've driven past Grindley Brook regularly for the last 8 years, but this was the first time I've persuaded myself to go out on a cold and misty morning to get such a shot! |
Mar 11th |
7 comments - 6 replies for Group 64
|
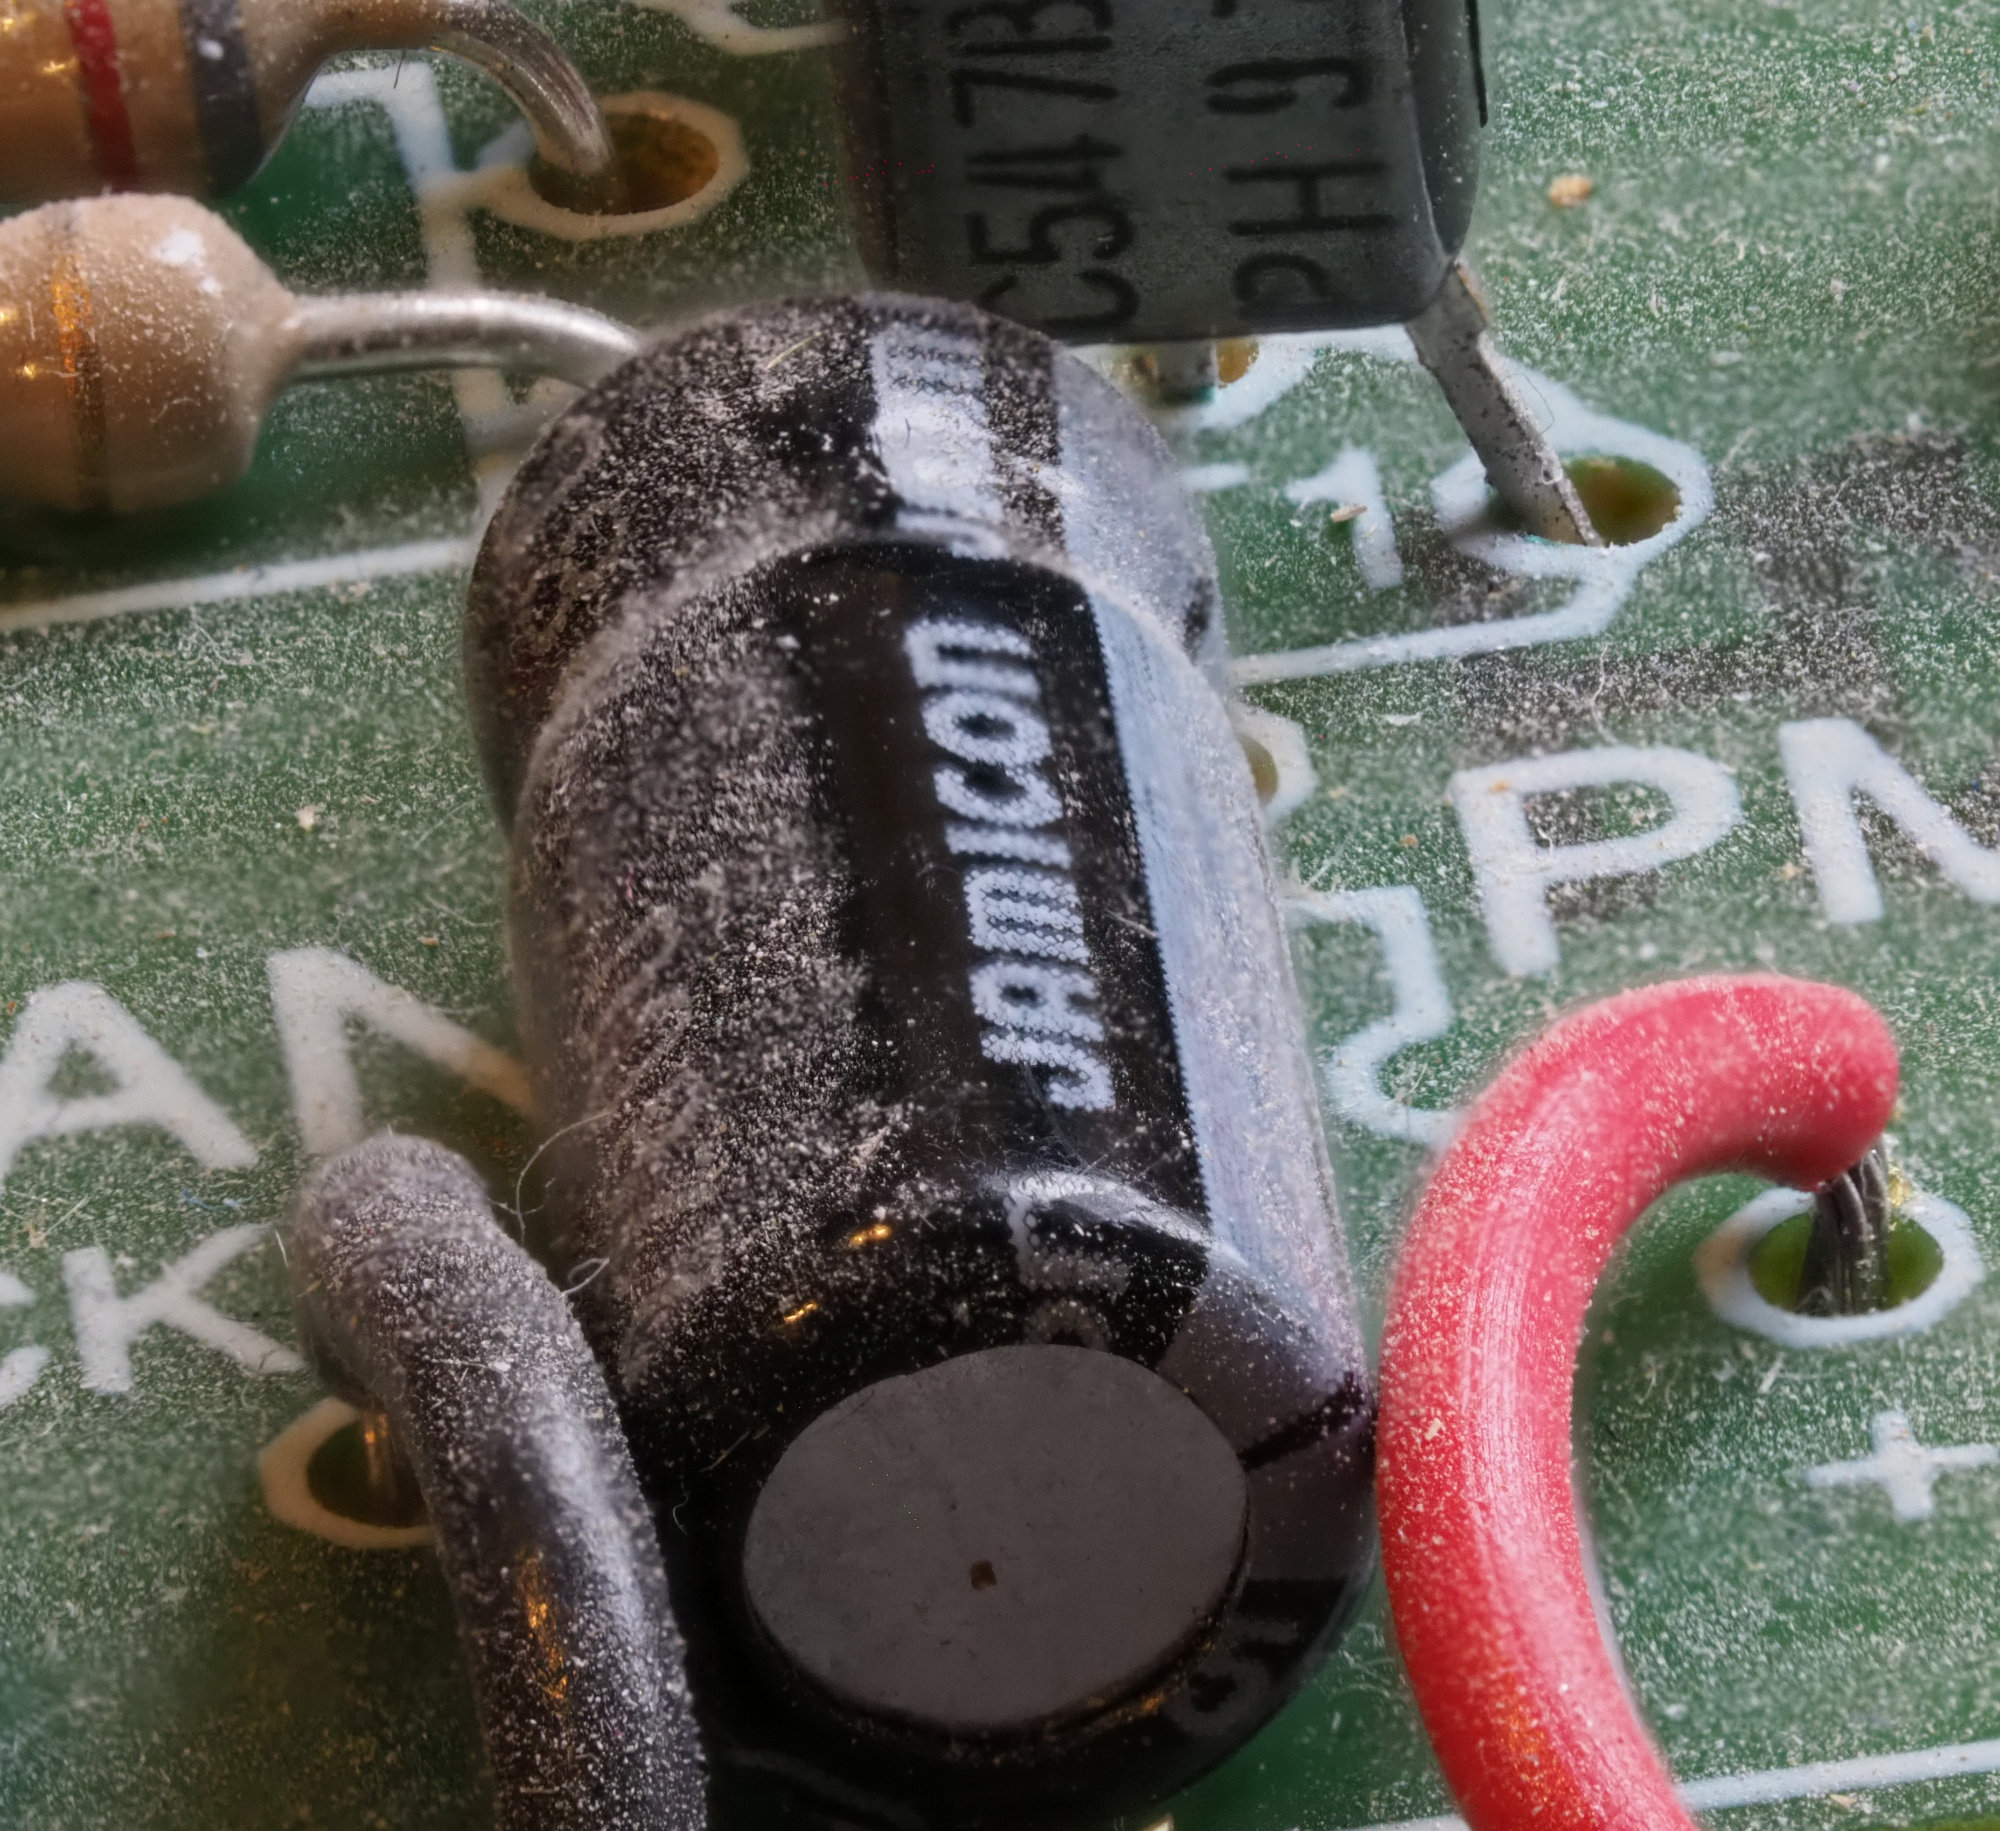
| 95 |
Mar 24 |
Comment |
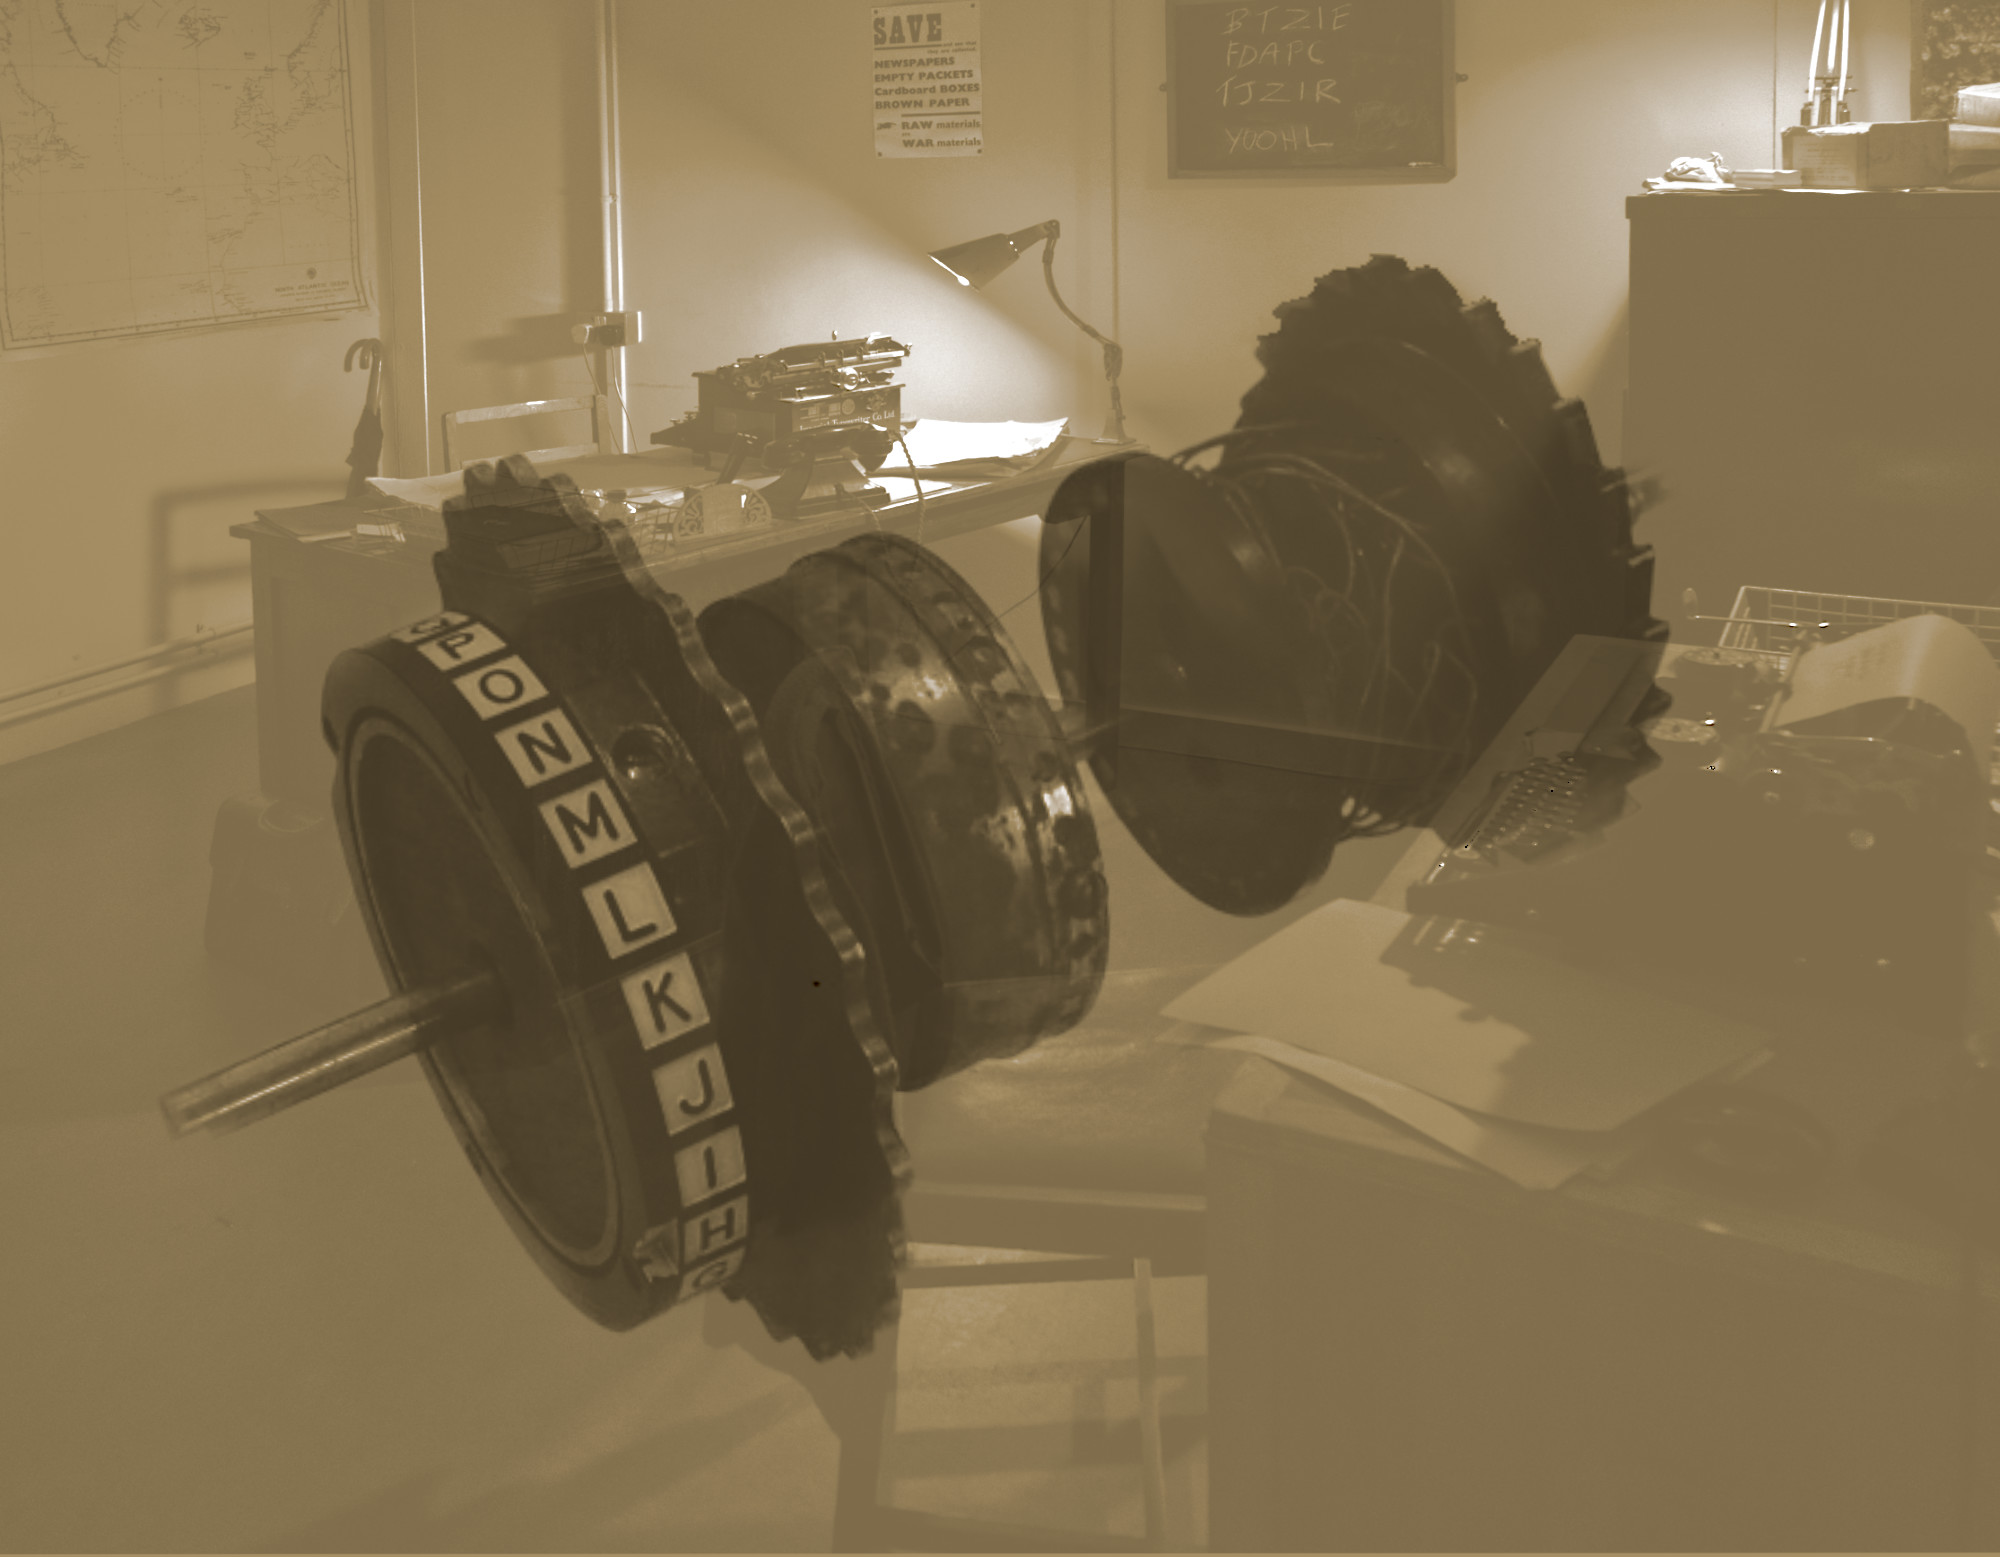
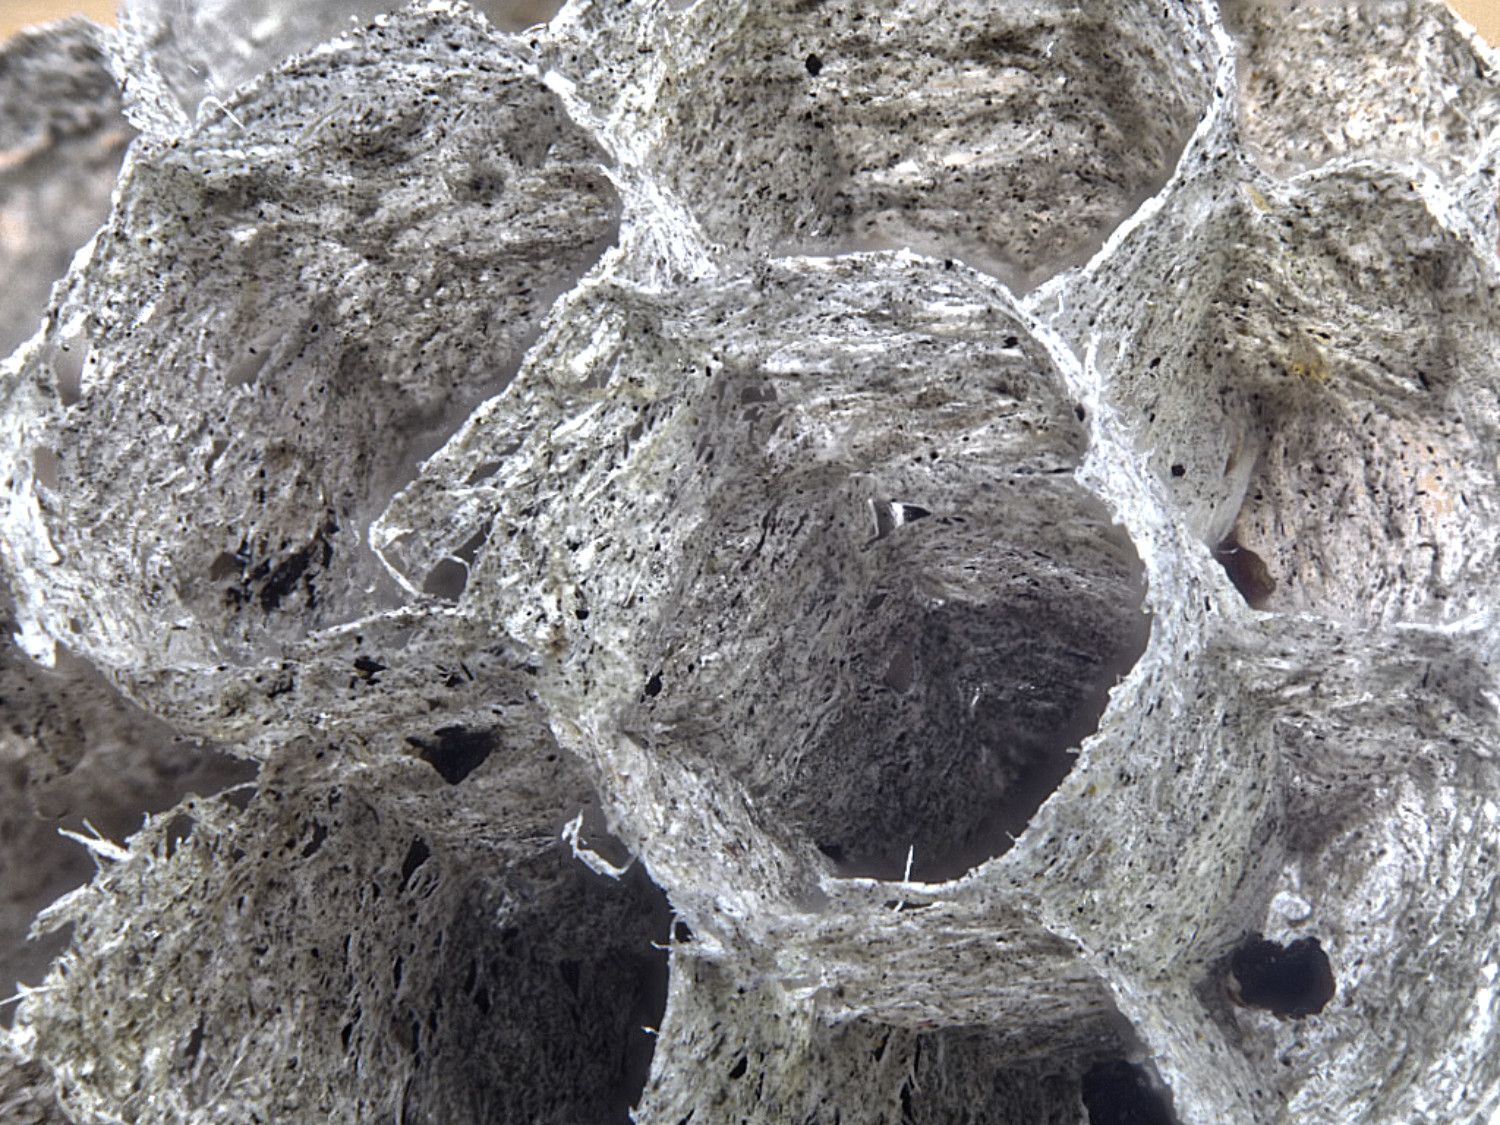
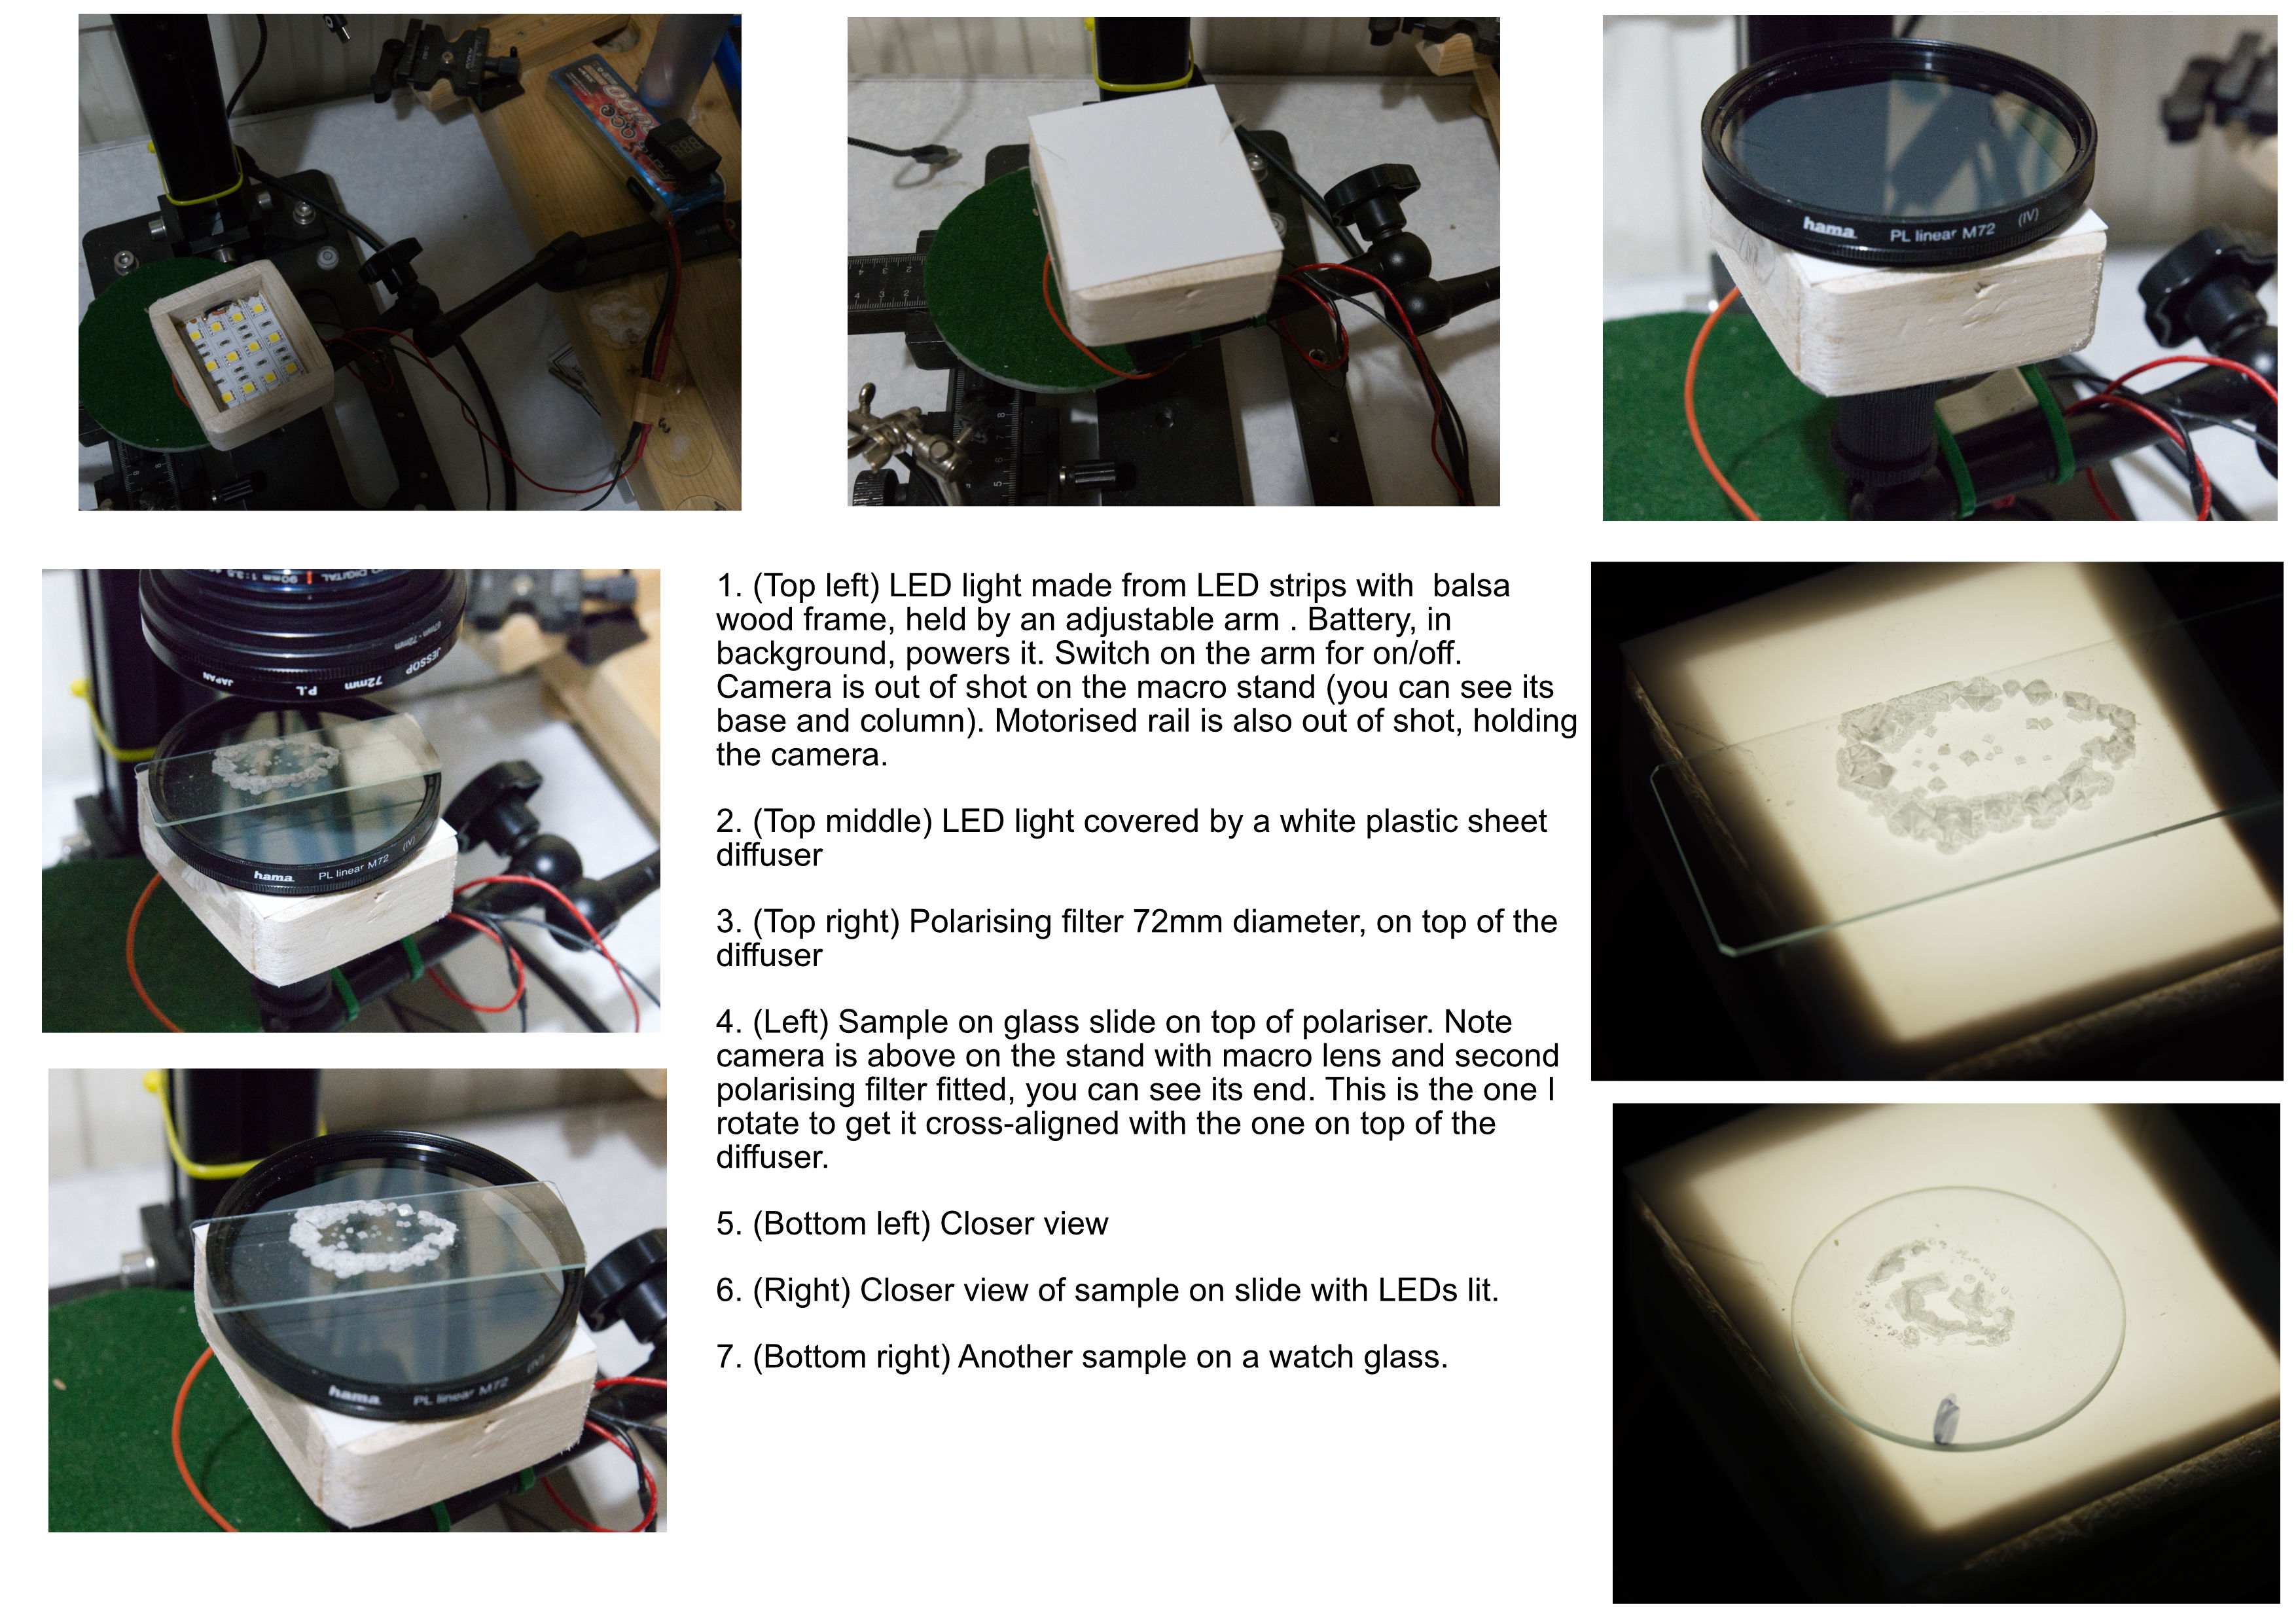
Here is an image containing several images of the setup, as promised. Click on it and scroll out to see it all. |
Mar 21st |
 |
| 95 |
Mar 24 |
Reply |
When beginning with focus bracketting and stacking, you really need to follow the recipe:
1. Focus on the point closest to the camera that you want to be sharp. Take frame #1.
2. Move forwards one step, then take frame #2.
3. Ditto until you get to the point furthest from the camera that you want to be sharp. Take the final frame in the bracket.
4. Load the frames into your software (Photoshop, Helicon, Affinity, etc) and stack them.
That assumes you know how much to move the camera each step. There are various ways, from using depth of field tables to guessing. Personally, I like to use the focus assist in my camera which shows highlighted pixels in the viewfinder that are in focus. I then can see visually how much to move the camera by ensuring the highlights move no more than places the edges together, ie the furthest edge of frame X coincides with the nearest edge of frame X+1. Preferably there will be a good overlap, say 50%. When using my computerised setup, I watch the sharpness on my computer screen and find the movement that gives this overlap. Then I use that for all the steps. Keep the steps the same size.
Junping around, for example "filling in" in a gap you think you left in the bracket, never works. The software can't make sense of the changes and it fails to give a proper stack, usually.
If you follow this sequence, good results (in terms of sharpness) are usually guaranteed.
We can talk later on the best choice of aperture, but by default go for a mid value, say the maximum aperture of the lens minus 2 stops. So for a macro lens of 90mm f4, use f8 for your bracket. There are reasons to go wide open and reasons to go for a smaller aperture in special cases, but stick to the "lens minus 2 stops" (ie double the aperture value from f2.8 to f5.6, or from f4 to f8, etc) for a reliable recipe. |
Mar 16th |
| 95 |
Mar 24 |
Reply |
Our Olympus cameras (well, certainly my E-M1 mk2, I've not looked at the OM-1 carefully for this) has 2 bracketting procedures.
1. Bracket only. It takes all your frames from the closest point to the furthest point, in sequence, starting at where the camera was focussed when you pressed the shutter.
2. Bracket and stack in-camera. It takes the first frame again at where the camera was focussed when you pressed the shutter. But then it steps towards the camera for frame 2, and then the rest of the frames, but skipping the first location so you don't get 2 shots of it. If you use this sequence in software that expects them all in a sequence, it will not do as well as if they are all in sequence. |
Mar 16th |
| 95 |
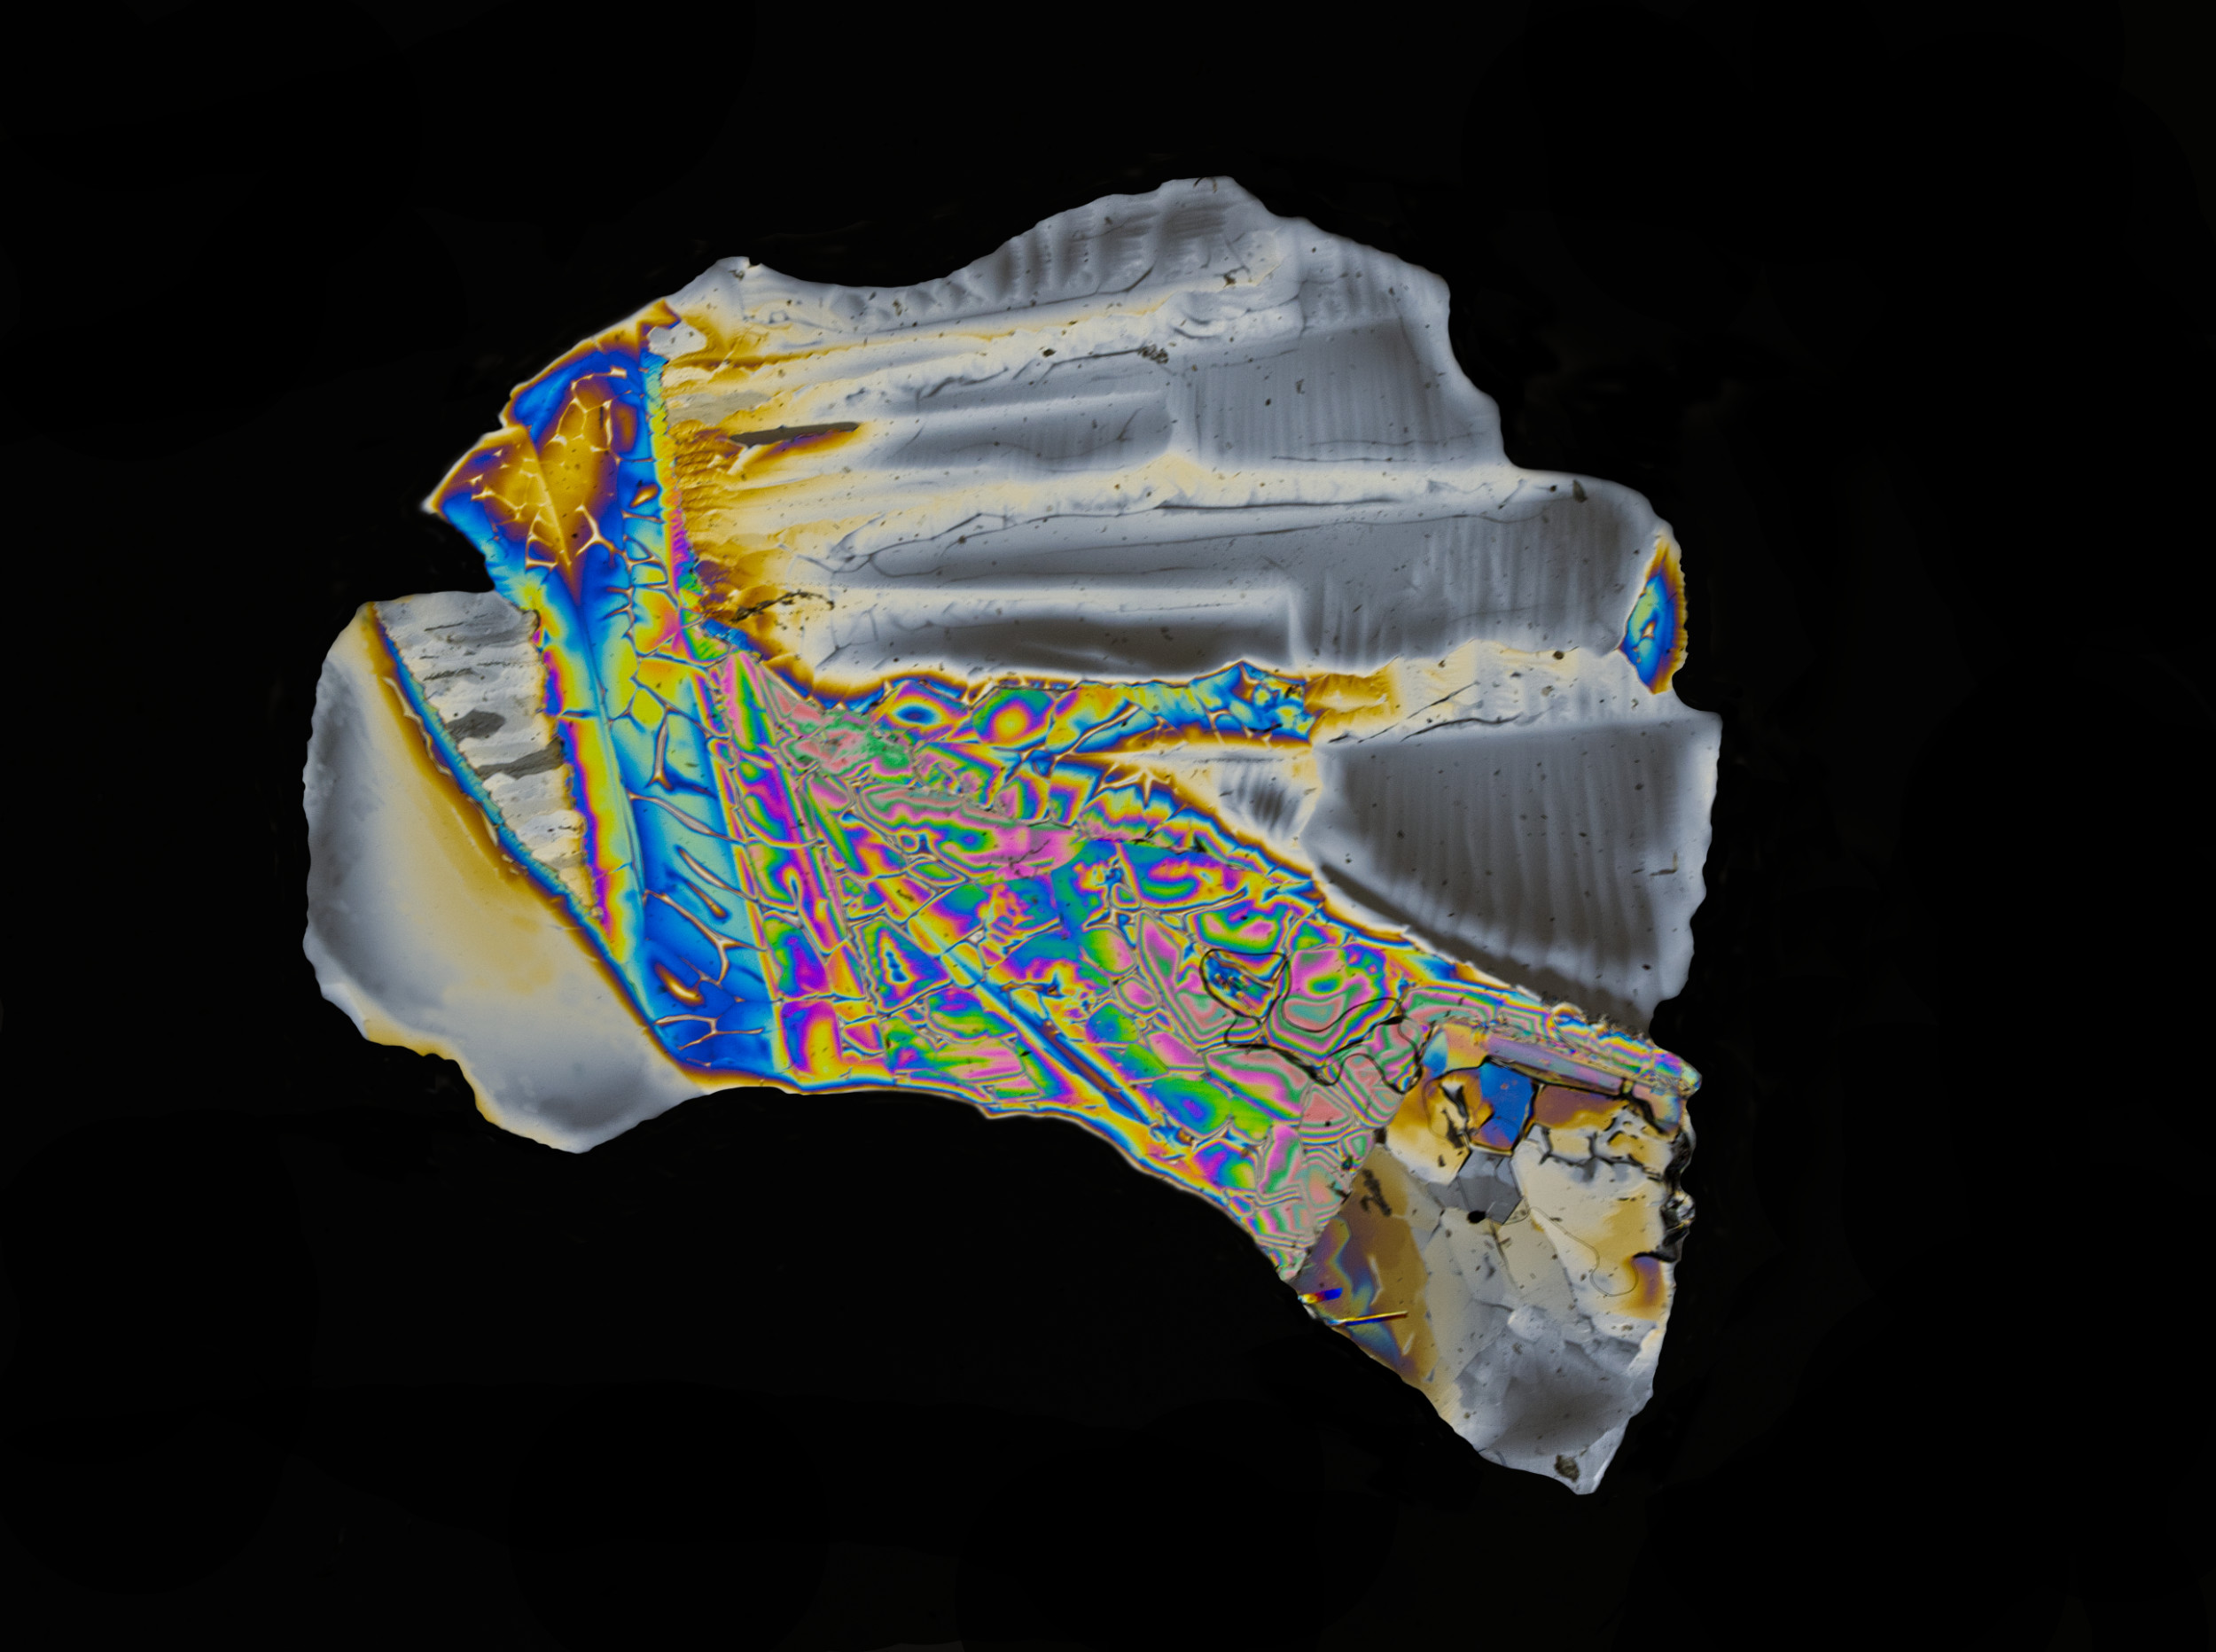
Mar 24 |
Reply |
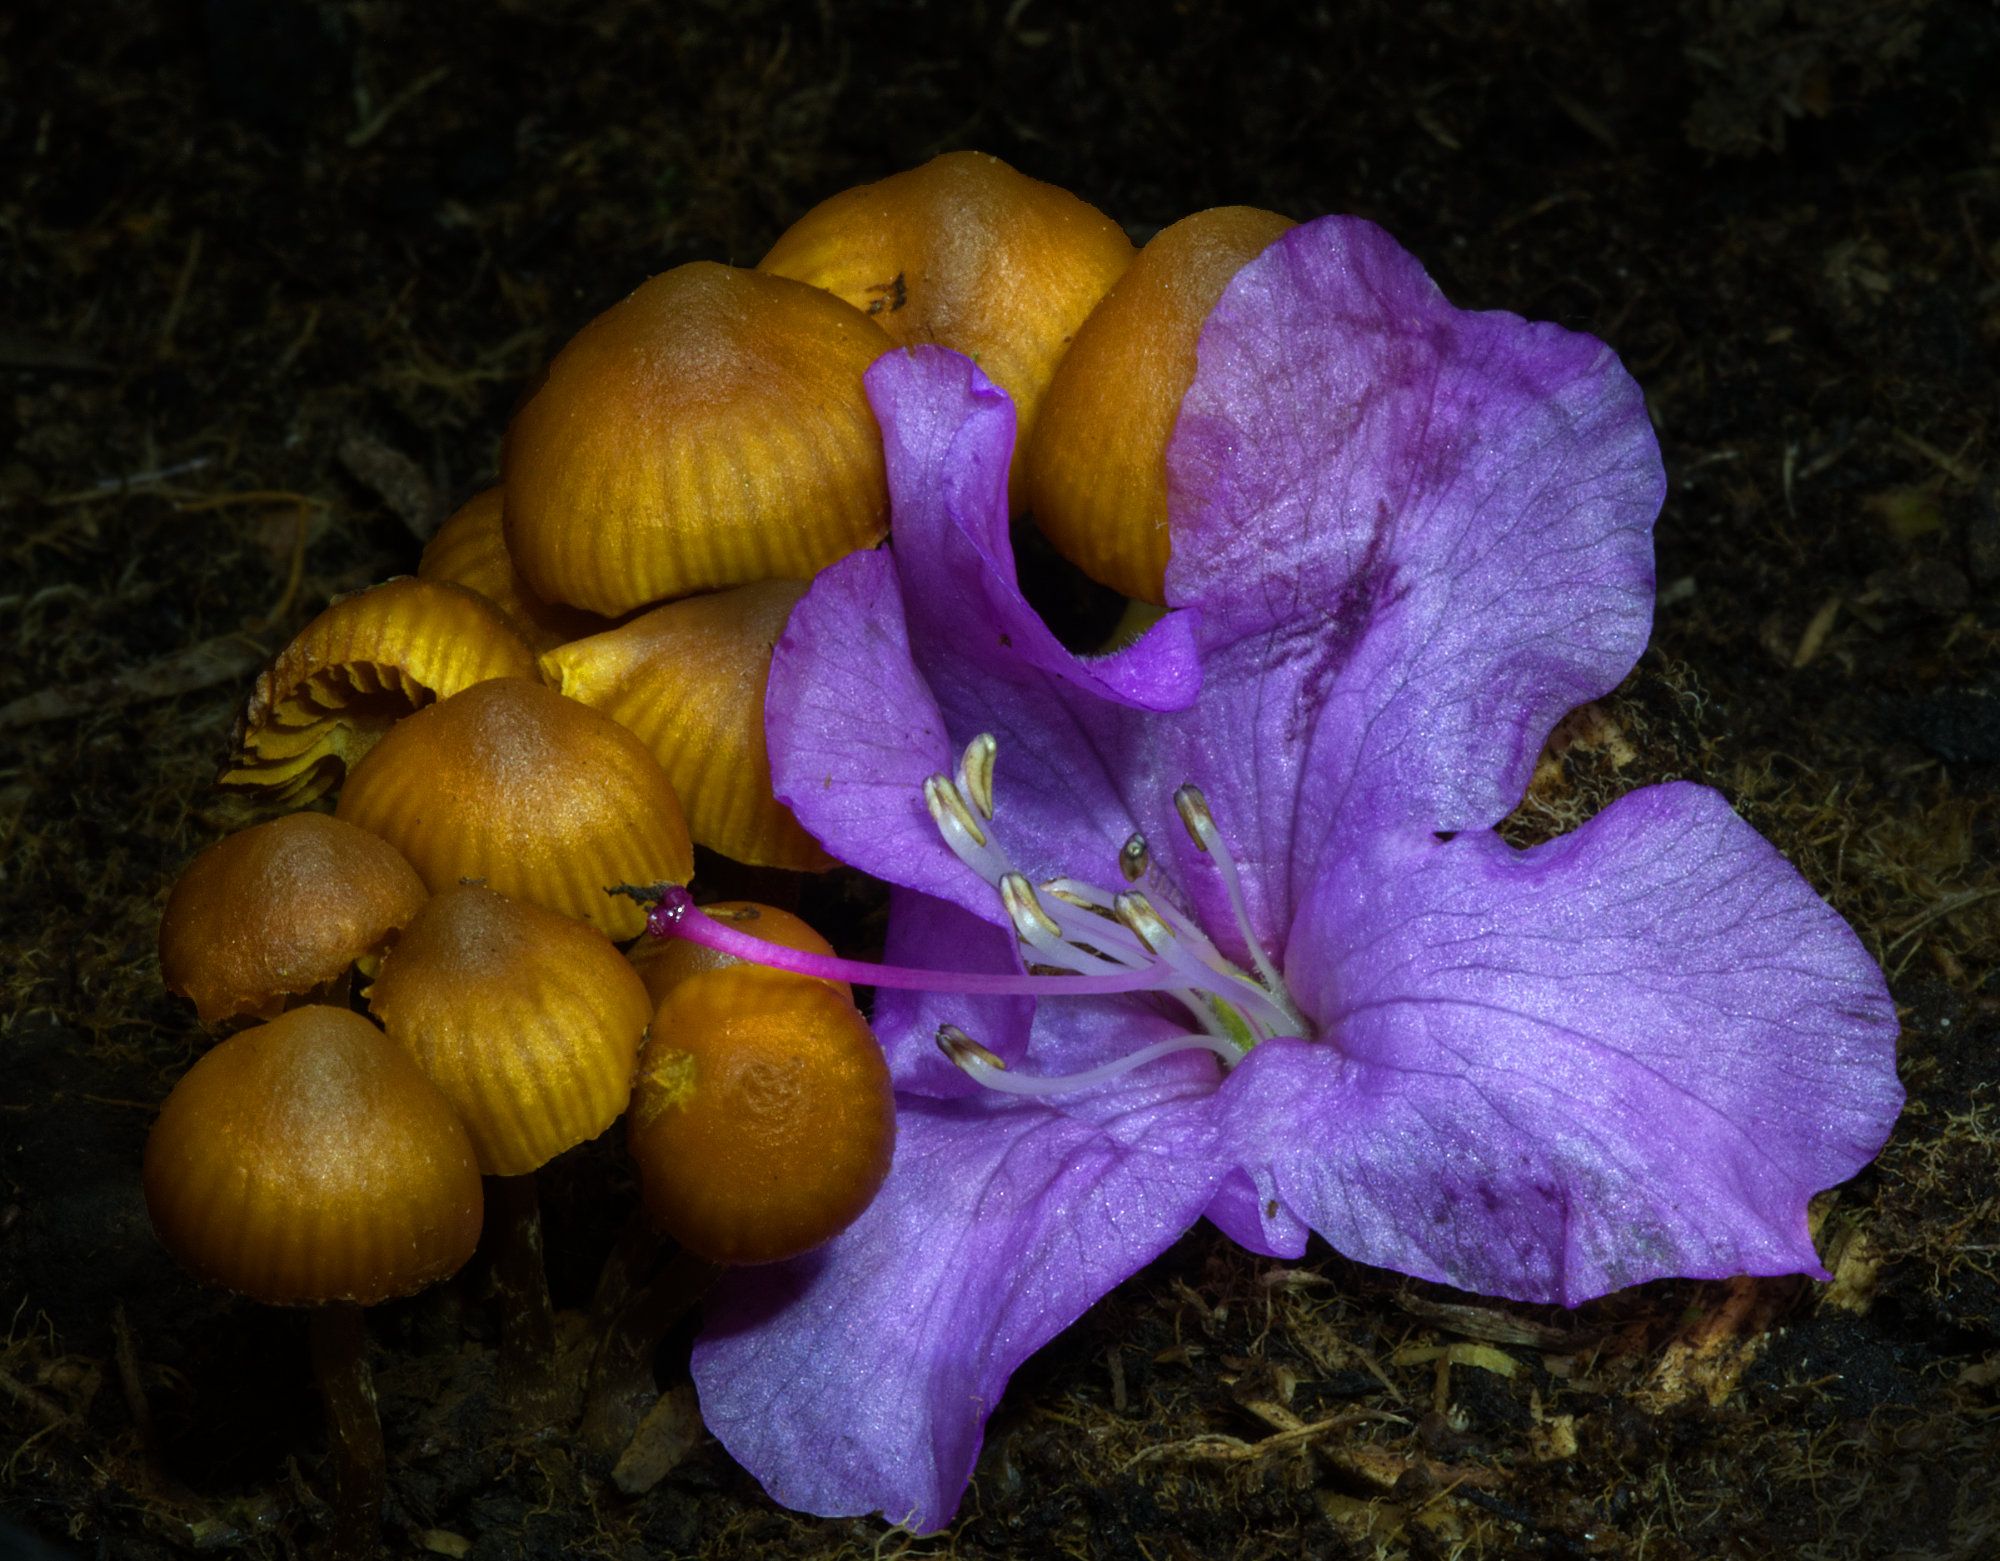
This technique can be done with water, the only snag is it melts again unless you work in a fridge! Some workers do photograph snow flakes which is similar, see Don Komarechka's work here -
https://www.youtube.com/watch?v=swOIerQ5Oxc and
https://www.youtube.com/watch?v=dSgI--85STE&t=11s
Snowflakes are only part of those interviews, but it's easy to find.
I'll take a photo of my setup and post it for you. It will look a bit cobbled together! But the key thing about getting coloured crystals is using cross polarised light. To do this you need two polarising filters. It's best to use linear polarised, not circular polarised which is the type usually sold for cameras. (In the past, auto focus systems couldn't work in linear polarised light, so circular polarising filters were invented which get round this and still do the familiar darkening of blue skies and reduction in reflections).
I found a seller on ebay of cheap polarising film which works well, just 3" to 4" squares of plastic sheet with a coating on that polarises, I can send you a link if you like. Or alternatively, you can buy linear polarisers for cameras, but they are more expensive than this film.
So then you set up:
Bottom layer - an LED light, shining upwards
Next layer - the first polariser
Next layer - your sample to be photographed
Next layer - the second polariser
Last layer - your camera.
First you focus on the sample. Then you rotate either polariser until the background turns black and the colours appear (if they are going to).
Not all samples work, you need to be patient.
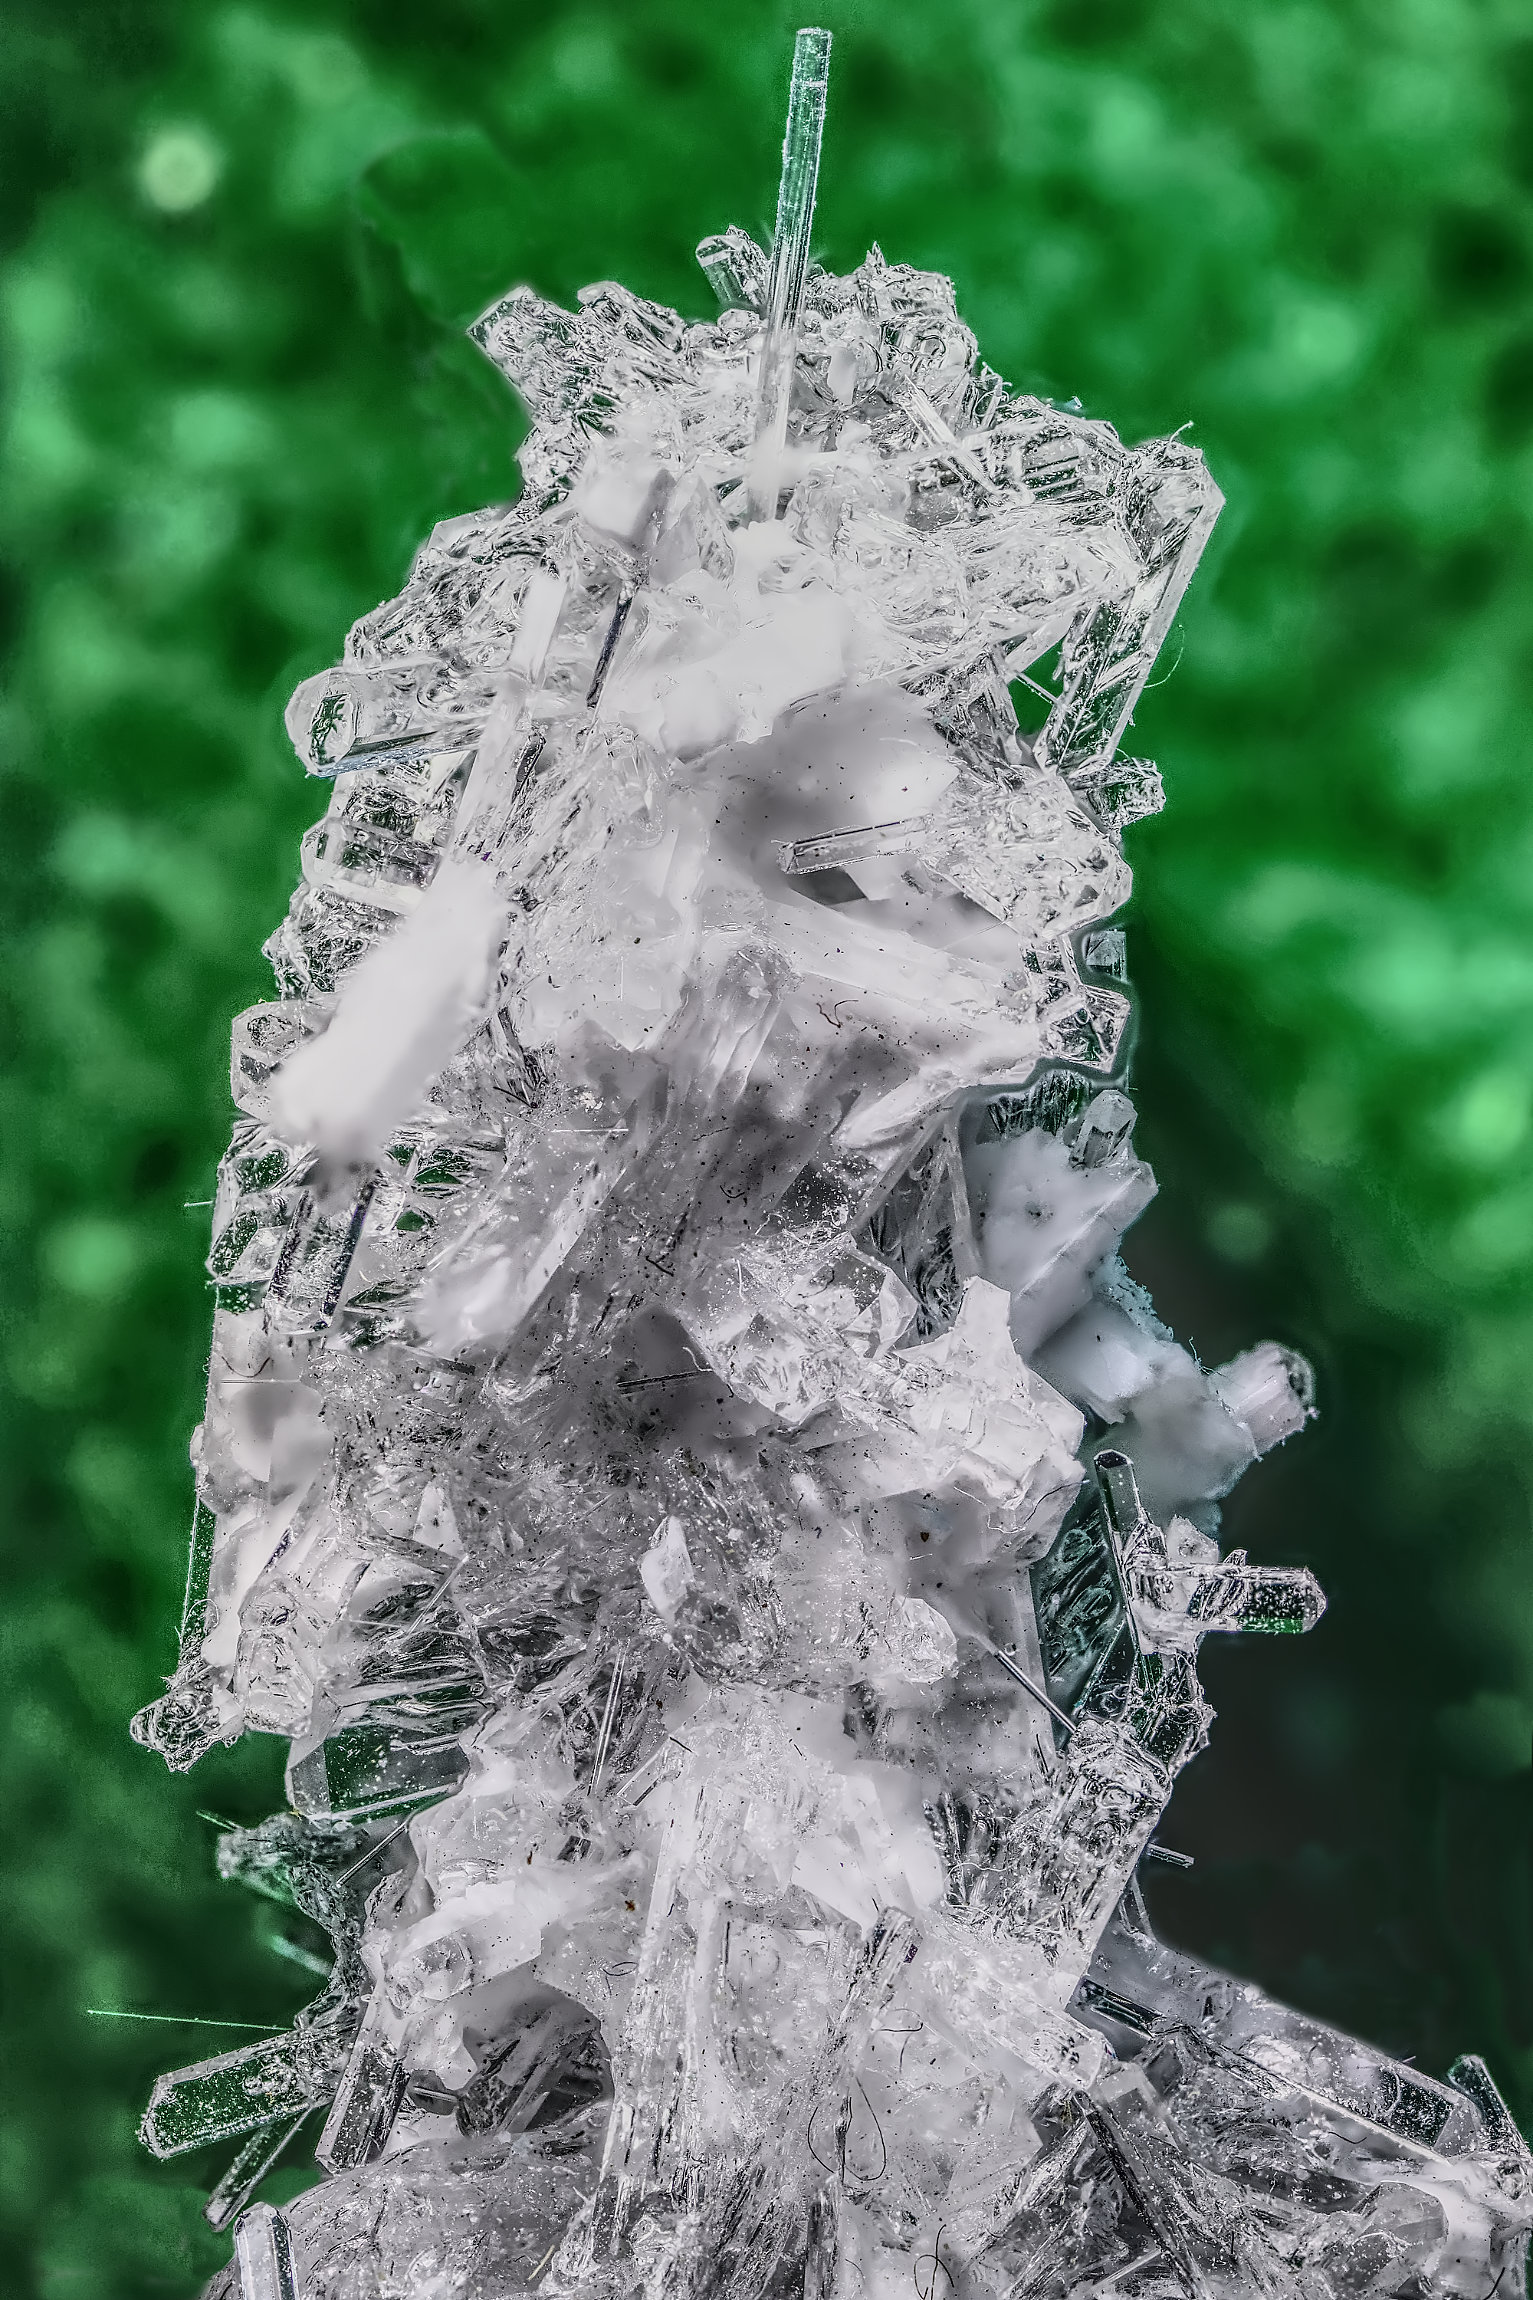
Making the sample - just dissolve some salt (either common salt, or other salts like Epsom salts, whatever you can find in the kitchen that are colourless and dissolves). They don't have to be pure, I saw some great photos of this done using a kitchen cleaner chemical.
The solution needs to be strong, so shake it in a little bottle and add more salt until it won't all dissolve. Then spread a little solution on a clear surface - I use thin glass microscope slides that are cheap on ebay. Leave it to dry and crystals should appear. Try that in the rig. If it doesn't give colour, add more solution on top and let that dry and crystallise. It's trial and error!
You camera should be on a focussing rail for best results, but you could take a single shot at small aperture. But if you are up to 2X and more magnification, we have a tiny depth of field of course, so stacking is needed there. The movement of the camera is also small, so you need to be very delicate. Ideally, a motor-driven computer-controlled rail such as the WeMacro one that I have is best as it can move the camera reliably and reproducible by as little as one micro per shot. But it's not essential. If you have such a compuerised rail, 43 shots is very easy - hundreds are easy, and Helicon Focus will merge them all easily. There are other softwares and computerised rails that work fine, but none are cheap so choose carefully. WeMacro is probably the cheapest and it works fine, the company owner is very helpful. Ditto Helicon, a company in the Ukraine so I like helping them, they are pretty helpful. They make complimentary software Helicon Remote which will control your camera from your computer, but alas only for certain Canon and Nikon models. I've been appealing to them to make a version for OMS, but so far no luck. But it's not essential, I use WeMacro's control program and OM Workspace, then I can see it all and control it all from my computer. Sounds commplicated, and it is a bit at first, but when it works, great!
I was watching a zoom presentation earlier this week by Guy Edwardes (look him up, don't forget the "e") who takes brilliant macros, and he uses a StackShot motorised rail in the field. He has some unusual techniques and some wonderful results. I can e-mail some screen grabs if you like. The WeMacro rail can be used in the field too, I need to try it. The StackShot rail does look better for that as it has a small portable control box to tell you what the rail is set to without needing a computer.
Sorry, a long reply!
|
Mar 16th |
| 95 |
Mar 24 |
Reply |
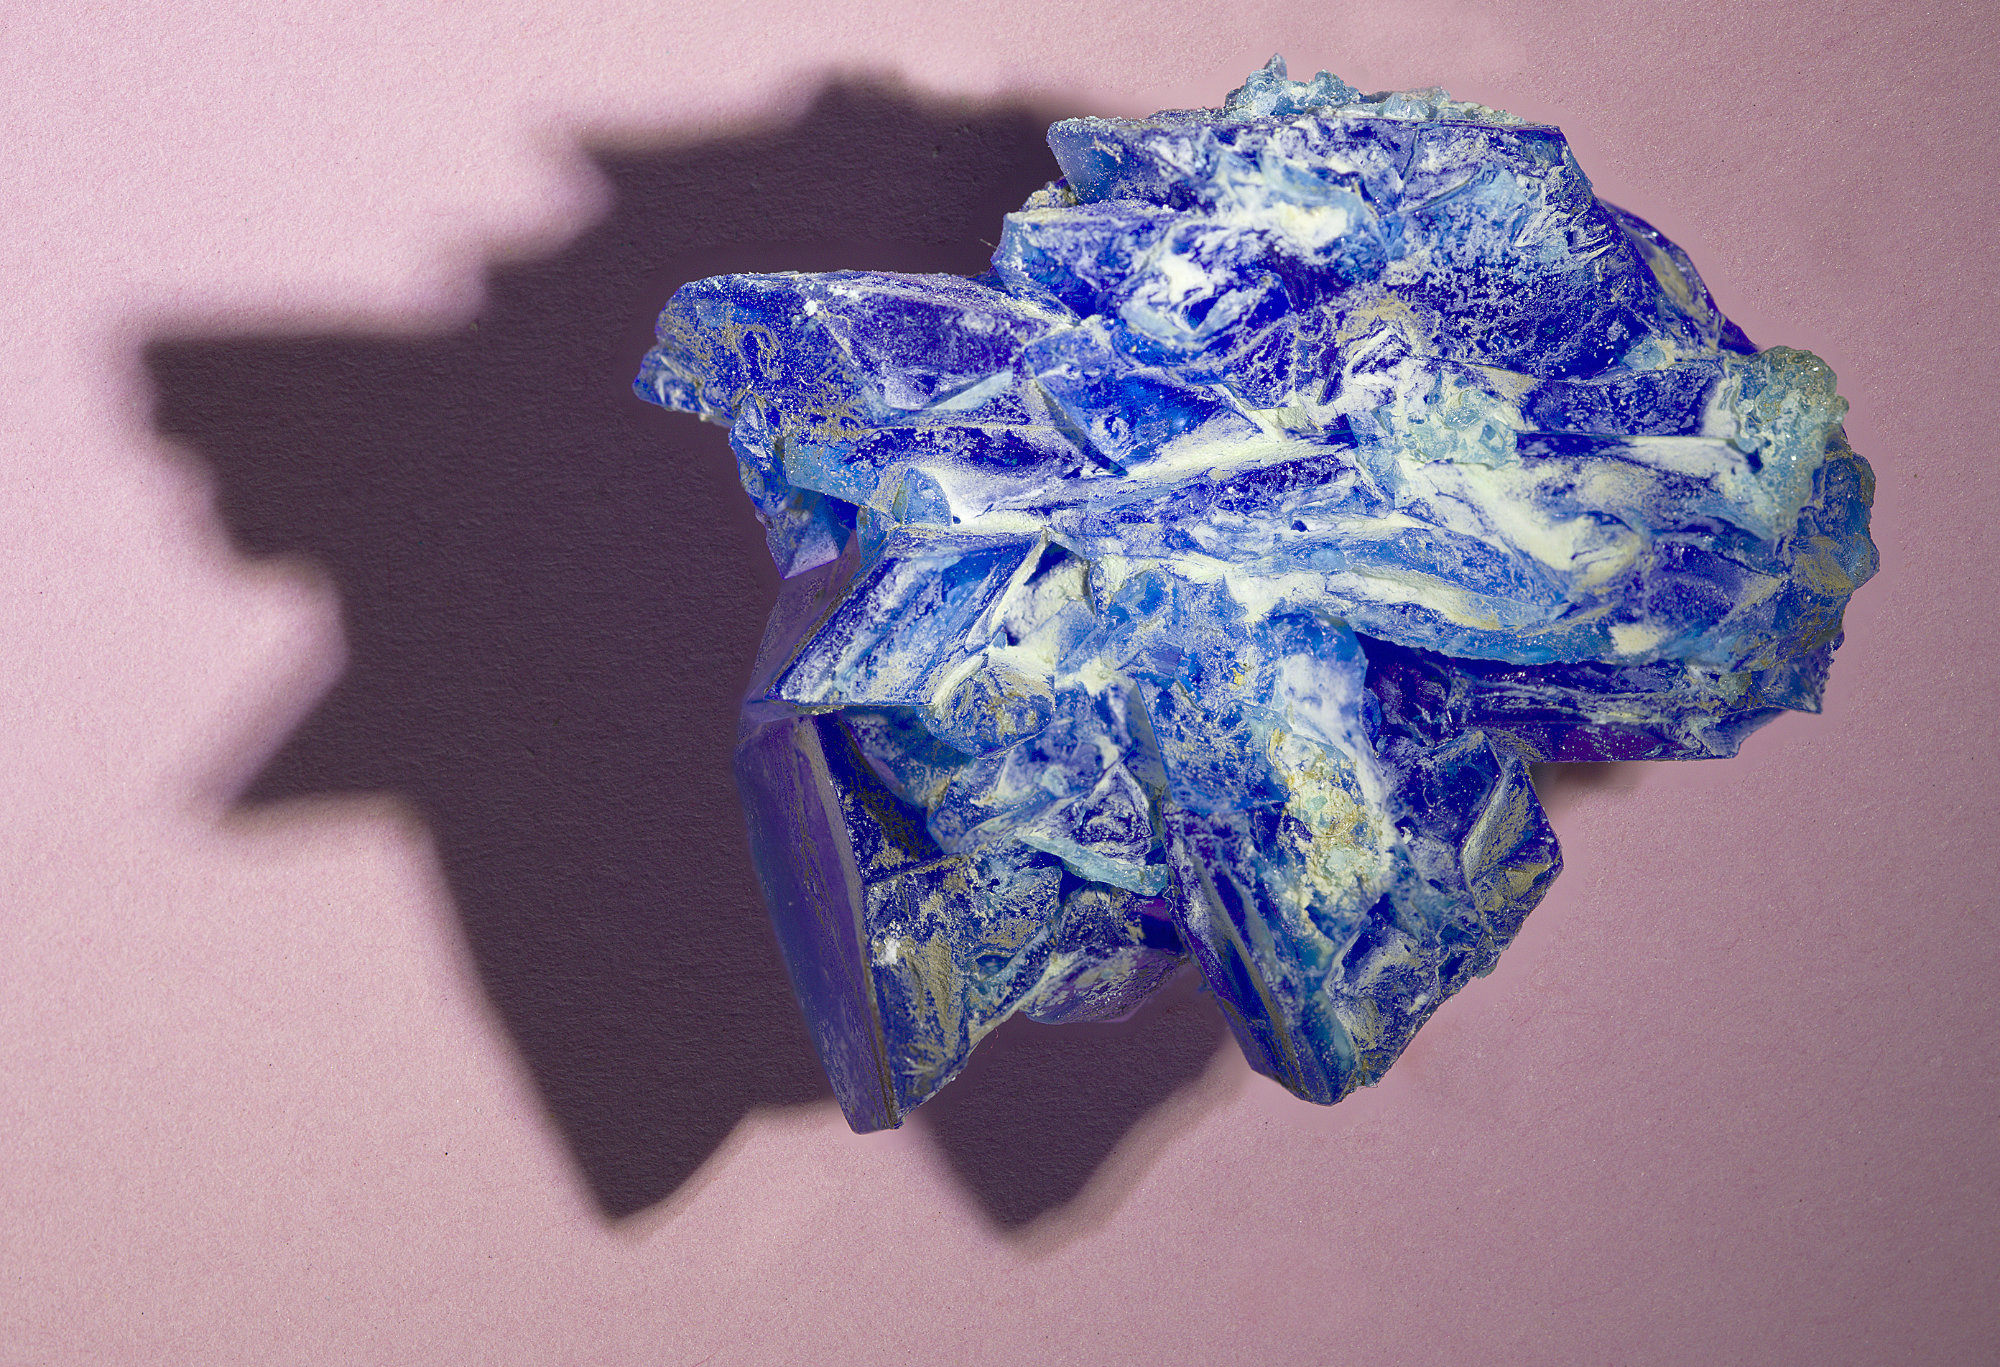
Thanks, Pat. Taking pictures like this is like throwing dice, you never know what you'll get! It's good fun.
|
Mar 15th |
| 95 |
Mar 24 |
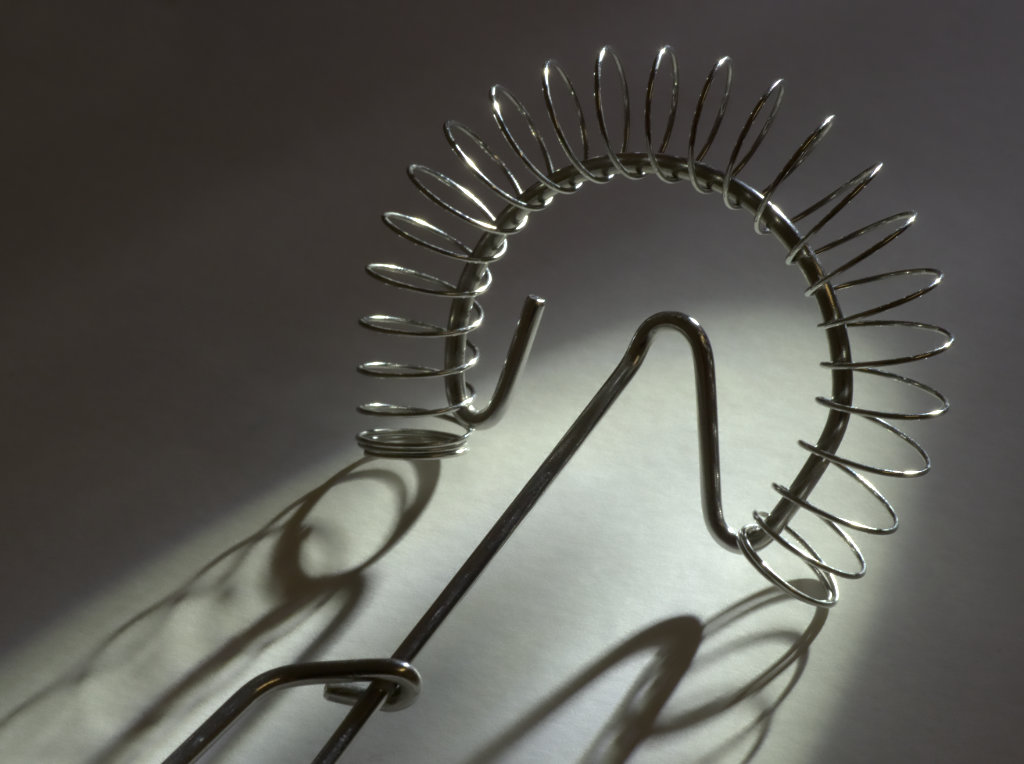
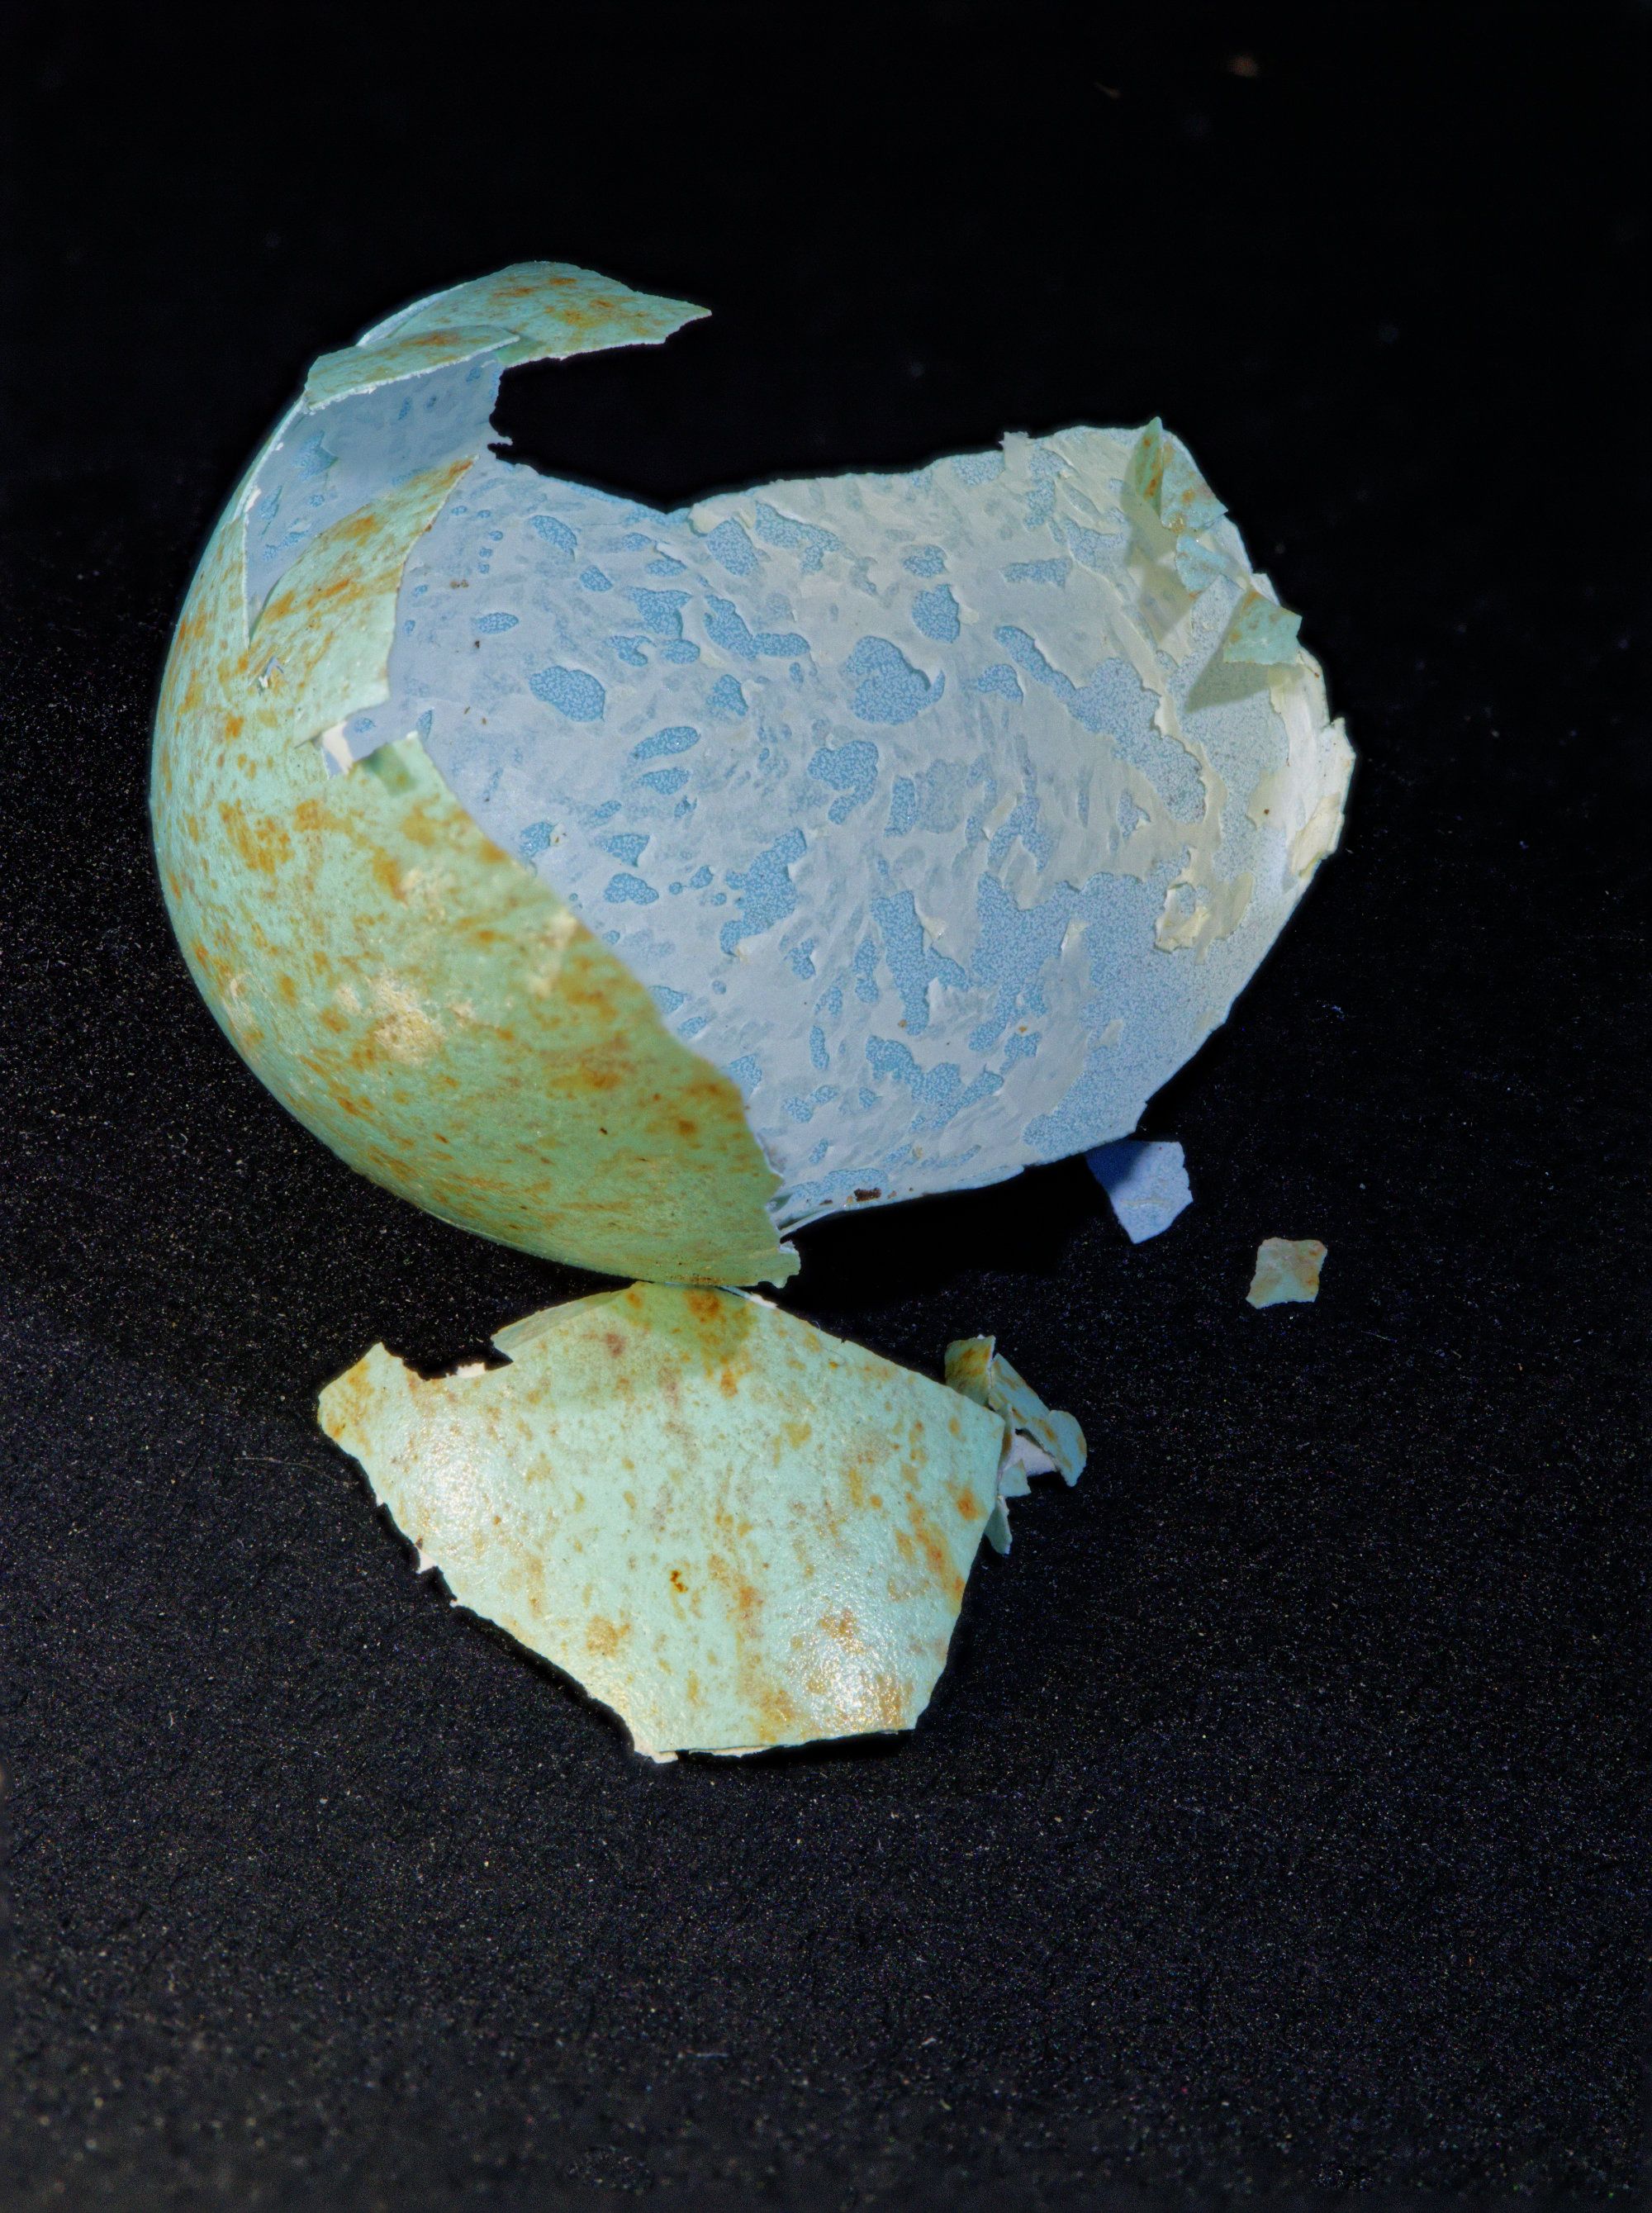
Comment |
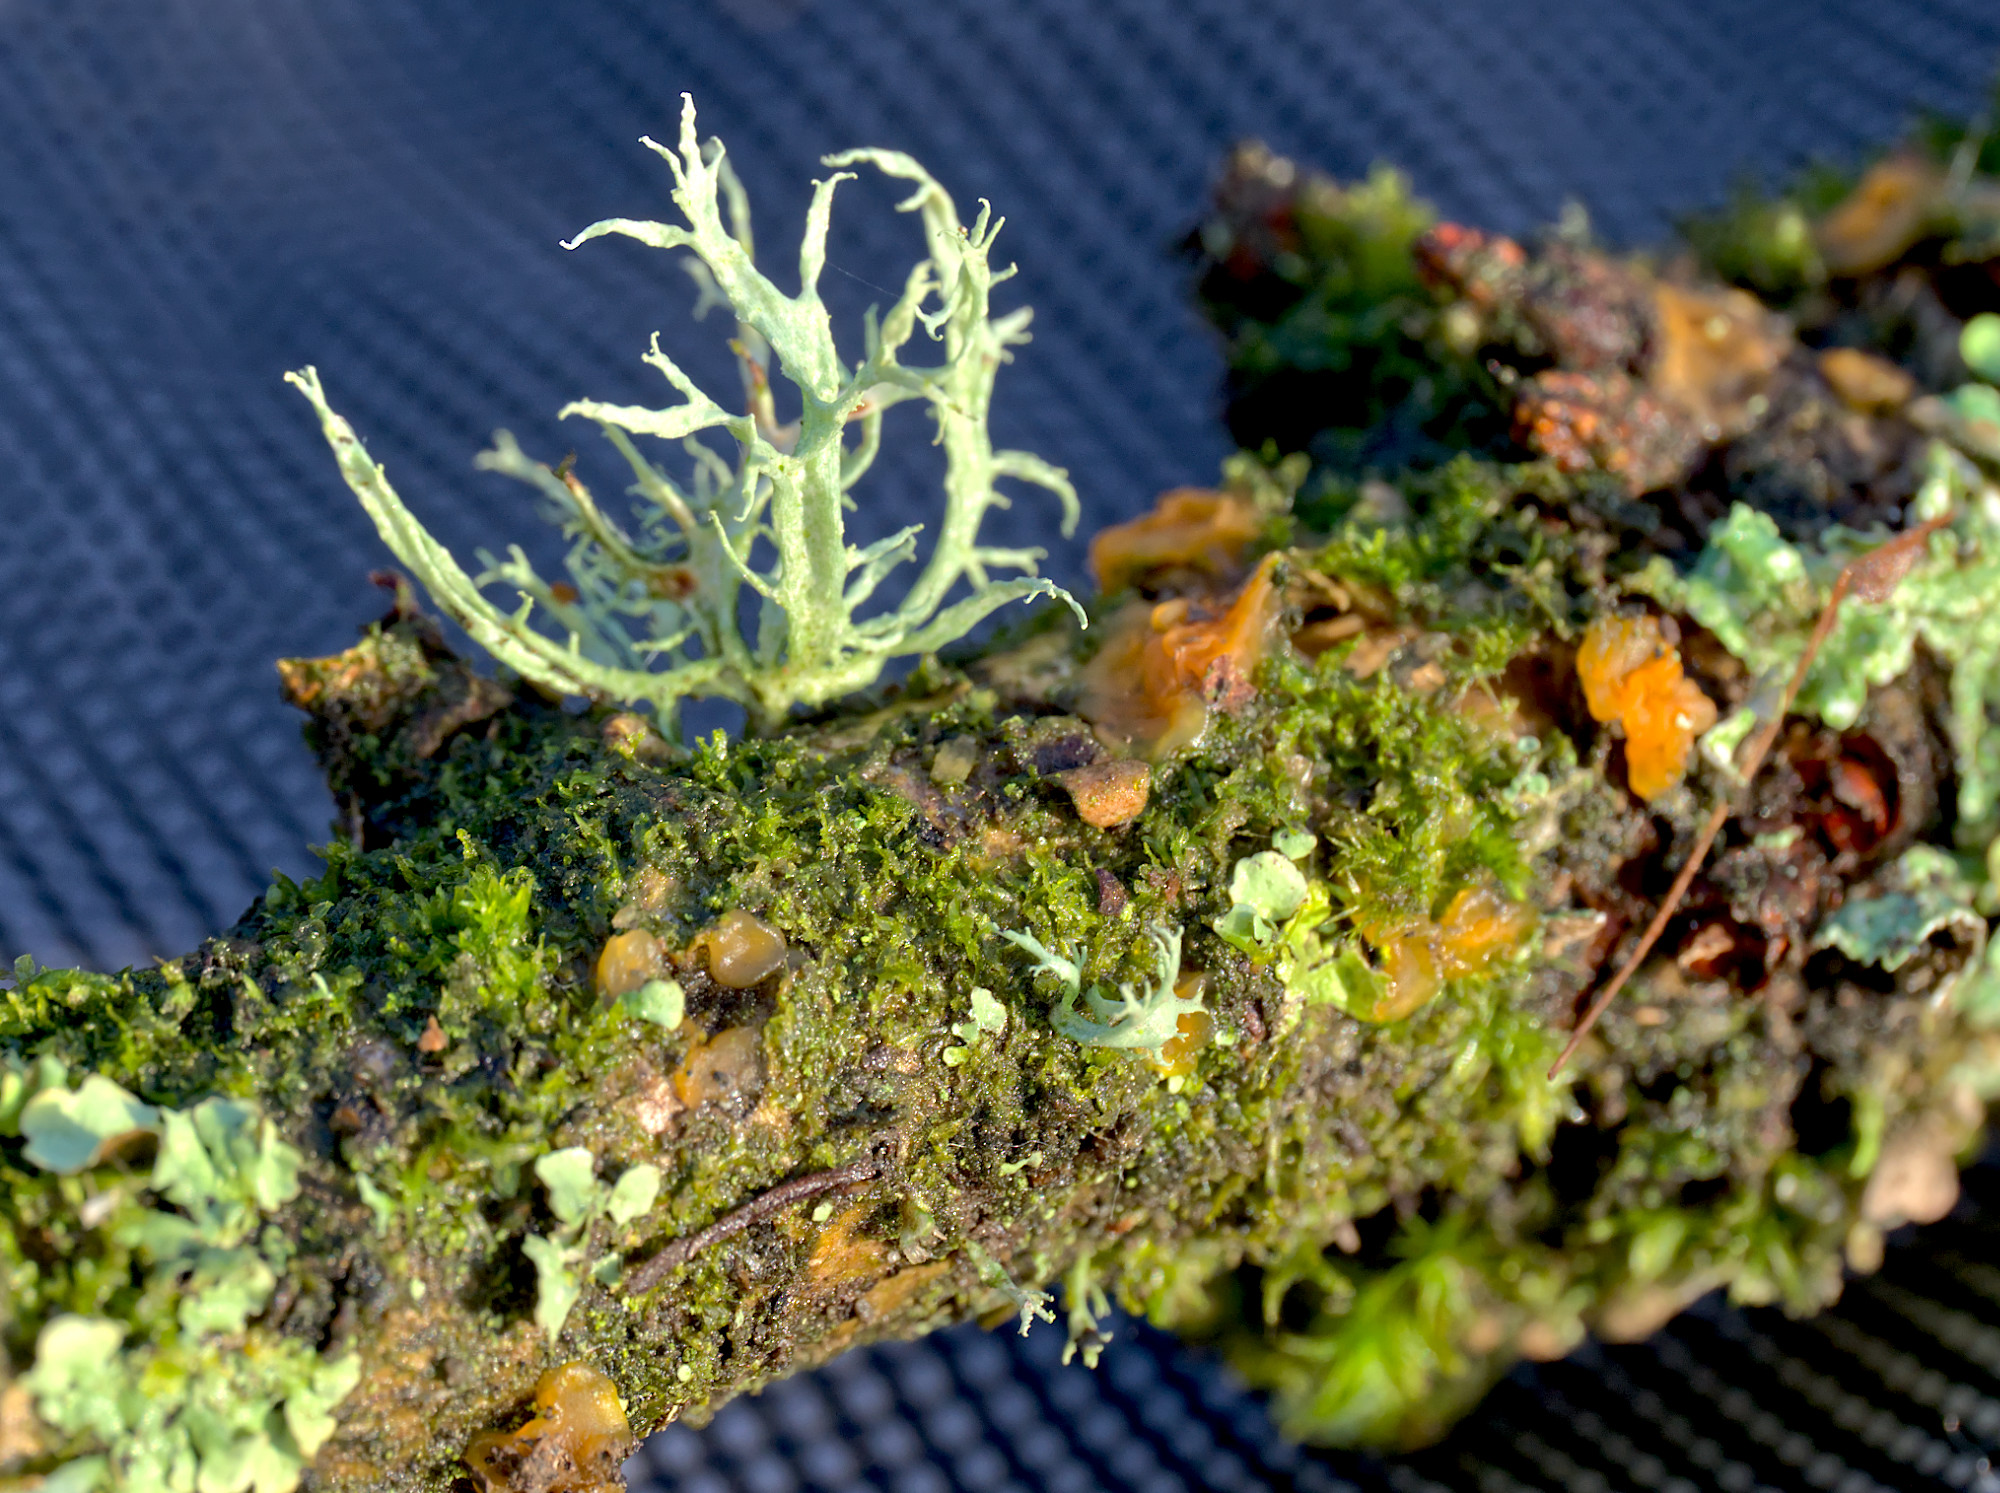
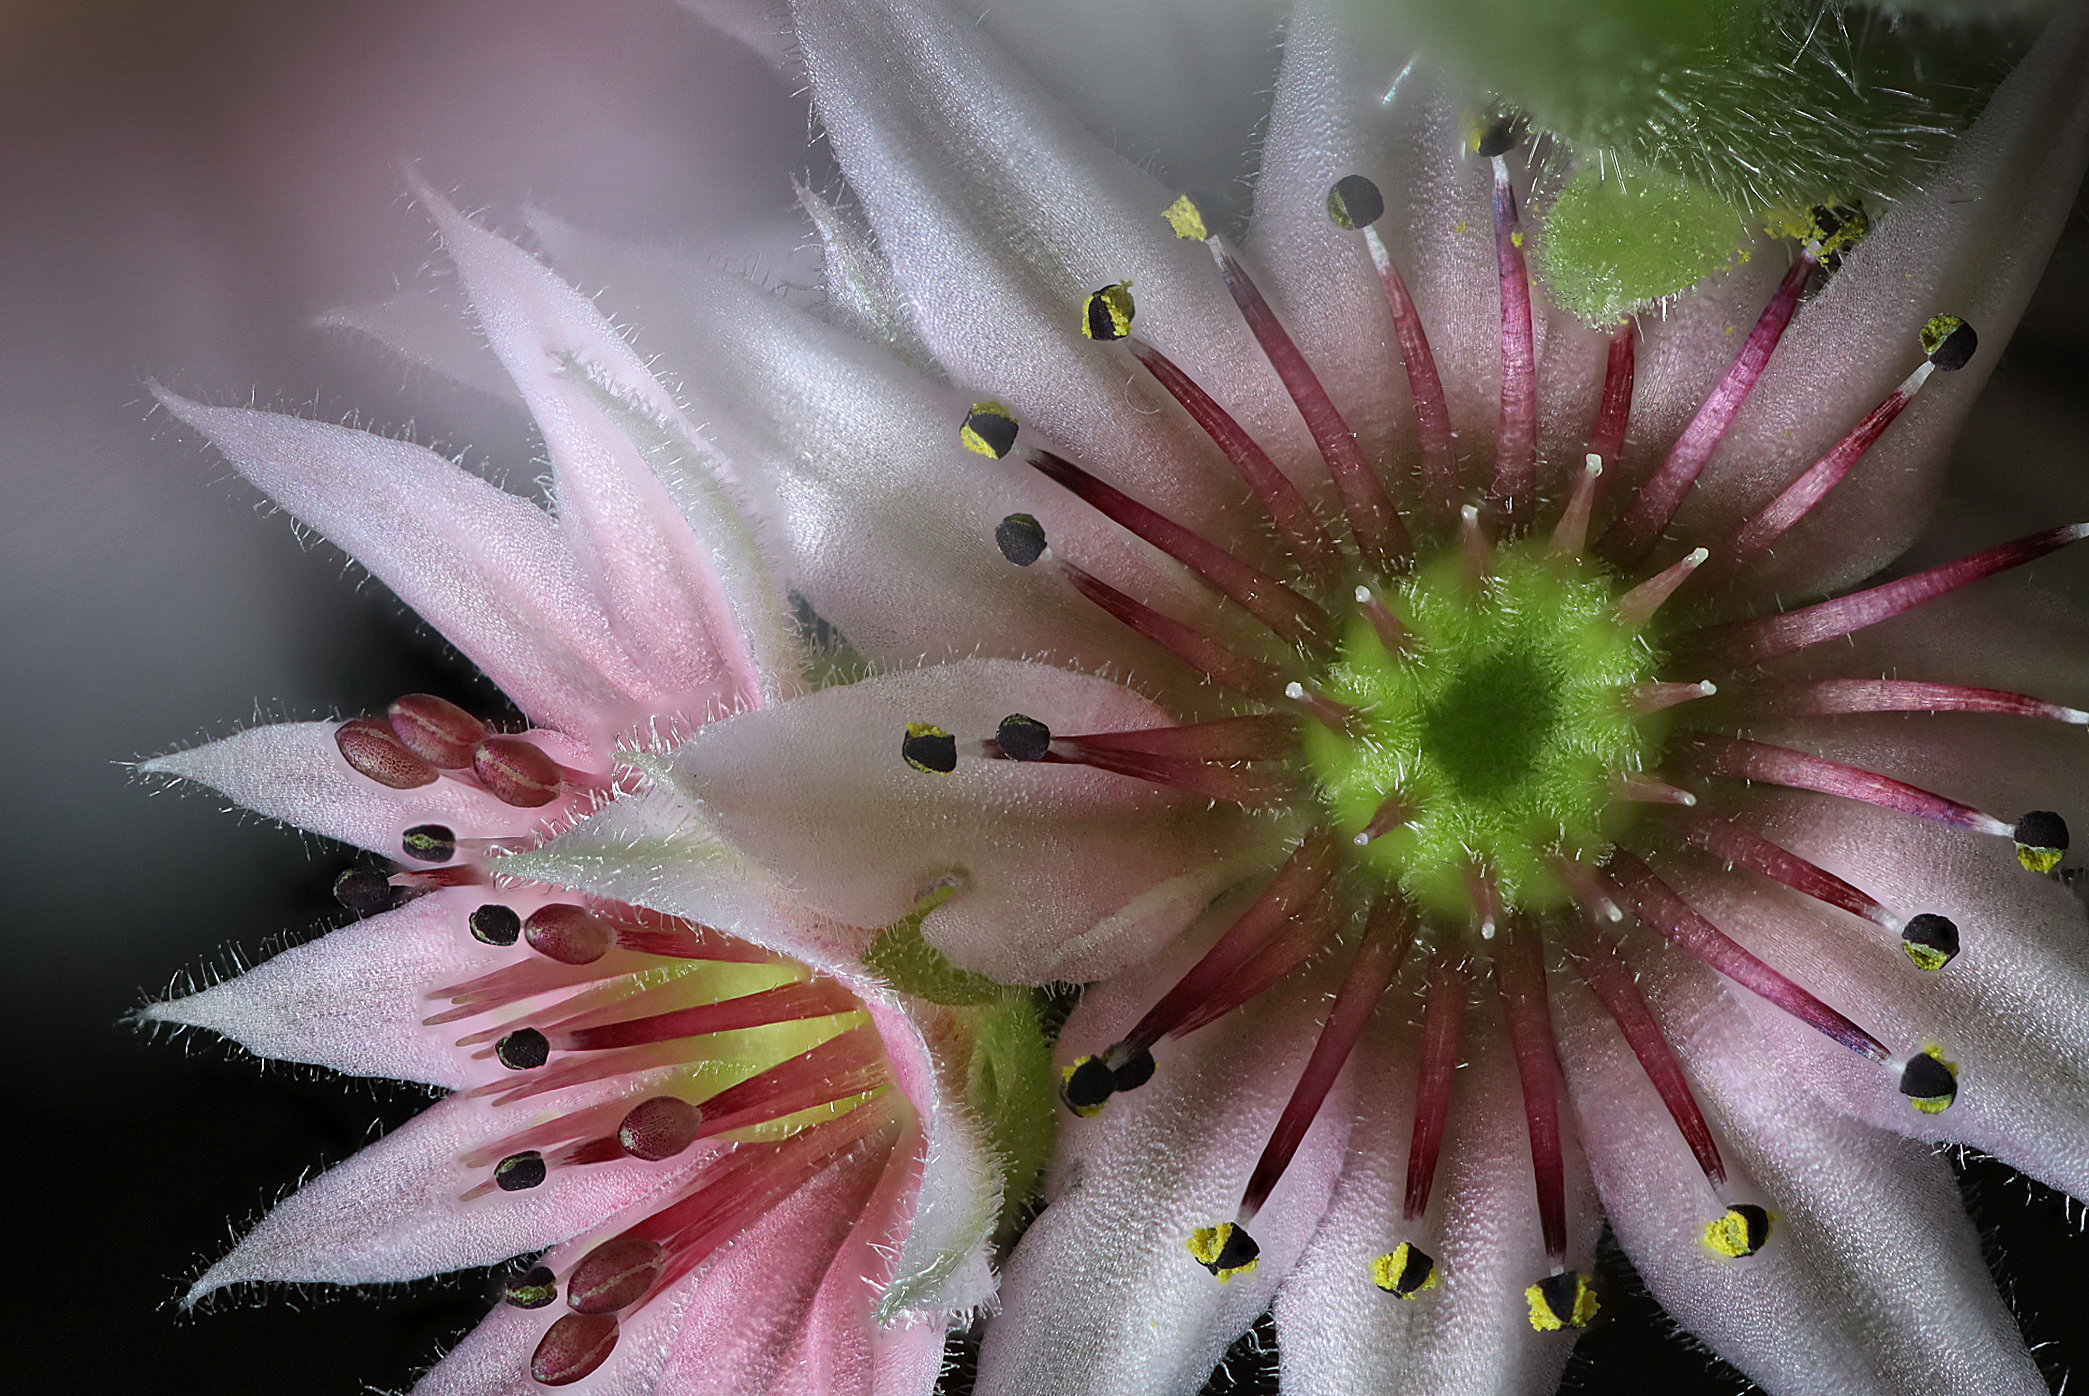
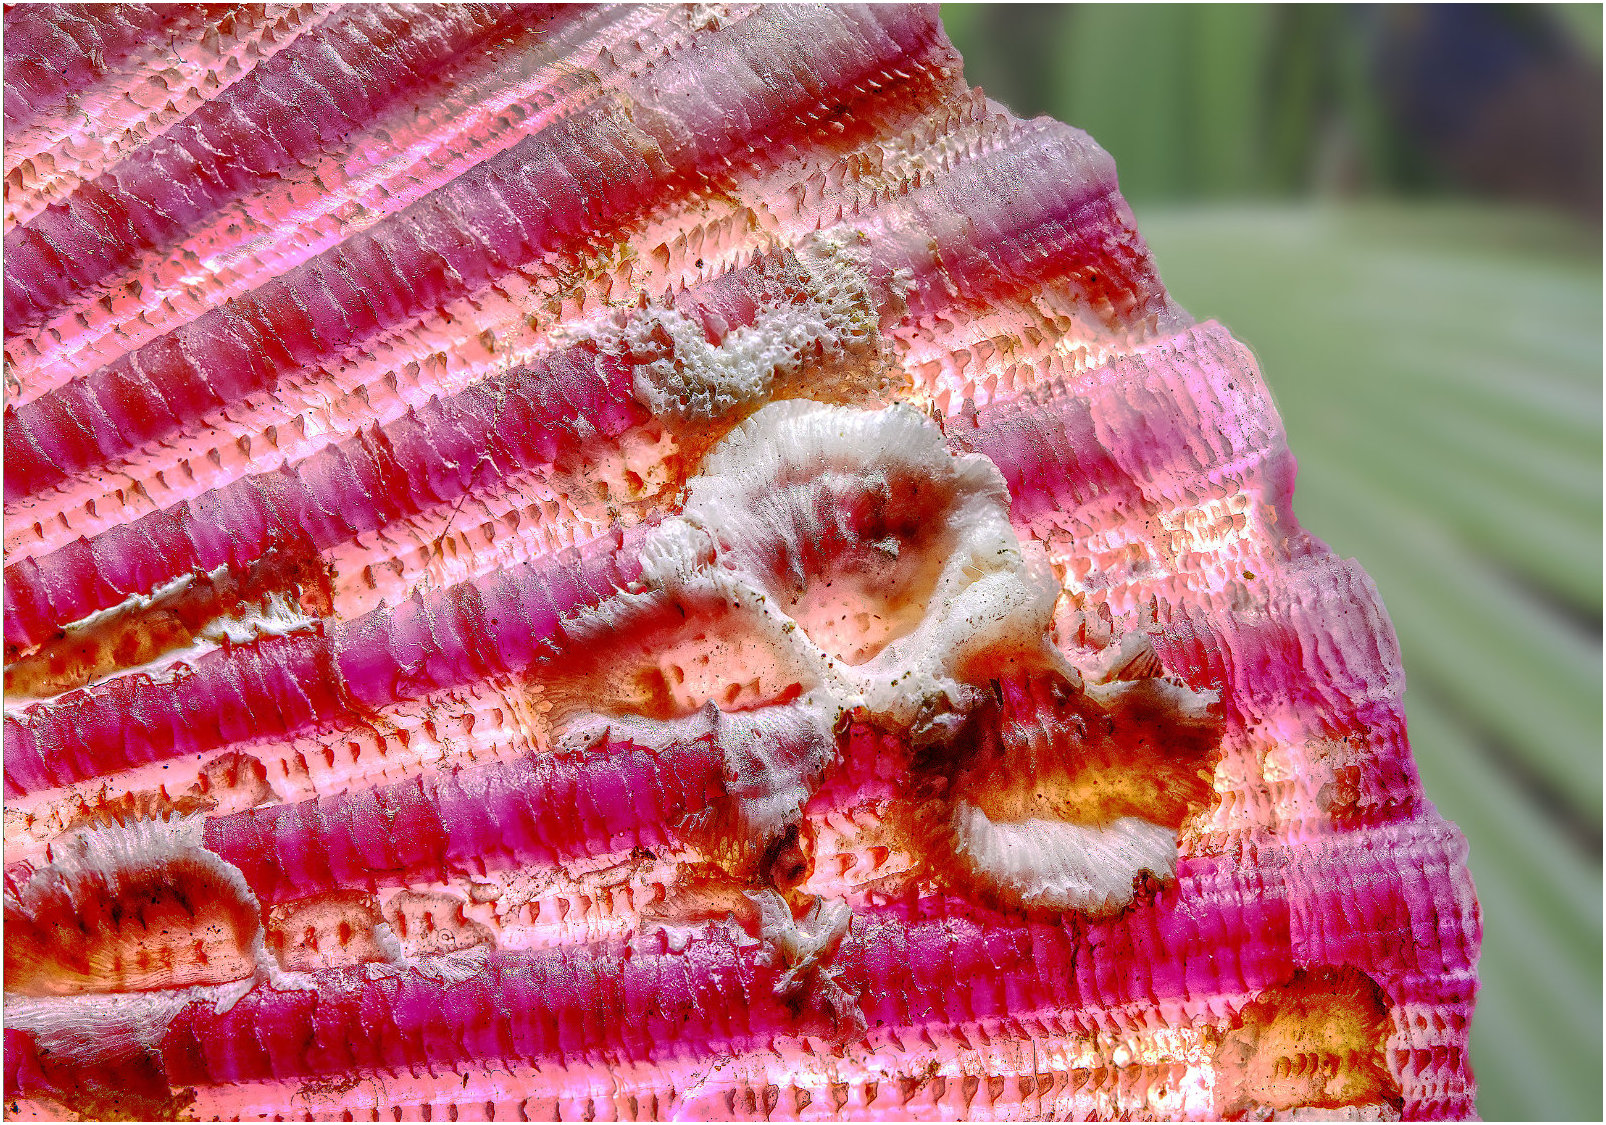
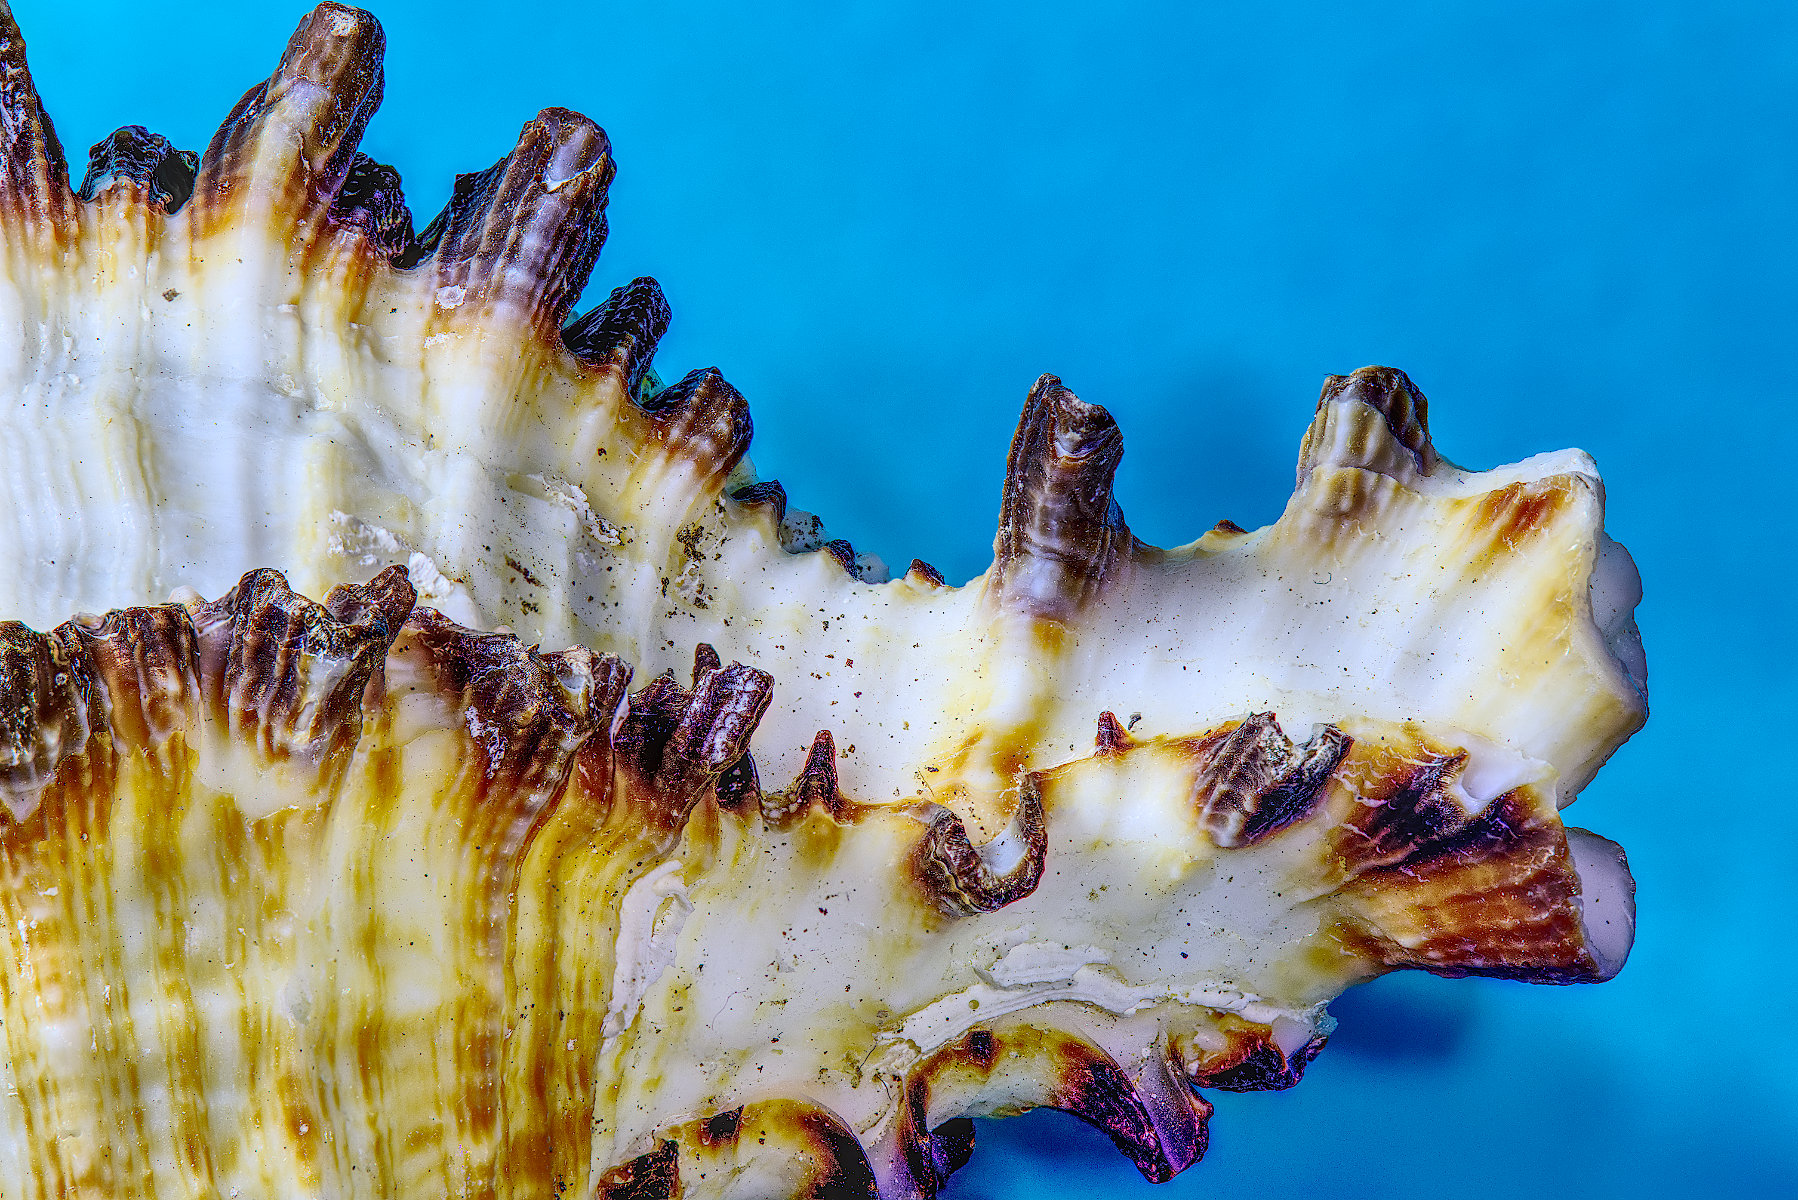
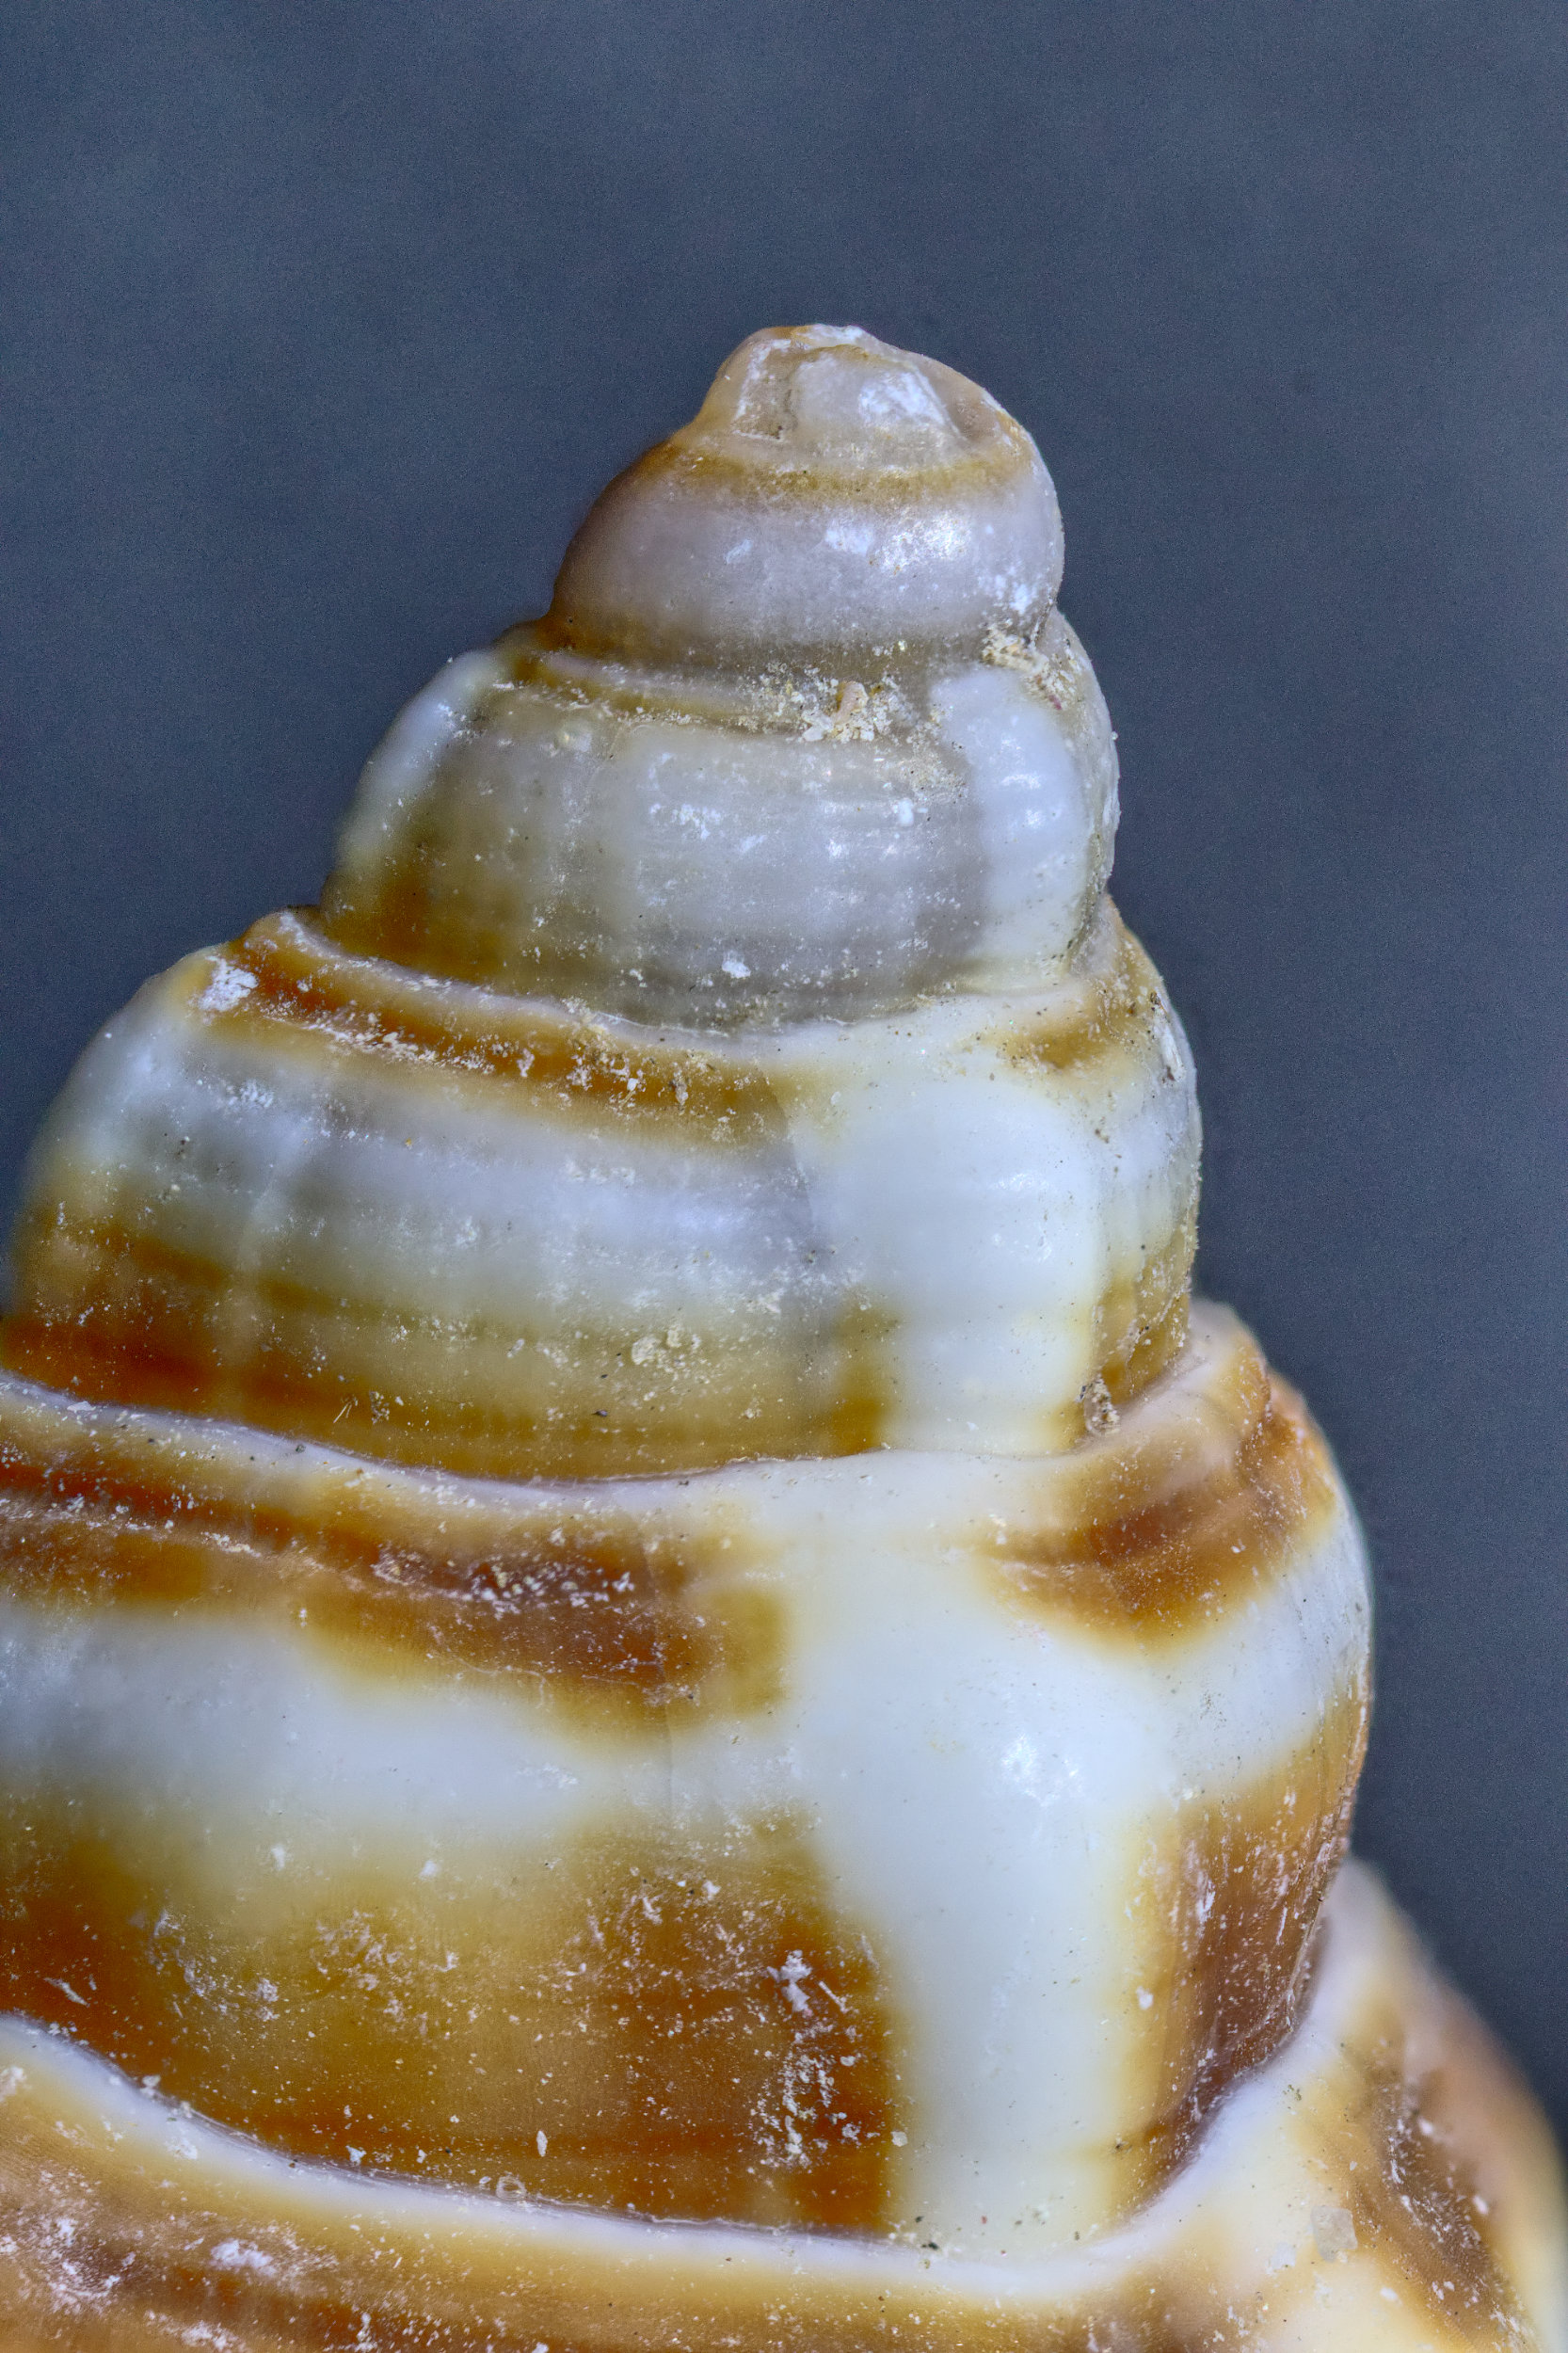
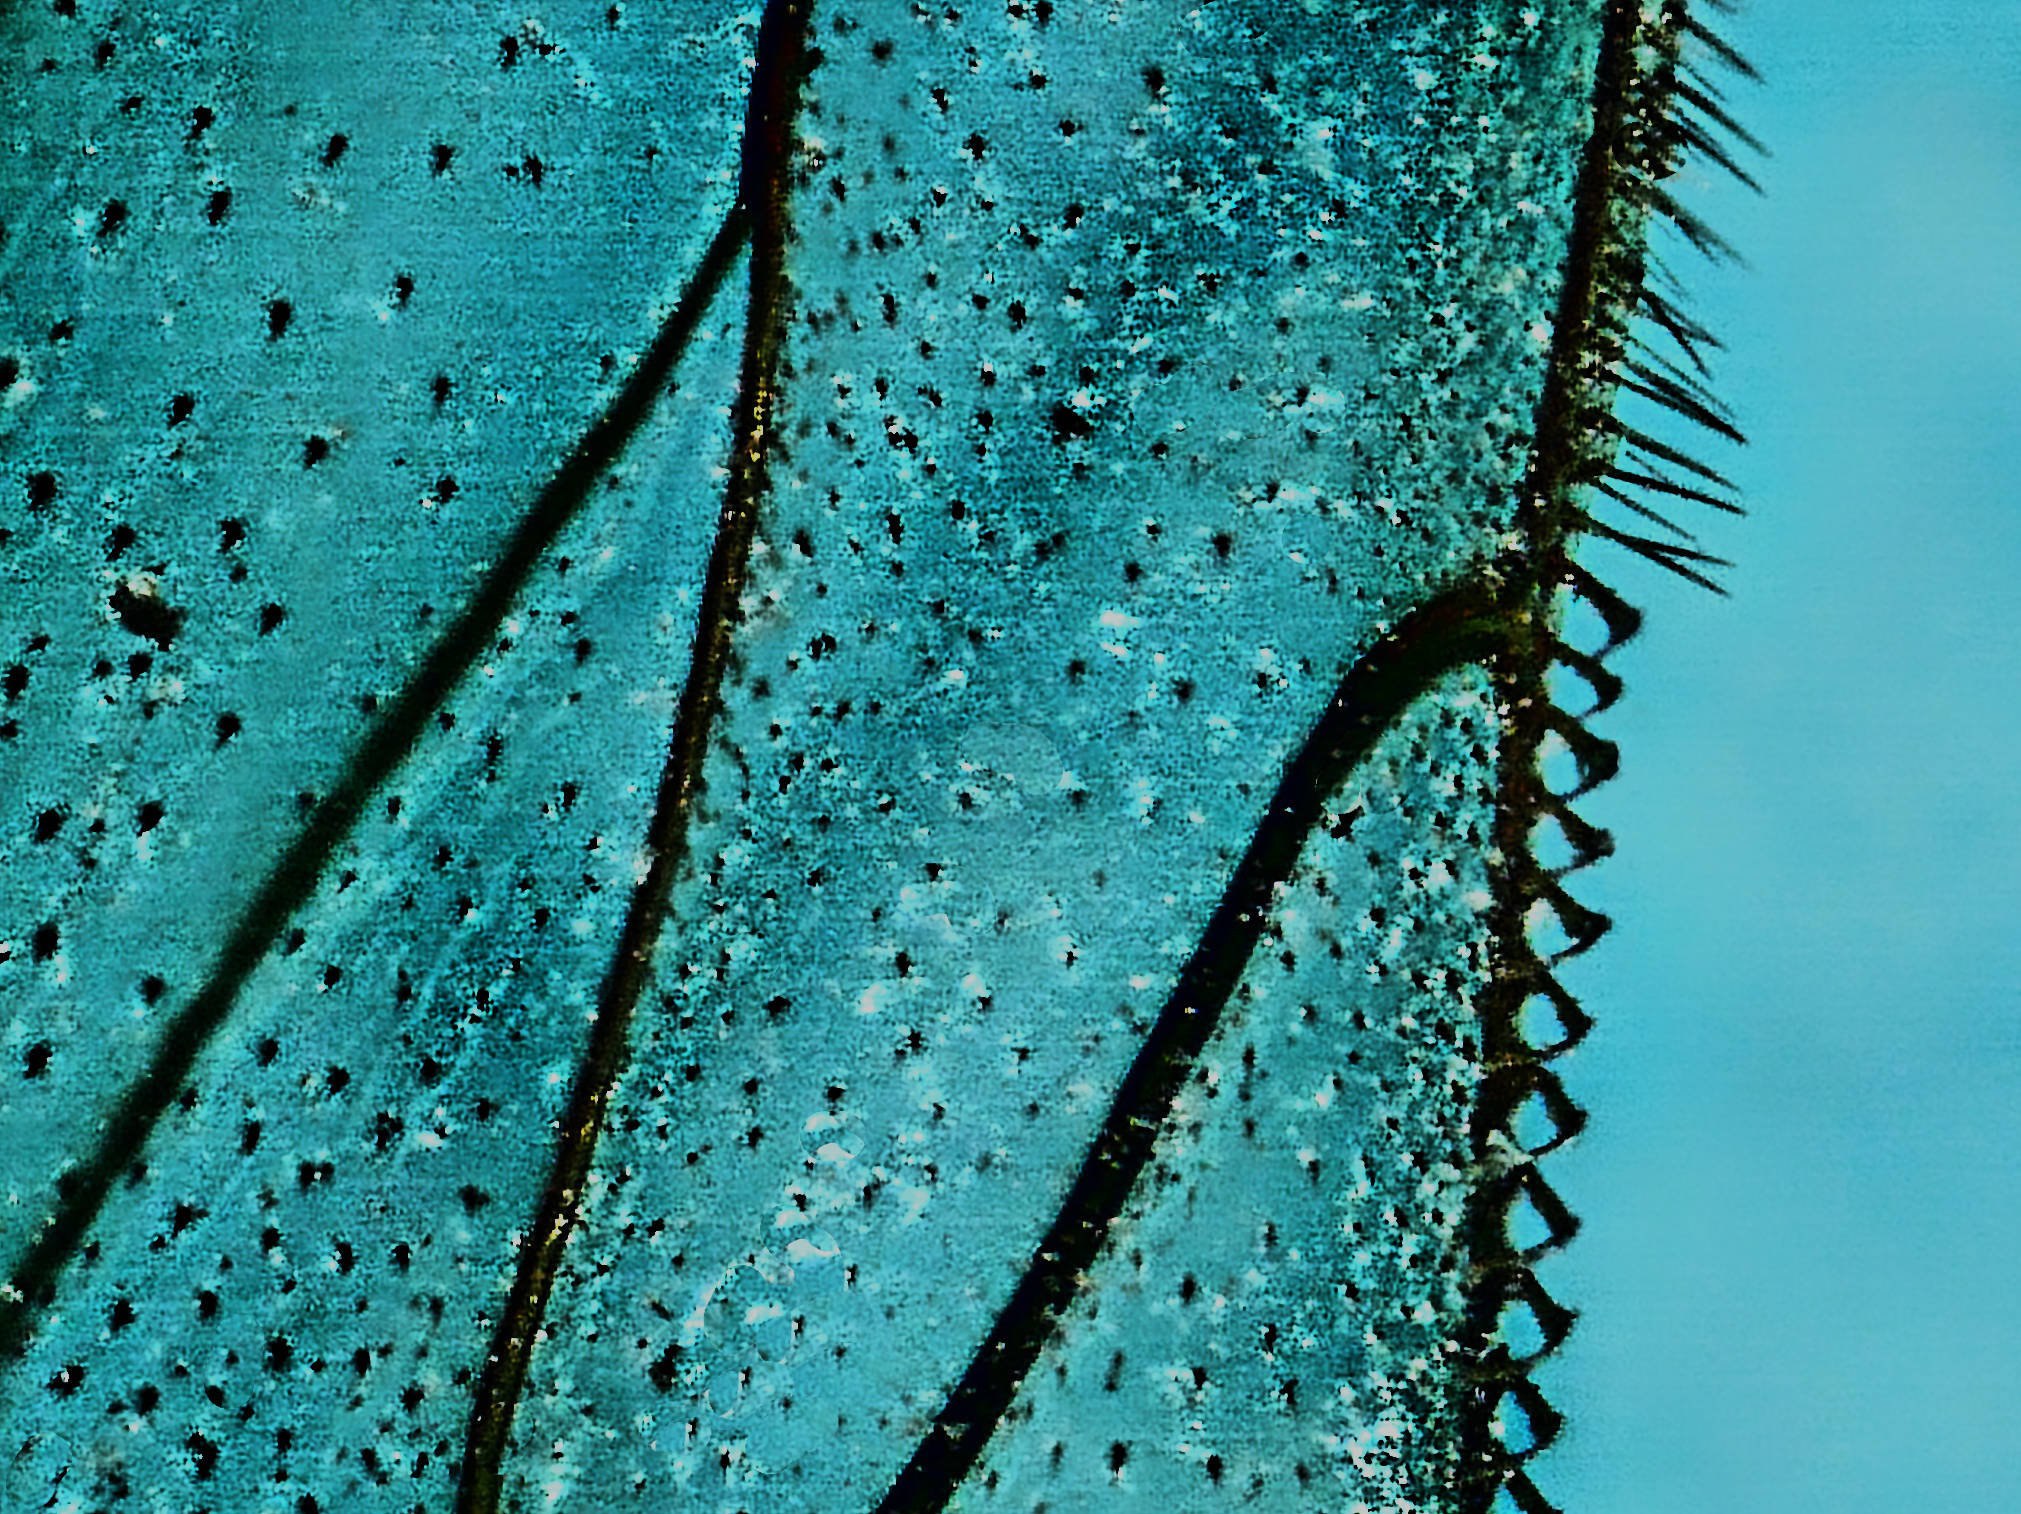
Pat, you are getting to grips with focus merging. Your final image is an improvement on the two originals you sent, there is some nice, sharp detail there. I like the feint shadows of the prongs on the background, which give it more depth.
I'm thinking that perhaps you need to look to making the focus stack a little better. It looks to me like your closest frame isn't quite close enough, so the nearest point is blurred. Also, the top right corner is very blurred, I suspect you had no frames showing this area sharply either. The key features of a focus stack are the closets and furthest desired points are sharp in the first image and last image of the stack, and then enough frames in between to ensure the whole scene is taken sharply in at least 1 frame. Then your combined image will be sharp from front to back.
How did you decide 11 frames? |
Mar 11th |
| 95 |
Mar 24 |
Comment |
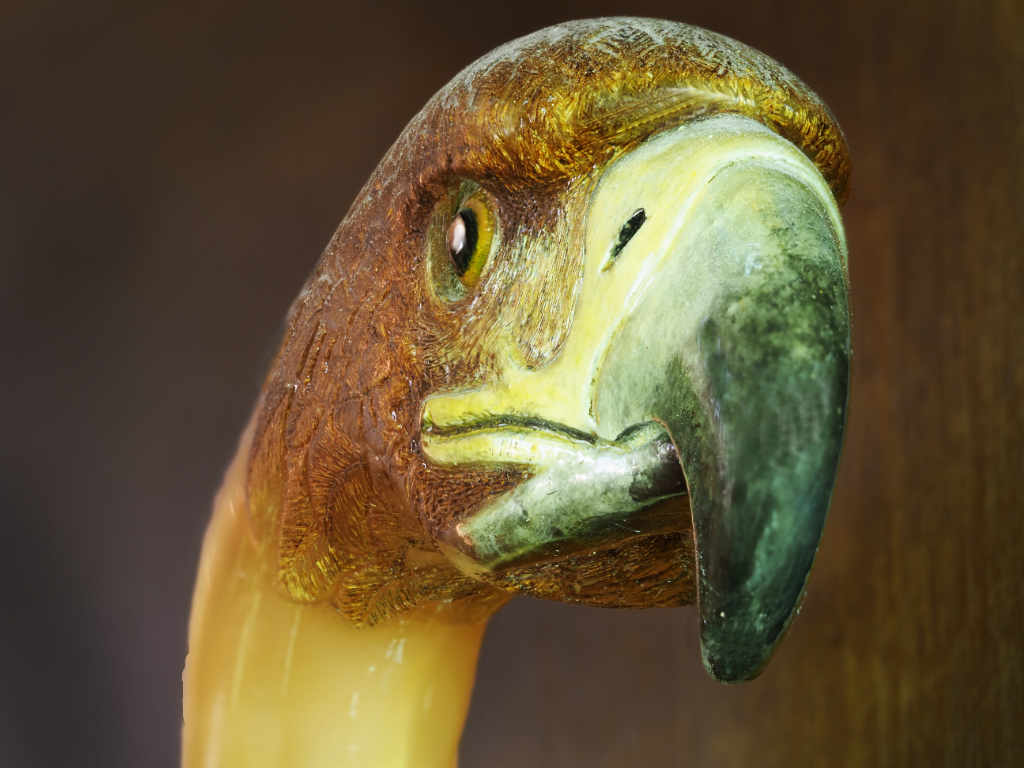
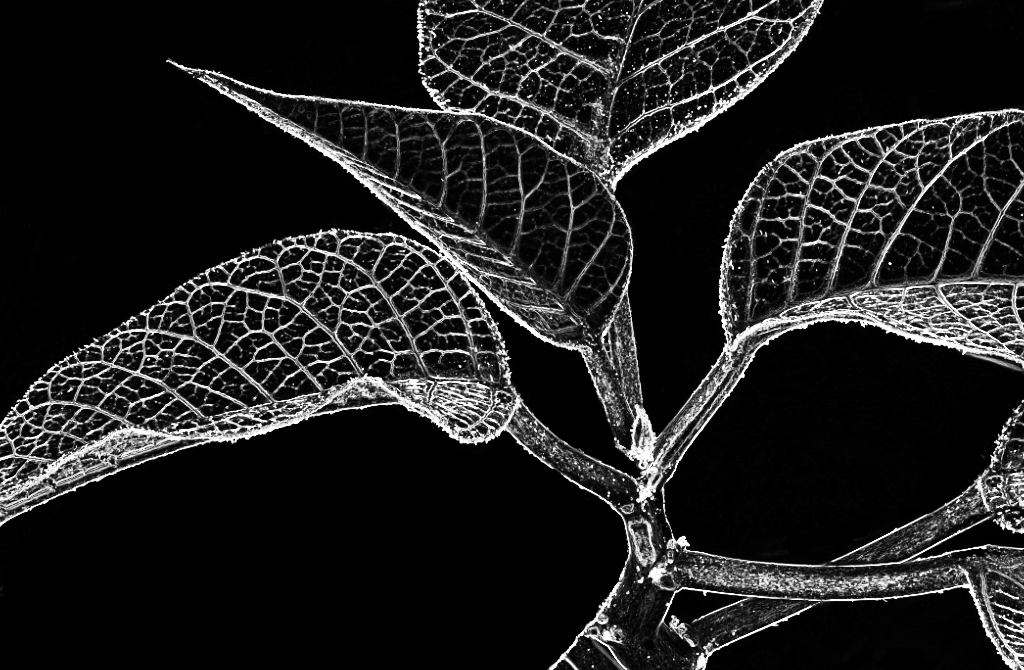
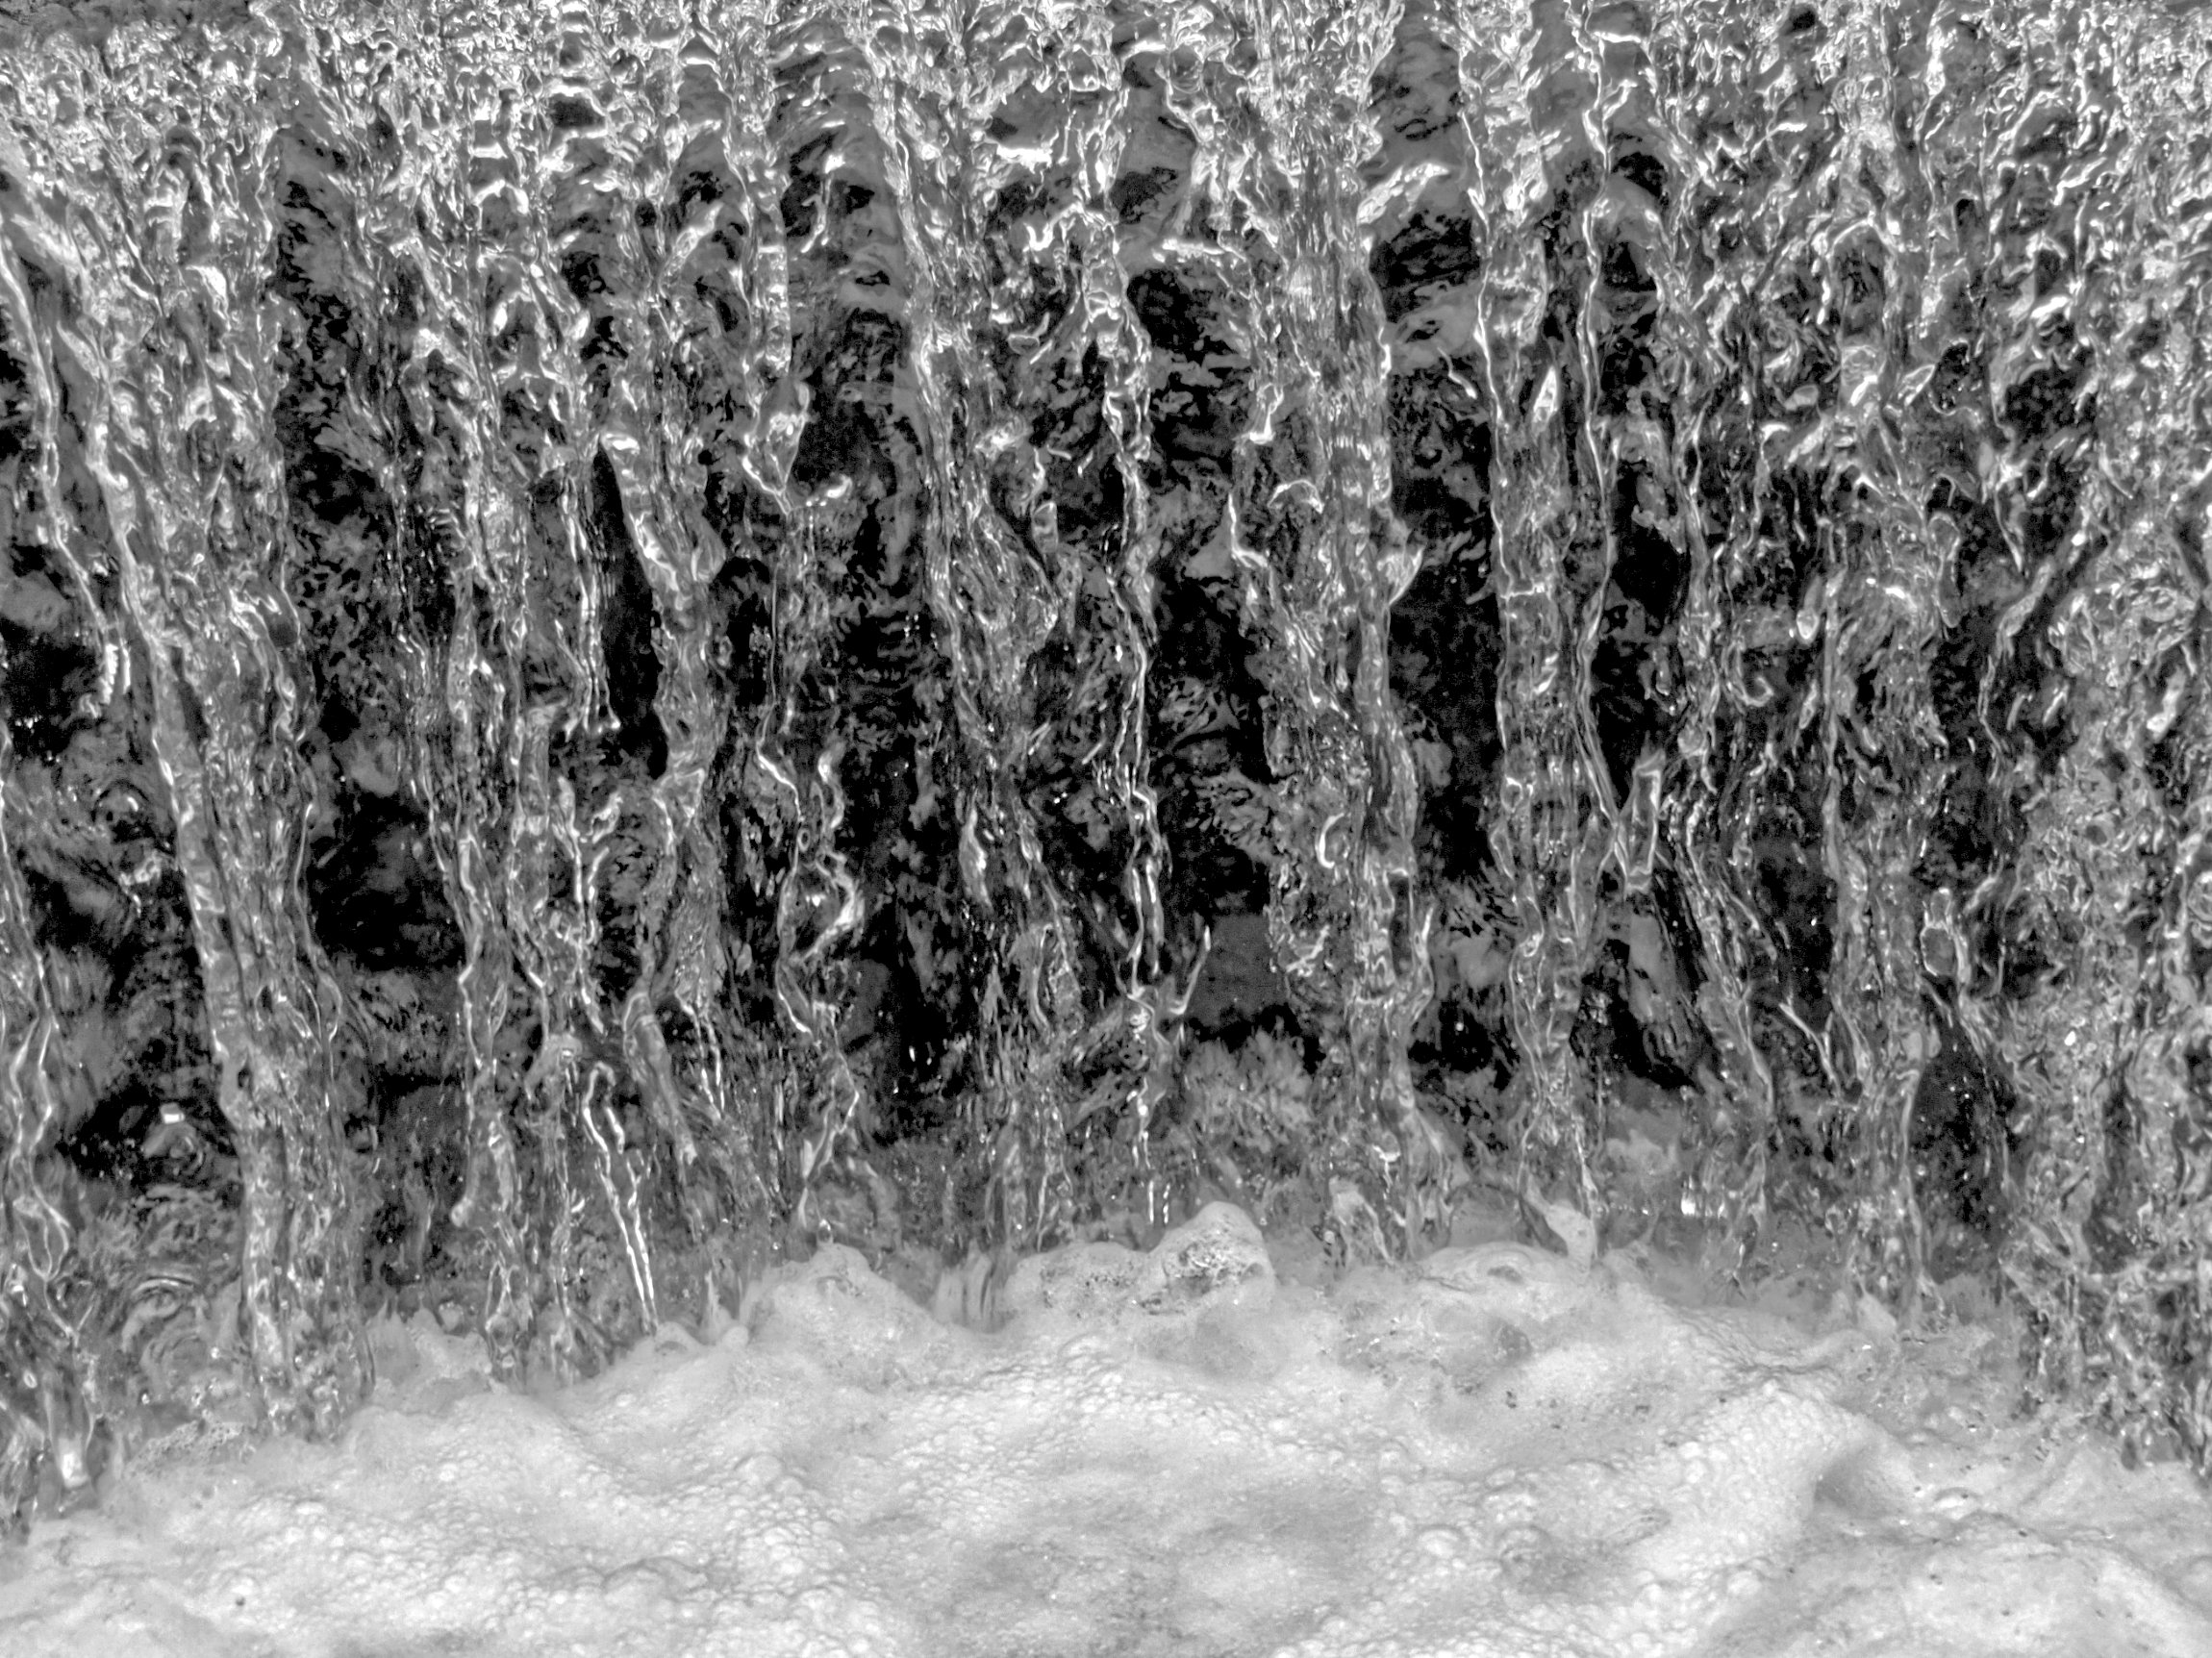
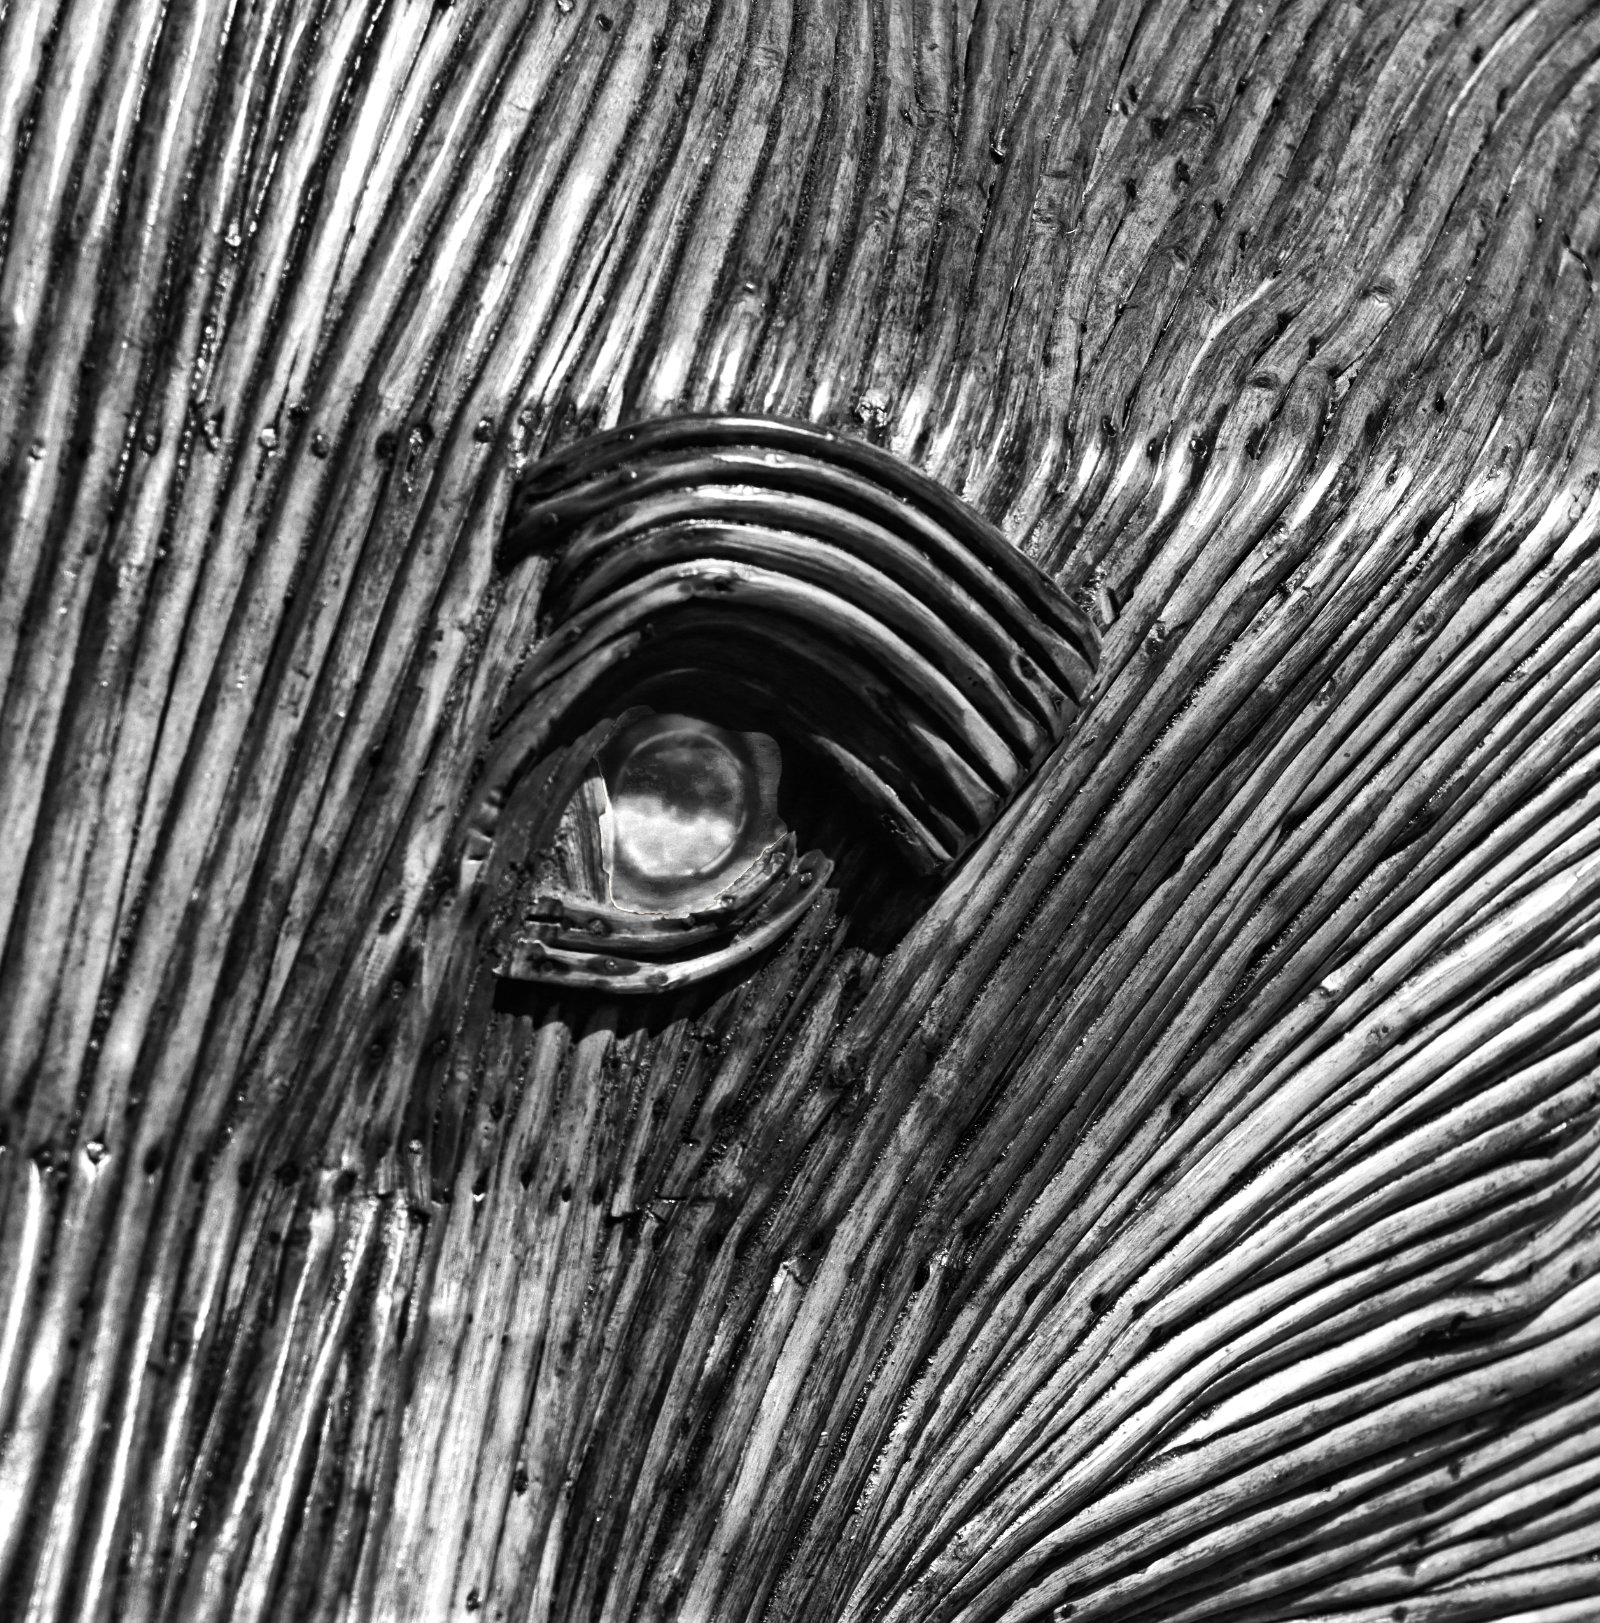
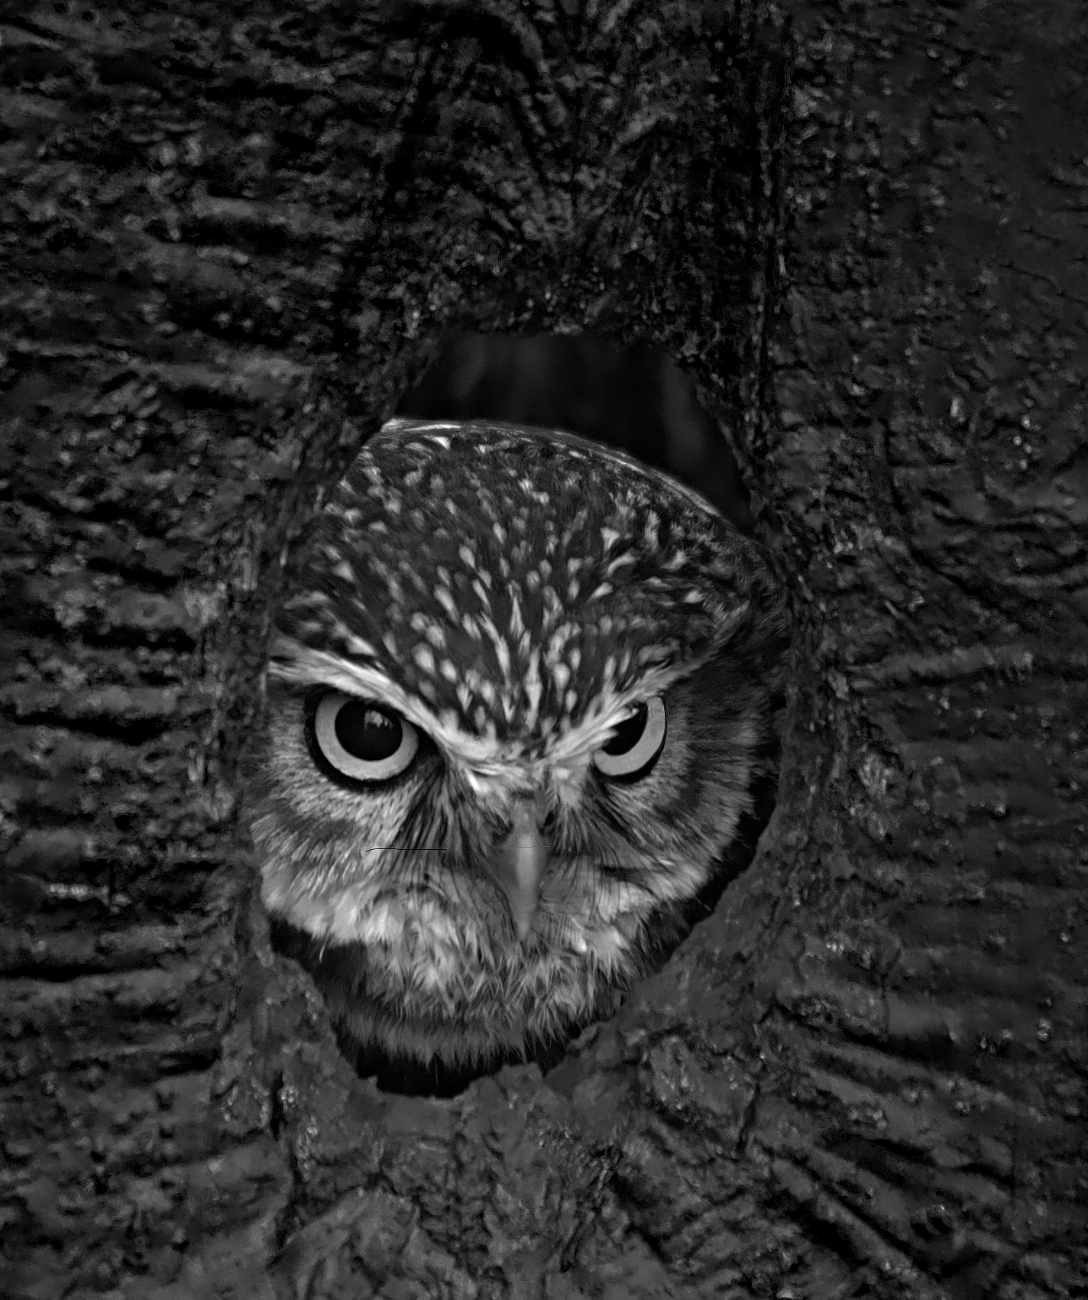
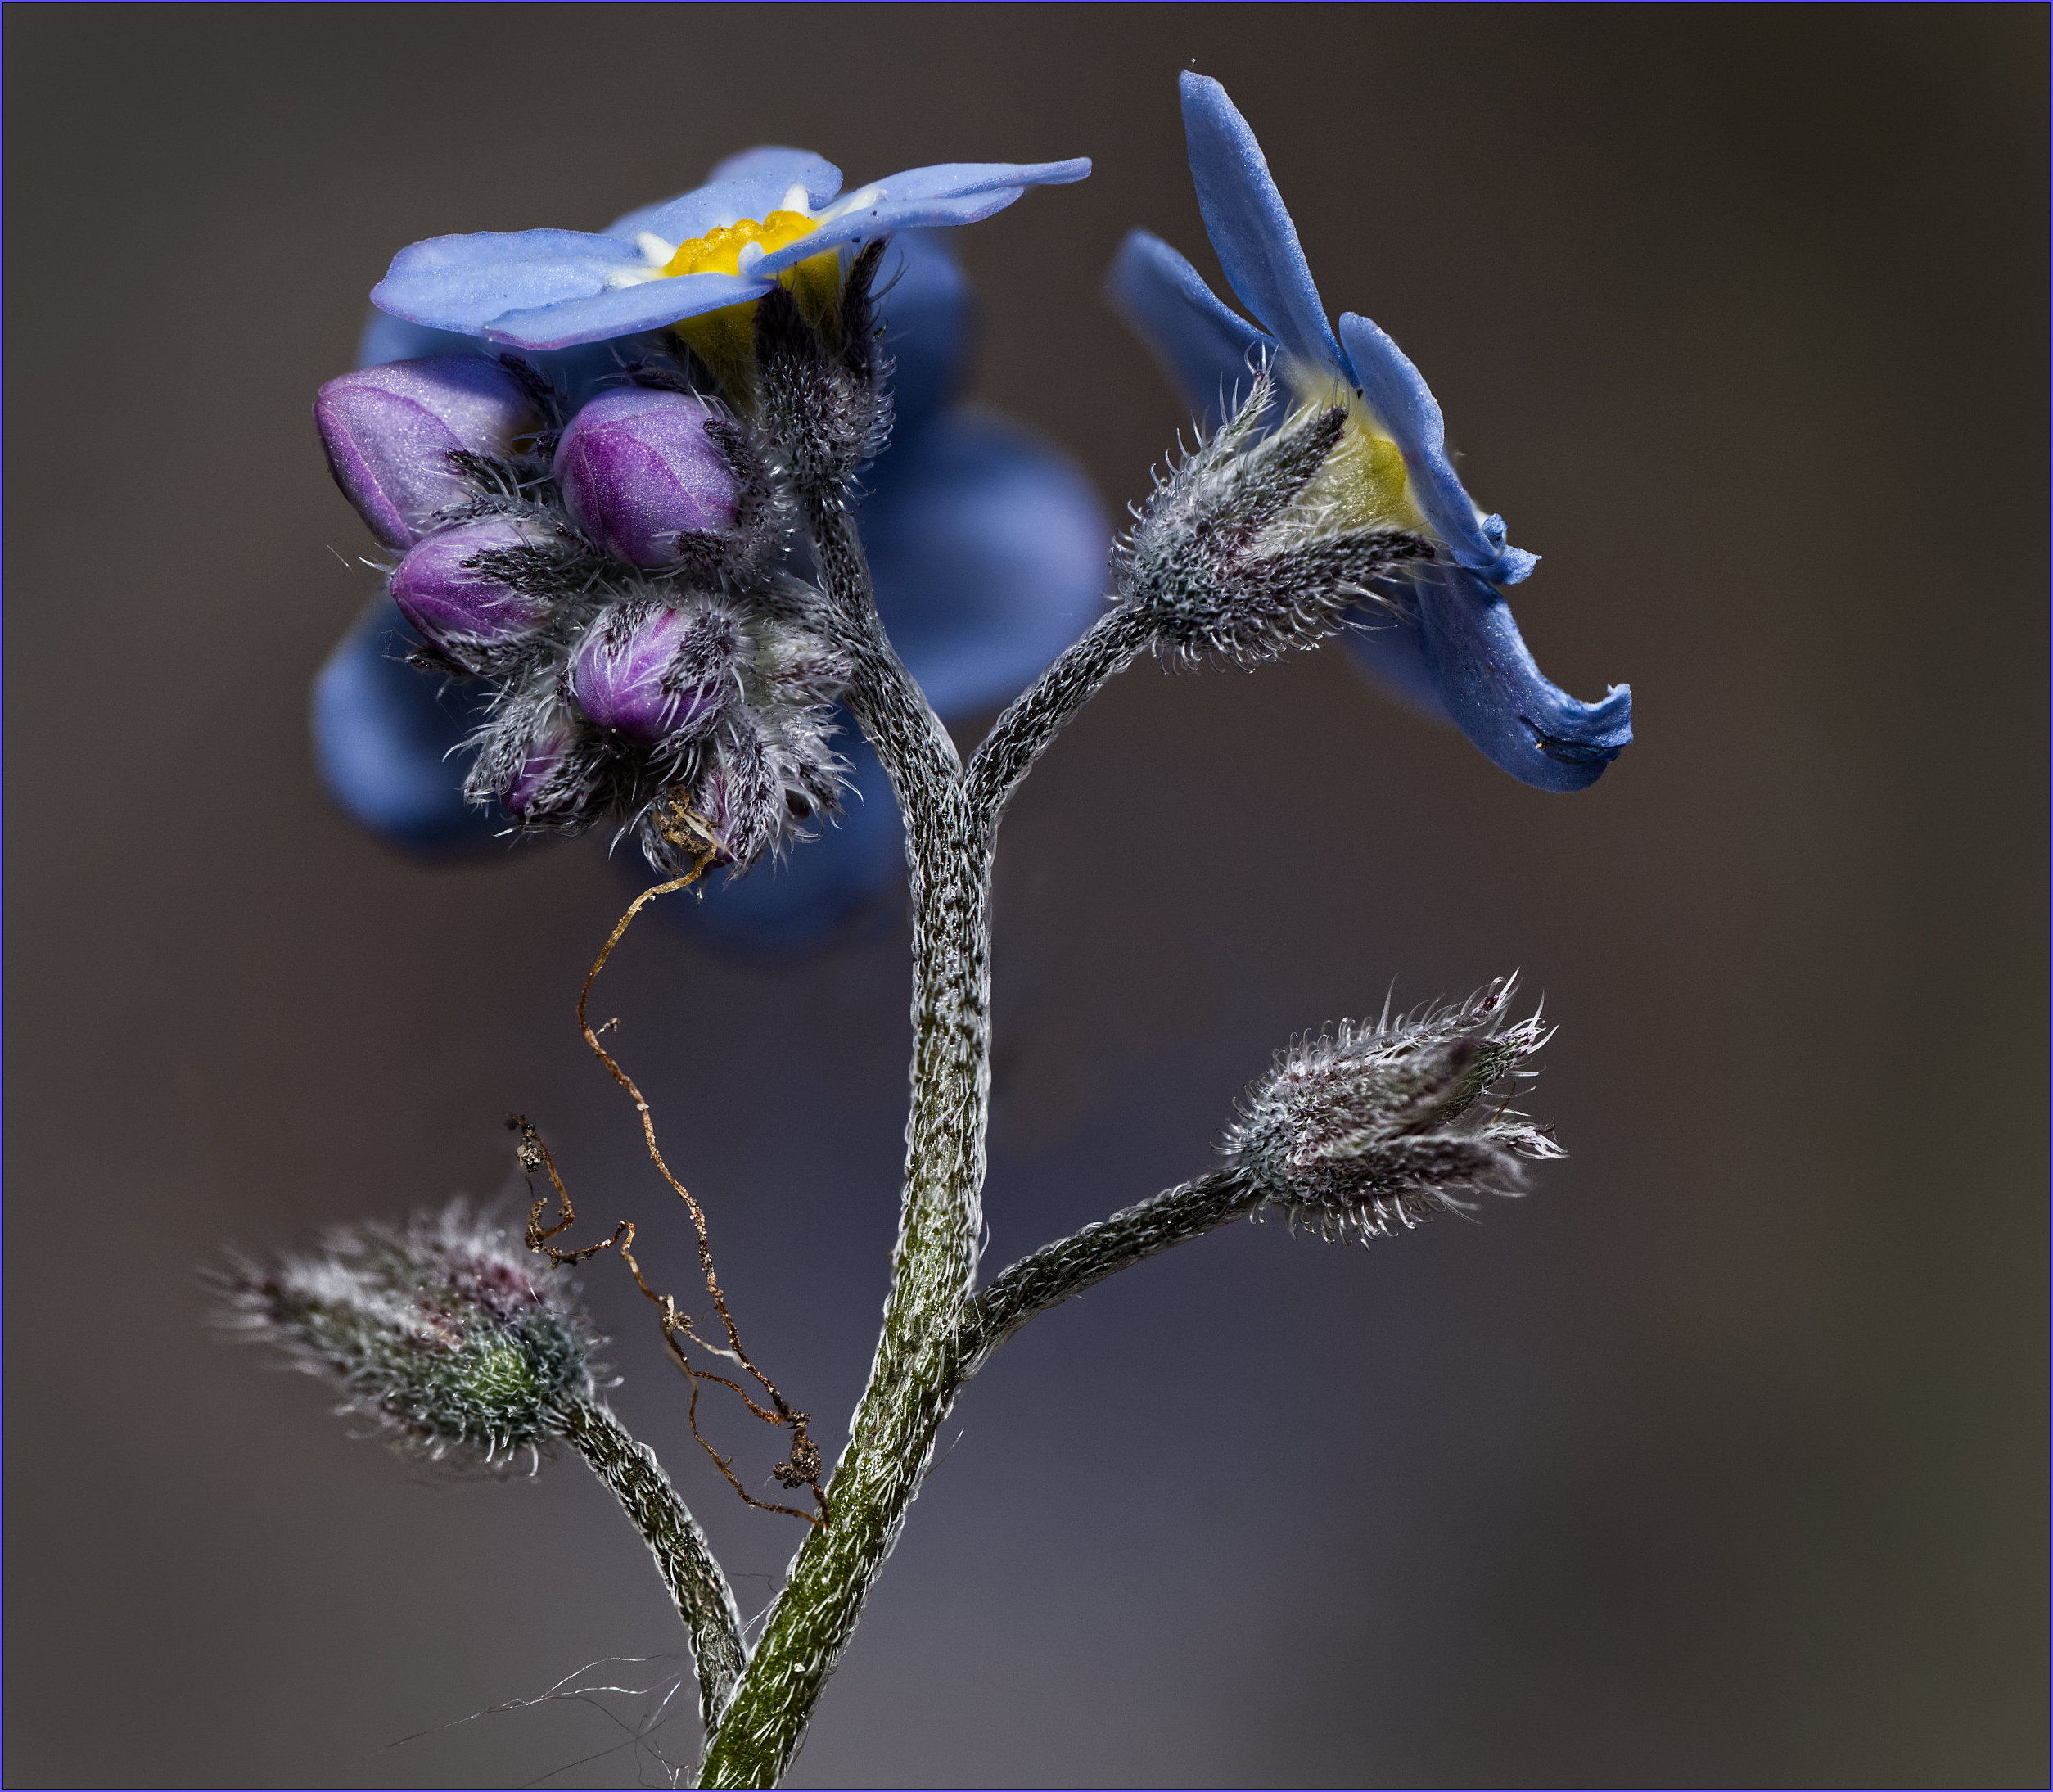
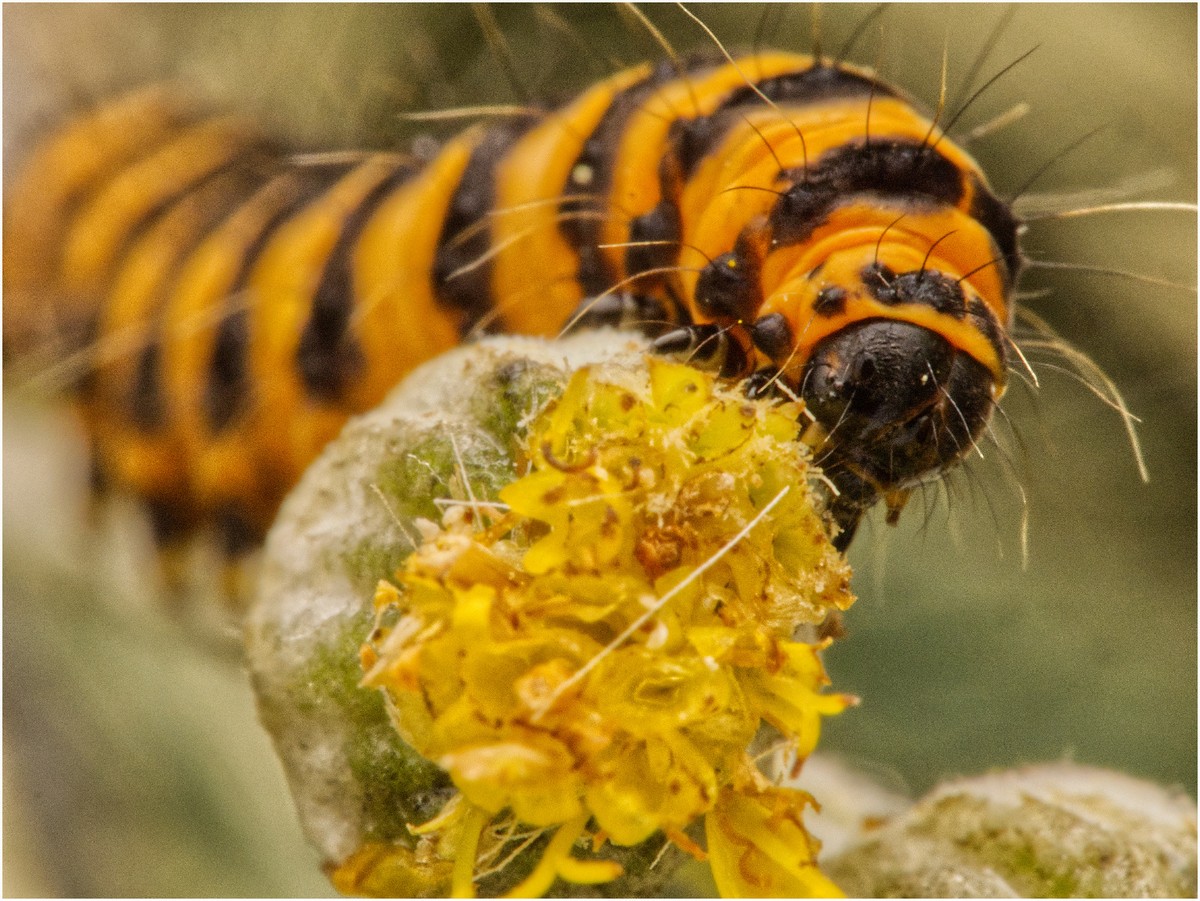
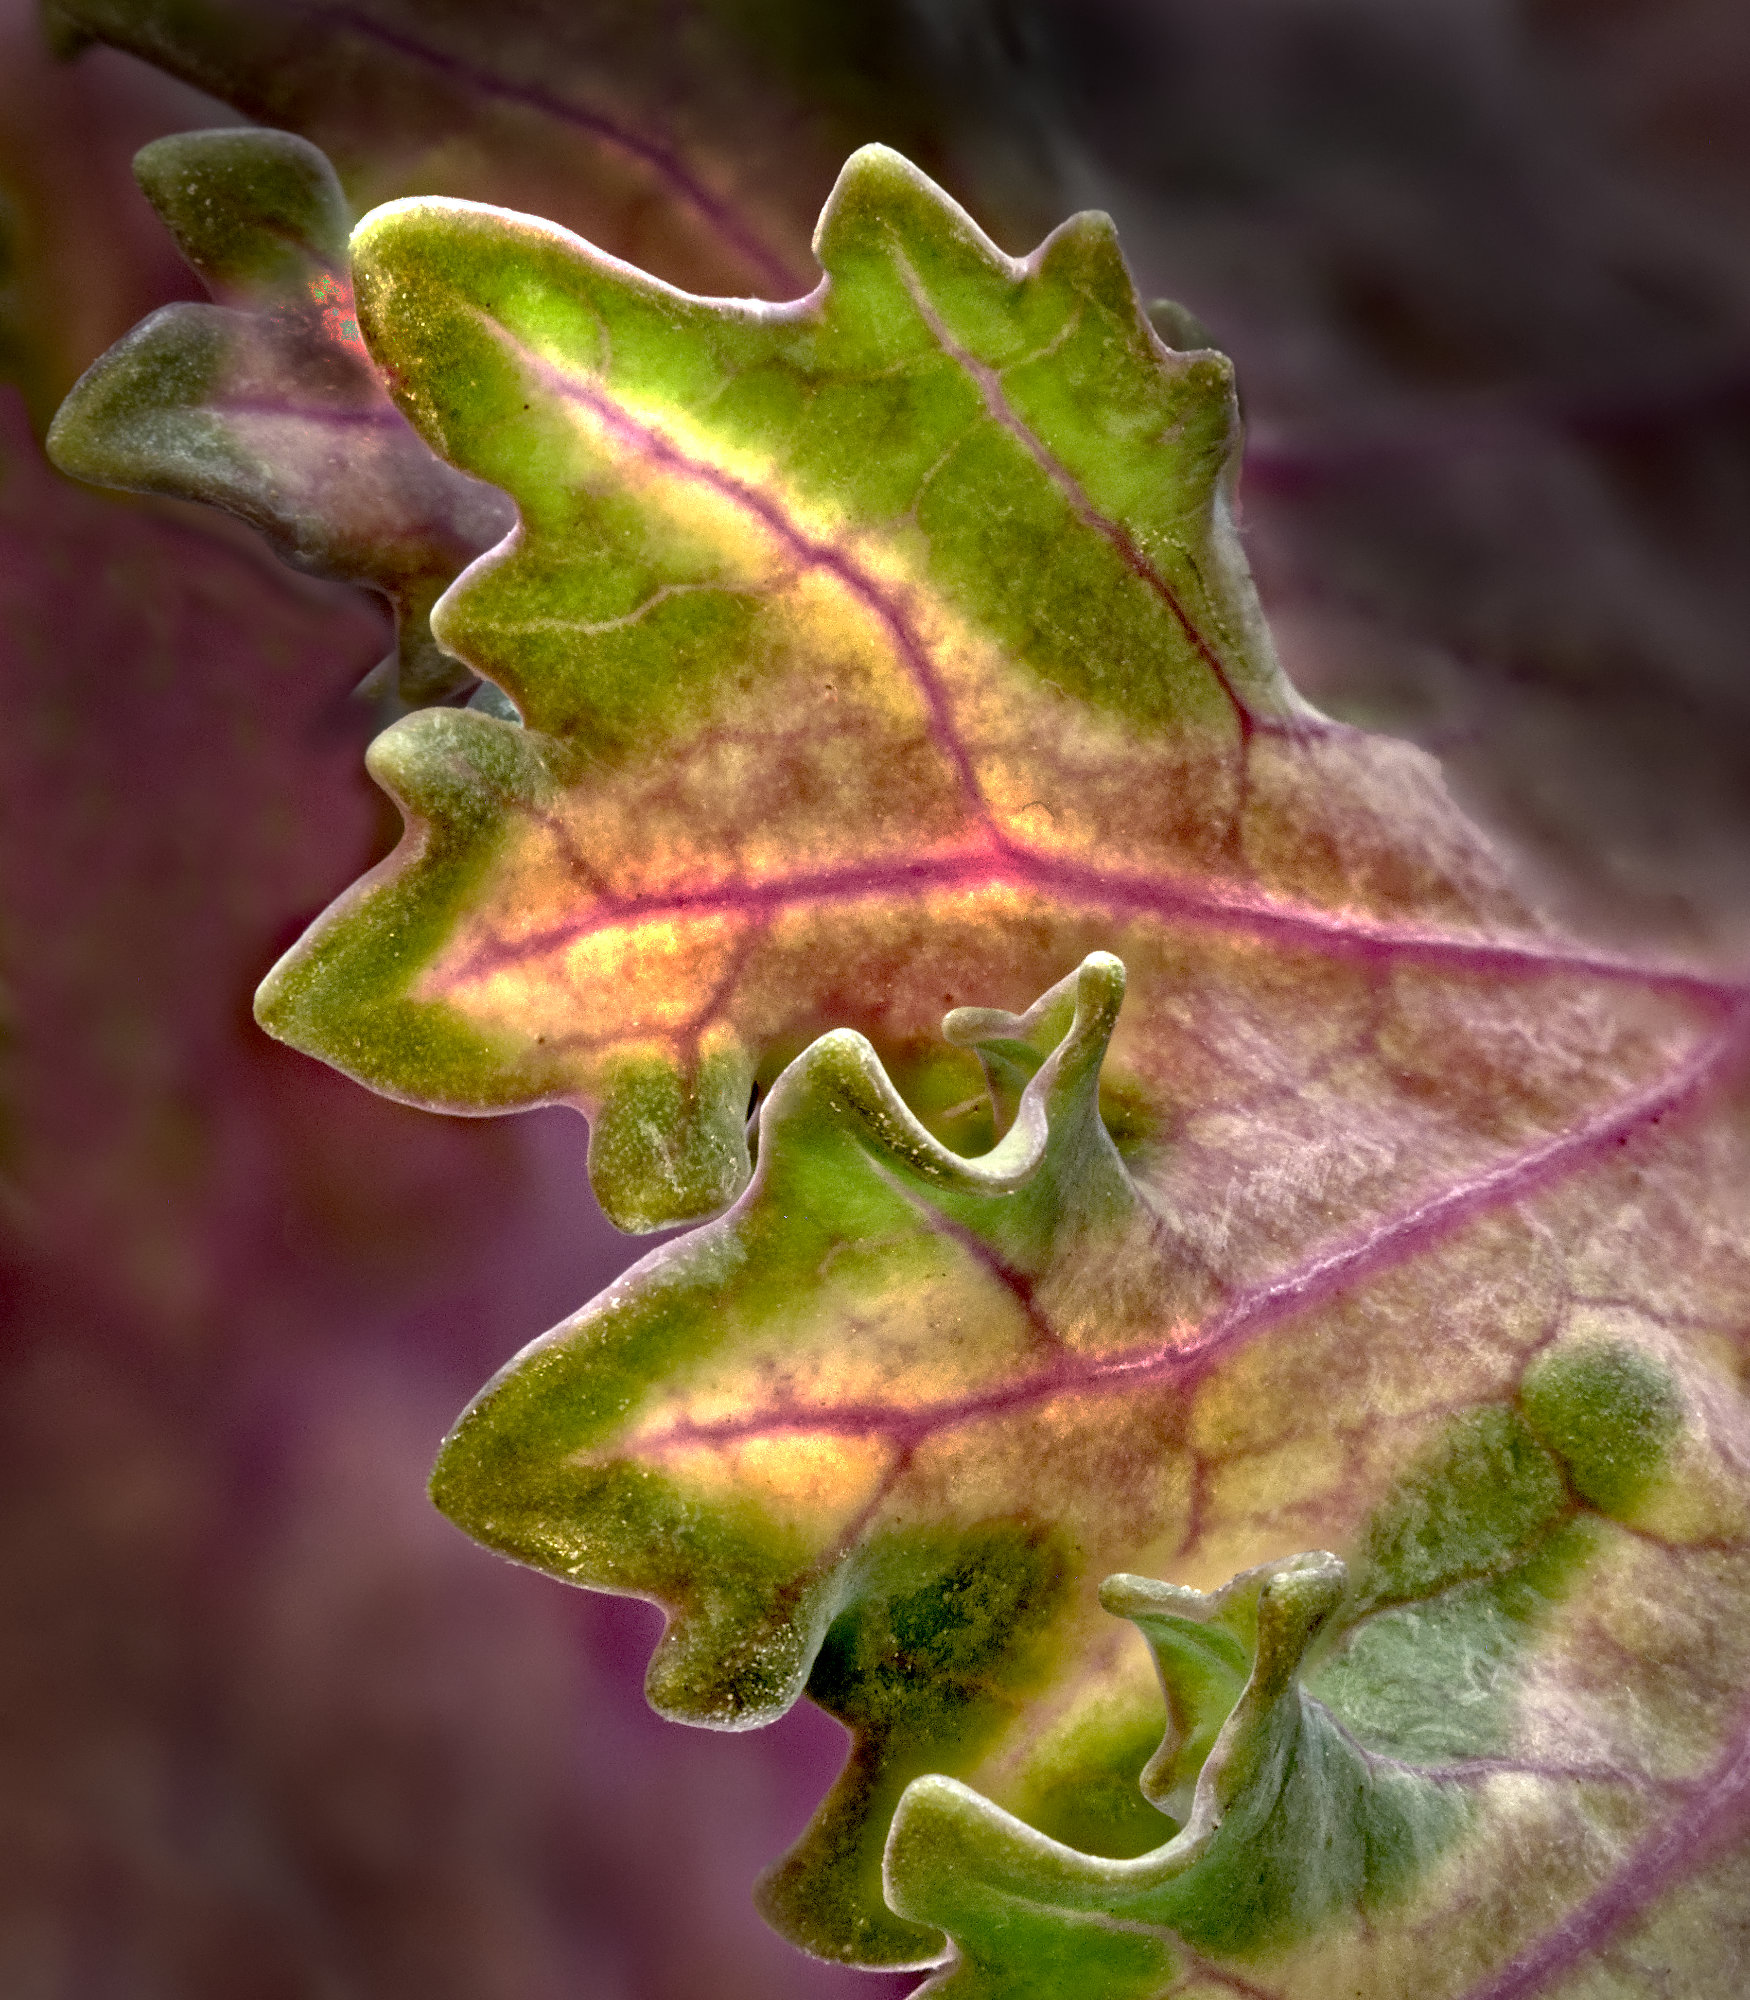
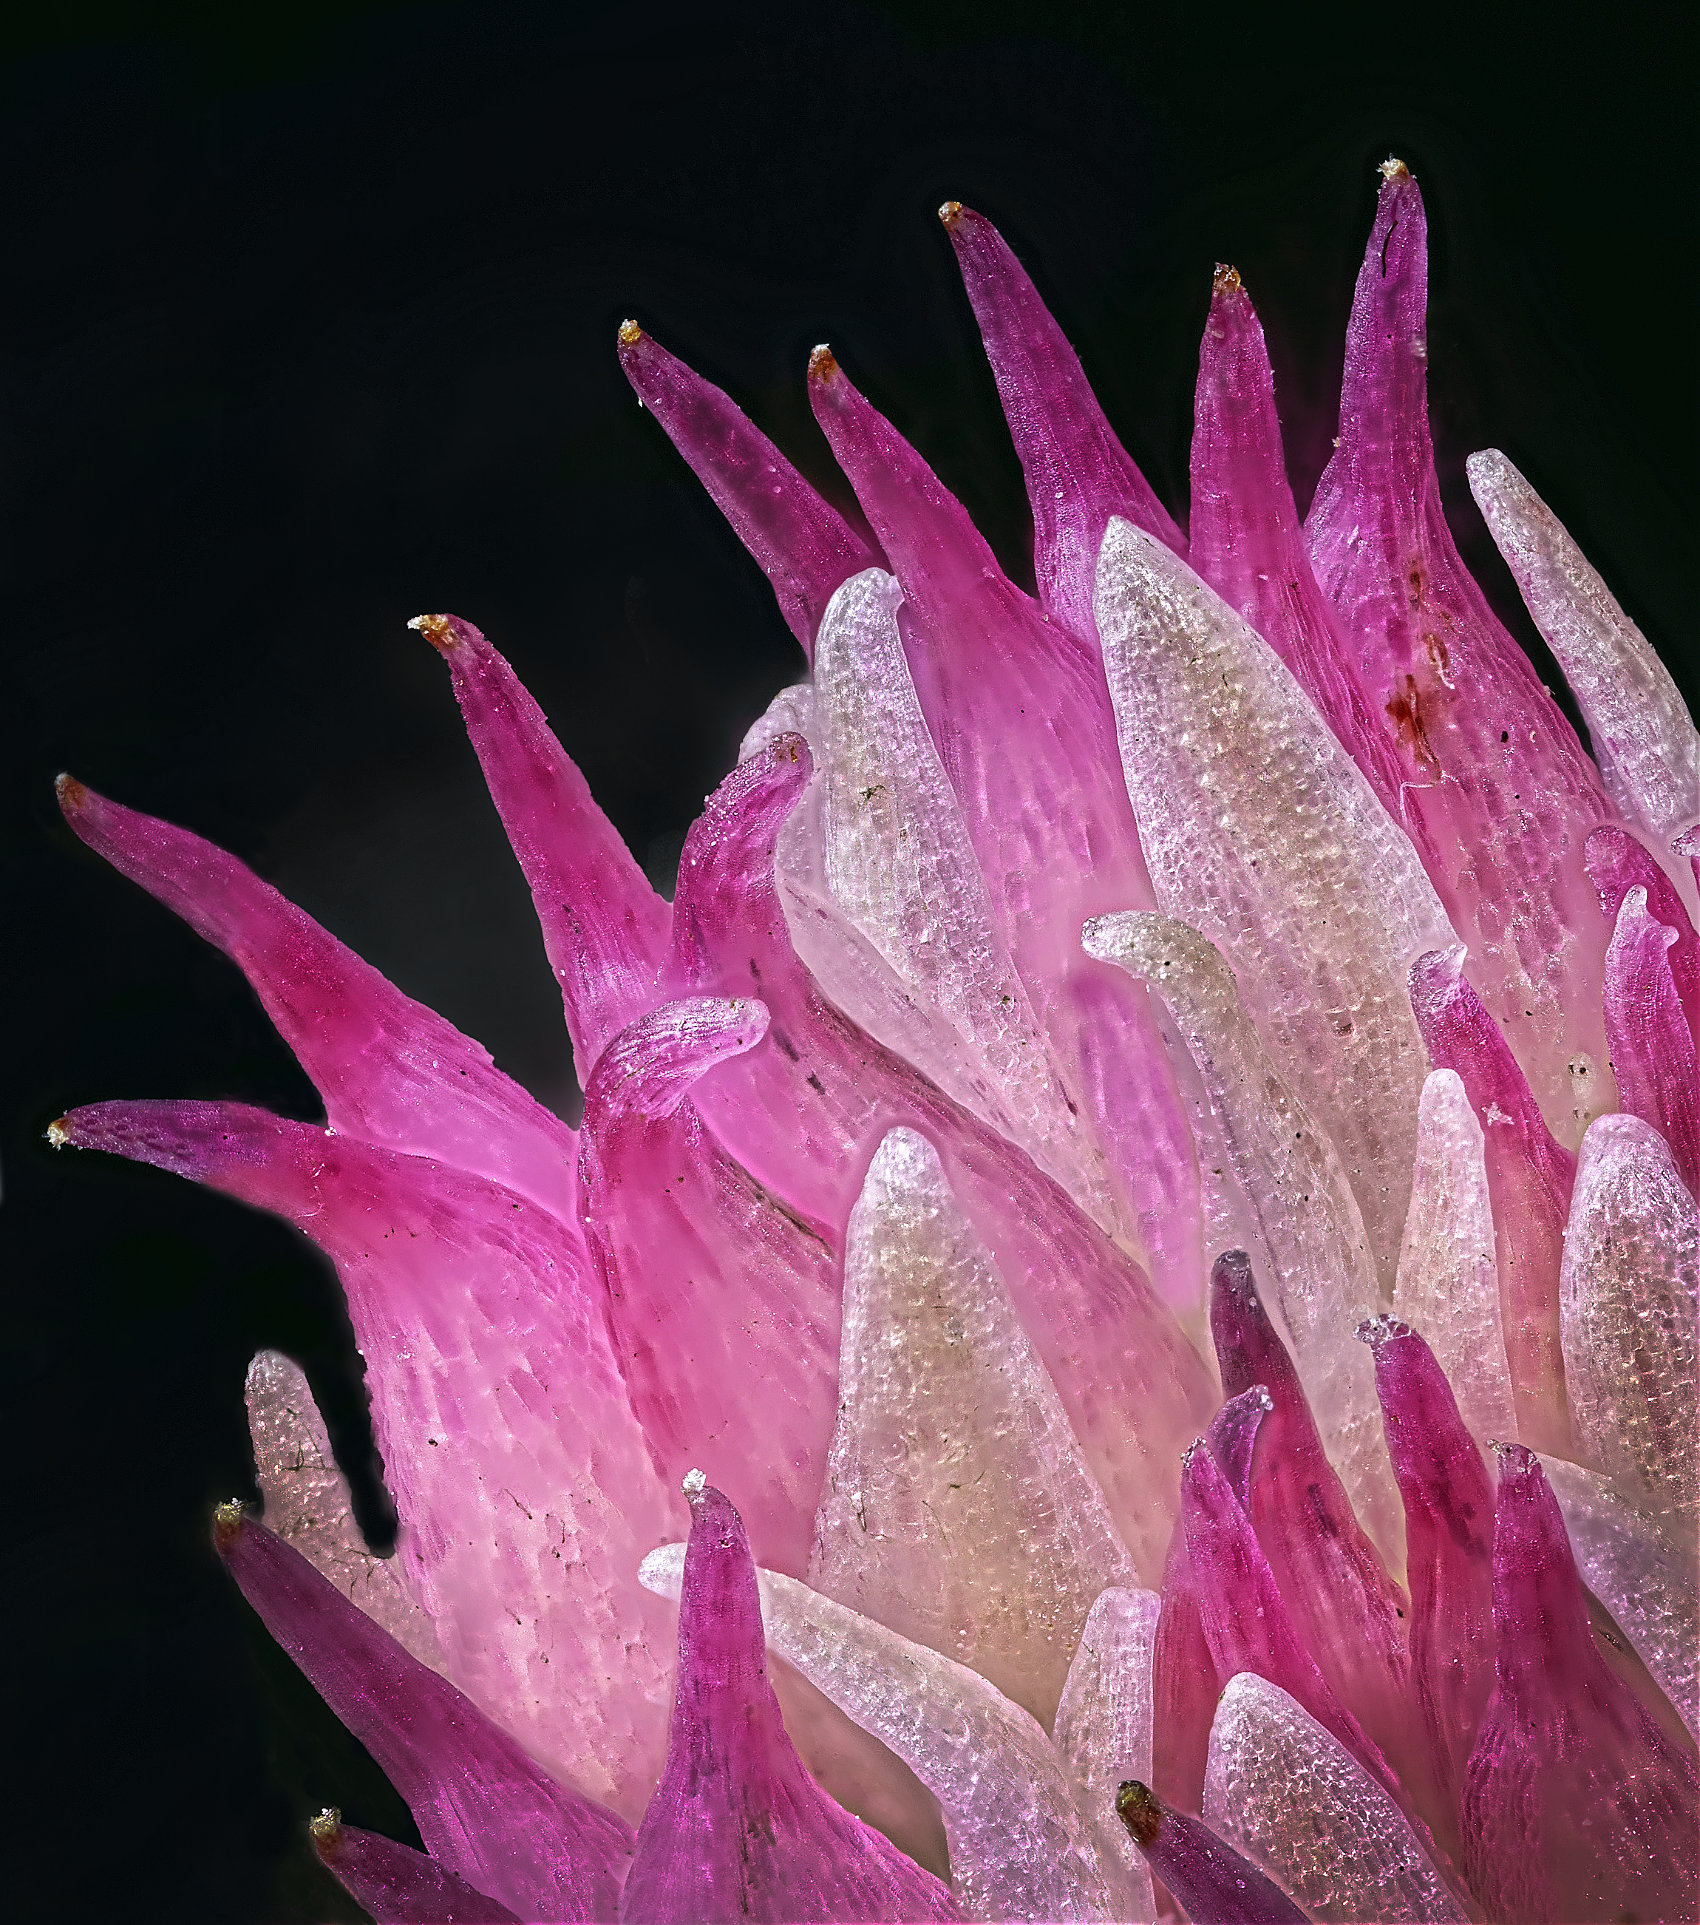
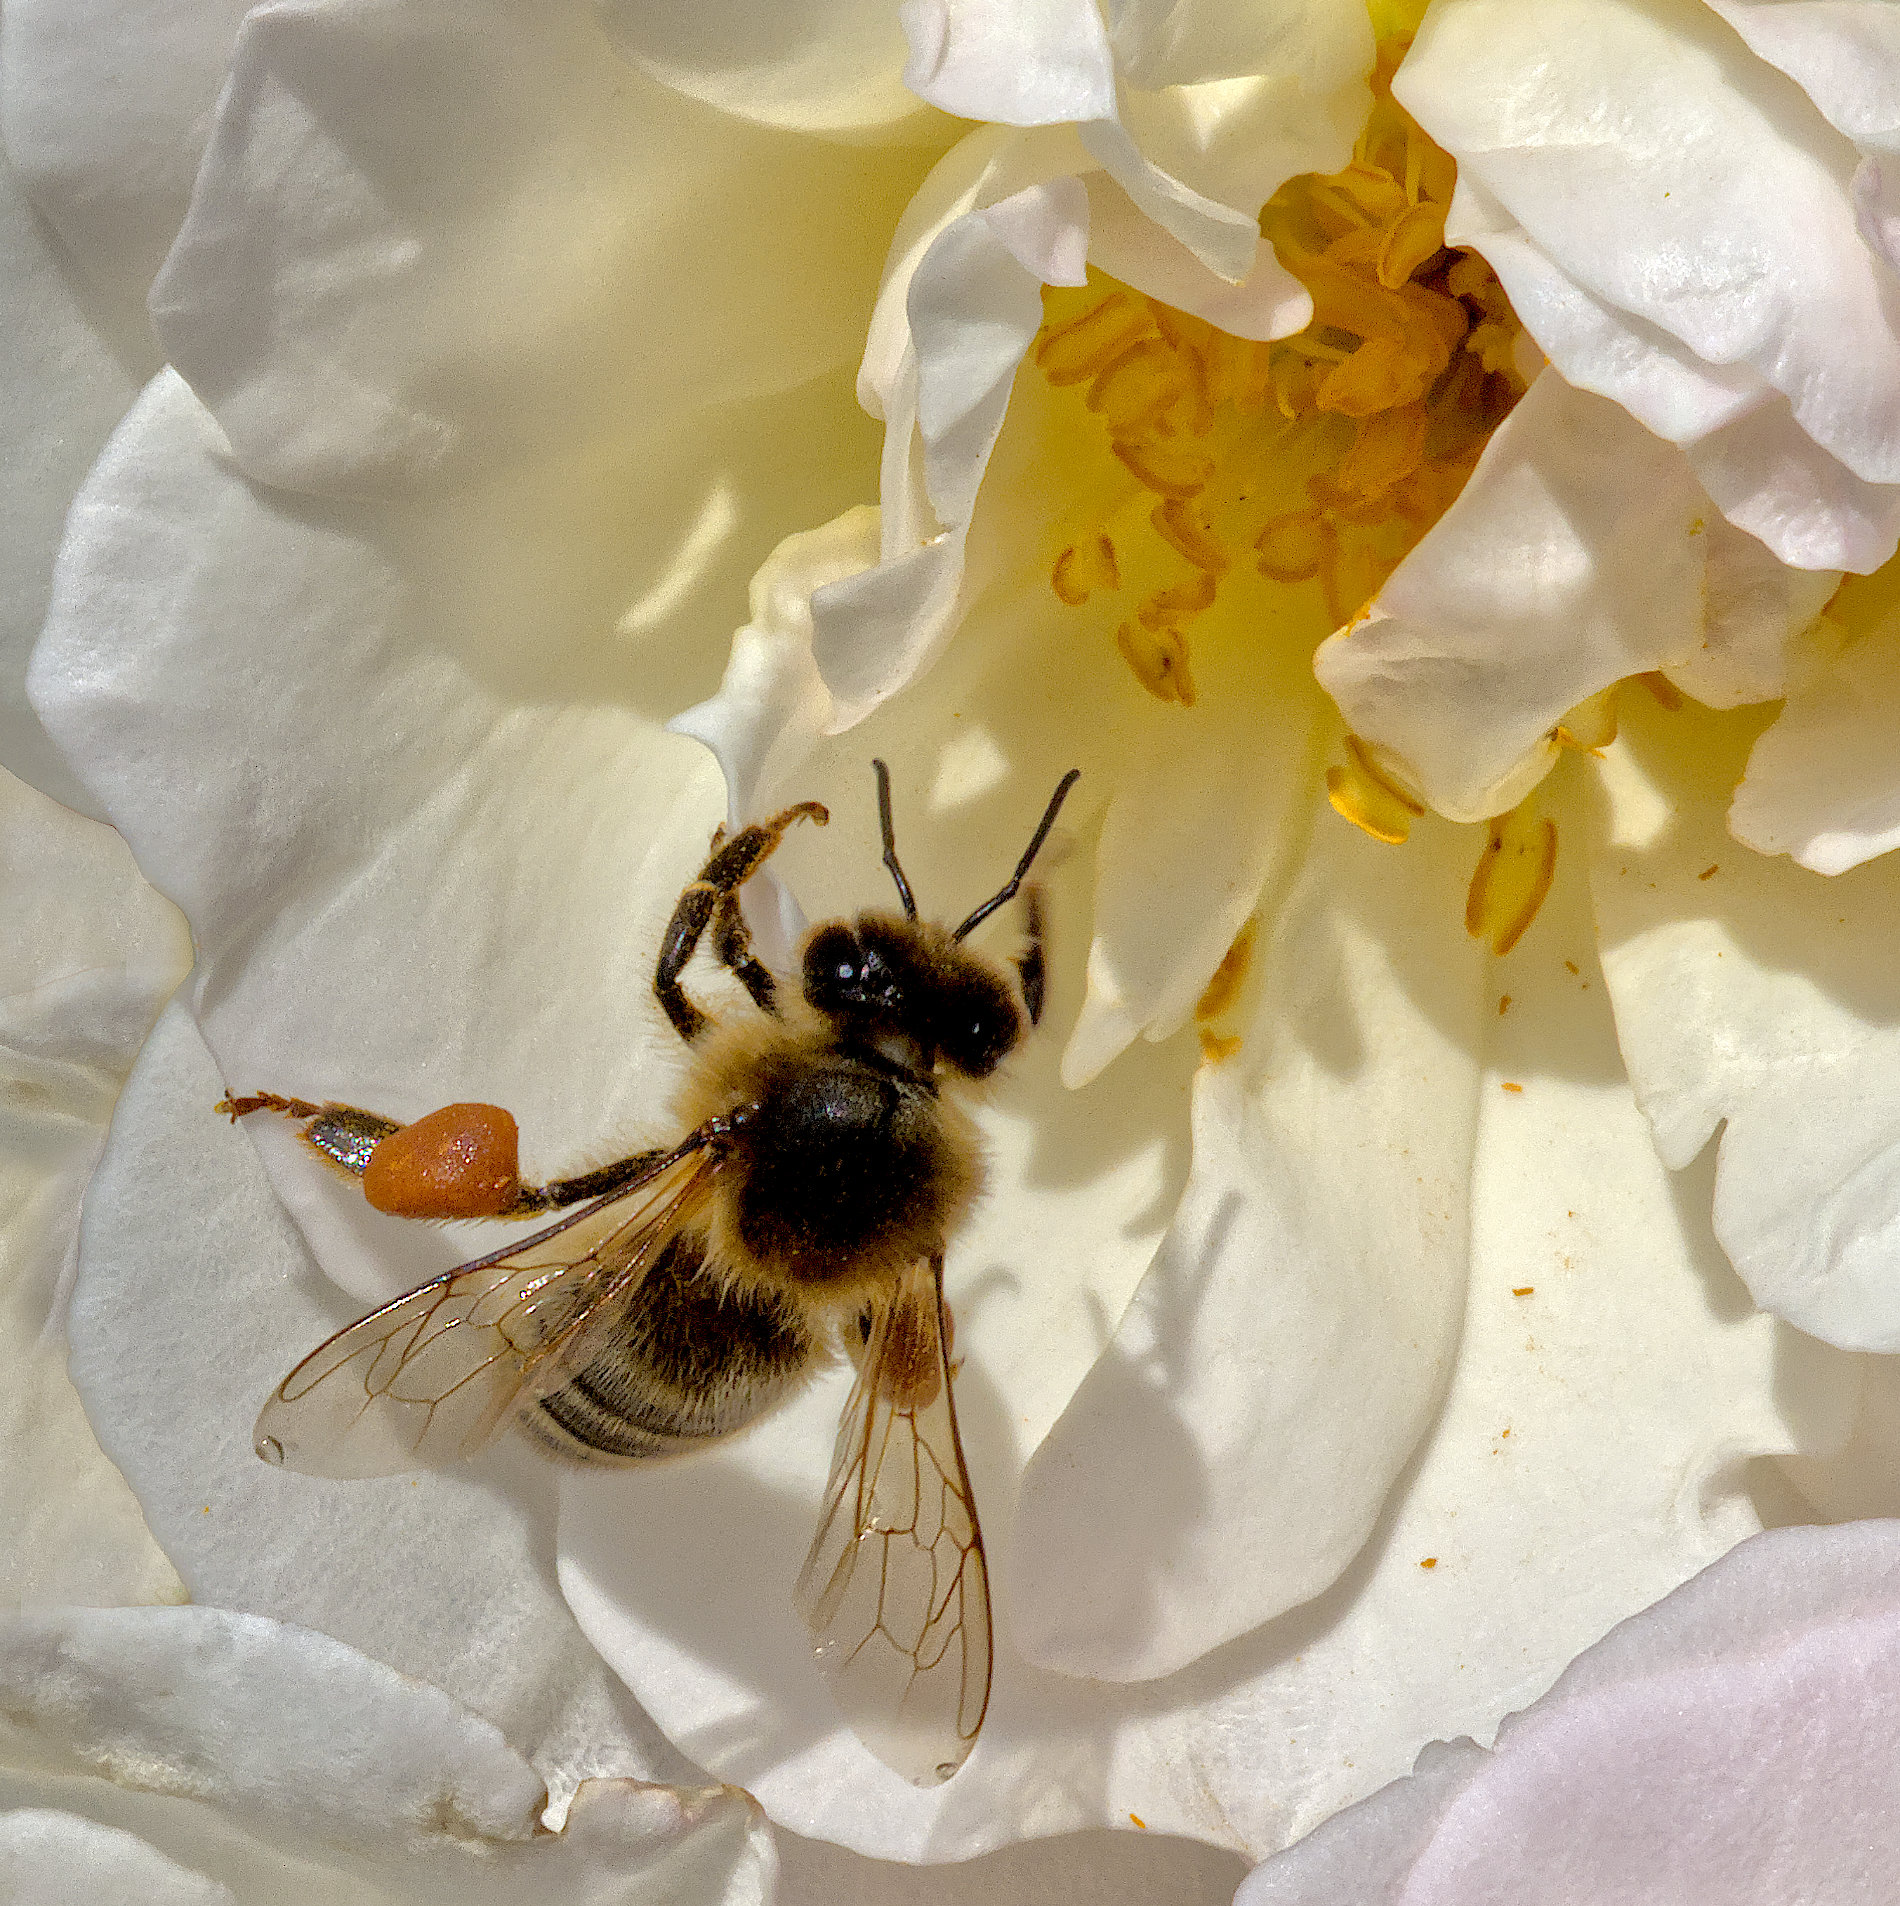
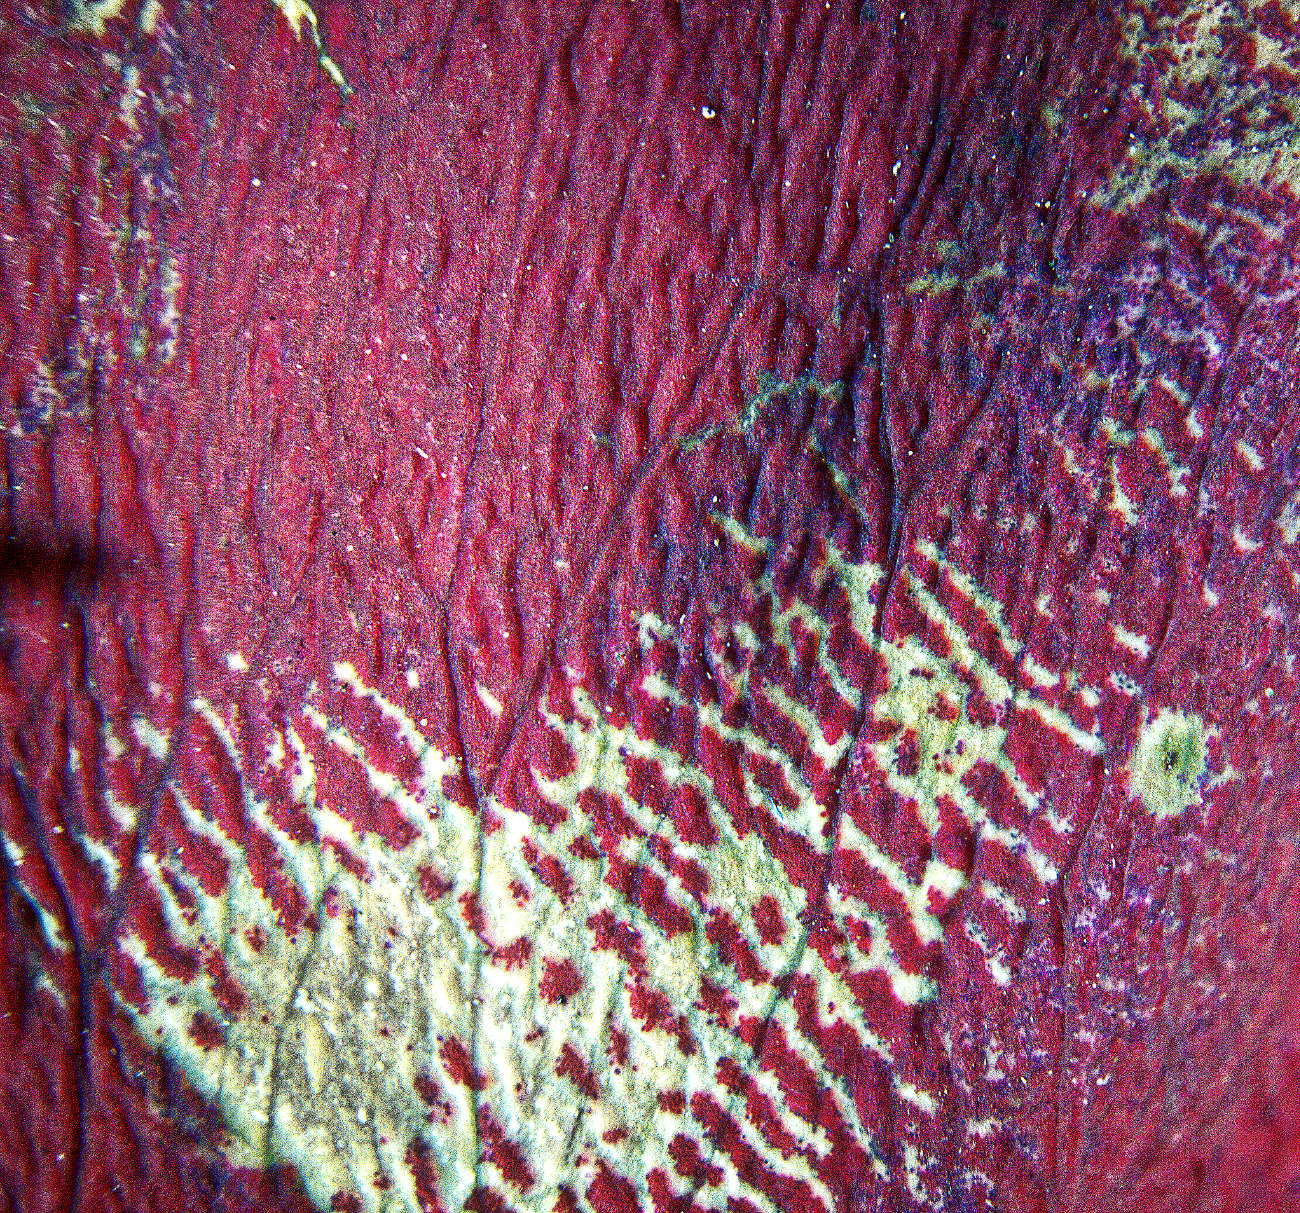
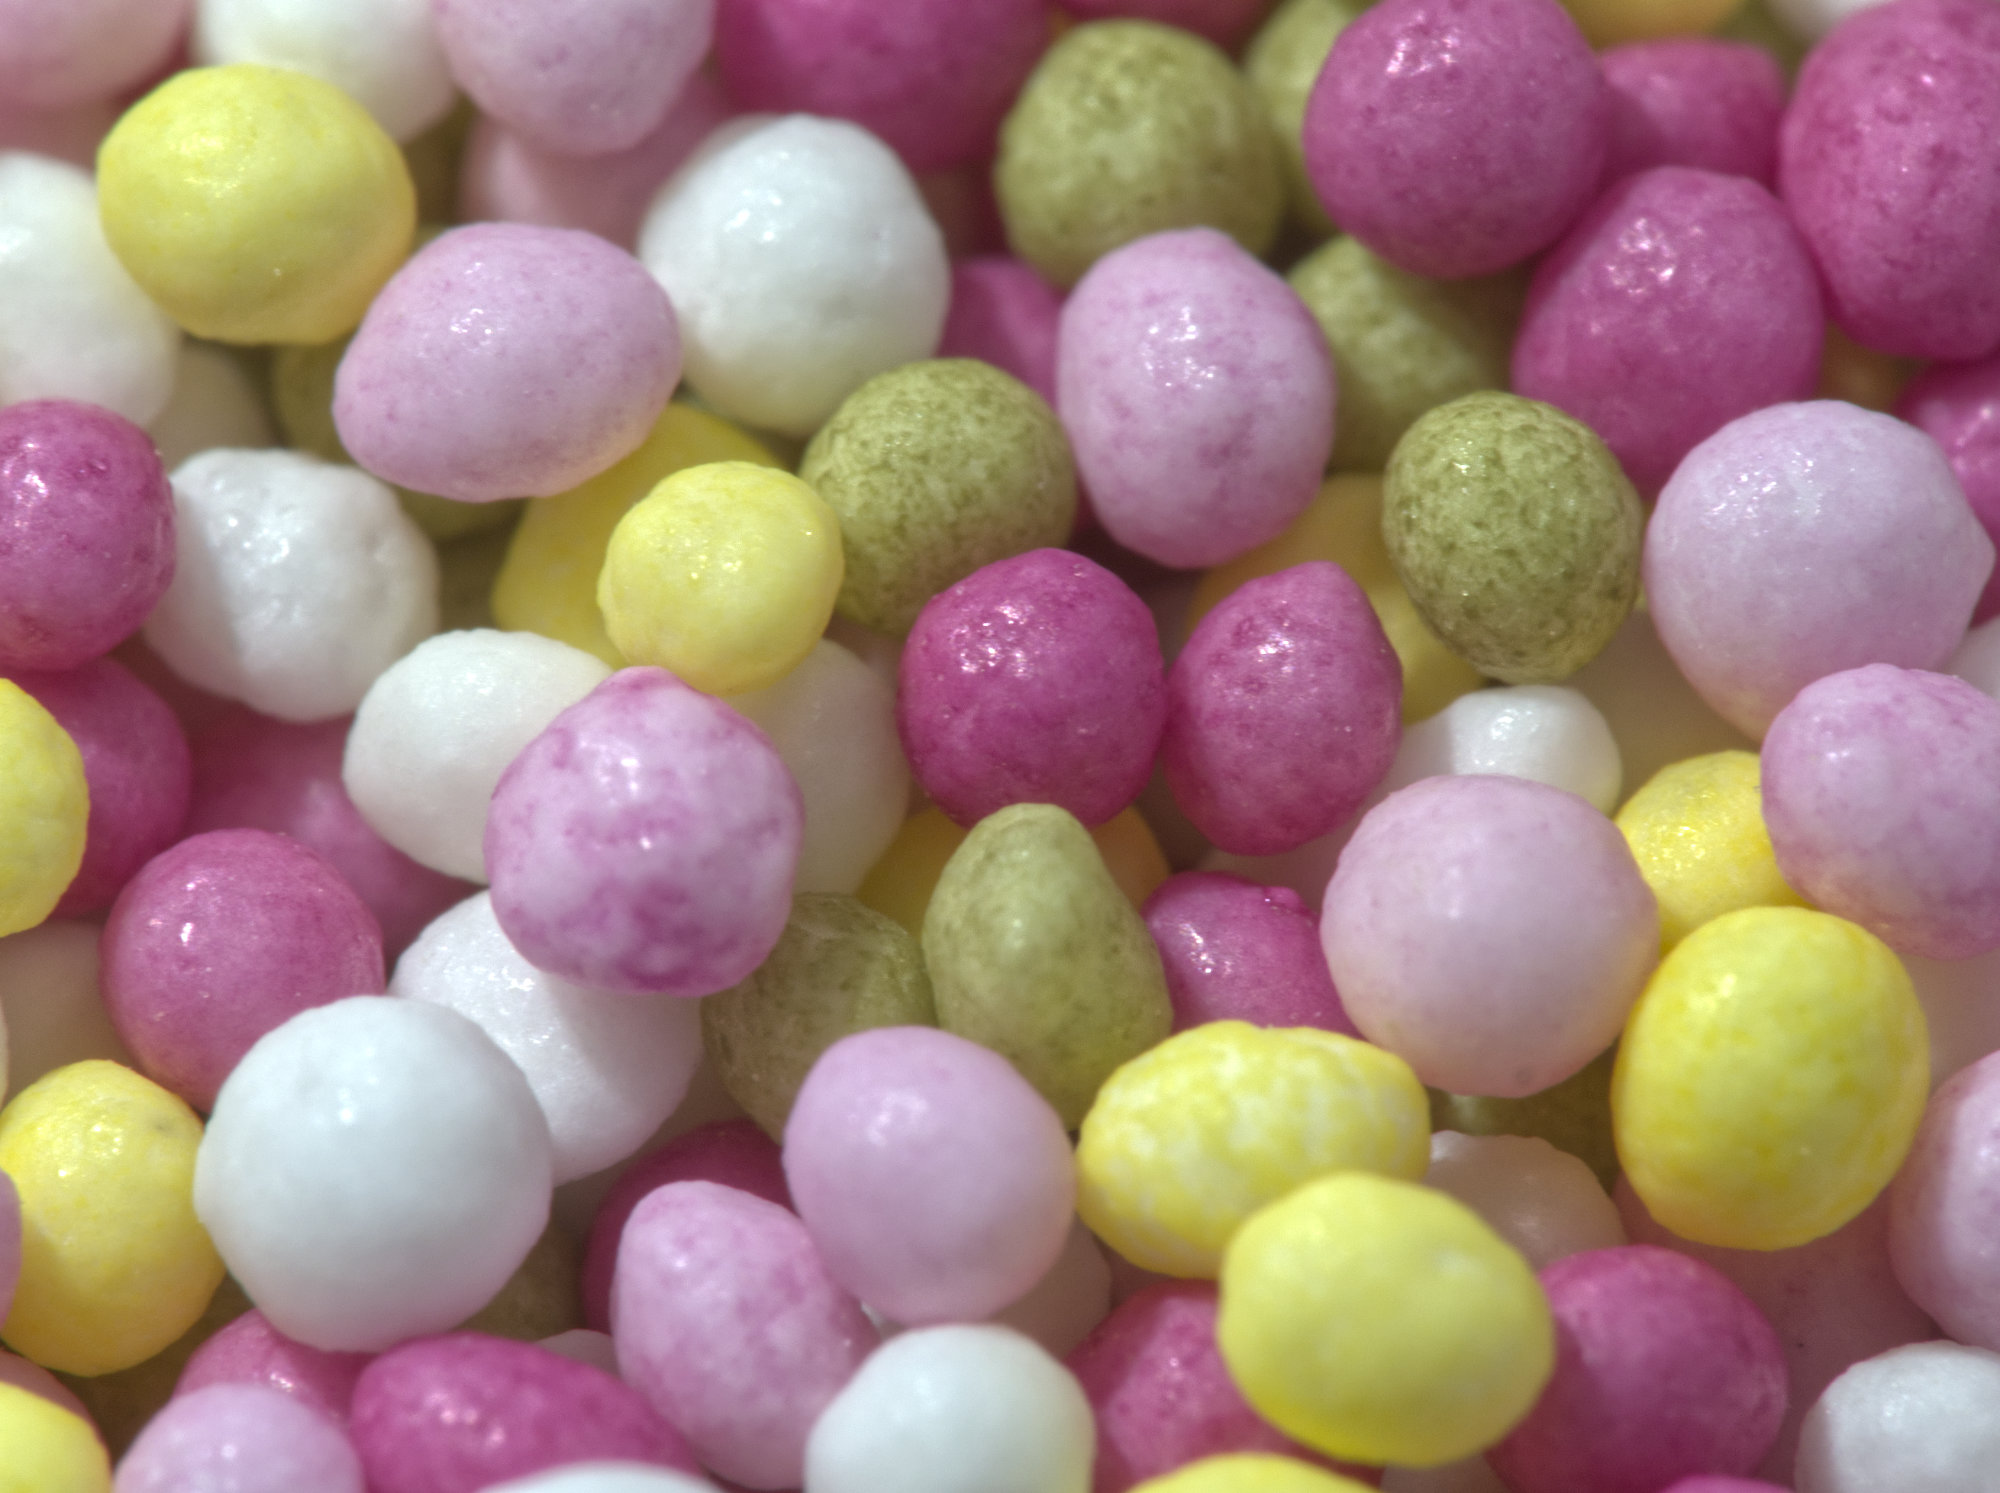
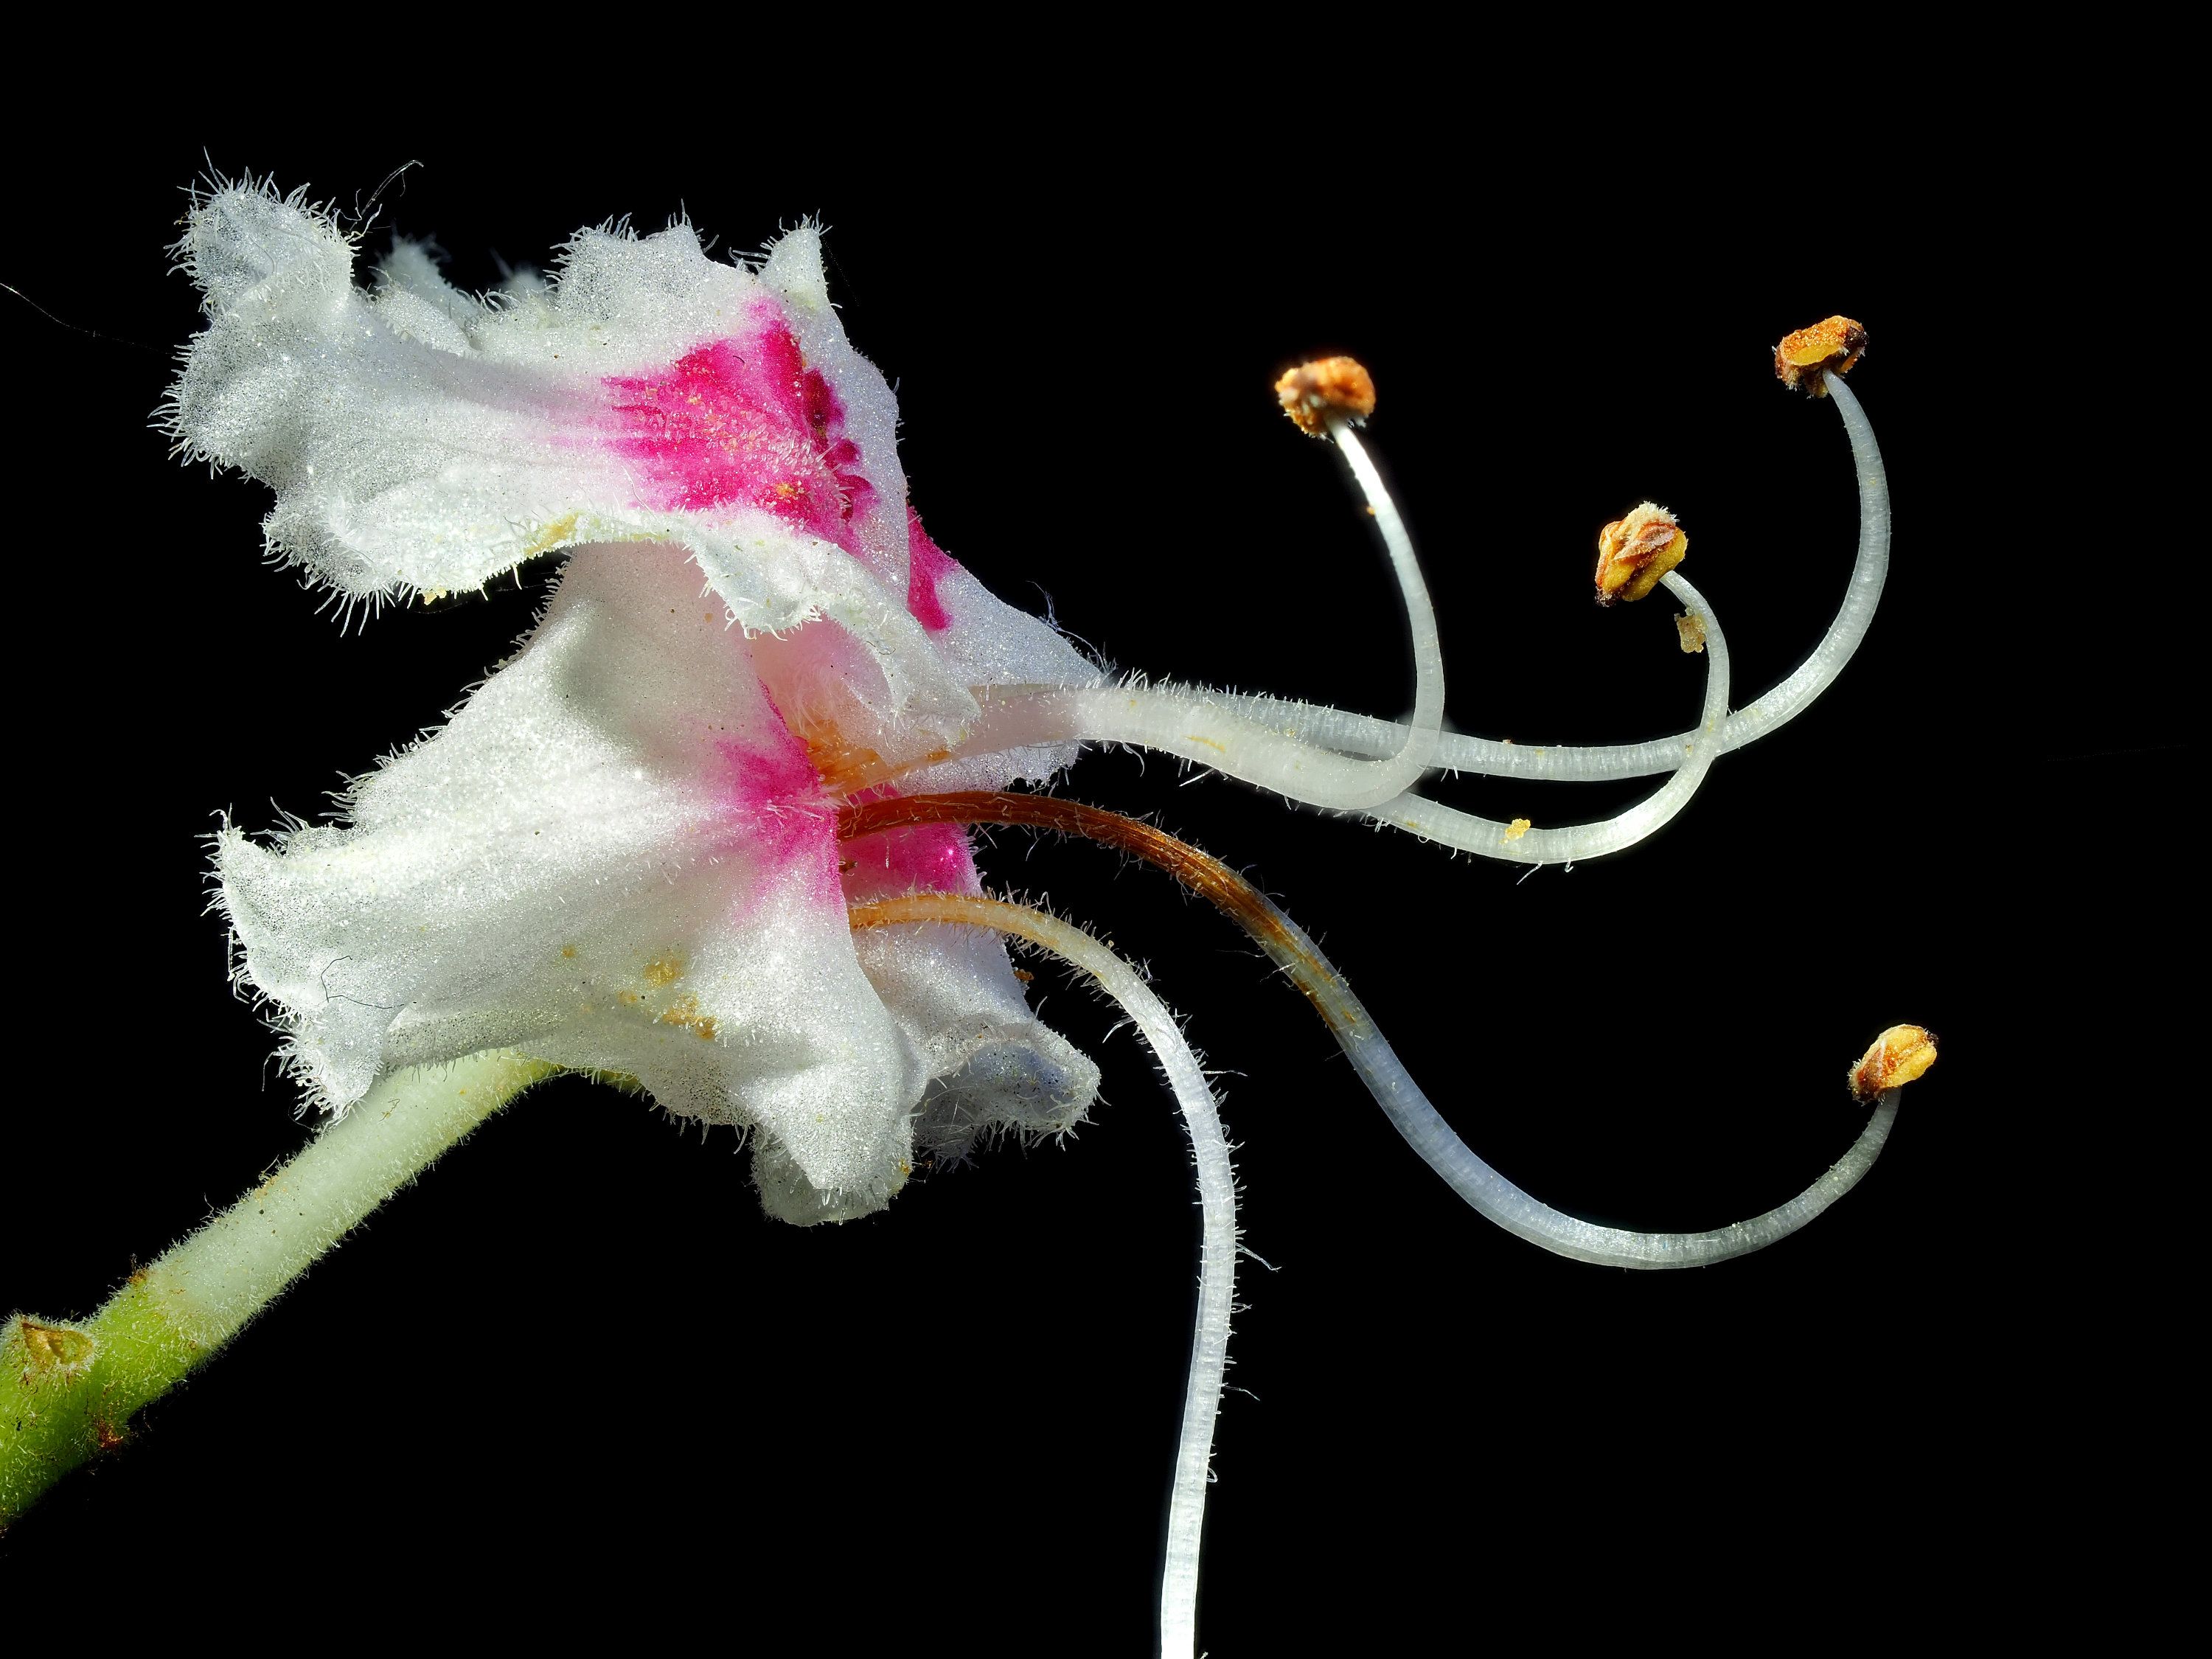
An interesting picture! I'm struggling to understand what the creature is - a fish?
Whatever, you've got very close with the 30mm lens to get plenty of impact. The focus on the nearer eye is bang on which makes it rivetting. As you say, a little more post could remove the dark blob bottom middle and the drip (?) in the top left green area. But the noise looks OK to me.
|
Mar 11th |
3 comments - 4 replies for Group 95
|
10 comments - 10 replies Total
|