|
| Group |
Round |
C/R |
Comment |
Date |
Image |
| 64 |
Aug 23 |
Reply |
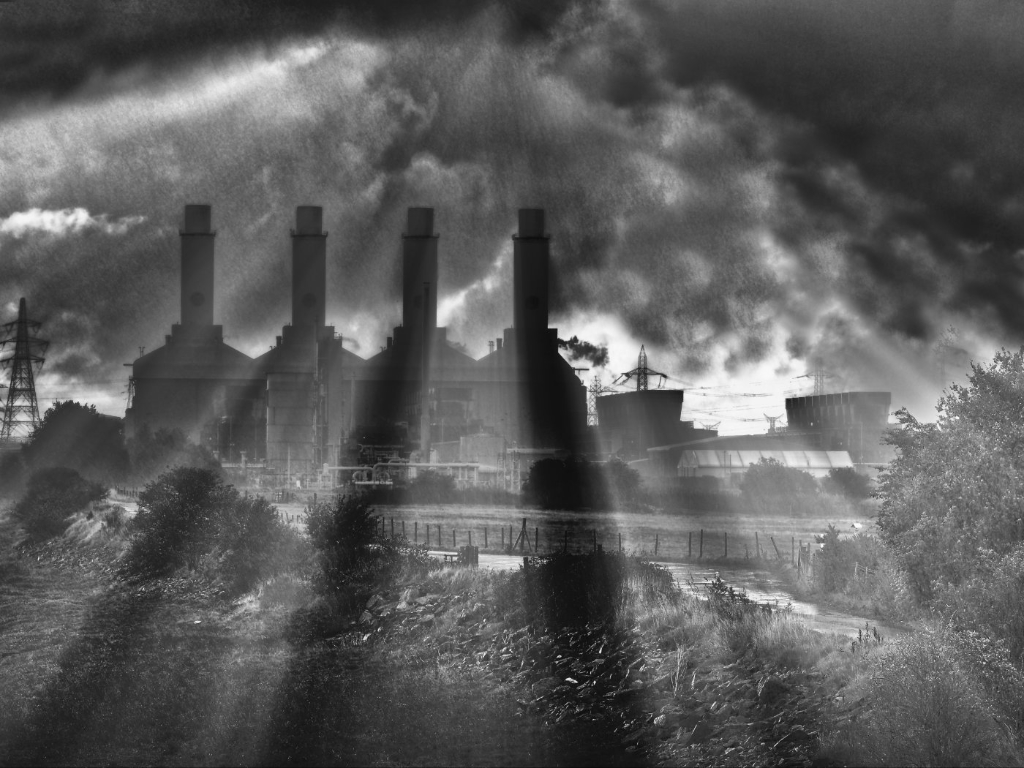
Thanks for your explanation, Jerry. I guess I must have a poor understanding of the relative trajectory of the moon against the sun during an eclipse, as the changing shadow line angle threw my understanding completely. It's a good example of fact being stranger than fiction! Plus I think your changing exposure had confused me - I had assumed they were all constant exposure. As my wife likes to say, "It never pays to assume" - but we have to, sometimes.
I think, now, that perhaps if the images at the apex were a little less bright in the collage, then we might understand that that was the peak of the eclipse? |
Aug 28th |
| 64 |
Aug 23 |
Comment |
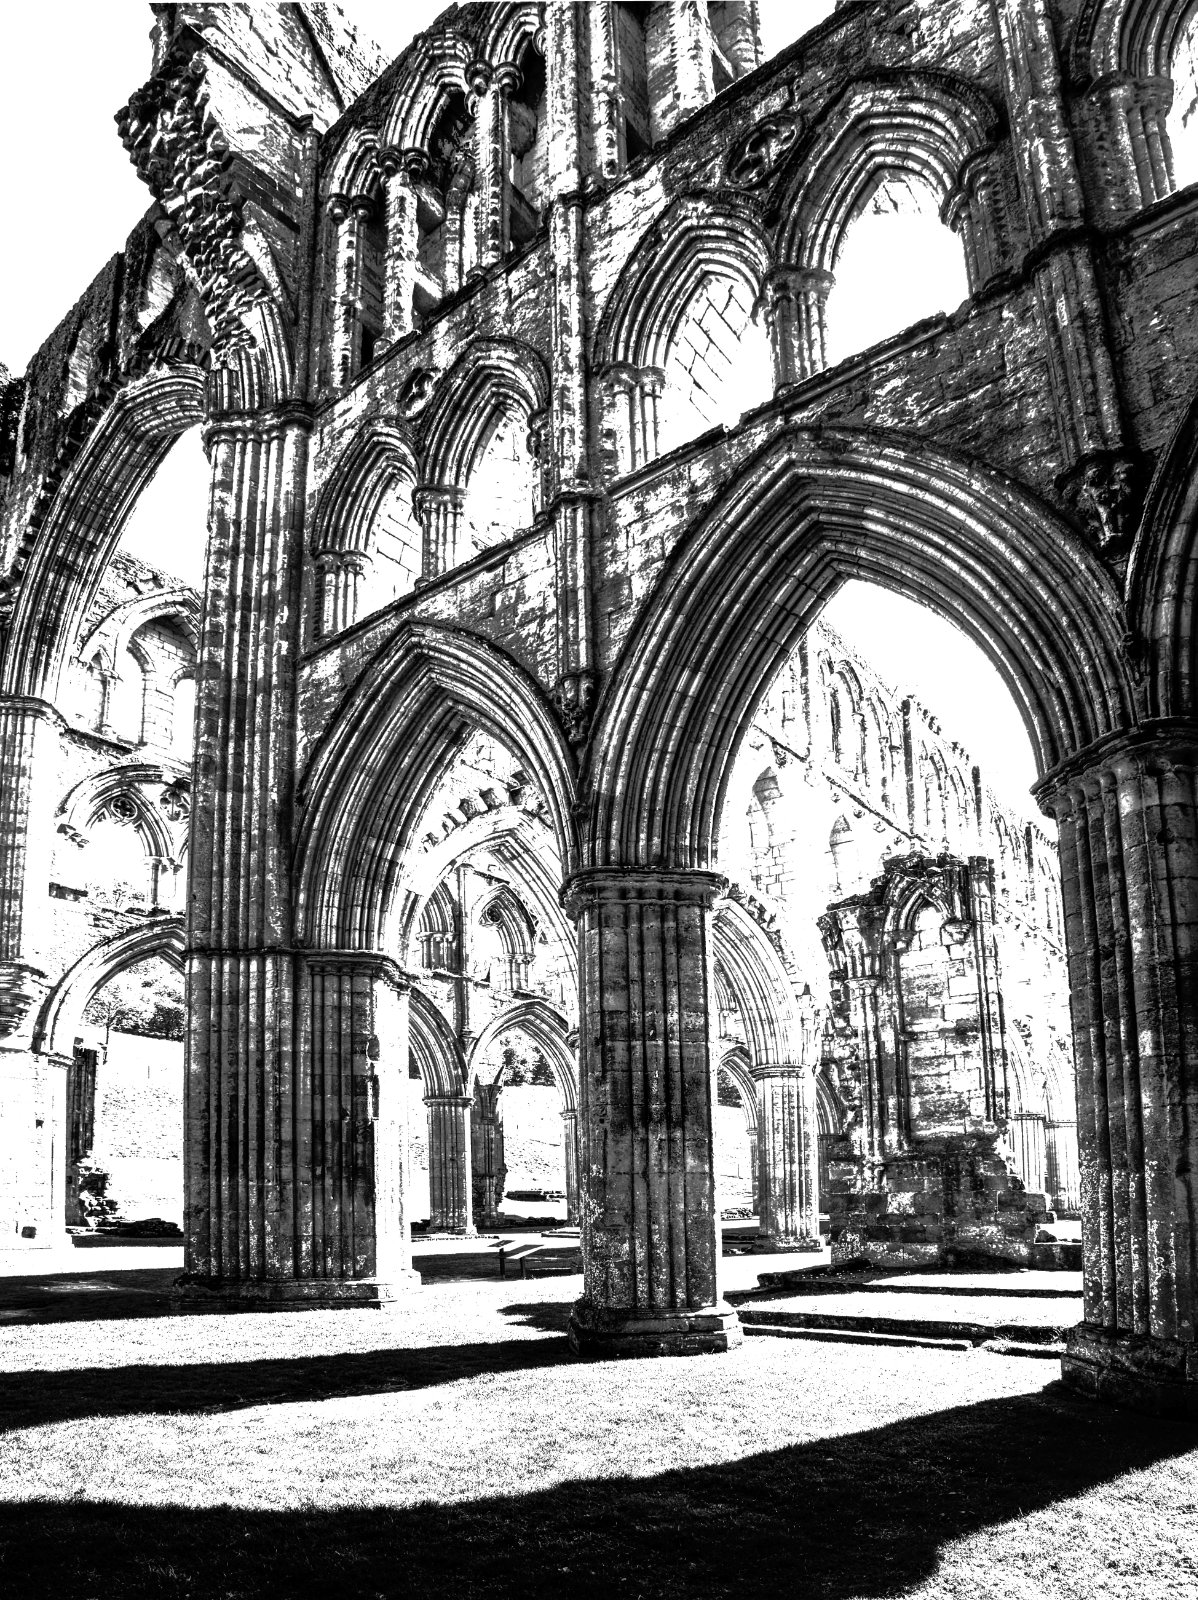
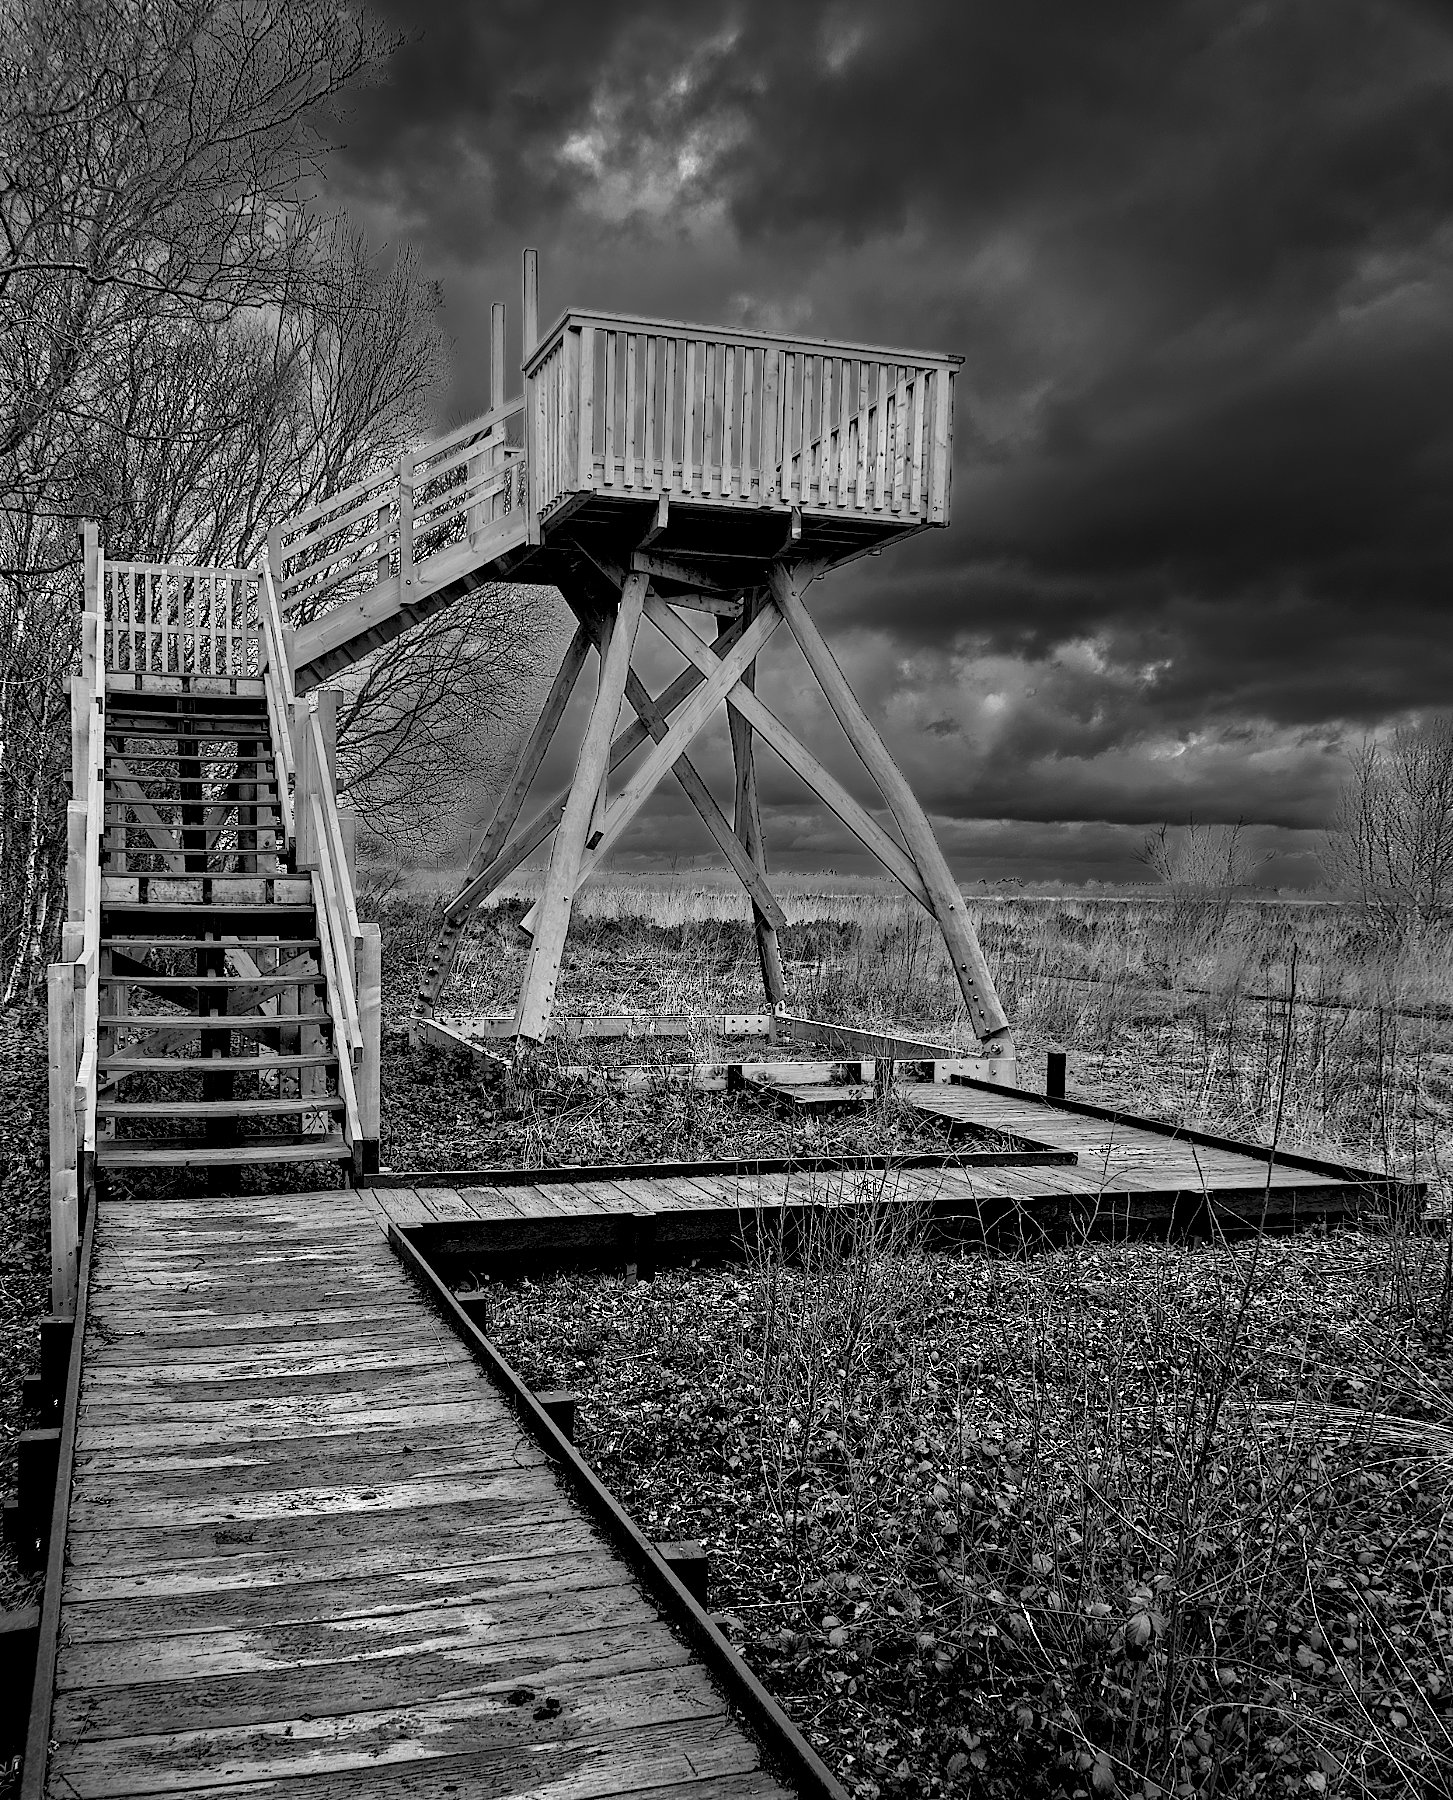
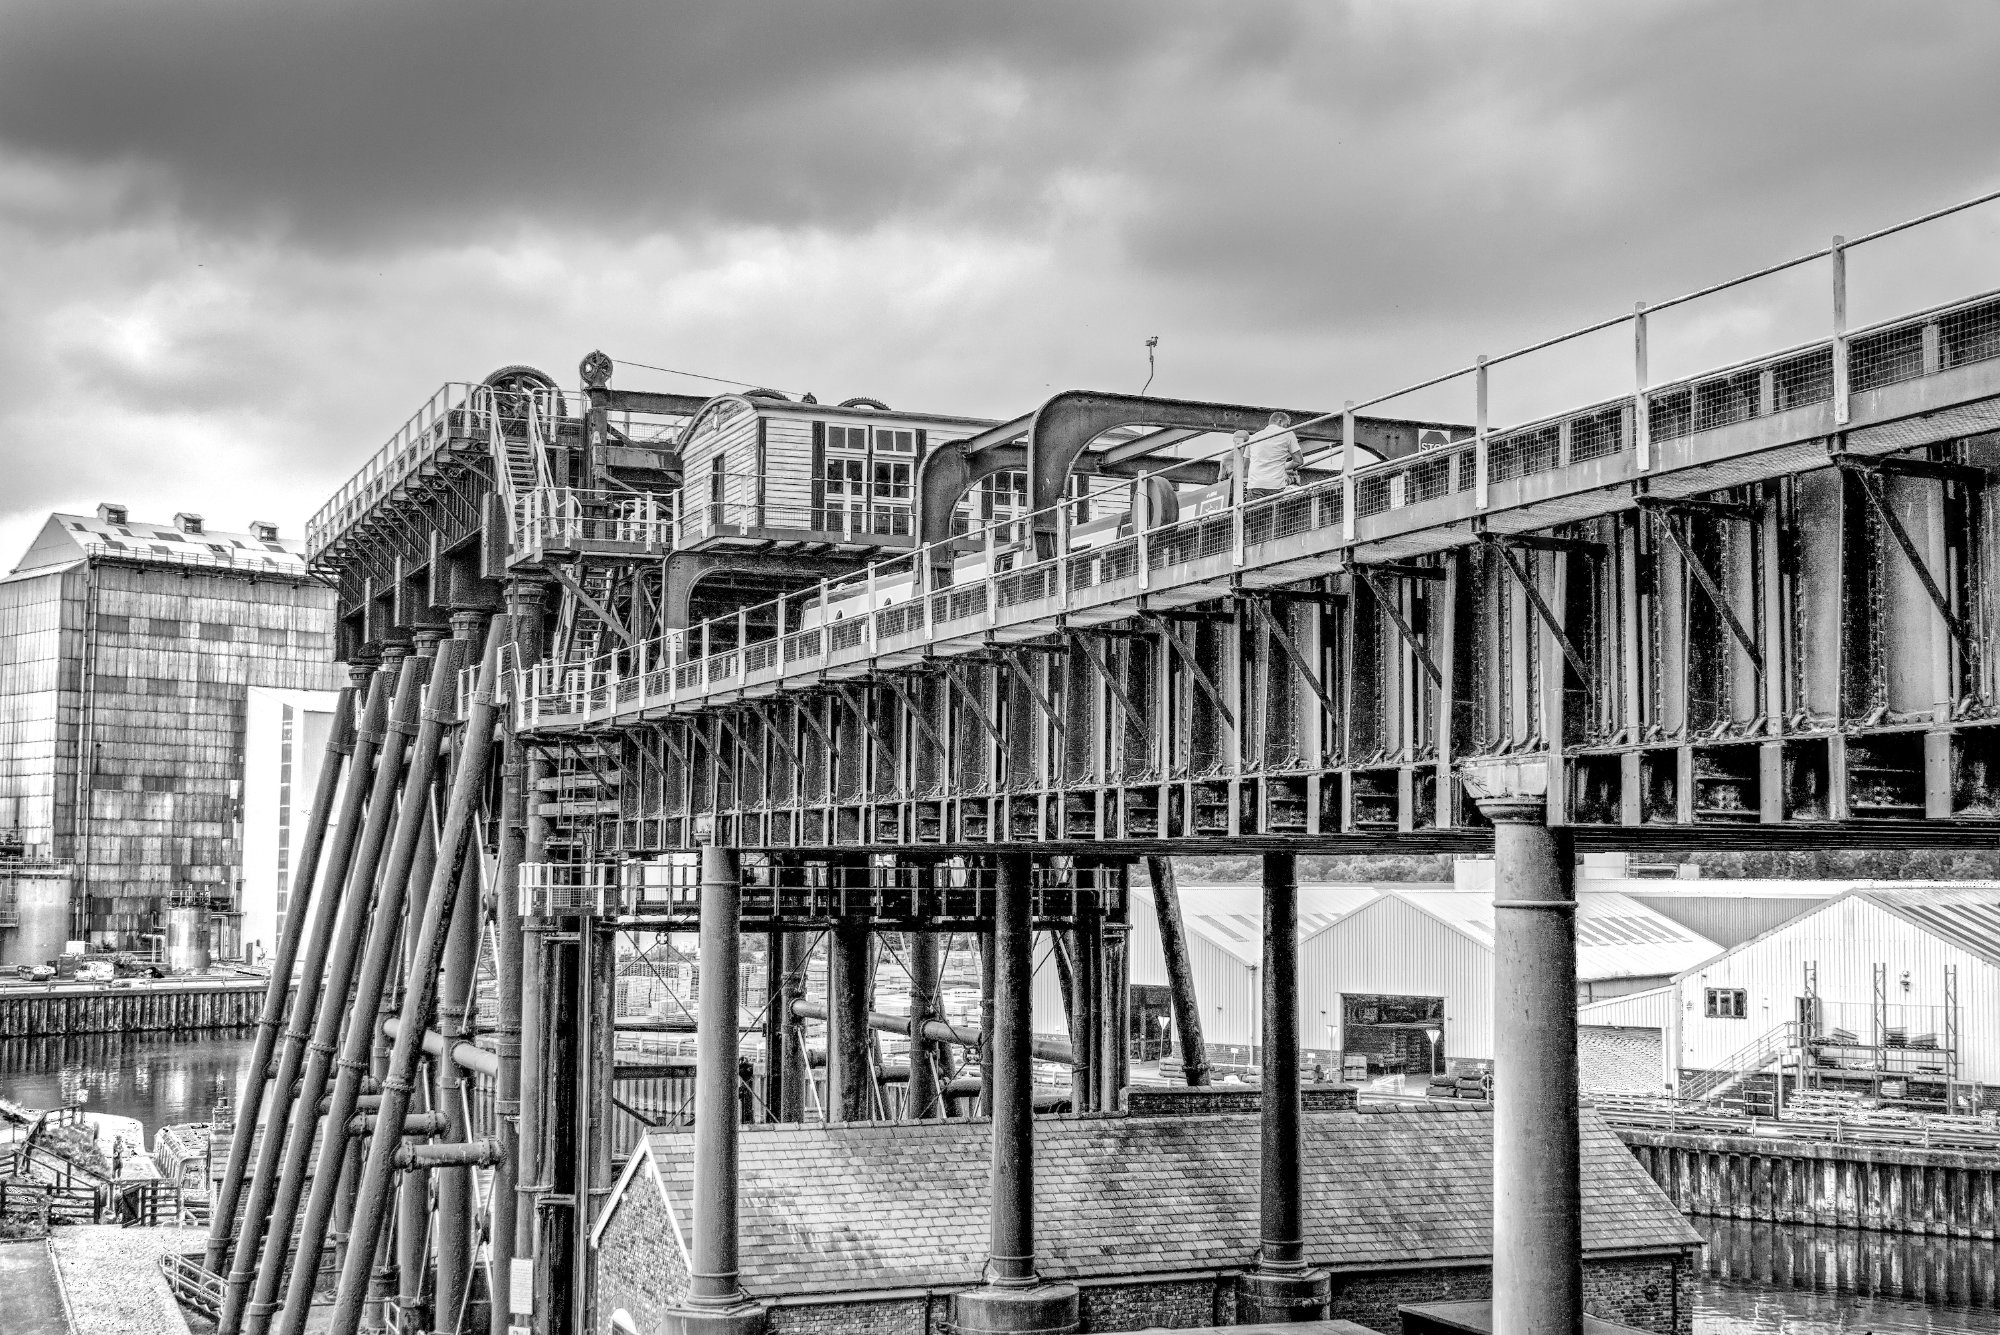
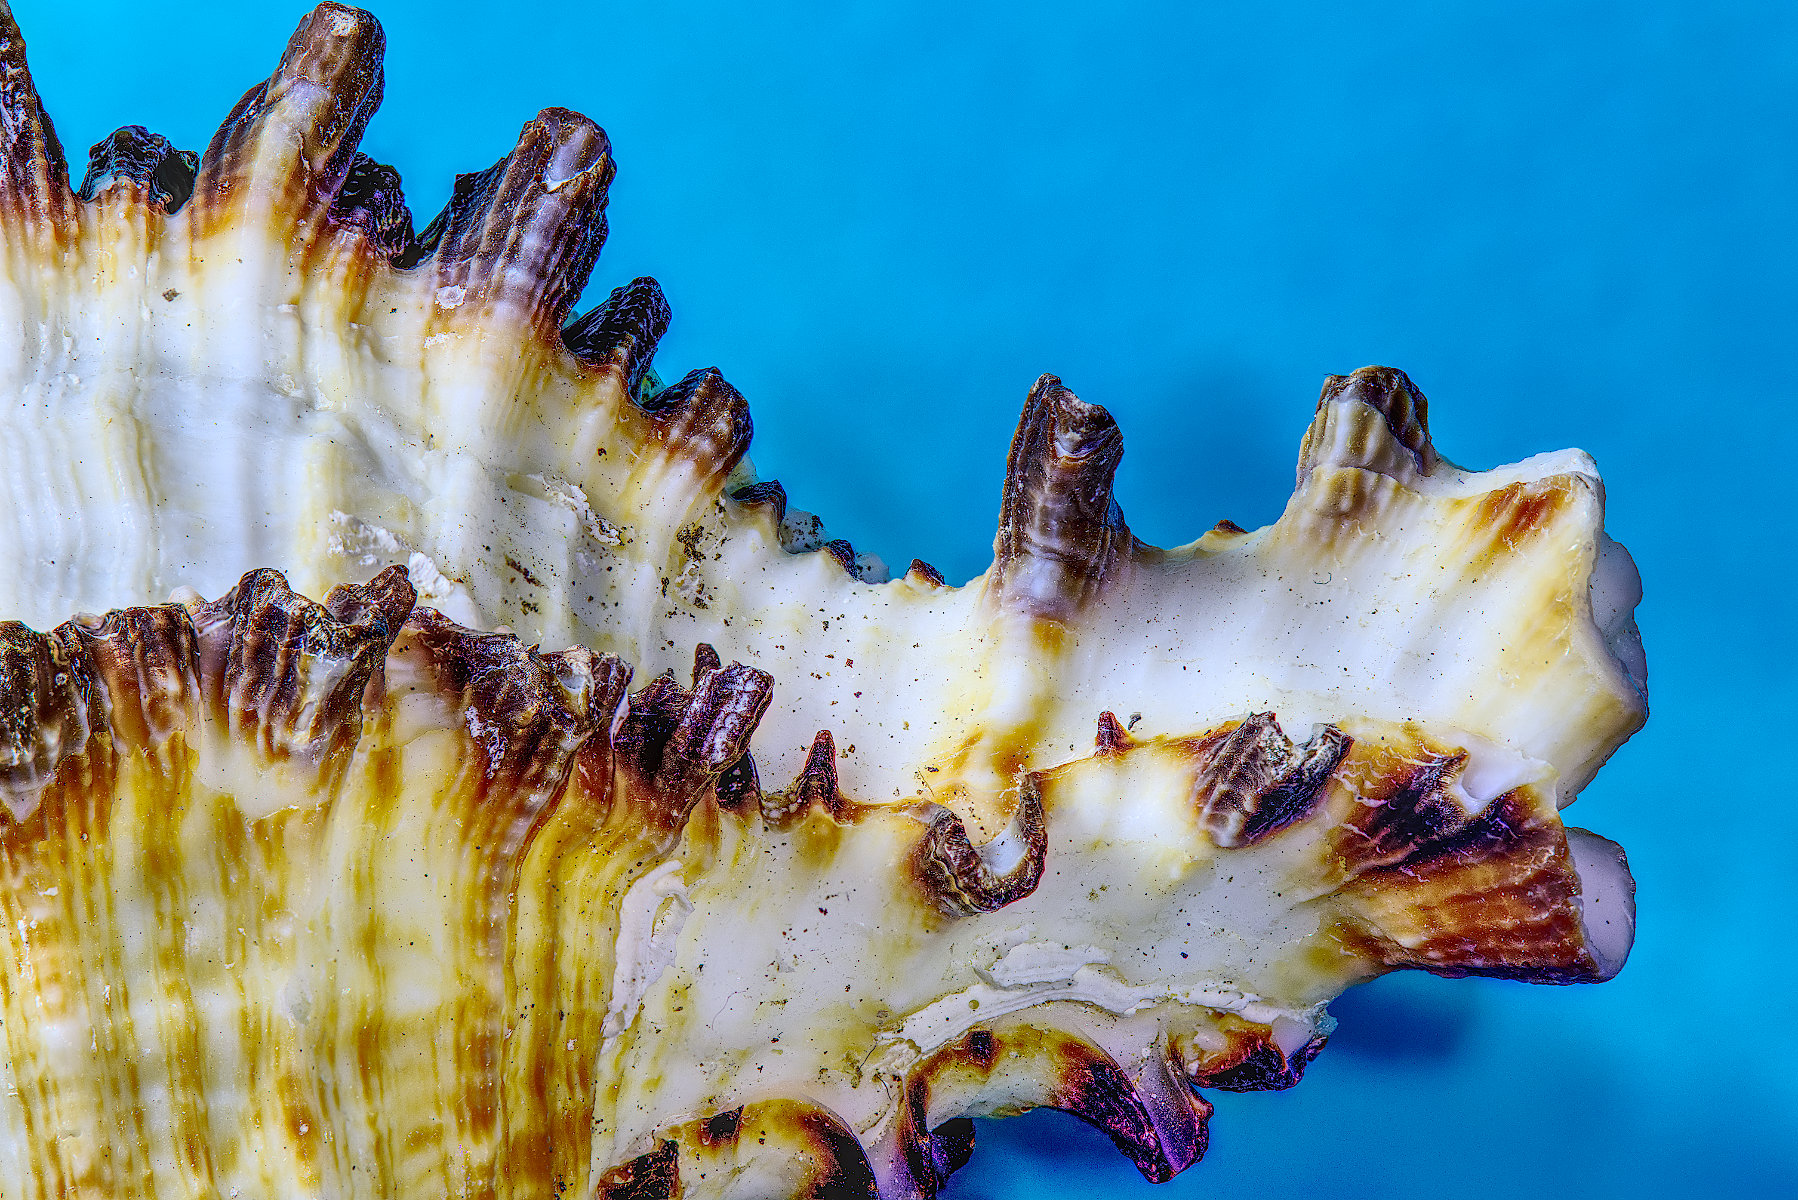
I've seen similar image collages before, and this one is also striking. The technical side of making the composite has been well done.
I'm wondering if the logic of the sequence is something that is evading me, or perhaps you were after a different effect than what I would have done. I don't understand why the shadow line rotates through the sequence.
Numbering the images in your work as 1 on the right and 13 on the left, I would have put 1 on the same position as the present 1, 2 onto position 2, but then 10 onto 3 after rotating it 90 degrees clockwise, then 3 onto 4, 4 onto 5. The others seem out of place to me. More intermediate shots are needed to expand the sequence to say 13 or another odd number, eventually putting curent image 4 into position 13. This sequence would be the appearance of the eclipe. Or you could put the eclipse at the top with the dimming and subsequent lightenng on opposite sides of the arch. |
Aug 25th |
| 64 |
Aug 23 |
Comment |
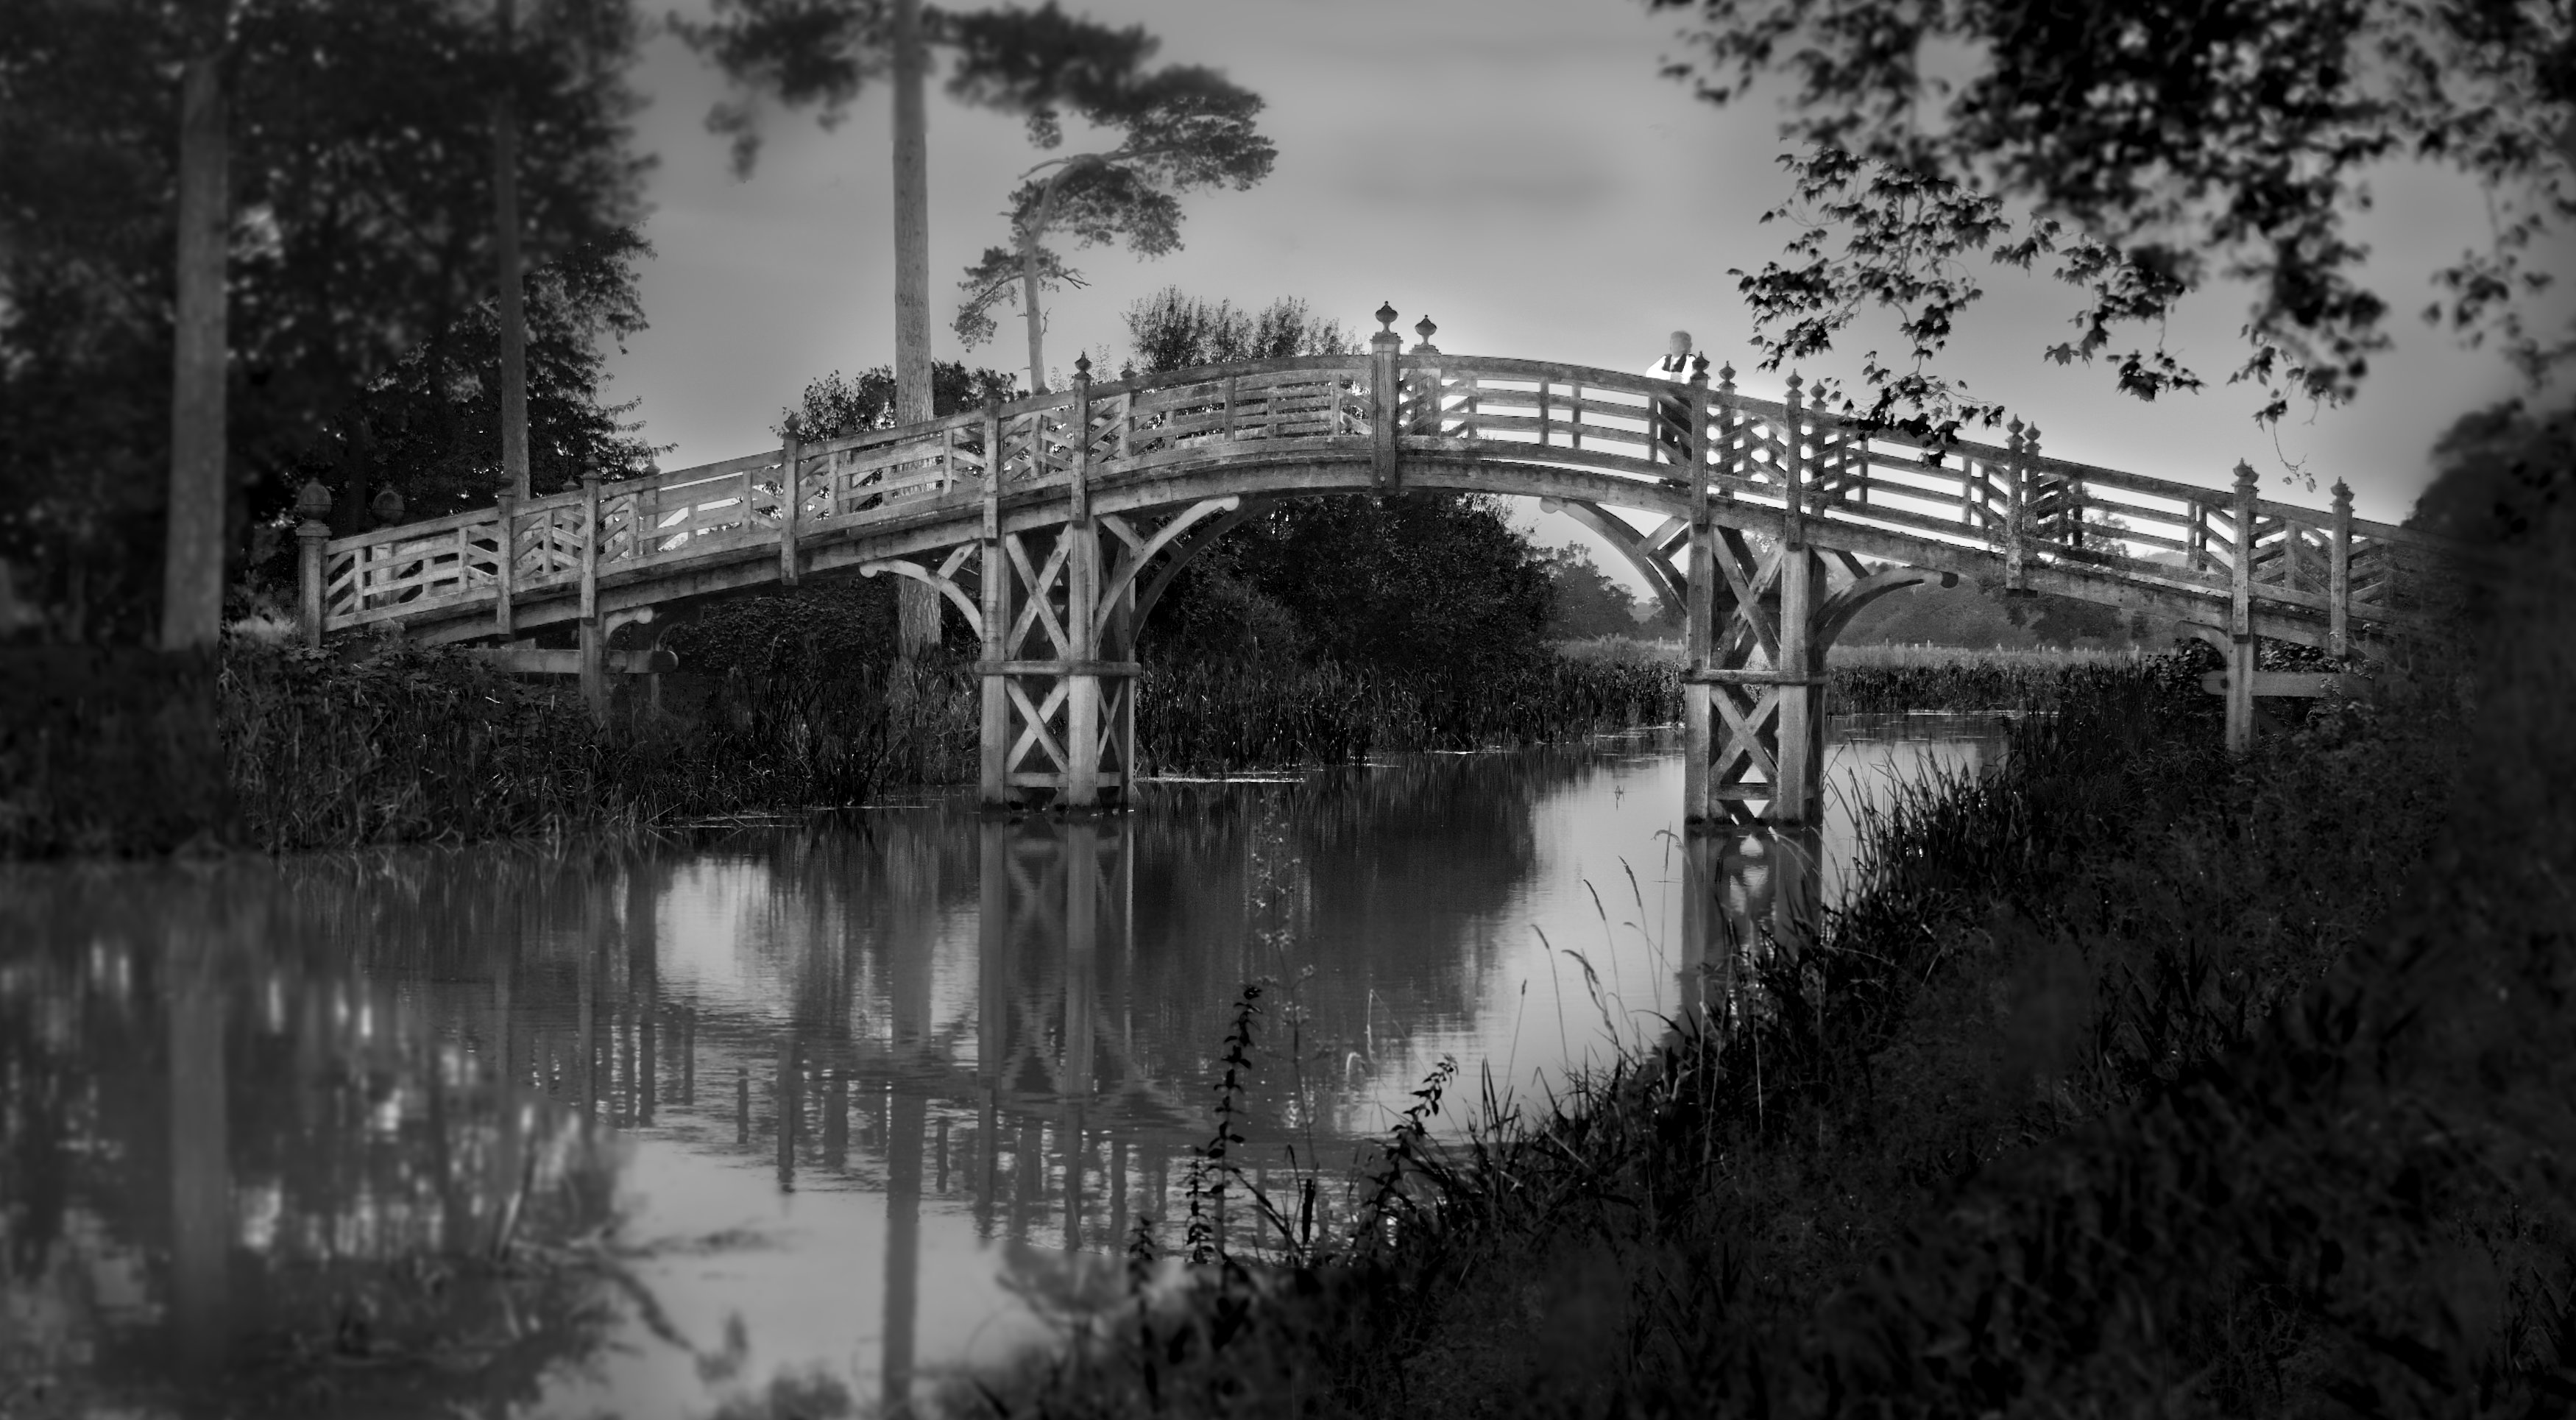
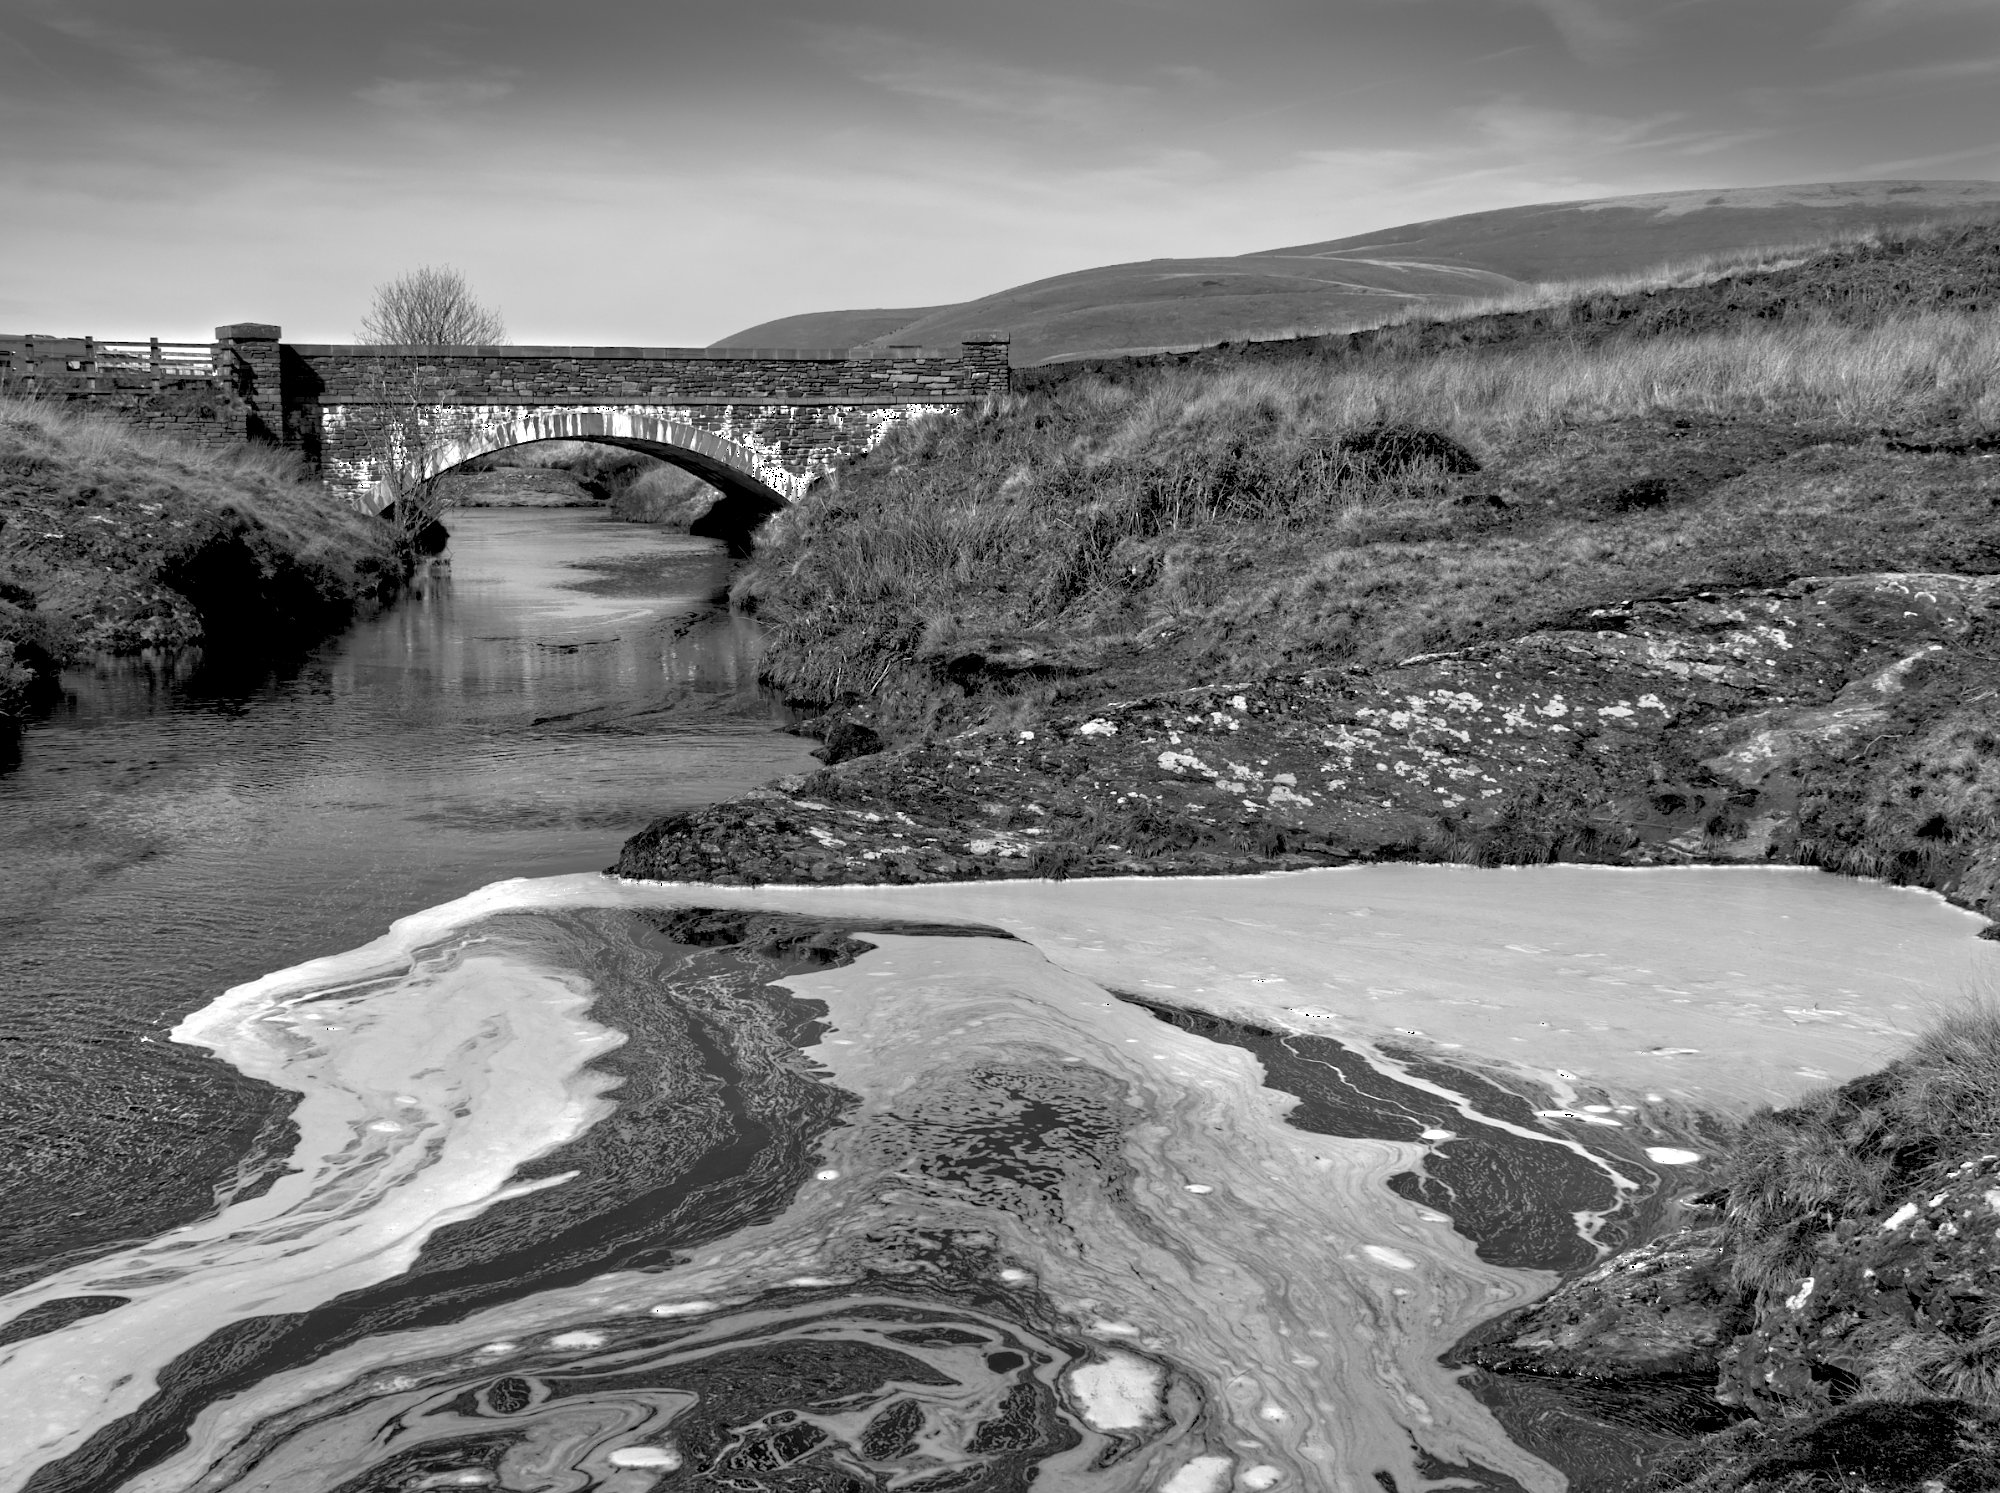
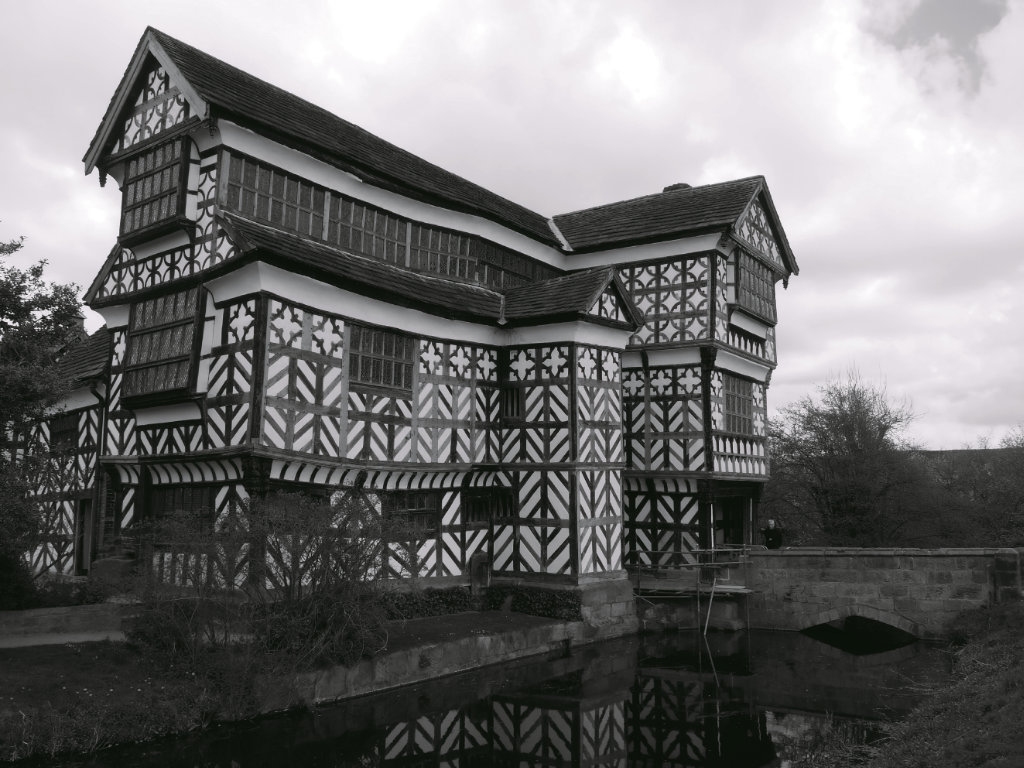
An attractive scene, well captured and converted.
I would consider working a little on the sky to bring out some more tone there. |
Aug 25th |
| 64 |
Aug 23 |
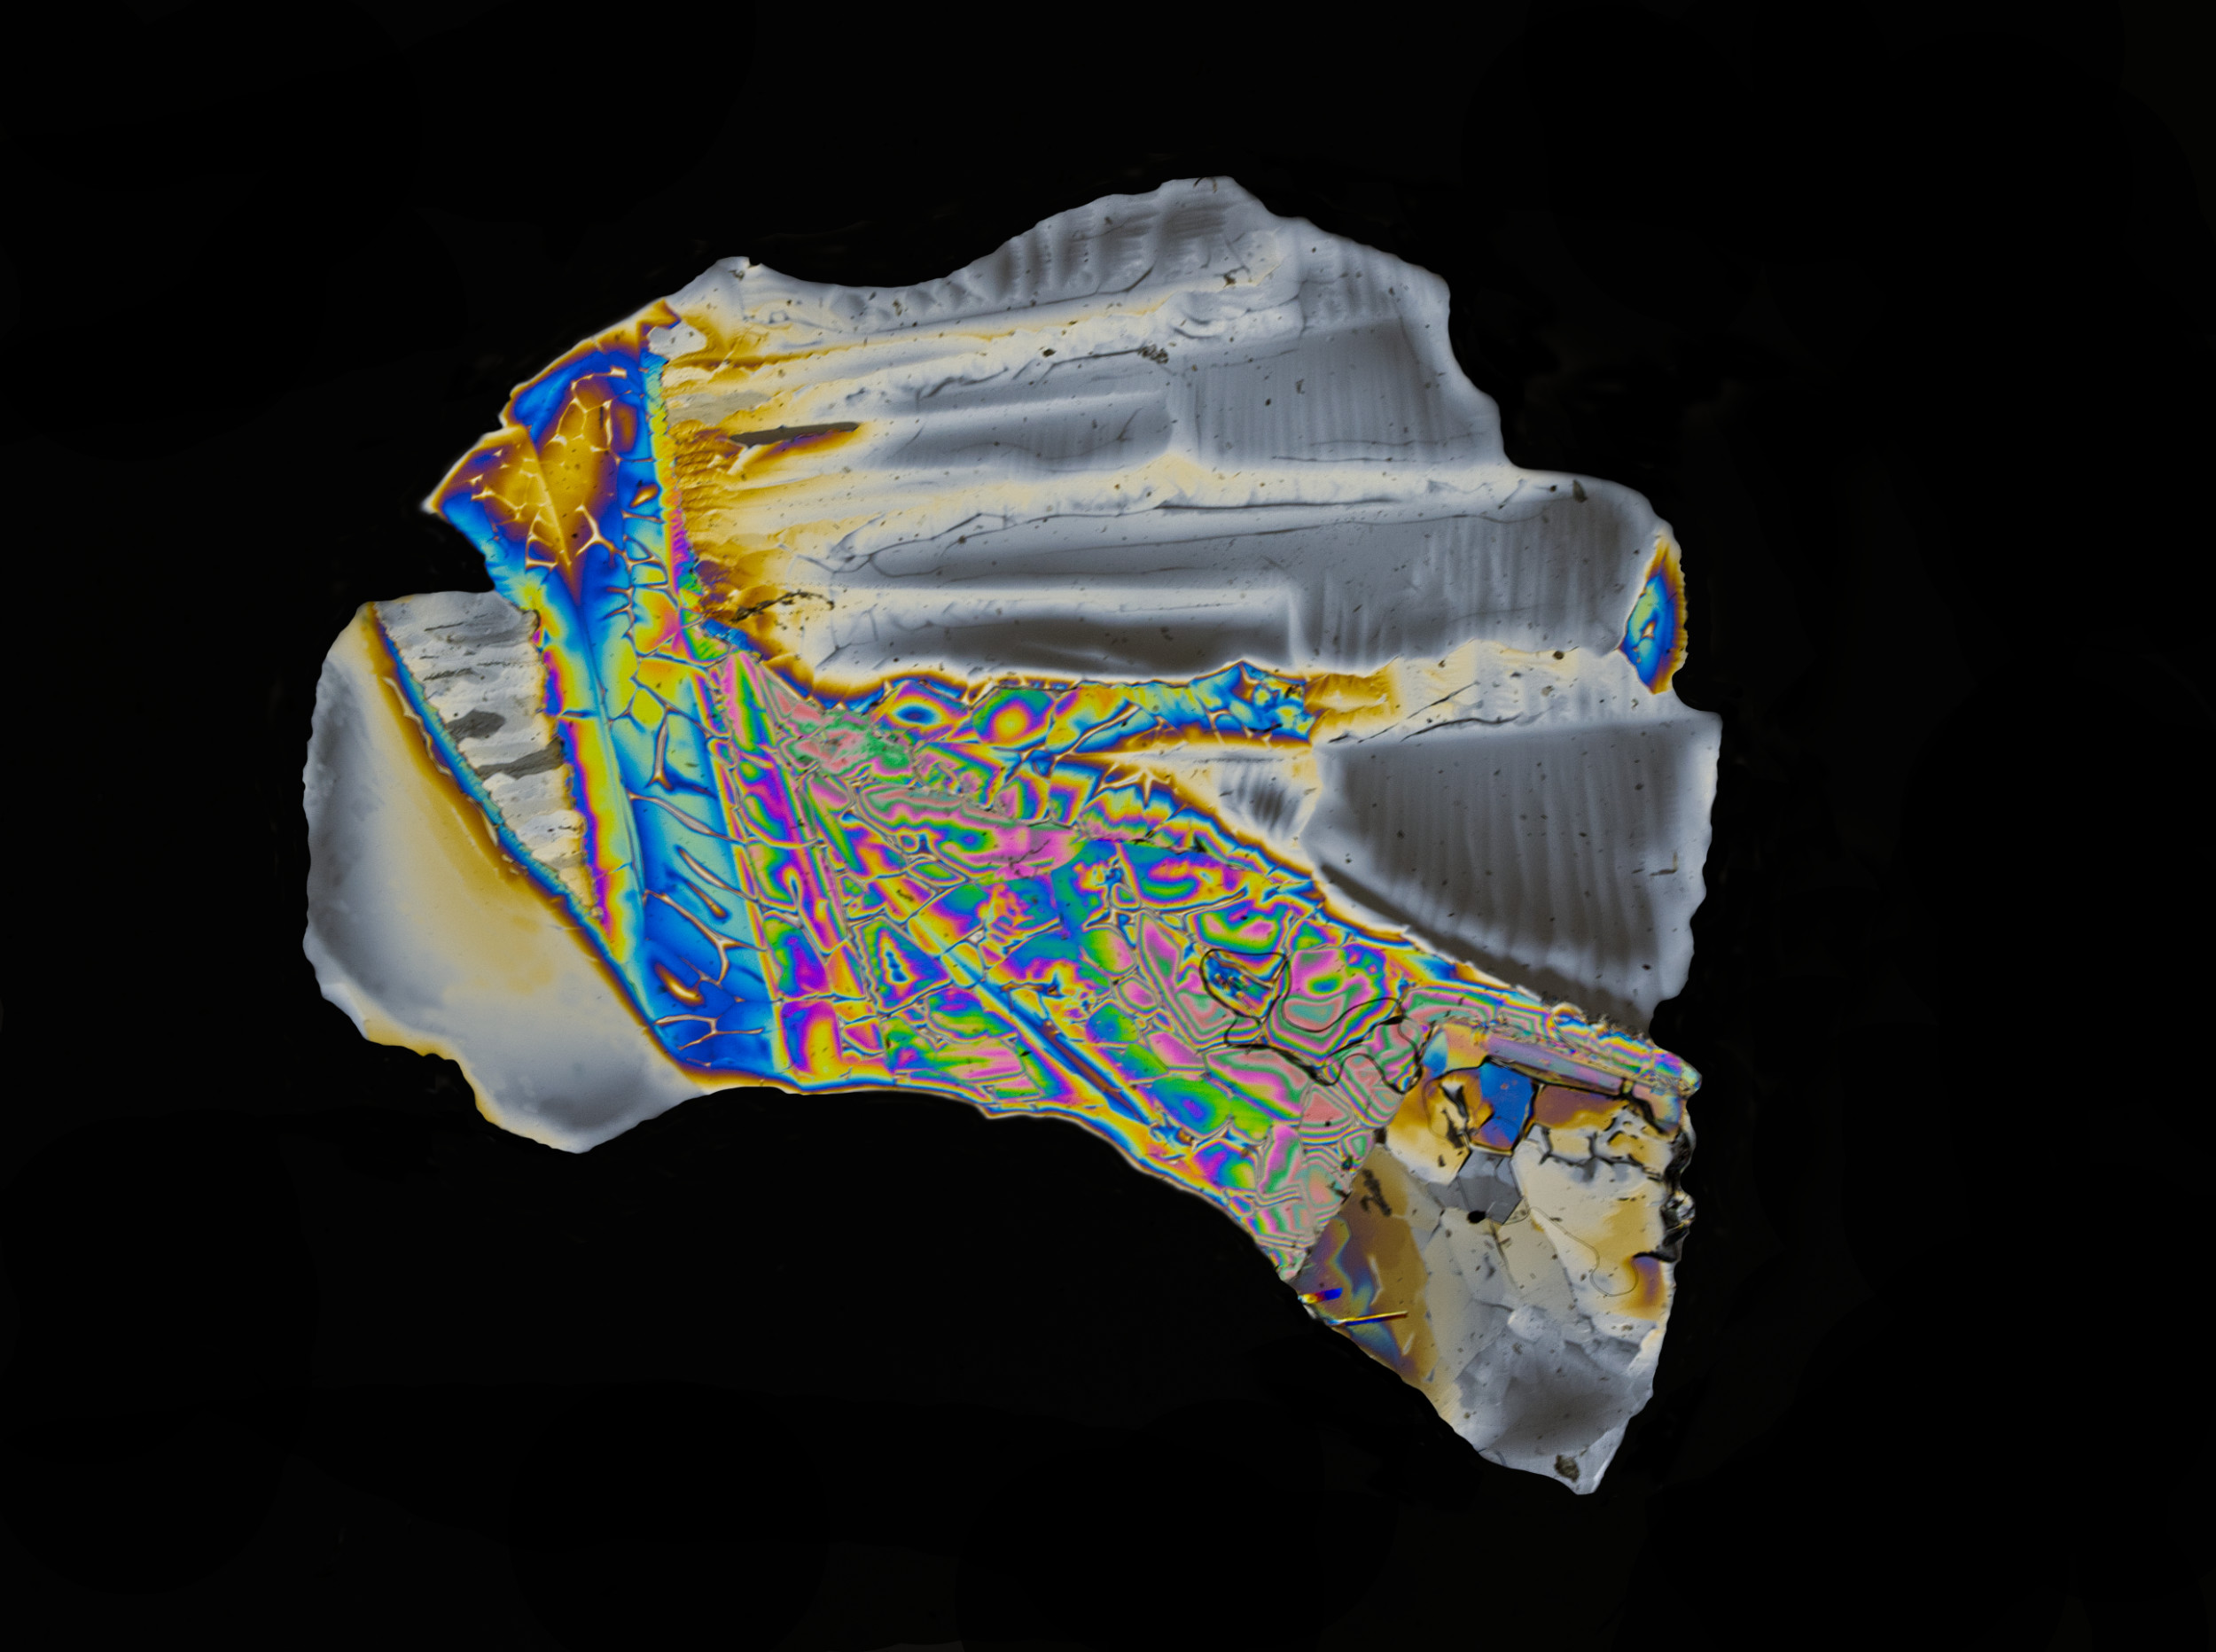
Comment |
That sounds like an interesting conversion technique. I don't use PS, I use Affinity Photo. I can't find a "colour blend" blending mode here, nor a "fill adjustment layer". (That's no guarantee they aren't there, somewhere!) .
However after making a new layer and filling it with black, I found that putting the black layer on top and selectng the blend mode as "Saturation", I got a mono result. I'm not sure what advantage it has, though, as I can't see a way to adjust the grey tone of the original colours, which usually can make a big difference to the mono.
Adding a brightness and contrast layer to the layers stack doesn't change the result unless I merge the layers first, but then I can alter contrast etc..
Having said all that, I do like your result! |
Aug 25th |
| 64 |
Aug 23 |
Comment |
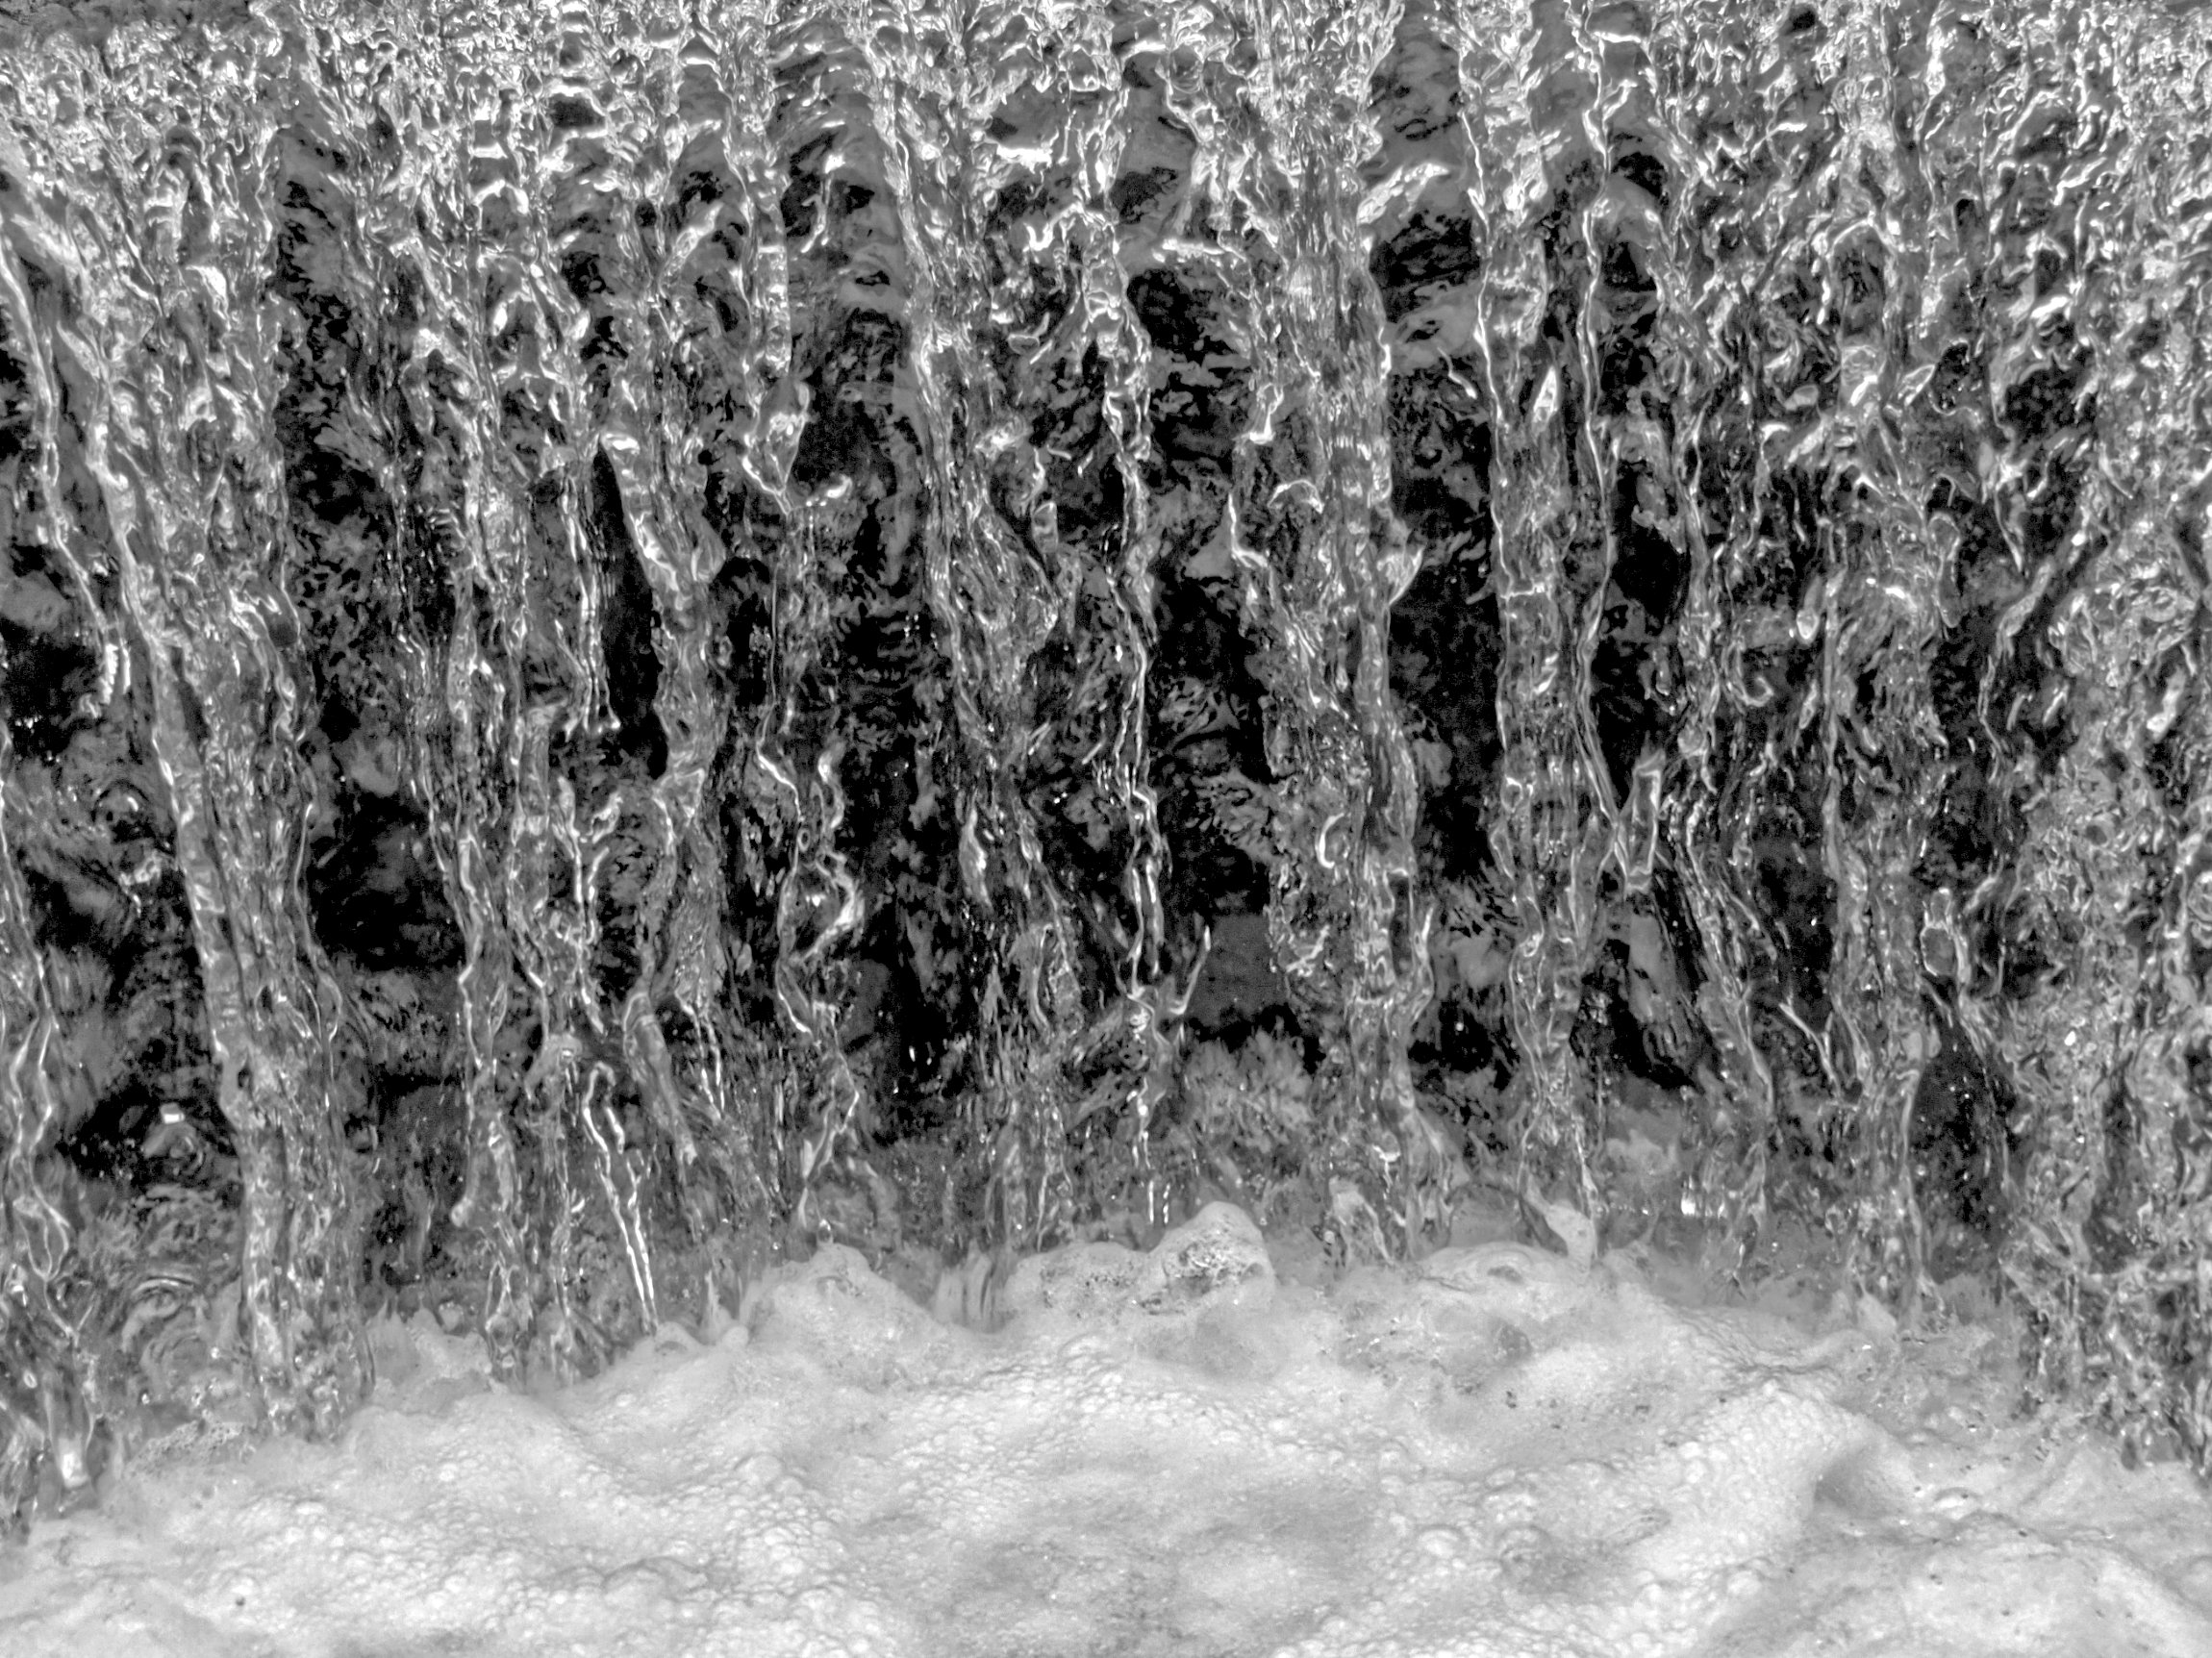
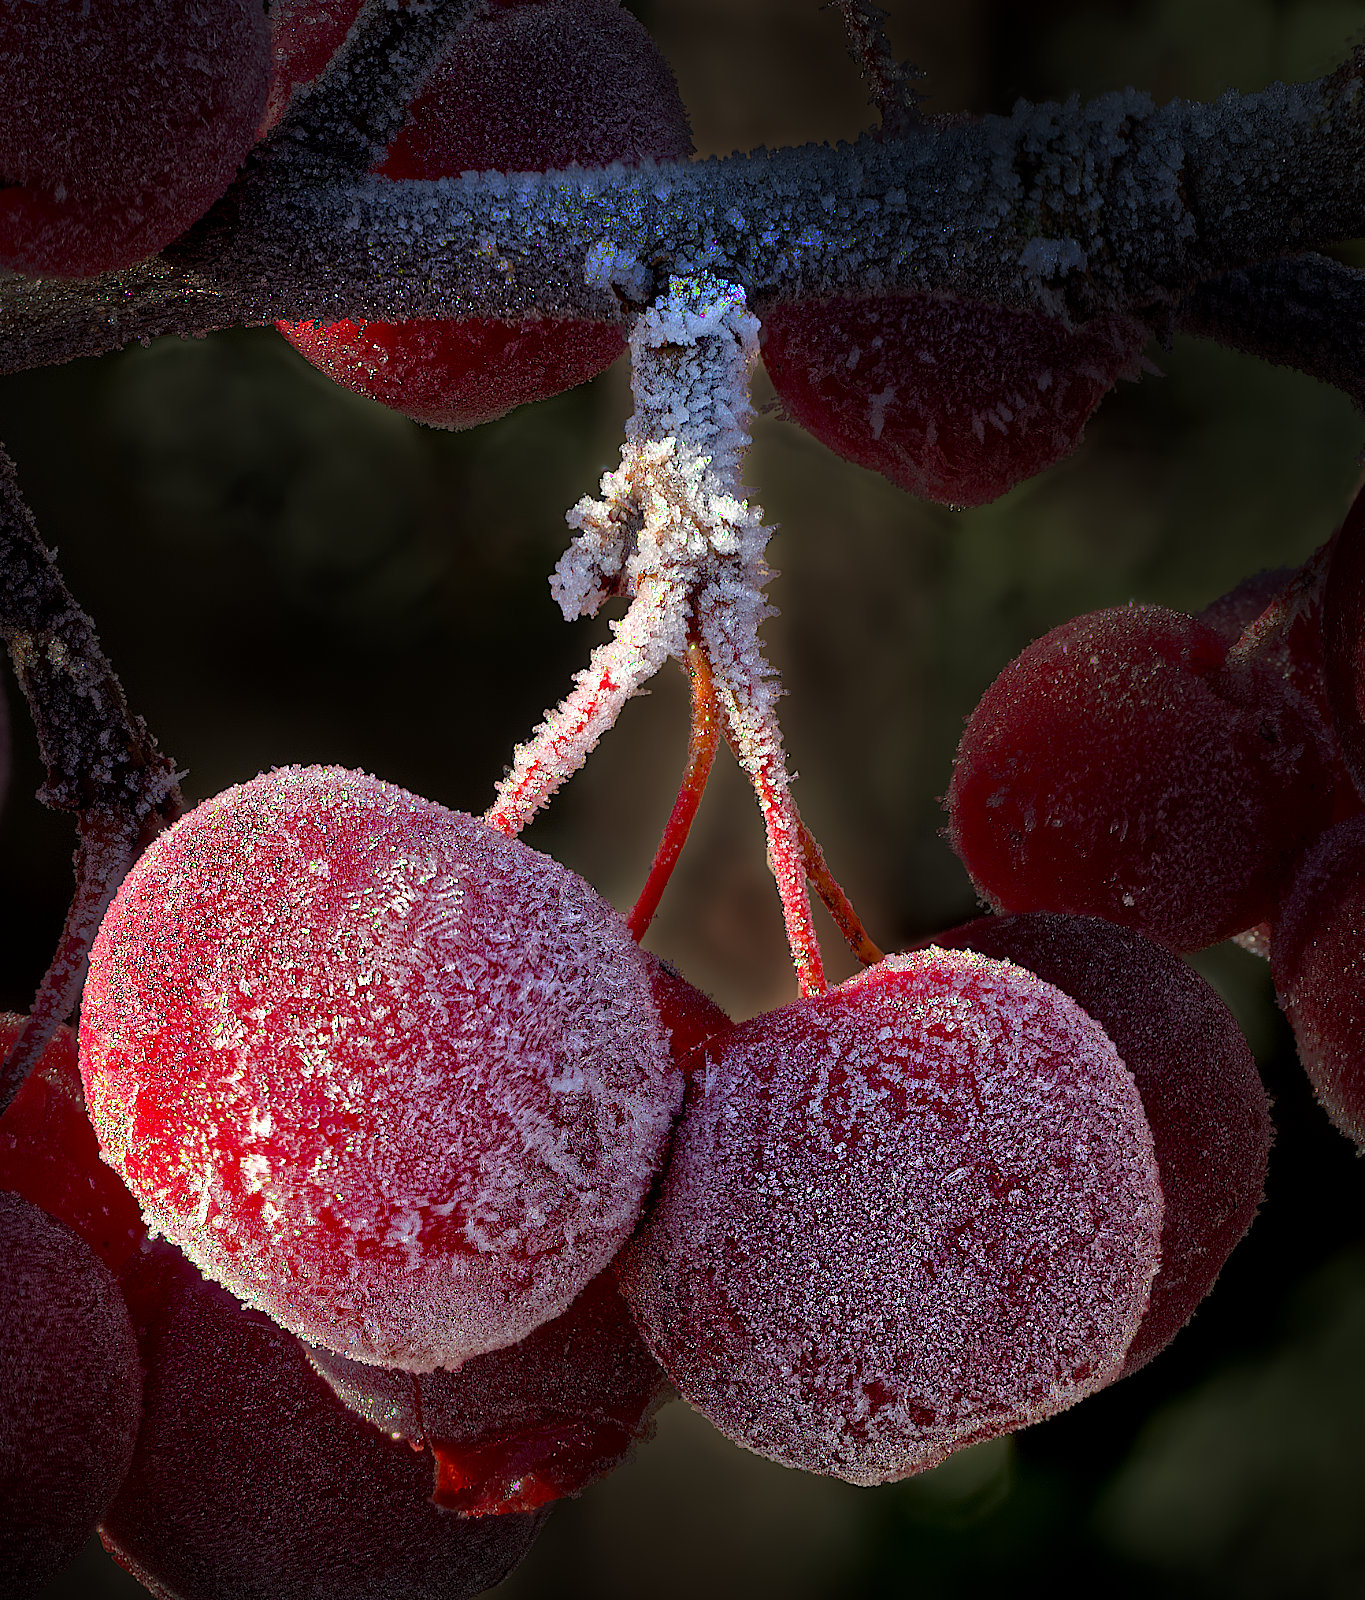
My first impression was that it is as if it has come from an HDR merge with the software set to "grunge", and then converted to mono, perhaps with even more contrast added. It's almost a tone separation result with only a few shades of grey.
Being a fan of "different", I like it! |
Aug 25th |
| 64 |
Aug 23 |
Comment |
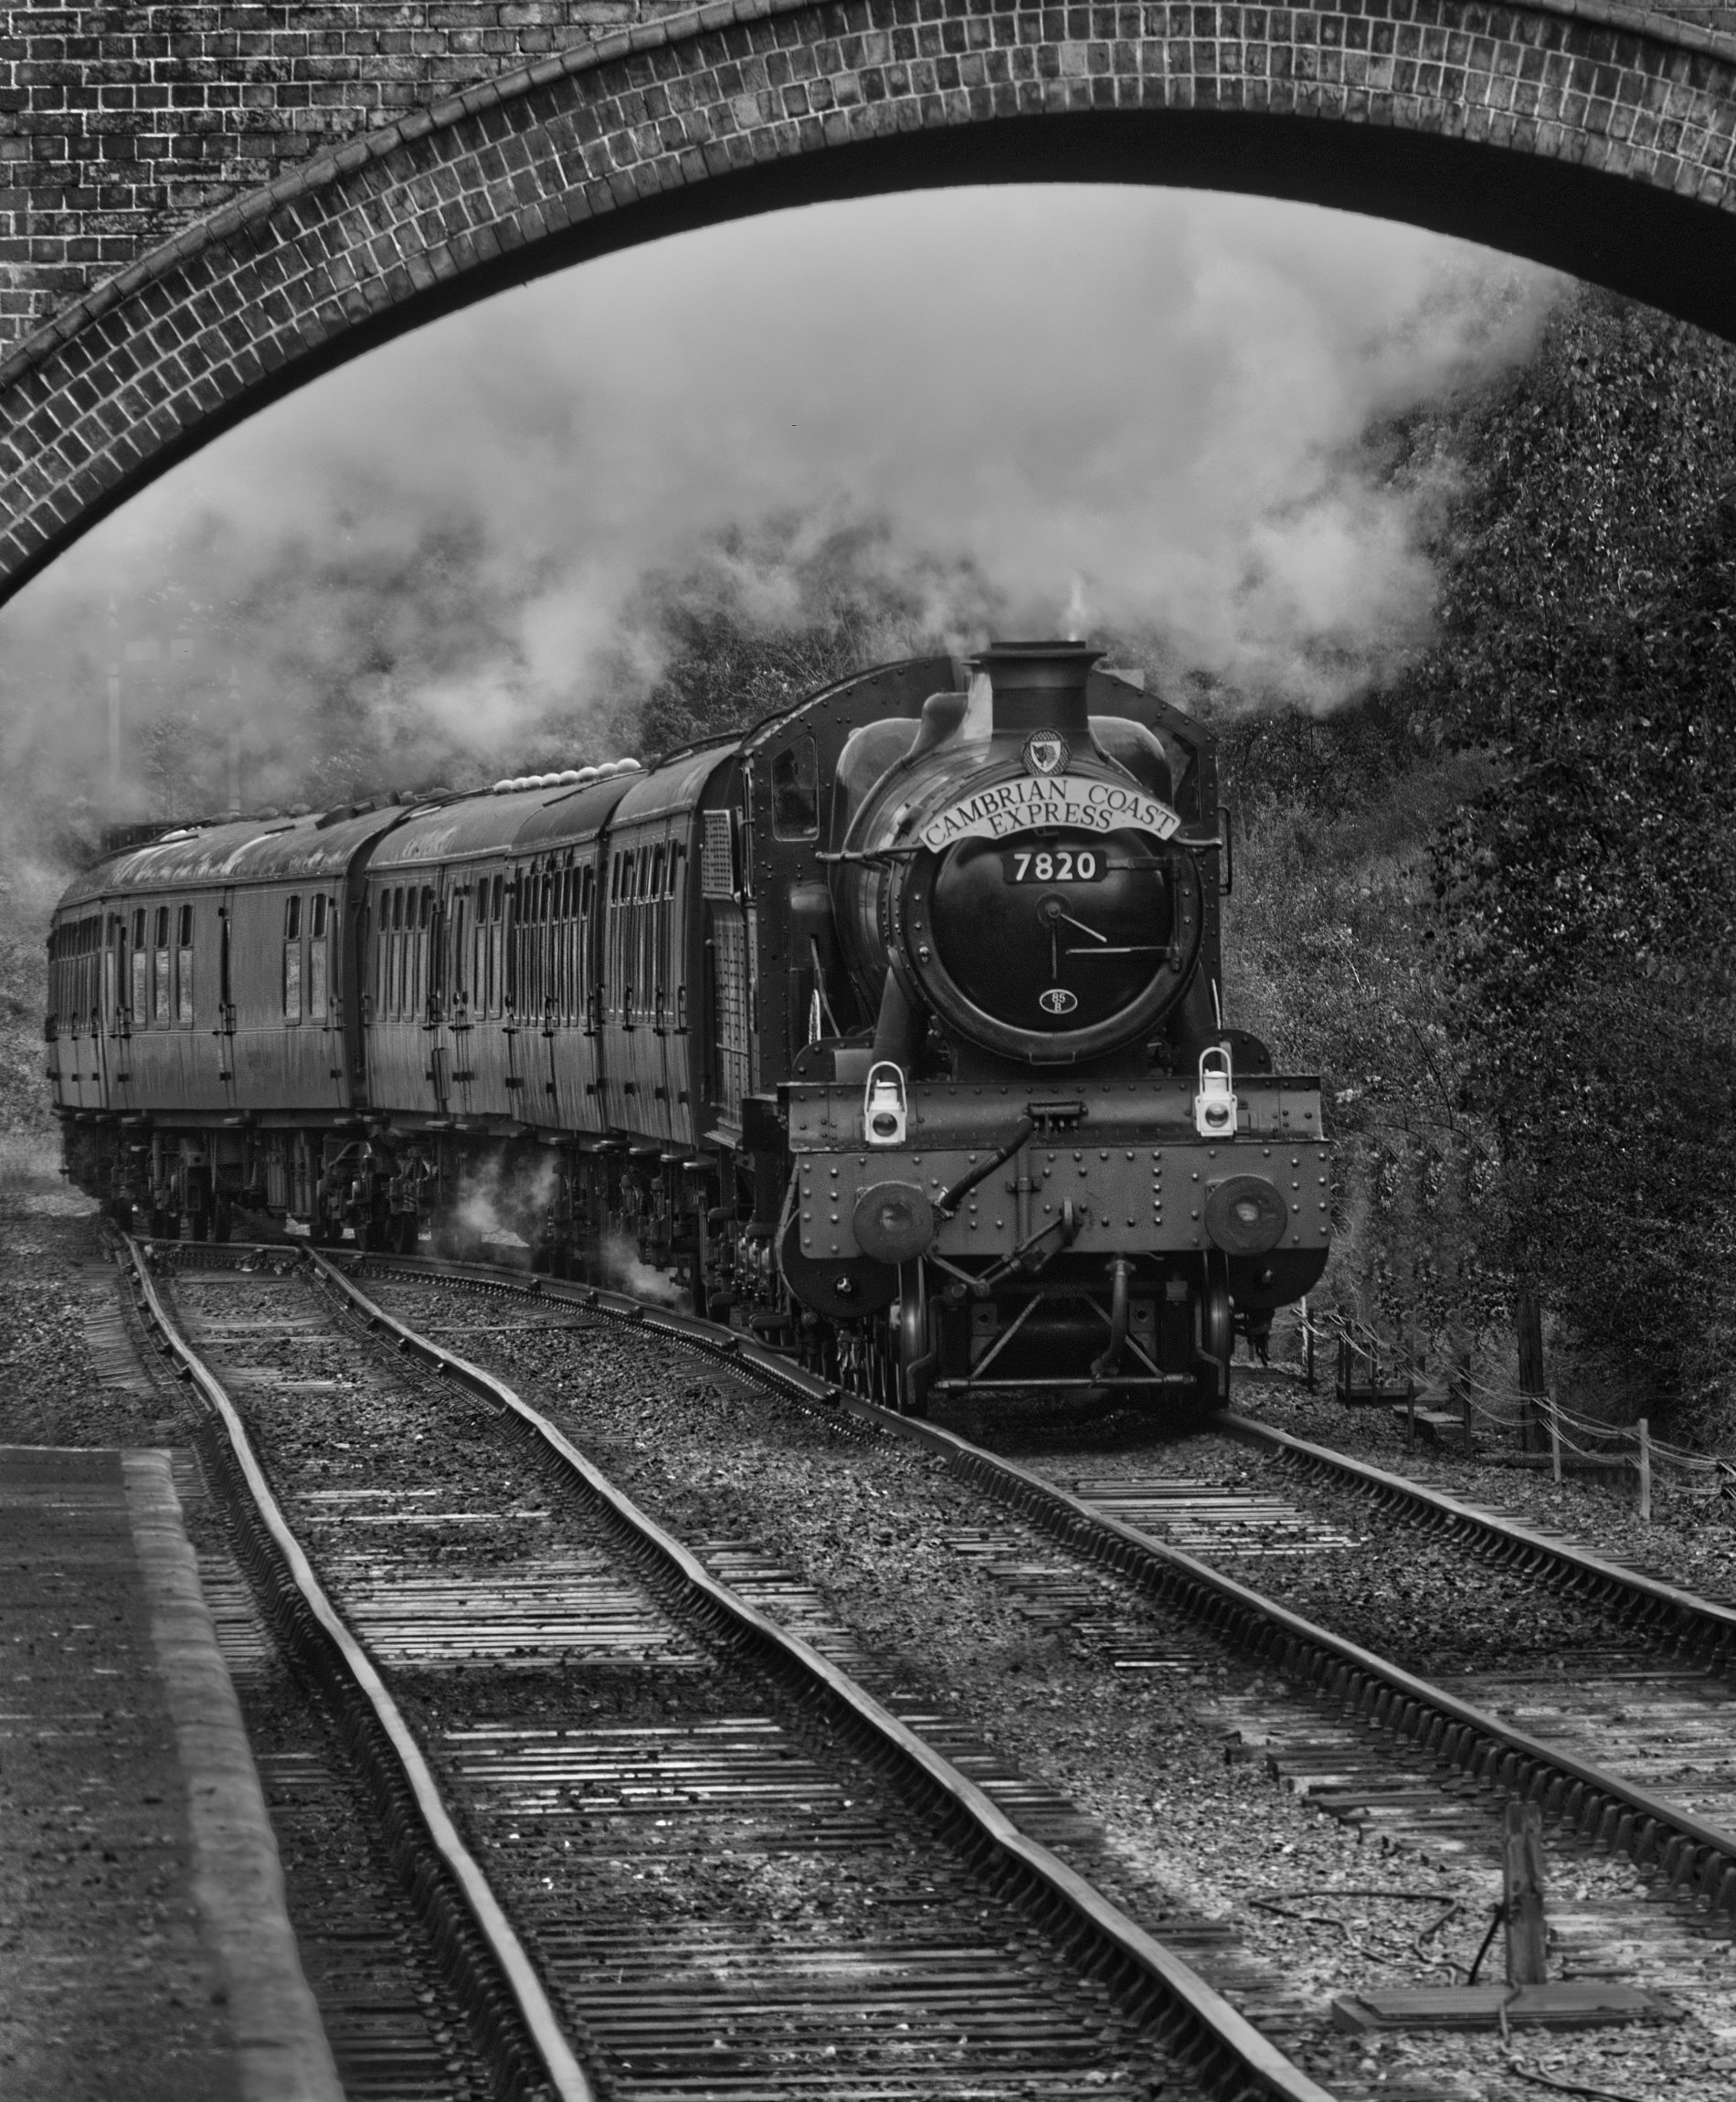
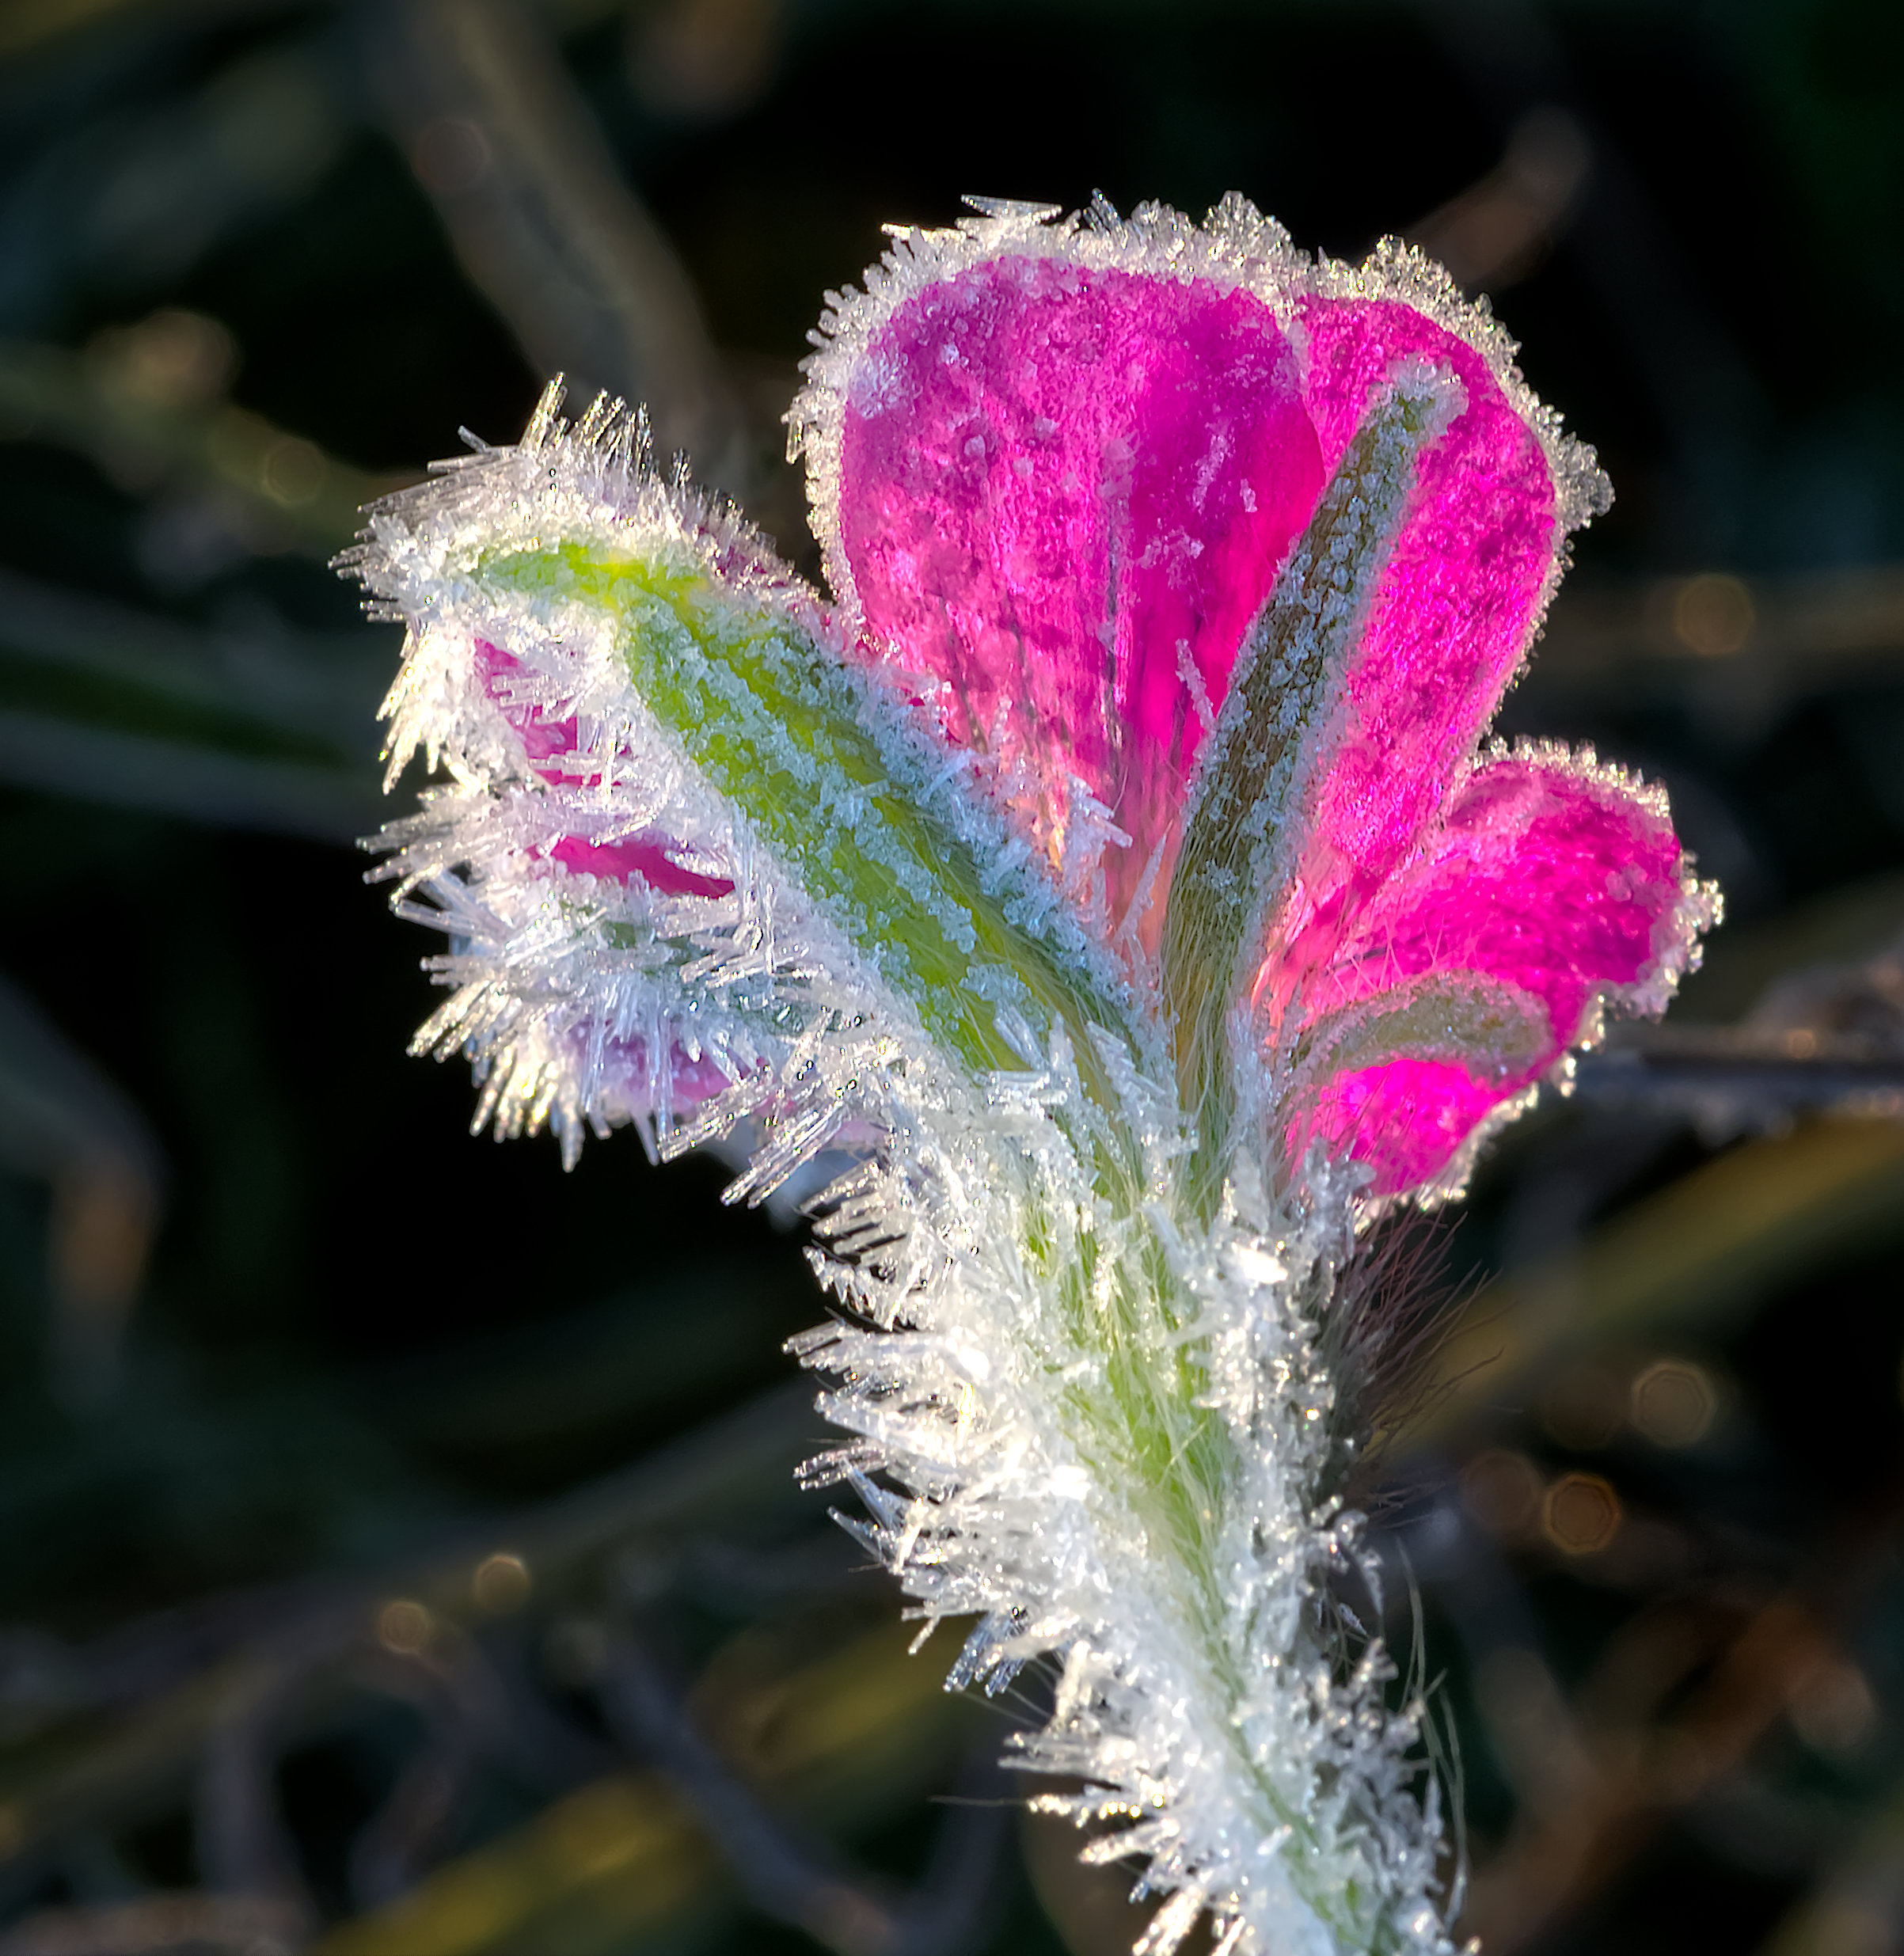
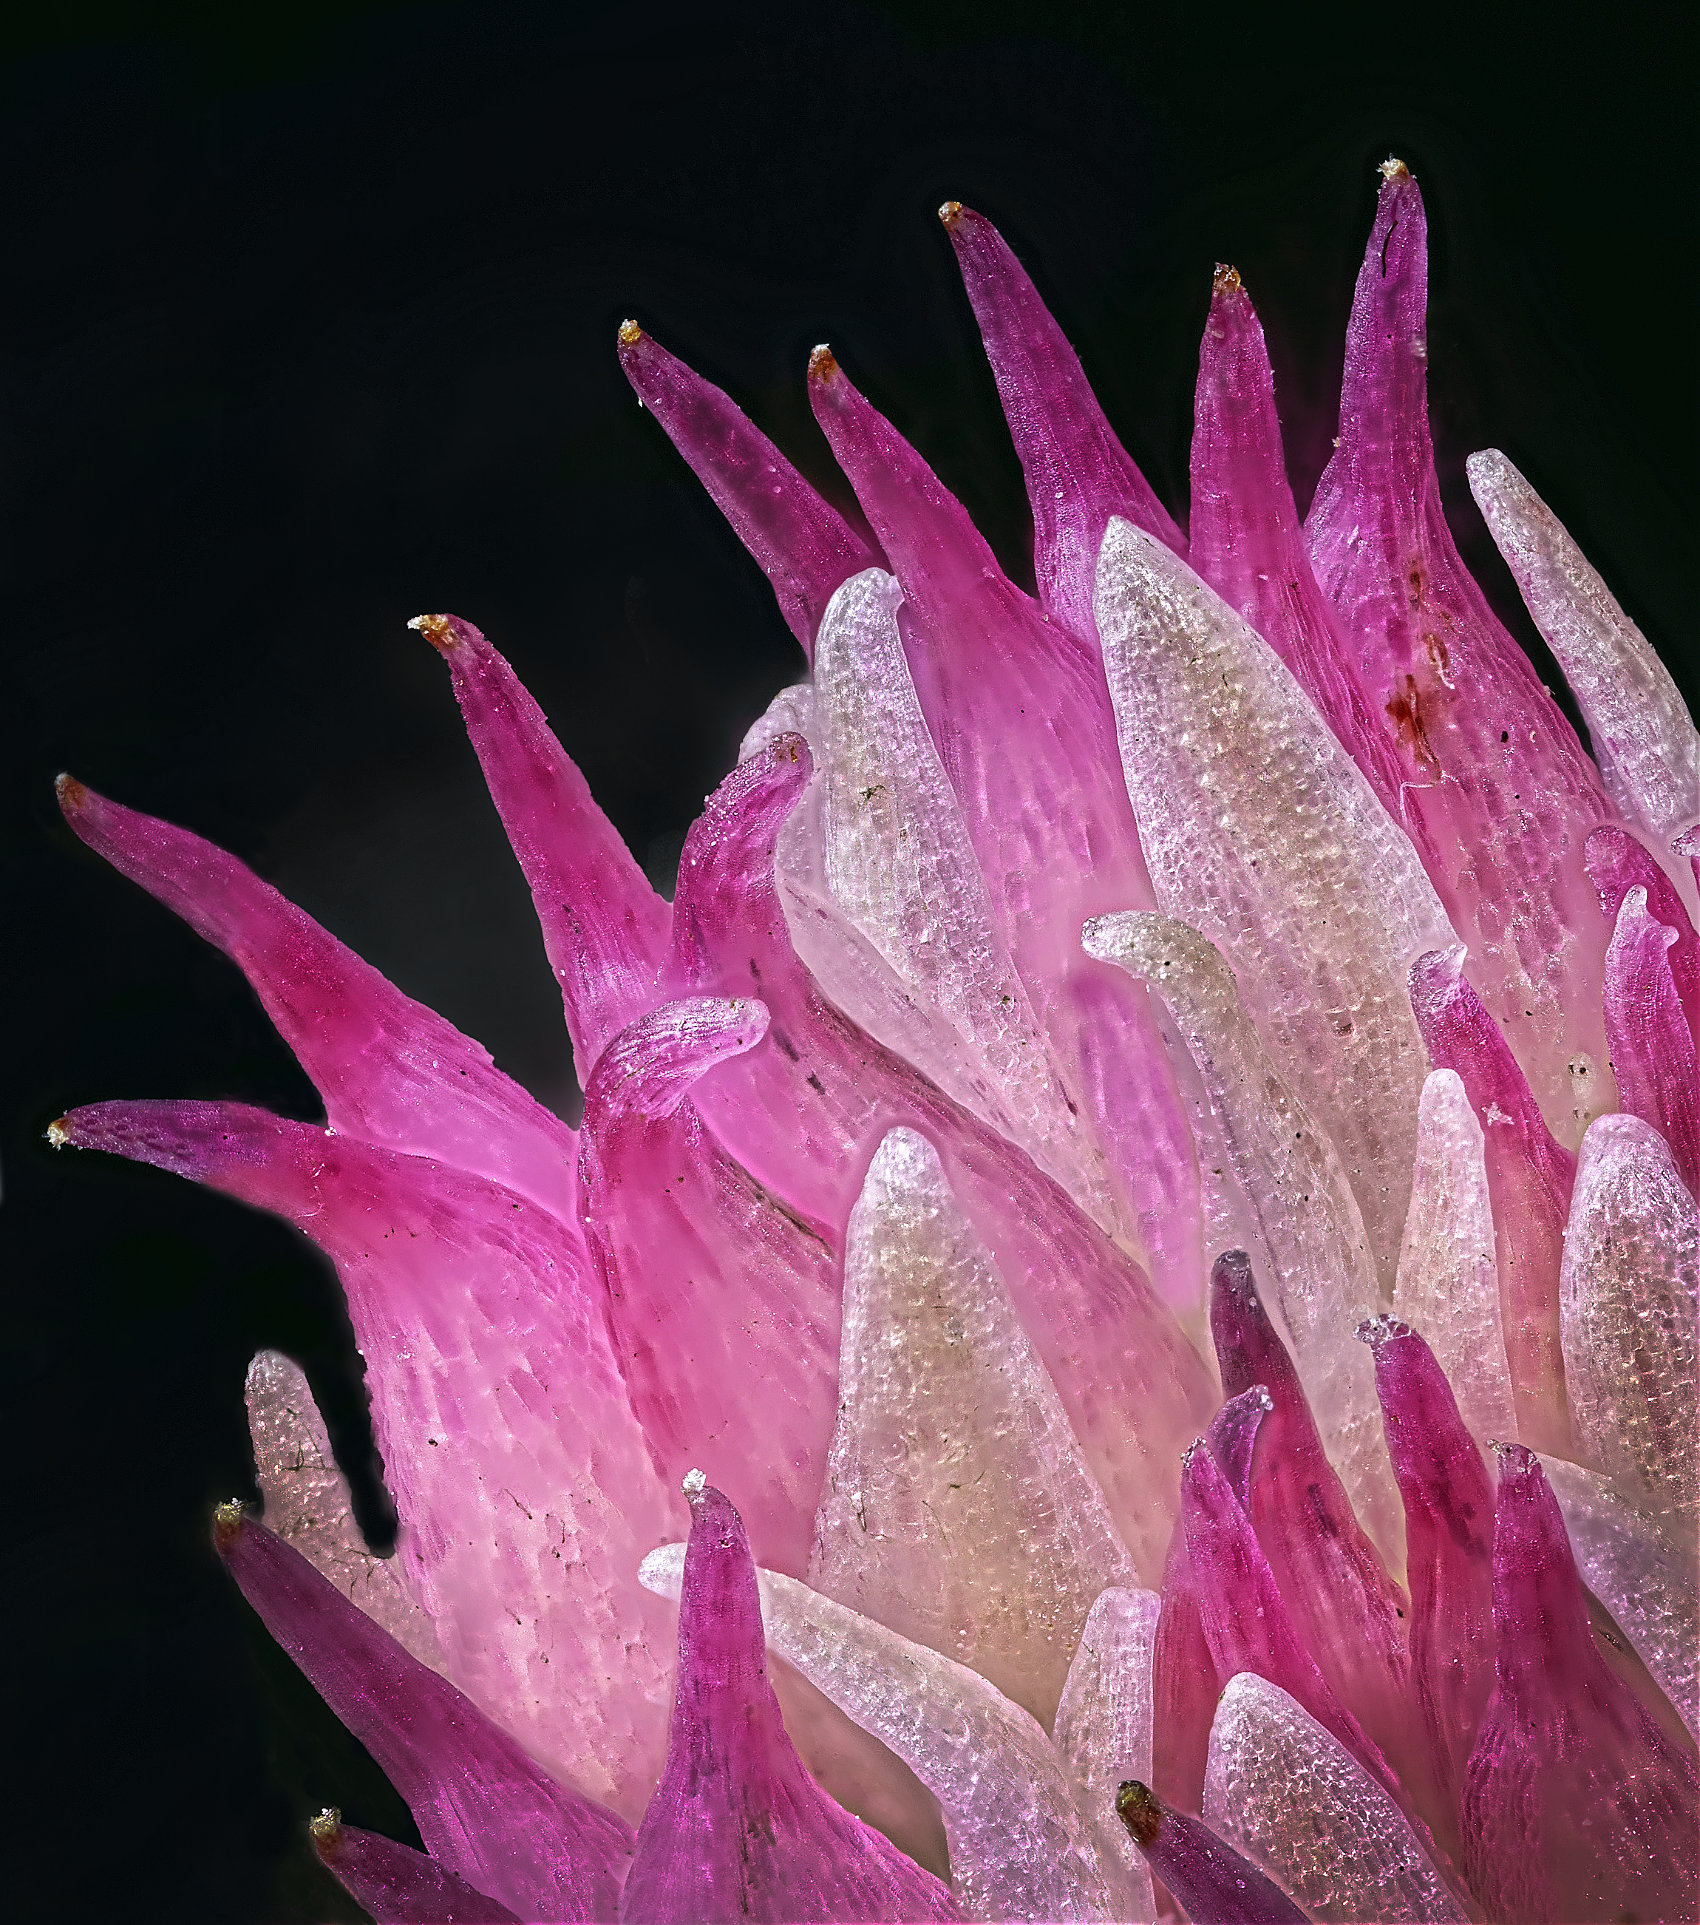
Yes, potentially a lovely mono. I agree with all the above, and would also suggest that a darkening of the pinnacles on the spire tops would make them stand out as well as the towers do, as they are (to me) important details. |
Aug 25th |
| 64 |
Aug 23 |
Reply |
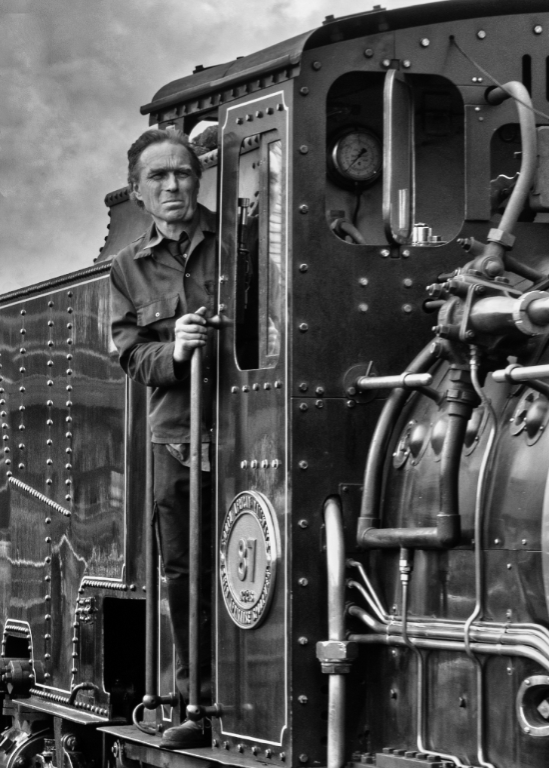
Thanks, John. It's amazing how a simple scene can look interesting, I think. |
Aug 18th |
| 64 |
Aug 23 |
Reply |
I think it depends on the image, Chris. This hardly has any areas of smooth tone, so noise is less obvious.
Having said that I've just bought a copy of Topaz Denoise AI and it does some amazing improvements to some images that need it. You can get a trial version to test it for yourself. |
Aug 18th |
| 64 |
Aug 23 |
Reply |
Thanks, Stan. I've got to say, I was pleased with the result. I'm hoping this new "stacked" sensor in the OM-1 will continue to give good results from RAW files. |
Aug 12th |
5 comments - 4 replies for Group 64
|
| 95 |
Aug 23 |
Reply |
Thanks! Me too - see my comment below to Carol. |
Aug 27th |
| 95 |
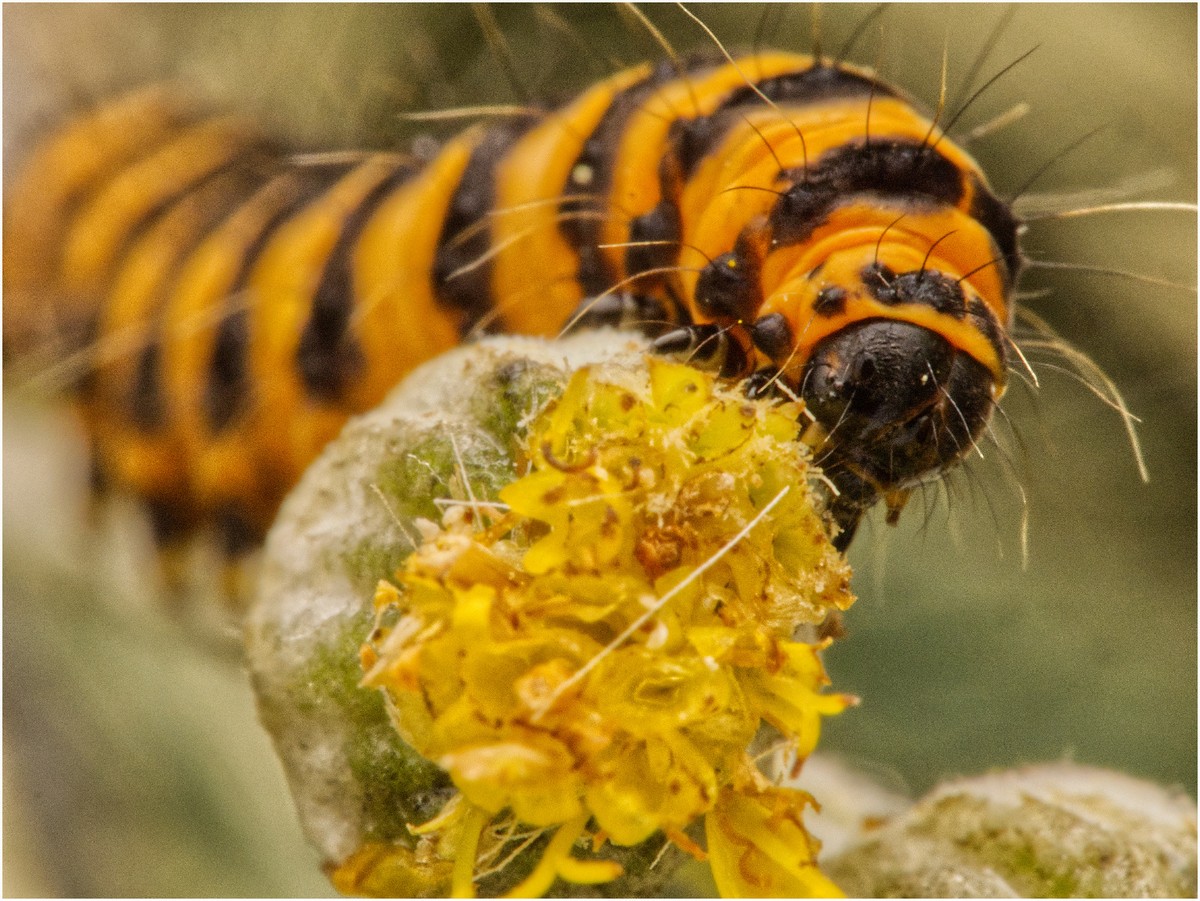
Aug 23 |
Reply |
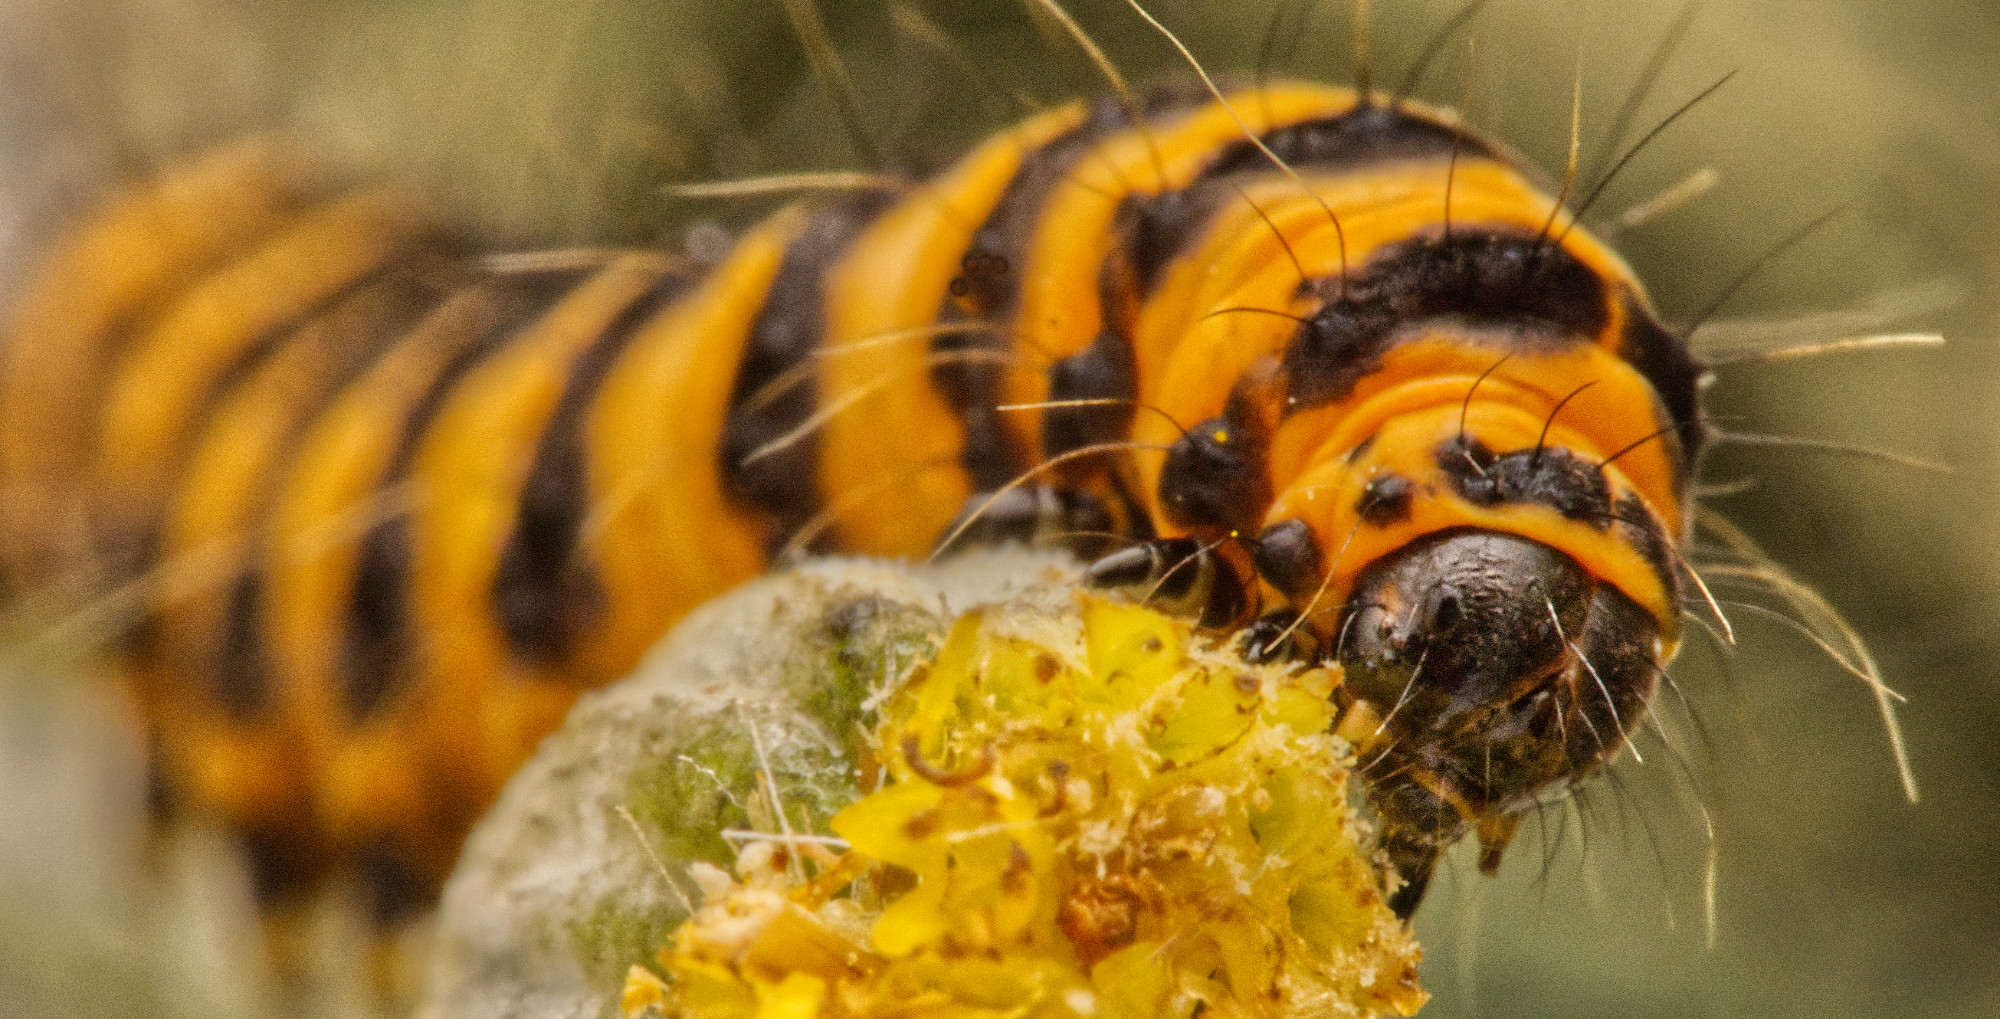
I did it on purpose, of course. Ah, the power of being Group Administrator!! ;-)
Actually this photo is growing on me, the "caterpillar on a twig" shot is a bit boring!
|
Aug 27th |
| 95 |
Aug 23 |
Reply |
That's an interesting idea. I was wondering how to give it more impact. But it's not so easy,I found! How about this? MainlyI just dodged the face, but I've alsomadeacrop change and a few blemish removals. |
Aug 23rd |
 |
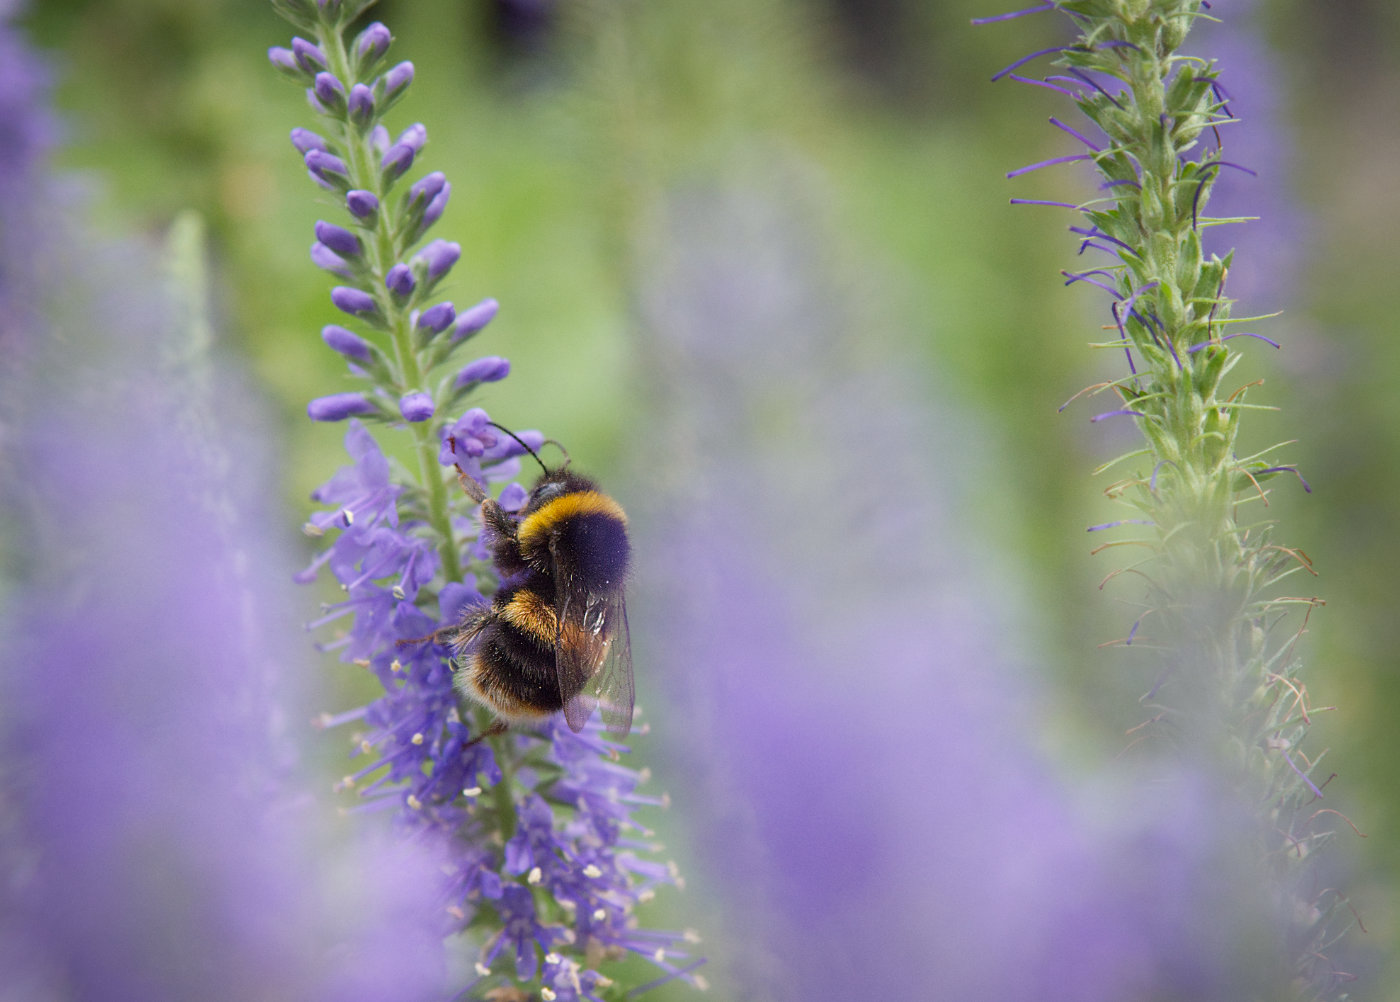
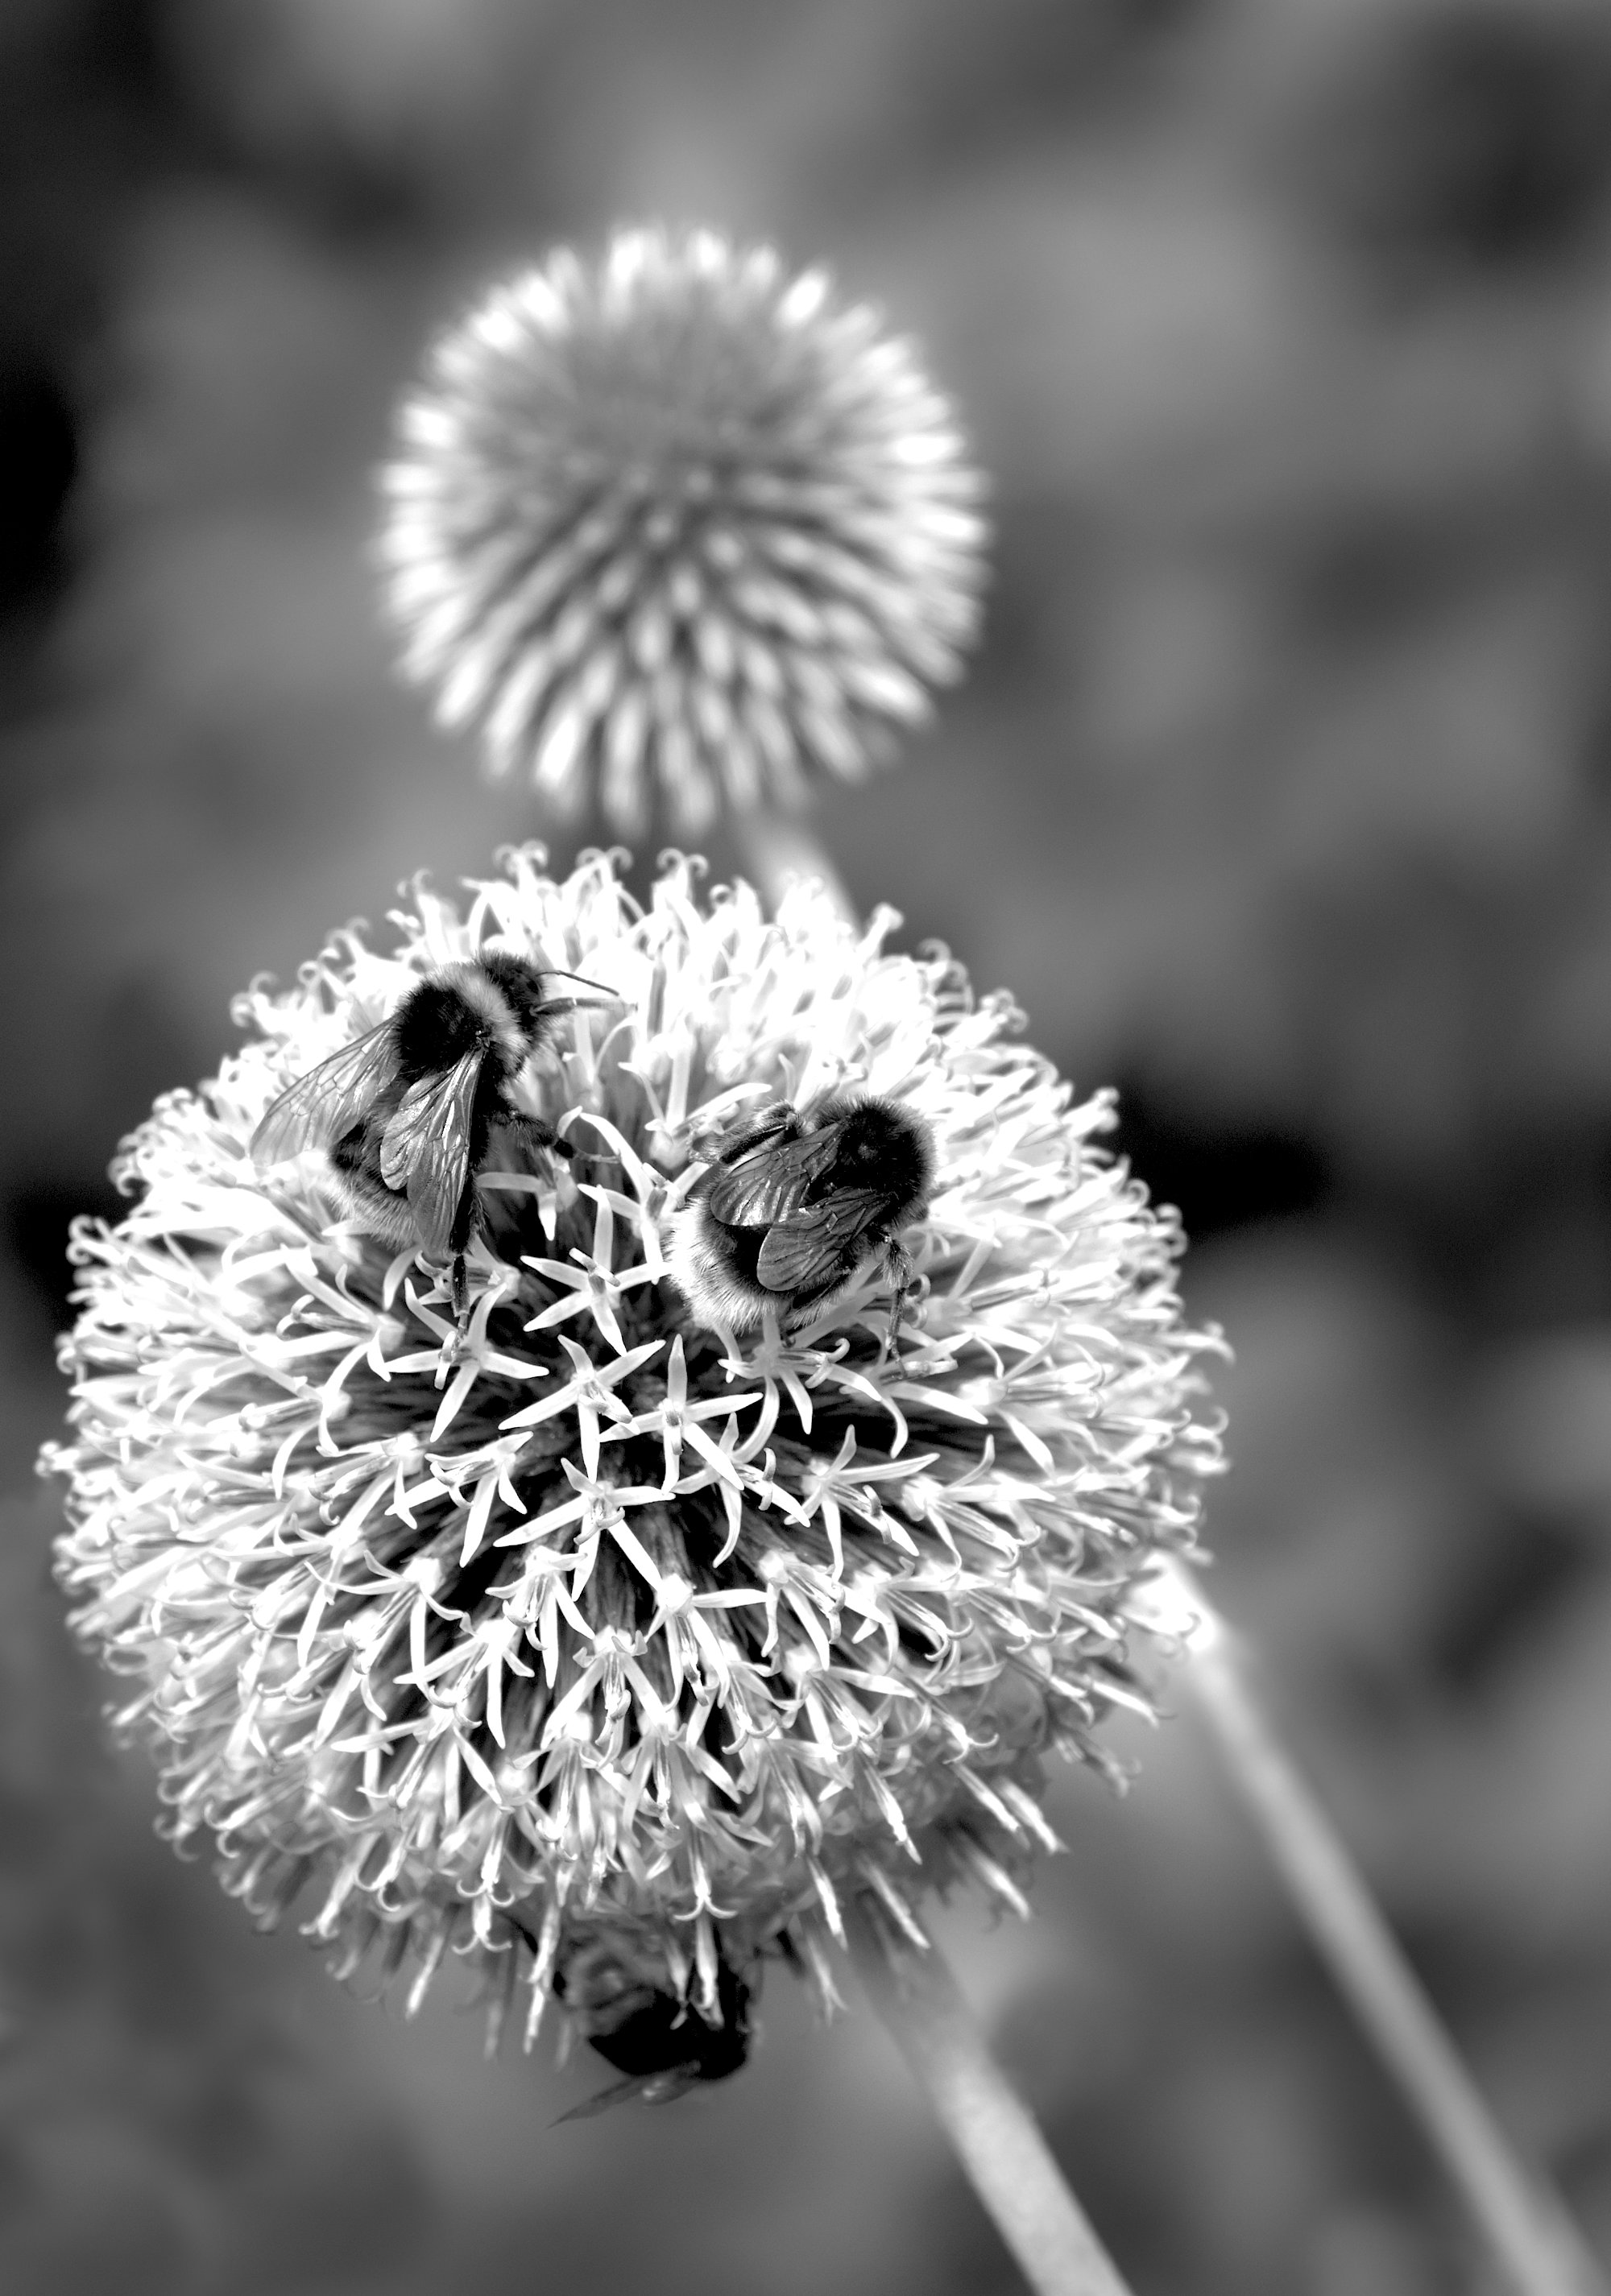
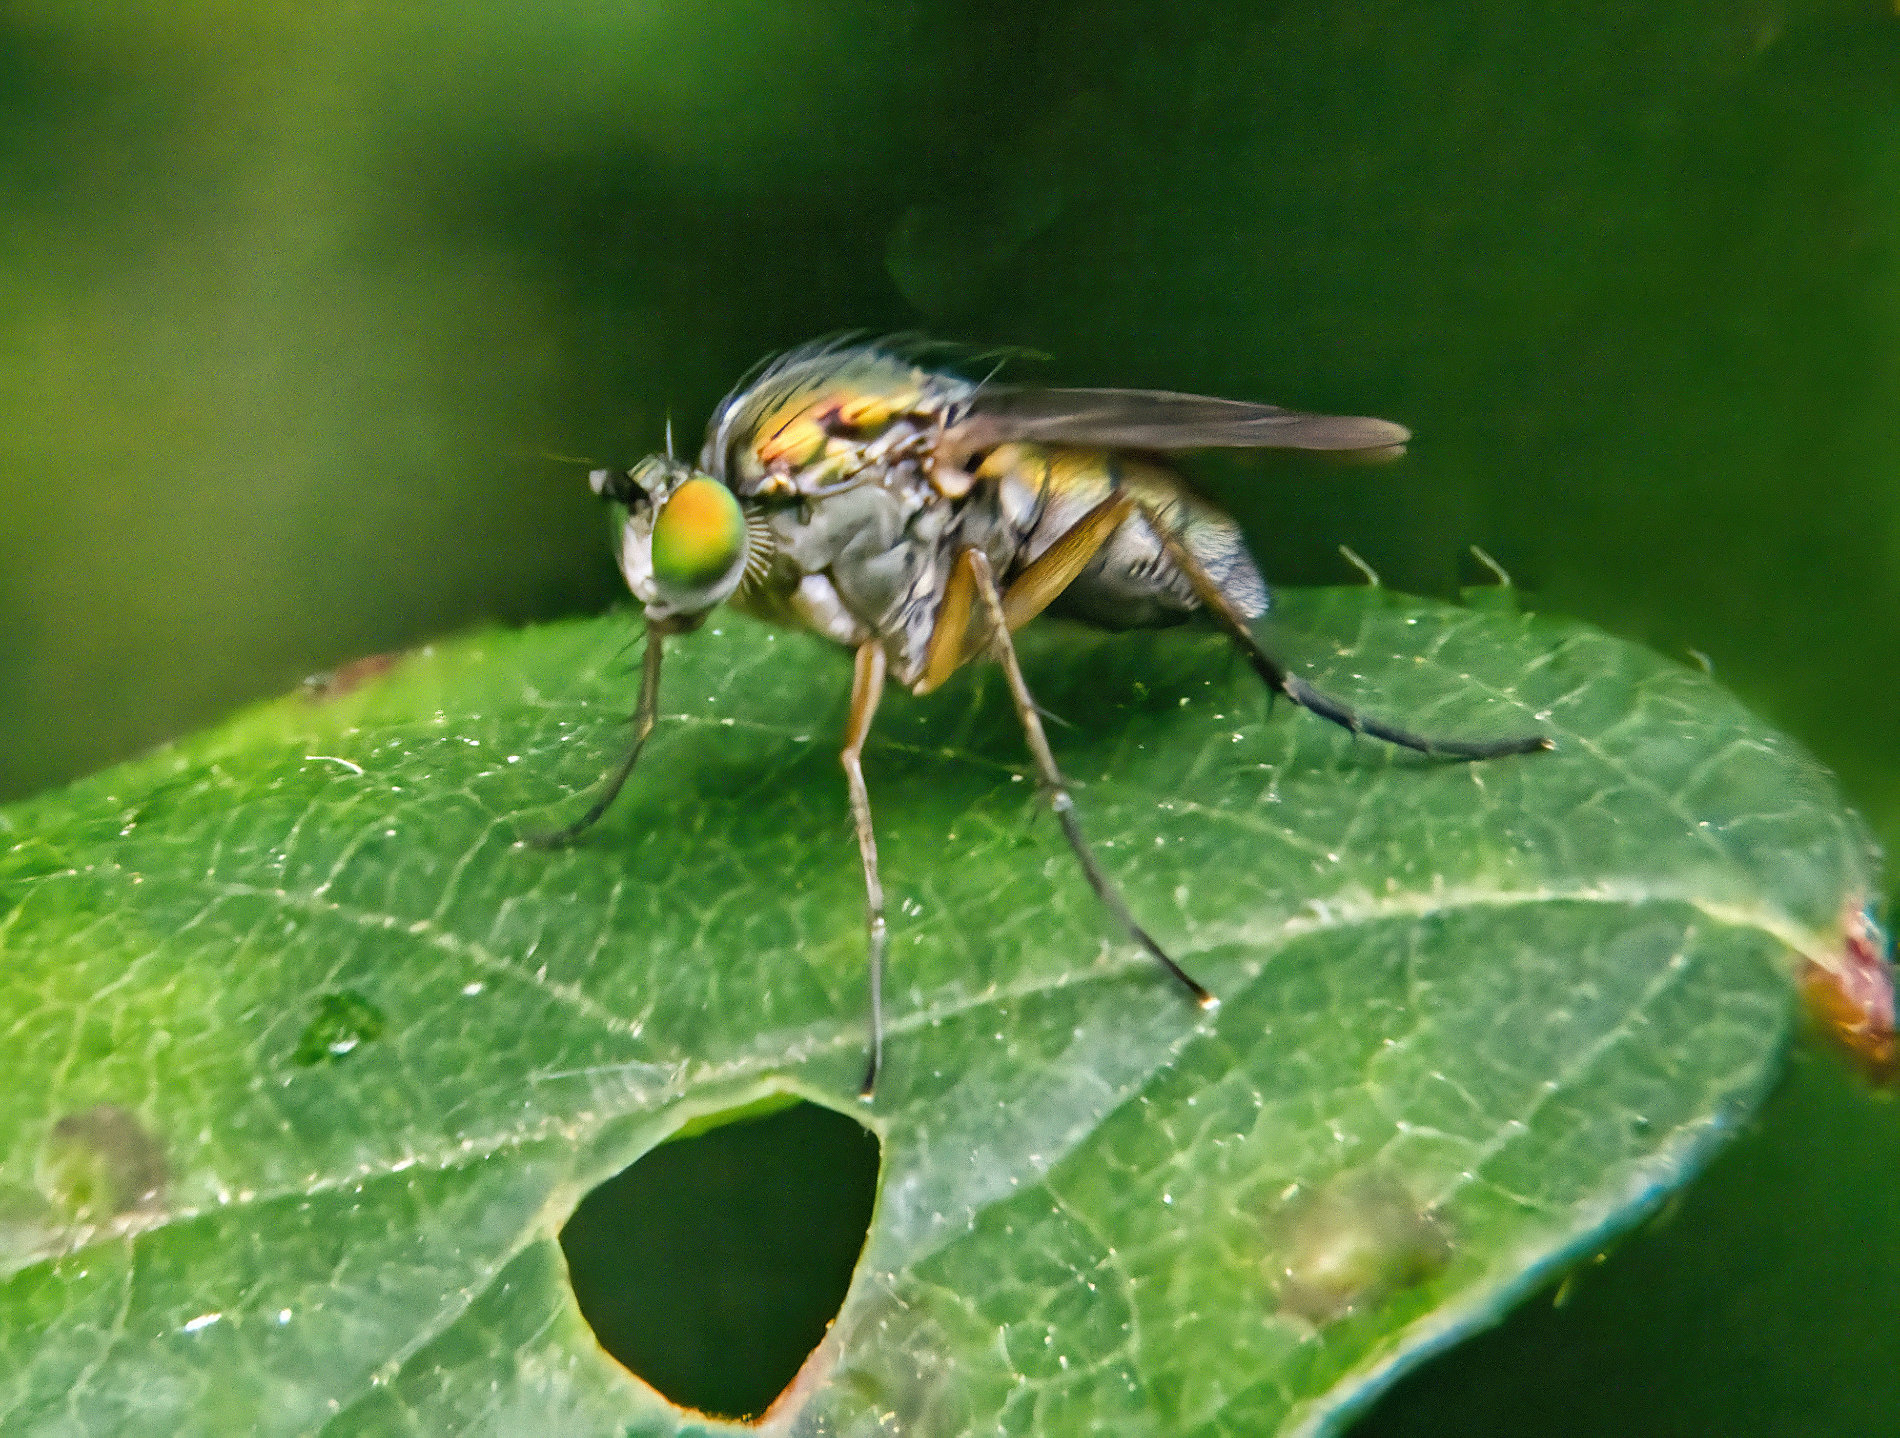
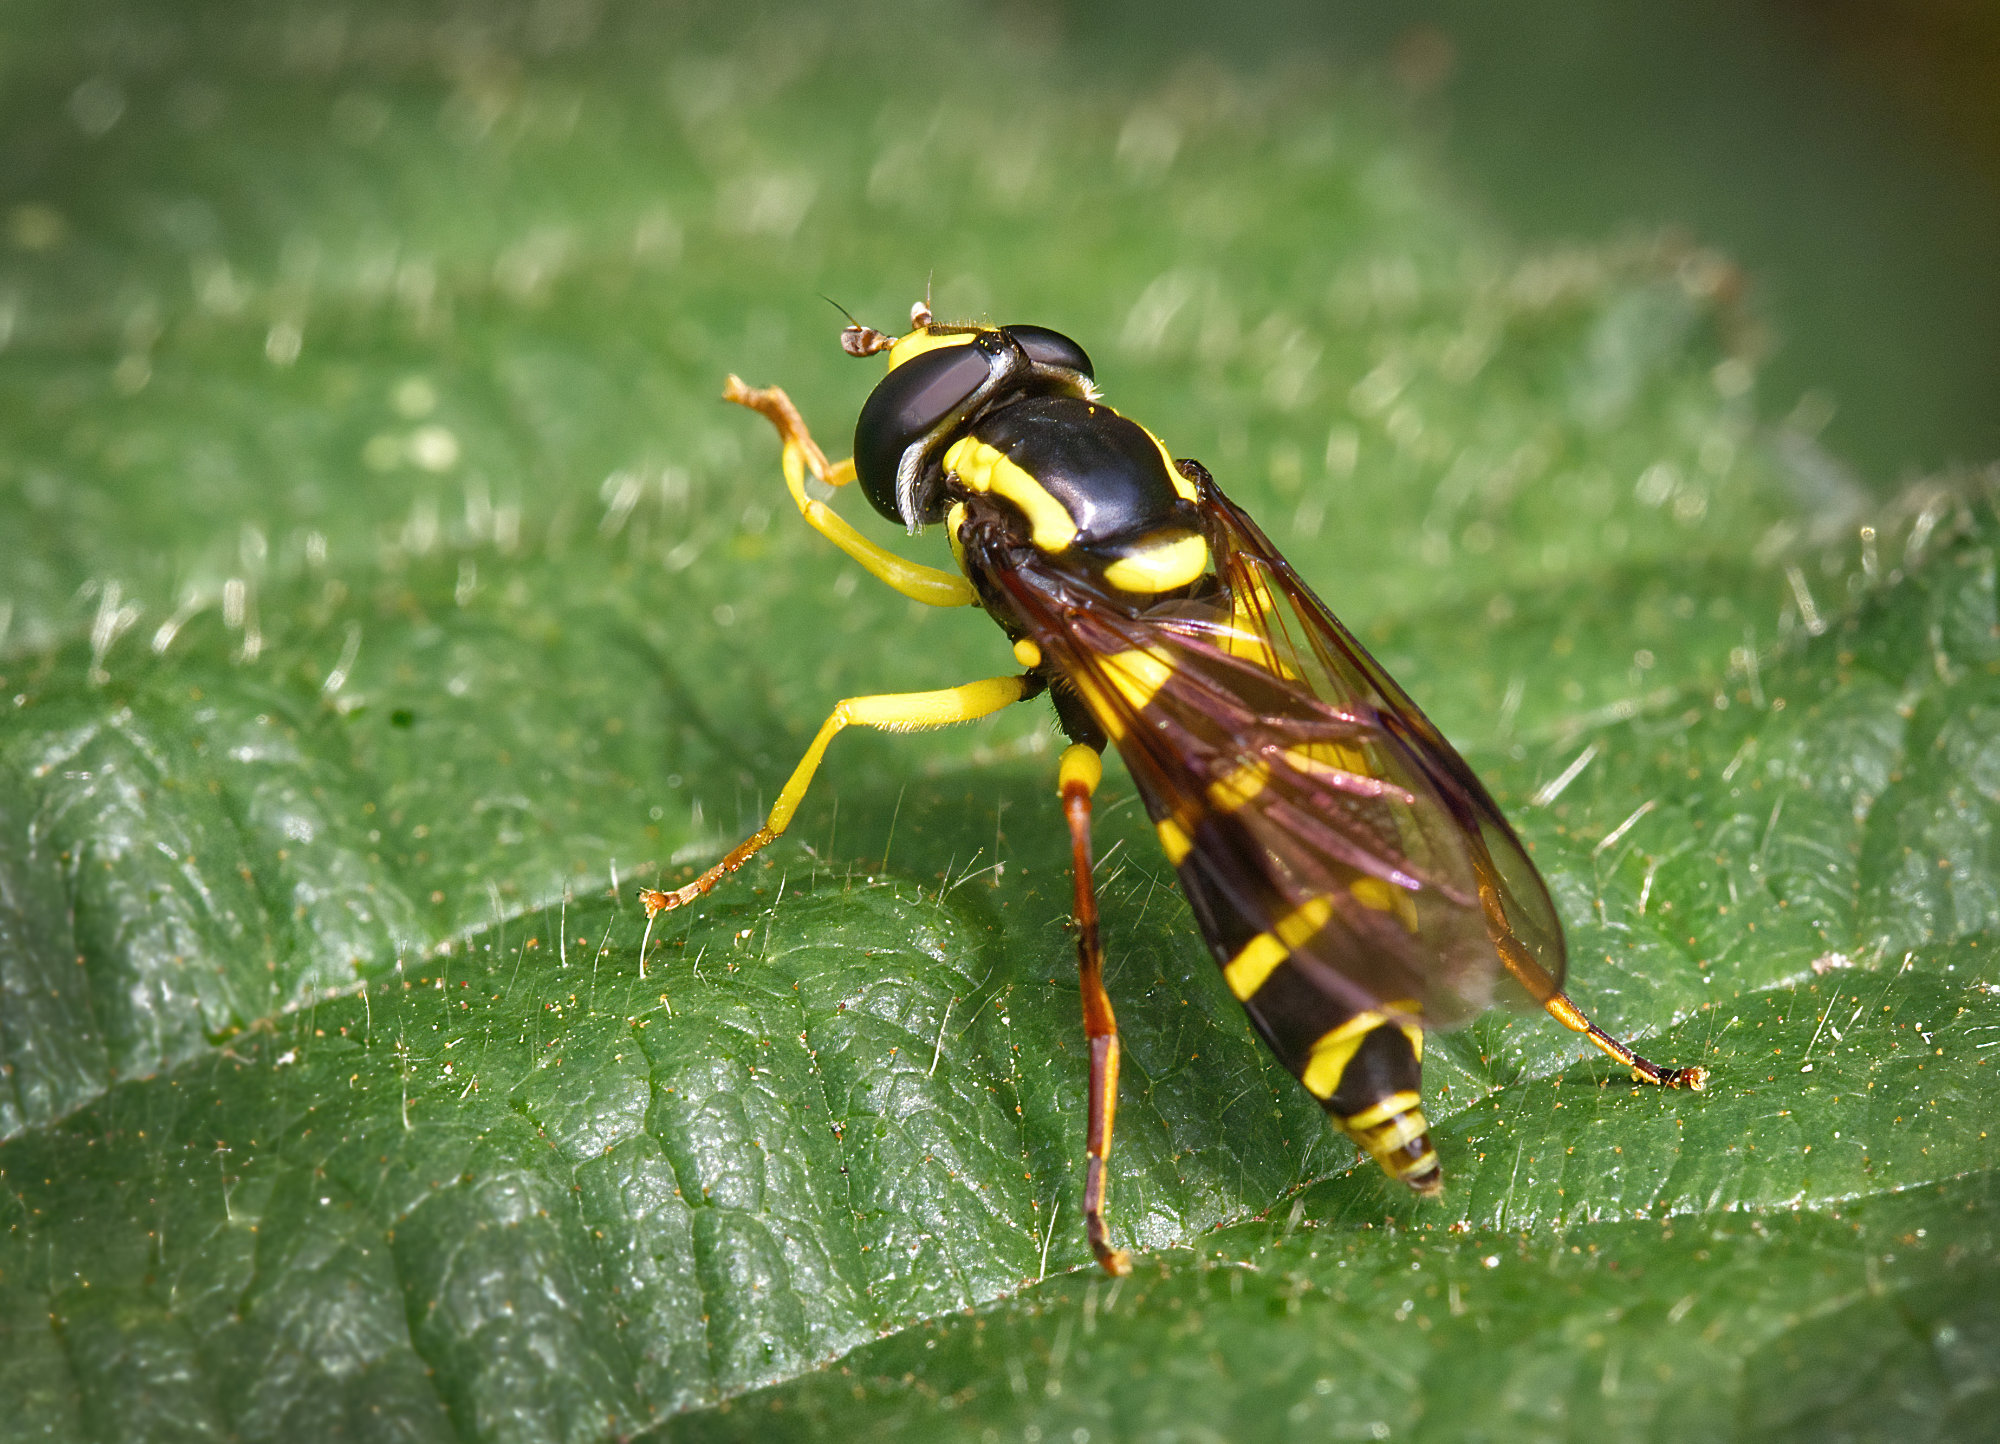
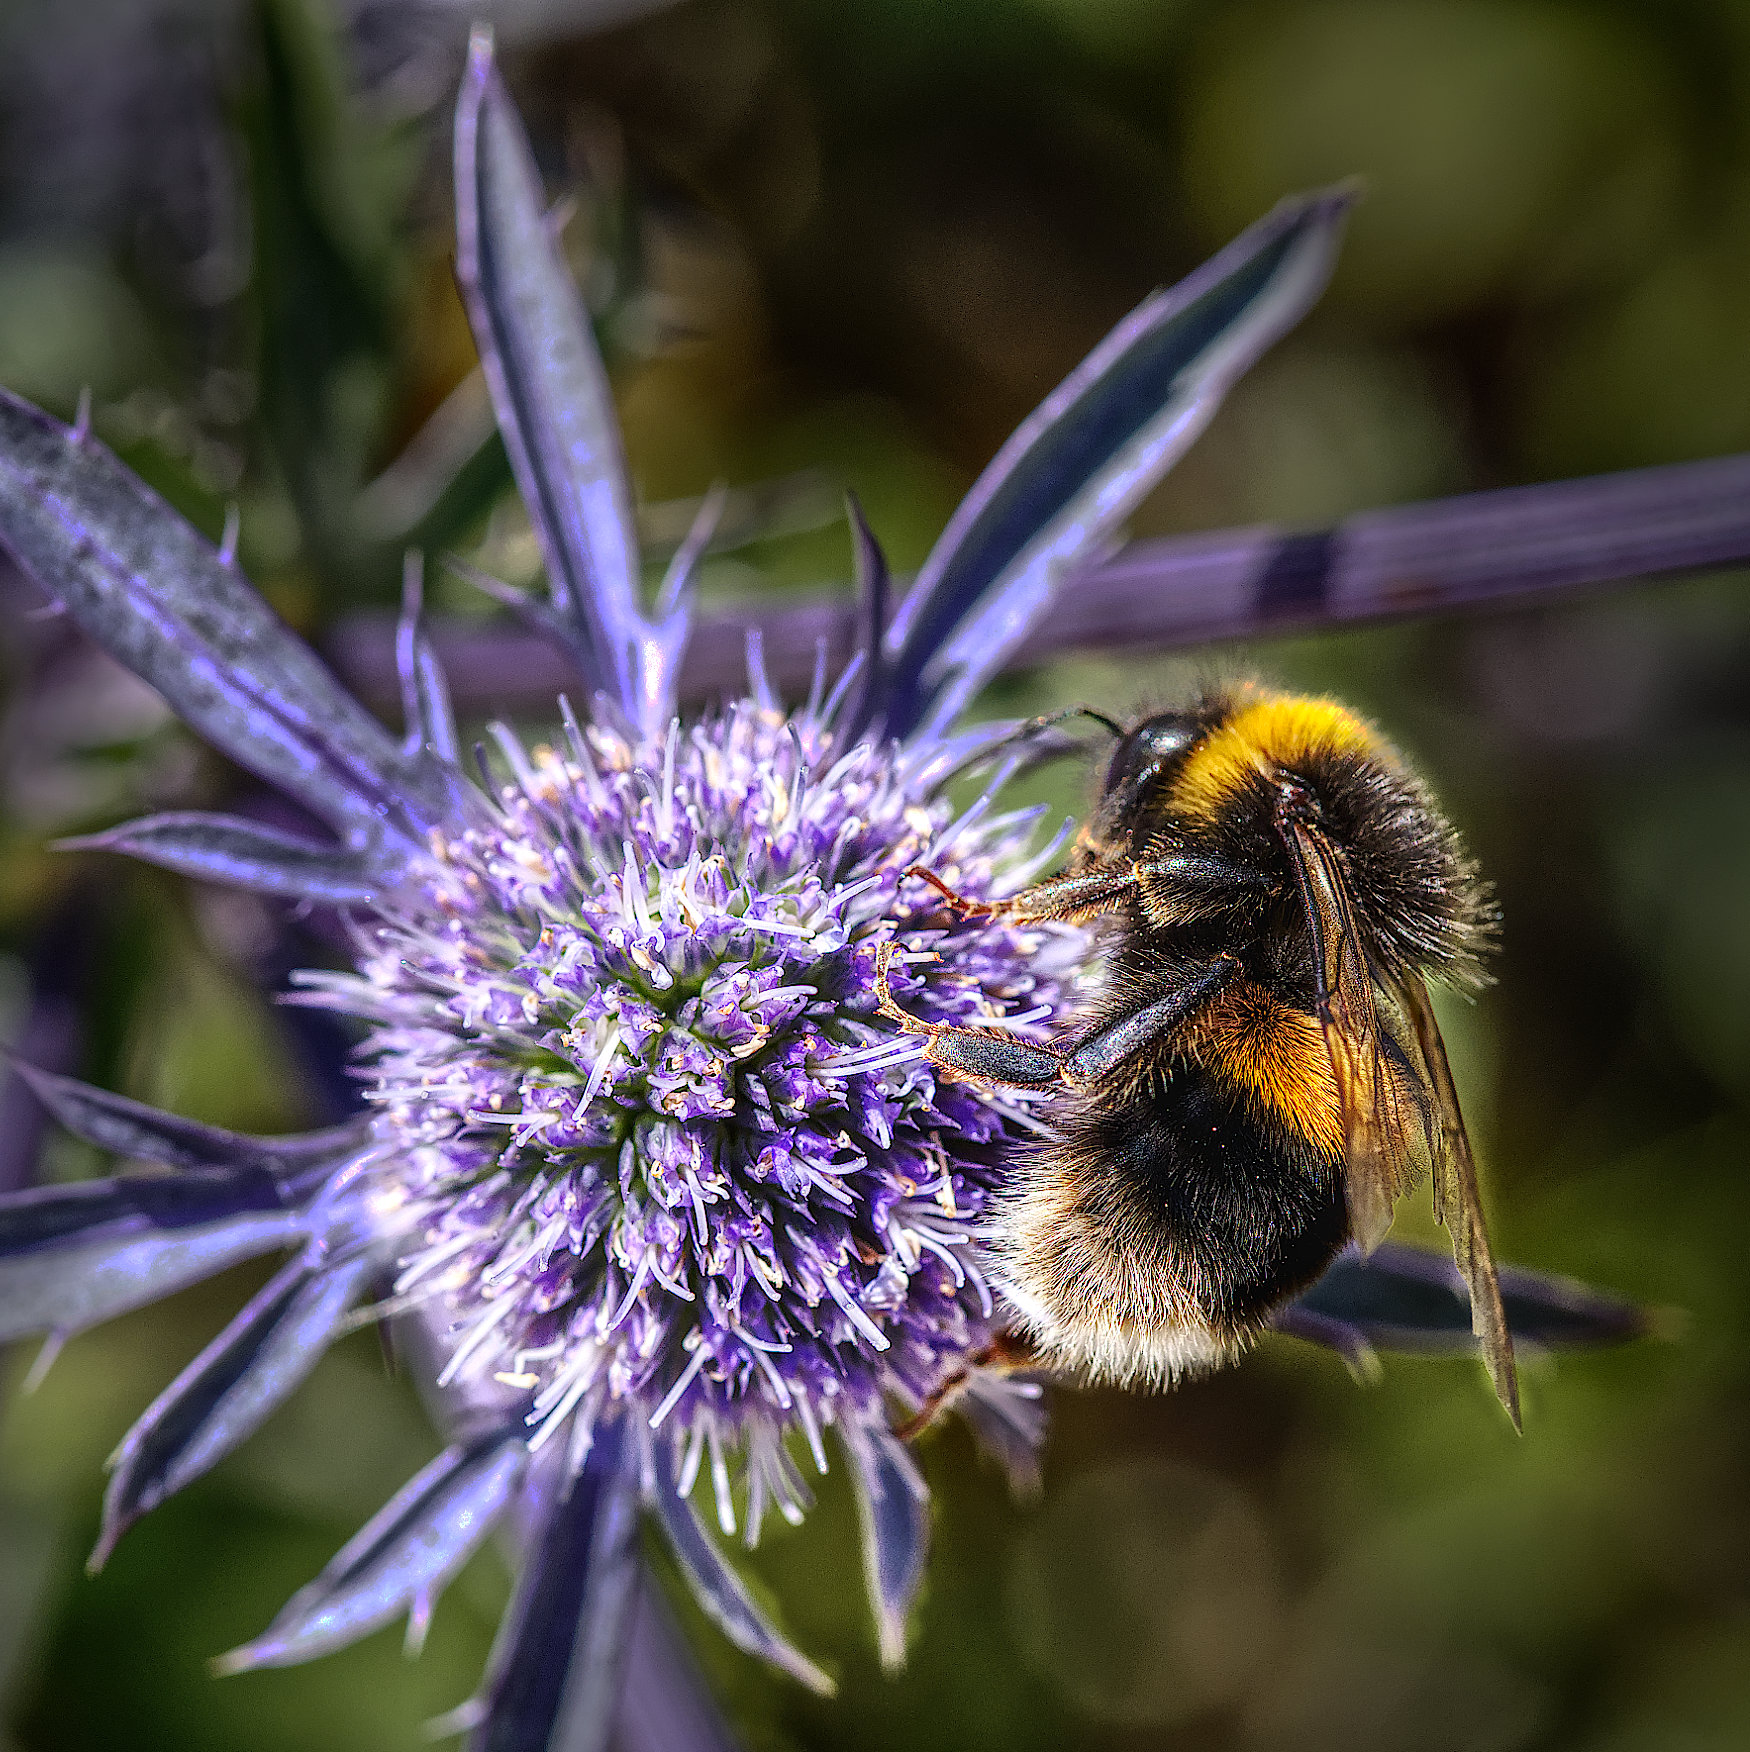
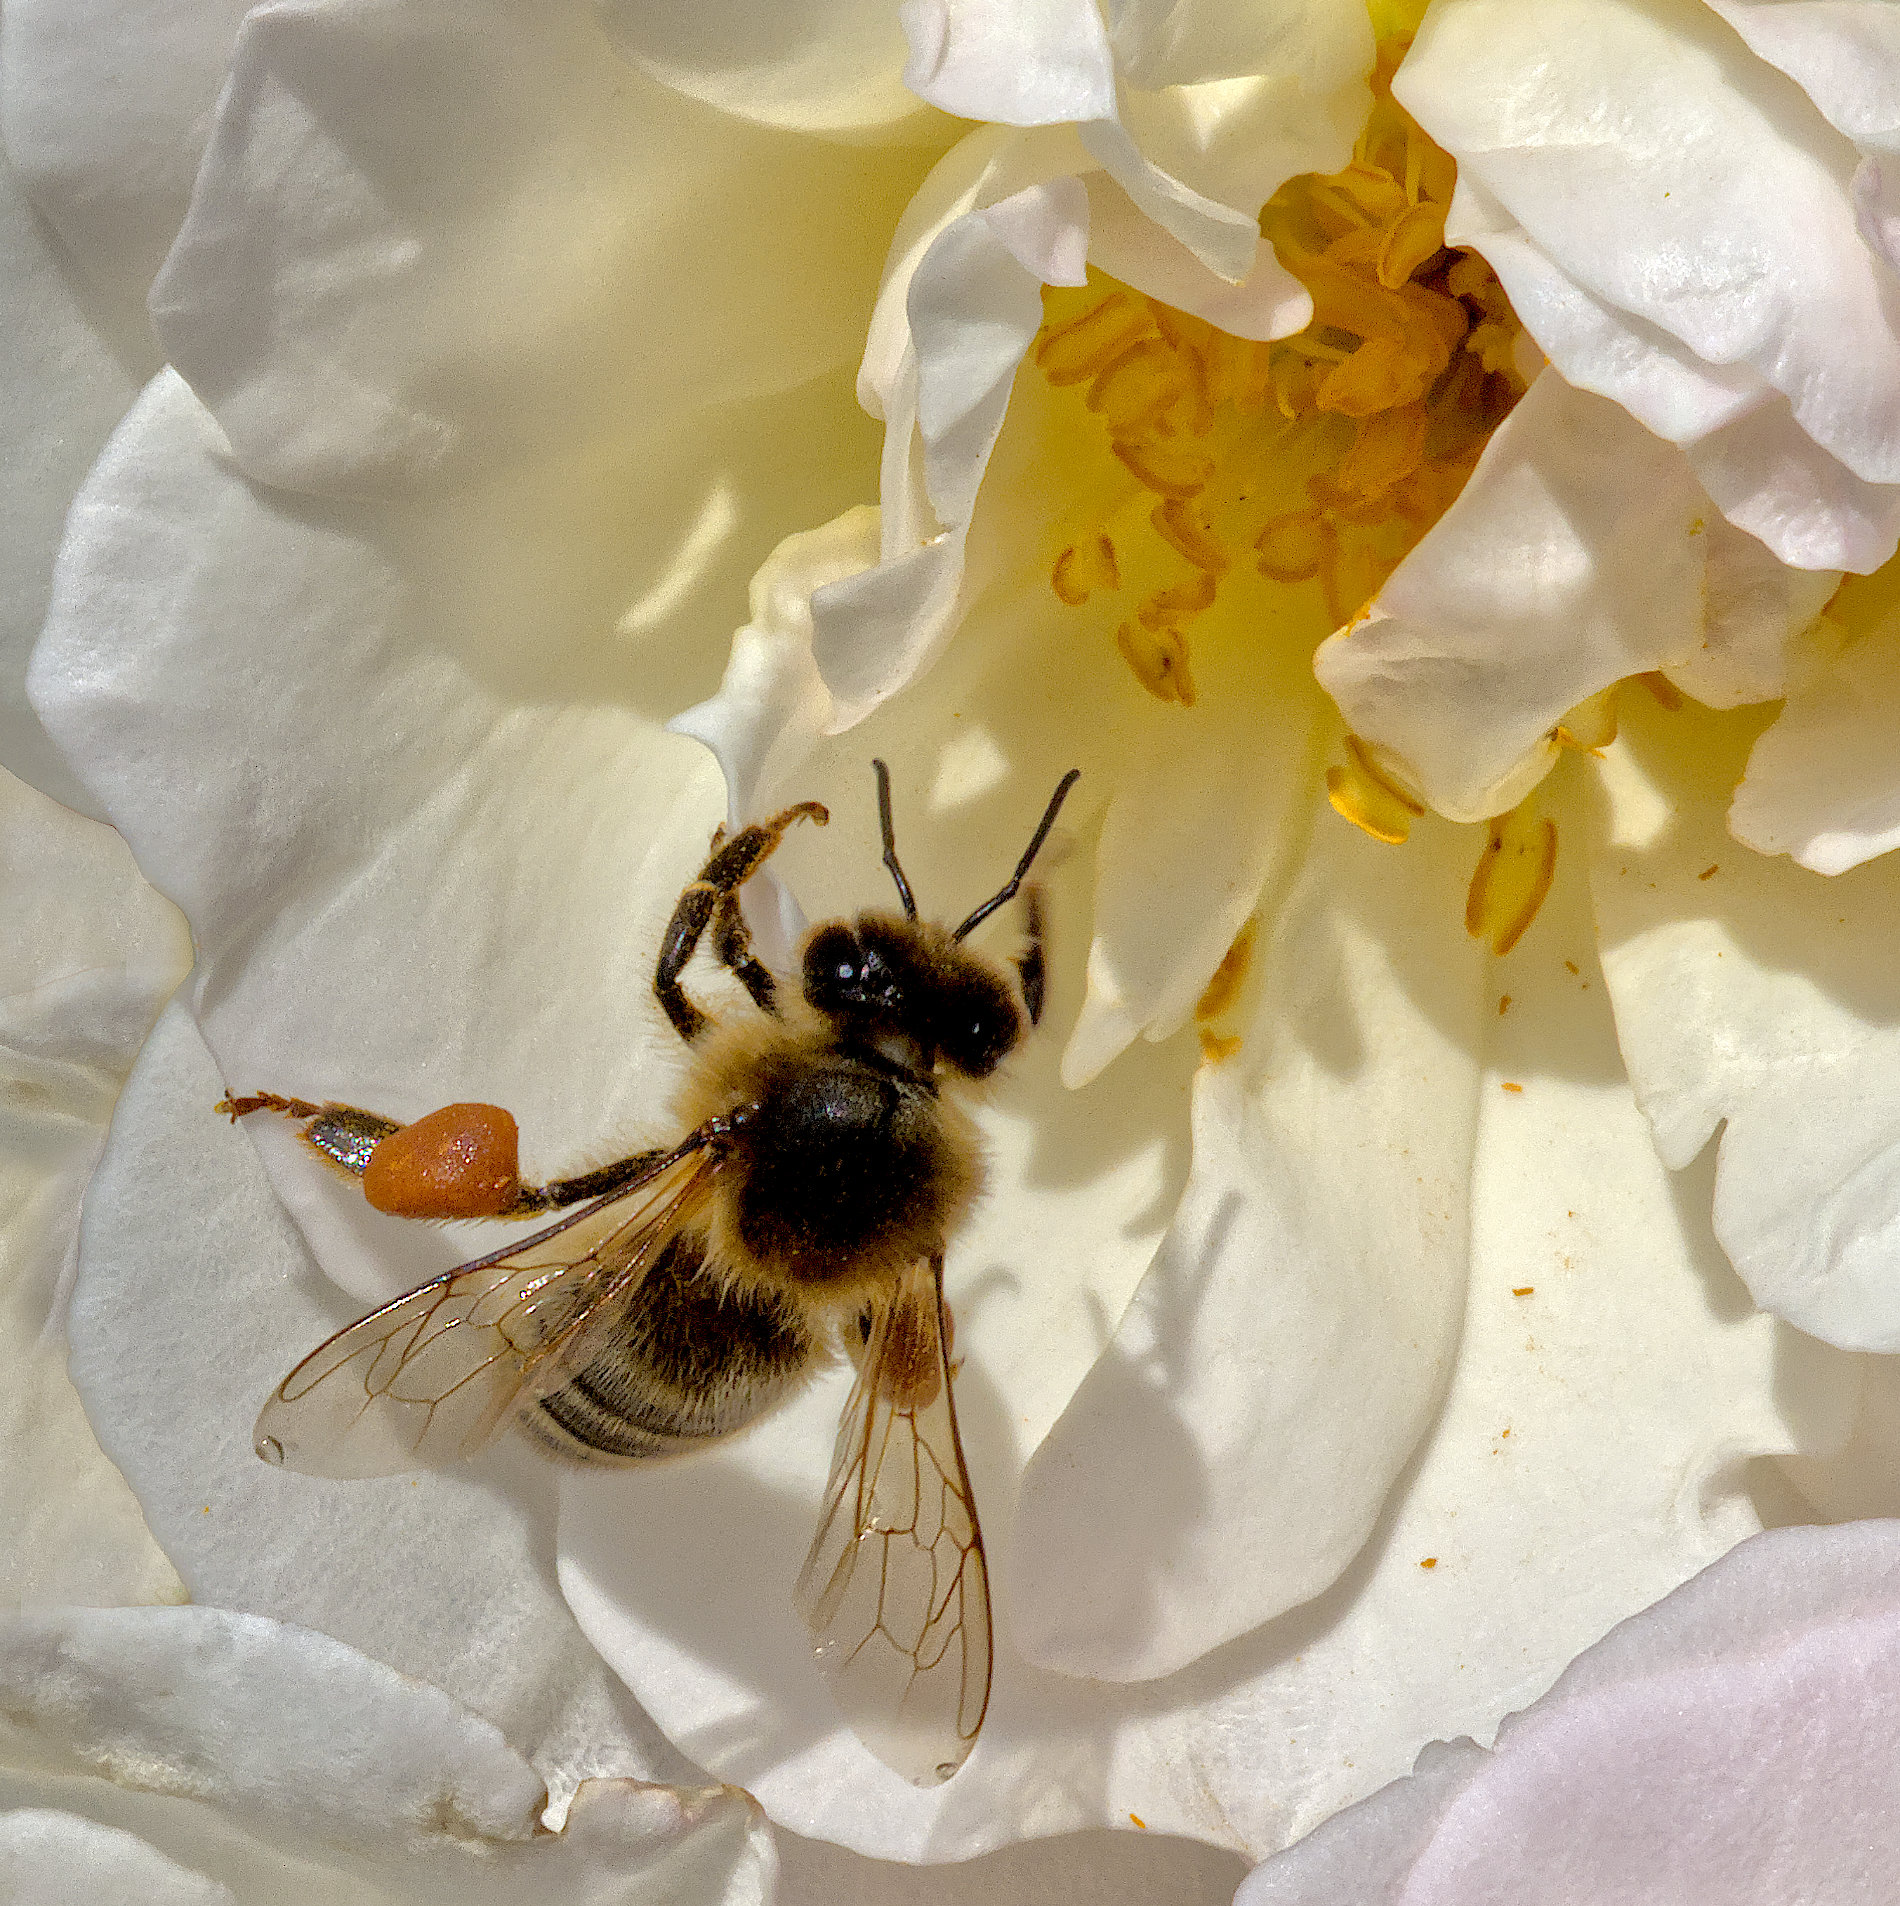
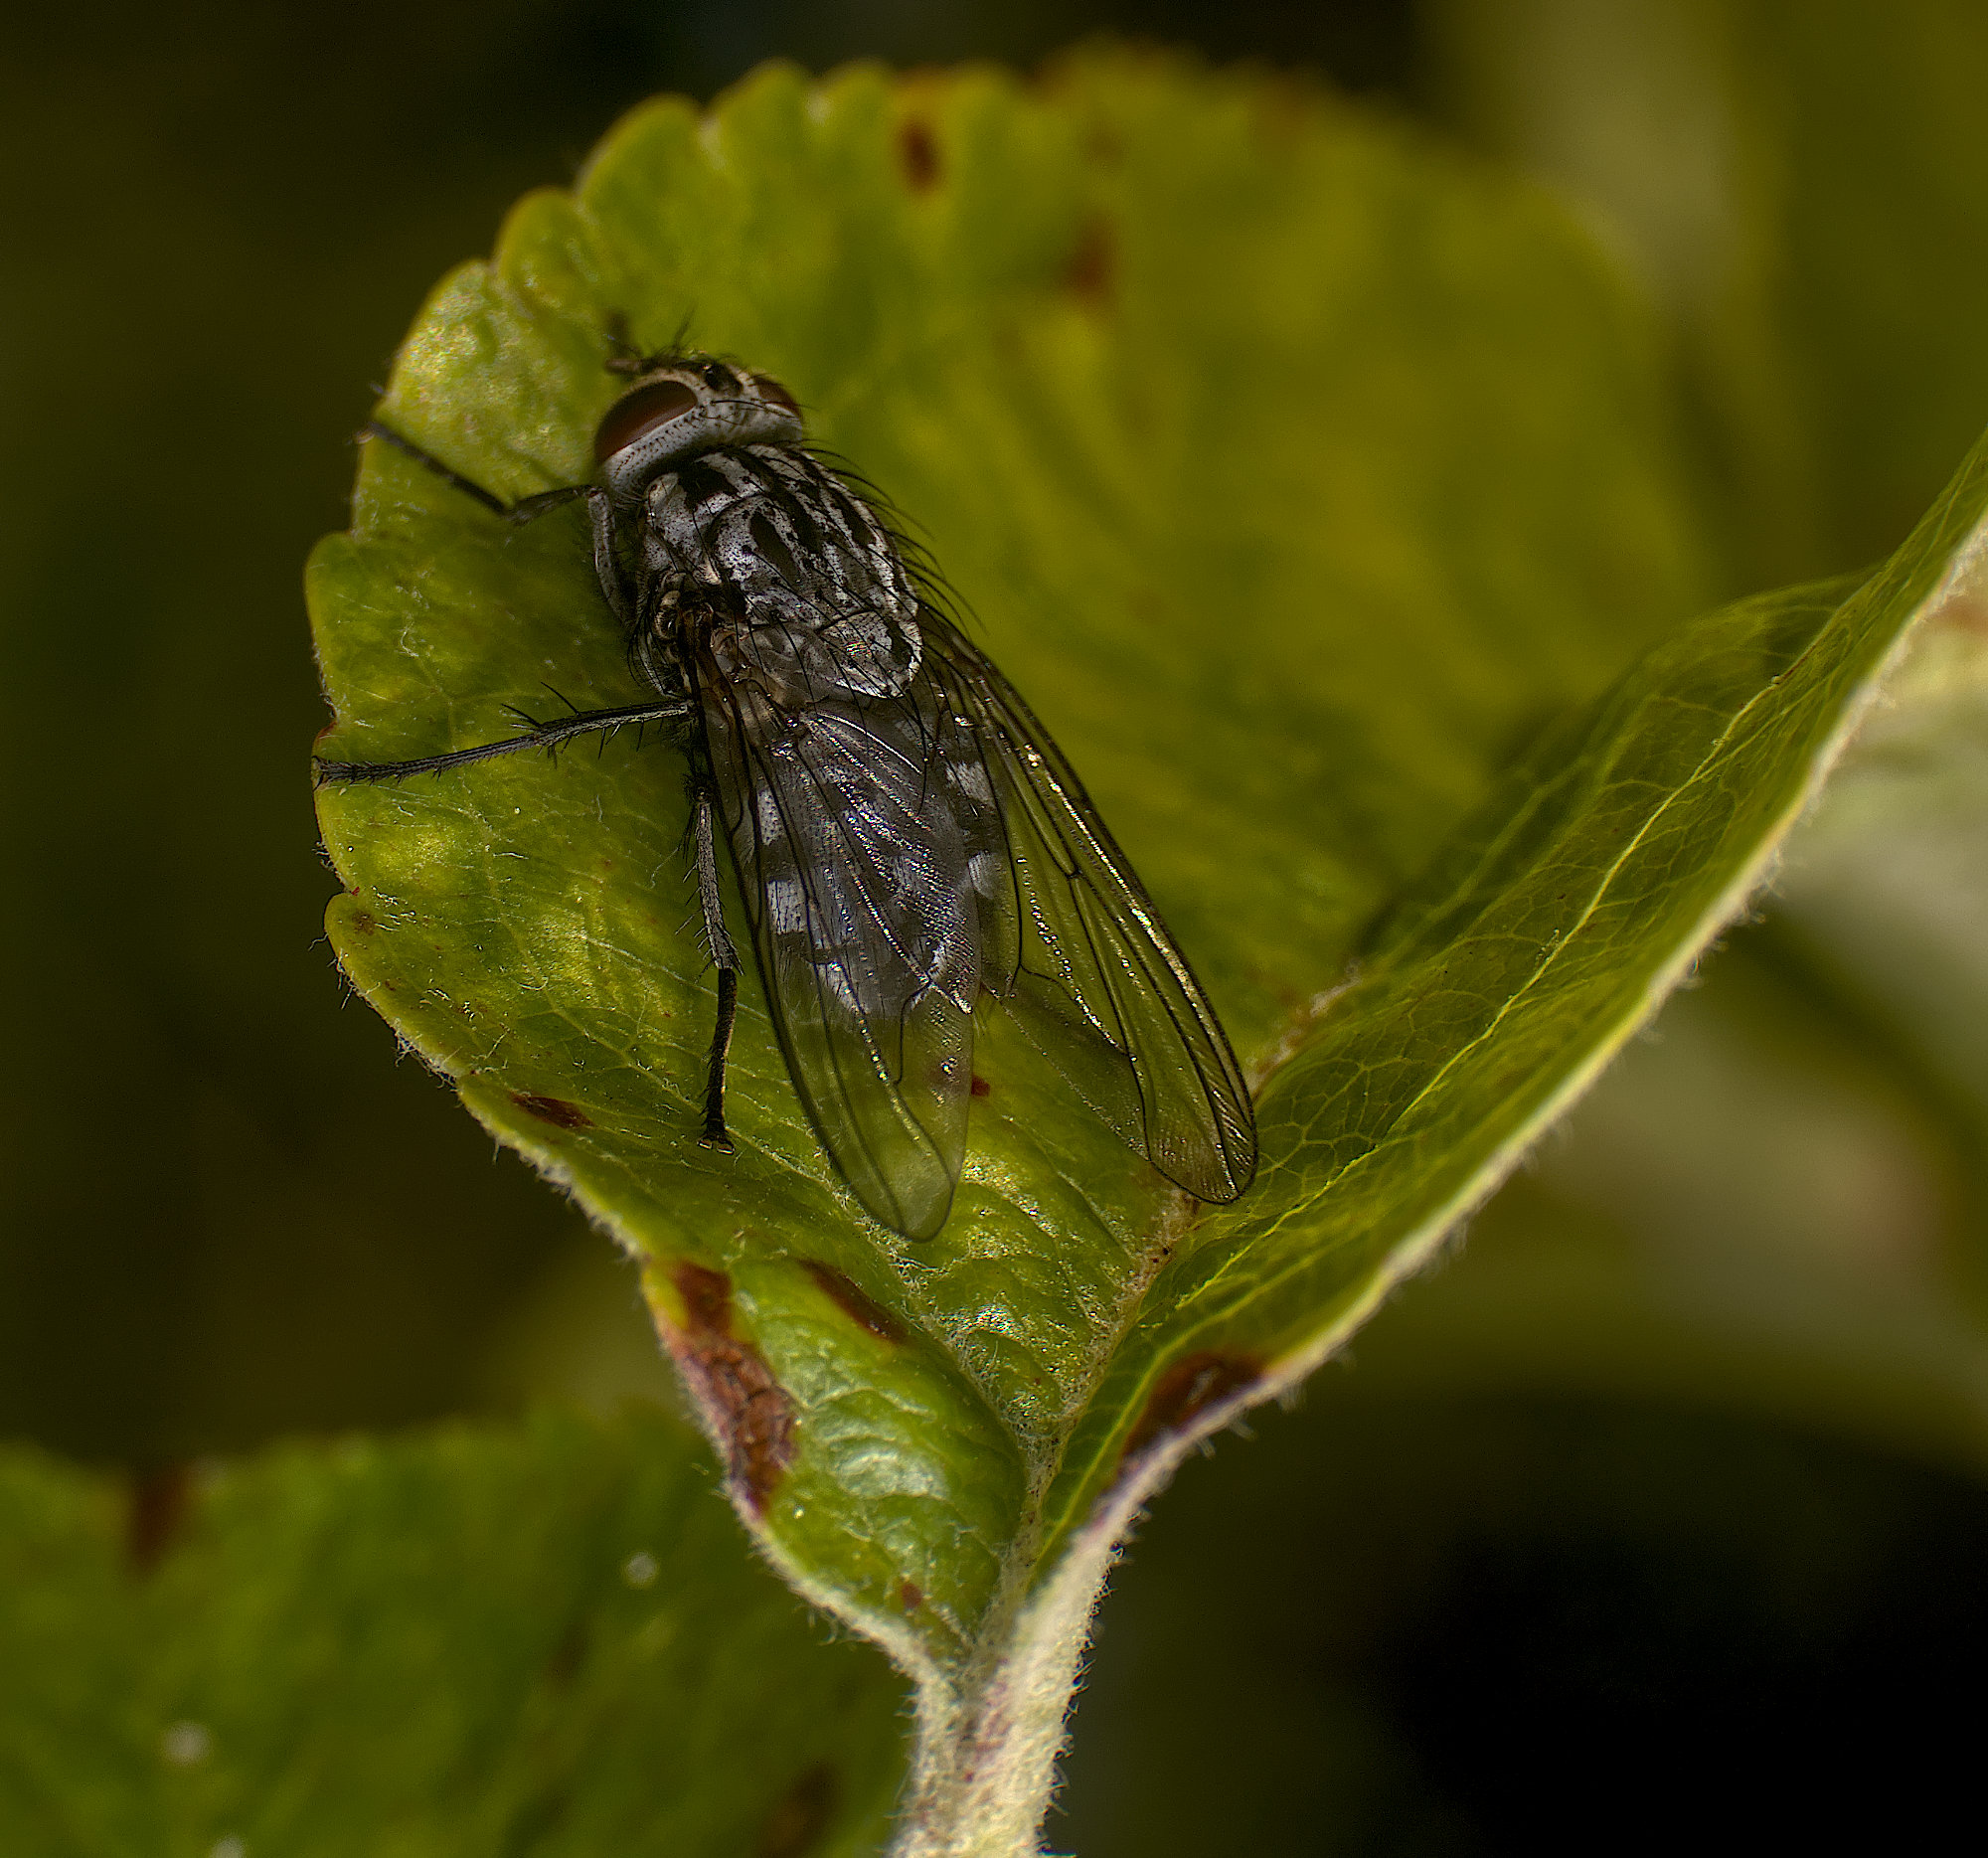
| 95 |
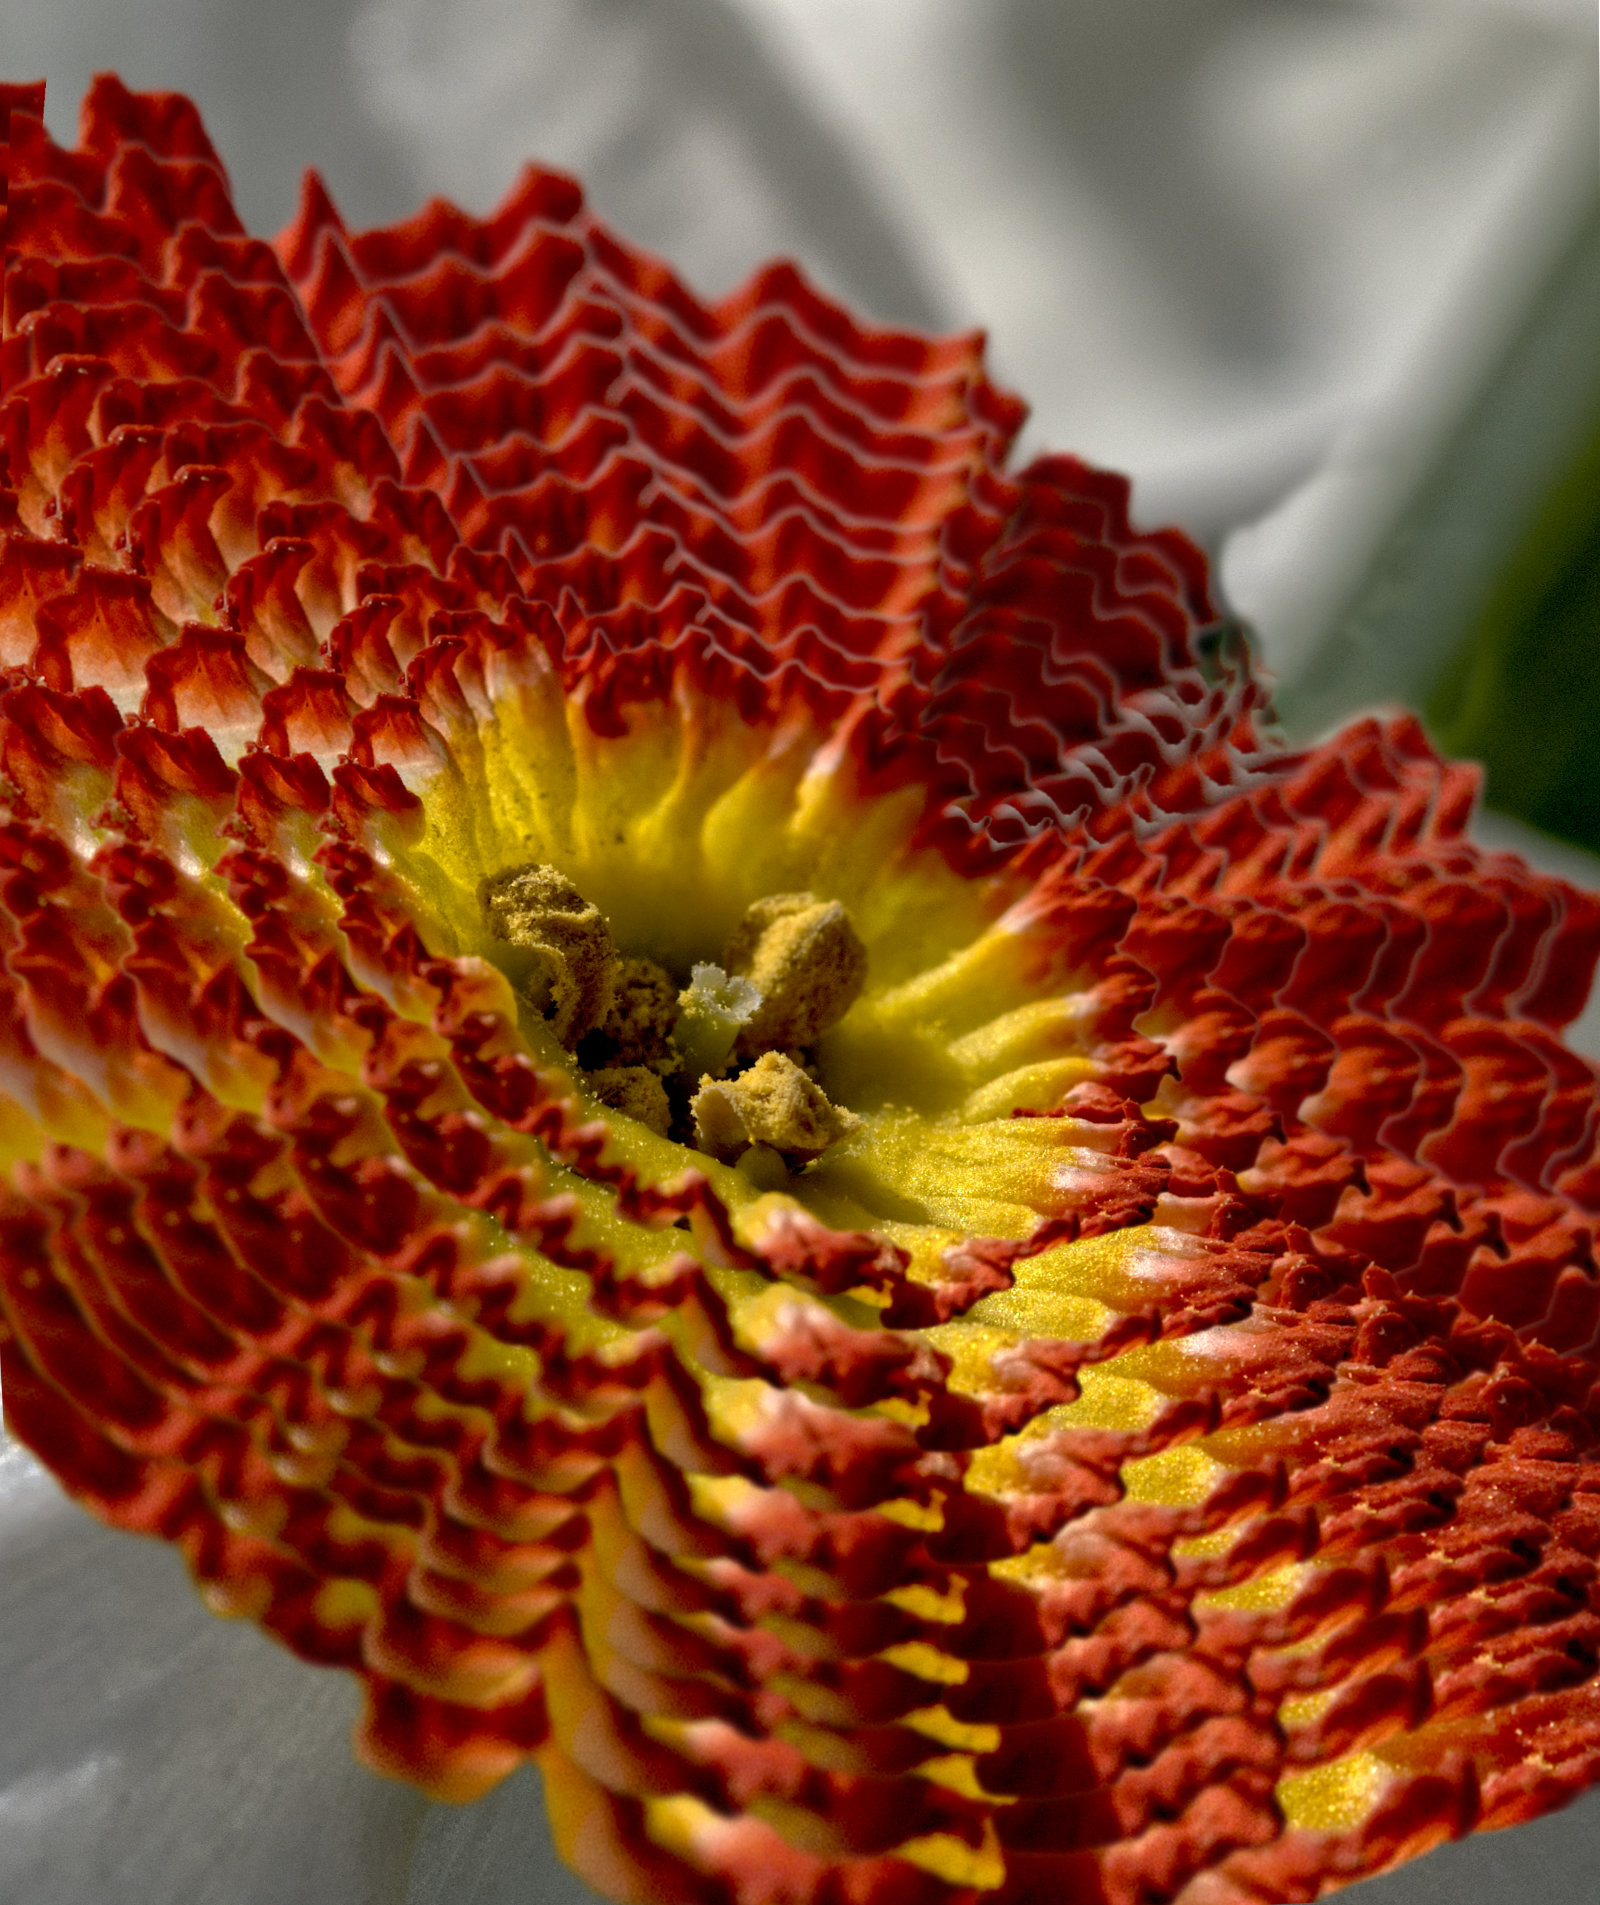
Aug 23 |
Comment |
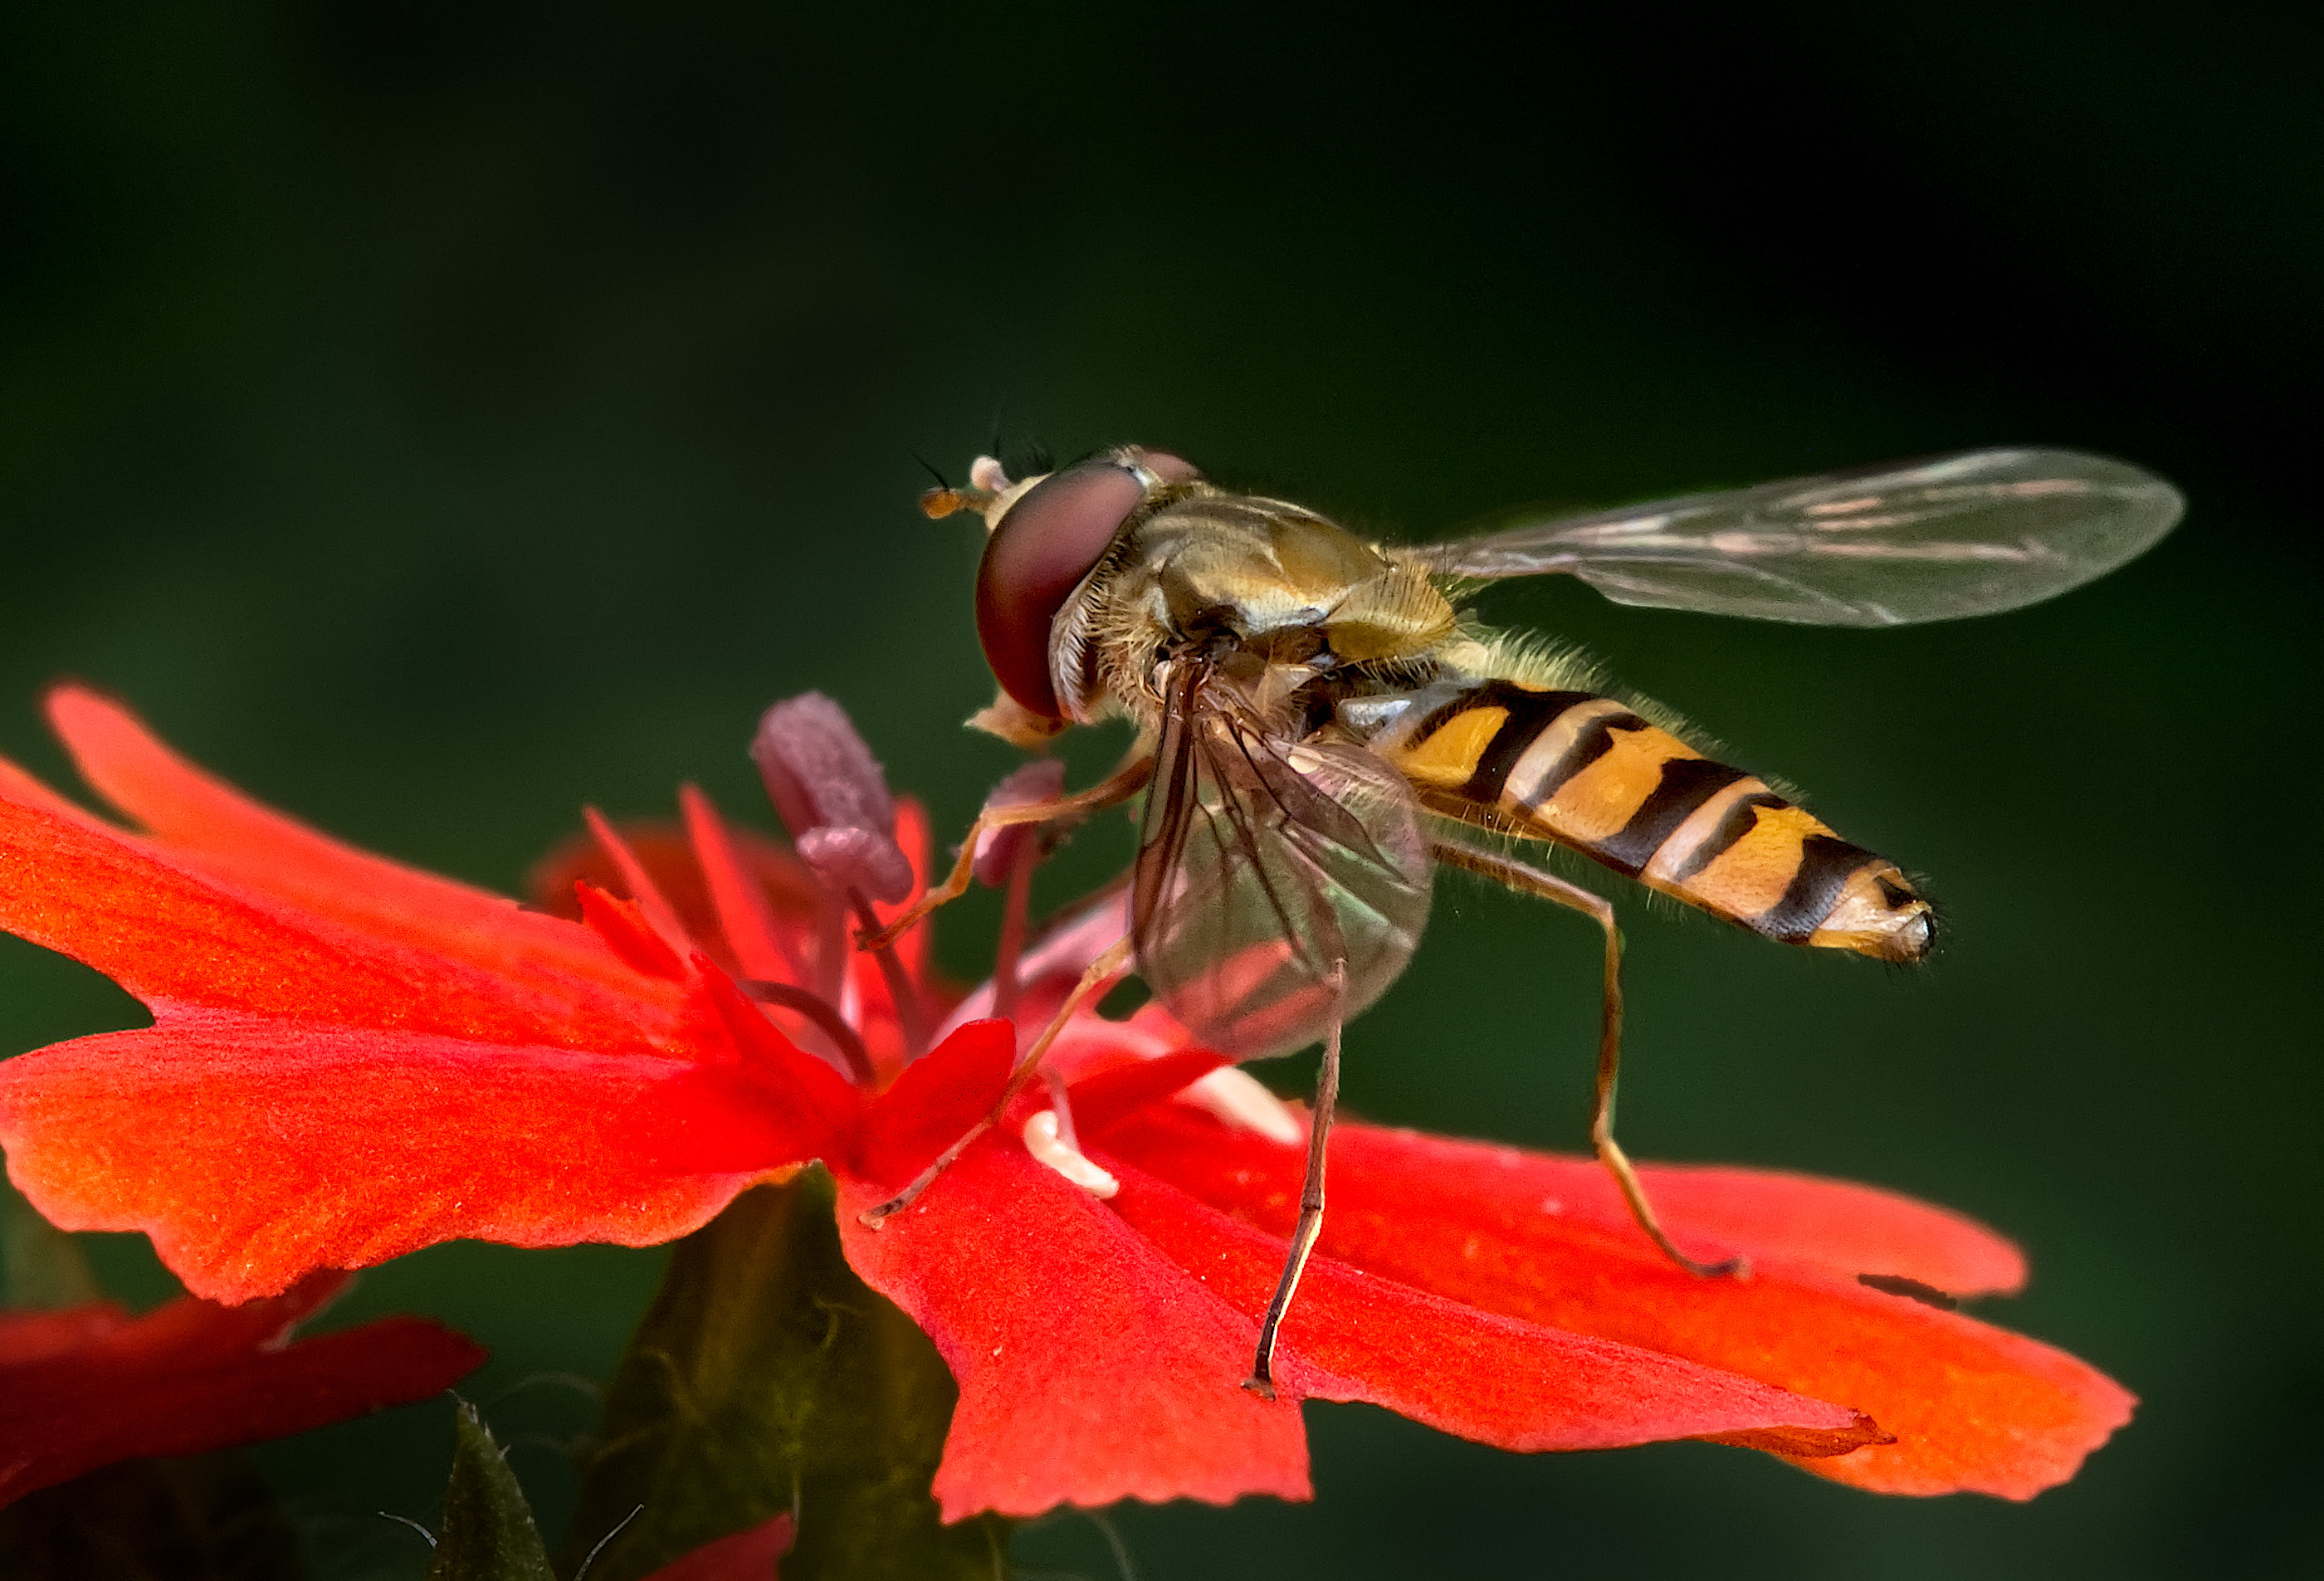
Different to your usual style, Carol, I guess you are more "focussed" (pardon the pun) on using that new lens. I had planned to buy one too, but I'm holding back at the moment depite my good initial impressions of a borrowed one.
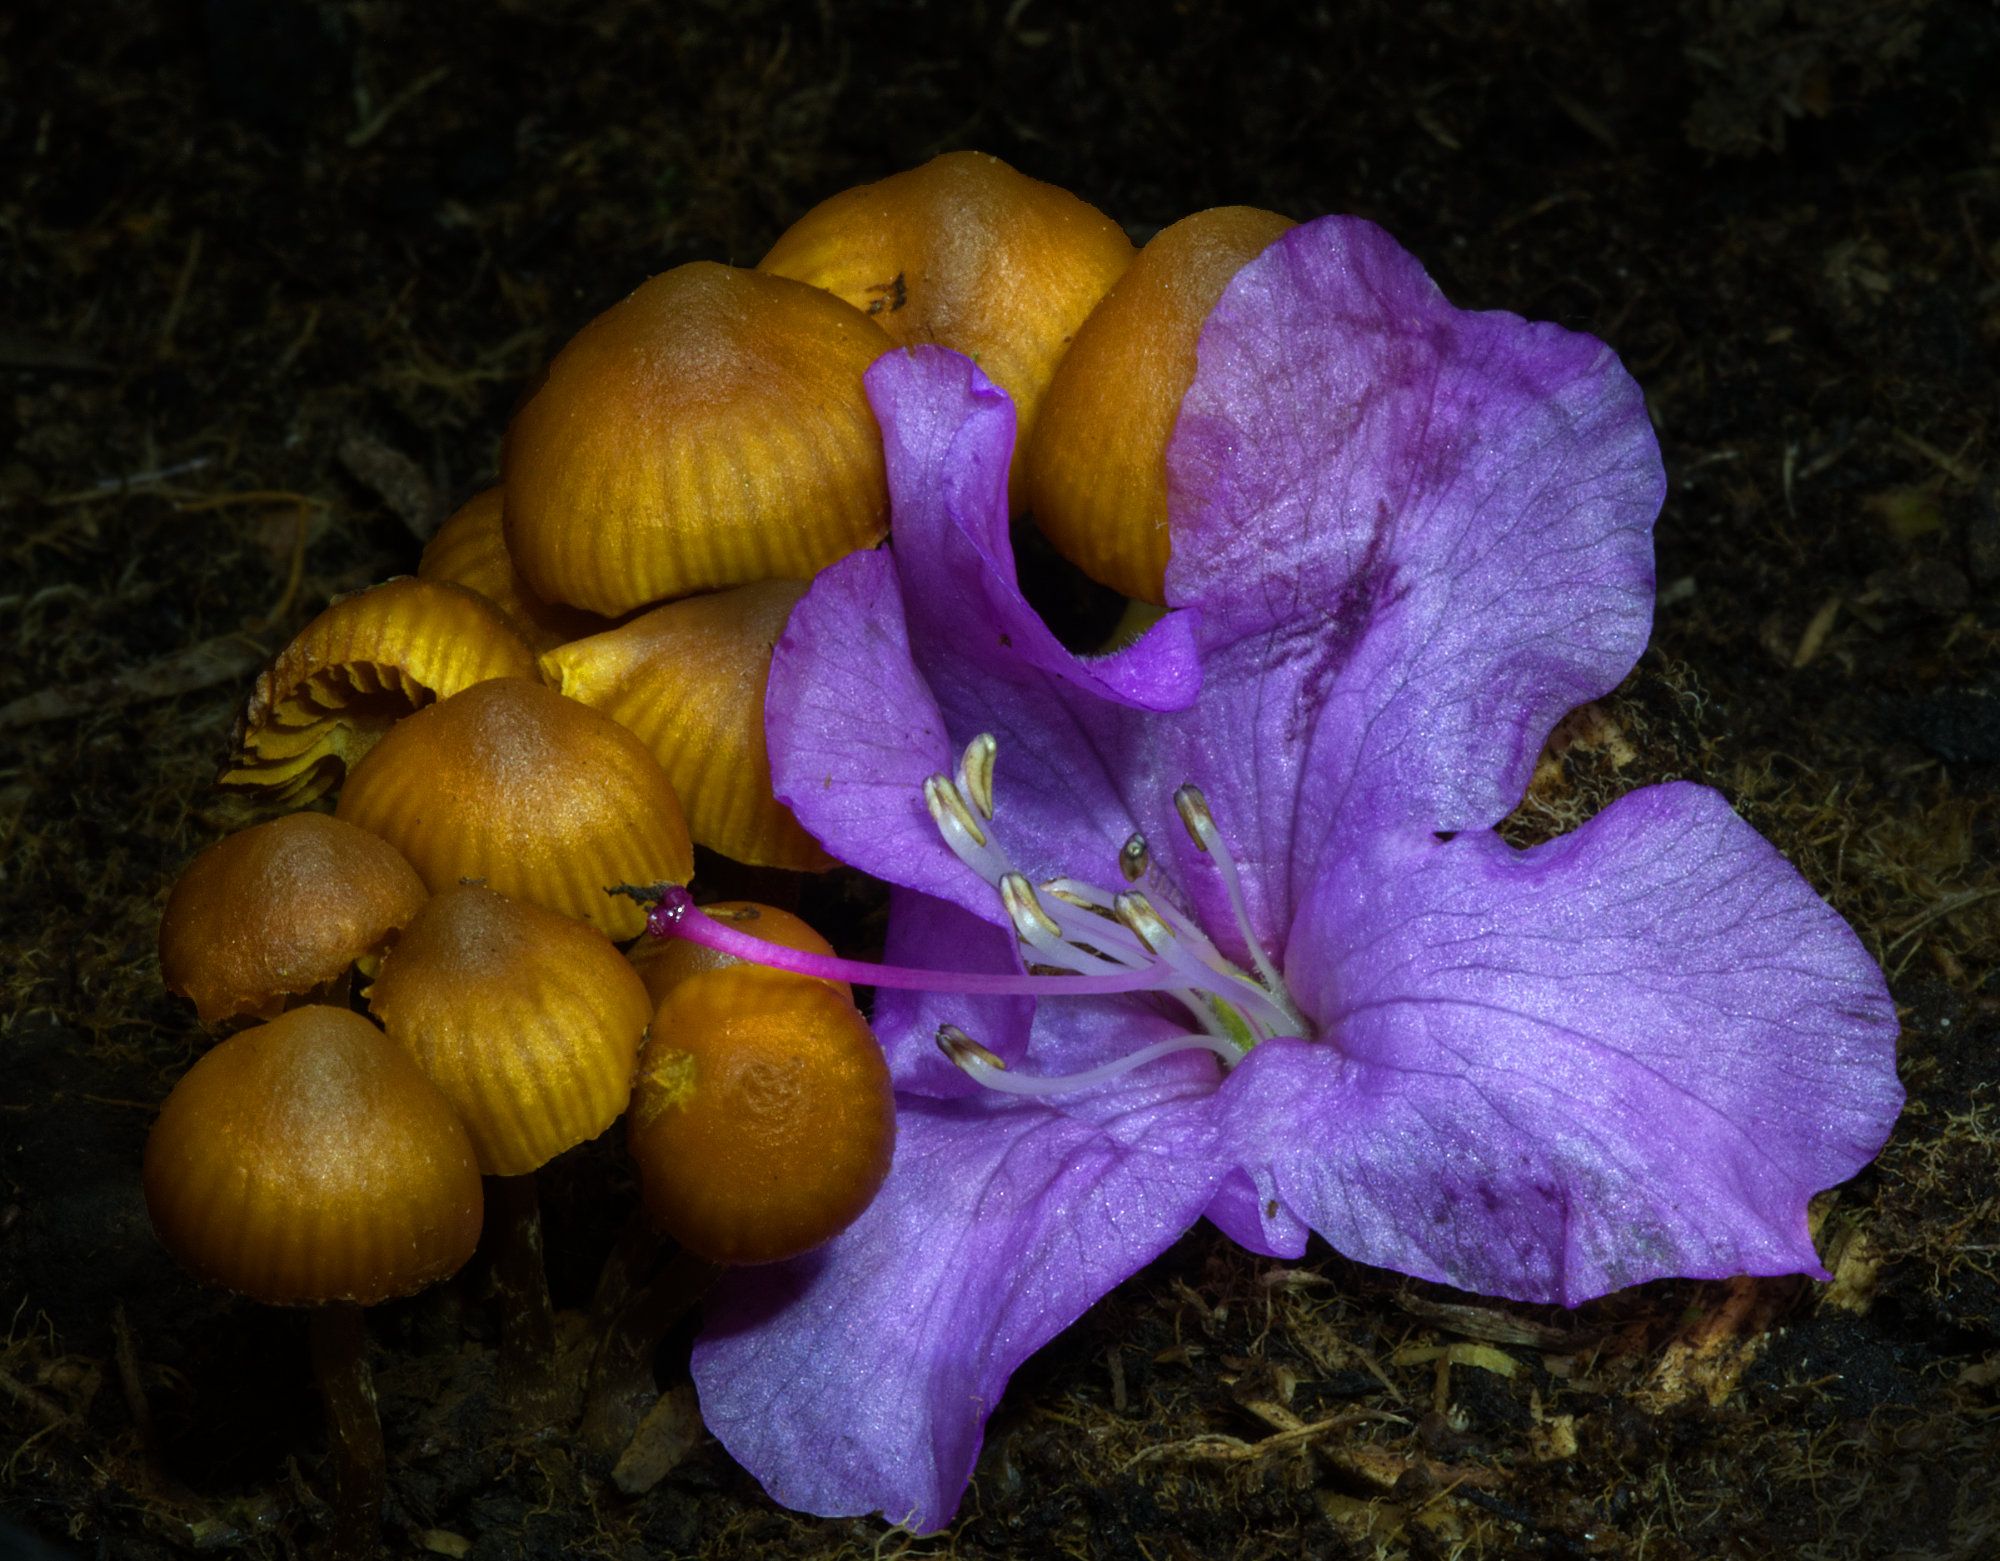
This image is quite pleasant,having a nice sharp bee (carrying a lot of baggage, I see!) and a pretty flower.
Areas for attention, IMHO, to improve it are:
1. Reduce the brightness of the wings
2. Darken the background
3. Clone out the bright spot, top left
4. Clone out the soft bud to the right of the flower
5. Clone out the black bits on a petal just above the bee
Yes, f11 or smaller would have perhaps made sharp the front of the flower. I'm finding that f16 or f22 on my 60mm macro is fine for most purposes, diffraction is not degrading the sharpness too much. |
Aug 23rd |
| 95 |
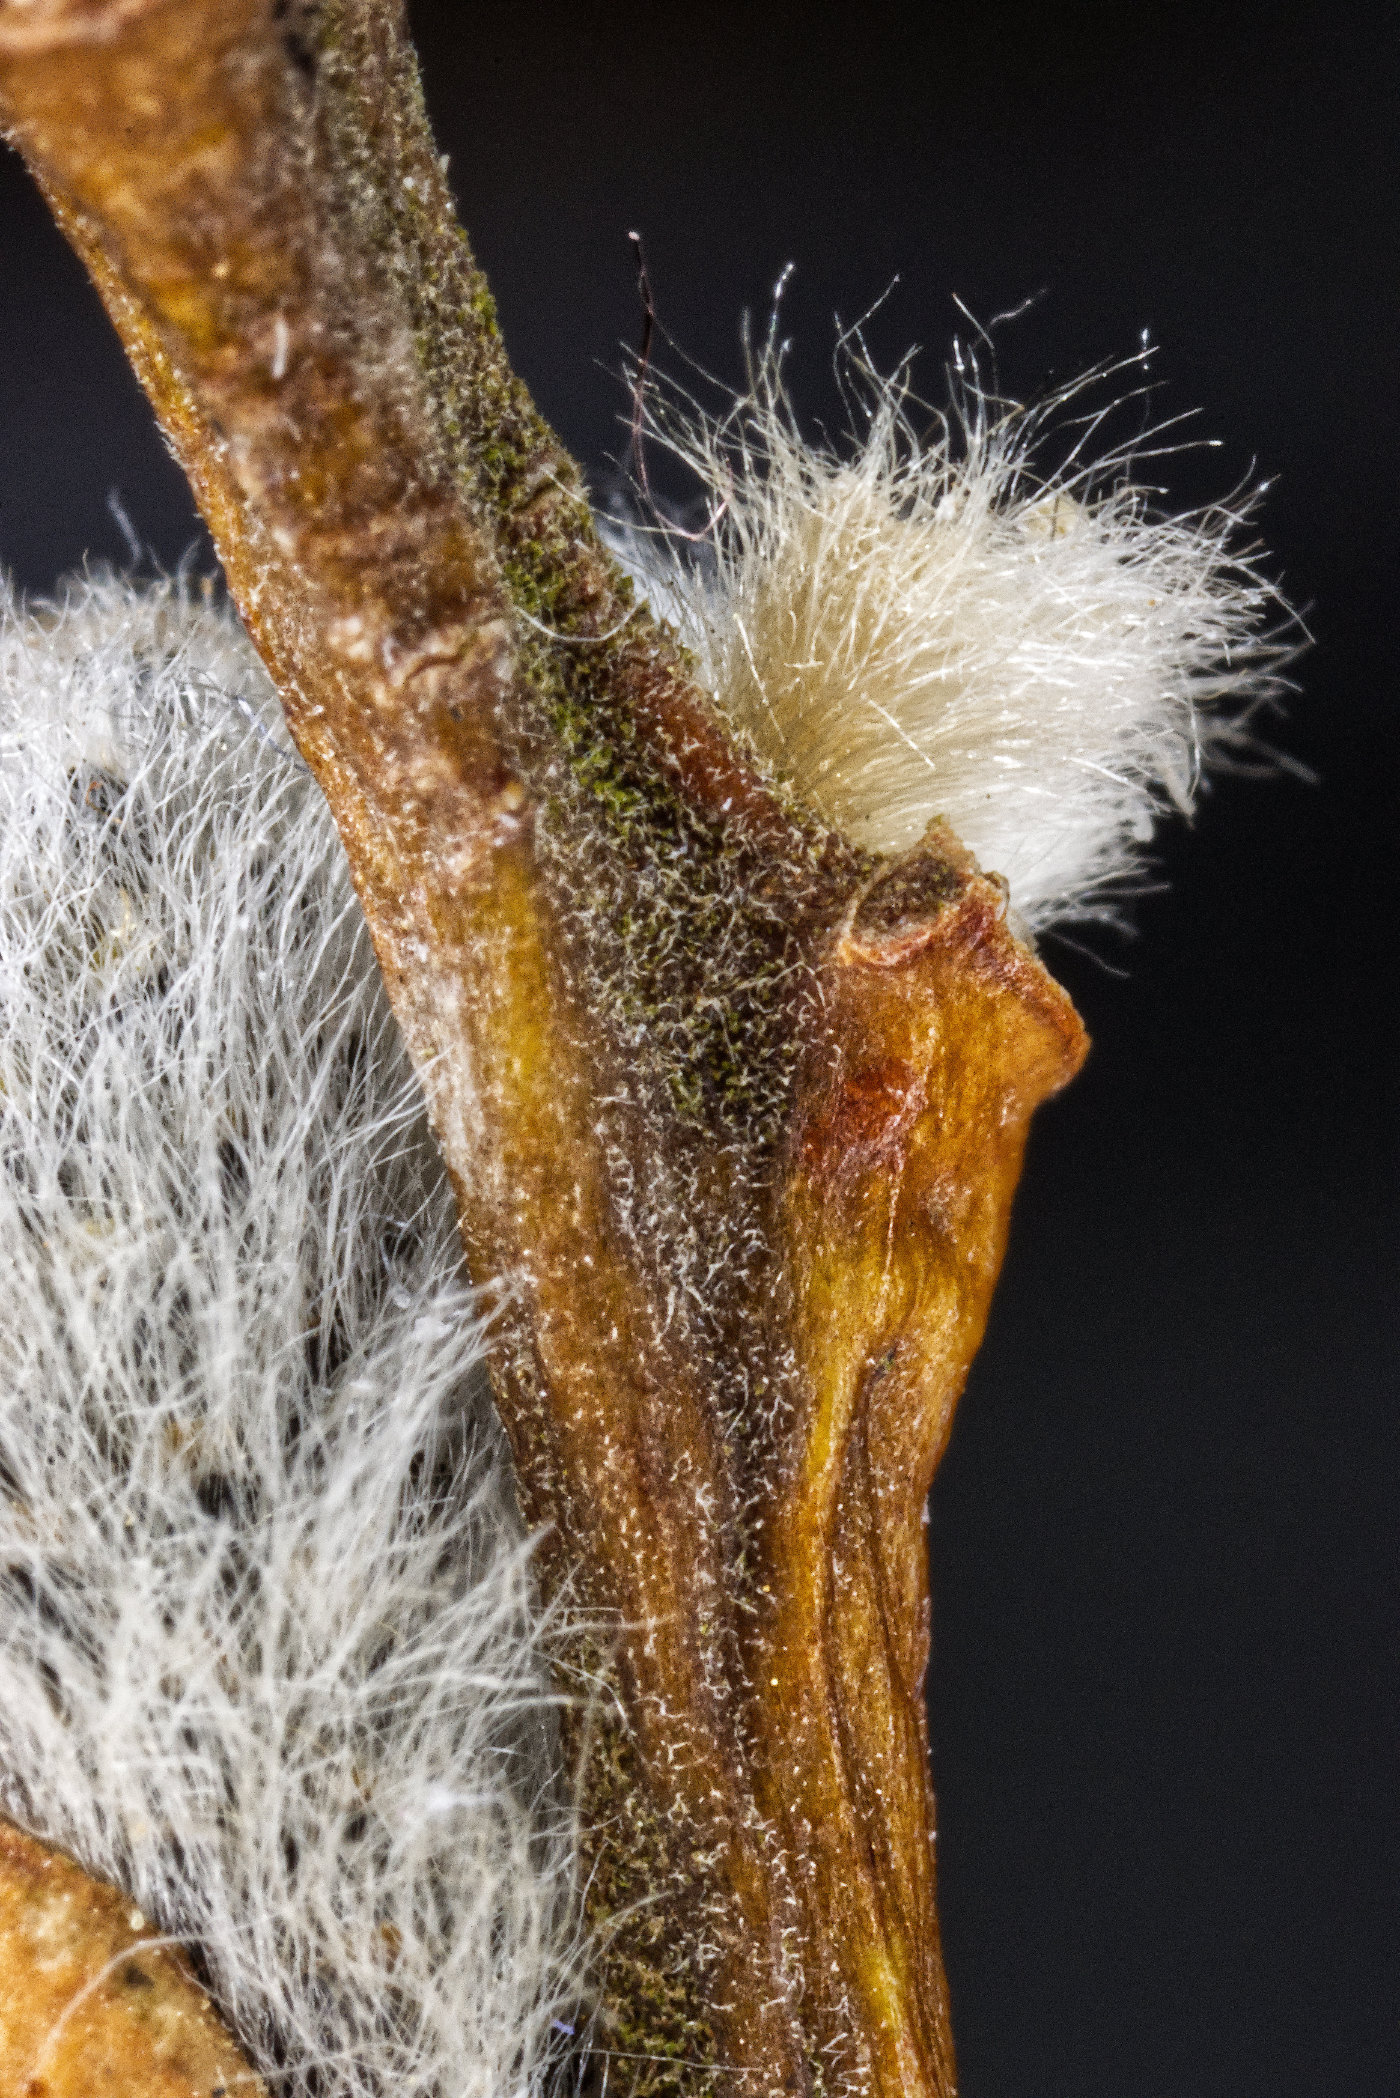
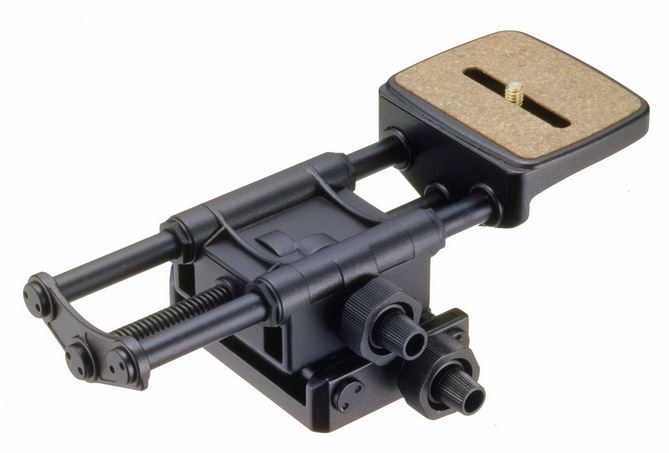
Aug 23 |
Reply |
You're always welcome. I wrote that reply when I was away from home, and the Velbon rail didn't look quite right. Now I'm home I see I have a different model, the Super Mag Slider, as shown below. I can recommend it. The others (and many more no doubt) are probably good products, though. |
Aug 23rd |
 |
| 95 |
Aug 23 |
Reply |
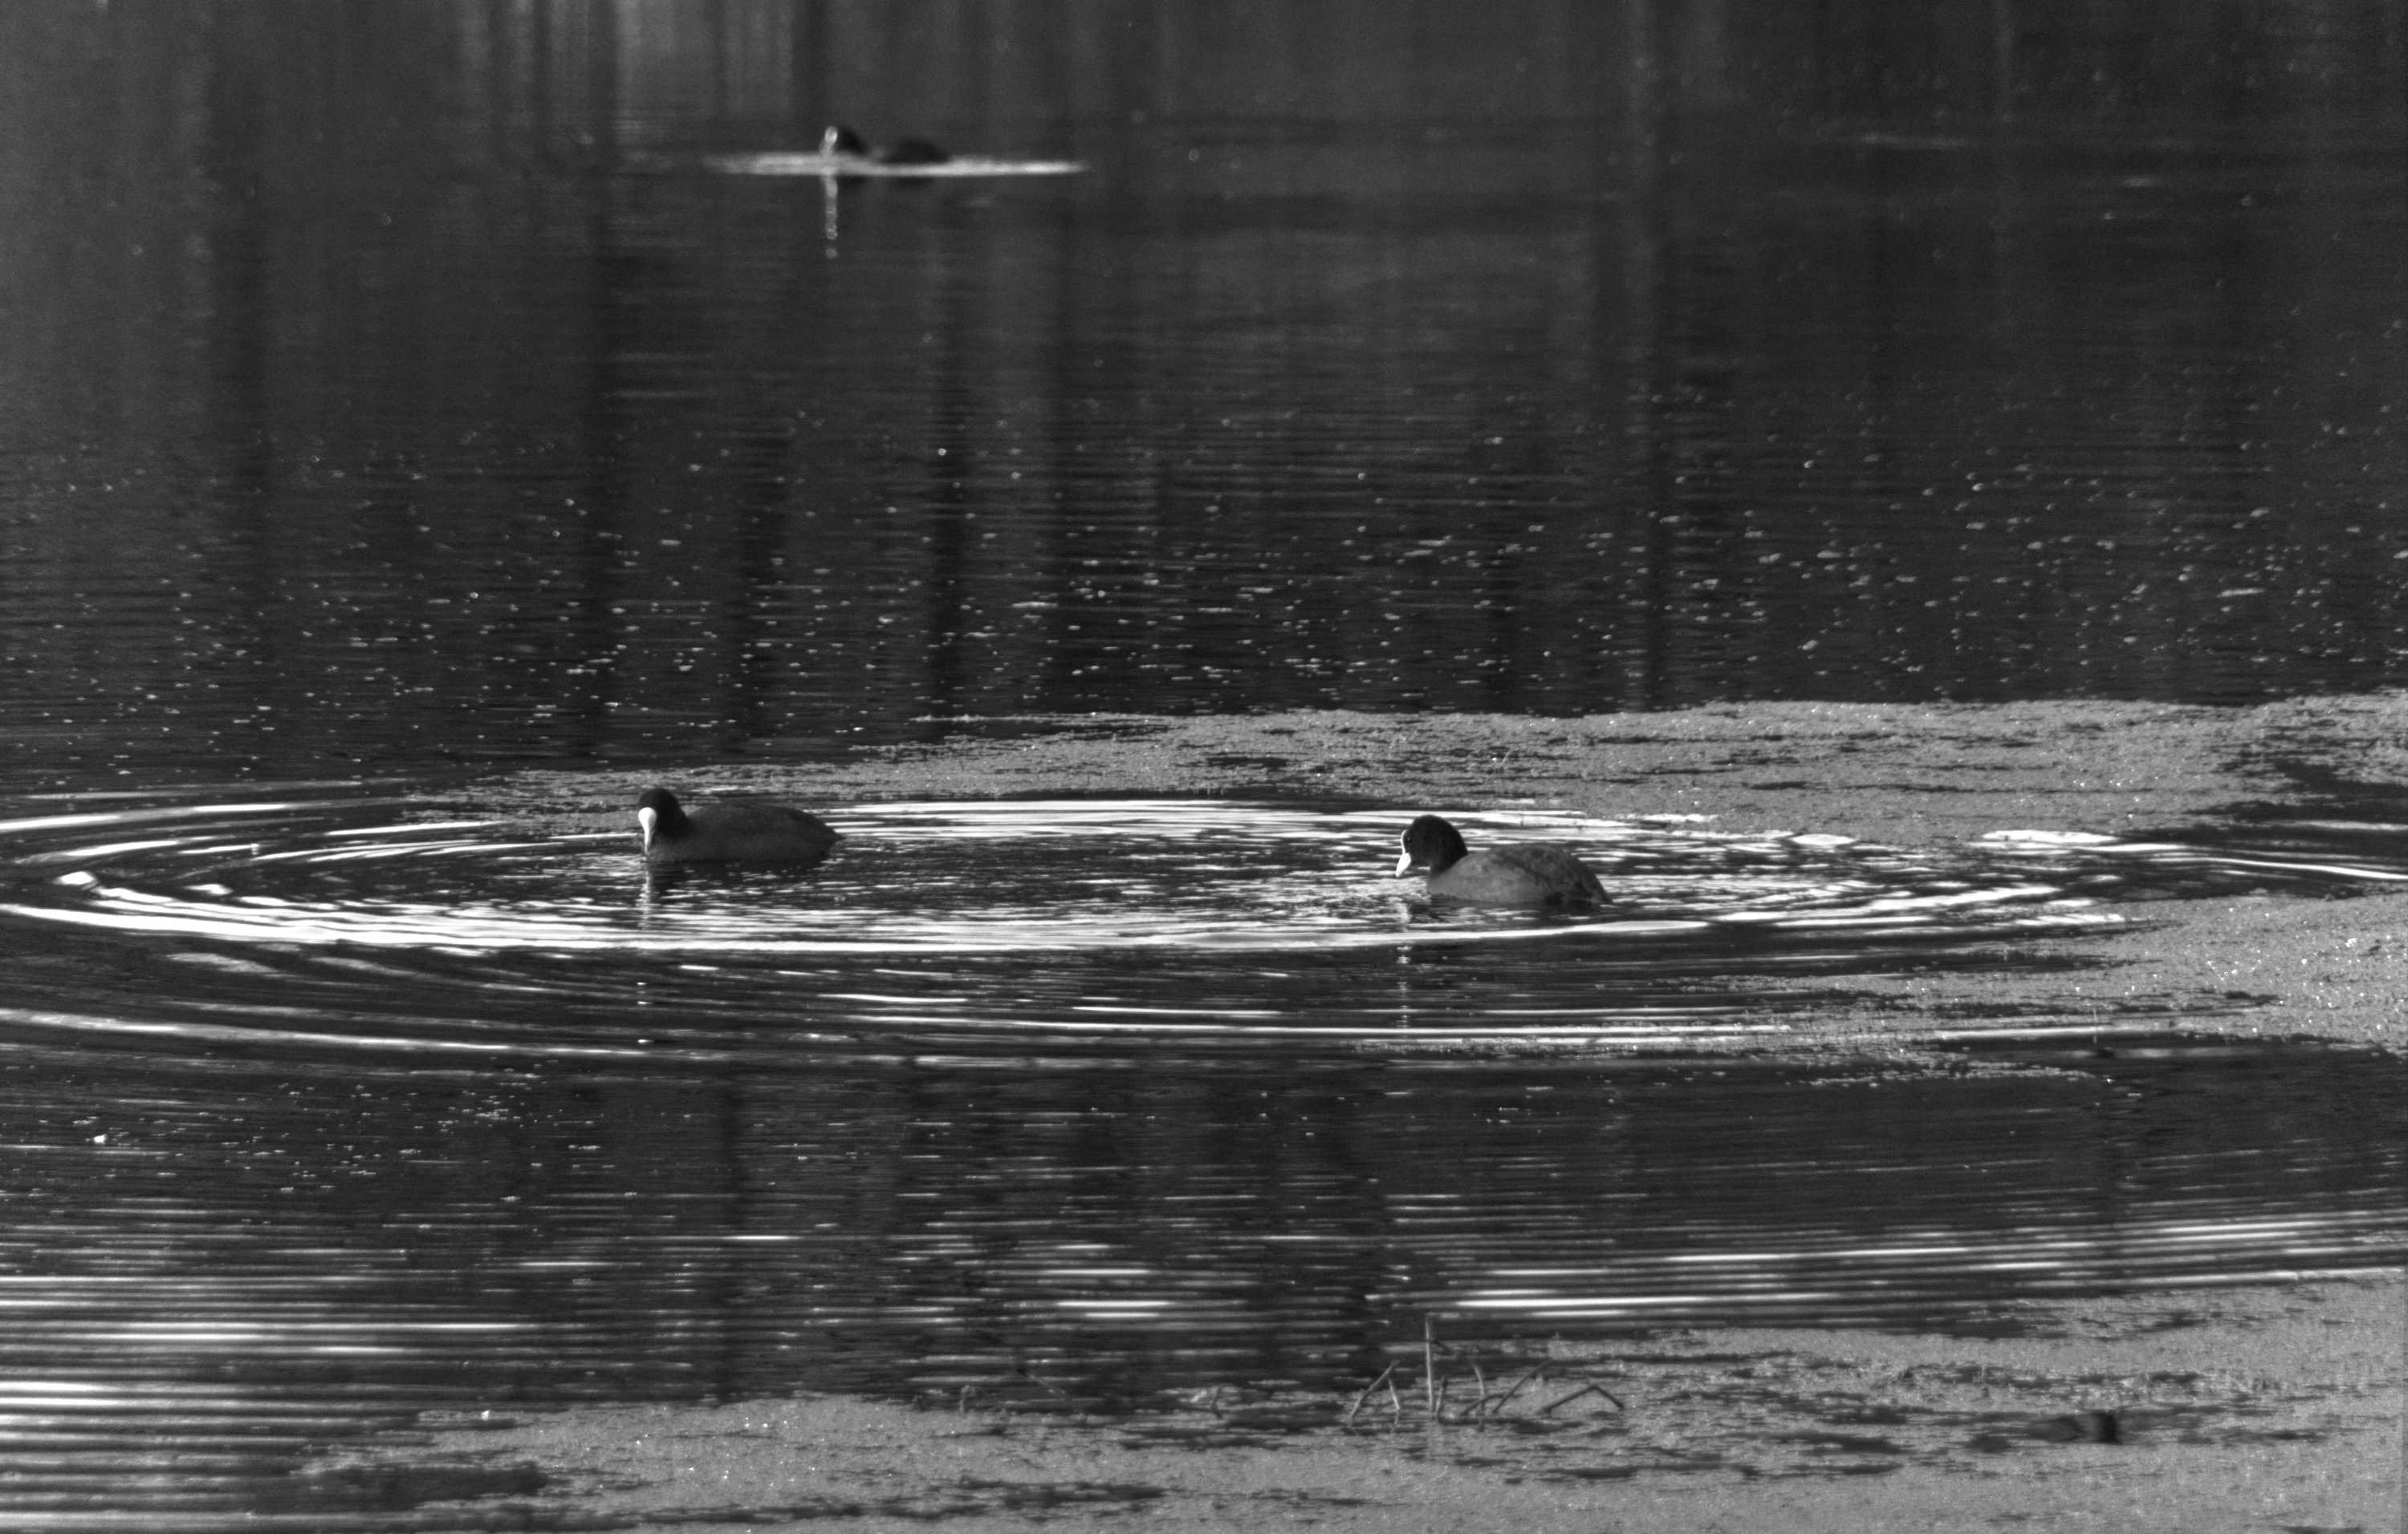
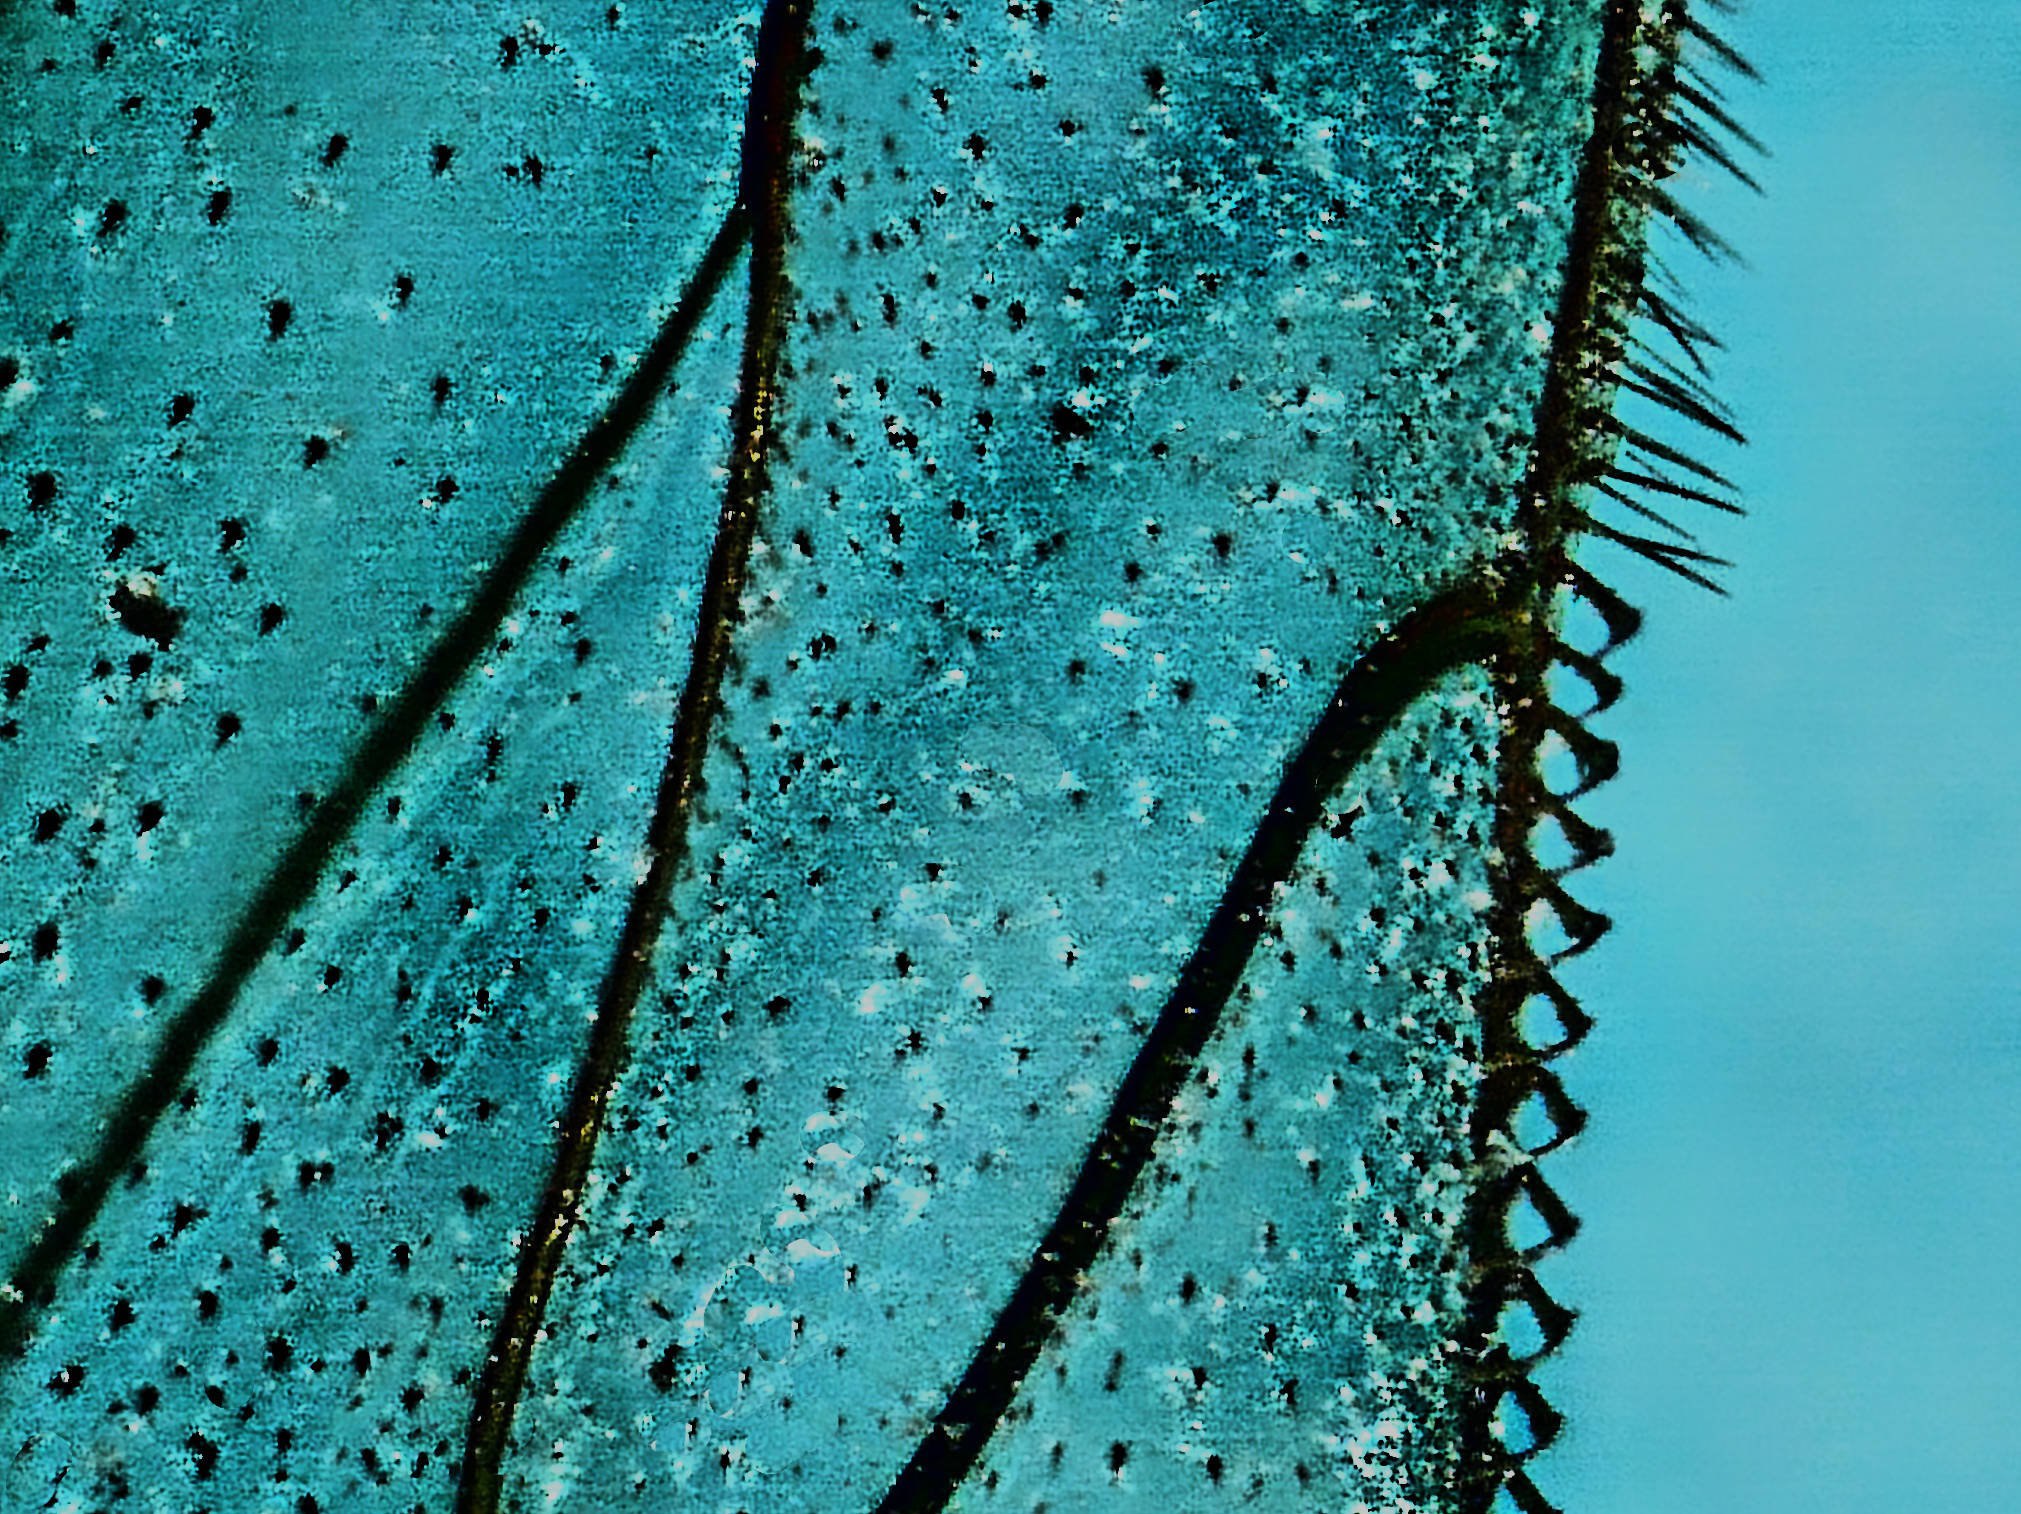
Not realy. I guess some observers might be puzzled over the line of dots as they are unusual, but so what?
Carol is likely to give a more artistic view than me! |
Aug 22nd |
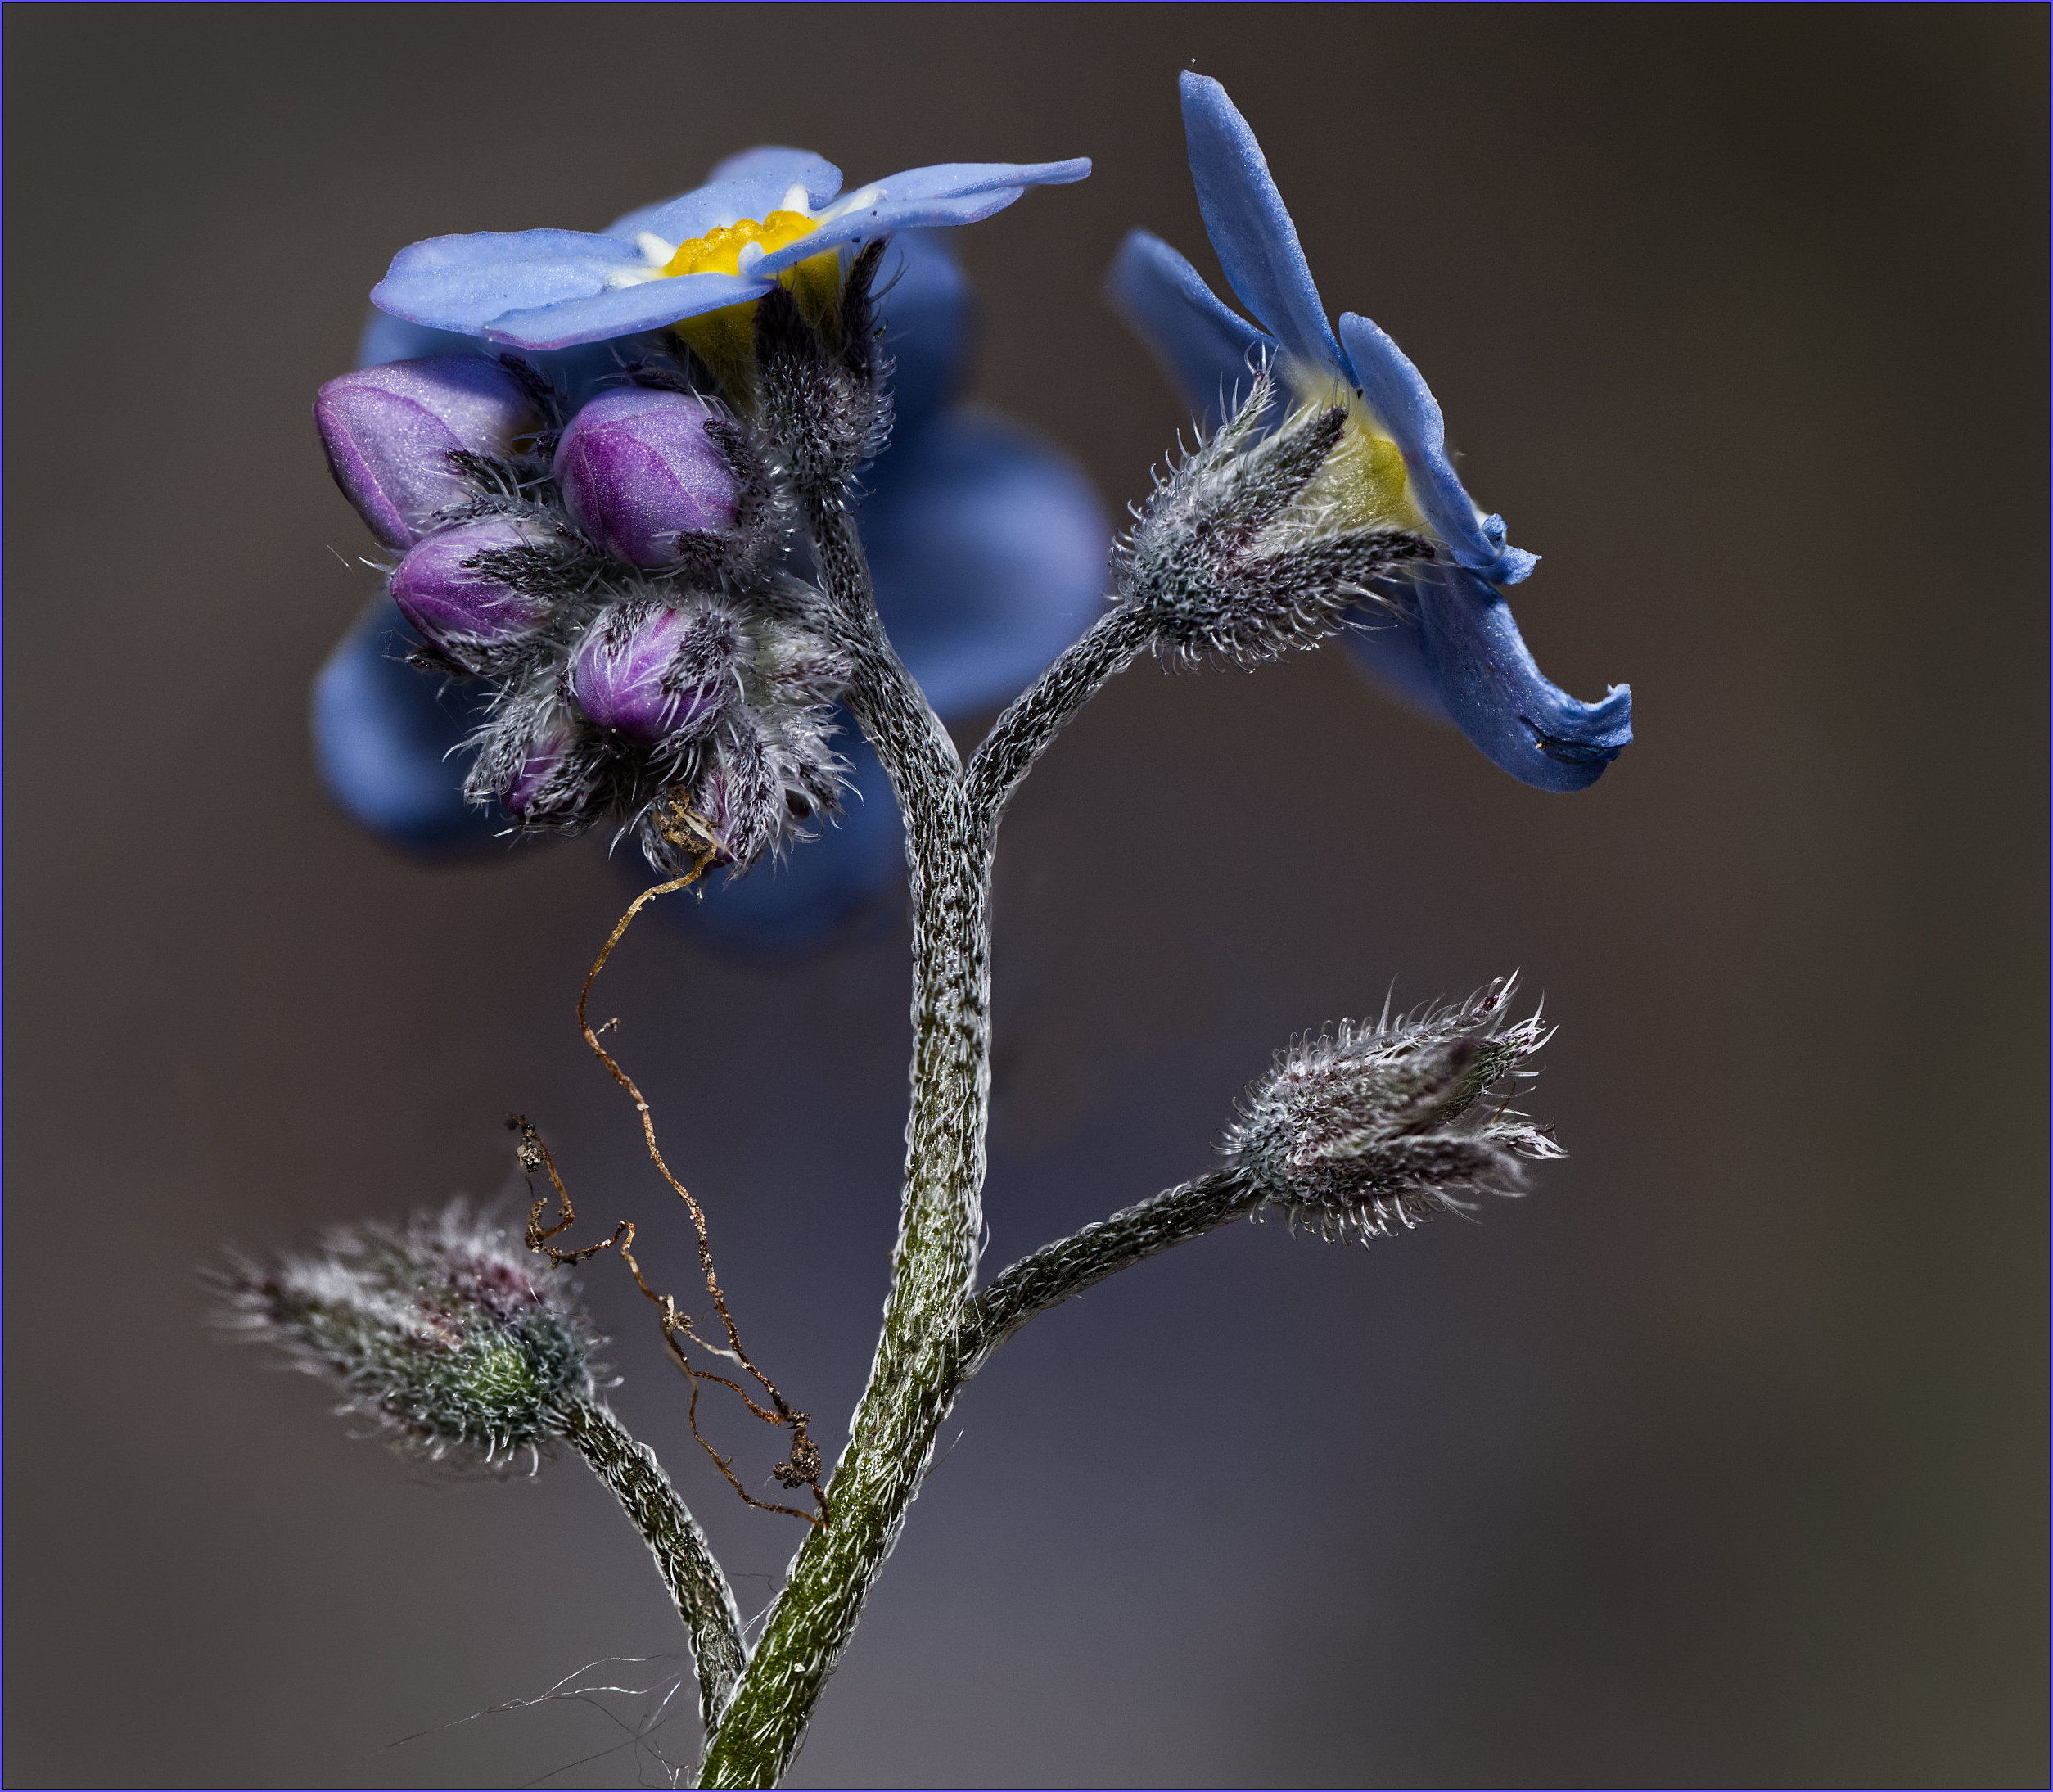
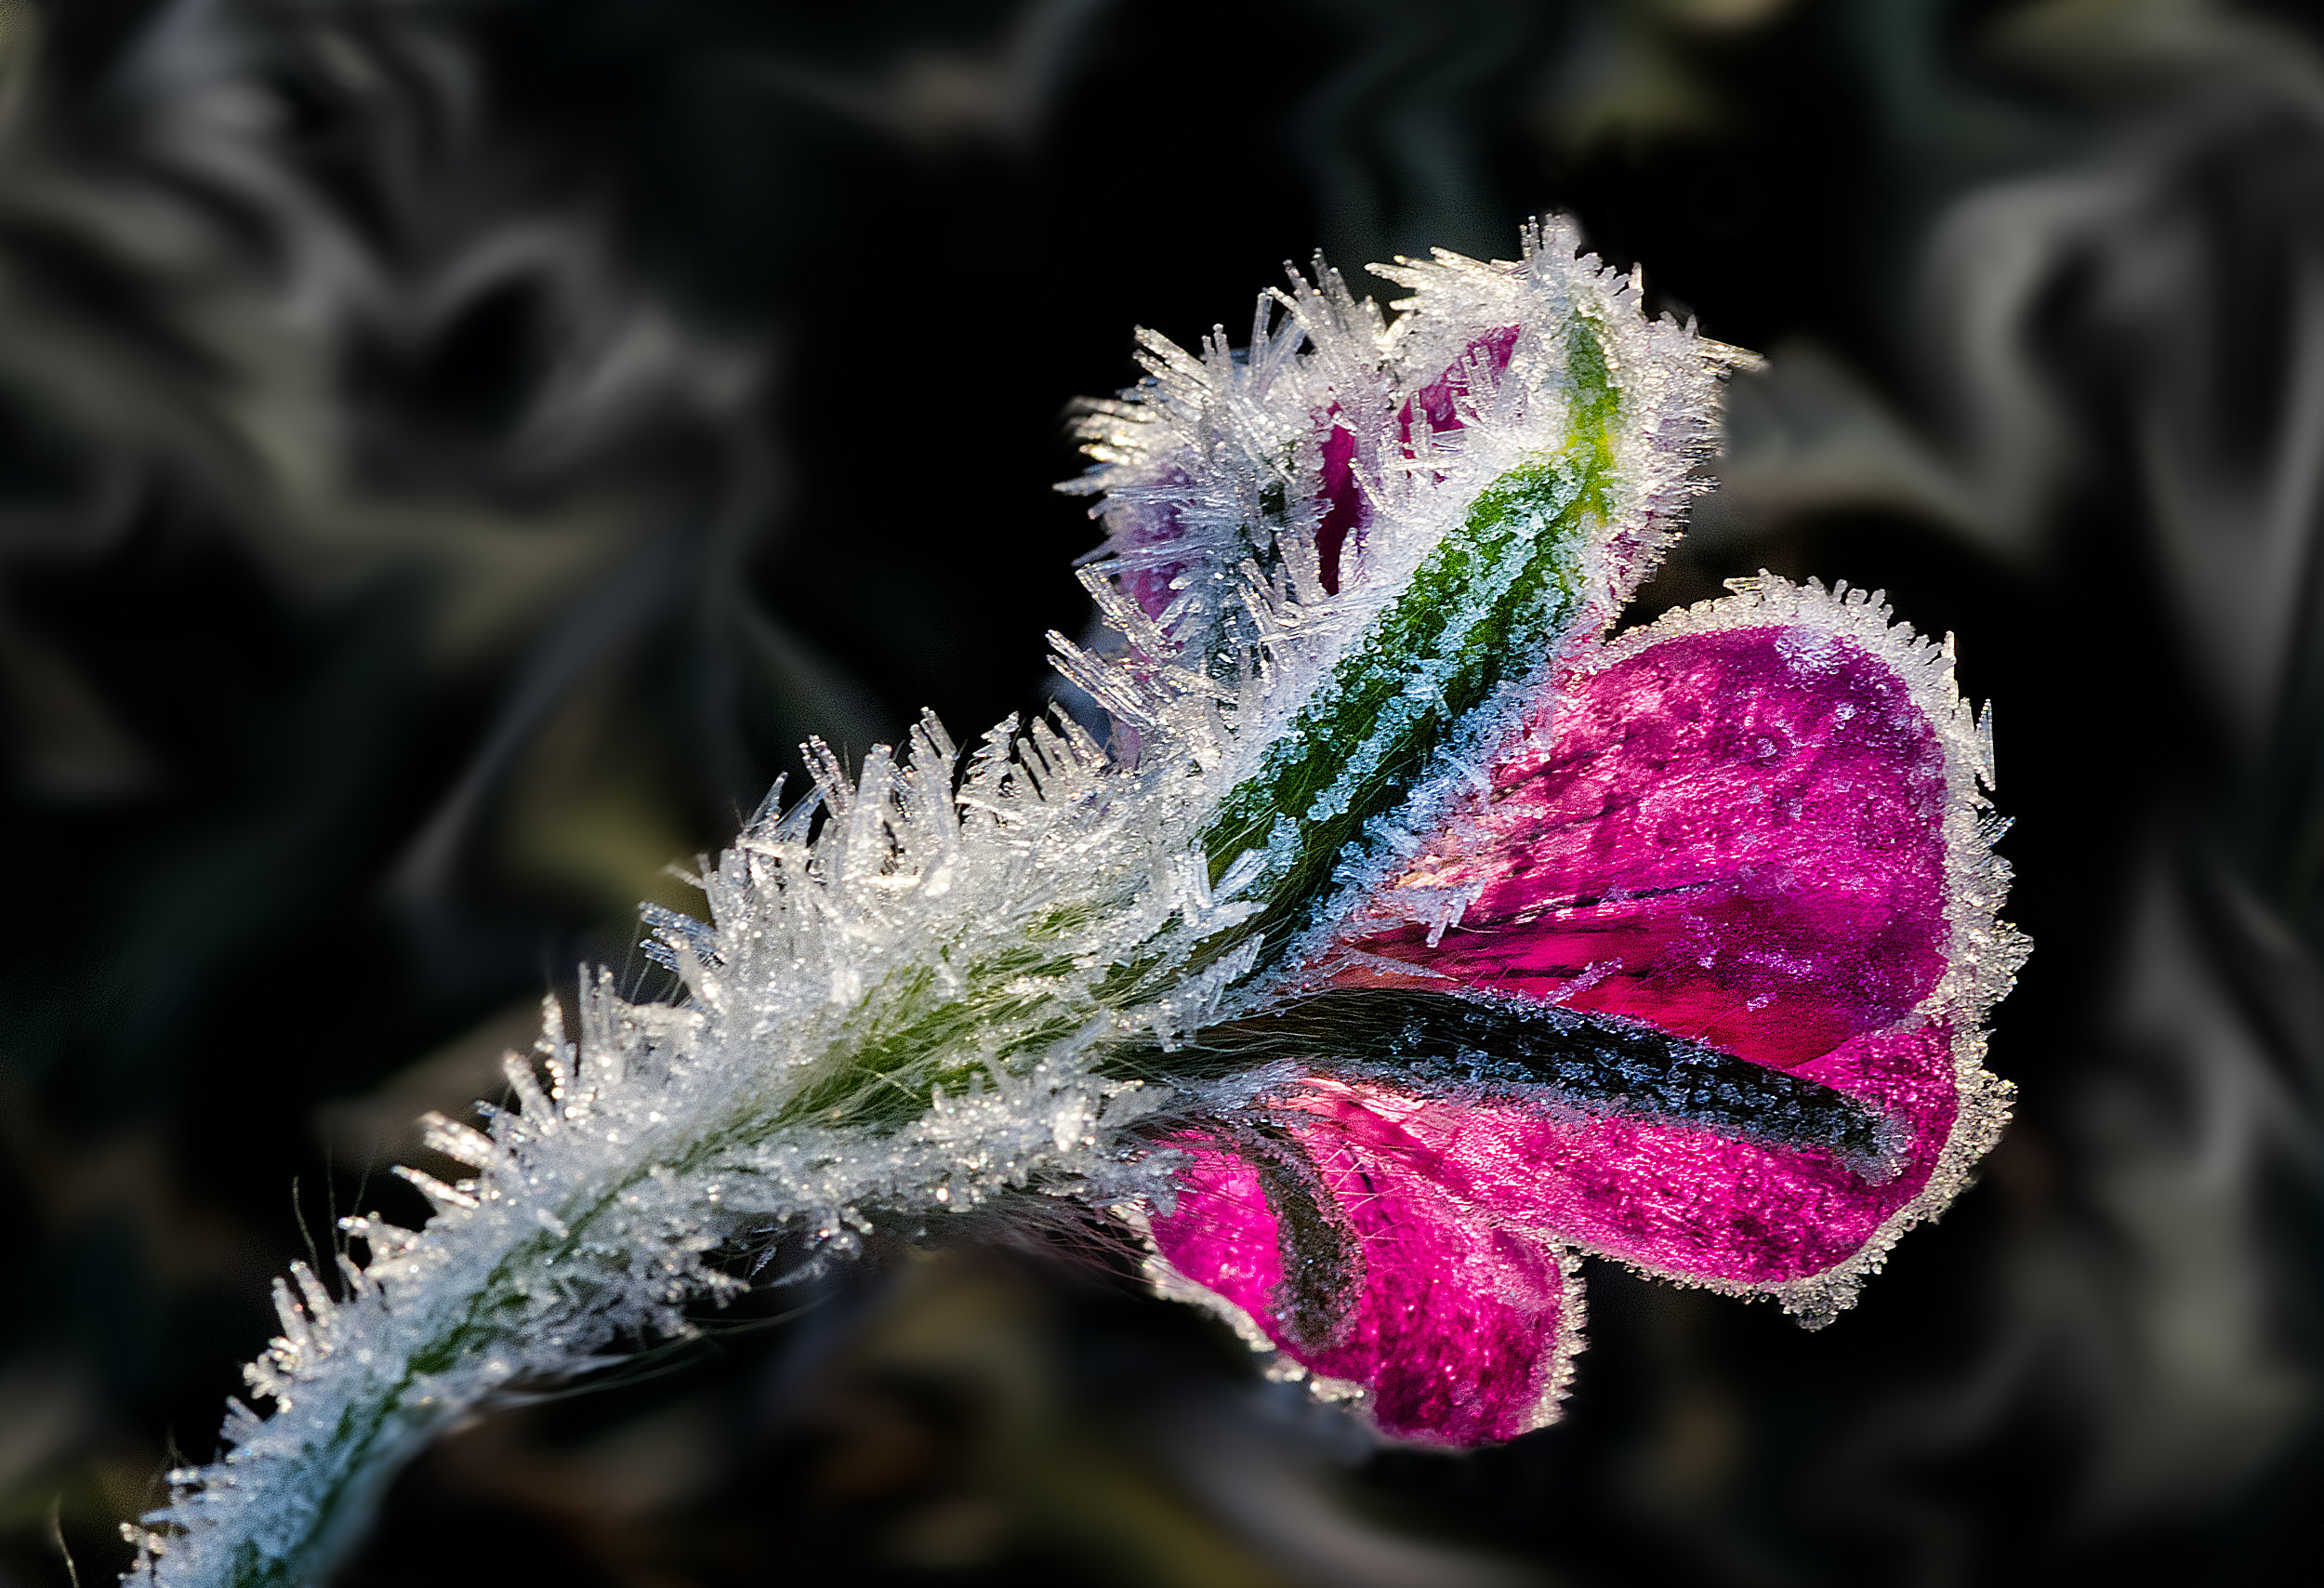
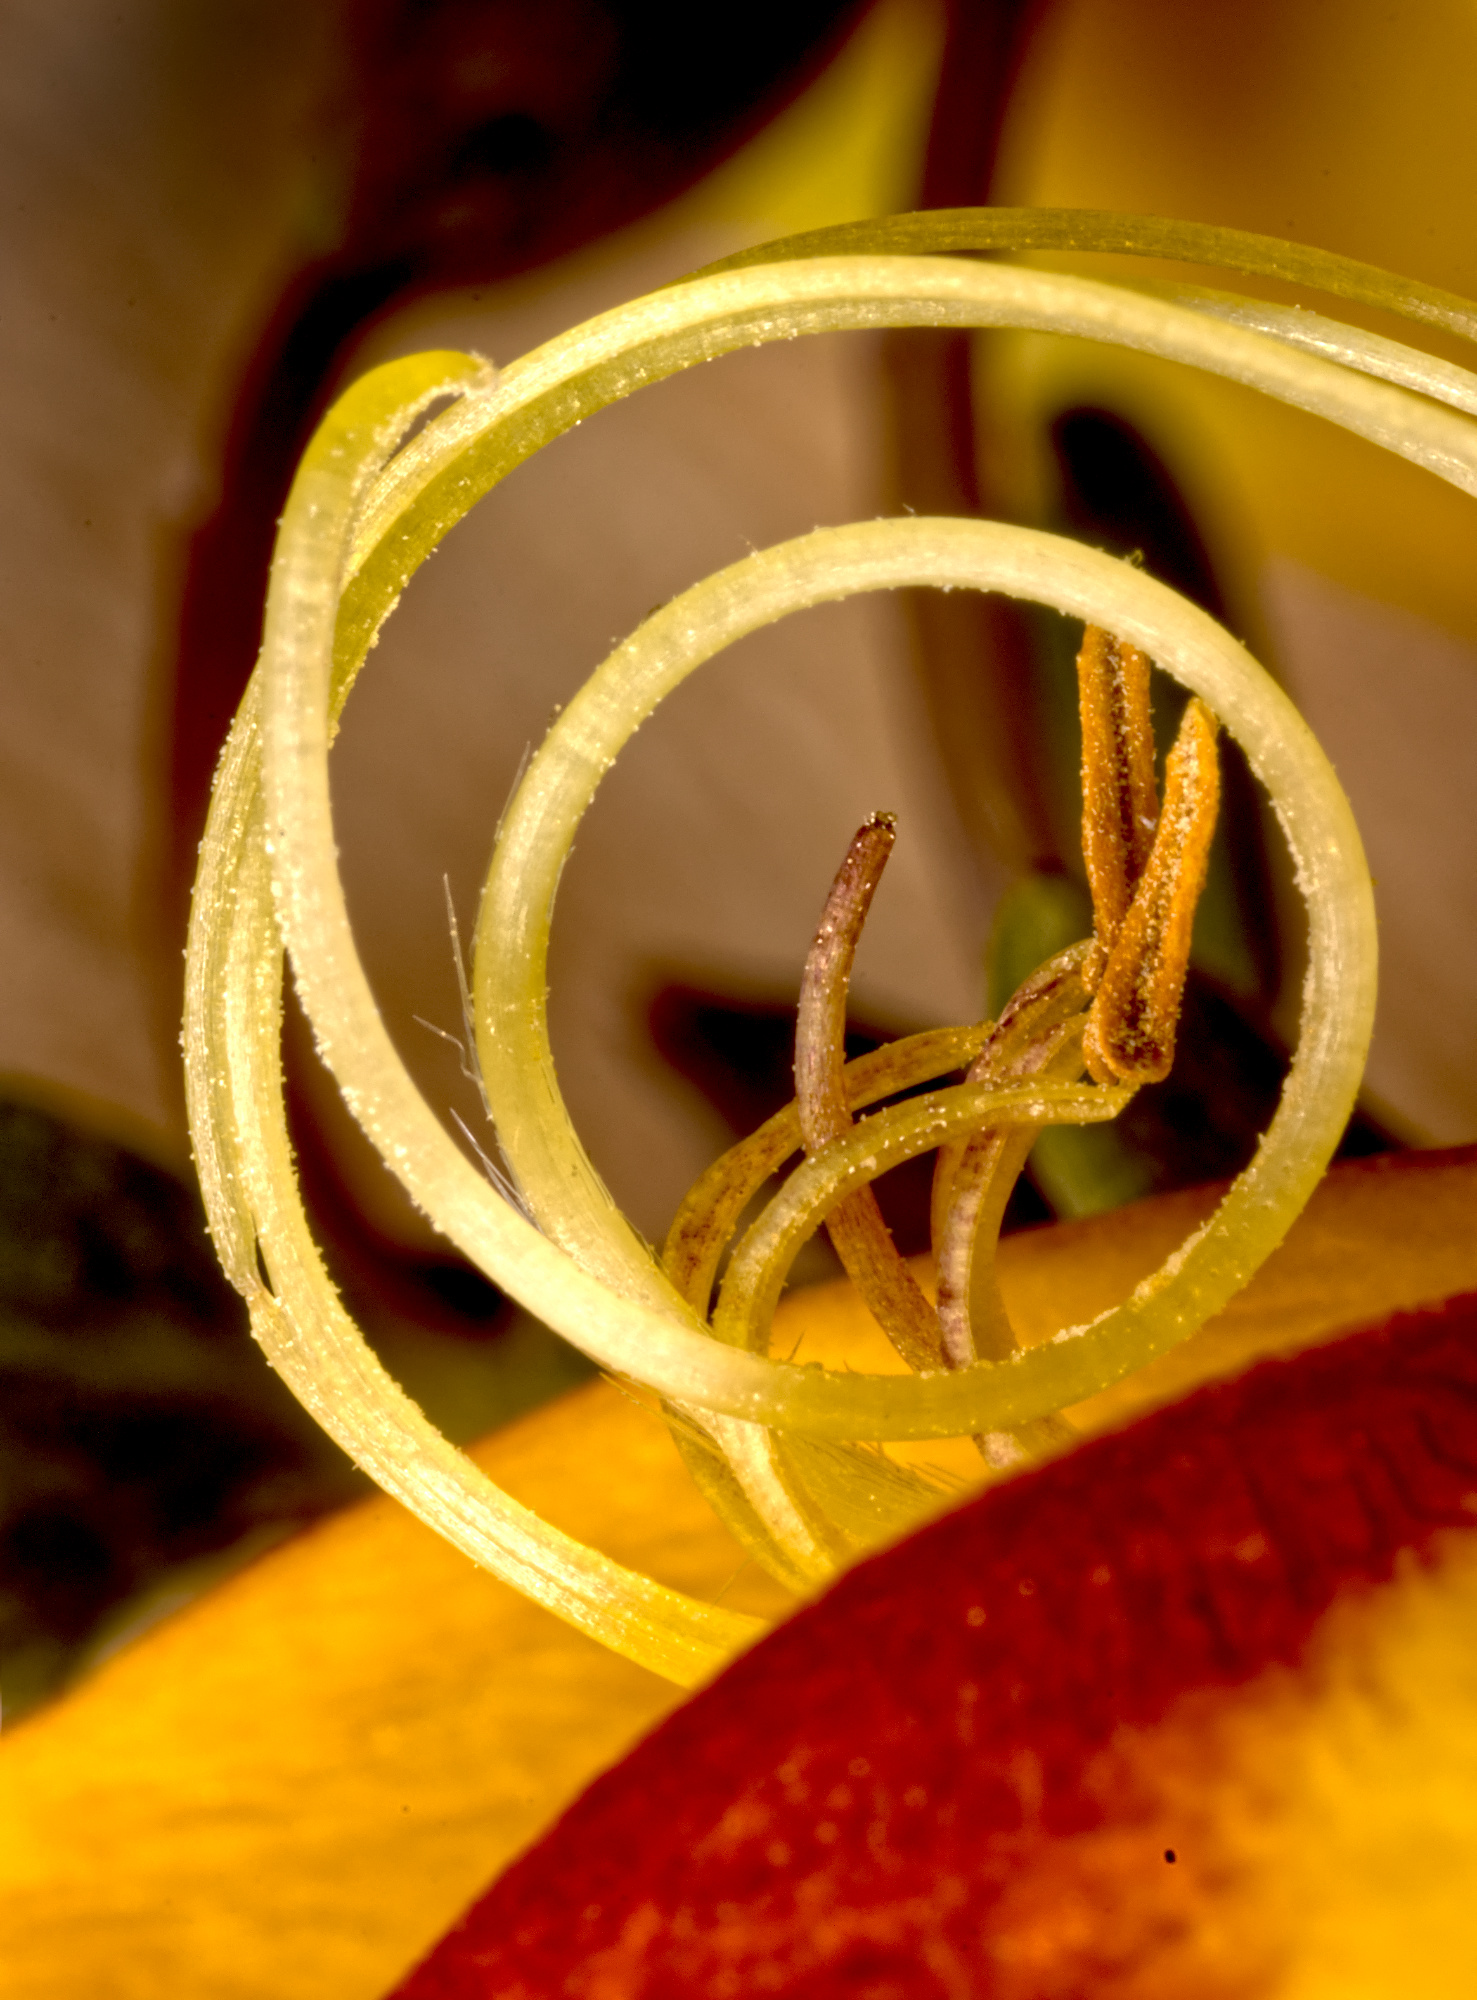
| 95 |
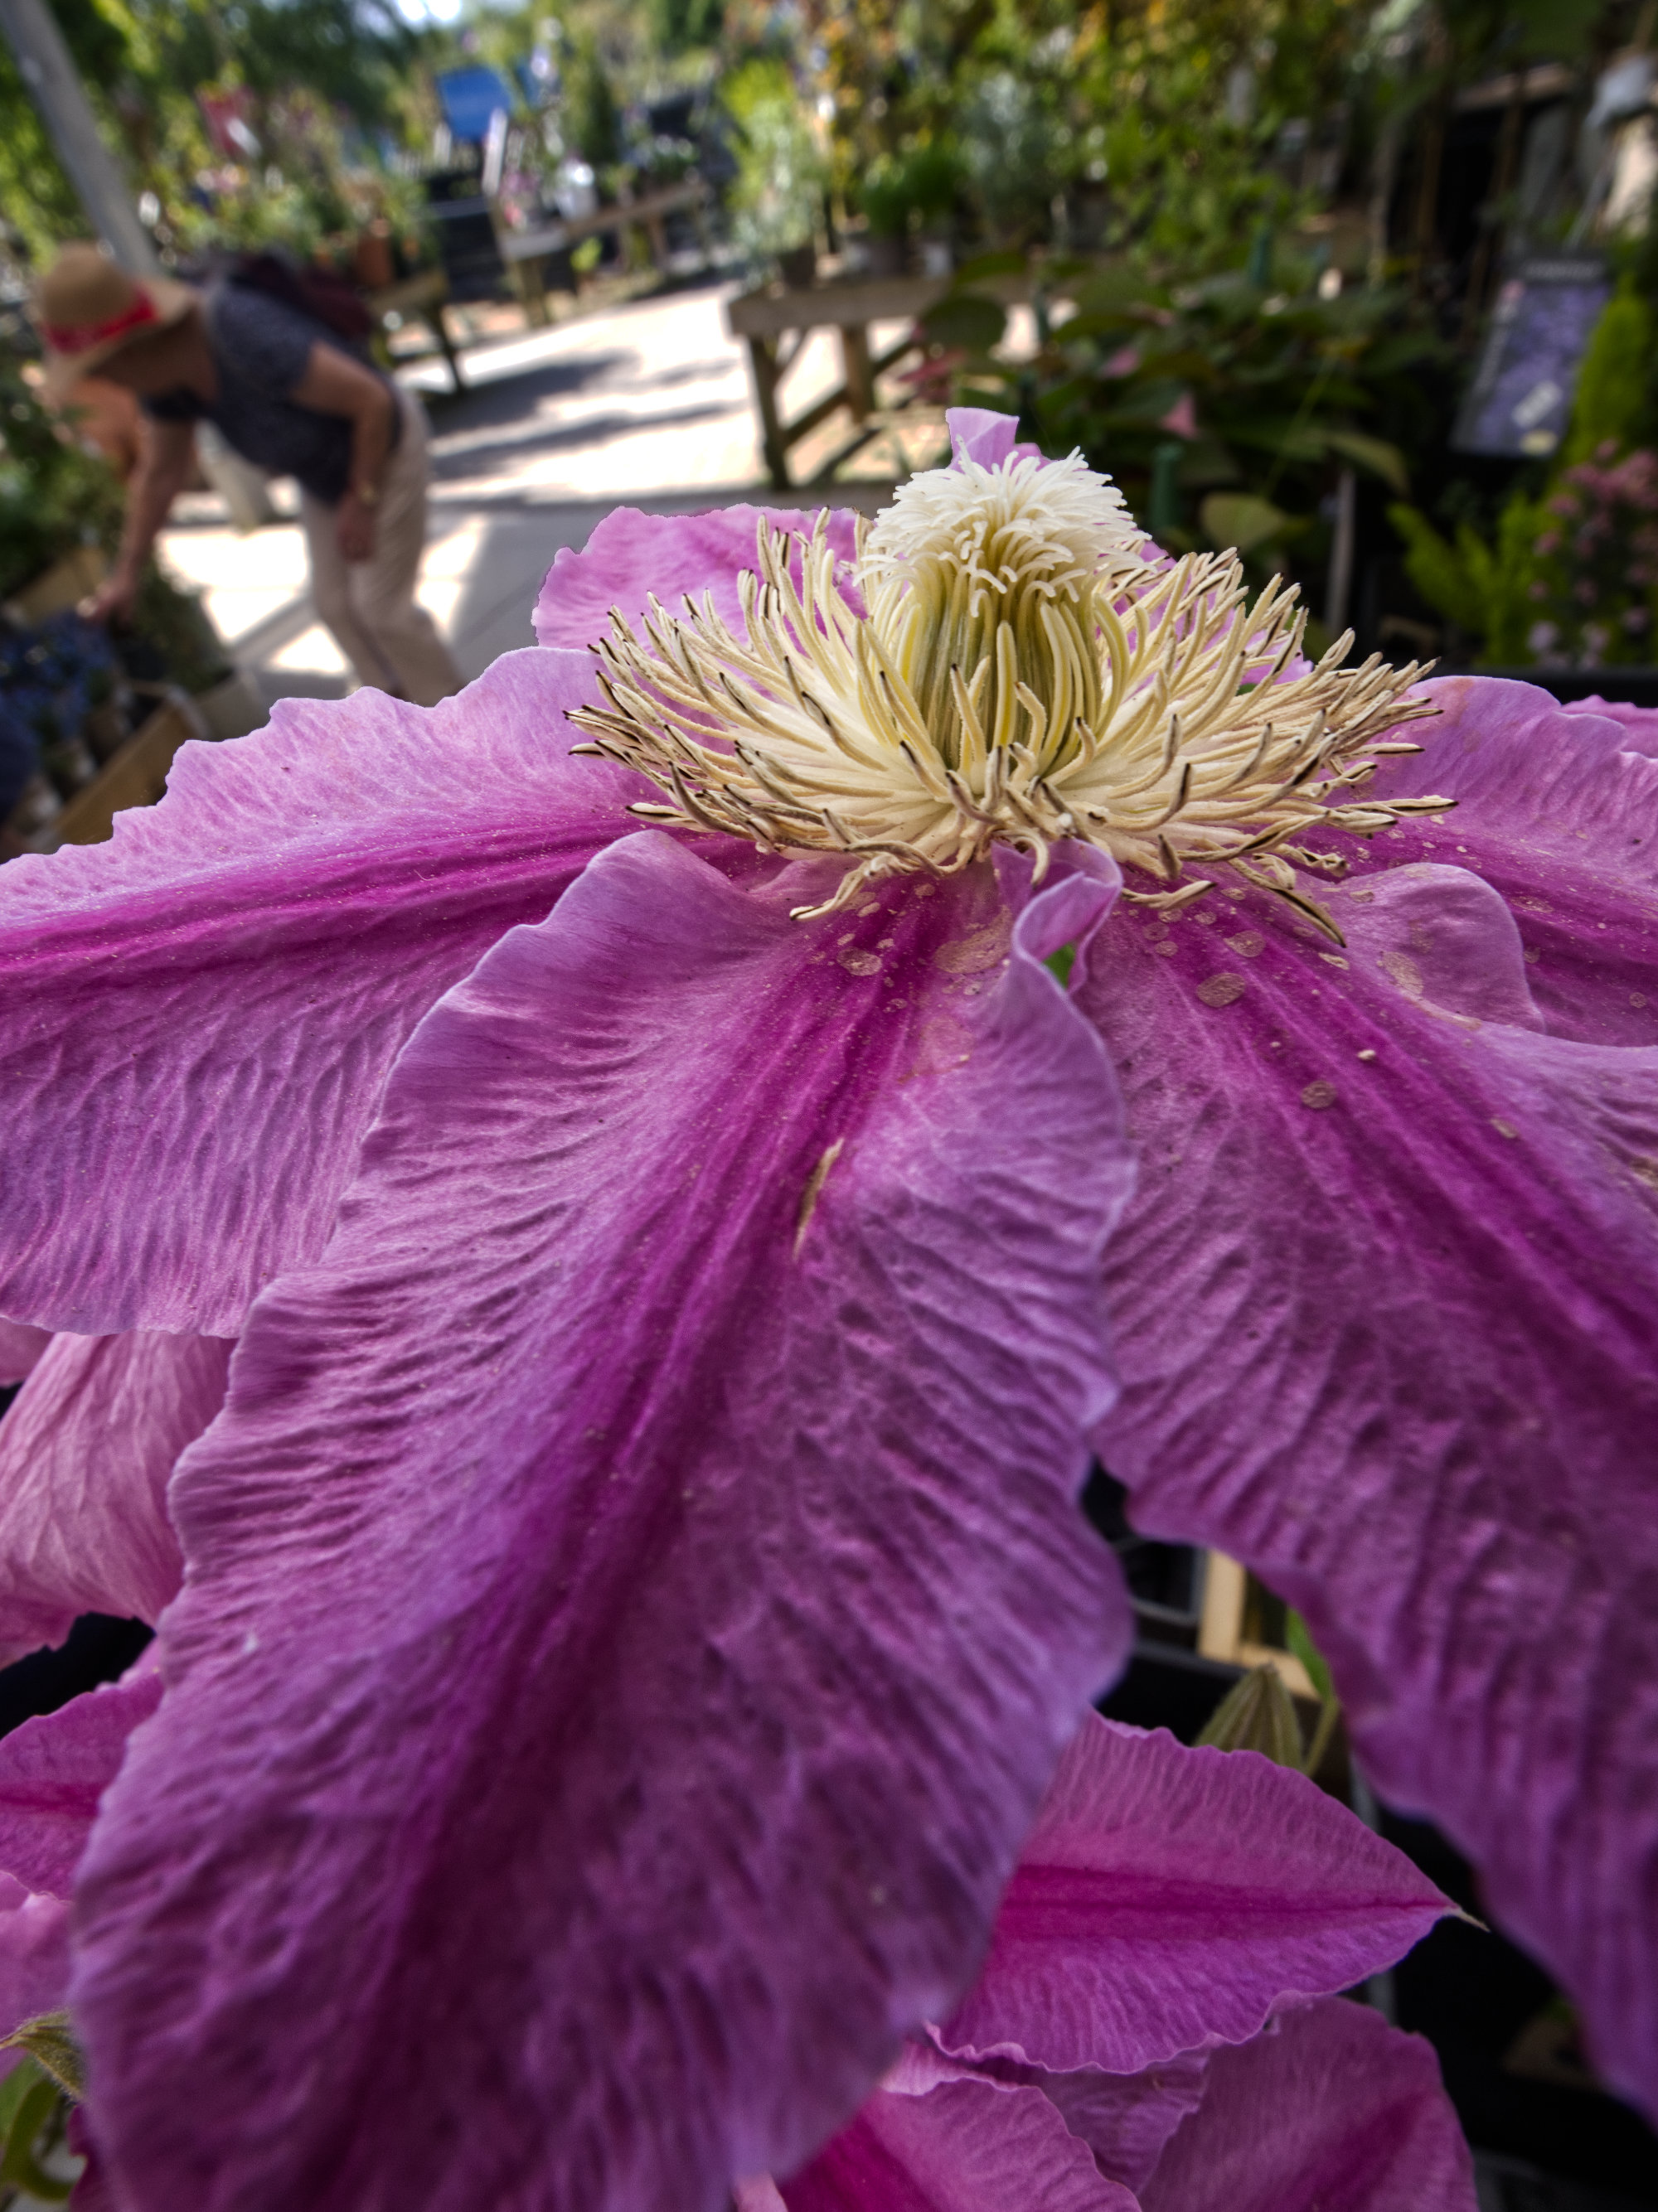
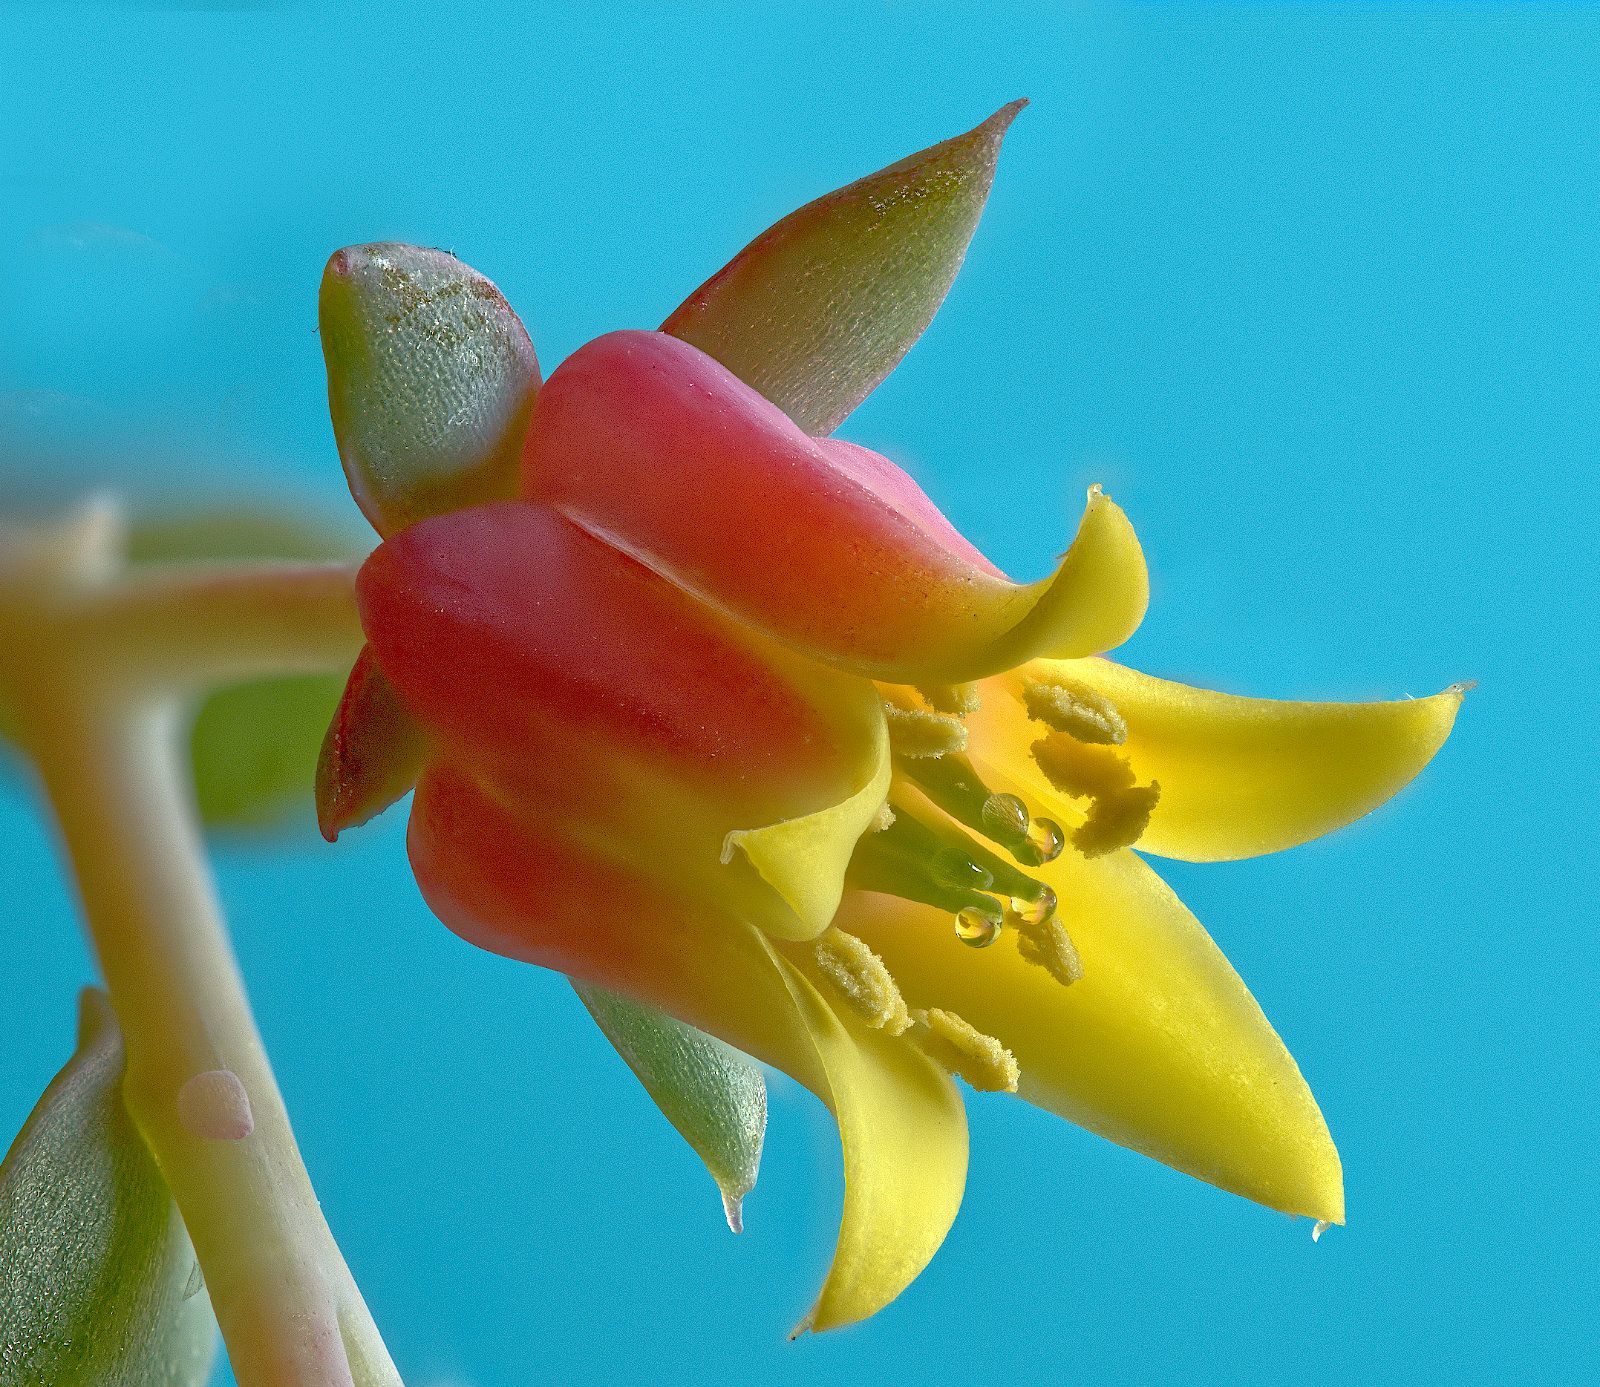
Aug 23 |
Comment |
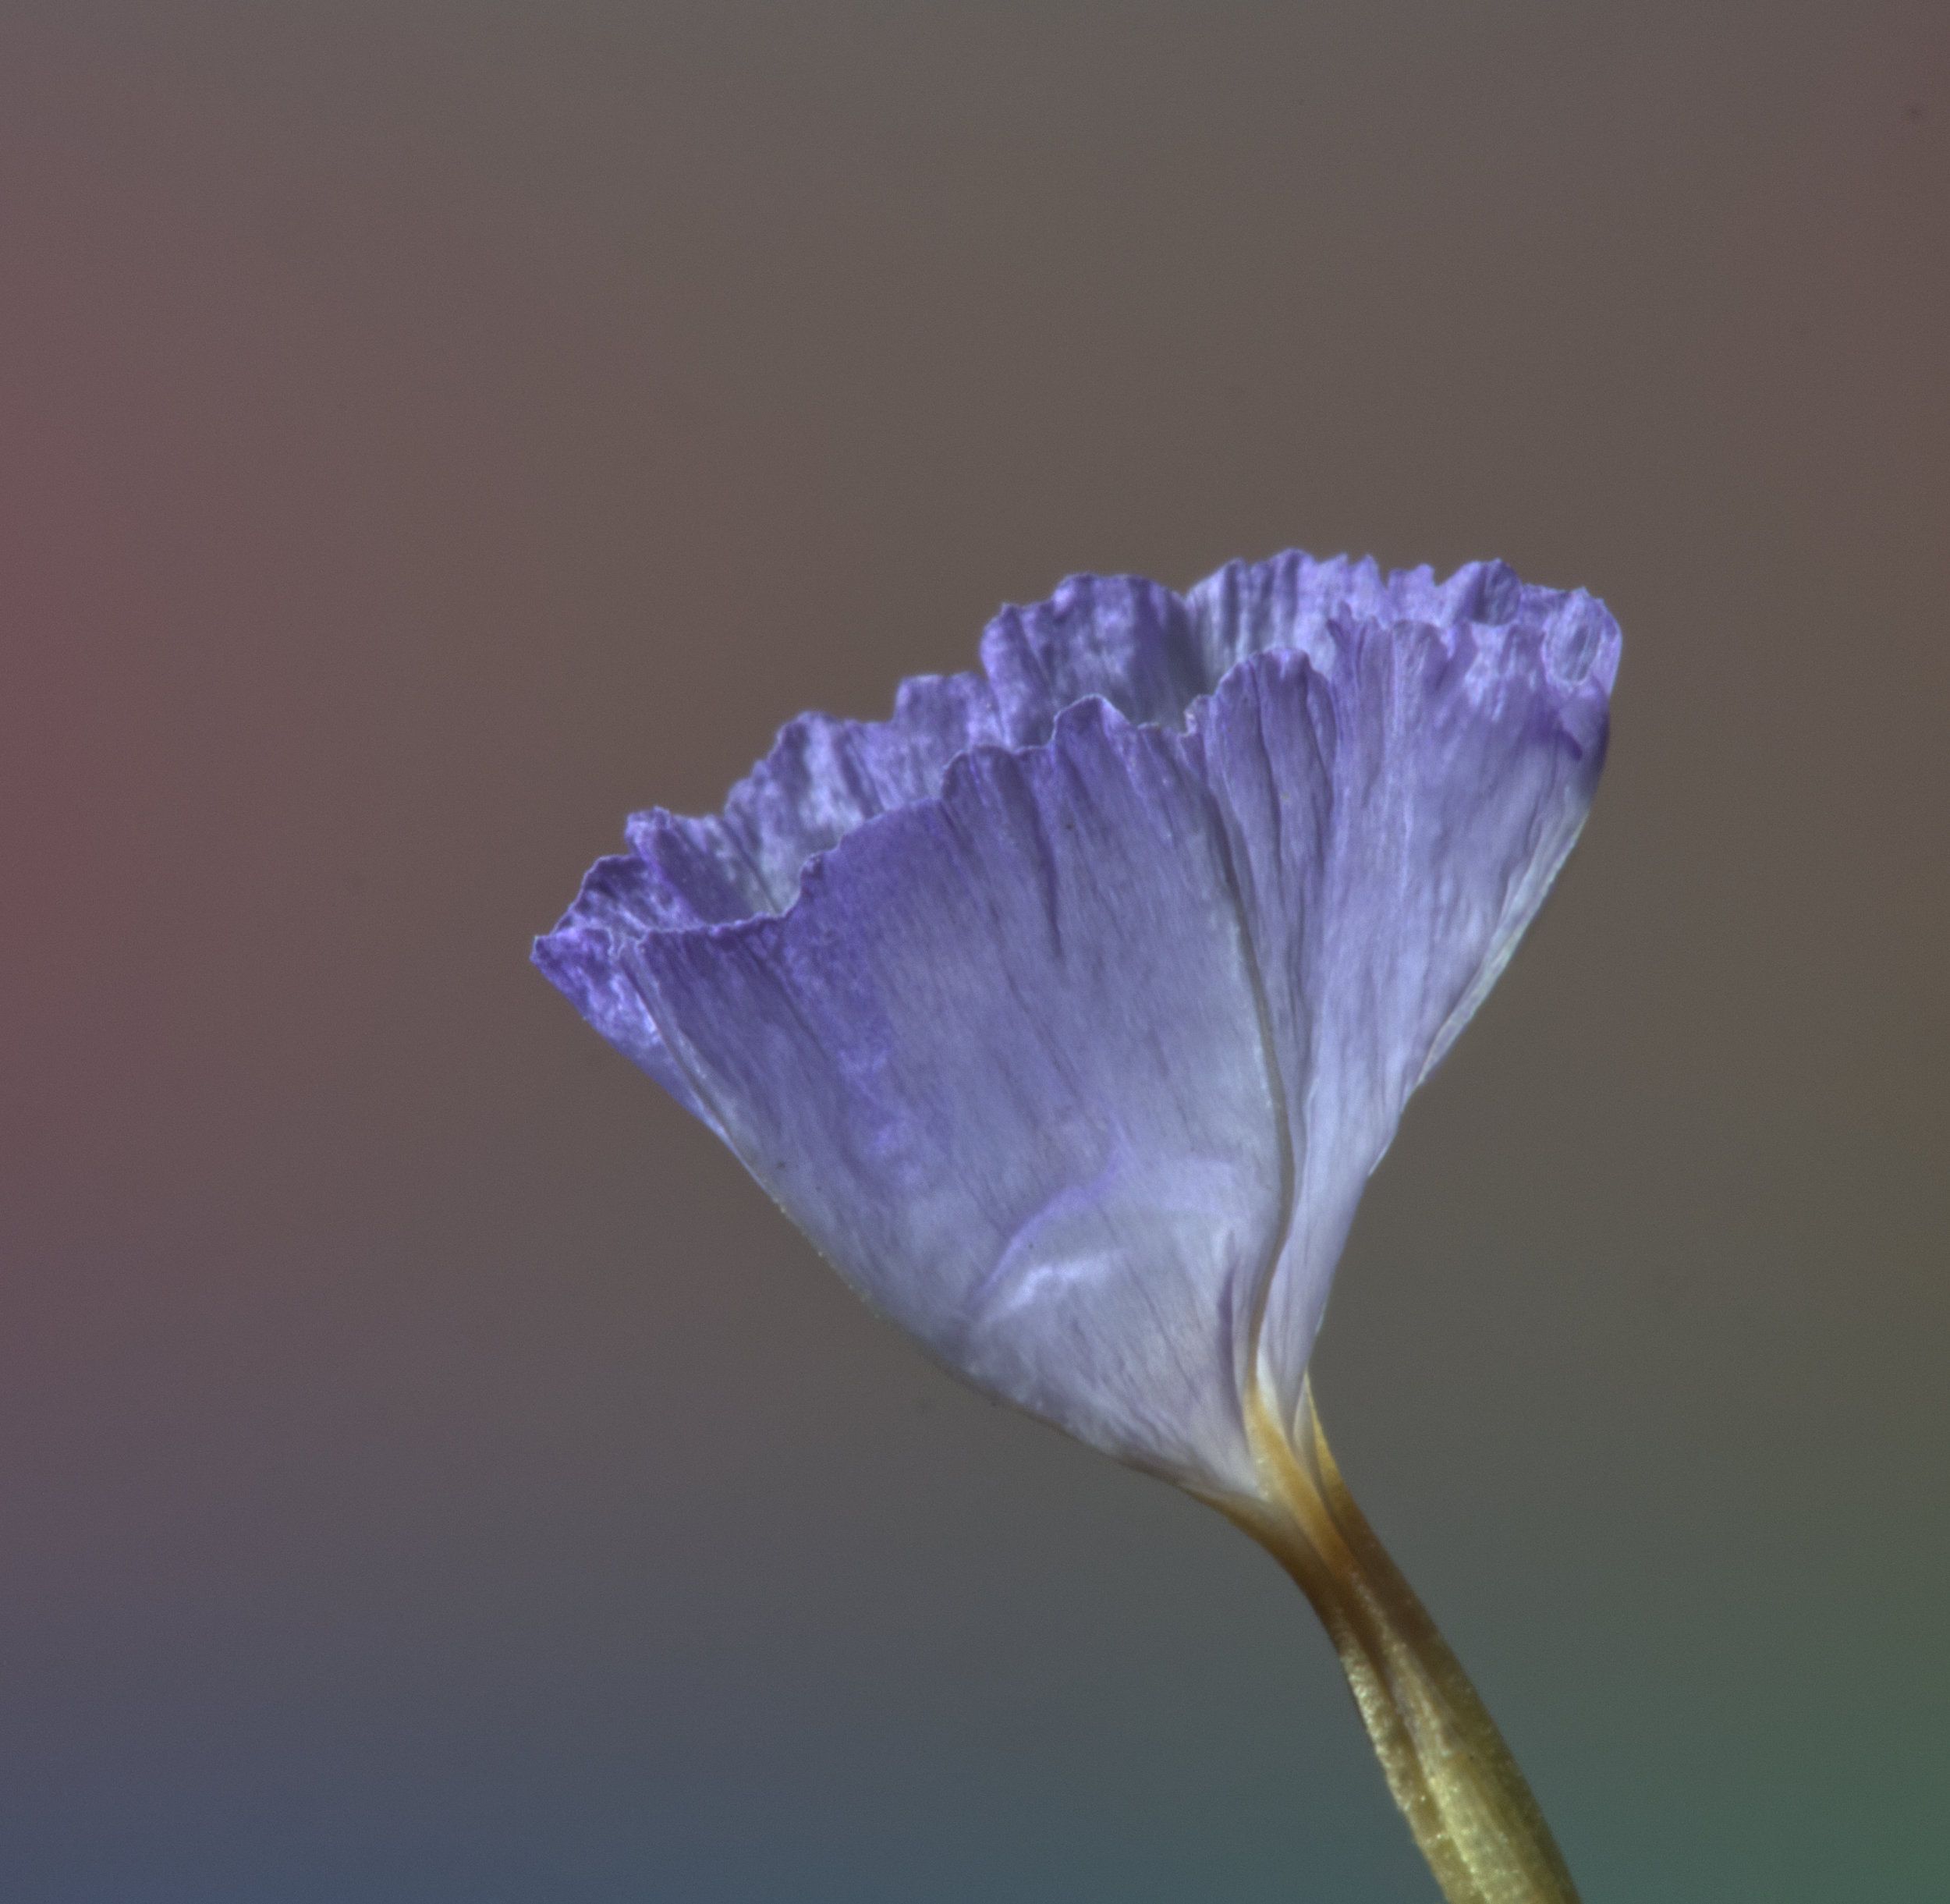
My view on your questions follows. Others are welcome to disagree!
1. Placing the subject in the central works for some pictures, but usually can be improved by offsetting the centre of interest. Golden spiral or rule of thirds are useful guides, but should be followed as a guide rather than as a rule. So, I prefer your main image for that.
As for inverting it, I don't mind much. I might say the original way up was better as it puts the lighter tone at the top, which is what we are used to seeing from landscapes most of the time. But it's a small point.
2. Leading lines can go in any directions - as long as they are diagonal. Ish. Left to right for Western people seems more relaxed than right to left, which often seems more tense. (Due to our writing direction). For a peaceful lily, I'd have had the leading line from left to right. You cropped off a significant aount, so could rotate it any amount. Or flip it left to right (mirror style.)
Given the strong sunlight, I think the shadows are nice and light, not blocked, giving good modelling. I might have removed the two blotches on the long petal on the left. (Clone out, or inpainting brush).
Good sharpness as you chose f16 and you were square on to the water and lily.
I like the background darkening.
Good shot!
|
Aug 22nd |
| 95 |
Aug 23 |
Reply |
Or this Nisi 180 |
Aug 21st |
 |
| 95 |
Aug 23 |
Reply |
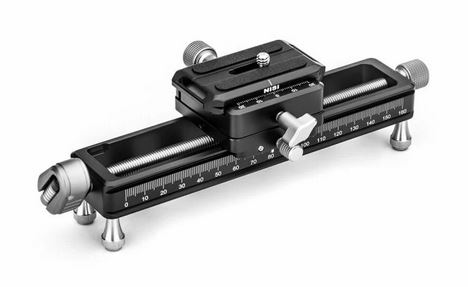
It might look a difficult process at first, but do persist - it's not as hard as it might look.
Ideally you want to move the camera the same amount per new image you take.
1. Focus the subject on the closest point you want to be in focus.
2. Take the first image.
3. Move the camera forwards on the rail a small distance #
4. Take the second image.
5. Move the camera forwards on the rail a small distance again.
6. Take the third image.
7. Repeat taking new images until you reach the furthest away point you want to be in focus.
8. Take all those images and stack them in Helicon Focus, Affinity, Photoshop or whatever software you want to use.
# The amount to move the camera can be worked out from theory (few people do that, I think) or by watching the viewfinder or rear screen. When you have moved a little and the previously-sharp part of the picture has started to go a little blurred but not gone very blurred, you have moved the right amount.
Each time you move the camera, try to move it about the same amount.
If your rail is sticky, jerky or hard to move, then see if there is any friction device (eg on a thumb screw) and loosen it (turn it counter-clockwise). Maybe that will improve it.
If you can't find such a screw, try oiling the rail with a LITTLE light oil like 3-in-1, sewing machine oil, or even olive oil, into the joint where the moving bit slides over the fixed bit mounted on your tripod. Then move the sliding bit backwards and forwards from end to end, and hopefully it will move more easily as the oil penetrates in.
If not, you need a new rail. Even a cheap rail off ebay (say $20) should move easily so that you can make movements of say 1/10 mm easily. But better to buy a decent quality rail such as this Velbon one.
|
Aug 21st |
 |
| 95 |
Aug 23 |
Reply |
Well, I cheated a little!
The main image was a single shot as I described, and I didn't do much to it in processing, so the real original of that wasn't very interesting, I thought.
But the other image was a nice contrast in terms of composition and close-ness, and I thought you might be interested in that,to compare the two images. |
Aug 21st |
2 comments - 8 replies for Group 95
|
7 comments - 12 replies Total
|