|
| Group |
Round |
C/R |
Comment |
Date |
Image |
| 95 |
May 22 |
Reply |
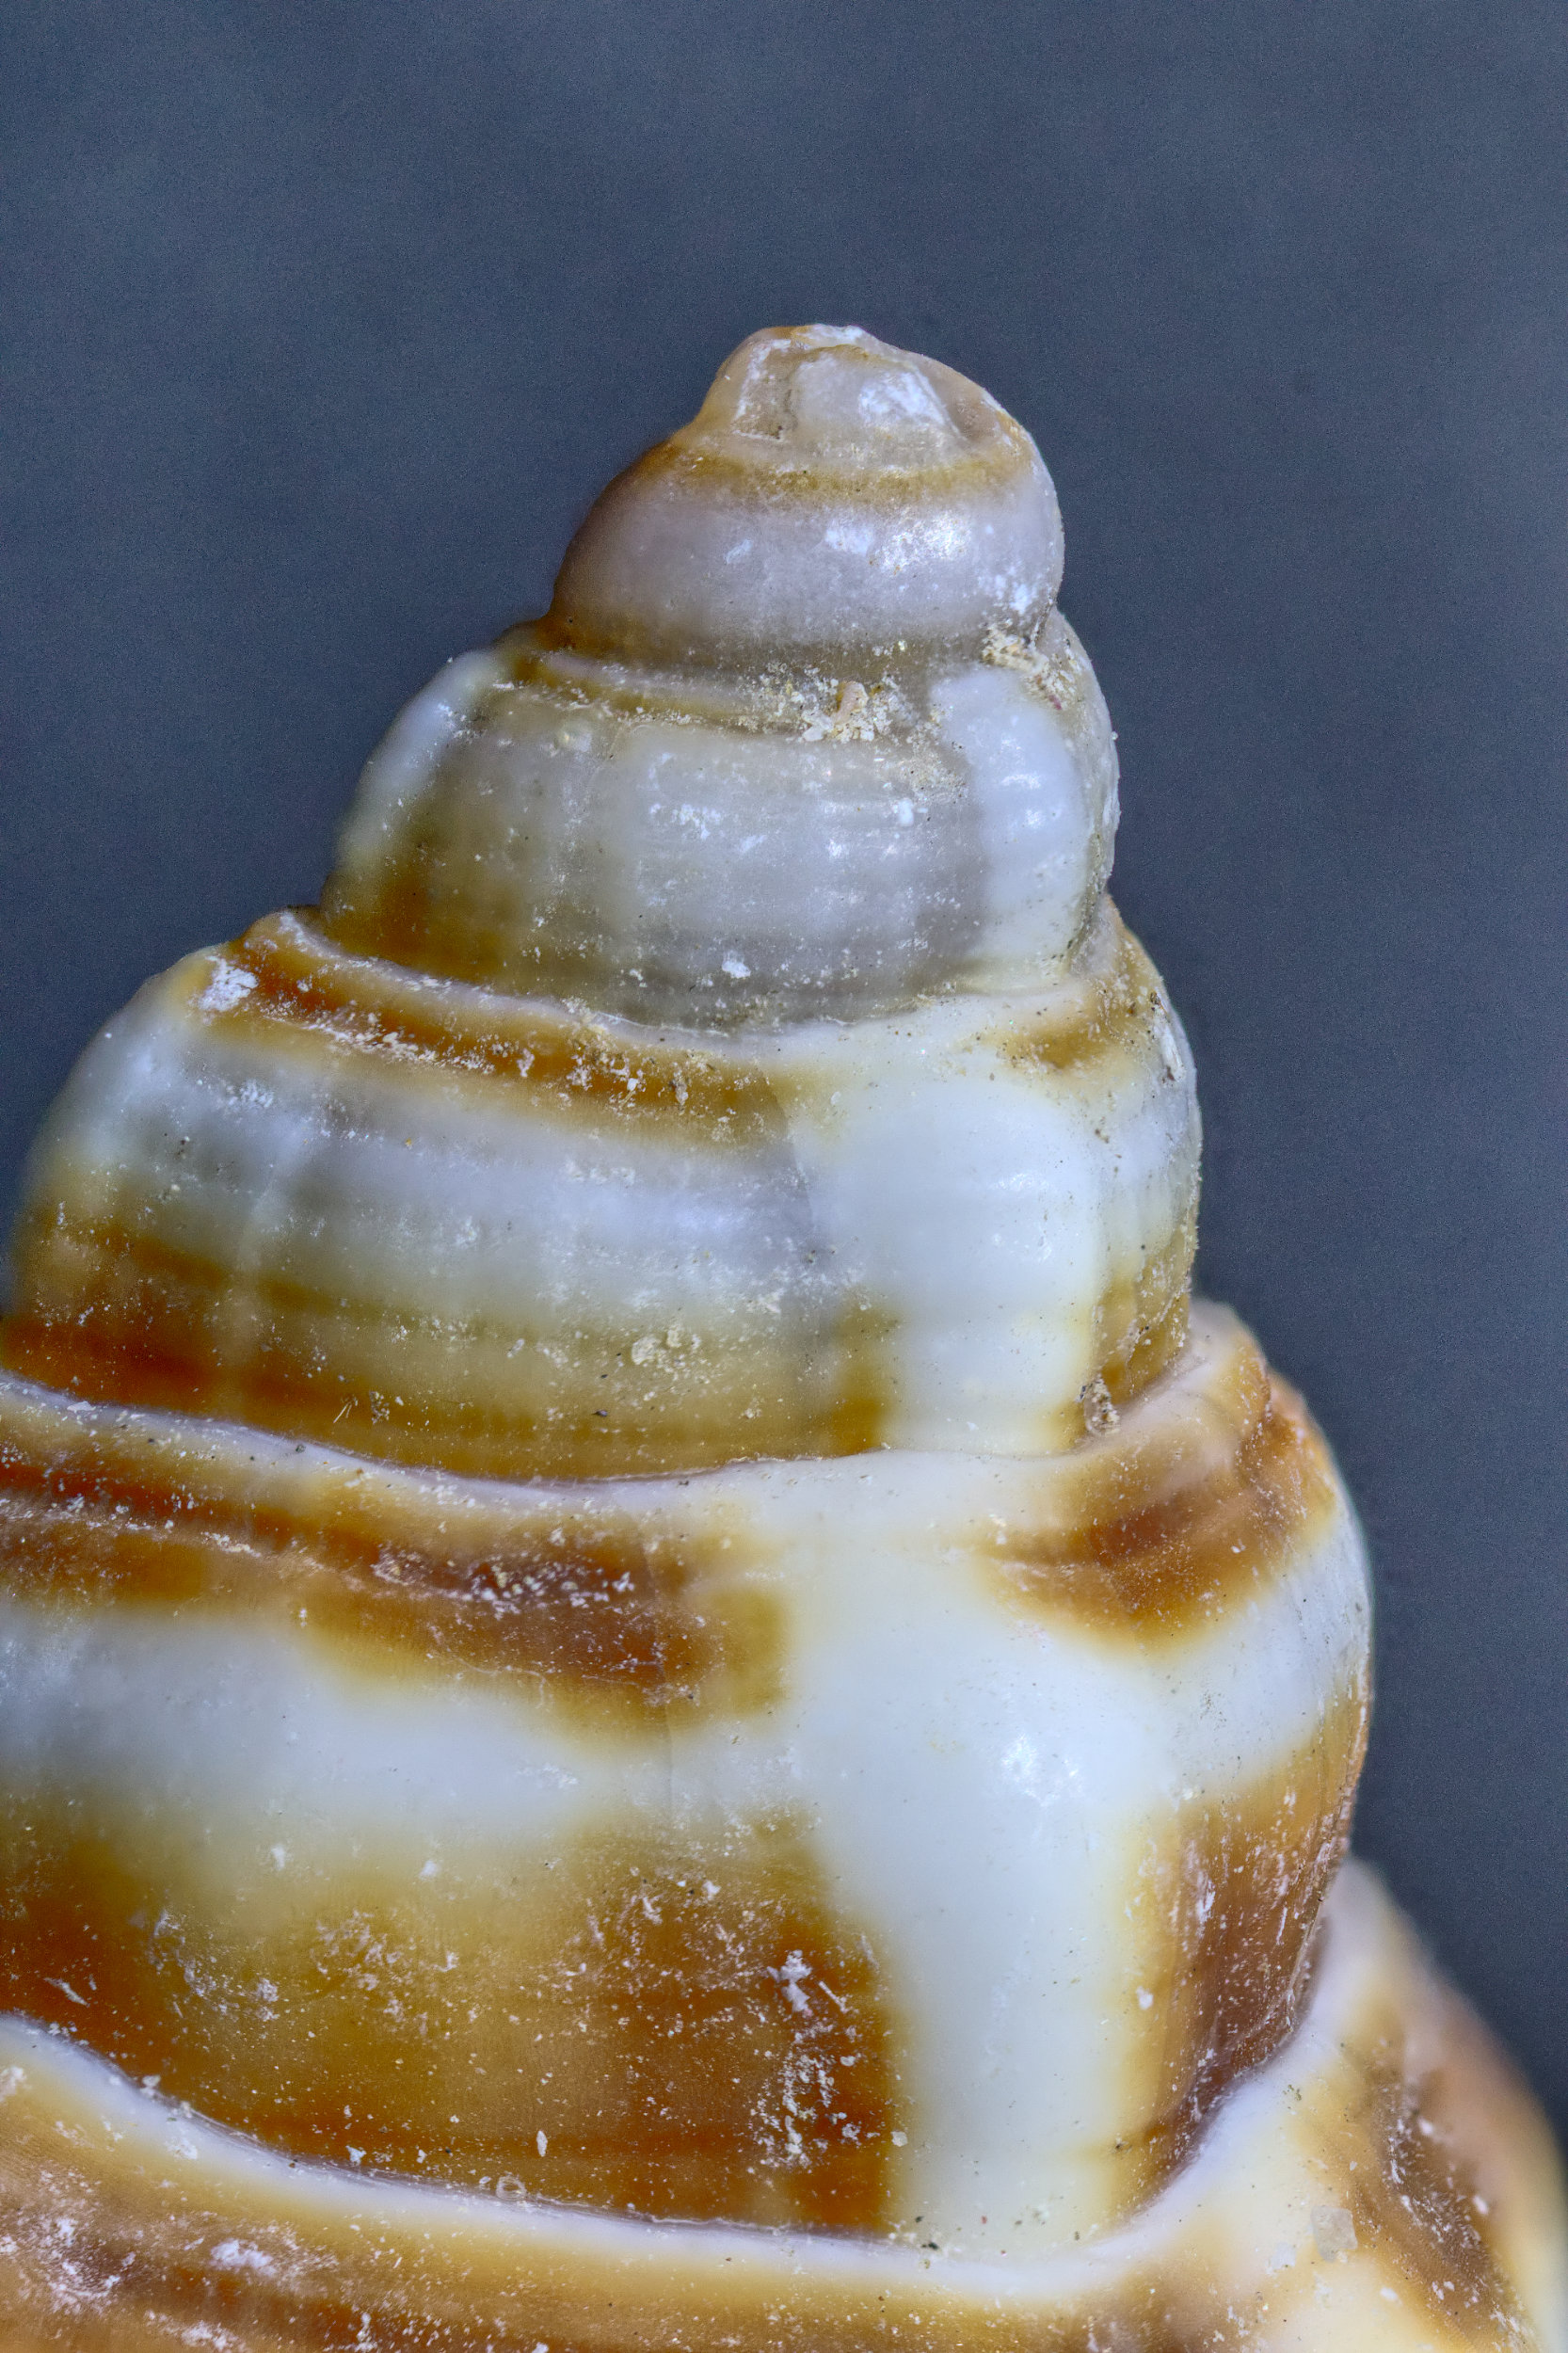
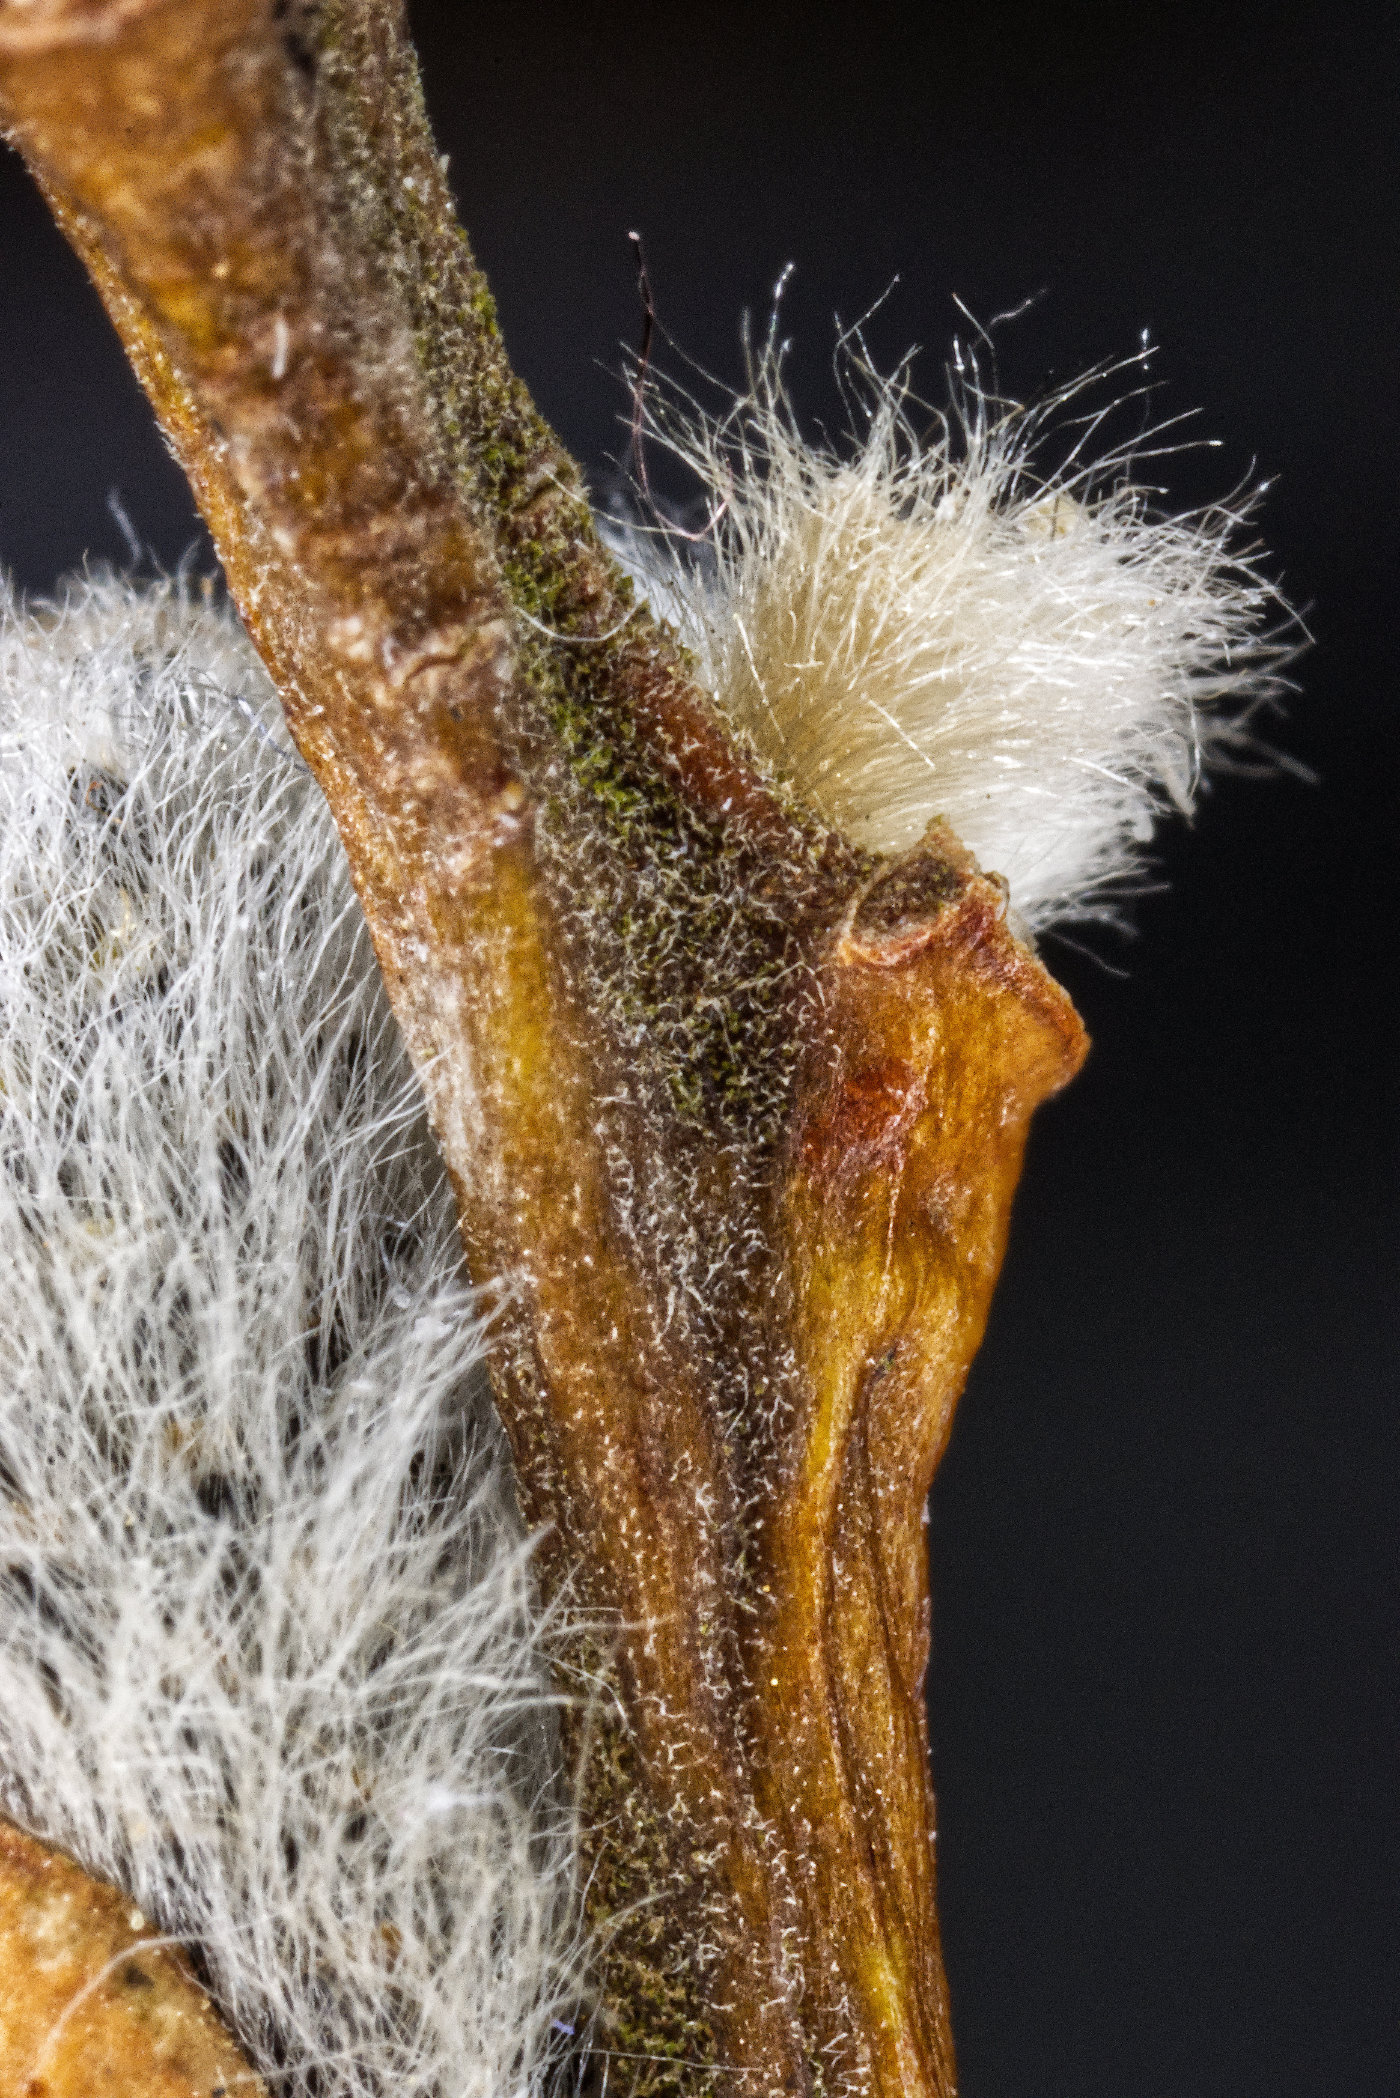
Thanks, Tom.
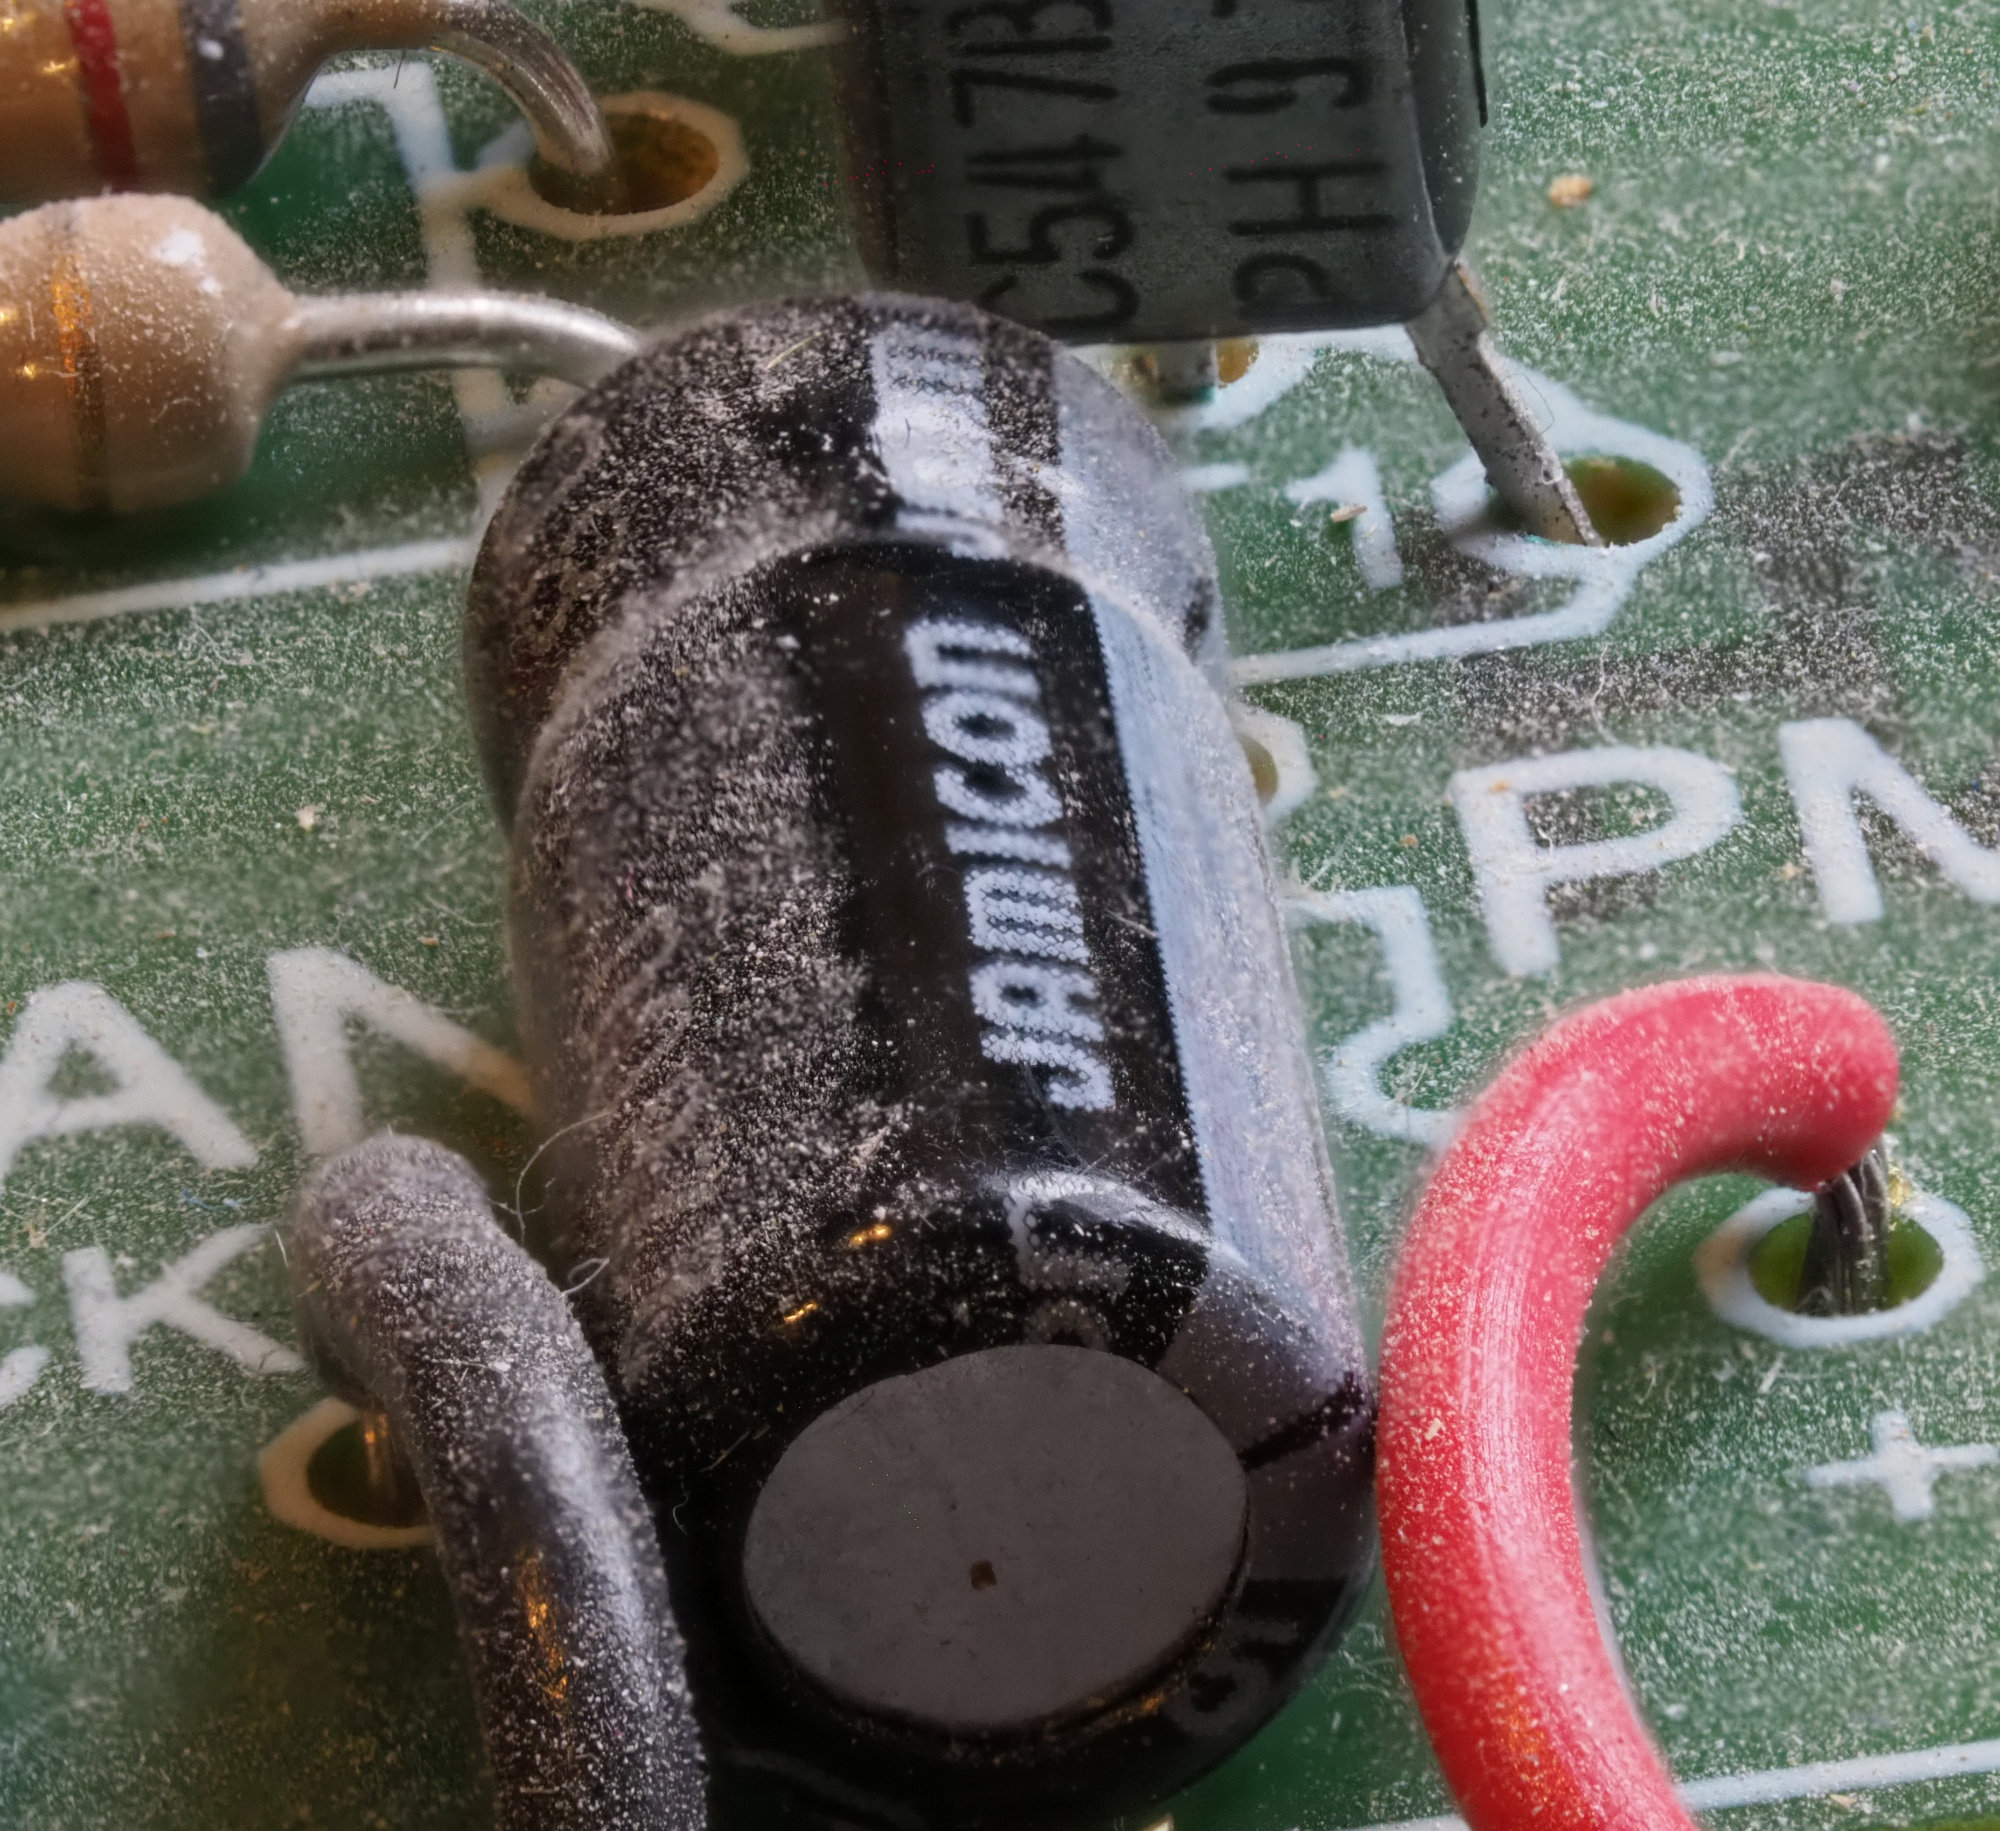
Eagle eyes! It's not a hair, actually. I hadn't noticed it, but I've just got the shell out of the box and found it's part of the shell's surface. Can only see it with a decent magnifier! |
May 25th |
| 95 |
May 22 |
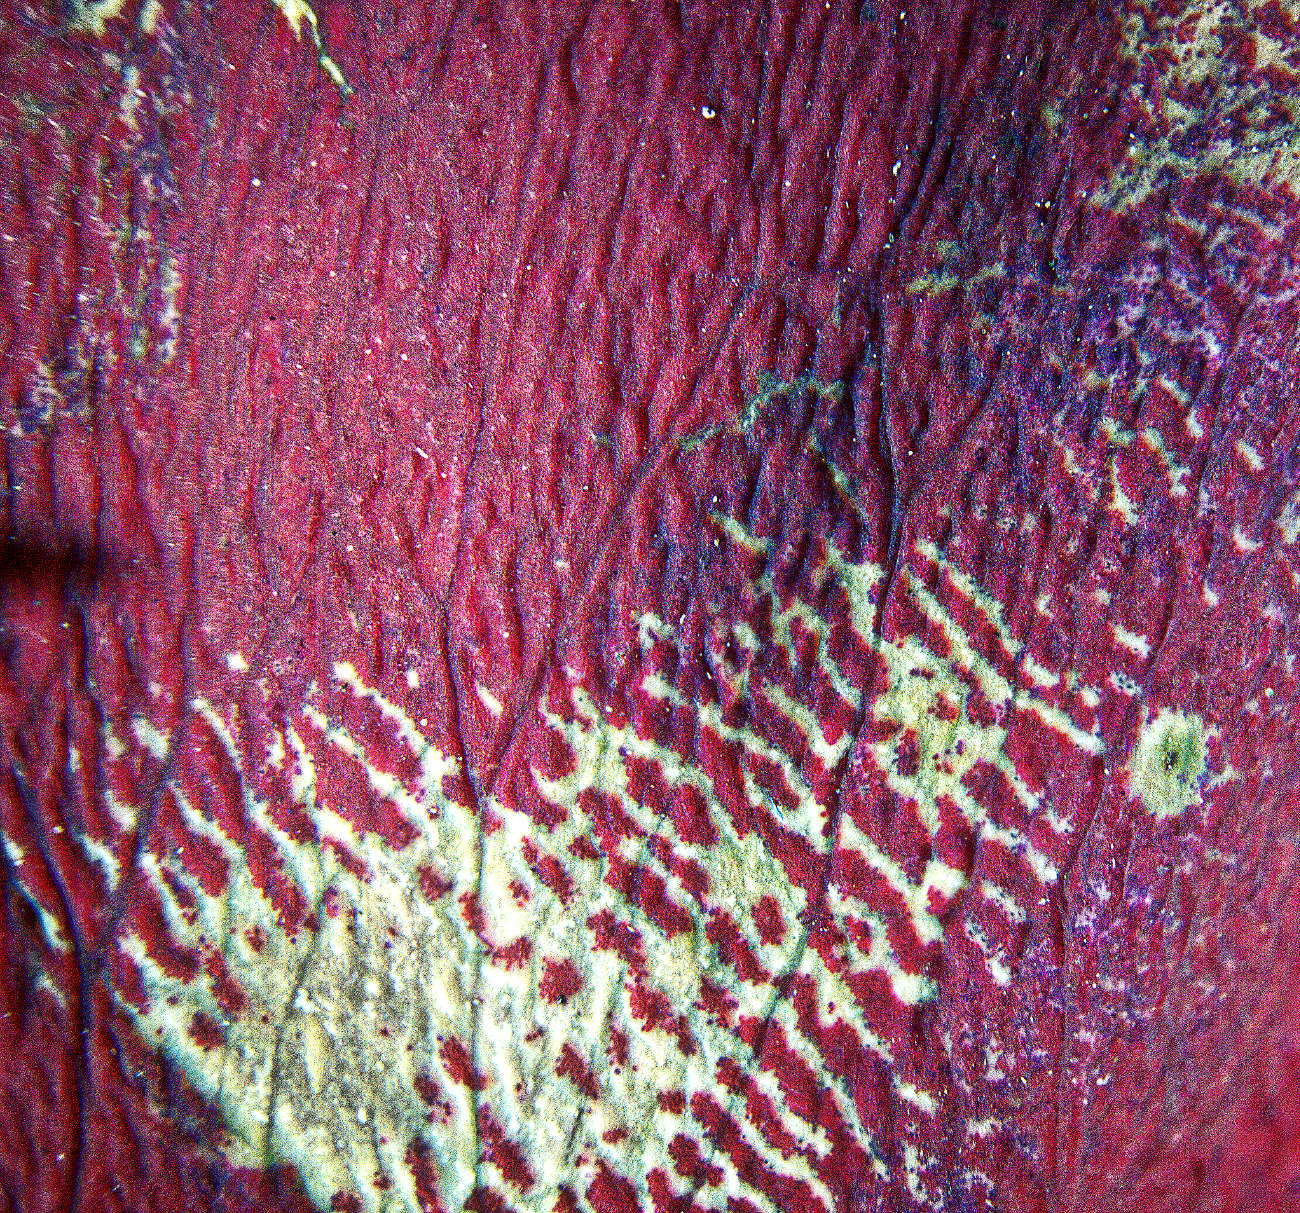
Reply |
I think that's better, now. Lovely flowing change from top left to bottom right. |
May 24th |
| 95 |
May 22 |
Reply |
You're welcome, Keith.
Indeed, I believe Photoshop can do the focus merge from the multiple images. However if there's too much lateral movement between frames, then merging software can fail (a bit like on other similar tasks, eg panorama merging).
Affinity Photo can certainly merge focus stacks, but there's not much control over it, whereas specialist software like Helicon Focus and Xerene Stacker can do a better job. But for first steps, stick with PS, no need to spend more money on specialist programs.
It's worth mentioning also that the software usually expects the files to be merged to be in distance order, from closest to furthest away. A random selection of images taken at different distances is also likely to fail. |
May 18th |
| 95 |
May 22 |
Reply |
The focus points are increments towards the subject. You start with the subject framed and focussed on the closest point. You do this by trial and error. Then, after taking the first frame, you move the camera forwards without altering the framing, and then take the second frame. Then repeat until you have taken the final frame focussed on the rear-most point that you want to be in focus.
Generally, moving the camera has to be mechanised in some way. A focus rail on a tripod is the first way to try. There are mmore sophisticated methods including computer-conrolled focus rails, but that's seriously expensive! Manual operation of a focus rail works fine.
How much do you move the camera between shots? You can do this by calculation, but the most practical way is by eye. A focus aid like focus highlighting by your camera (if it has the facility) are adequate. Just leave a good overlap between frames so as not to get gaps in the sharp areas in the stack.
In a similar way you can leave the camera fixed on the tripod, and manually adjust the focus for each frame. That works, but most macro photographers find using a focus rail is easier. This technique is used for doing focus stack for non-macor subjects, eg landscapes with some very close foreground objects that you want to be sharp.
However in this case I used software to control the camera focus, and it automates that second method. This is called Helicon Remote. The camera is connected to the computer and controlled by the computer. In the software you can focu the lens up and down and select the closest and furthest focus points. The software knows the camera settings (focus distance, aperture, etc) and so can calculate the largest permitted focus step size. It then takes all the images from closest to furthest with all the necessary intermediate steps. If you use the stacking software Helicon Focus, the software loads the images into Helicon Focus automatically, where you can produce the stack with a few clicks of the mouse. It's very good! Alas it only works for Canon and Nikon cameras.
I have explained a number of procedures in this forum, but before you joined us! I need to collect them together and perhaps post it in the group's bulletin board. When I get the time!! But there are lots of explanations on the web - just search for focus stacking, focus merging, focus bracketting, etc.
|
May 17th |
| 95 |
May 22 |
Reply |
Thanks, Pat. I'm no artist so positive feedback on colours that I have chosen is encouraging. |
May 17th |
| 95 |
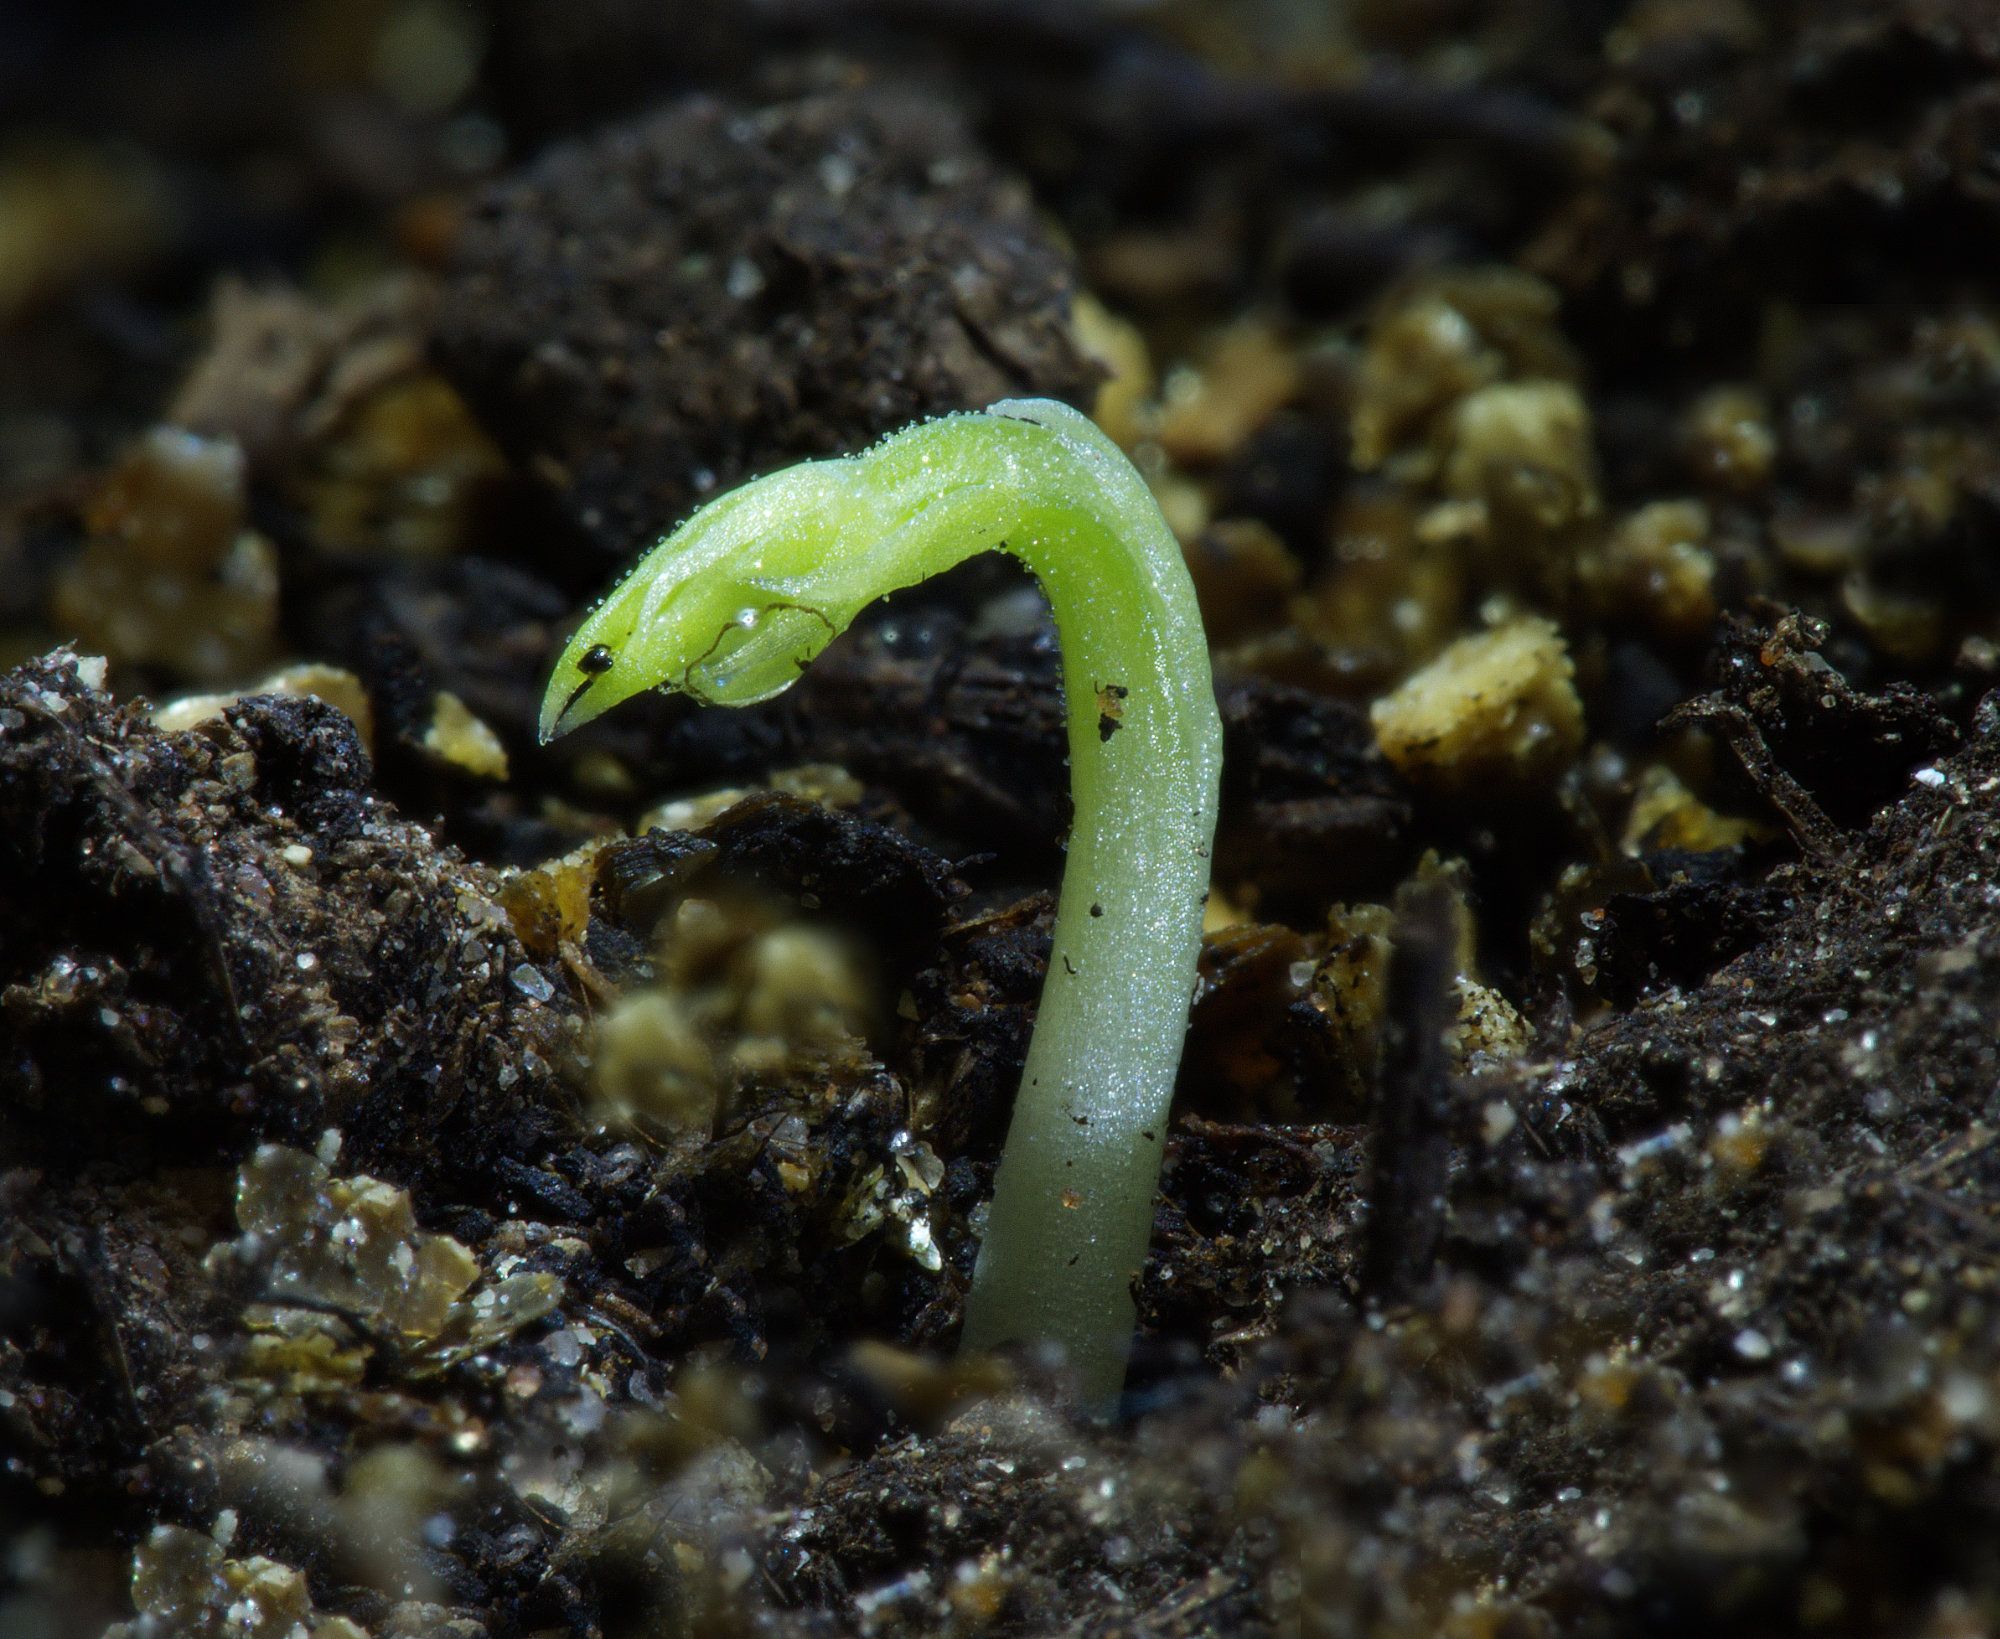
May 22 |
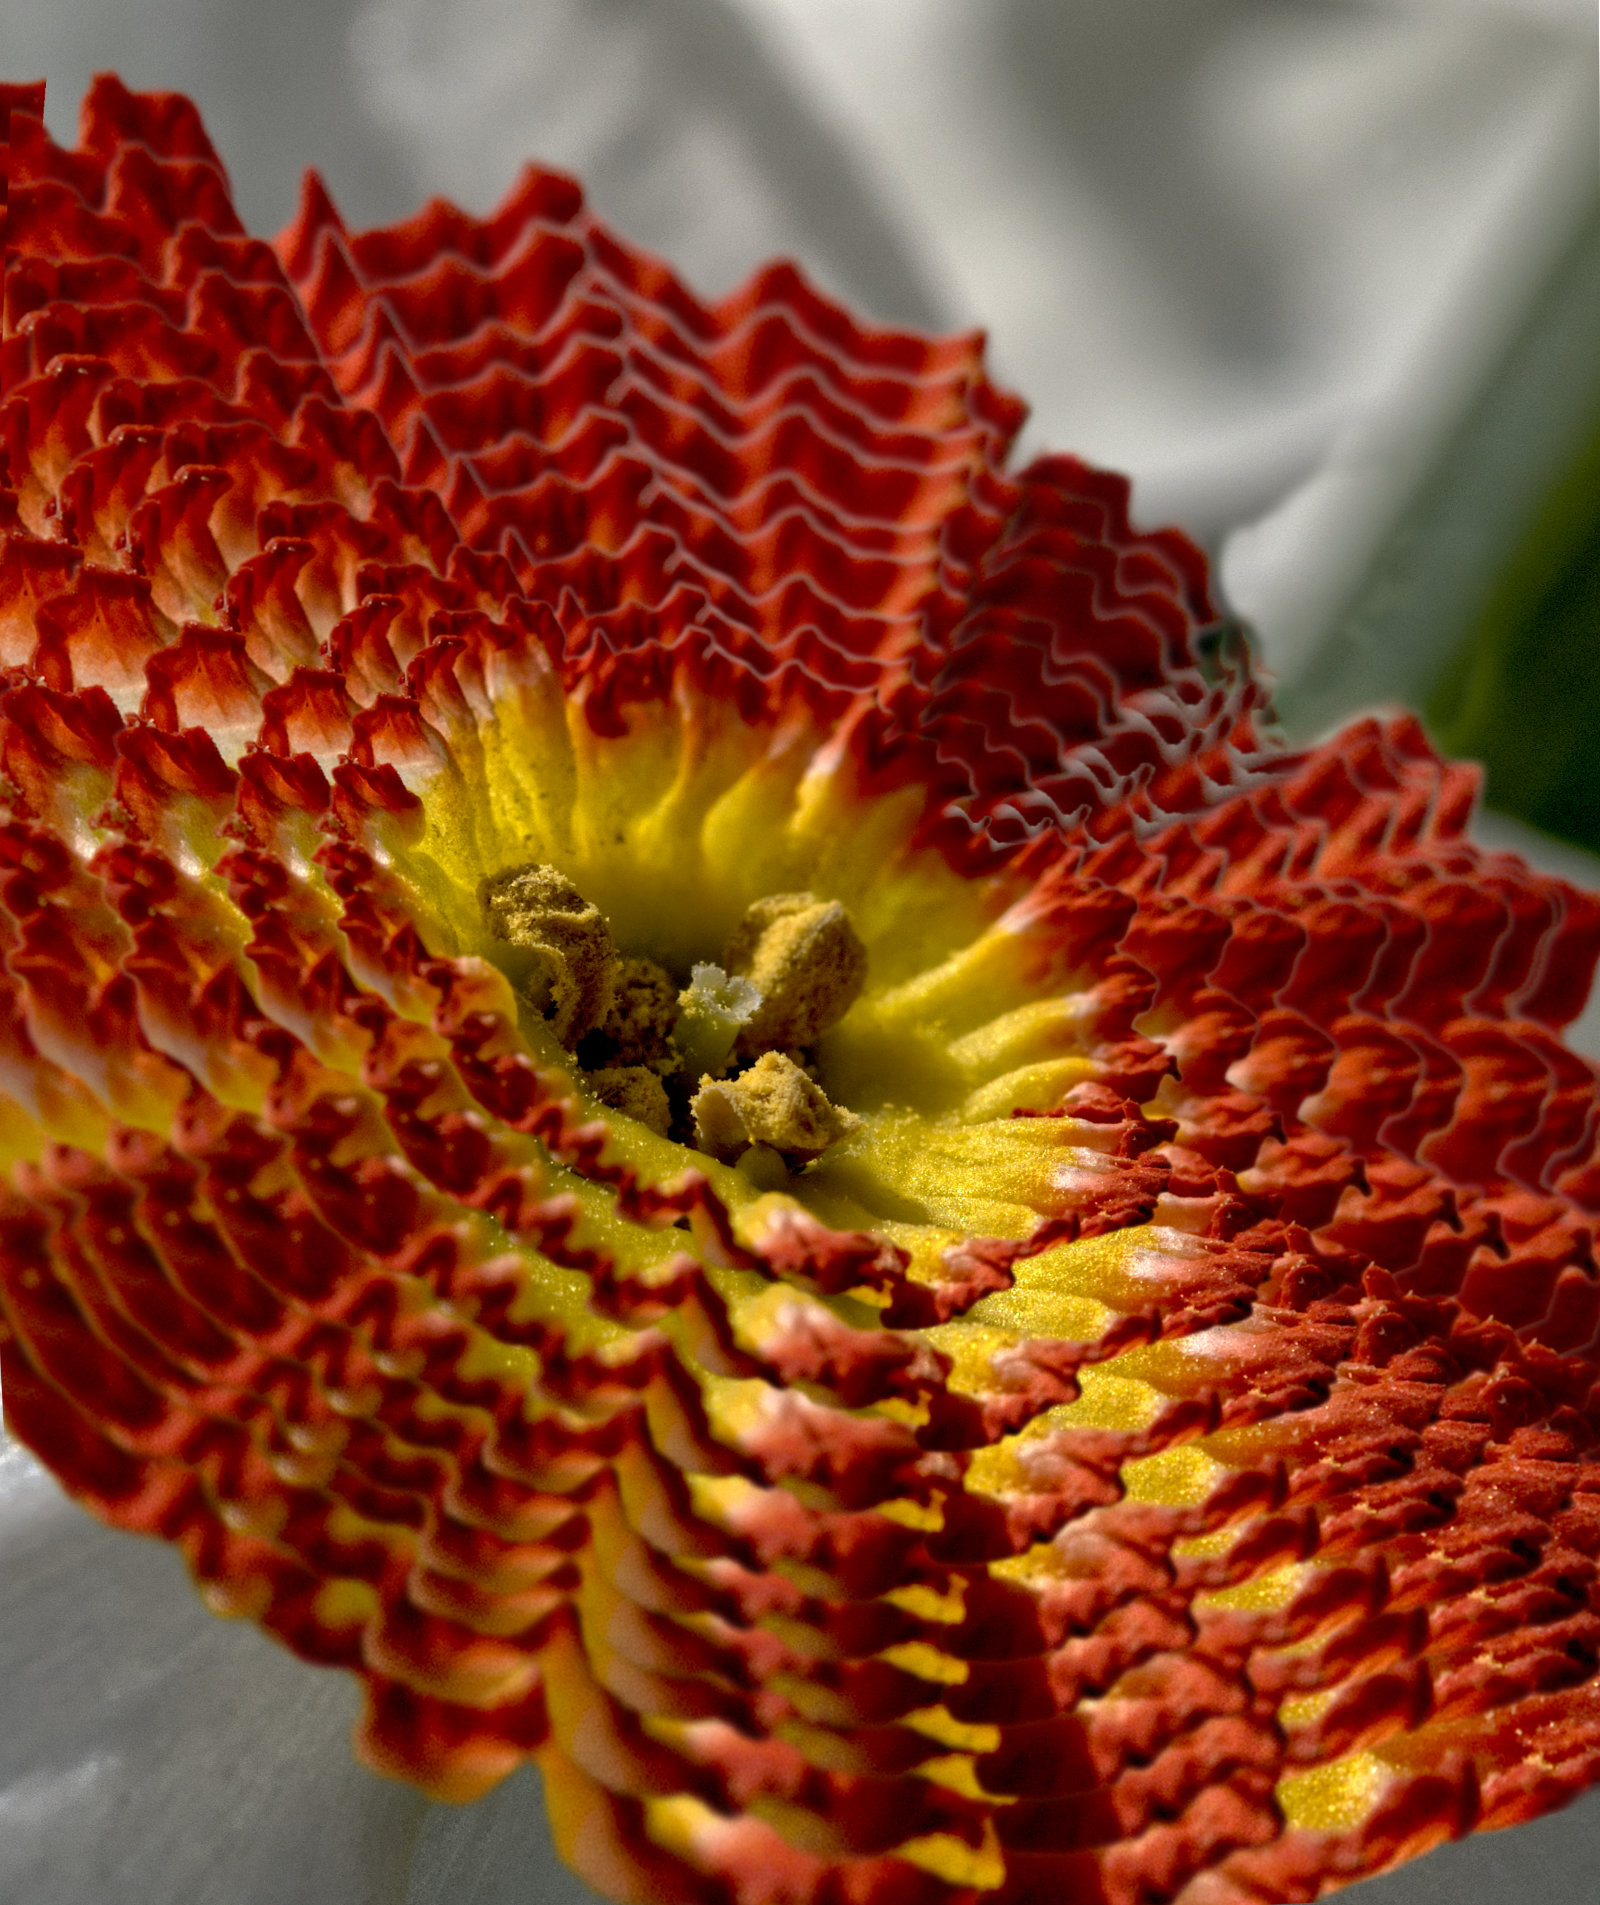
Comment |
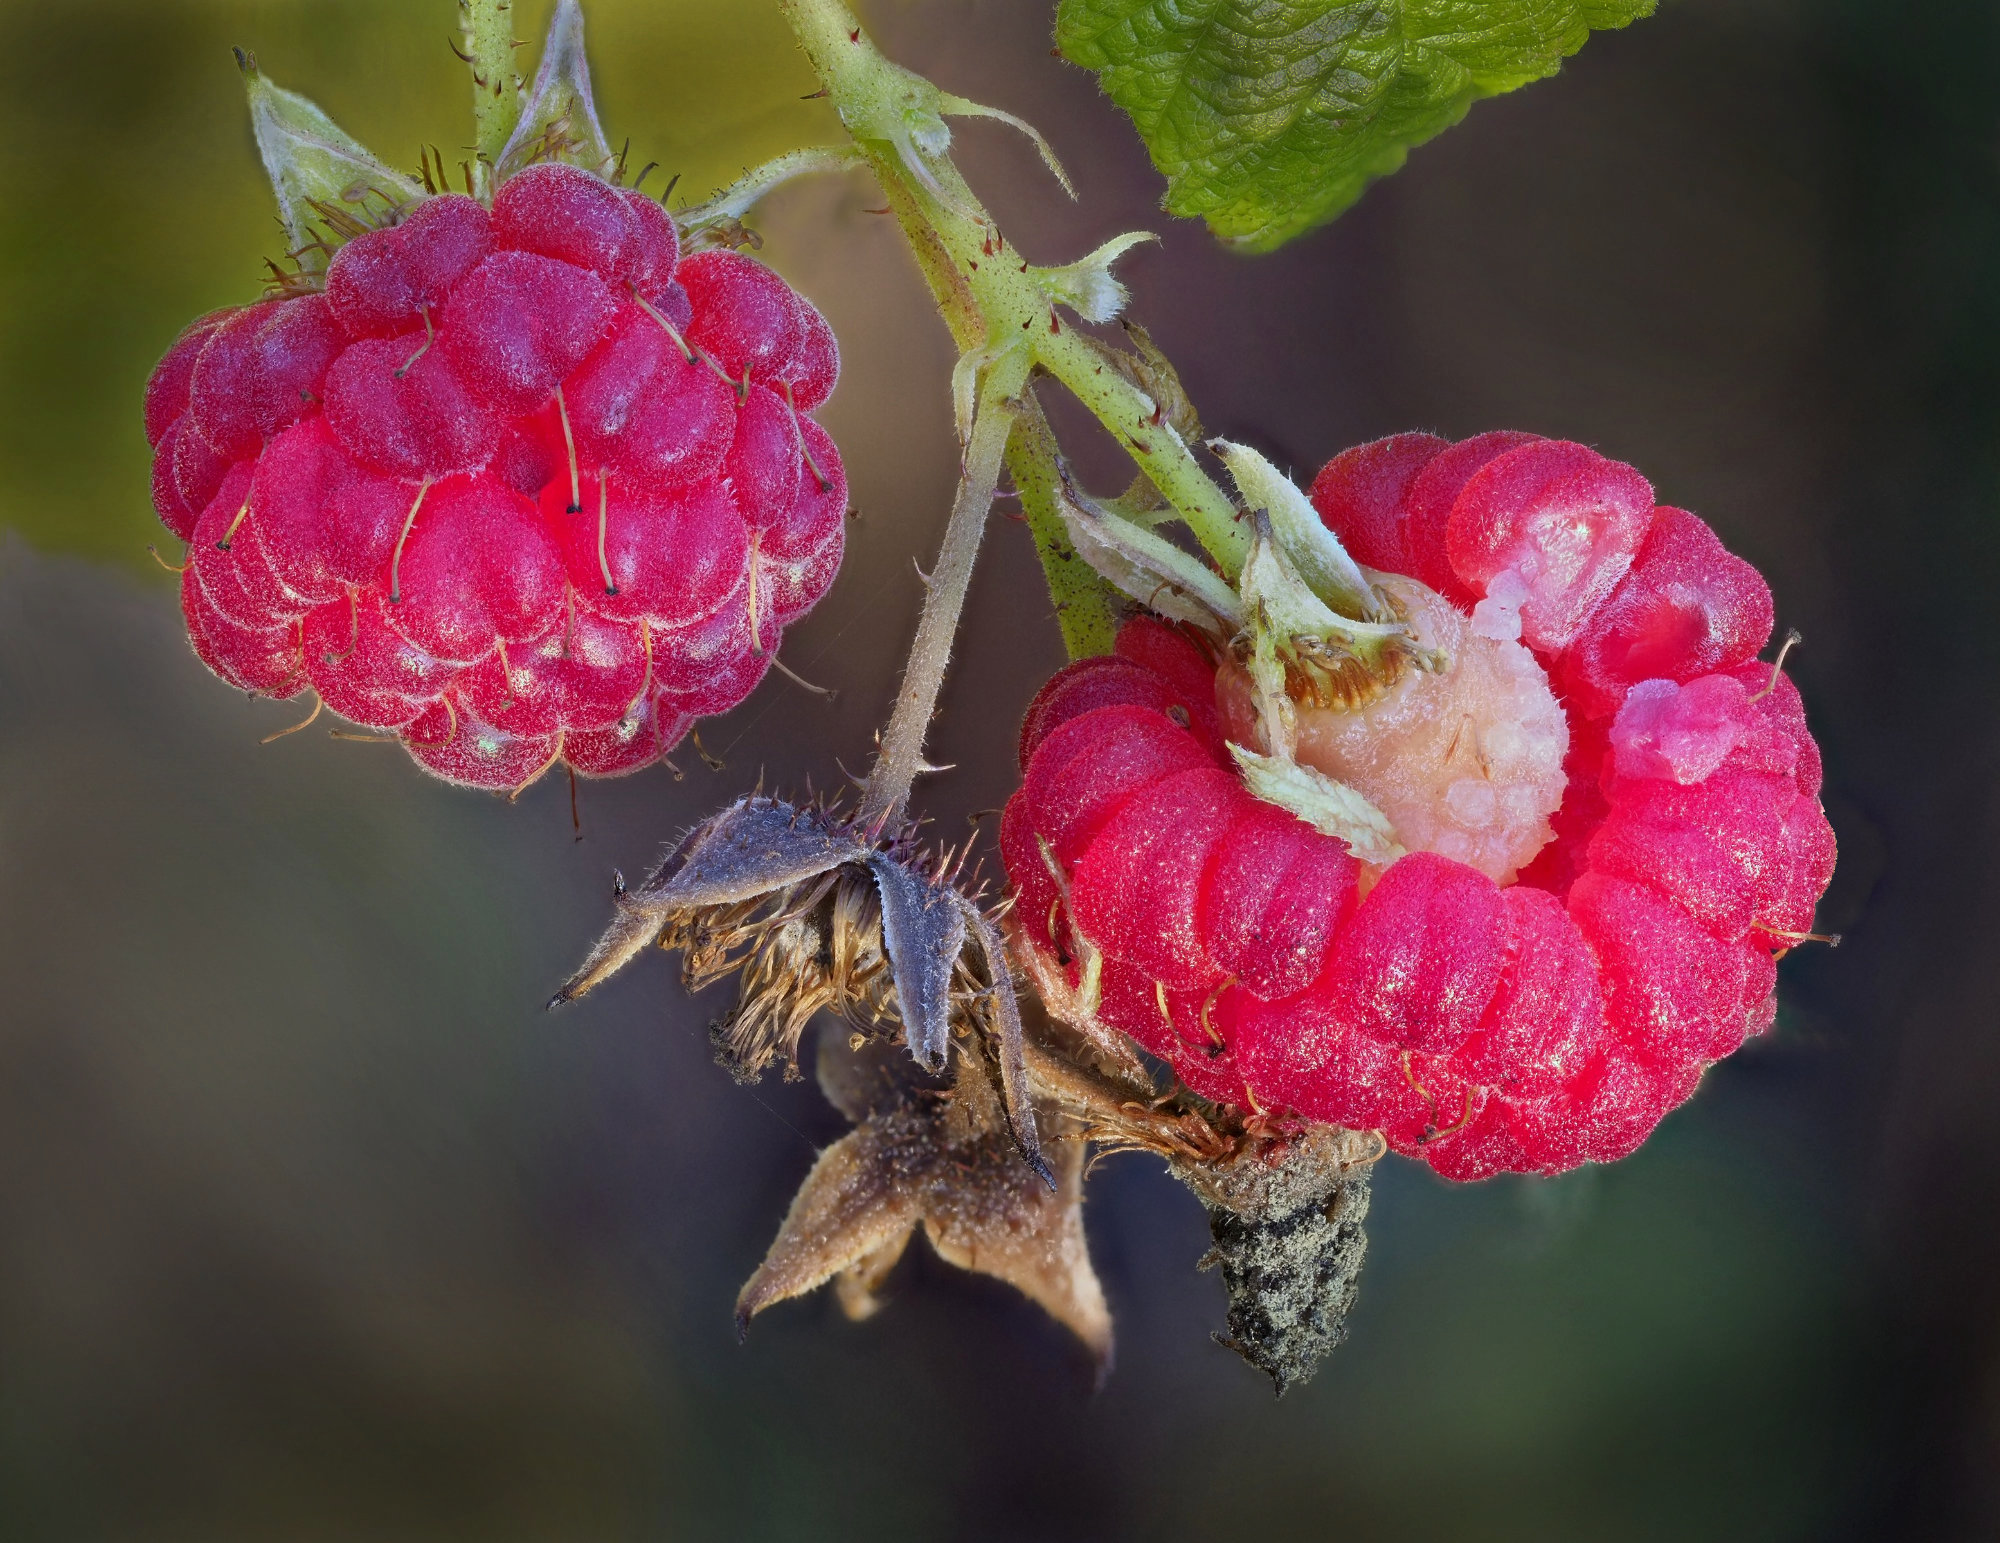
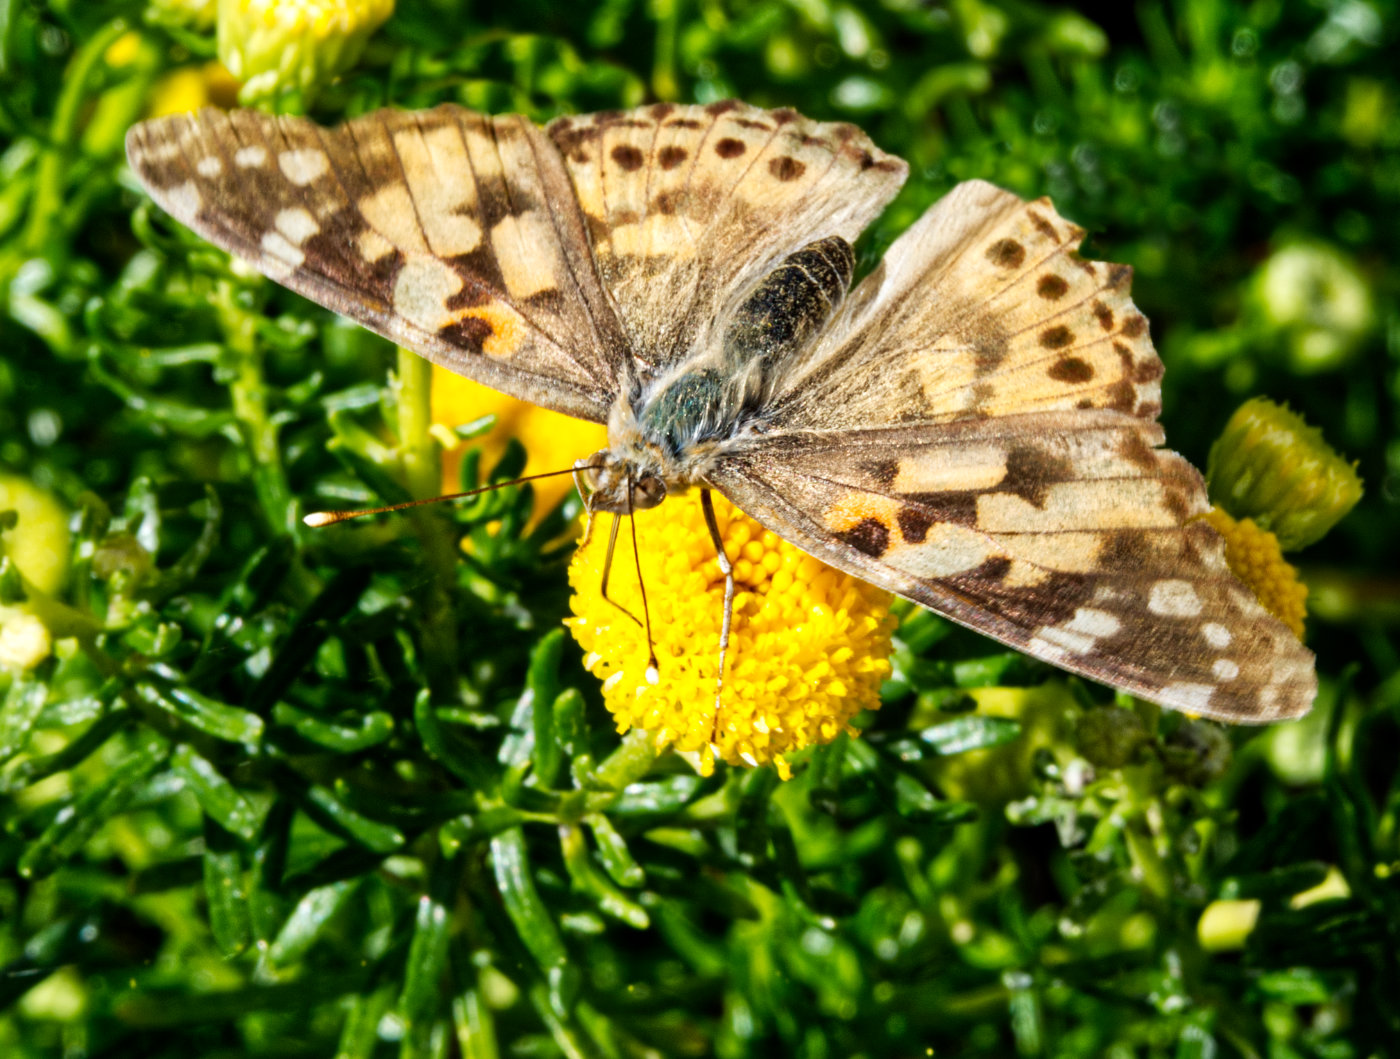
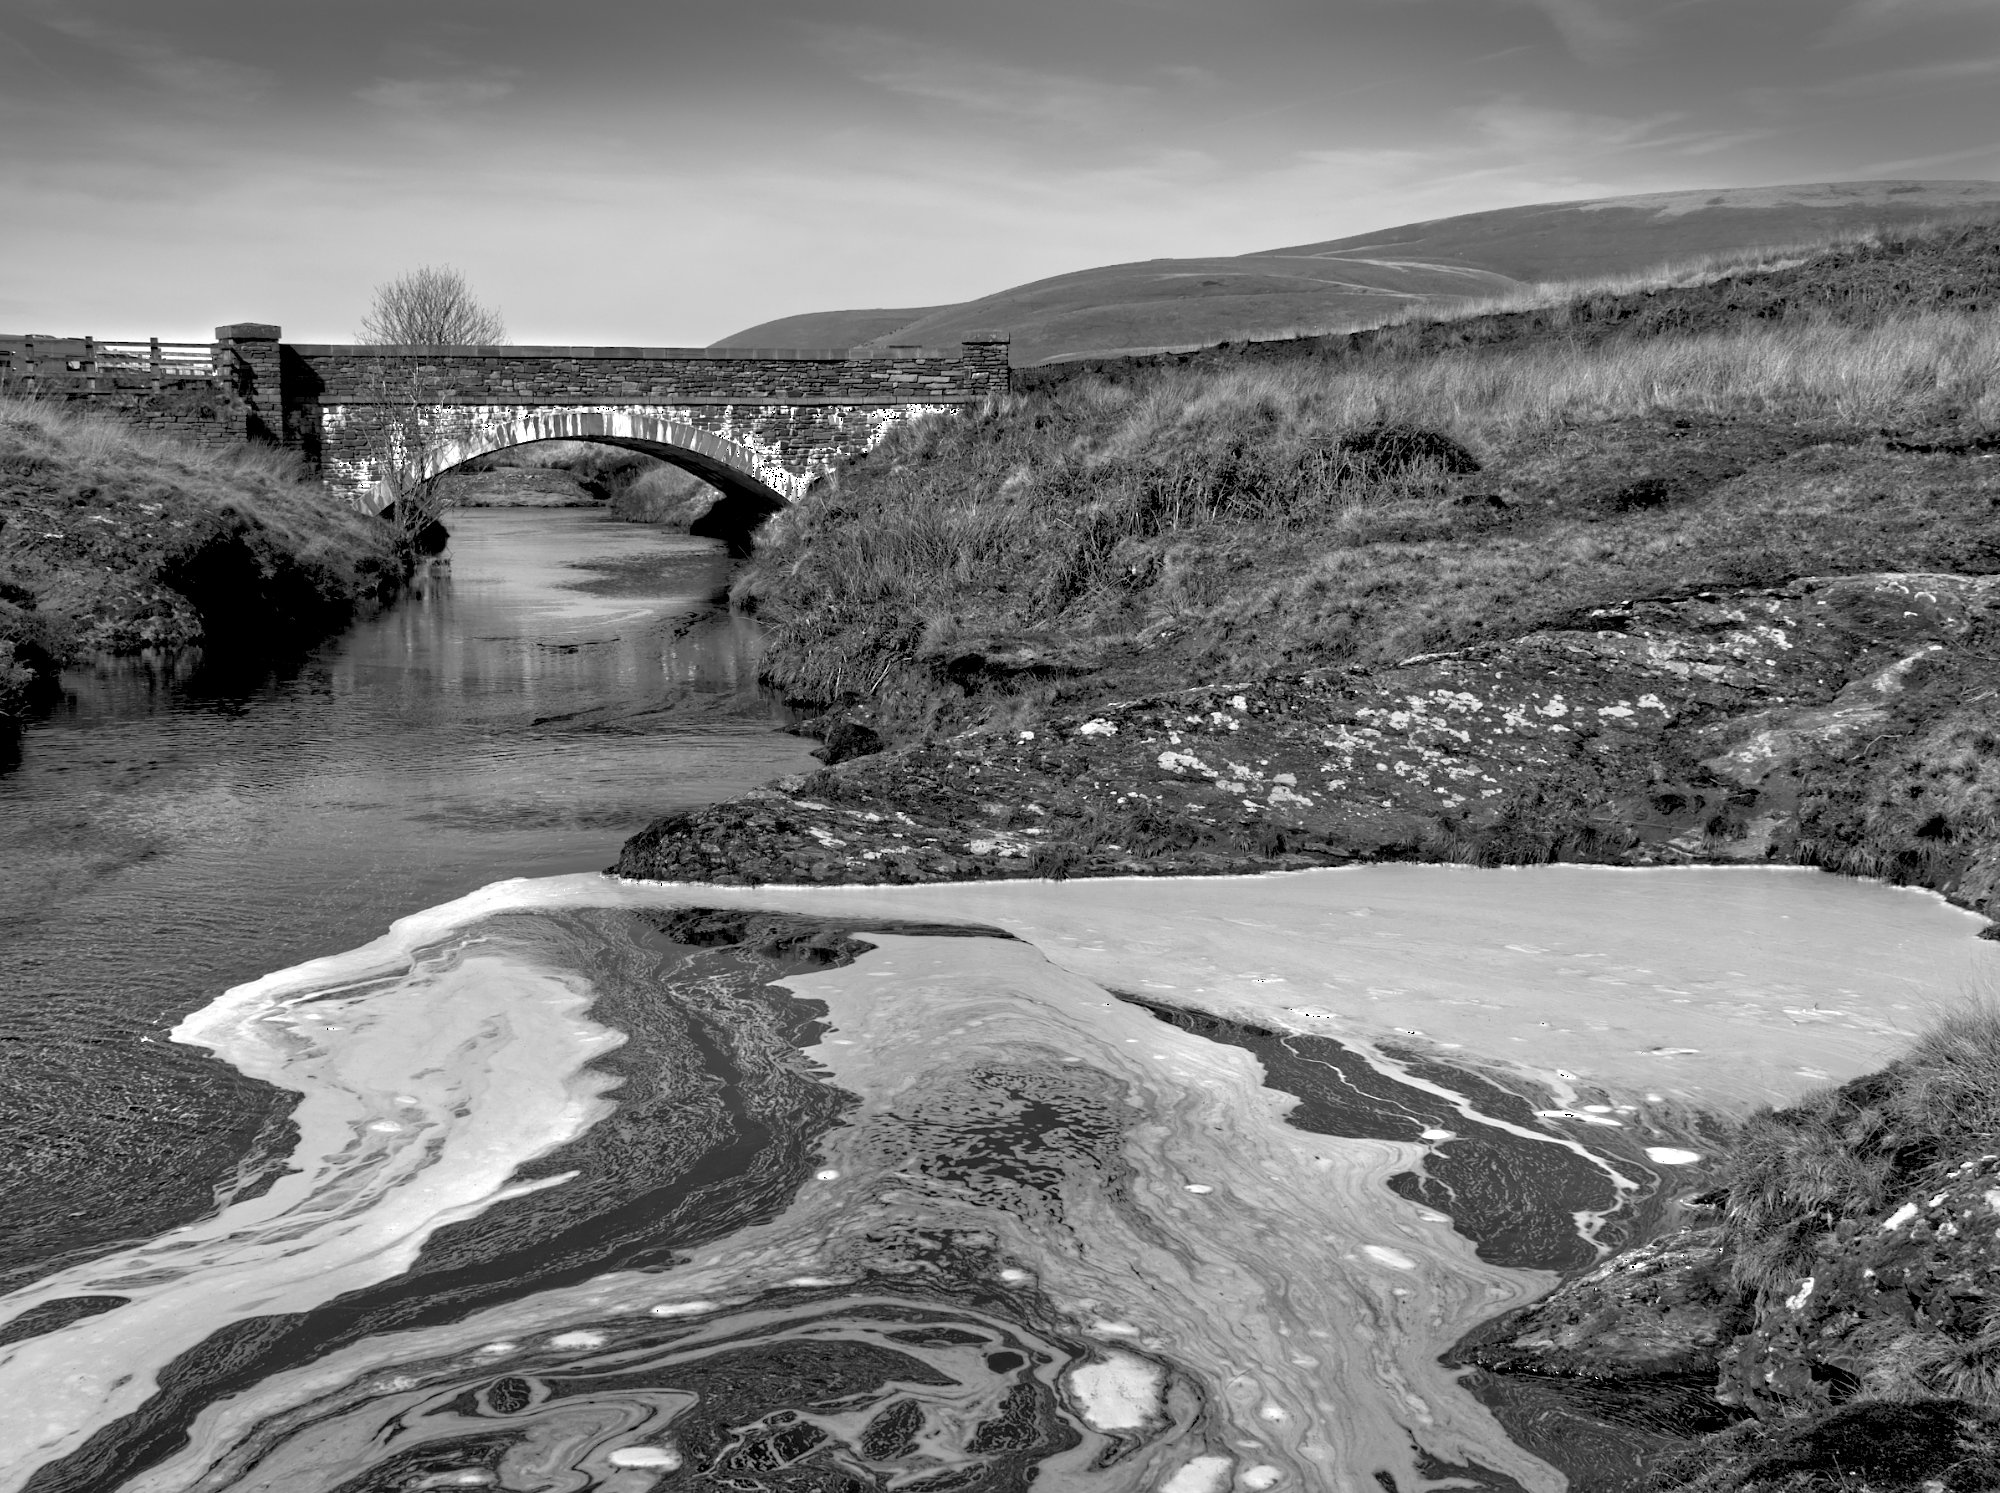
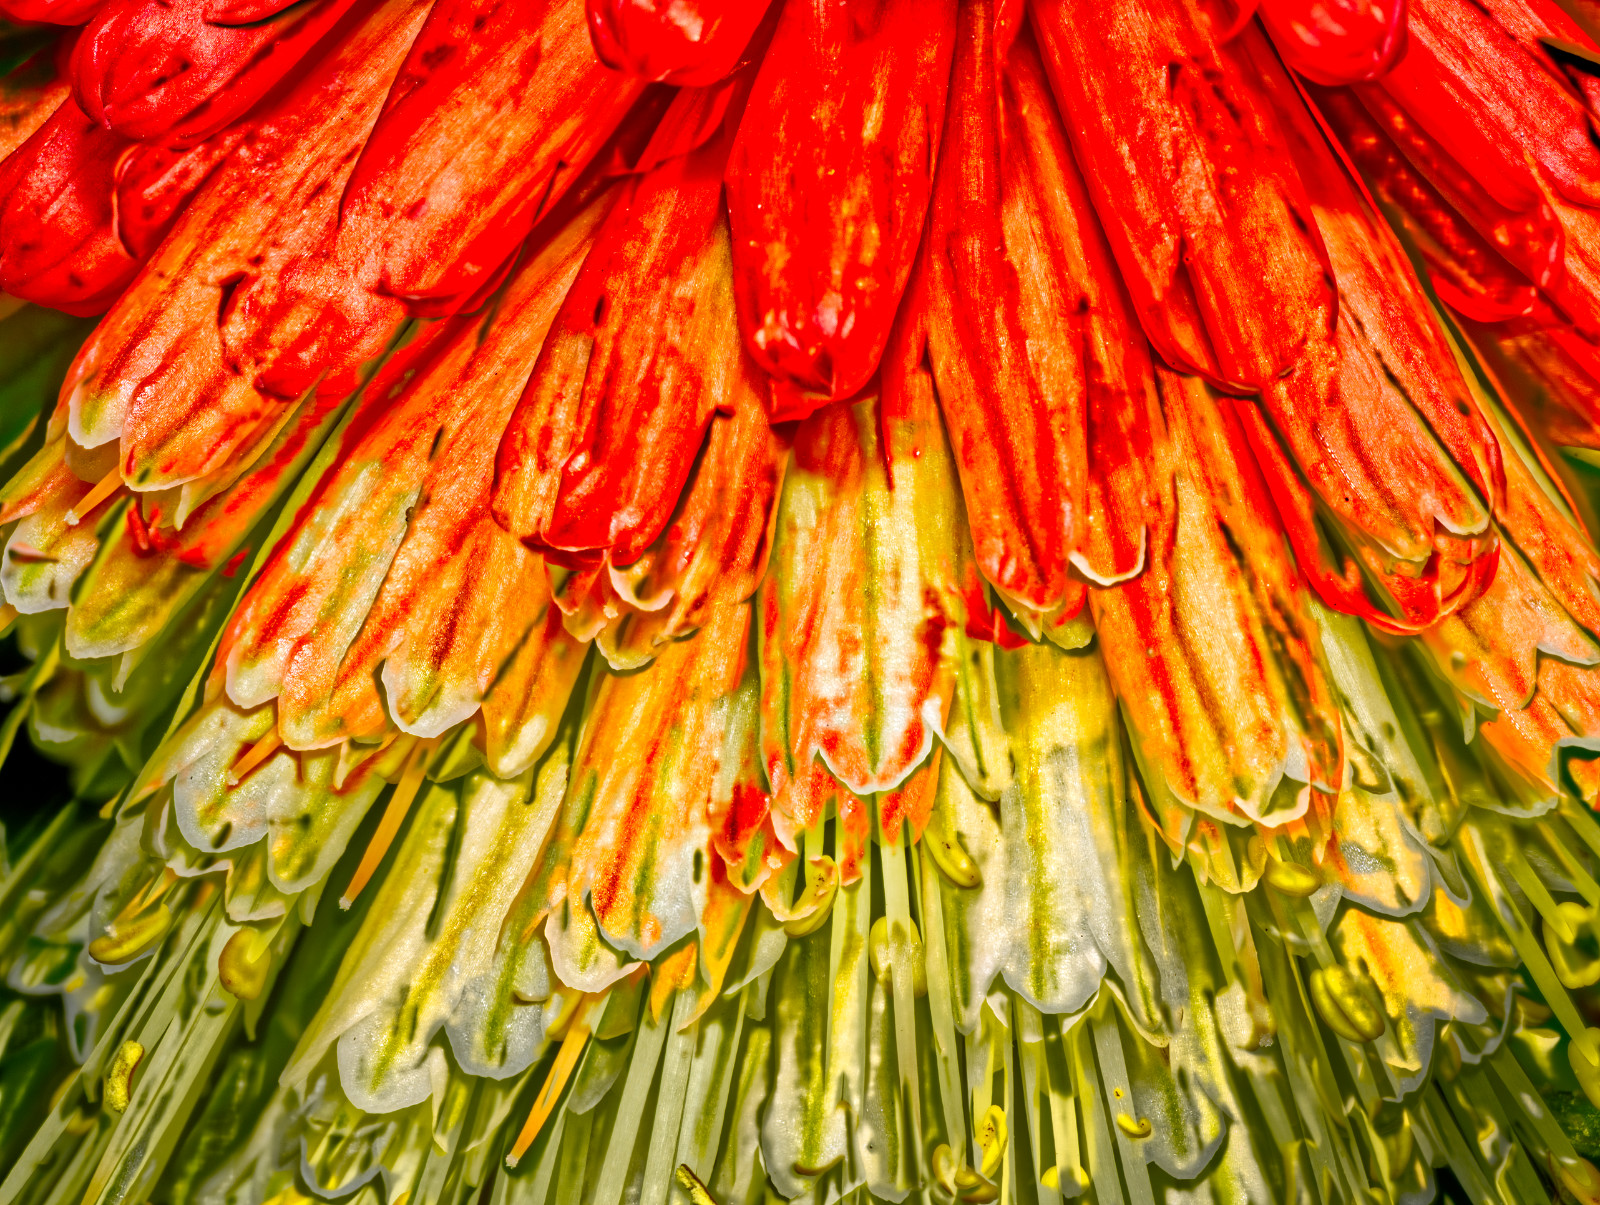
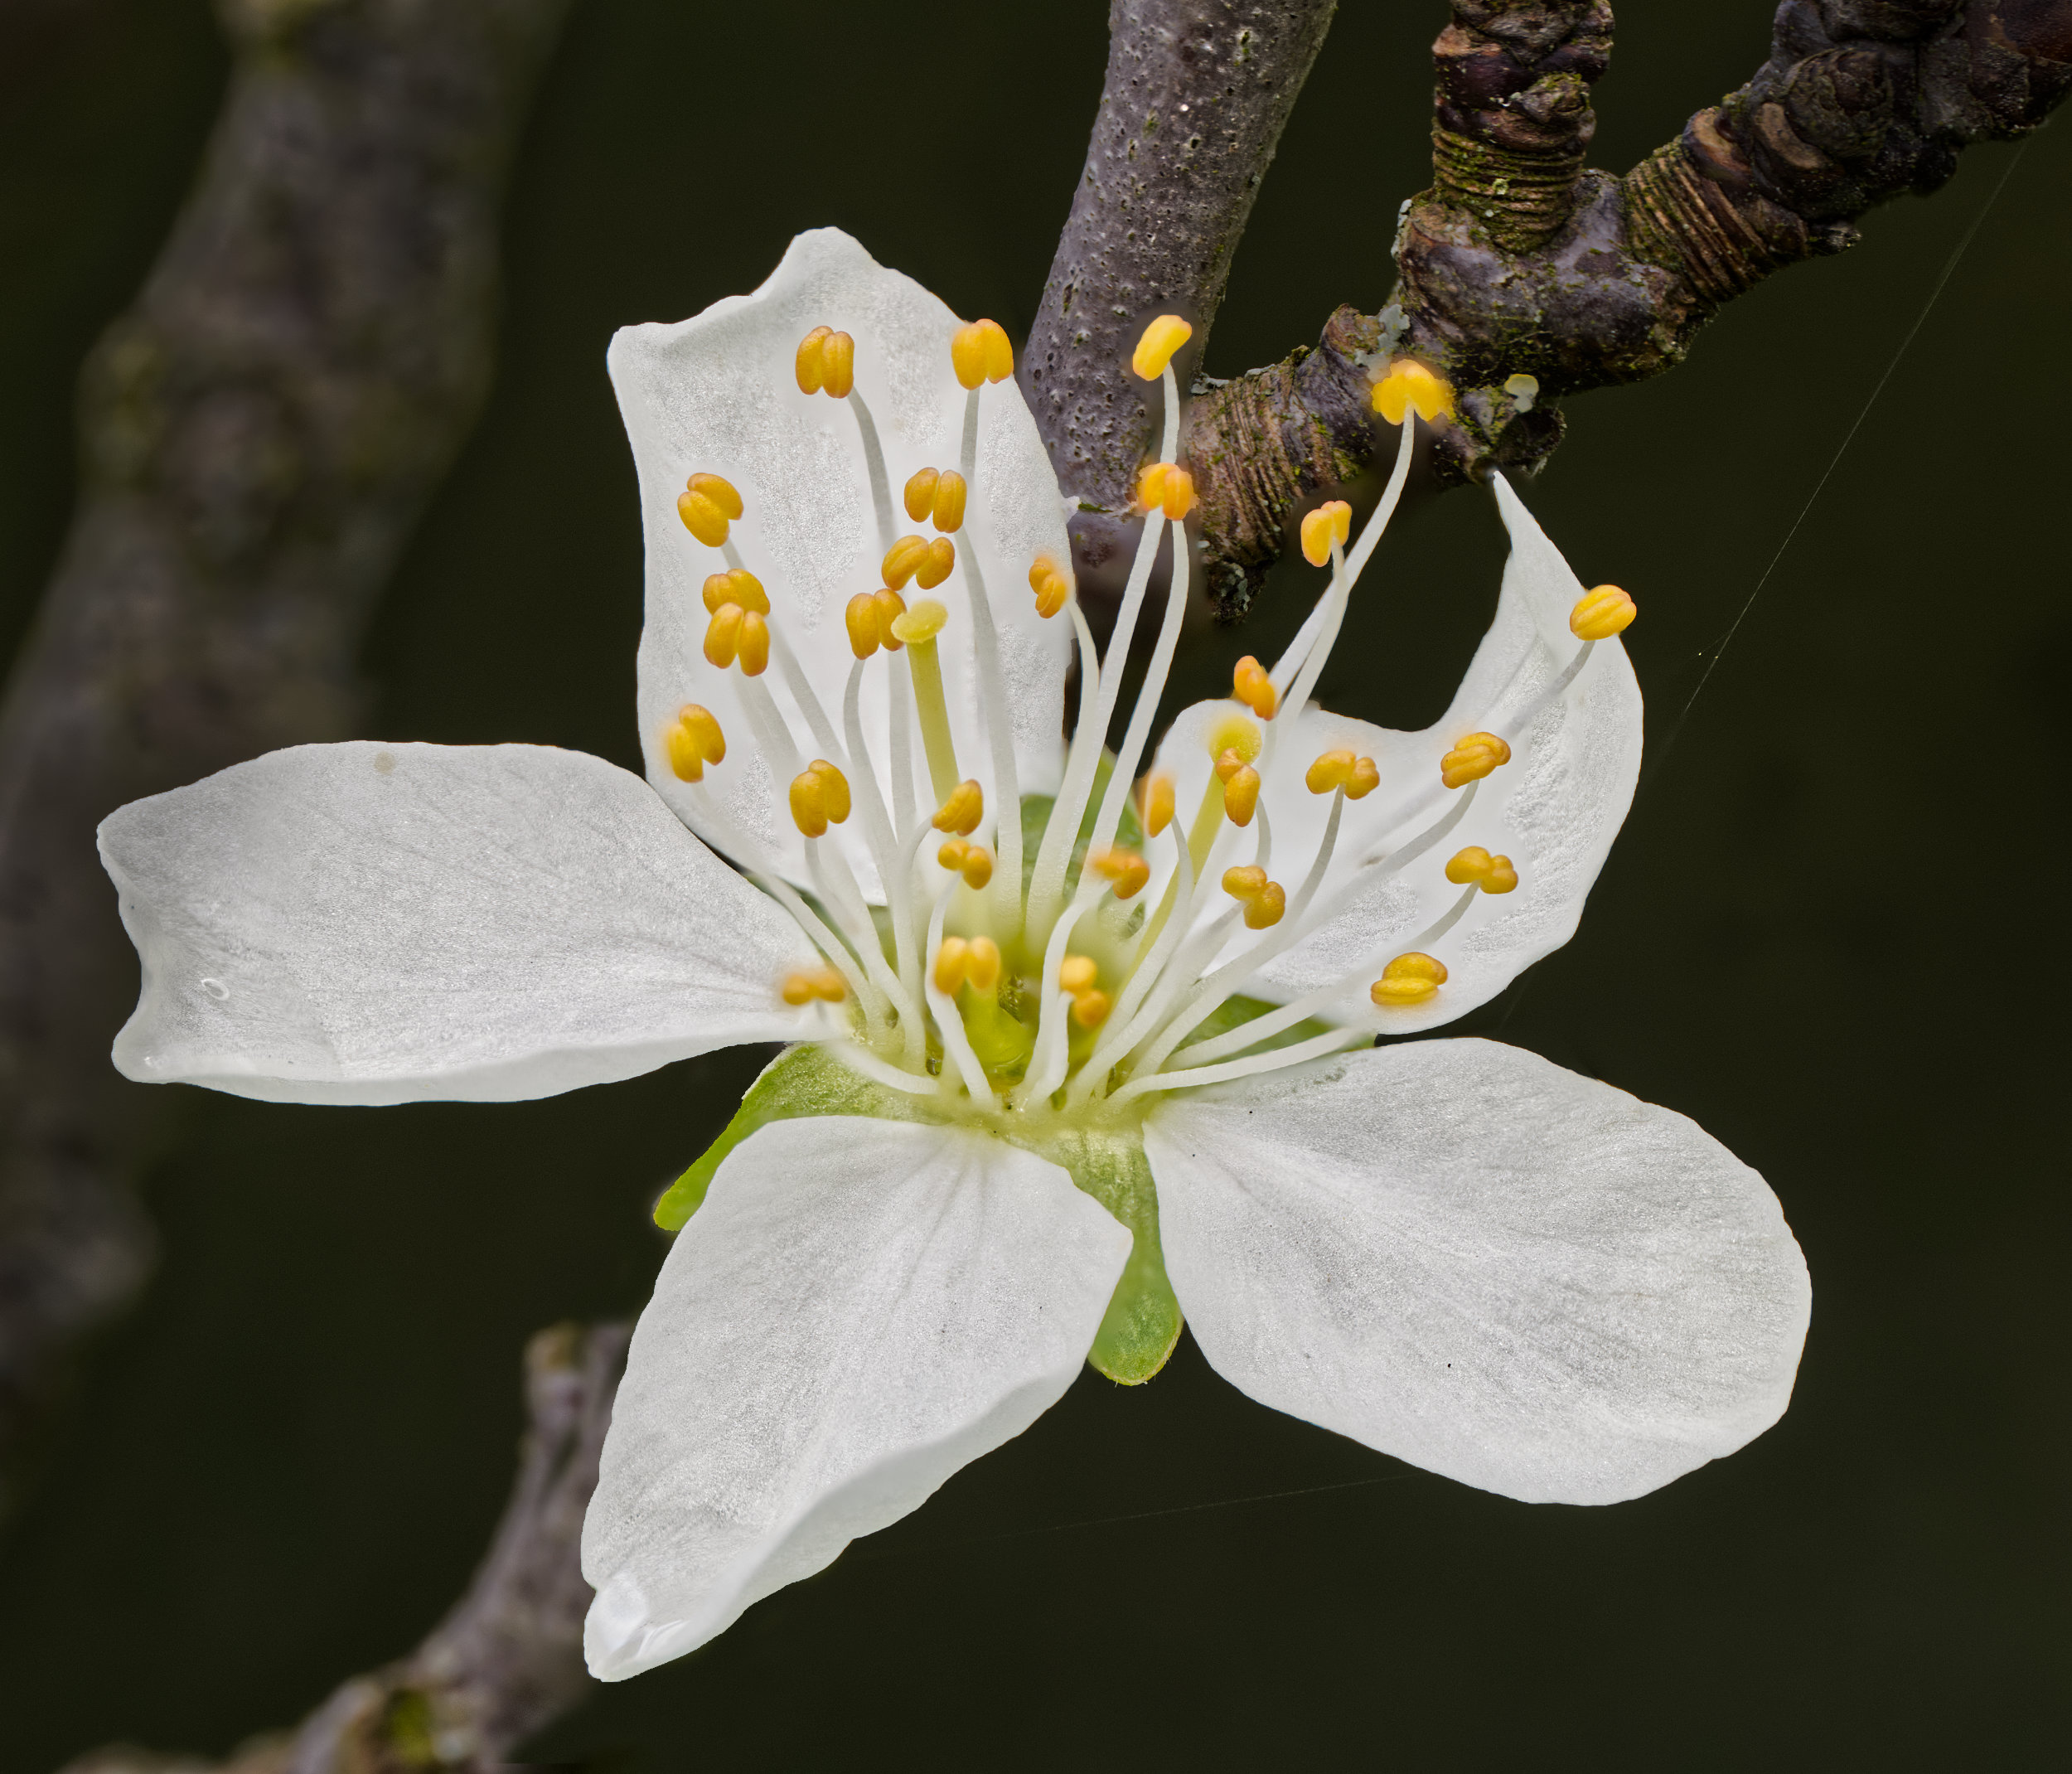
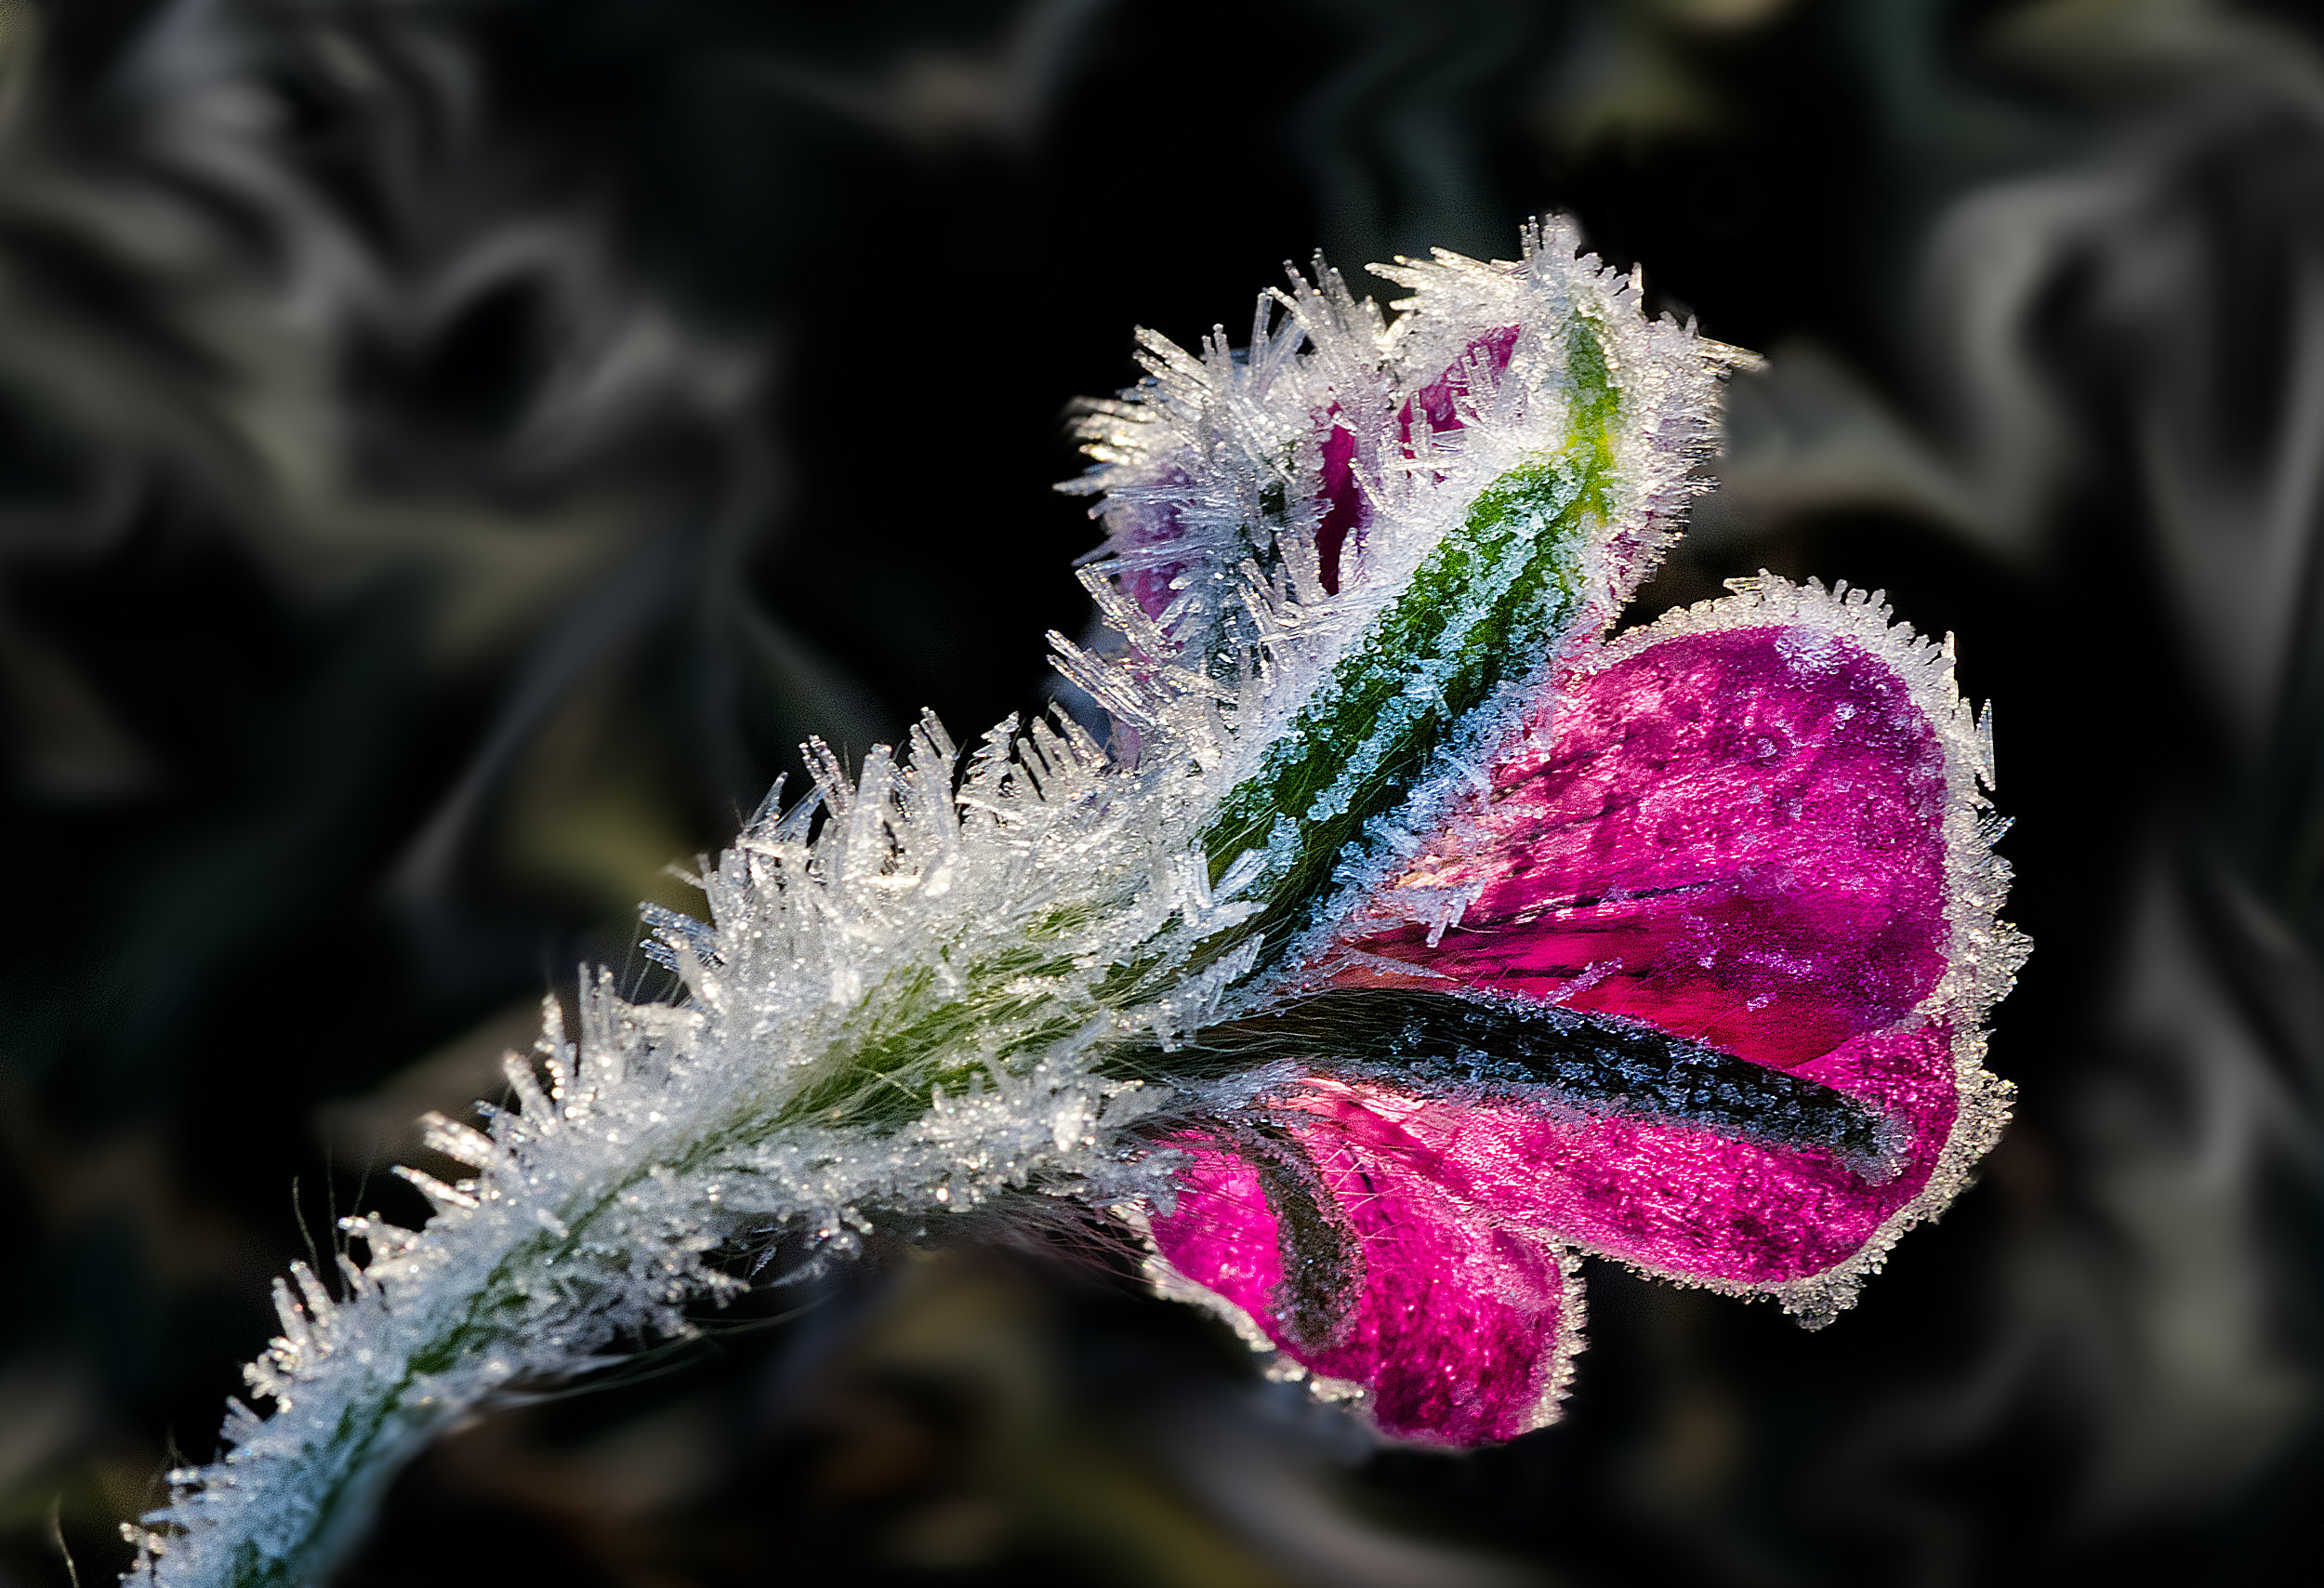
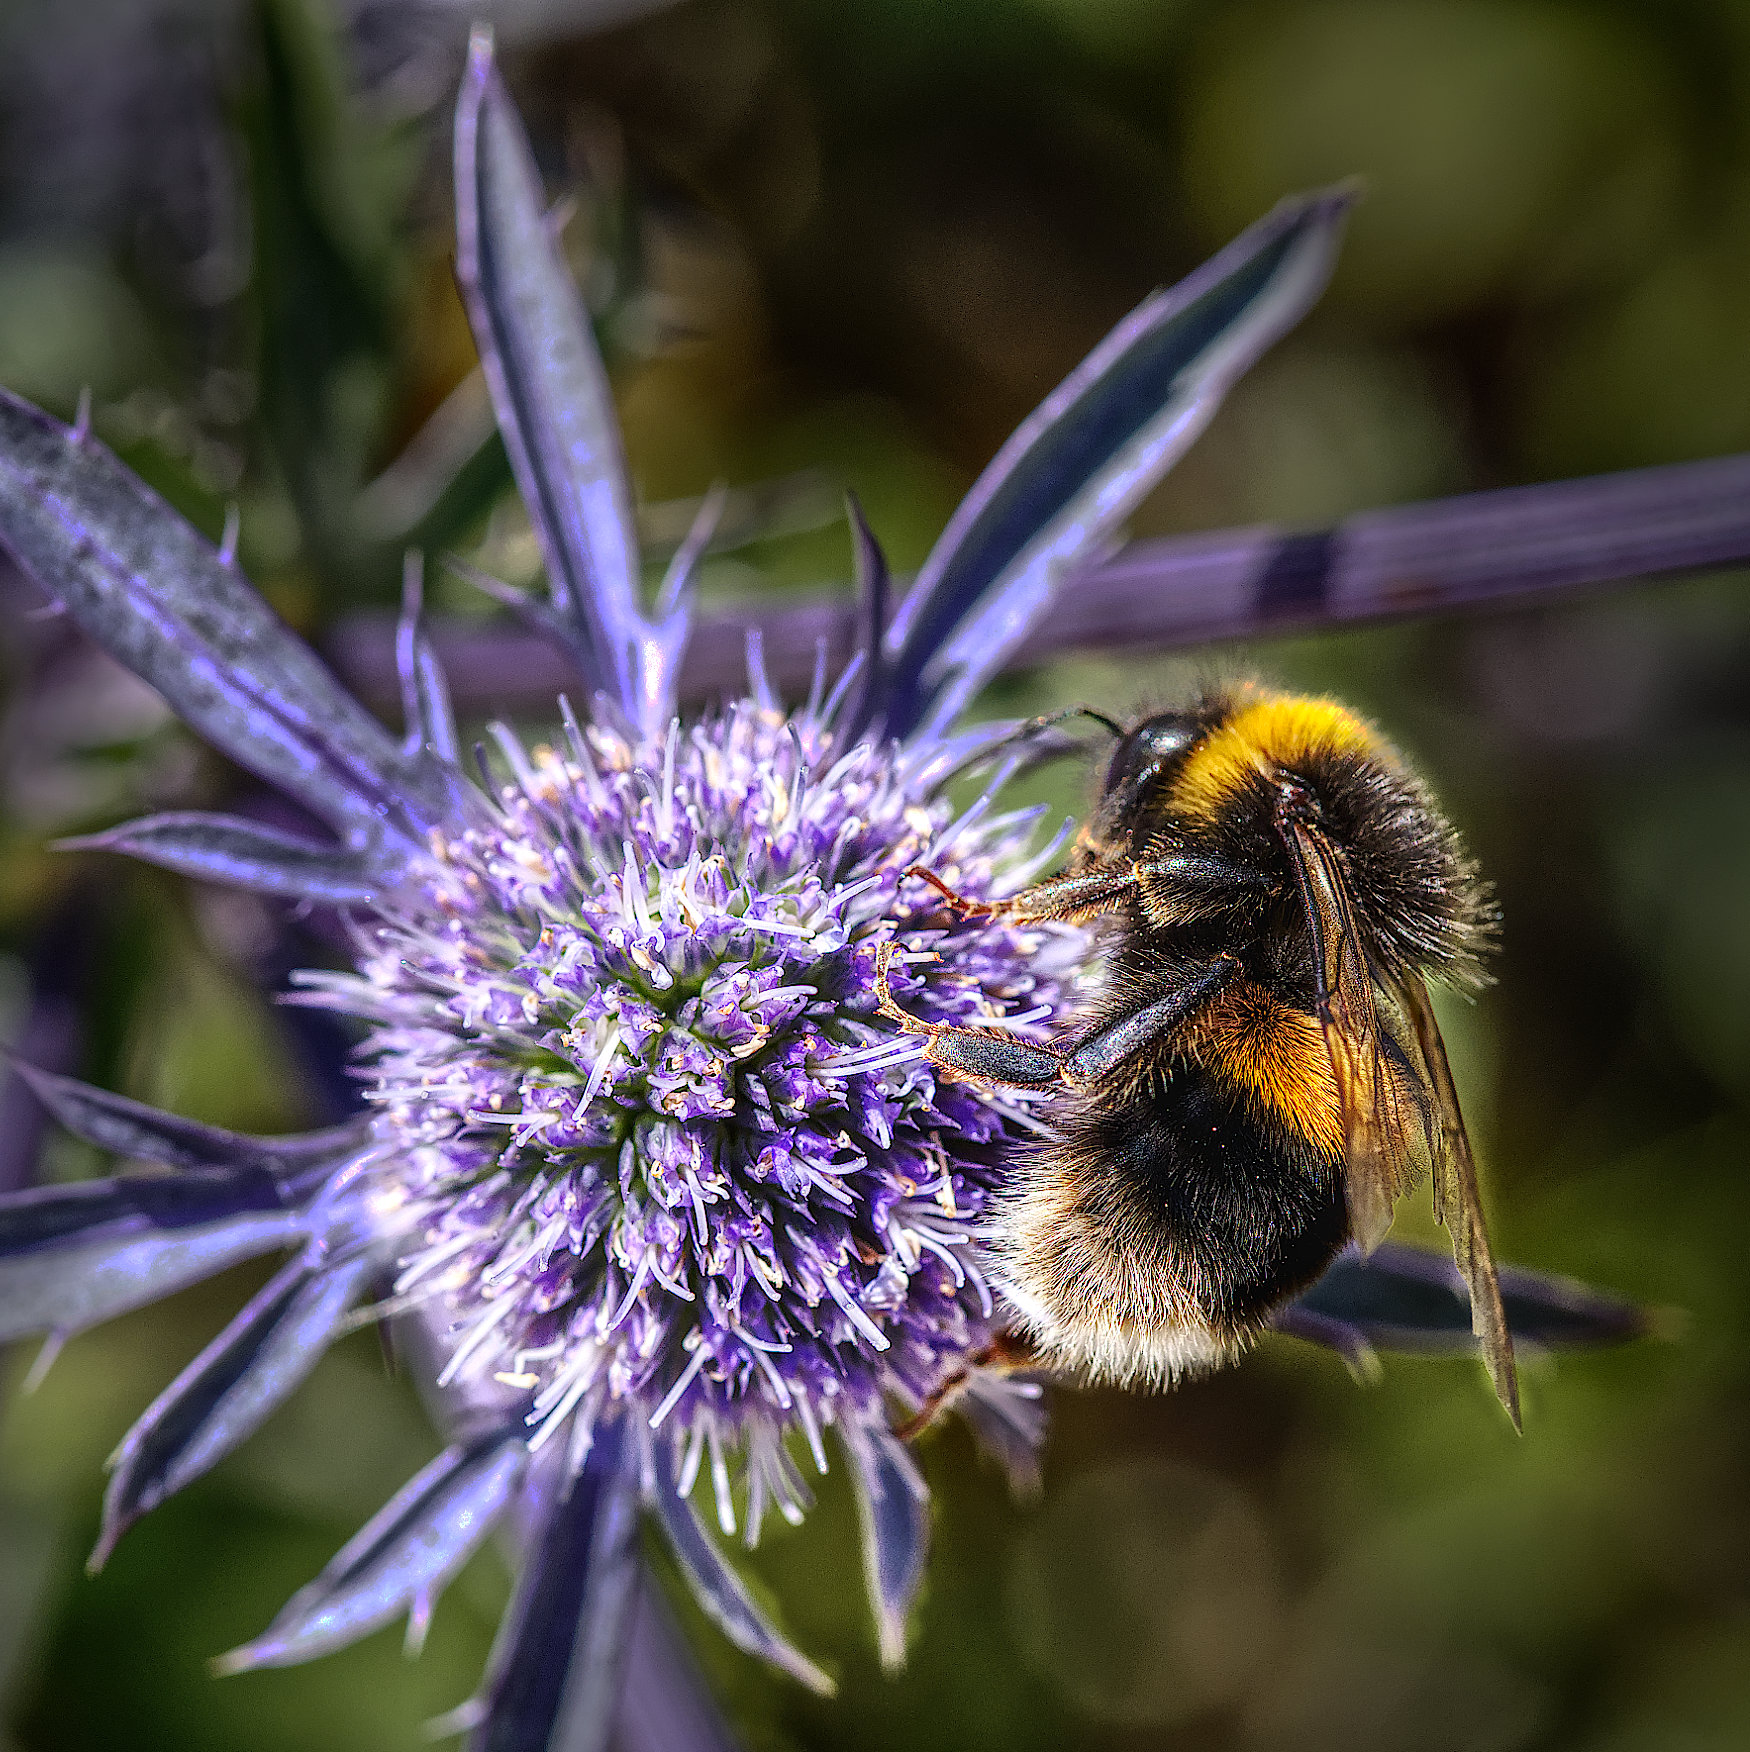
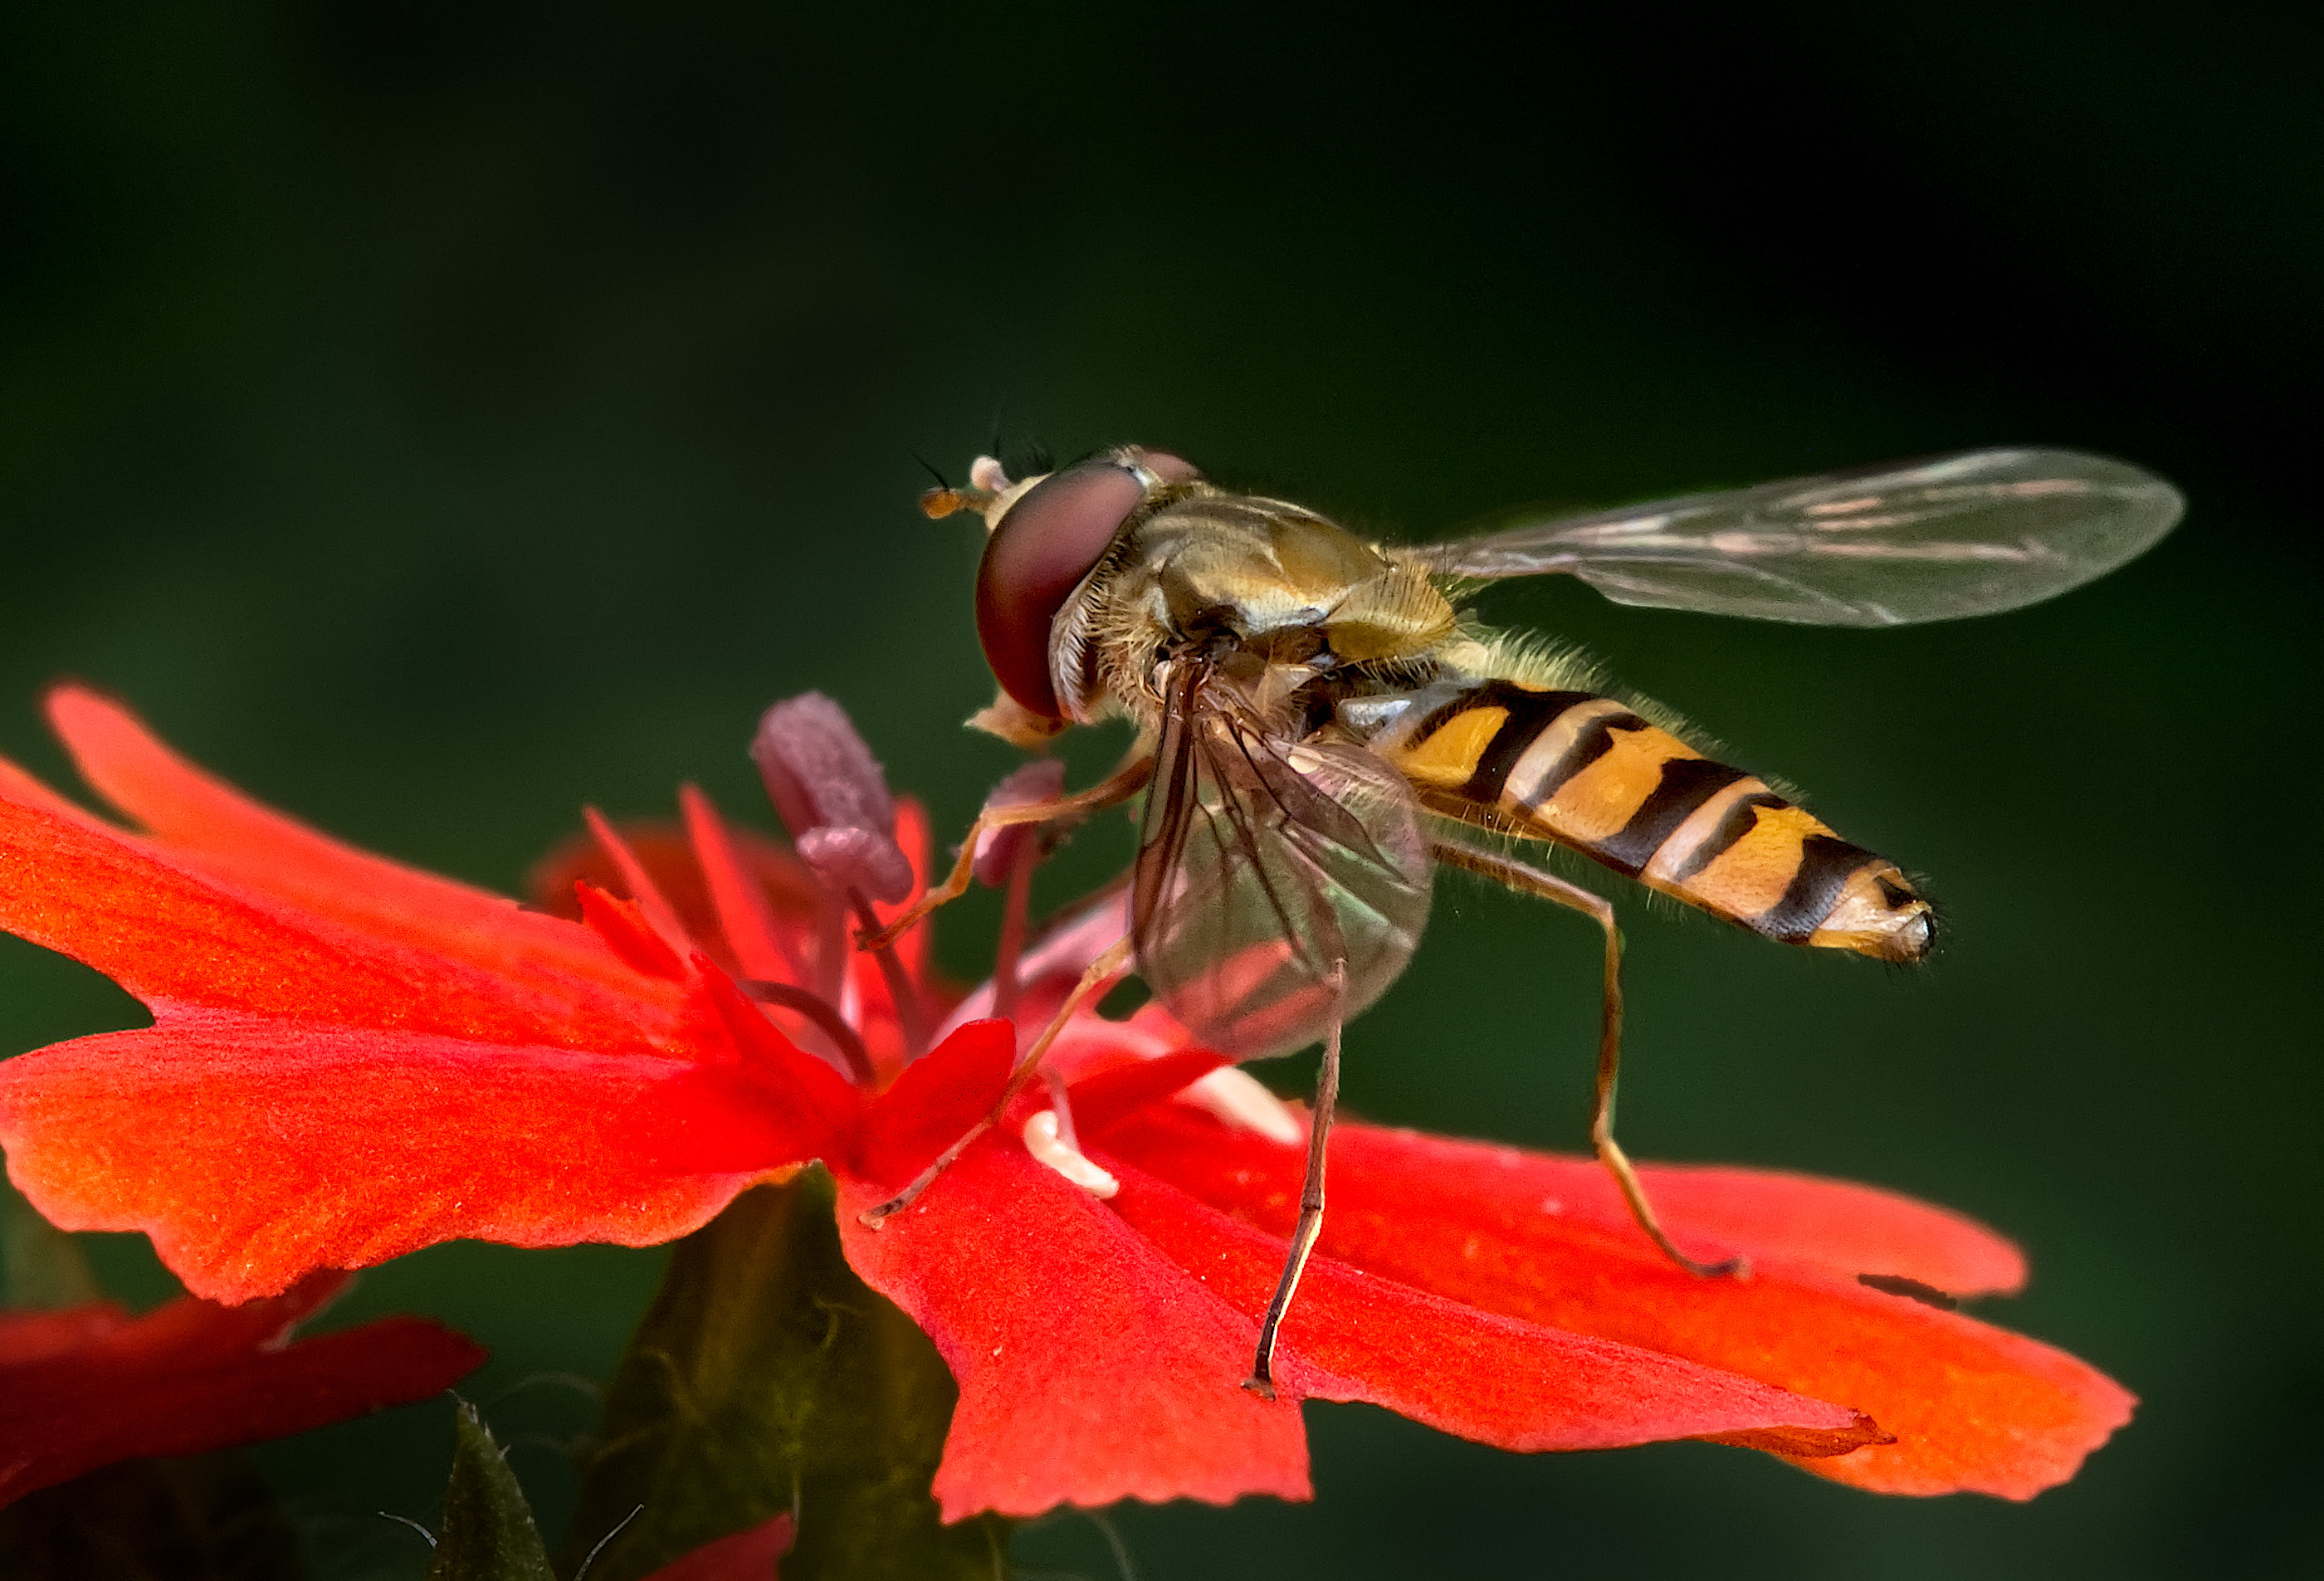
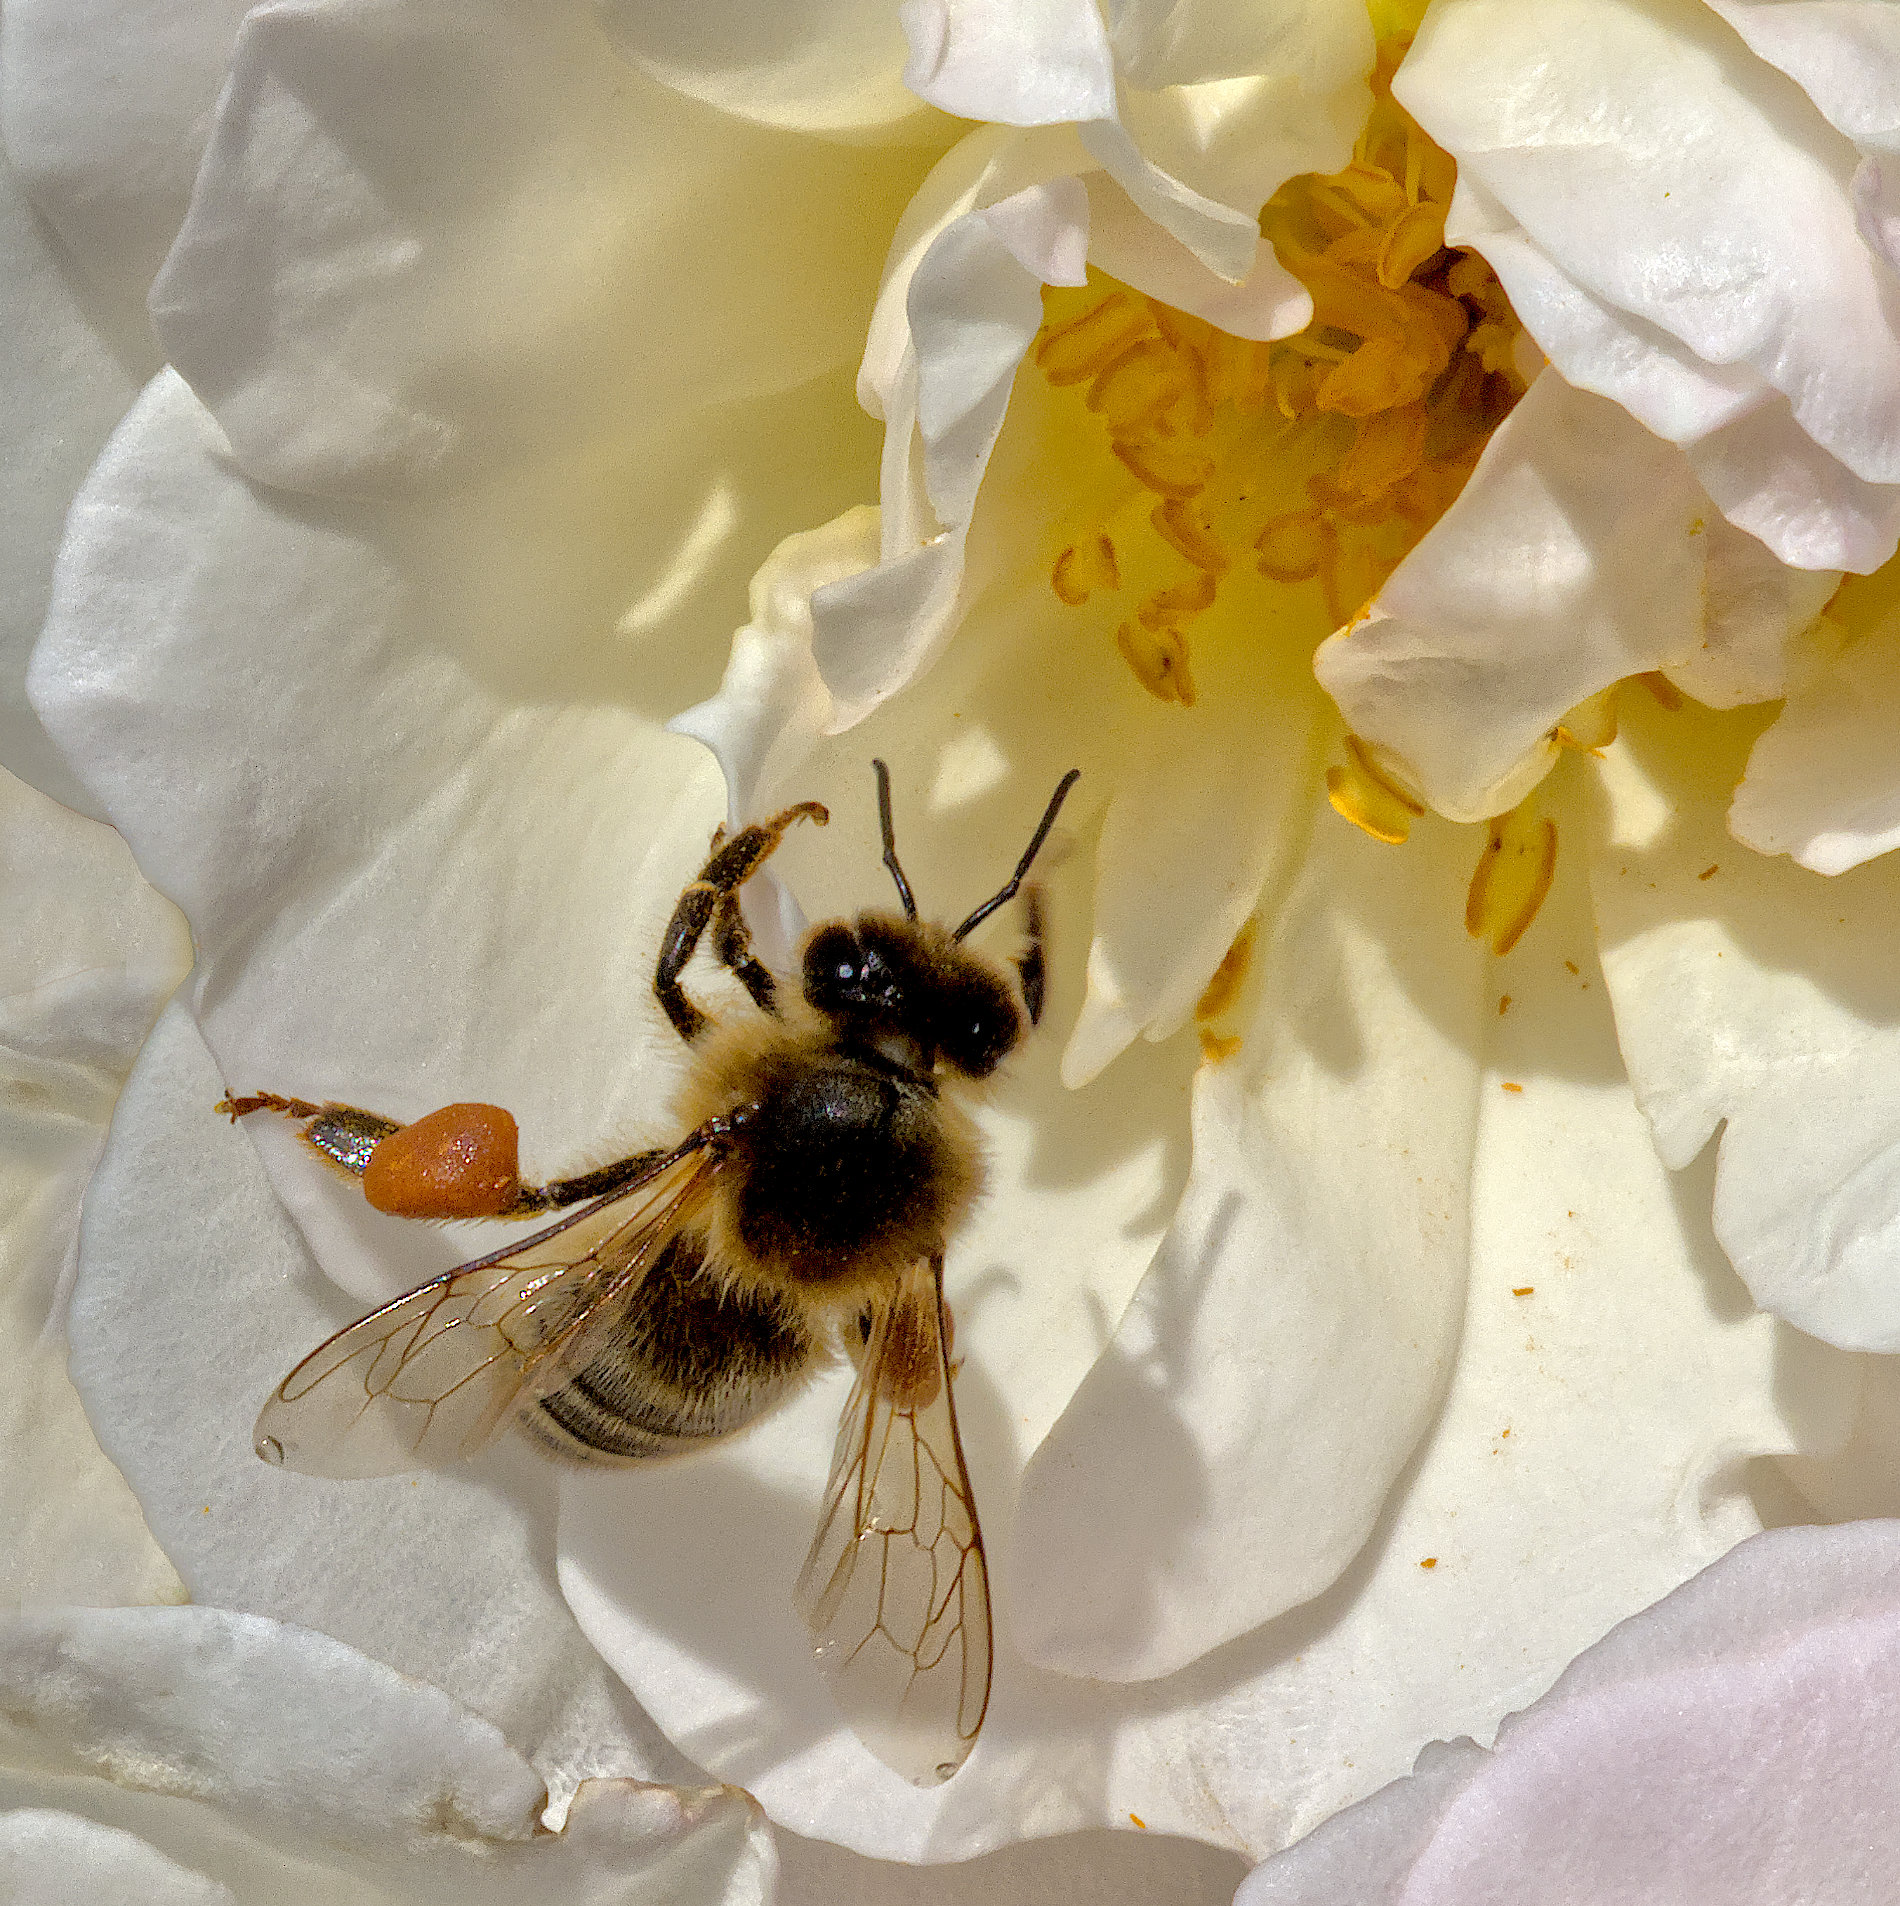
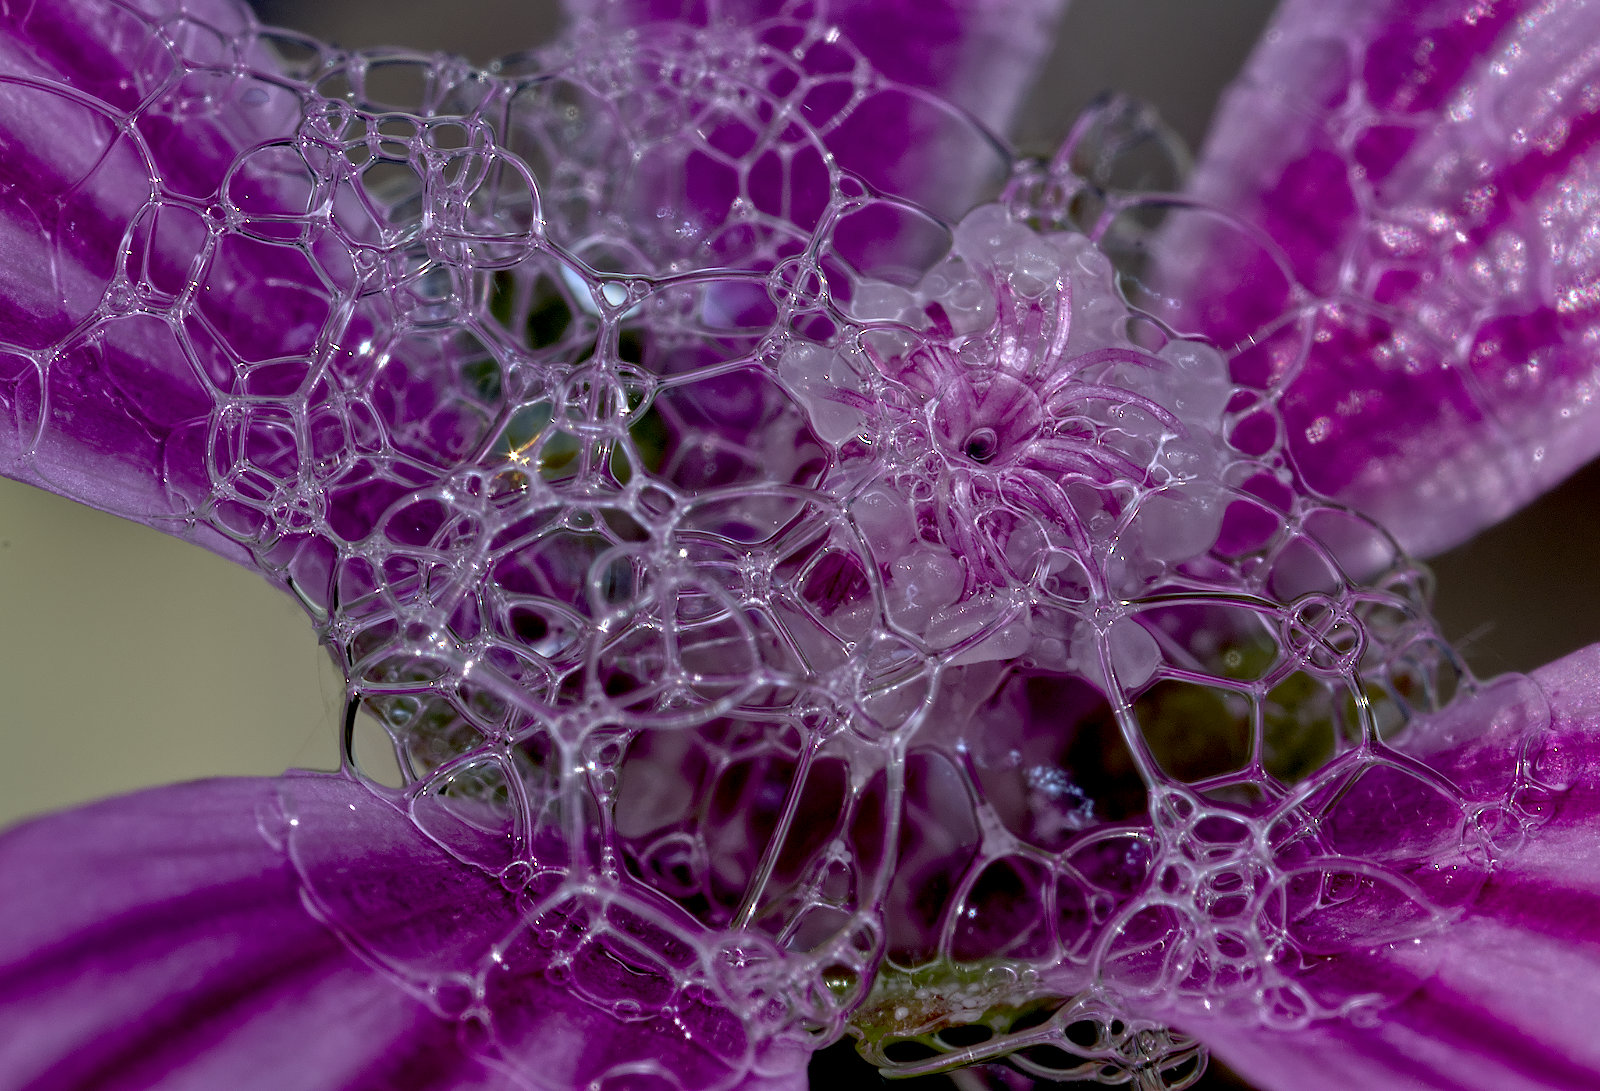
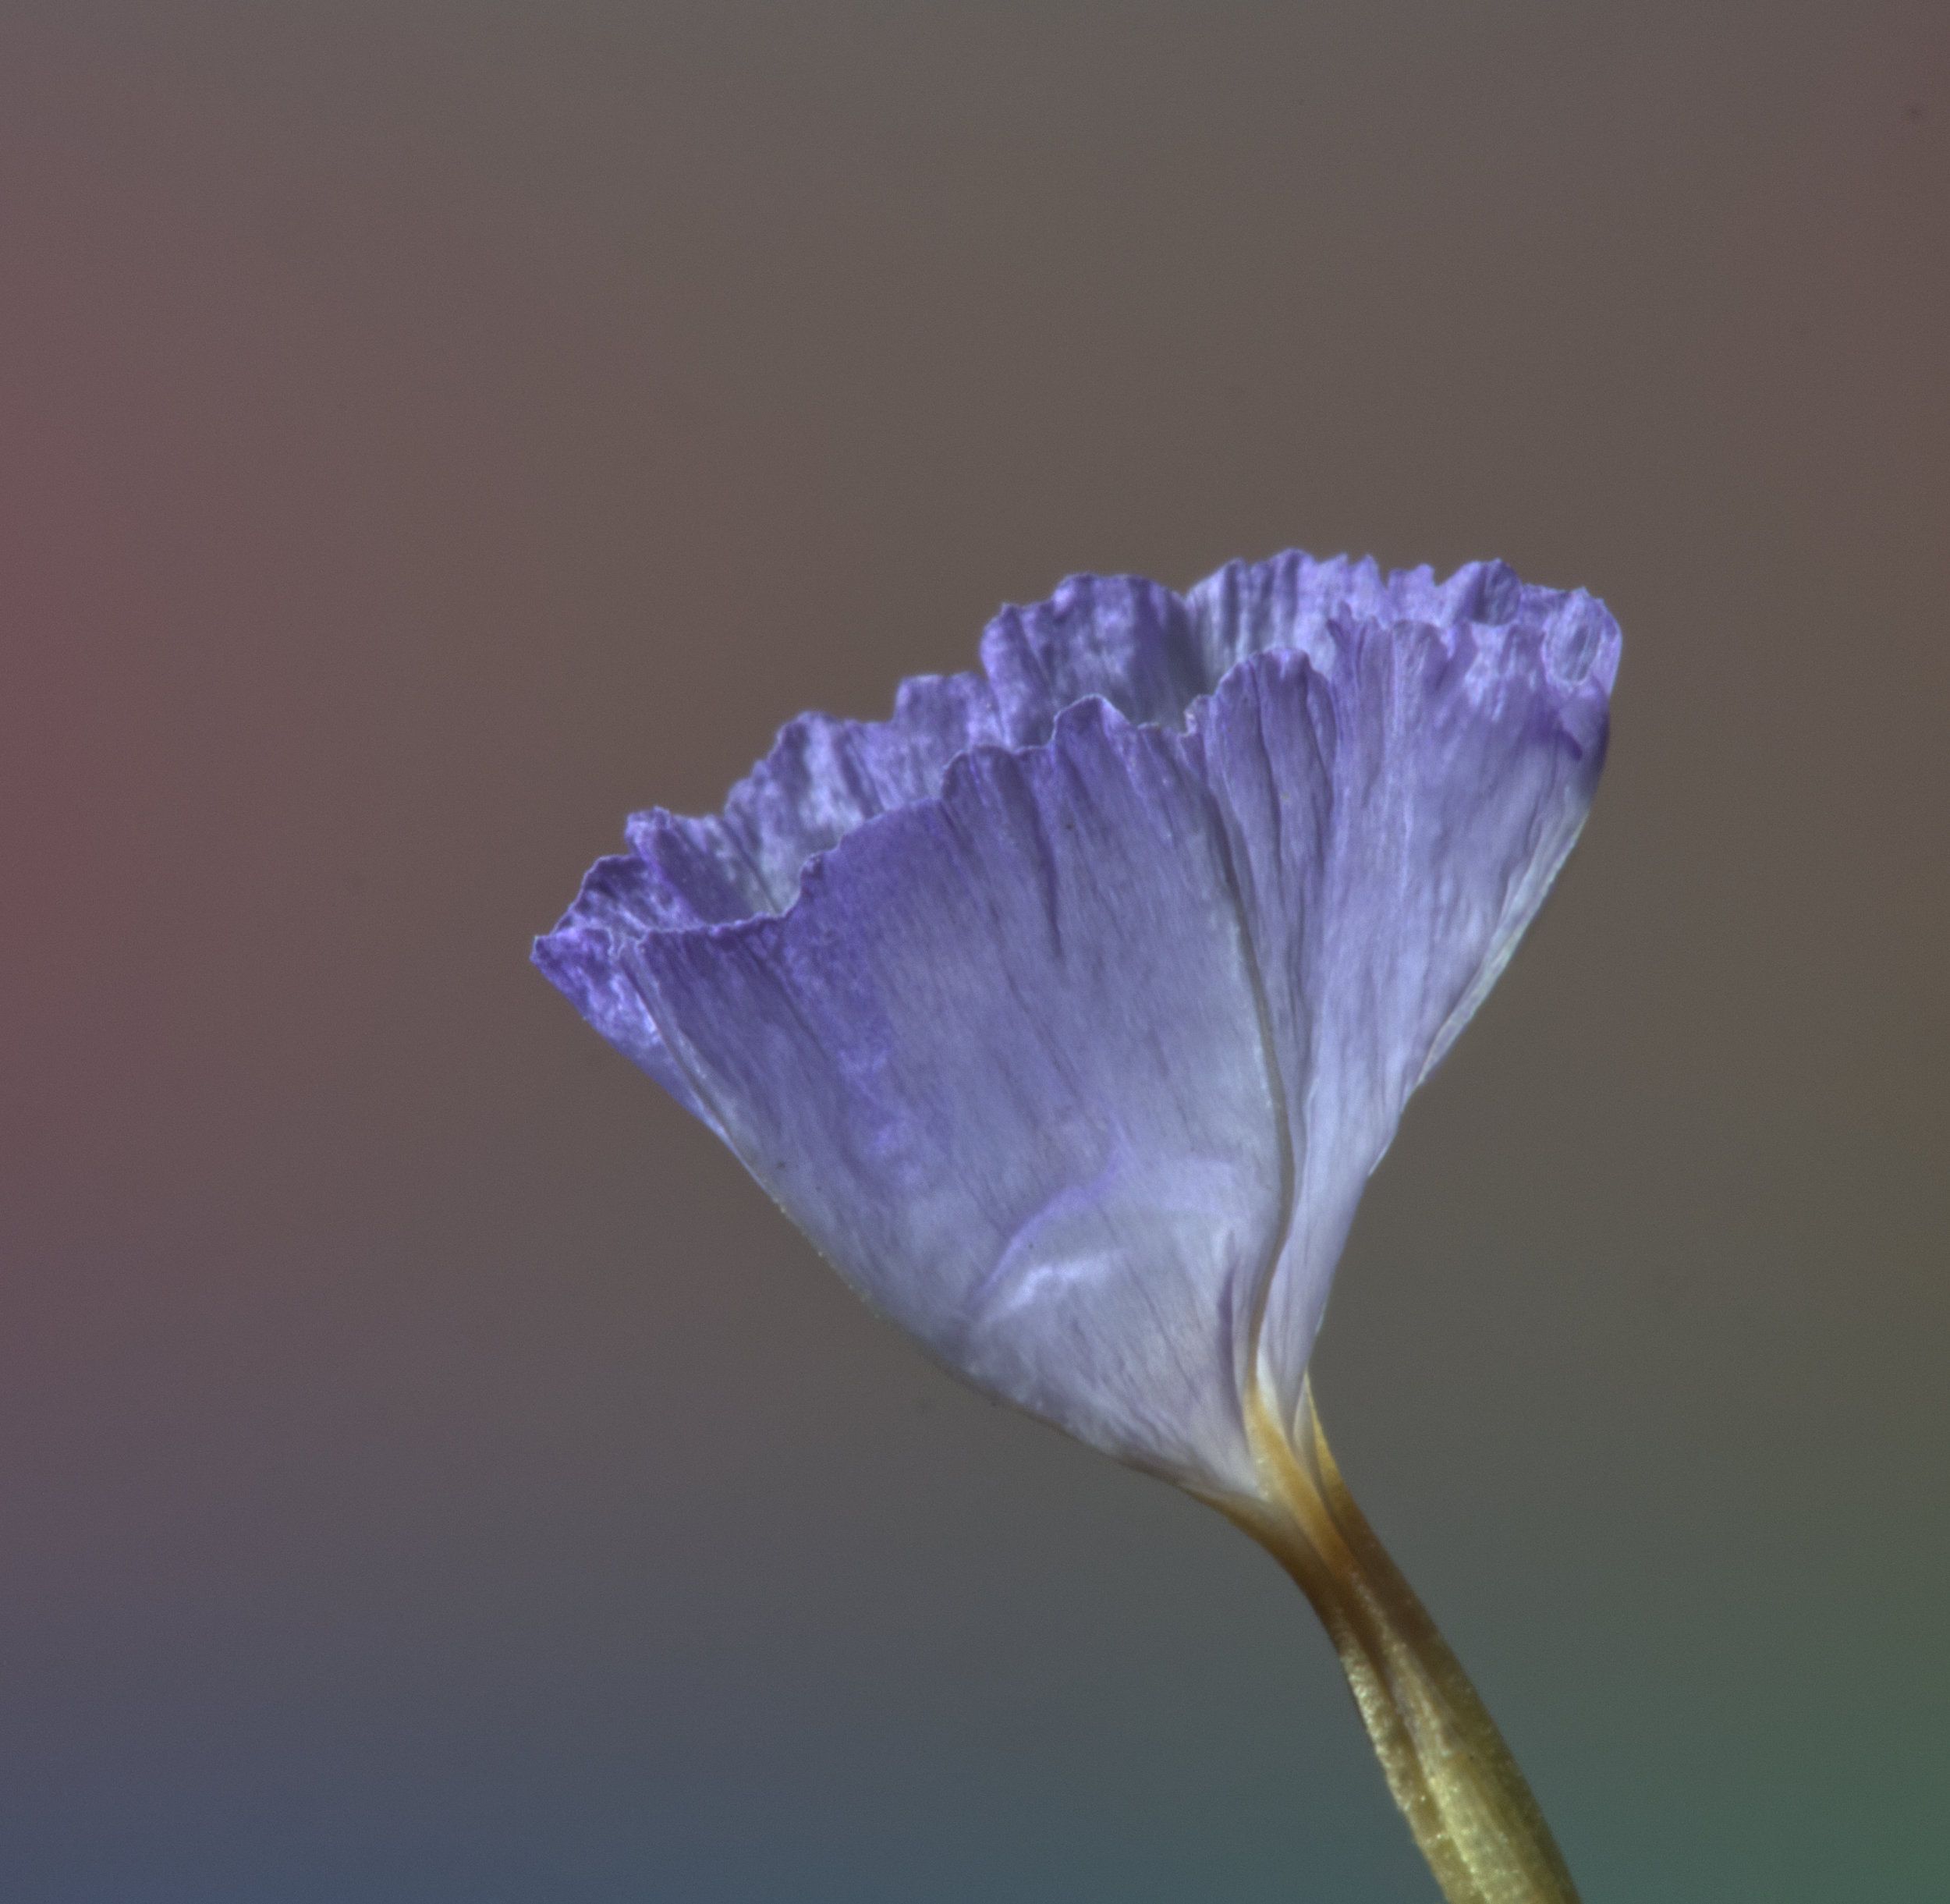
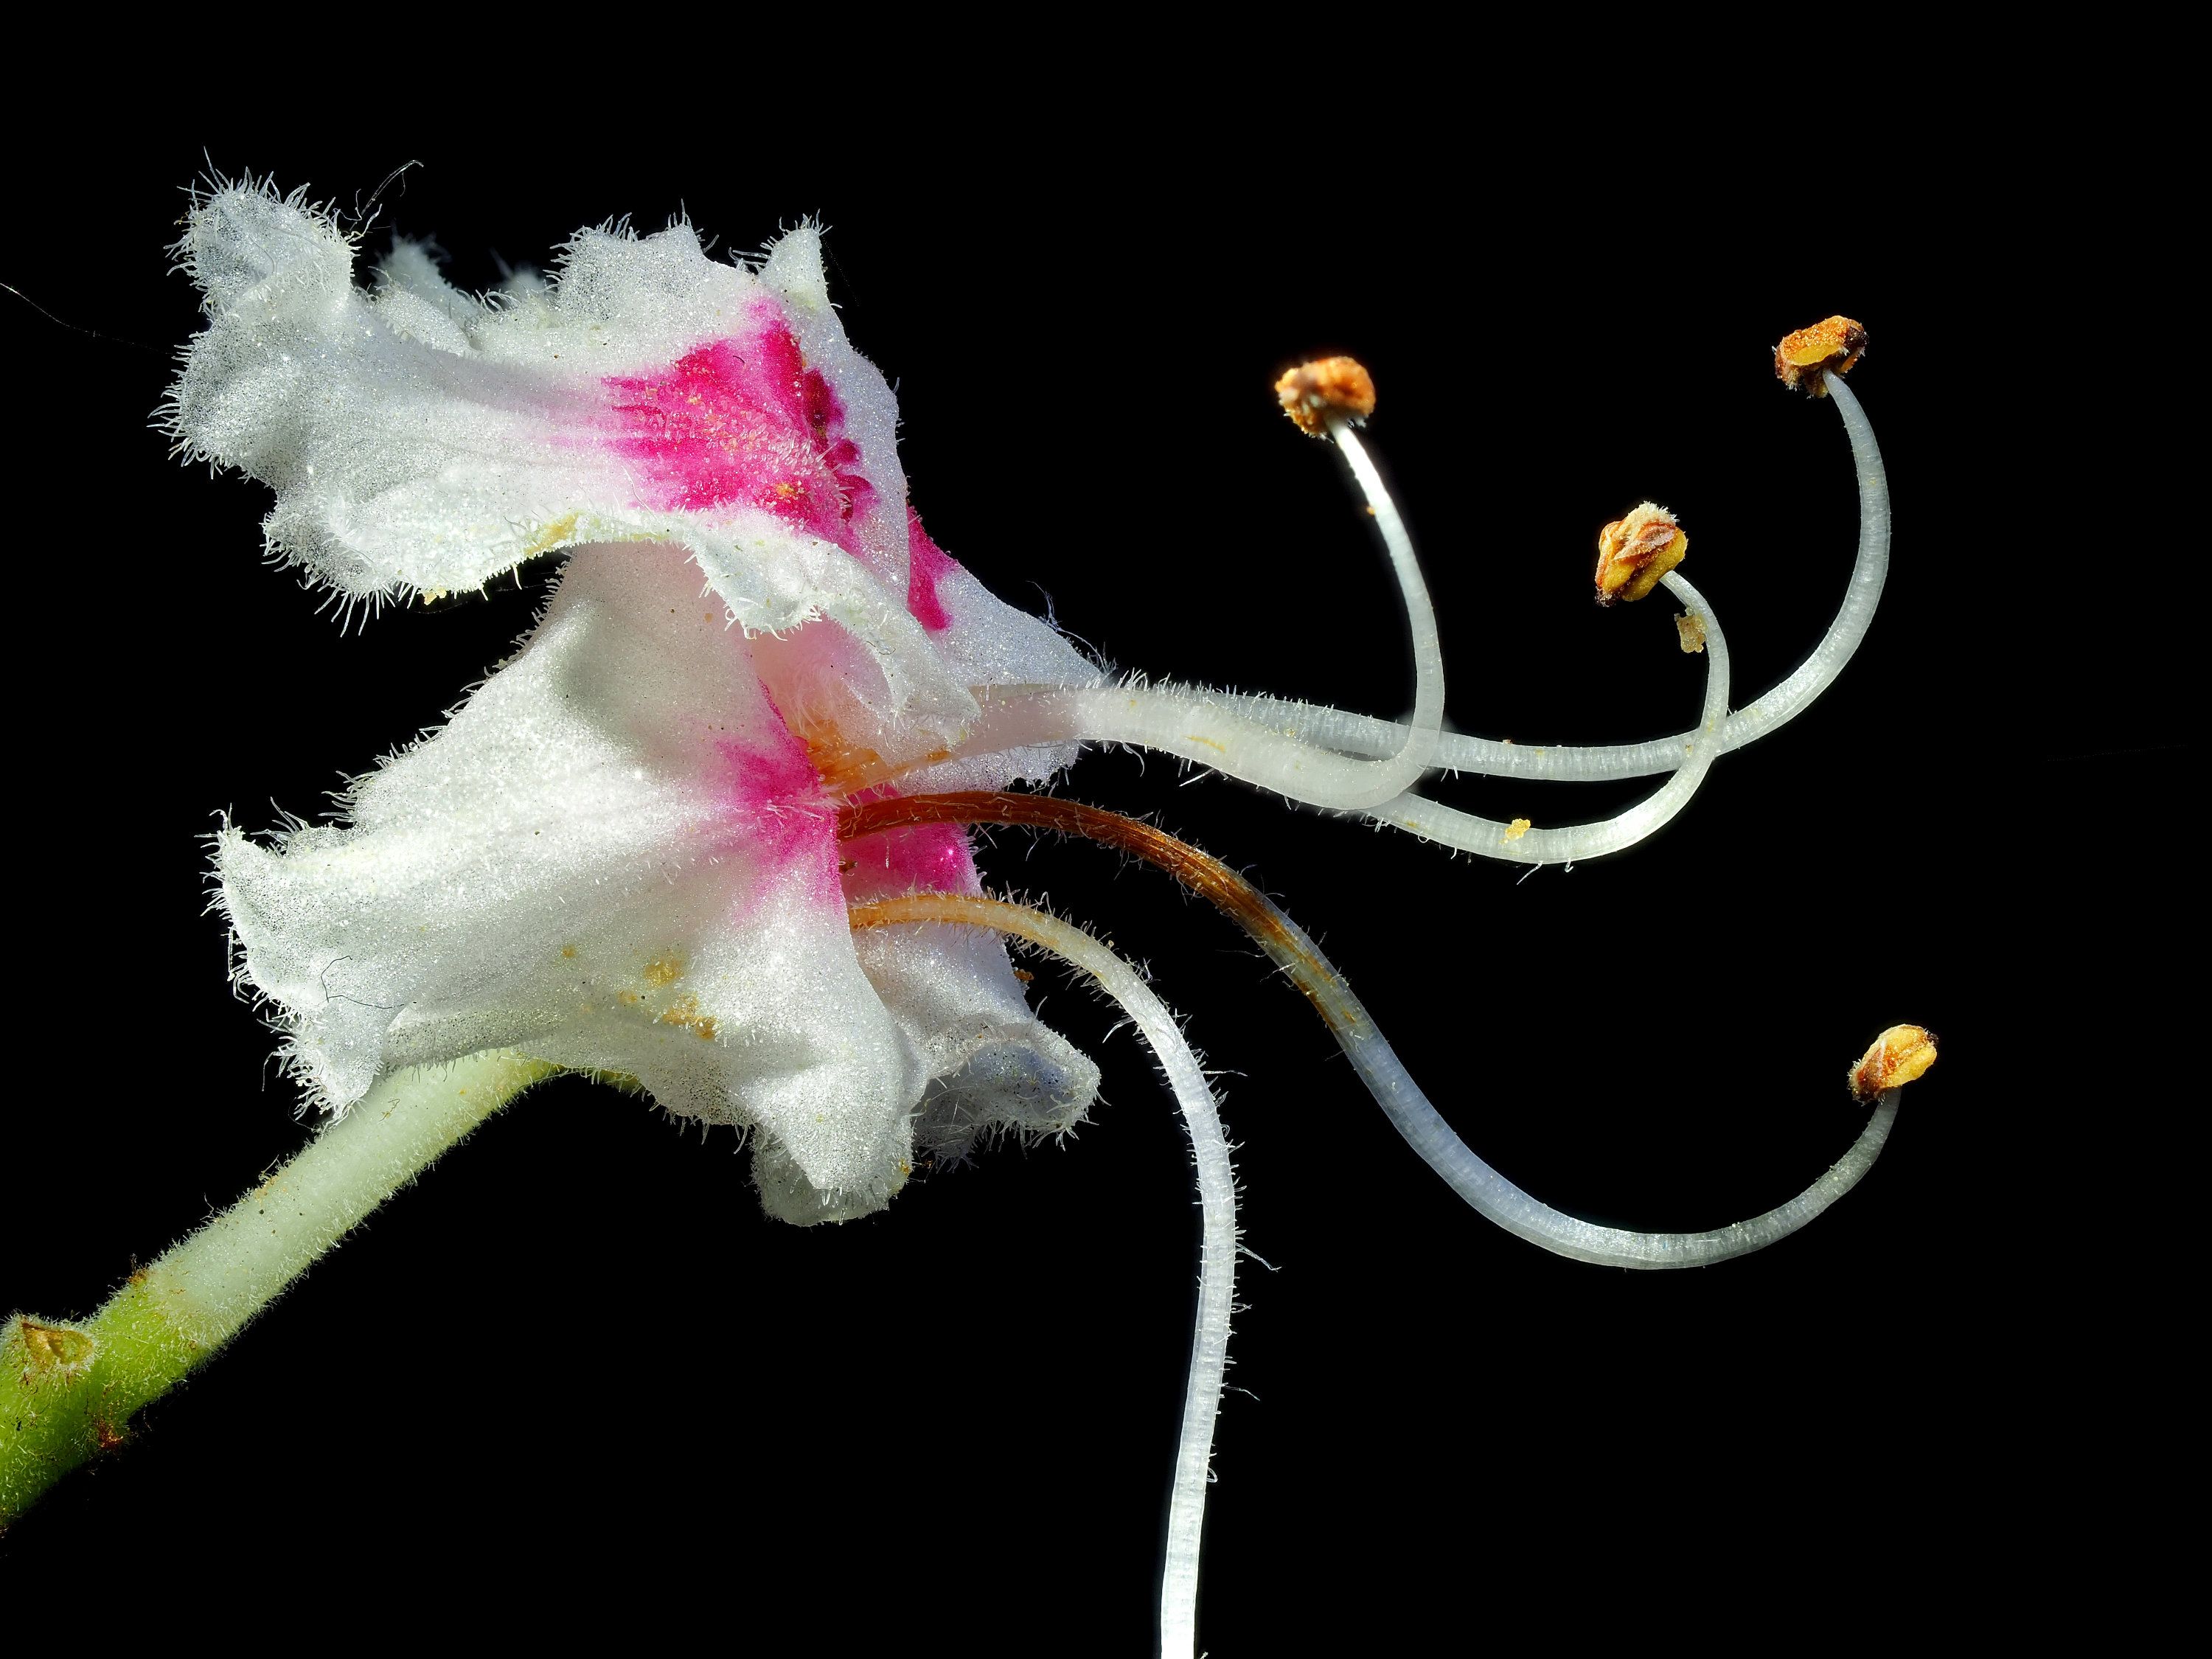
Very challenging conditions, Keith! I think it has come out very well considering those. Ideally I'd like a smaller aperture and greater depth of field, but of course the other key parameters would suffer, so it would be a hard shot to nail.
I think the final composition is great, and your crop is nearly perfect - I think you've taken off about 1mm too much on the top as the petal is clipped. Perhaps you could darken the background a little to make the flowers pop out a bit more? |
May 16th |
| 95 |
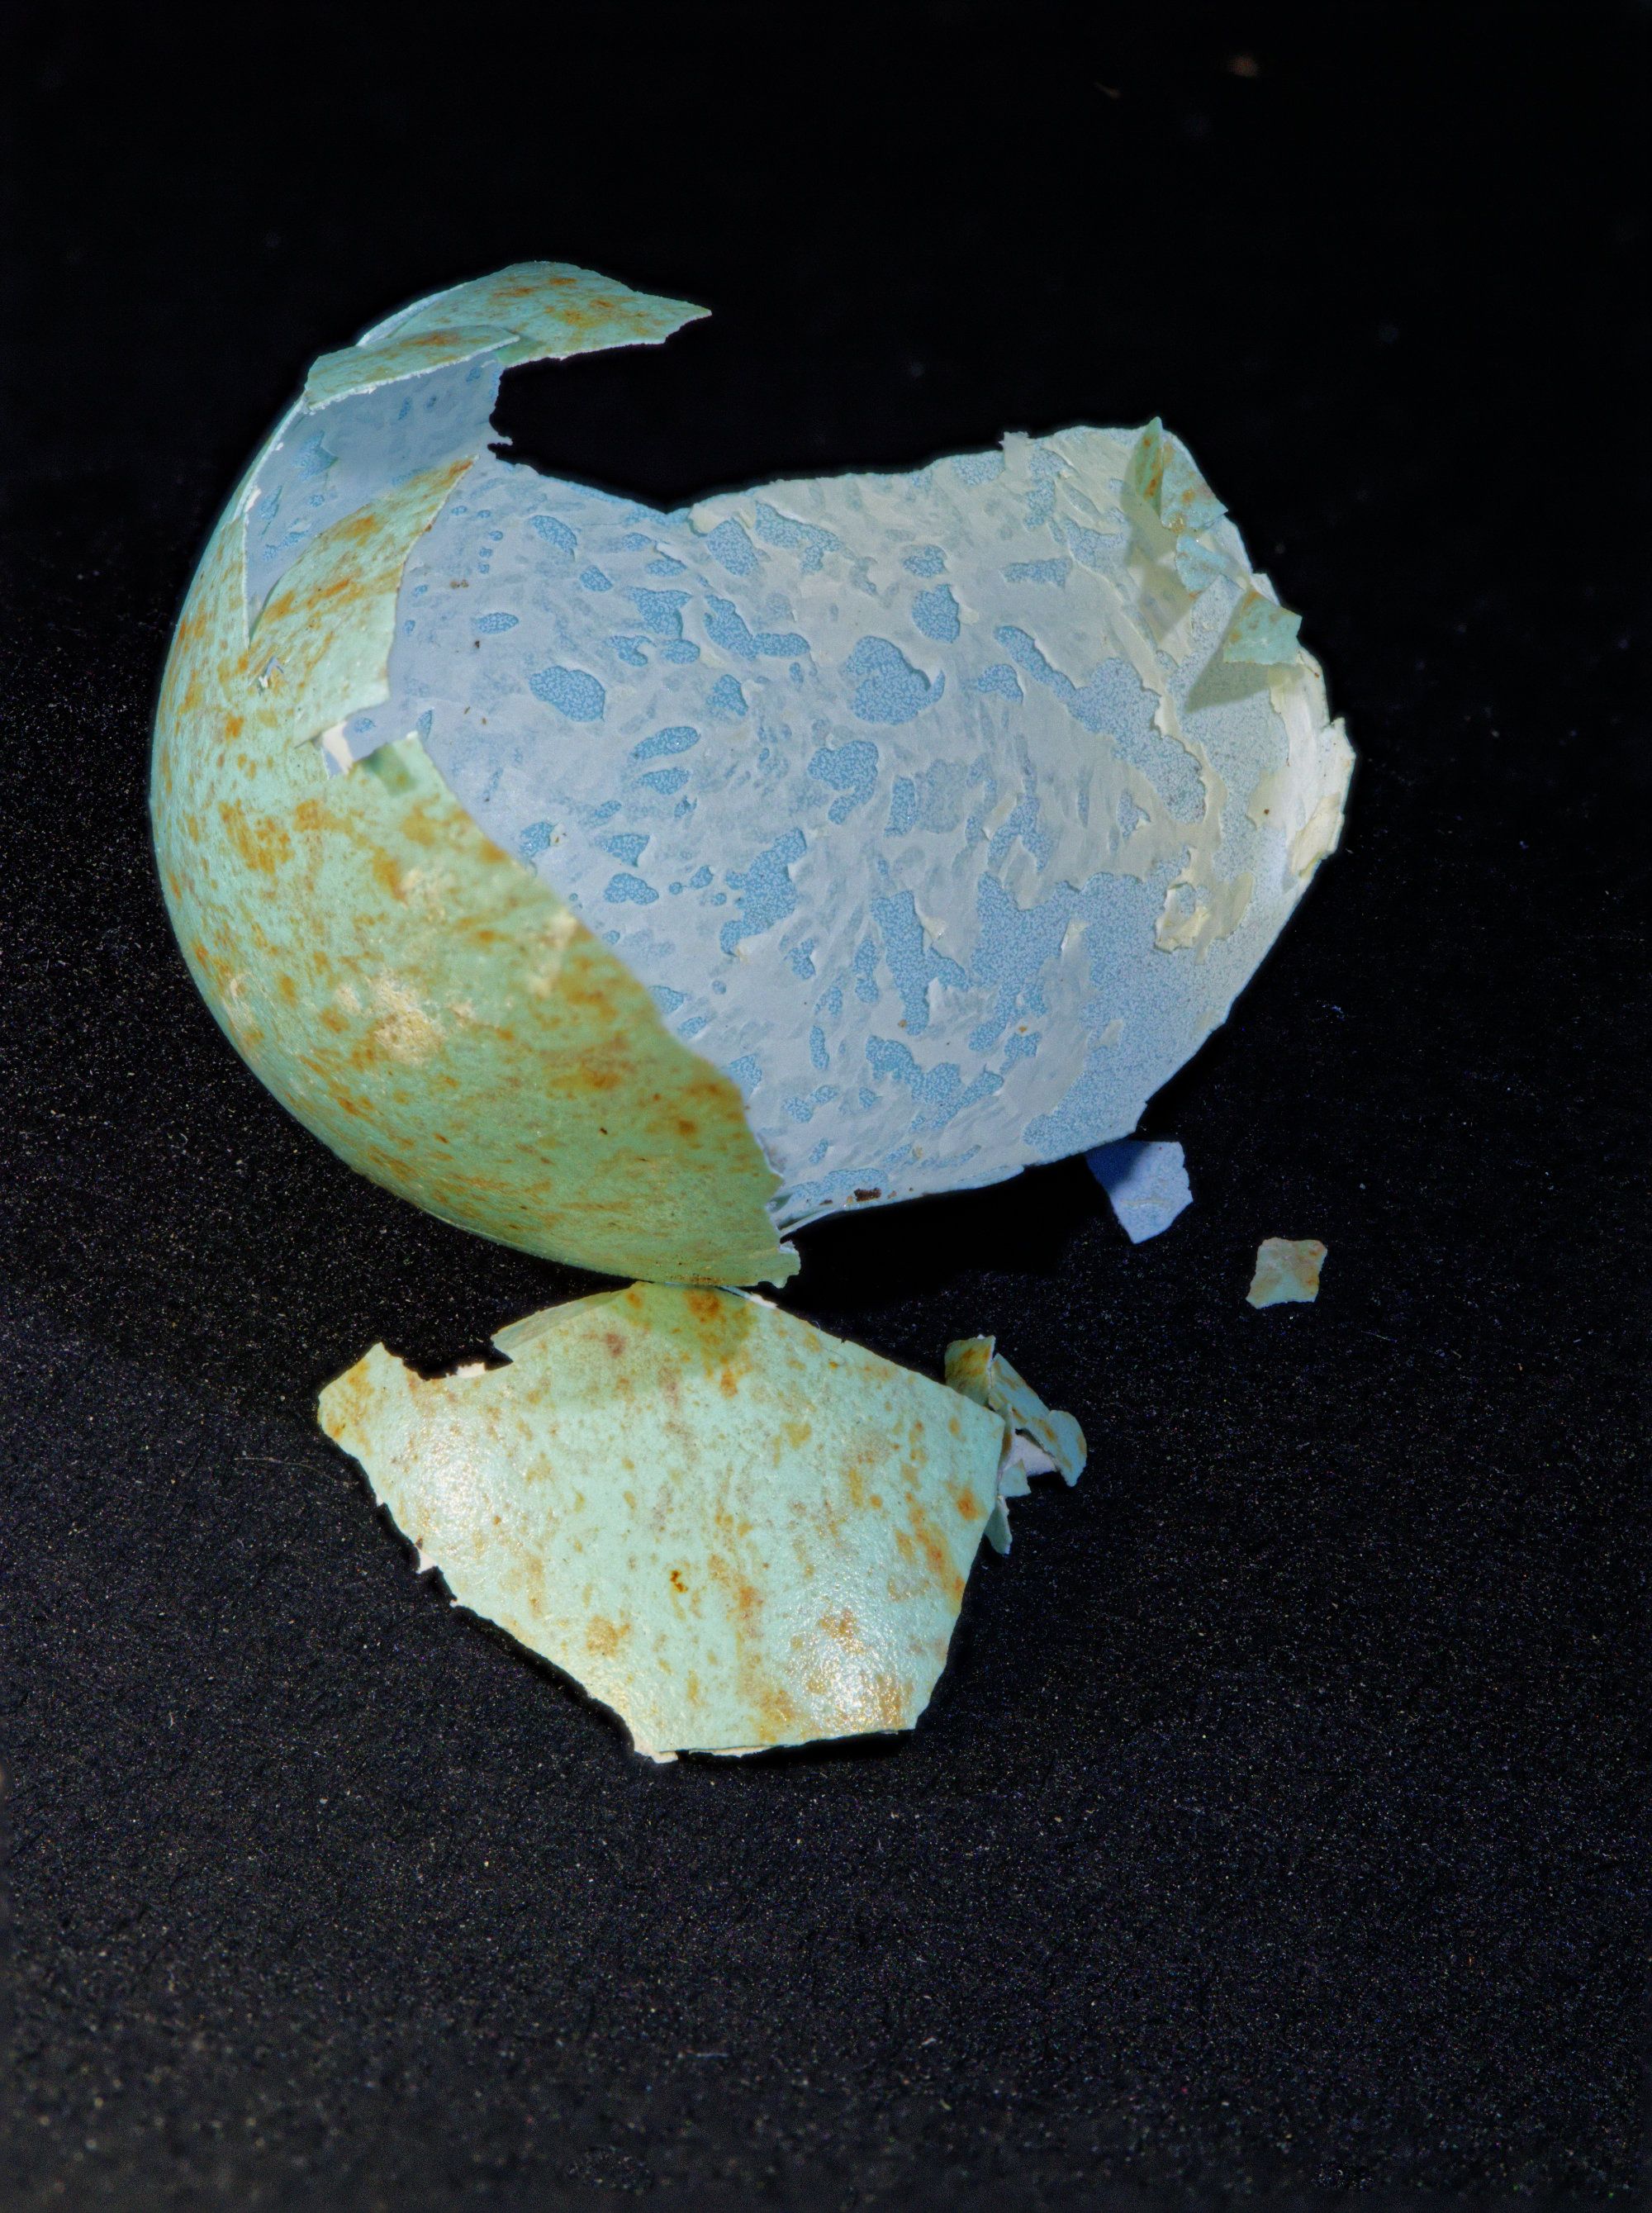
May 22 |
Comment |
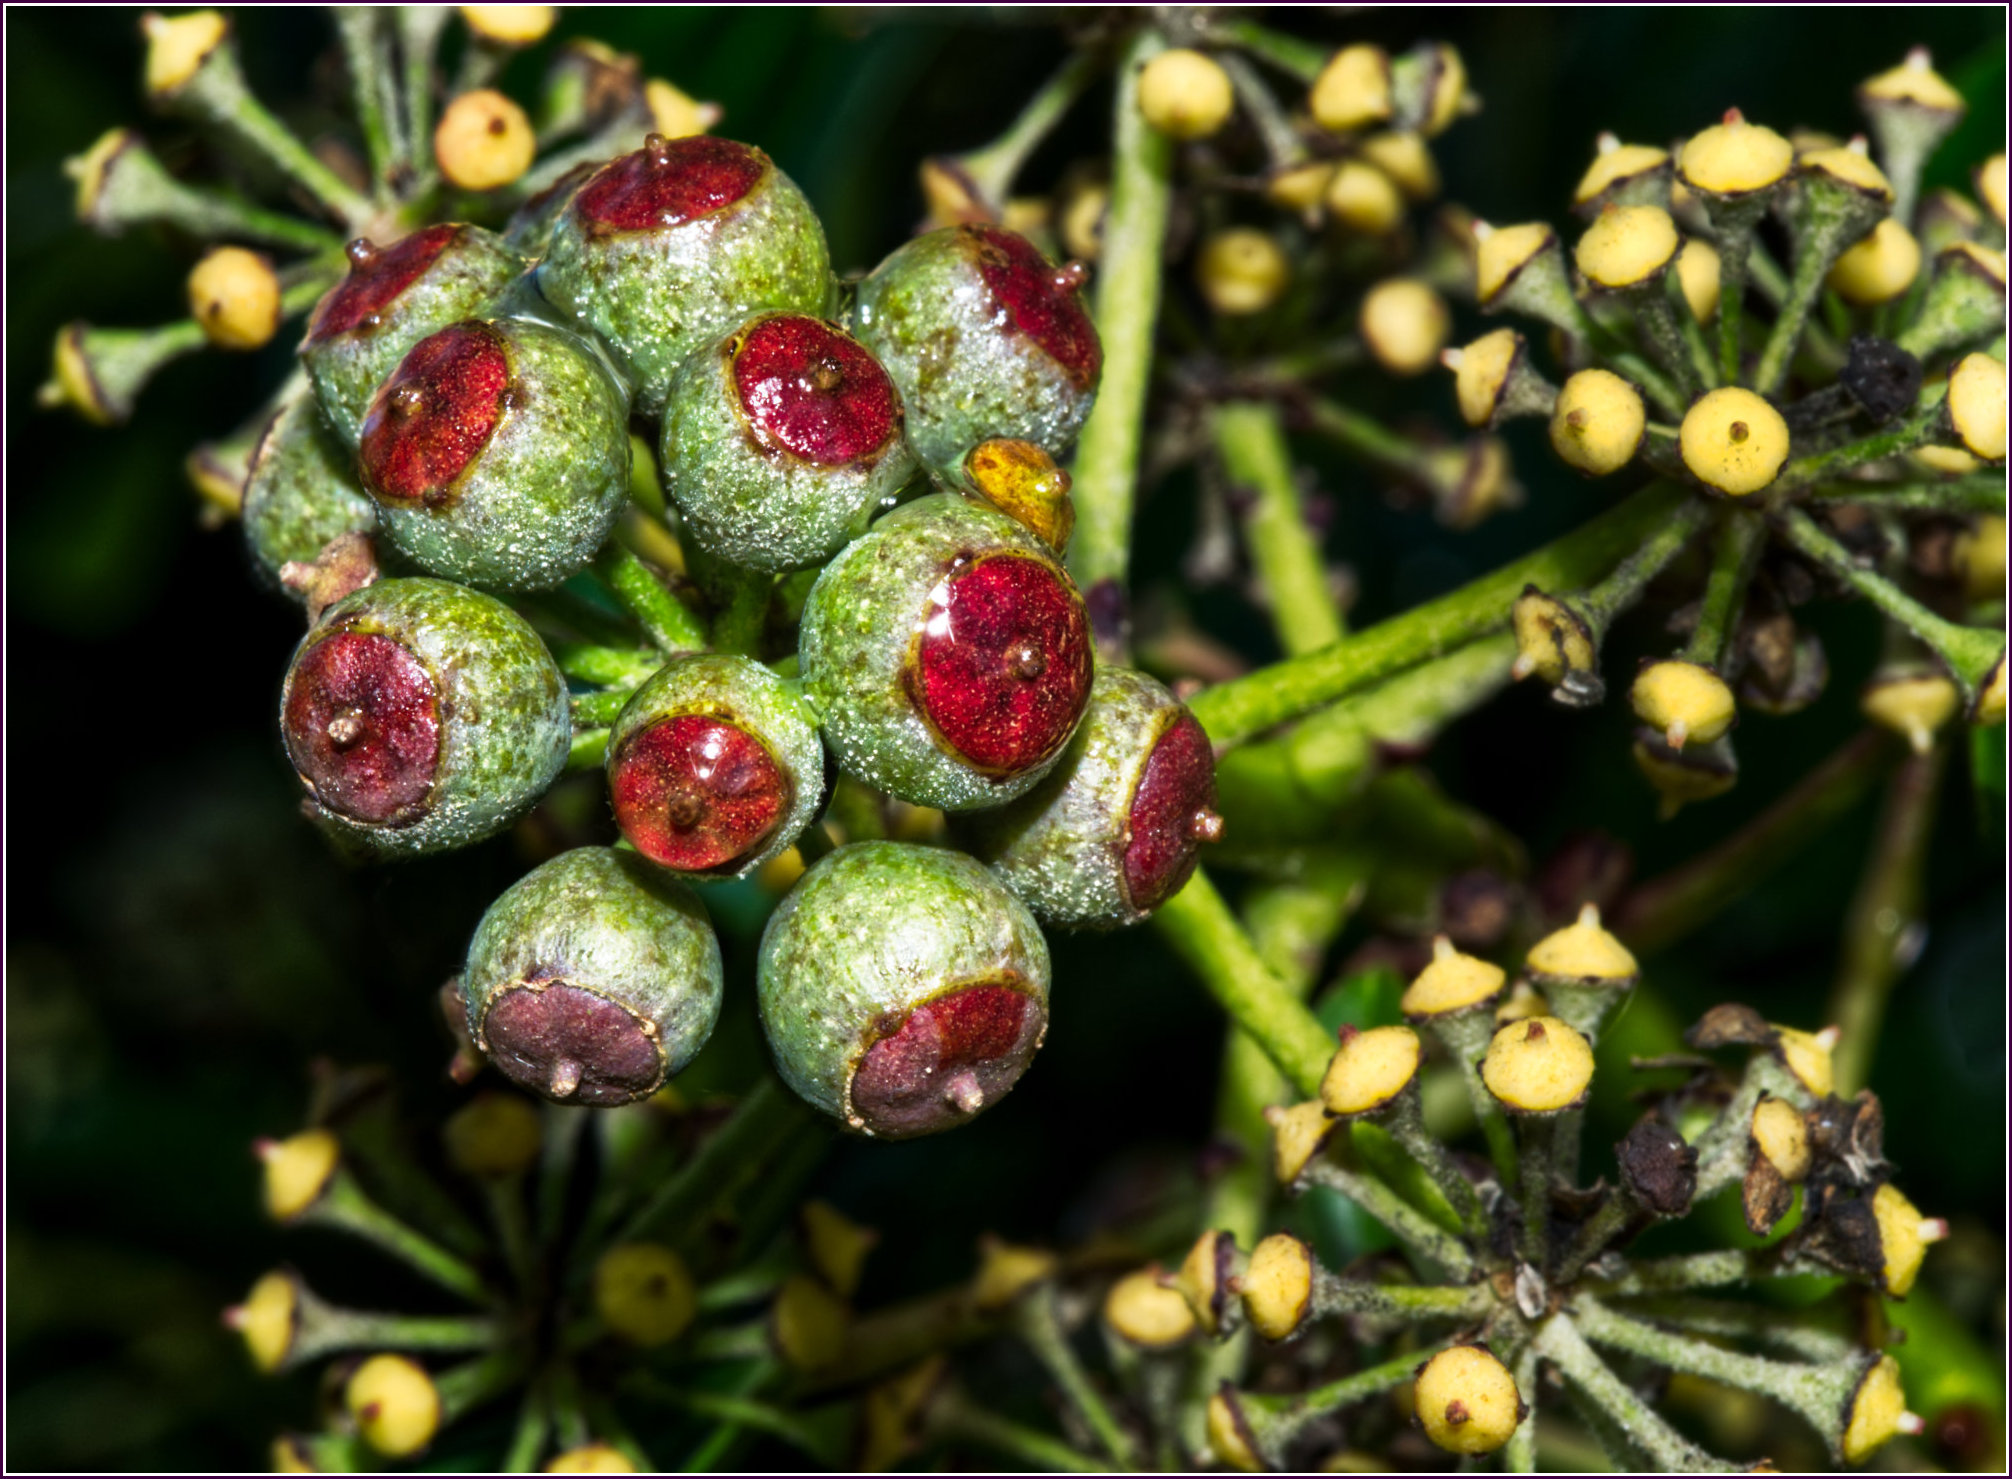
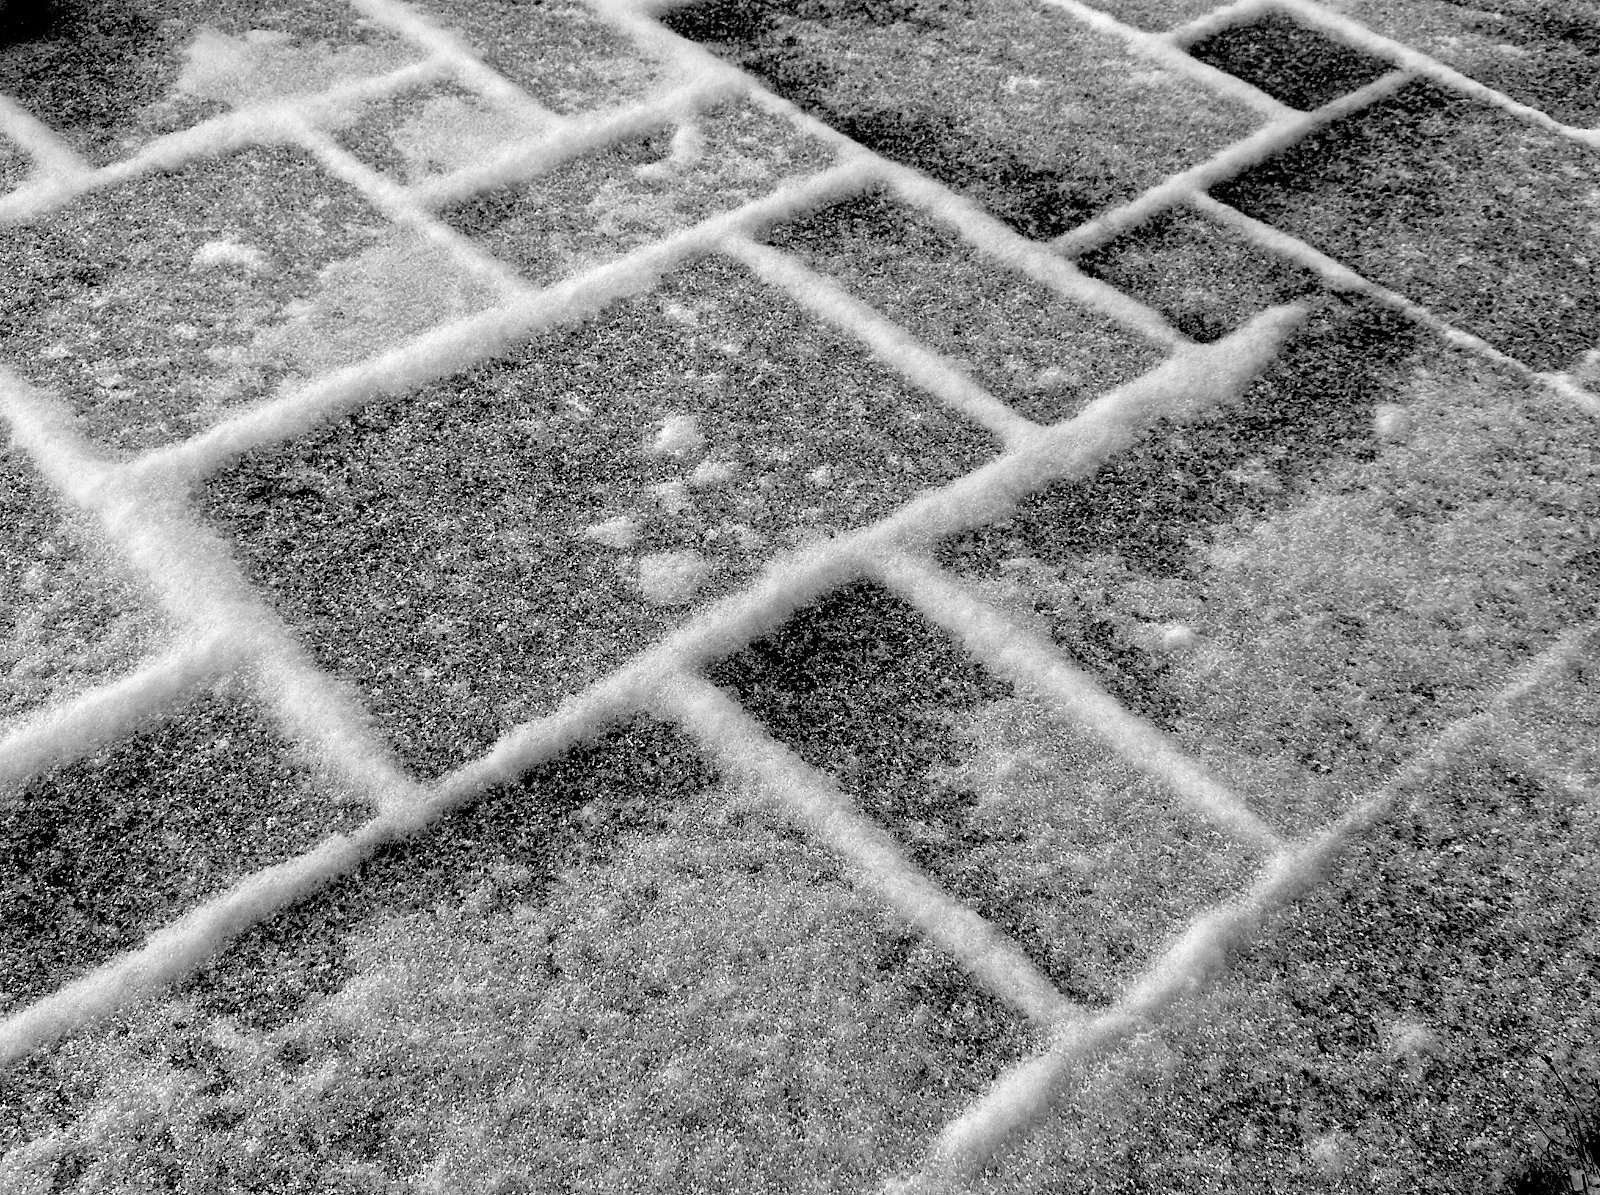
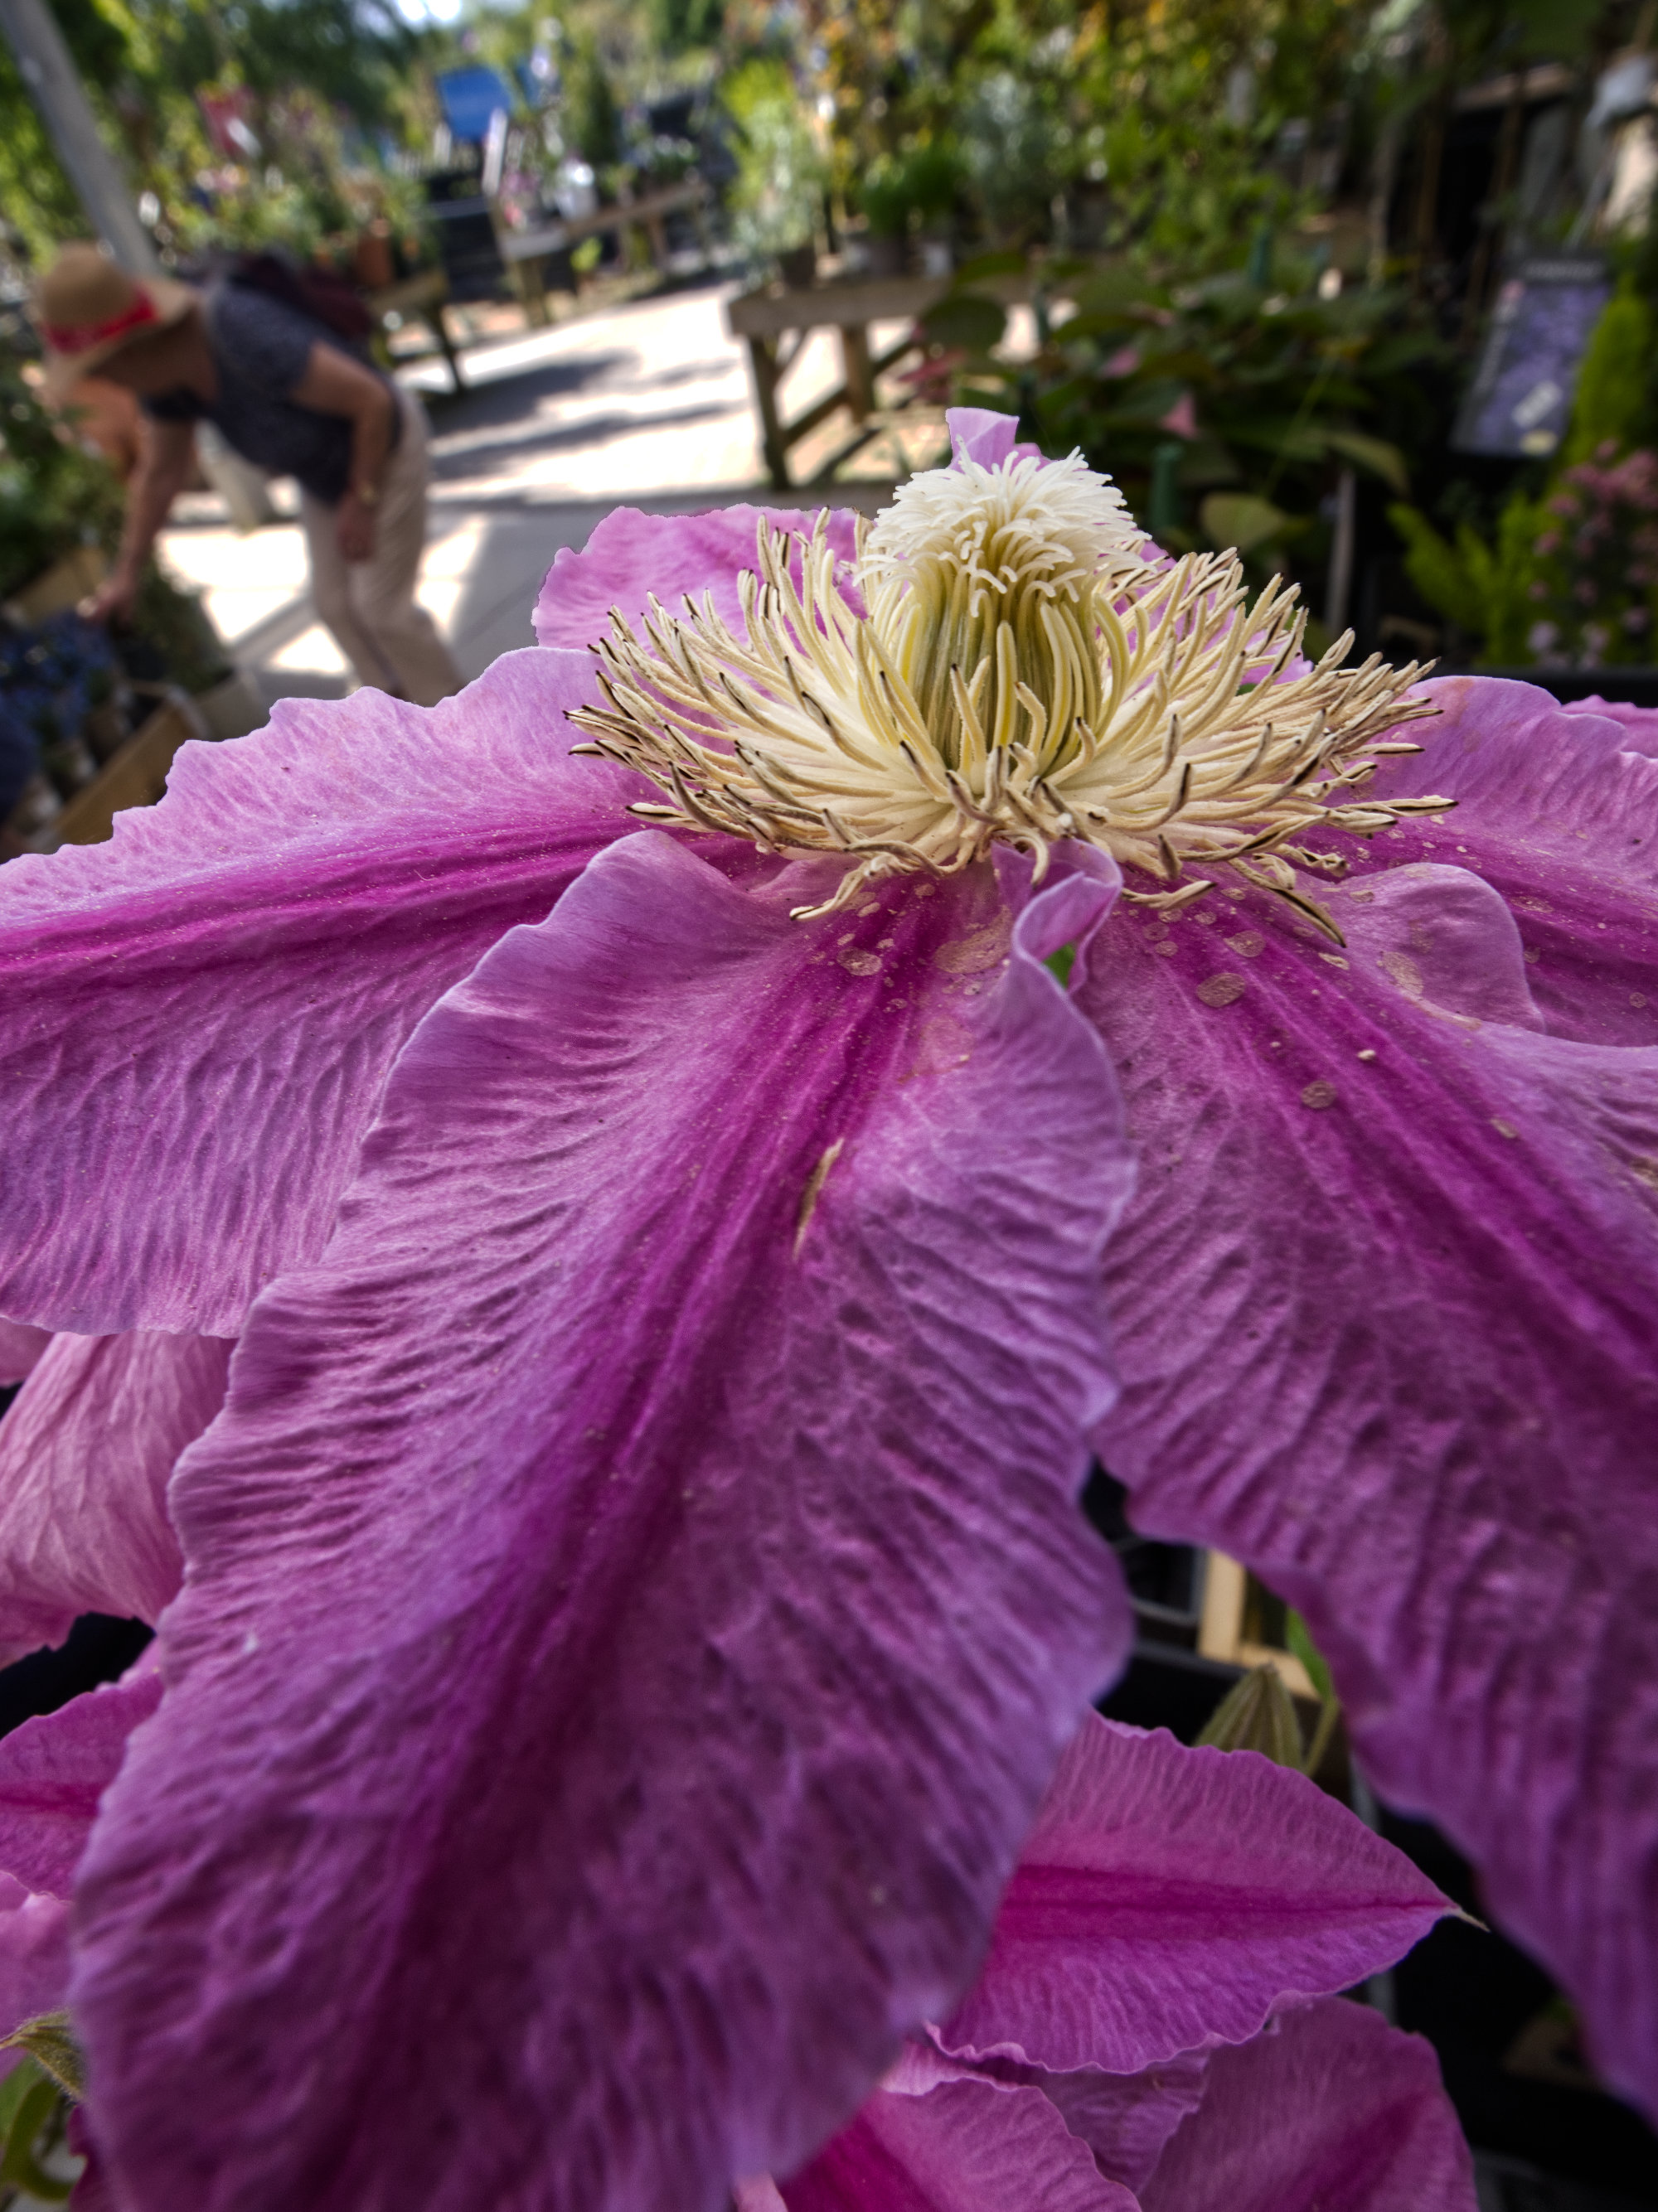
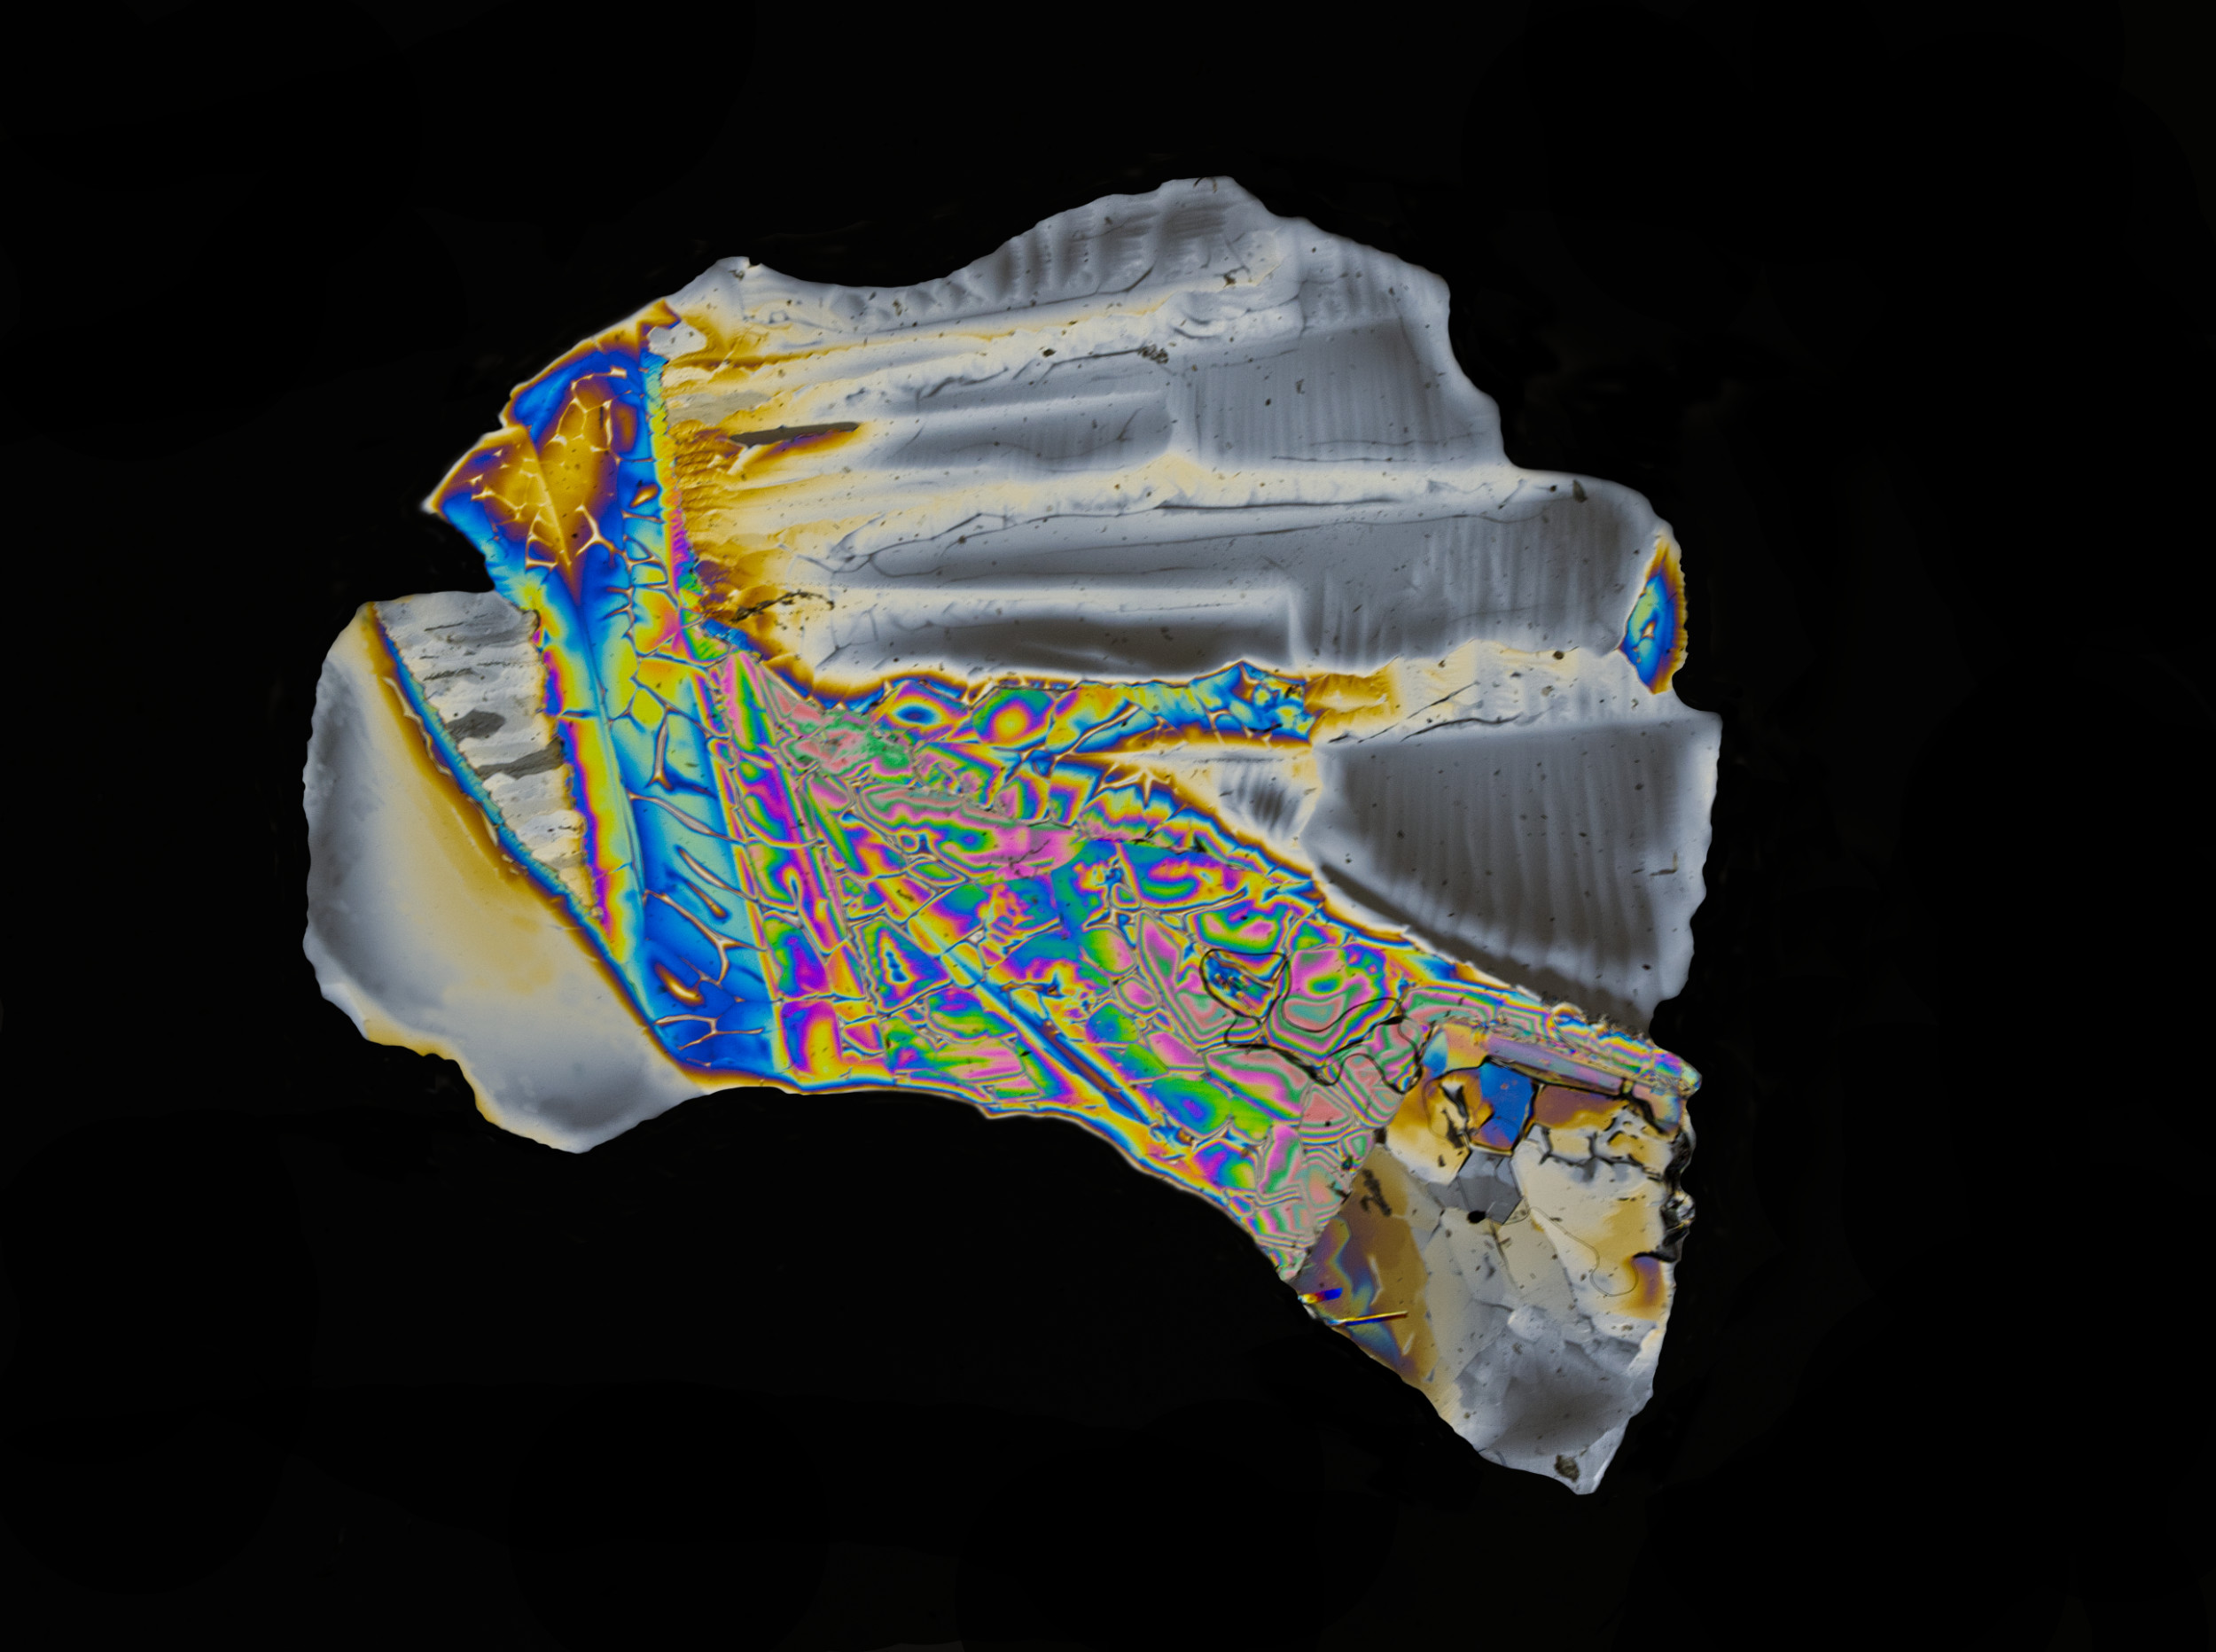
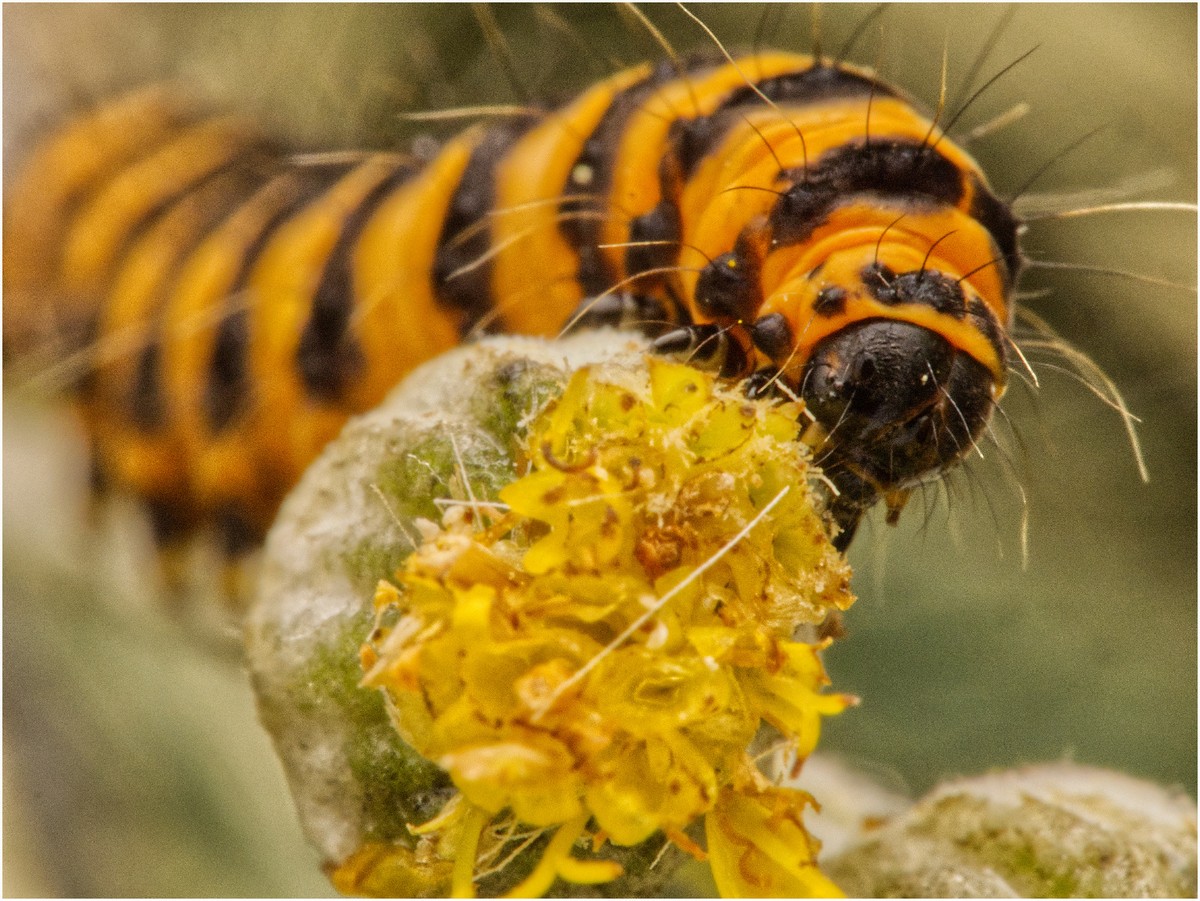
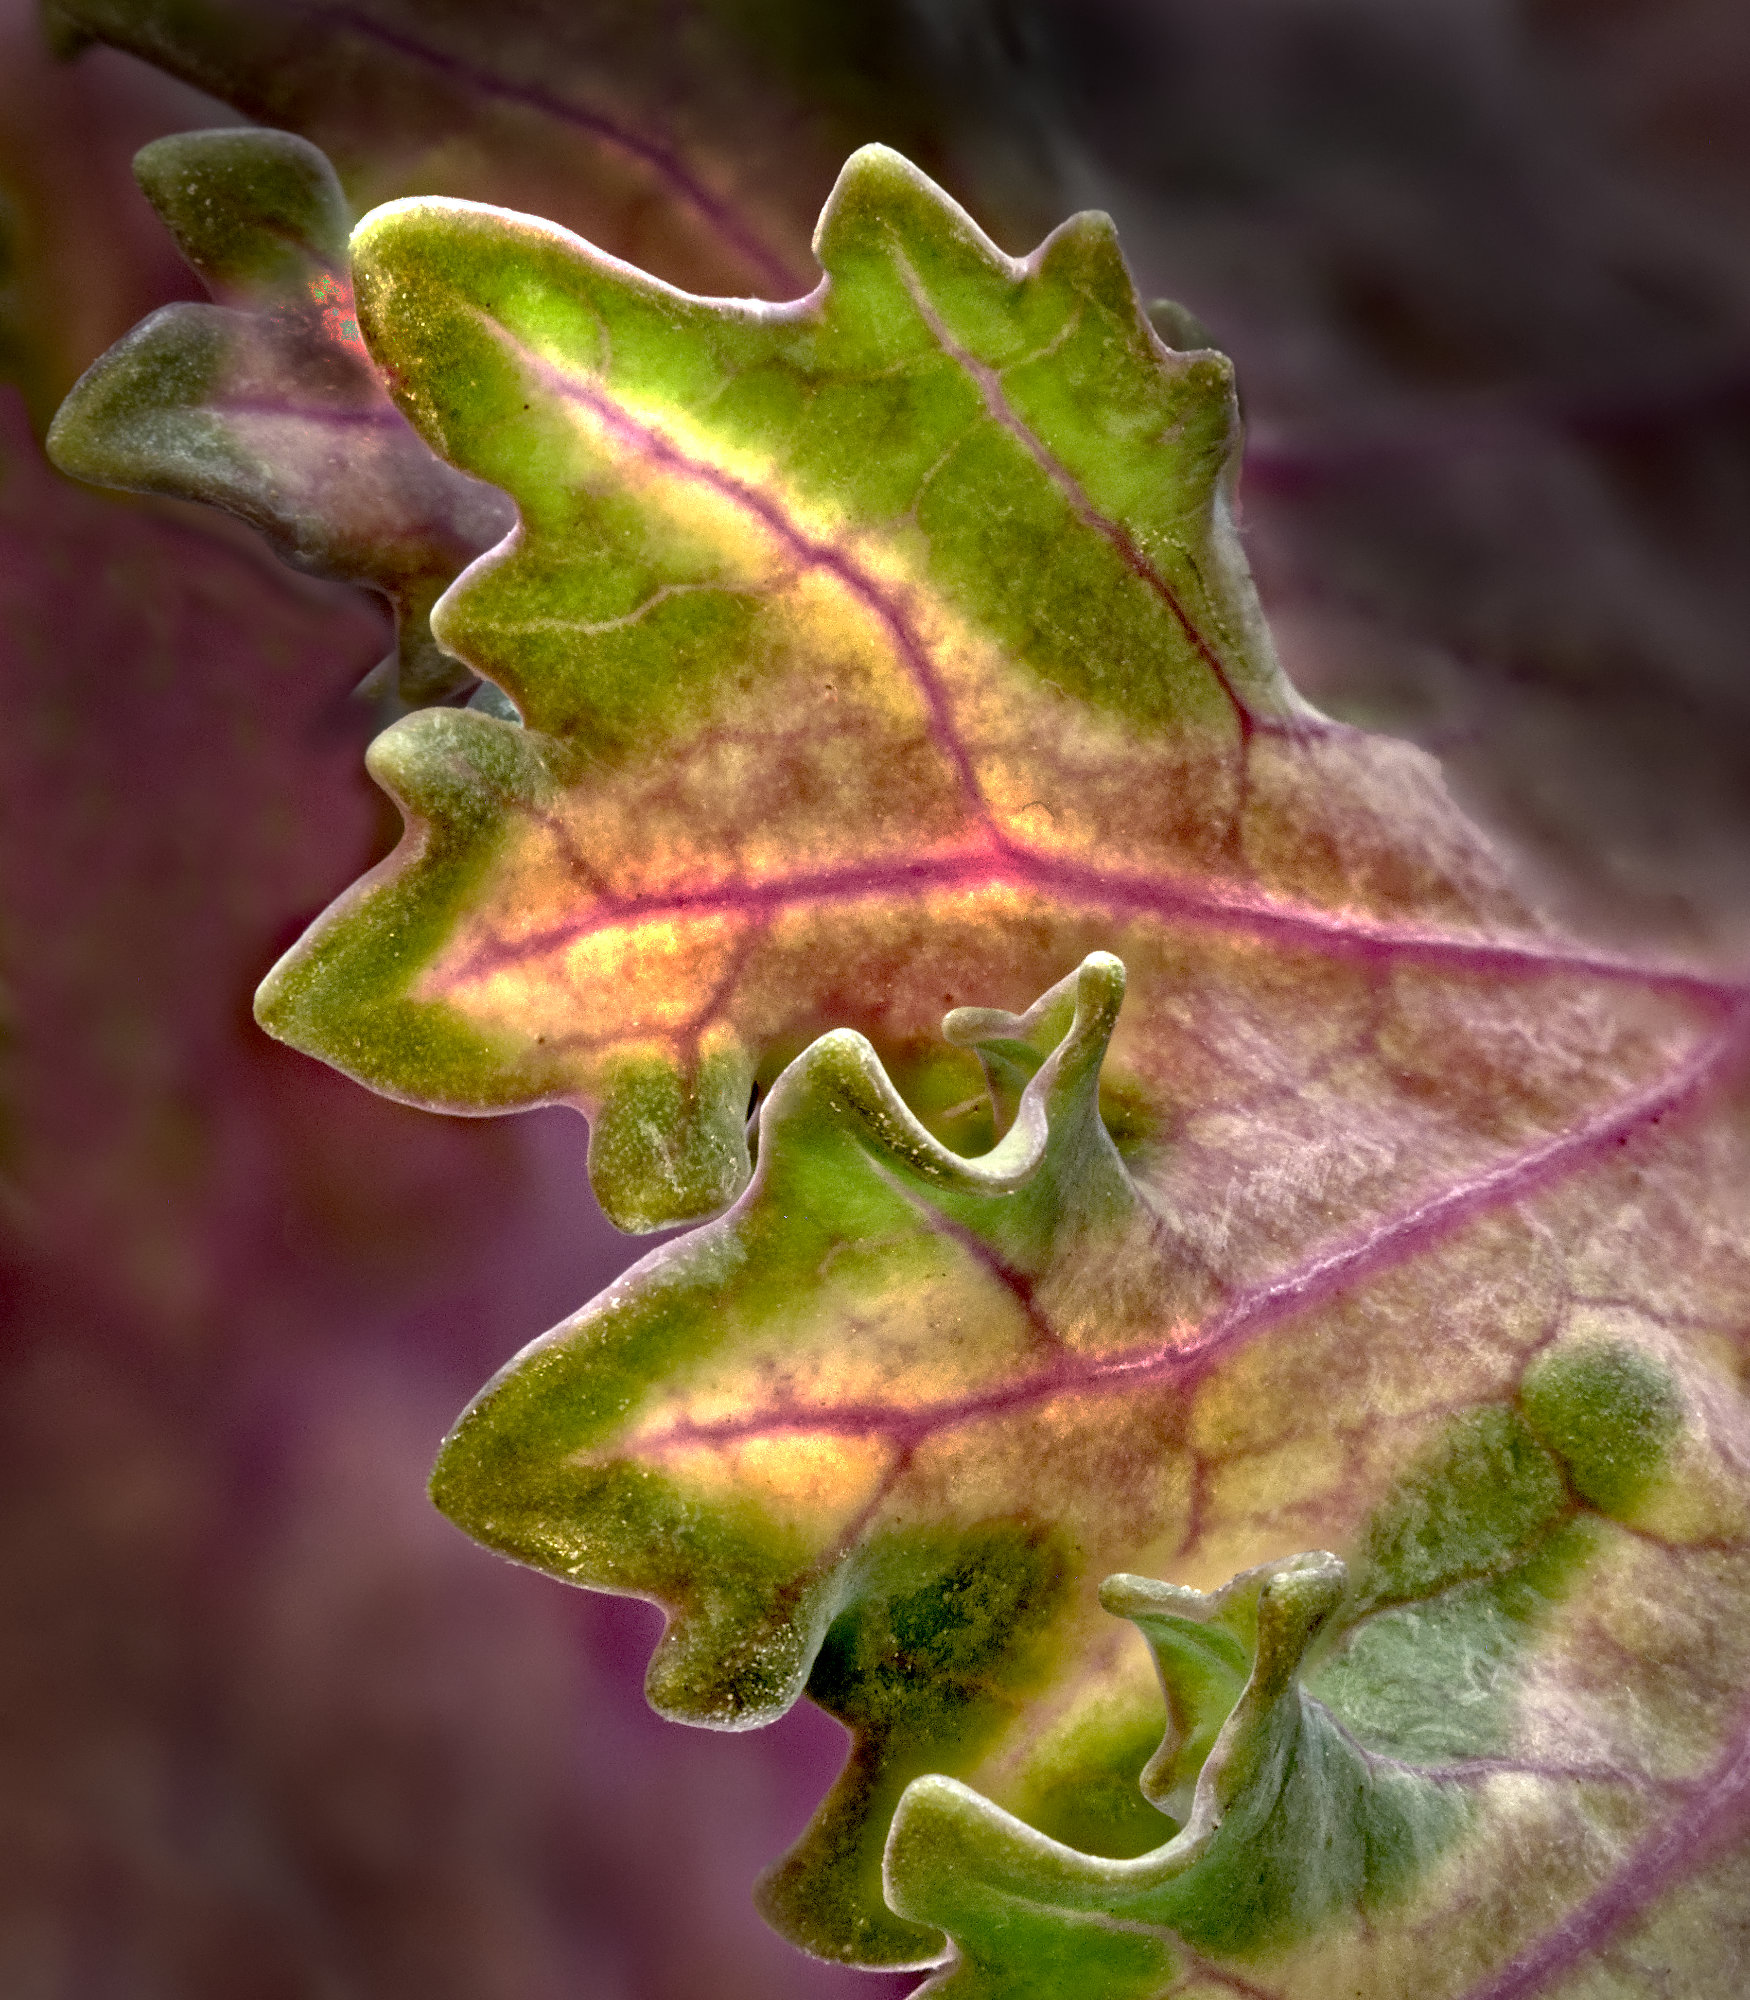
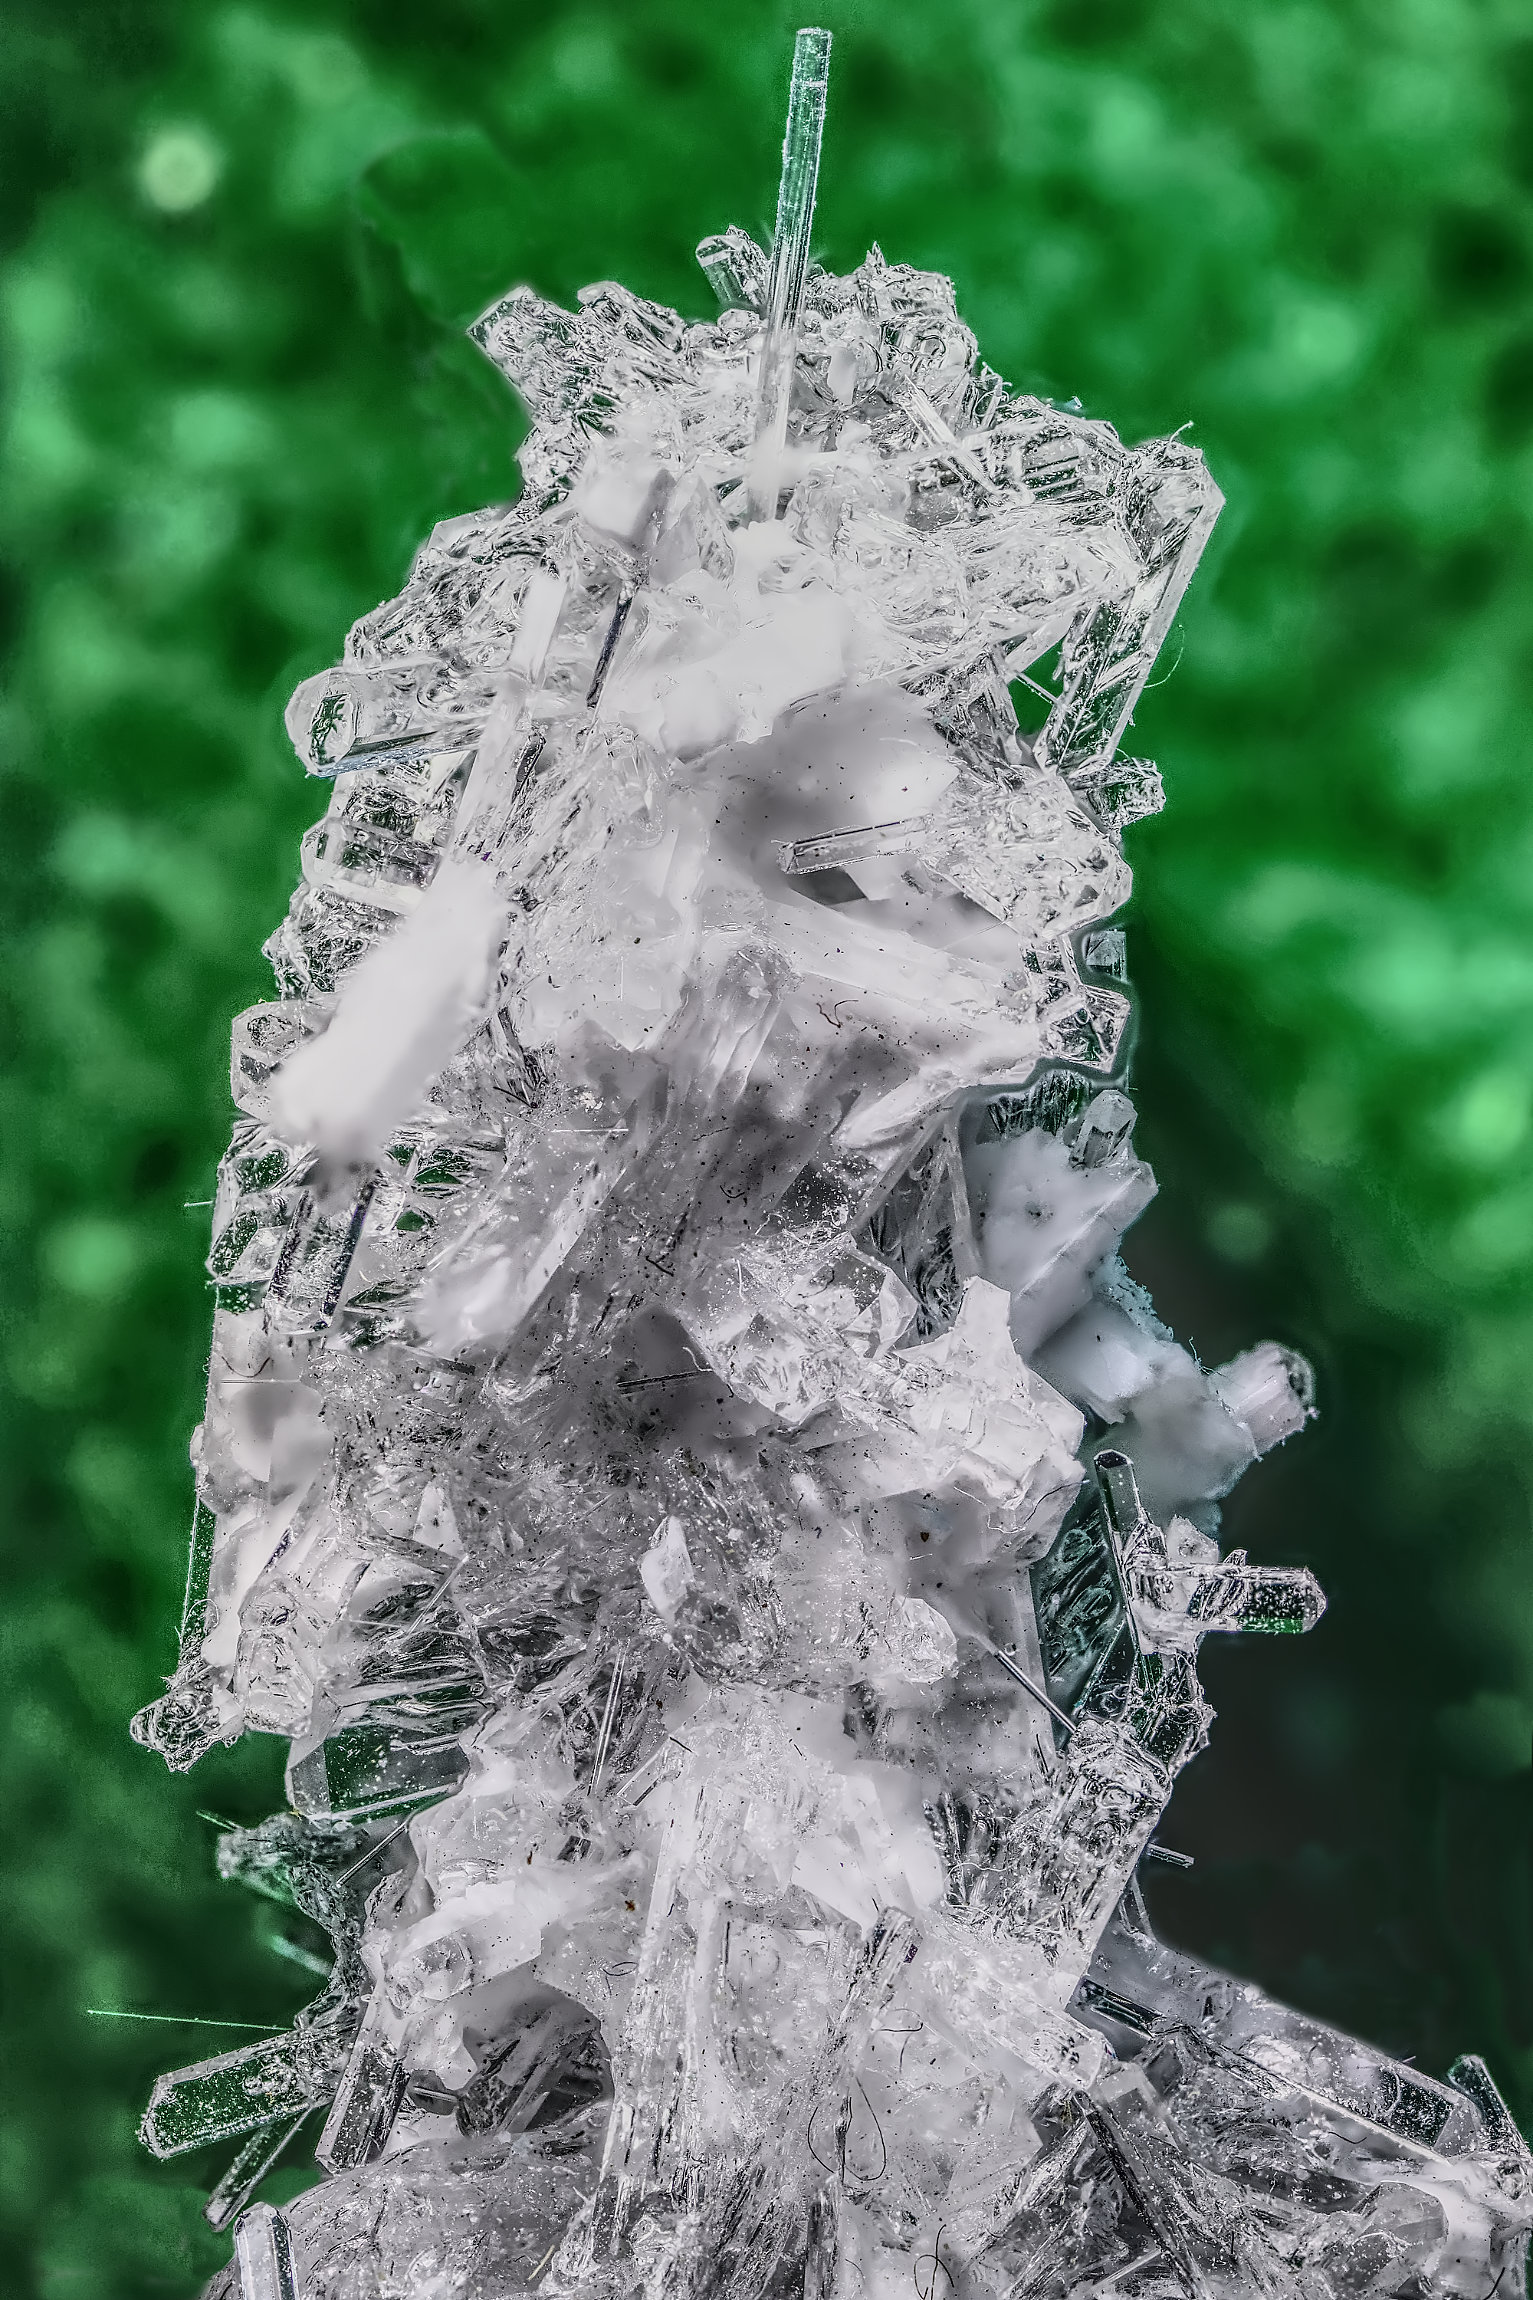
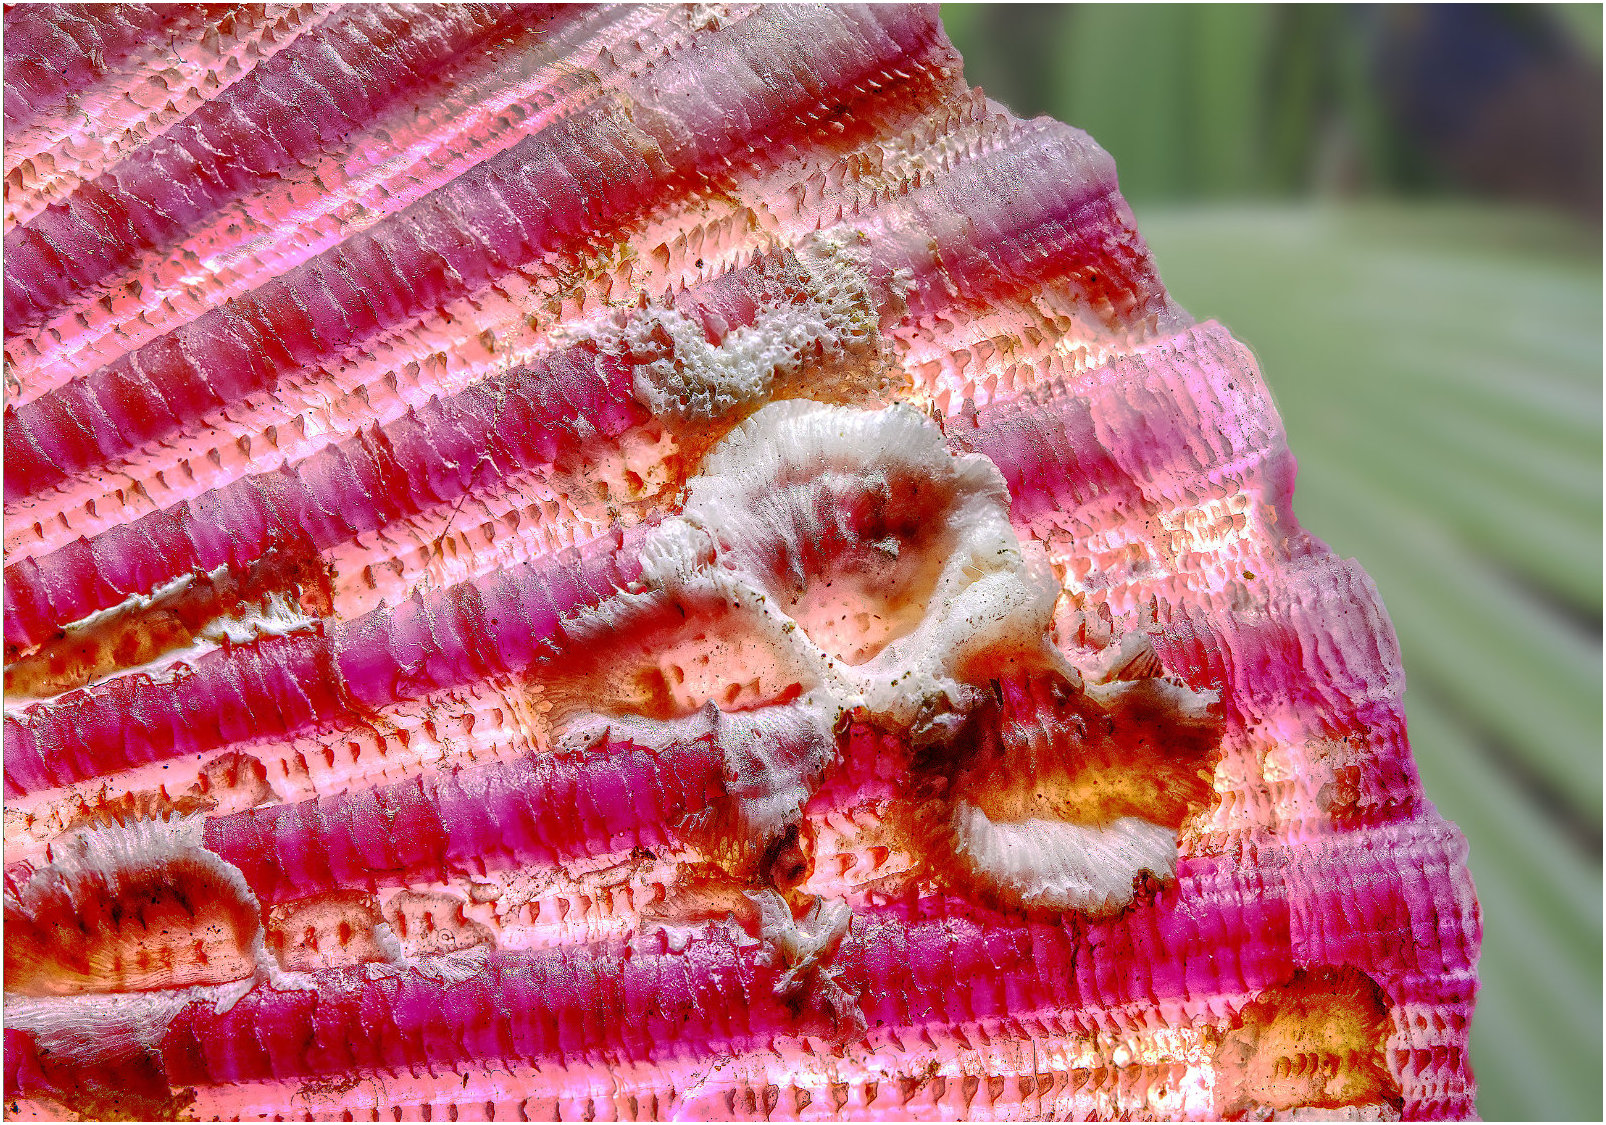
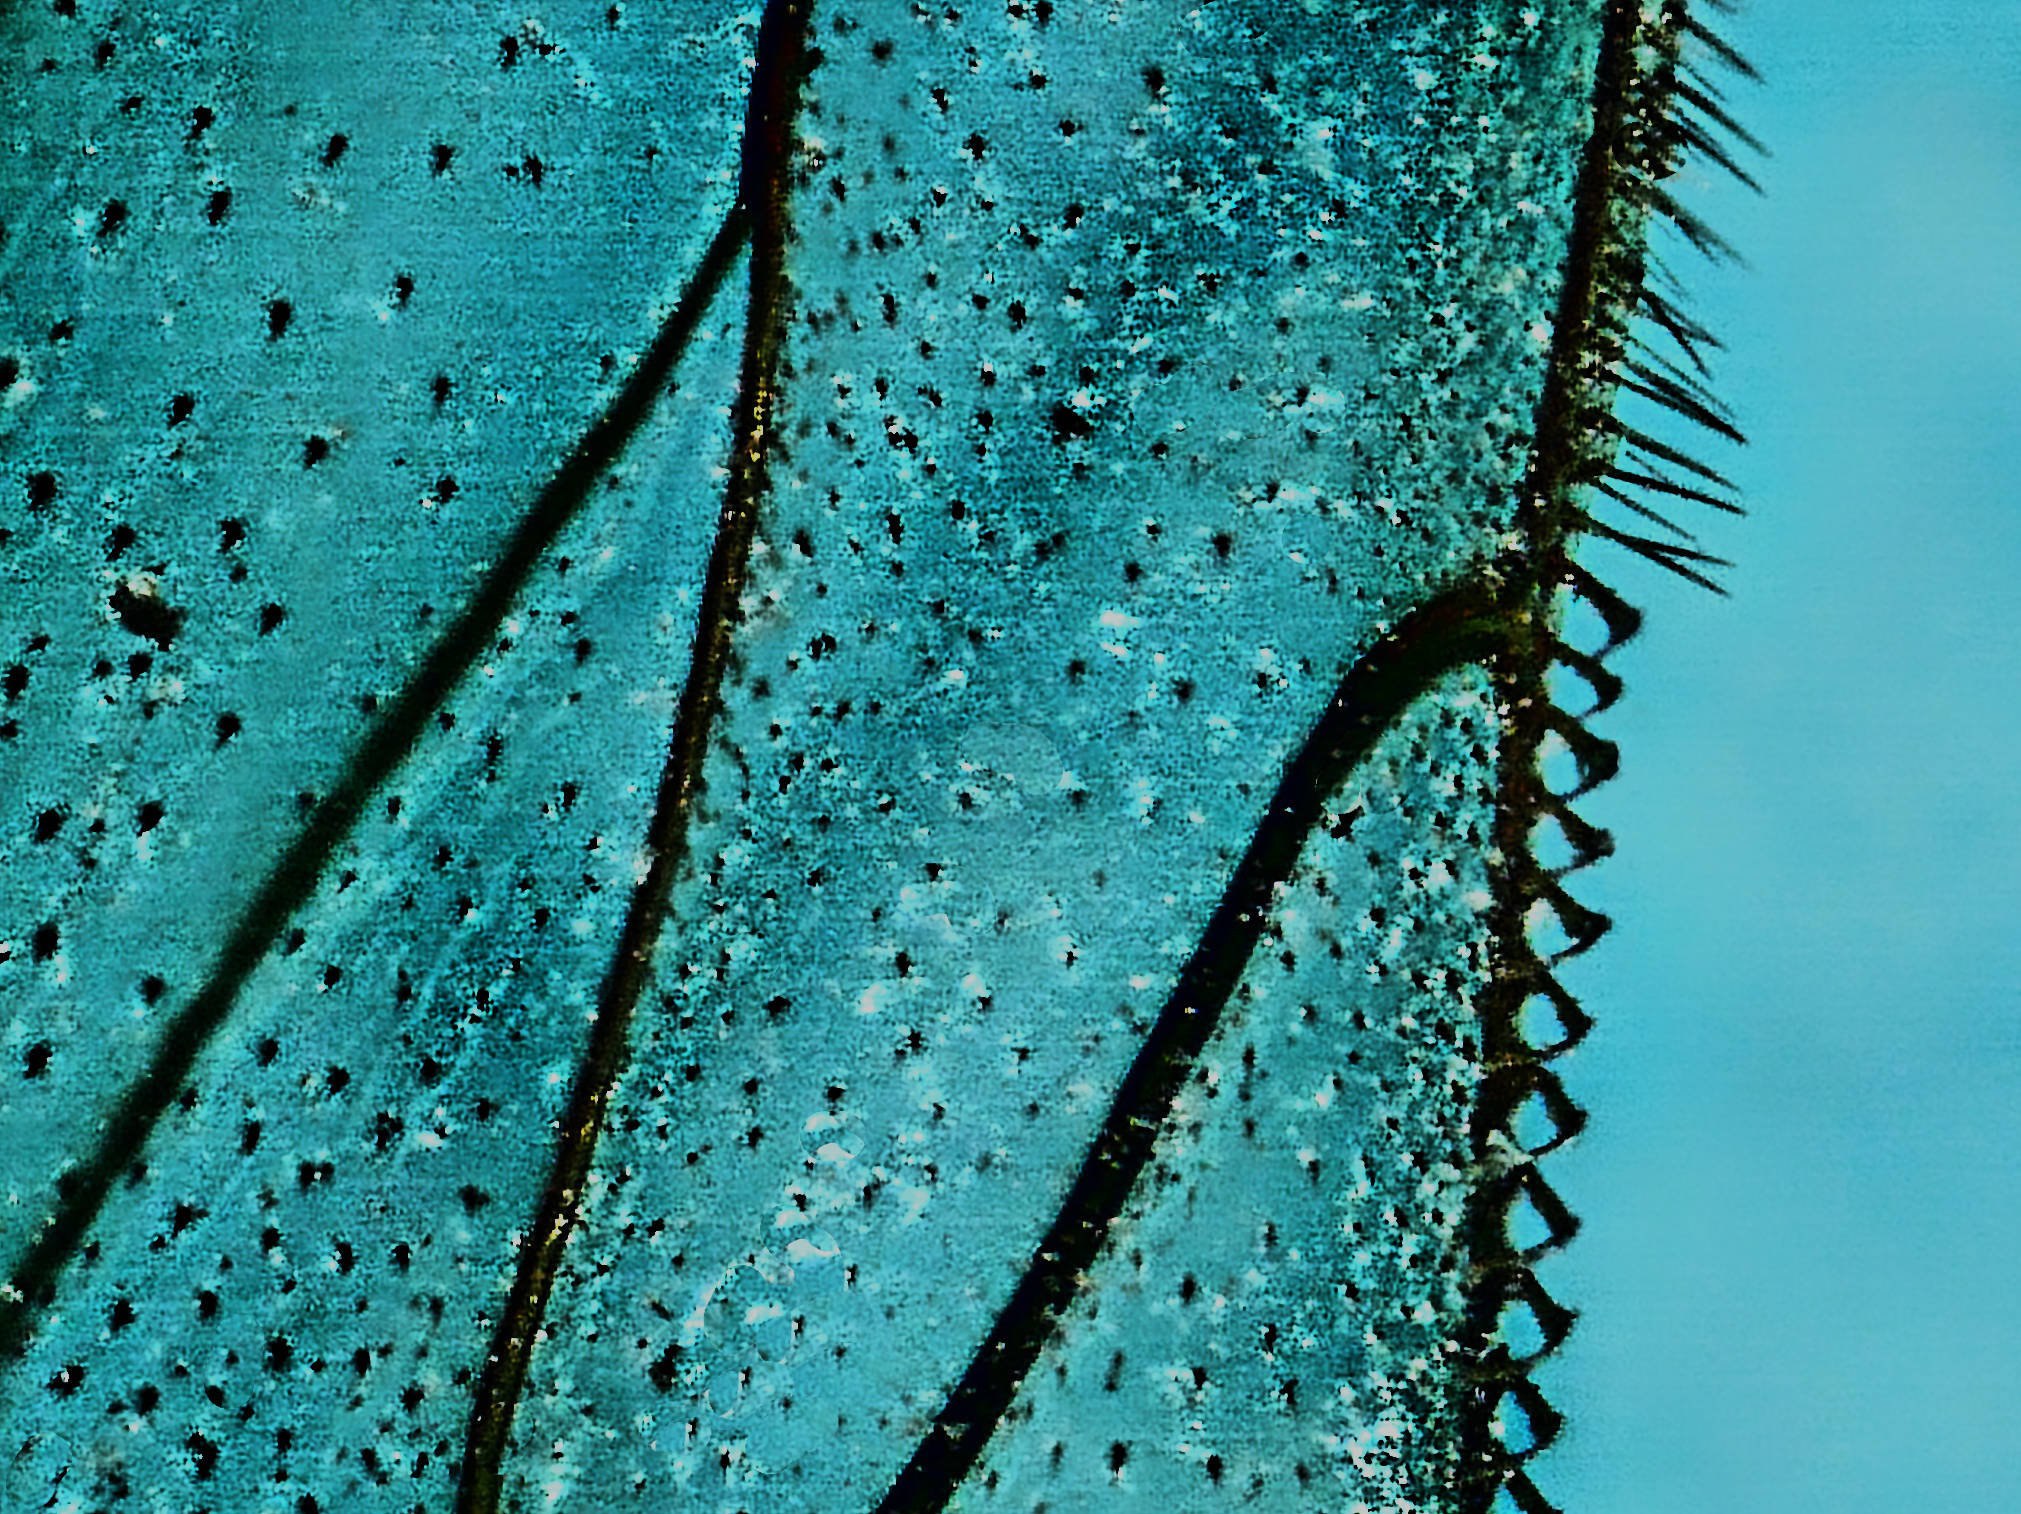
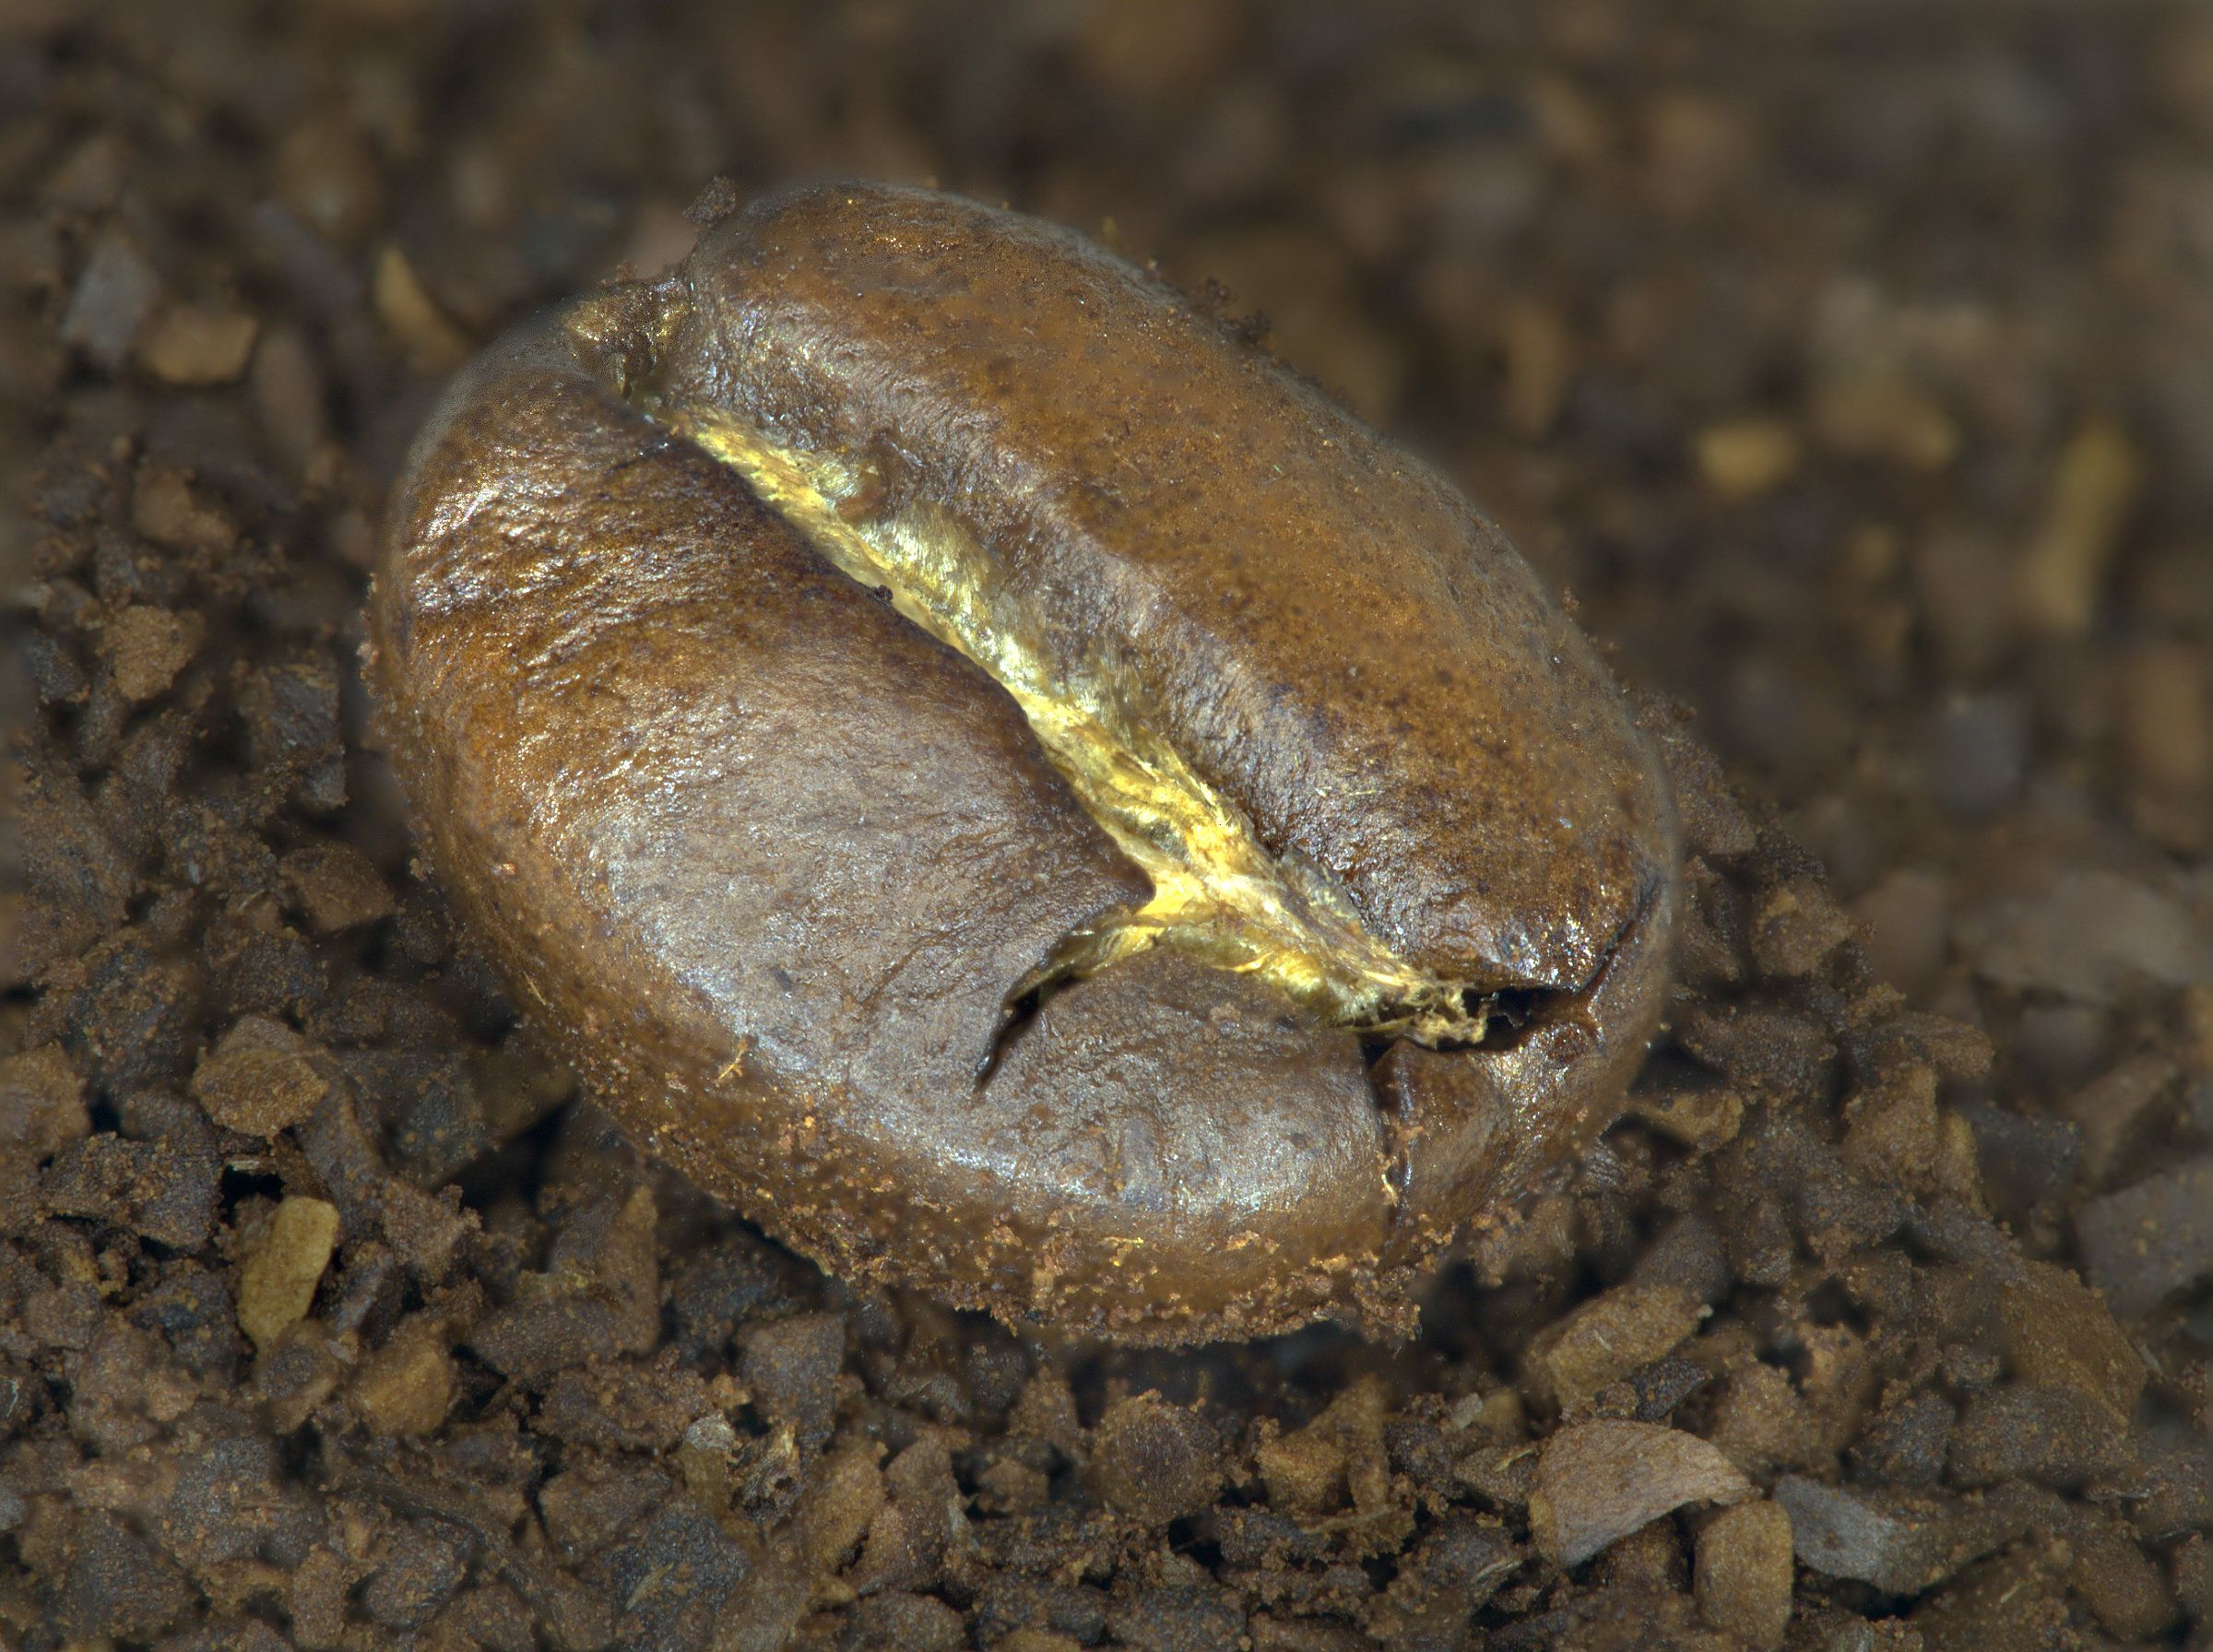
Super, Tom.
I think I'd clone out the darker brown circle near the centre and the much smaler one towards the top right, just to allow me to concentrate on the lovely detail texture and tone gradient. |
May 16th |
| 95 |
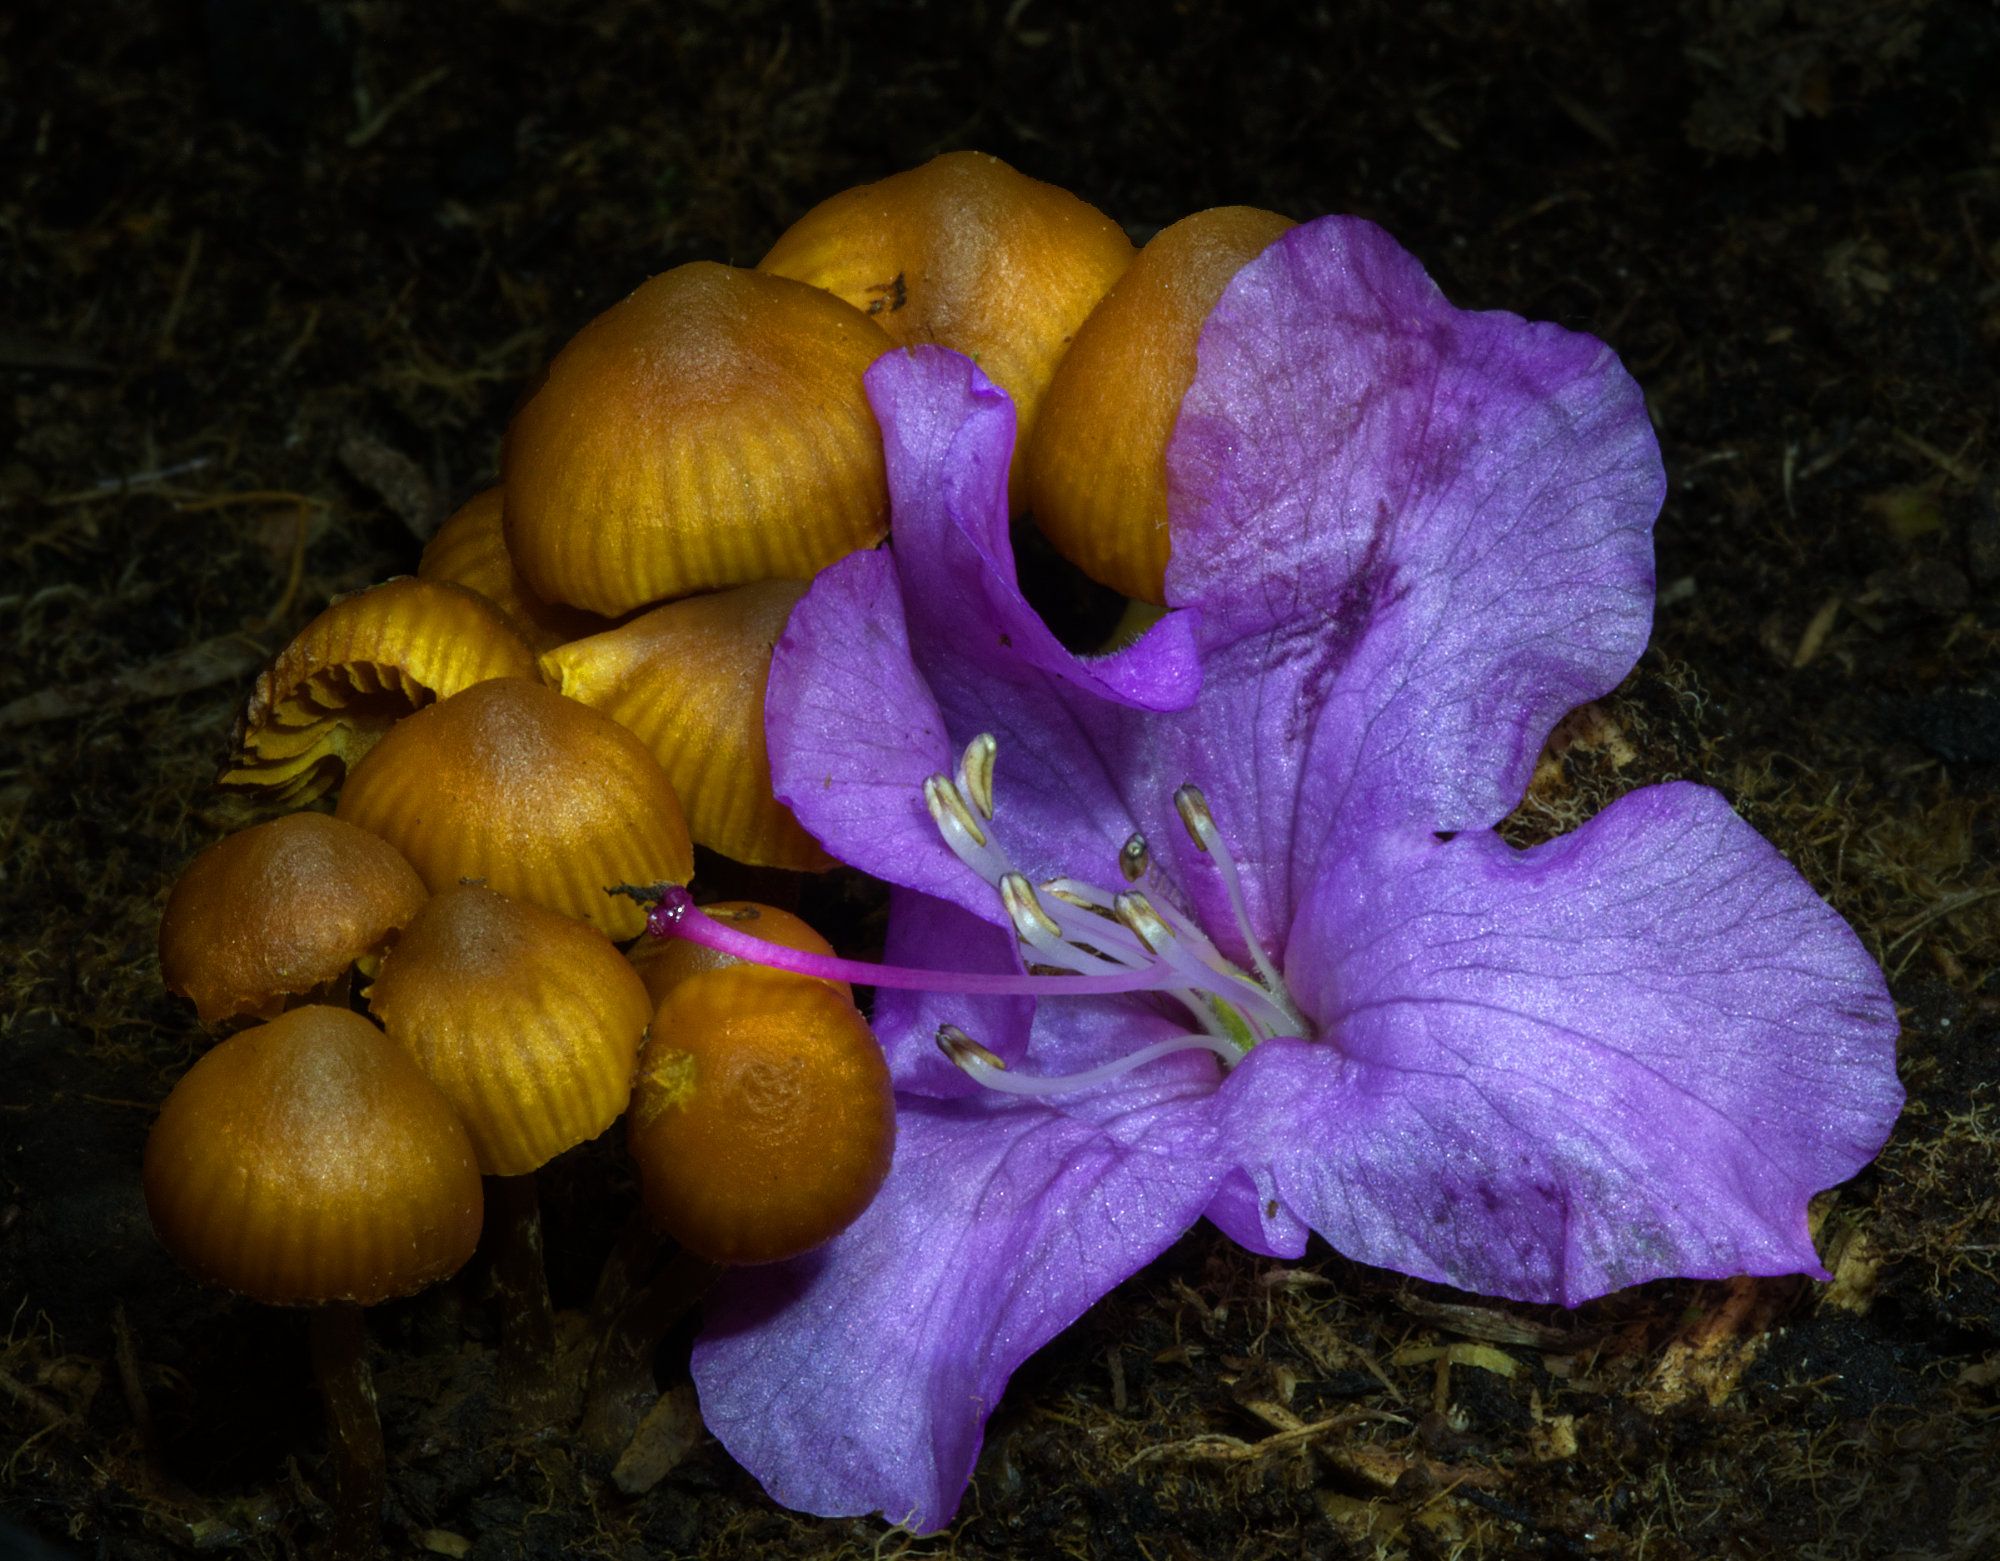
May 22 |
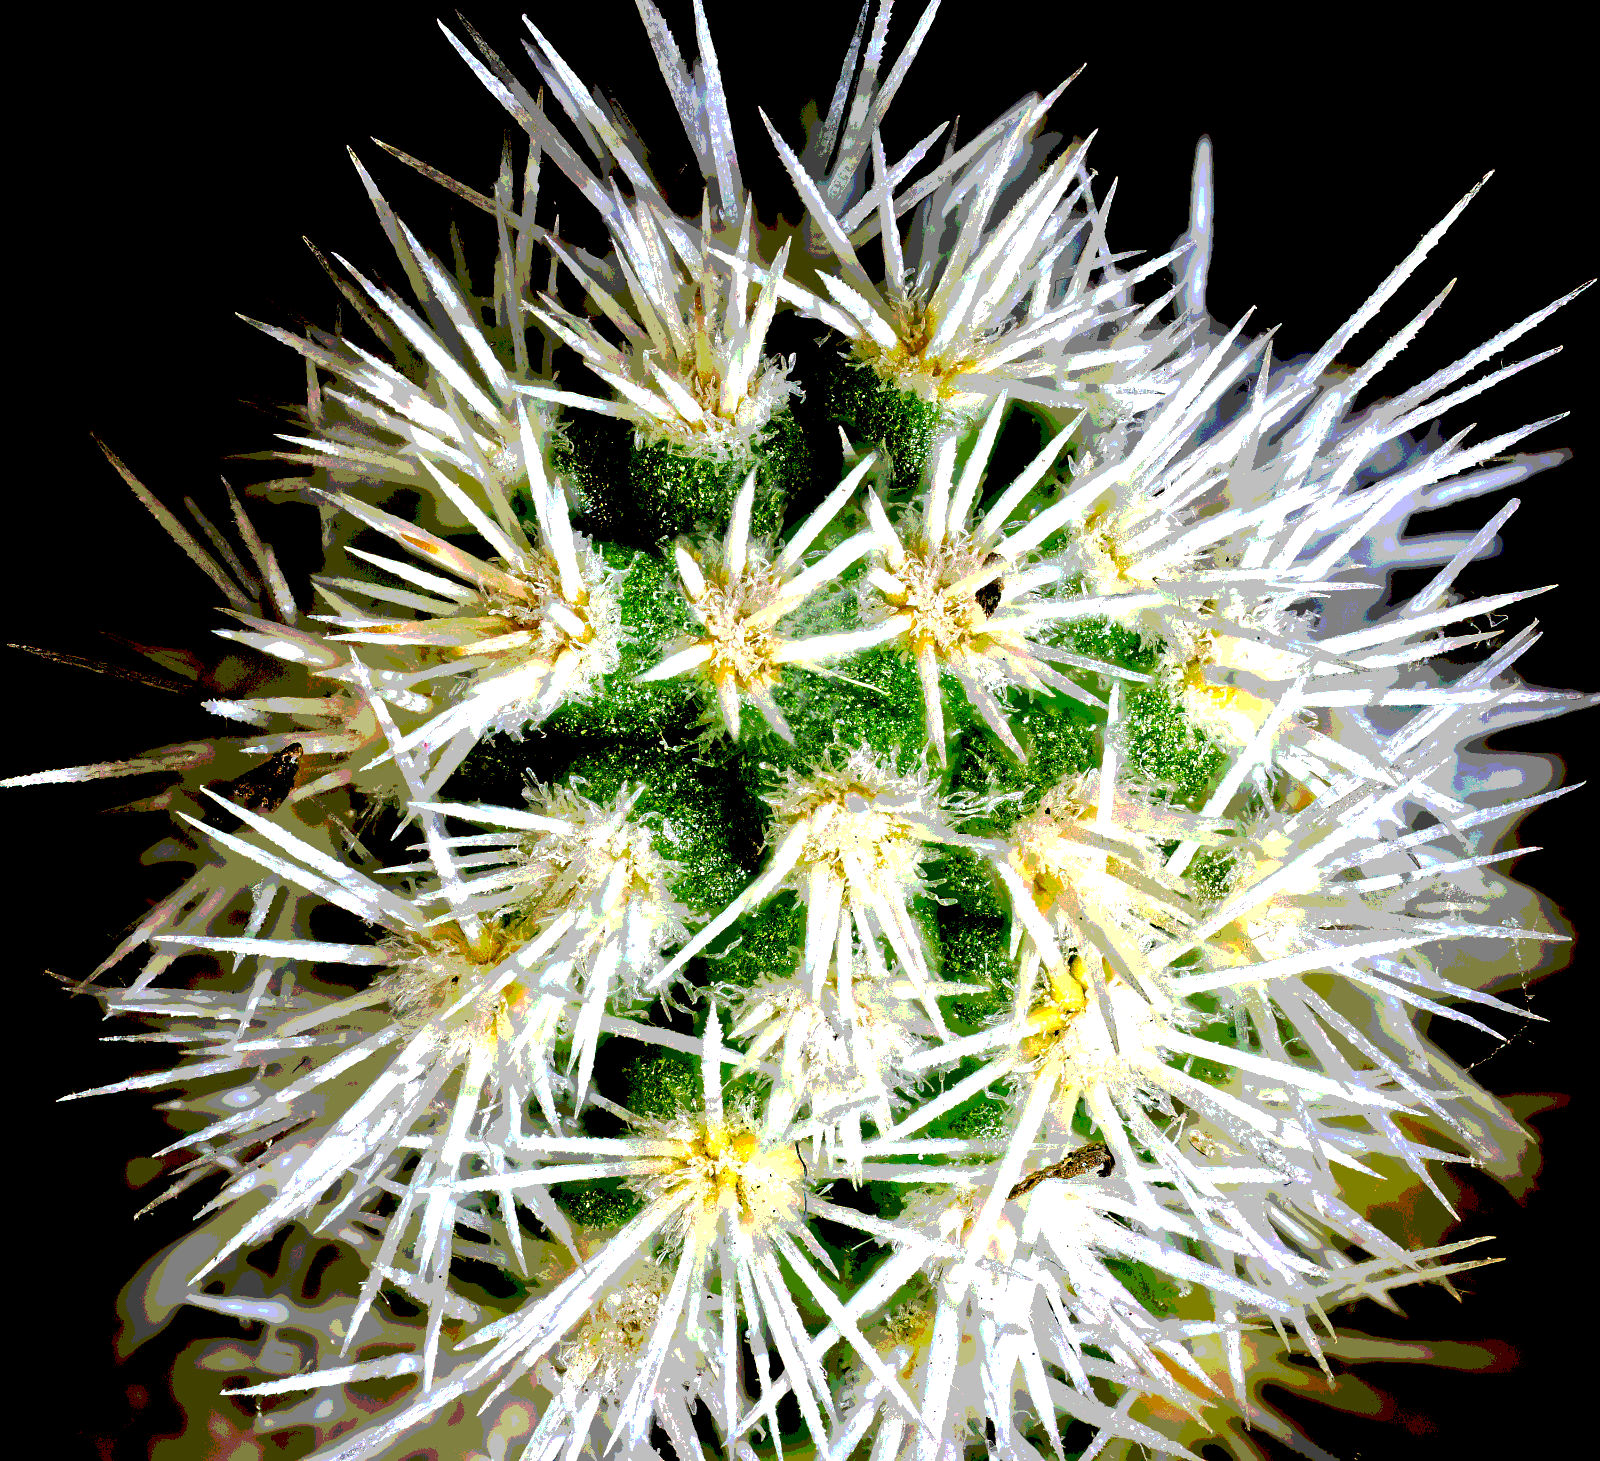
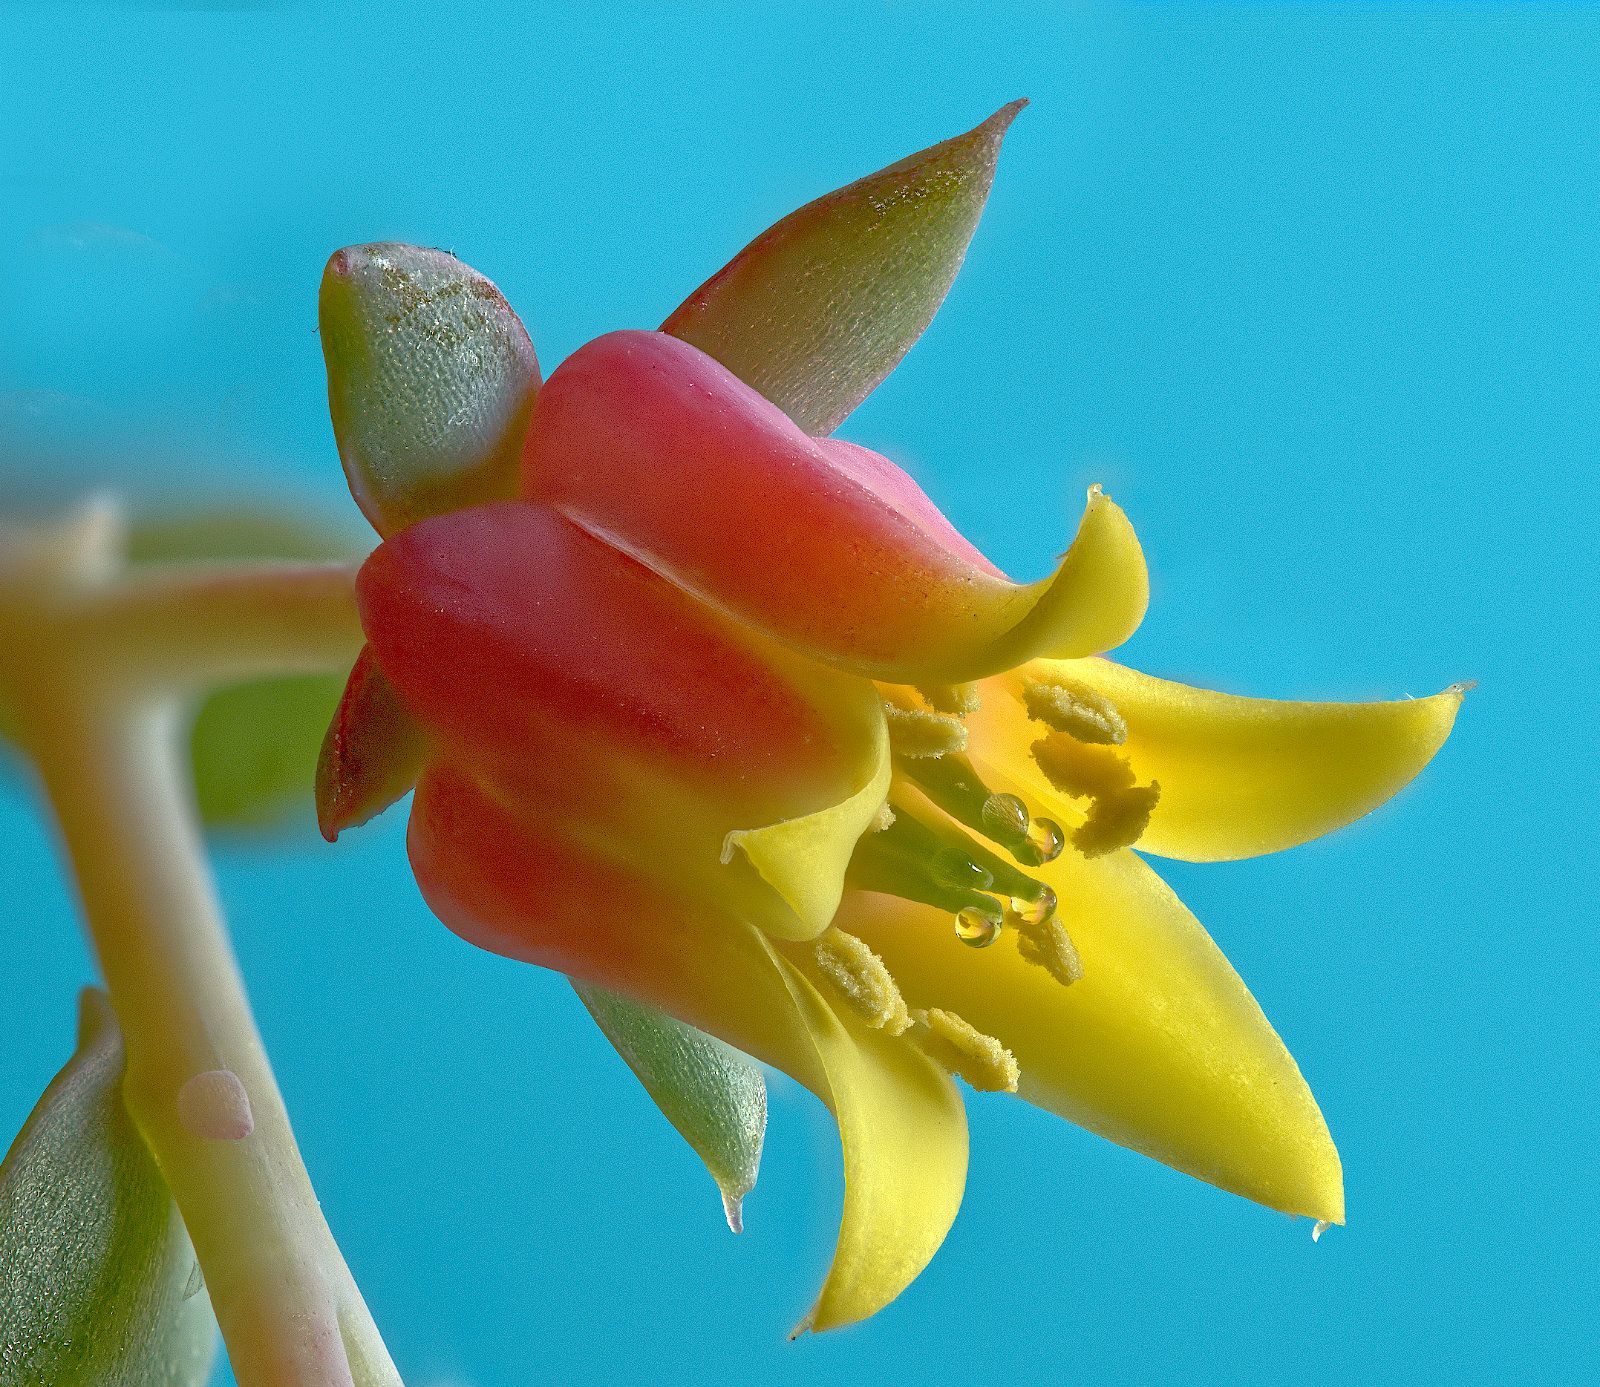
Comment |
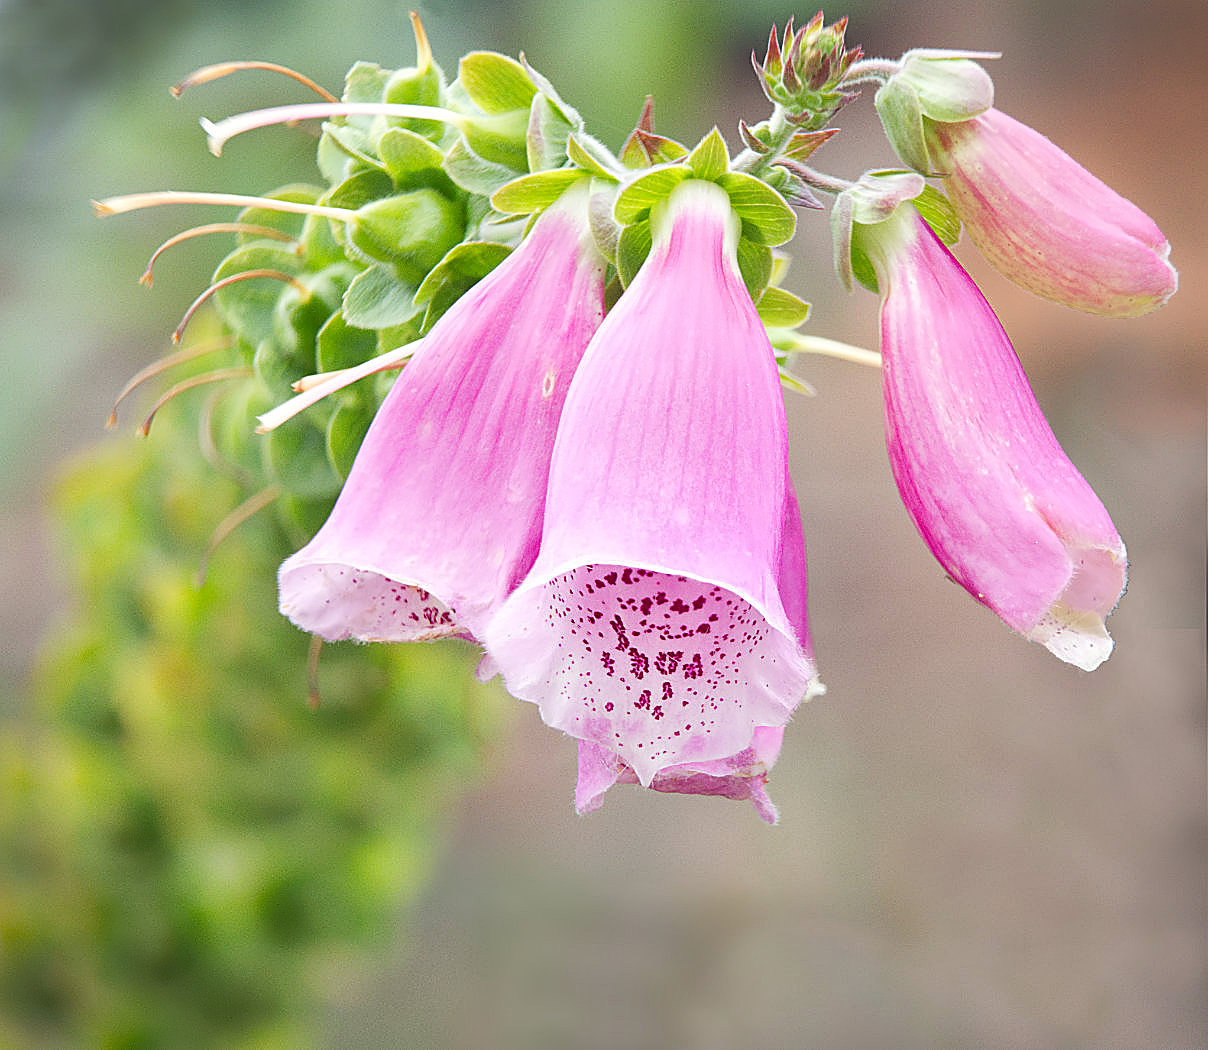
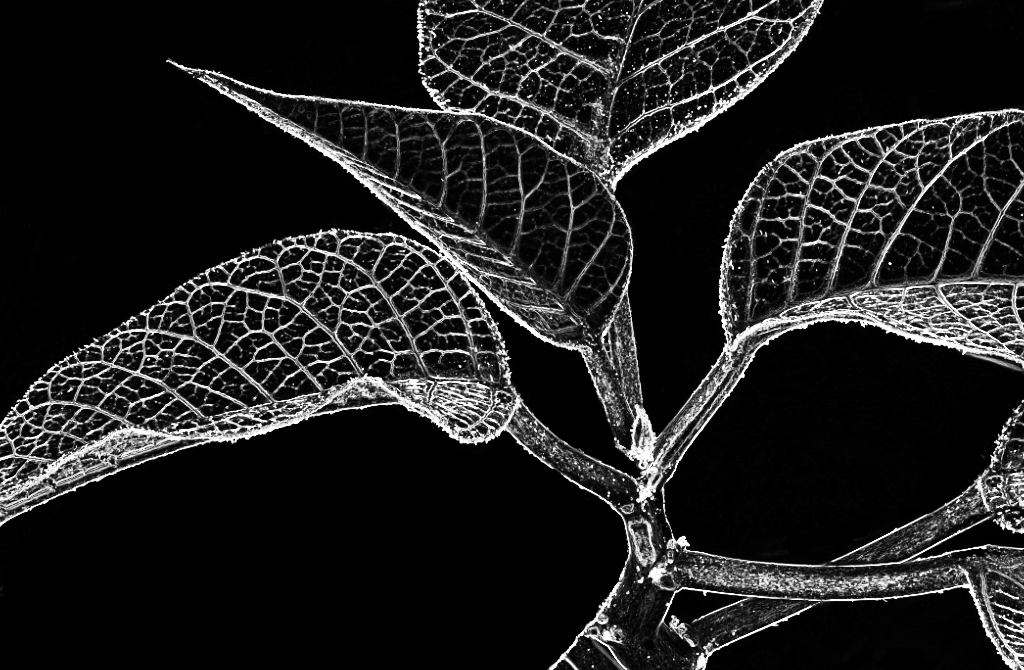
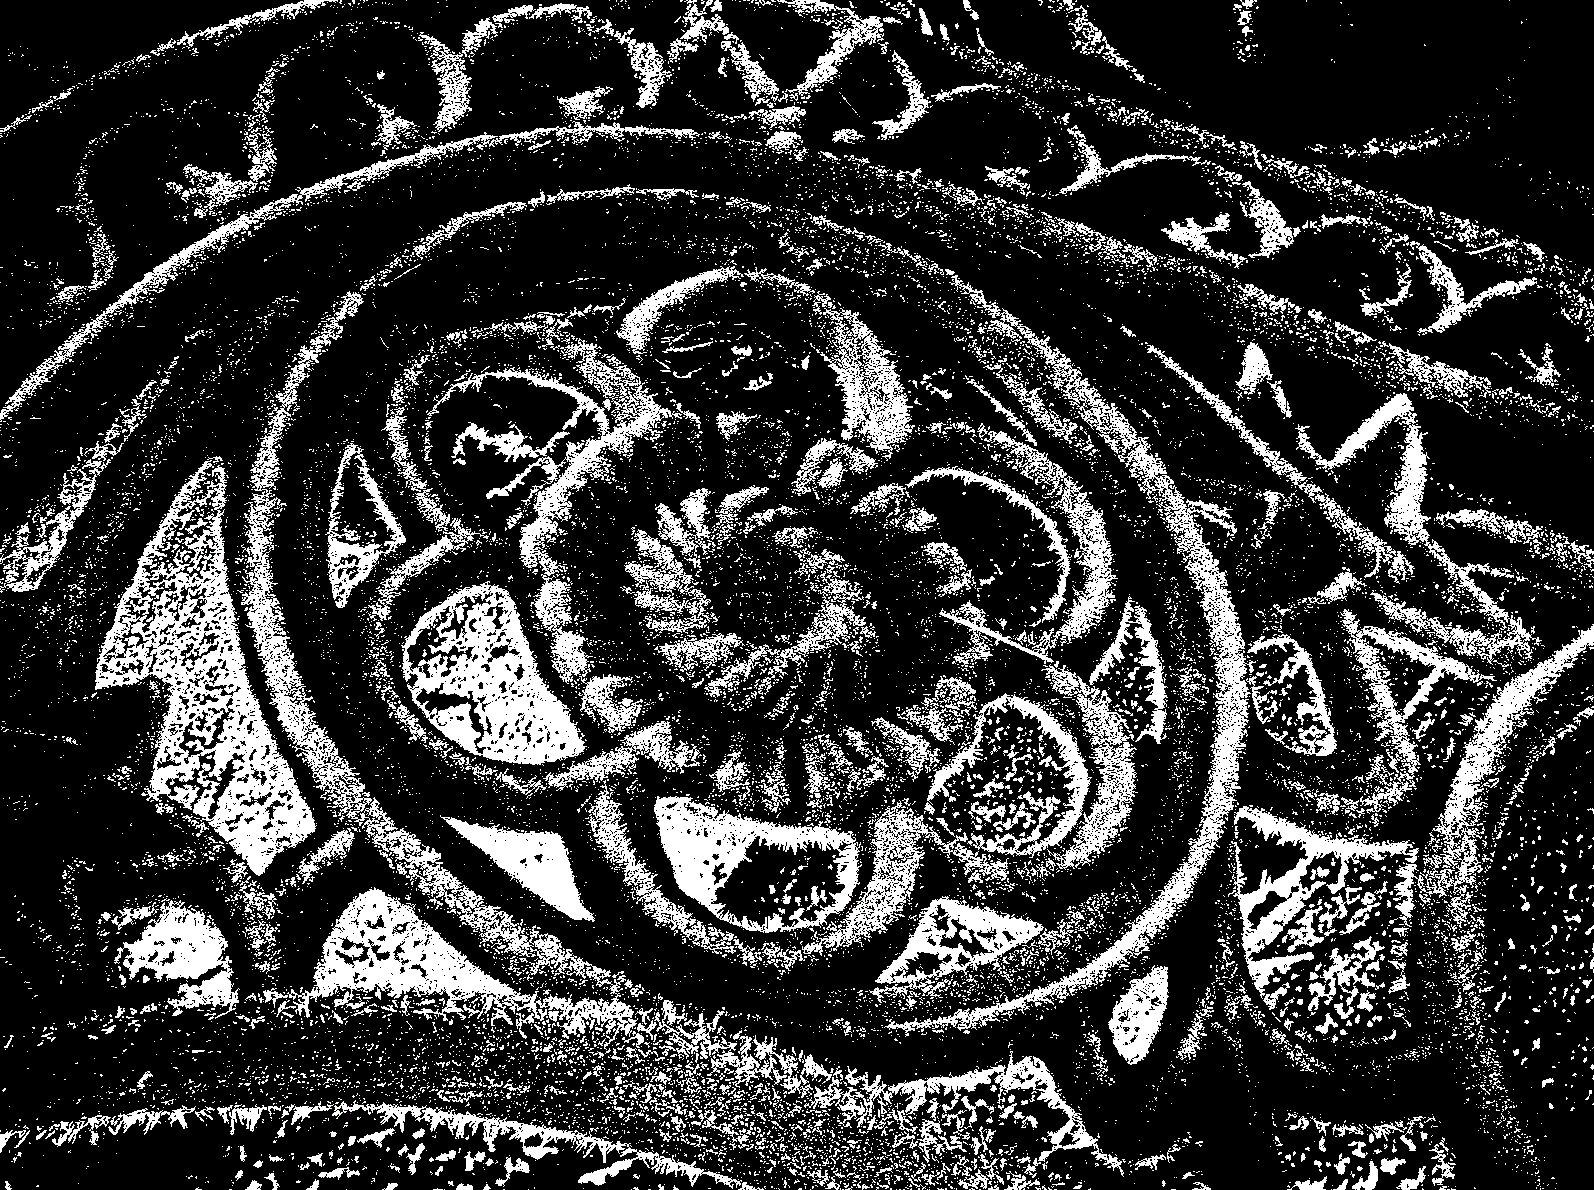
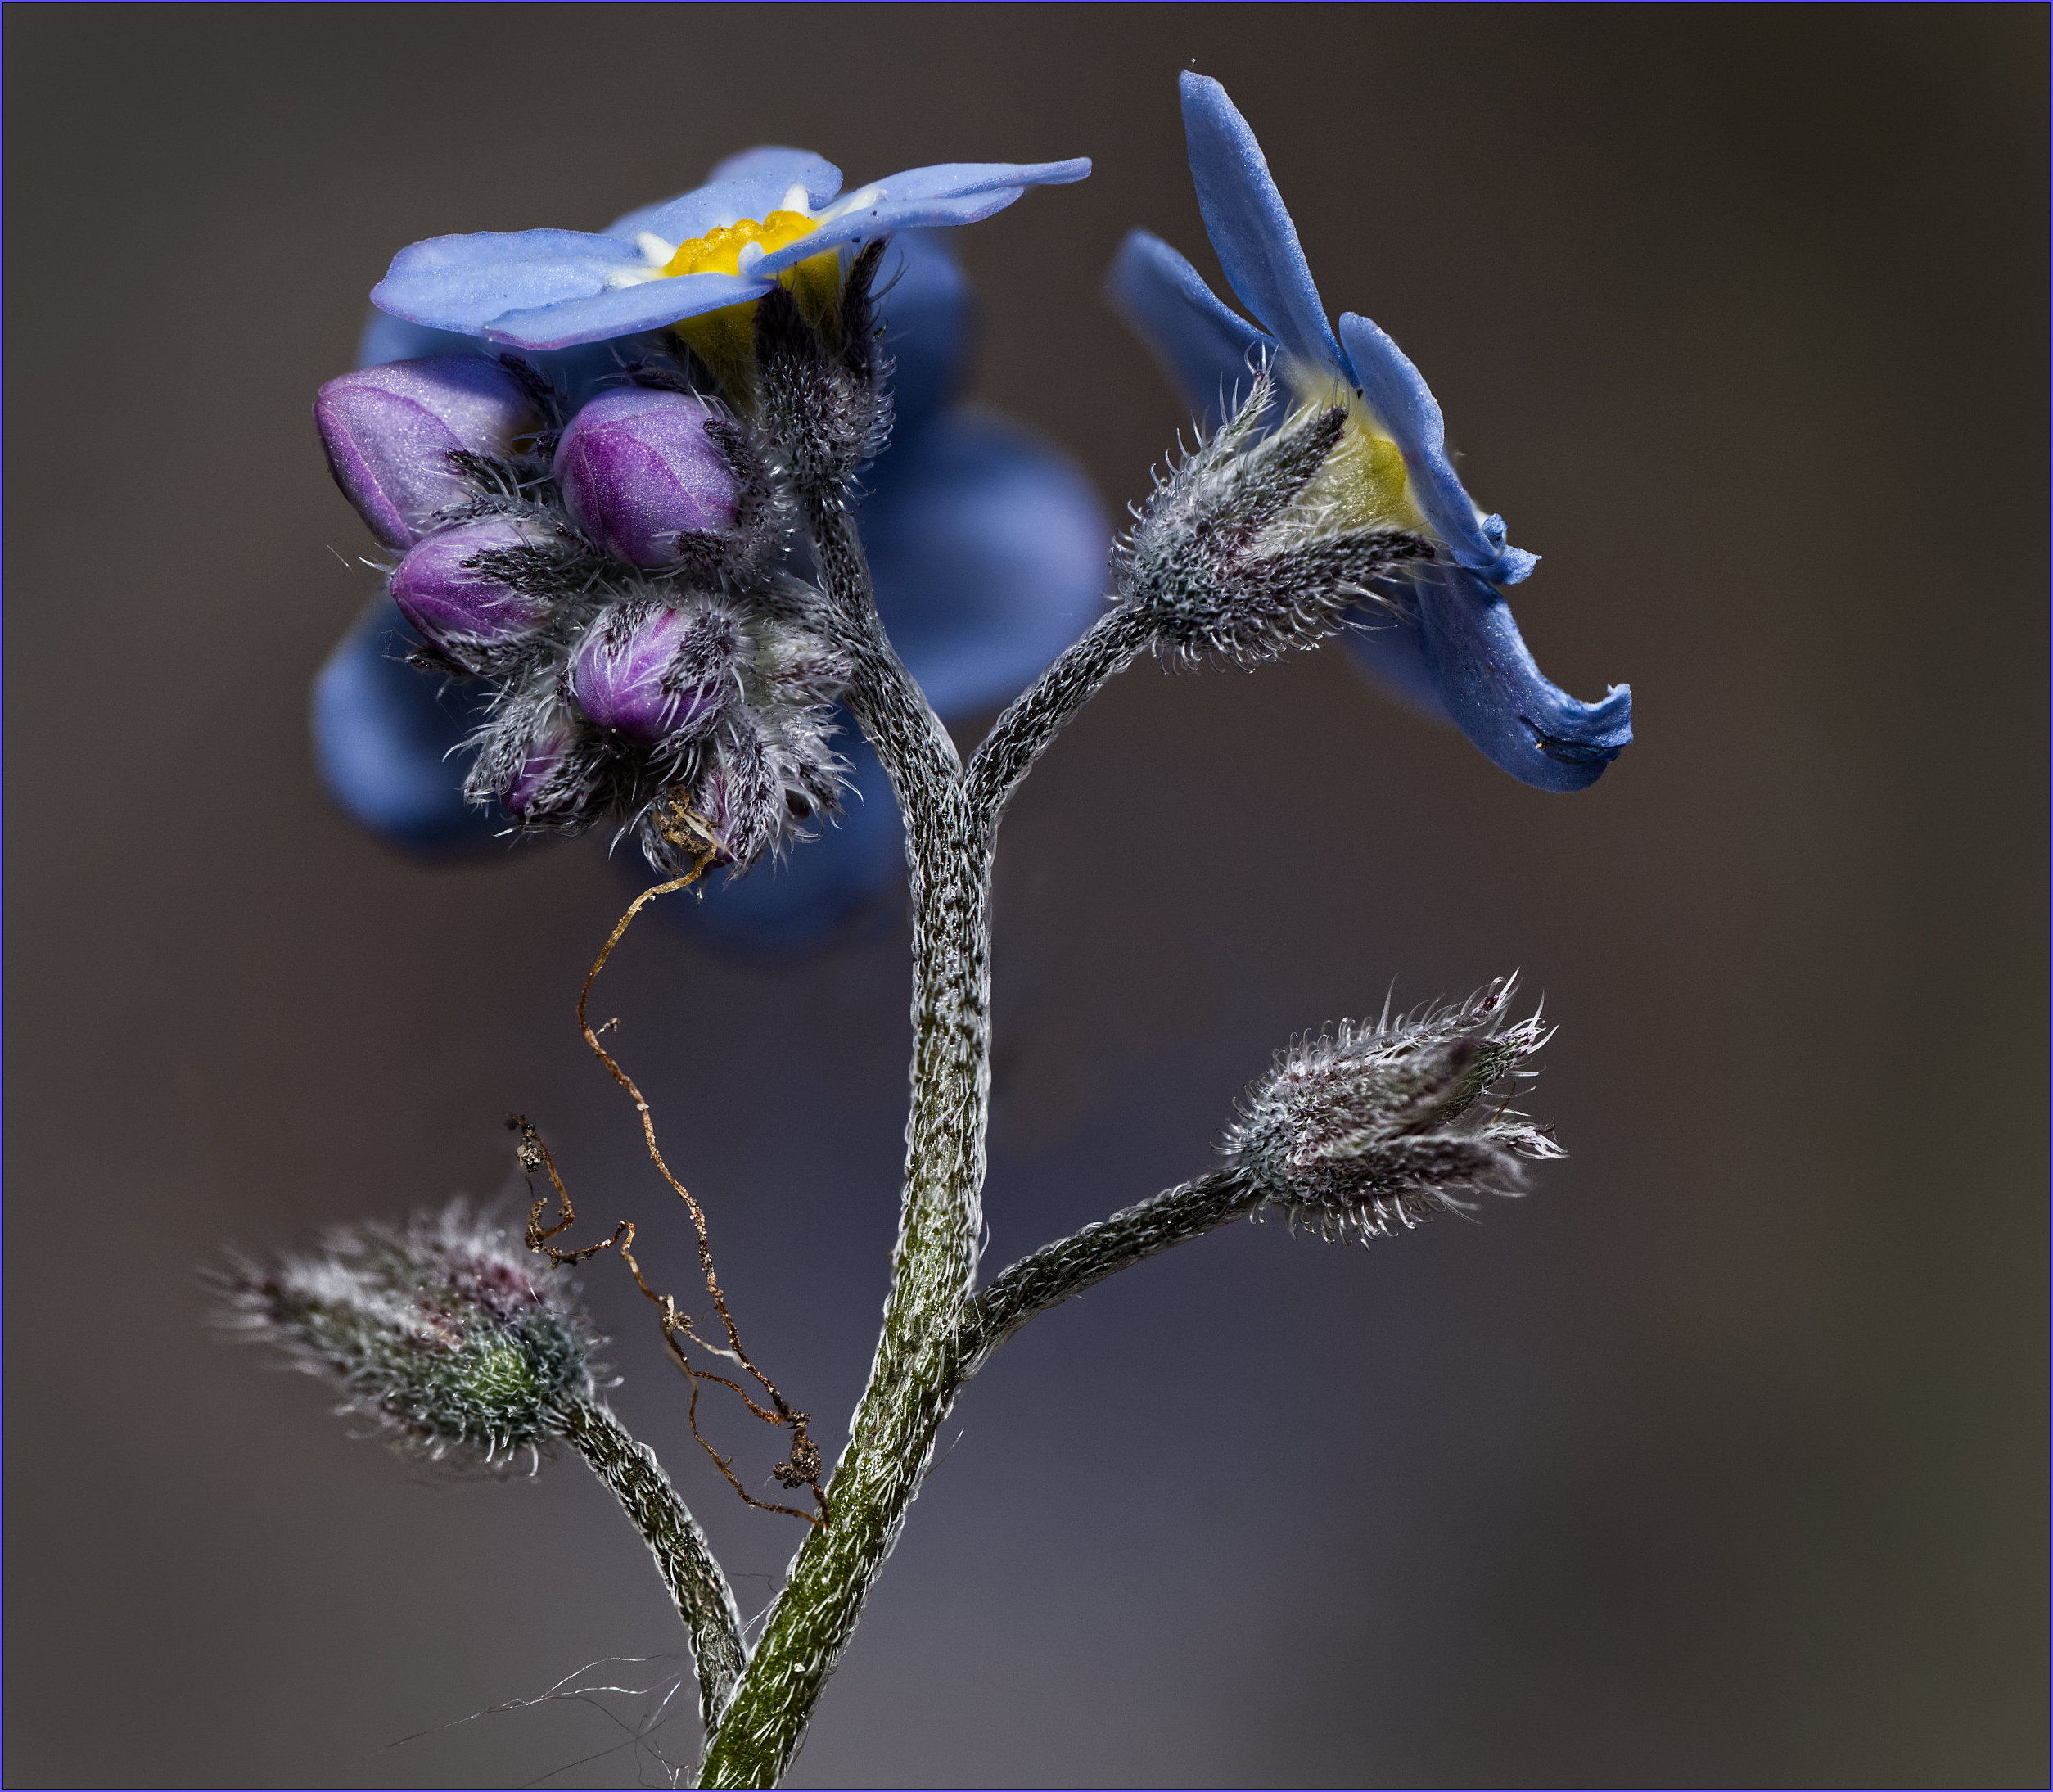
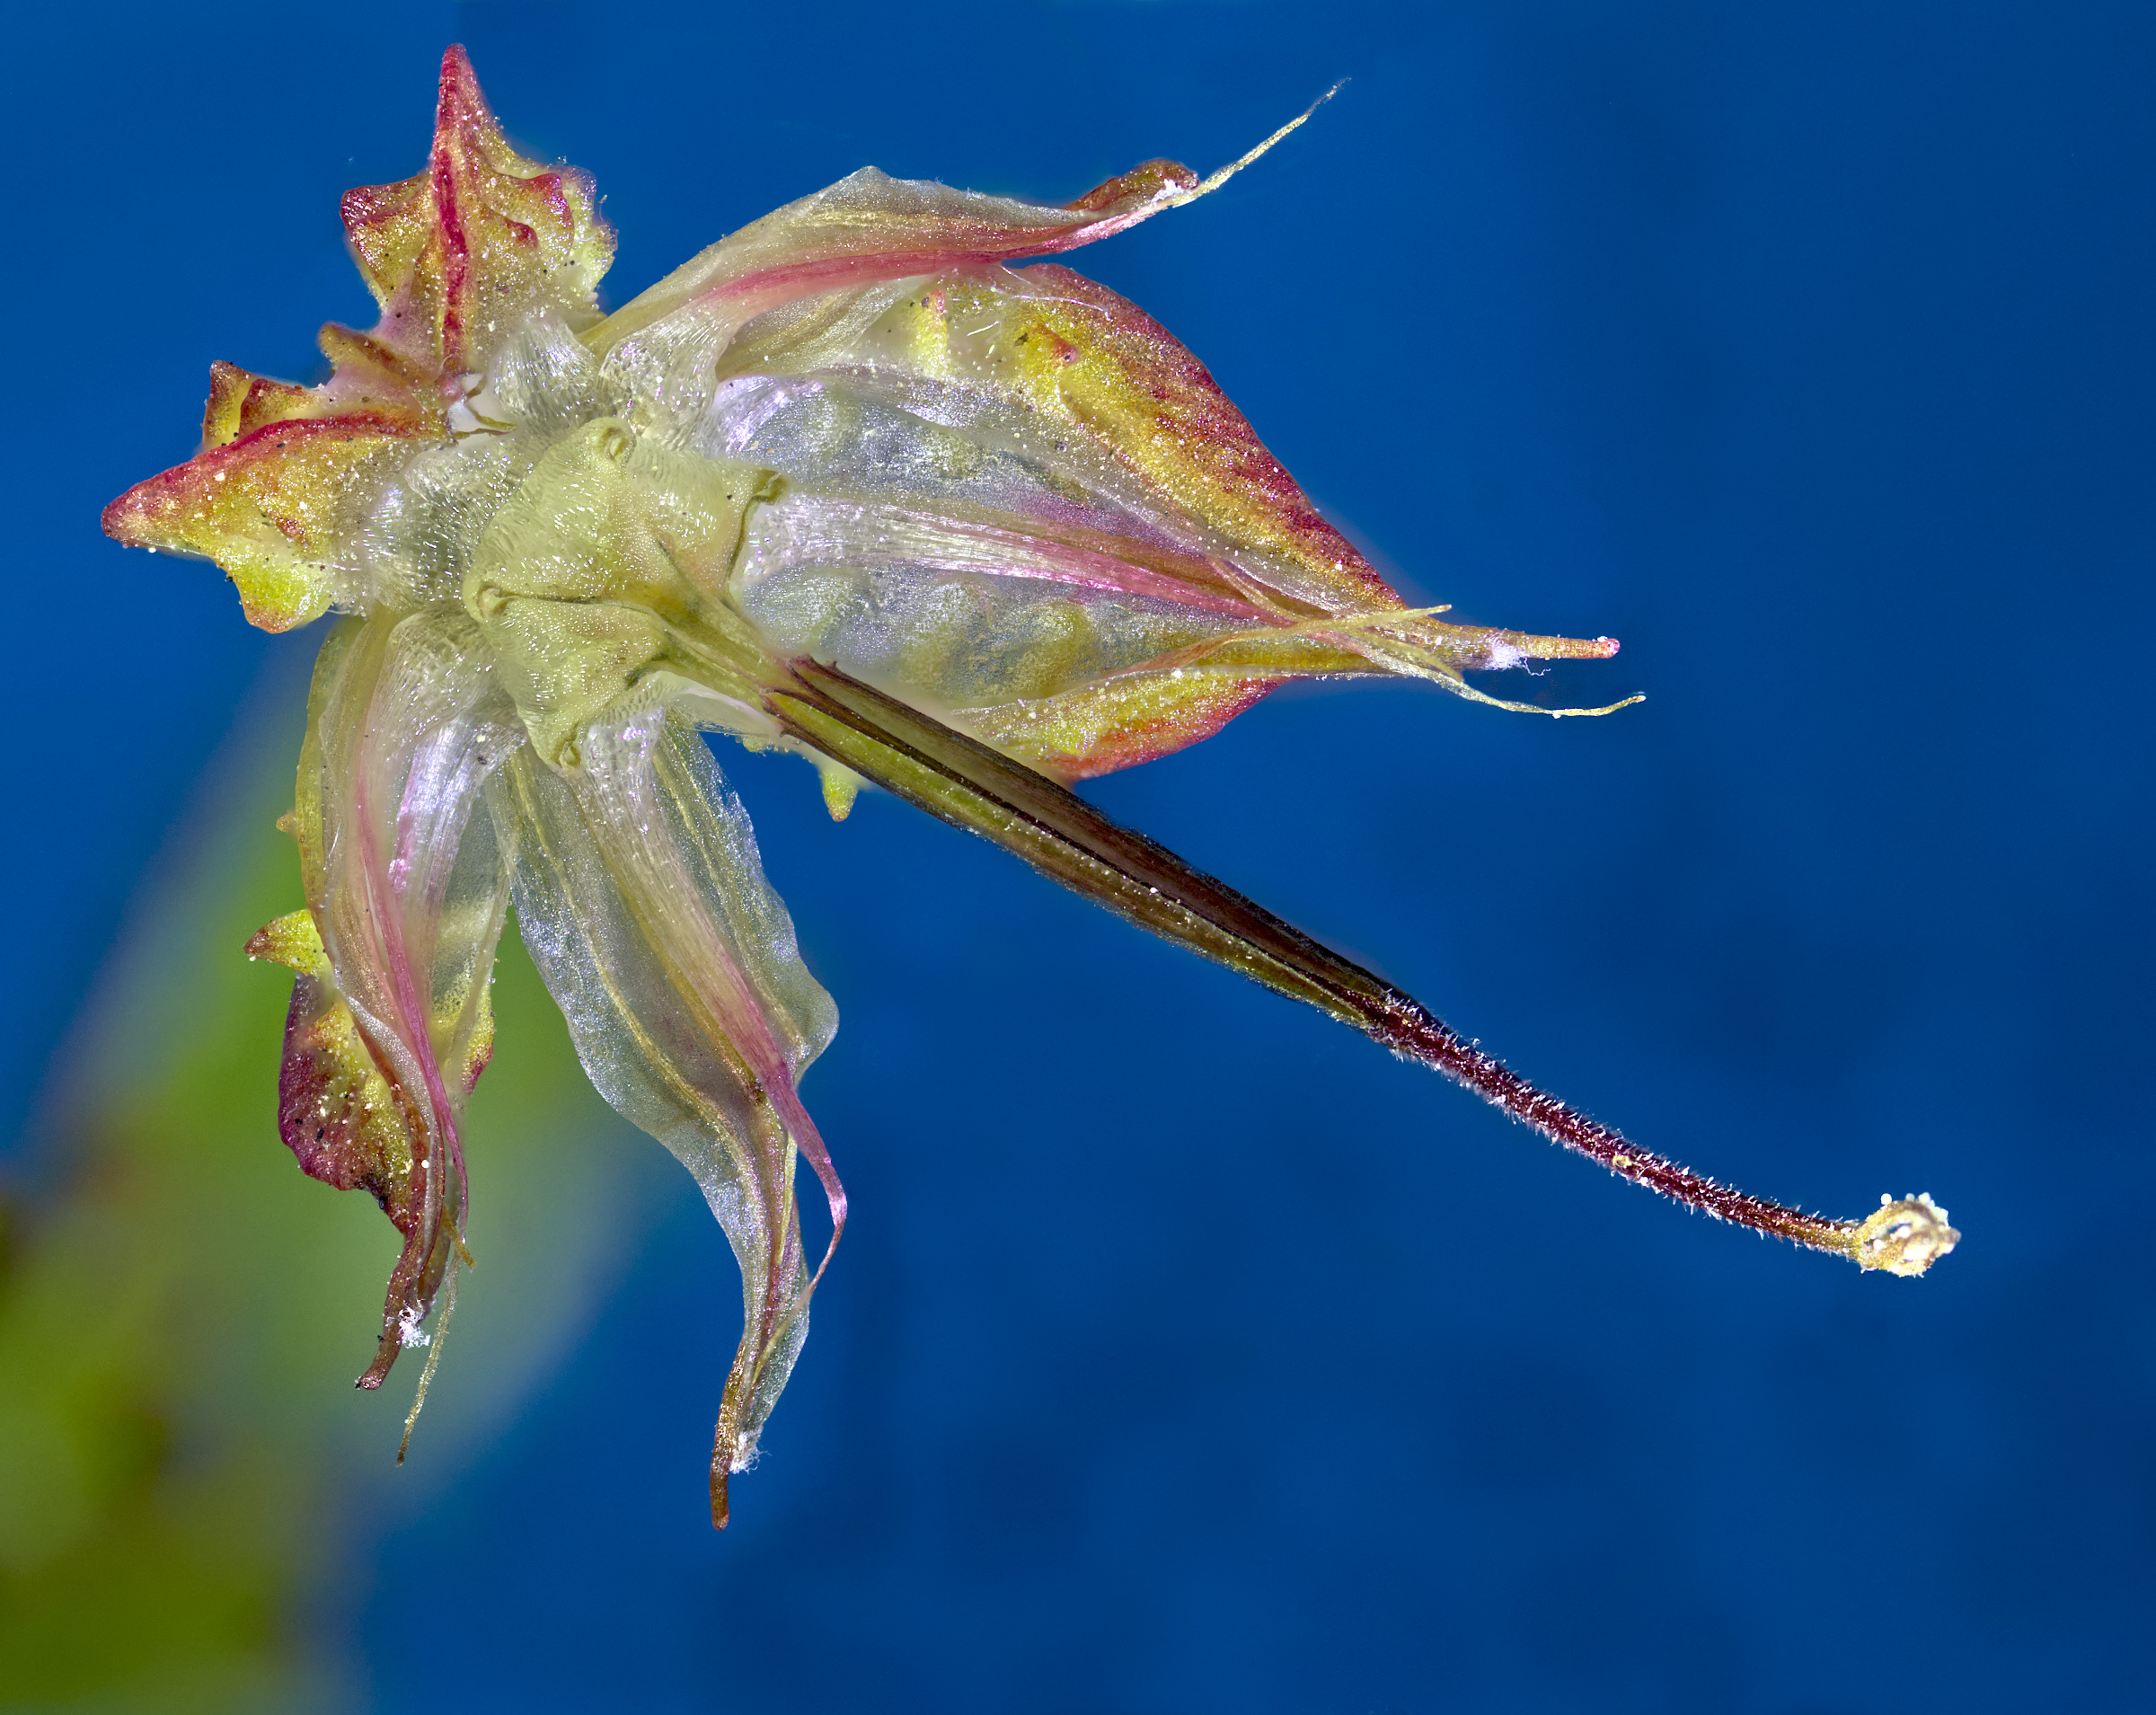
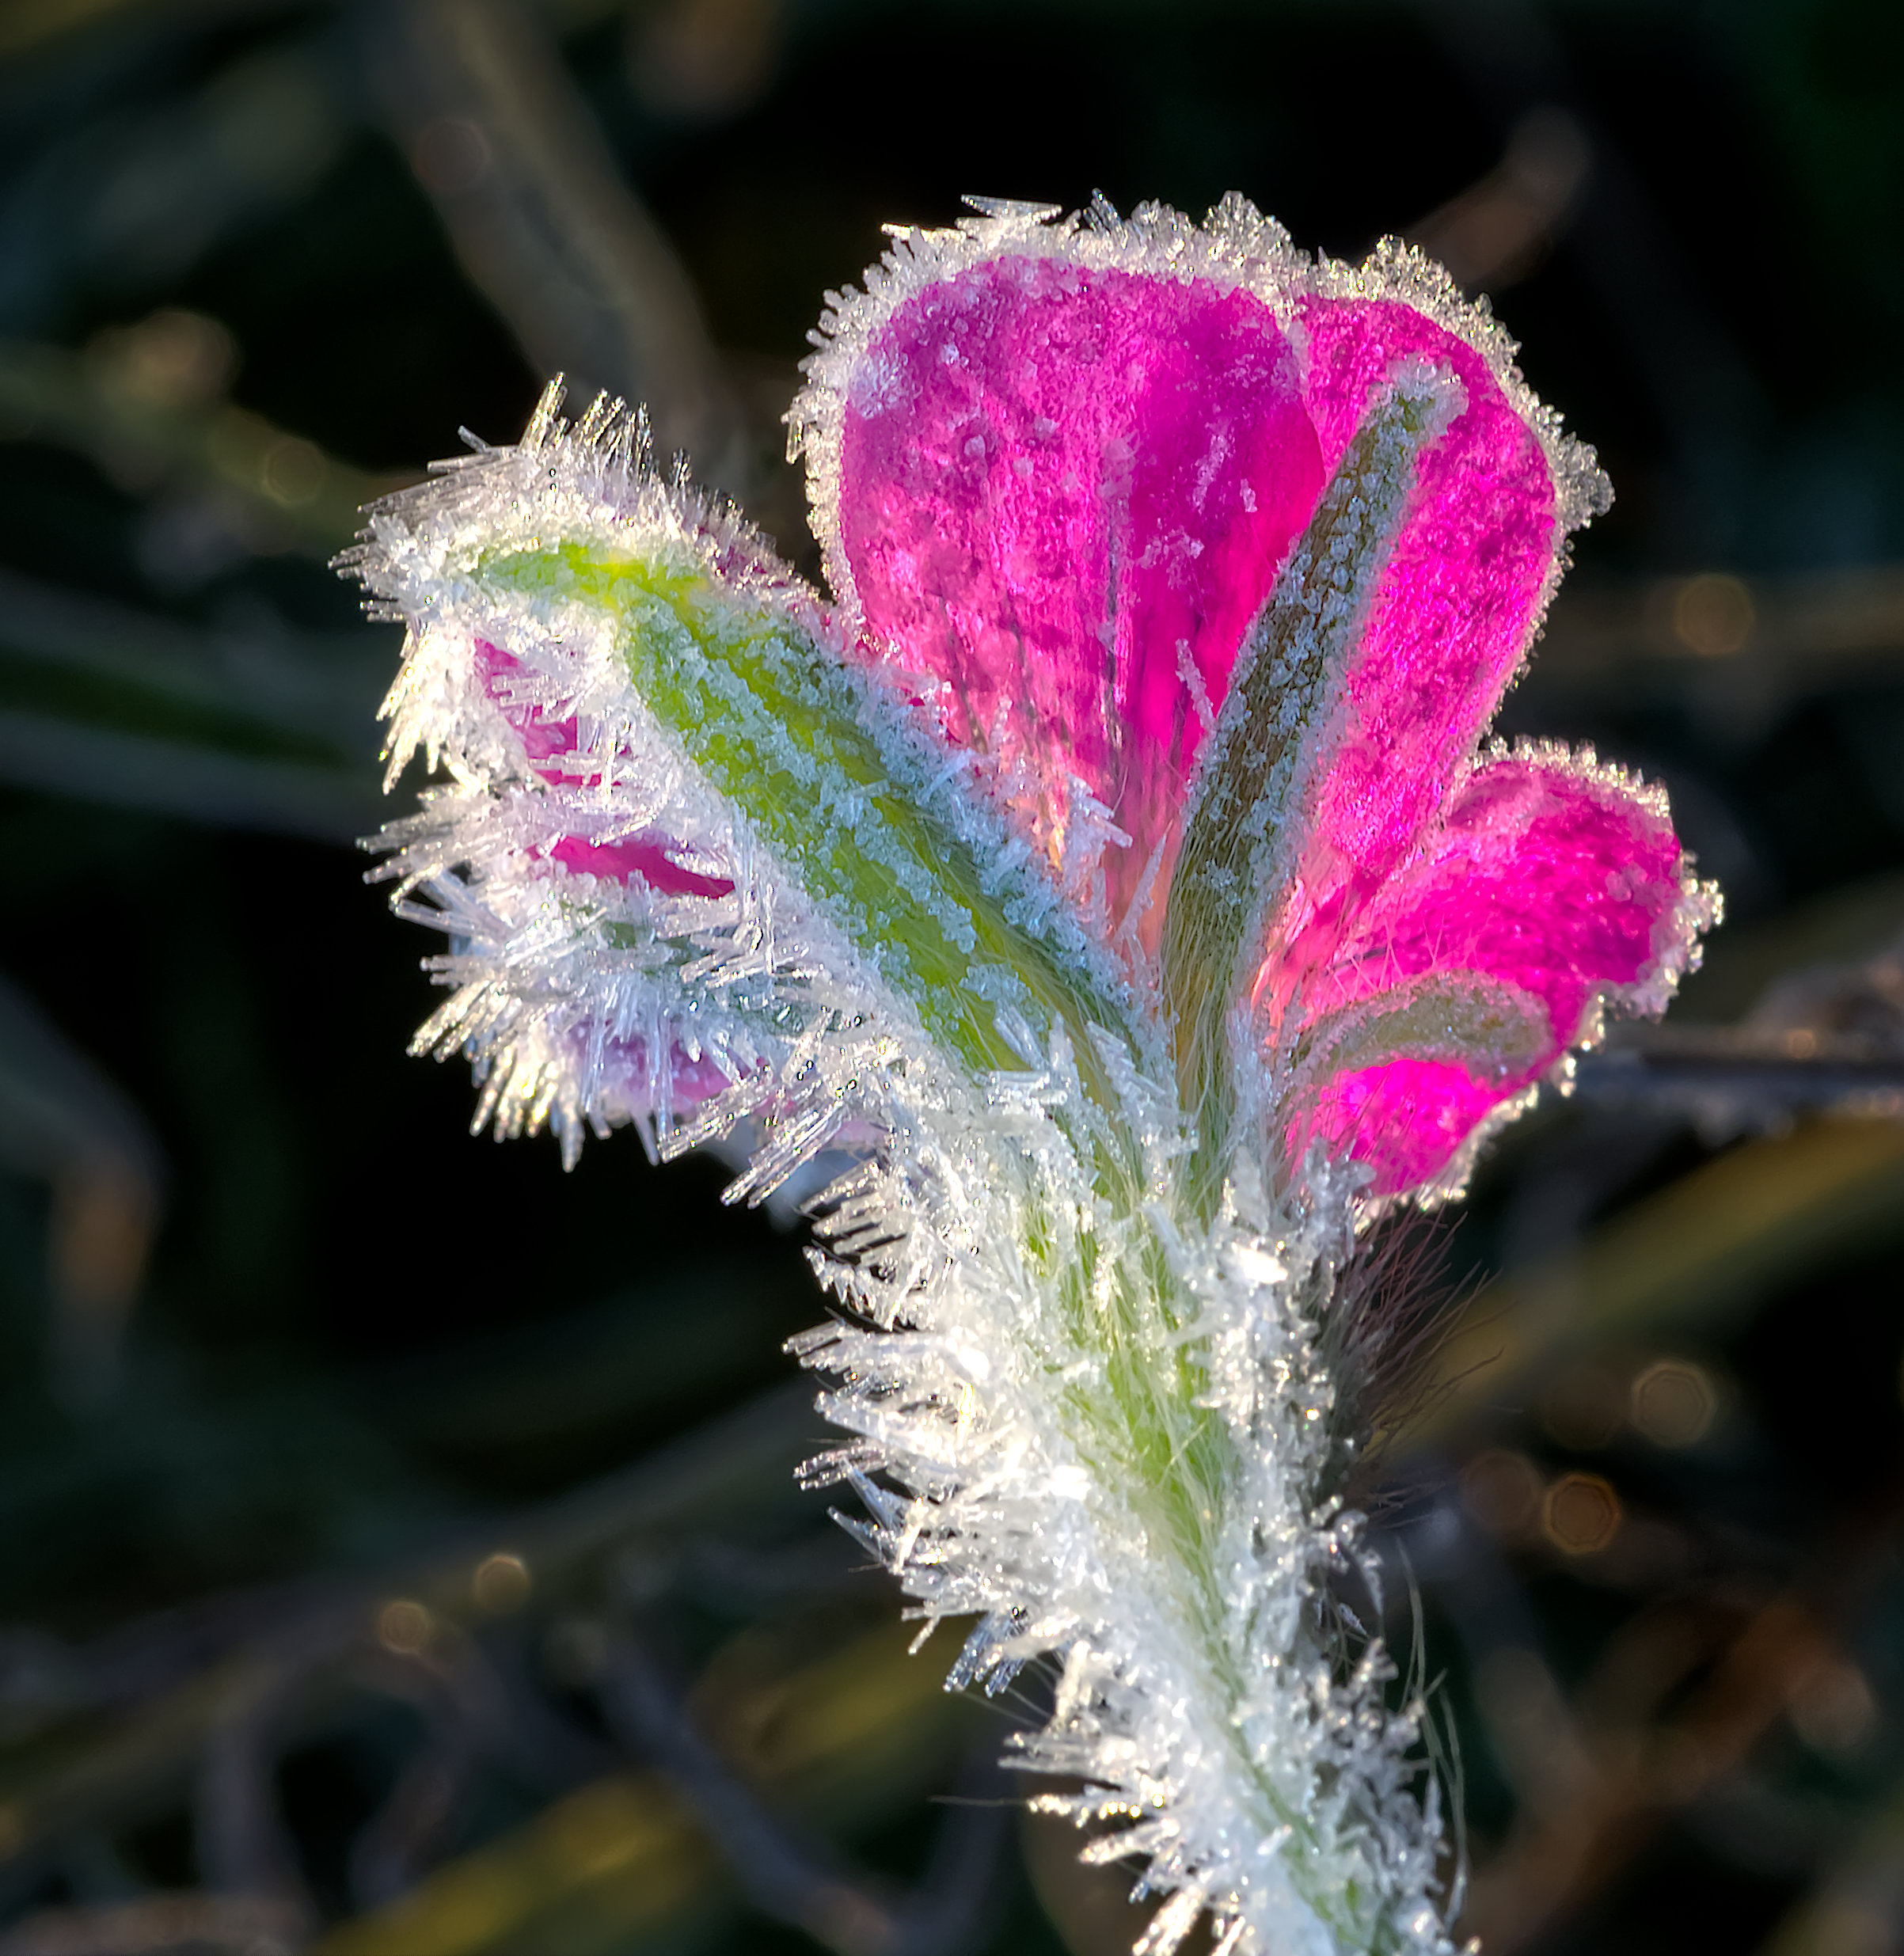
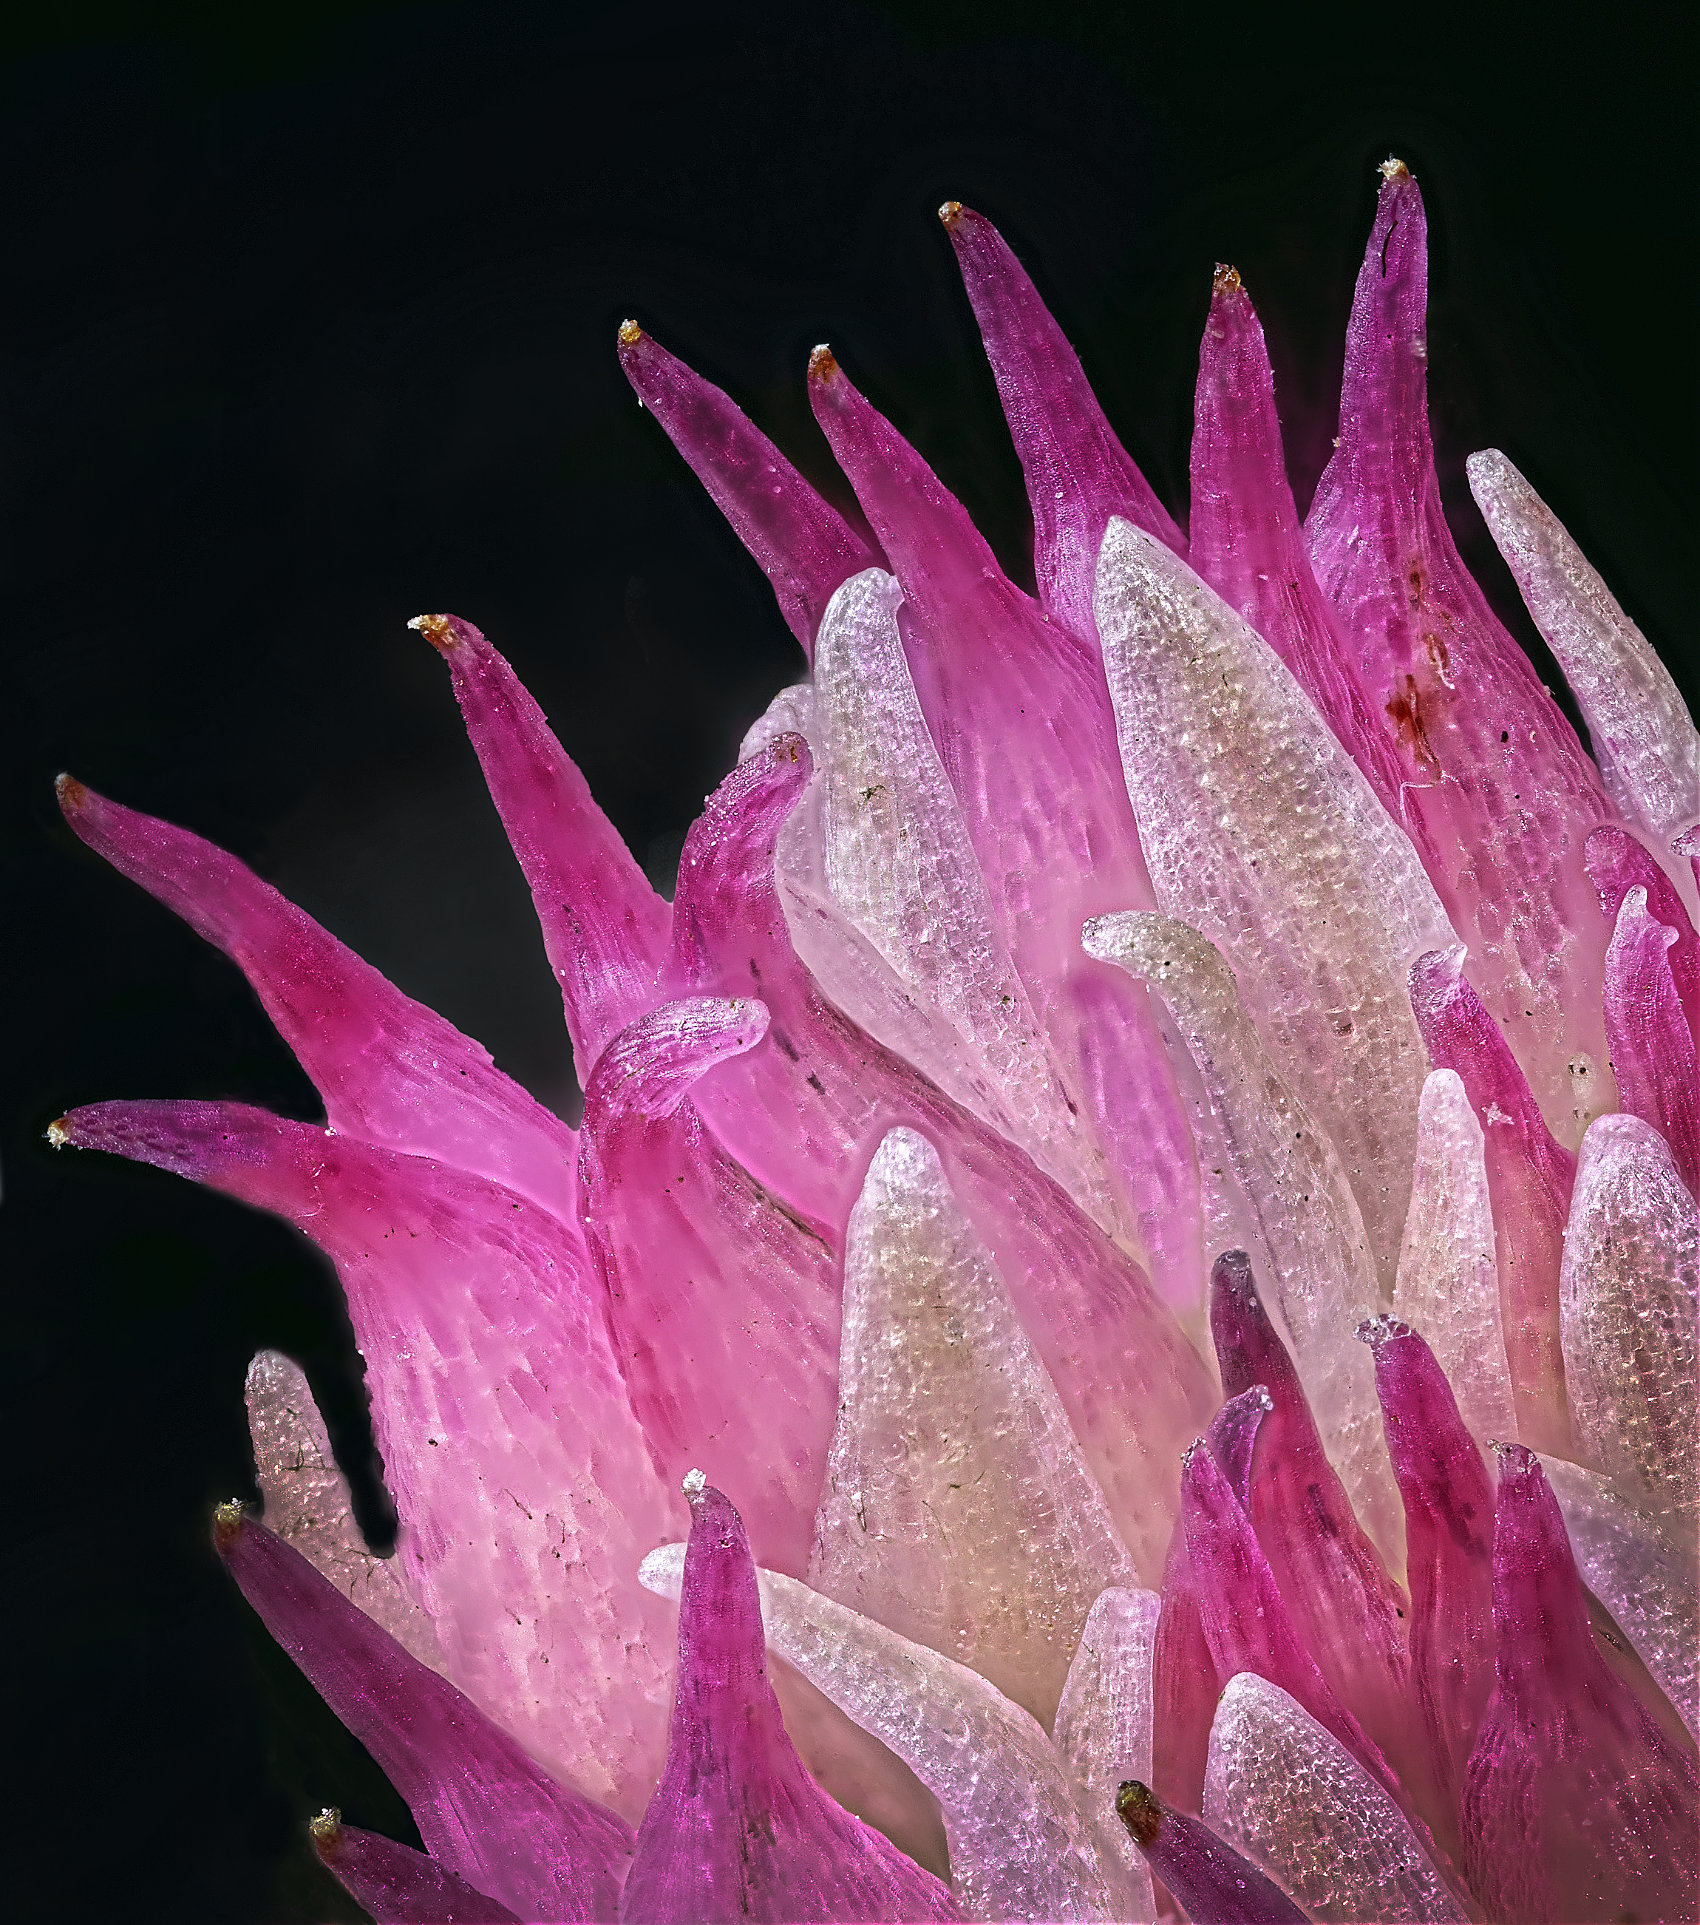
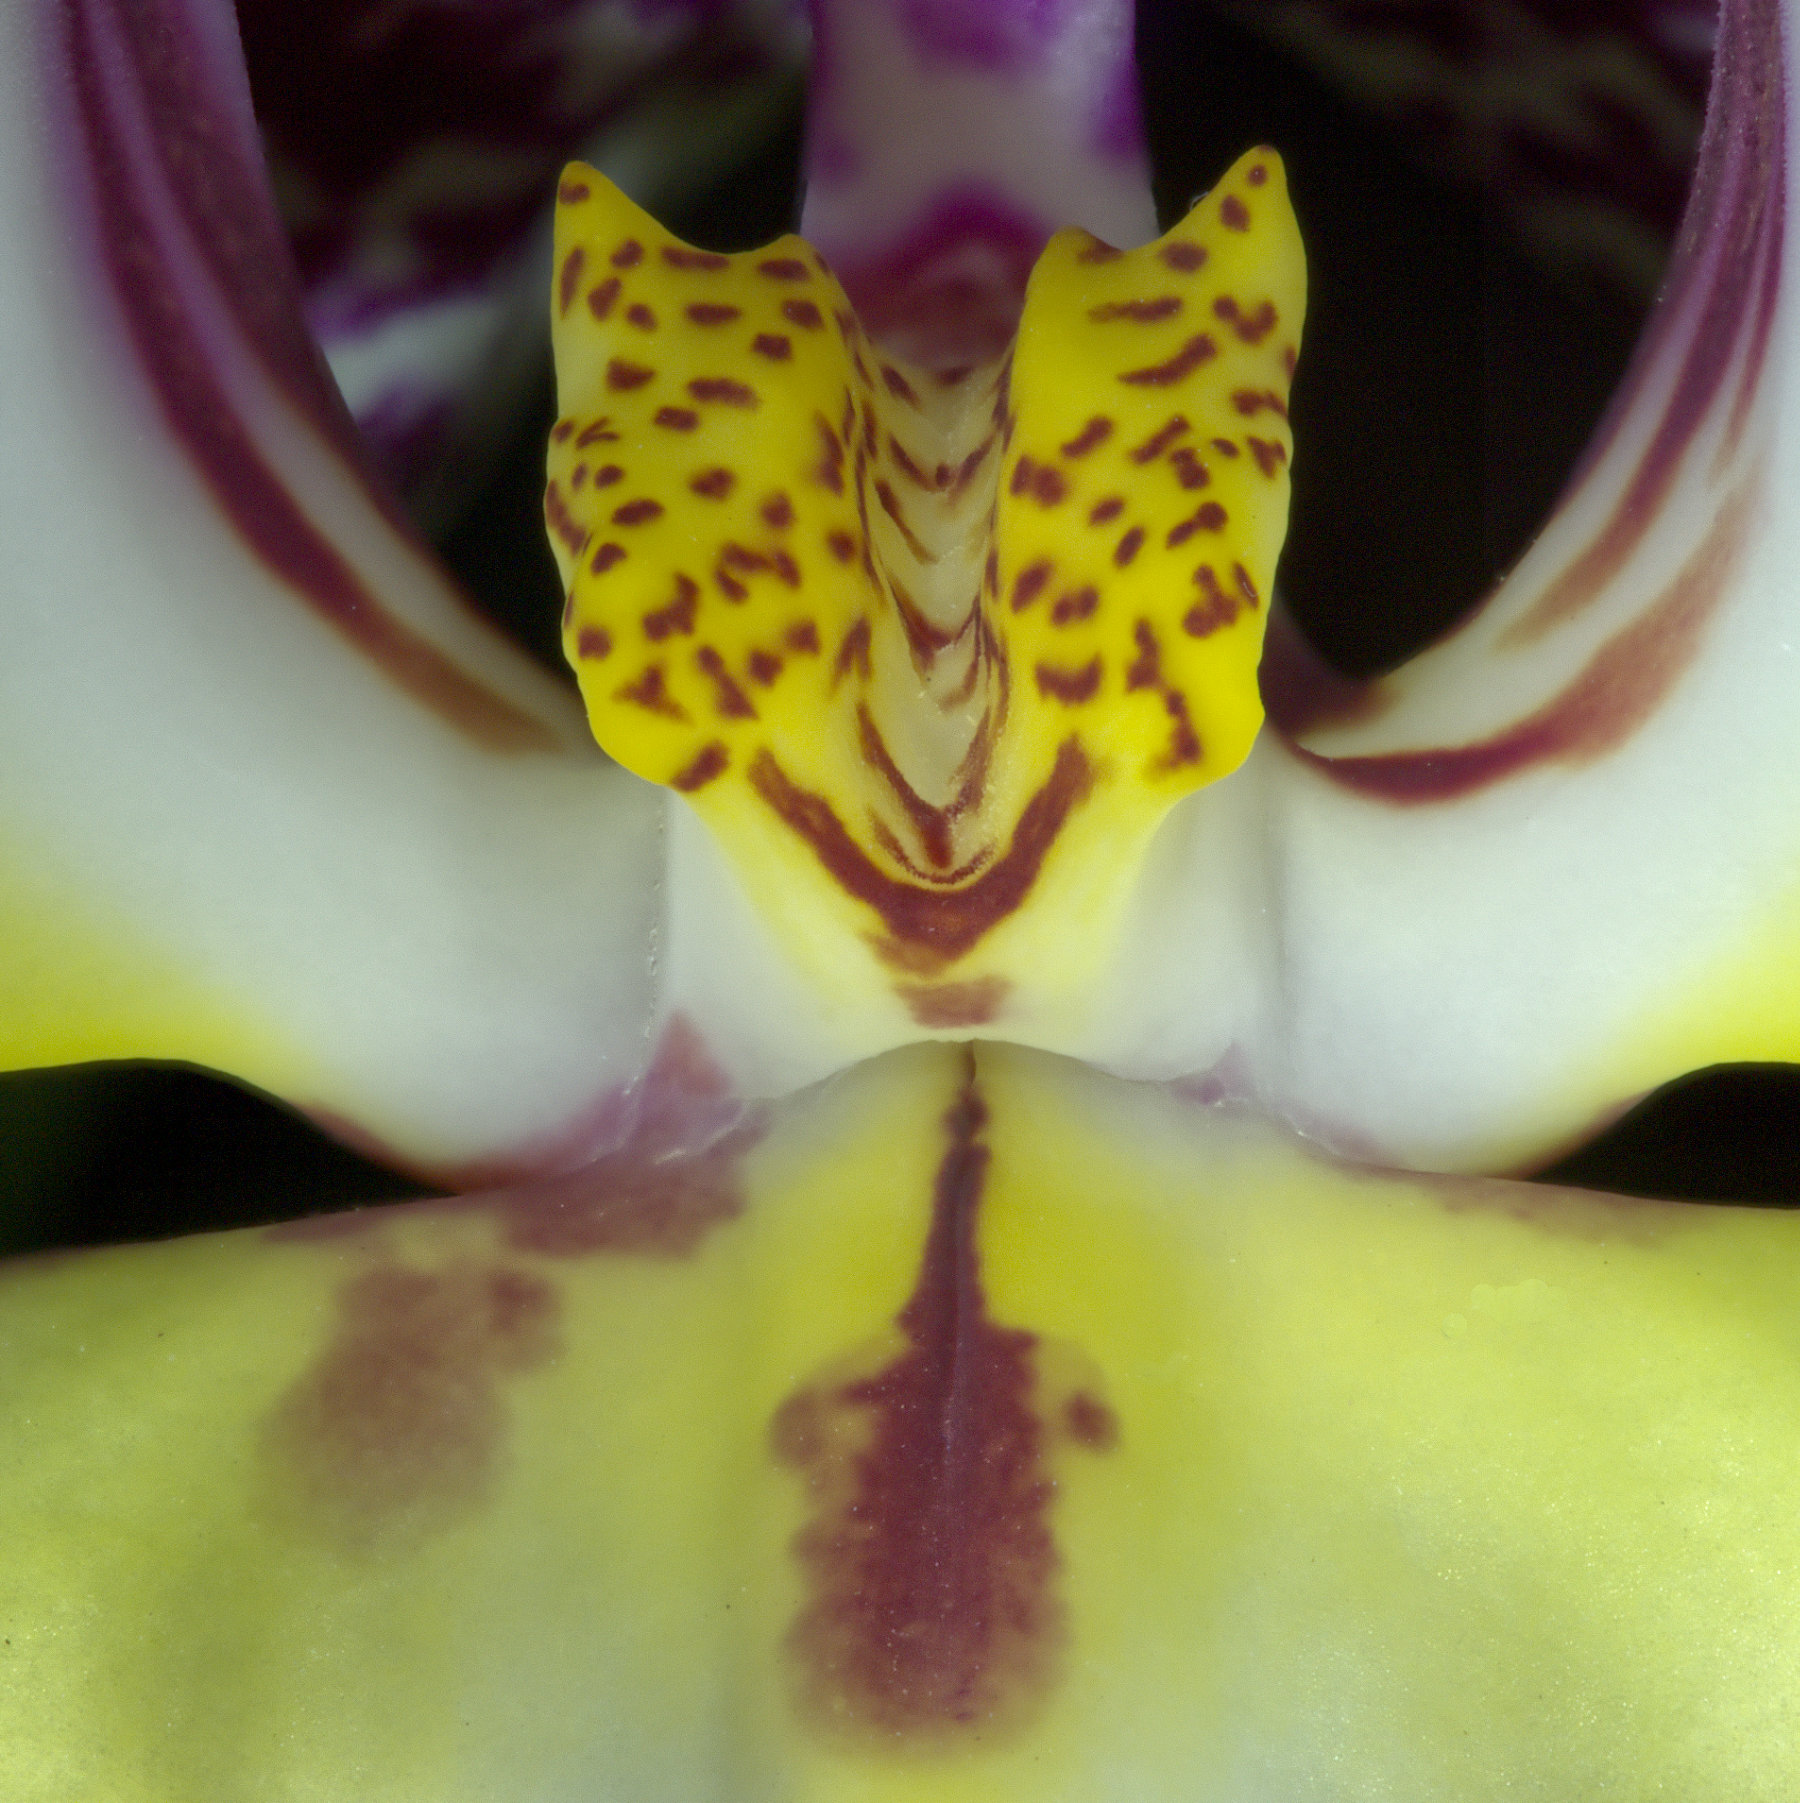
Well, I think it's interesting!
It's hard for me to know what is the subject, though. The central bud could be a contender, but it is too blurred in this image.
The petal which seems to reach out could be the subject, but it's not all sharp.
The more distant seed pod is a bit of a distraction I think.
I'd suggest taking this image again, as it has lots of promise. Try to get a less fussy composition. Go for a much smaller aperture and see if that gives a suitable depth of field. Failing that, I think you'll know what I'll say - focus stack!
|
May 16th |
| 95 |
May 22 |
Comment |
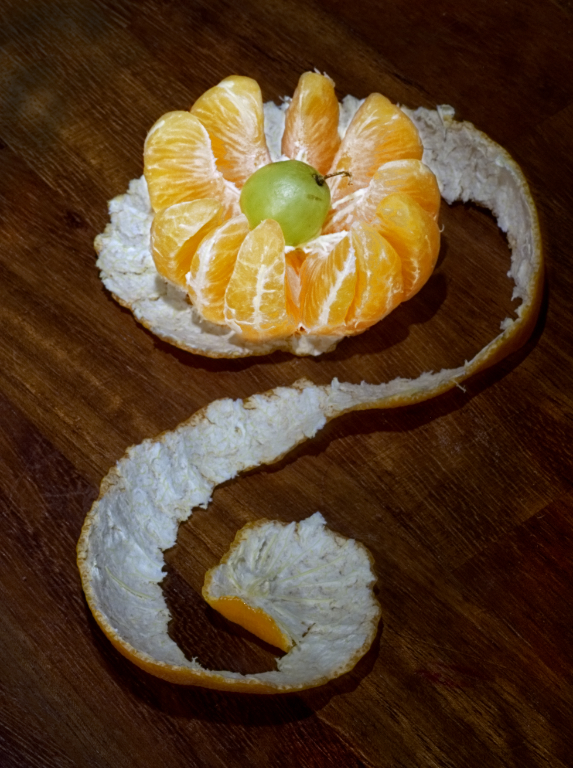
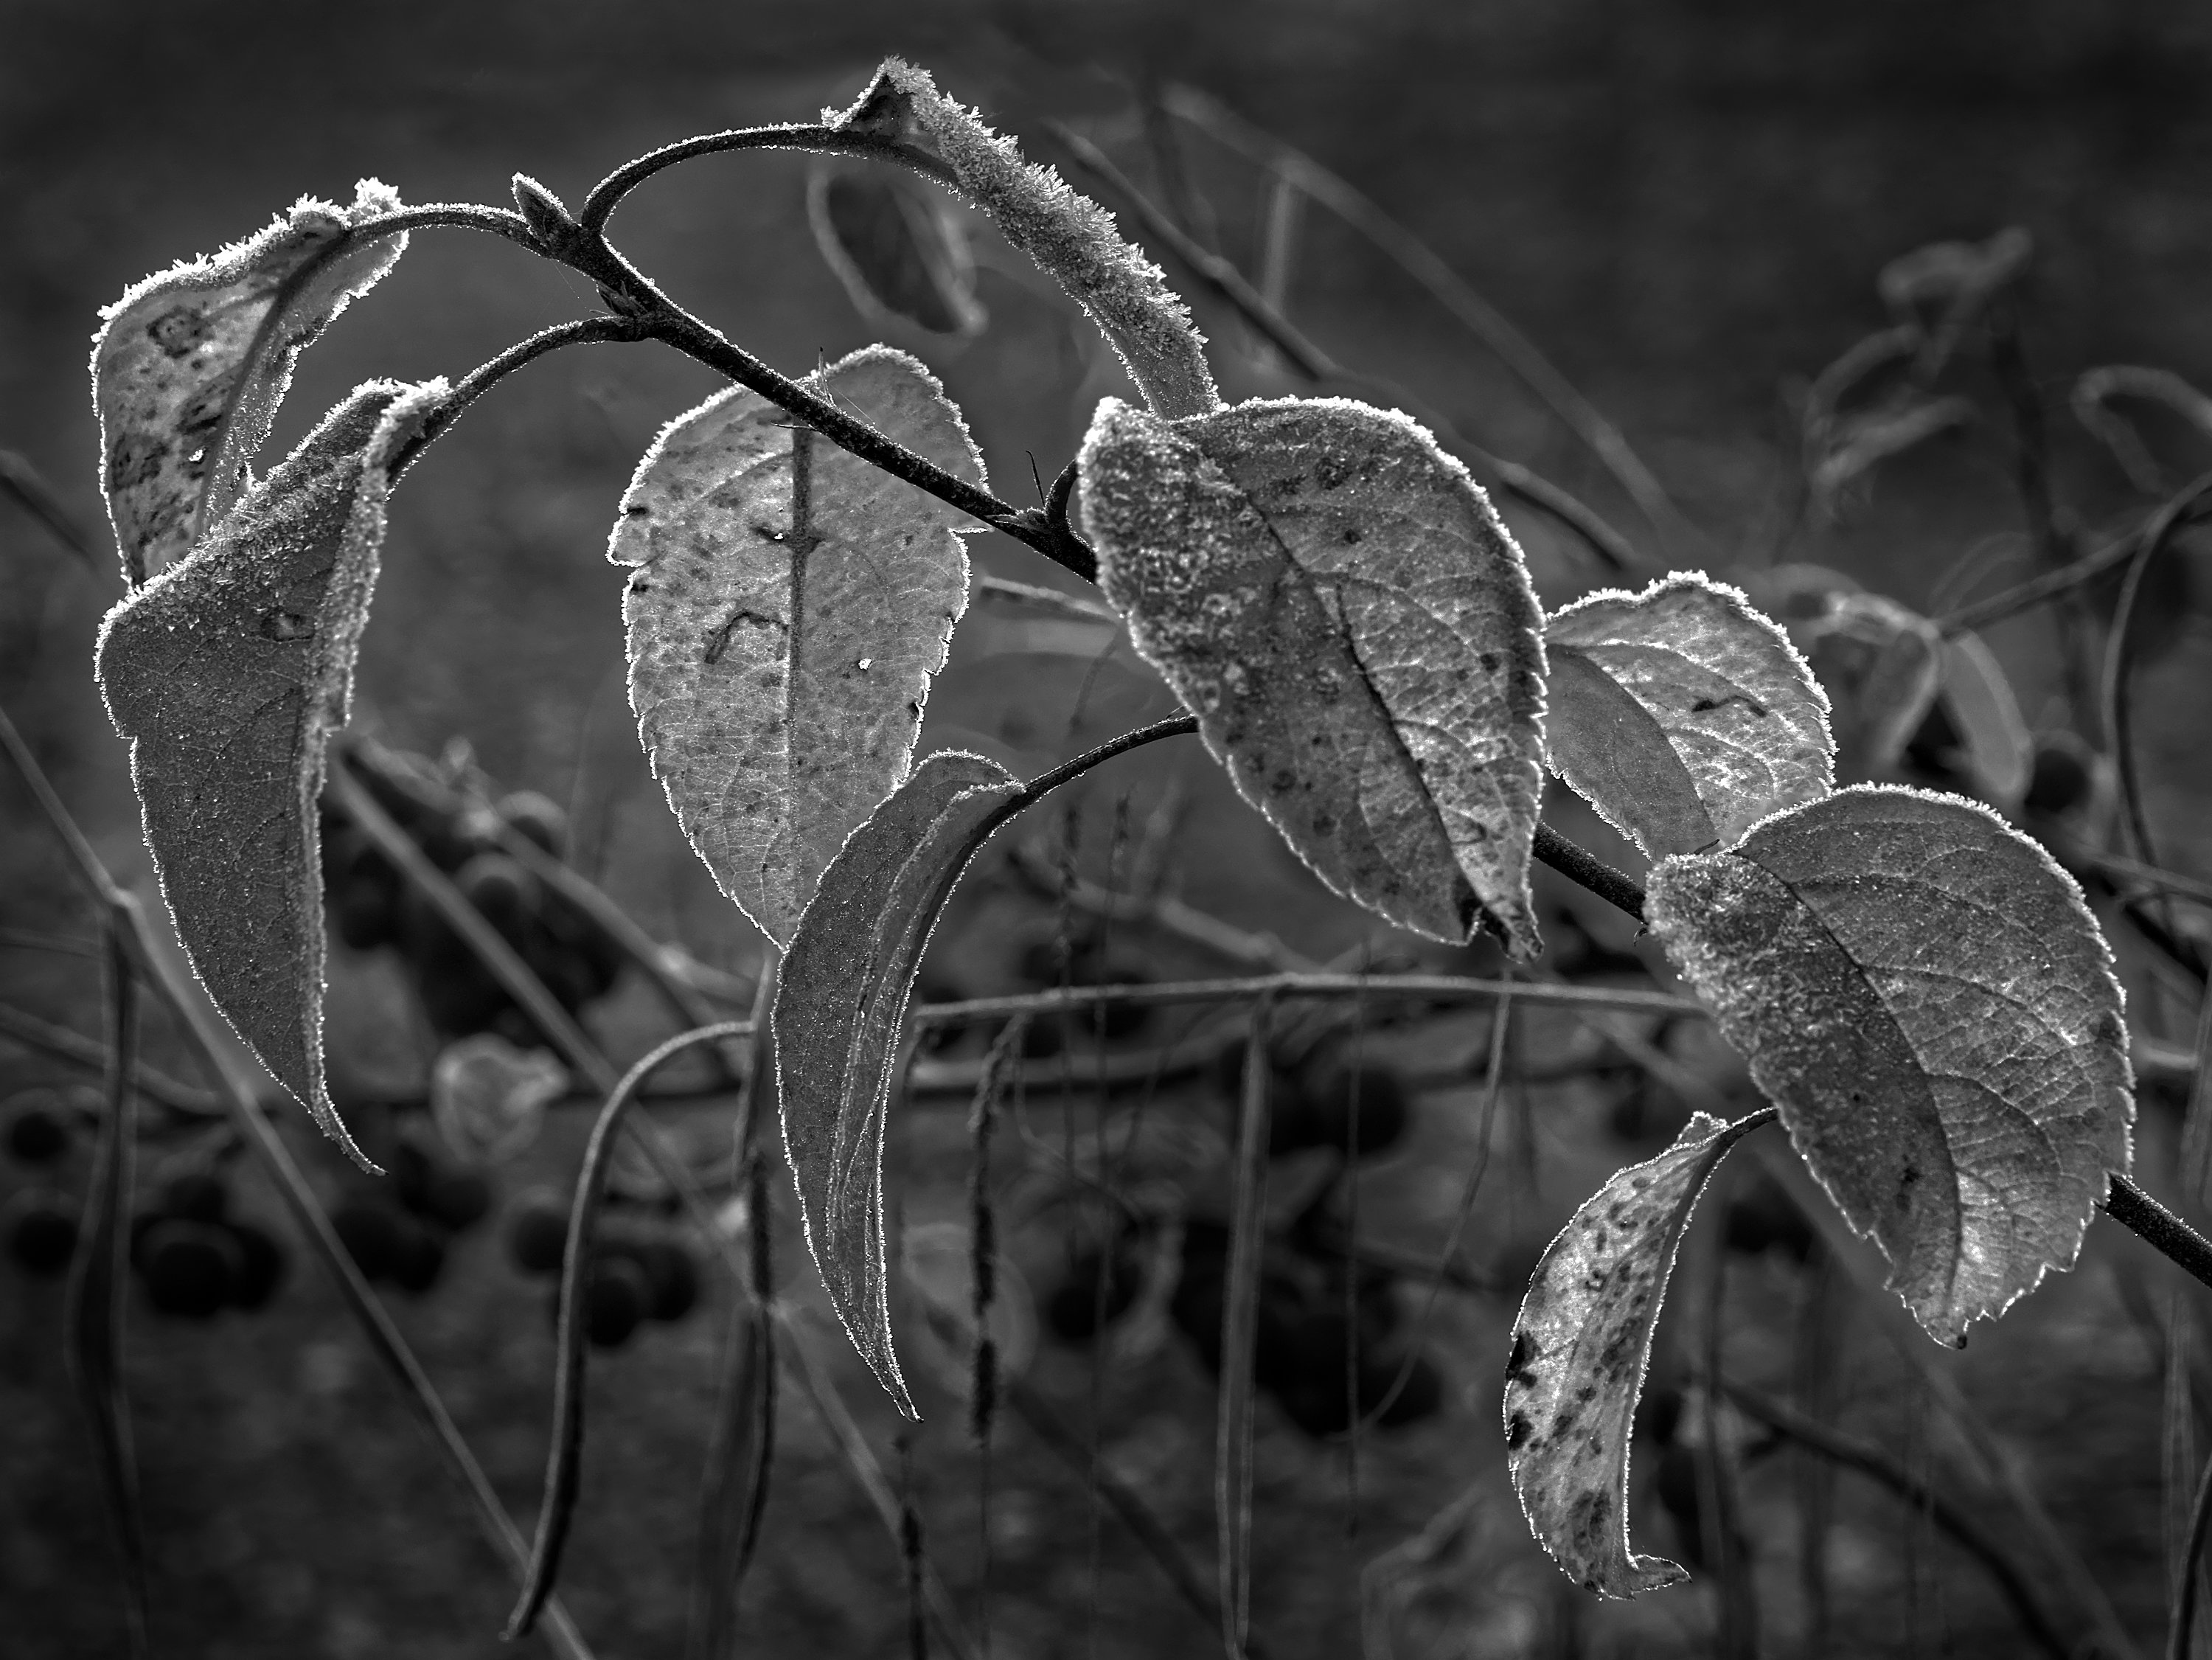
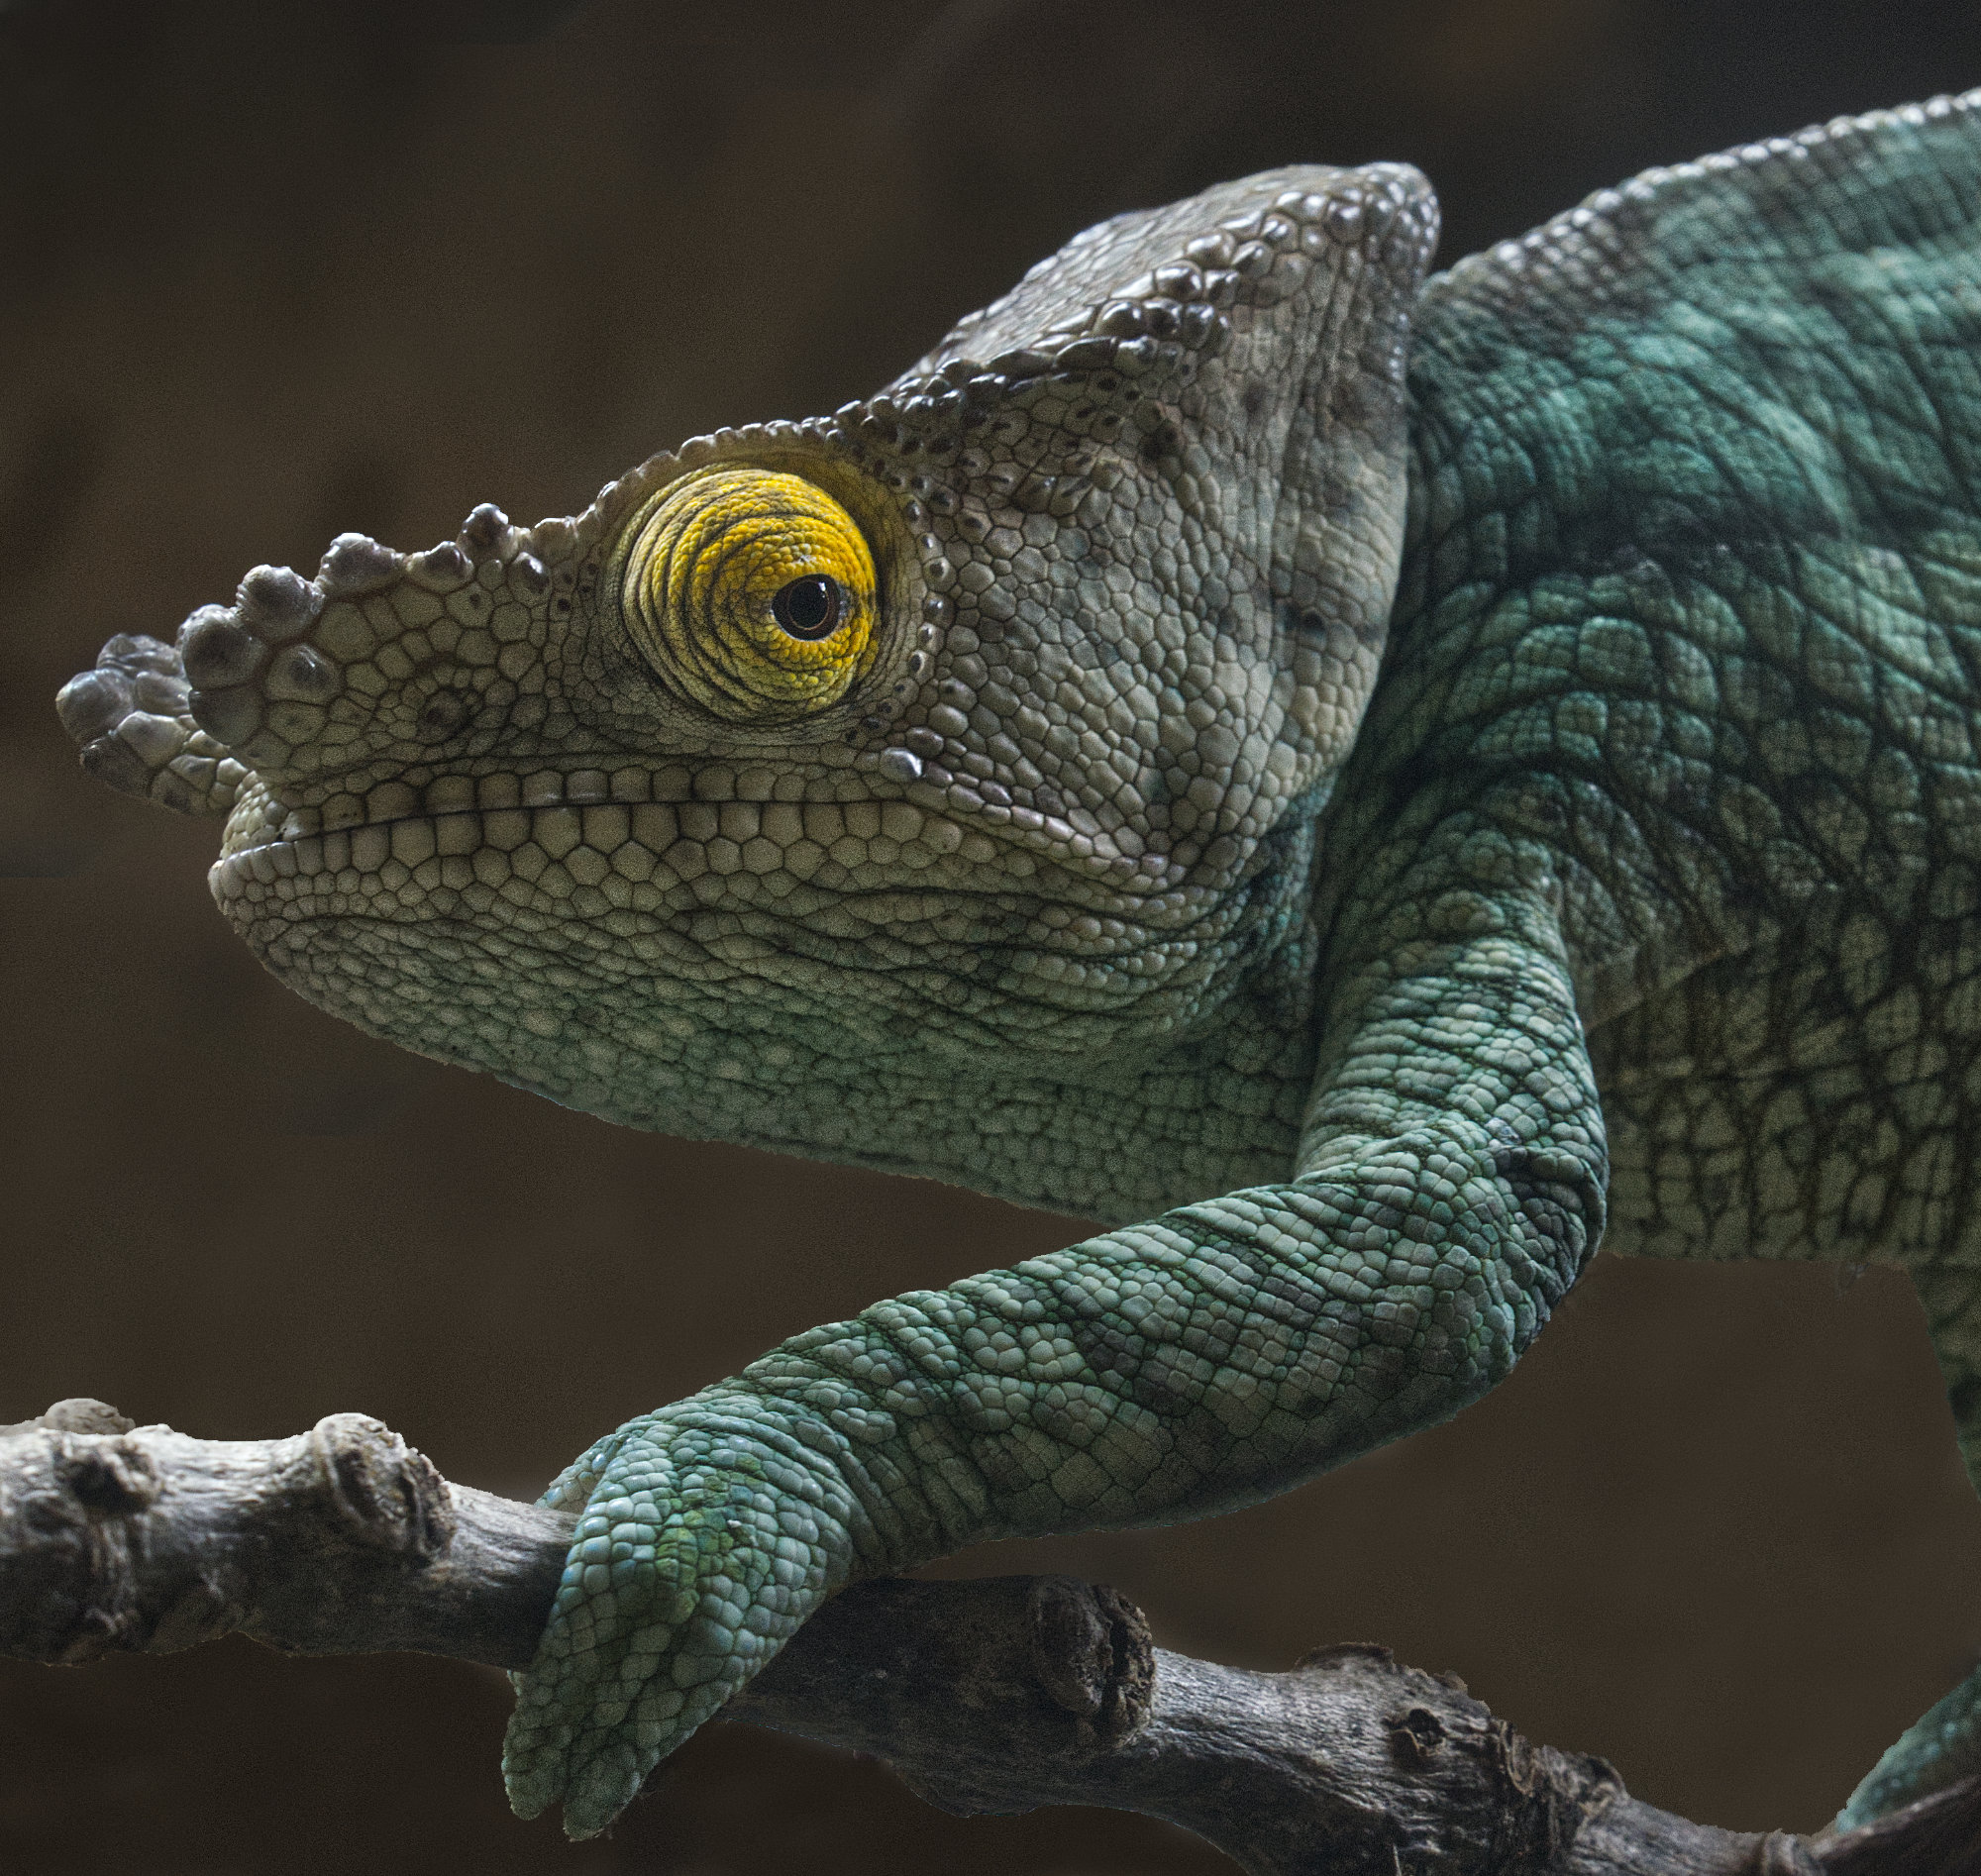
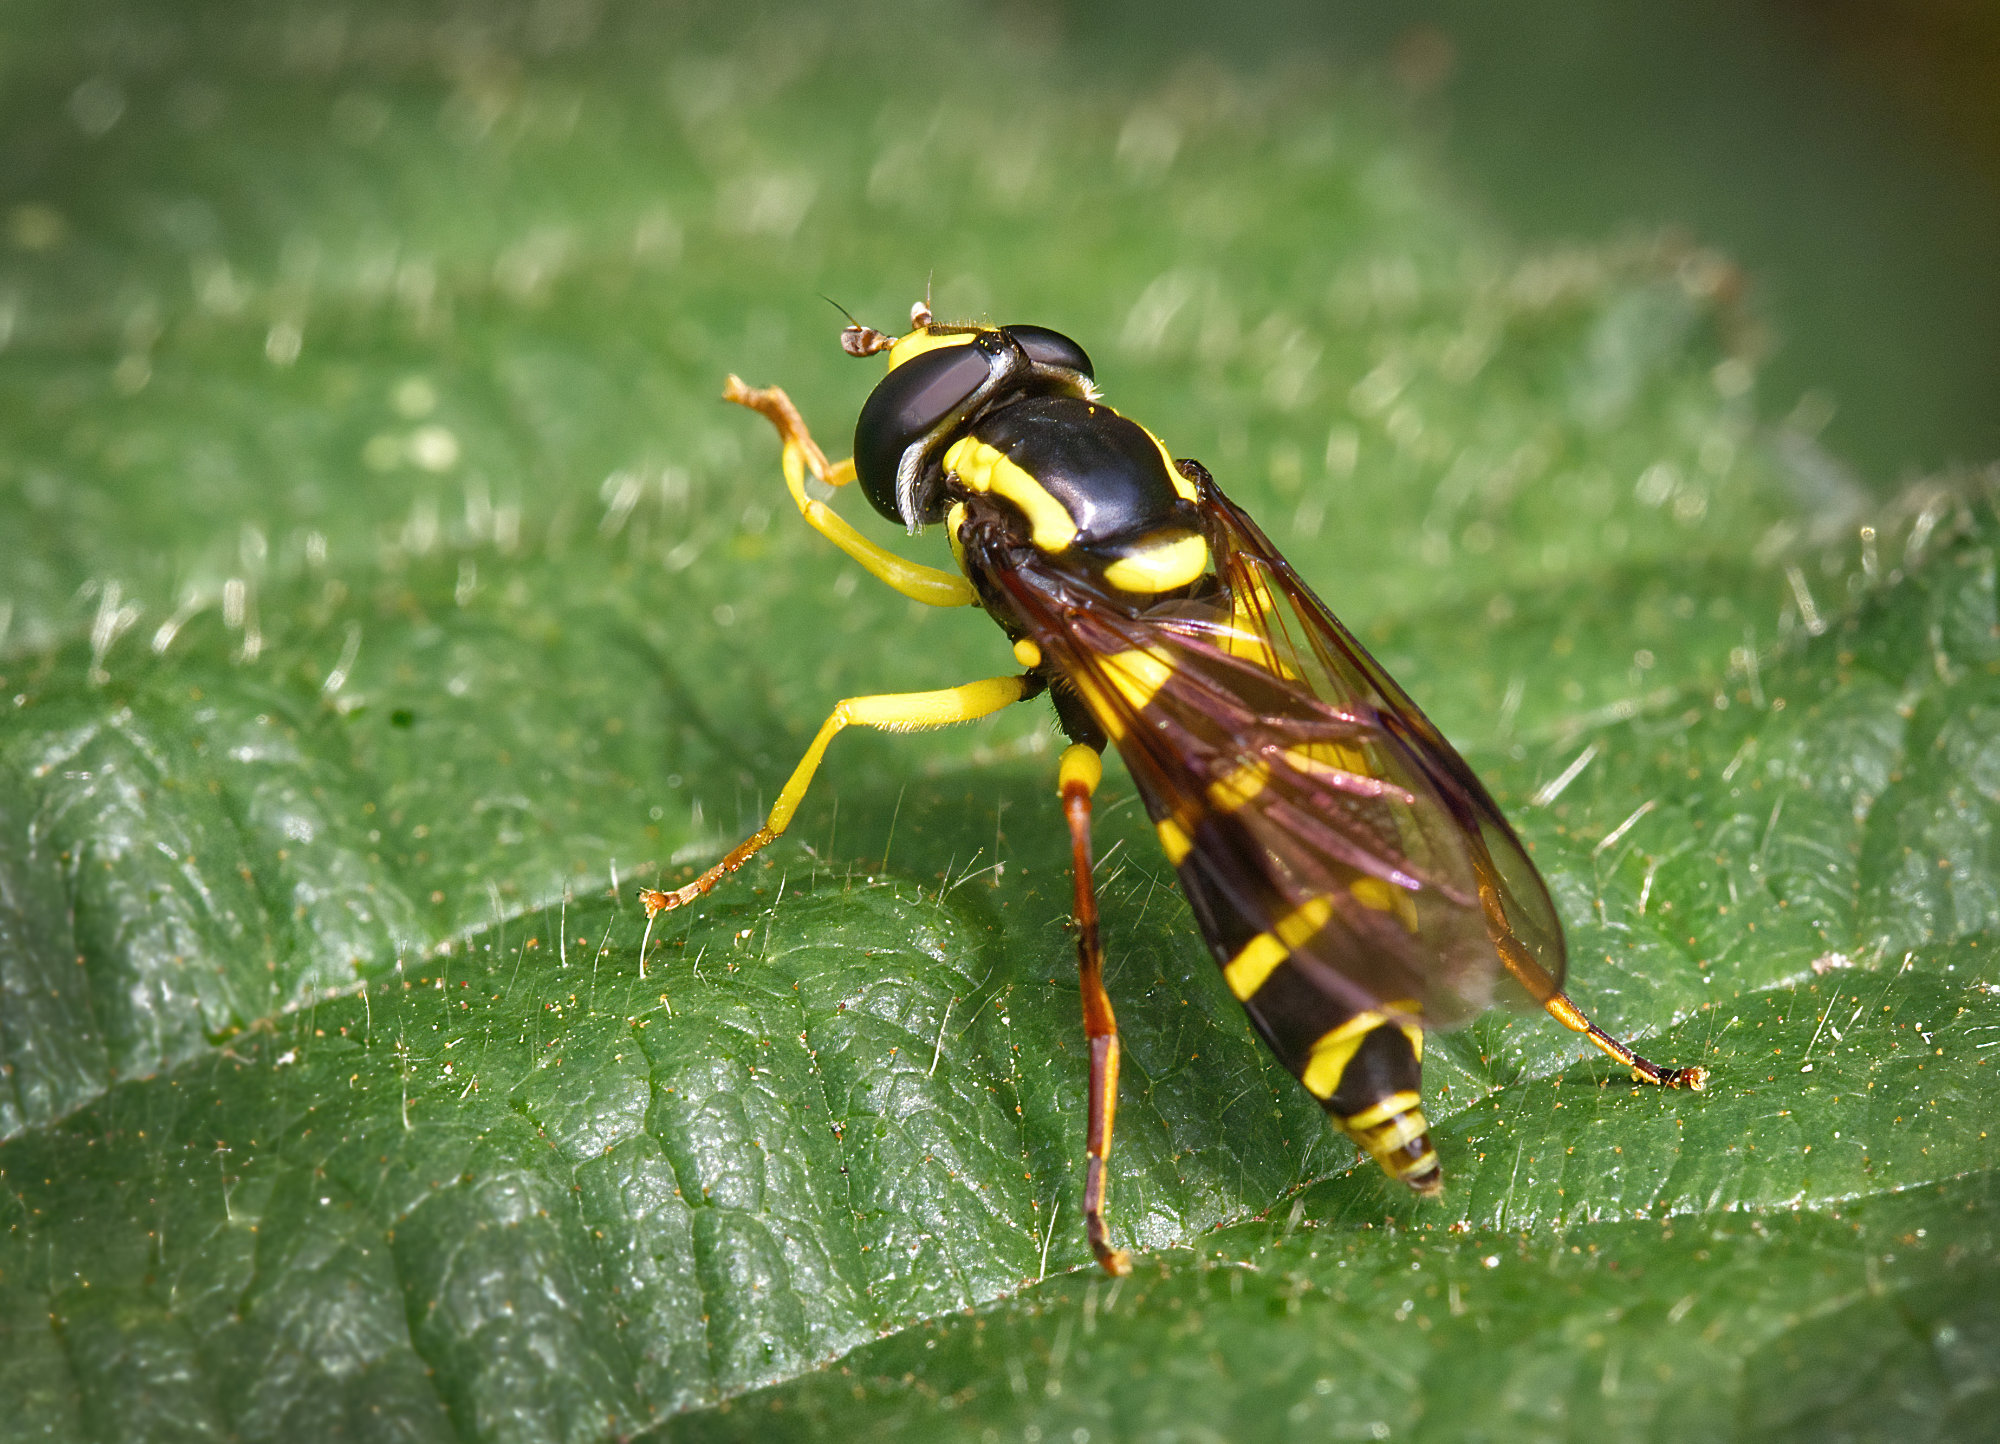
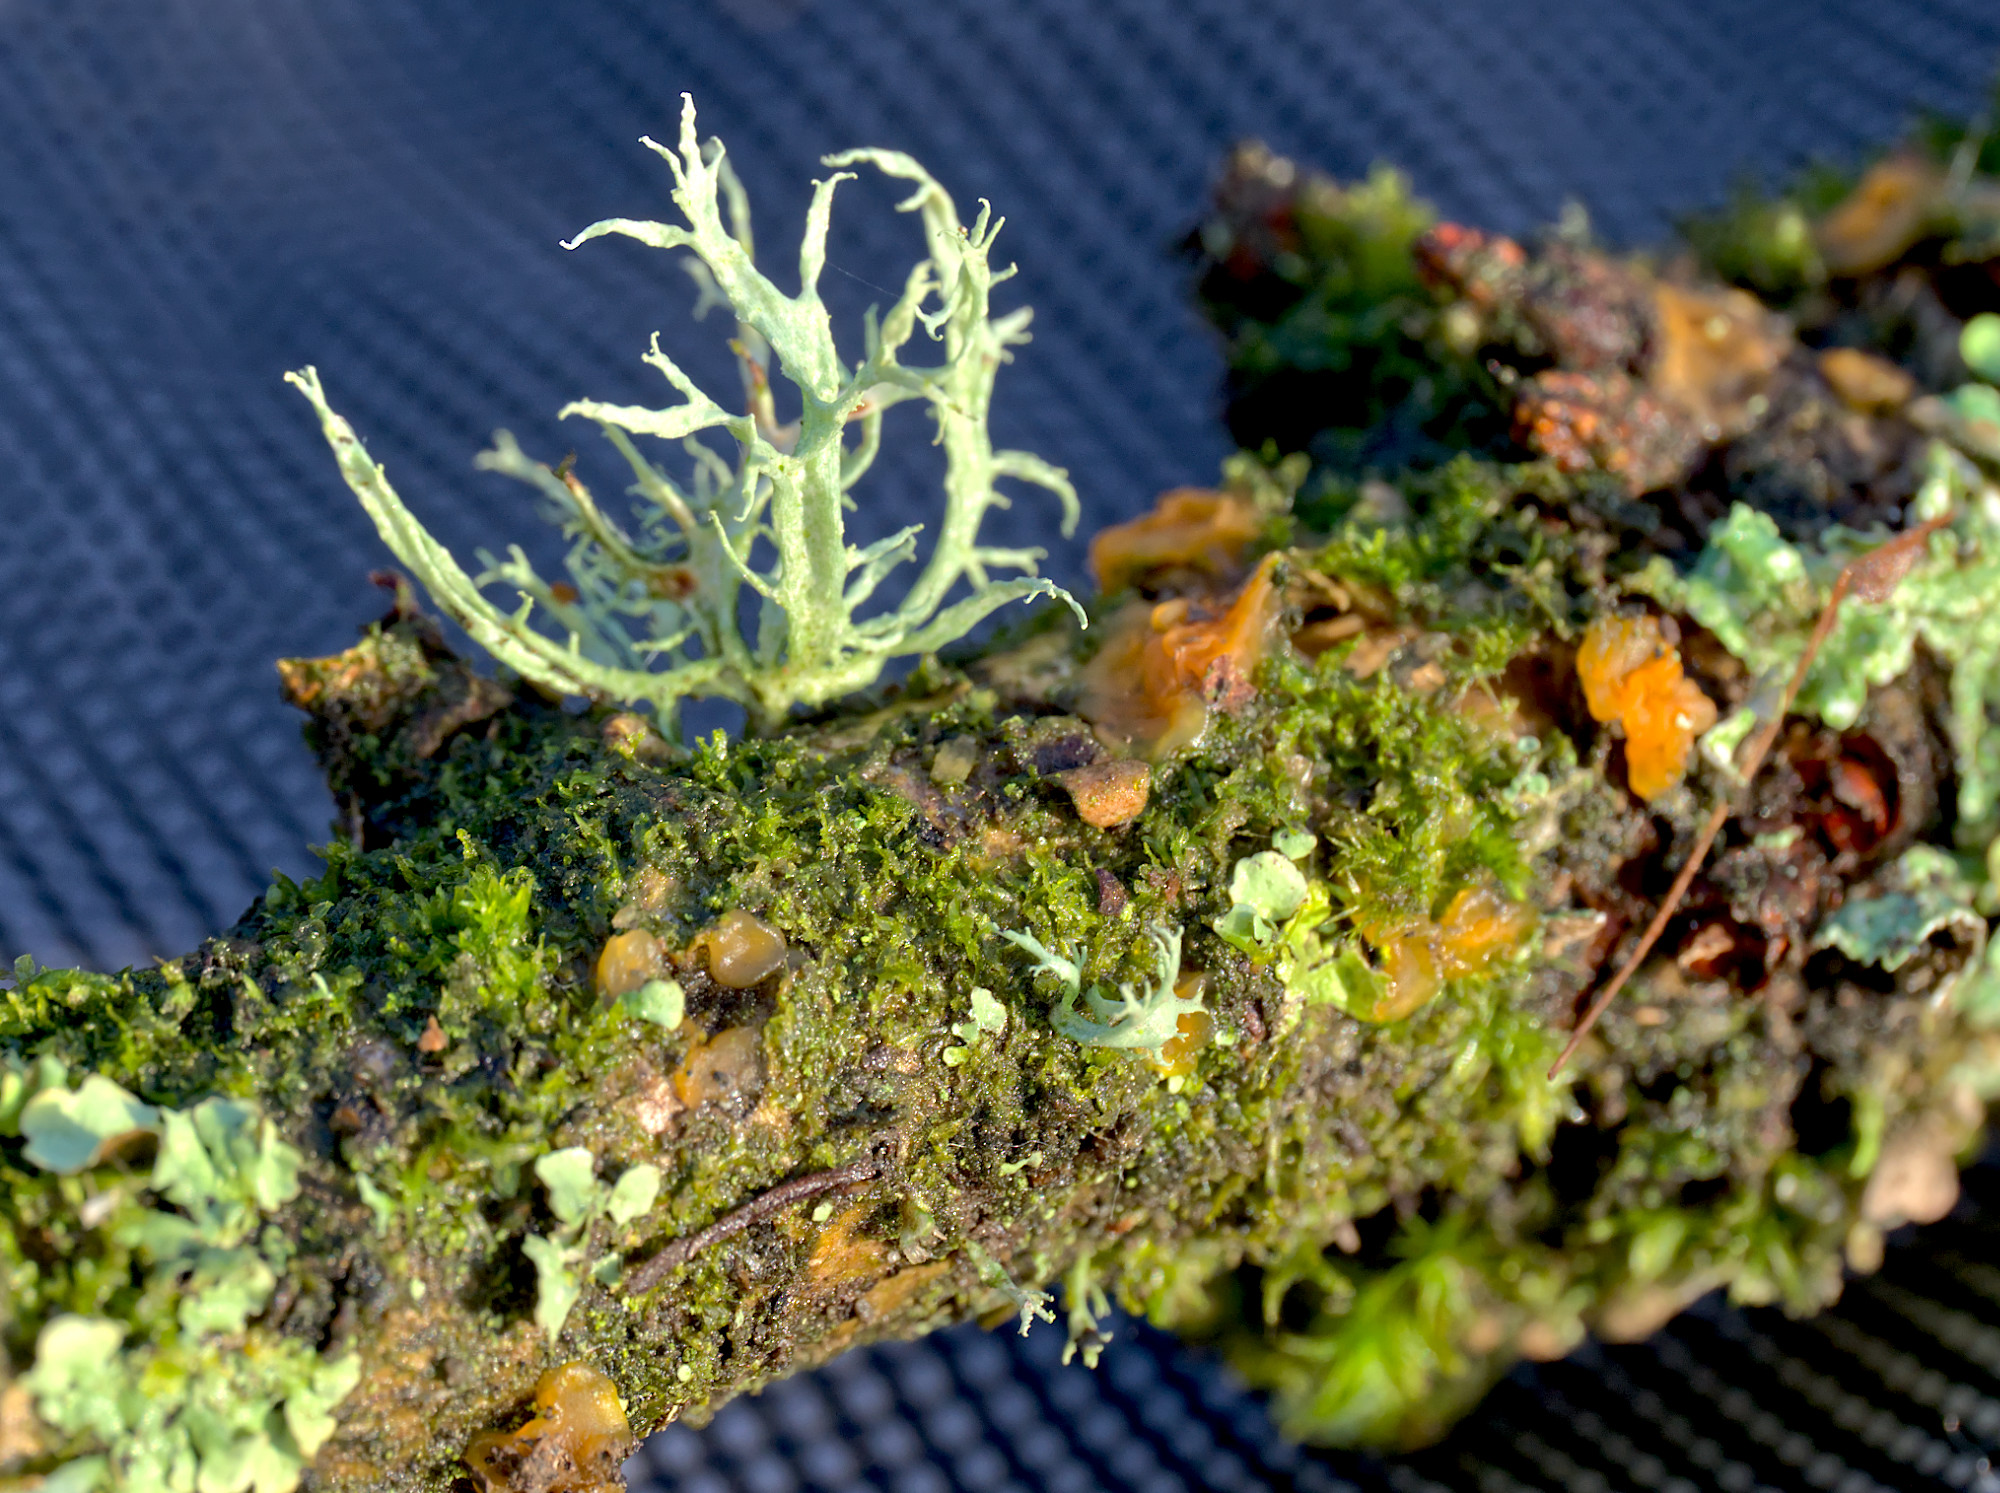
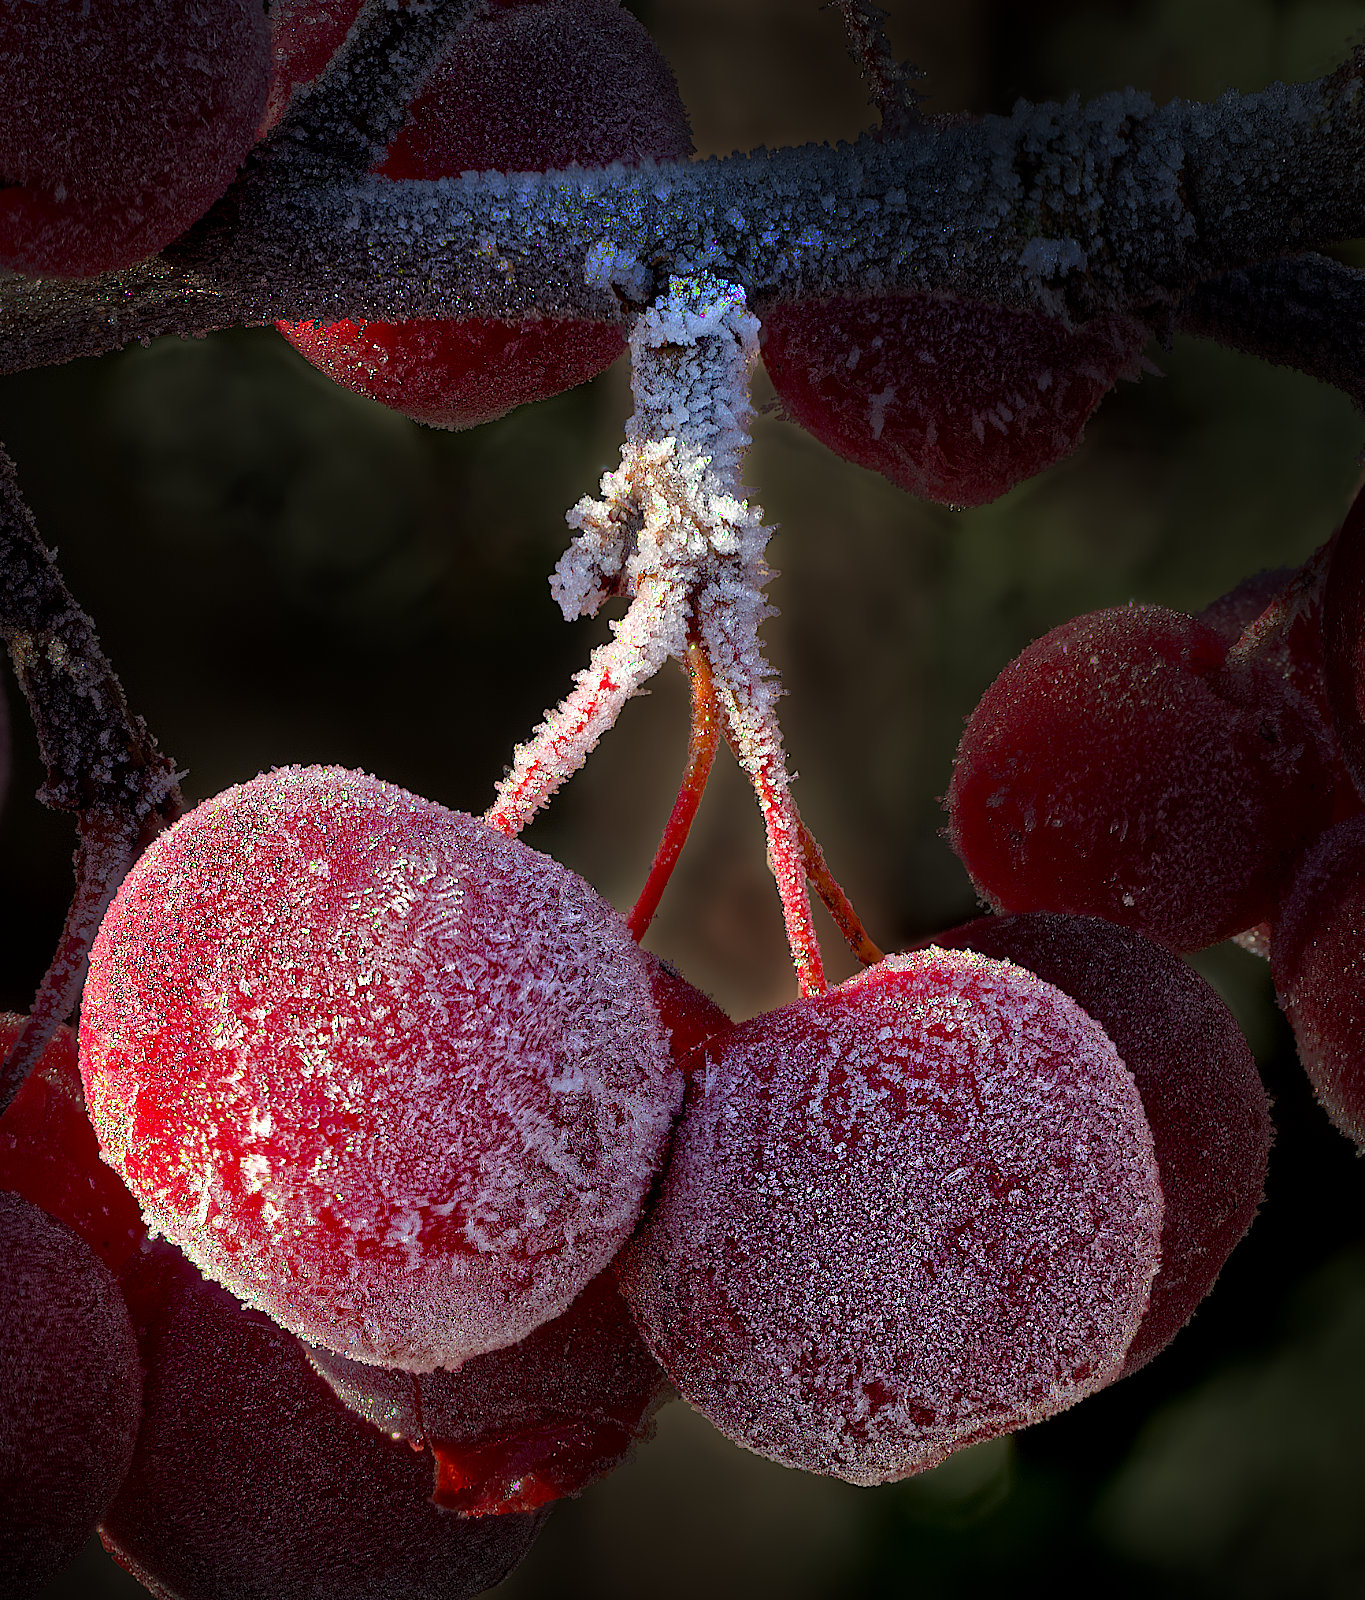
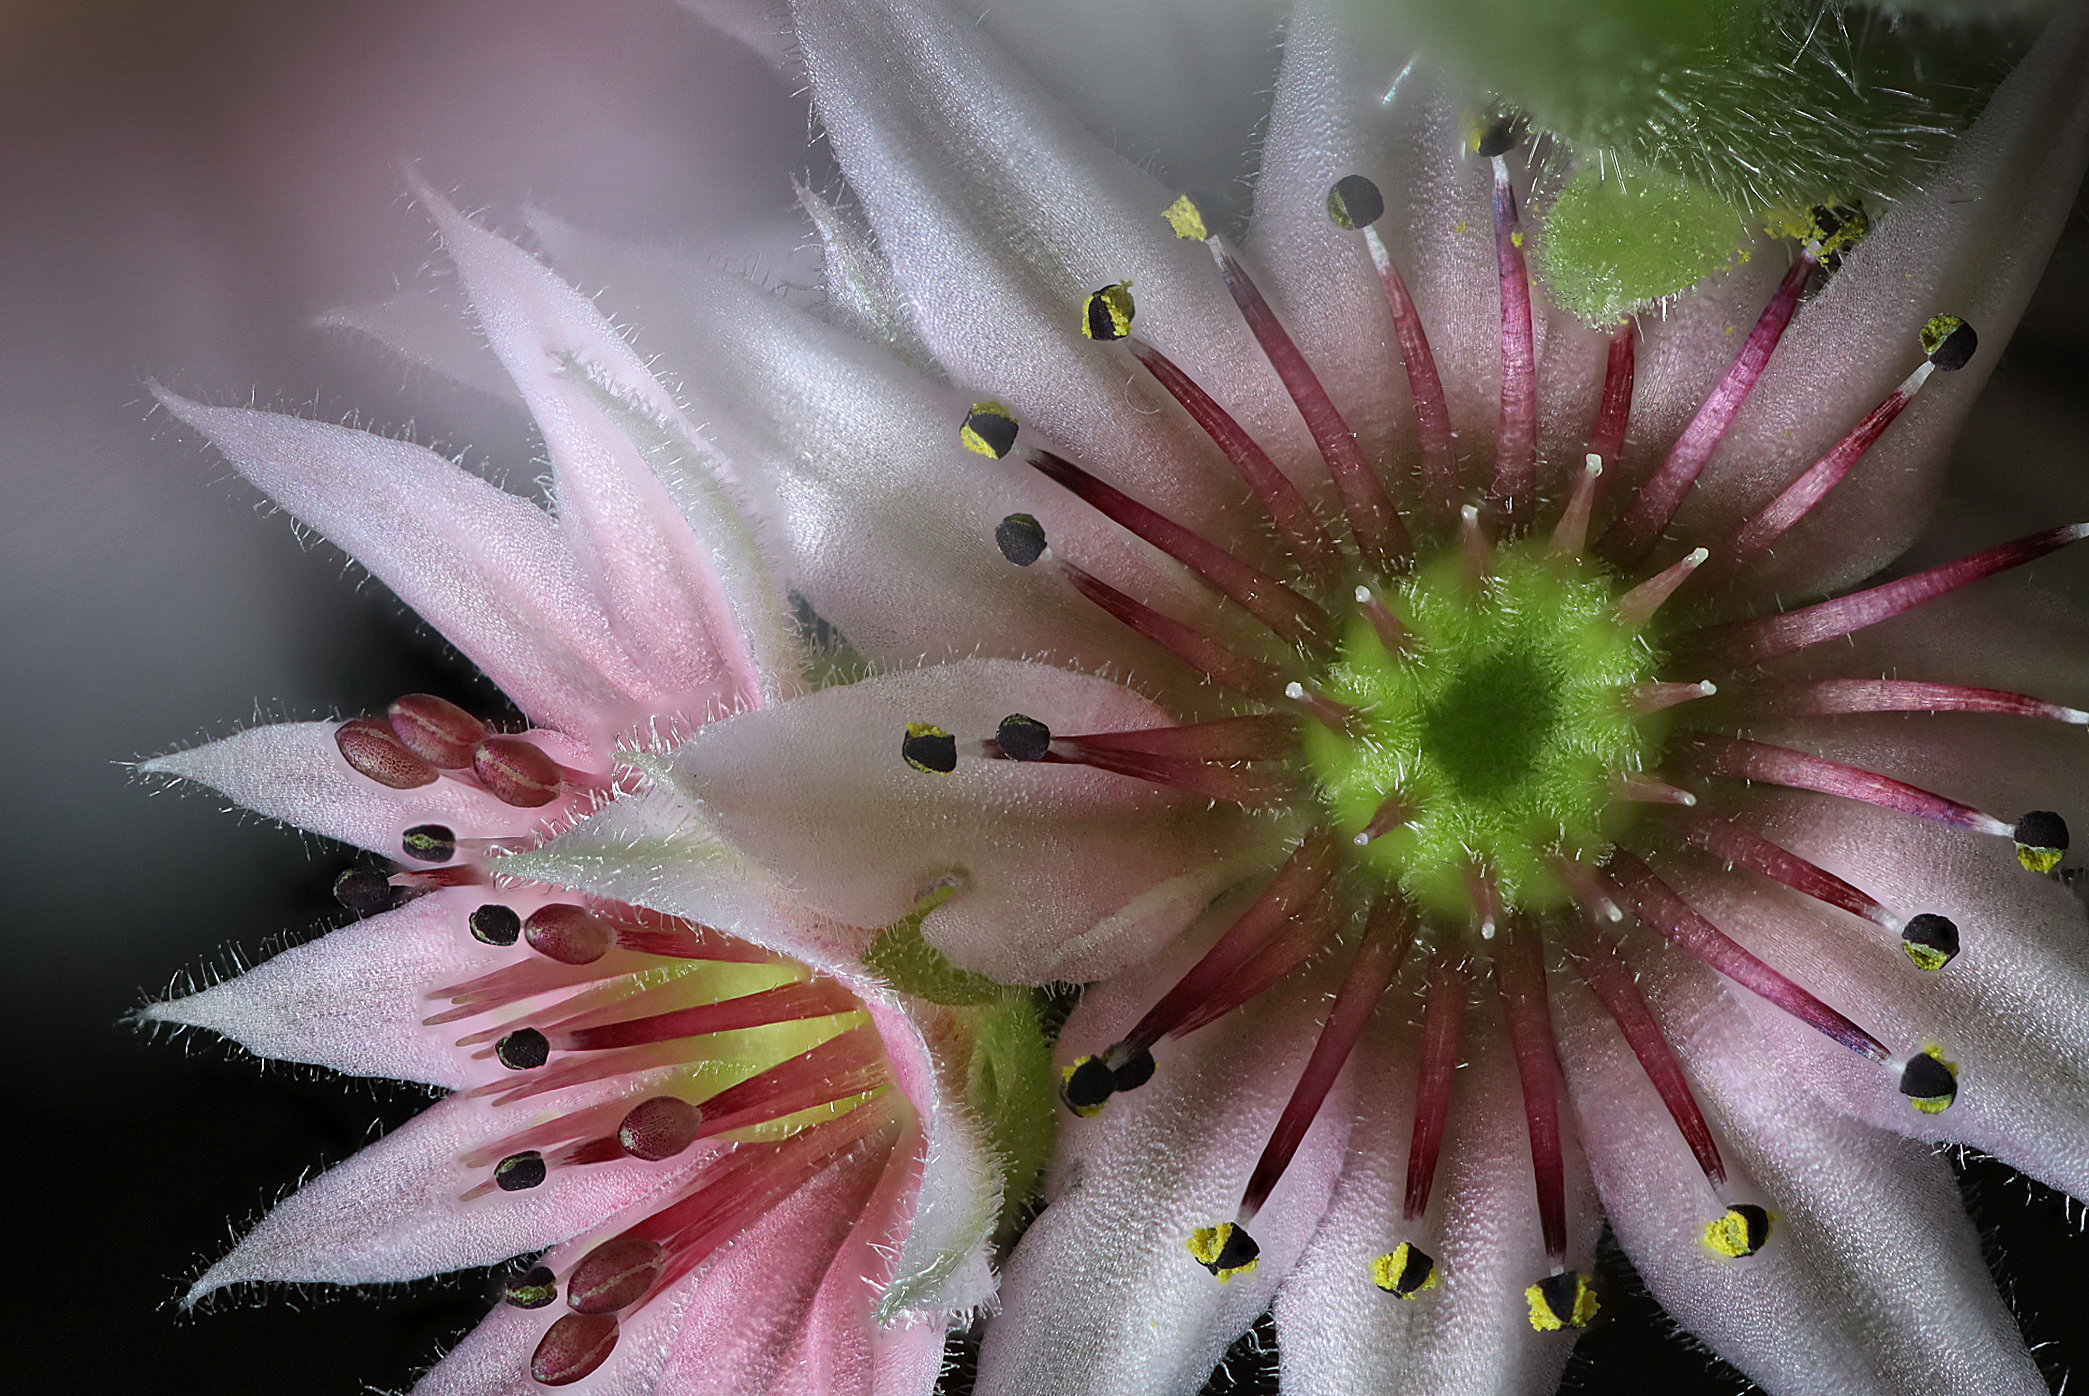
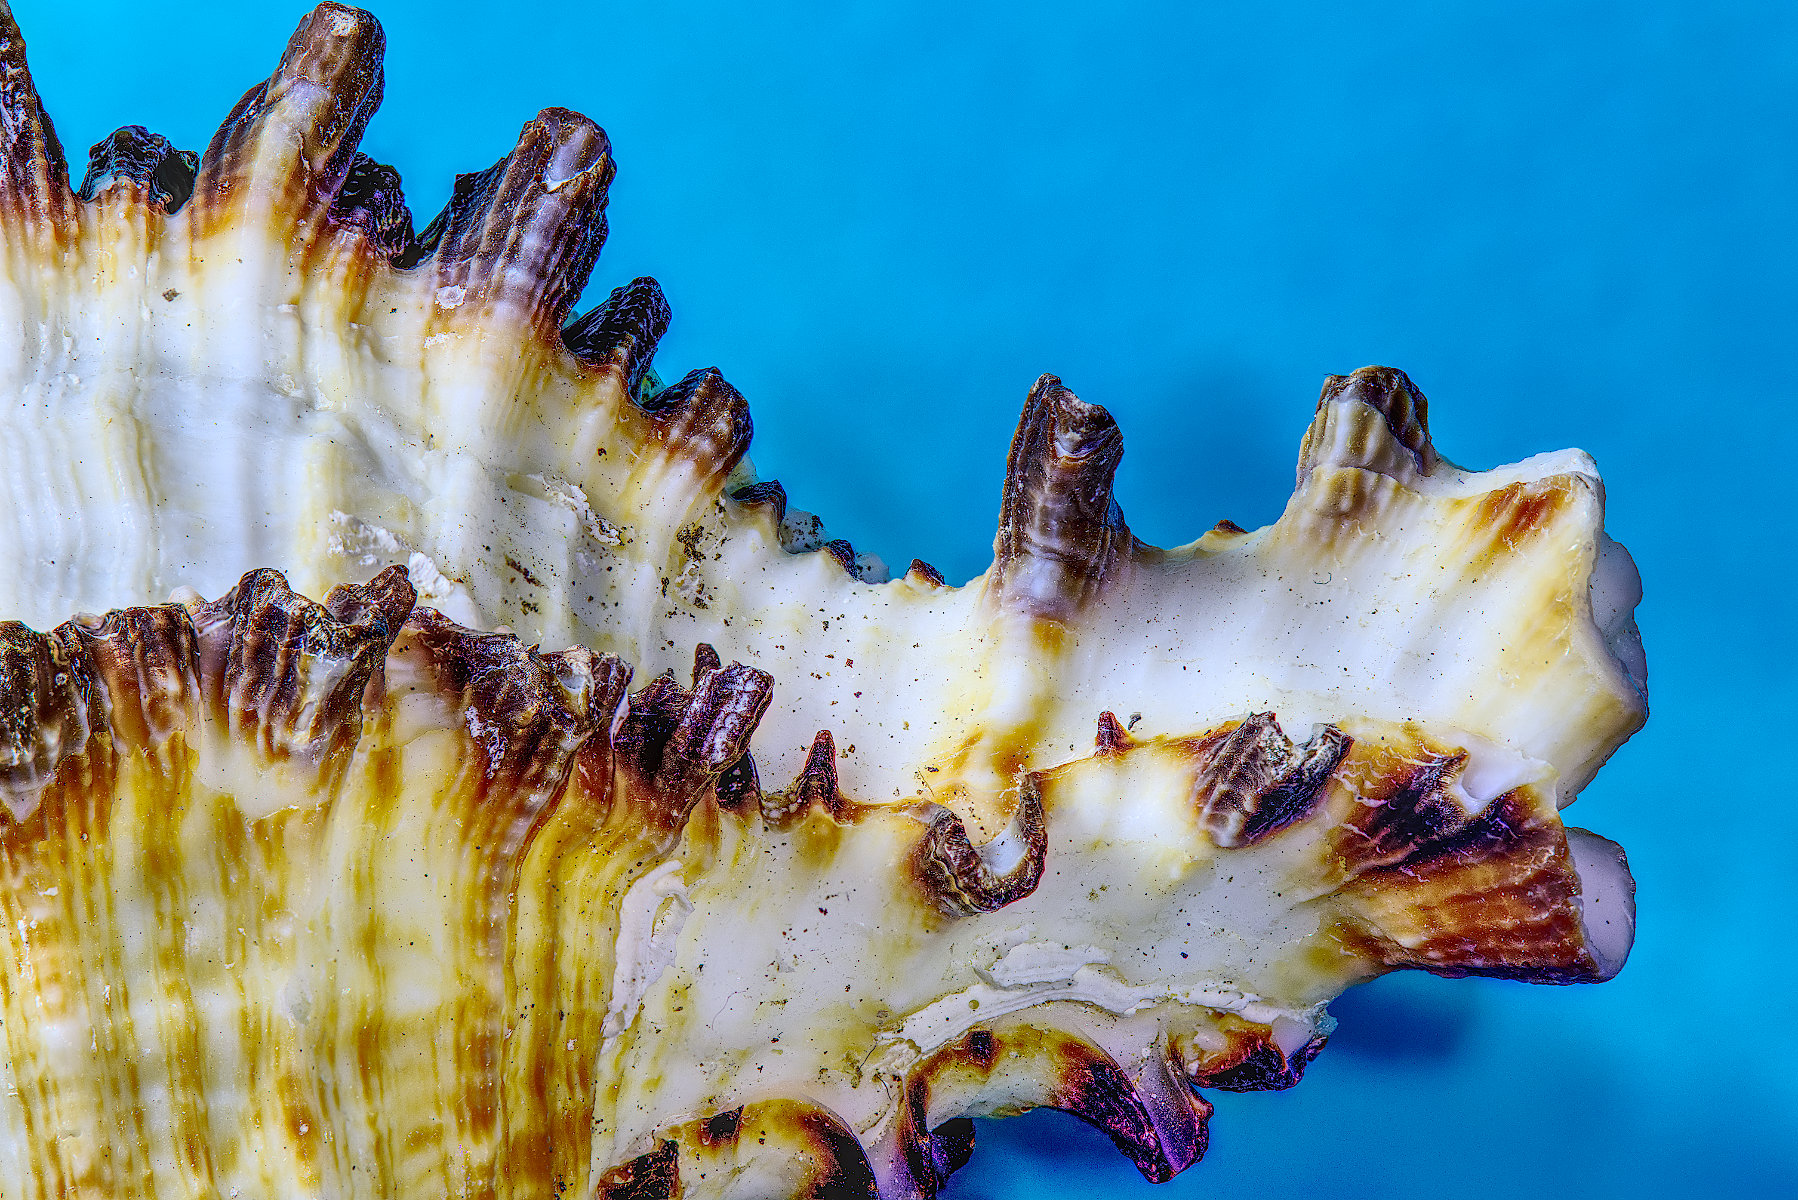
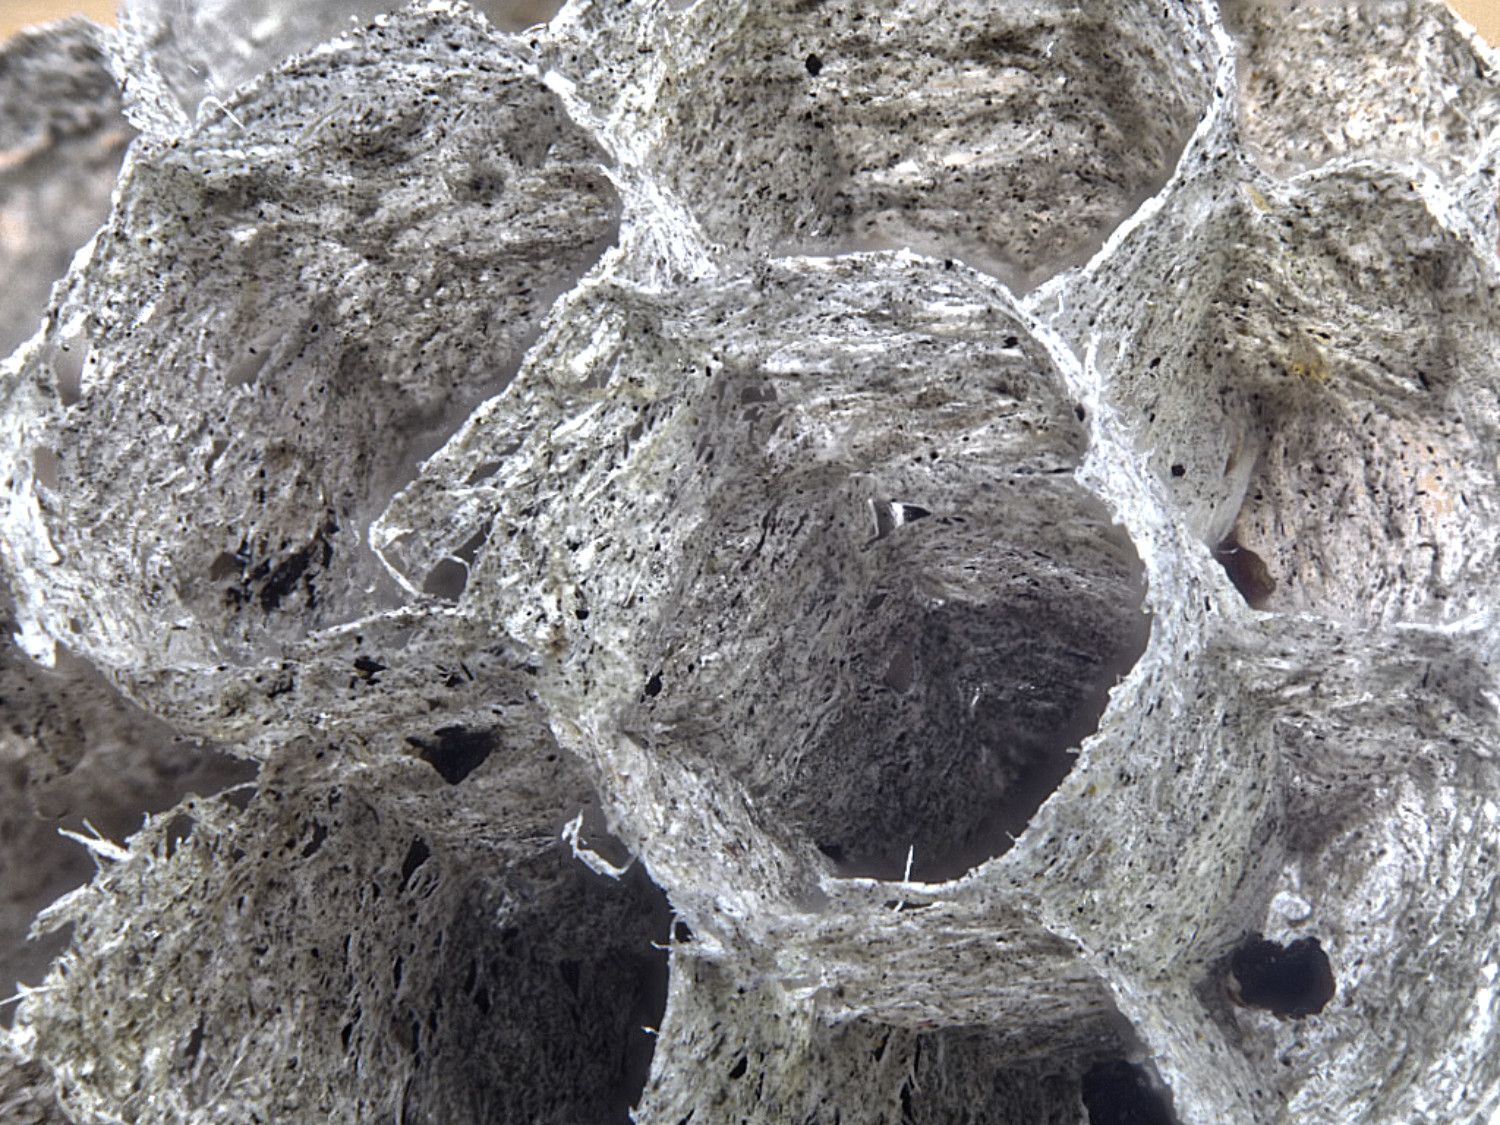
I think a swap has now been performed. Jolly good.
I like this subject, and you have nailed the focus on the most important central interior area.
The cut edge of the pod exterior is mainly blurred. That could have been deliberate to focus attention on the interior, and I'm 100% on board with that.
The background replacement is not successful in my view. It needs to be made less bright, and more interesting without being dominant. Perhaps photograph some leaves, some grass, make them deliberately out of focus, and use that?
|
May 16th |
| 95 |
May 22 |
Comment |
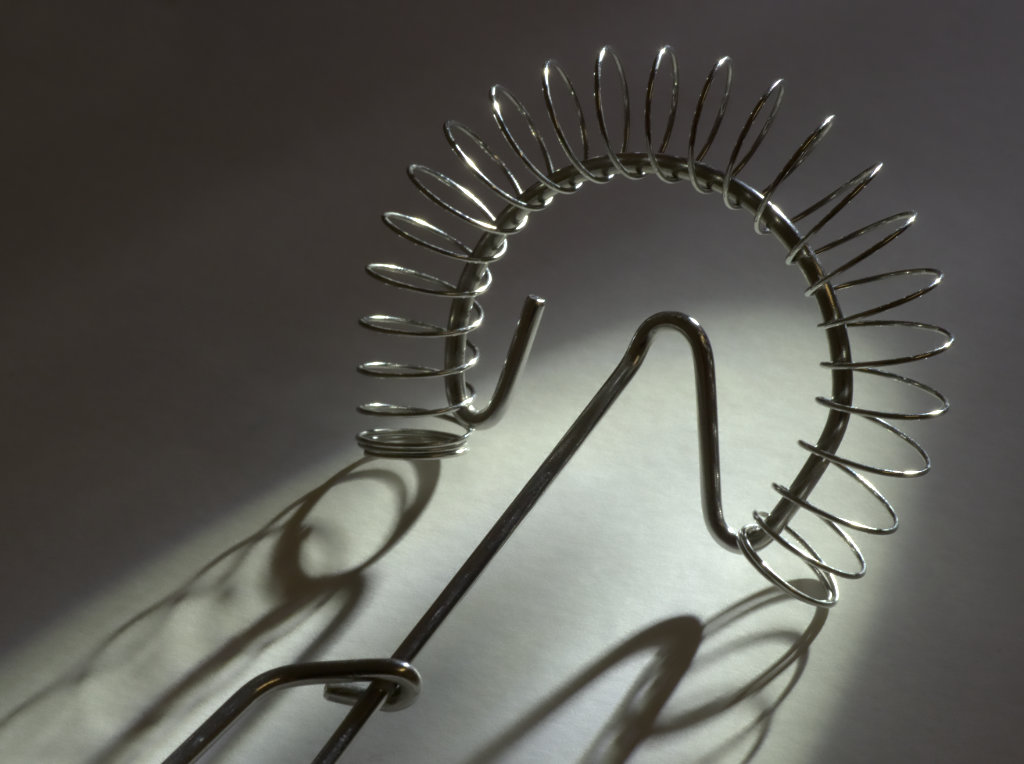
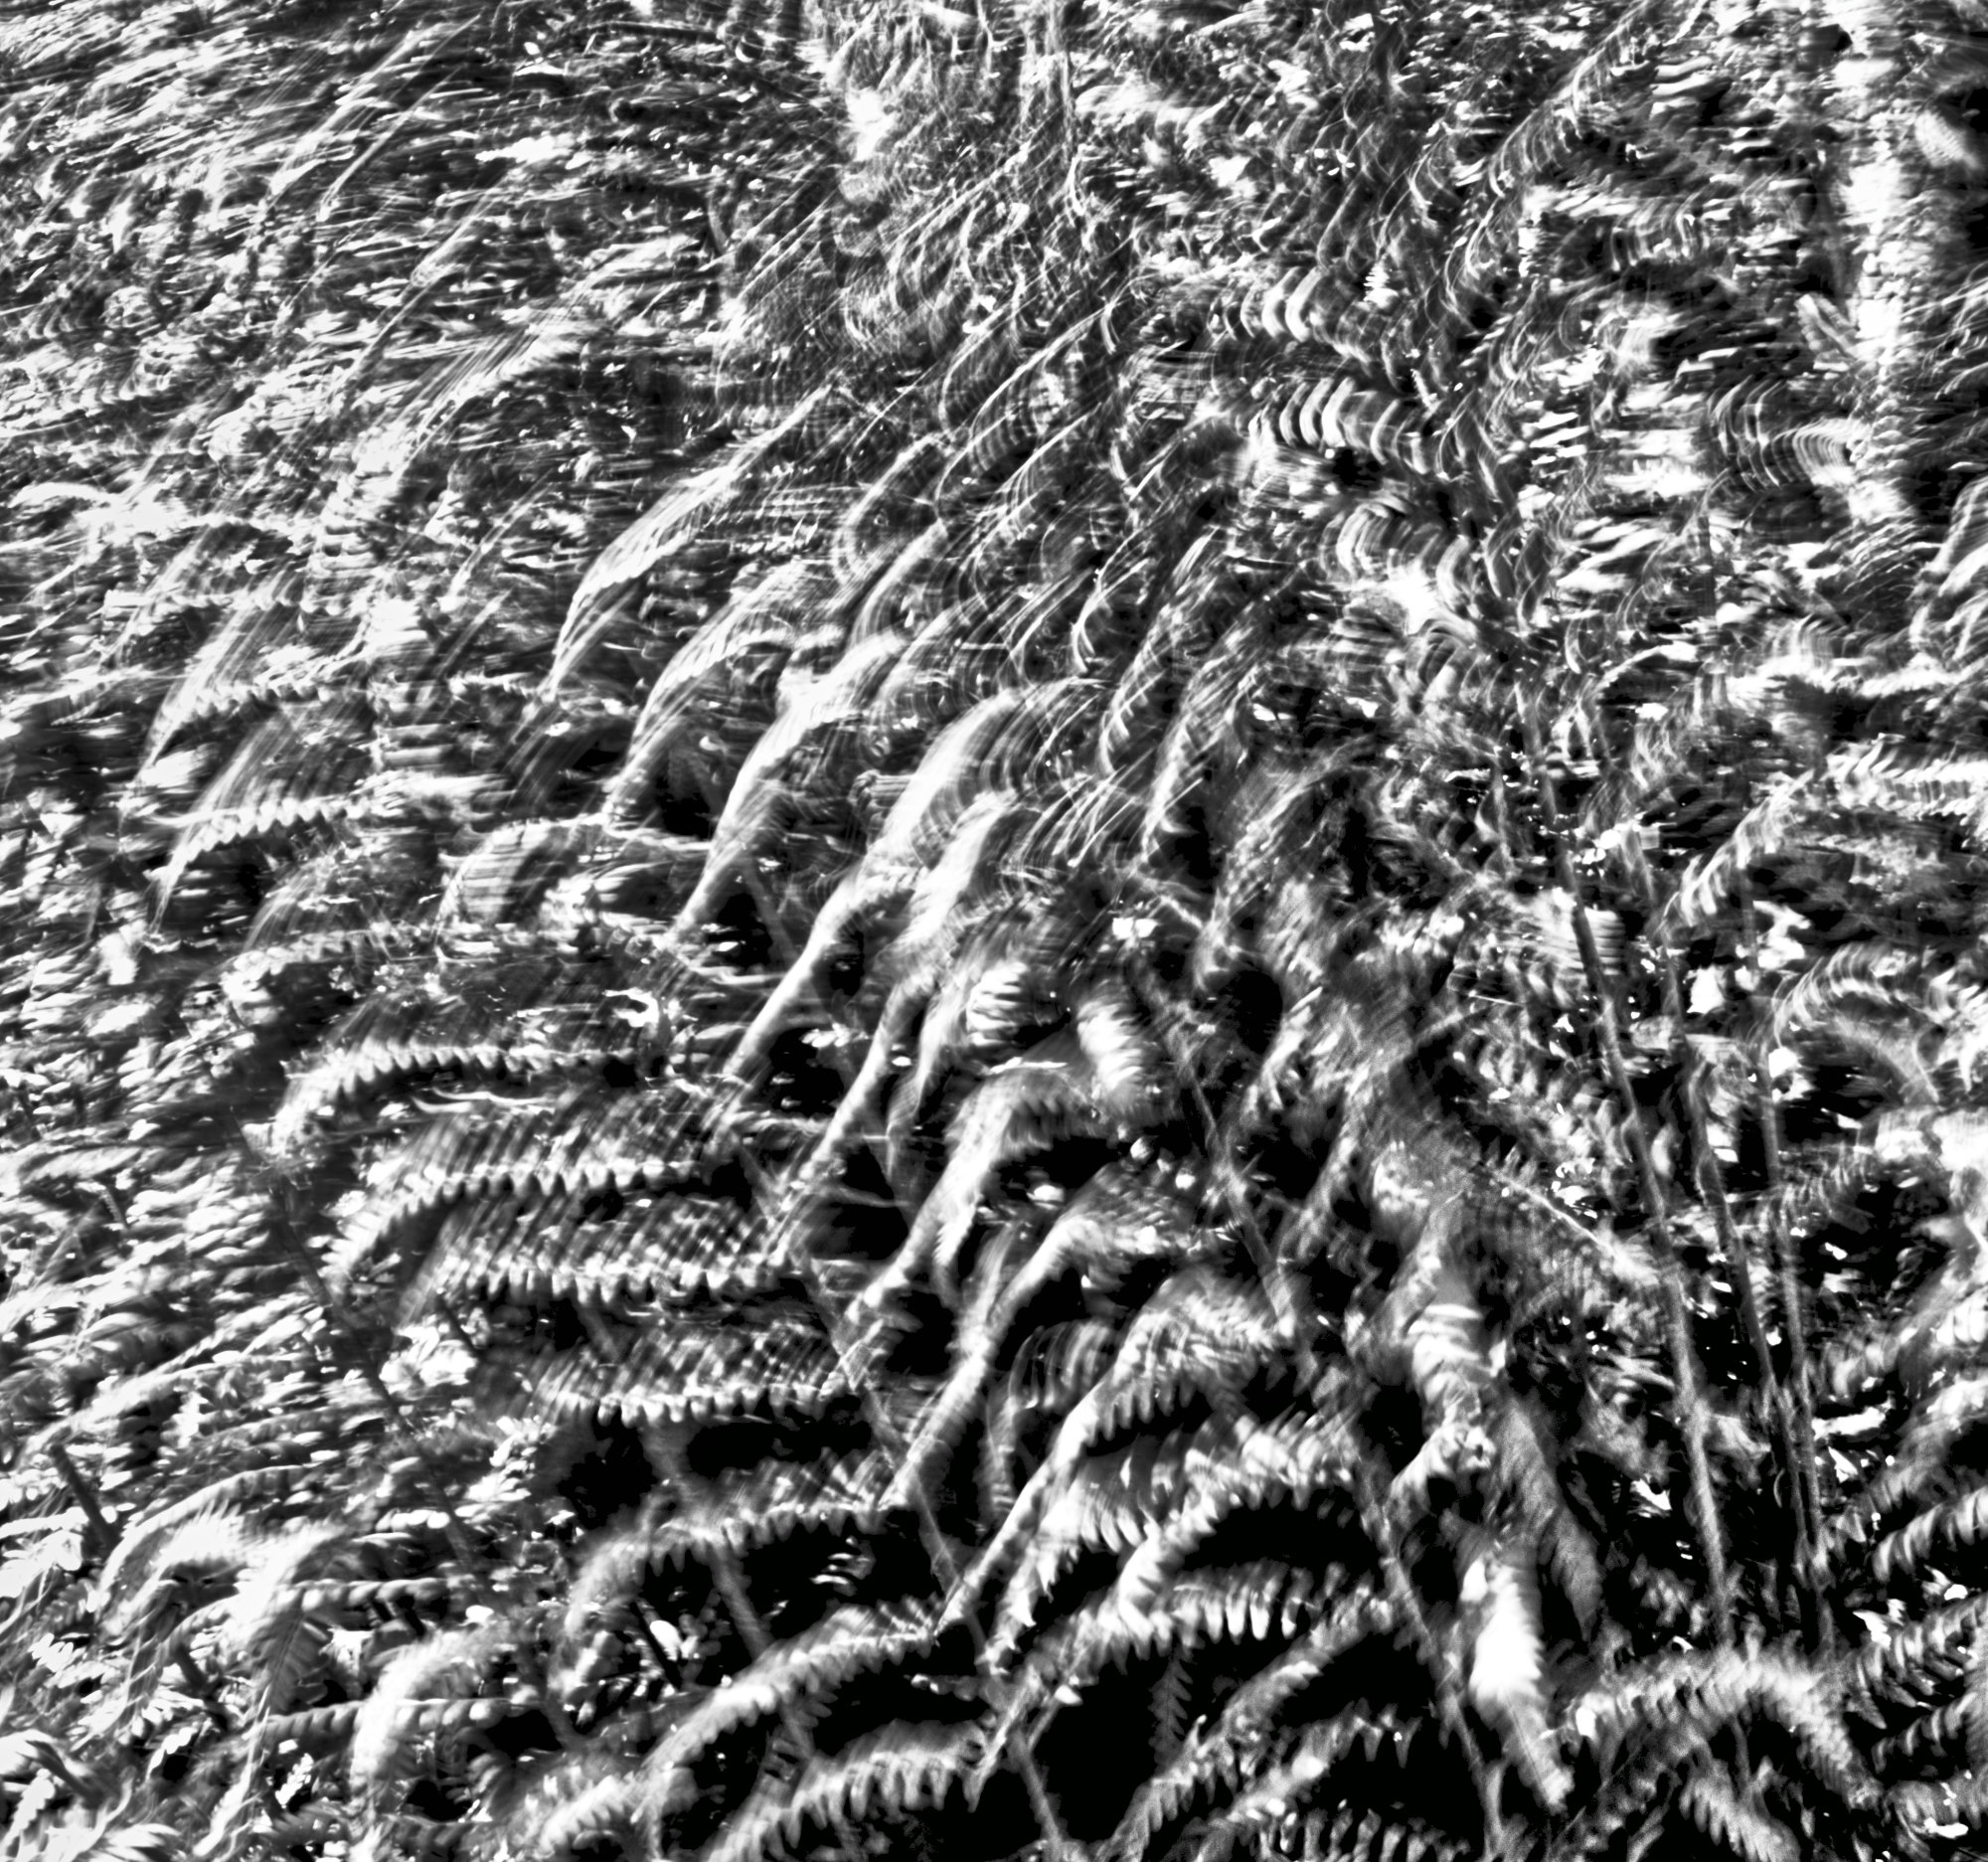
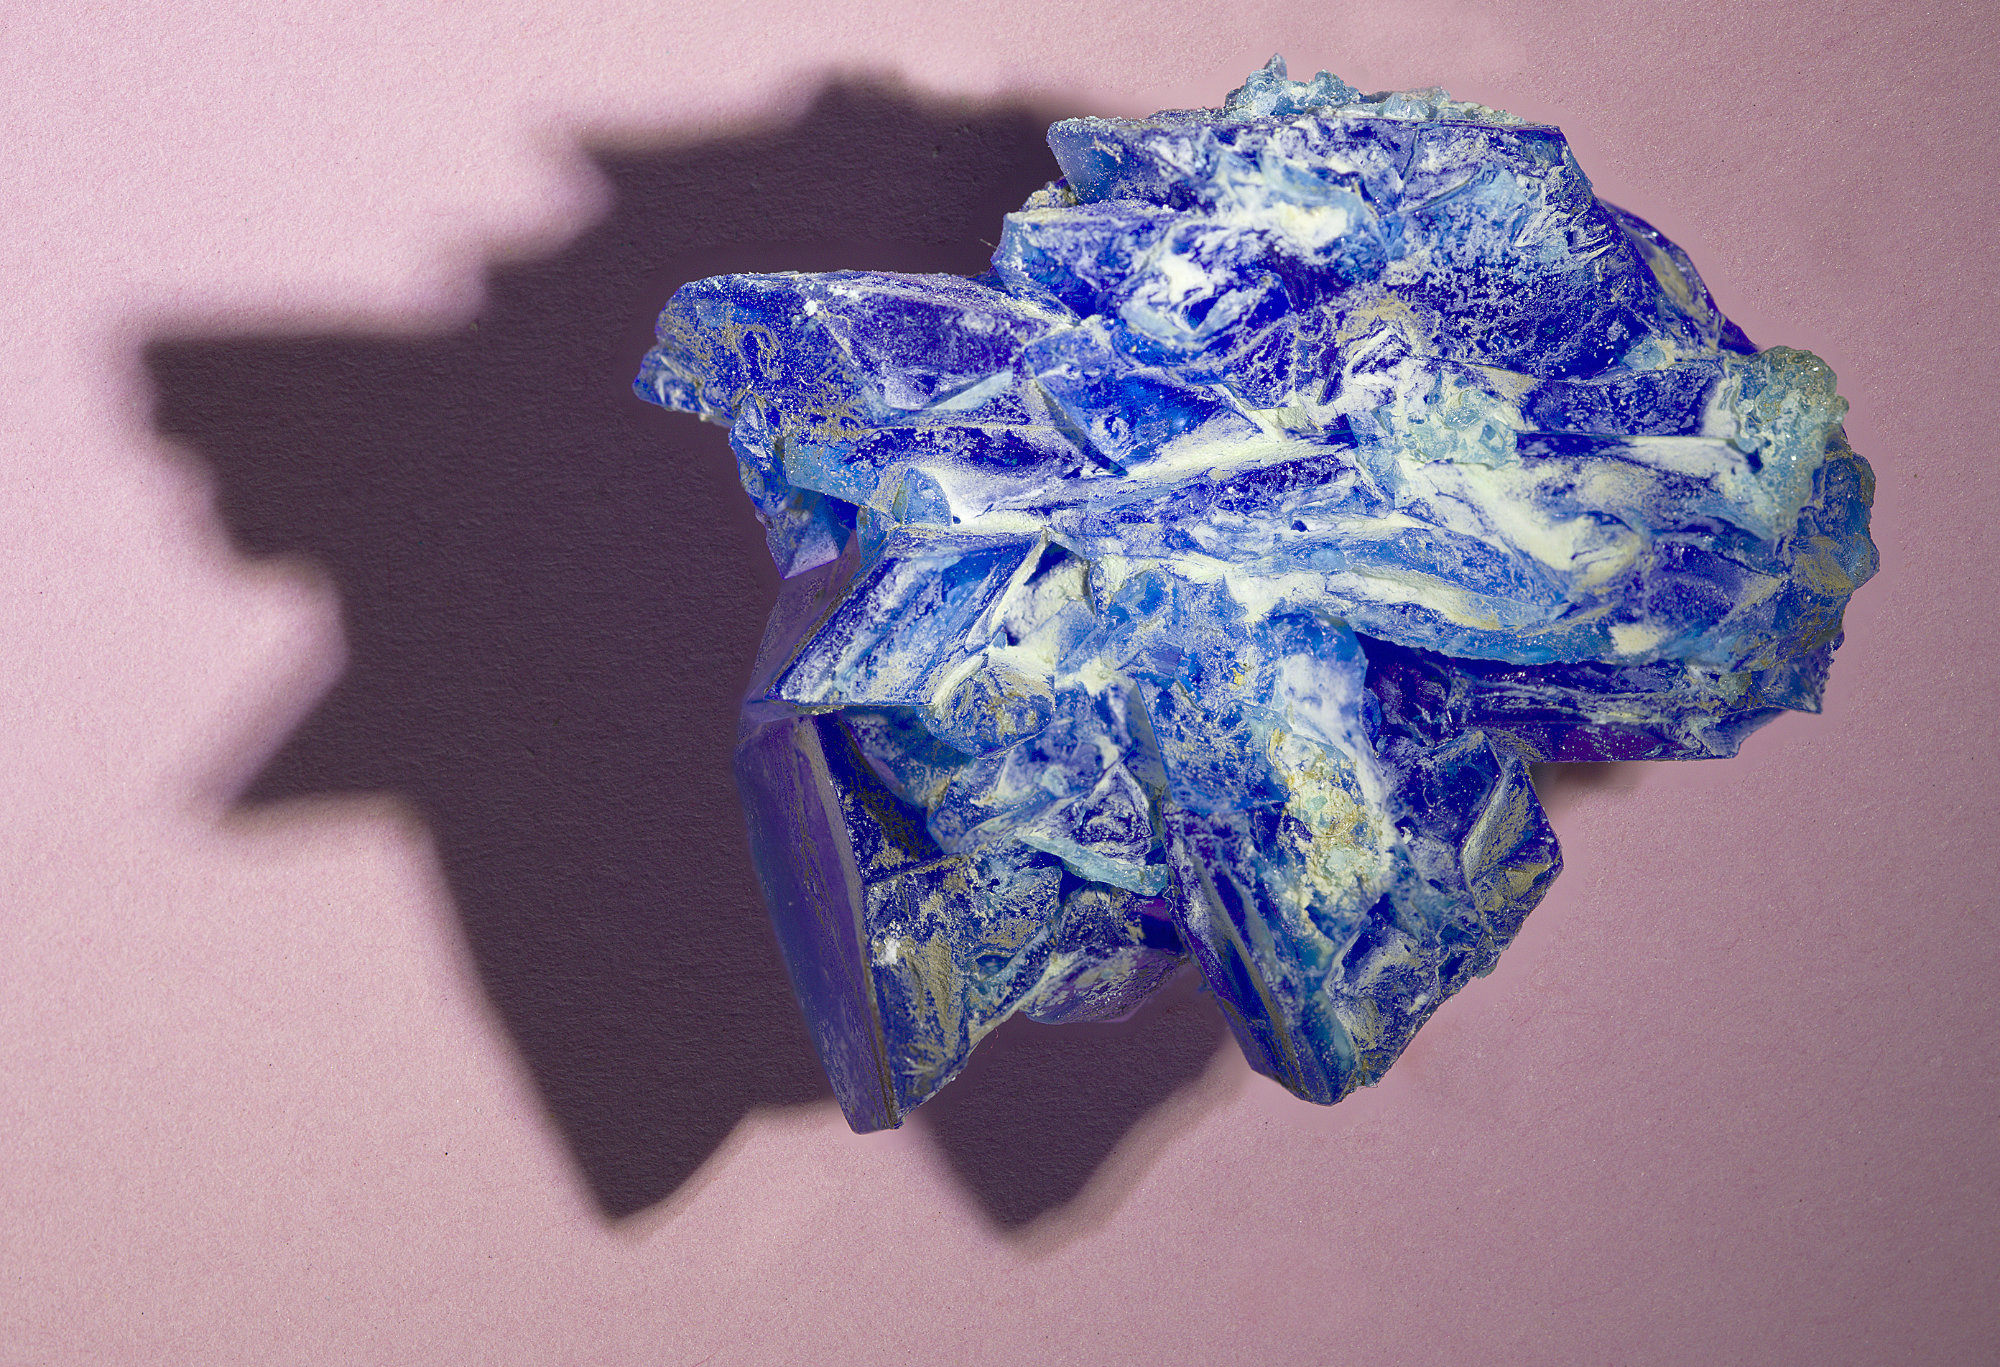
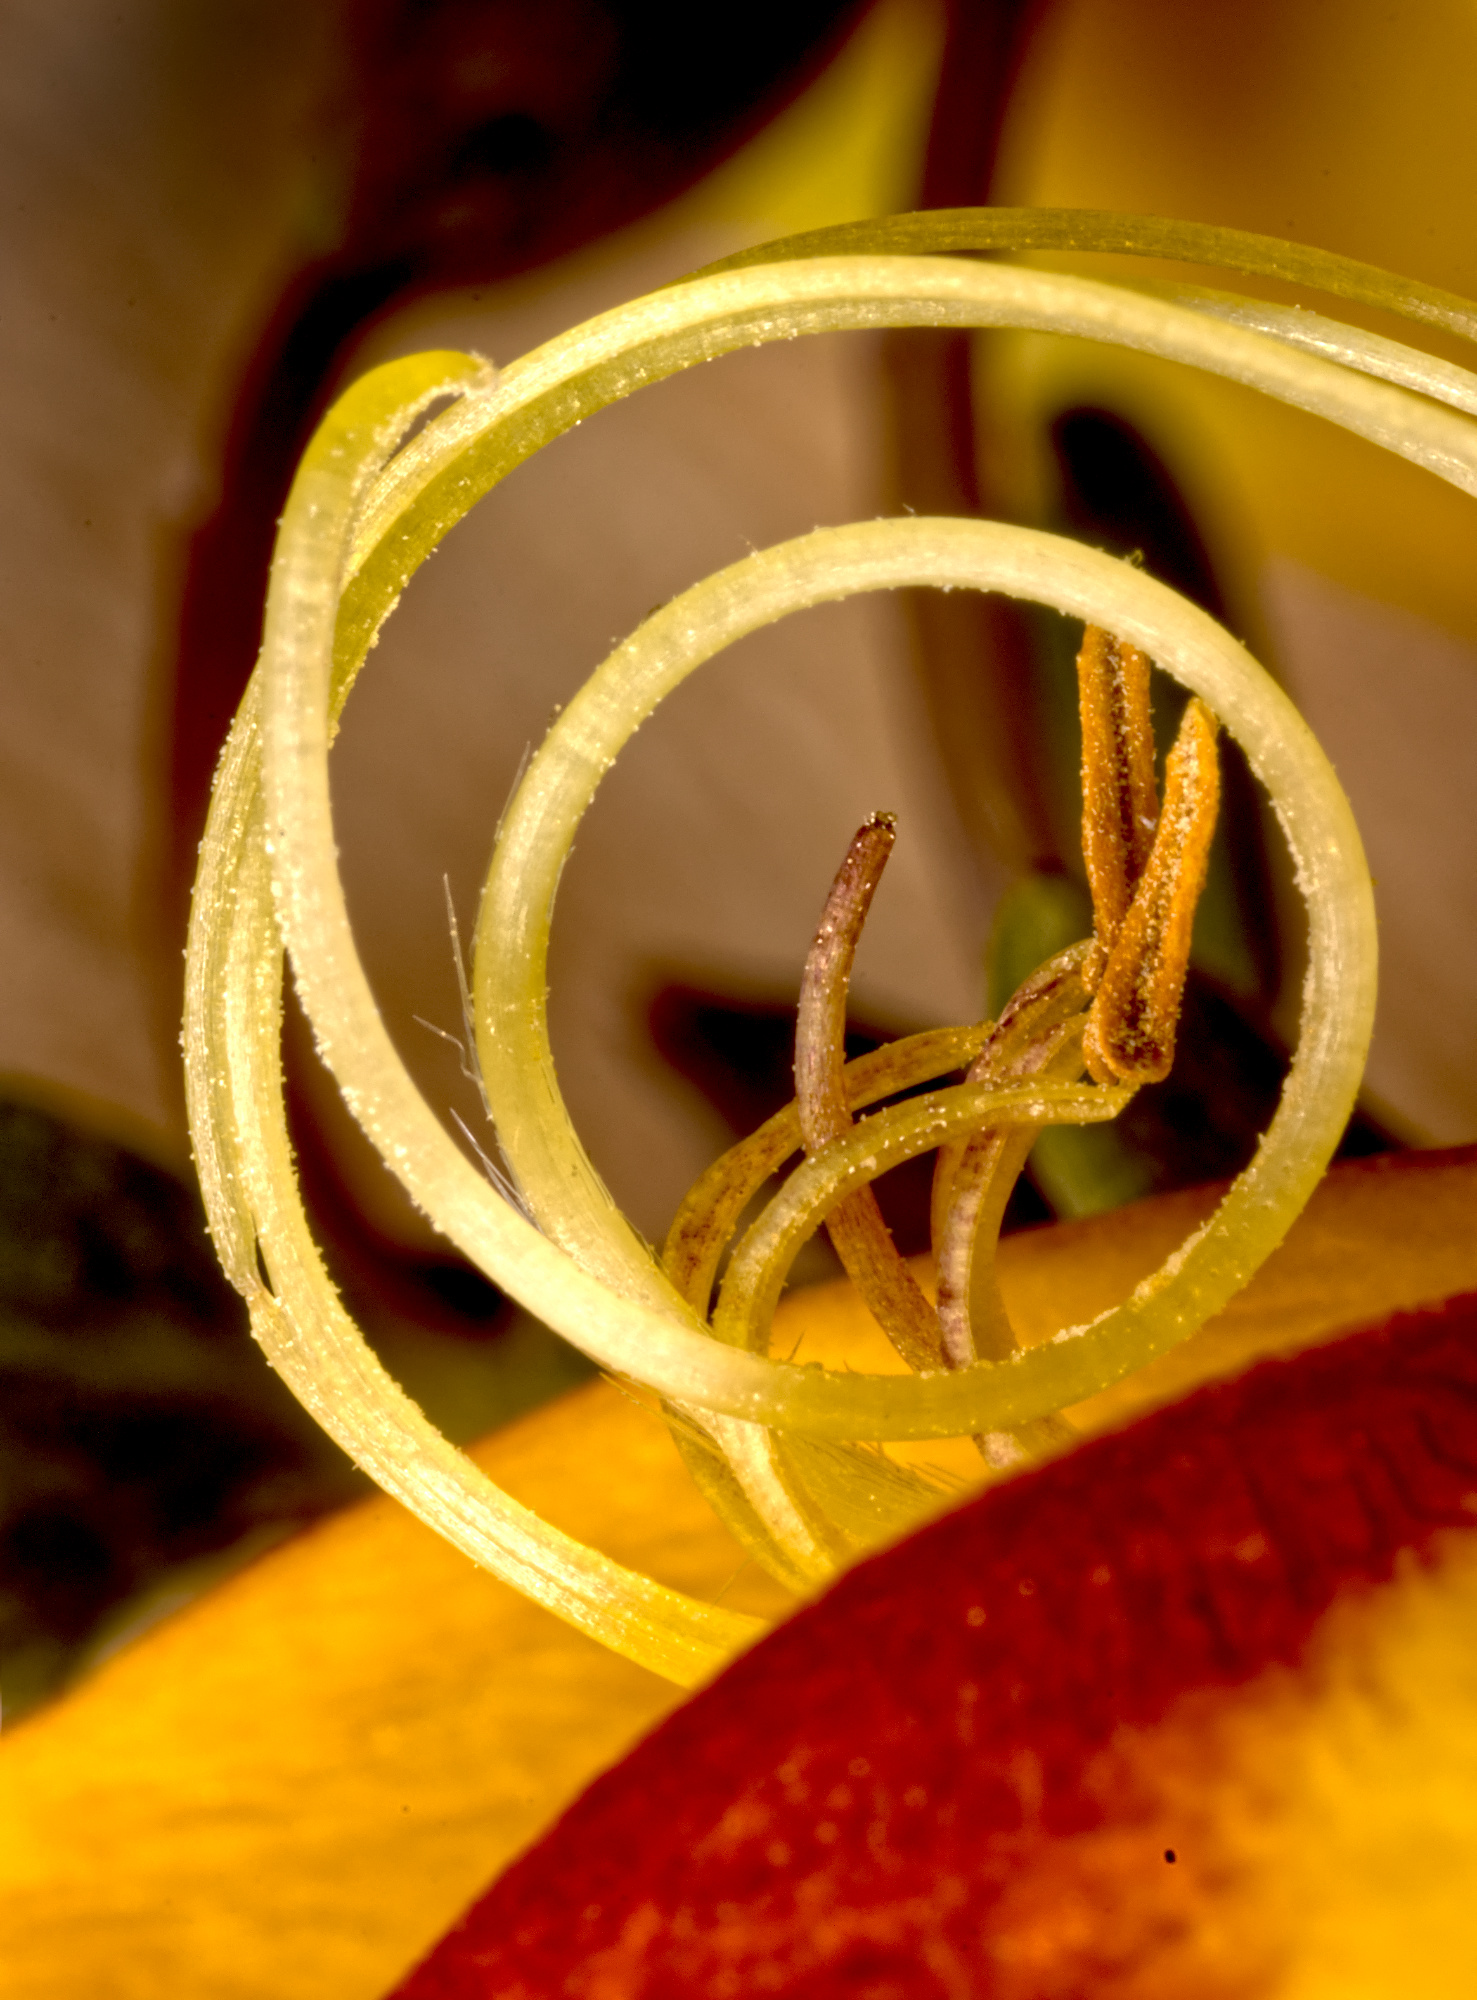
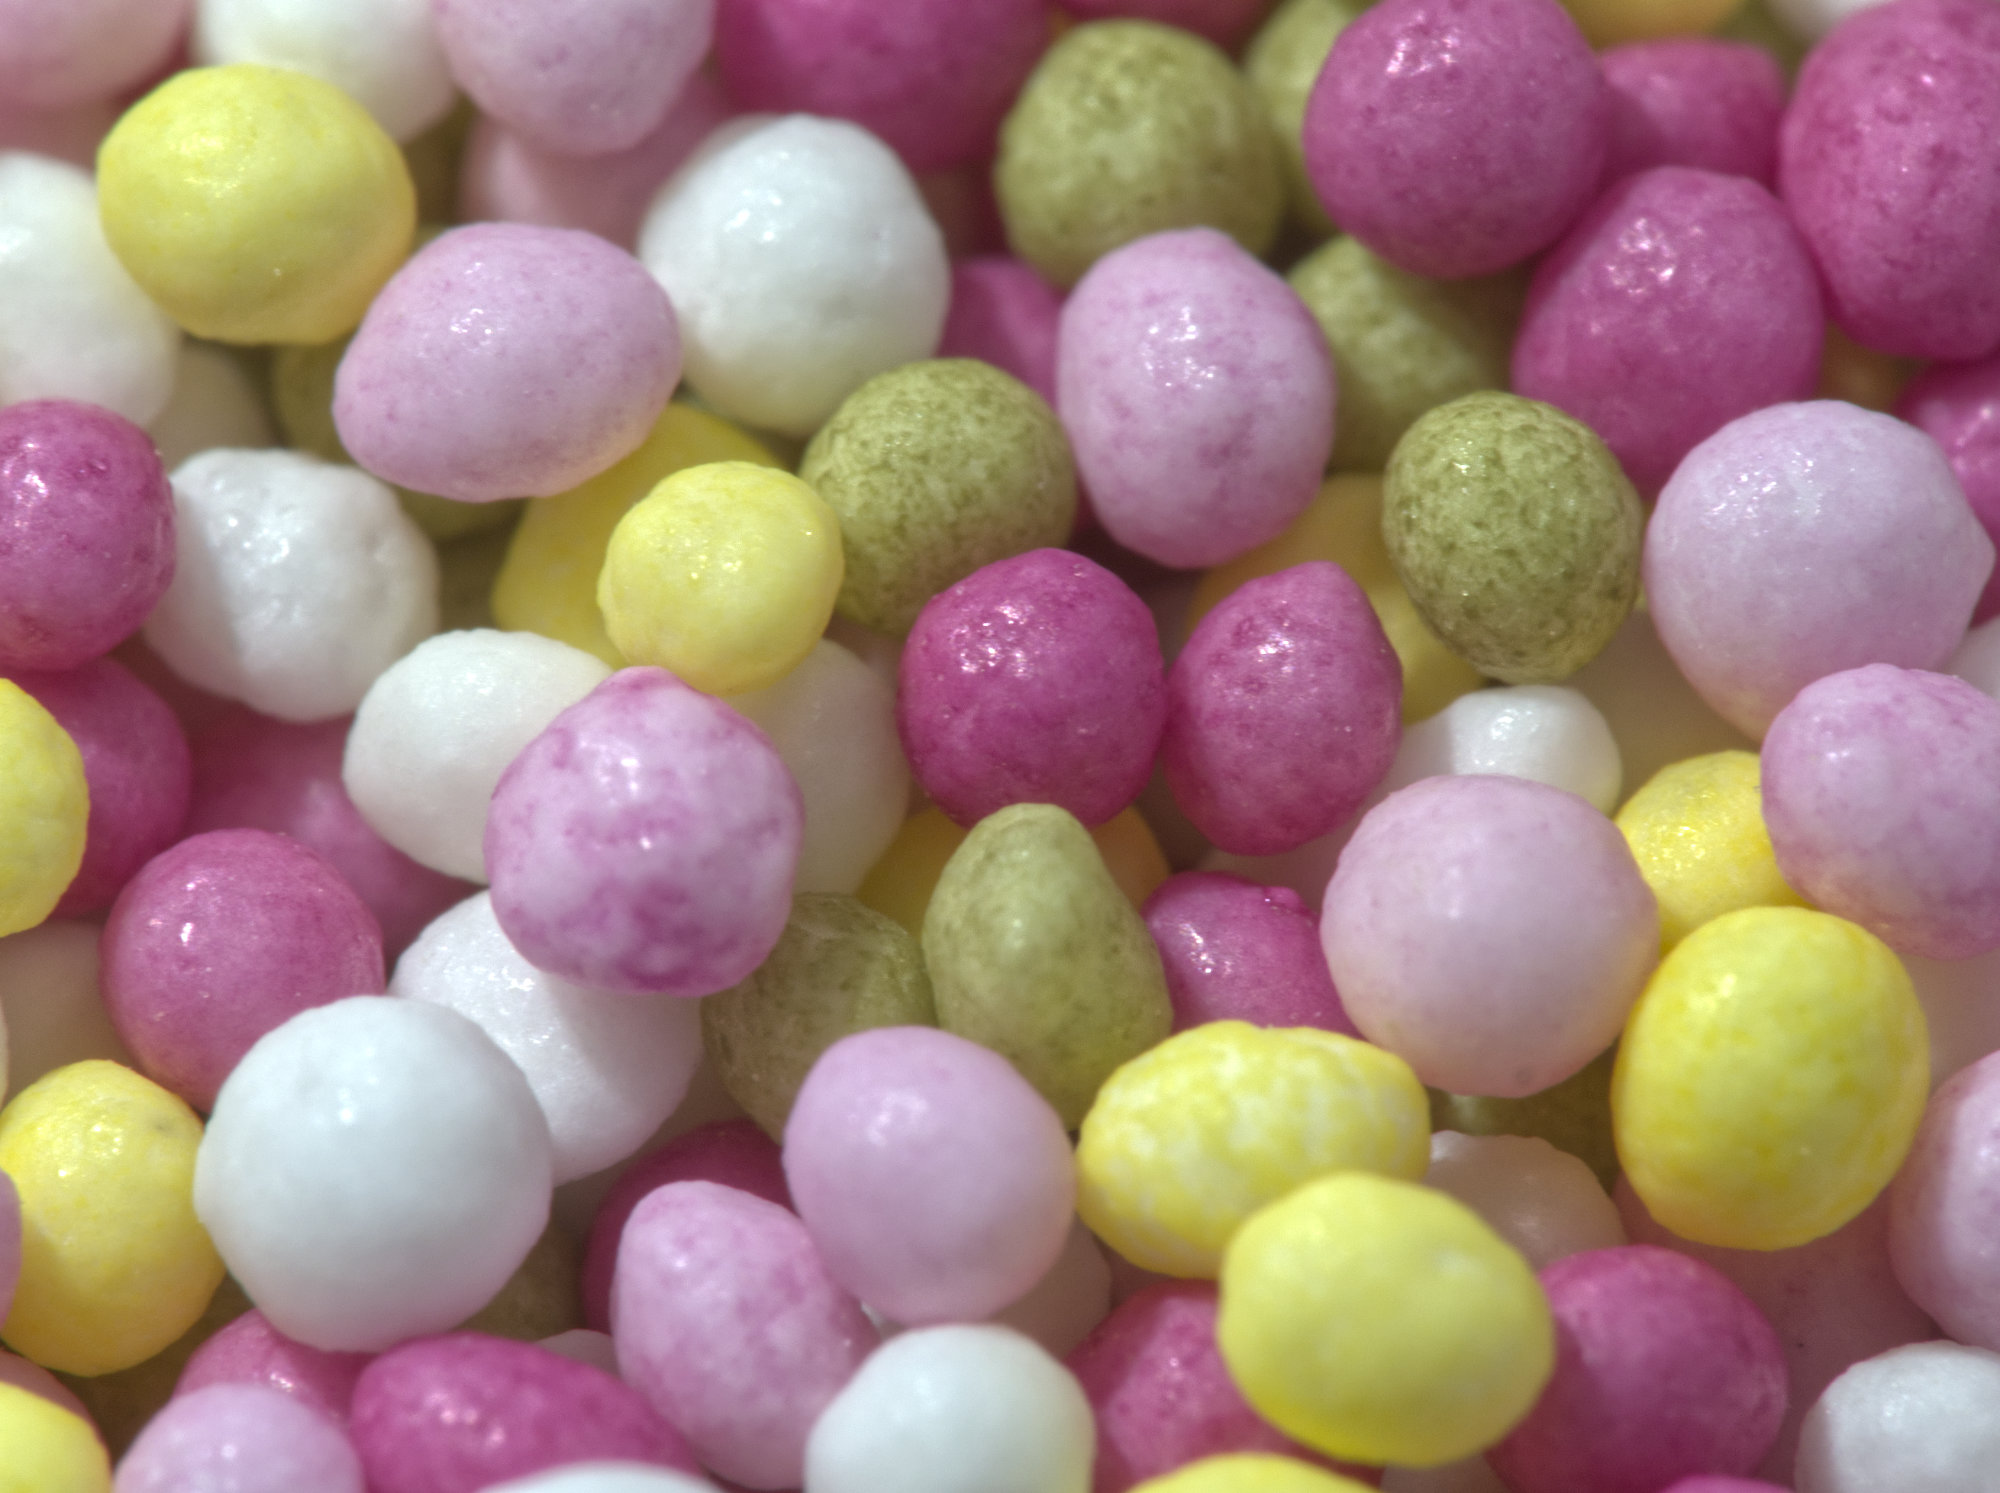
Interesting, Pat.
Of course, I'm wondering "slinky blue what?". We don't need to know what a photo is of if it's abstract of course, but here I'm wondering pleated skirt, table napkin, a fan, coils of what? .....? Scope for lots of variations in light colour and direction.
|
May 4th |
| 95 |
May 22 |
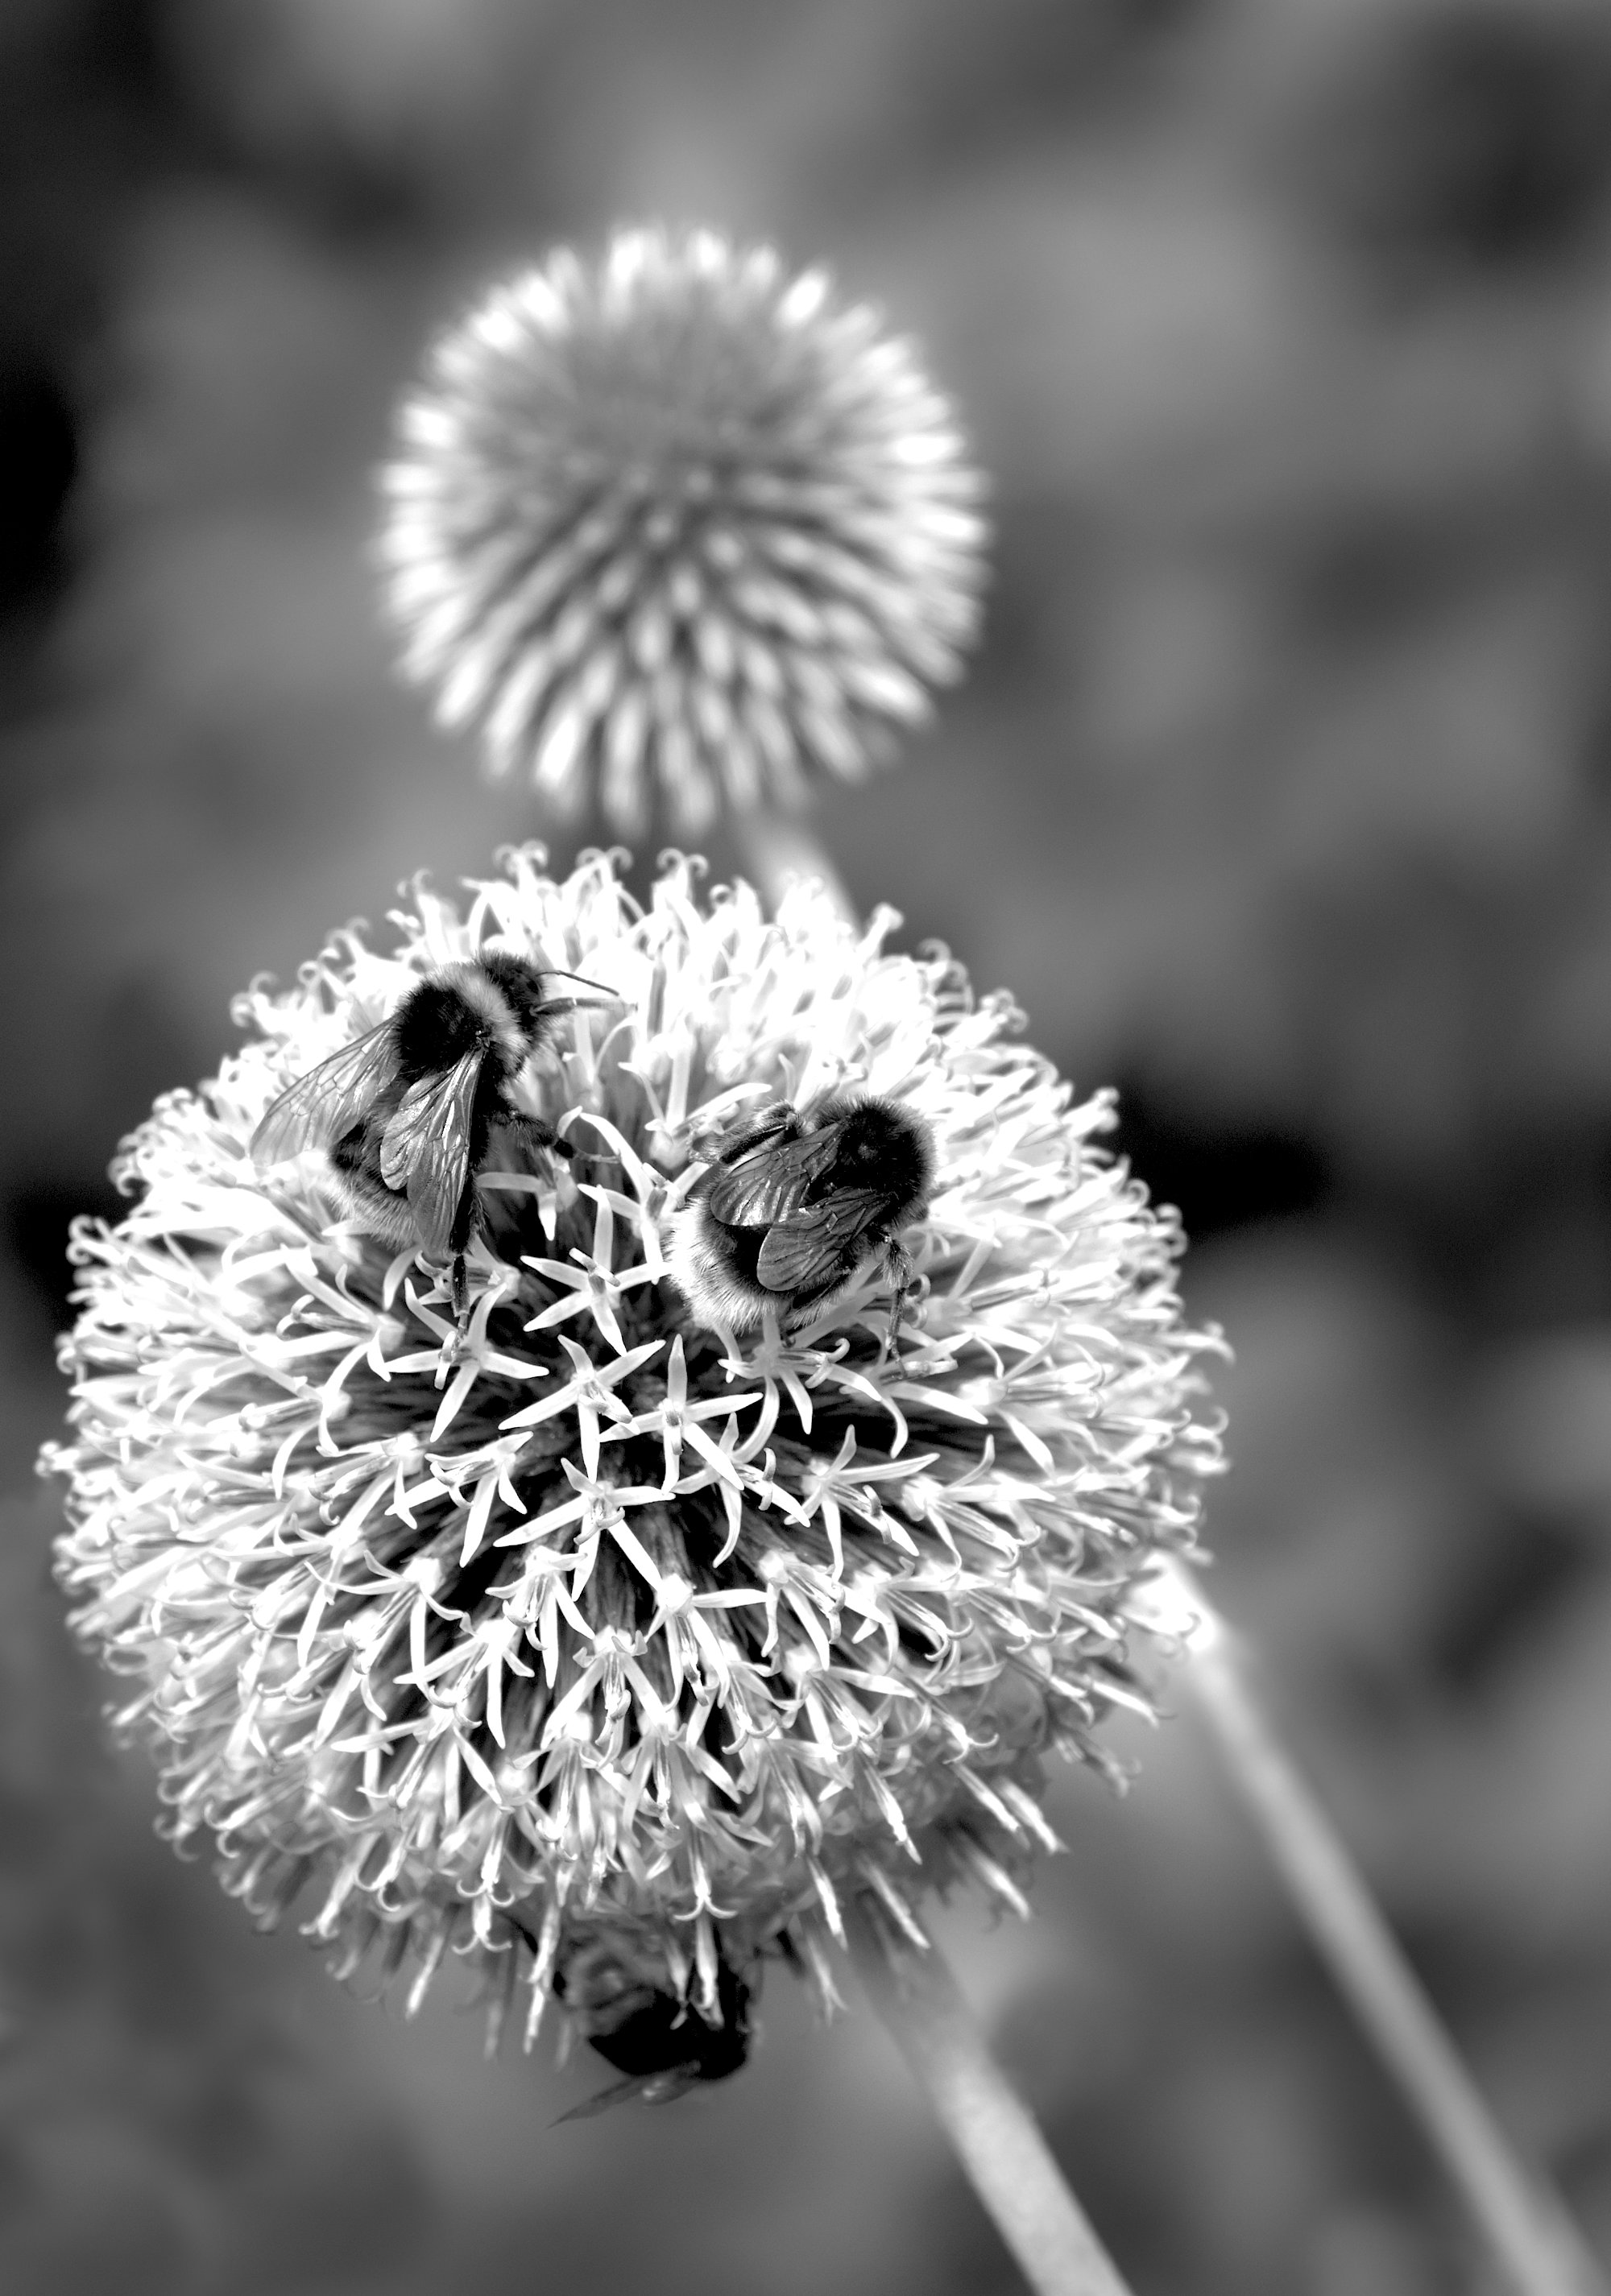
Comment |
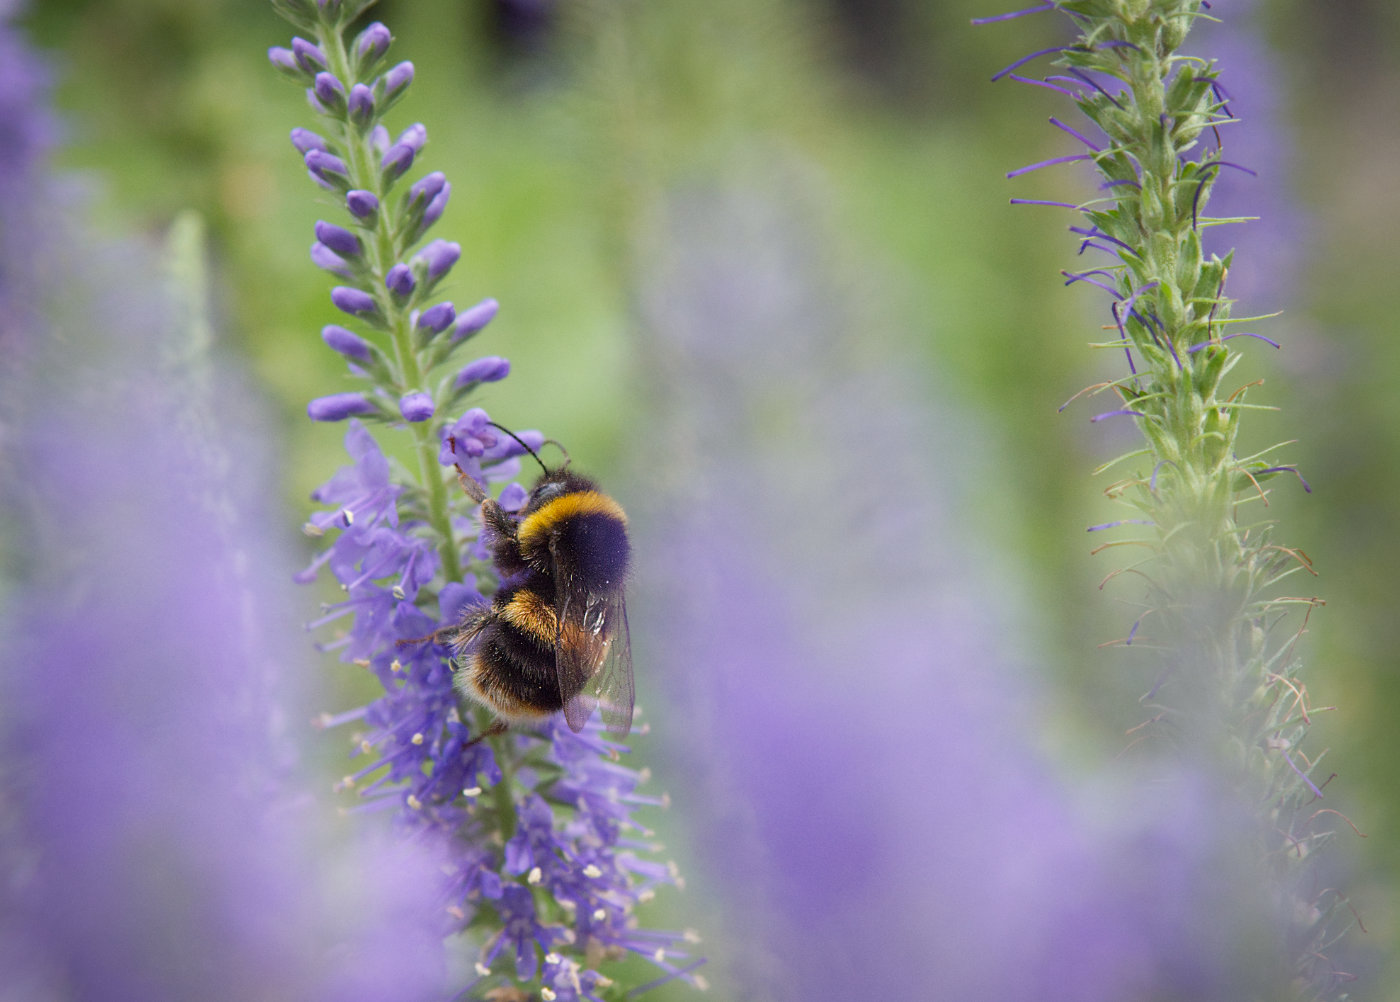
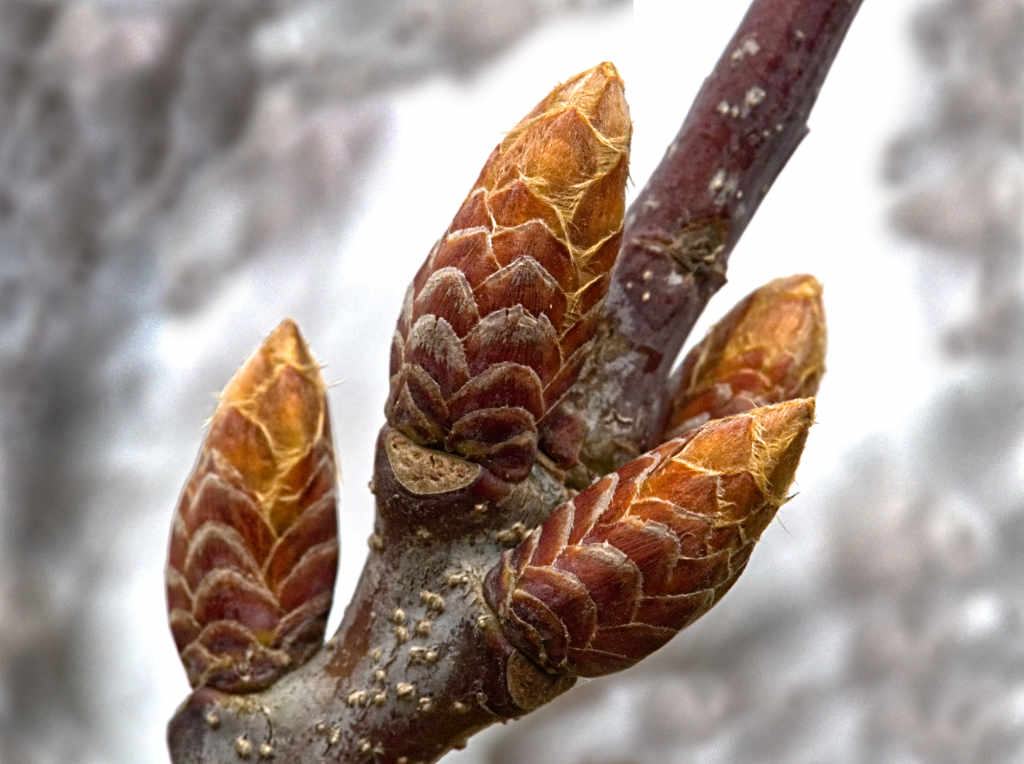
Here too, although they are going back now.
The colours, texture and curves are very attractive.
Some people carry a small tripod with an arm and clamp on, to anchor subjects in the wind a bit. Or even just a stick to push into the ground to hold it against the wind. Then perhaps you could have decreased the shutter speed and aperture to get a bit more depth of field.
Even with our Ollys' very quick series of exposures, a focus bracket is unlikely if it was very windy.
Is it a bit tight in the frame? I think a bit more room at the top would make a more conventional composition. |
May 4th |
| 95 |
May 22 |
Comment |
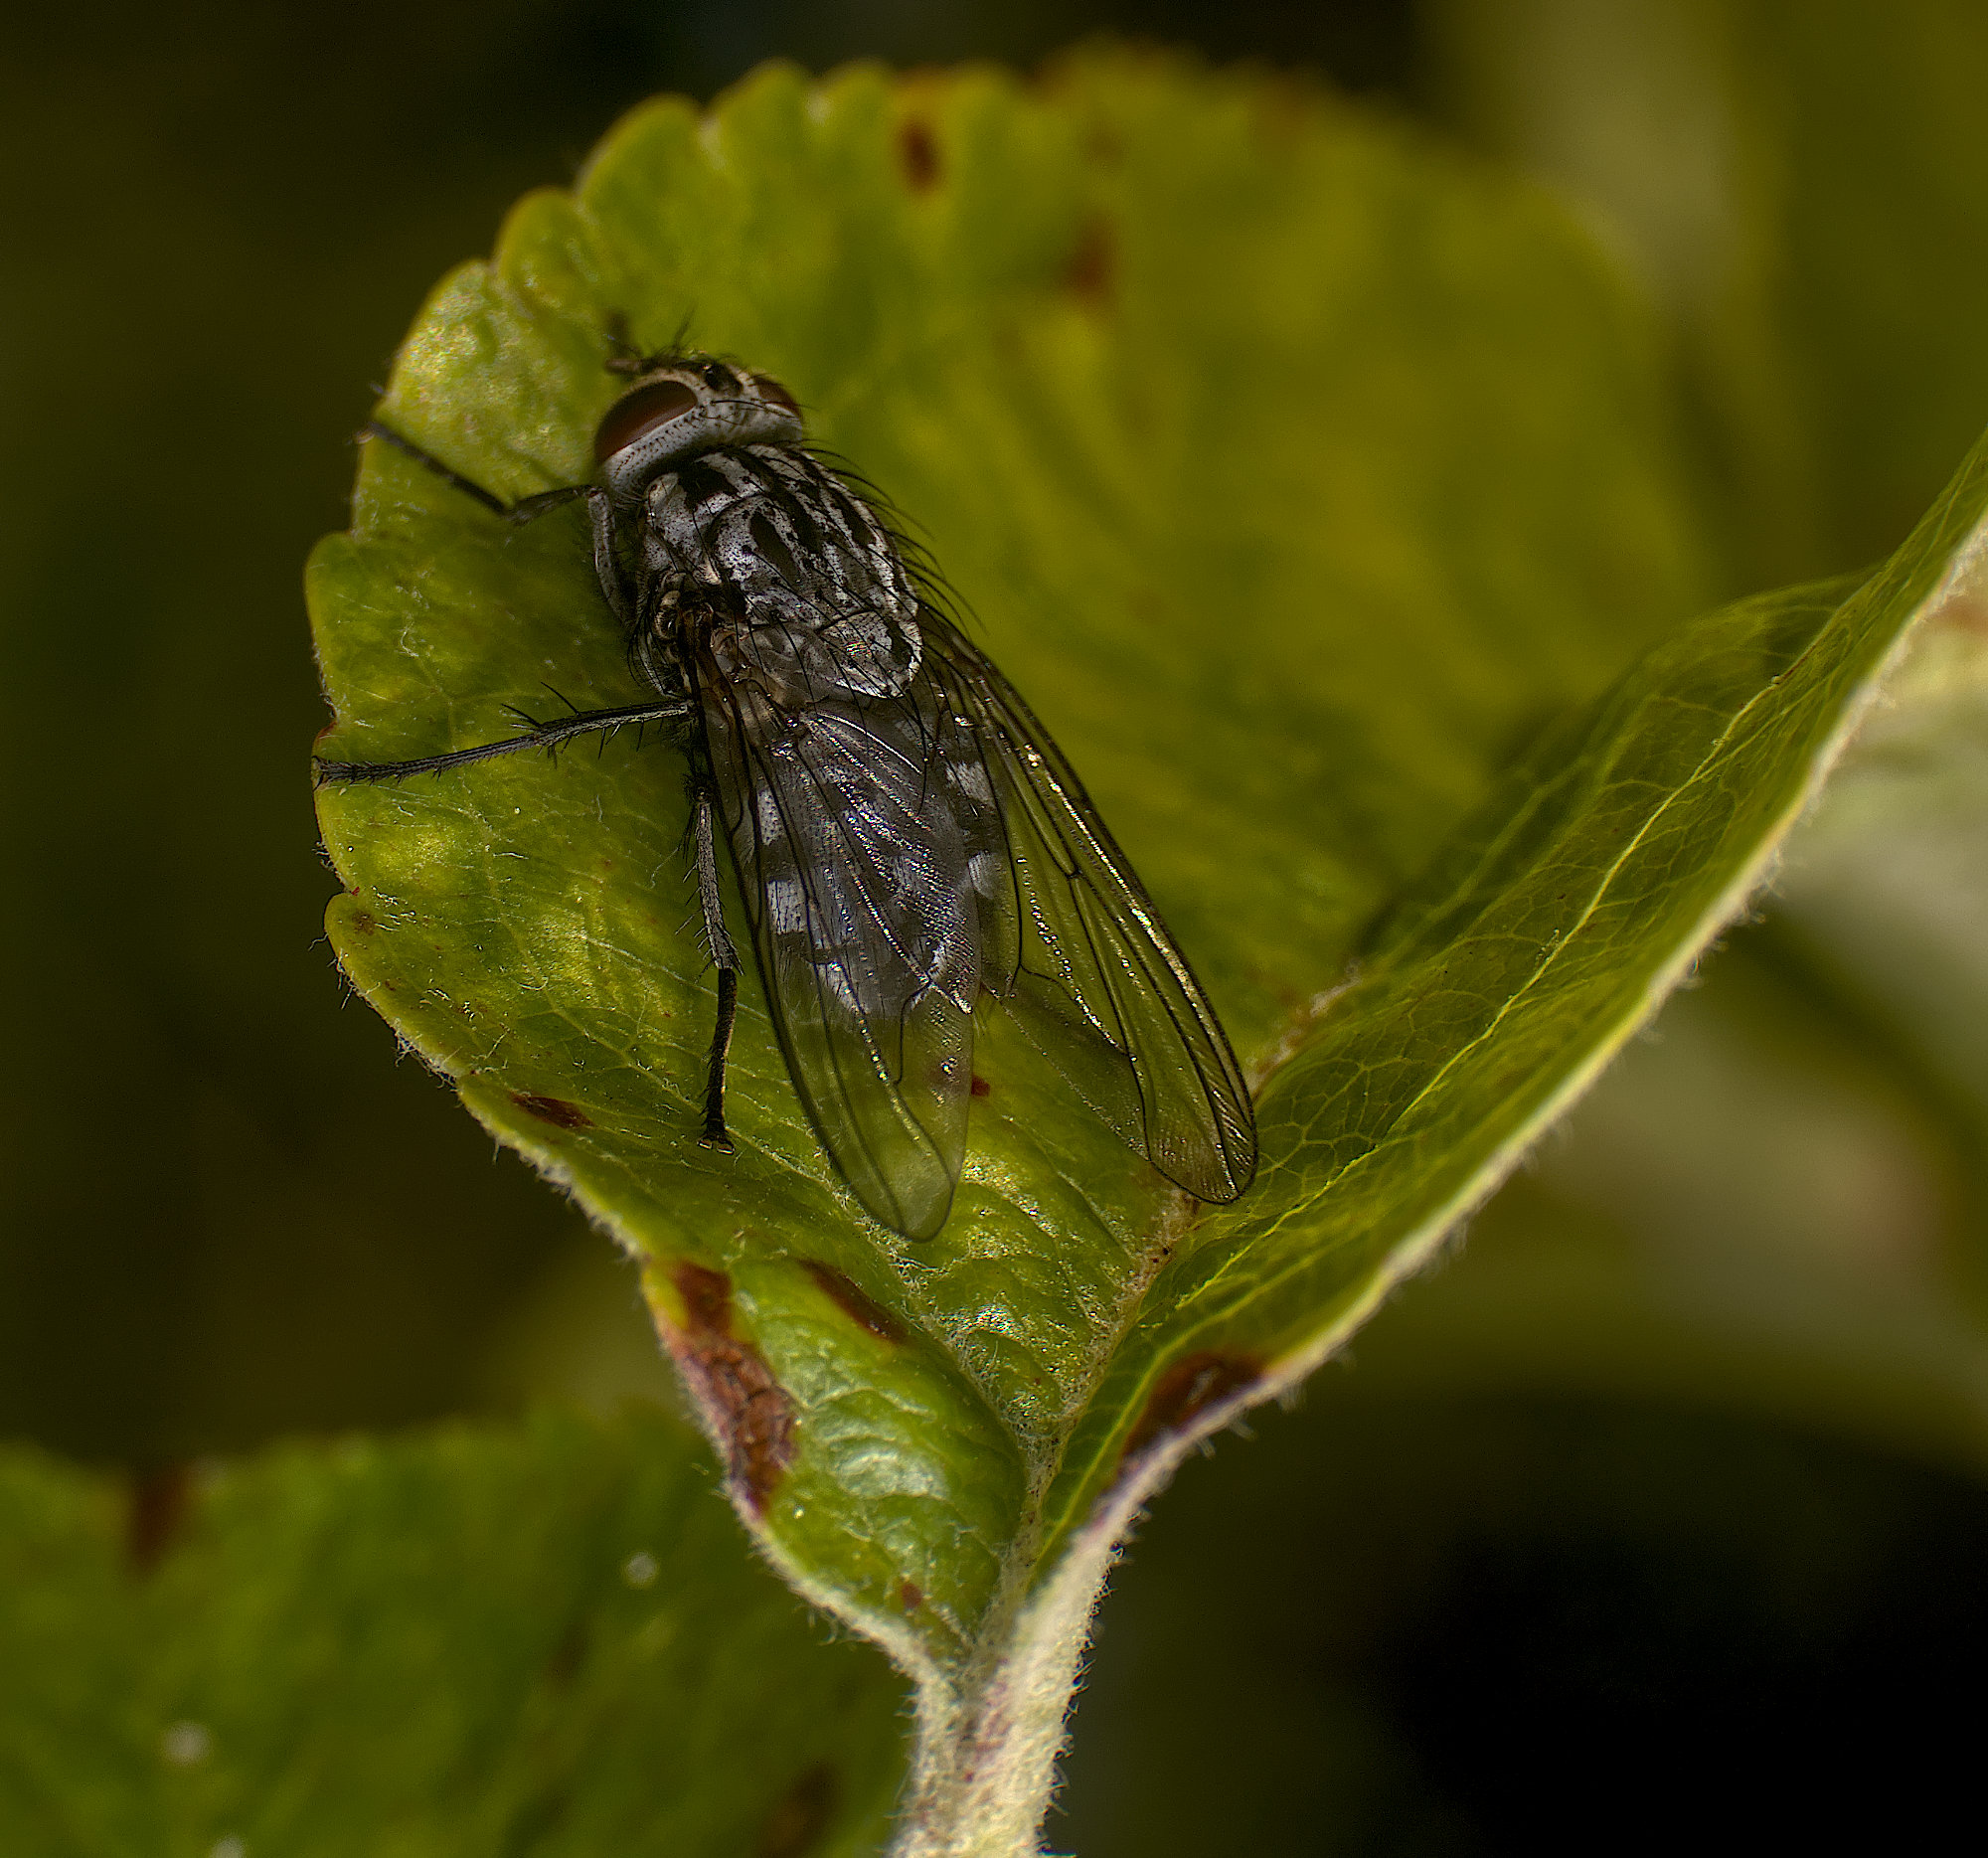
Looks distinctly like Bernie's picture from last month ;-) |
May 4th |
7 comments - 5 replies for Group 95
|
7 comments - 5 replies Total
|