|
| Group |
Round |
C/R |
Comment |
Date |
Image |
| 64 |
May 20 |
Reply |
Thanks, I'm trying to. No C-19 cases in my vicinity. Well, none that I know of. But it's not good in our cities either. We are still locked down by and large. Luckily we have a sizeable house and garden so never short of things to do or to photograph. I hope you are the same!
Well it's still on TV here, Doctor number umpteen. I think it has lost its way, it has been modernised, not-very-well-done special effects etc, and has lost its early charm. Still has a cult following, though. |
May 14th |
| 64 |
May 20 |
Reply |
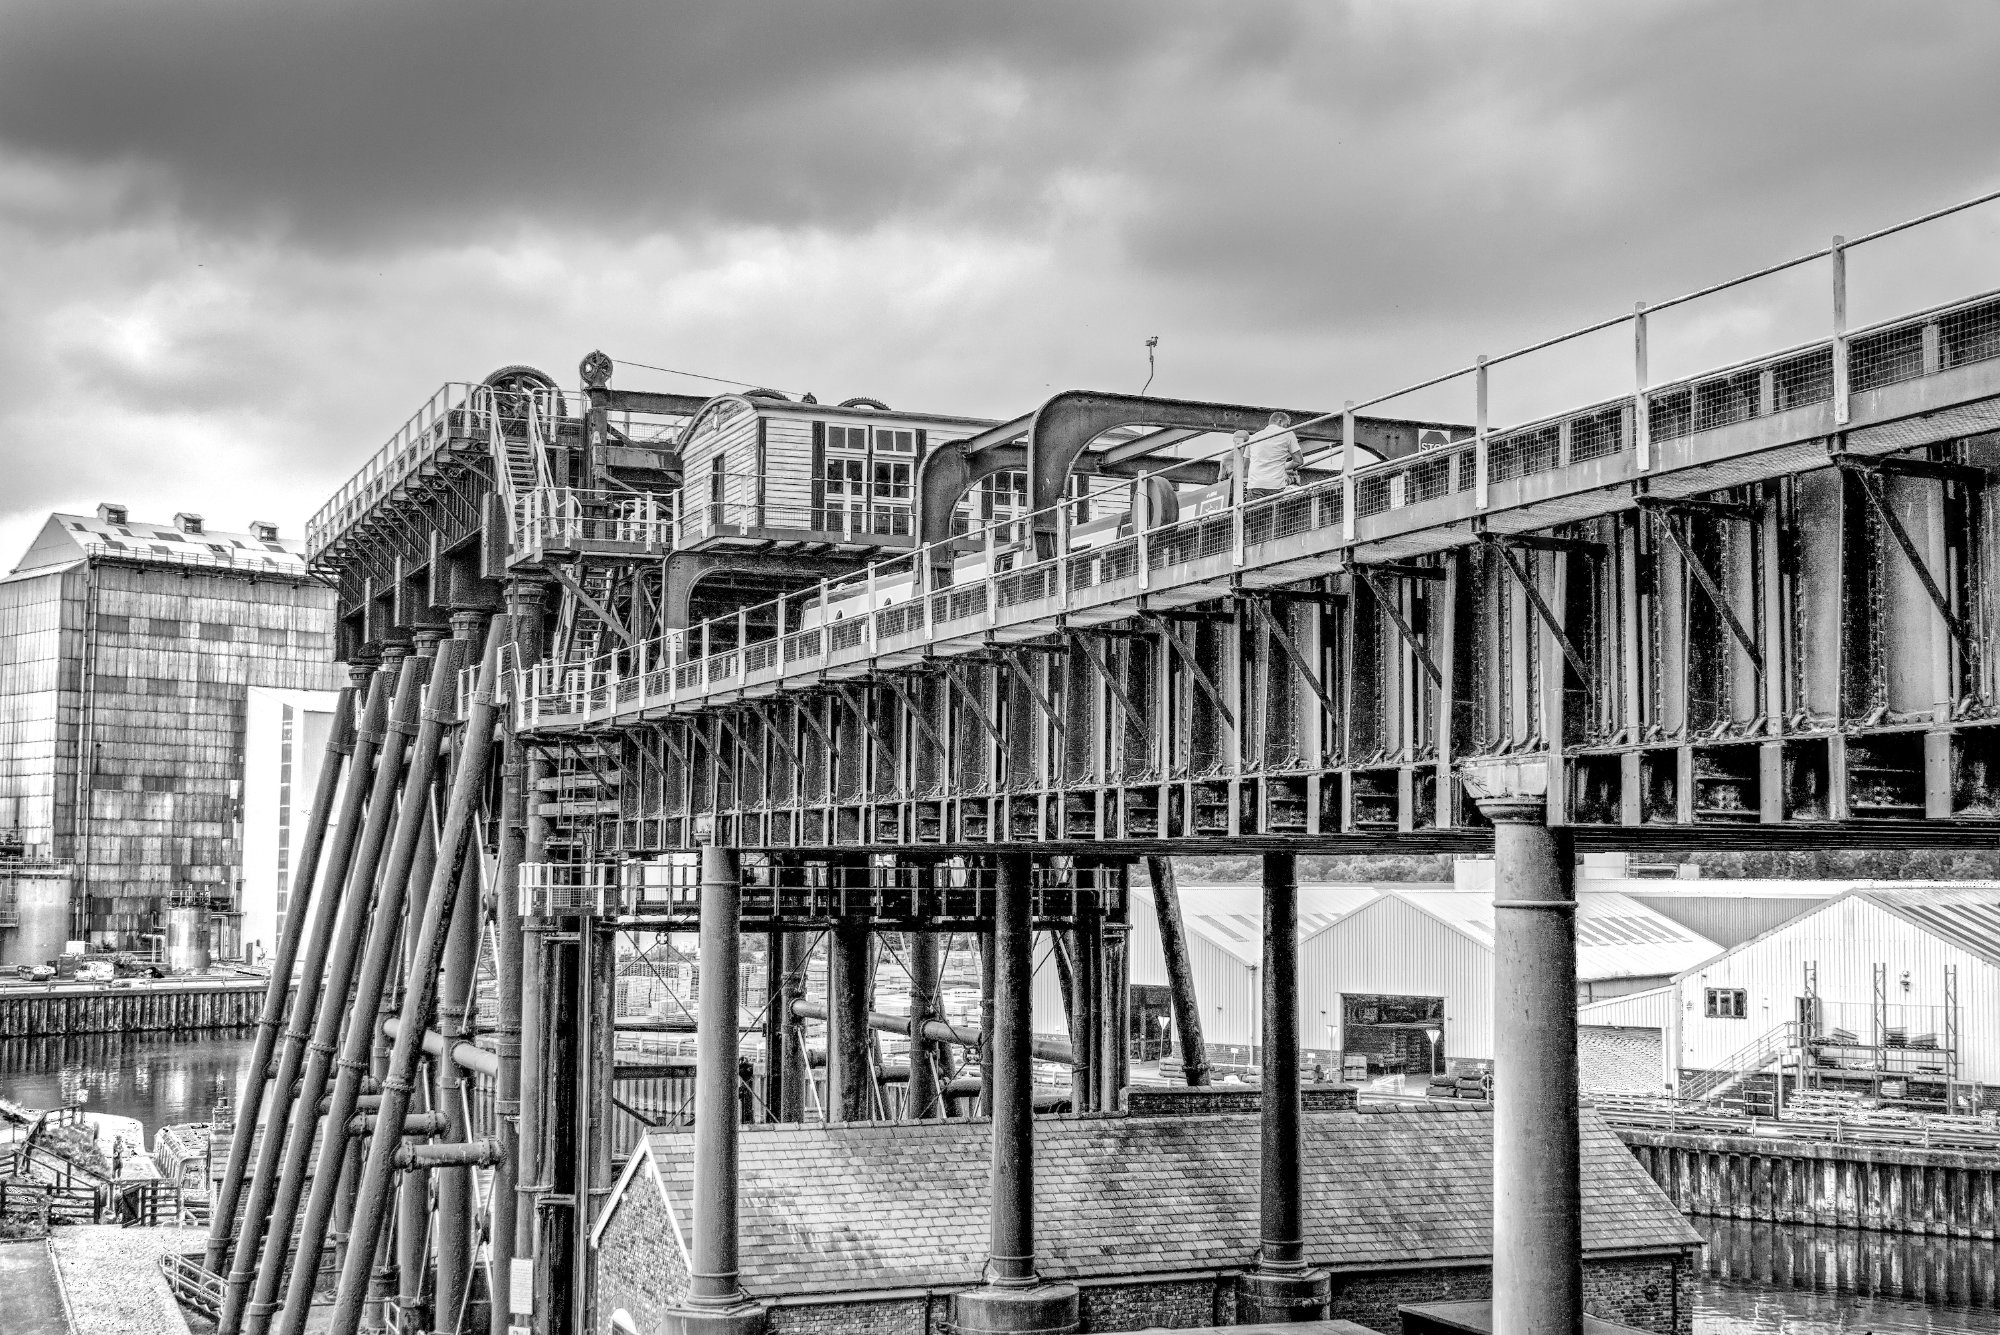
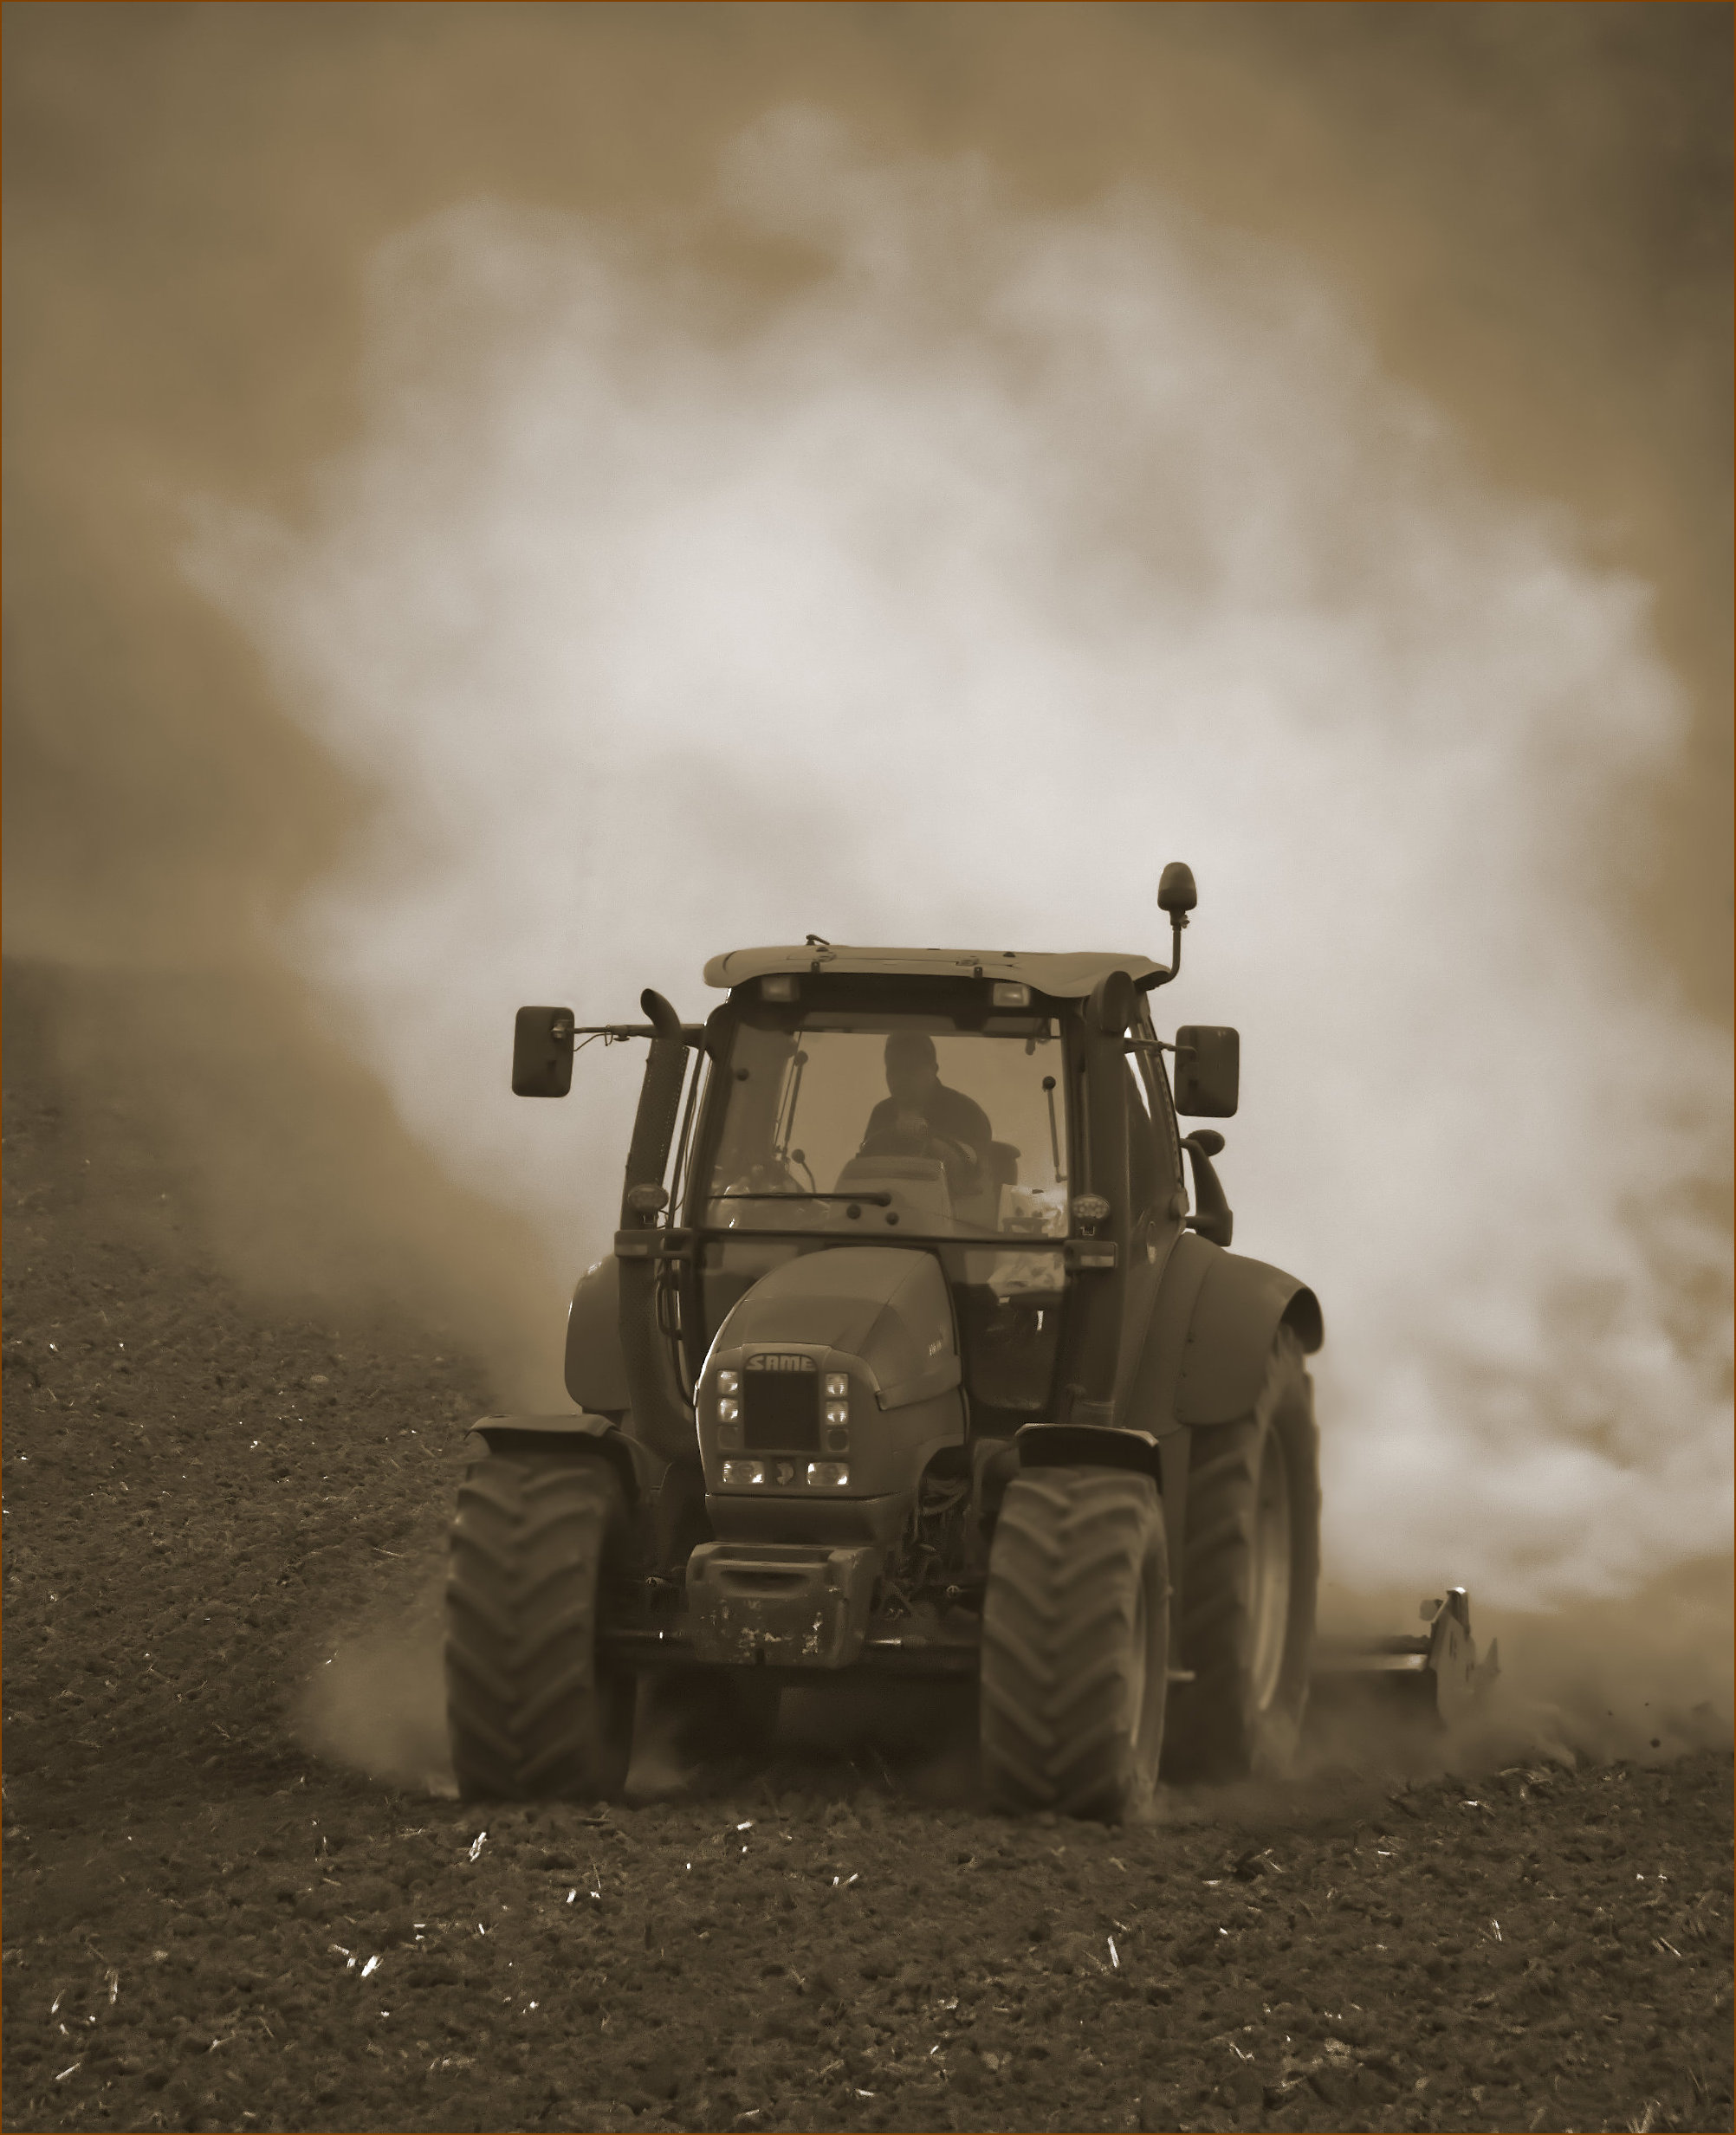
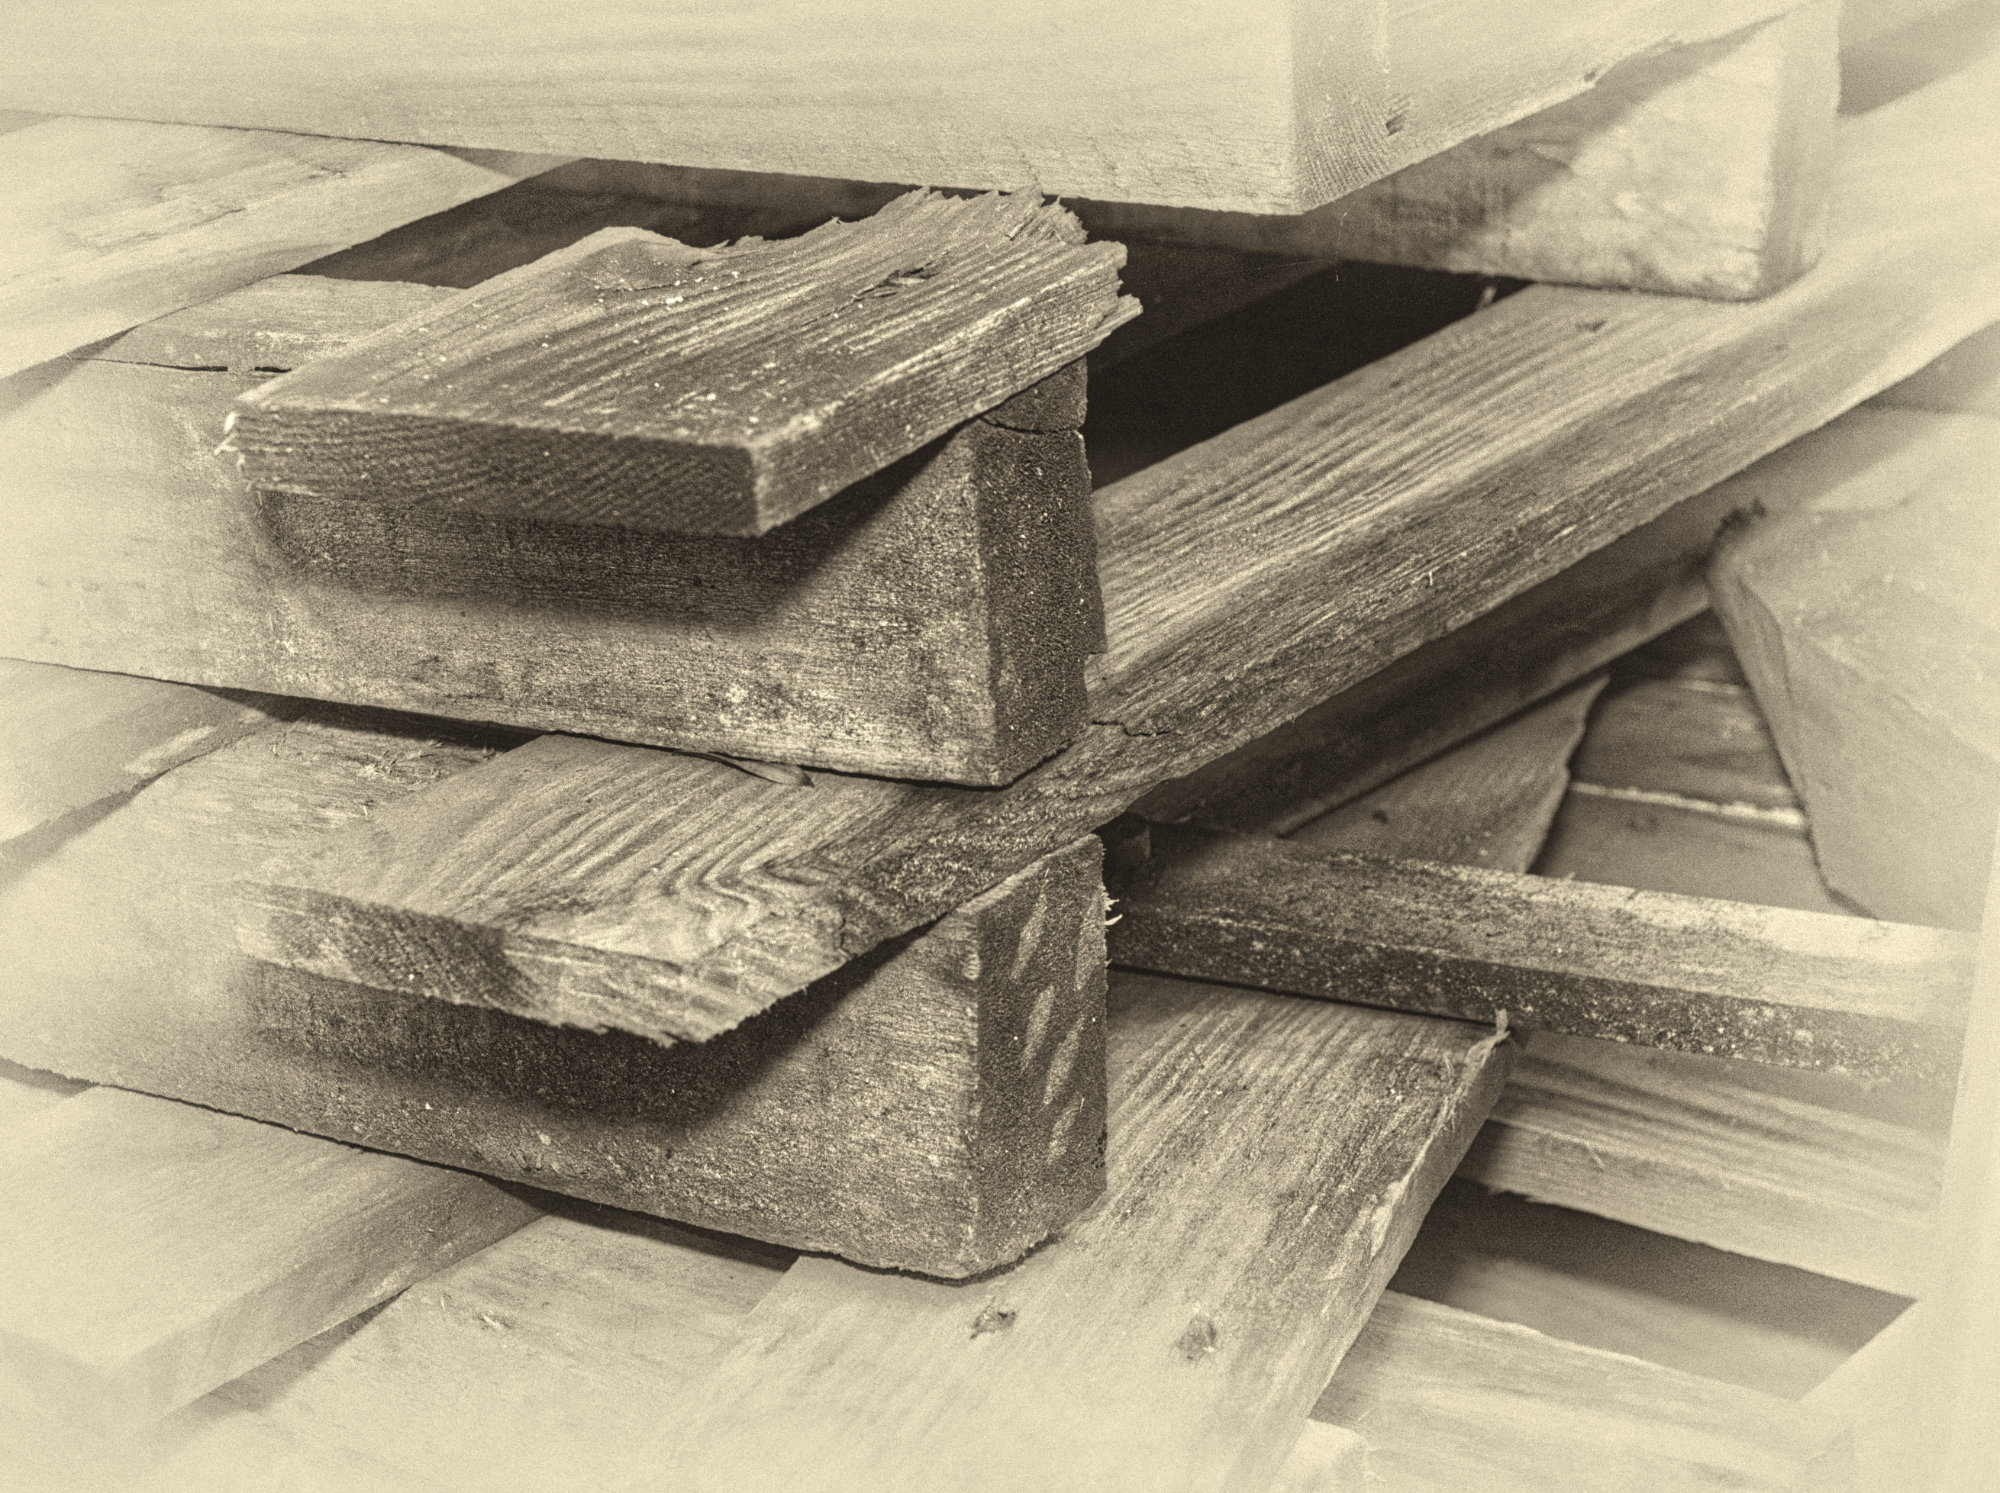
Thanks, Stan. Yes, I see what you mean. The pile of pallets is still there, I might go out and try that tomorrow! |
May 8th |
| 64 |
May 20 |
Comment |
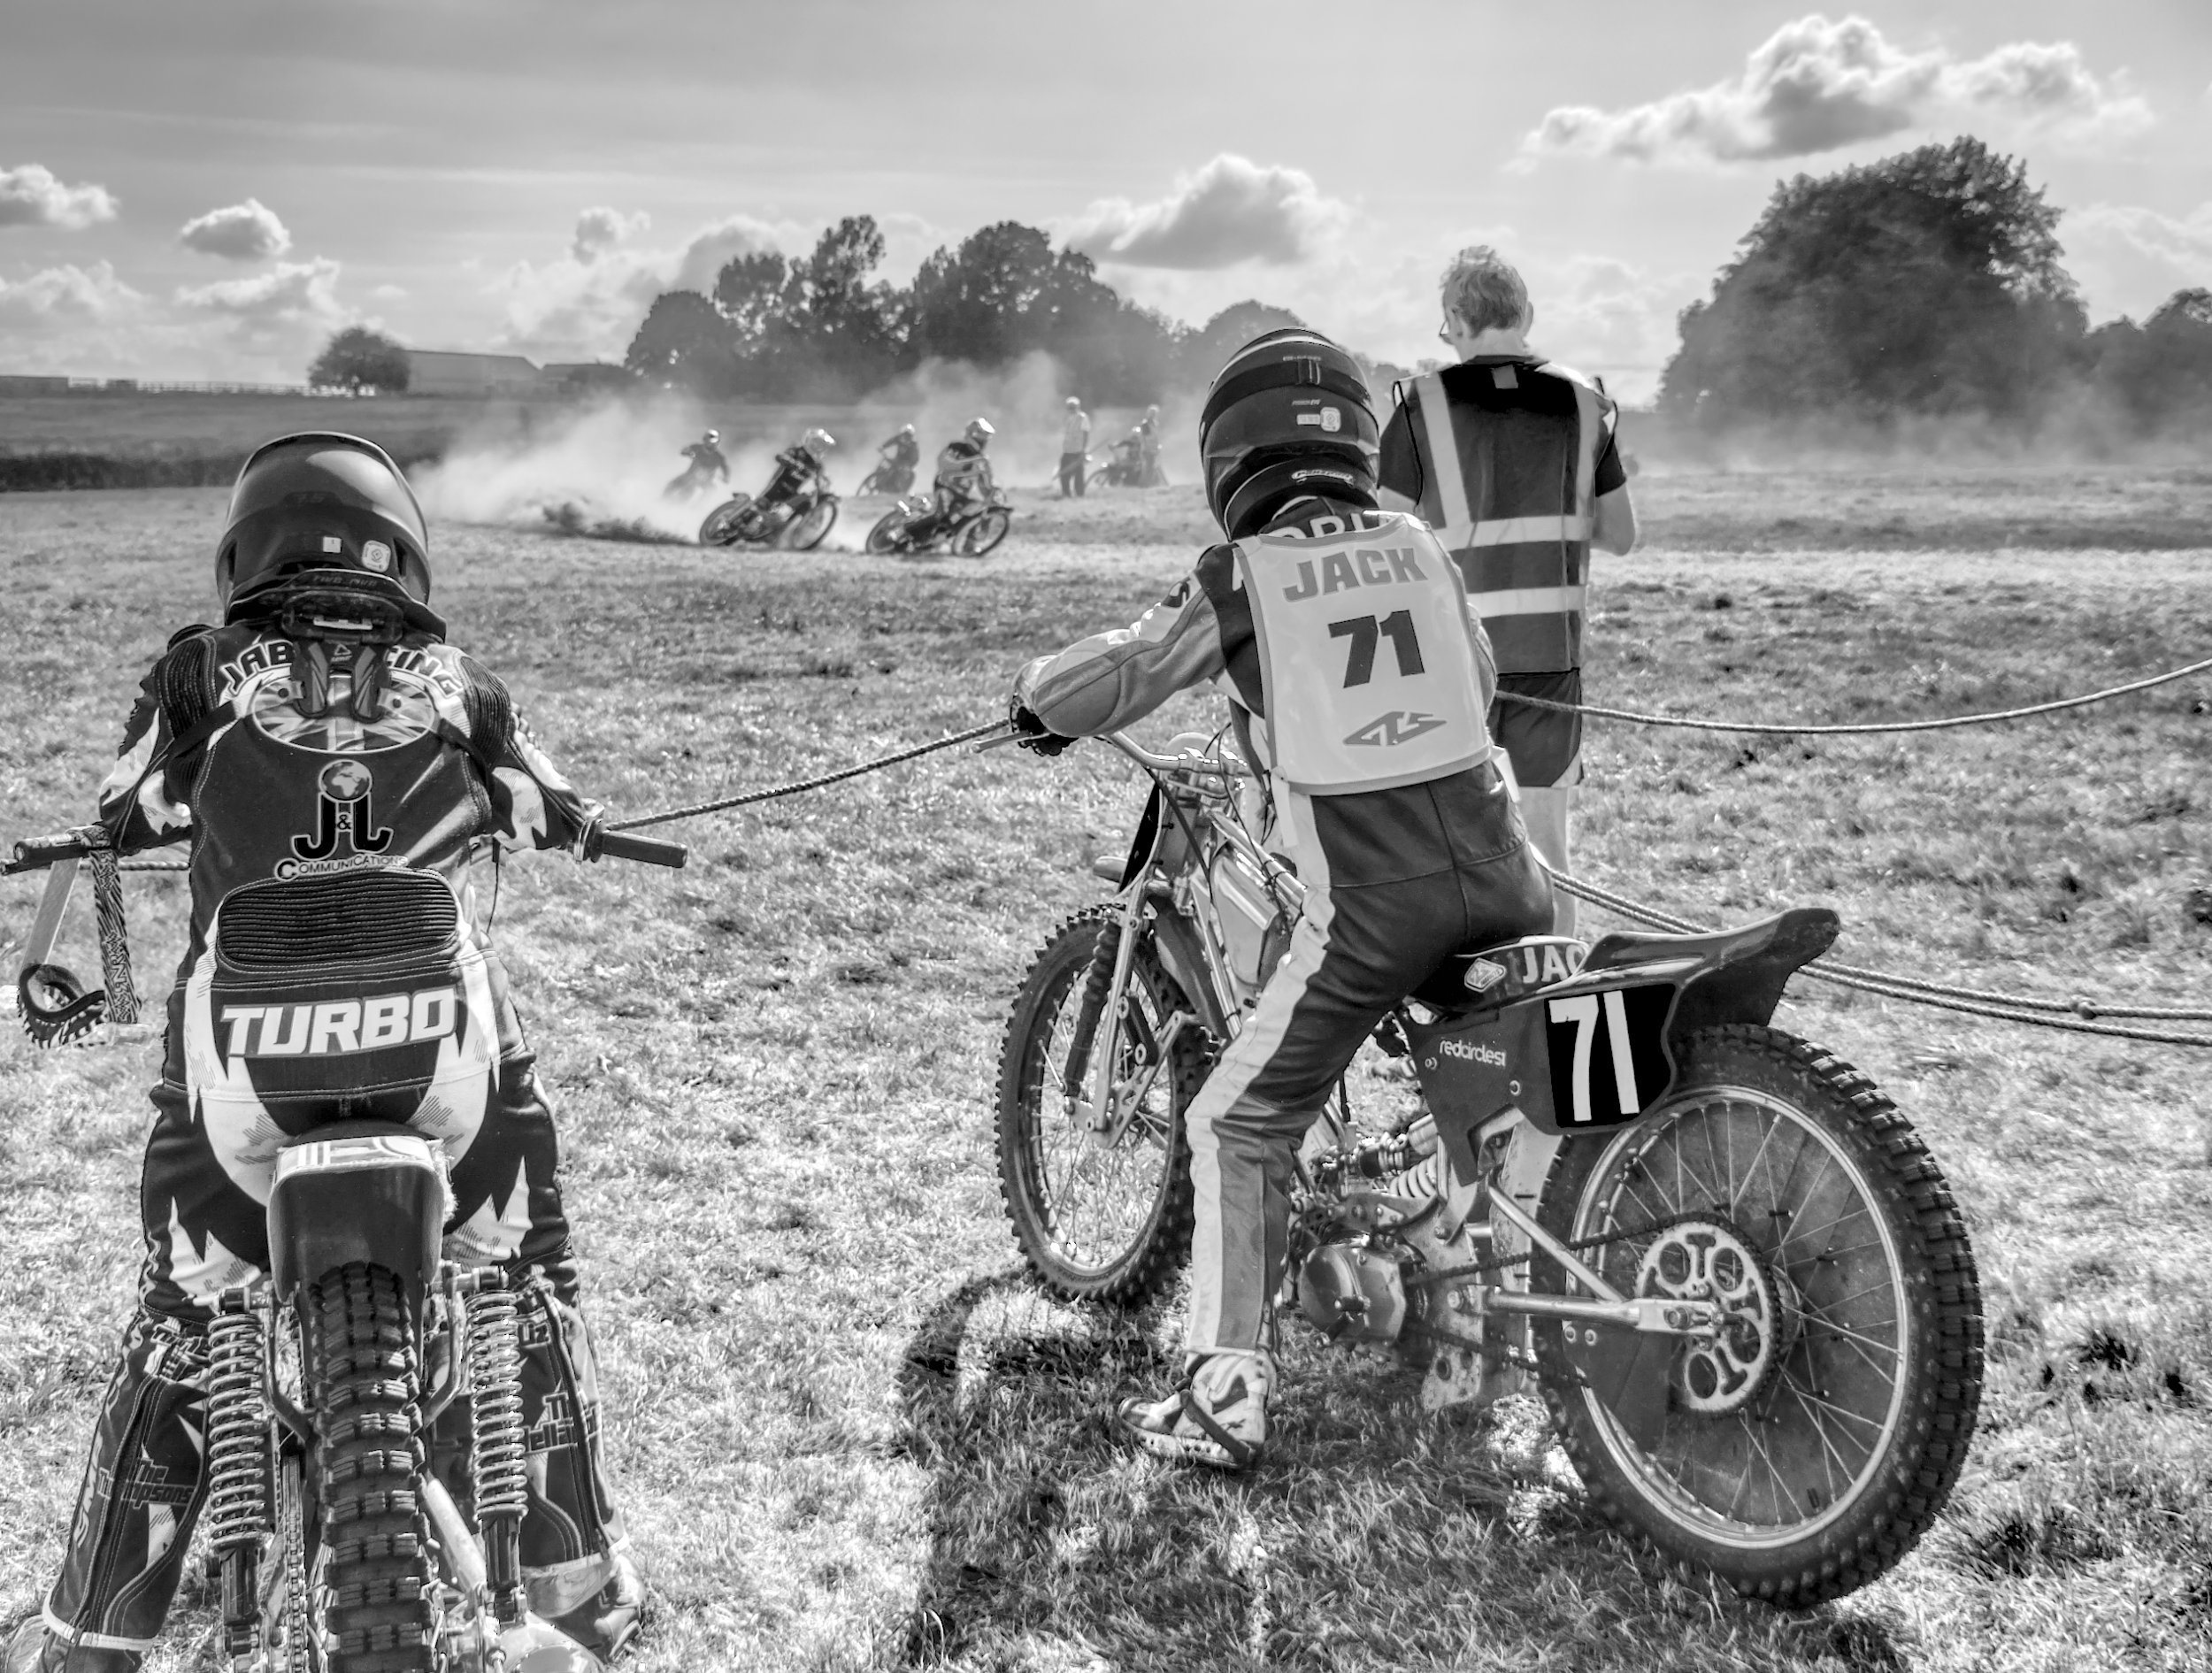
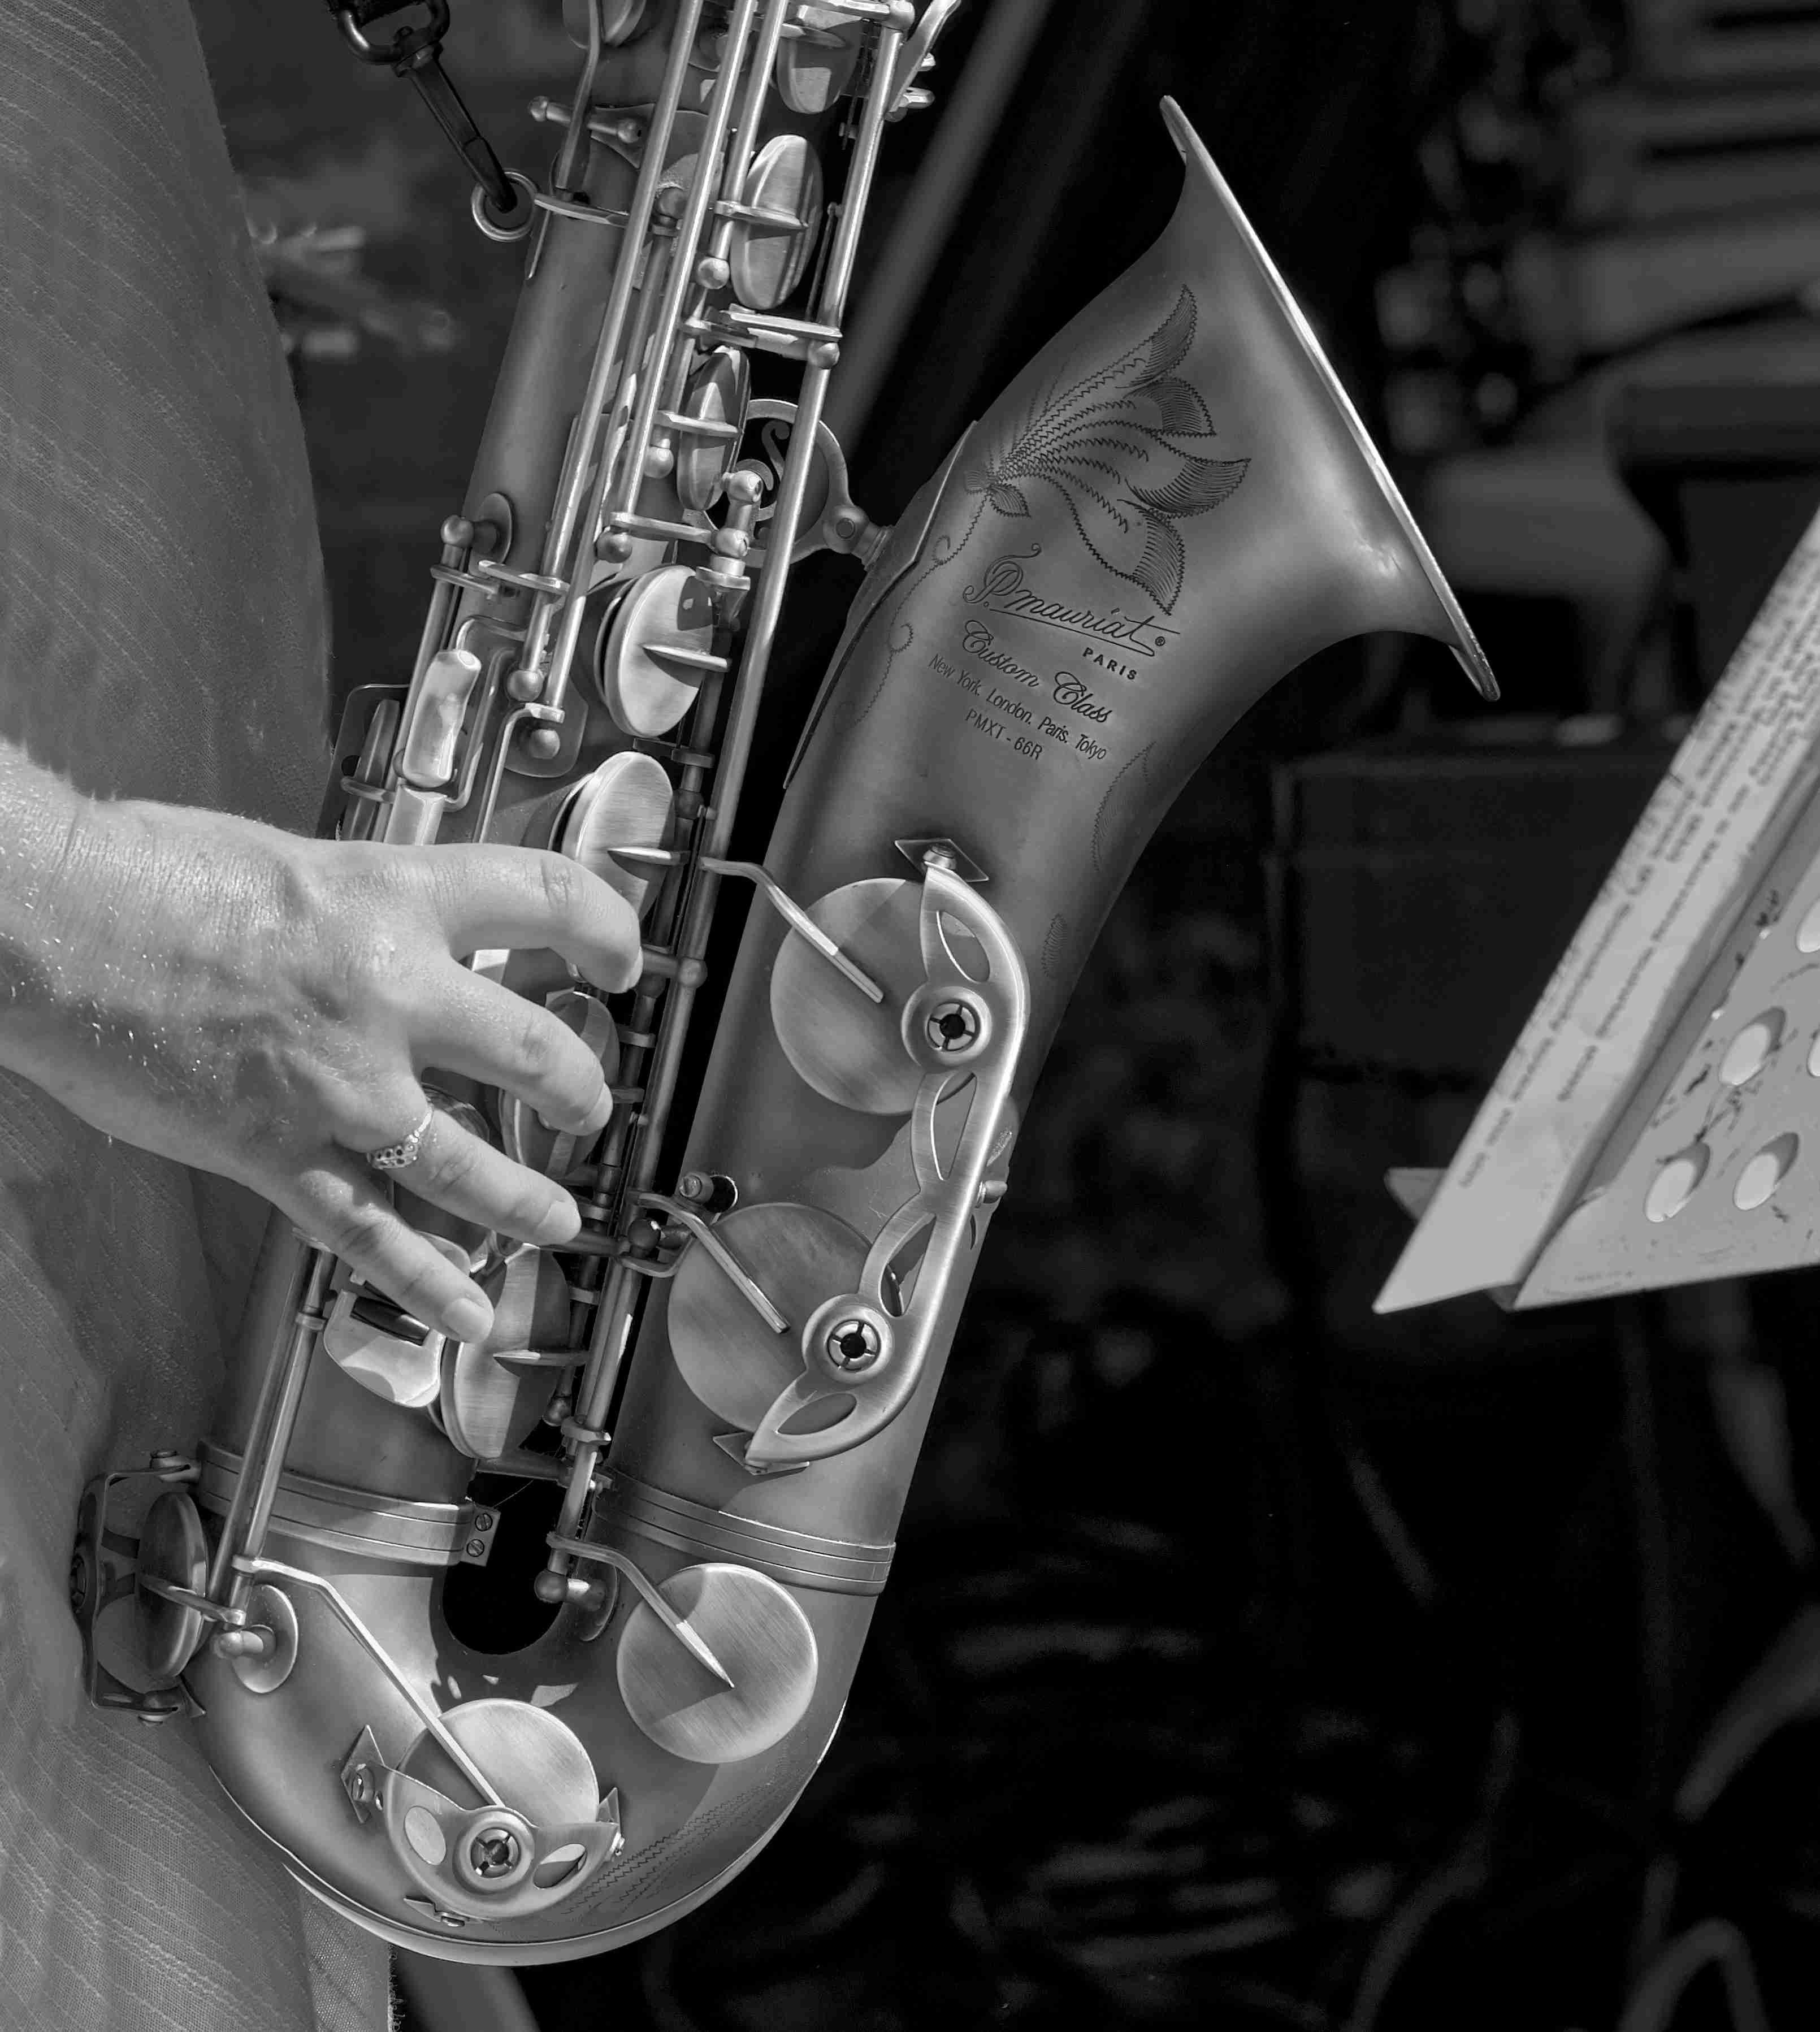
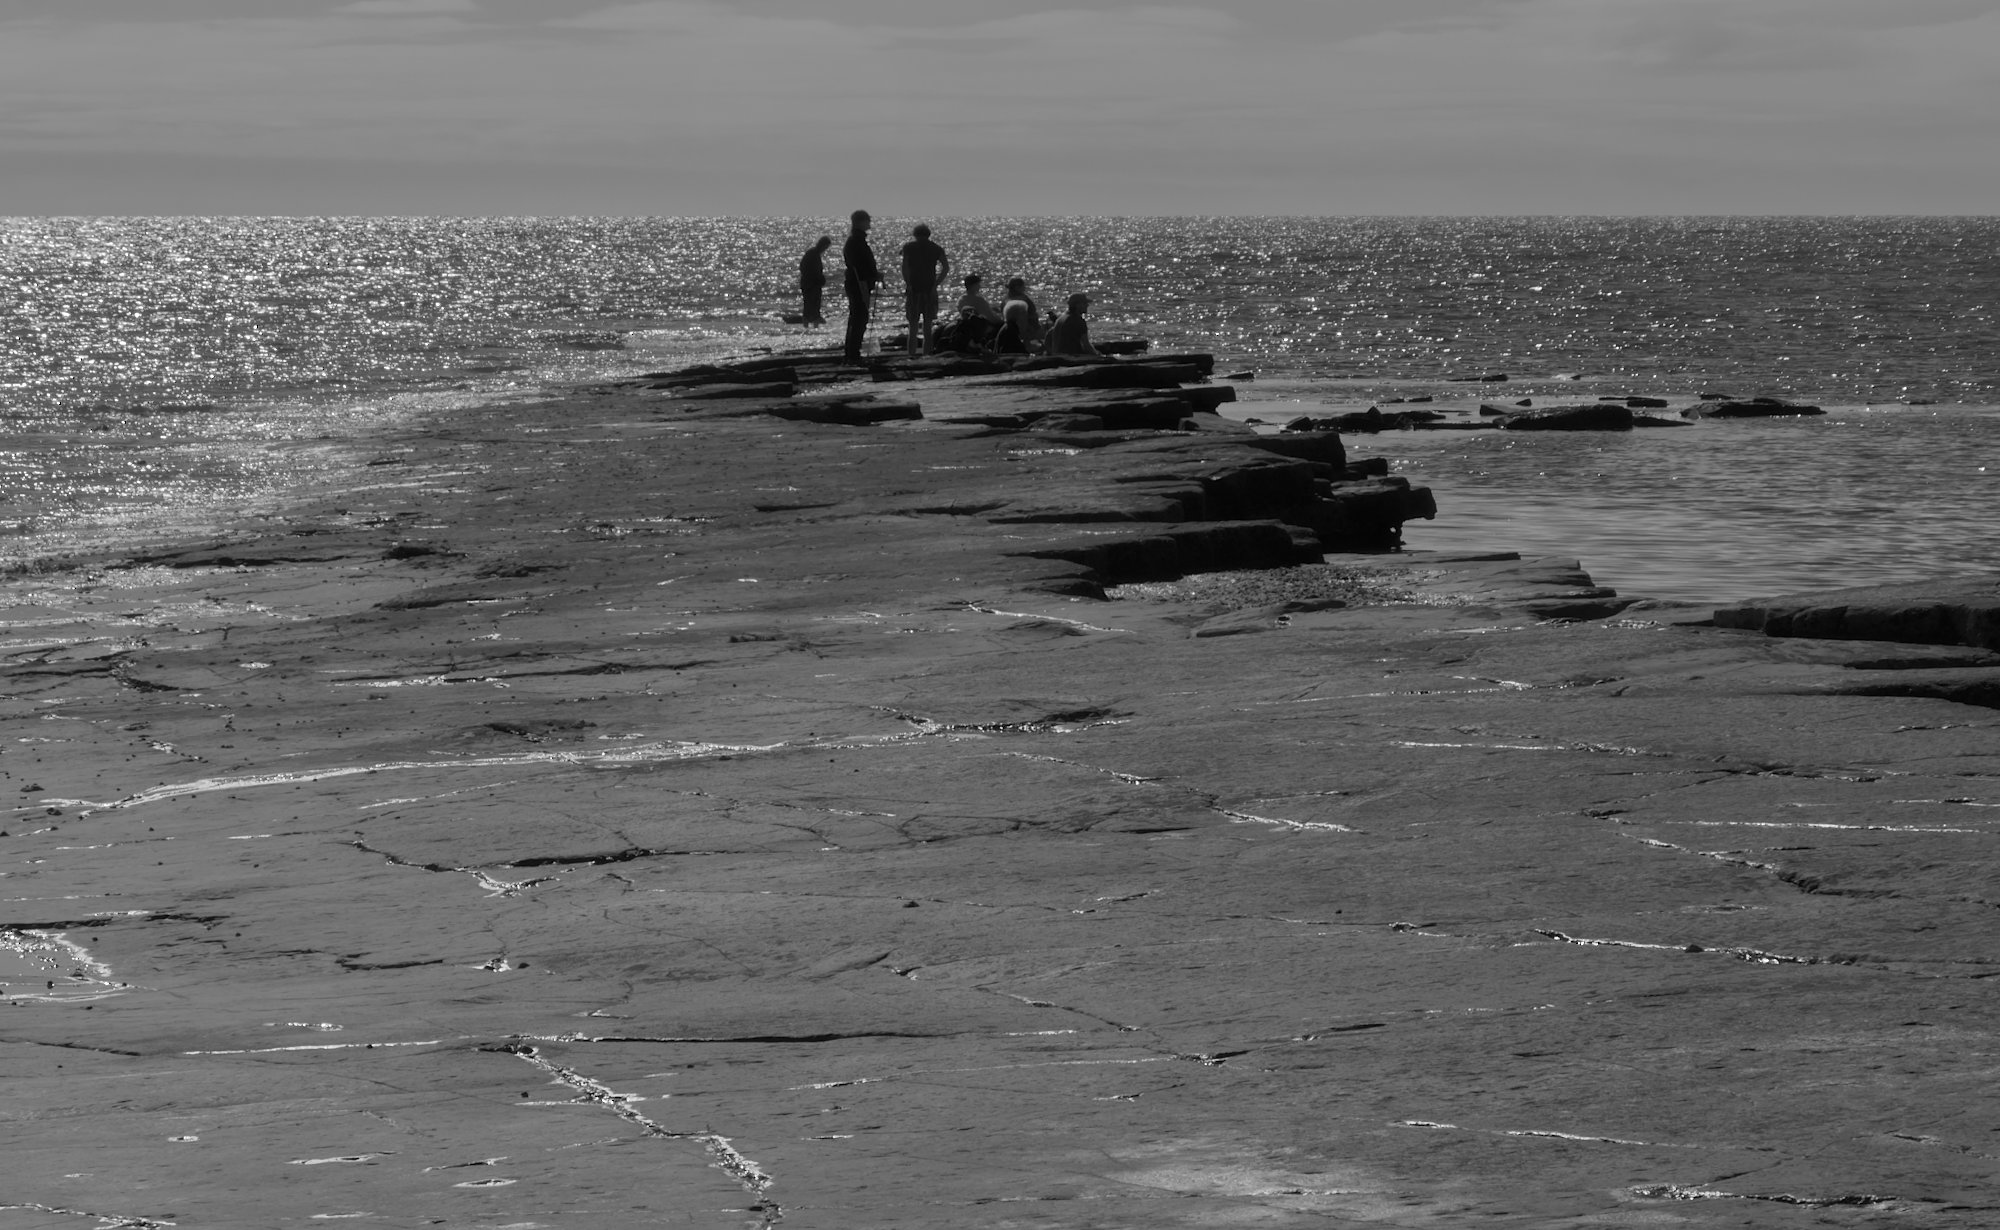
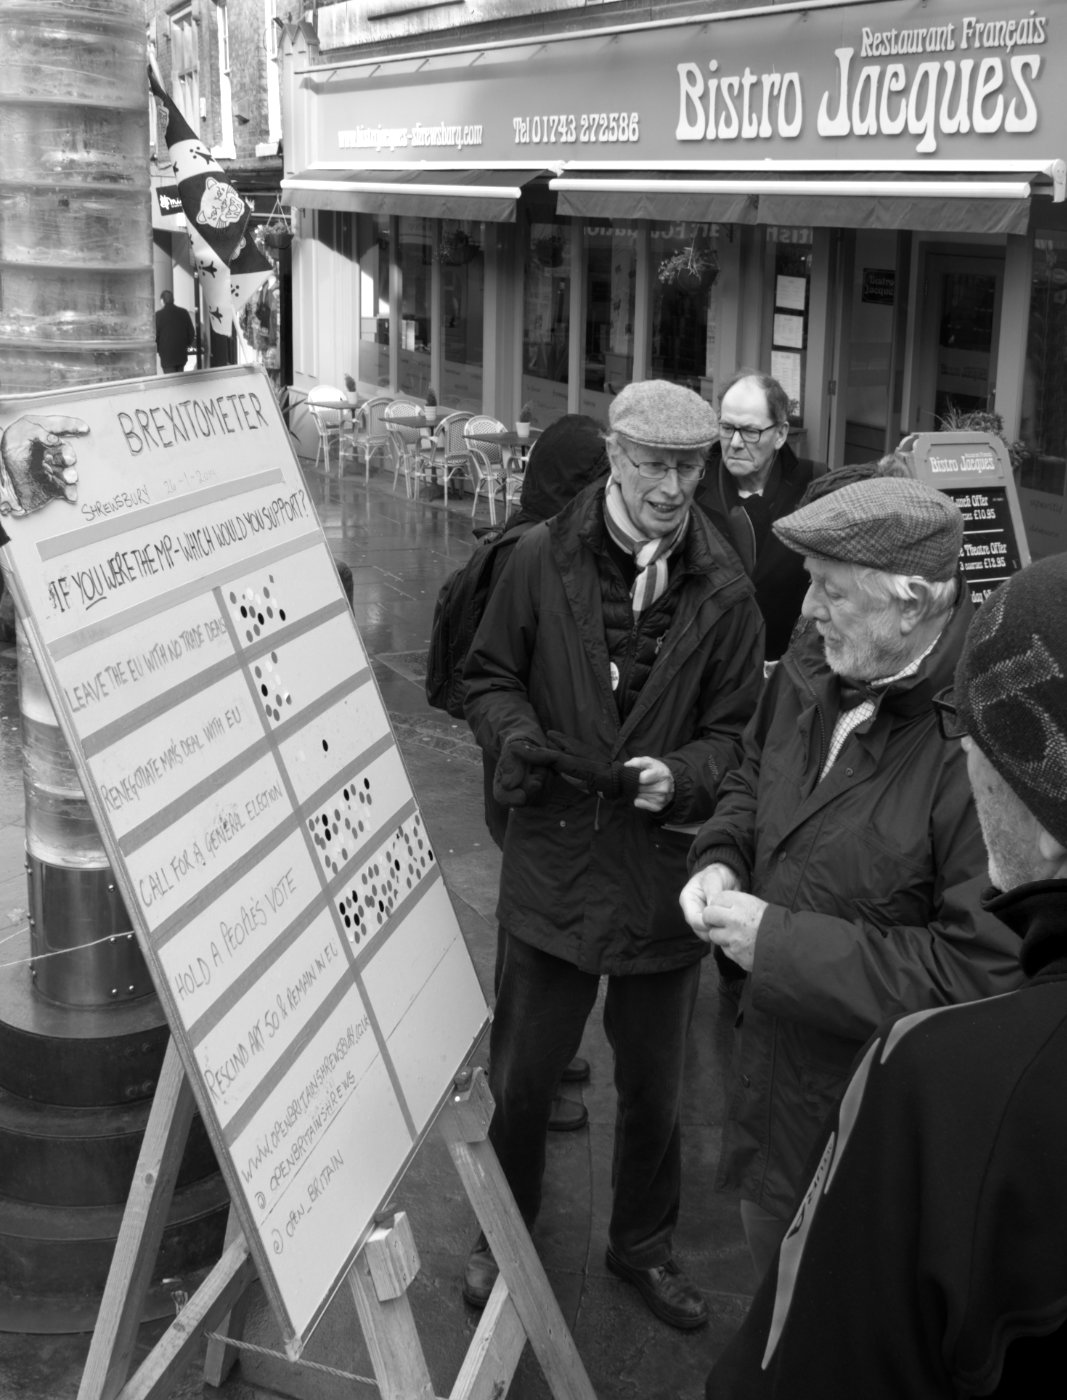
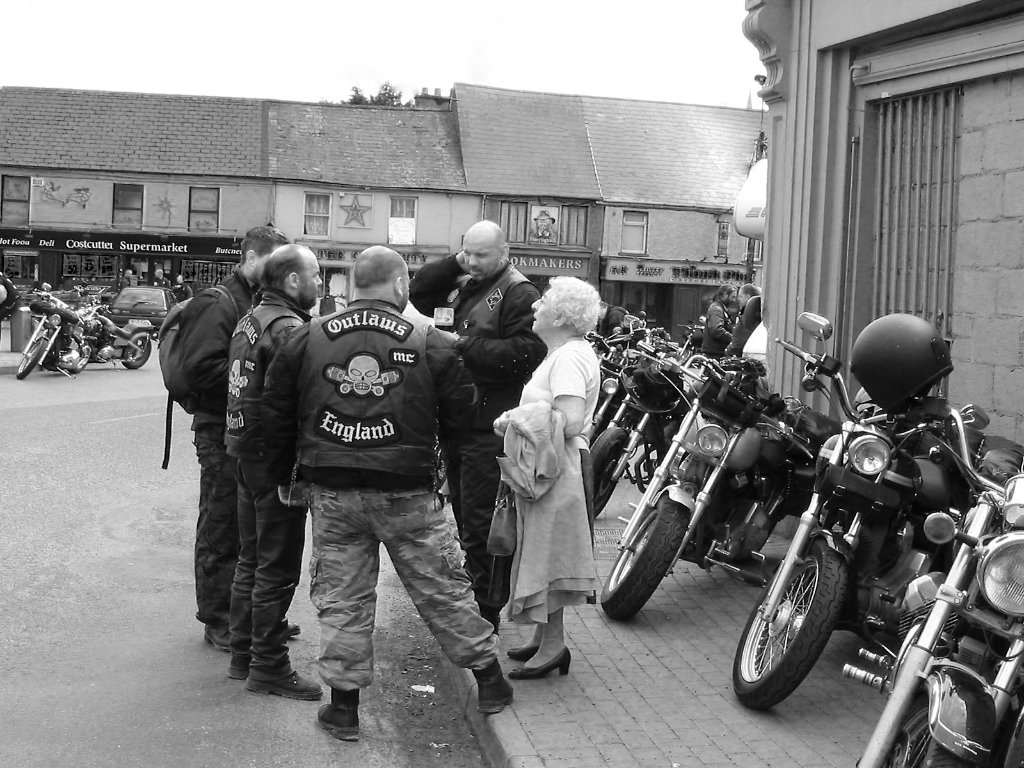
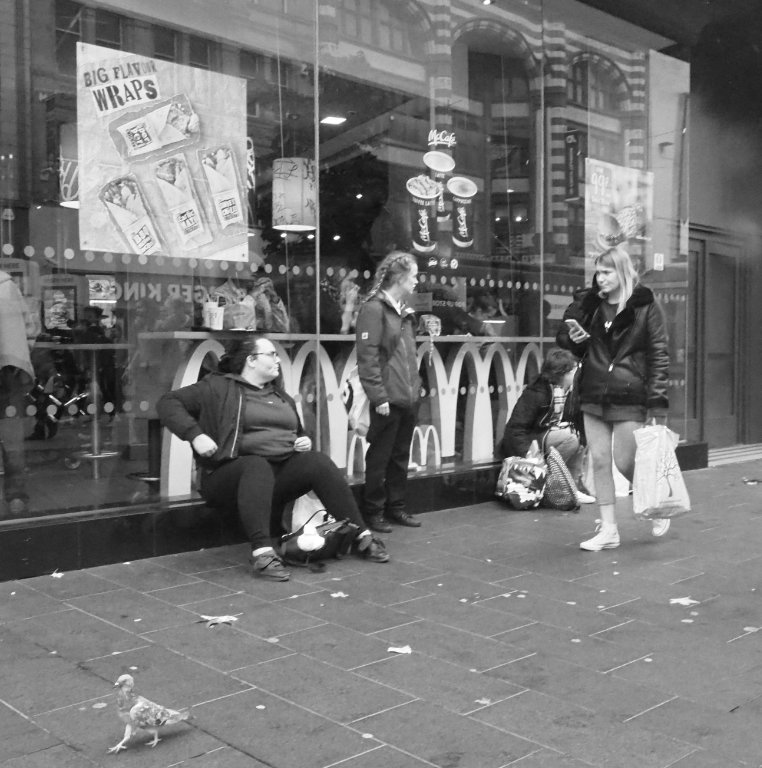
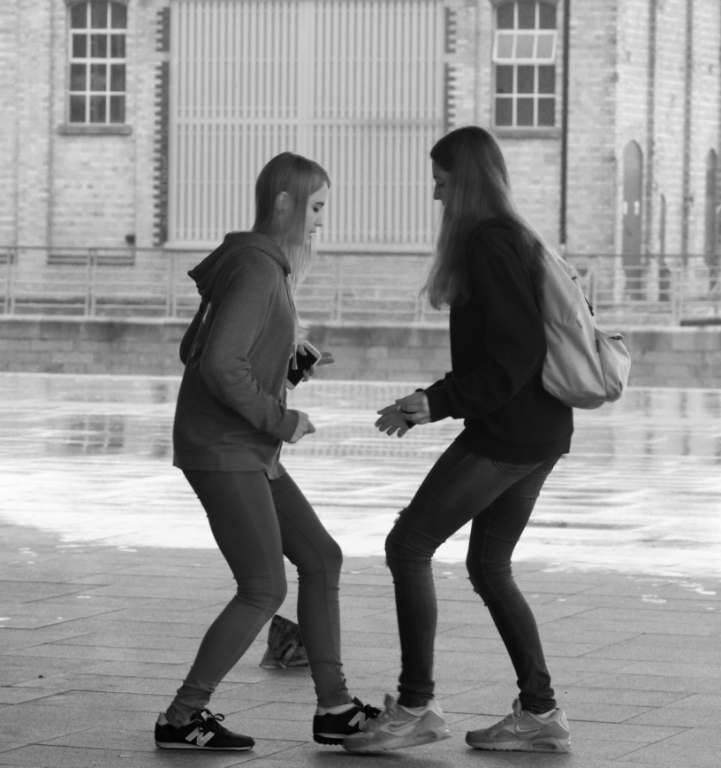
Street photography is what you make it, I think. It's true that if you are trying to depict someone doing something they wouldn't want or be able to pose for, then candid is necessary, and generally that's what I do. However people like this just want to be noticed and paid attention to, and it's what they do and who they are, so I see nothing at all wrong with it.
So I think it's an unusual twchnique resulting in an interesting street photo, full of character. The blur on his strumming hand give some nice action, it's not a static pose. I'm not sure his feet are the most interesting part of him, but what the heck, it's fun! |
May 7th |
| 64 |
May 20 |
Comment |
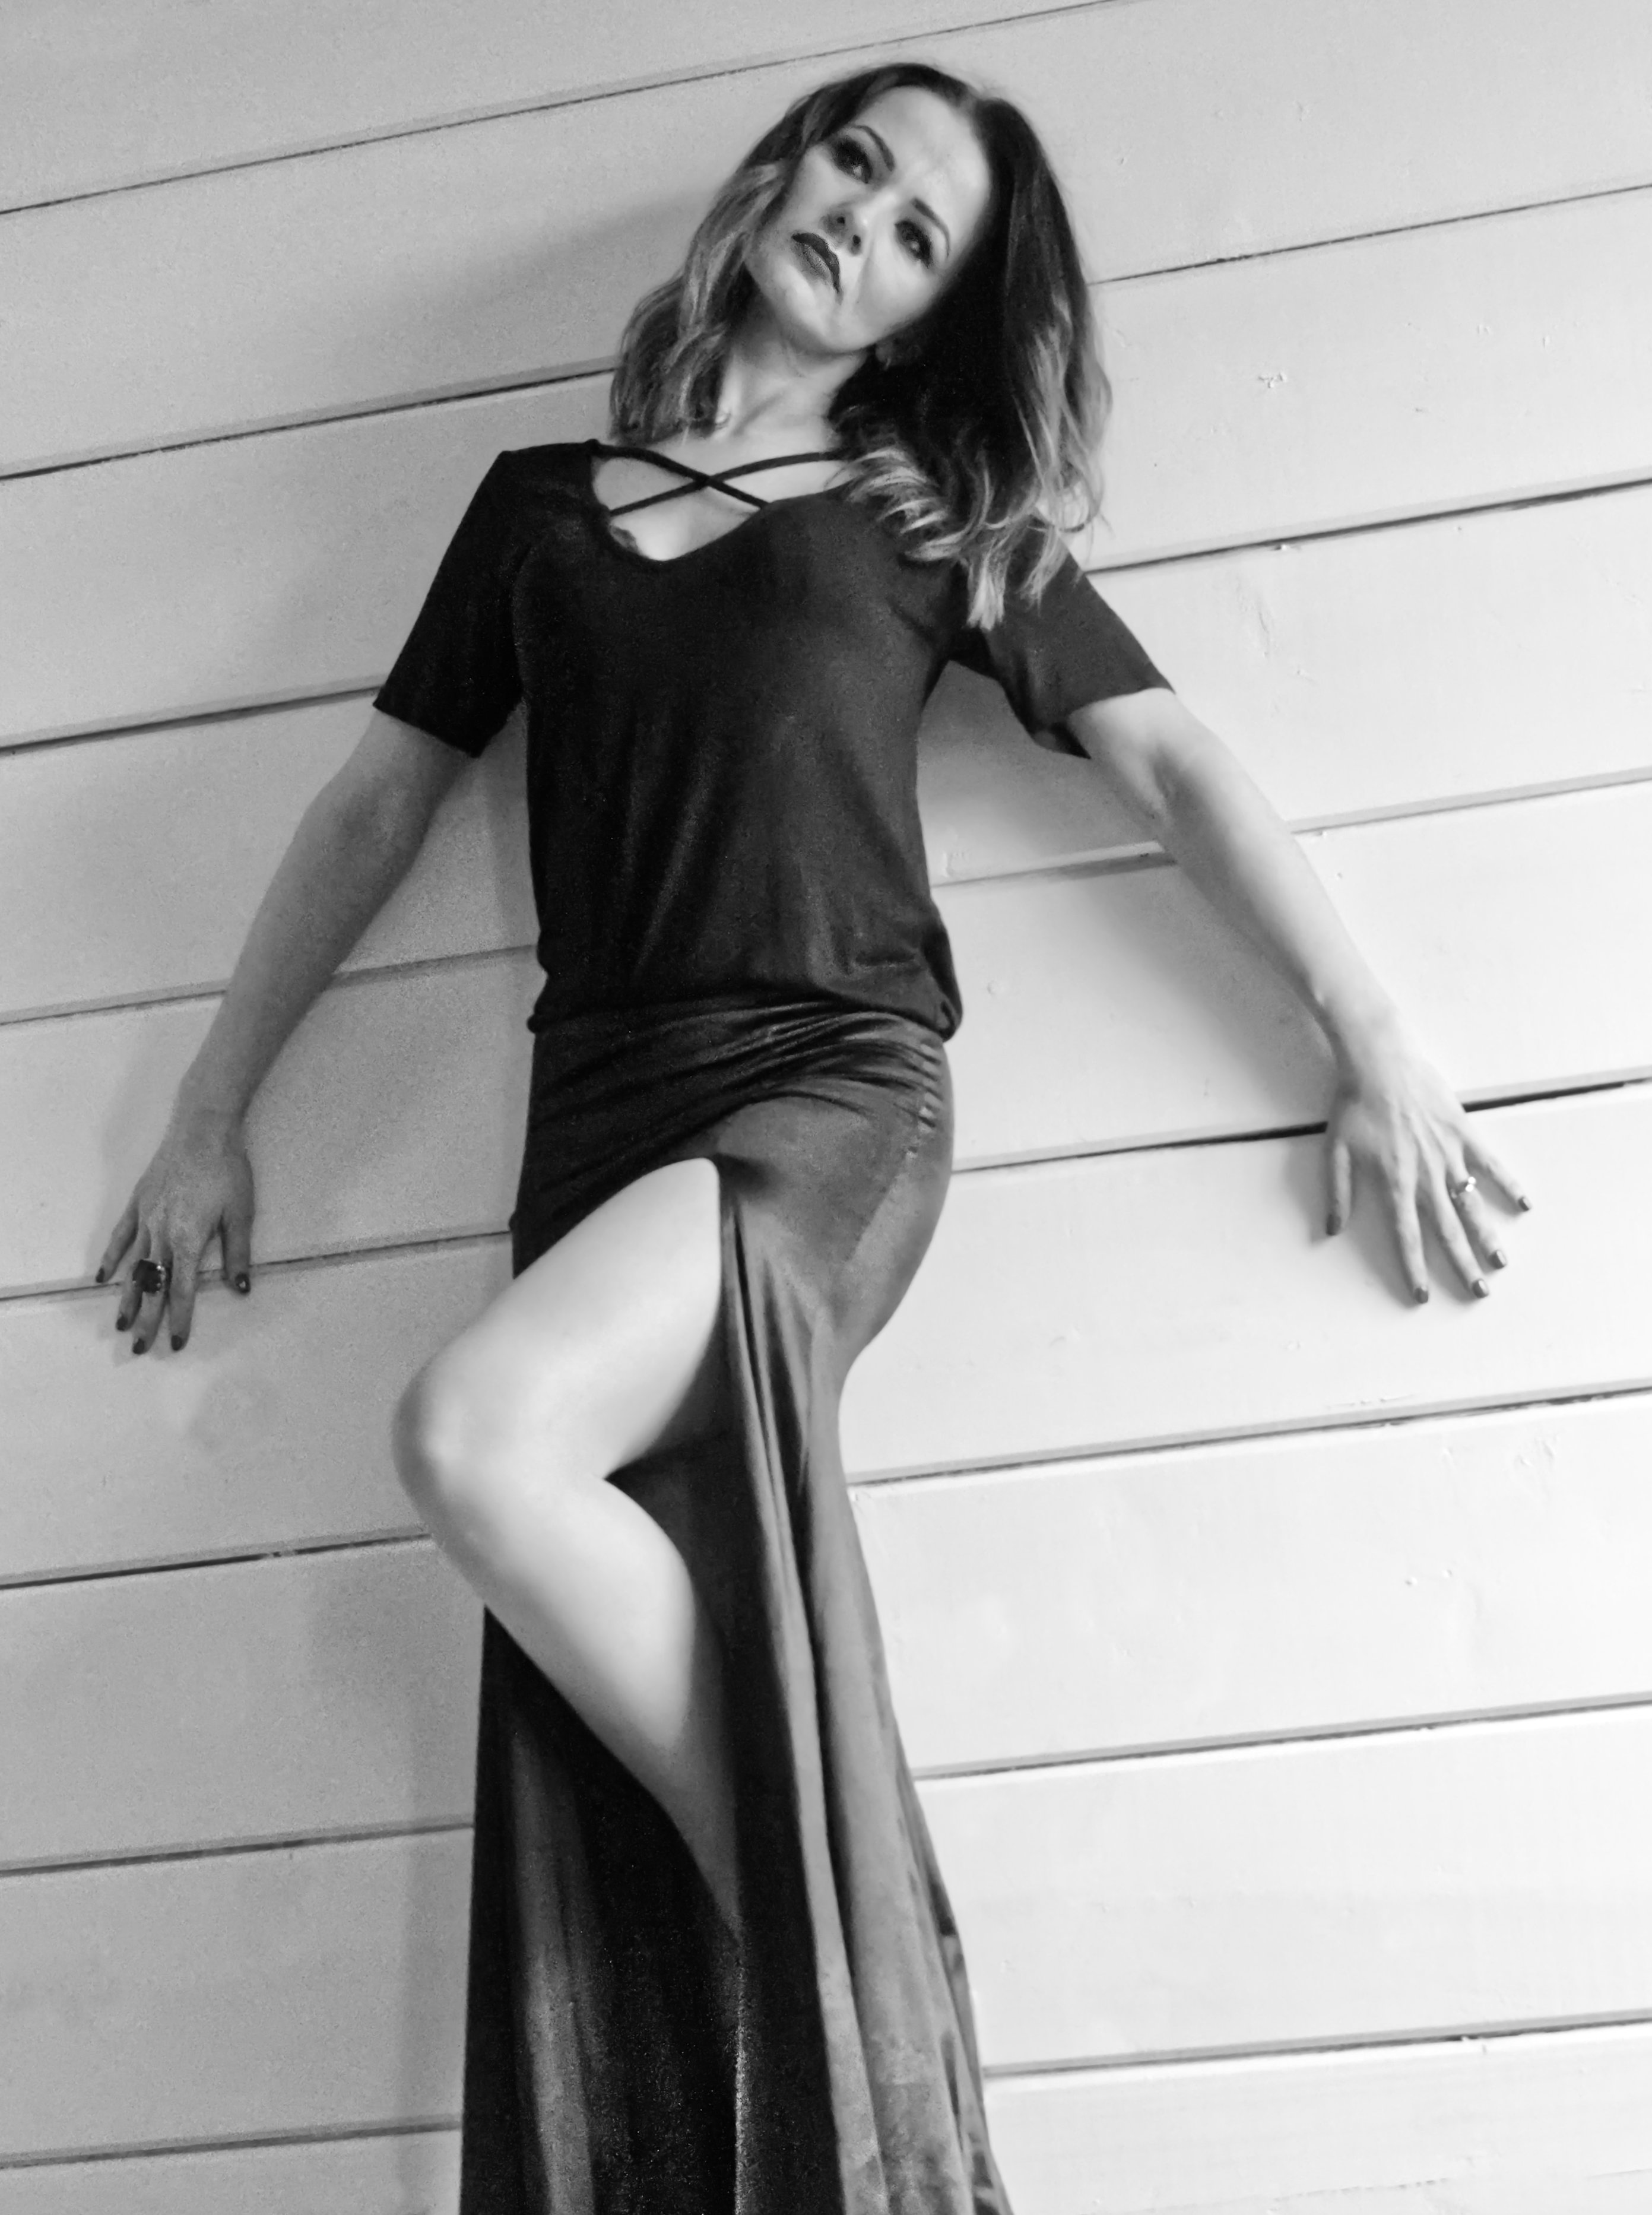
I wonder, did you set out with this theme in mind and arrived at this picture, or did you take the picture in a session, liked it and set about thinking up a suitable title? I'd not have invented this scene if working the first way.
Anyway, I think it's an interesting picture, but not to my taste. The lamp being the brightest object does draw my eye, and really it's just prop here, not the subject. I'd like to see the model's face at least as bright as the lamp. The white pillow edge is a bit unsettling to me as well, being in the mid ground. I find the bright patches on her skin a bit surreal - perhaps some make-up to matt her skin would have helped? |
May 7th |
| 64 |
May 20 |
Comment |
Great fun to experiment with this sort of thing, much better than crosswords and the like. However on this occasion I can't say it inspires me much, it's a bit too disjointed for my liking. As for Don's picture, I'd suggest a 2 px white border. |
May 7th |
| 64 |
May 20 |
Comment |
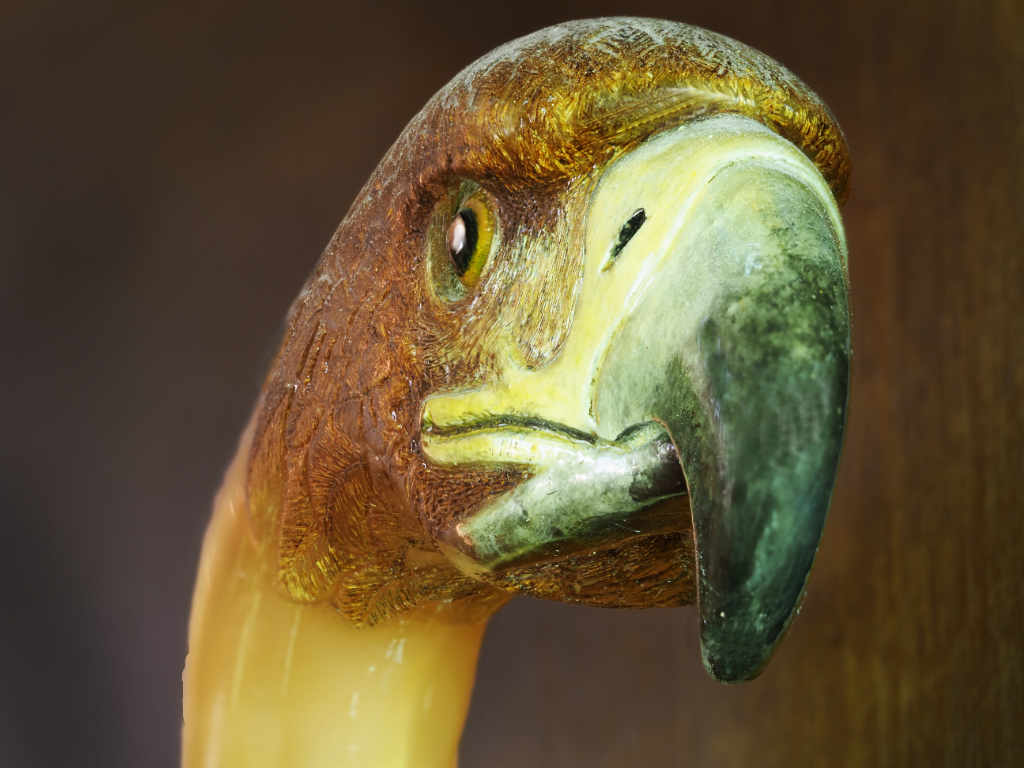
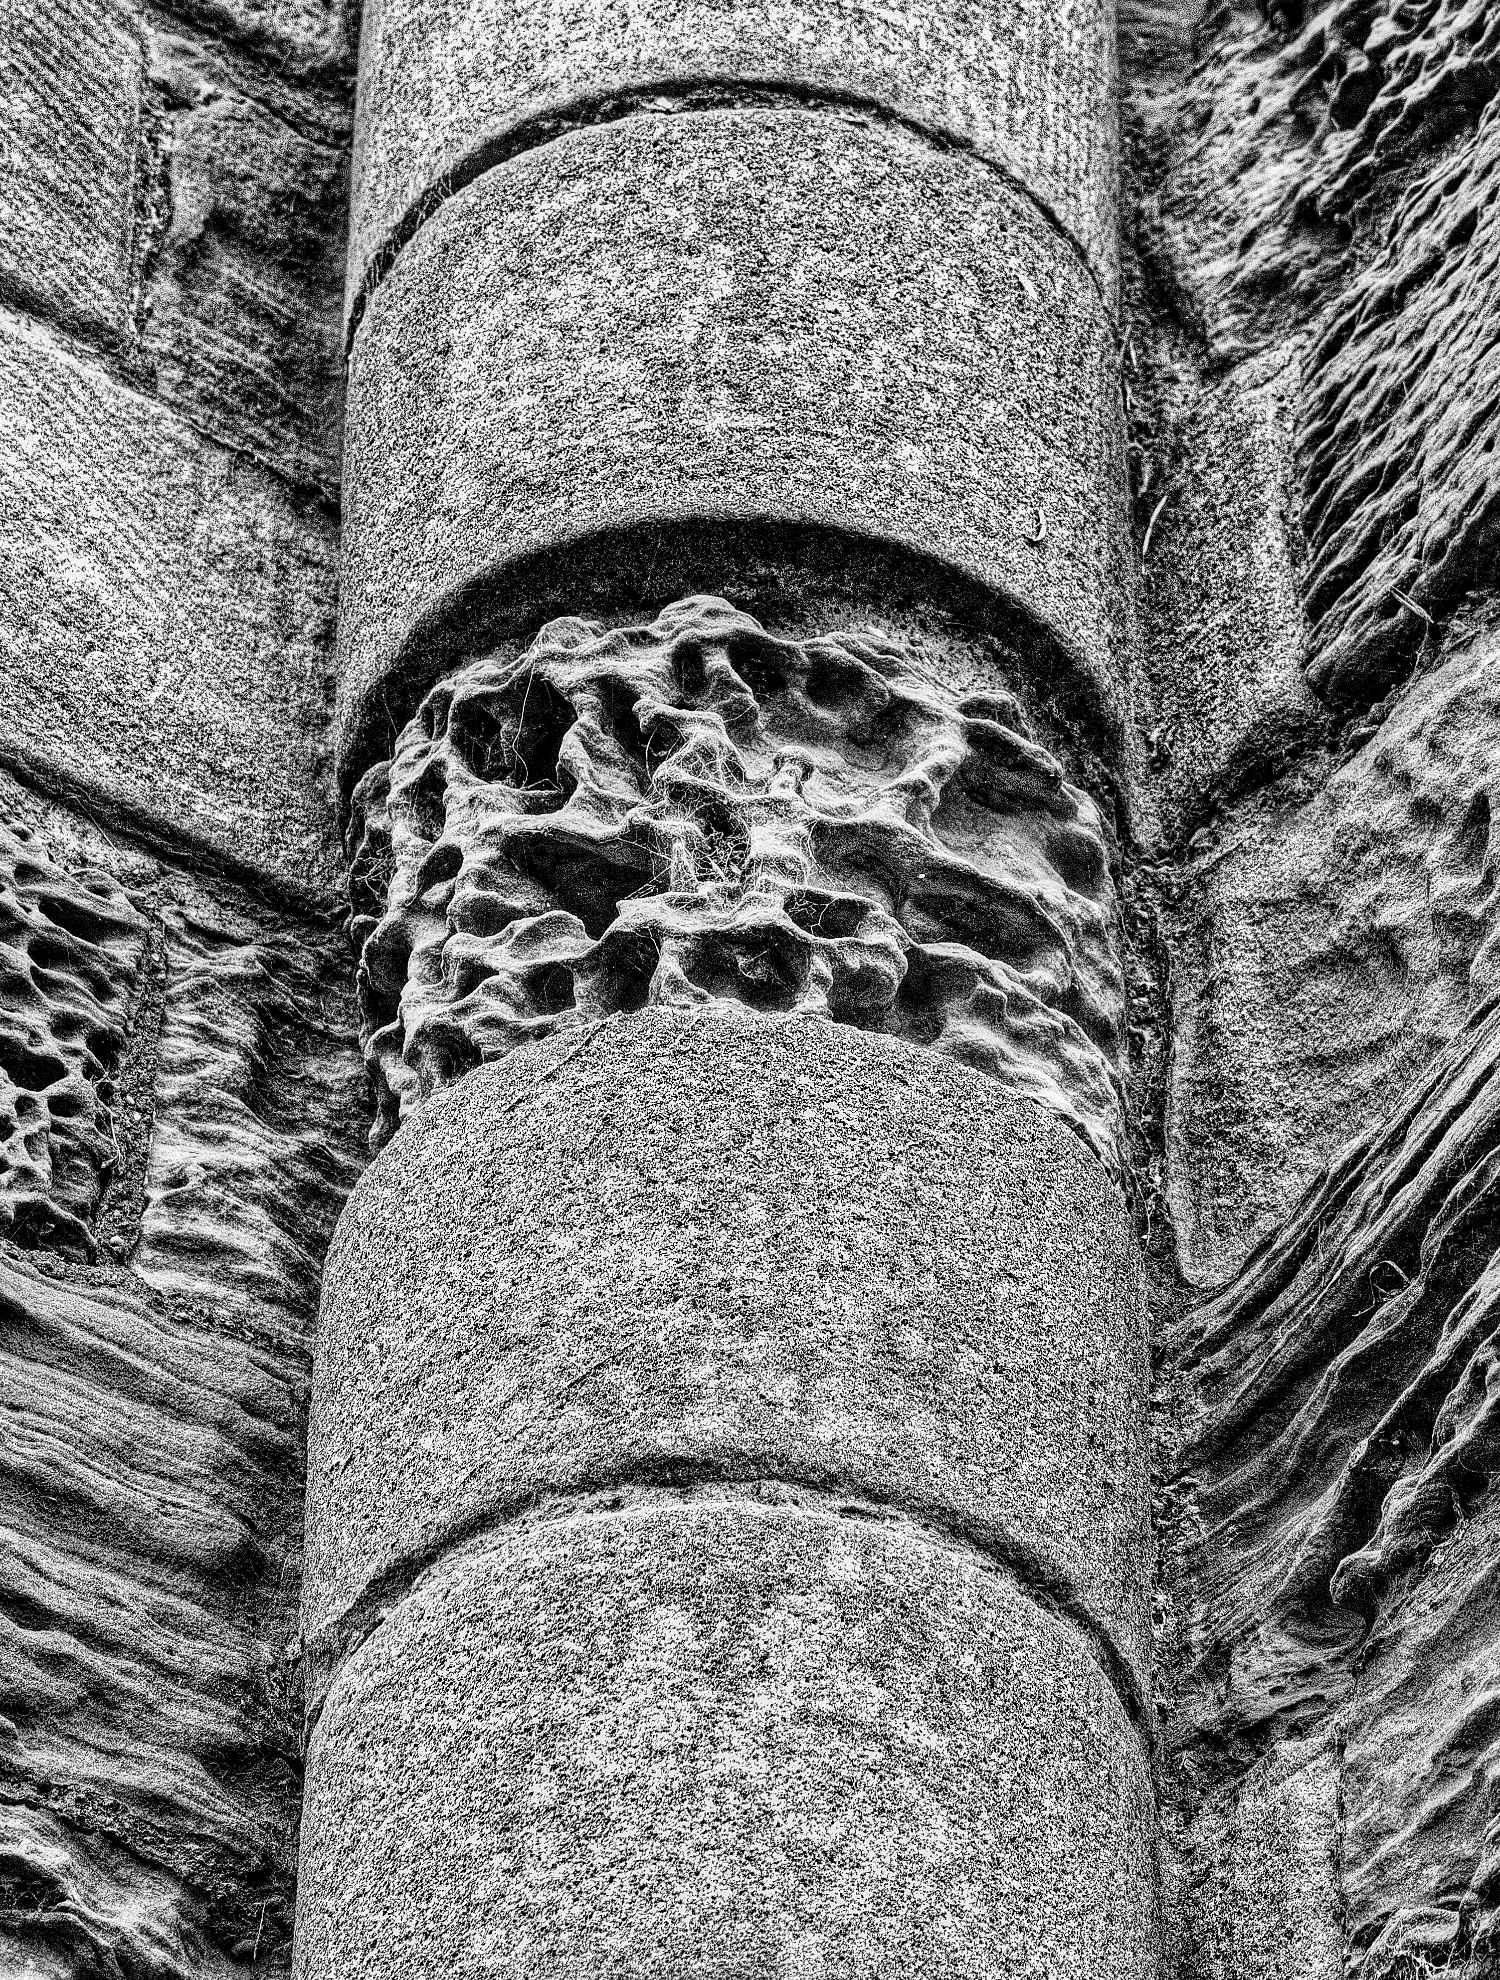
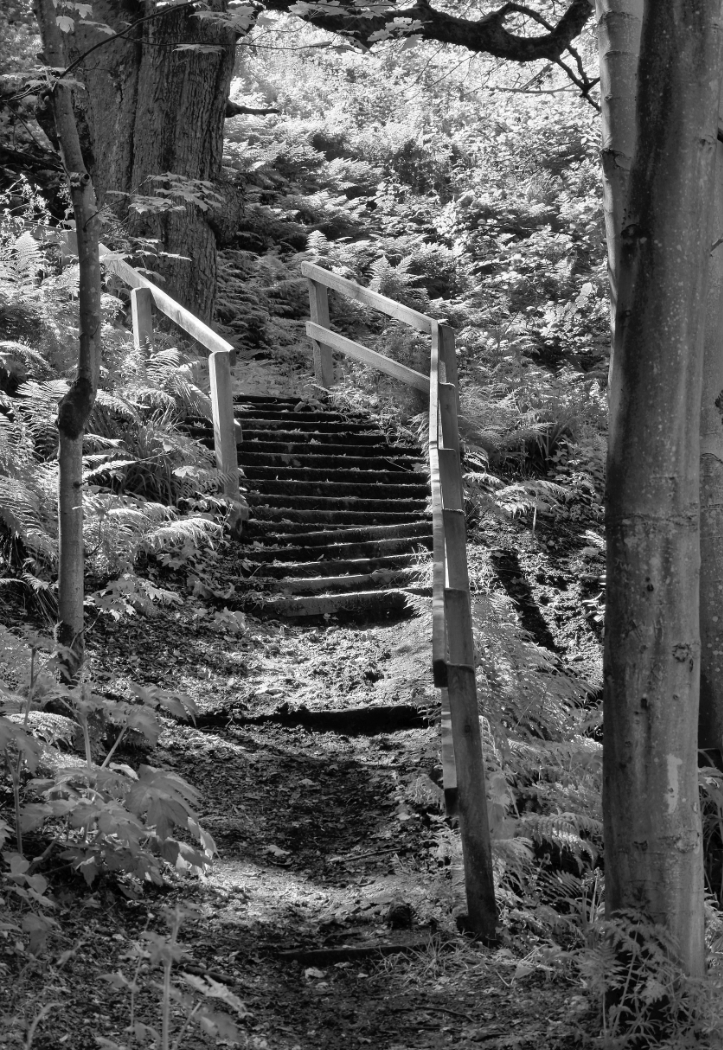
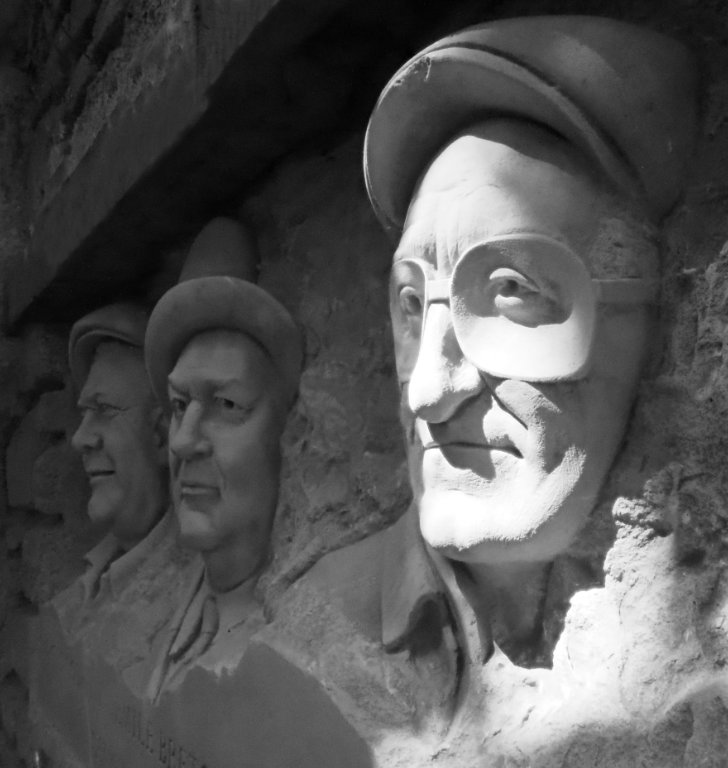
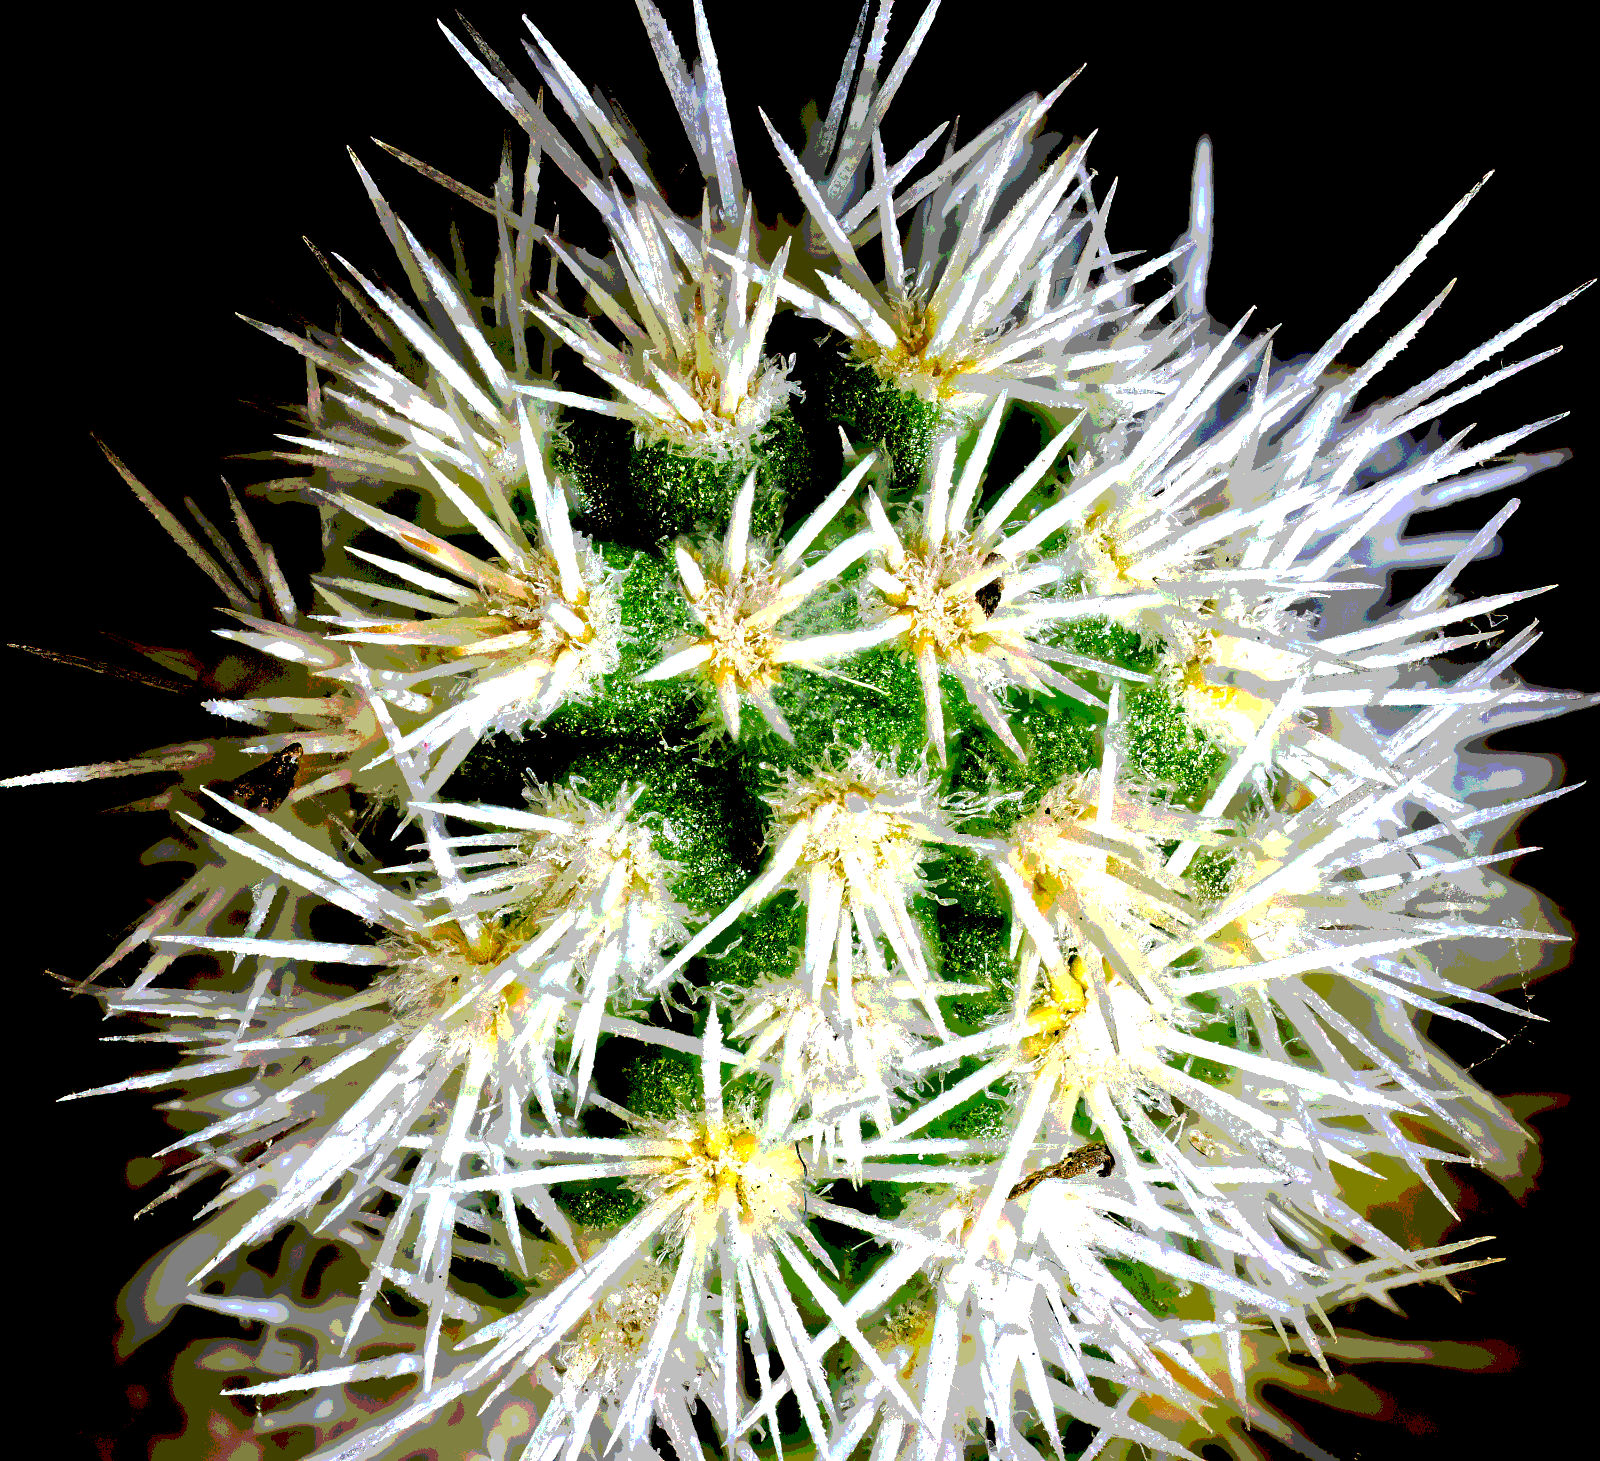
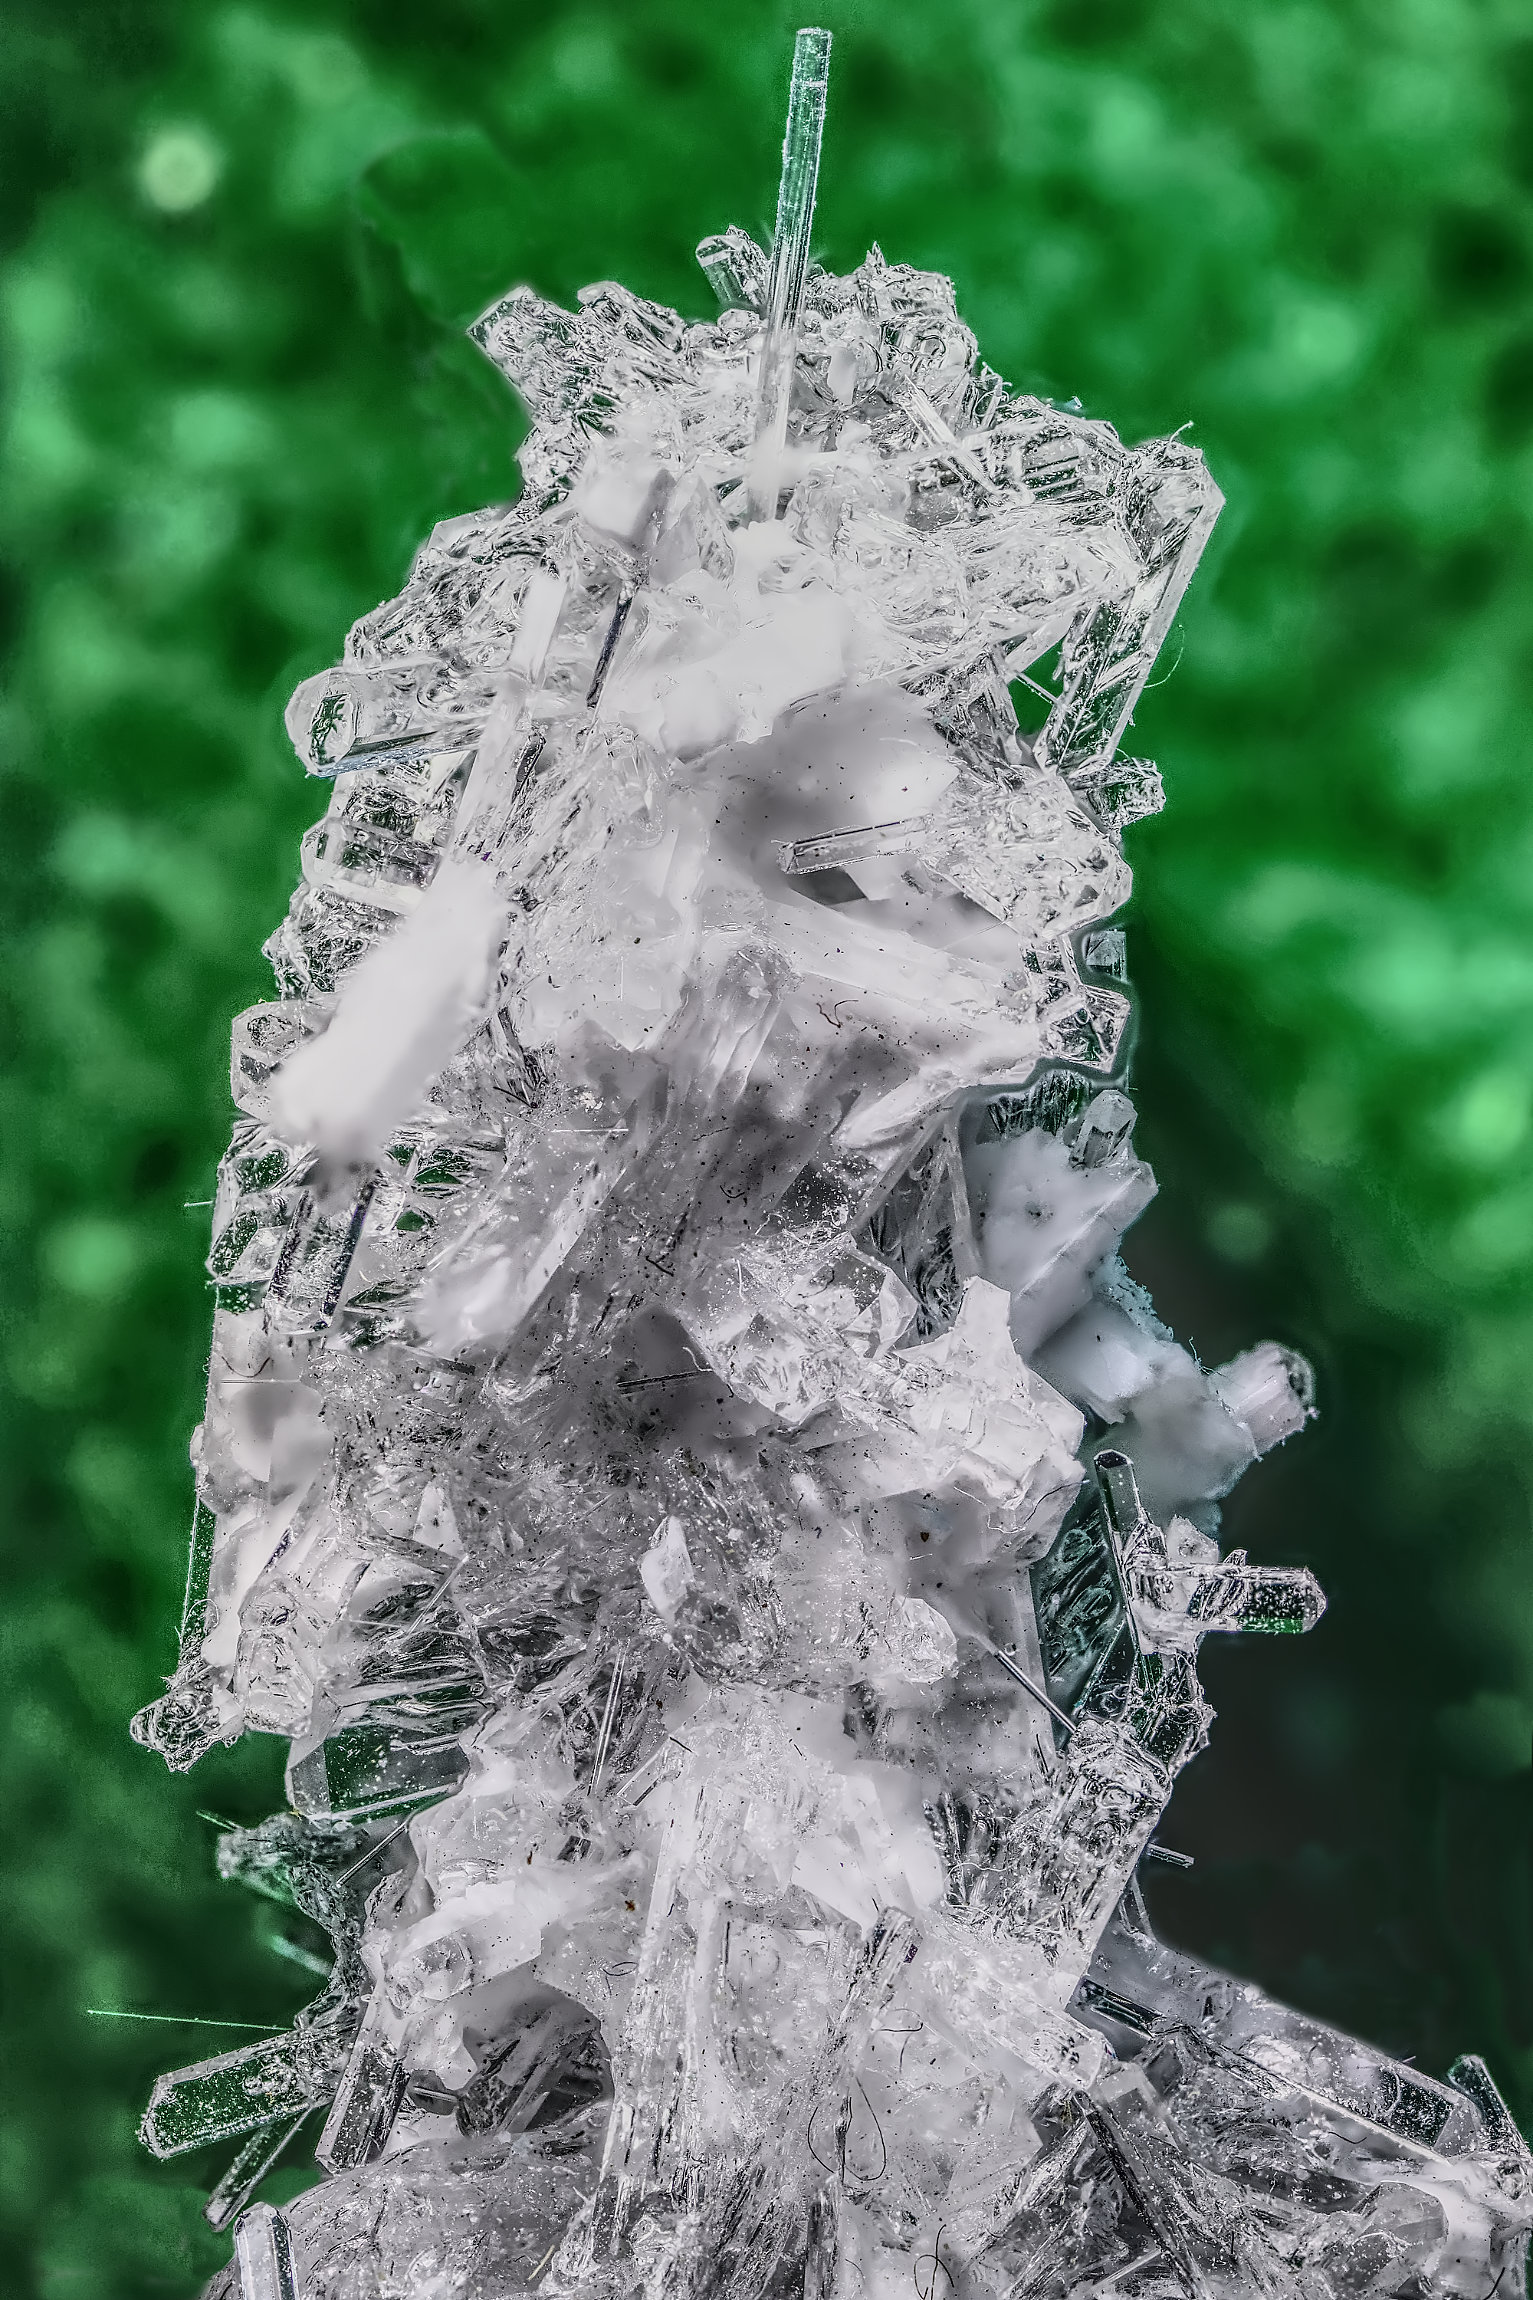
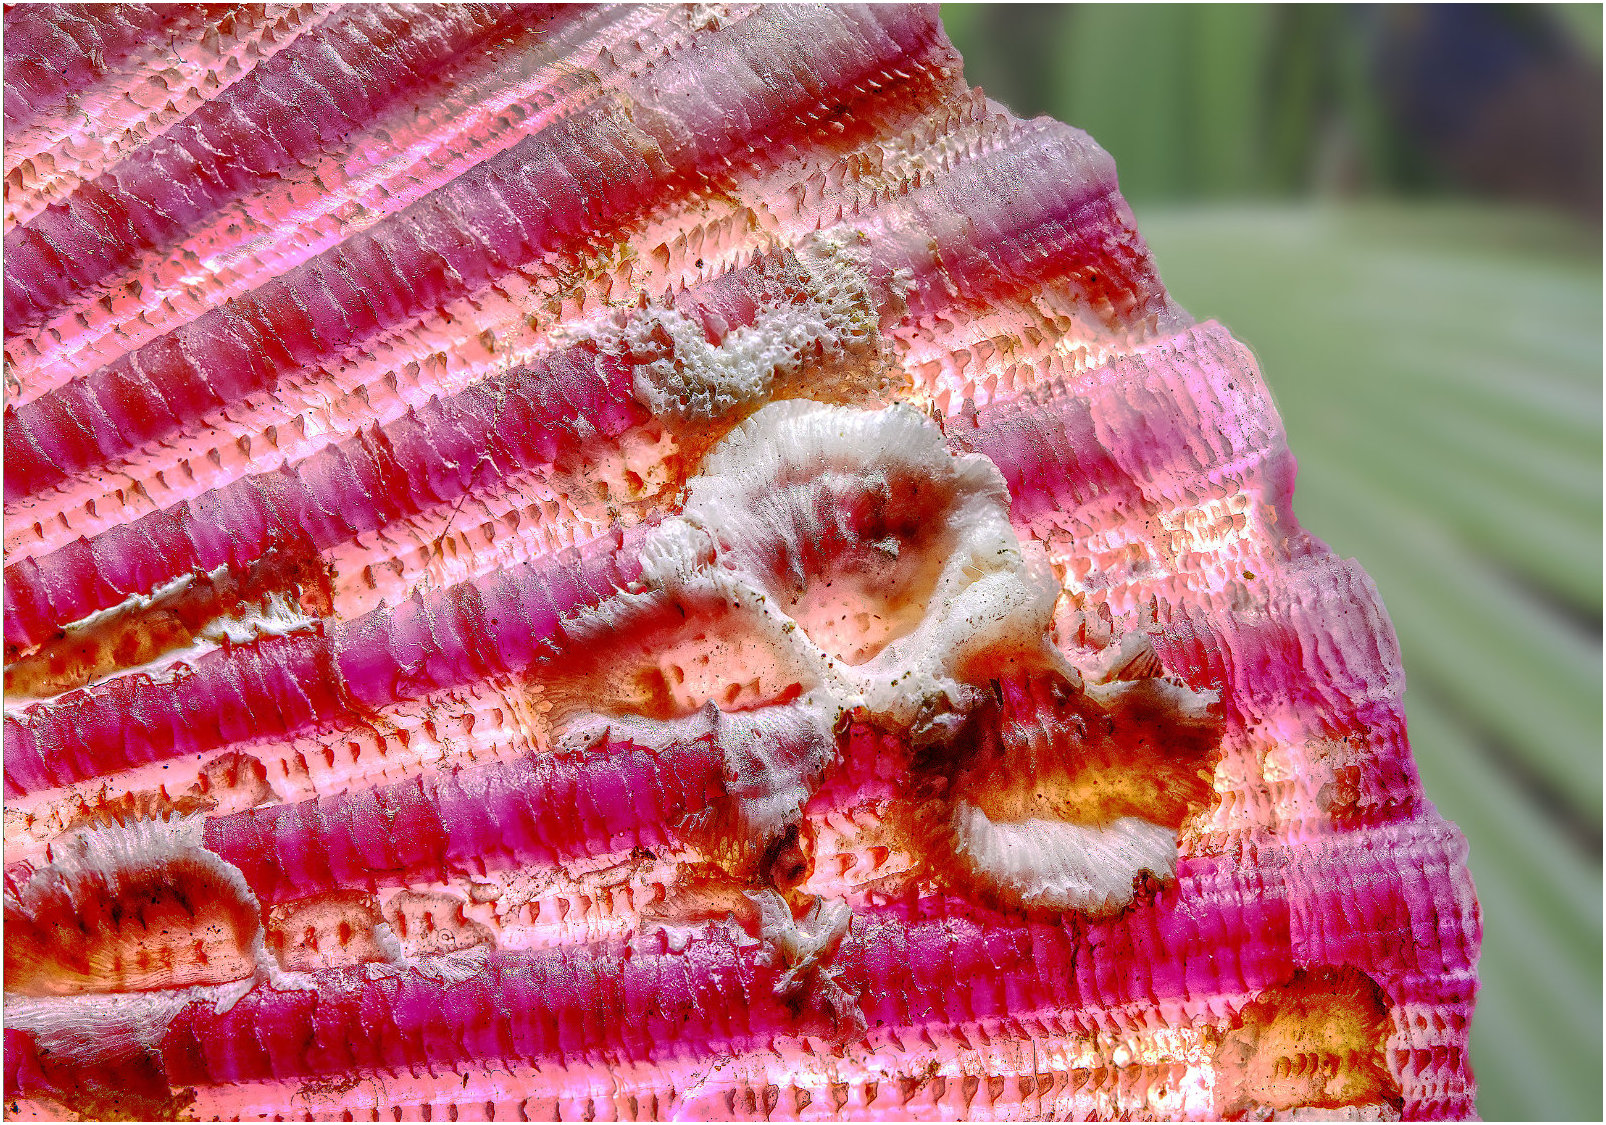
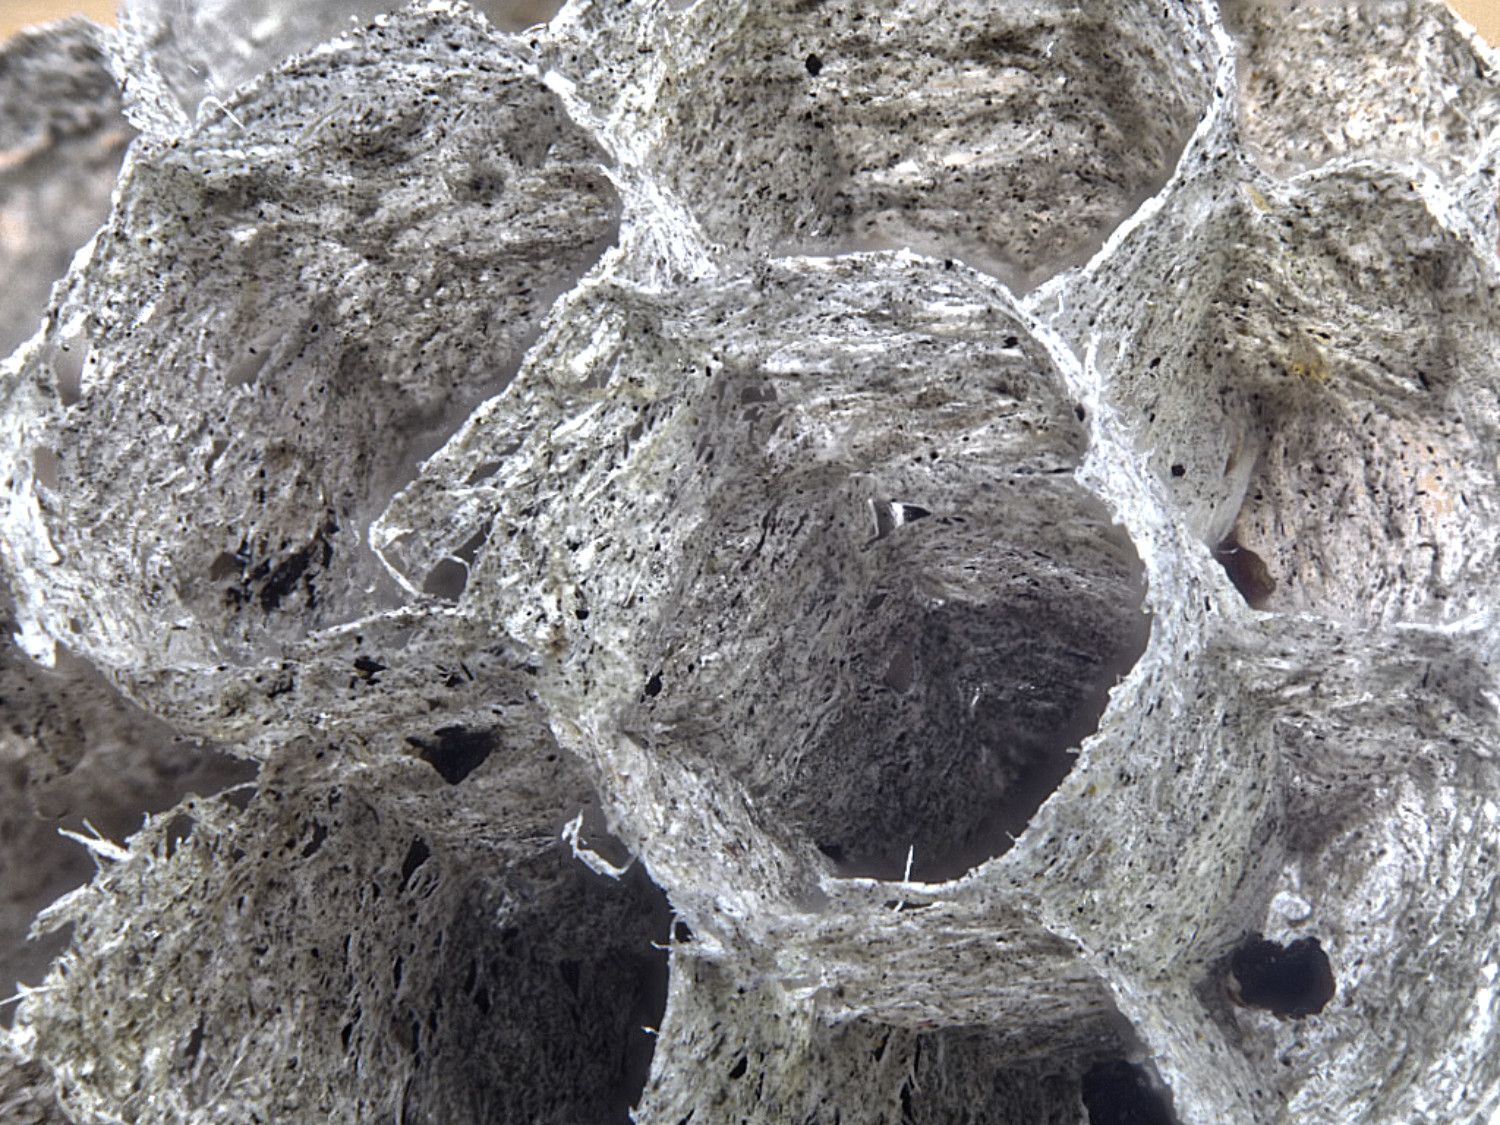
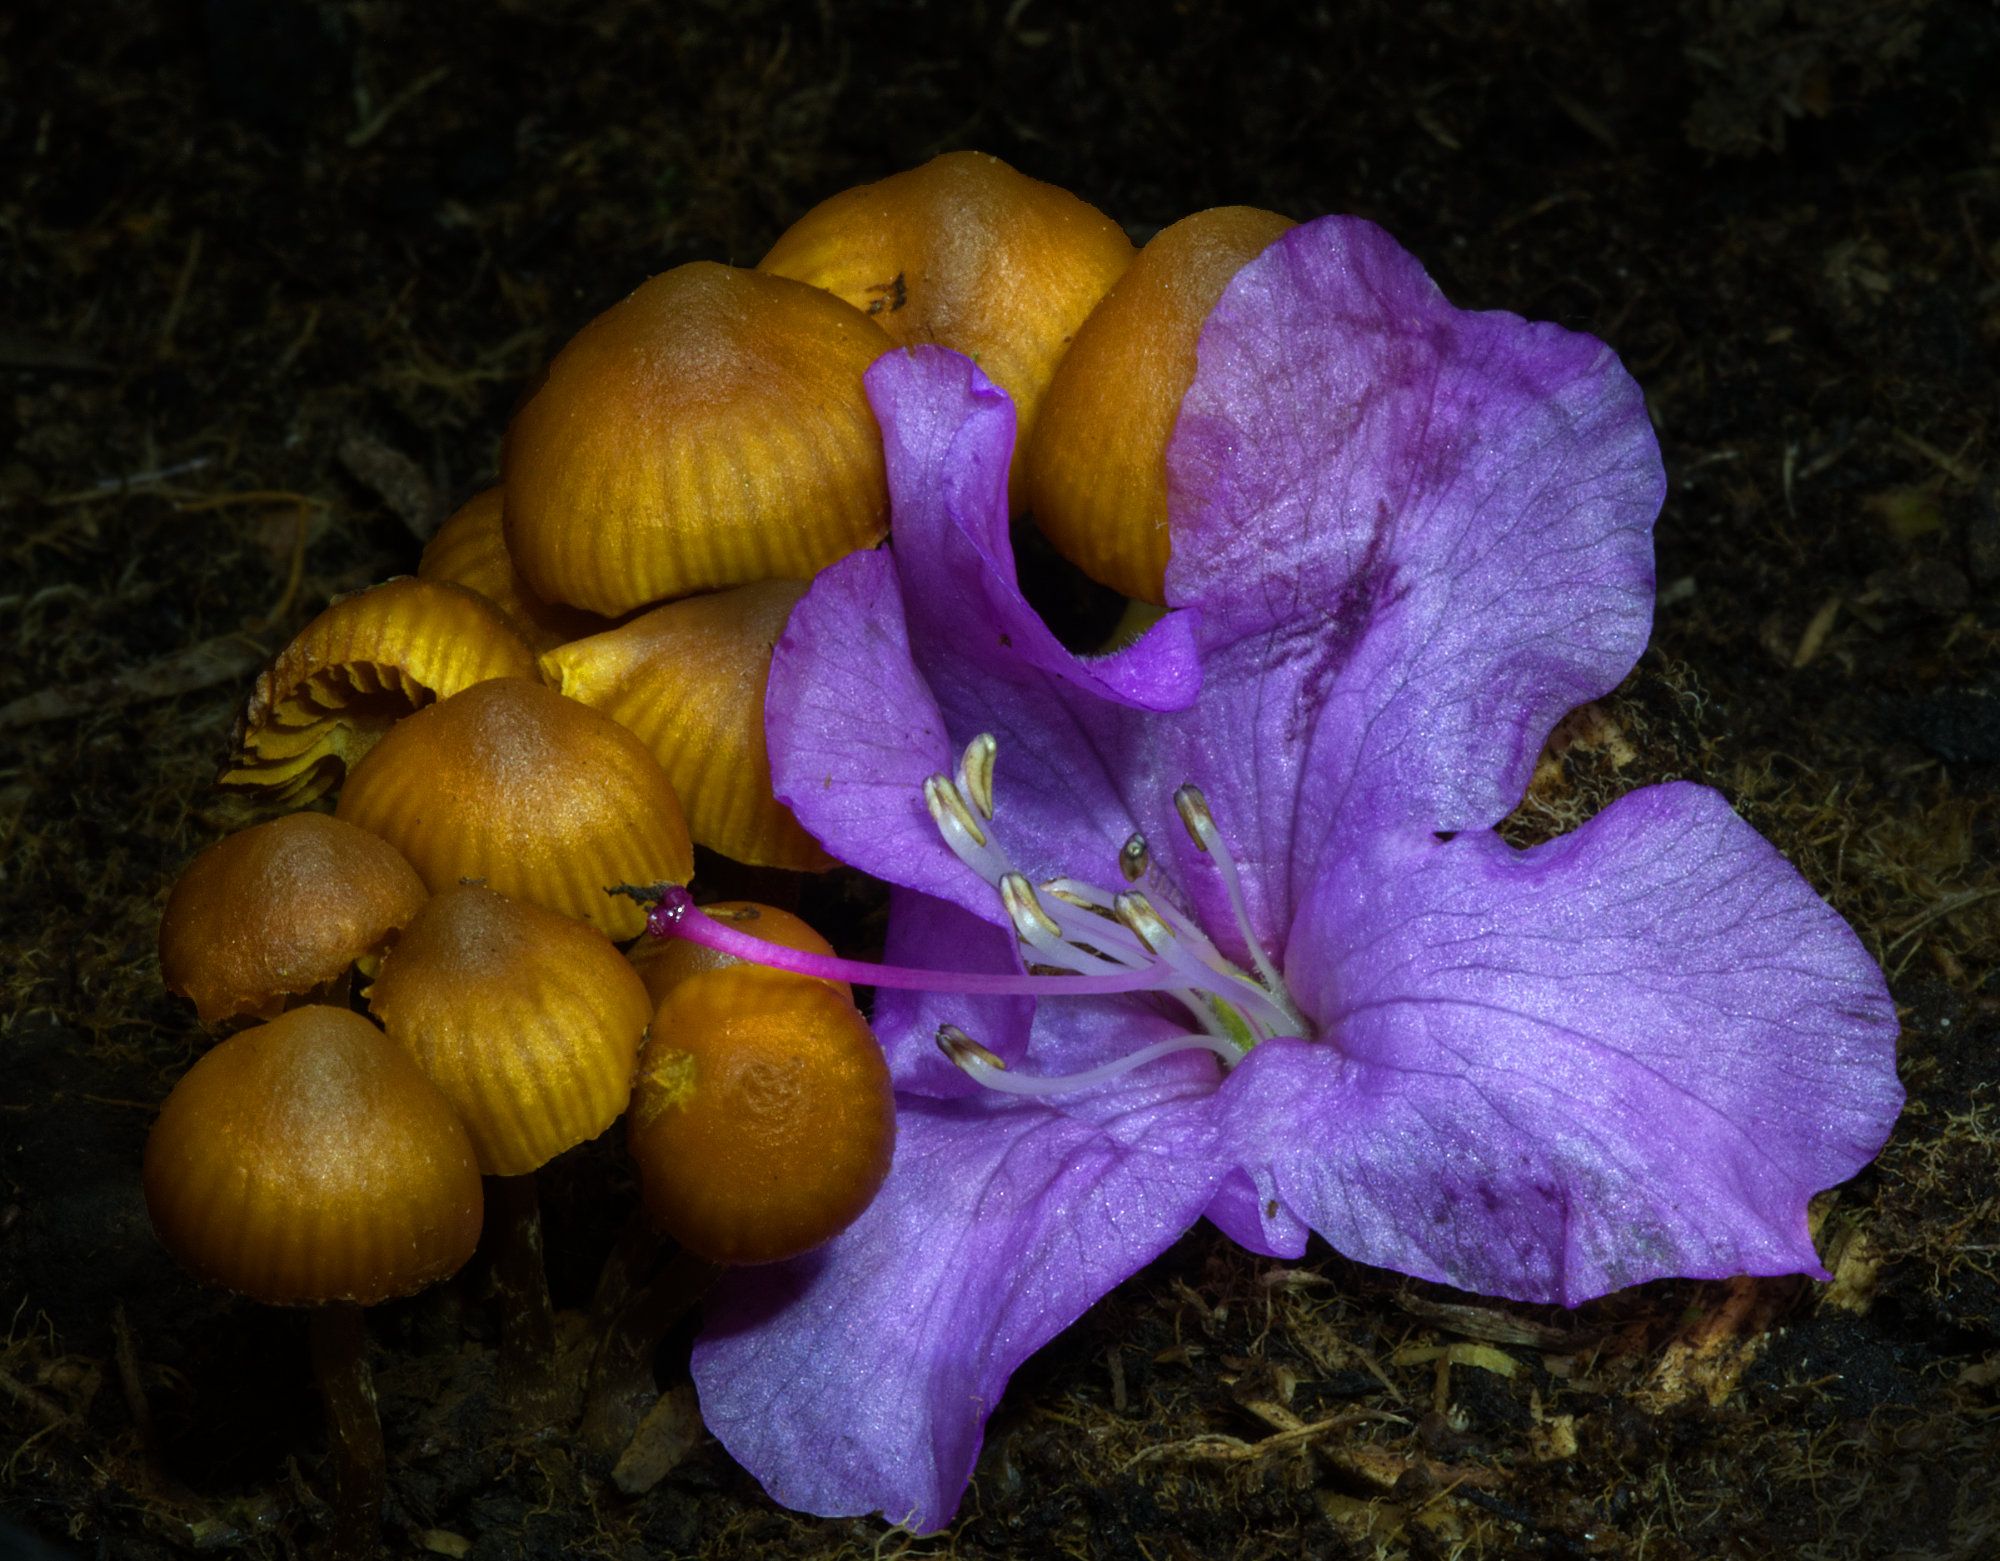
Super, well spotted. I found a fungus that looks like a head once. Imagination in the enchanted forest!
I would suggest a 2 px white border due to the dark background would make it easier to examine. |
May 7th |
| 64 |
May 20 |
Comment |
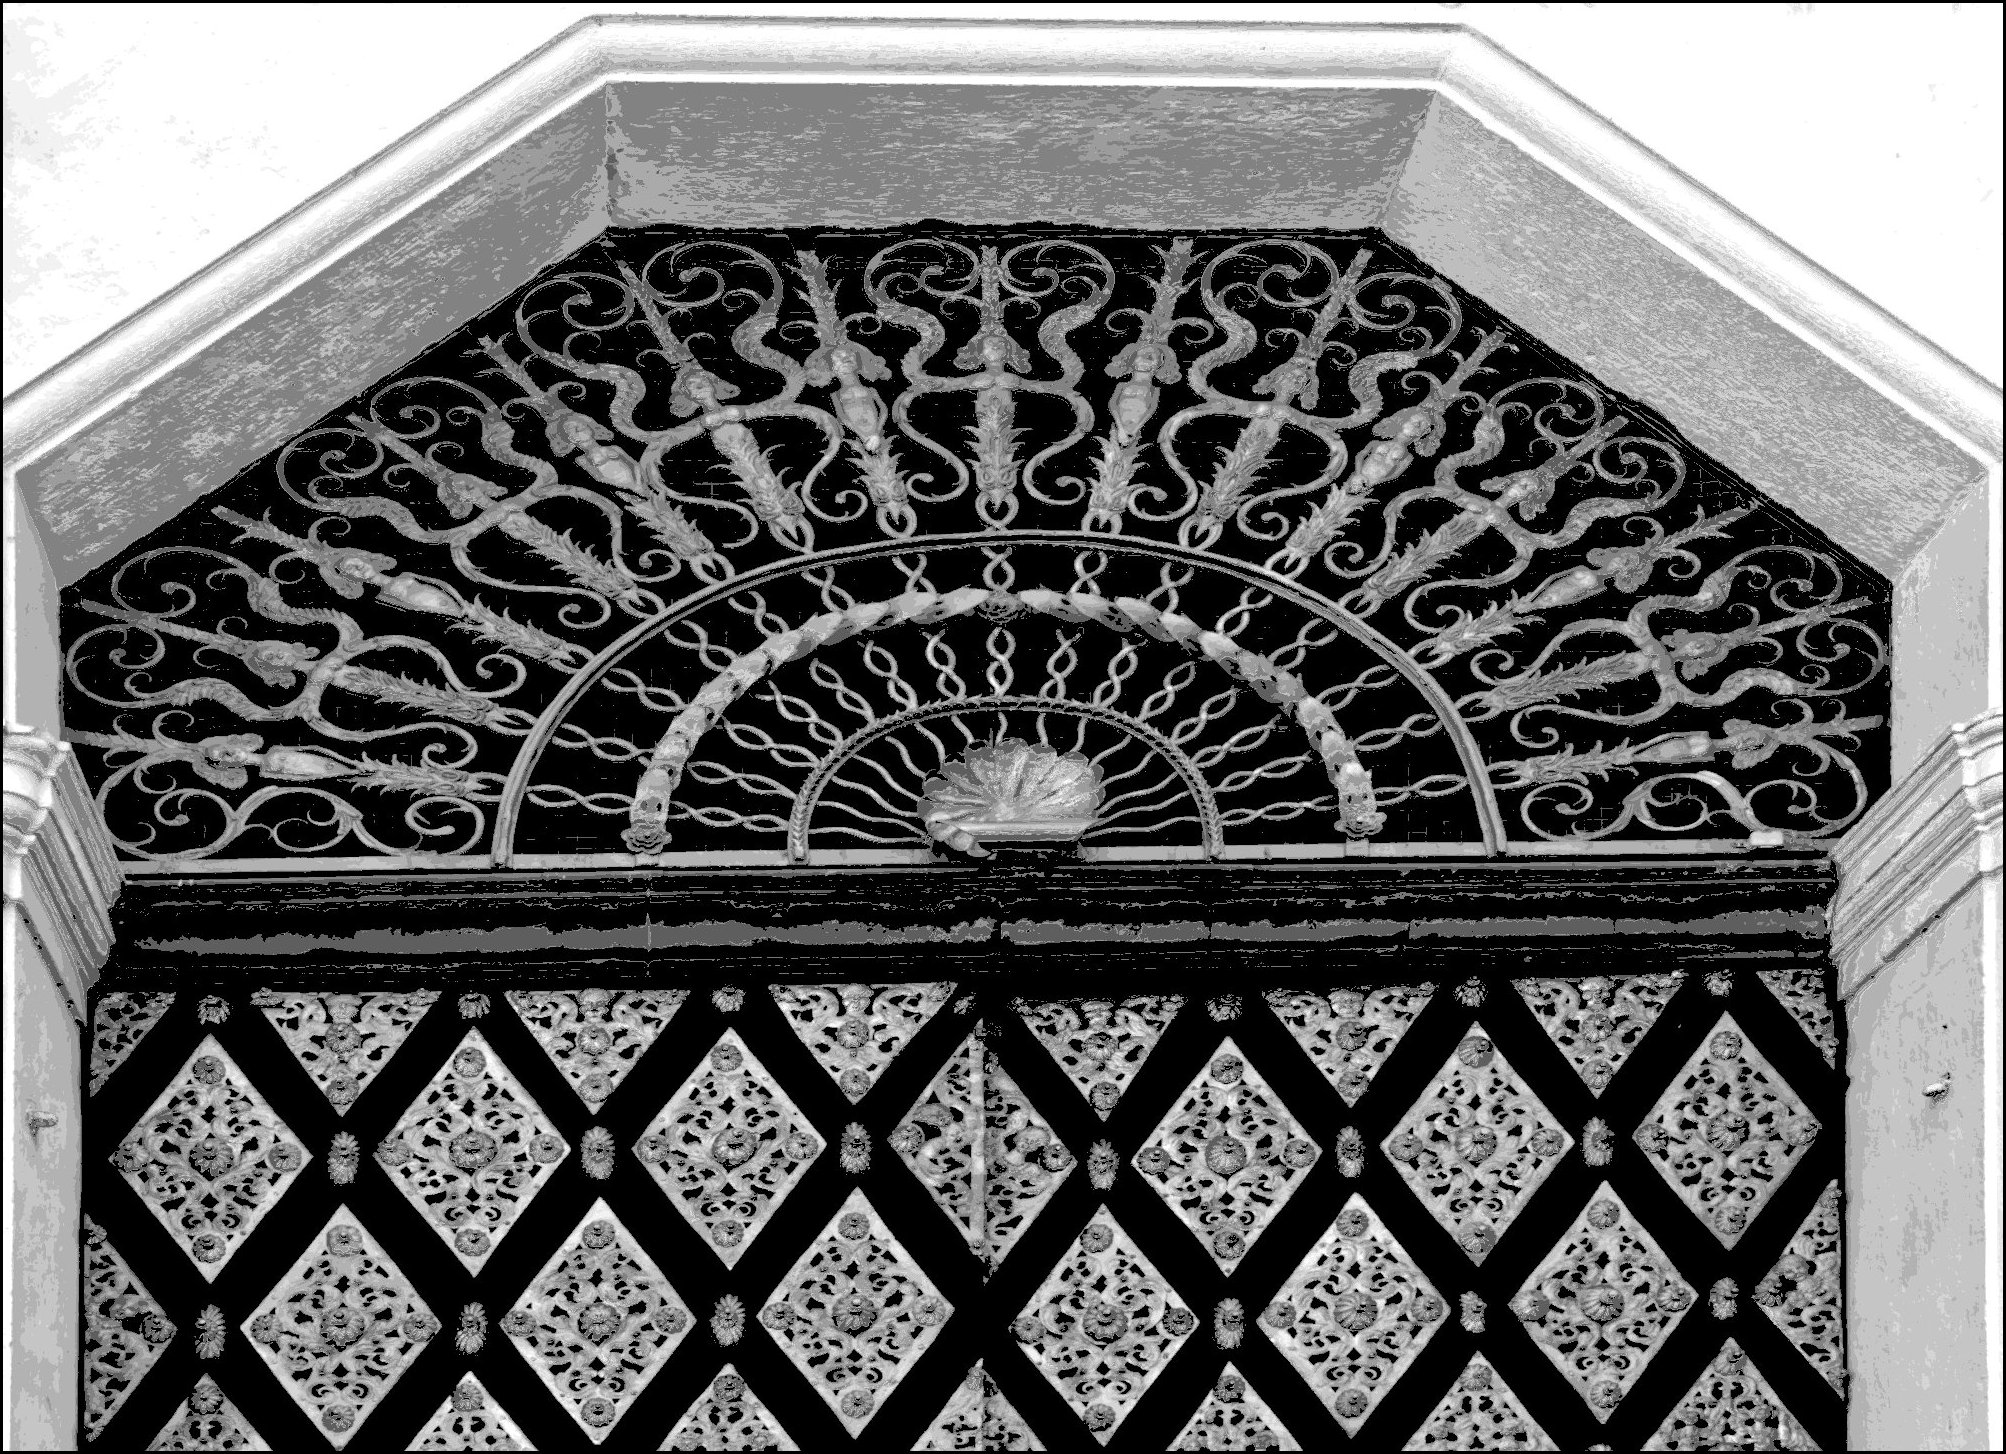
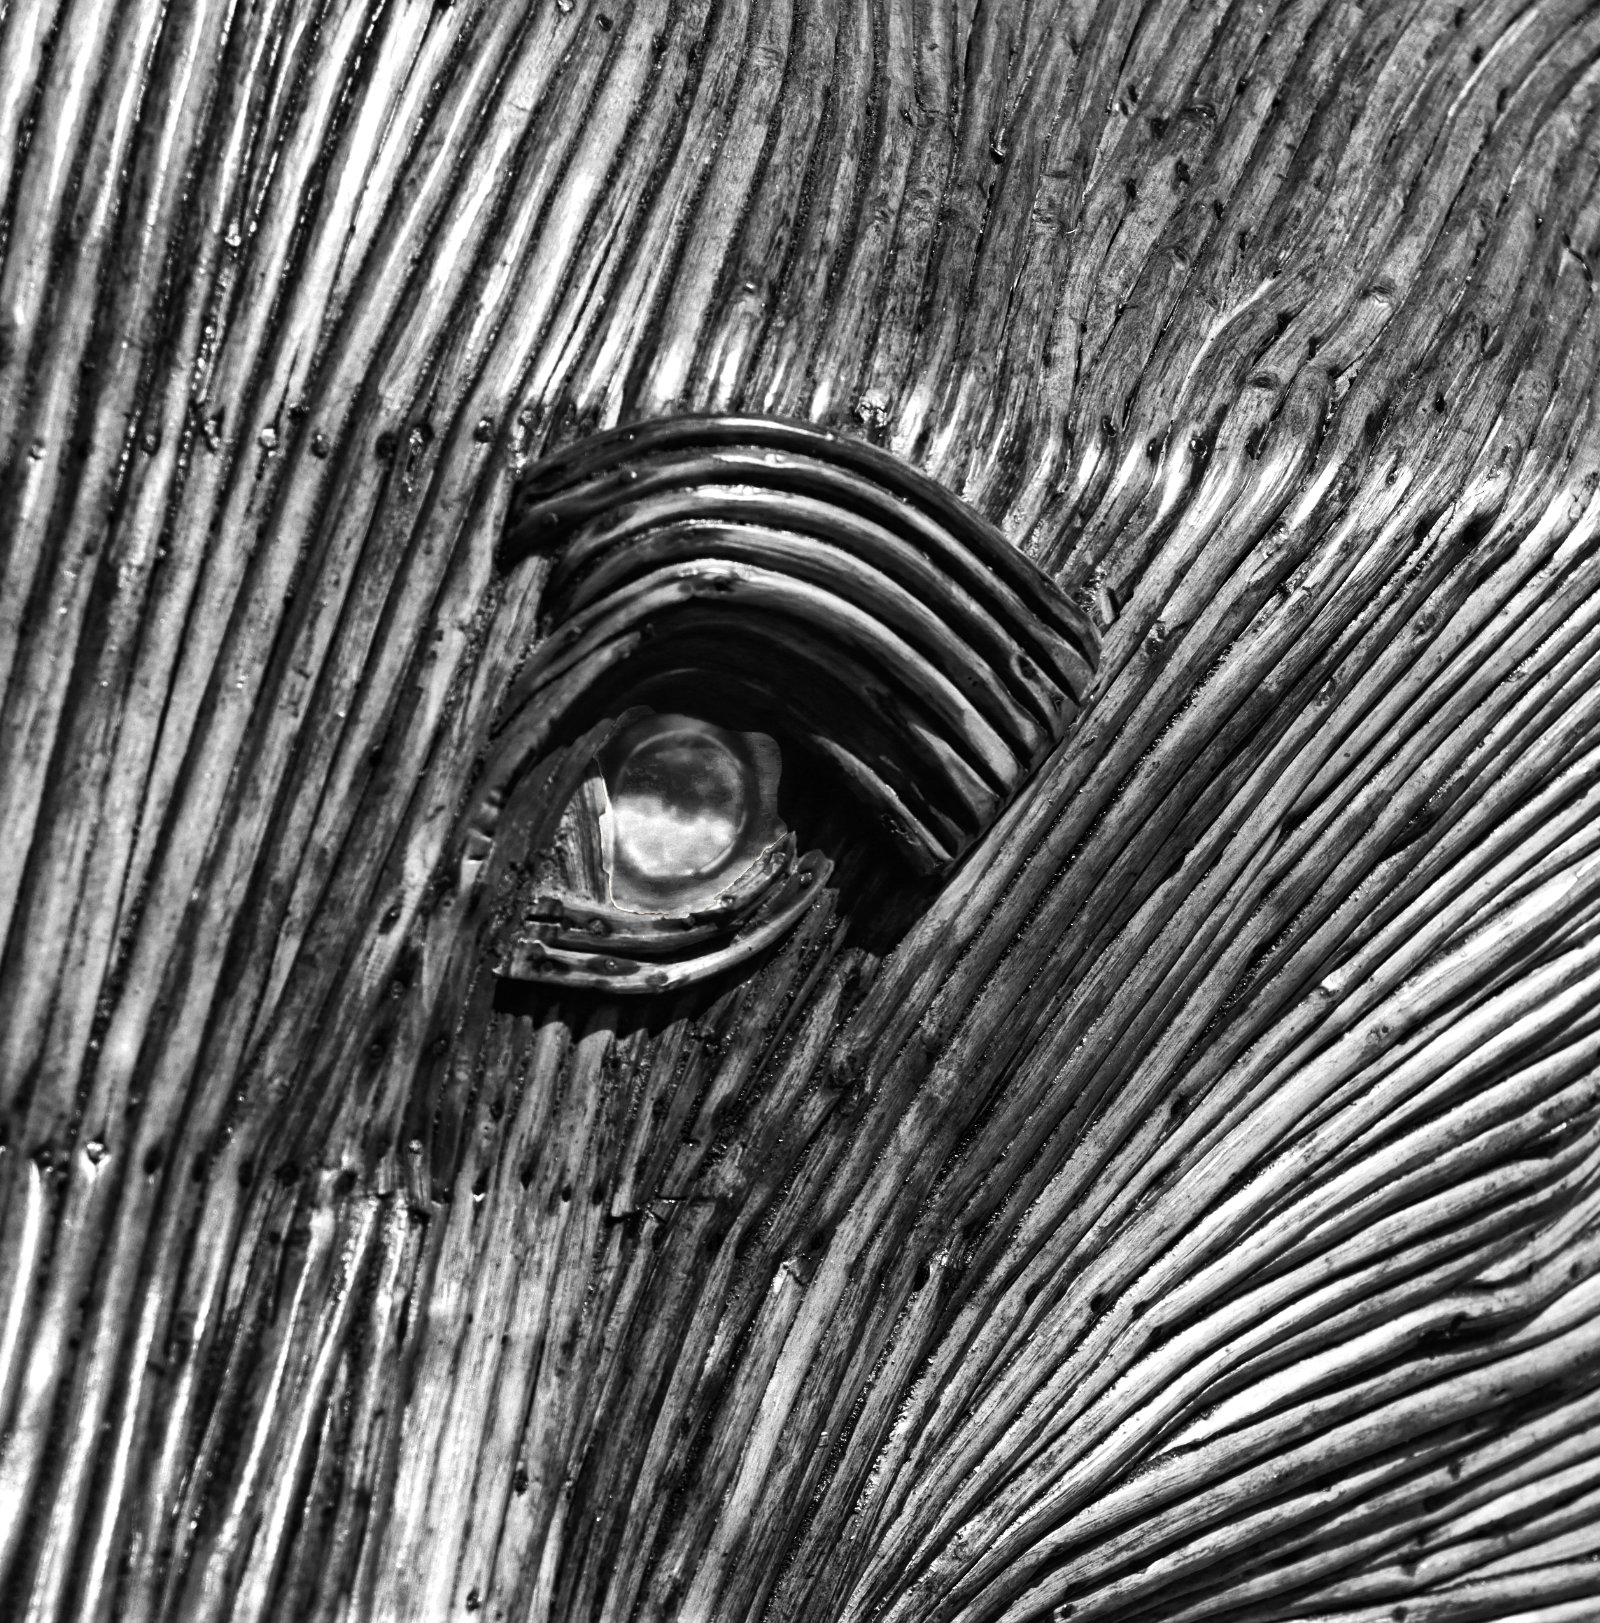
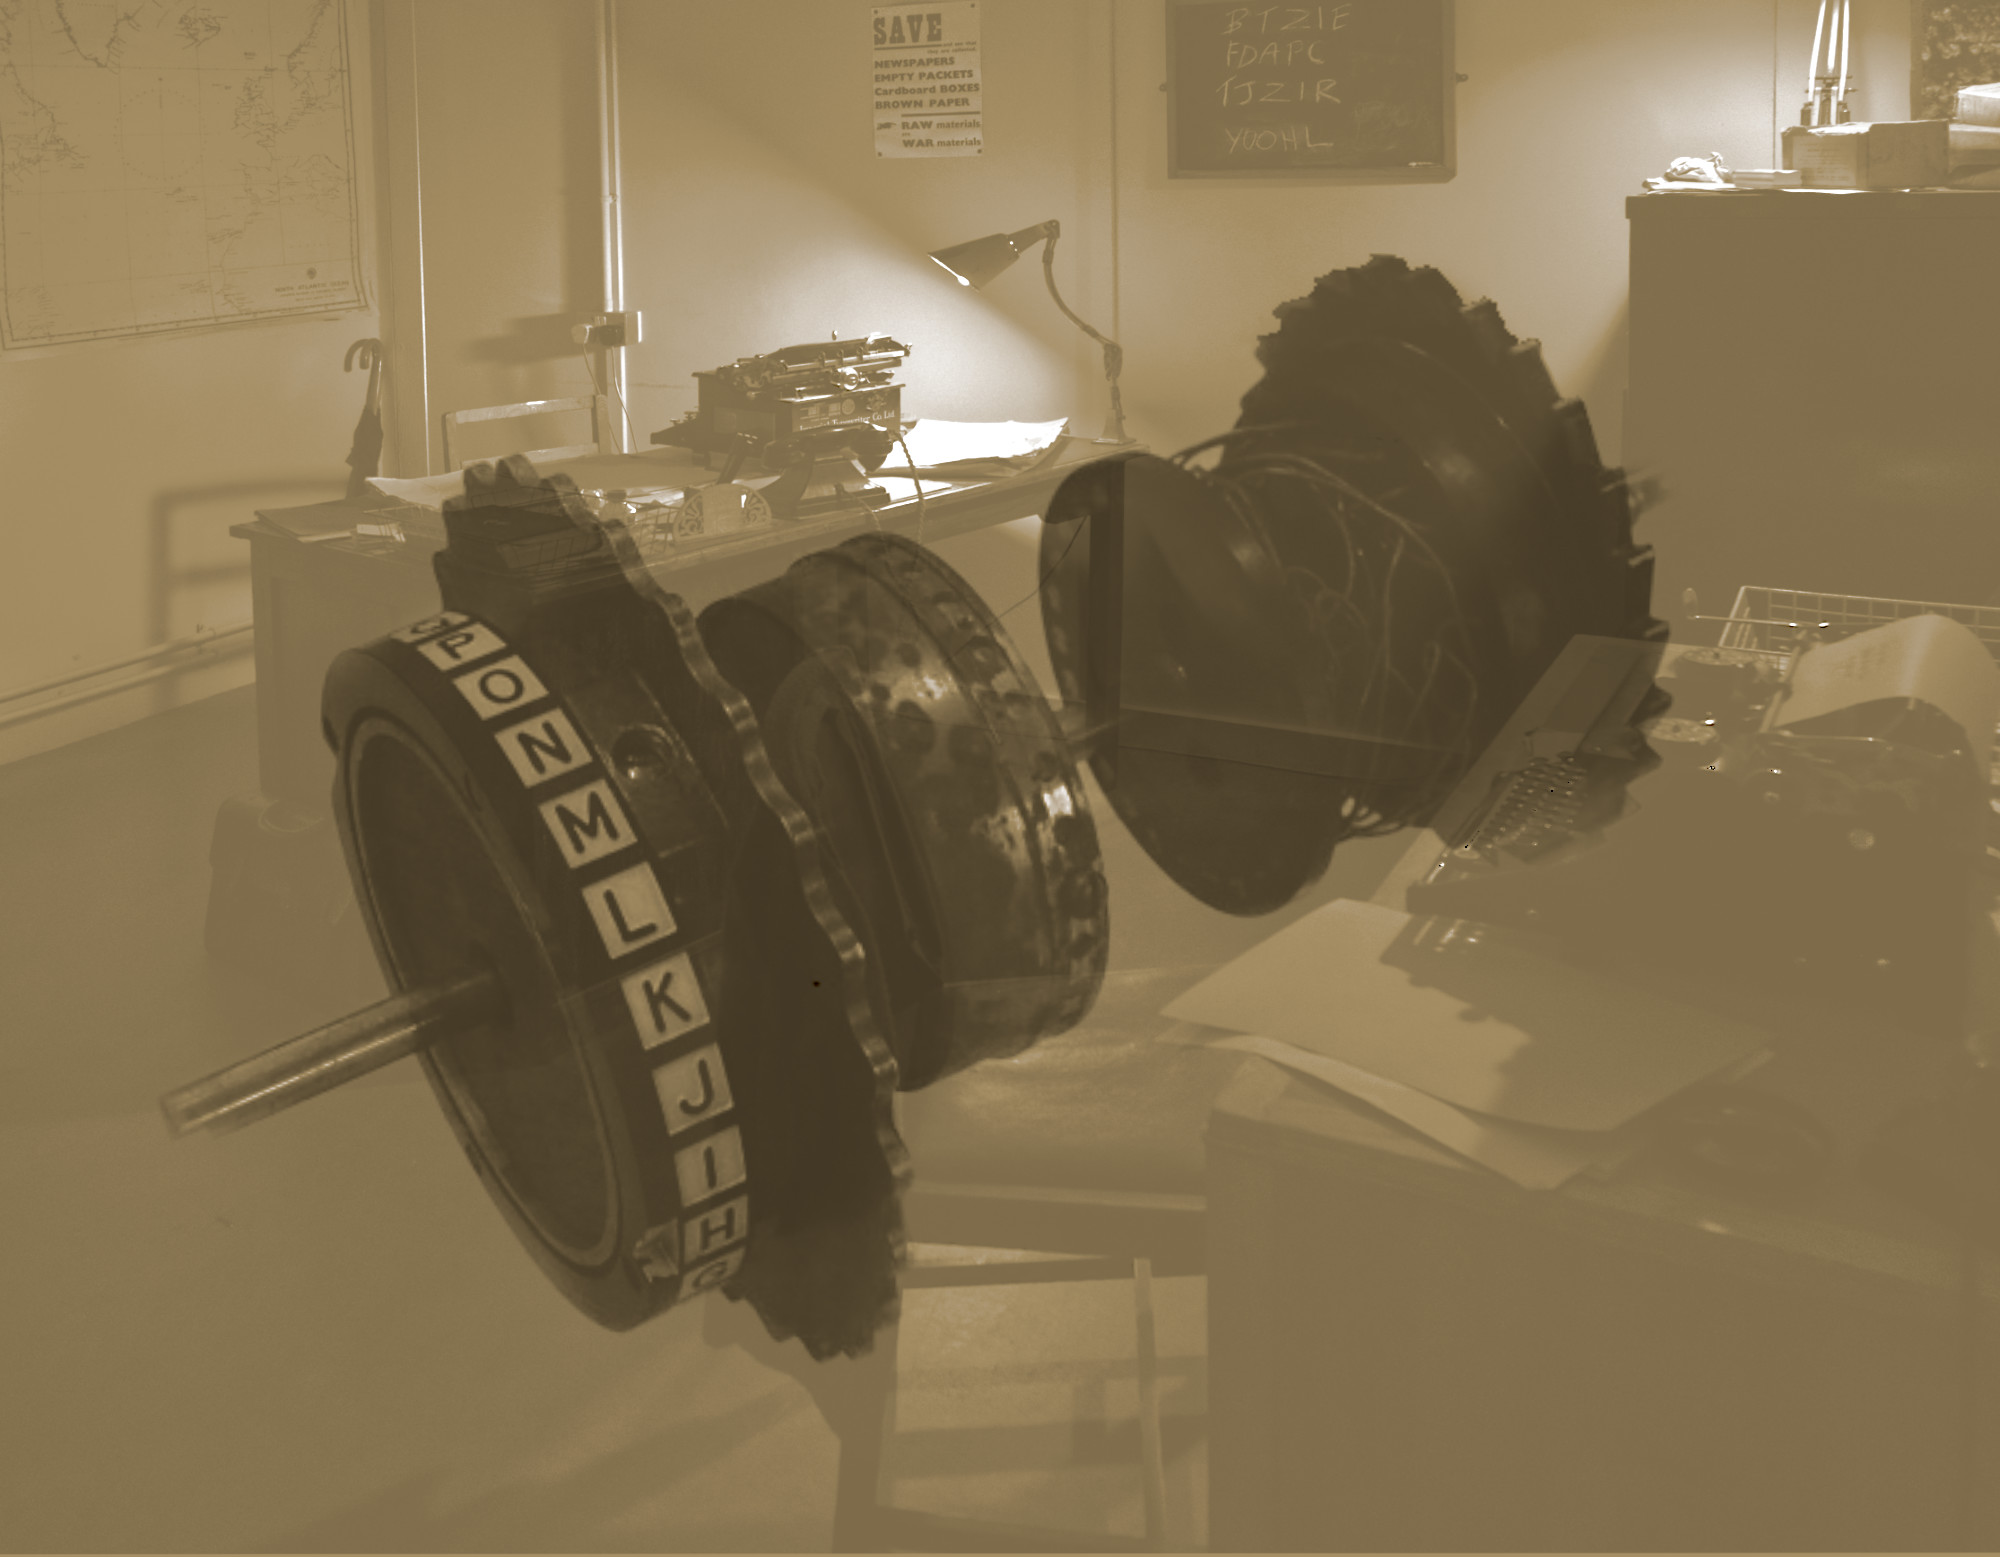
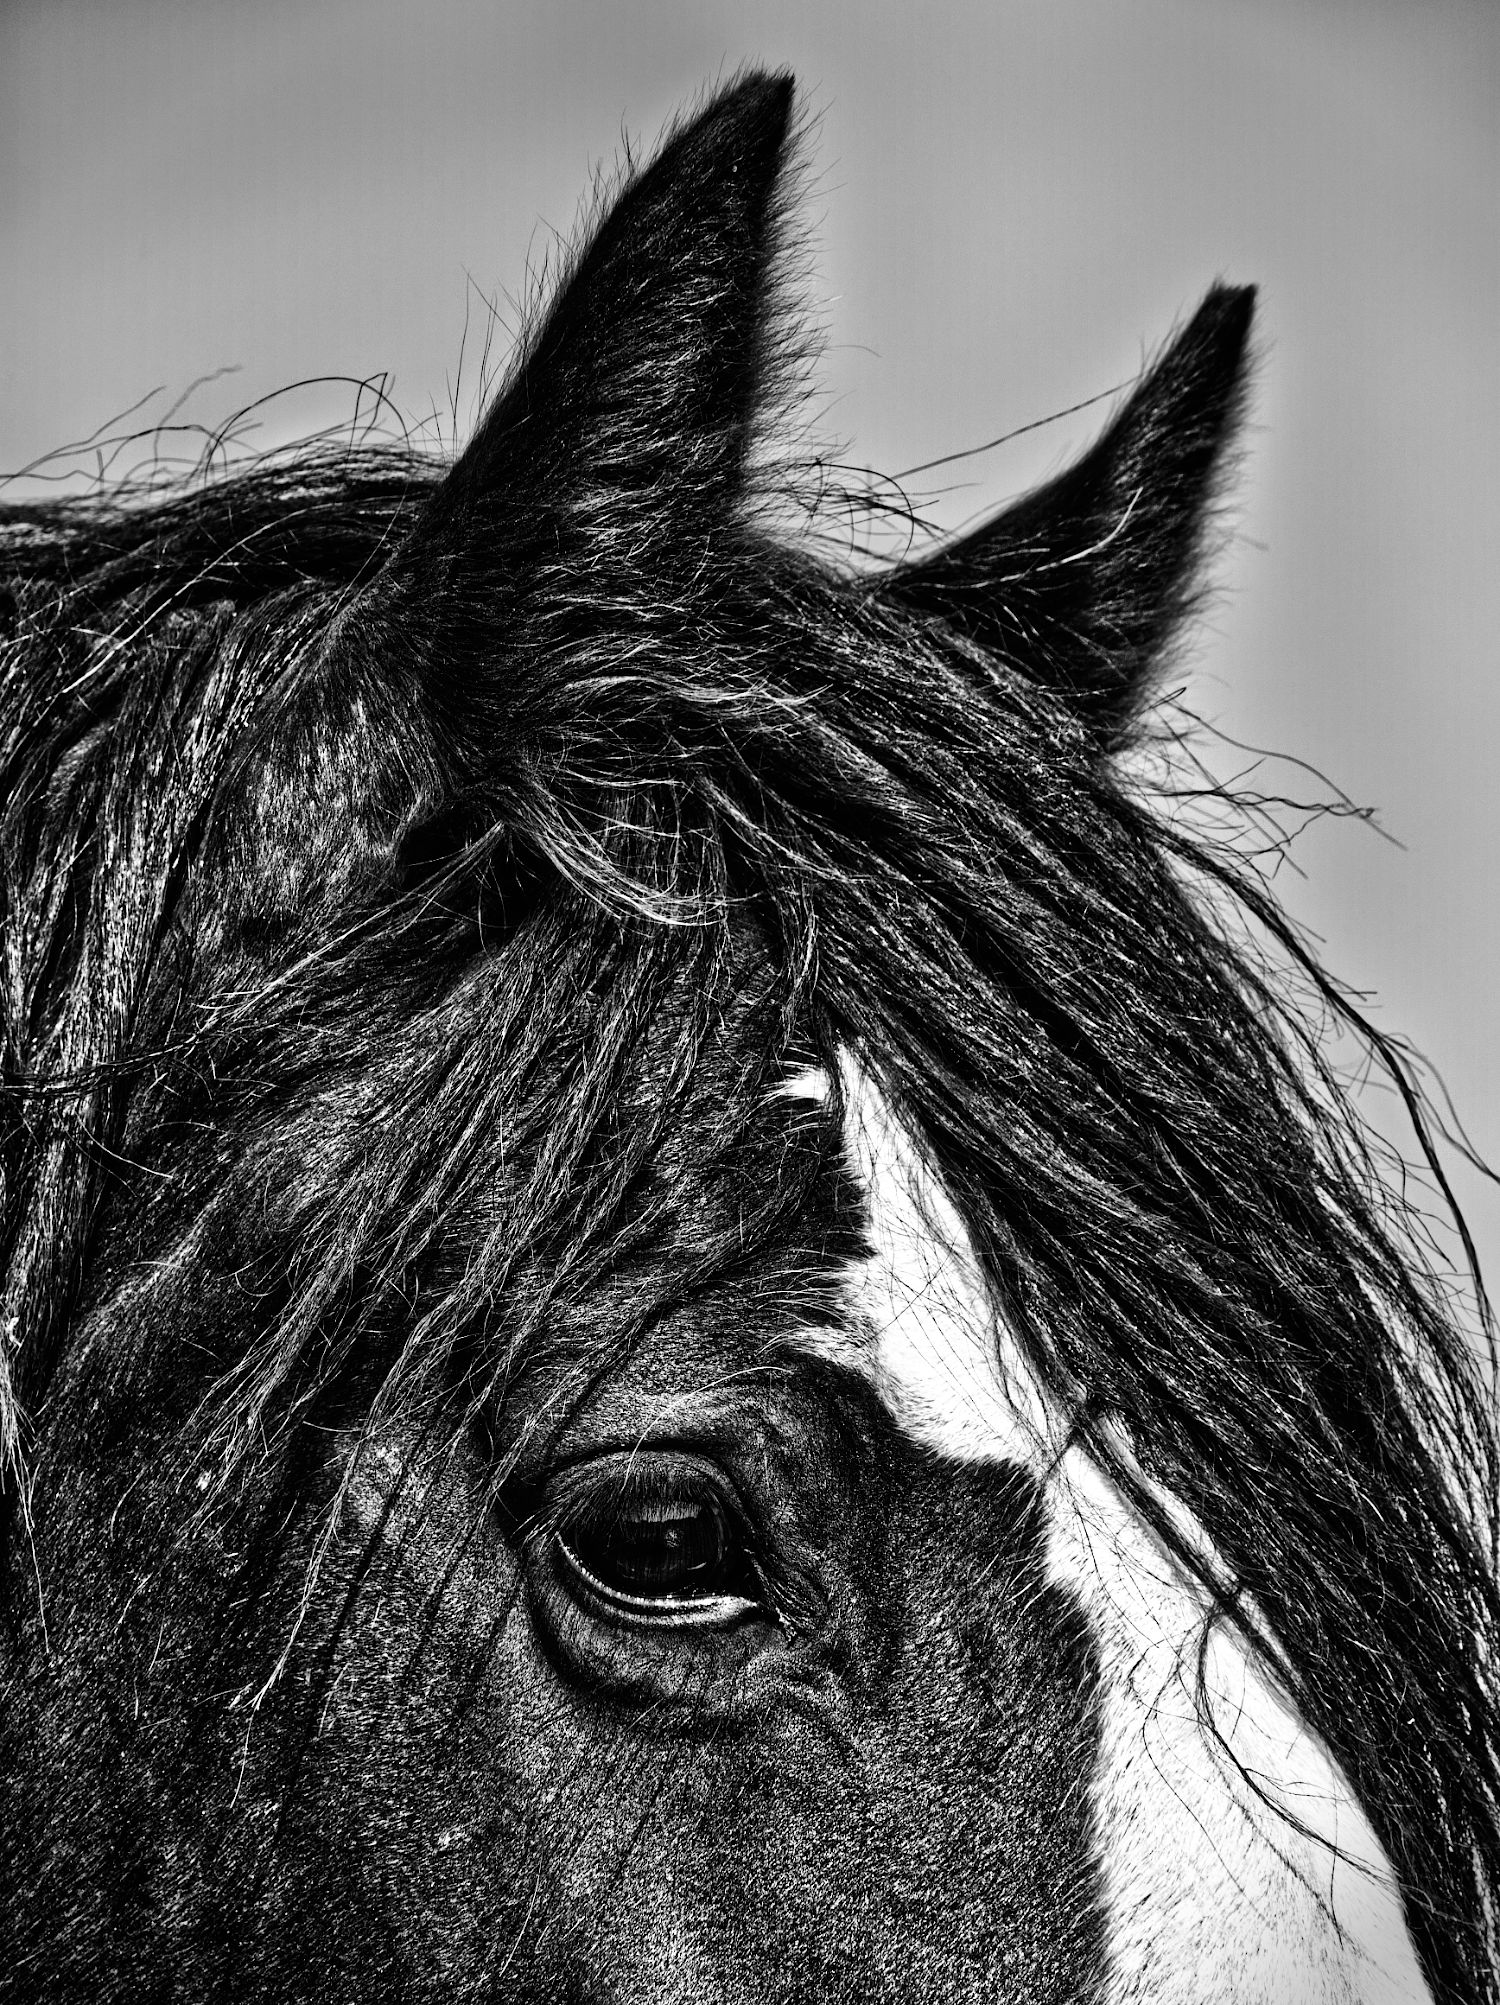
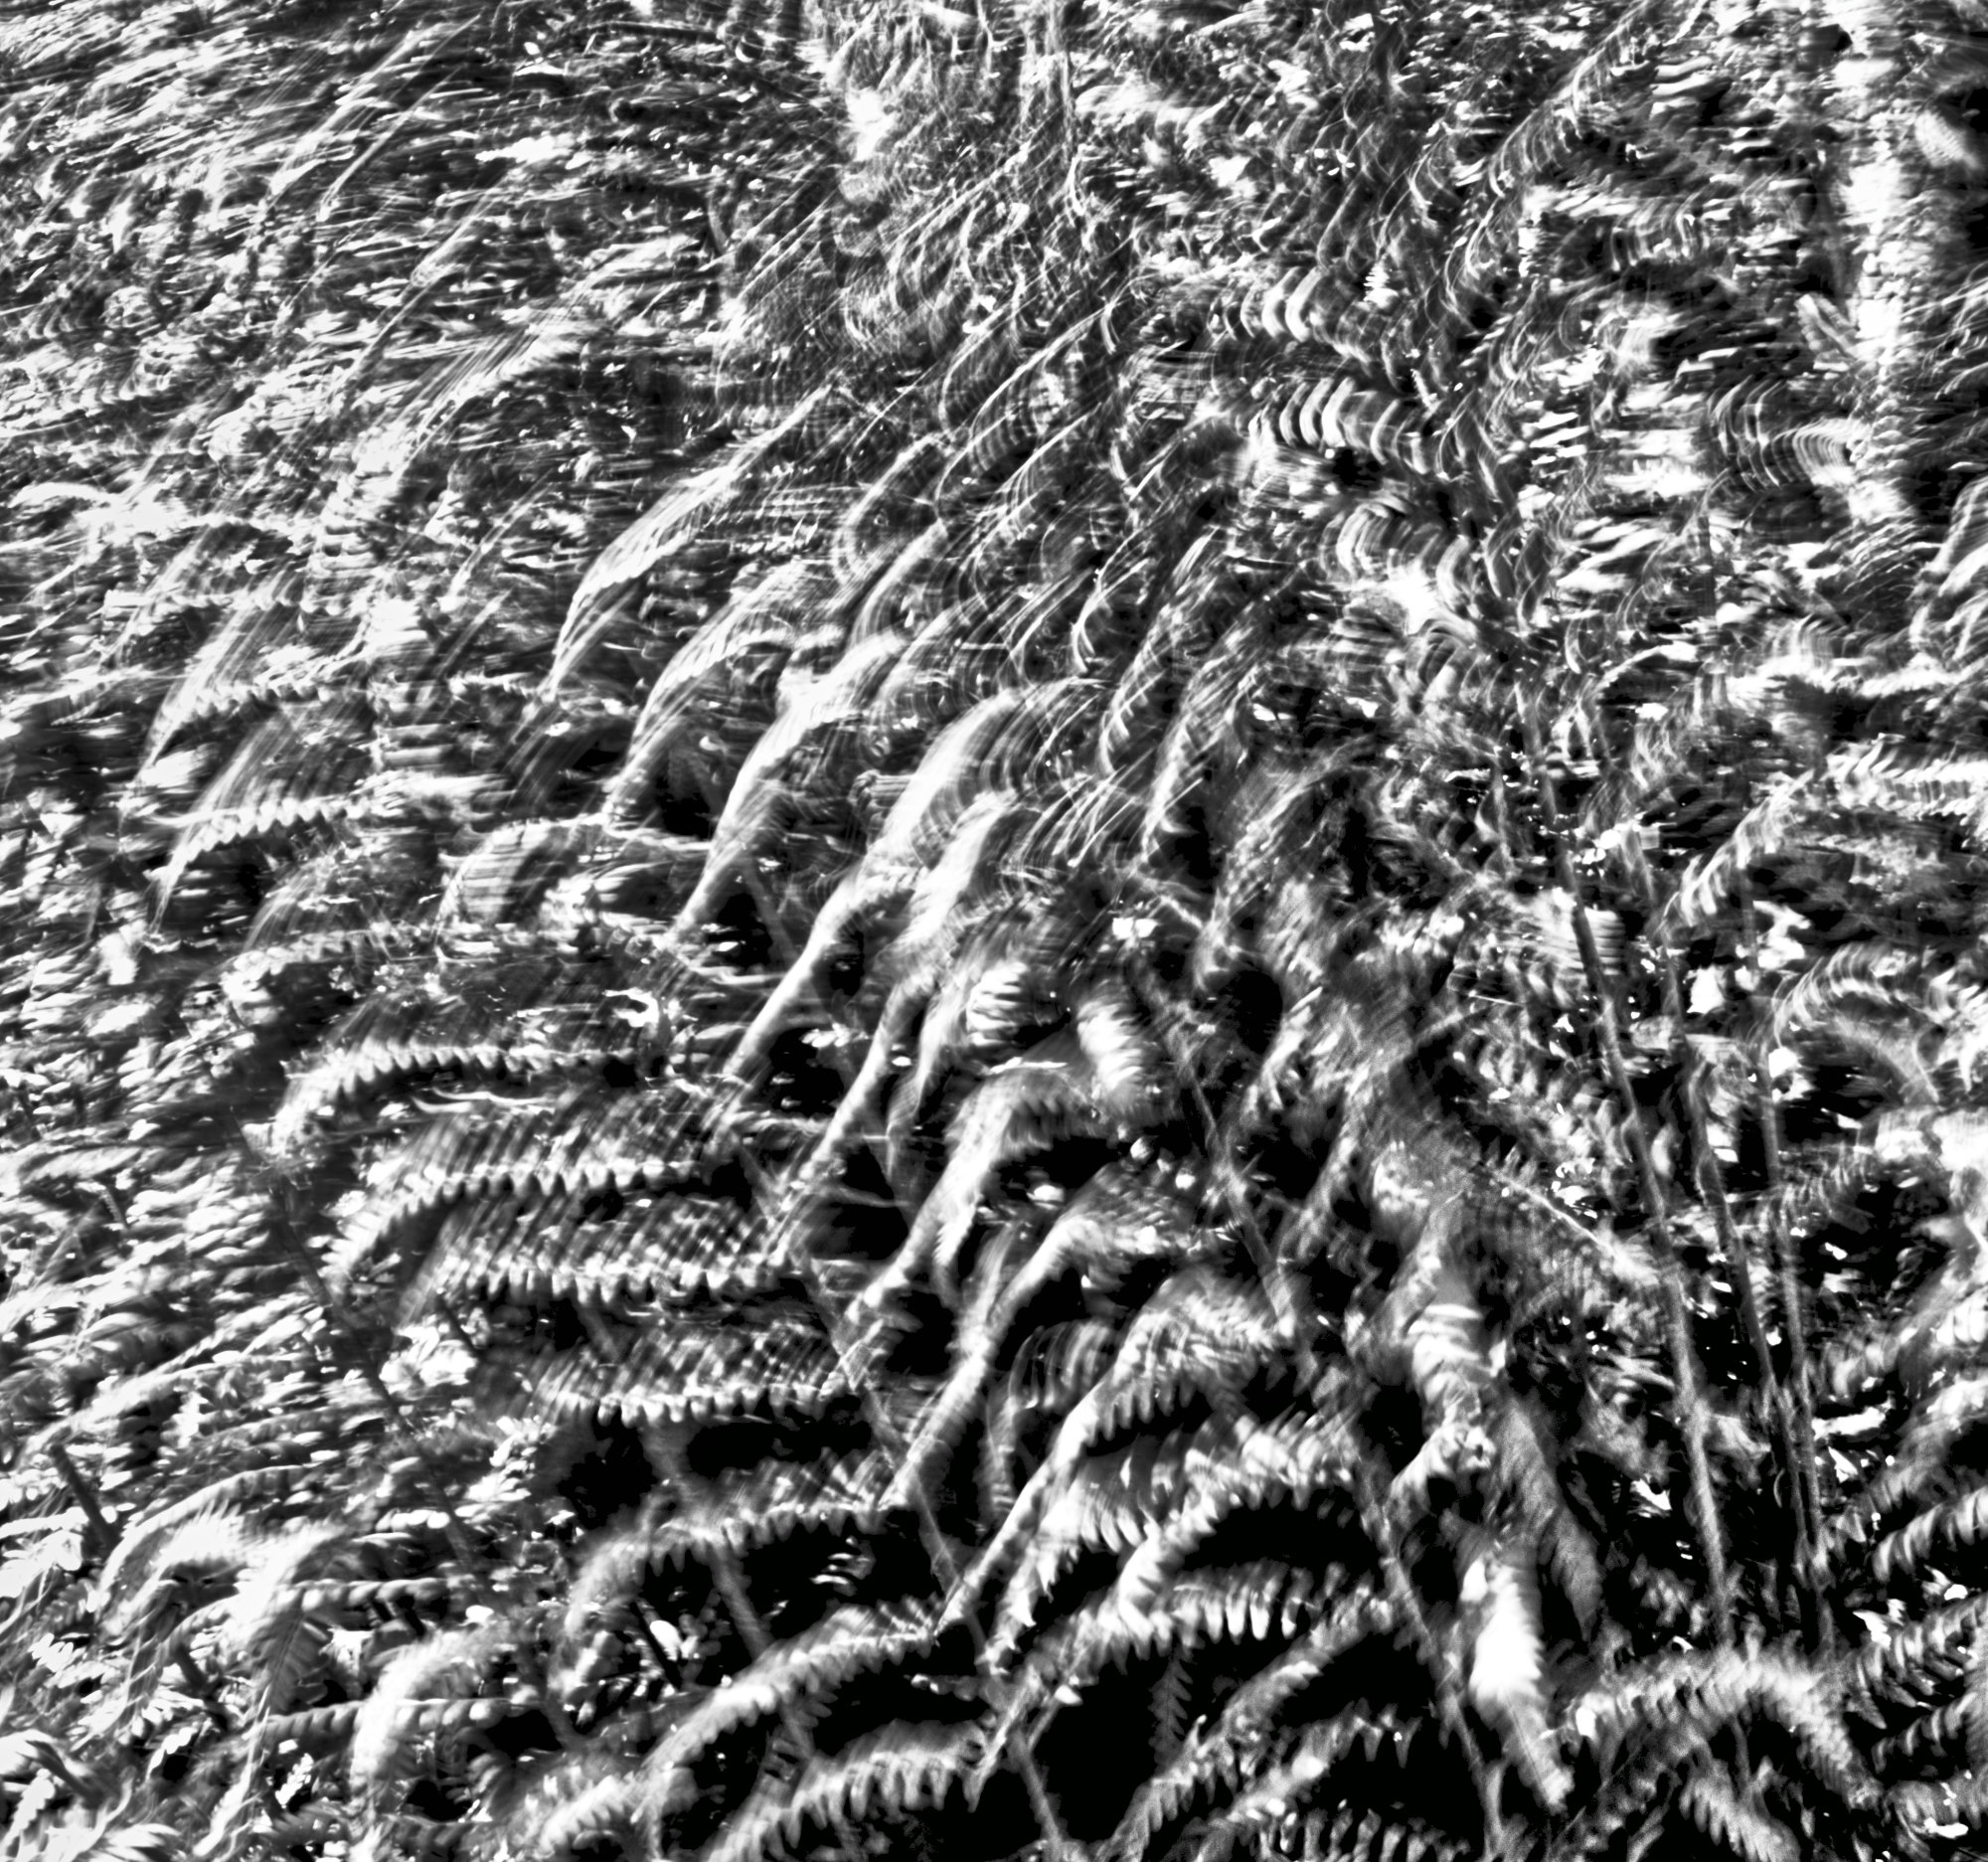
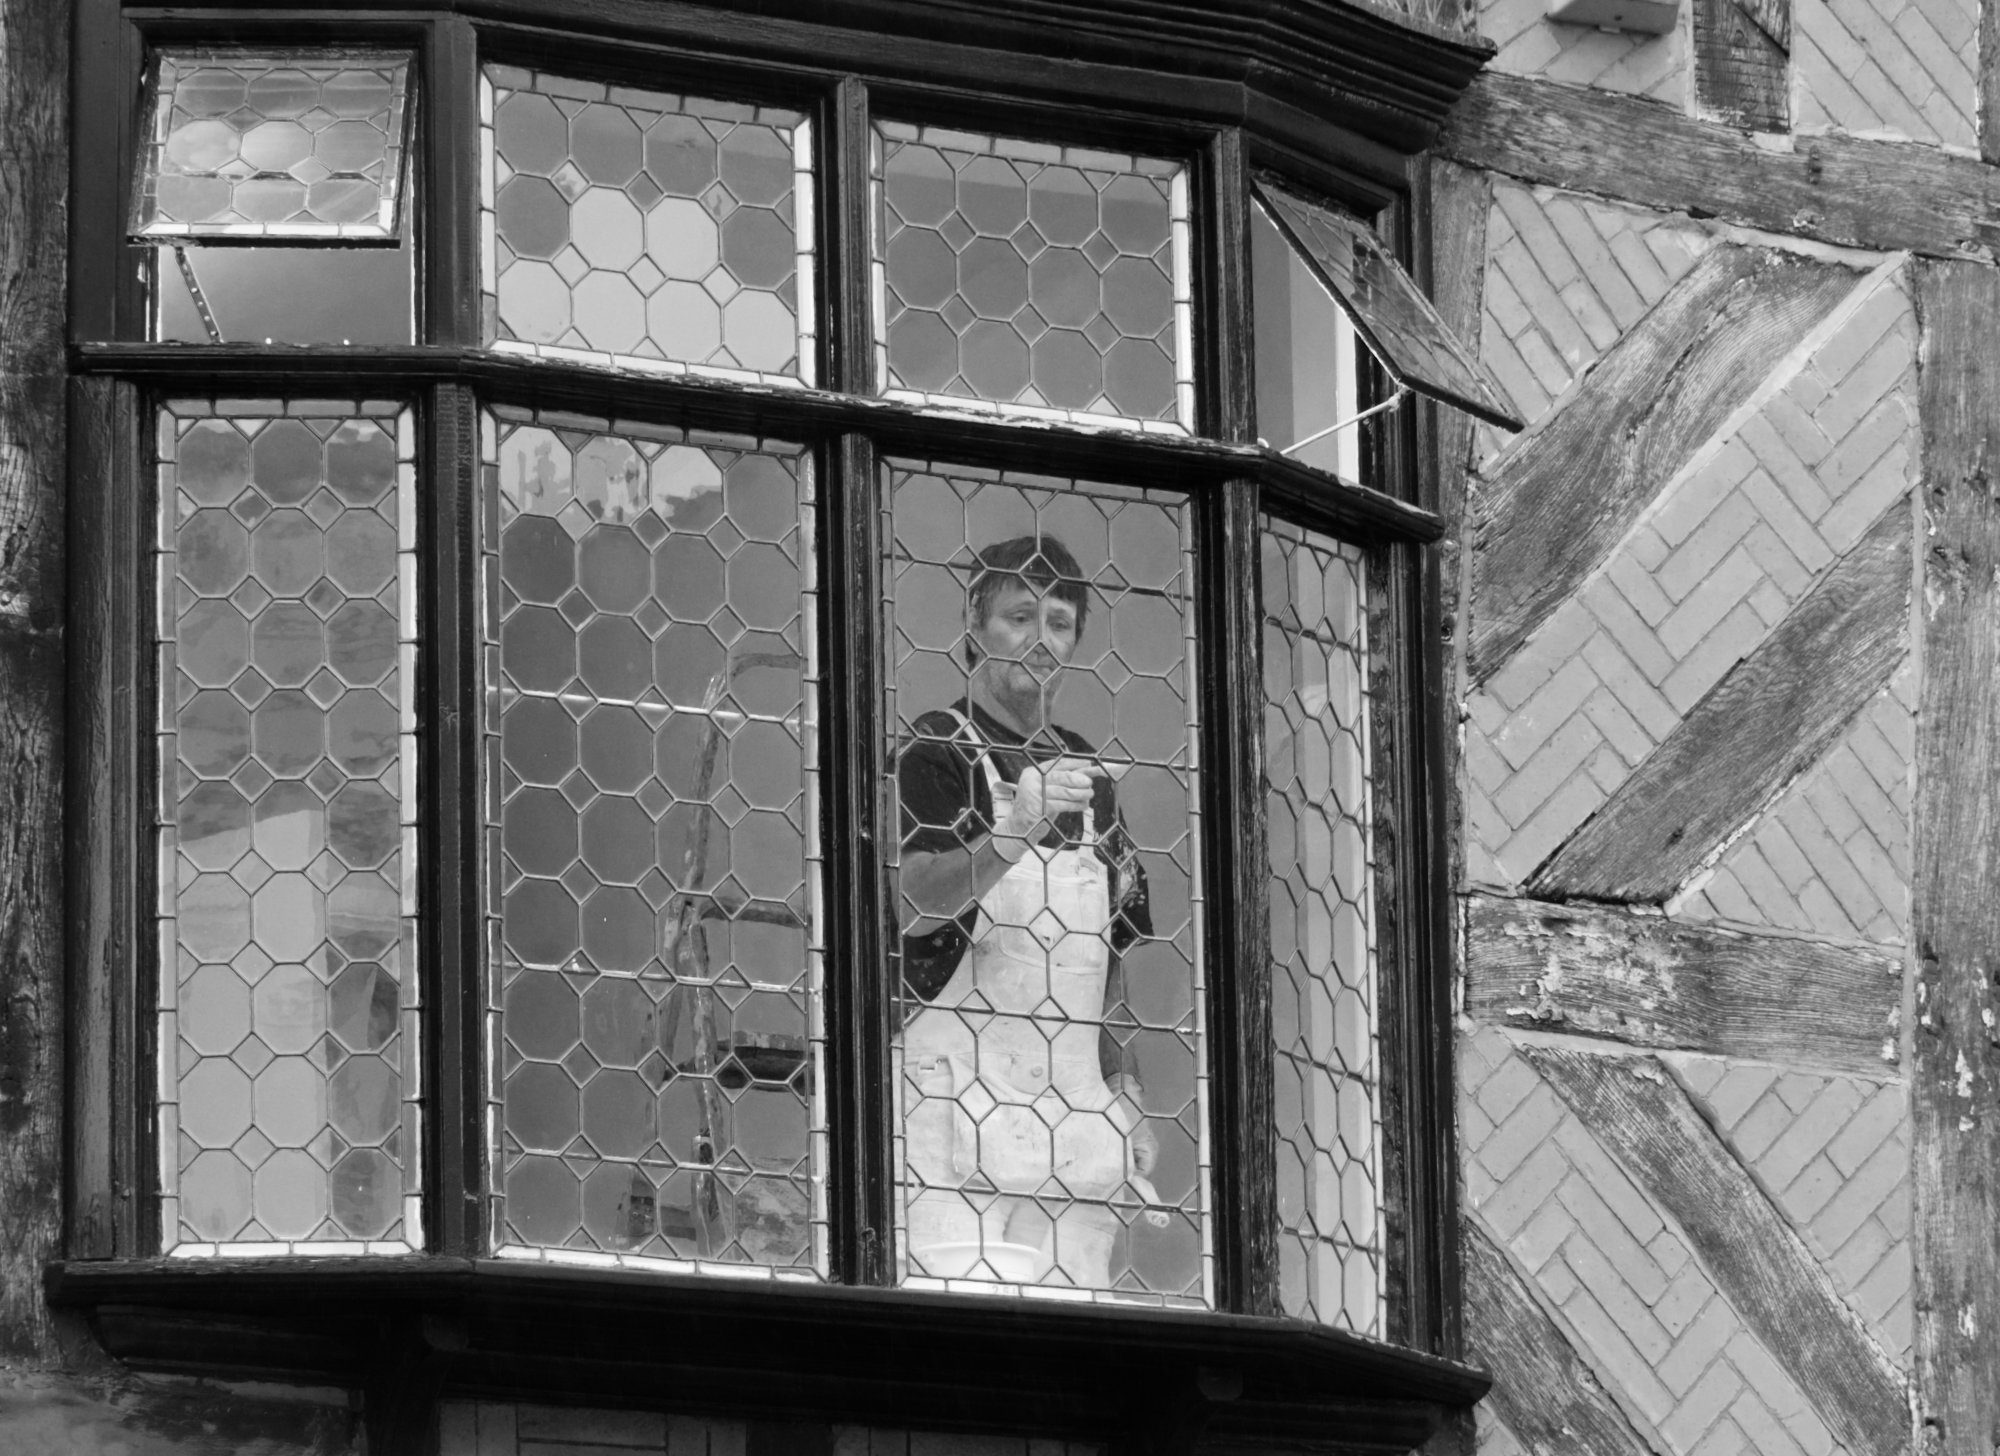
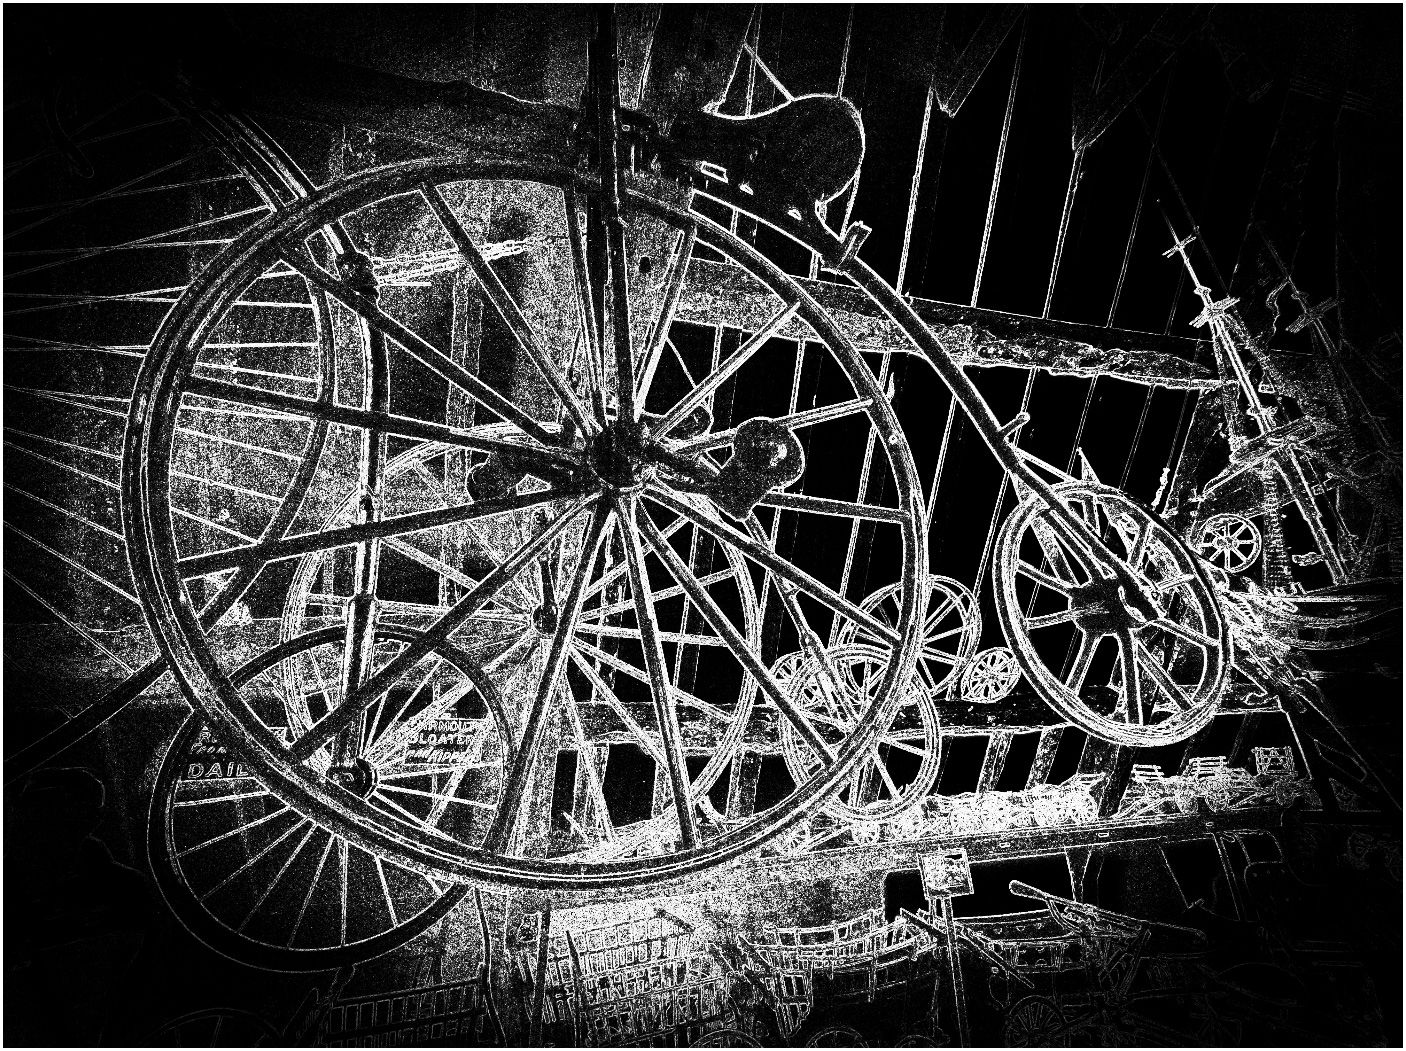
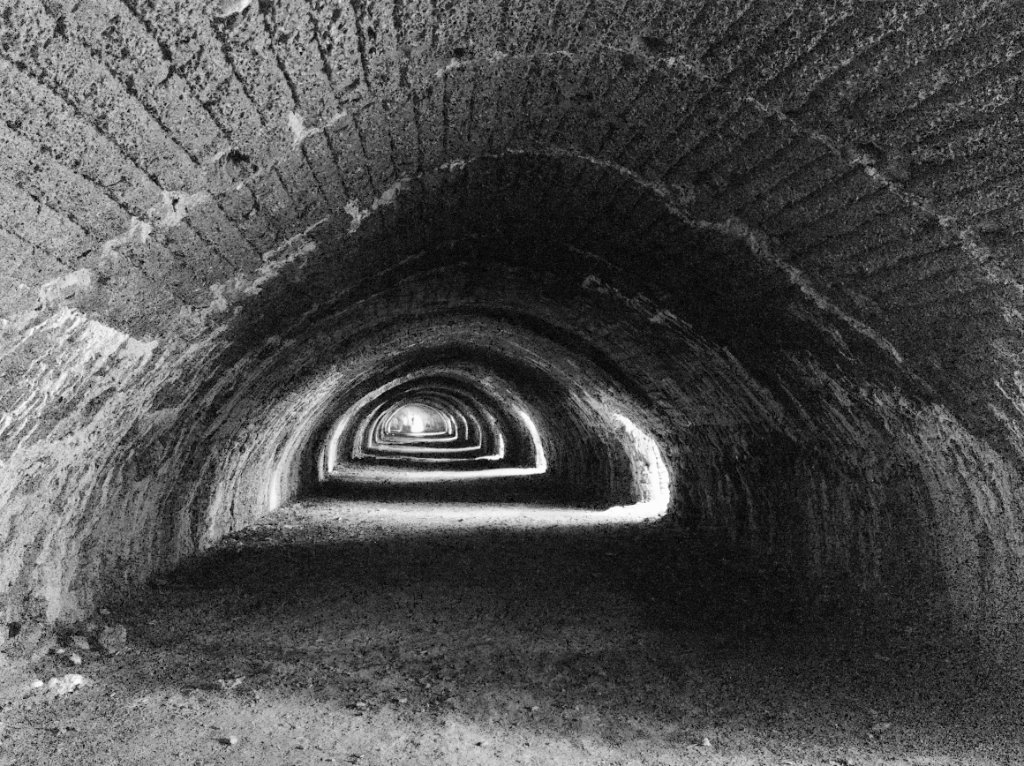
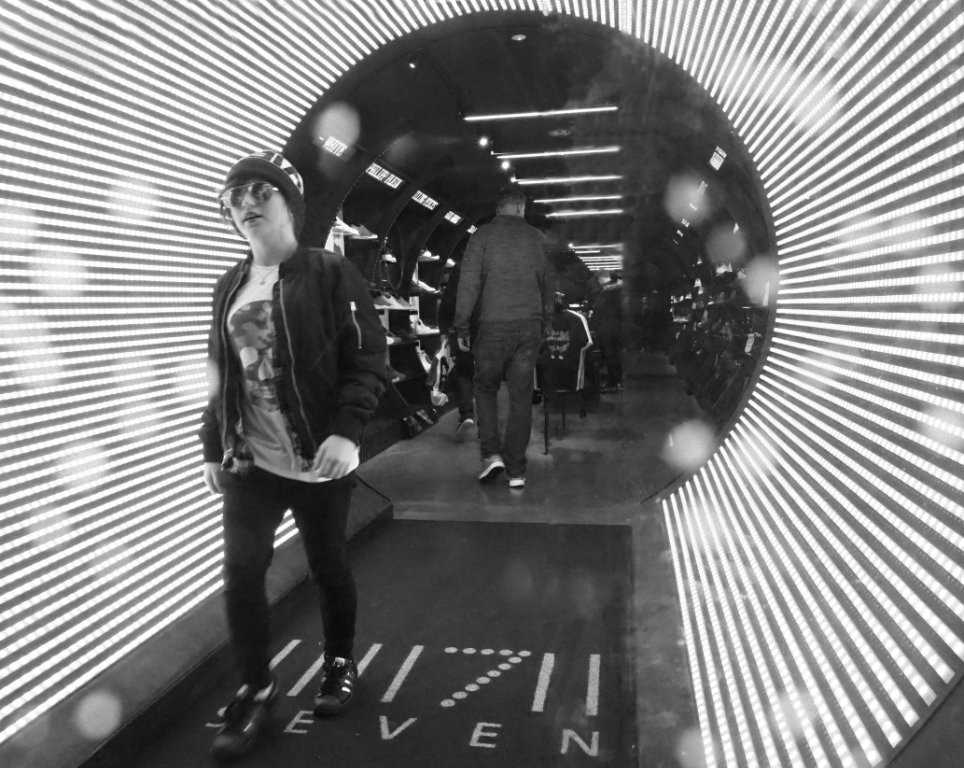
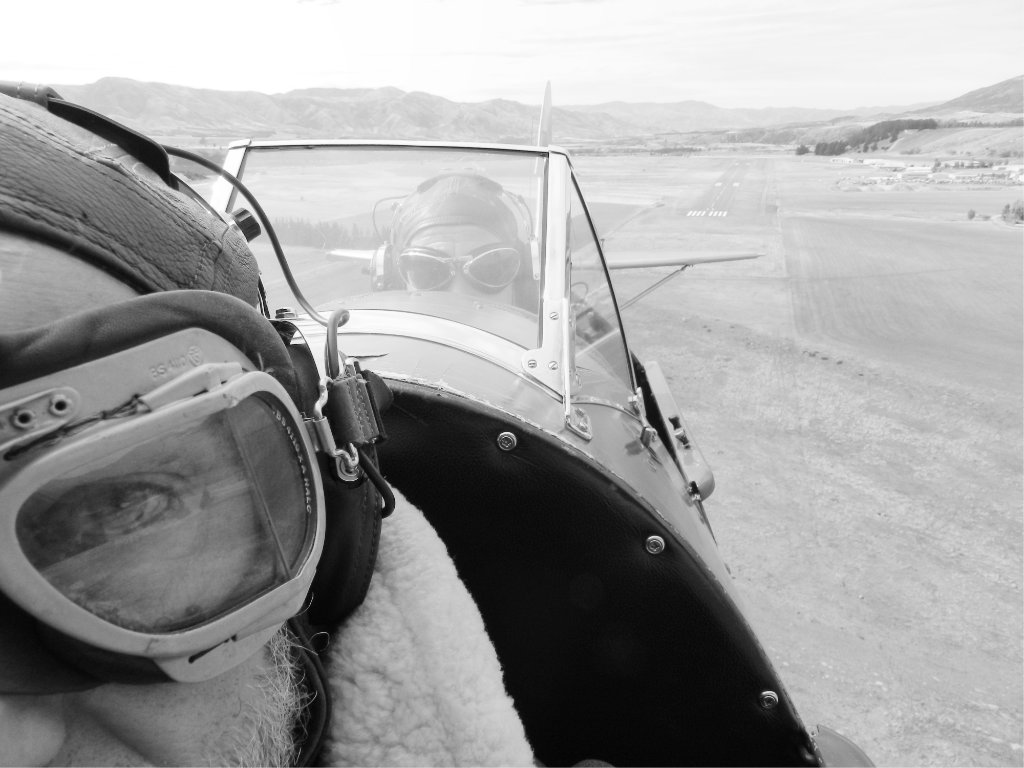
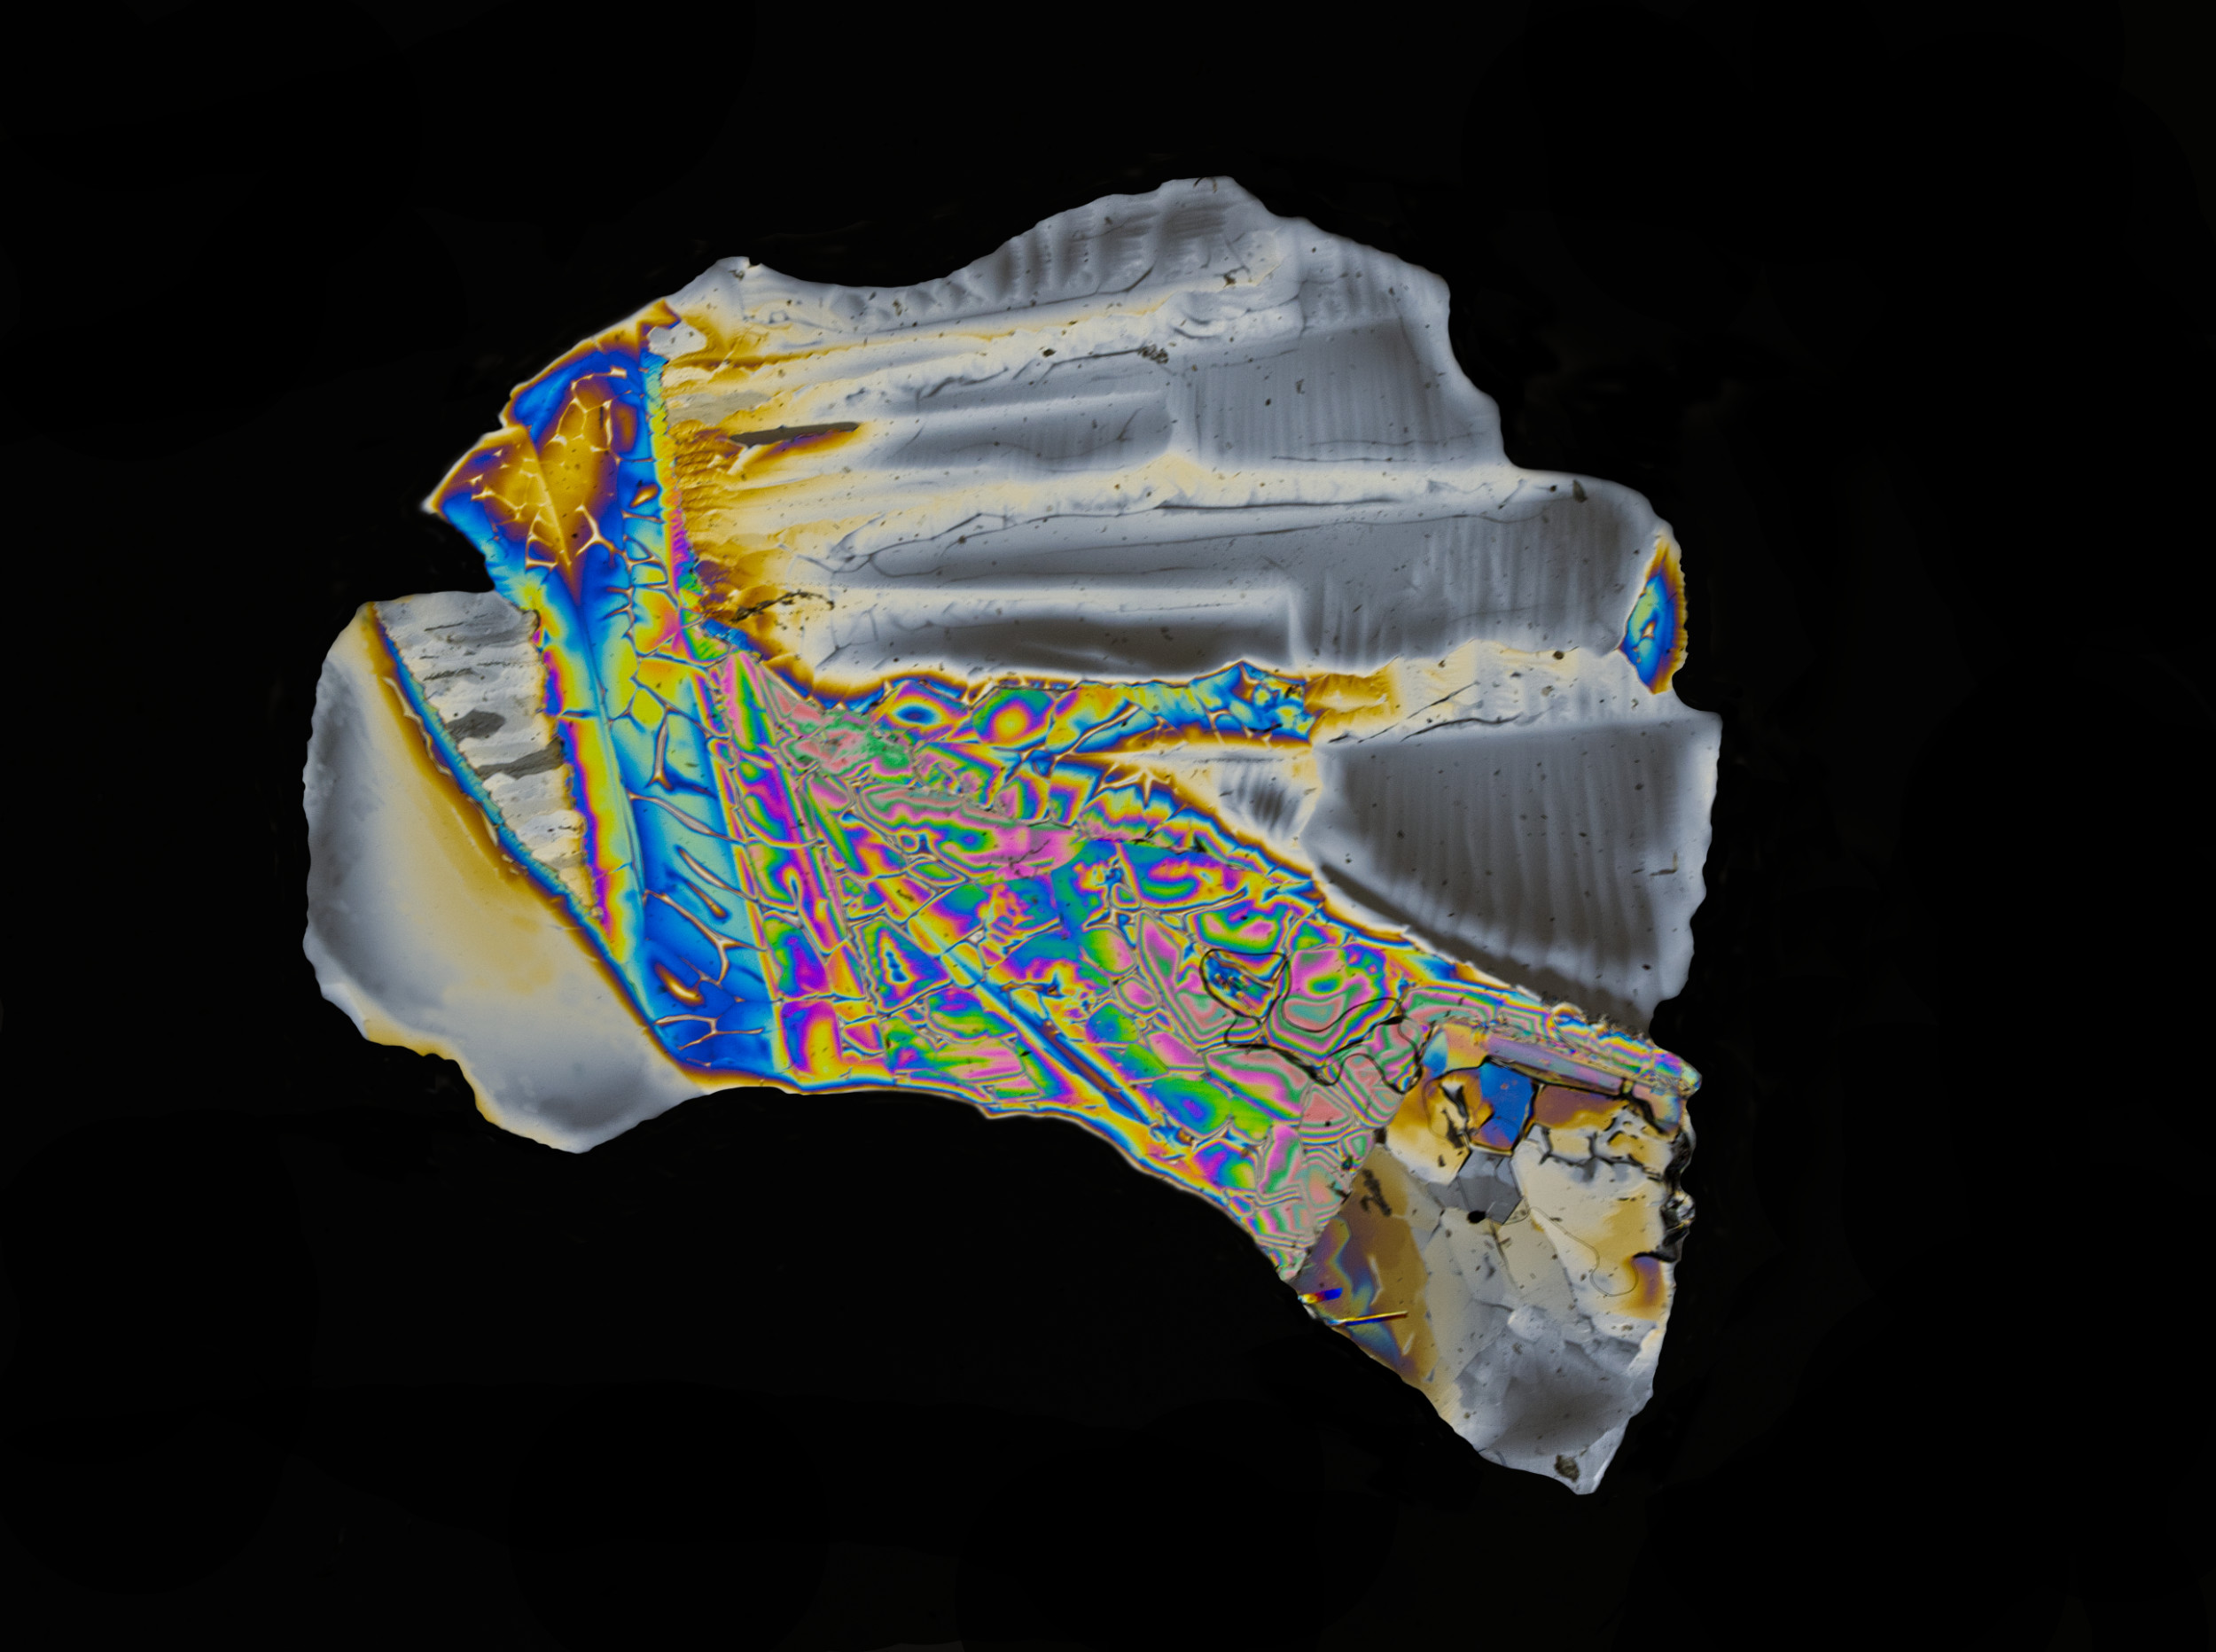
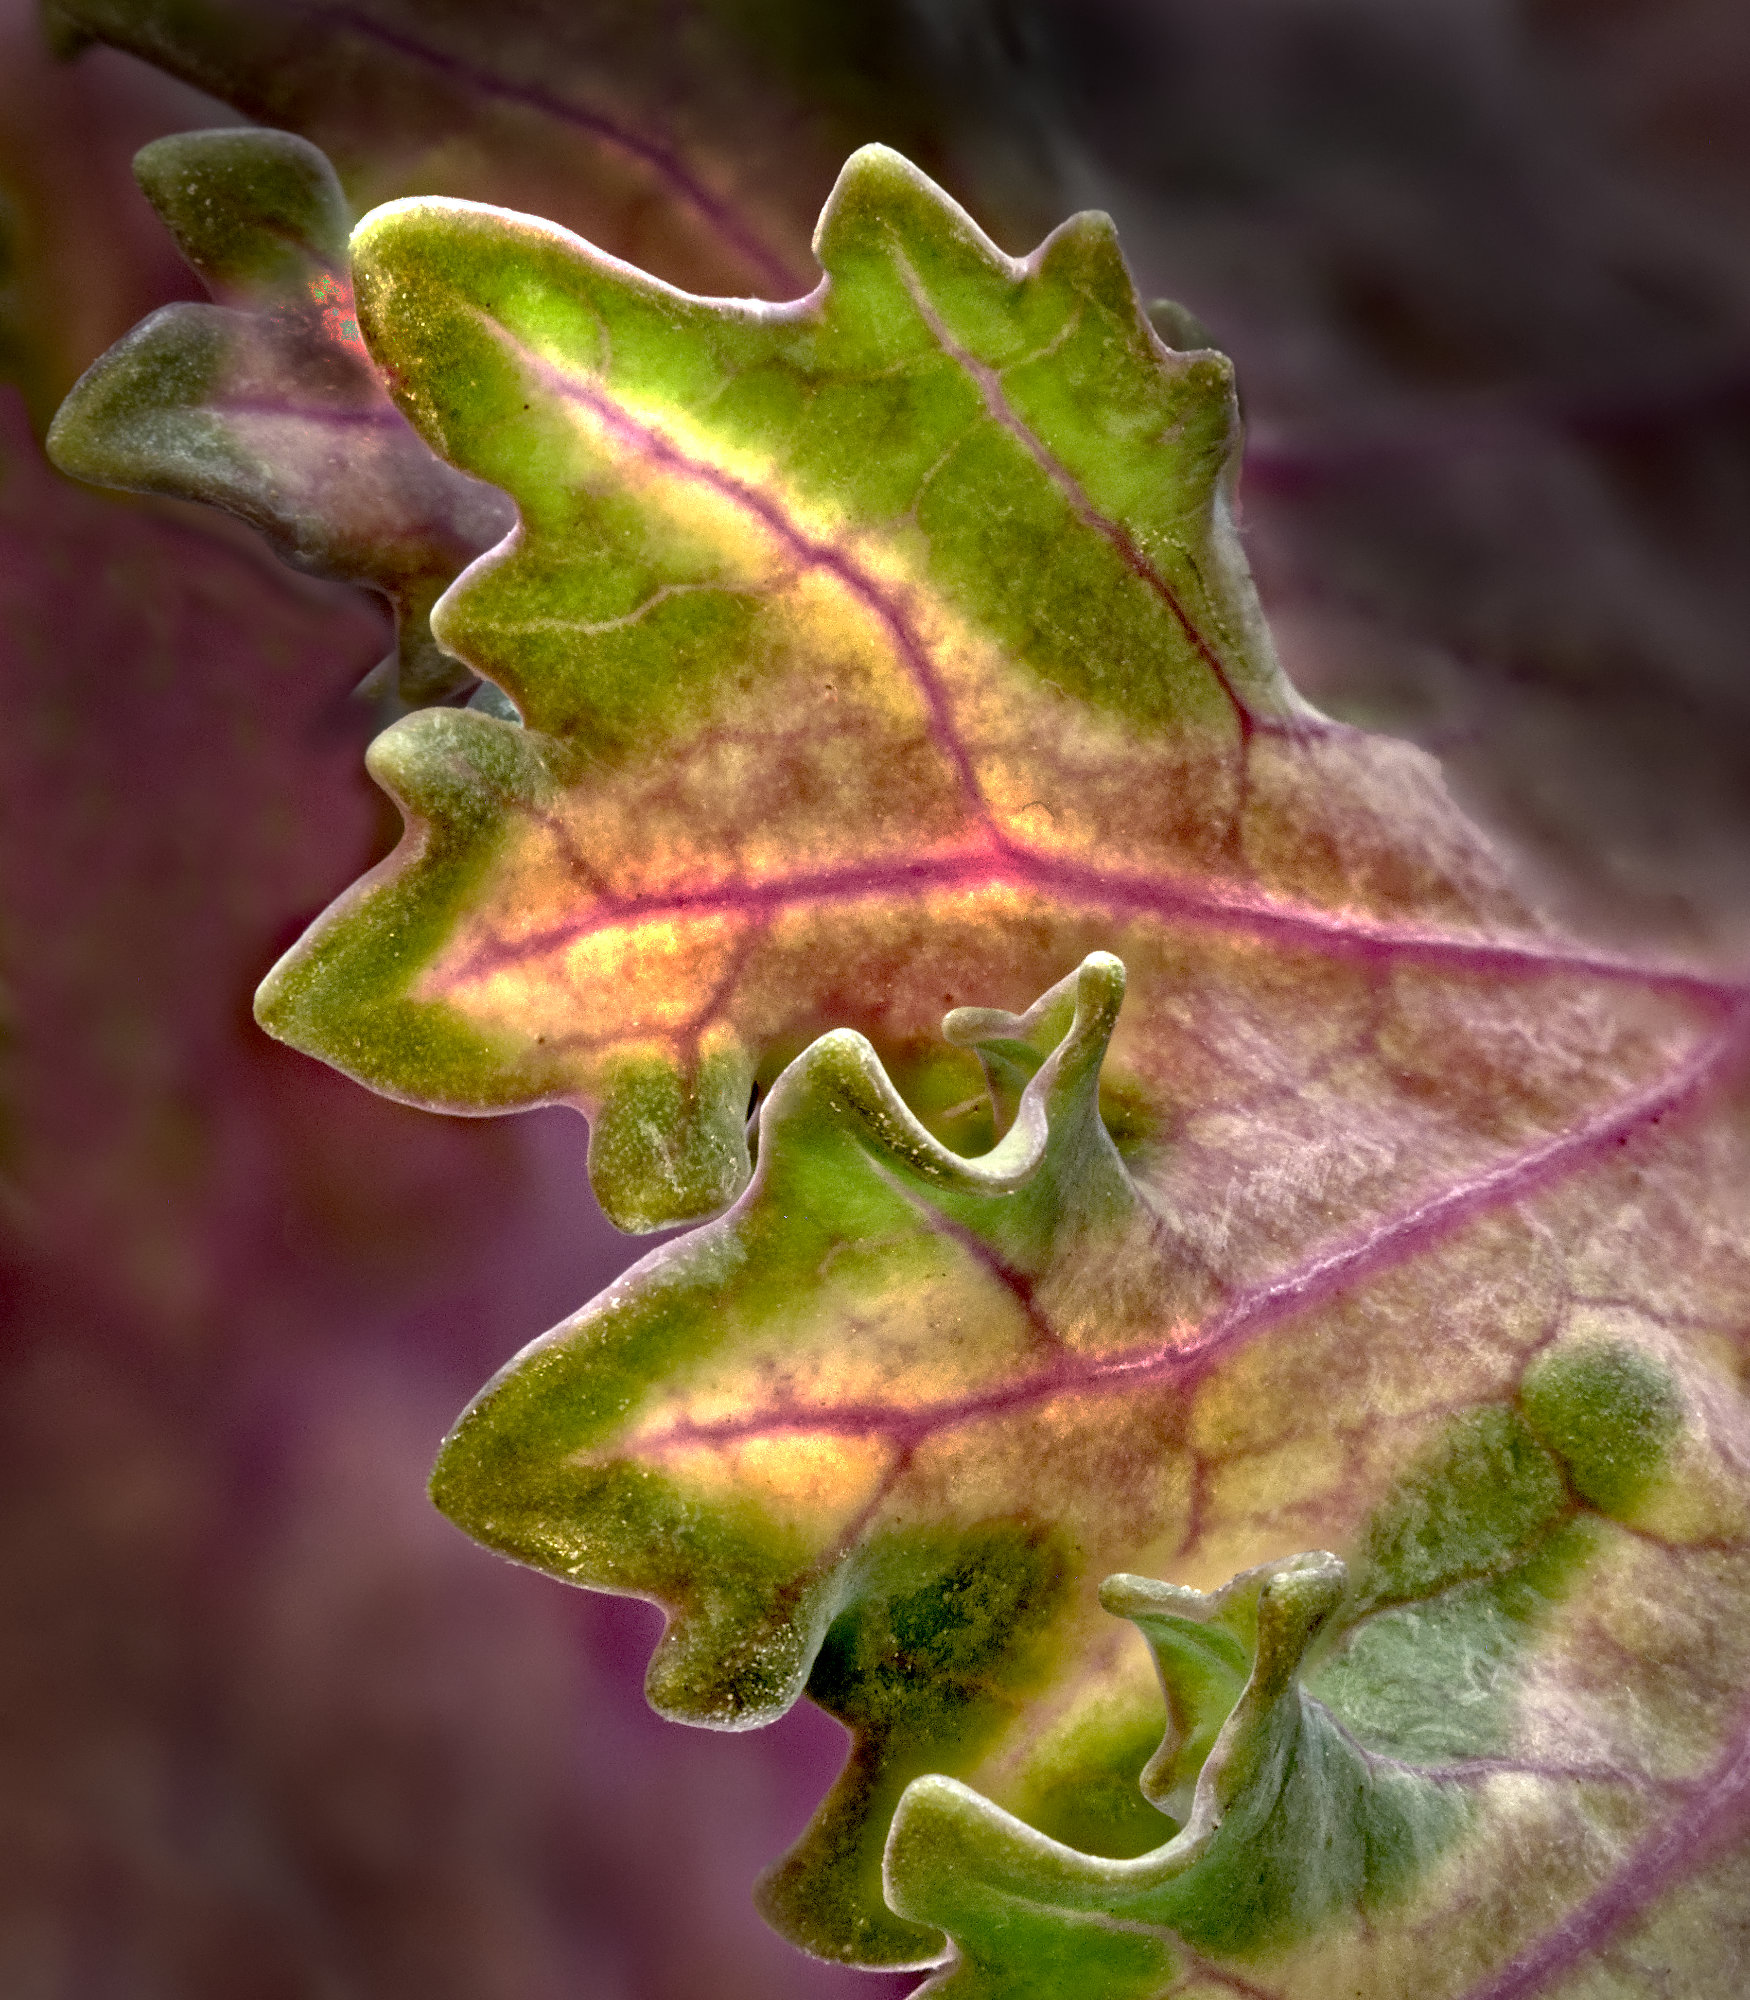
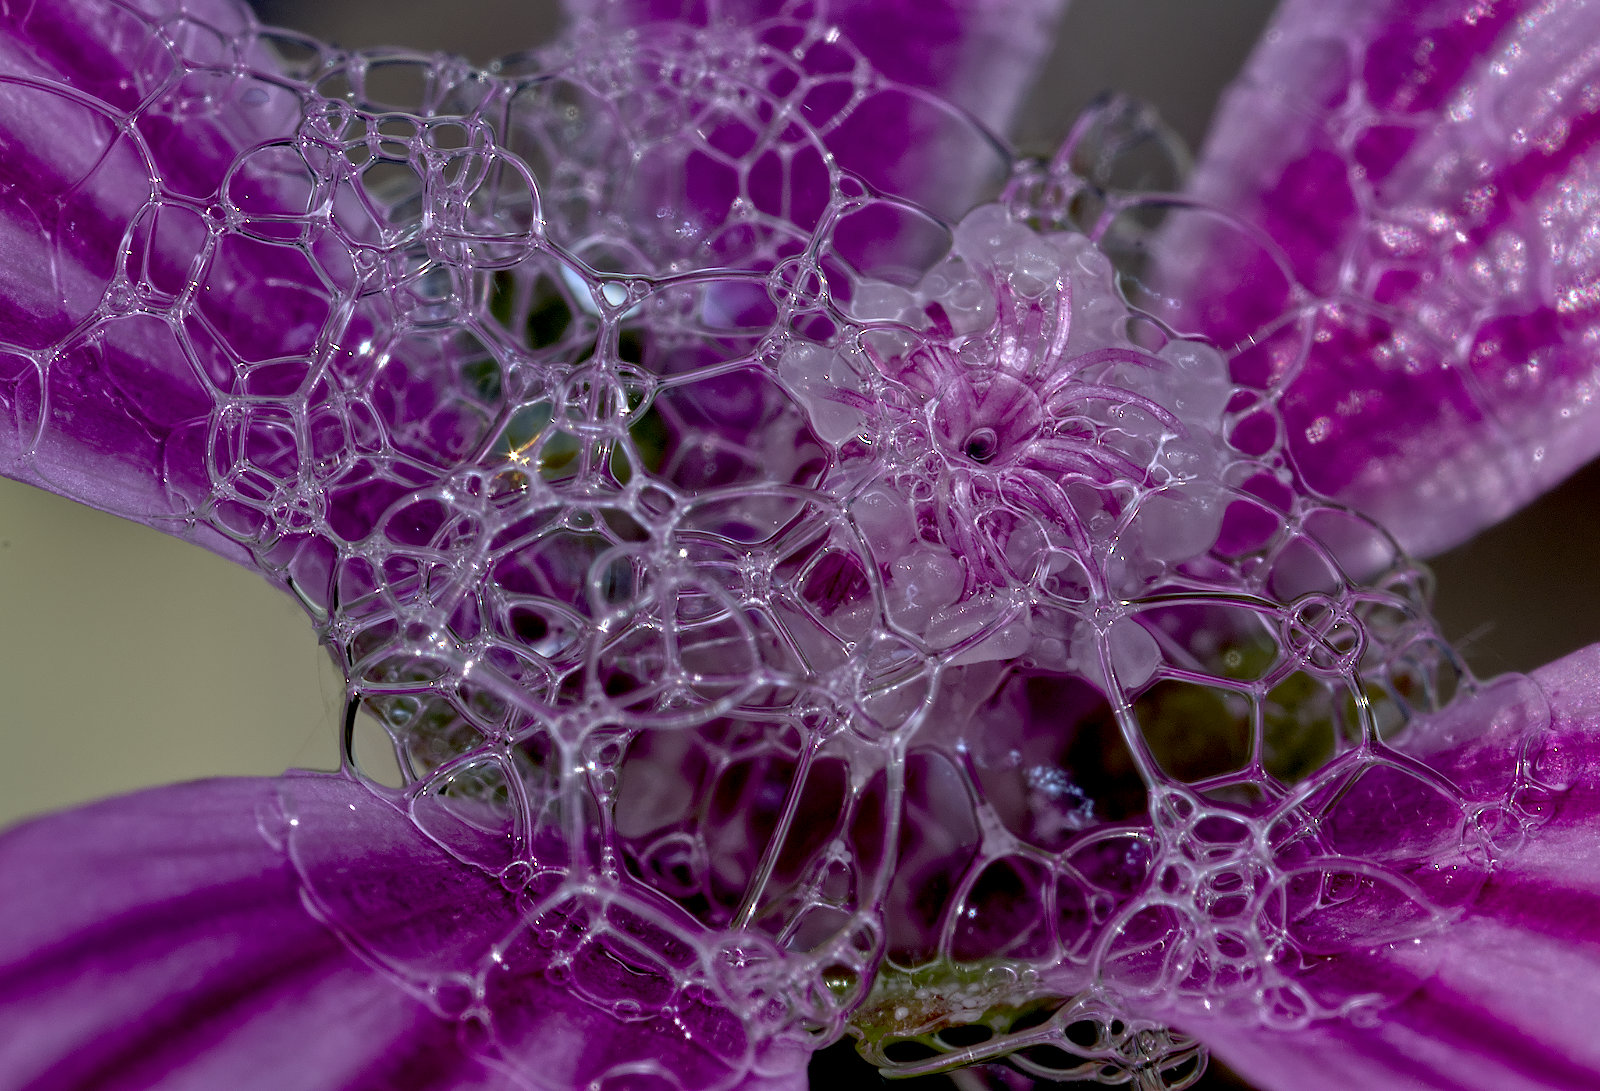
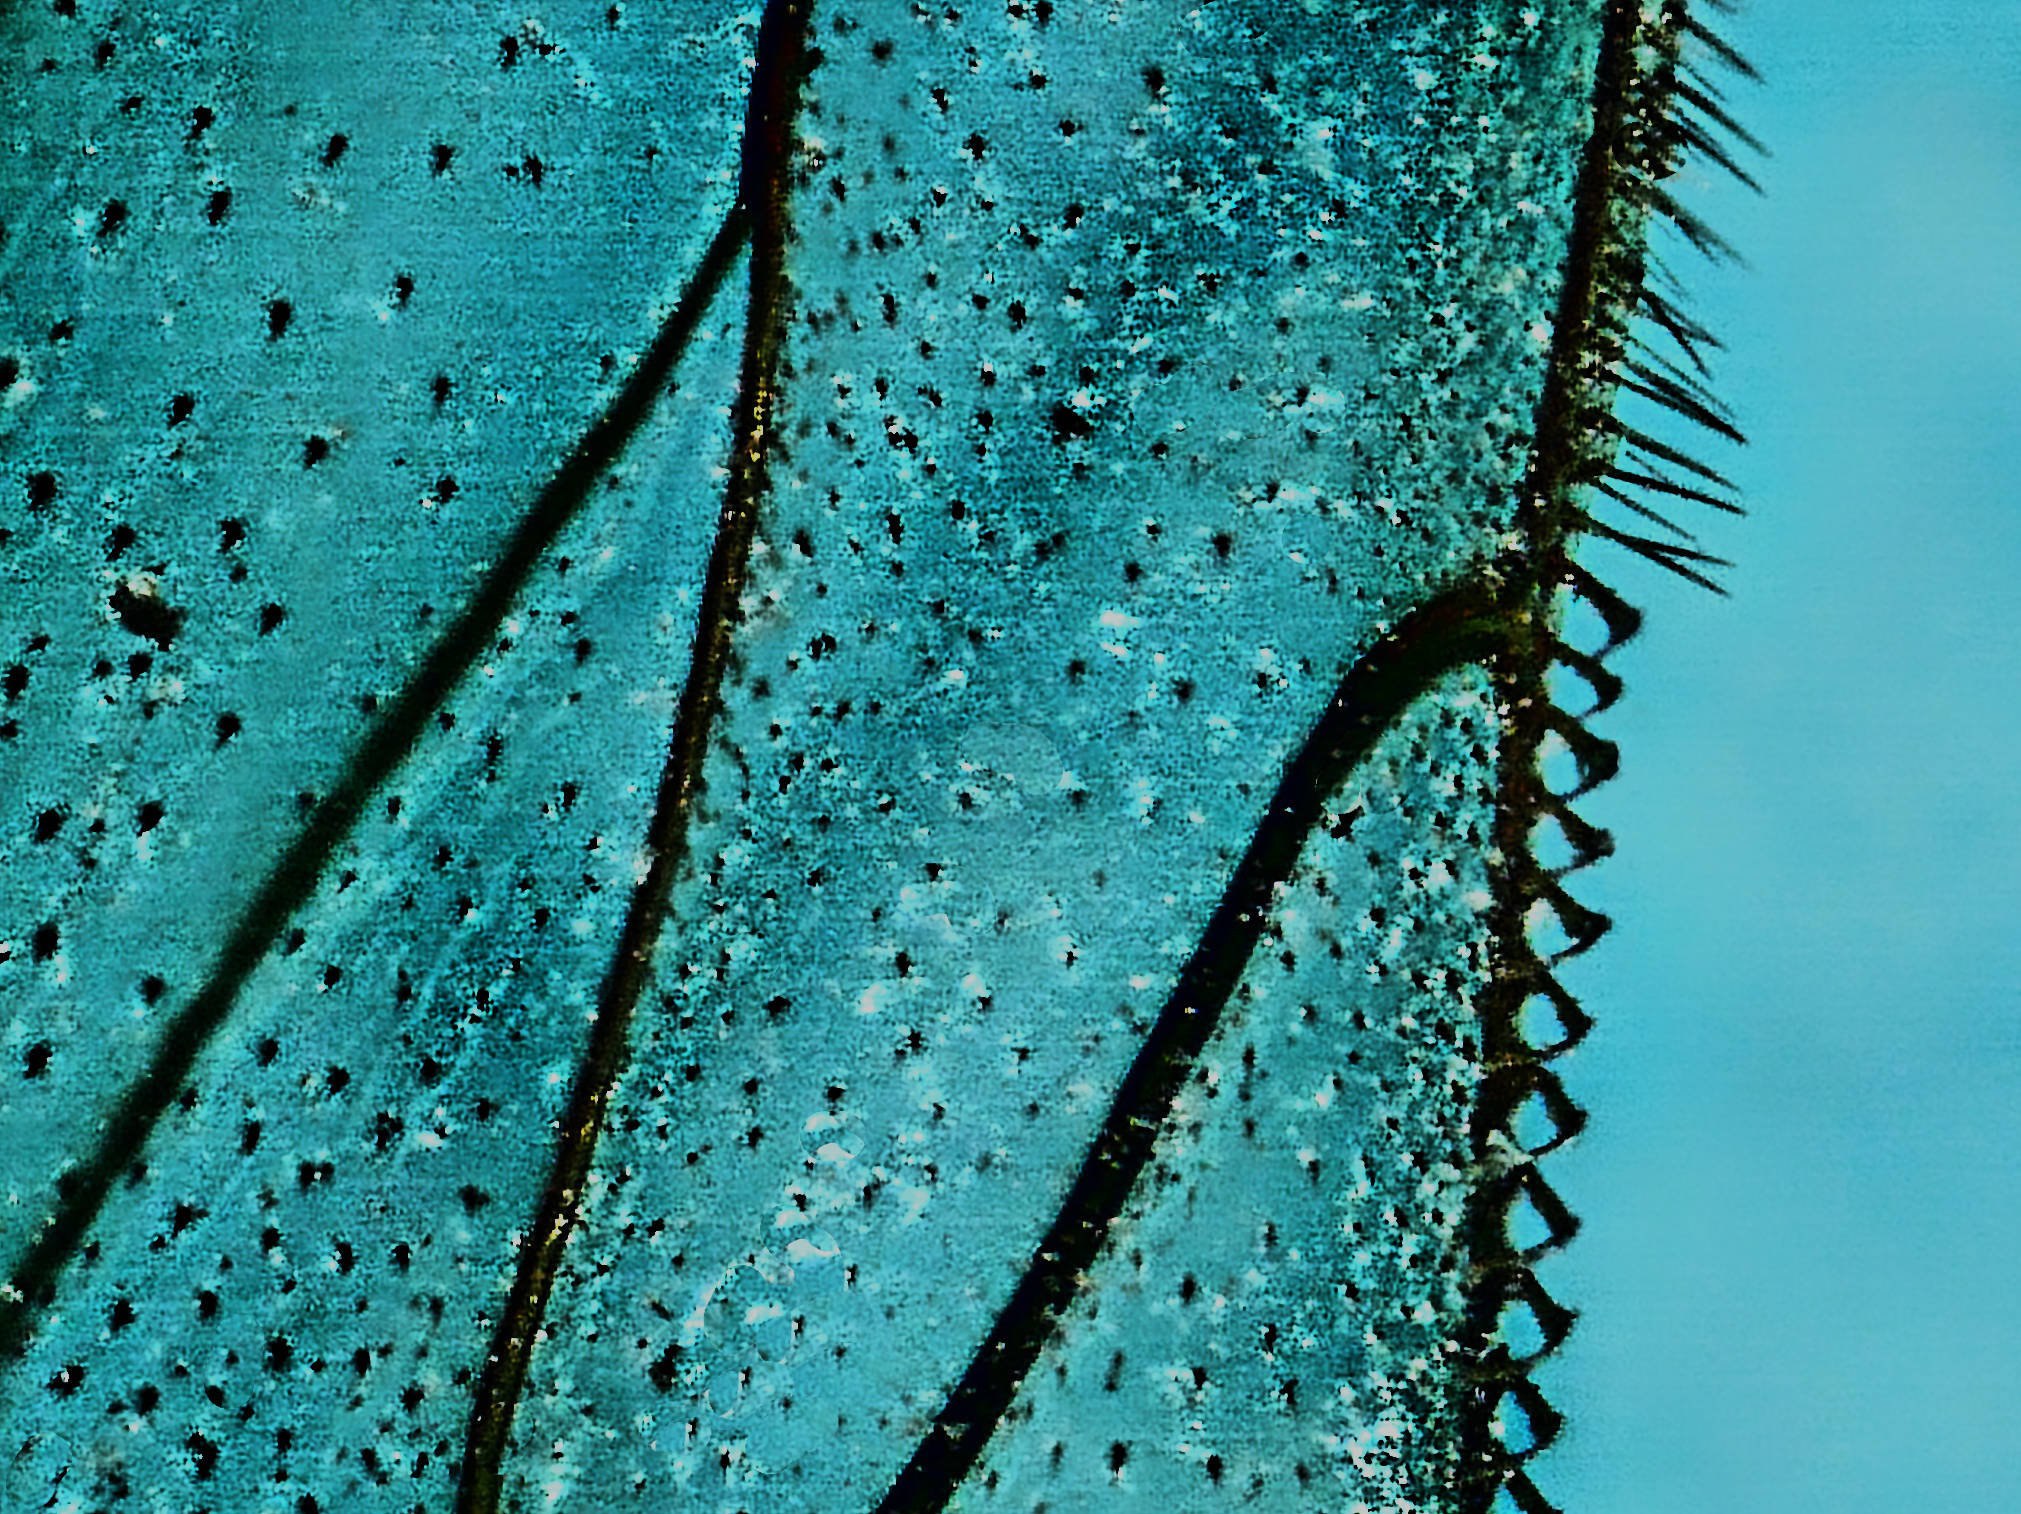
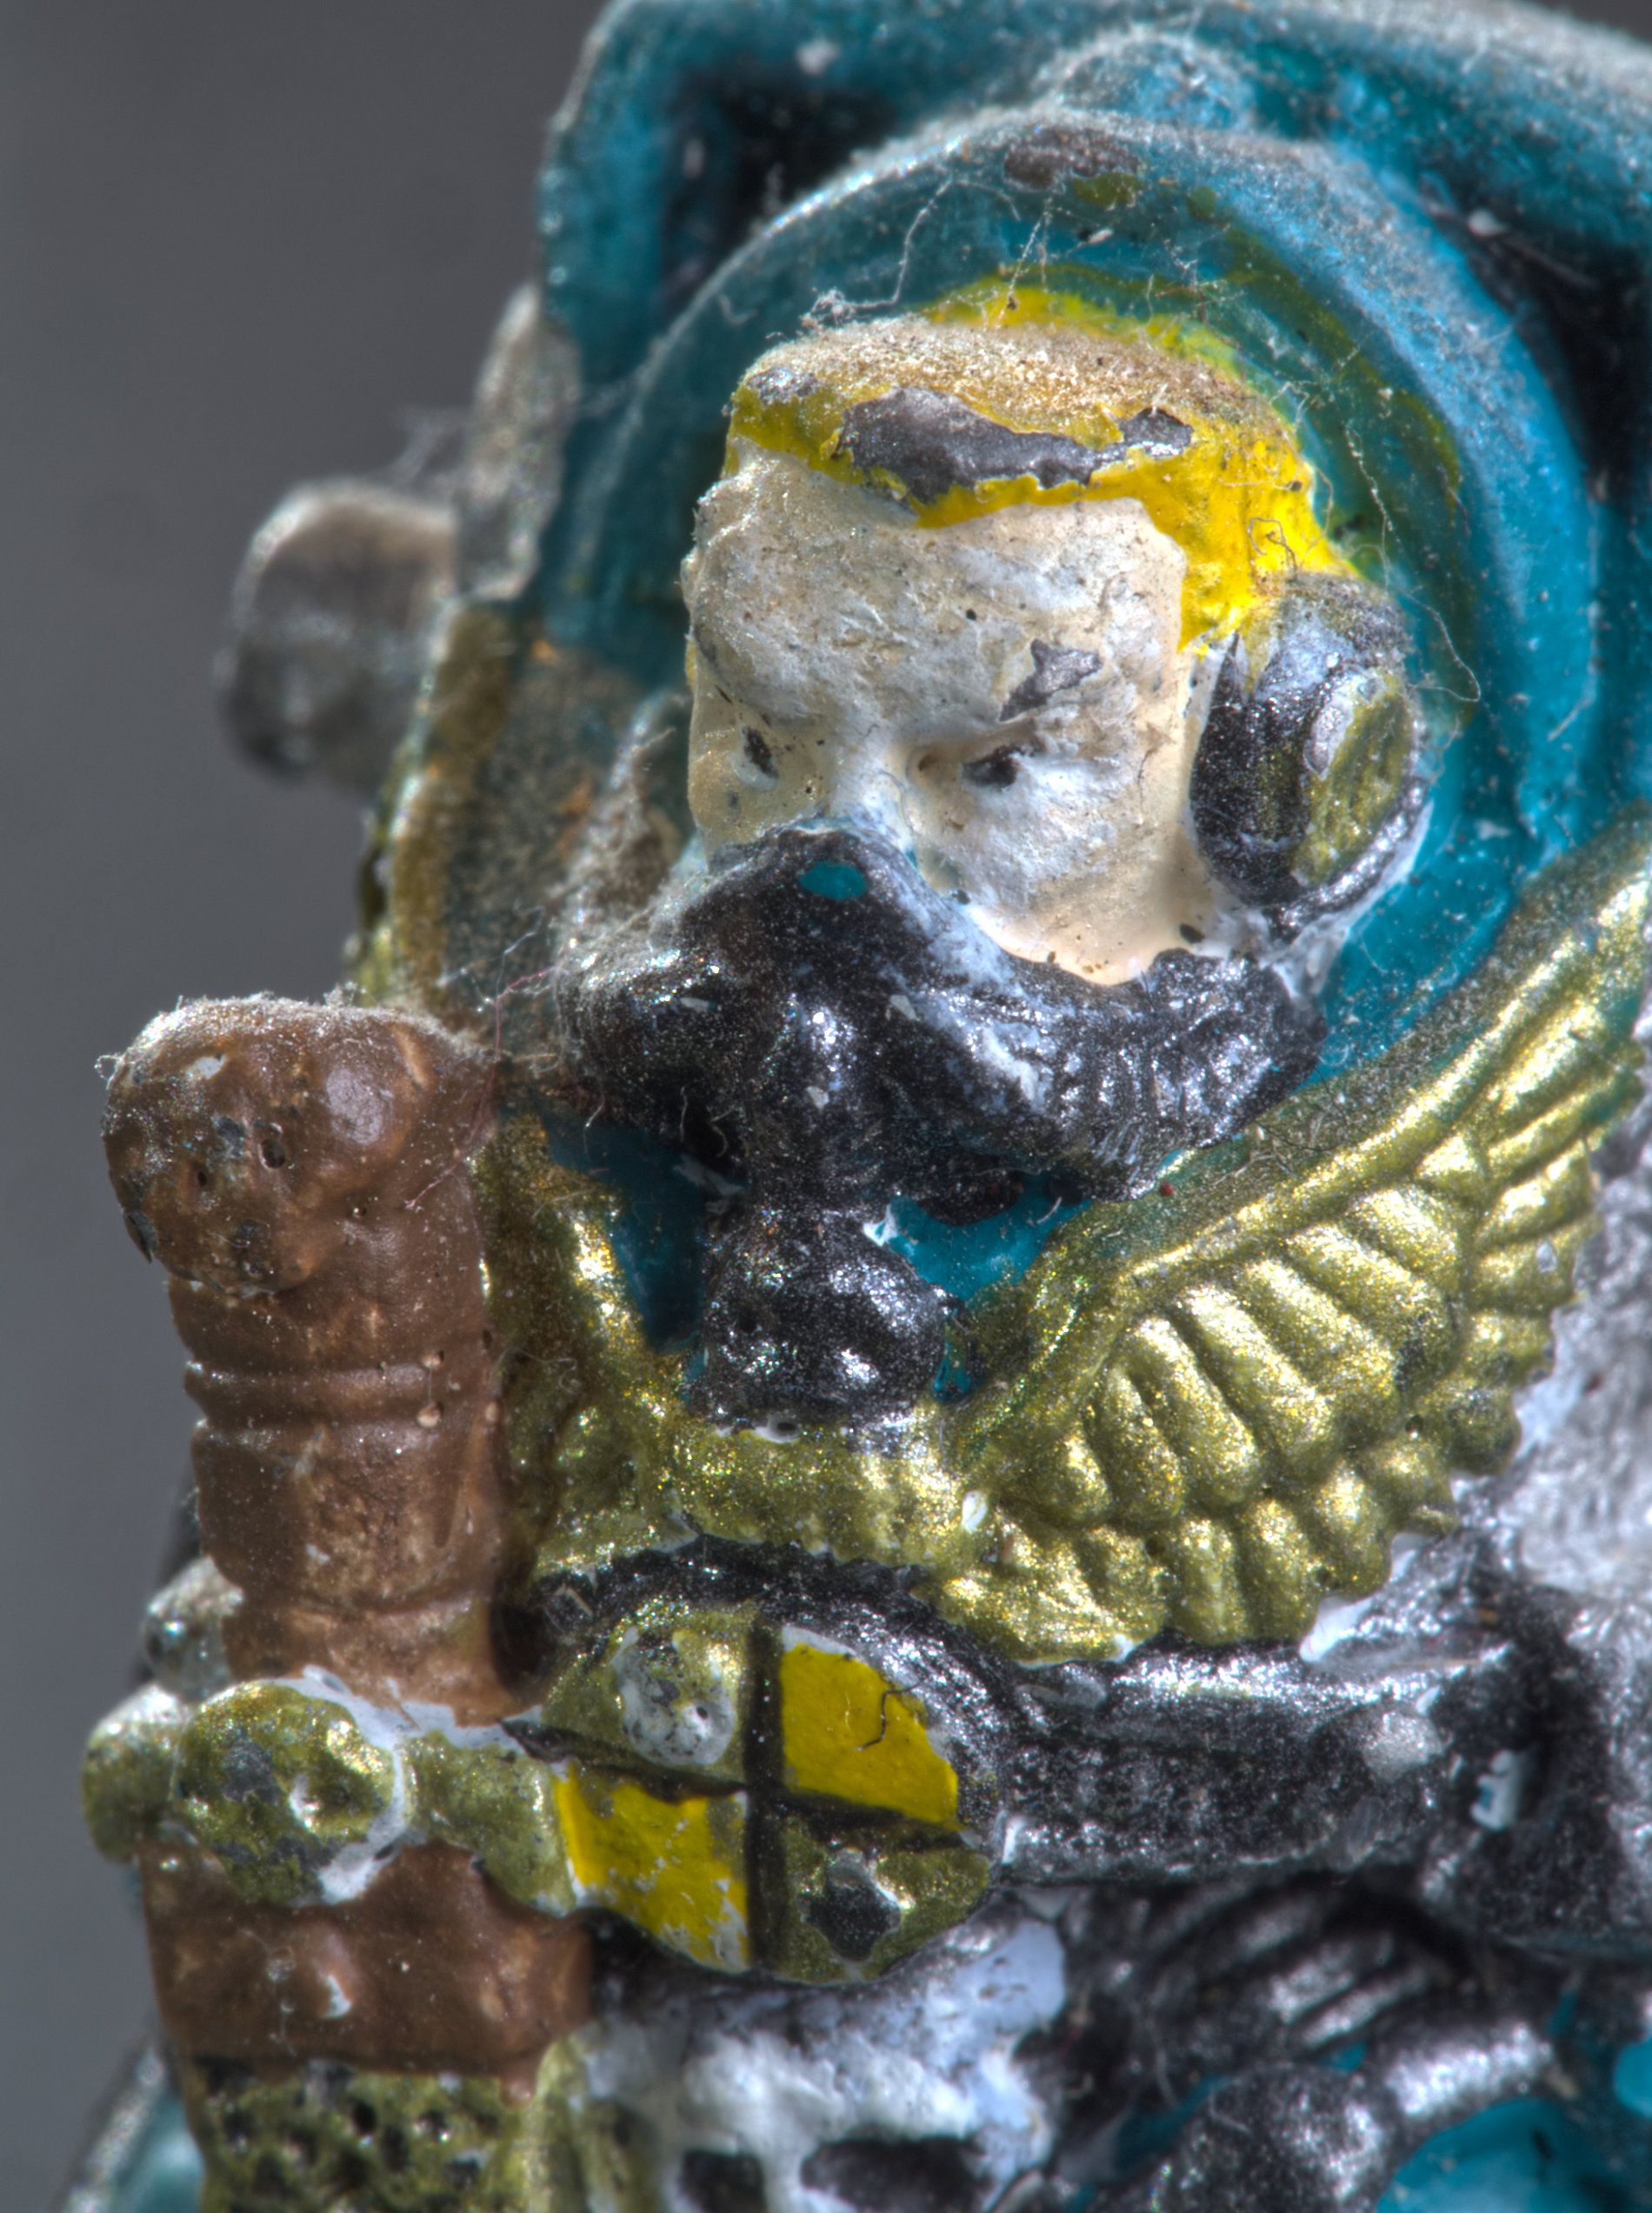
A fascinating photo. My initial impression was that it is an eye, but galaxies etc - yes, I can see that impression too. Or Doctor Who in transit! (Do you get that long-running BBC programme there?)There's so much to learn with these programs. Affinity is doing some creative tutorials at the moment although I've not looked at any yet. |
May 7th |
| 64 |
May 20 |
Reply |
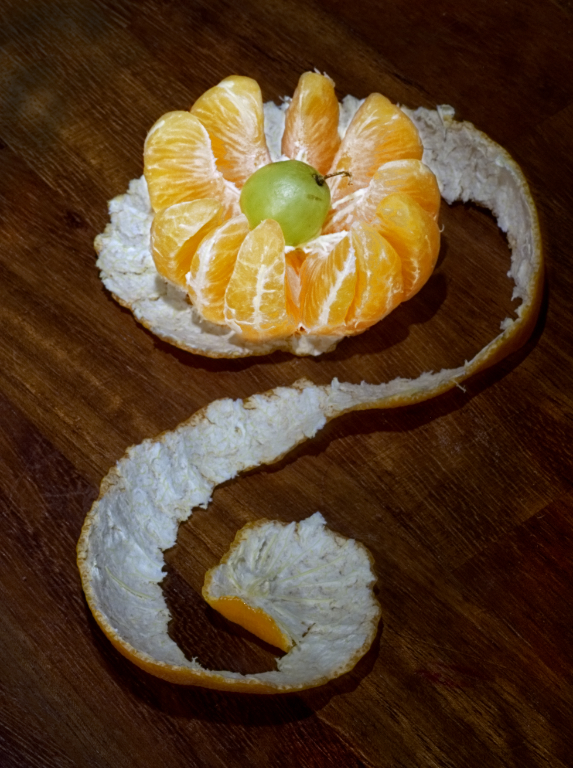
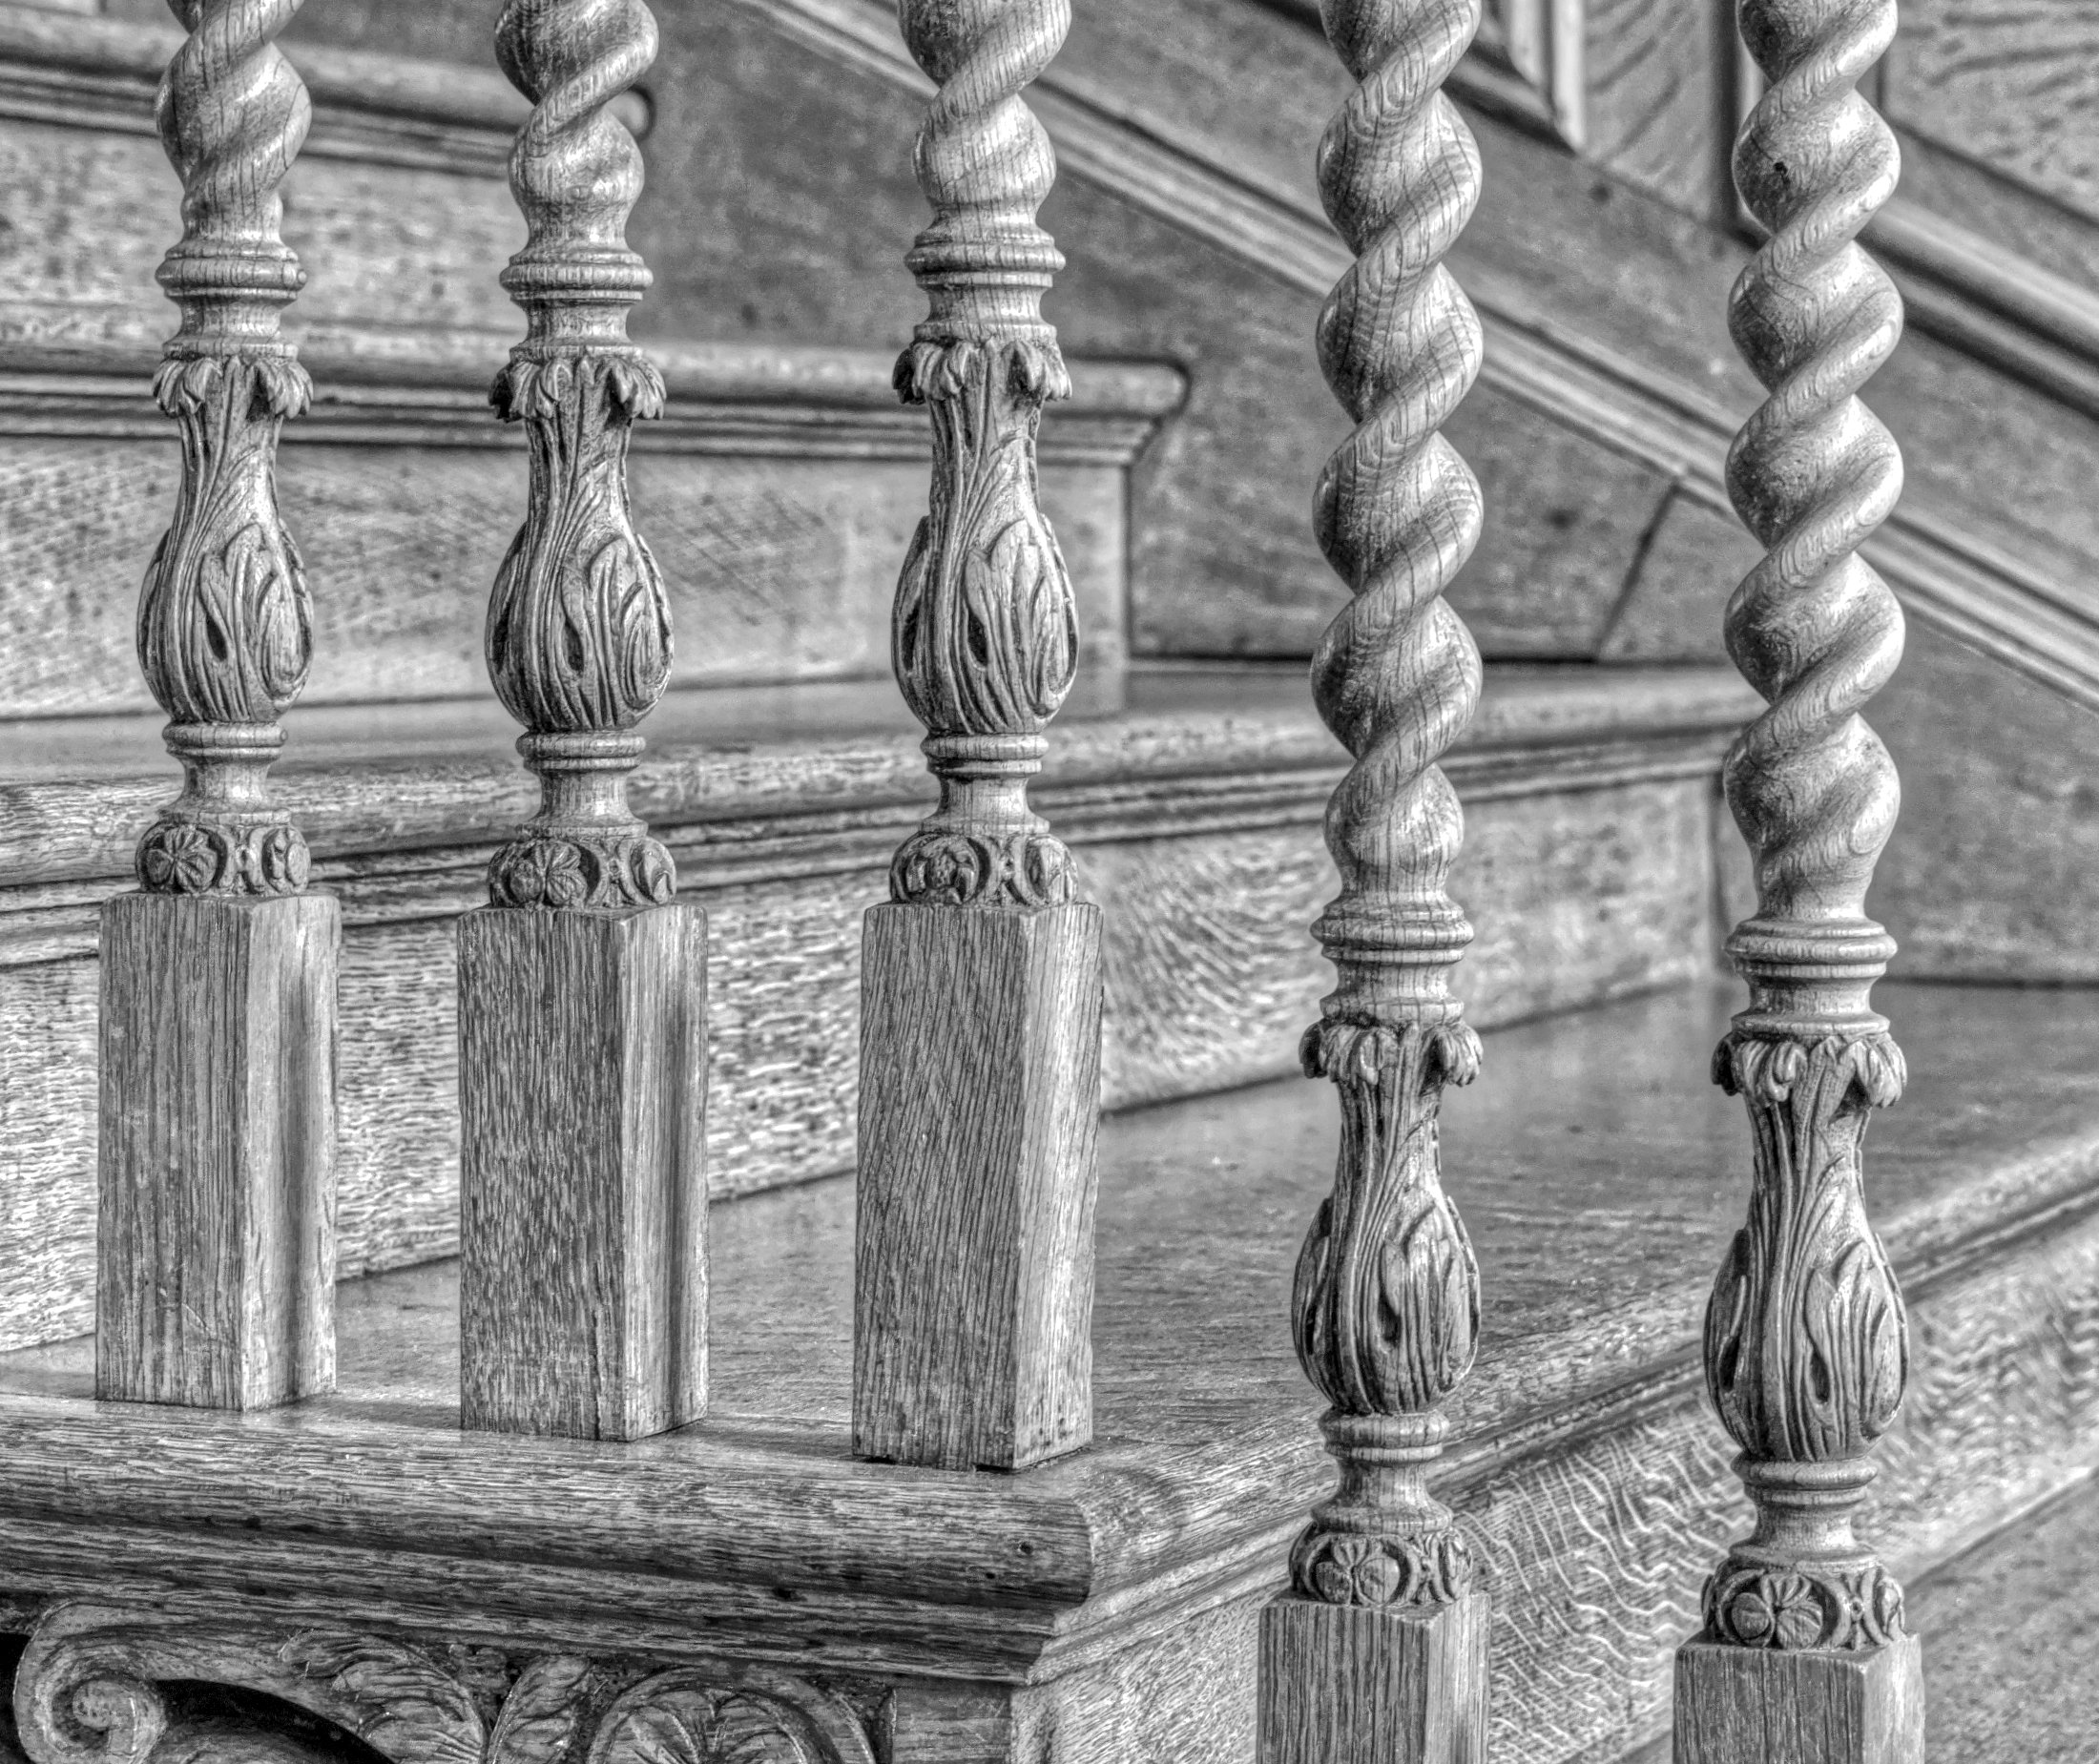
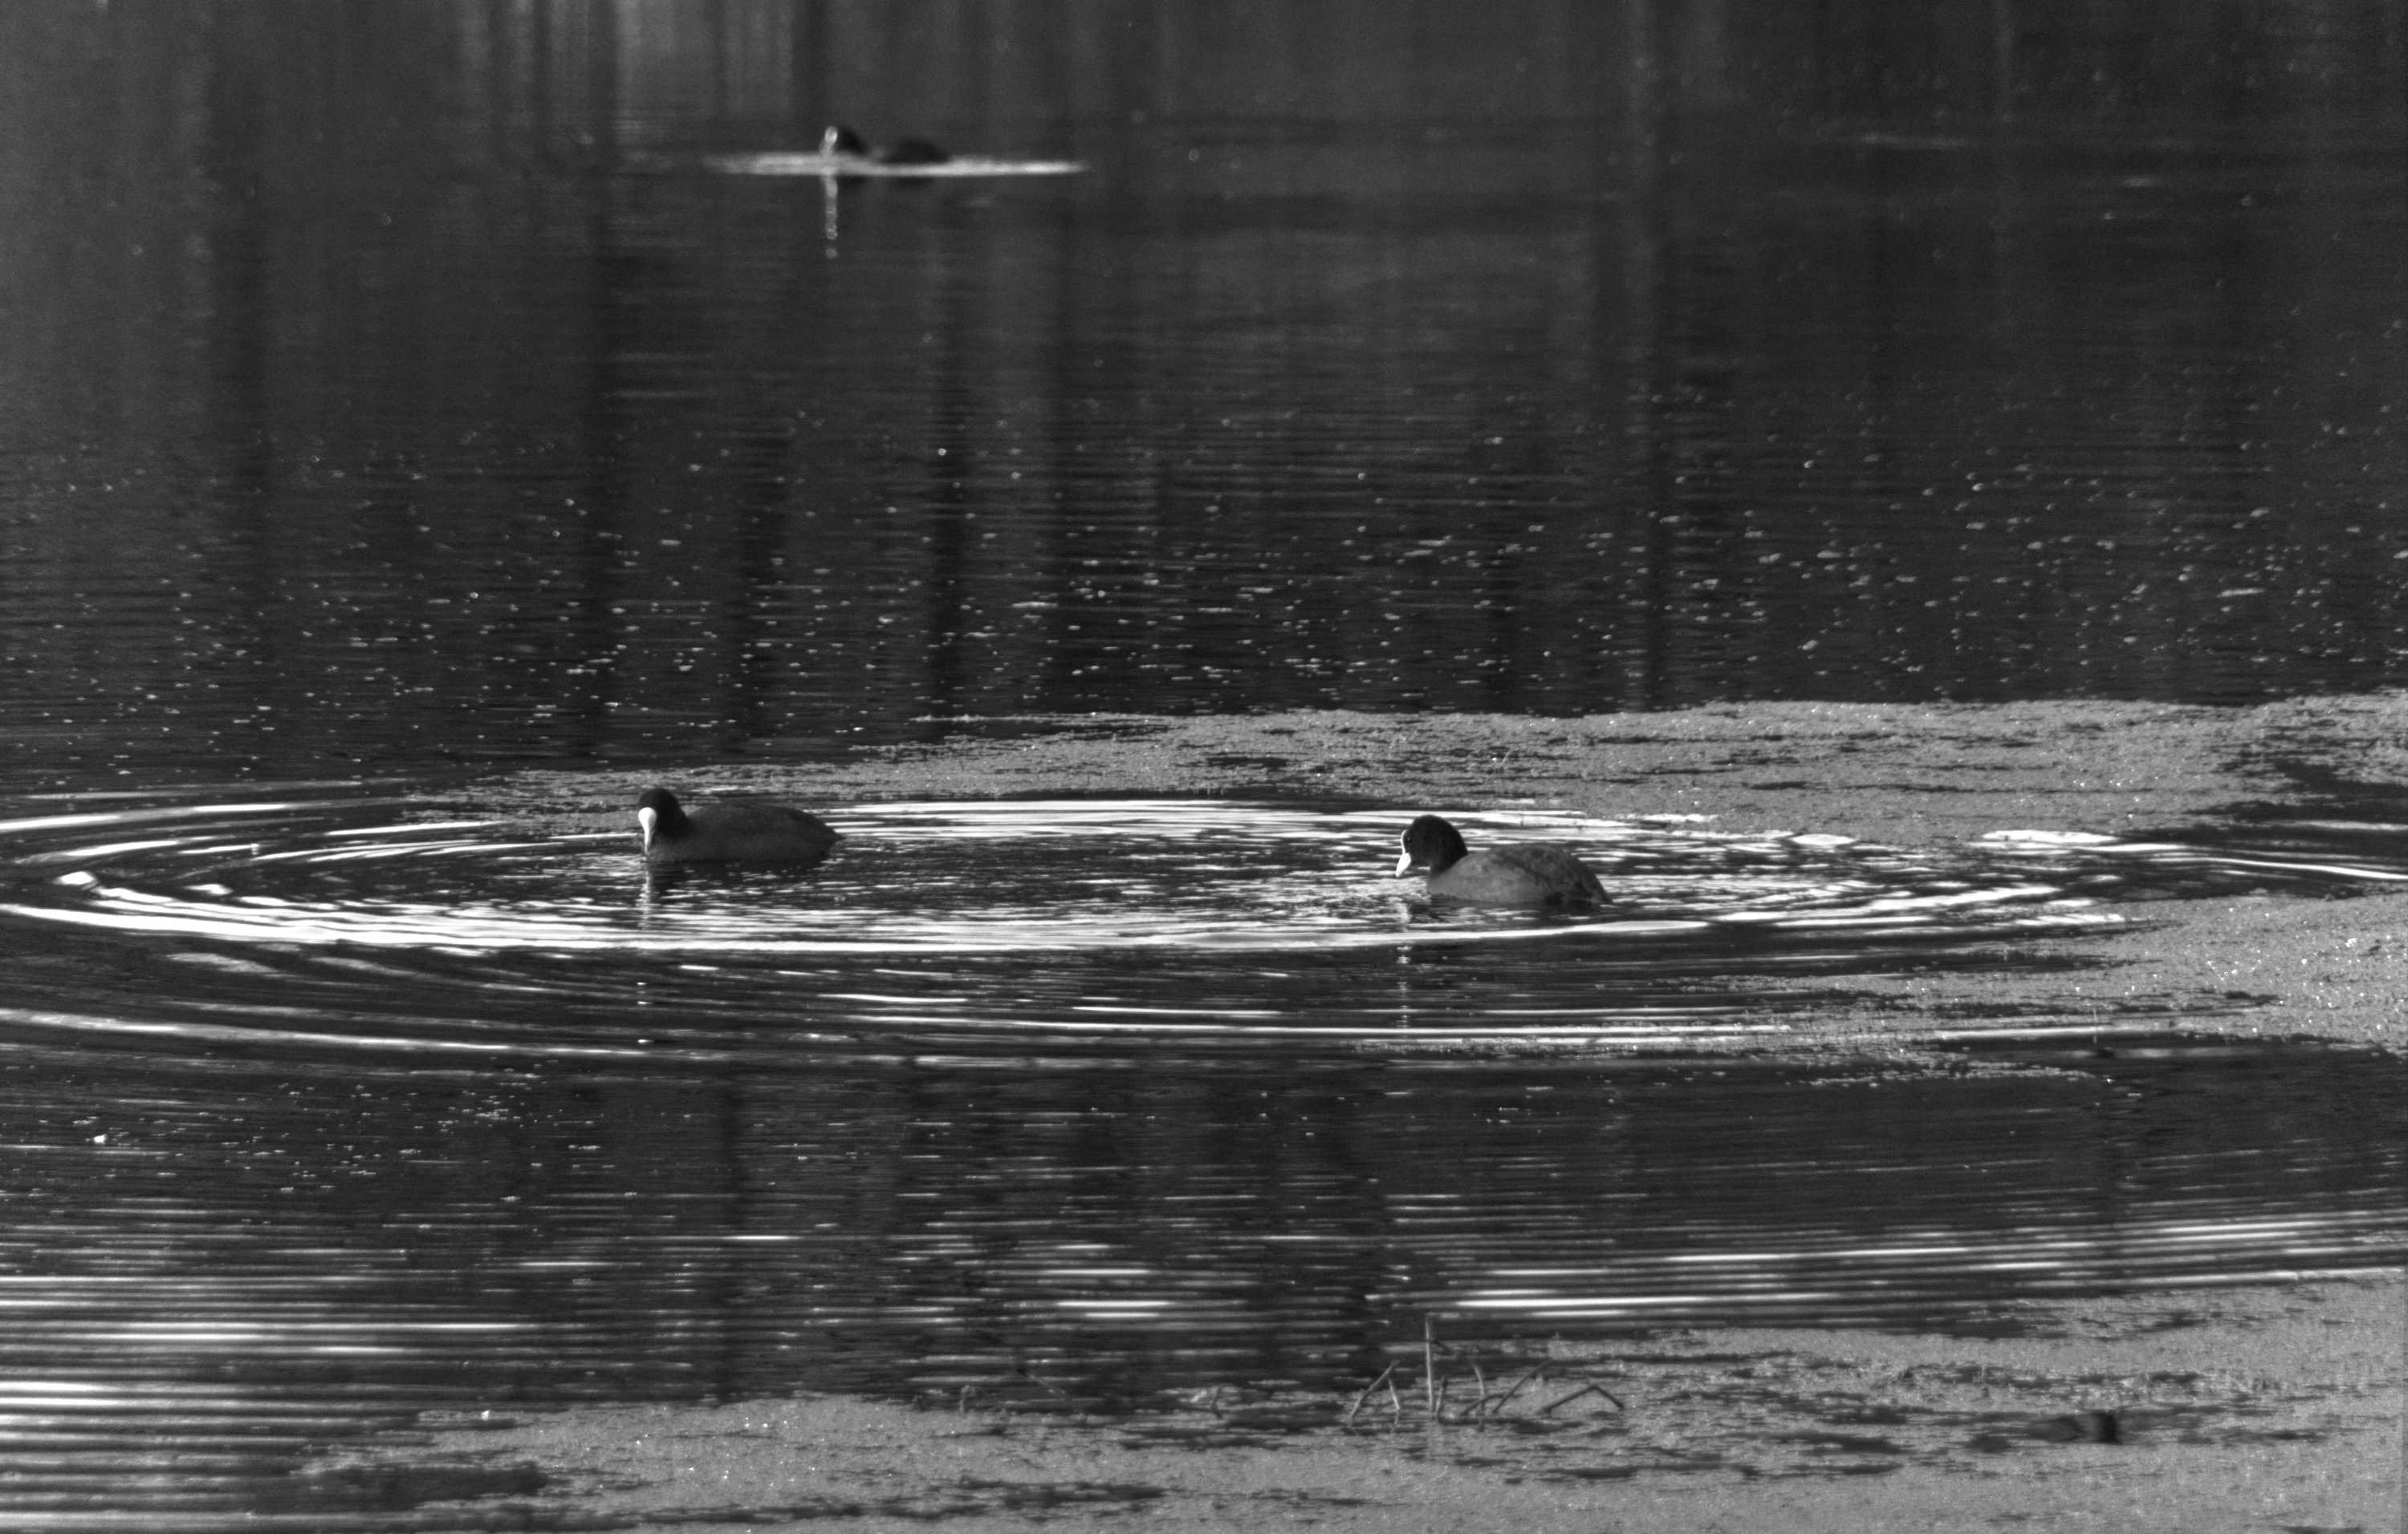
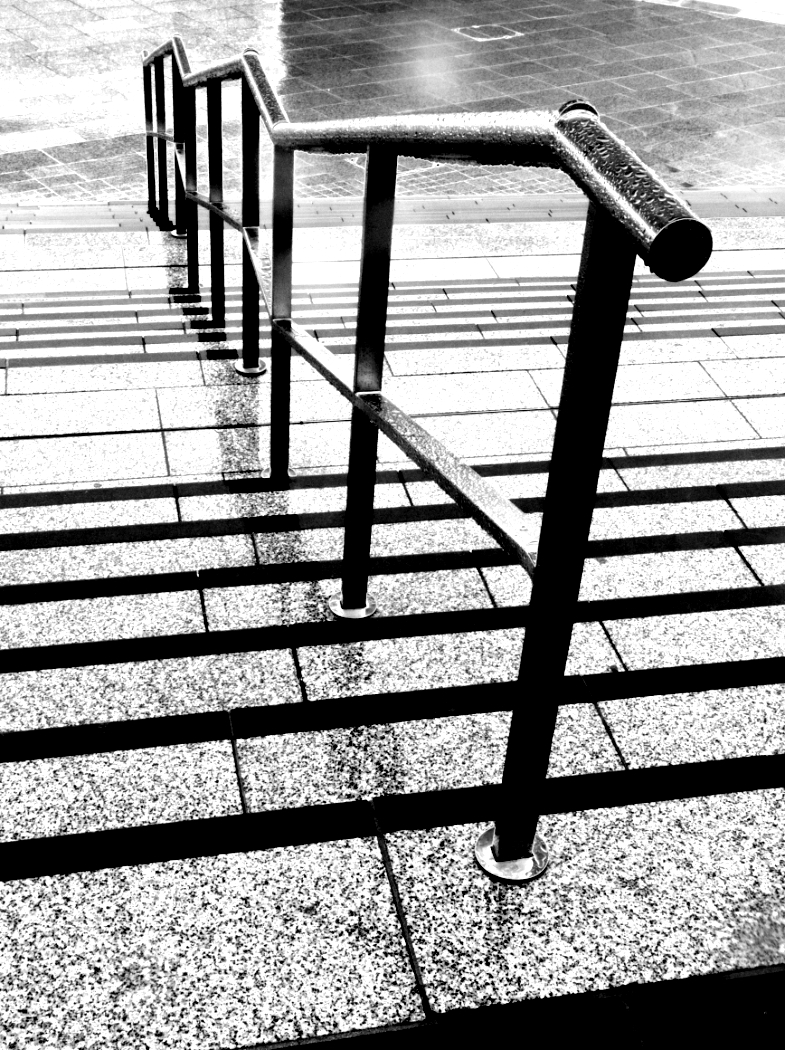
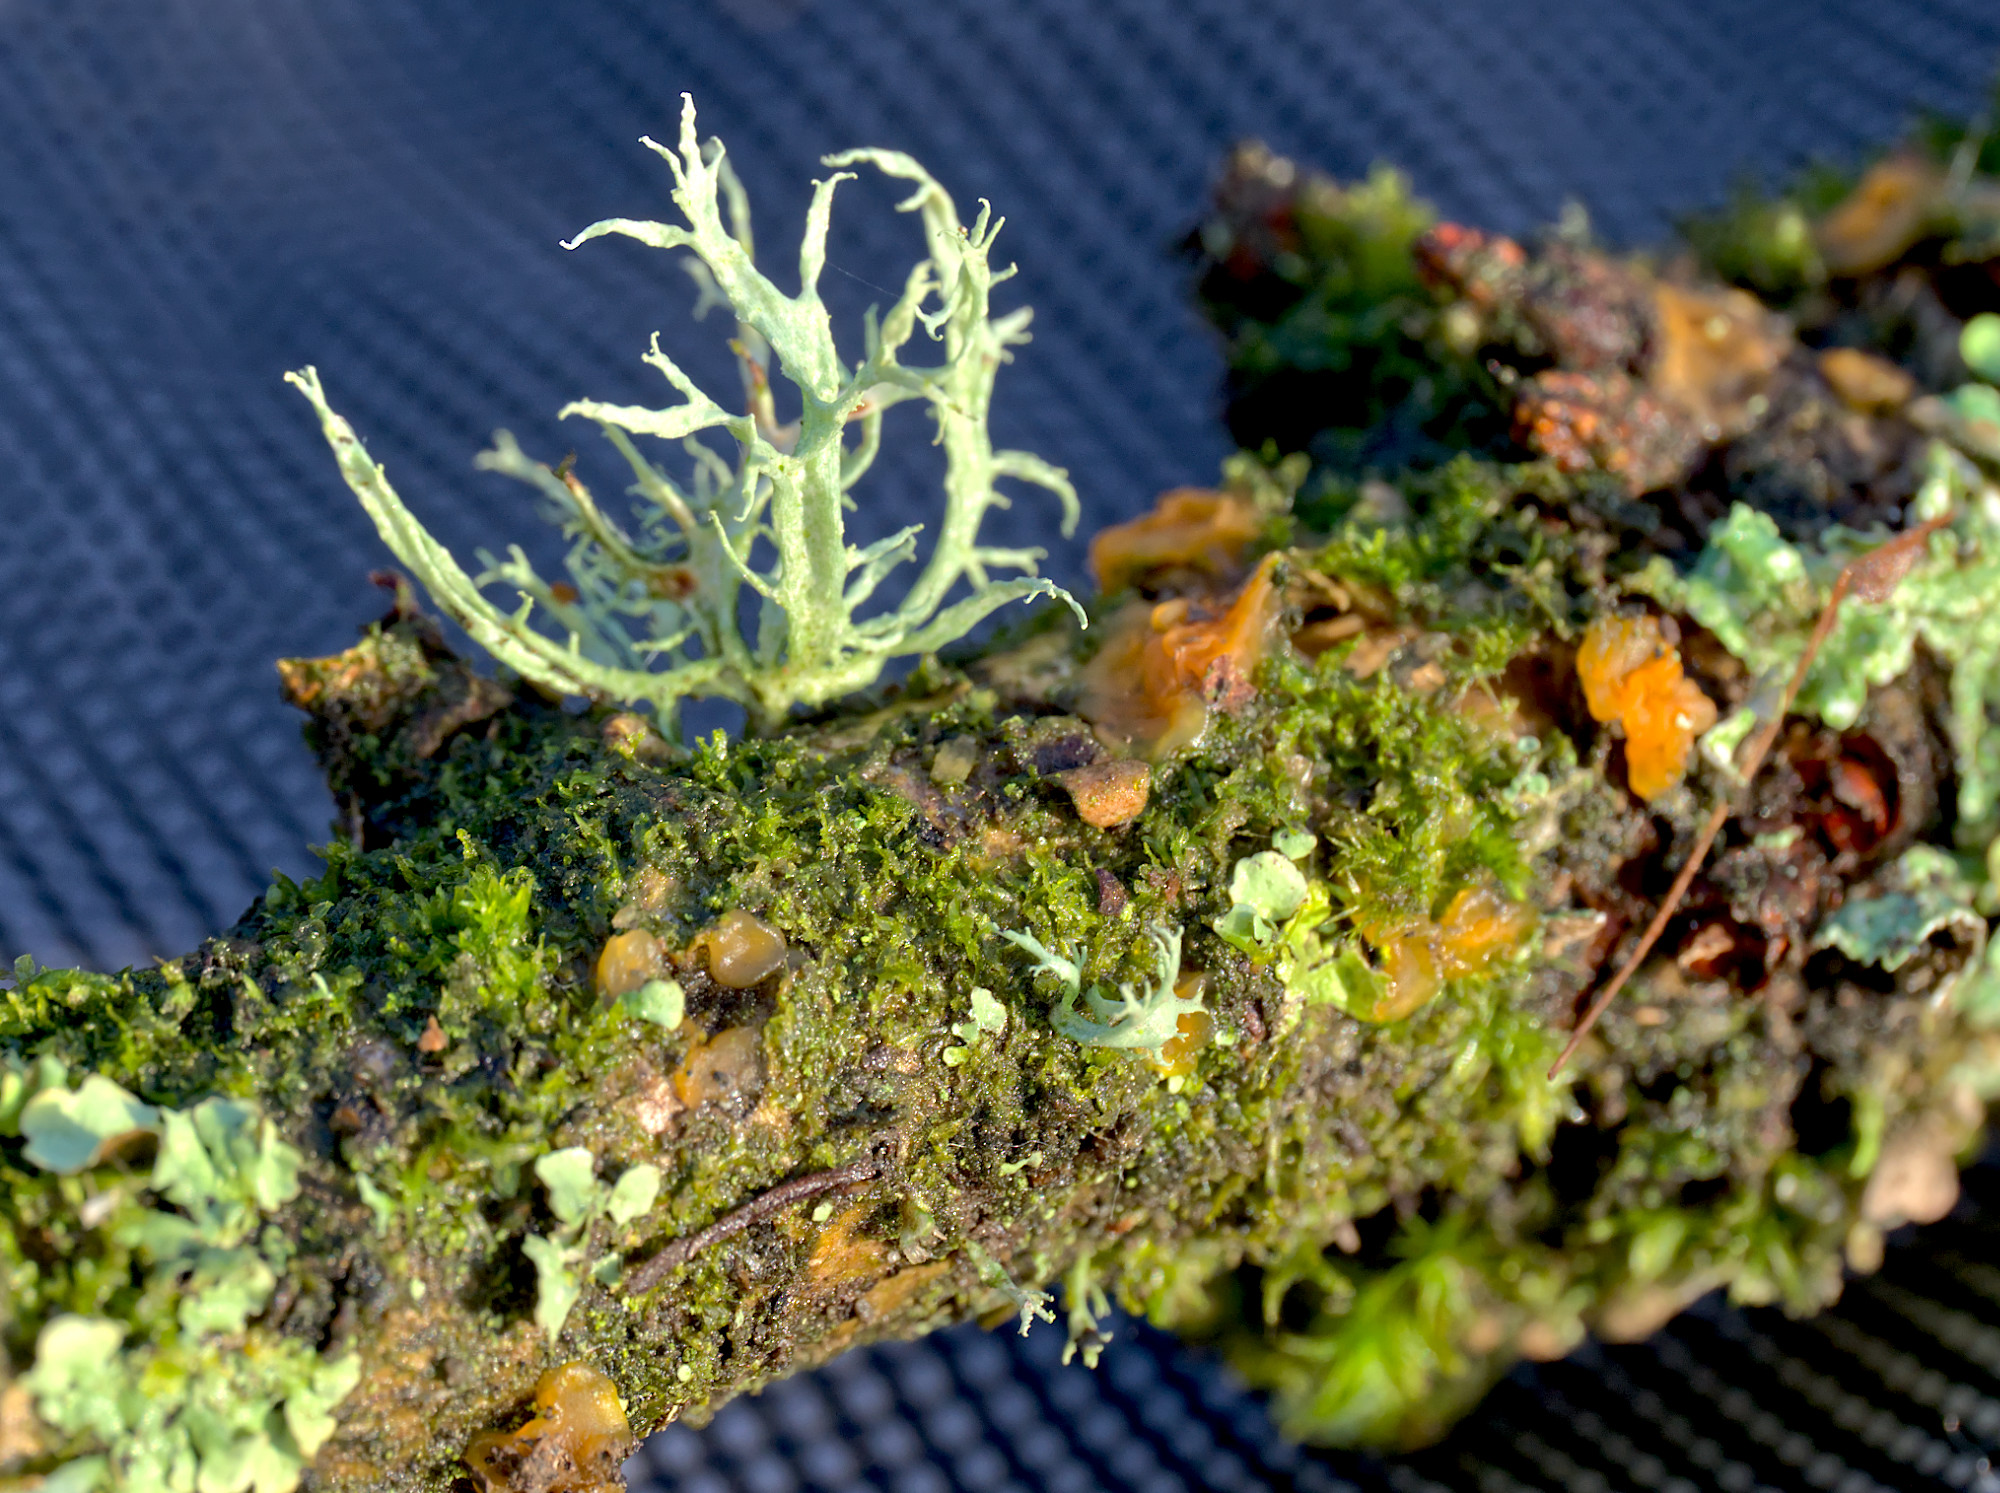
Yes, it does have appeal. Maybe I've got the crop wrong - if I got the corner closer to the centre then the processing wouldn't lighten the end-on pieces of wood which might appeal more. |
May 4th |
| 64 |
May 20 |
Comment |
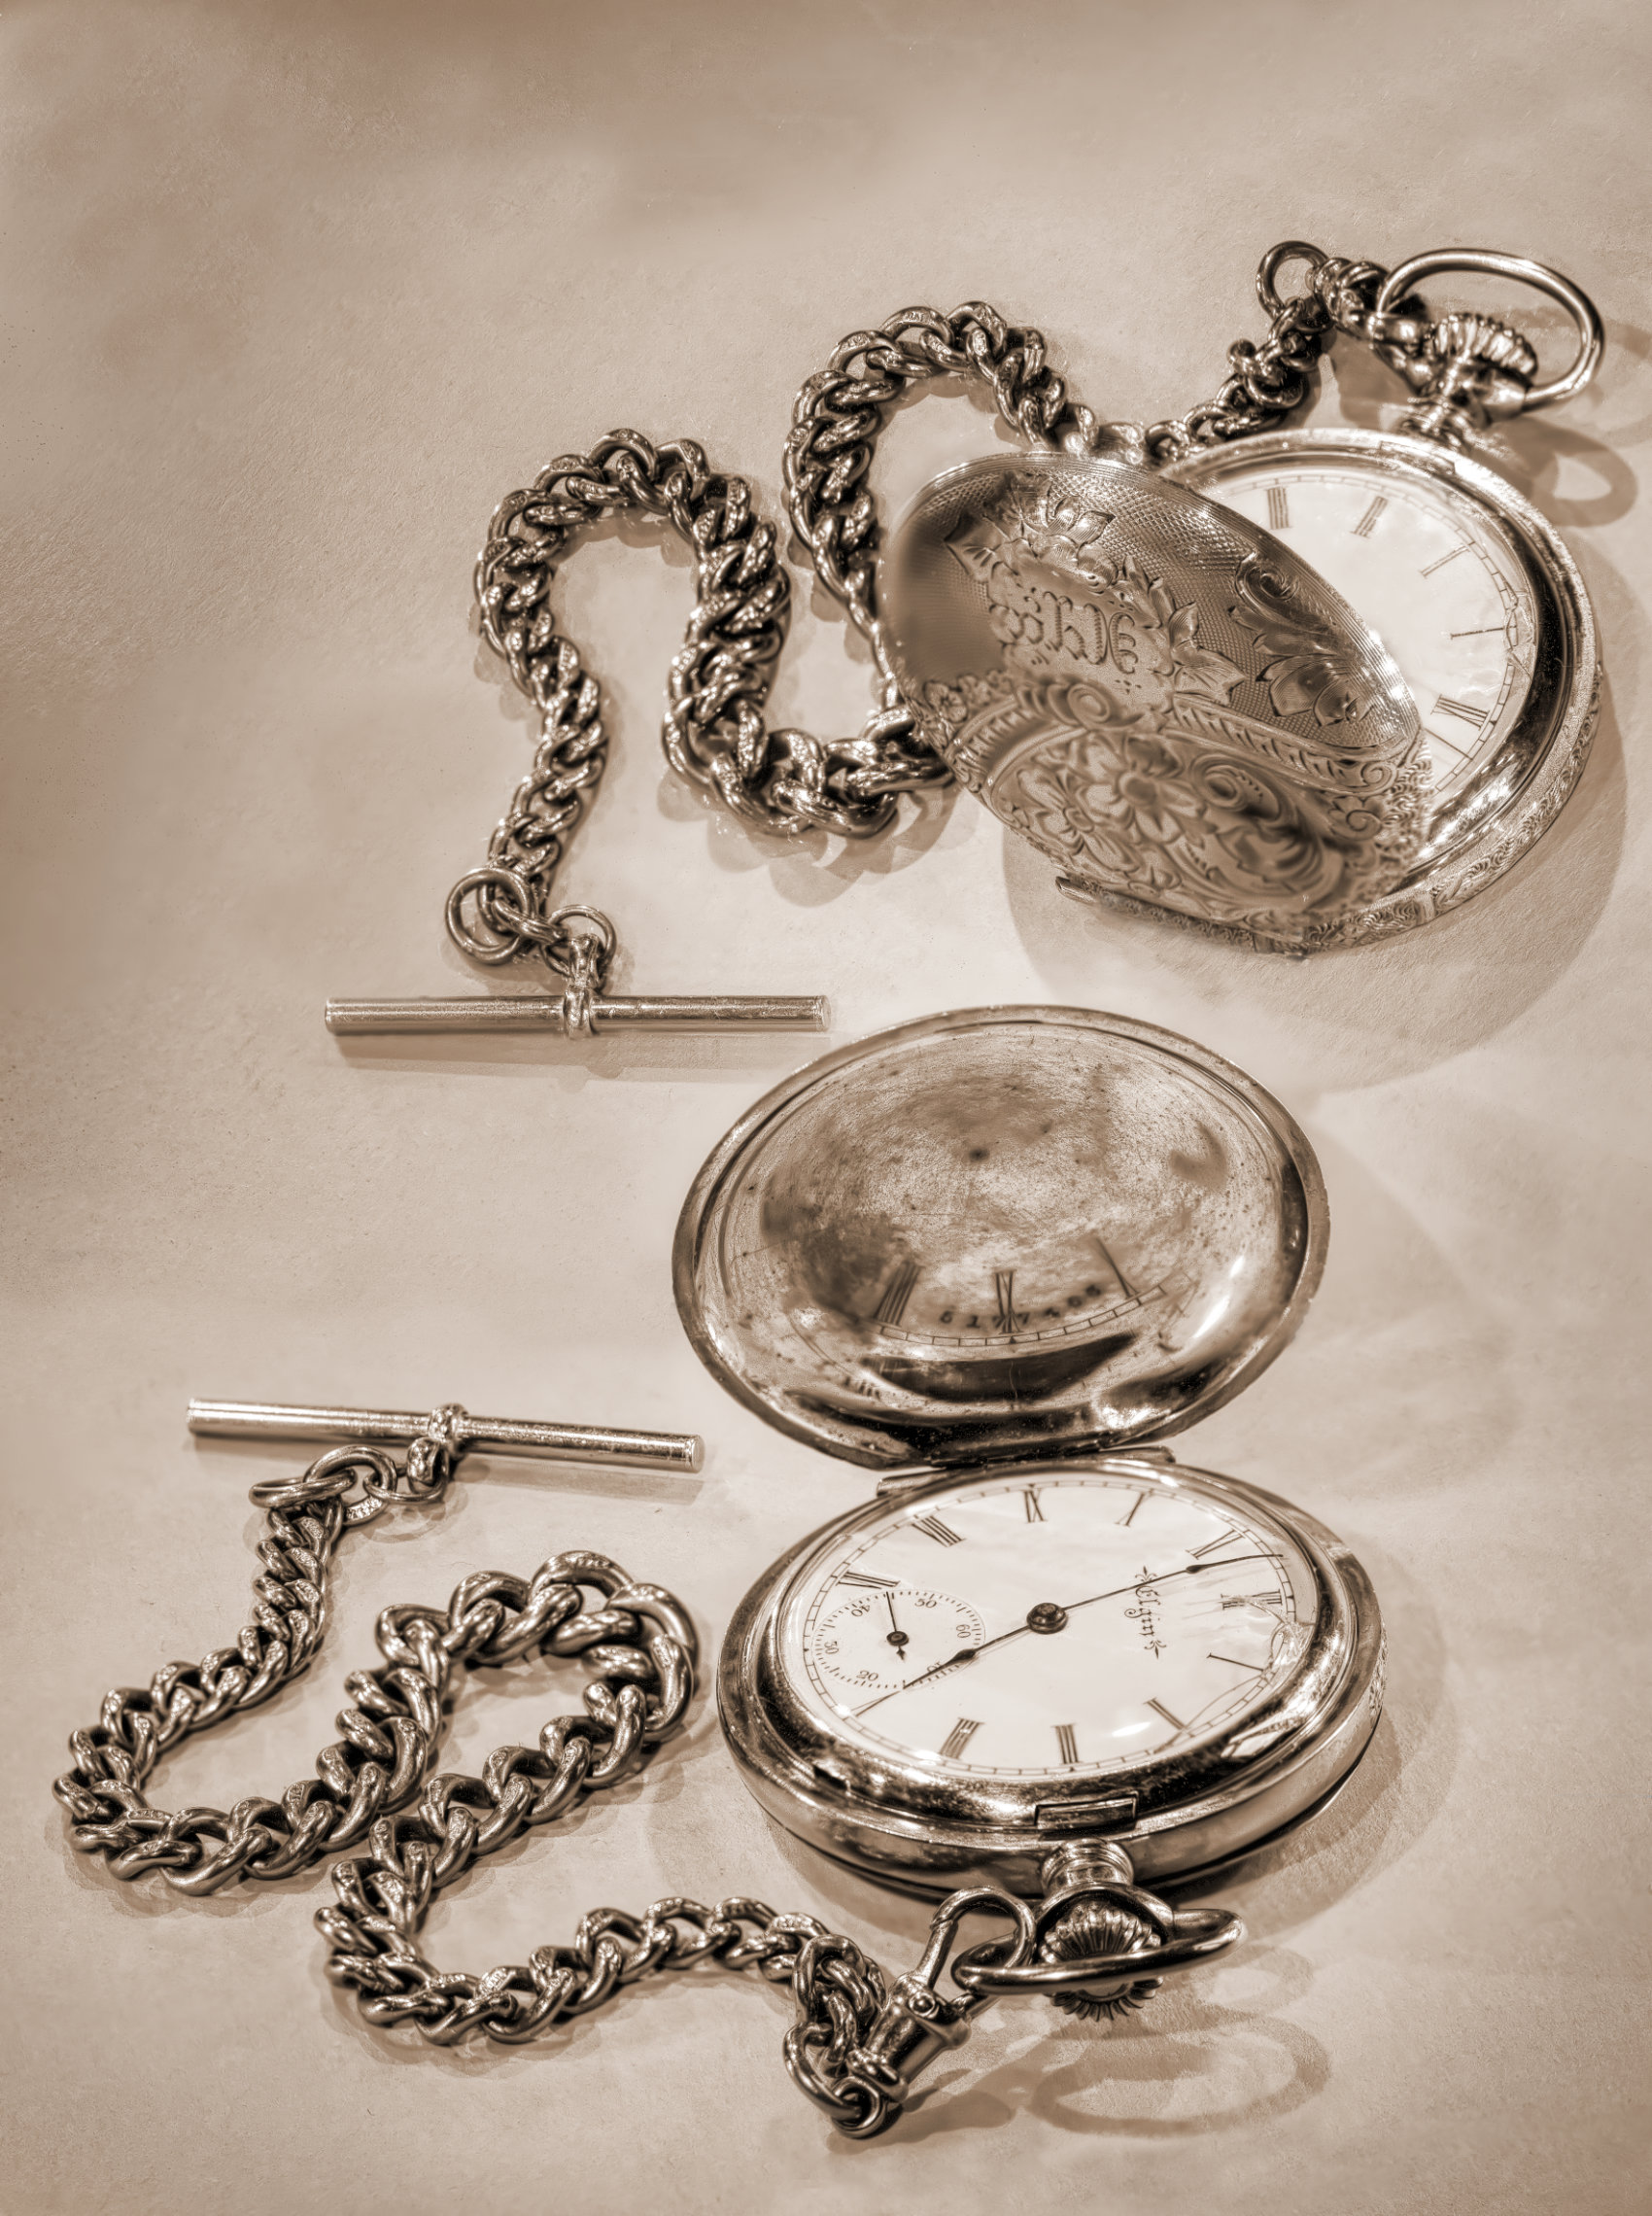
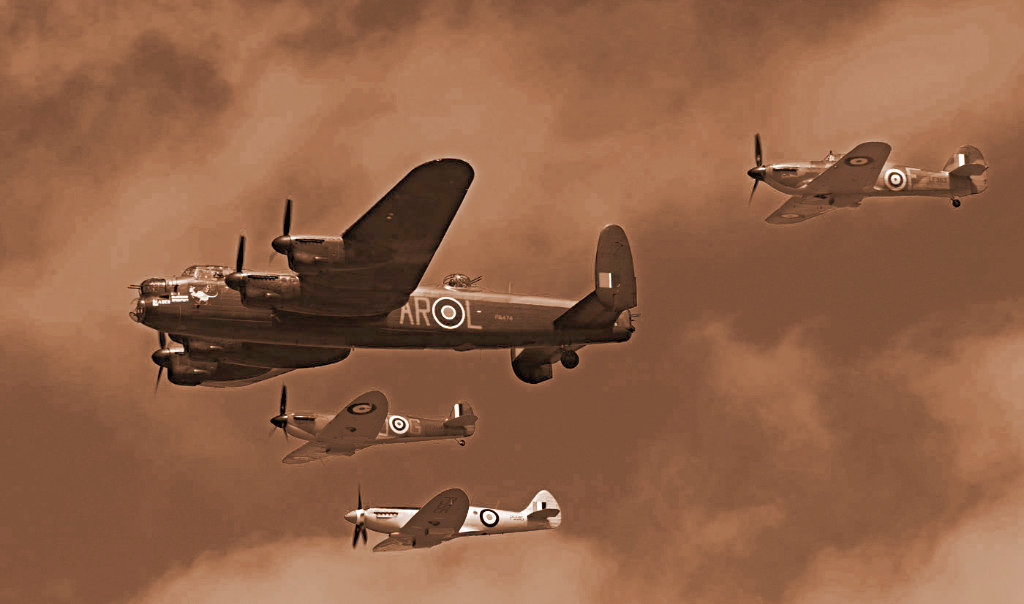
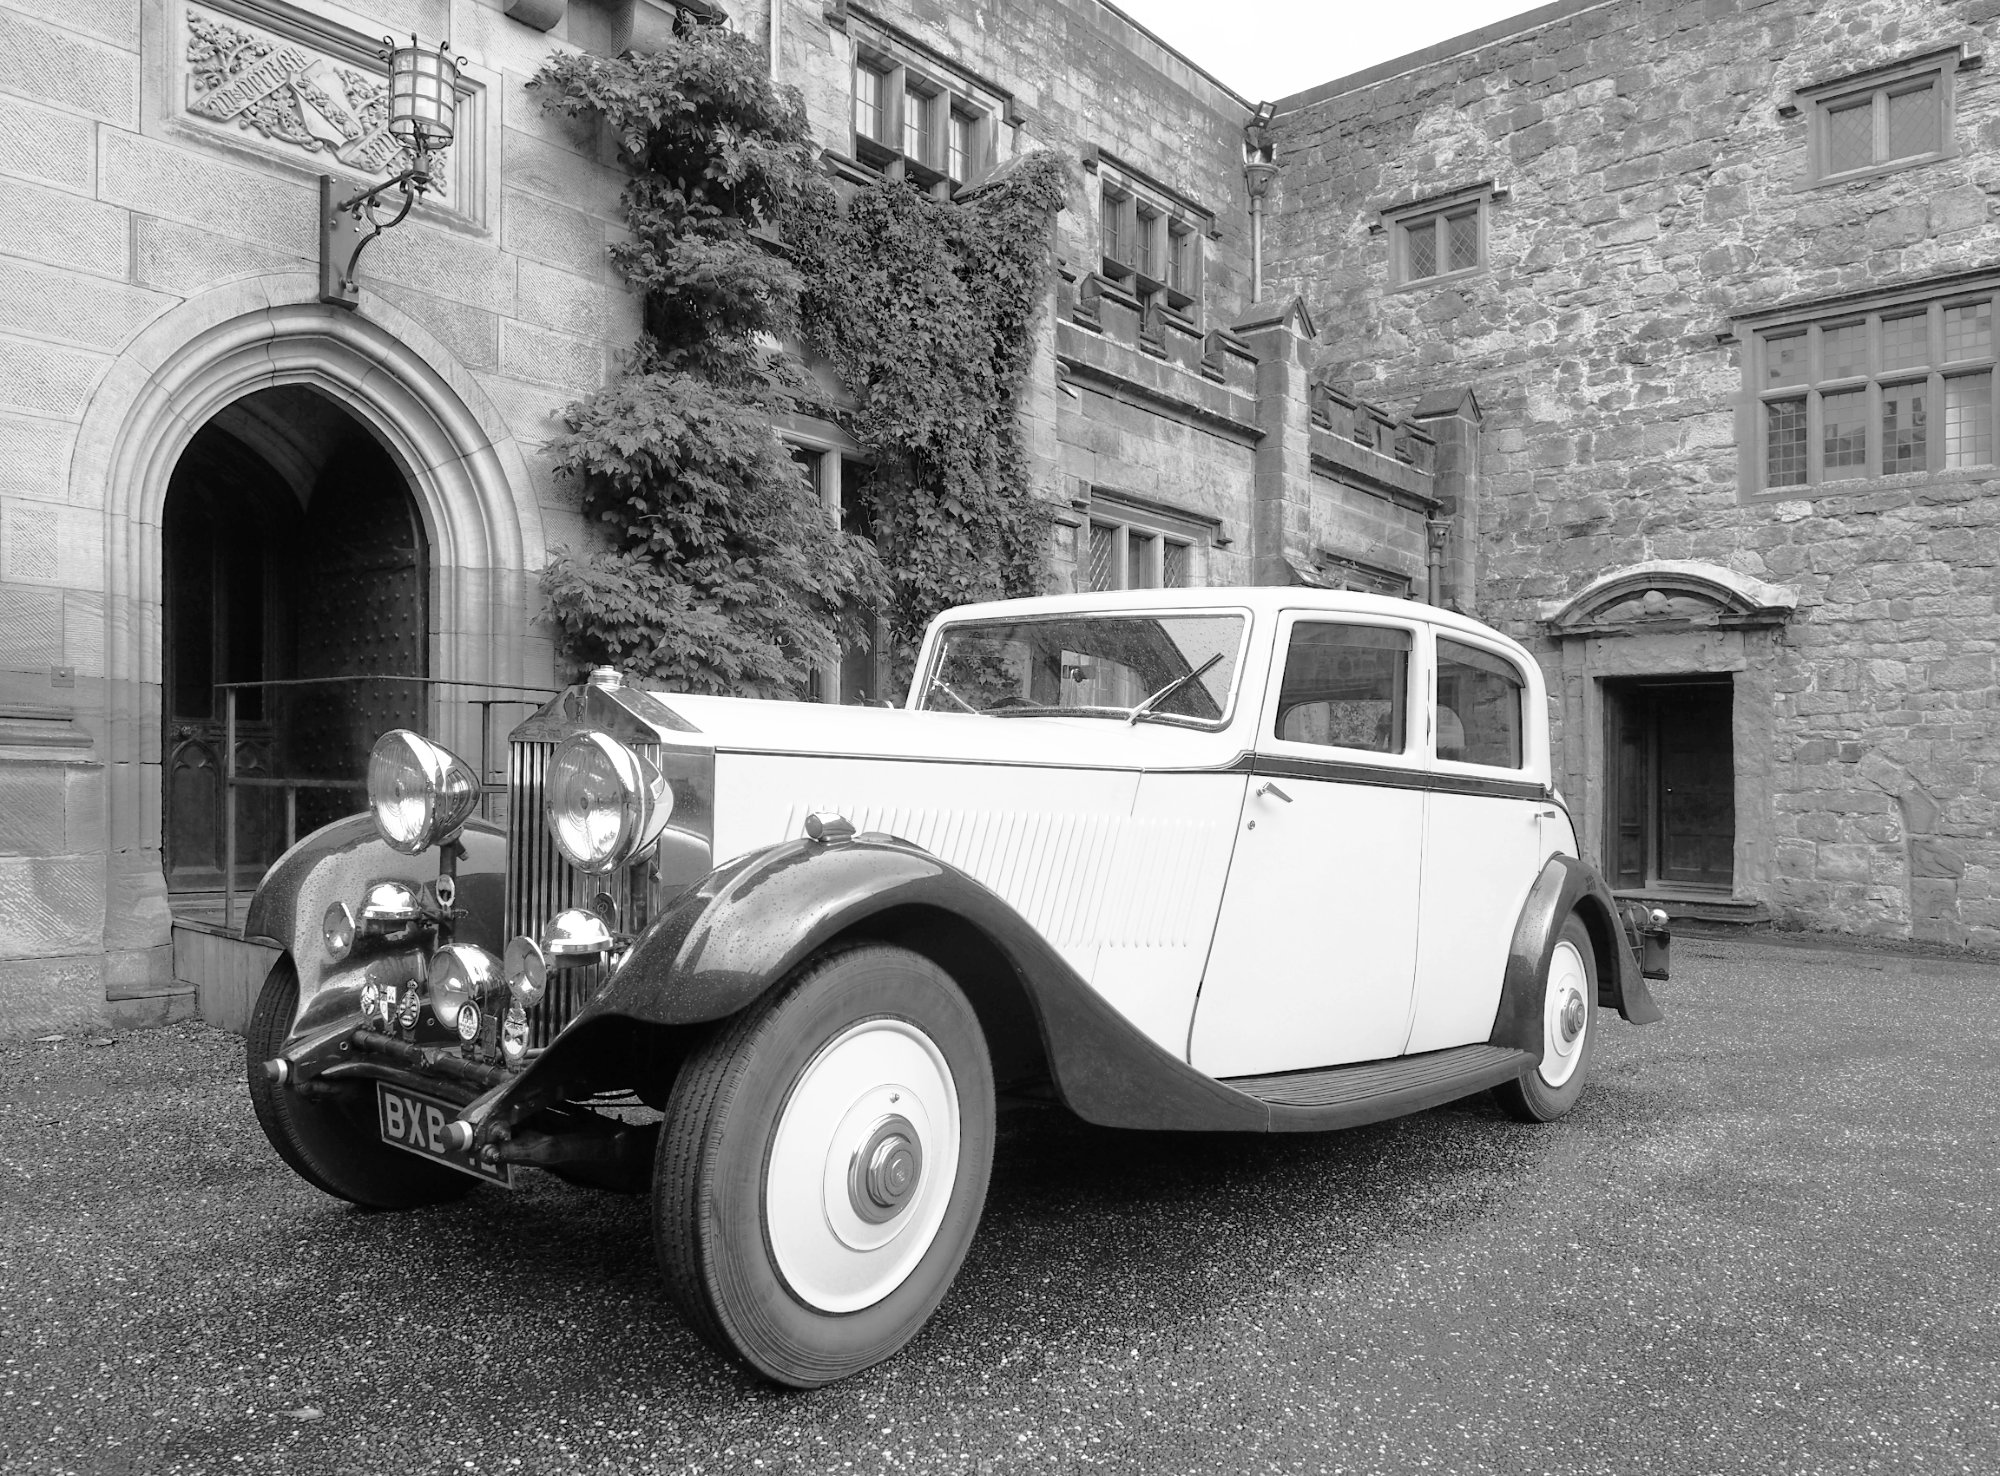
Thanks, Jerry. I did try varying the contrast as usual, plus clarity filter and so on, but nothing grabbed me.
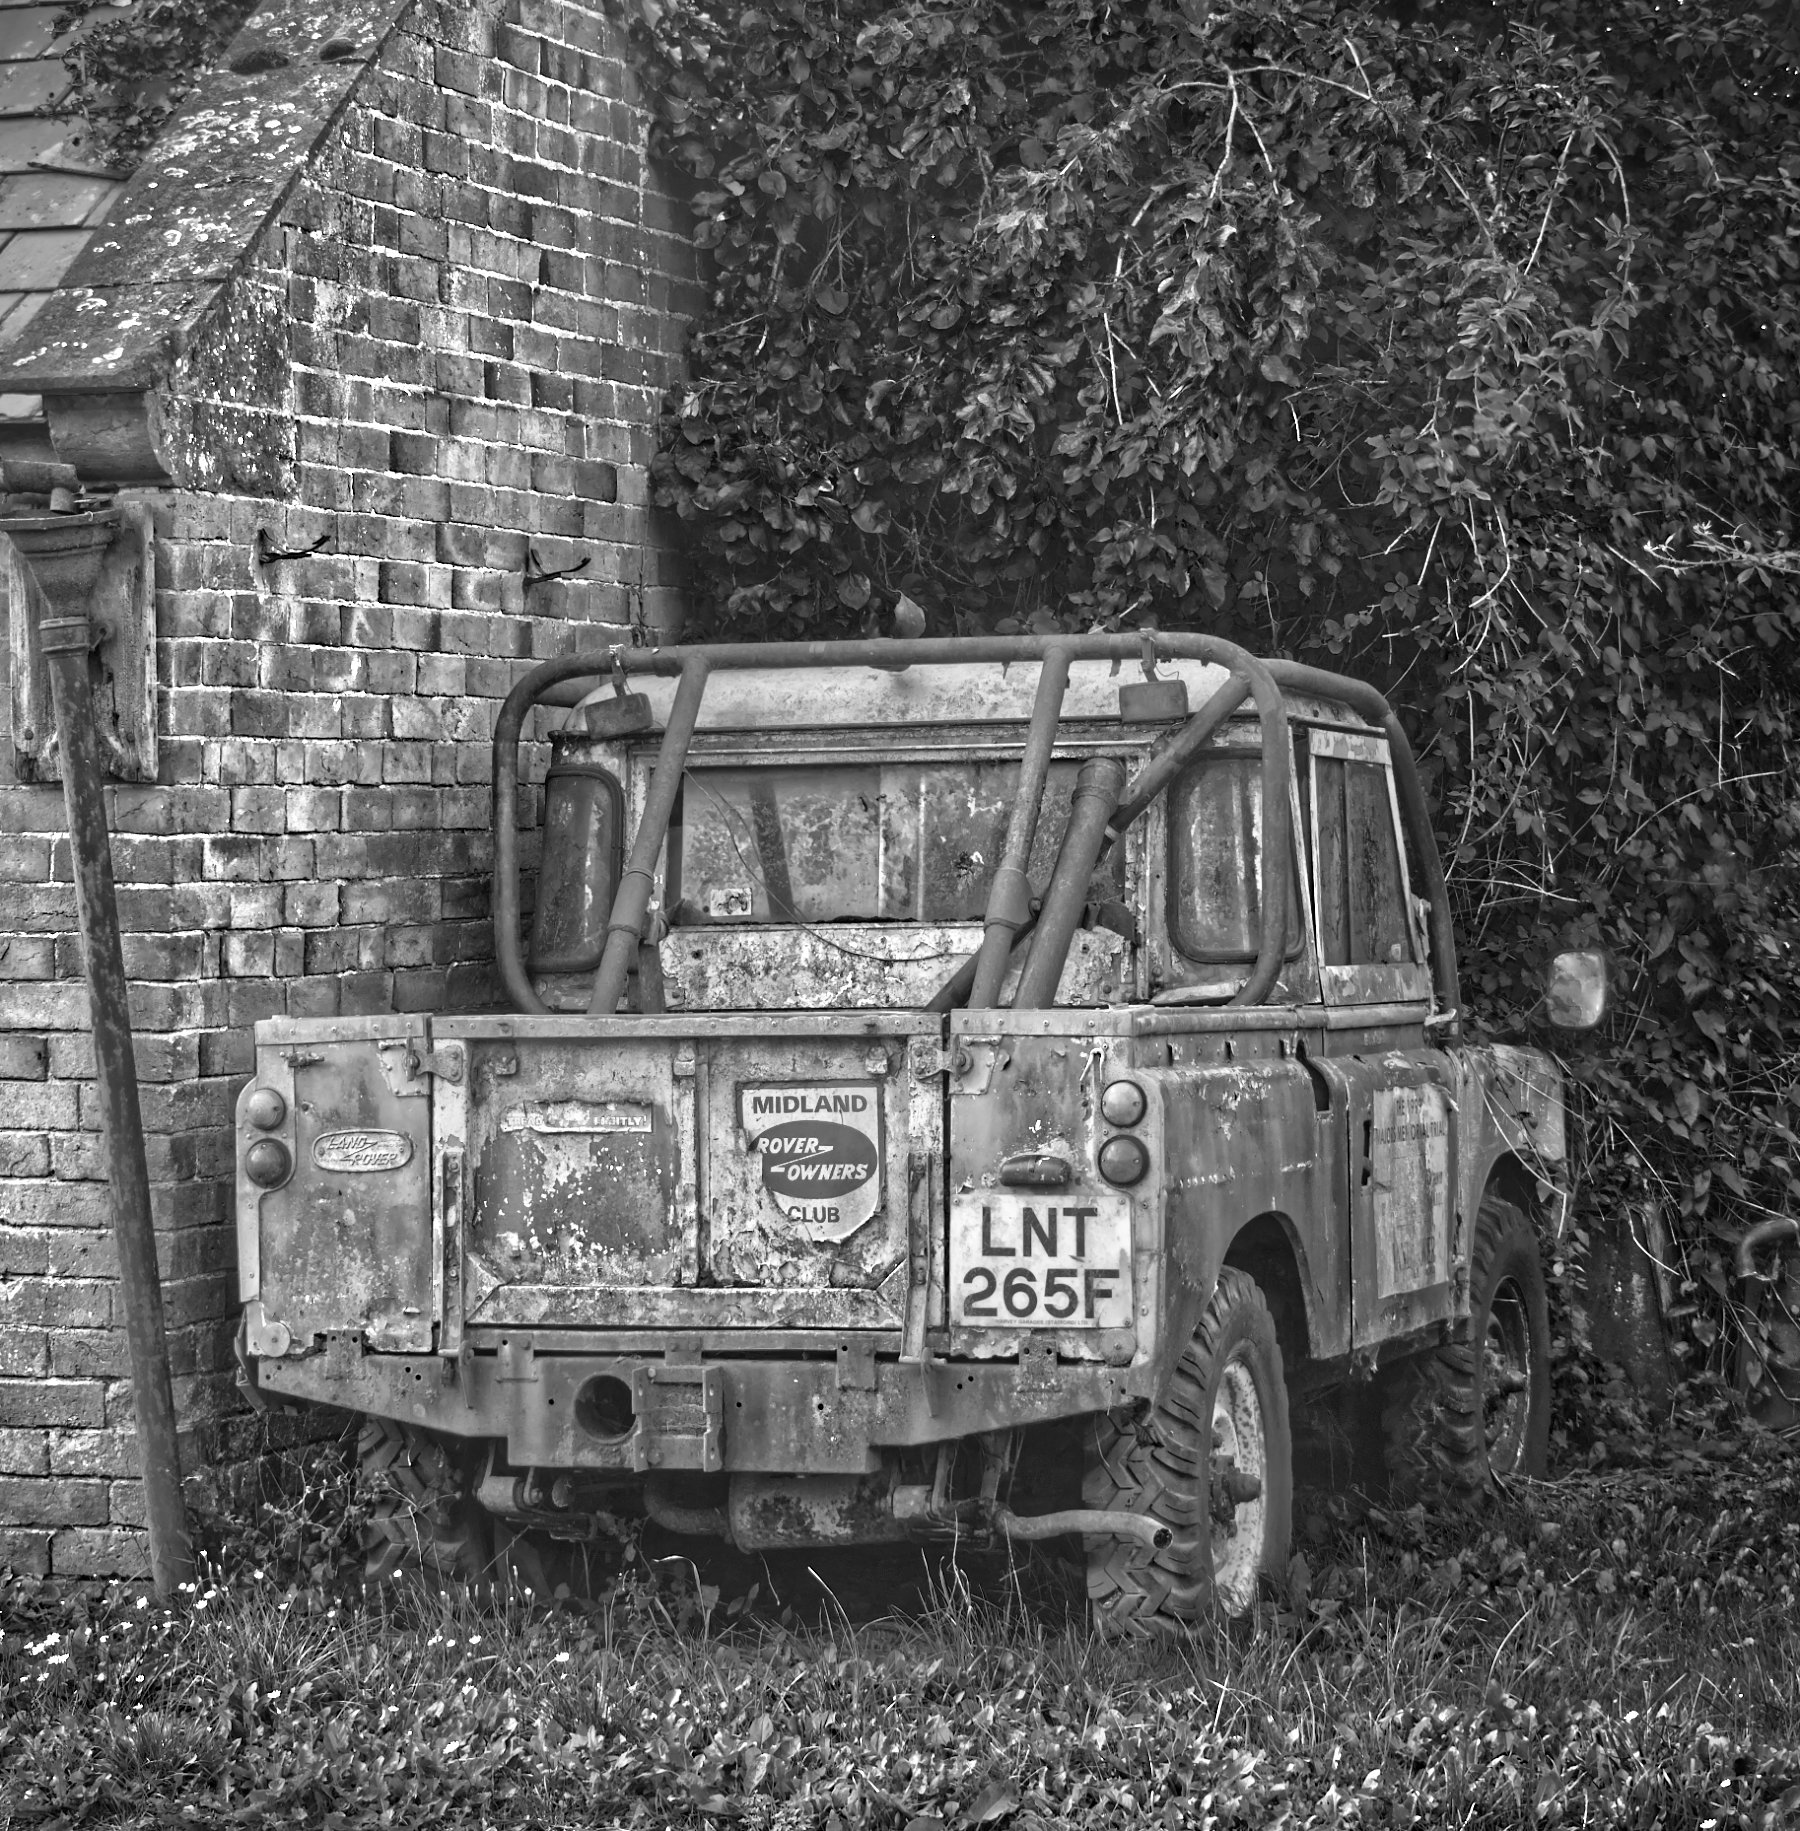
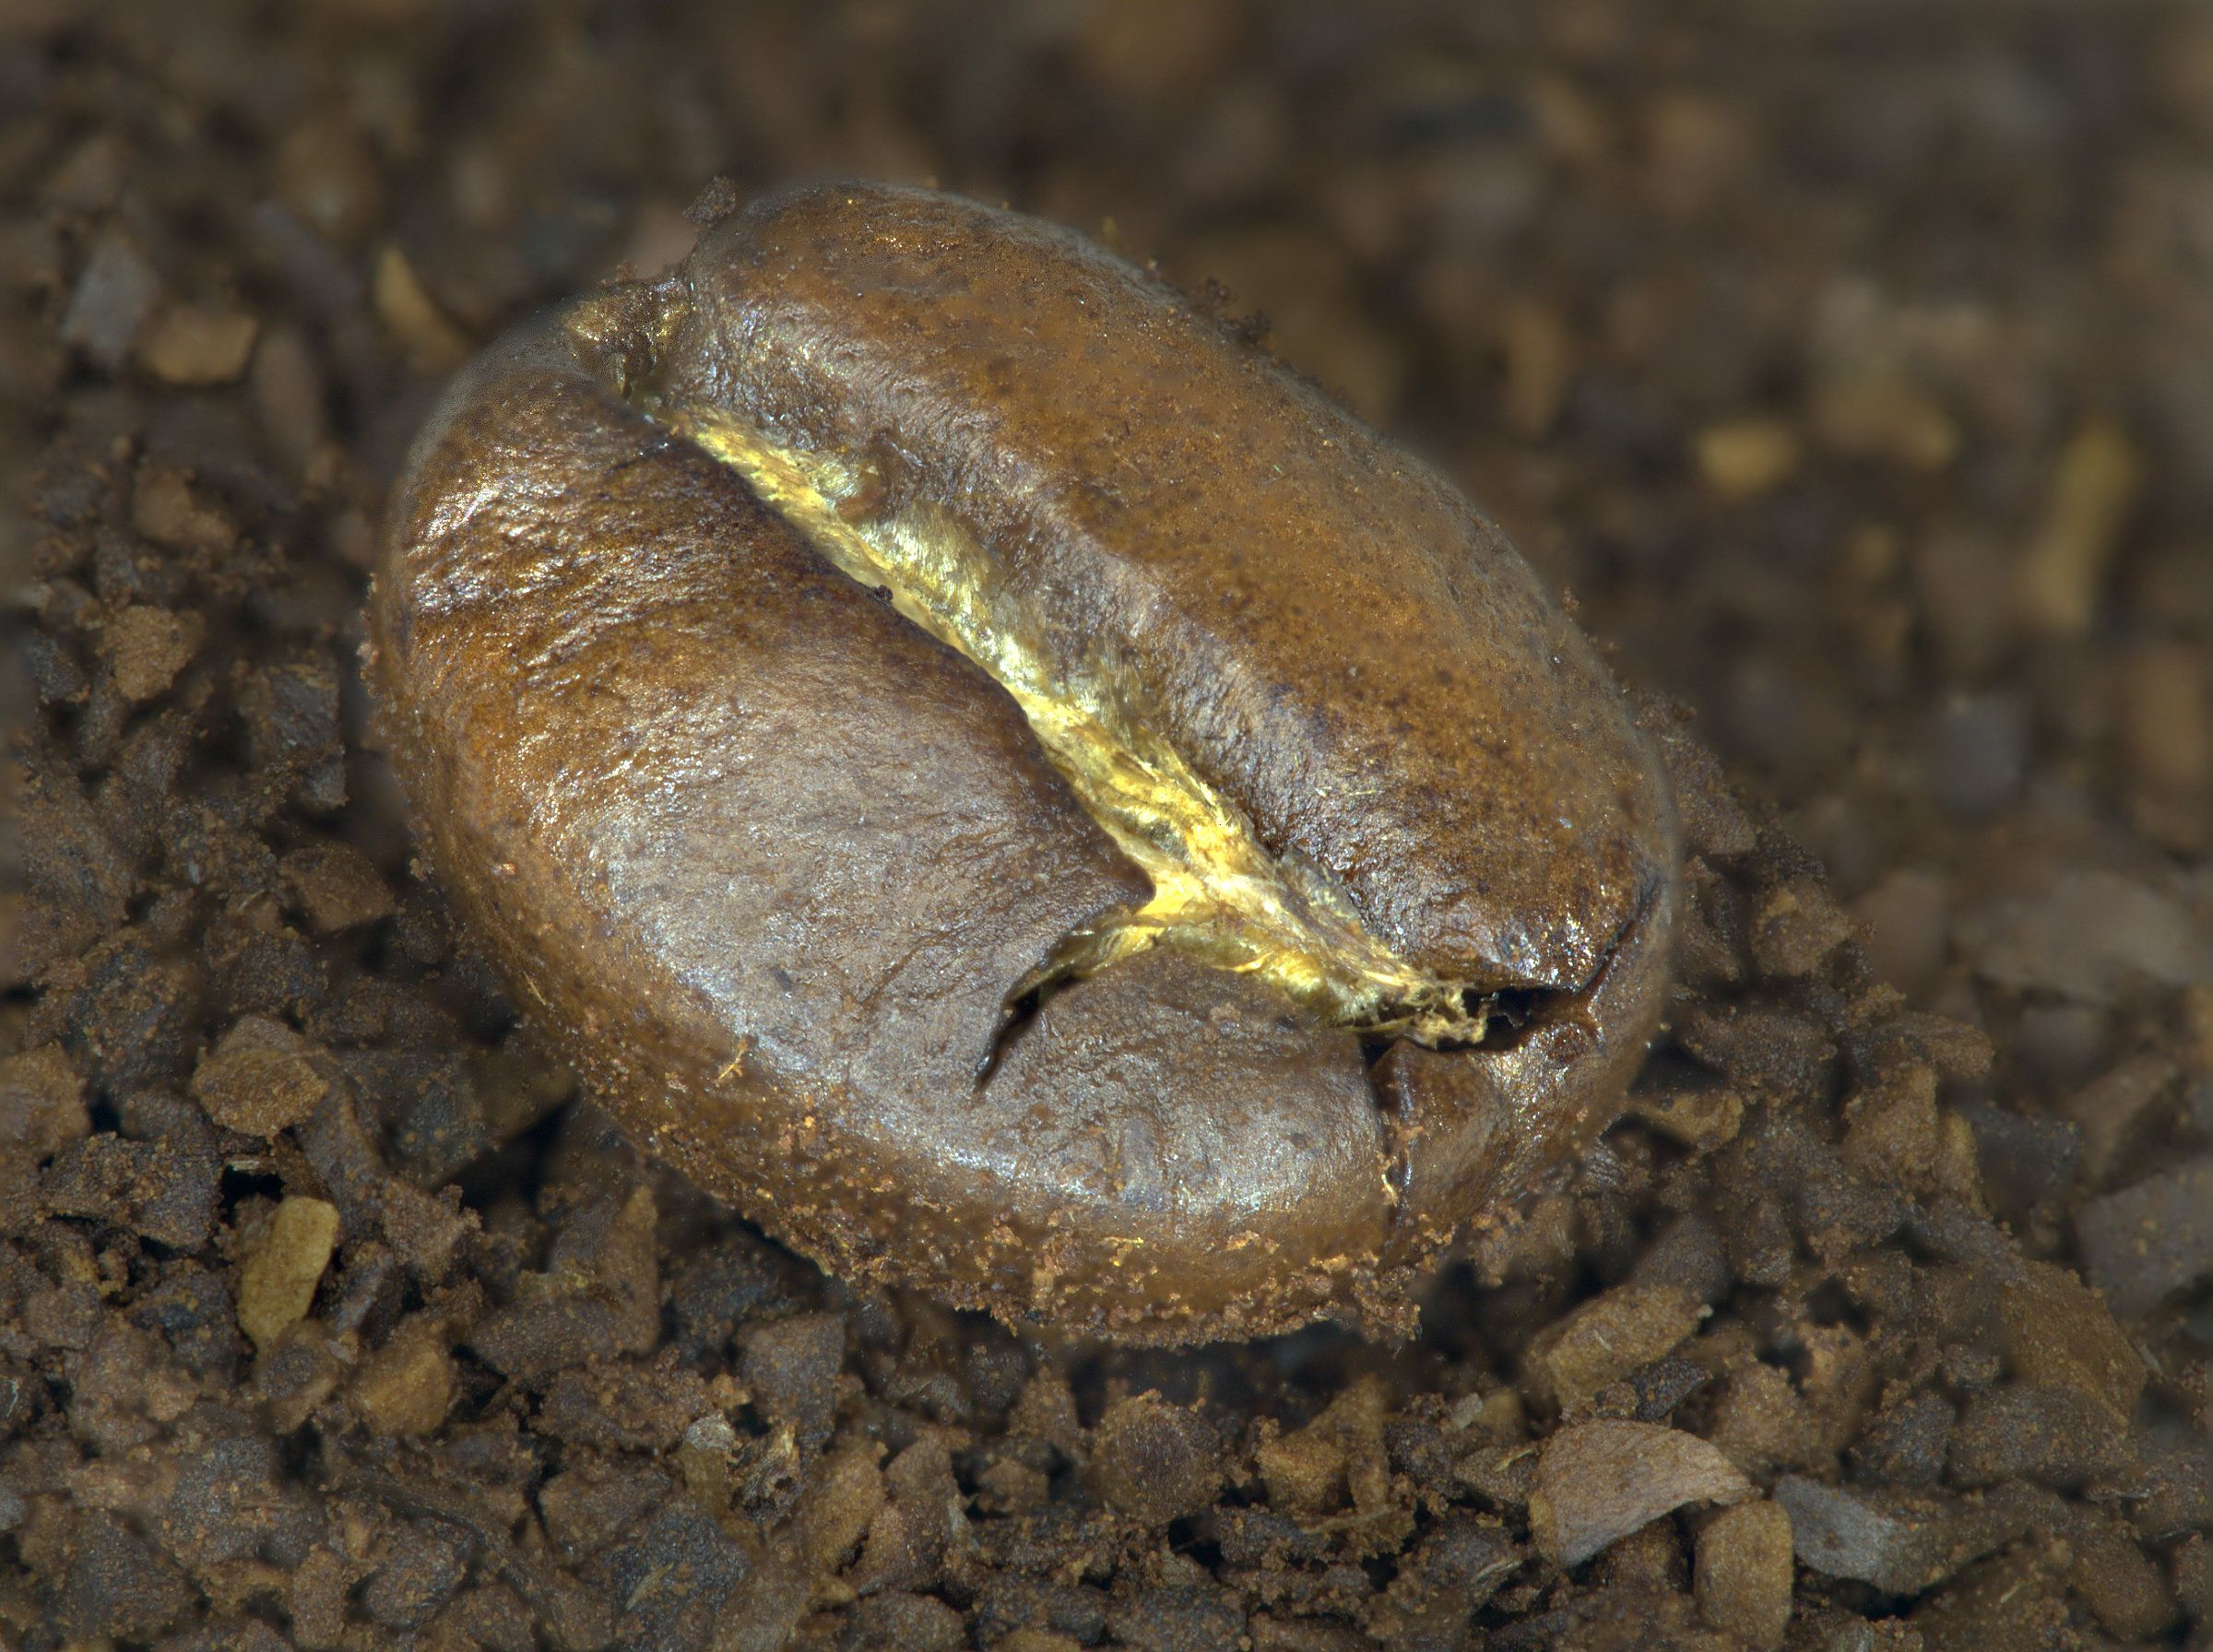
As promised, here it is using the NIK "Antique Plate II" preset. |
May 4th |
 |
6 comments - 3 replies for Group 64
|
| 95 |
May 20 |
Reply |
Seems there's been some sort of server hiccup! I can see new comments now which weren't there last time I got a message saying there were new comments. Tom will no doubt explain in due course.
Ah, an interesting lens indeed! What is probably happening is that it is showing you that when you are using high magnification ratios, the effective aperture falls. The physical opening in the lens is not changing as it's set by the diaphragm blades, but the light-passing ability falls.
I'm not knowledgeable about zoom lens theory, and indeed also about lenses which focus by moving internal elements. When I first learned macro, about 50 years ago (!) I only had a simple 58mm lens and some extension tubes which gave 50mm extension, and the lens focussed by moving away from the camera, all the internal elements were fixed in position within the lens barrel. To get 1:1 with a 58mm lens, you need to move it a further 58mm away from the film plane / sensor. (And similarly for all other focal lengths.) As the lens is placed 58mm from the film/sensor when focussed at infinity and the aperture openings are calculated, this means the distance from the lens to the film/sensor is then 116mm.(Coincidentally, it then focusses on a subject 116mm in front of the lens according to simple theory! But multi-element lenses, as all camera lenses are, are a bit more complicated, but it's a good approximation.) Anyway, with the lens movement as well as the extension tubes I got up to 58mm total extension, so I got 1:1.
This extension caused a light loss of 2 stops. Exposure was not measured in the camera, so I had to allow for this loss by increasing my exposure from what my hand-held exposure meter was telling me to set.
So, this is a long explanation (just ignore the last 2 paragraphs if it's confusing at this stage) about what I said. At 1:1, your lens is losing 2 stops, and 2 stops from f32 is f64. I don't know how the lens shows you it, but it must be doing so. As you move further away and get to lower magnification, the loss is less. According to your data, at 1:5 you are losing 1 stop, meaning the lens is effectively working at f45.That sounds a bit odd to me, I'd have guessed at 1:2 you'd lose 1 stop, but Tamron know more than me I'm sure.
All this means that the aperture values on the lens are only true when it's focussed on infinity! But the loss for "normal" focus distances is small, and most cameras have internal light meters now, so this loss can be ignored.
If that is as clear as mud, just say and I can send a longer explanation by email. |
May 30th |
| 95 |
May 20 |
Reply |
No, we meant 1 or 2 stops down from maximum aperture, ie from the smallest number. So for my f2.8 macro lens, that would be f4 to f5.6. But it's only a rule of thumb, and it's a fairly wide optimum range, anything from f4 to f11 would be "best" for this lens. Wide open at f2.8 or down at its minimum aperture f22, I can see a fall in performance on my camera. But the results are still reasonable! Modern lenses are very good, although the expected standards get higher as a result.
As for f64, I've never heard of a lens with so small a minimum aperture. So I've looked in your bio and seen you use a Tamron 90mm 2.8, VC. Macro. On the internet it says its minimum aperture is f32. Anyway, I would expect "best" performance with it to be also in the f4 to f11 range. Maybe Tom has this one too as he posted several pictures in our previous group shot as f32 and there were no real problems on them that we could see online, although up close at higher resolution he might have been able to.
As an aside, "stops down" usually means smaller apertures, ie bigger numbers, so 2 stops down from f64 would be f128! Possible, but apart from pinhole cameras I don't think such small apertures are ever used due to the diffraction problem.
Diffraction is when light passes close to an edge (and the diaphragm blades are just edges in this sense) then some of the light fails to carry on in a straight line past the edge. It gets bent towards the edge, in a similar way as light is bent by refraction as it passes between air and the lens material and vice versa as it traverses the lens. This means that these diffracted rays can land anywhere on the sensor, reducing contrast and clarity. When the aperture is really small, the amount of edge compared to the total area for light to pass through becomes very large compared to "normal" apertures, and so diffracted light can swamp the "well focussed" light and ruin the result. It doesn't matter how good the lens is, physics has them beat!
As for flash in general, flashes can be very intense and so you can get exposure at small apertures and low ISO, and they are very short duration, 1/1000 sec or much less sometimes, which is great for stopping blurring. So why not take all macro with flash? Well, it's just that getting the light in the right place and nicely diffused and balanced so there are no nasty shadows etc is an extra degree of complexity. You can't use flash on the flash shoe as the lens gets in the way. So some sort of remote flash, or bounced flash, with more than one flash gun and suitably balanced to give nice light modelling, is needed. There are some macro flashes on the market, and they can be rather expensive. Some come as a ring which circles the lens. They give very even, althoug somewhat "flat" light. Although on some you can get half the ring to be brighter than the other which brings some nice modelling (gentle shadows). I do use a flash on my flash shoe sometimes but only with a home-made reflector which reflects the light down onto the subject, and it works well. Dead cheap and simple, made from a couple of A4 sheets of glossy photo paper.
There are some "LED flash" units on sale, often in ring form, which gives nice even light, but they are not true flashes - they can flash but the duration is not very short, so they don't freeze motion like electronic flashes do. Having said that I have one (about $30 bought on ebay some years ago) and it's quite useful. It's not brilliantly bright, but I often use it.
The simplest and often best setup is natural light. If that forces you to slow shutter speeds, (shorter than 1/ focal length in mm as Tom said, unless you have good steady hands and auto stabilisation in the camera) then a tripod is needed, and if outdoors even something to hold the item still (eg a flower).
Finally, stacking (also called focus merging) is a great technique, I love it. You have great control over the final depth of field with it. However it demands more setting up, absolutely requires a tripod and a "macro rail" (a device to hold the camera and let you move it a fraction of a mm at a time between successive shots), and plenty of time to take all the shots. Some cameras have inbuilt functions to stack, and I can hand hold stacks with my Olympus. However many attempts fail despite the speed with which it does it (up to 60 frames/sec) as it detects too much movement between the frames. Good in an emergency, but still using a tripod is best.
Macro is a fascinating subject I think! Suits a geek like me down to the ground. |
May 29th |
| 95 |
May 20 |
Reply |
If you don't mind, I'd add to that to say that the "sweet spot" is a balance between optical acuity (including chromatic aberration) and diffraction. At large apertures even the edges of the lenses are being used, from which by manufacturing necessity you get reduced sharpness and contrast, reducing the overall image quality. The total loss of quality is the sum of this effect and diffraction, but at large apertures, diffraction is a minor issue. As the aperture gets smaller, less of the outside of the lenses is in use which improves the image, but later diffraction gets larger and eventually dominates, so the overall quality starts to drop again. So you get a "bathtub curve" with the sweet spot in the middle area. The rule of thumb for its position is what Tom stated. However Tom has at least one lens with an aperture as small as f32 which gives very acceptable results even at this extreme value. |
May 29th |
| 95 |
May 20 |
Reply |
I think he is confused! If we start with the definition that we want to achieve an image the same size as the subject, whatever the sensor size, then the subject needs to be 18mm (17.3 mm actually) long, whereas in full frame it needs to be 36mm long, and in a similar way for other sensor sizes.It still means I'm looking for smaller subjects! |
May 24th |
| 95 |
May 20 |
Reply |
We micro 4/3 users are at a disadvantage here! I've got to look for a subject less than 17.3mm wide (0.68") if 1:1 means an image smaller than my sensor. Some people say 1:1 as above in micro 4/3 is actually 2:1. Phew! |
May 23rd |
| 95 |
May 20 |
Reply |
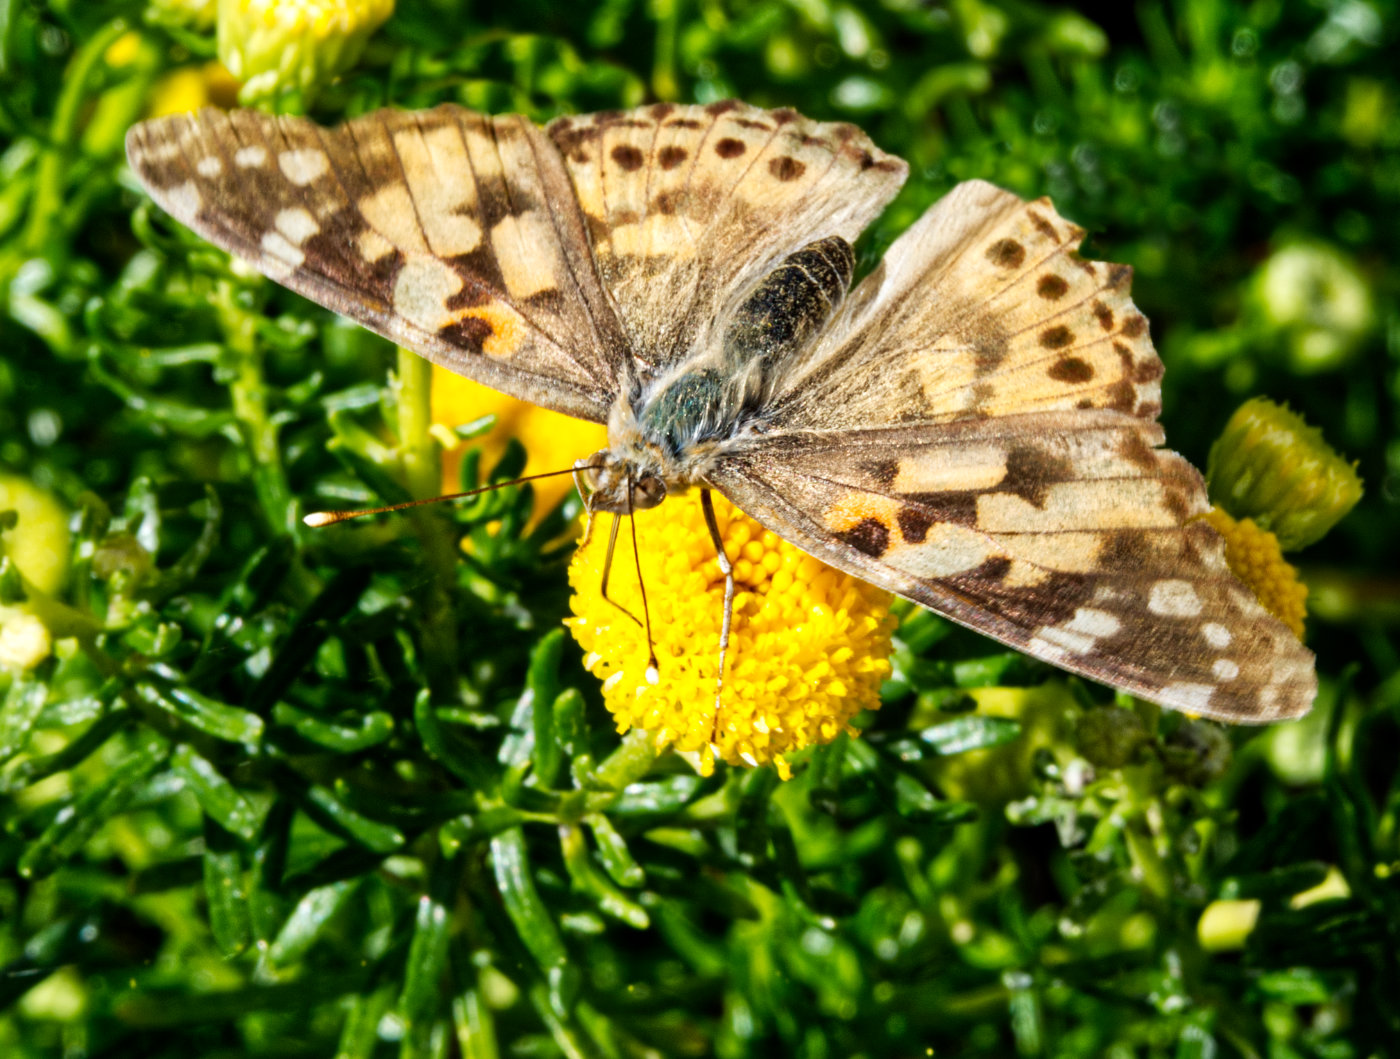
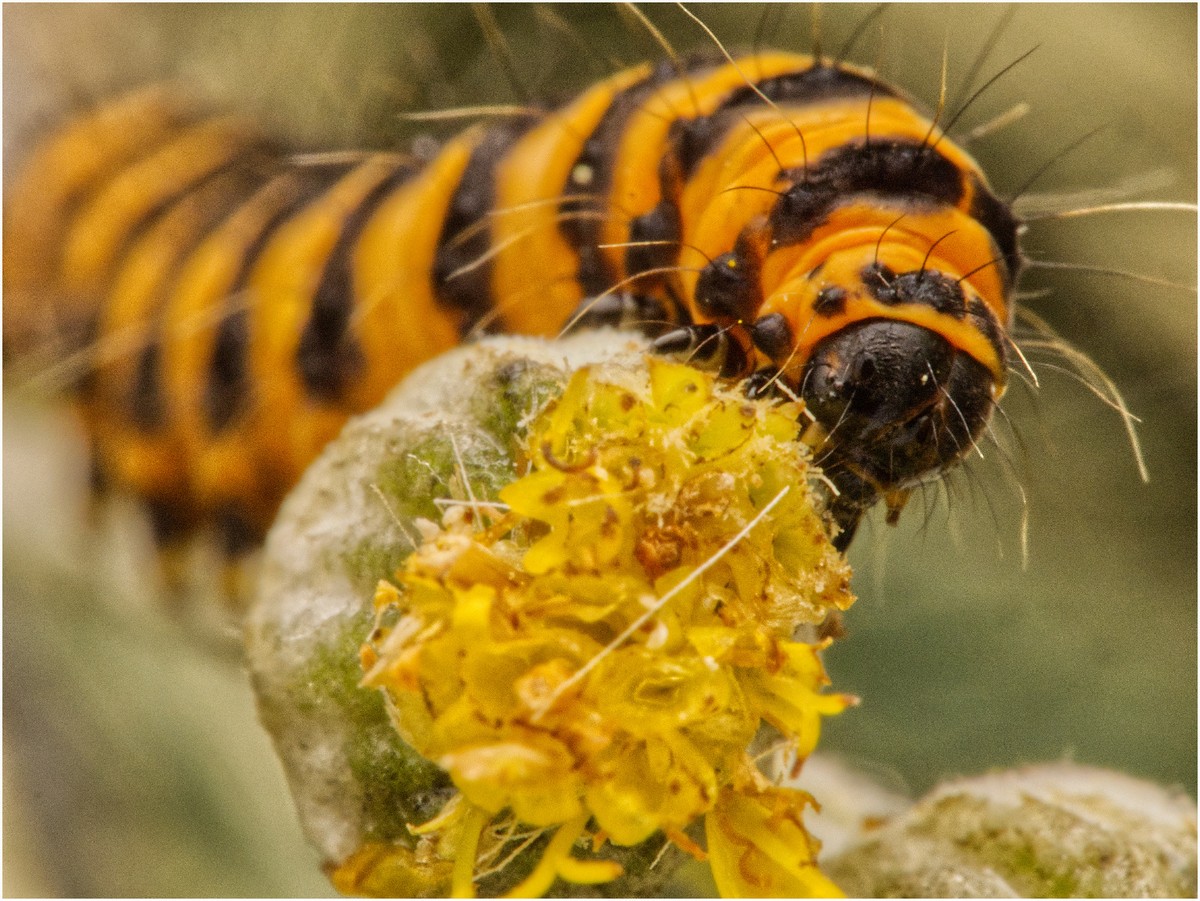
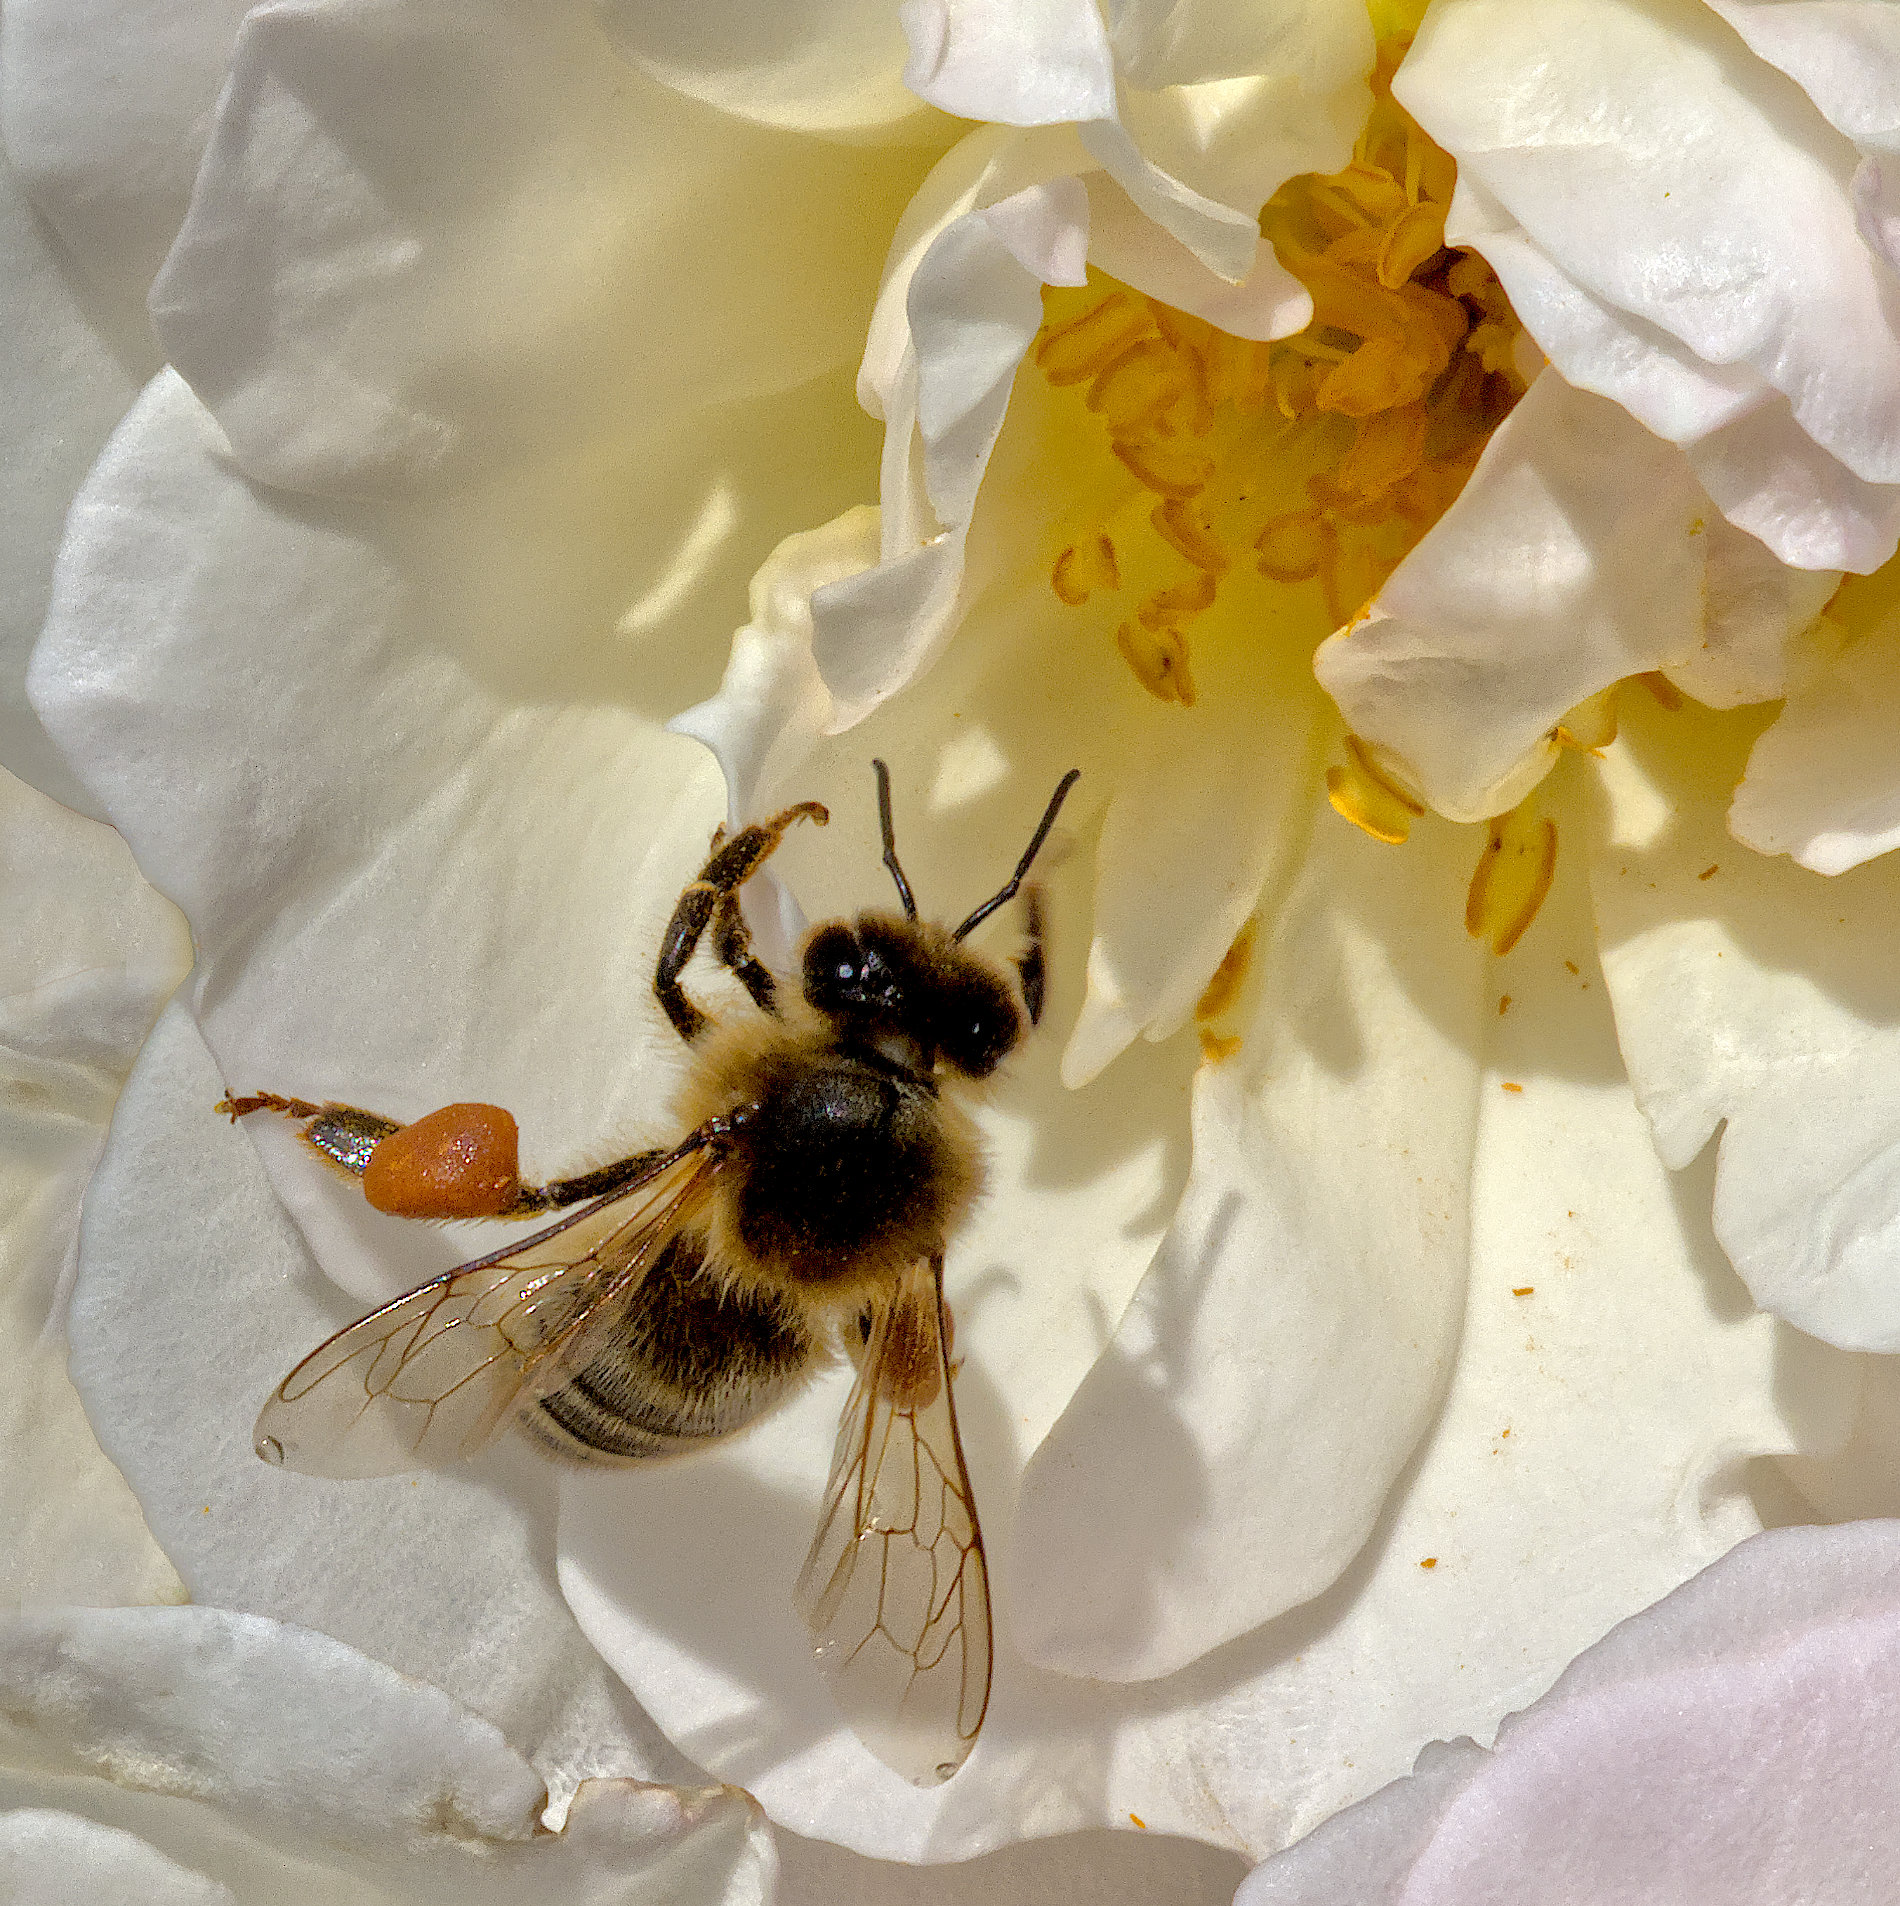
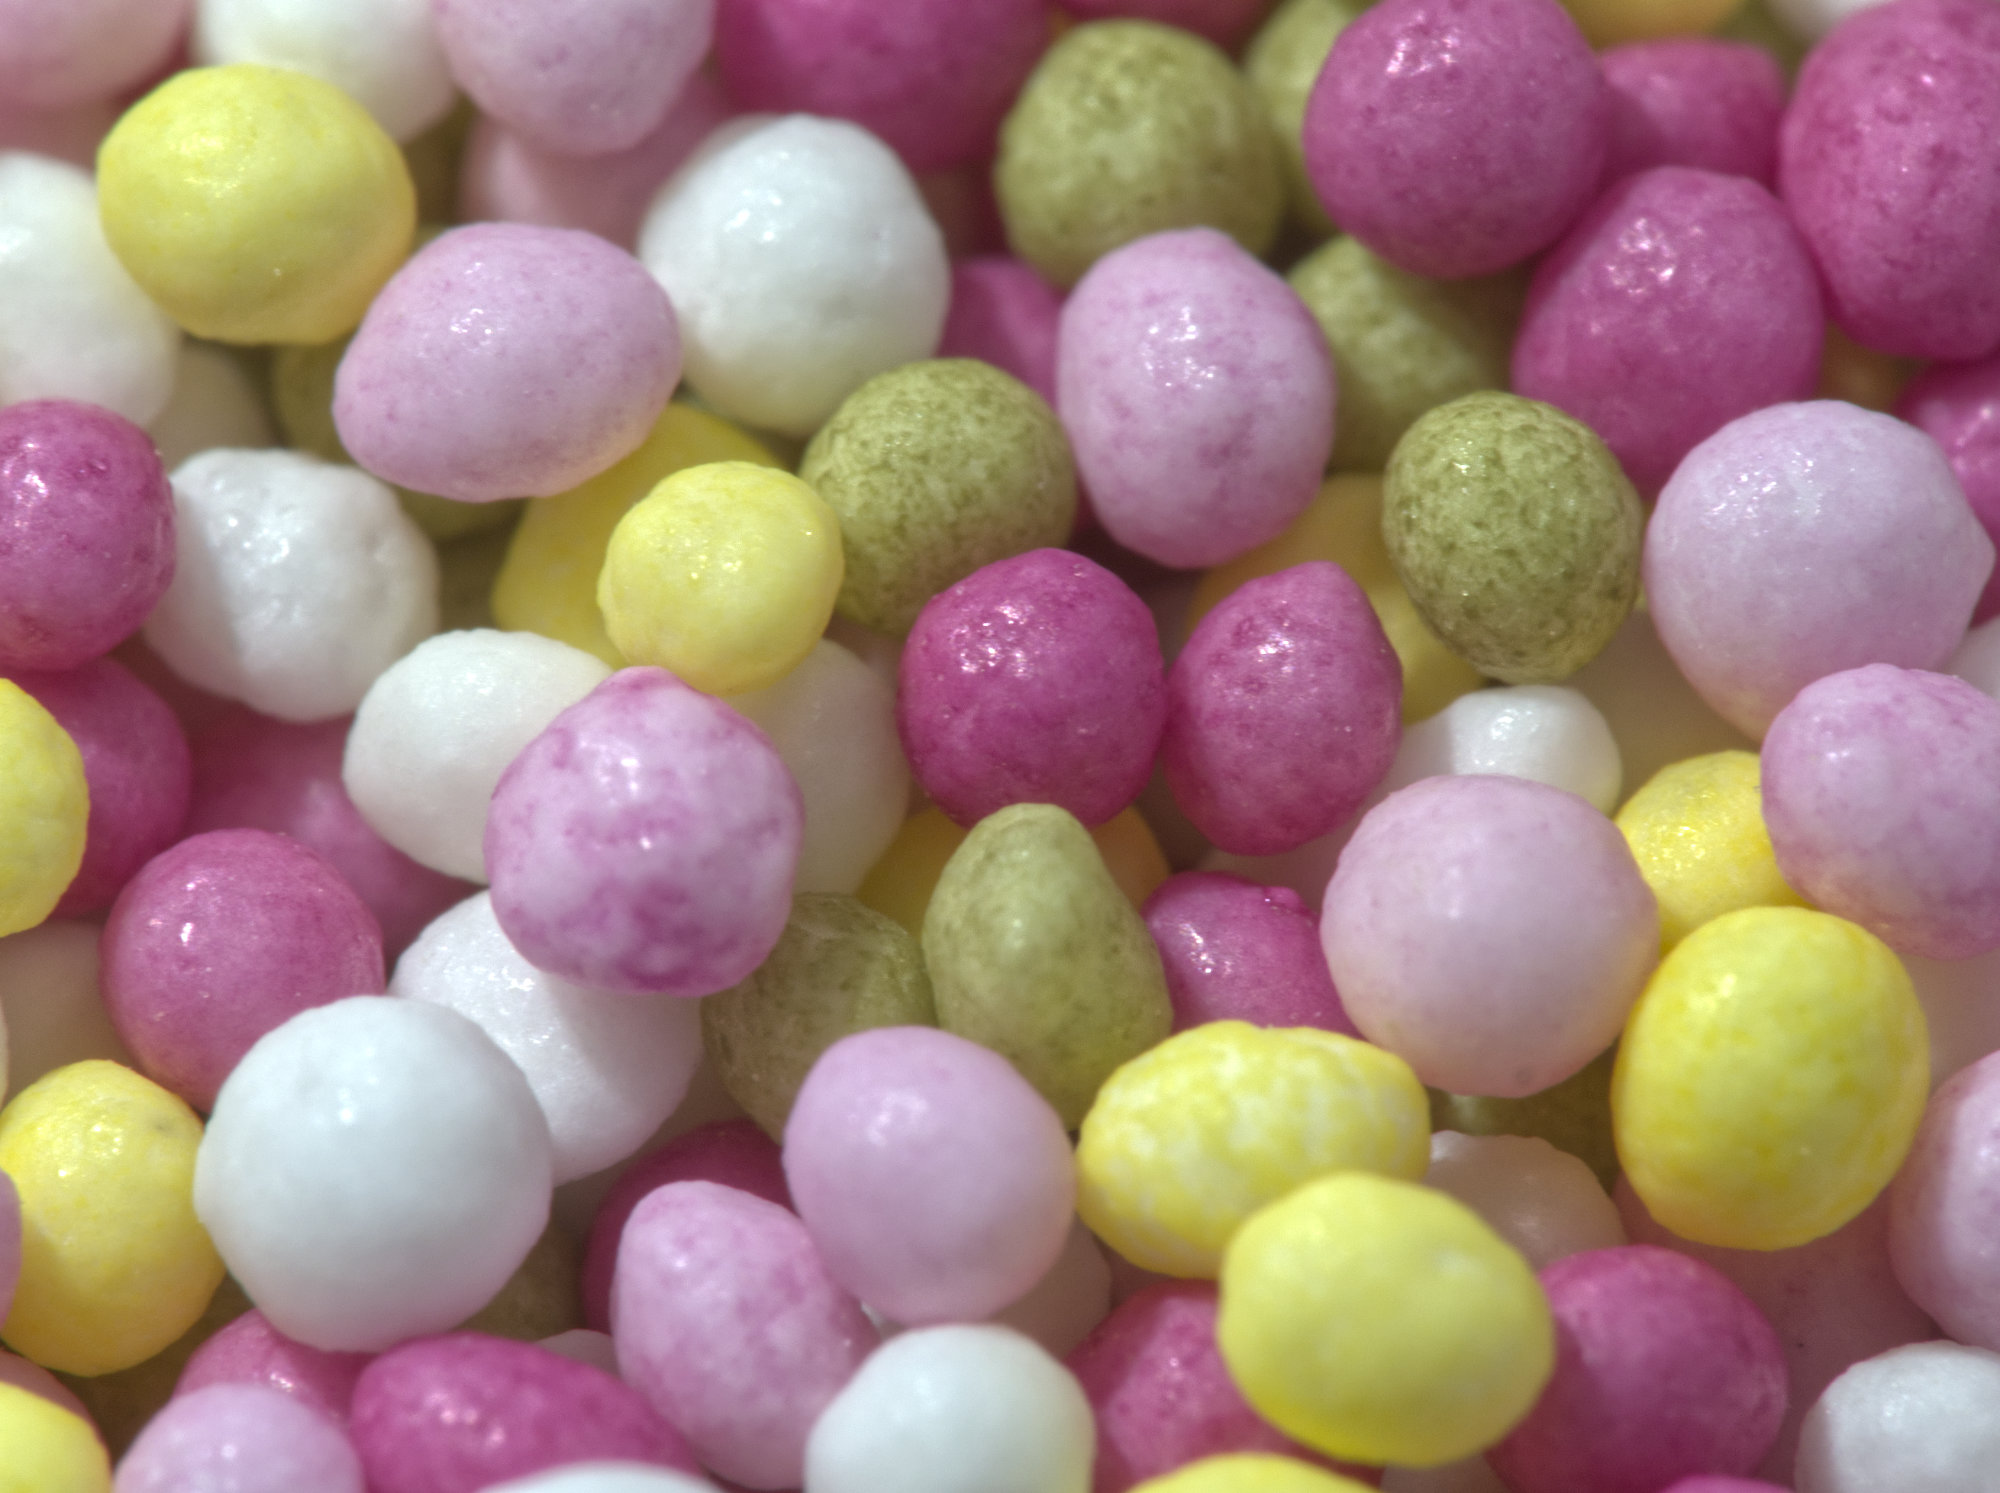
My view is that if you don't like bugs (which I don't in general) then macro subjects are hard to find. However practice make perfect!
I found another unbroken shell in the garden a few days ago. Intact, it's pretty ordinary looking. It was in the open and quite cold, so there was no doubt the occupant was dead. The question is, do I break it and photograph the result?
I caught a very colourful moth a few days ago as well in the garden shed. He (or she) spent a night in a jar in the fridge. The fridge made him quiet but it only lasted for a few minutes. The pics are still in the camera, one might make it here. |
May 23rd |
| 95 |
May 20 |
Reply |
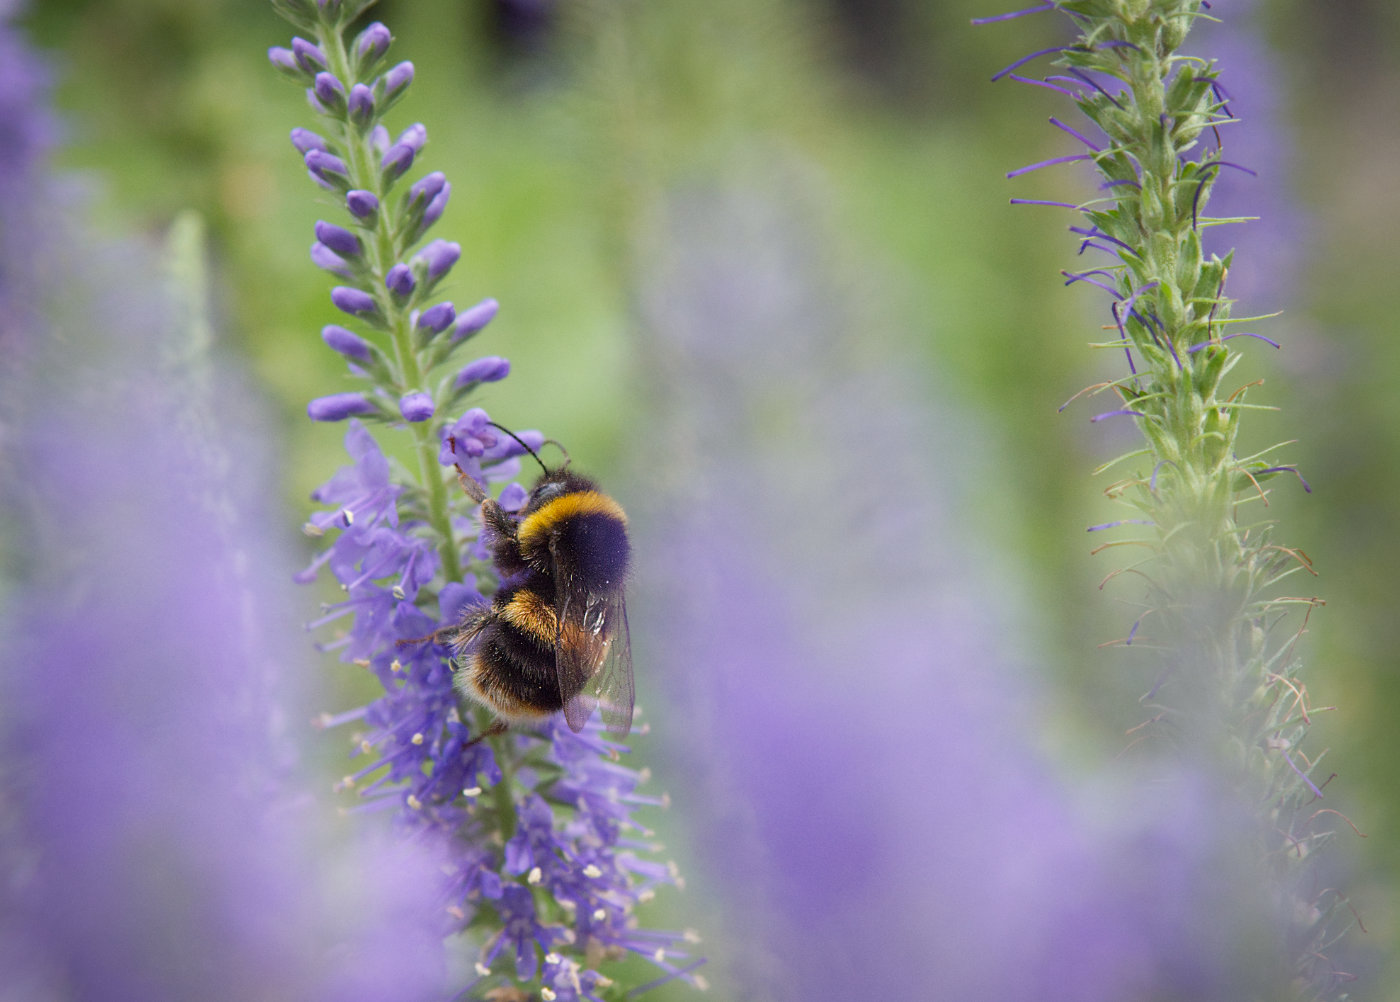
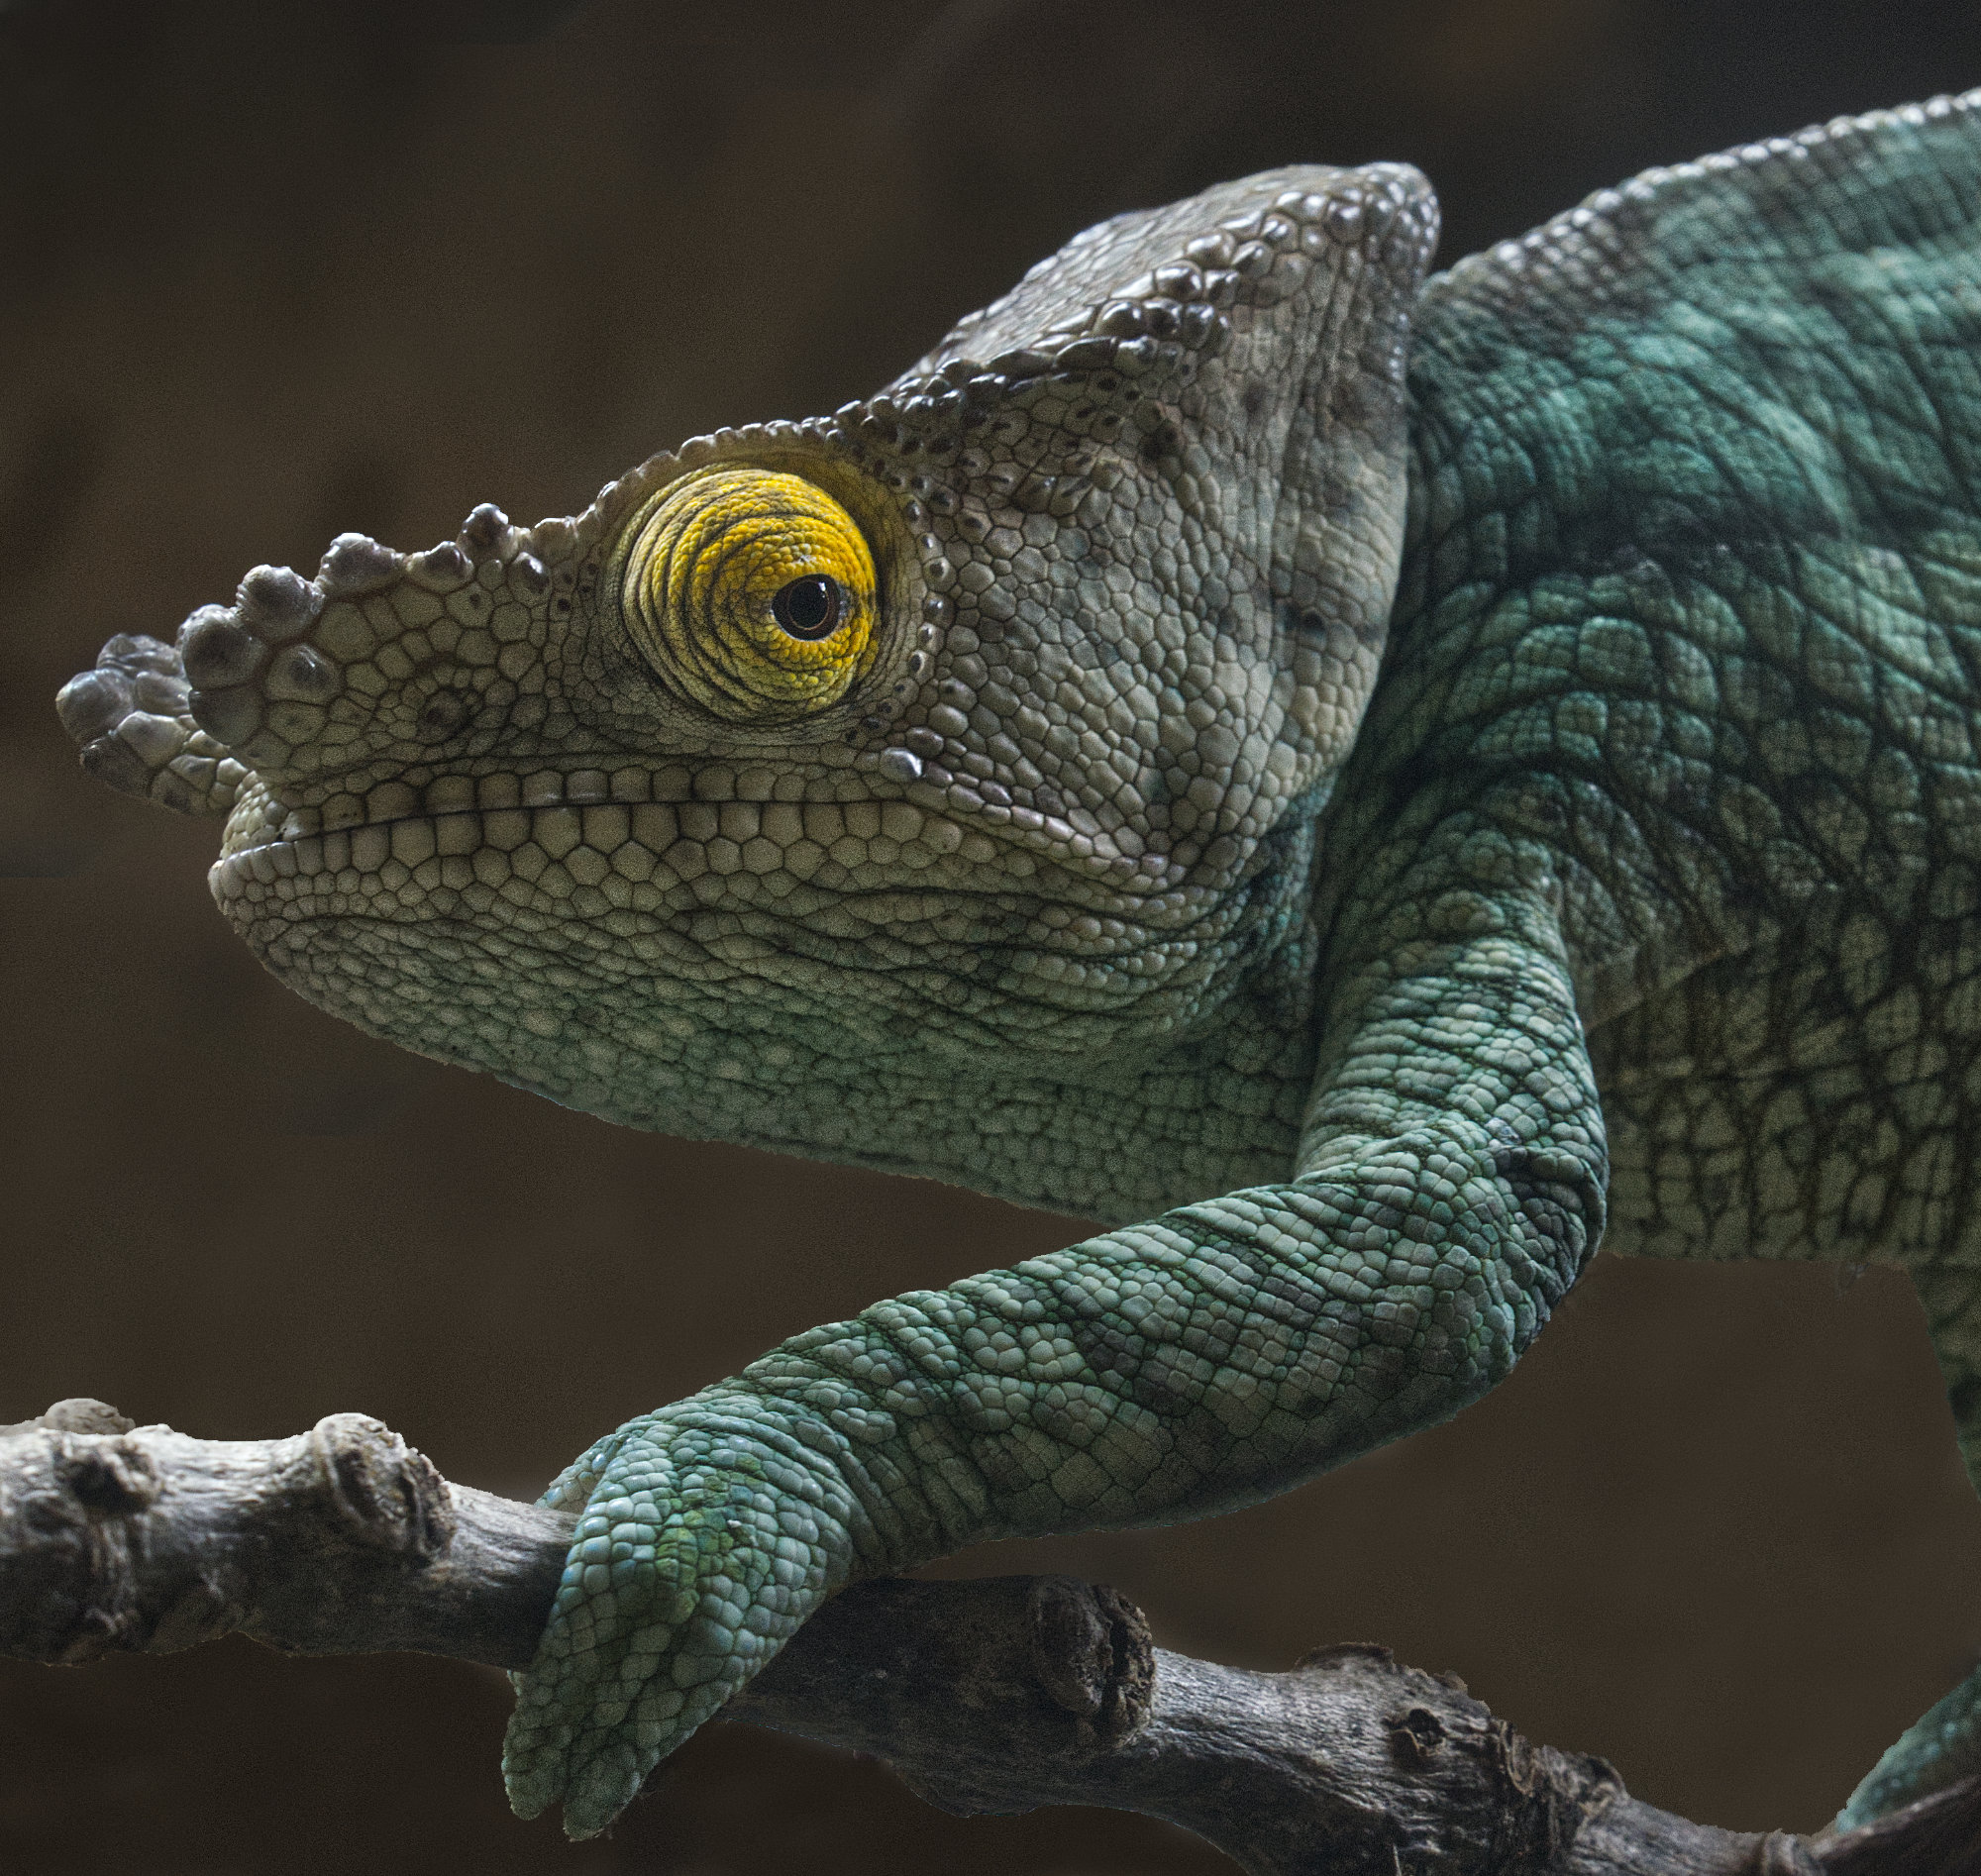
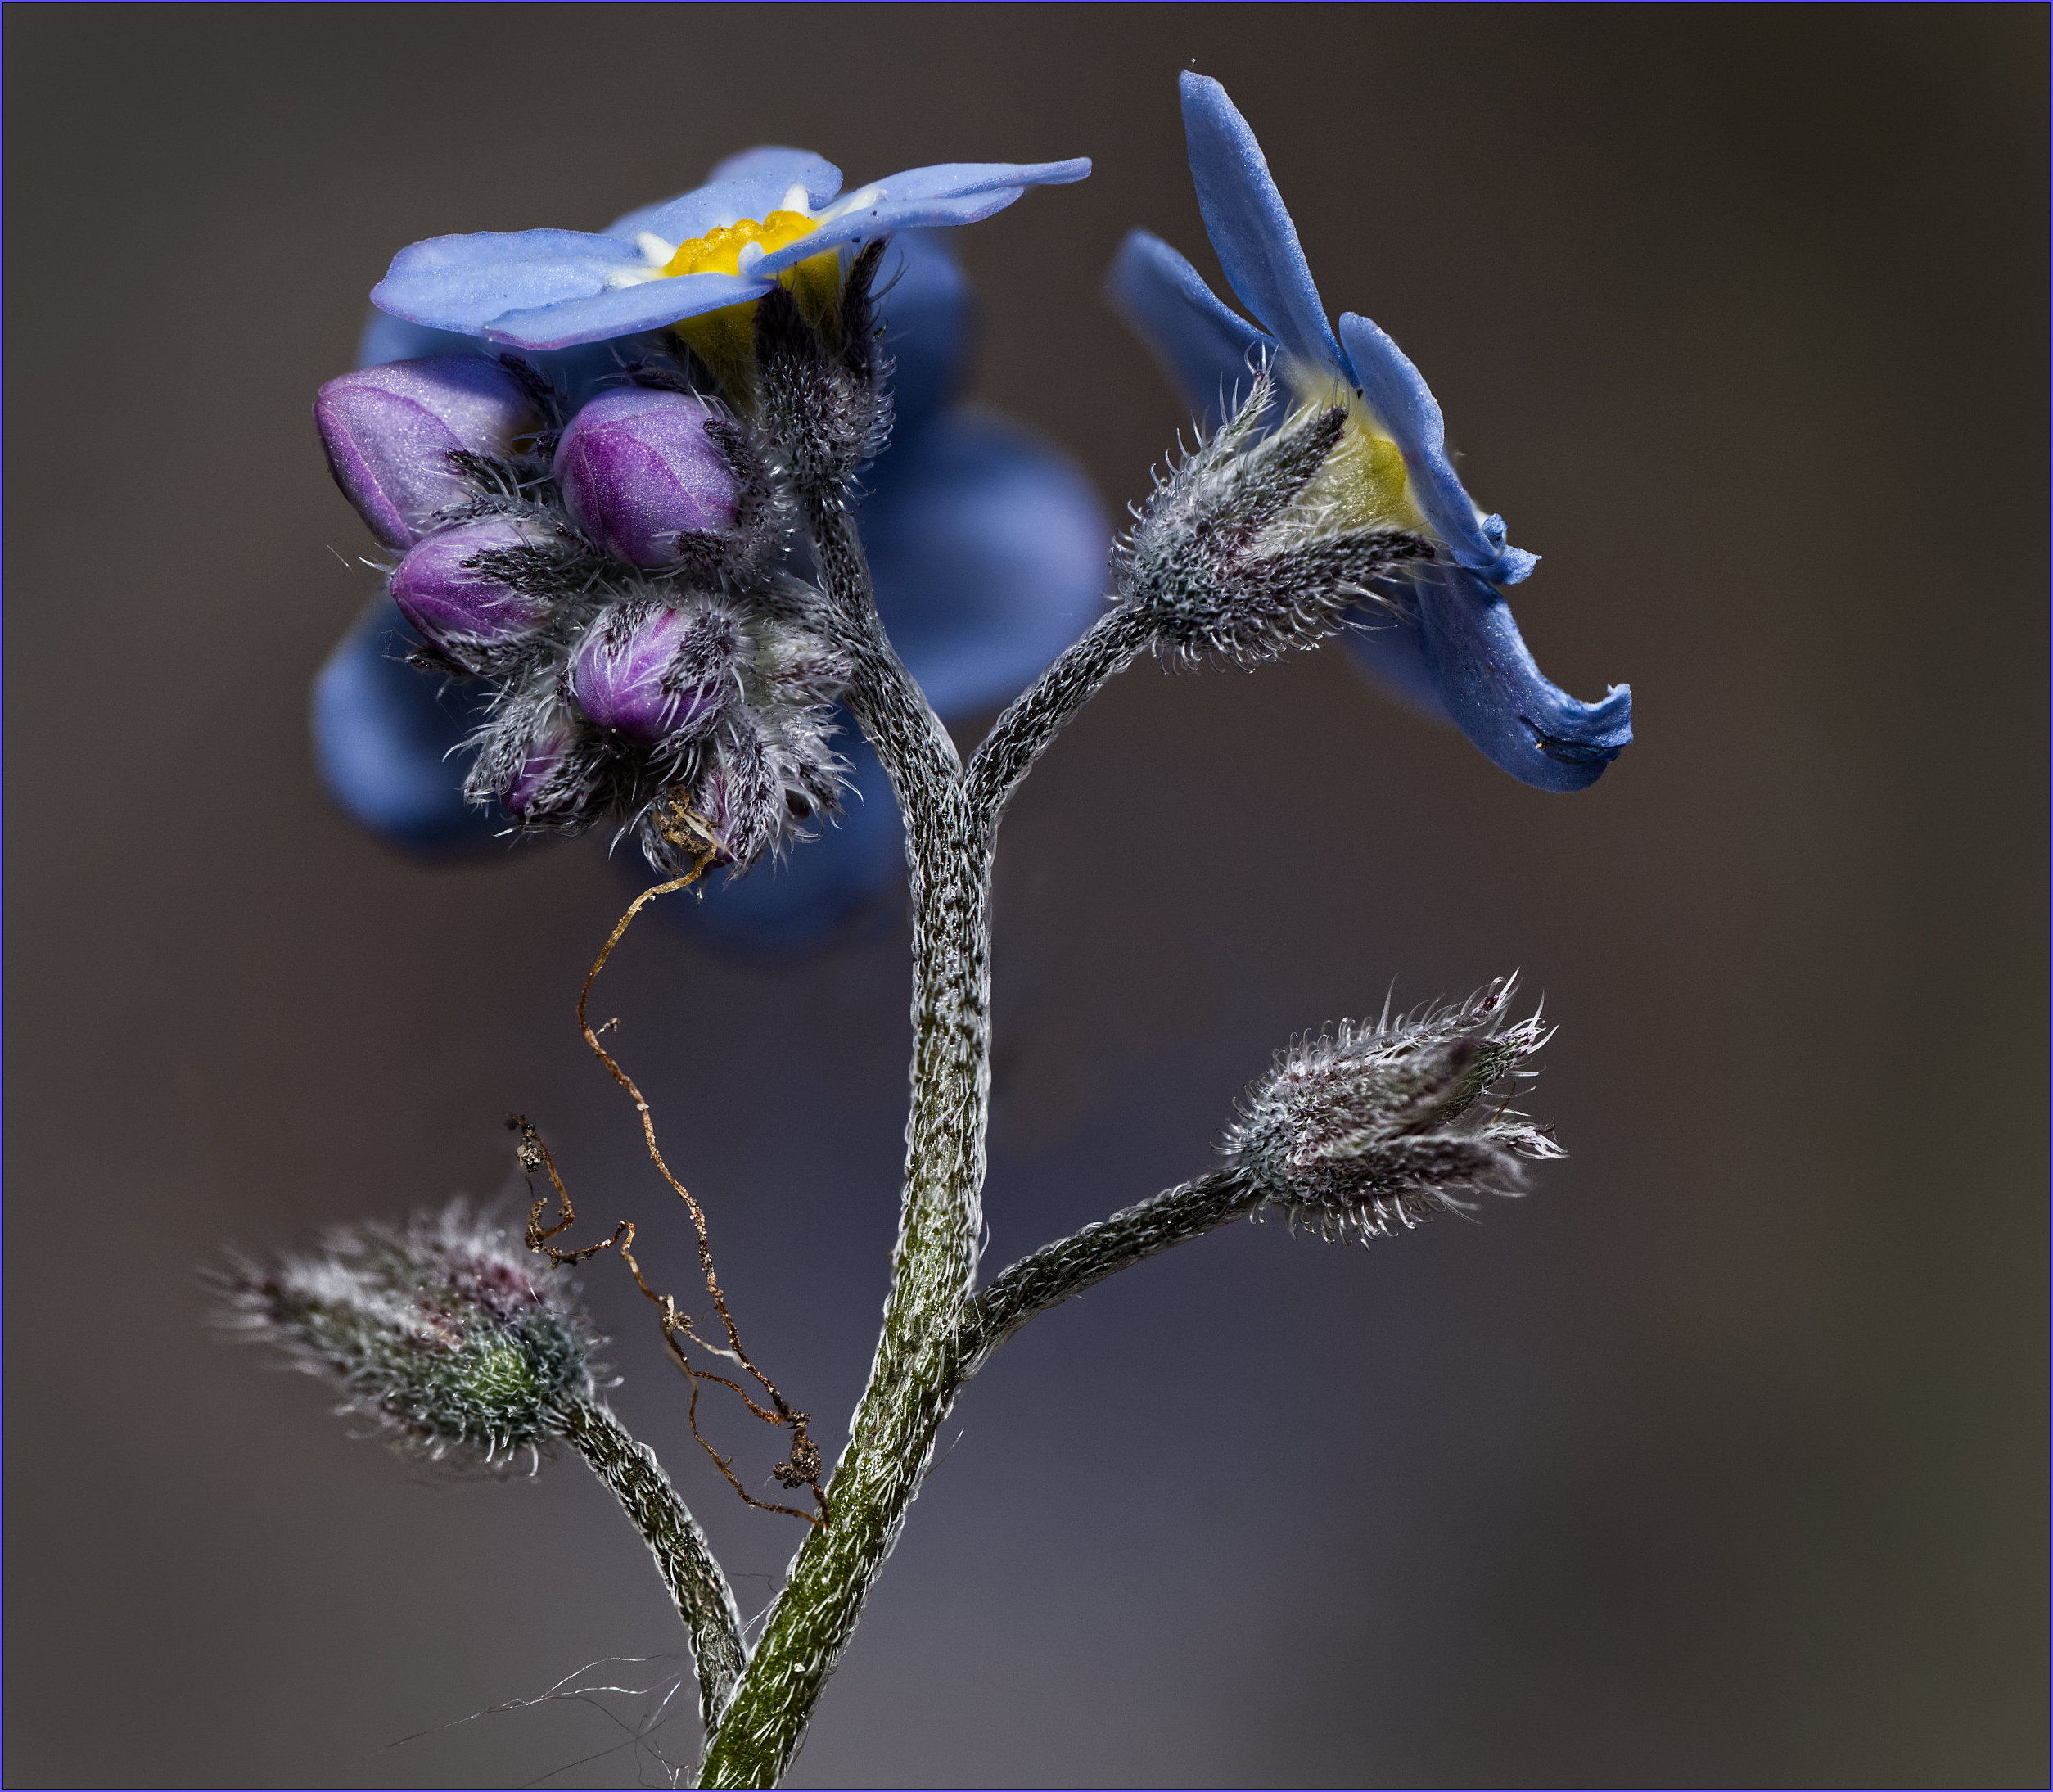
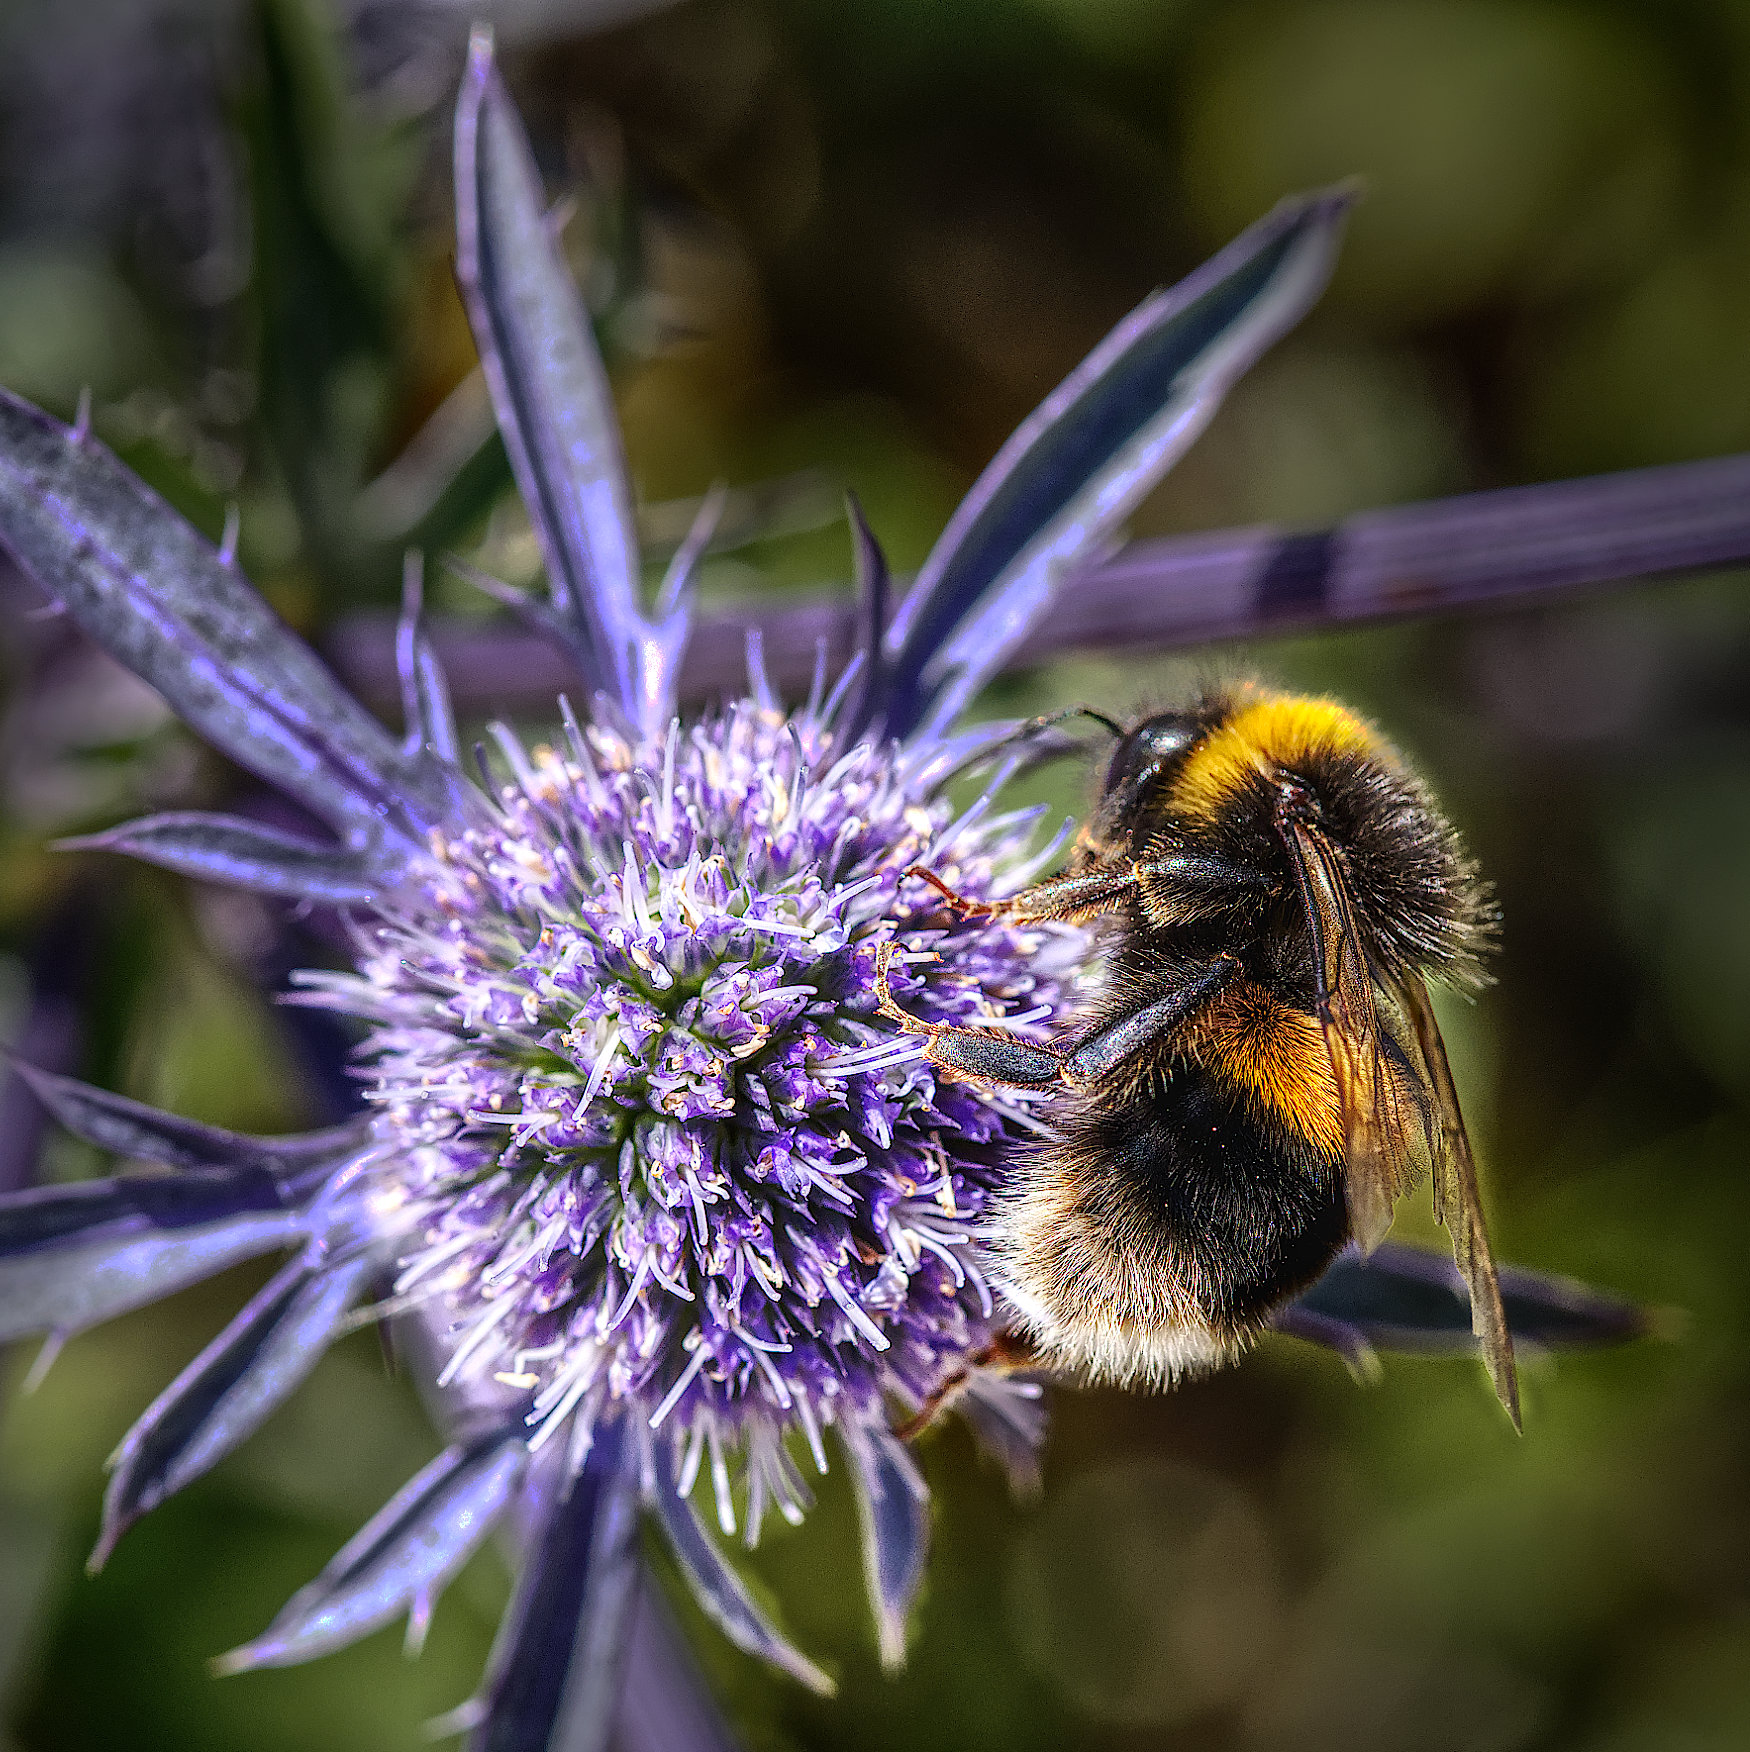
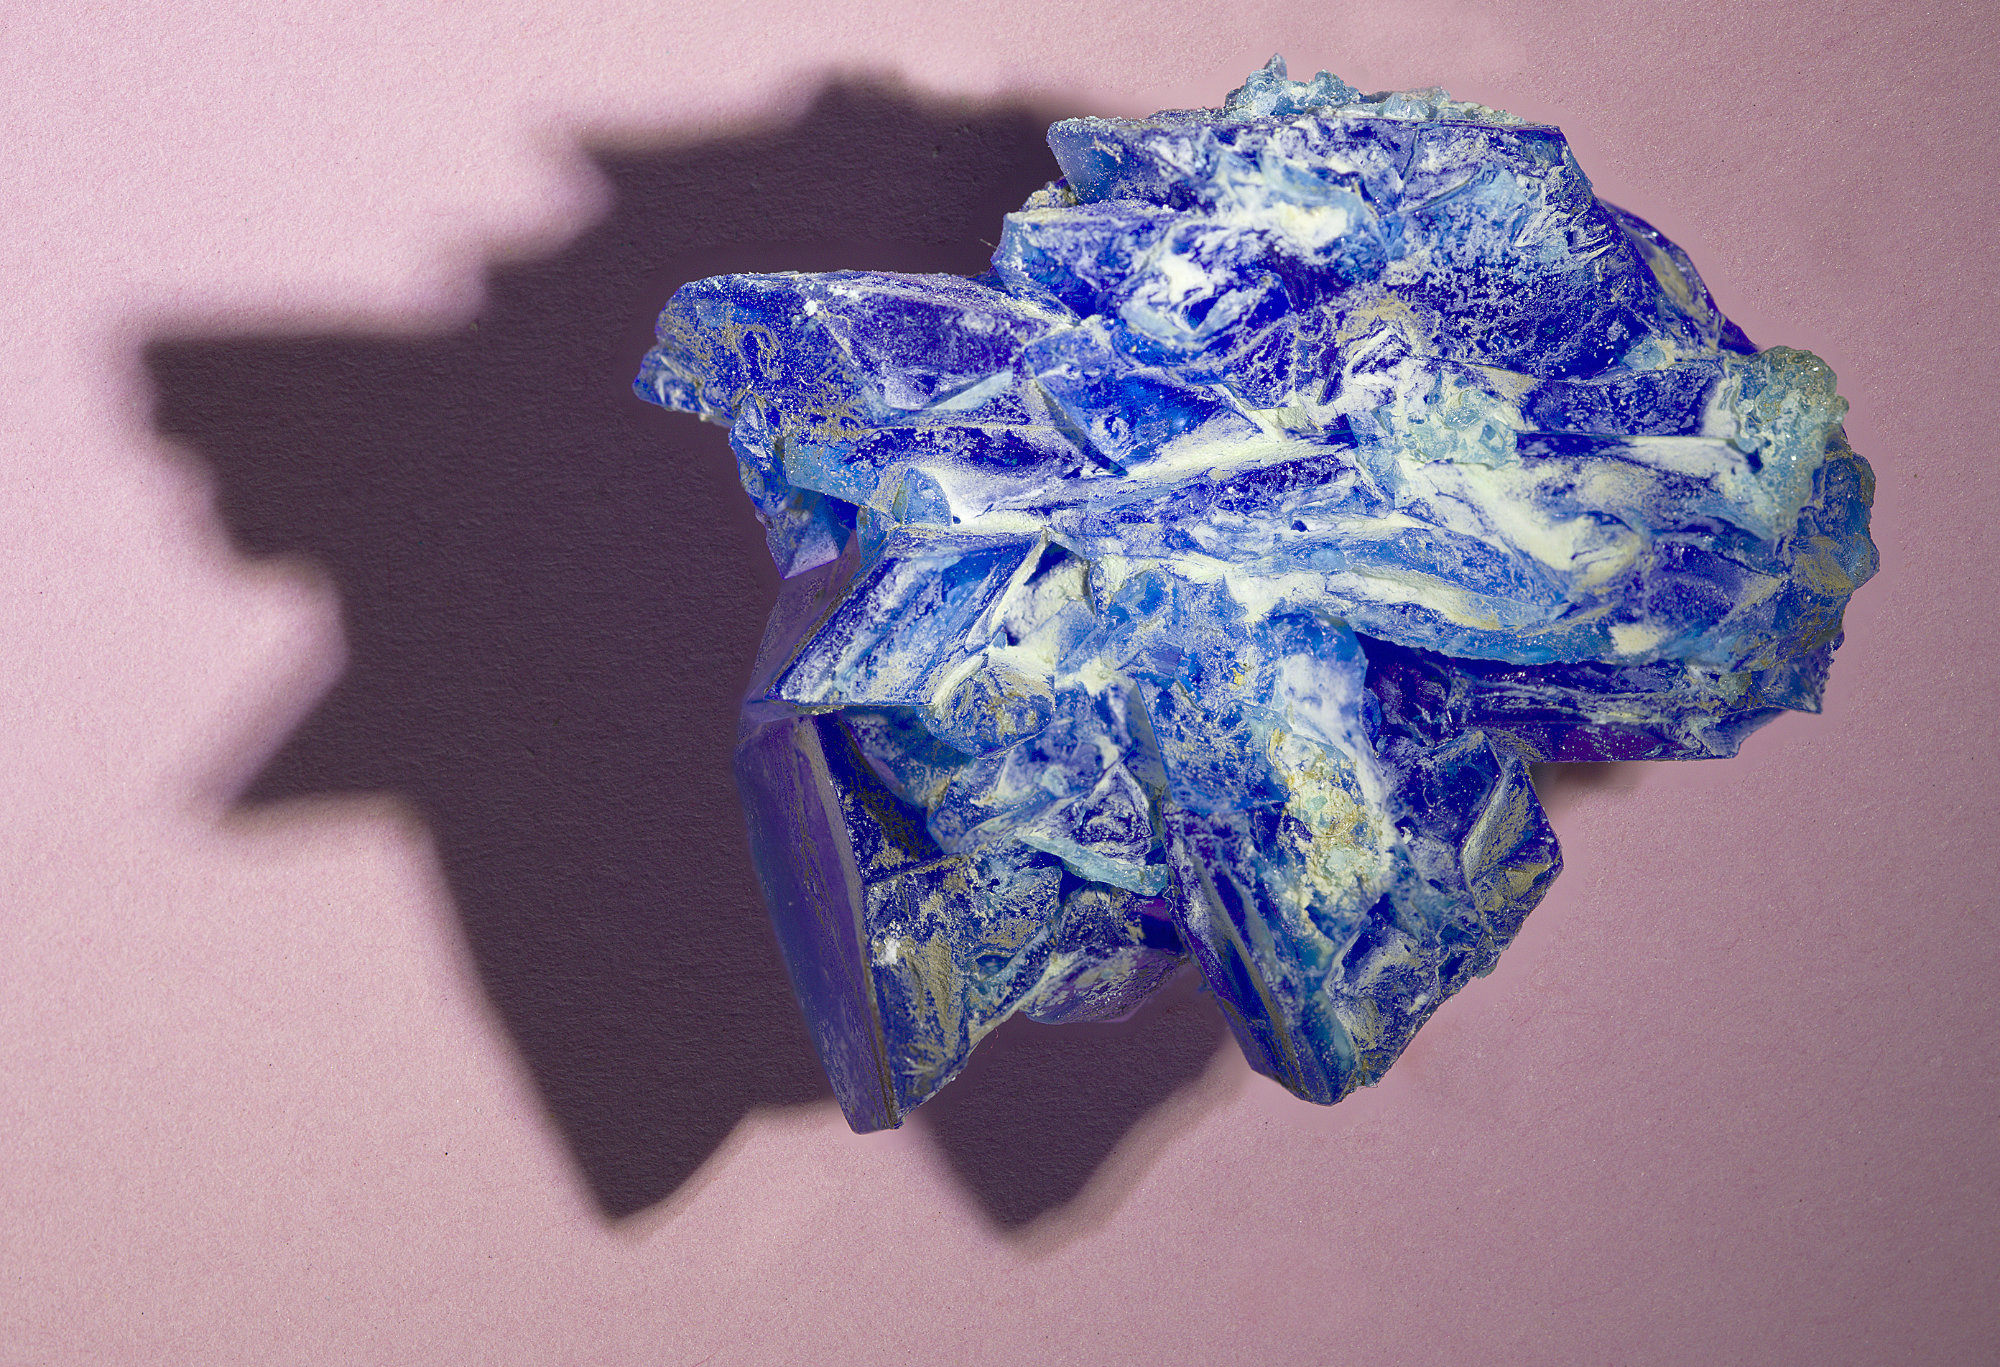
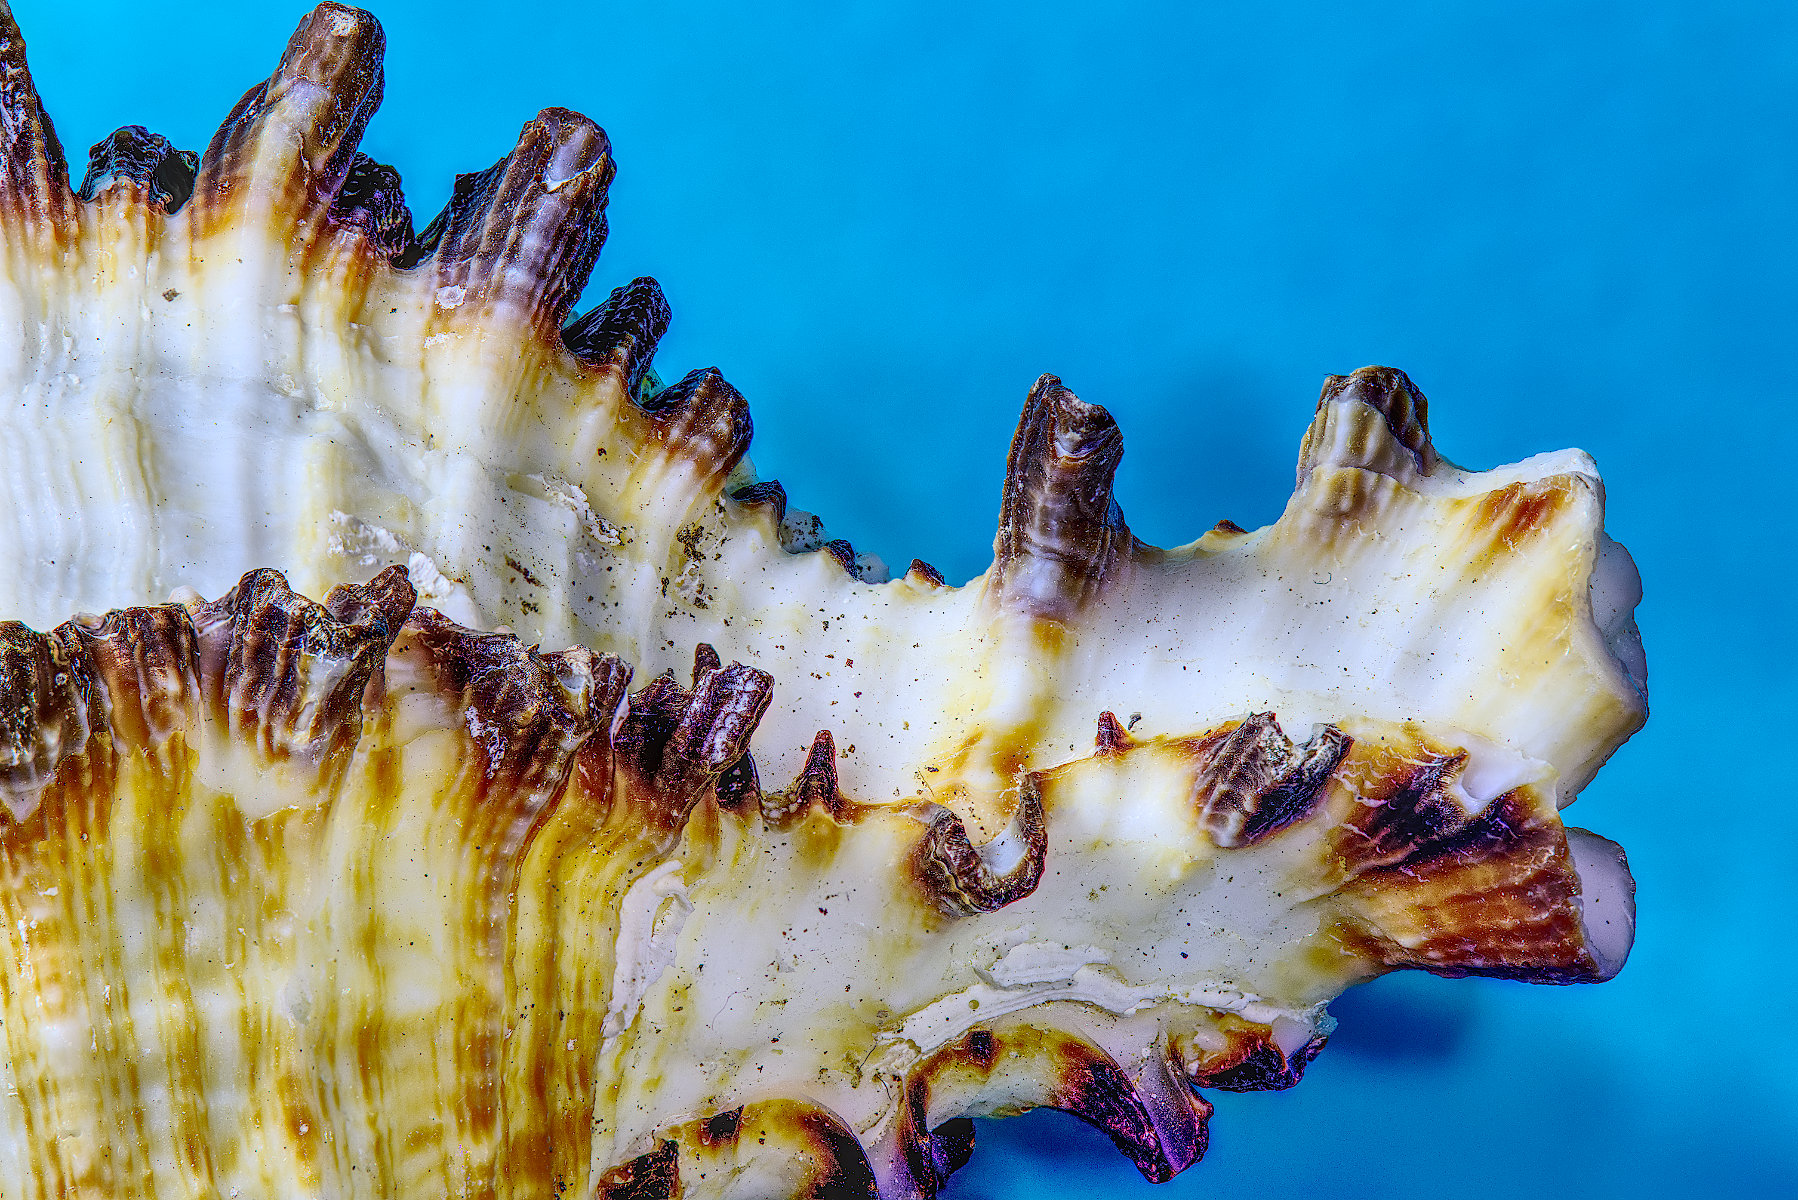
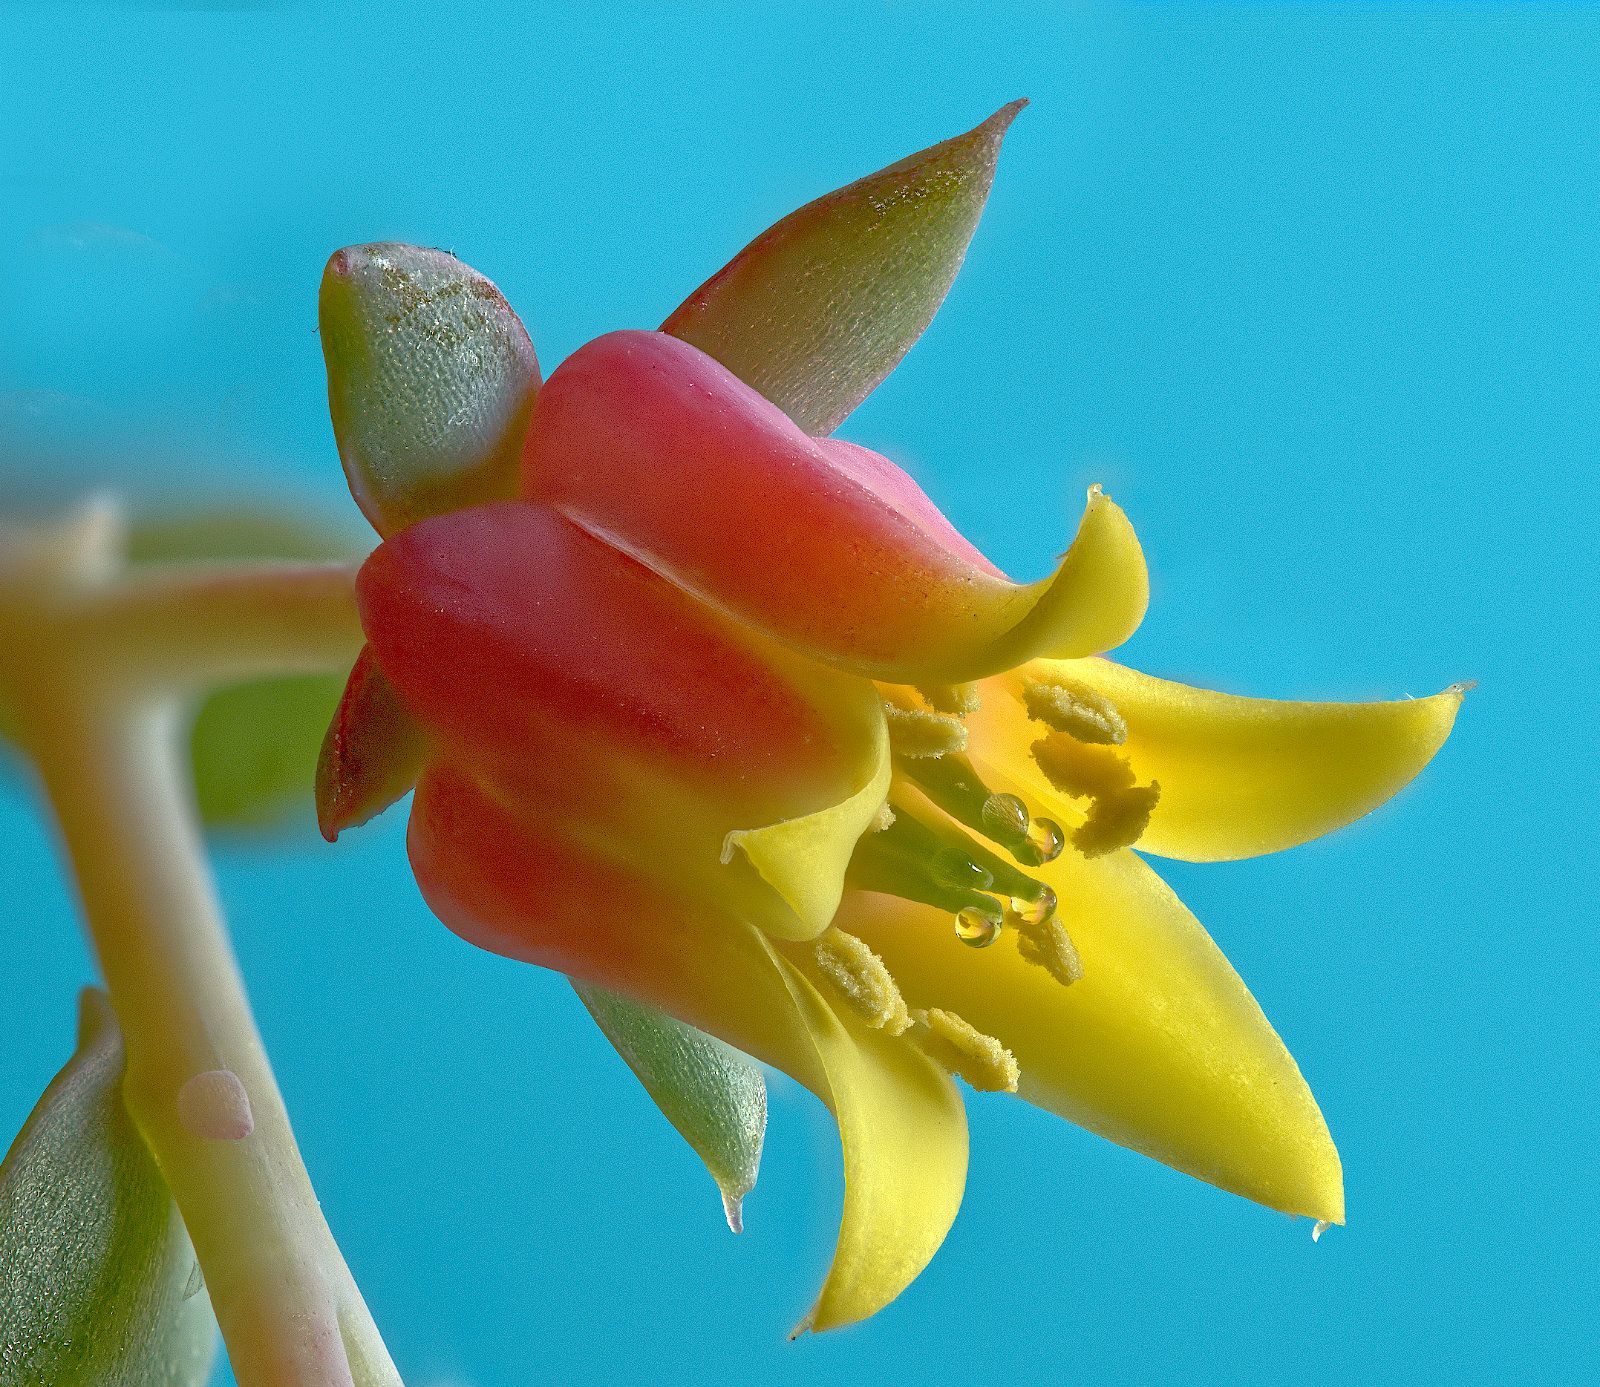
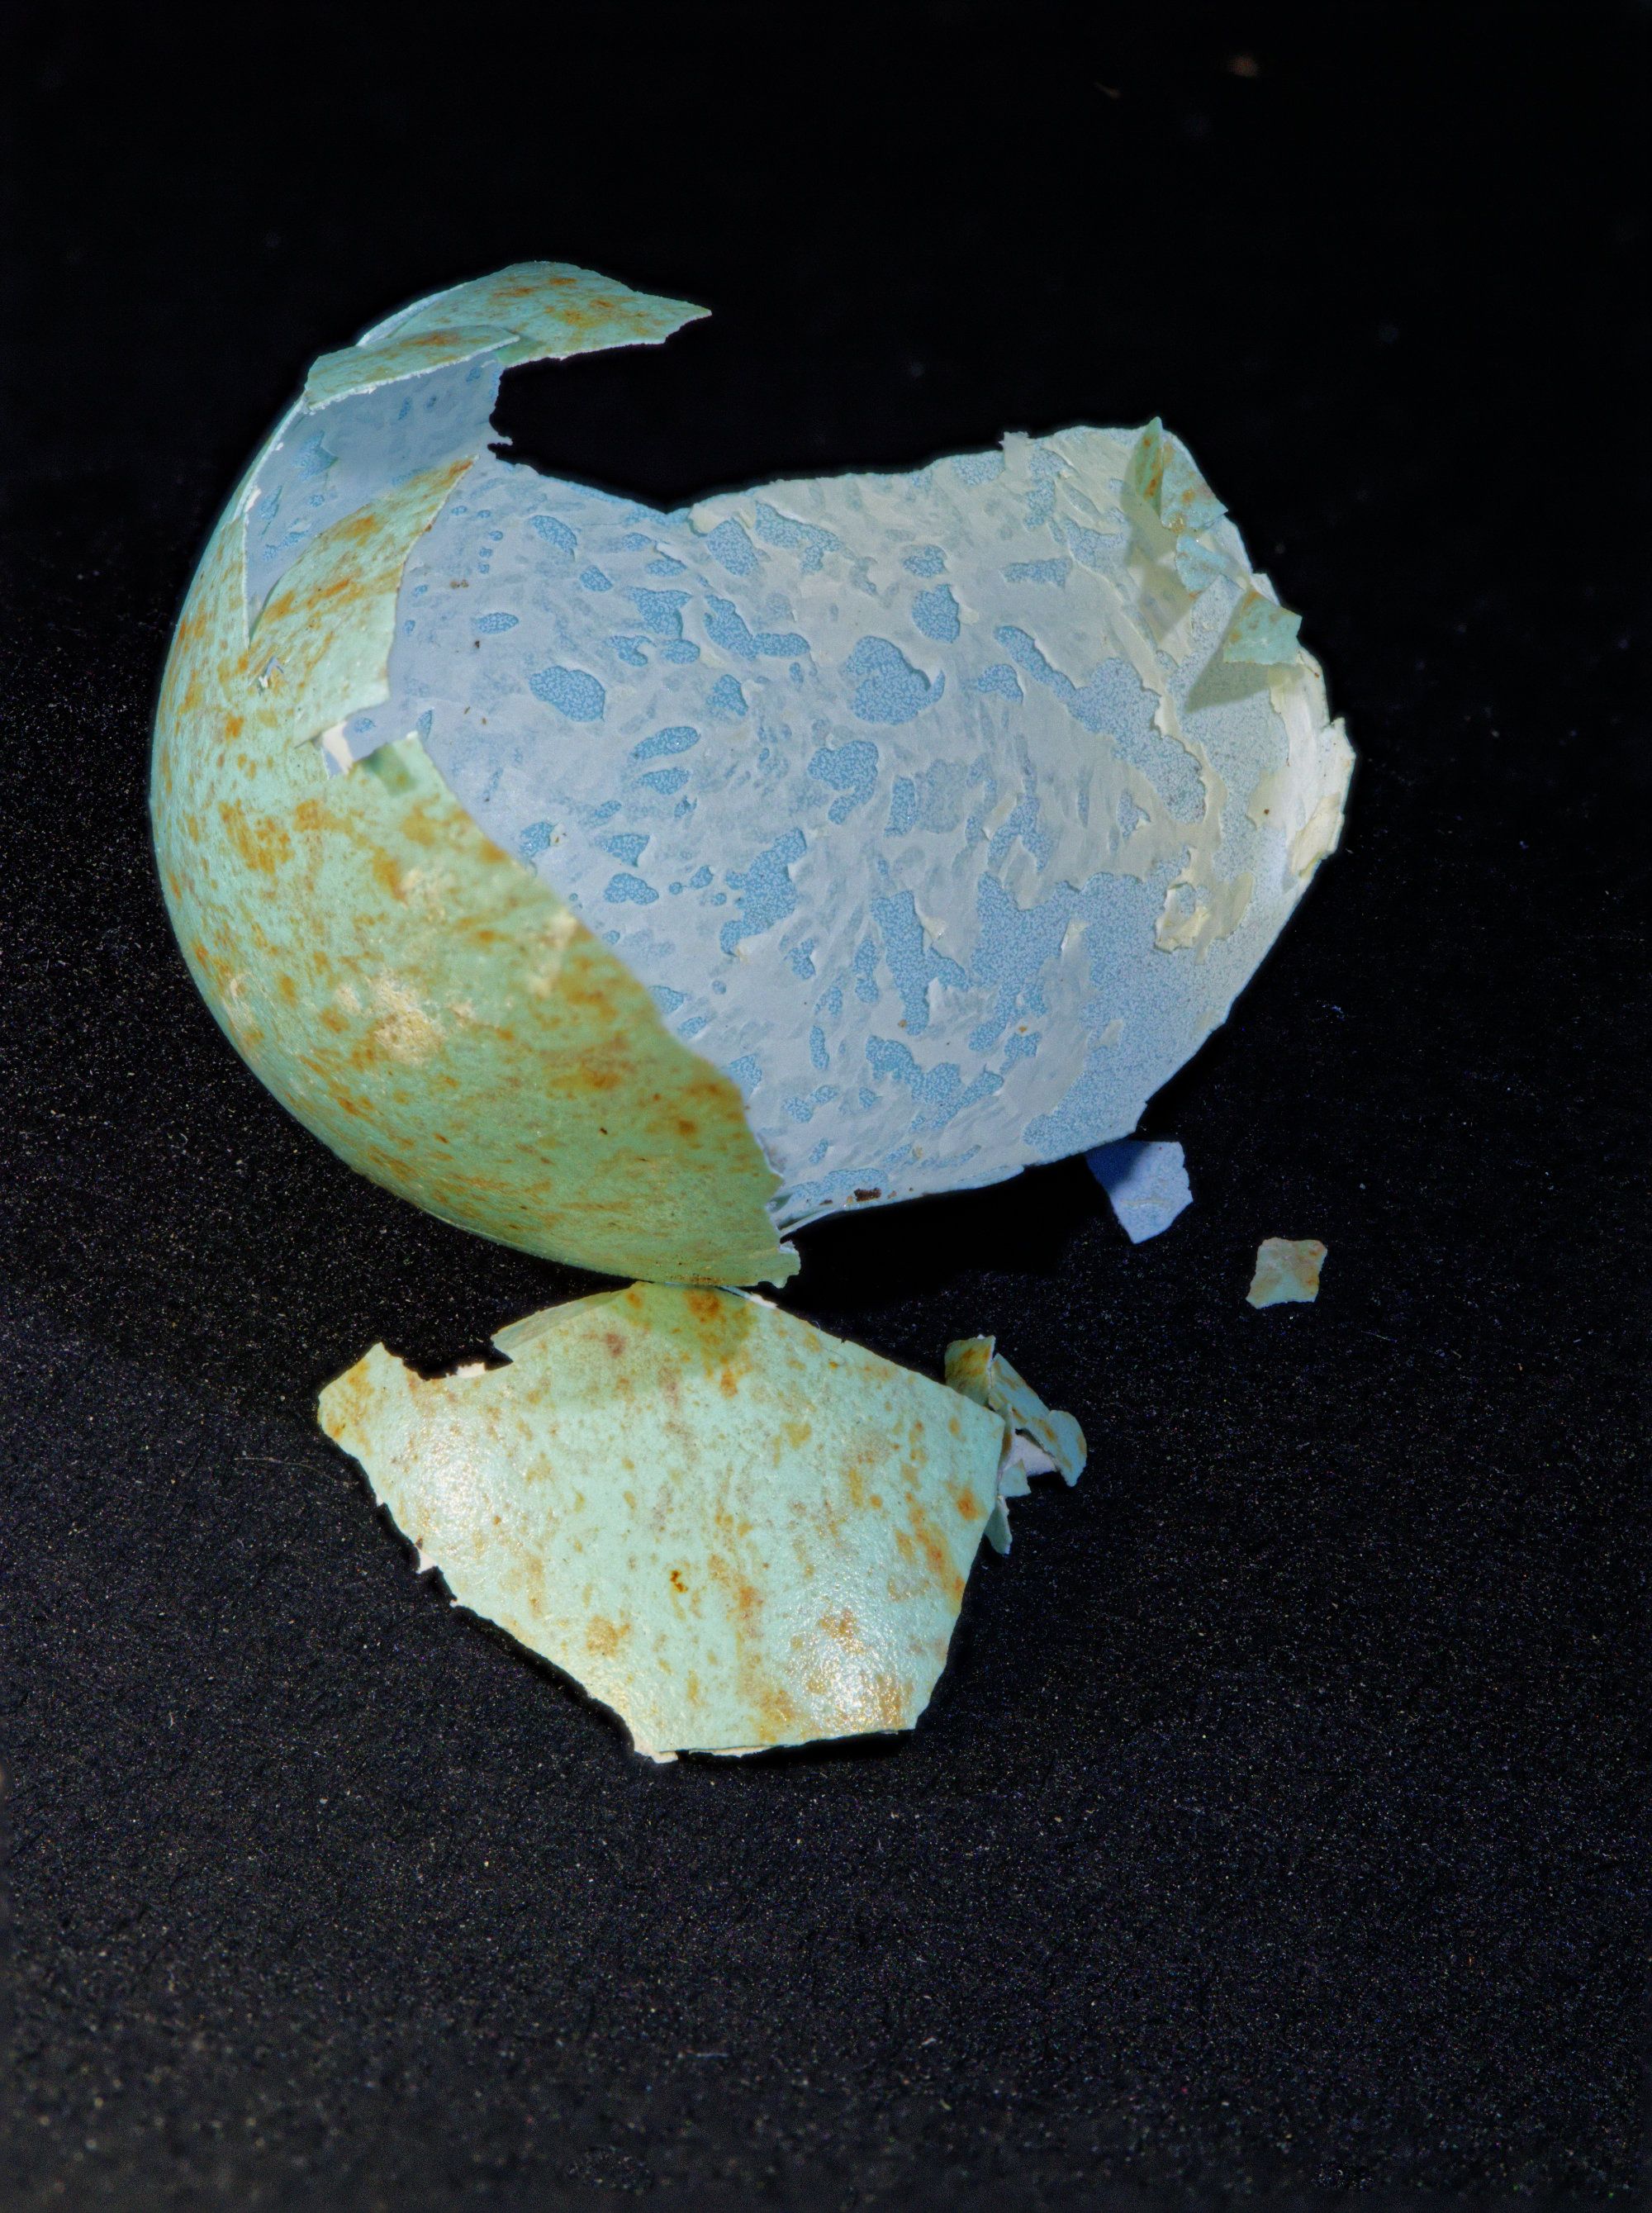
I like the extra colour saturation you've put into your rendition, Tom! The blue I think was the key attration to me to take the photo,and this emphasises that. |
May 23rd |
| 95 |
May 20 |
Reply |
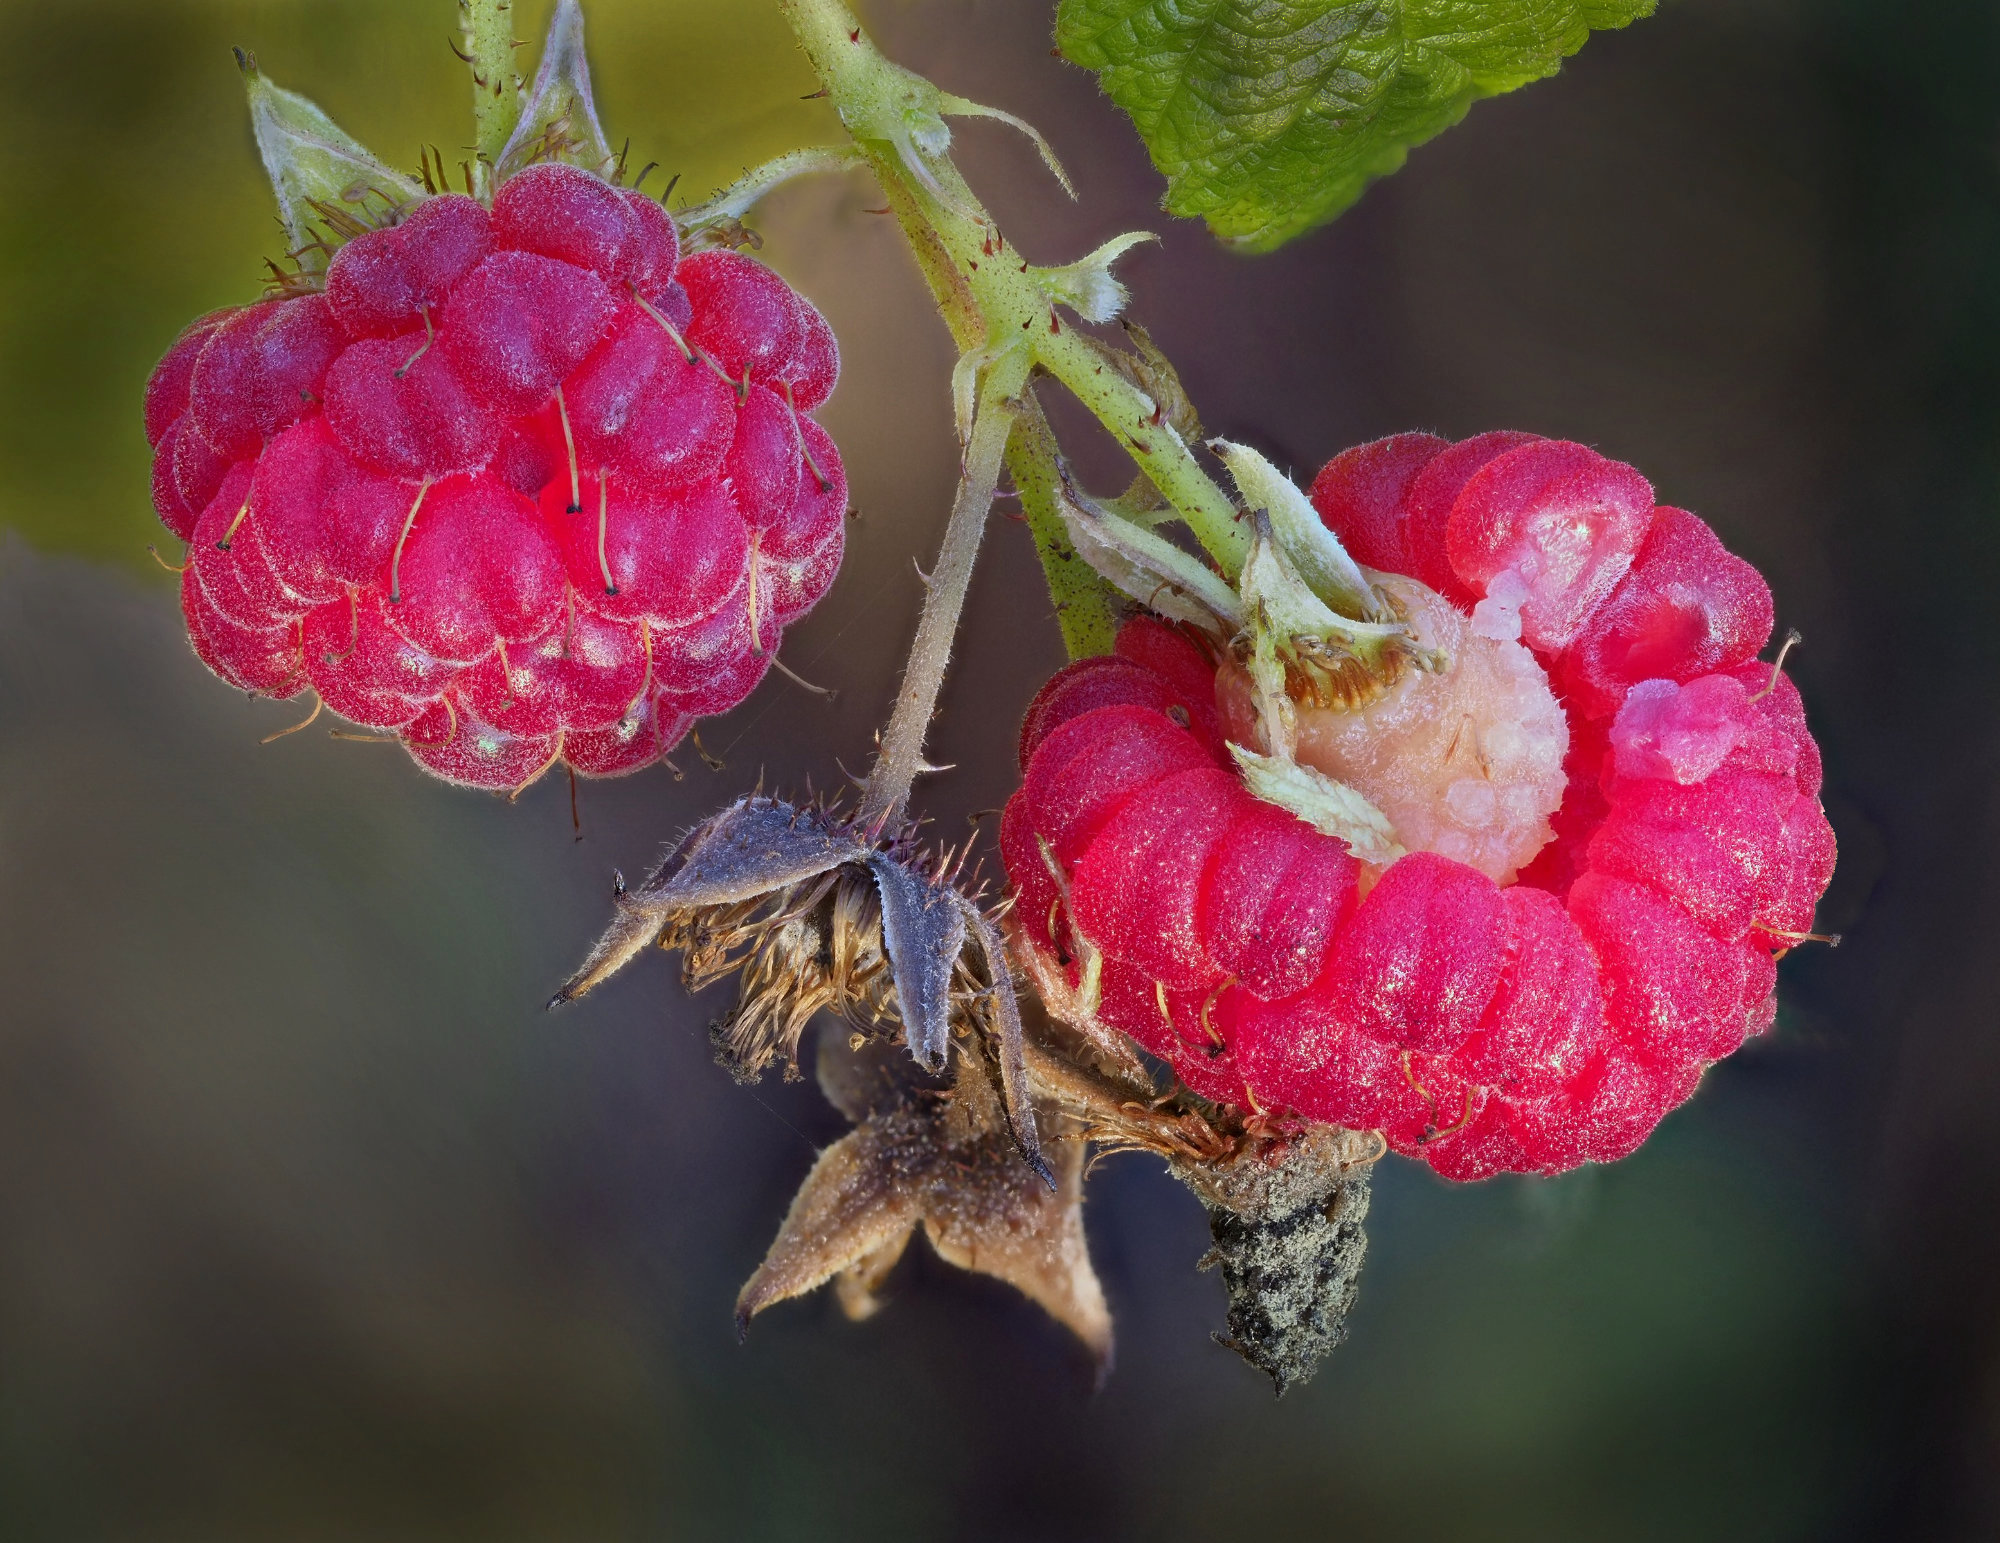
It's a bit smaller, the large broken piece is about 2 cm x 2 cm, but allowing for the lost bit I'd say it had been 2cm x 2.5 to 3 cm.It's very fragile!
I did try those sort of adjustments, Tom, but this was the best I could achieve. Perhaps you can do more? I'm not familiar with Photoshop, and still a beginner in Affinity by the standards of many, but I'm discovering more as time progresses. A friend who only records jpgs recently pointed out to me recently that the raw file editor in Affinity can be used on jpgs which gives interesting results. Whilst I can focus merge directly from raw files in Affinity, the result is an Affinity native file rathert than another raw one, but I can put that back into the raw editor this way. I might not have done this with this image, but I'll give it a go! Any other suggestions welcome of course. |
May 19th |
| 95 |
May 20 |
Comment |
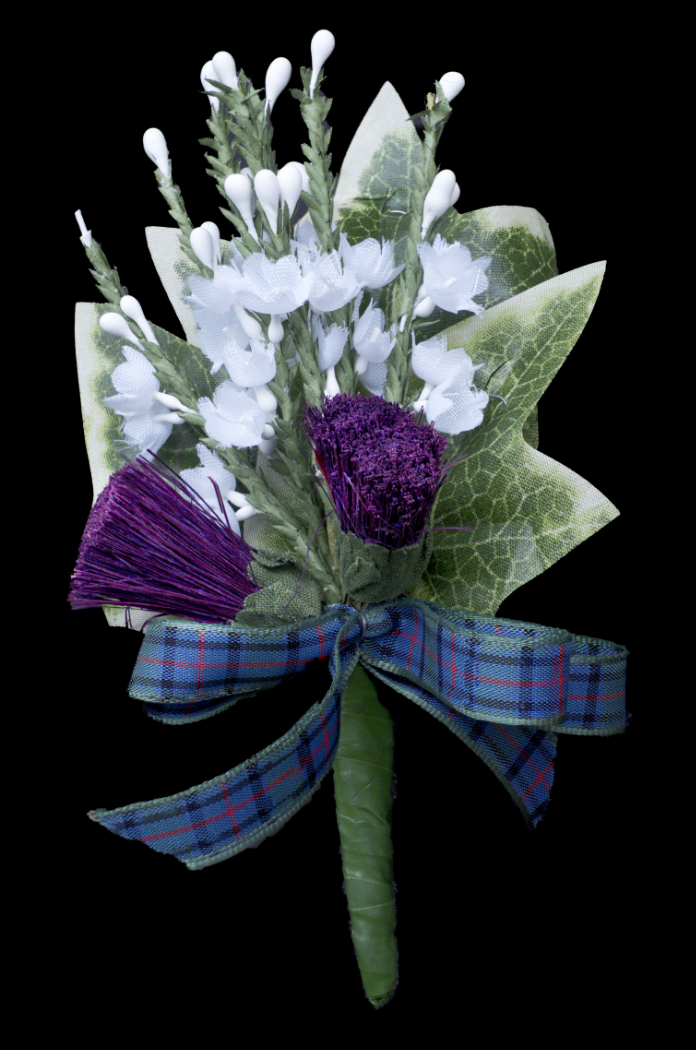
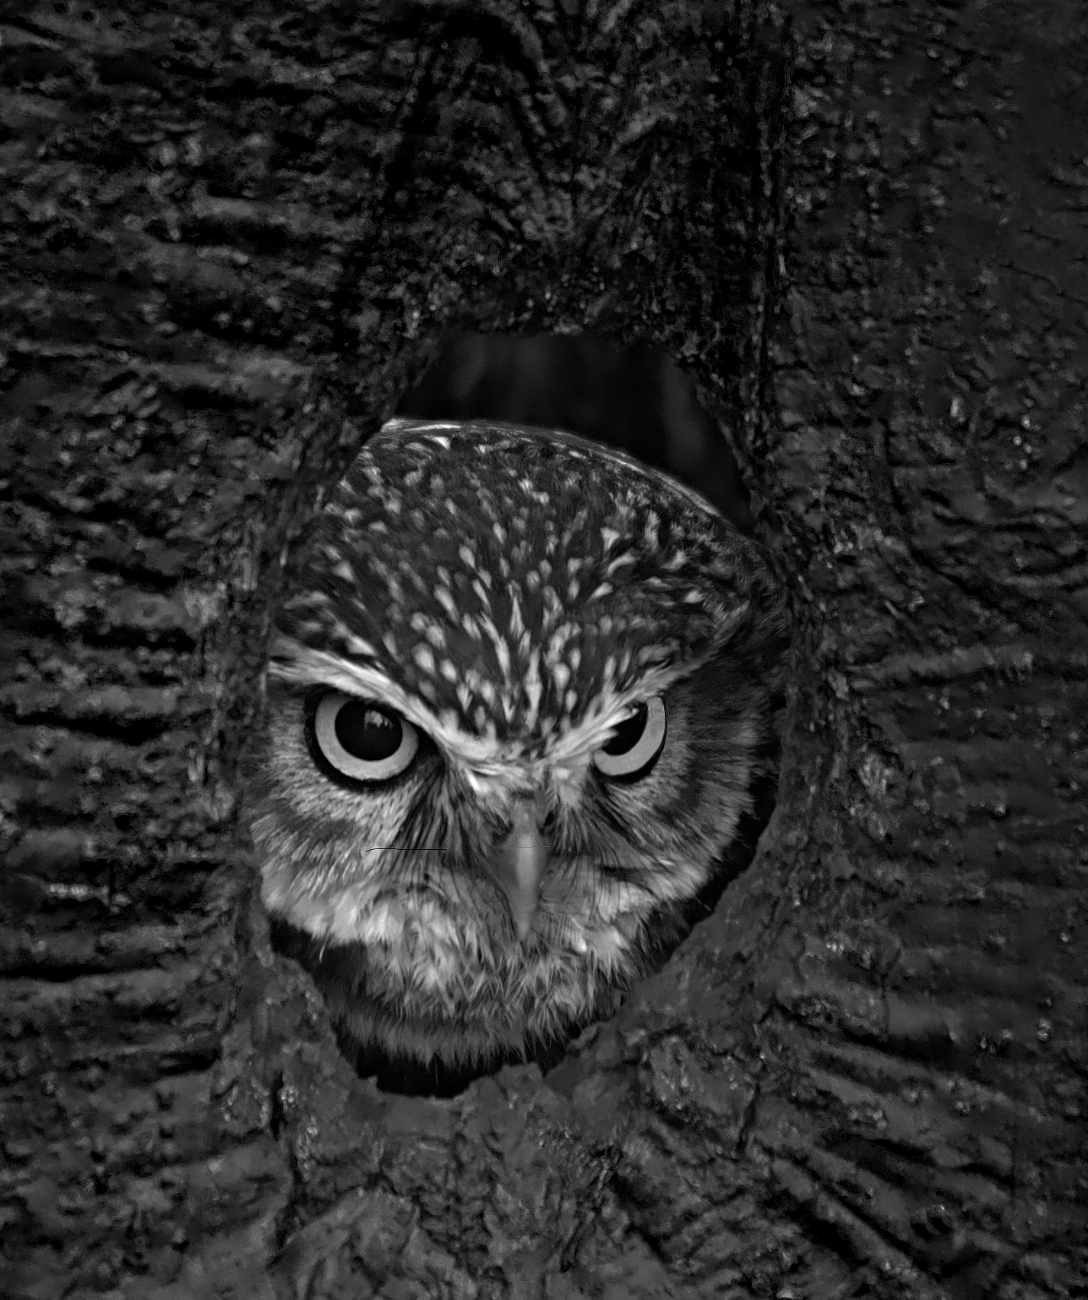
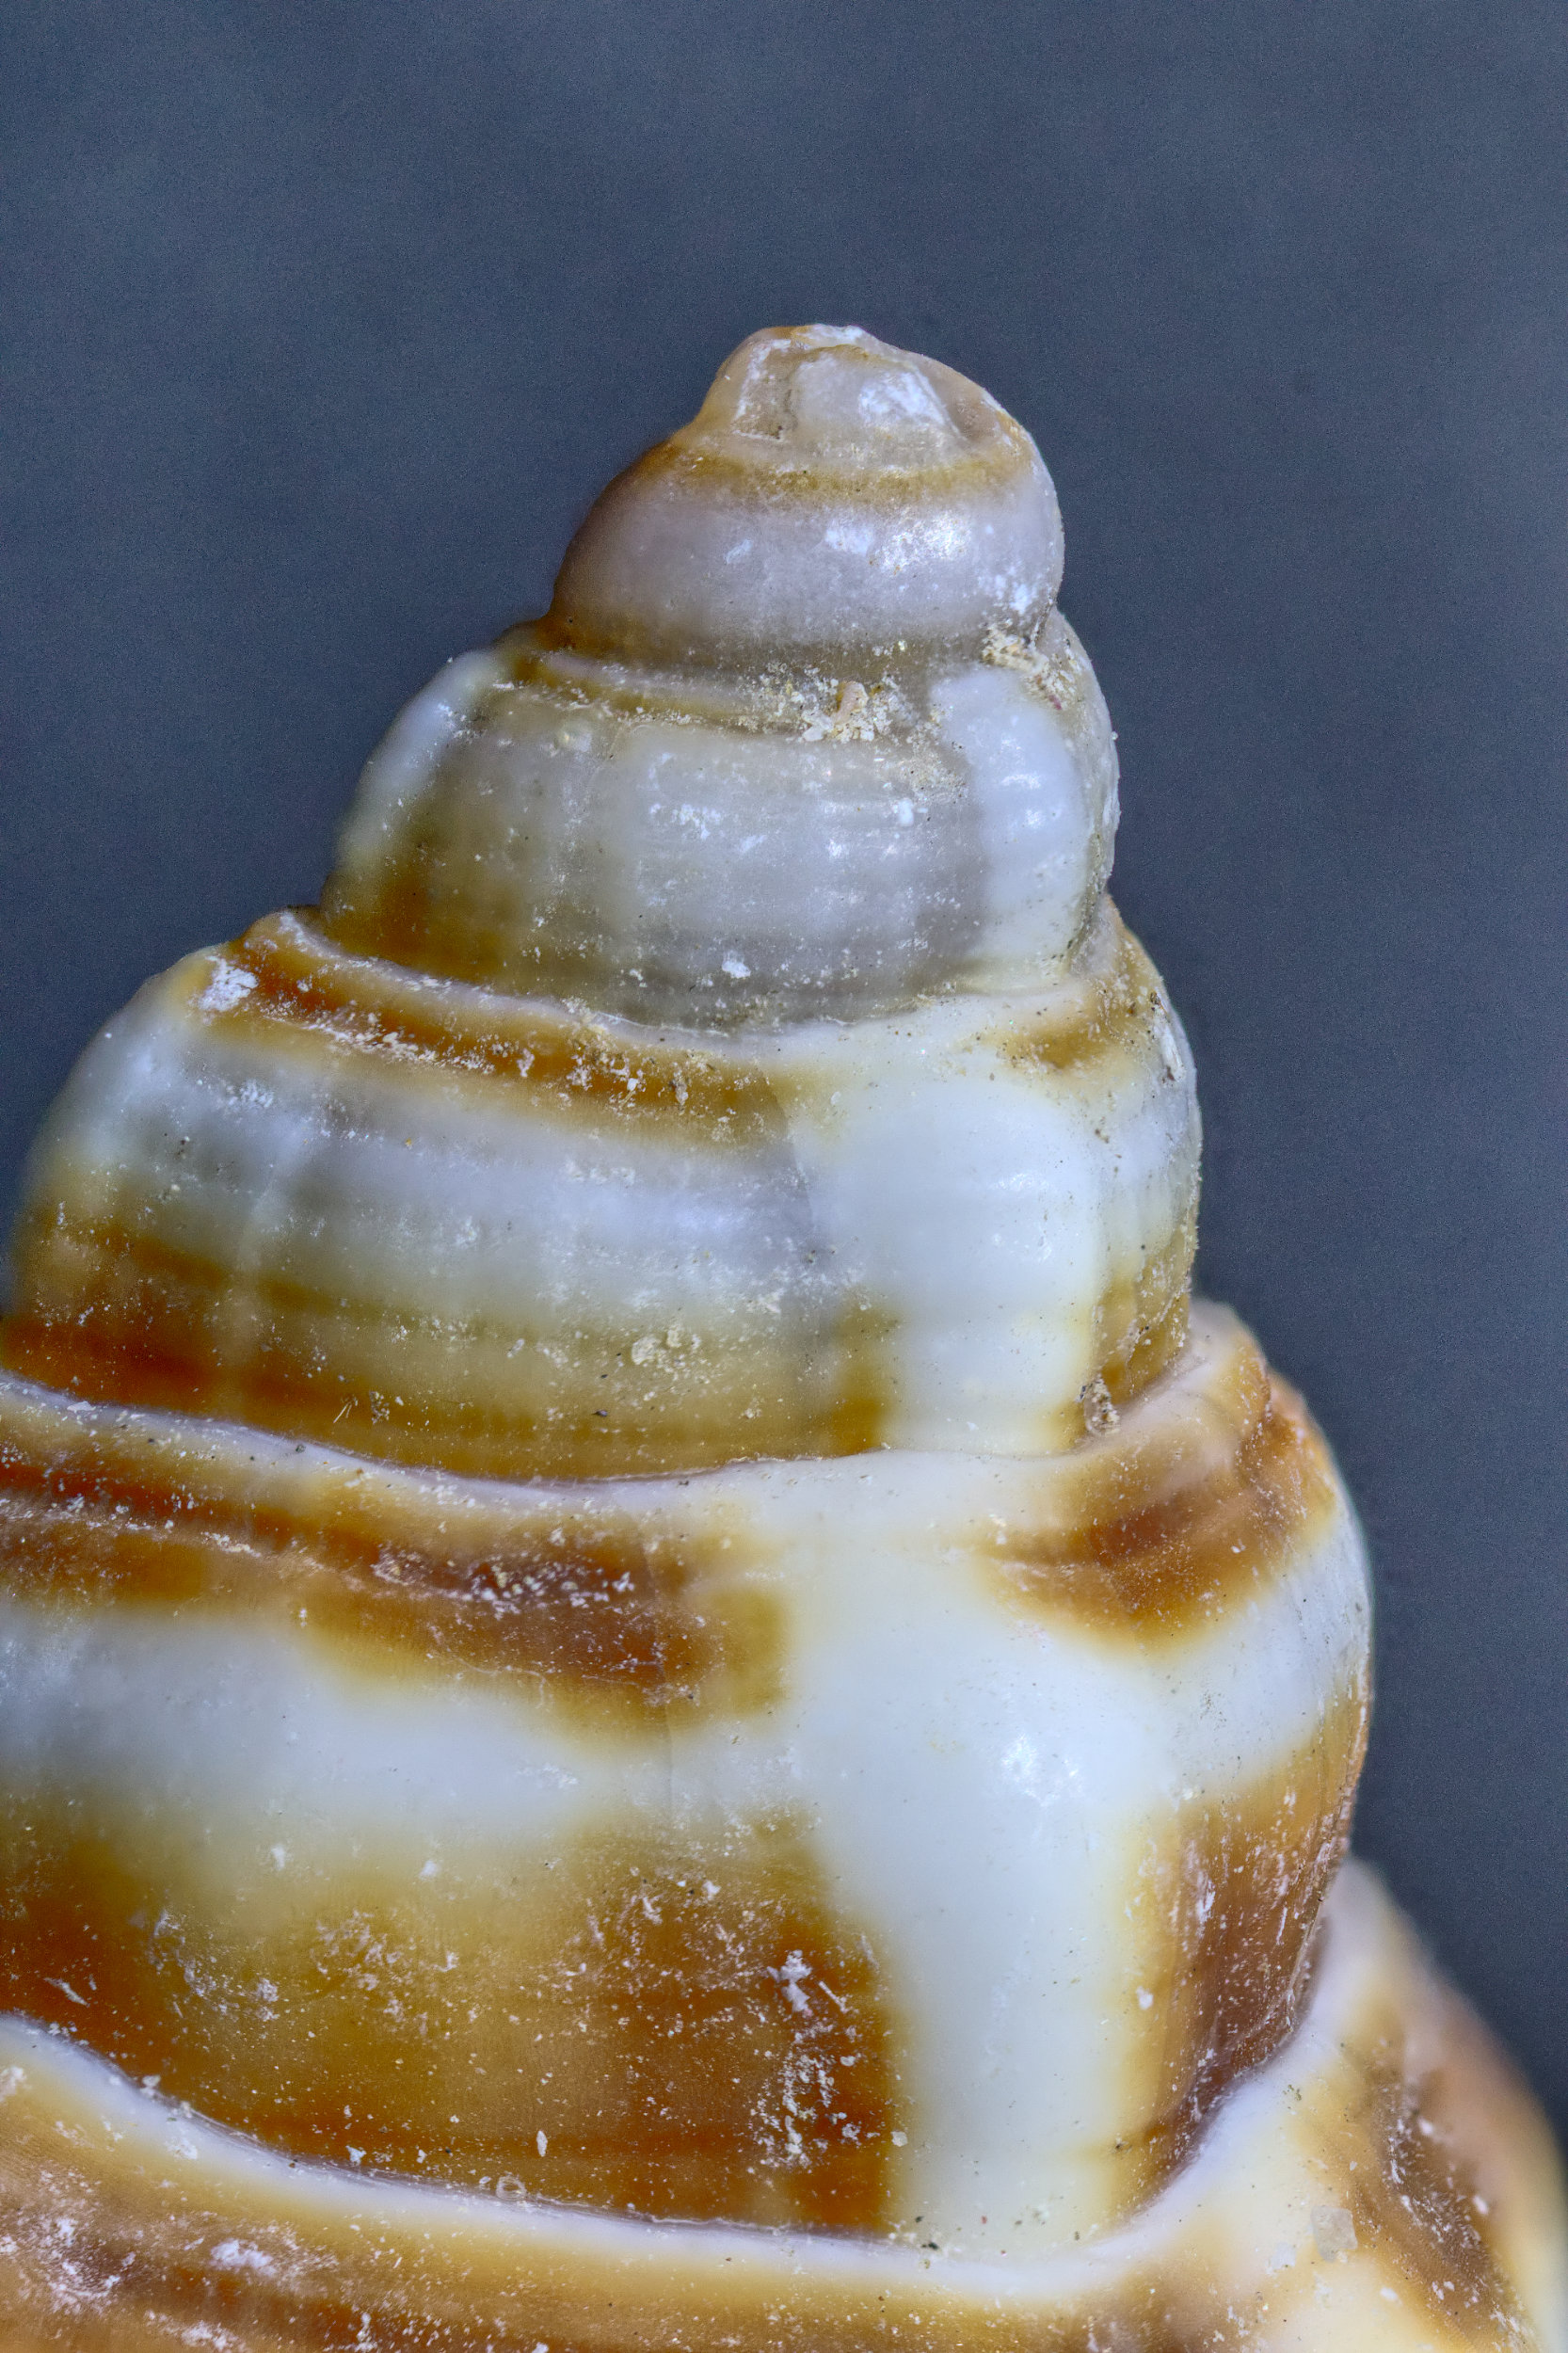
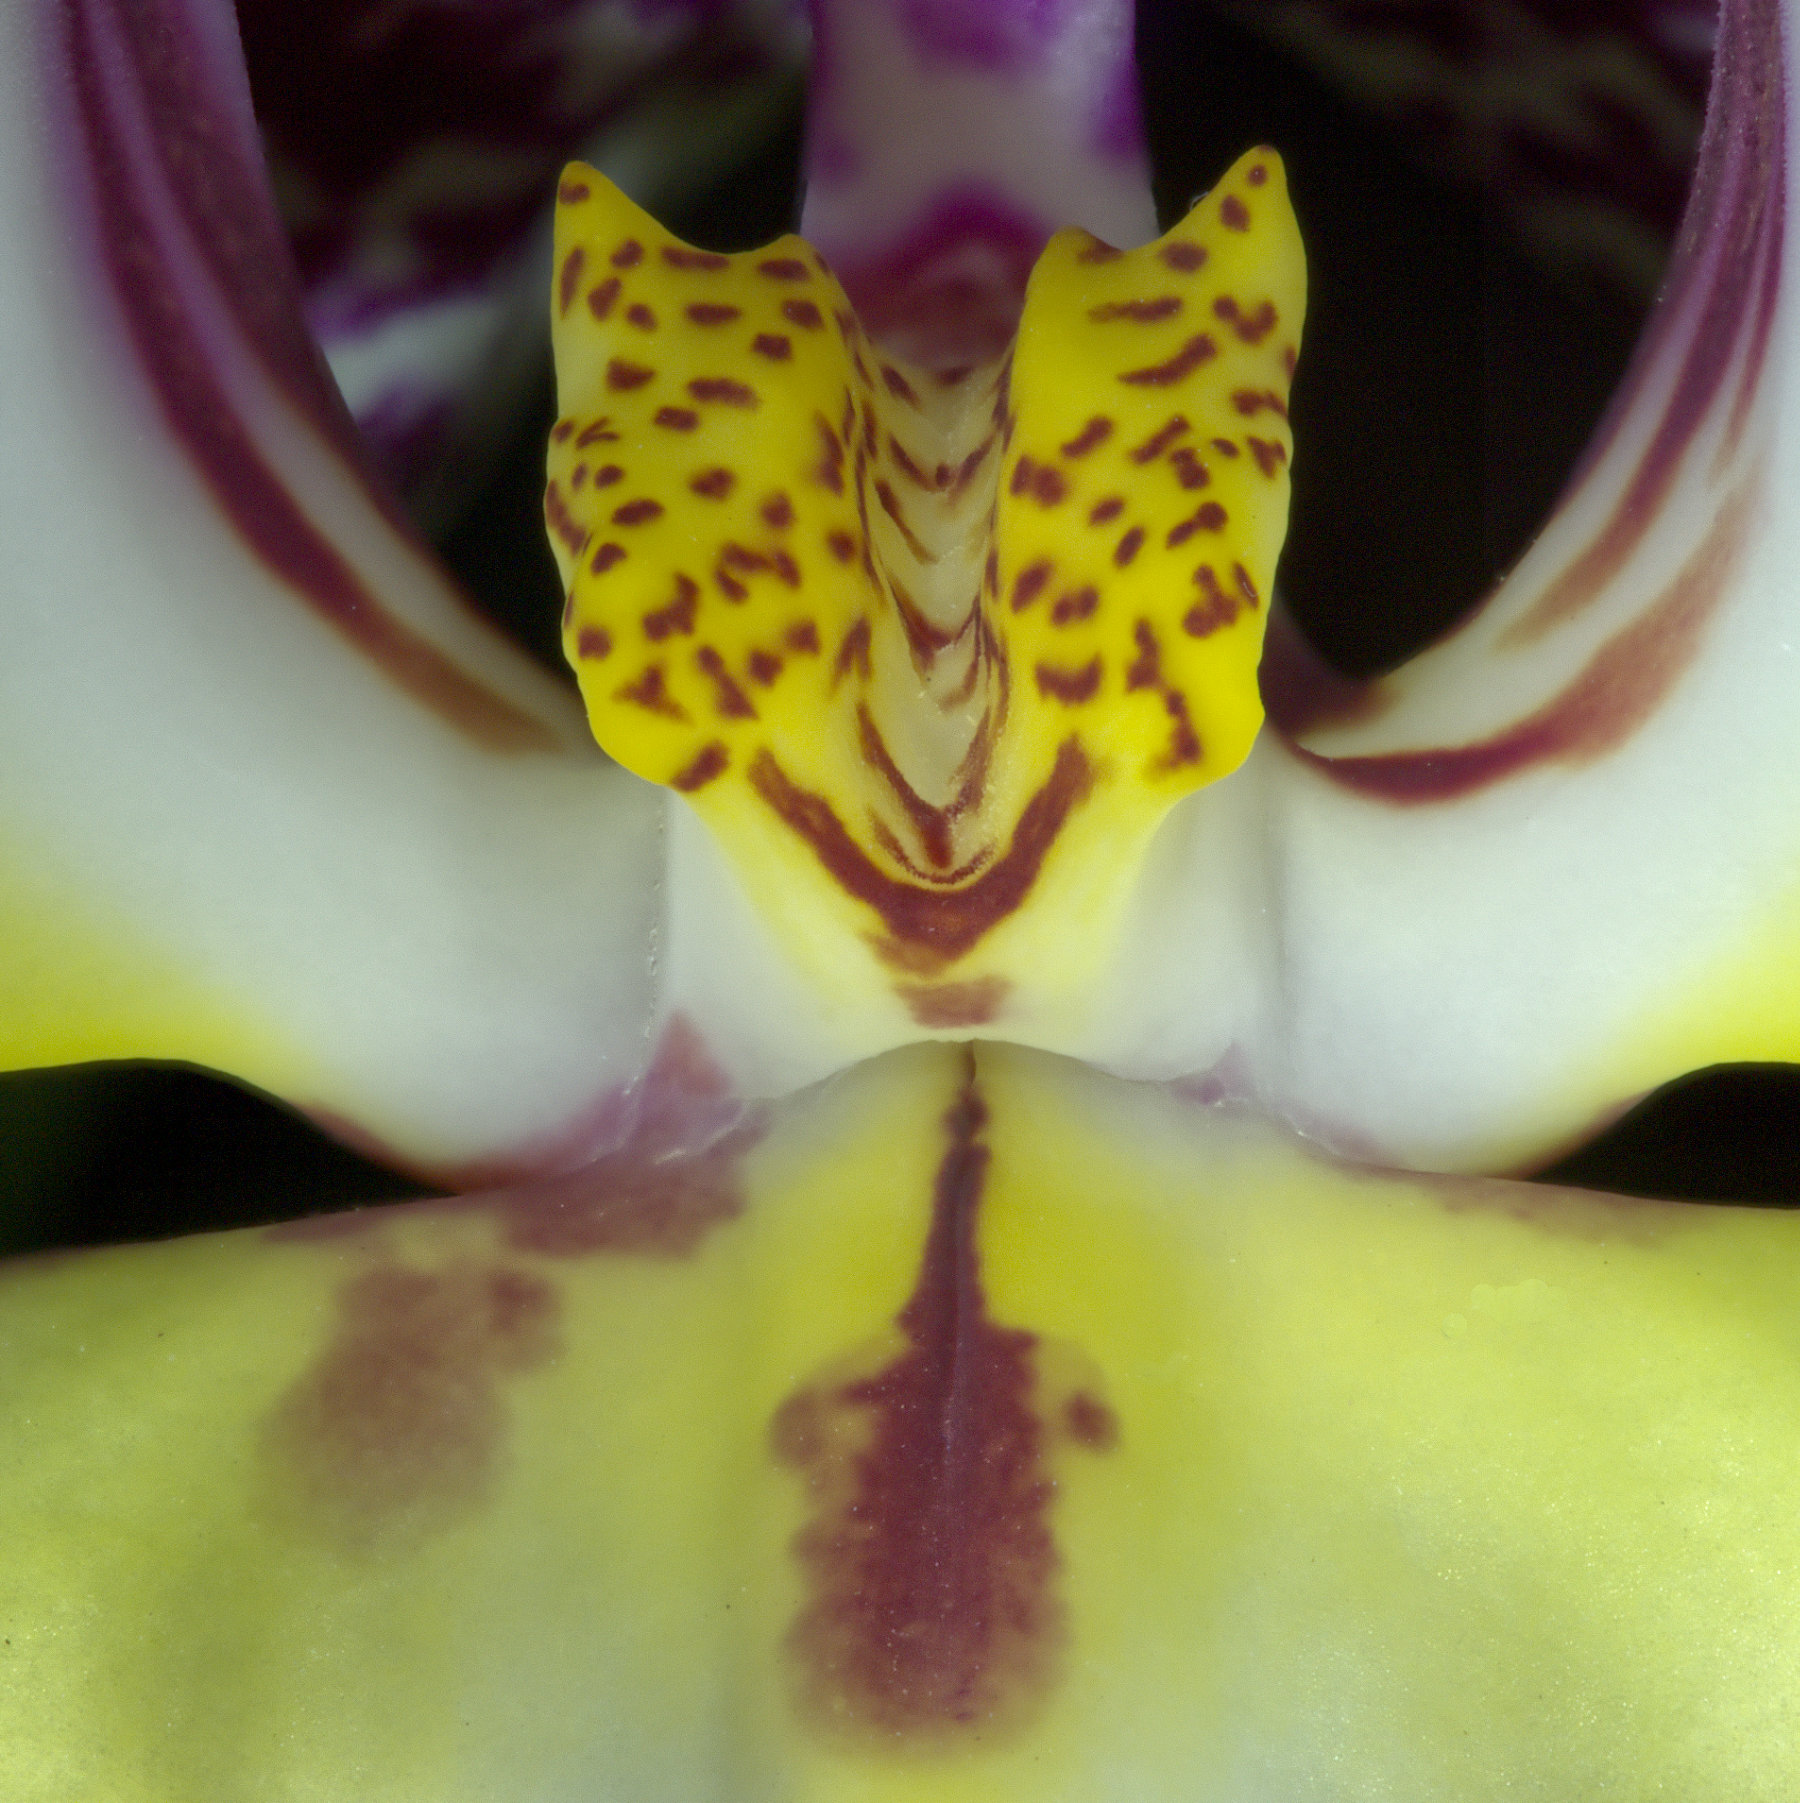
Mum's the word! I like it.
Although as for Tom, I'd suggest a 2 px white border would look nice here.I've done that below. The background here is grey whereas it's black for your top image so I've copied it with a black background here to show the border clearly.
There is a bit of noise, but at <1 MB it looks good to me. What ISO setting did you use? With a tripod and indoors you can afford to go down to a low ISO say 200, to minimise noise. |
May 7th |
 |
| 95 |
May 20 |
Comment |
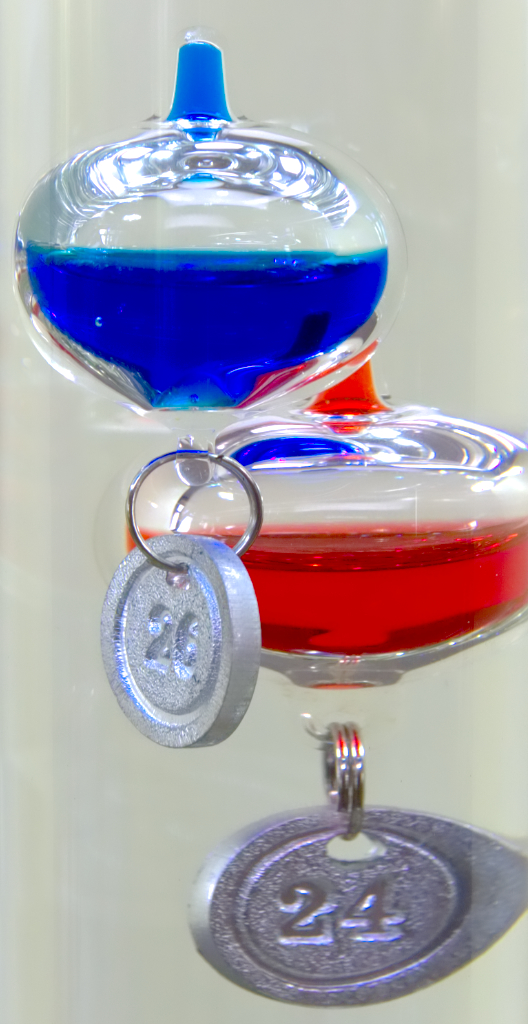
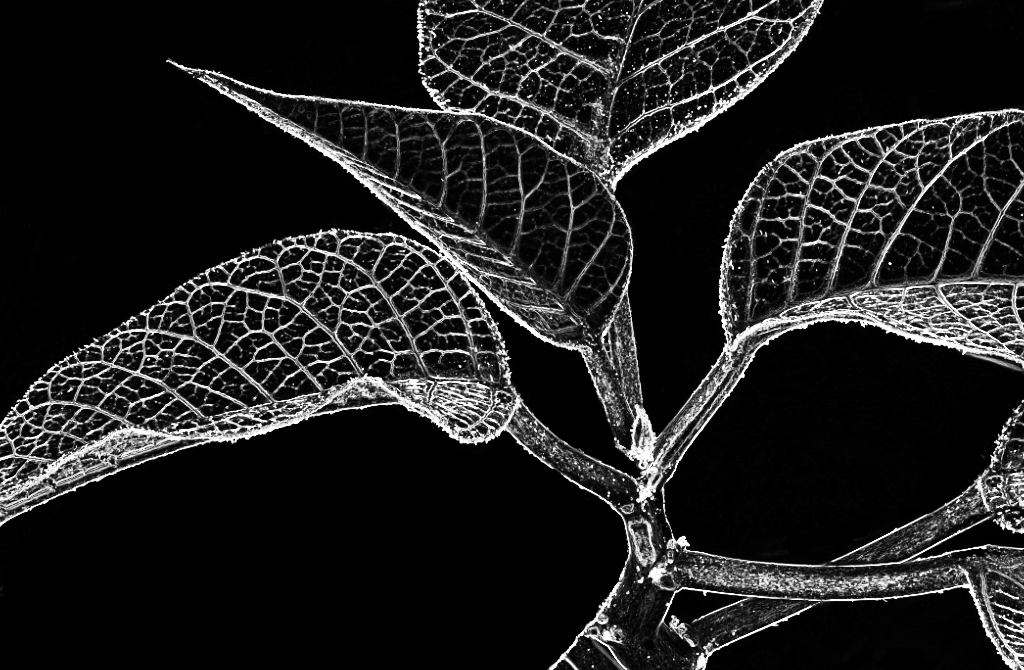
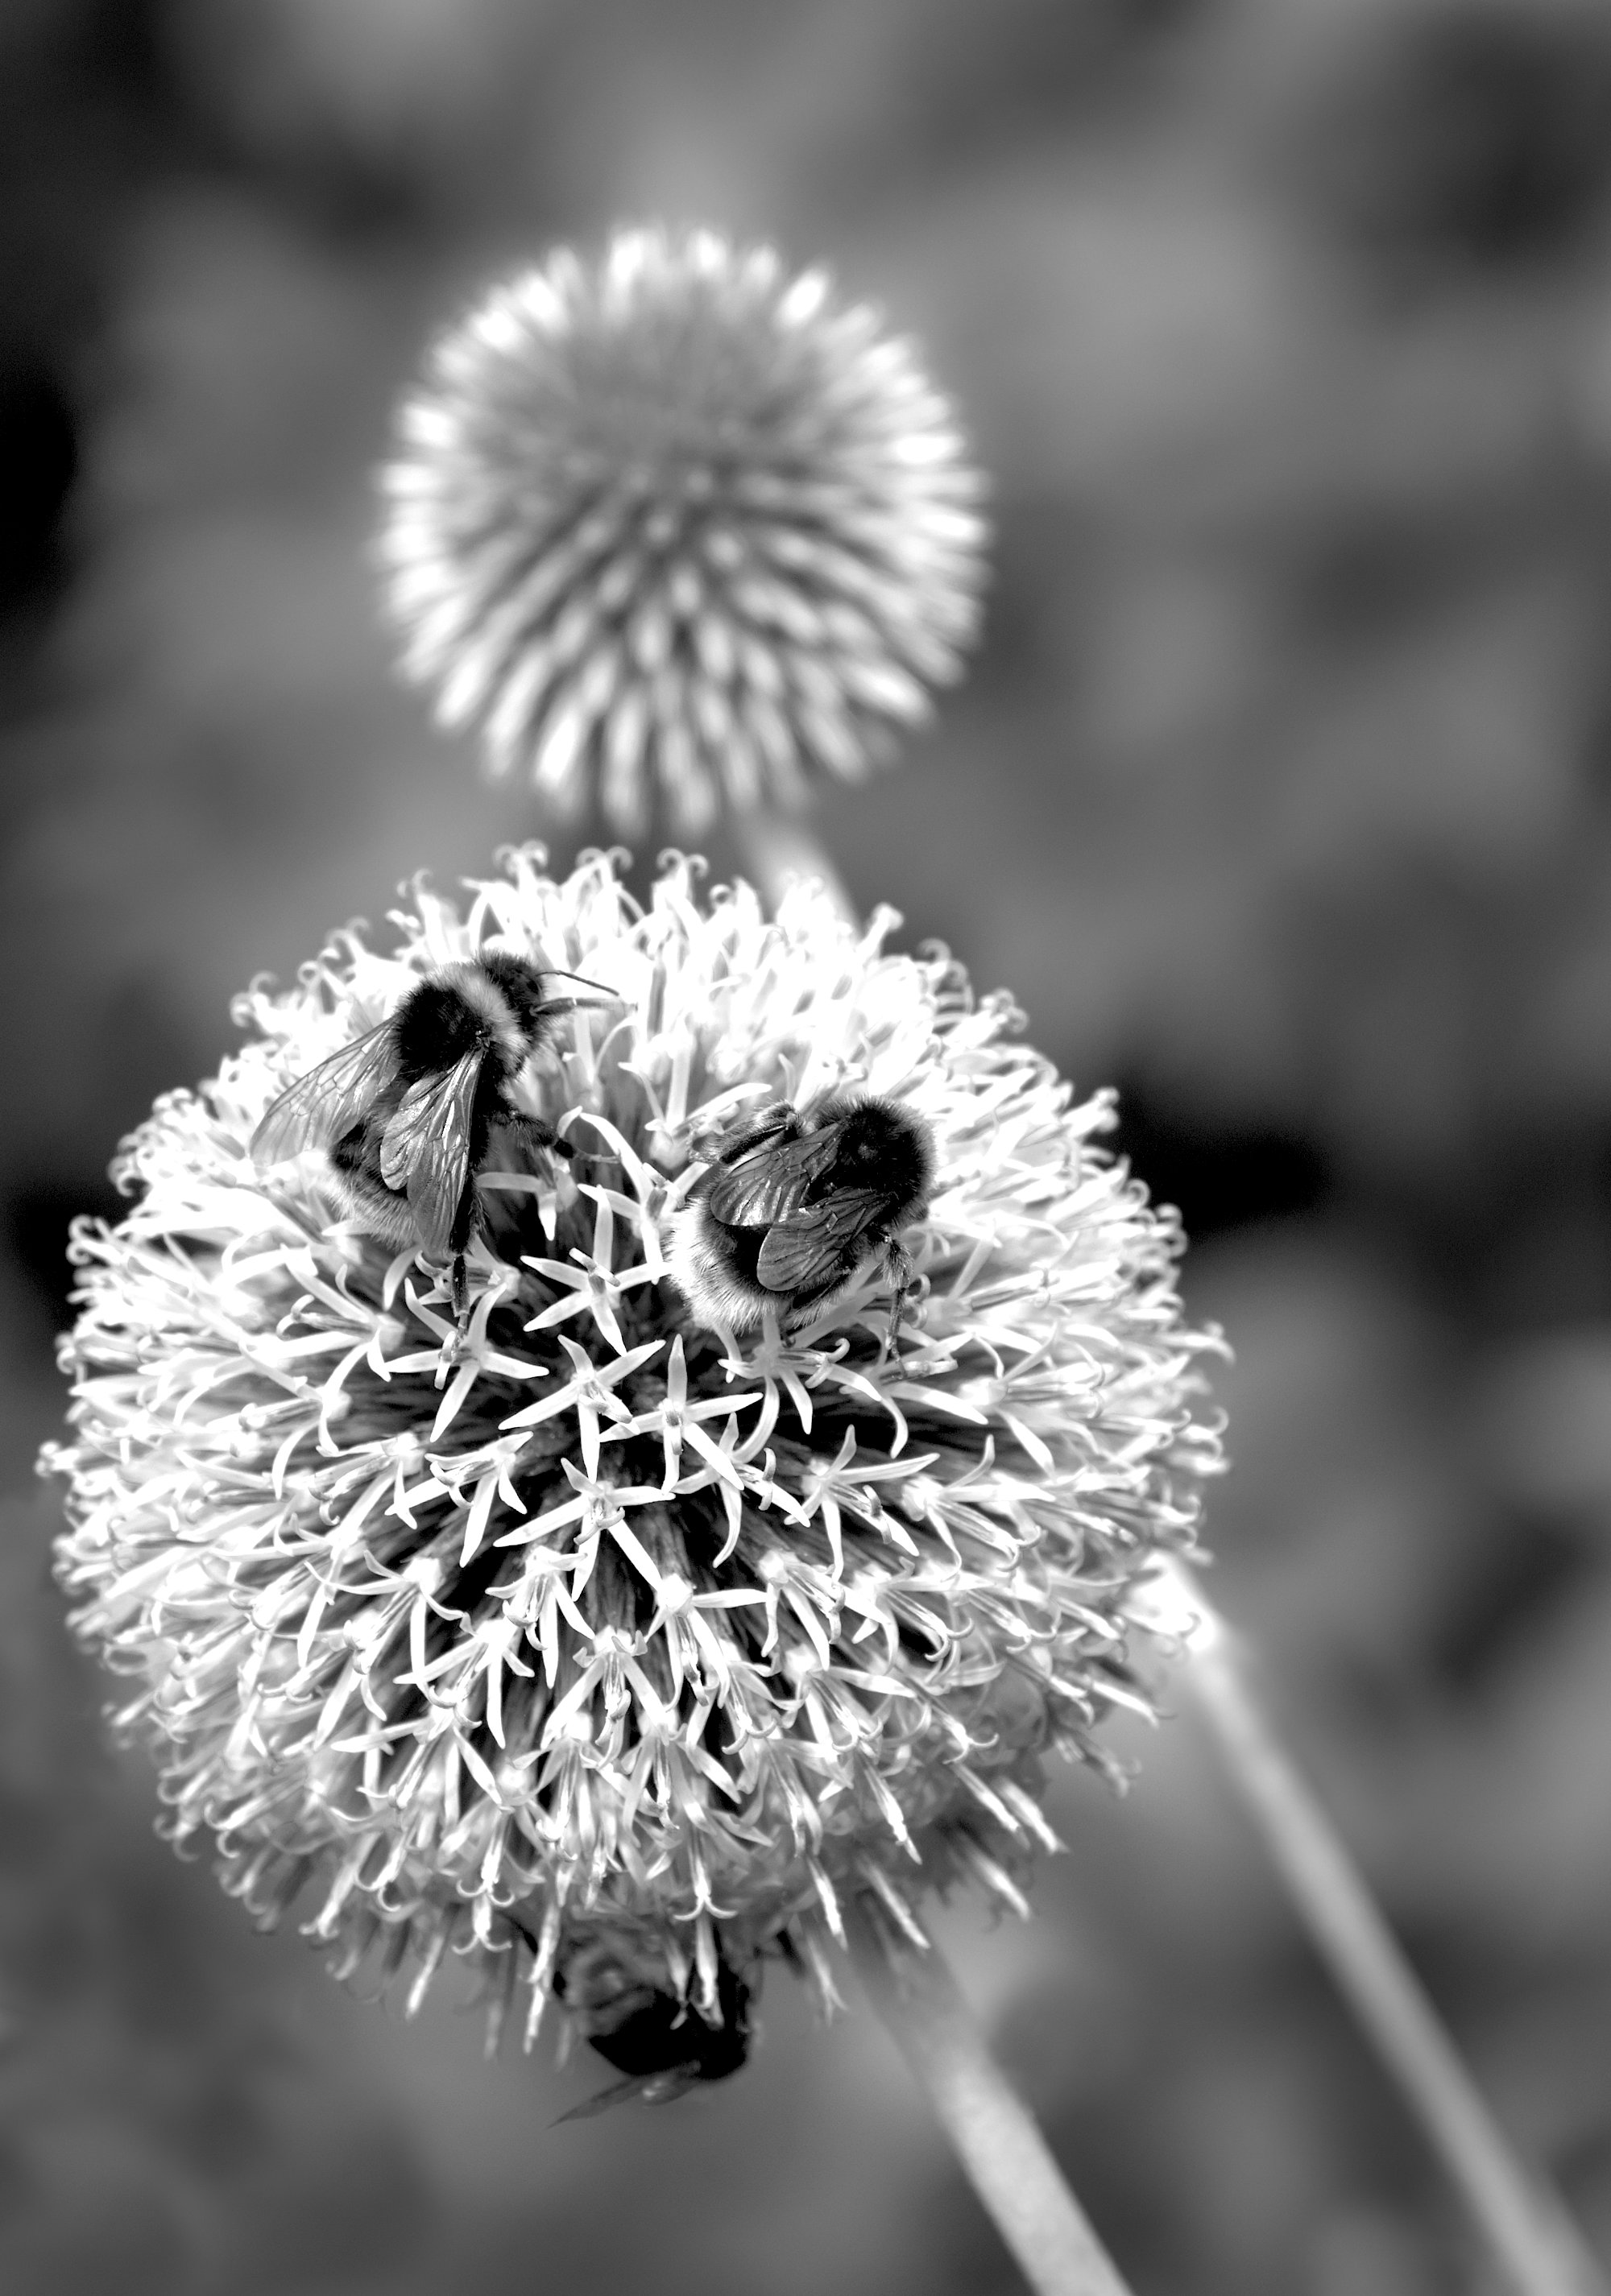
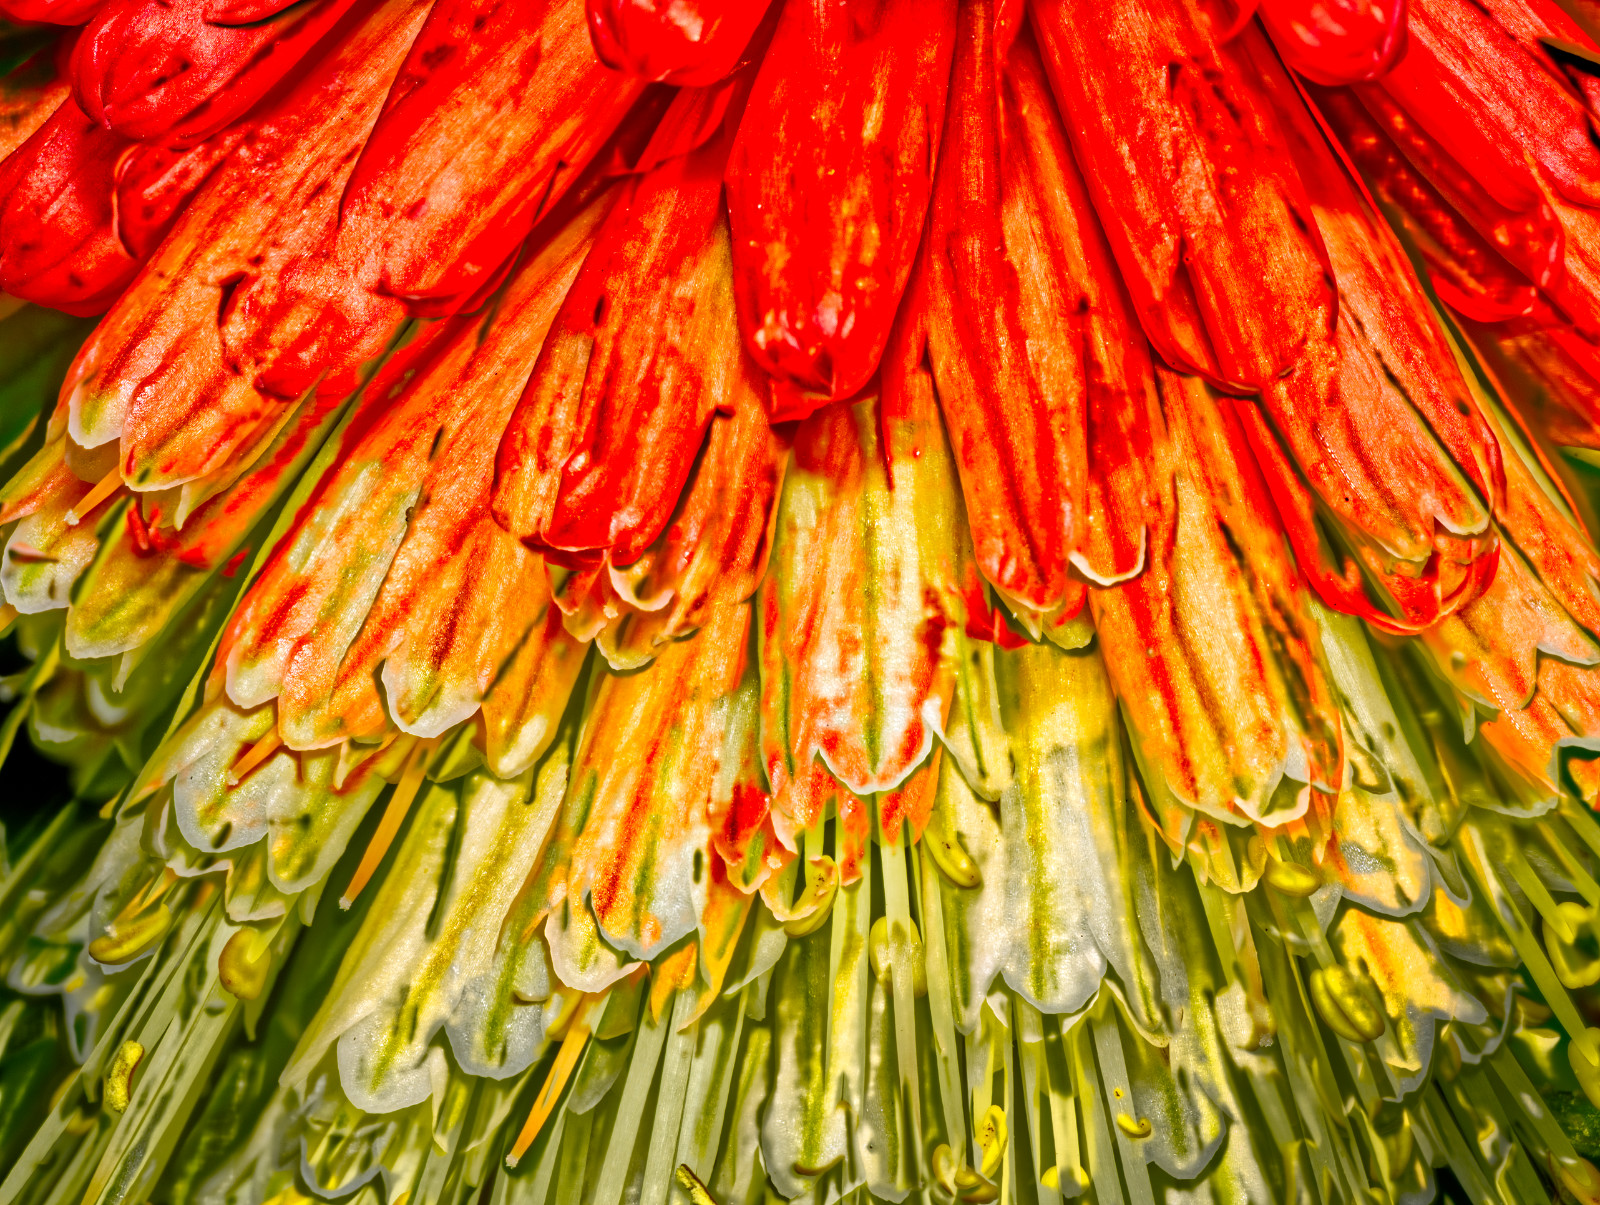
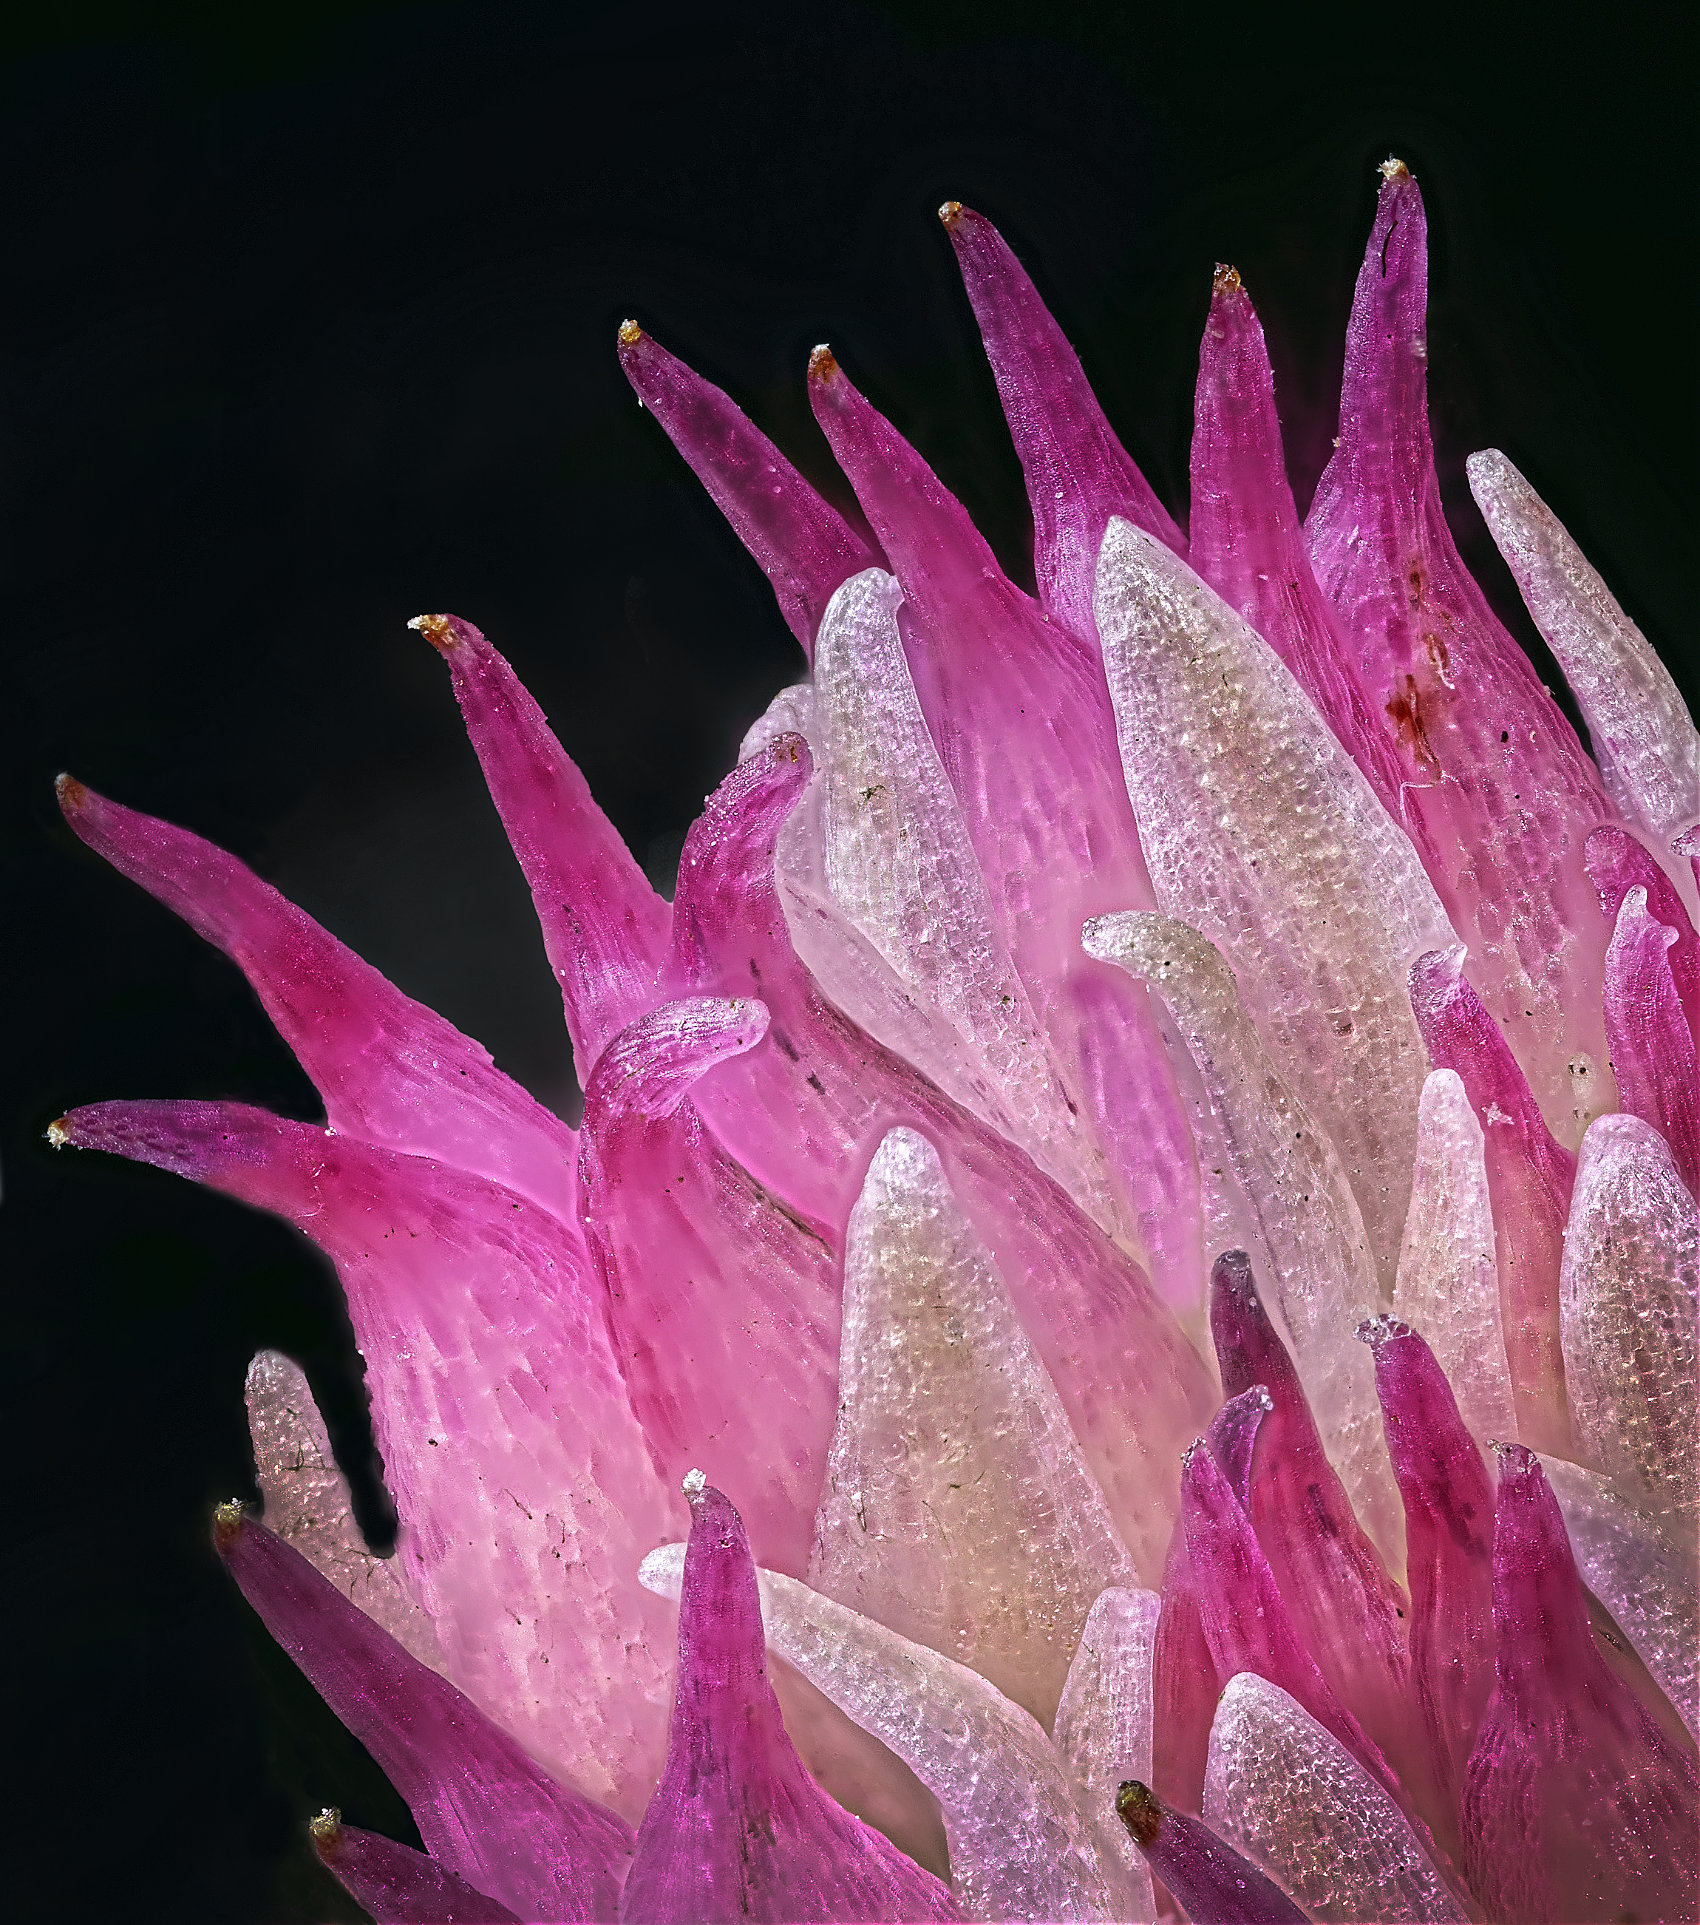
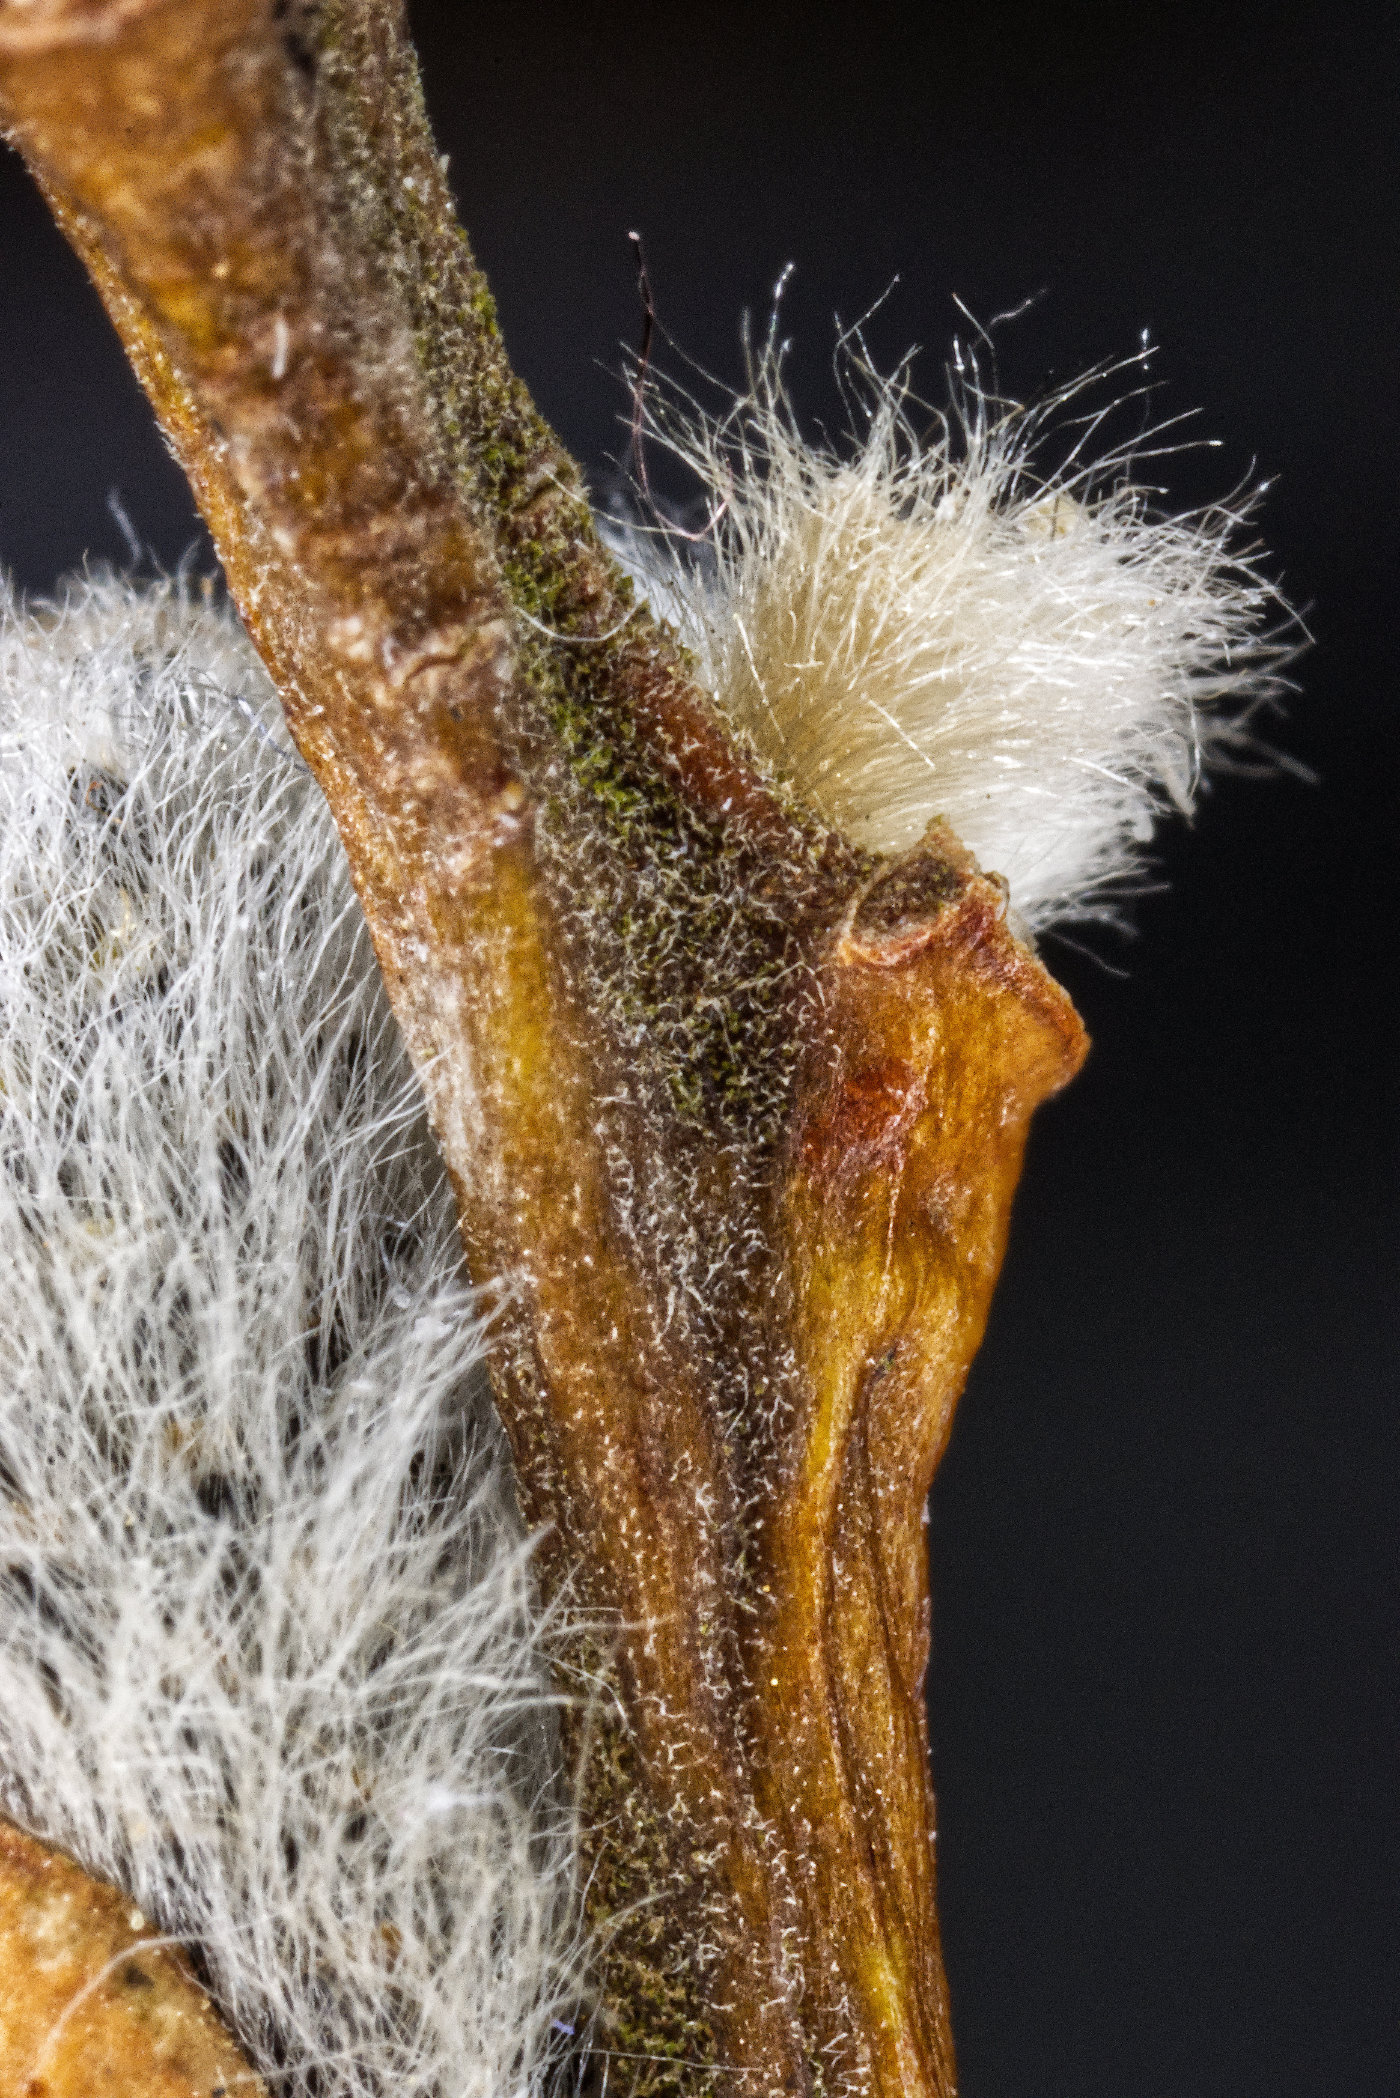
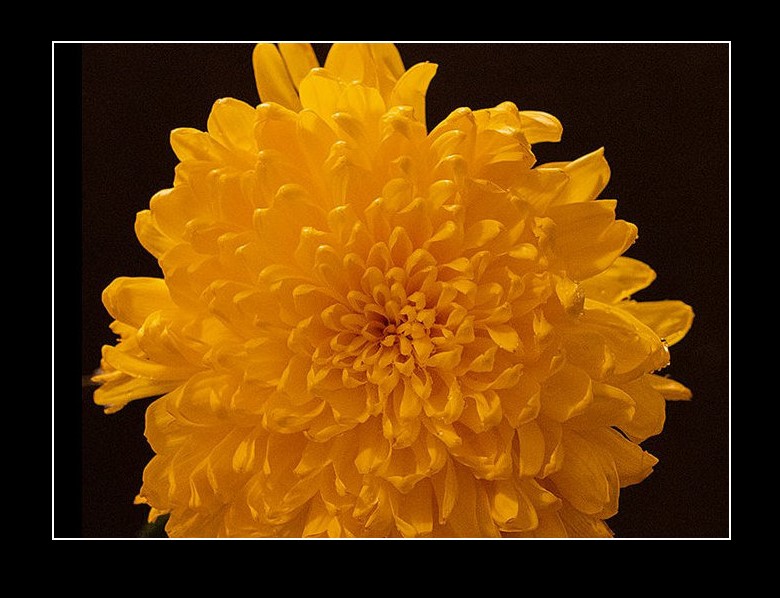
Hmm, my favourite addition to an image with a dark background like this is a 2 px white border.
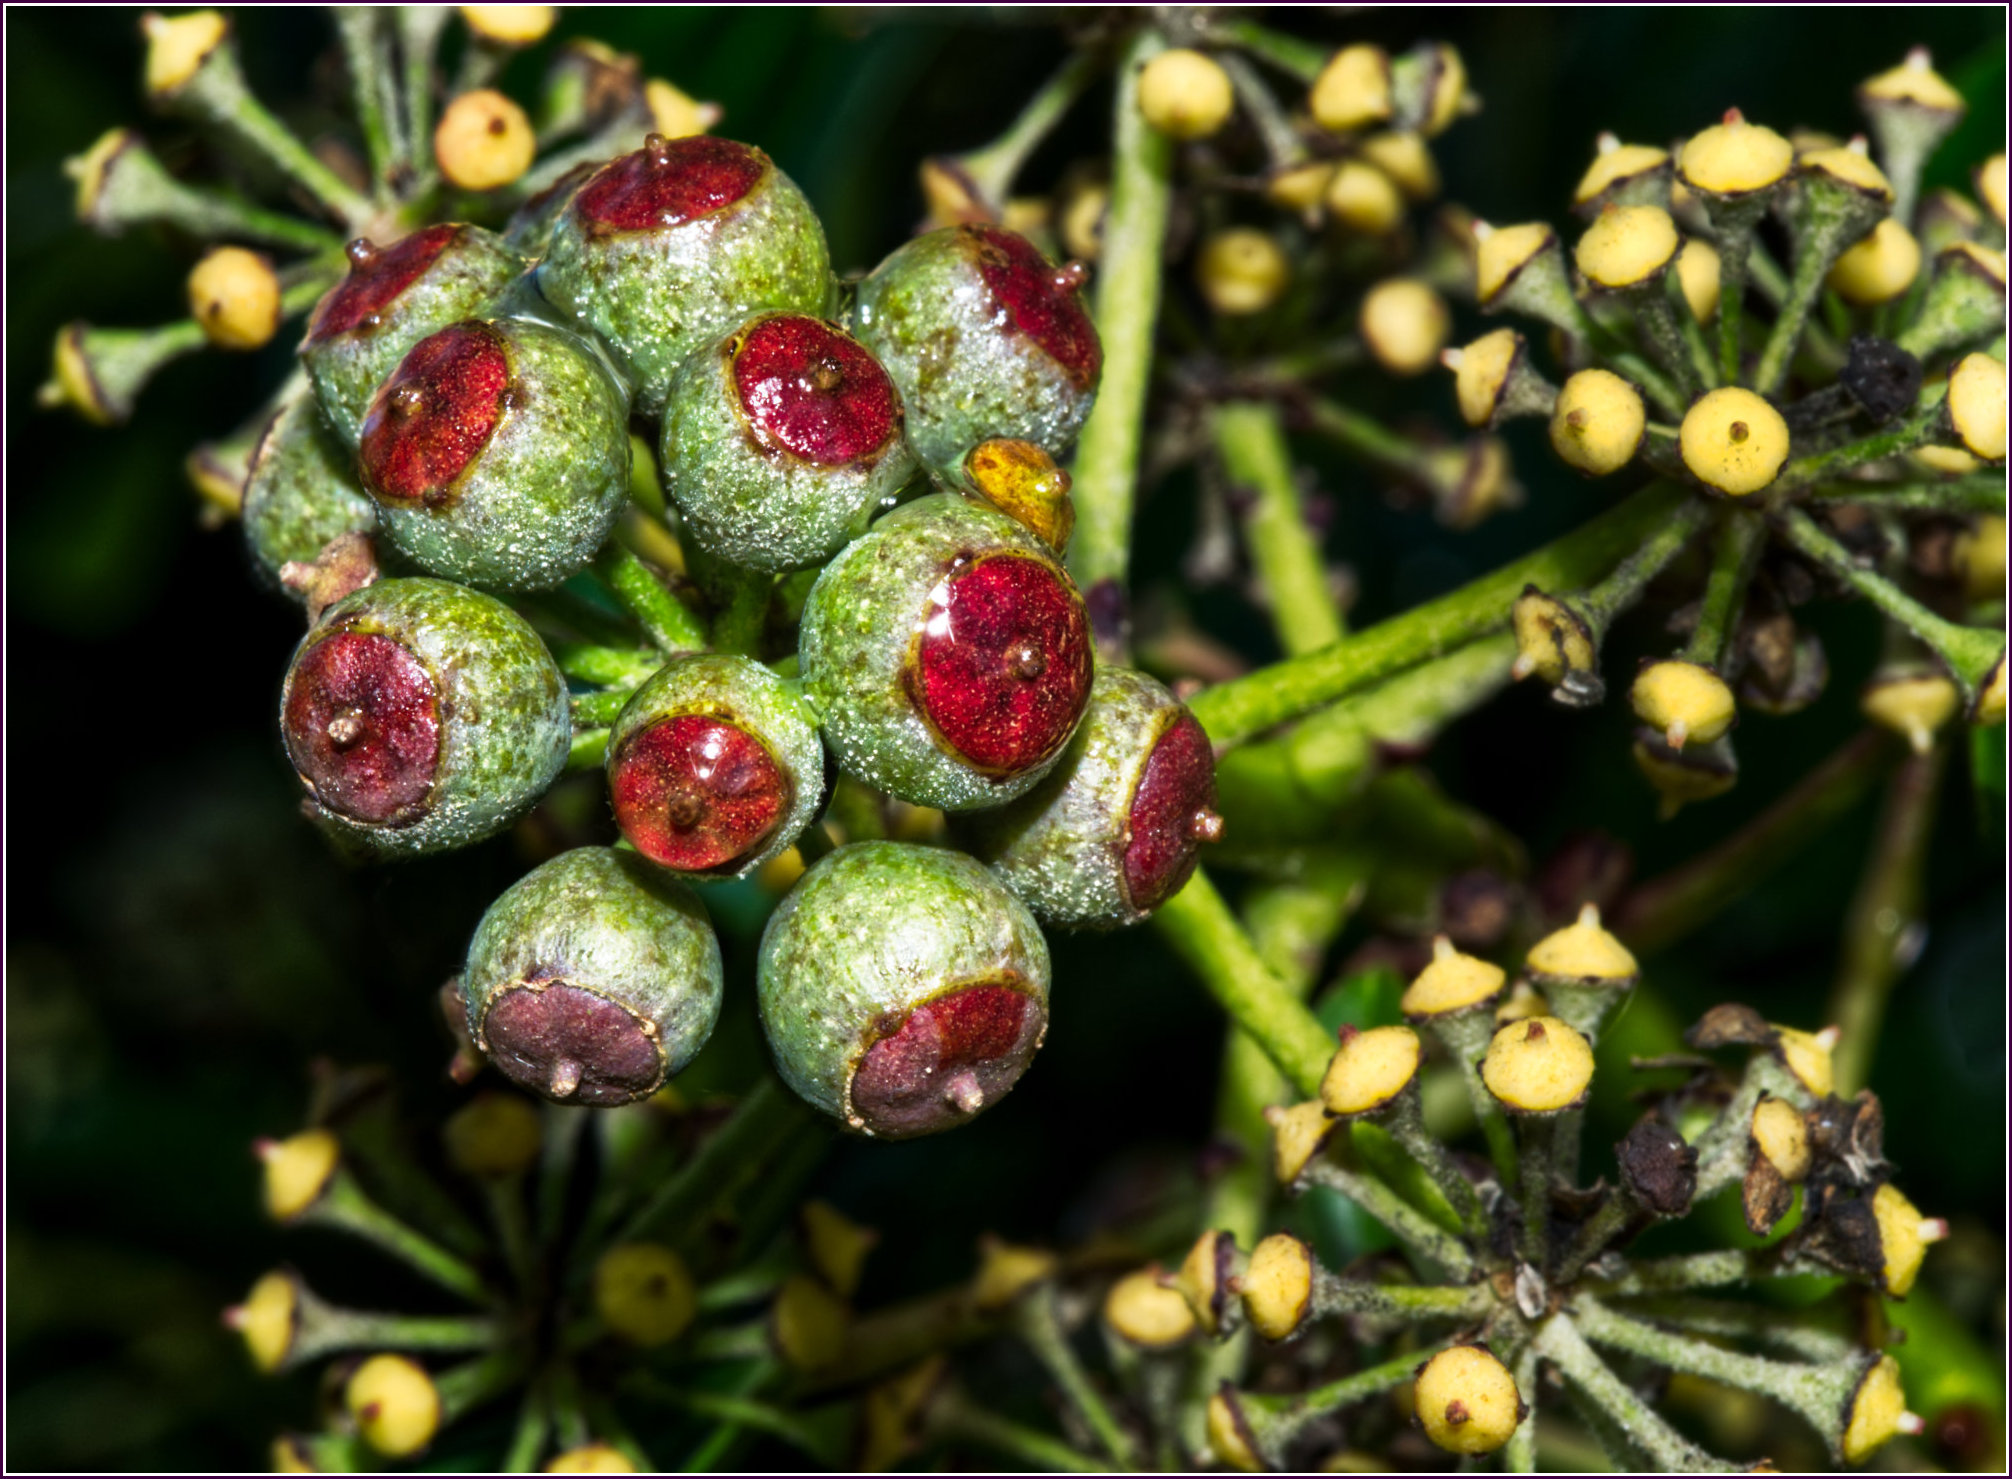
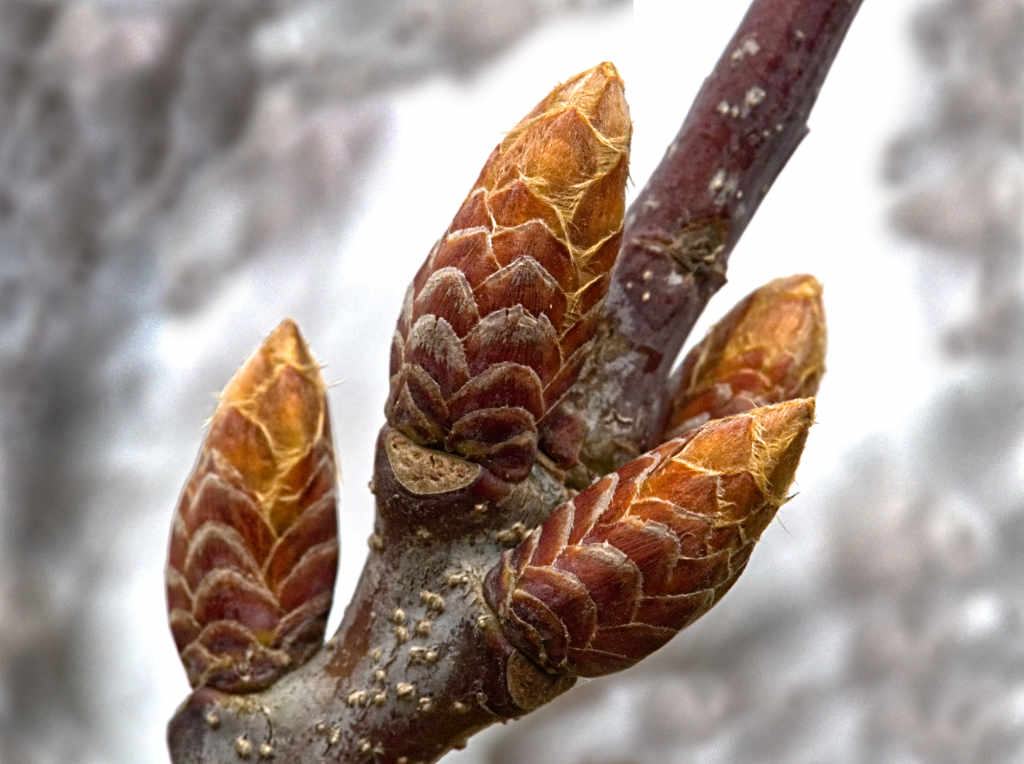
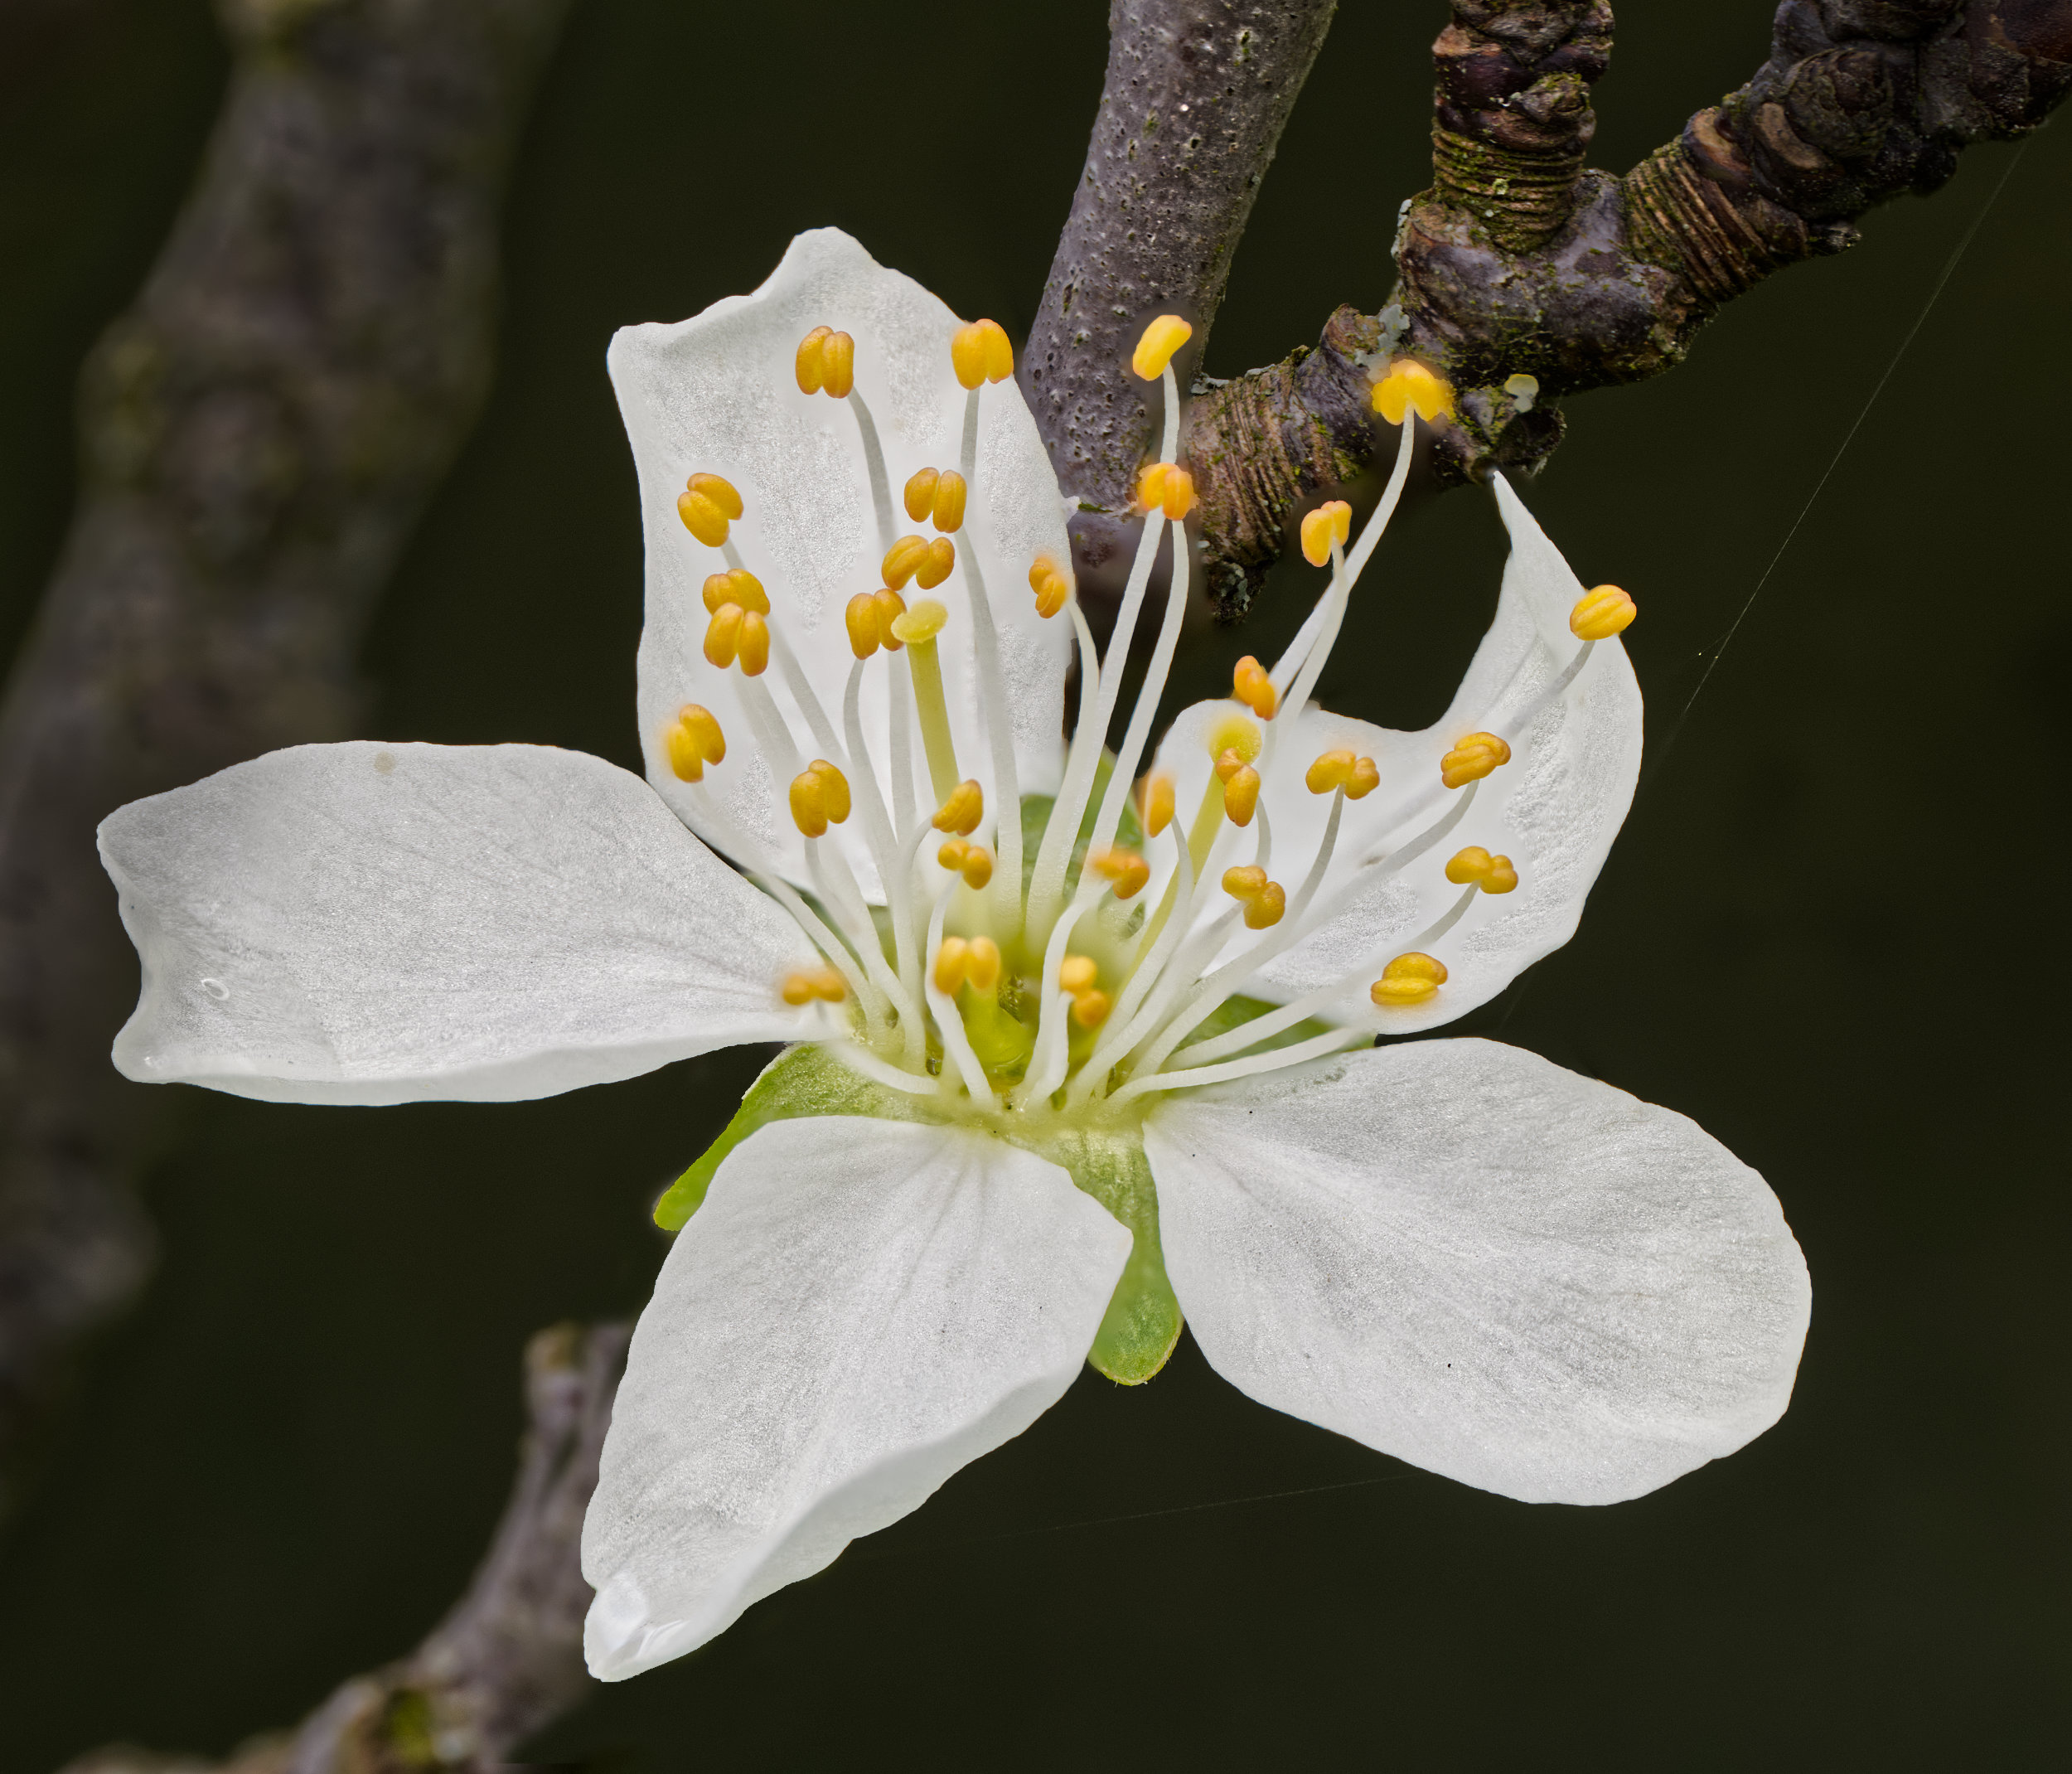
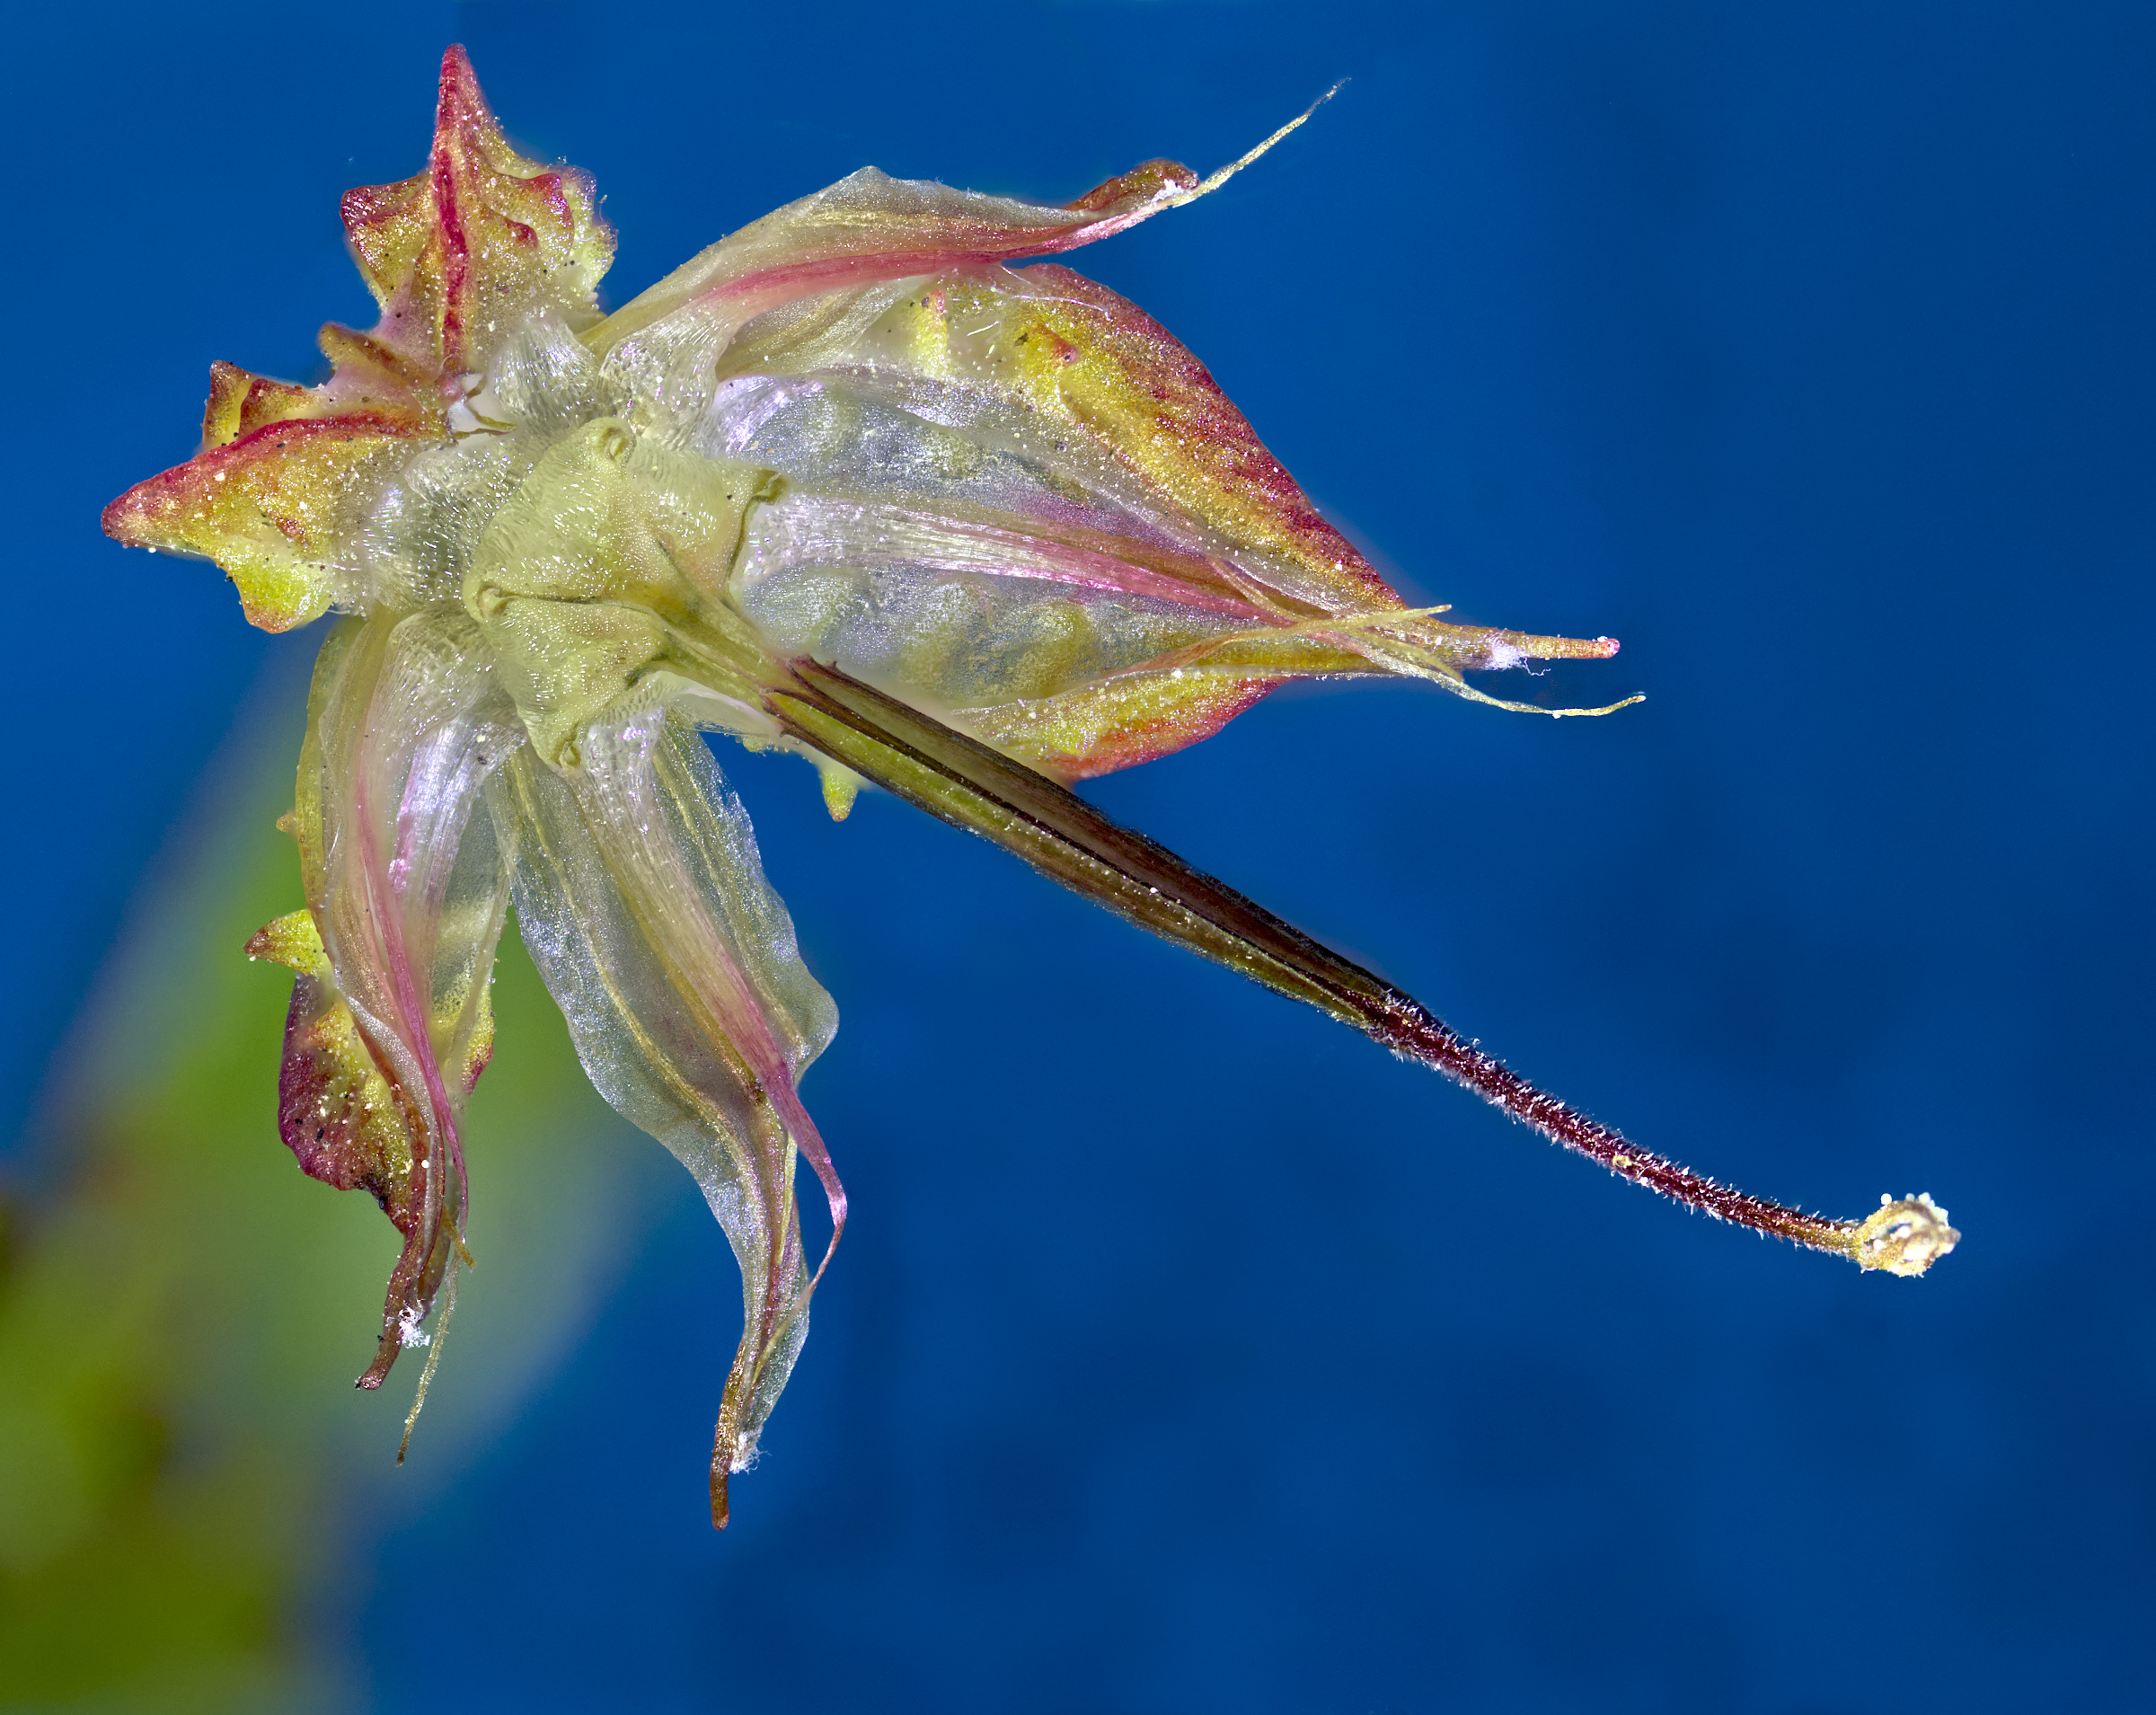
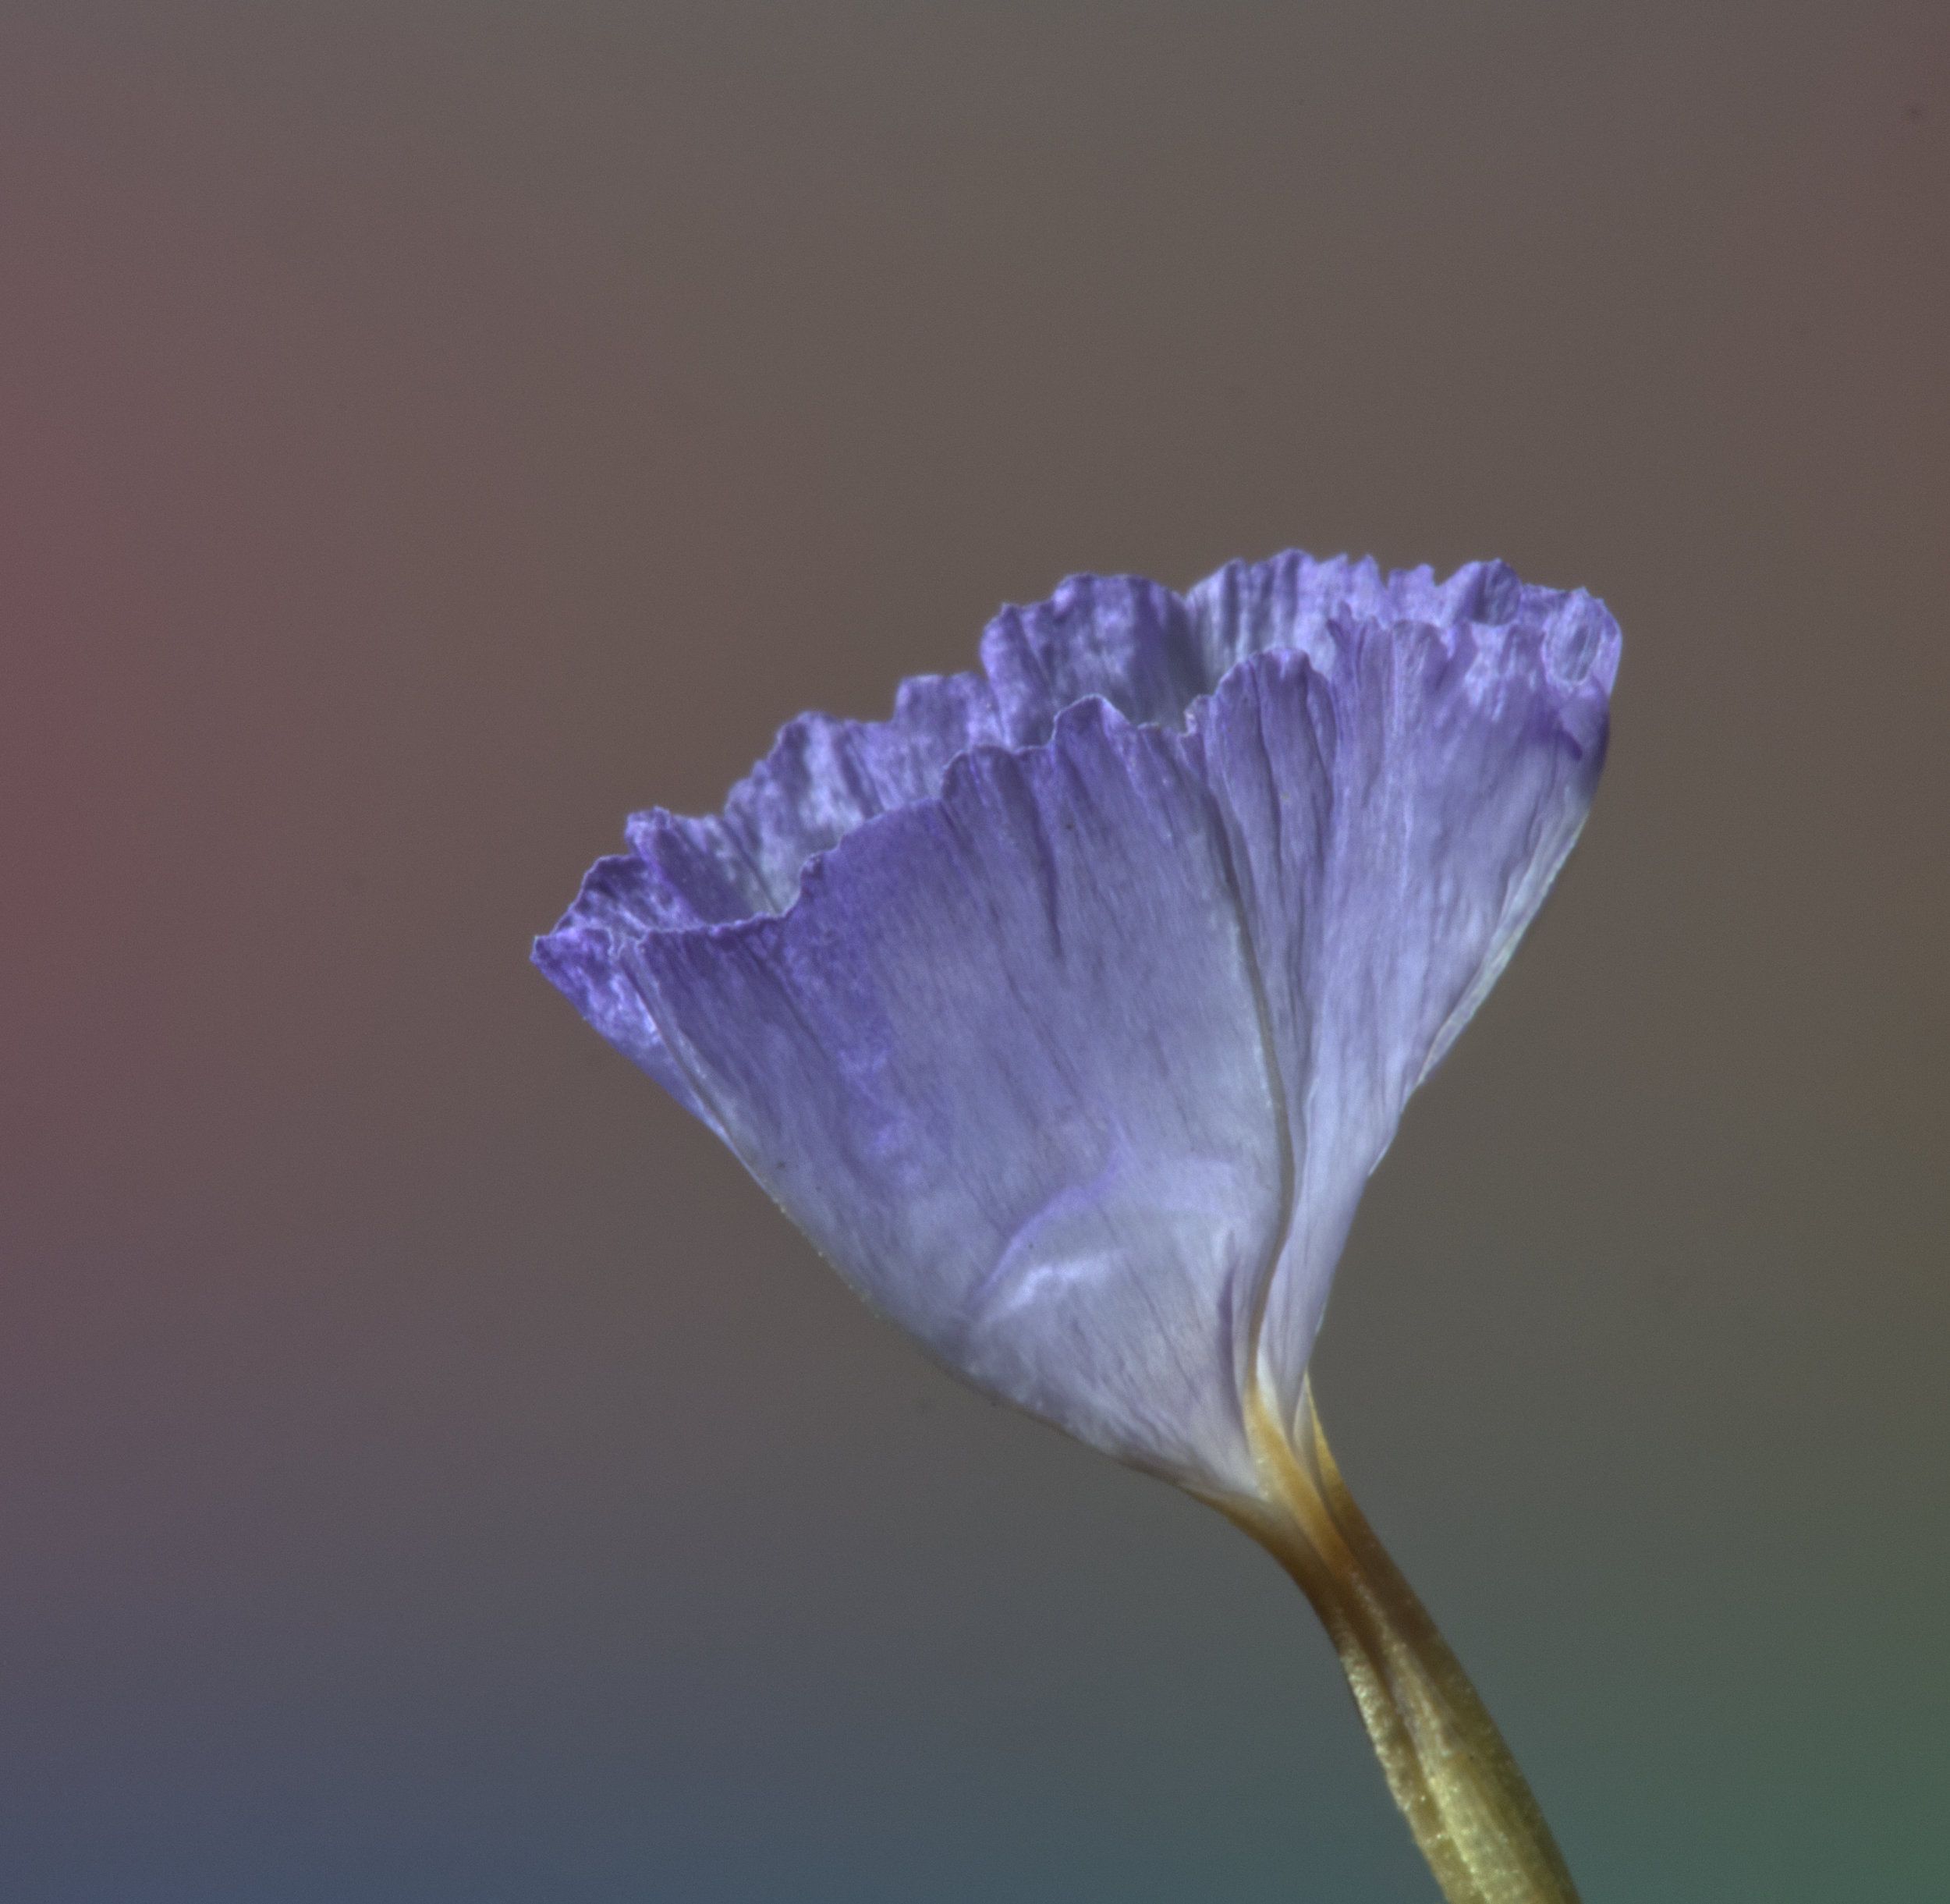
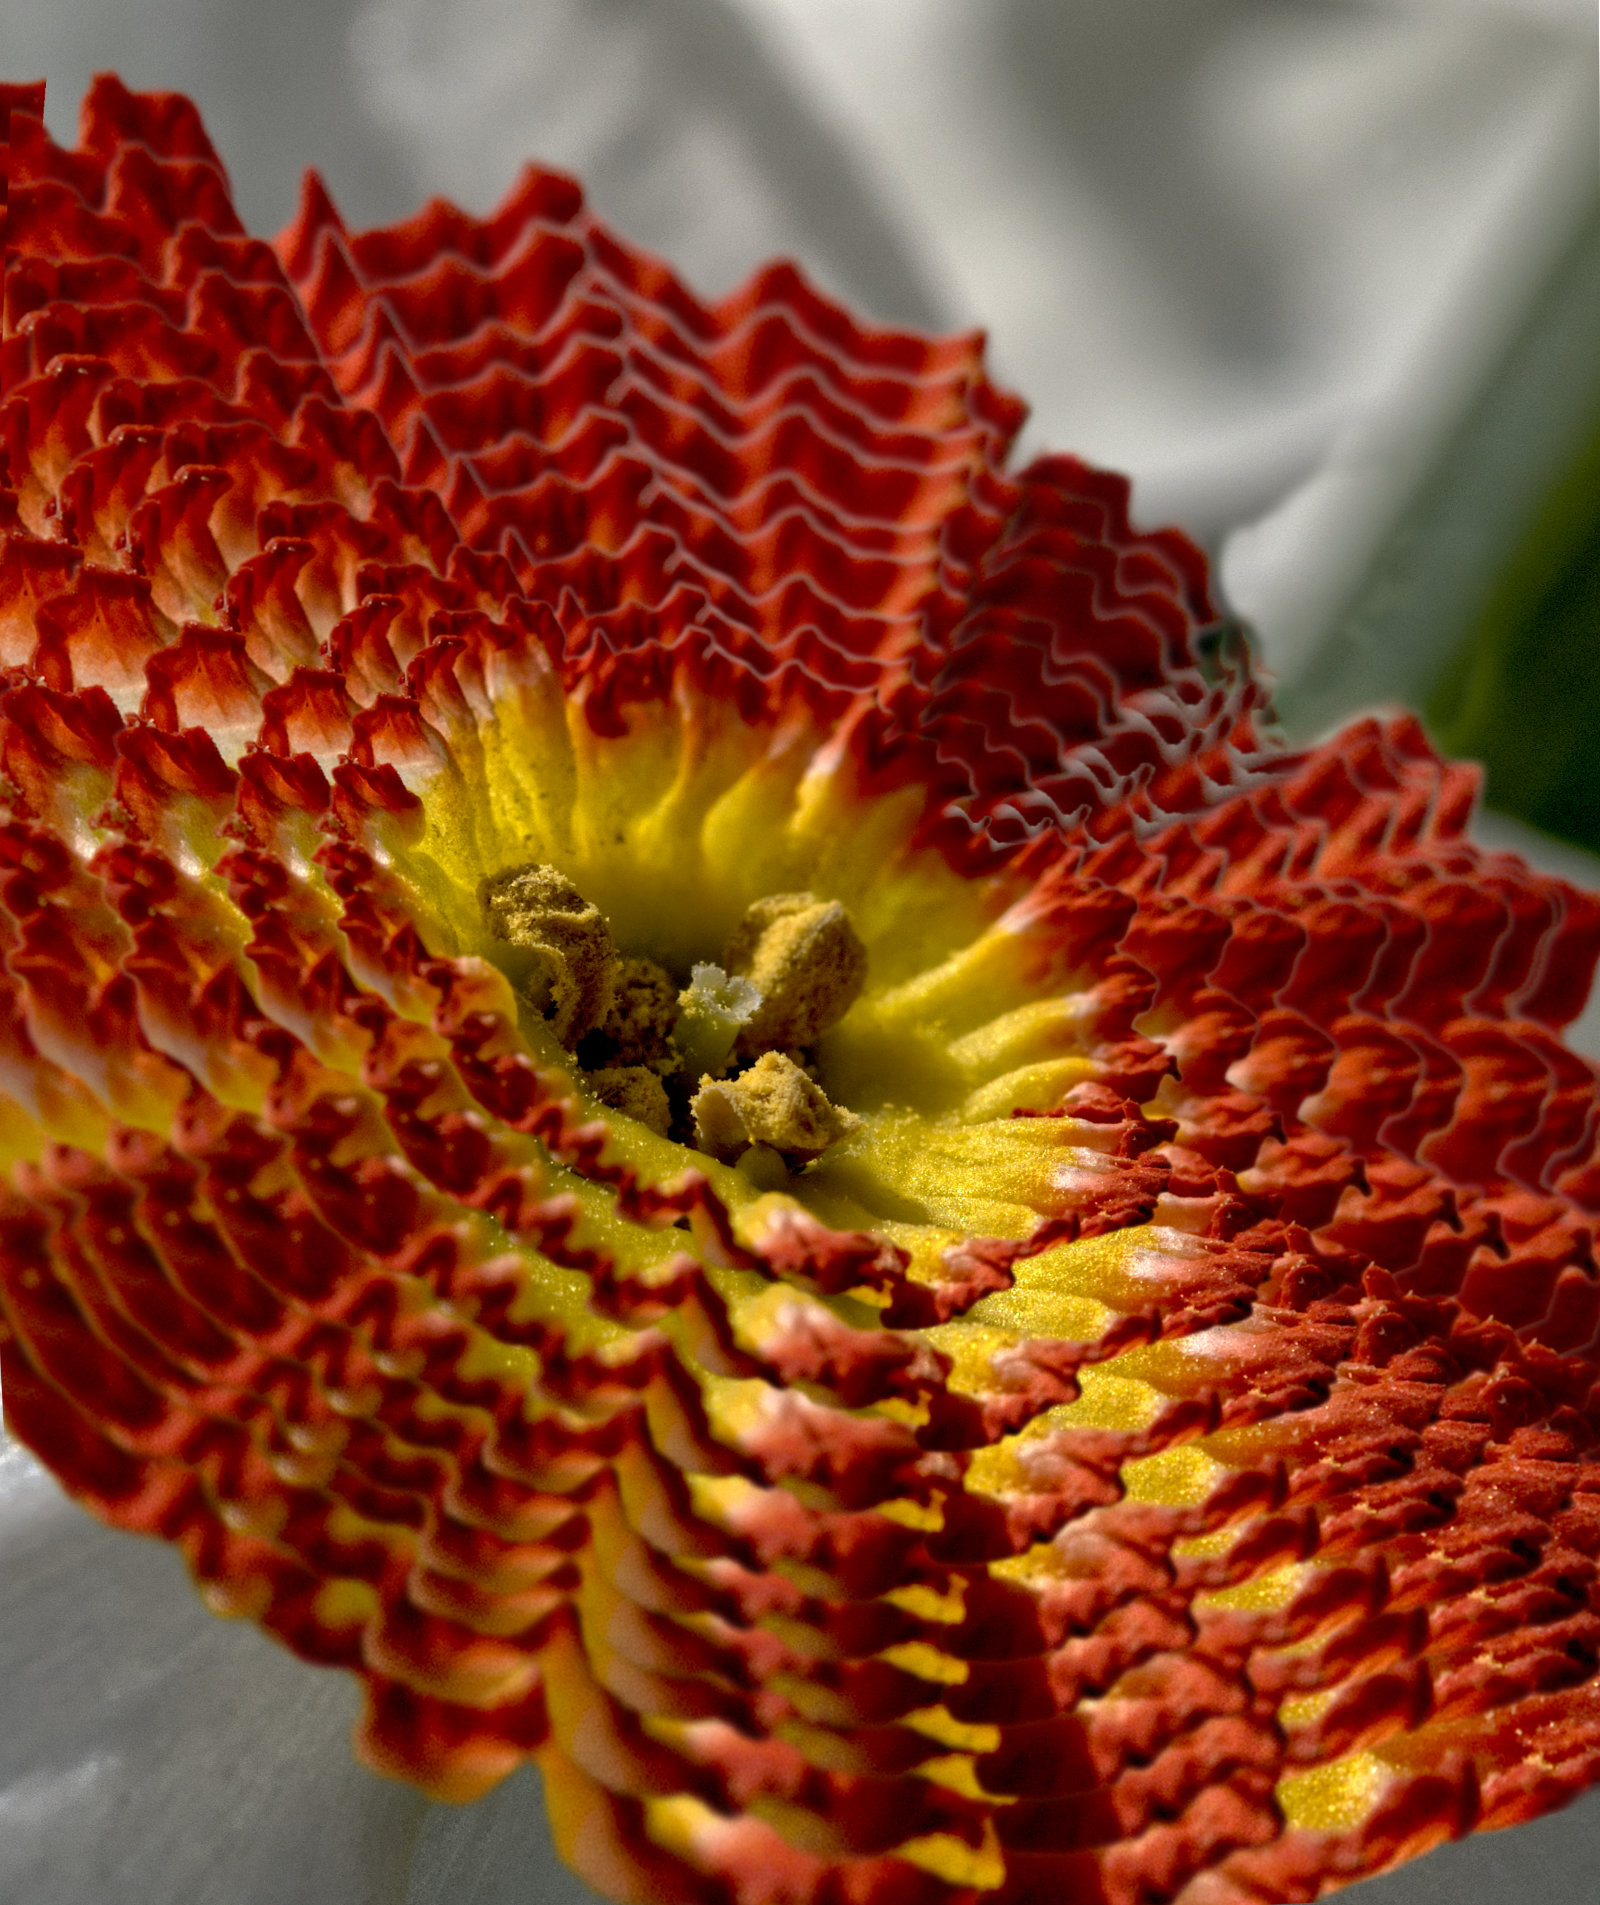
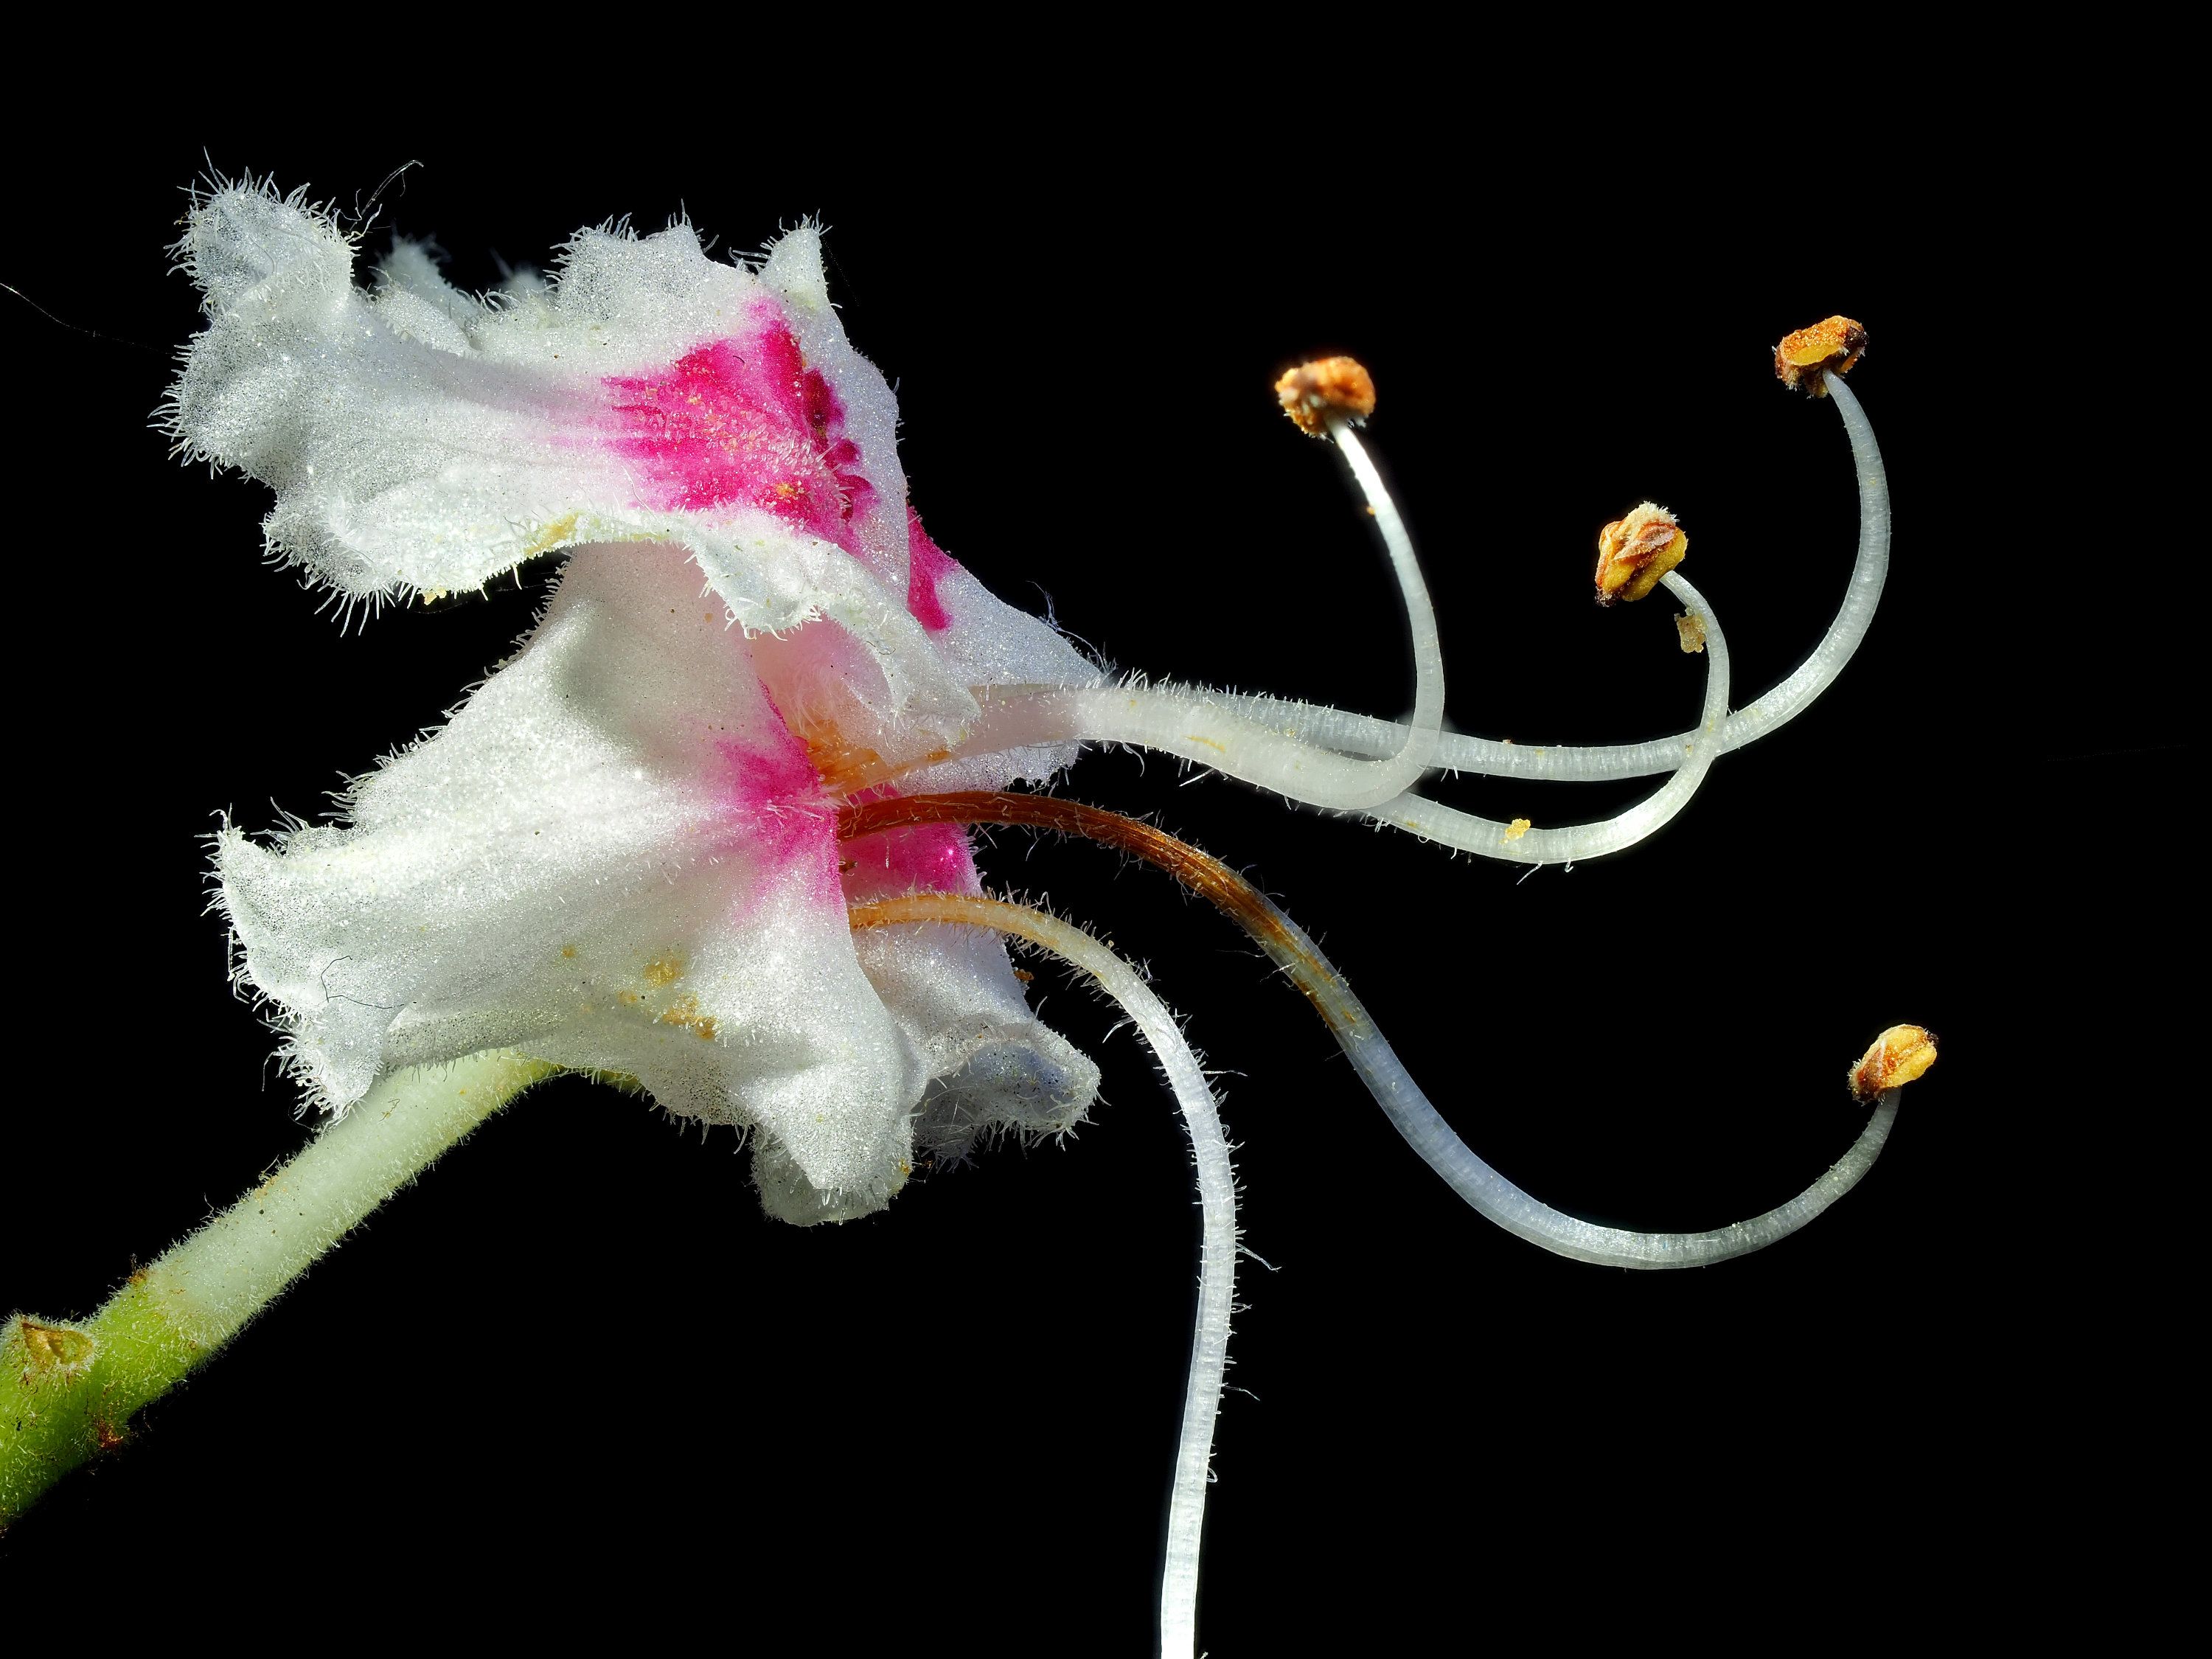
Great idea, I've not looked at a dandelion at this stage of its lifecycle. I've got thousands of the darned things in my garden at the moment!
3 images looks fine at this aperture. Super result.
I've been making little floodlights using various lengths of 12v striplights and running them on LiPo batteries that I have for my model aircraft. 3S packs of cells are right for these lights and last ages. Strips using 5050 LEDS seem to be the brightest. The result is much brighter than my Adaptalux and my cheap LED "macro flash". |
May 7th |
| 95 |
May 20 |
Comment |
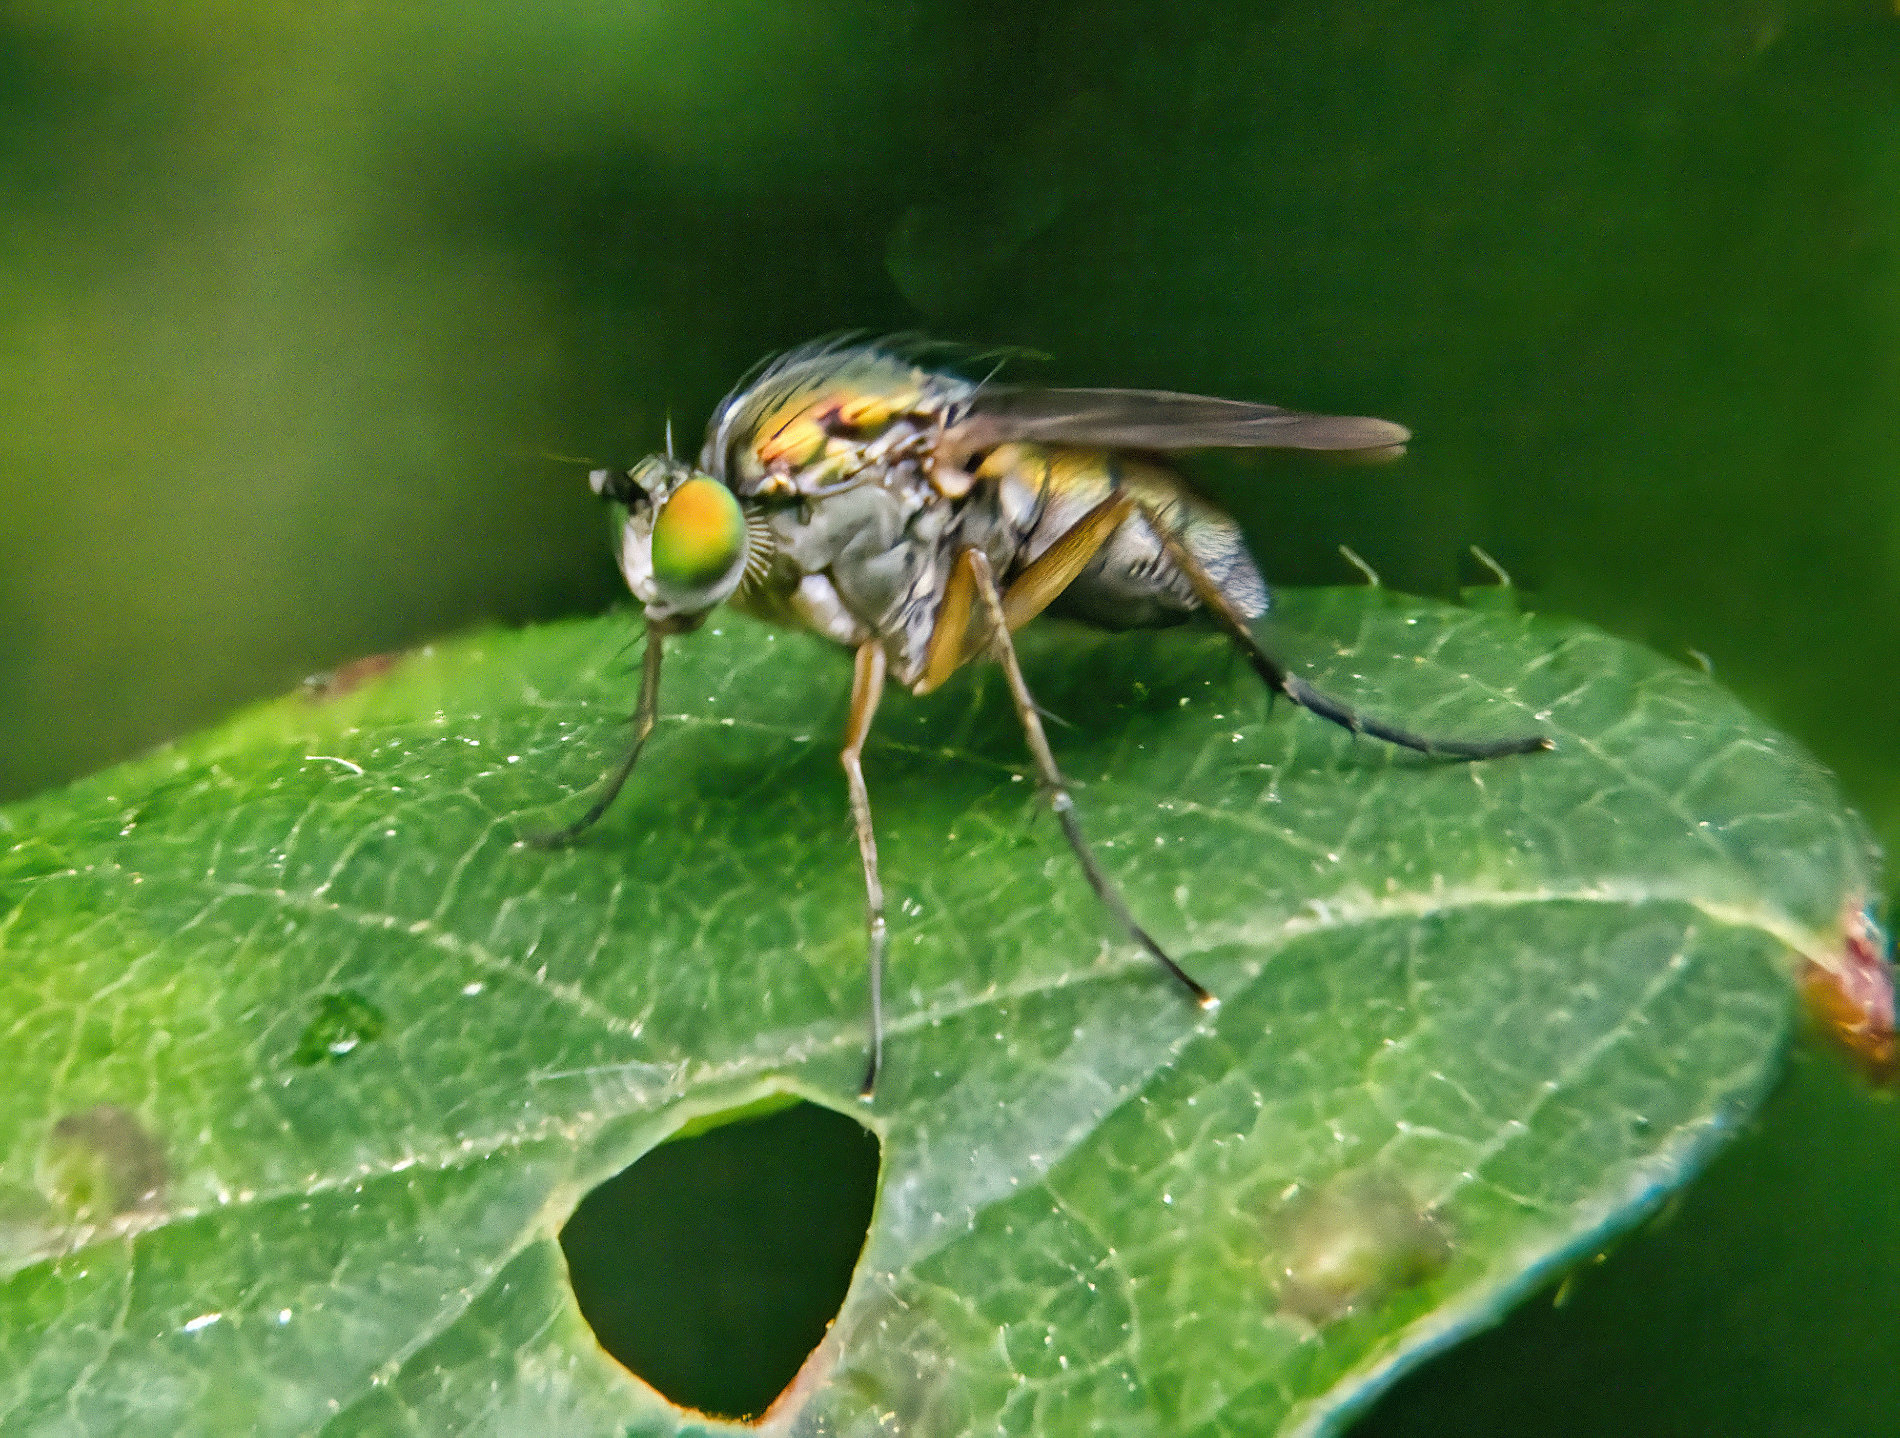
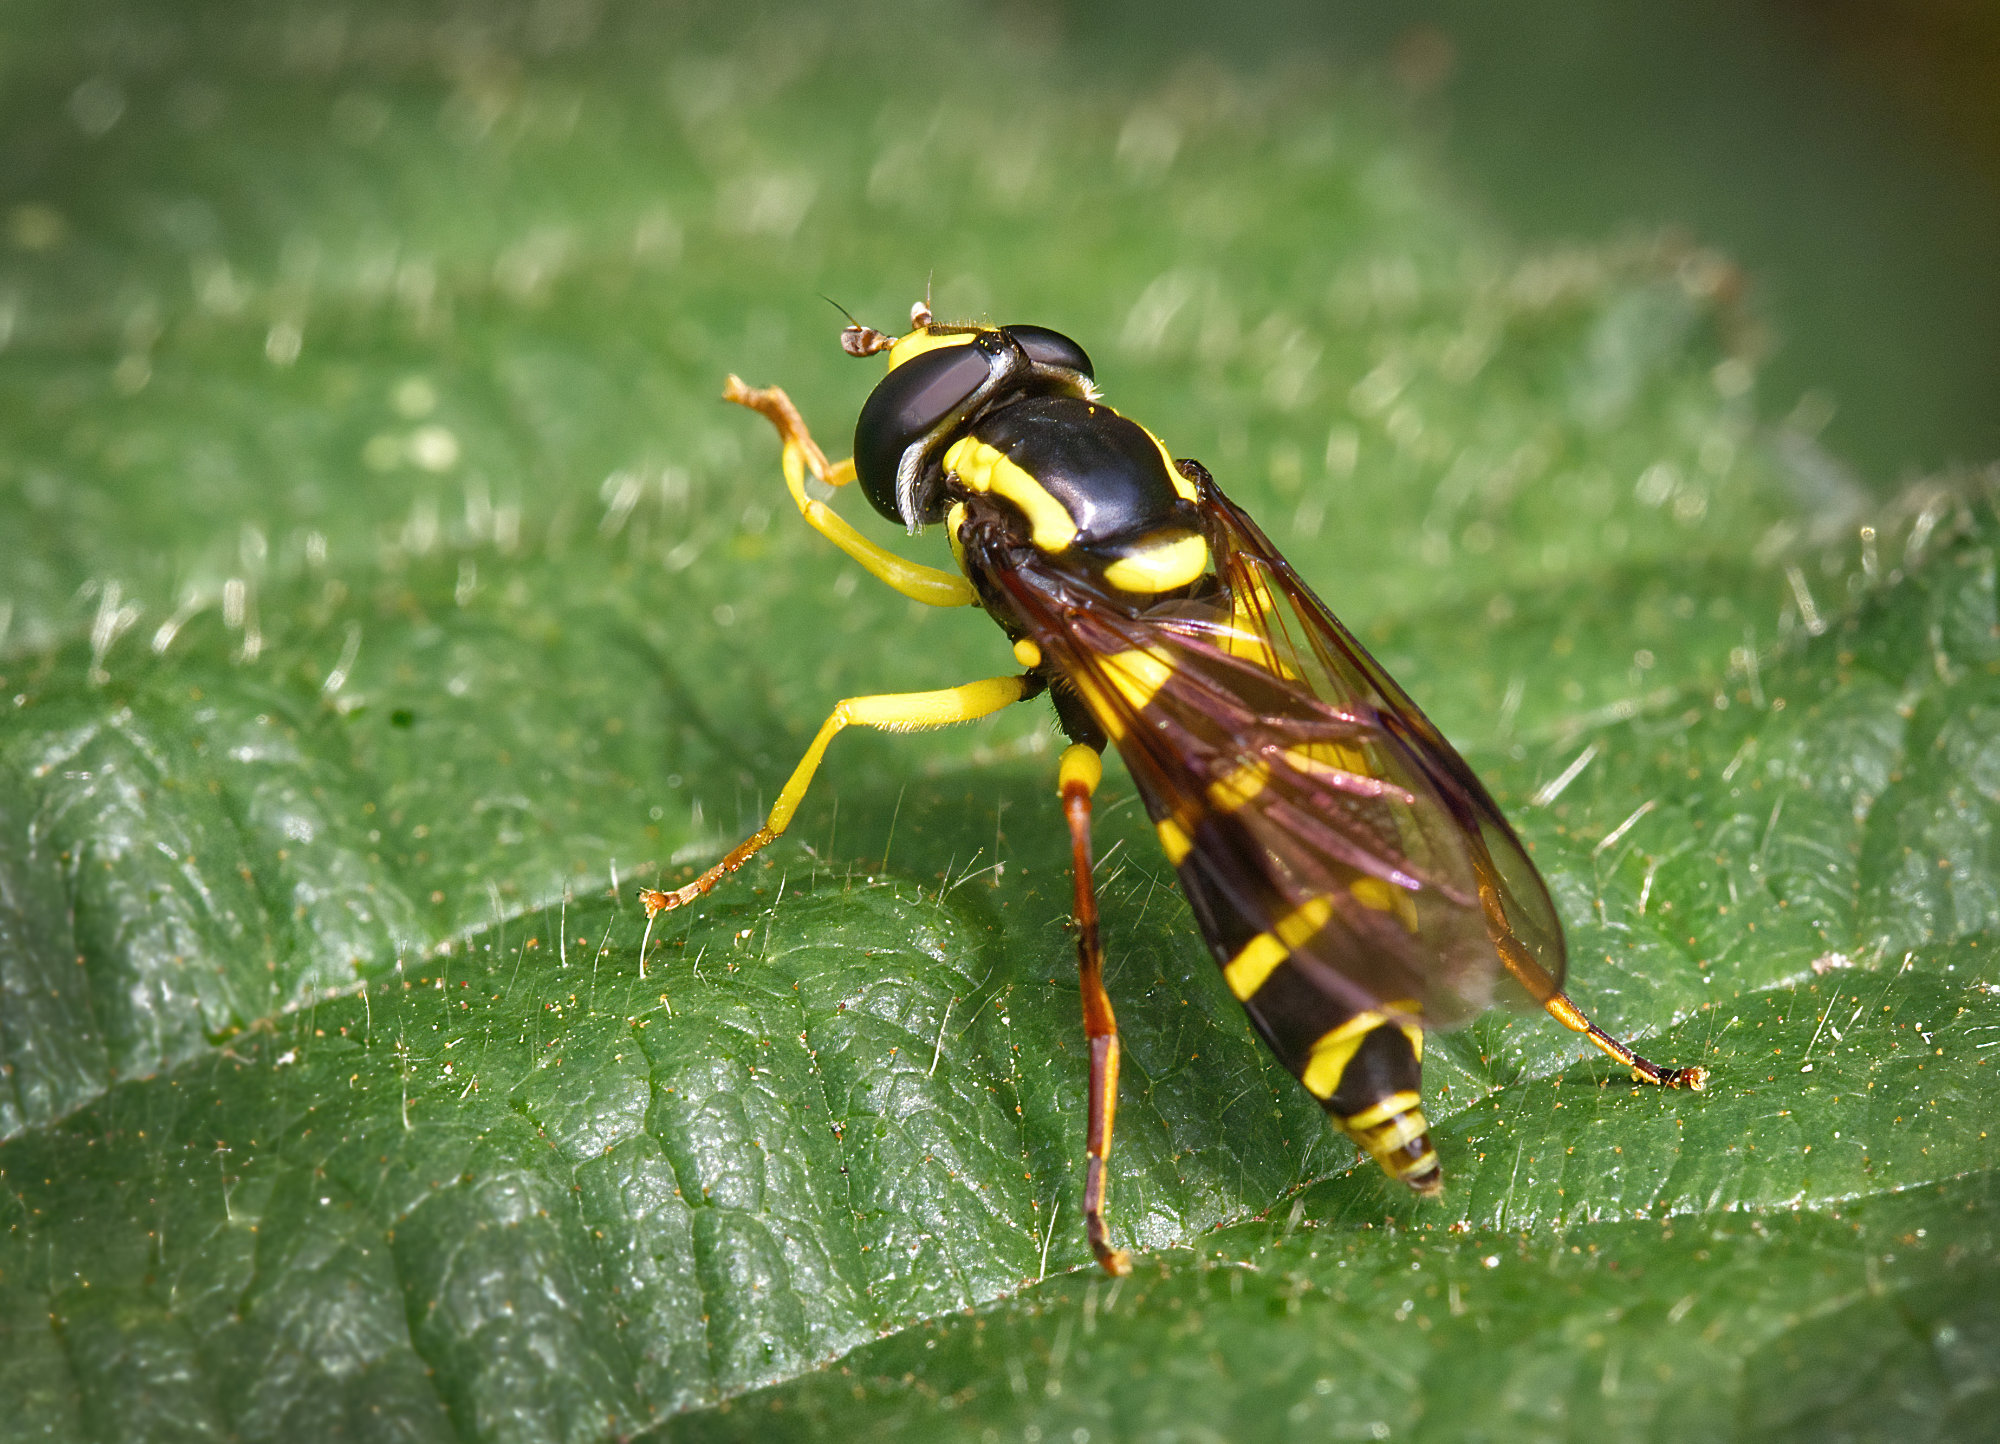
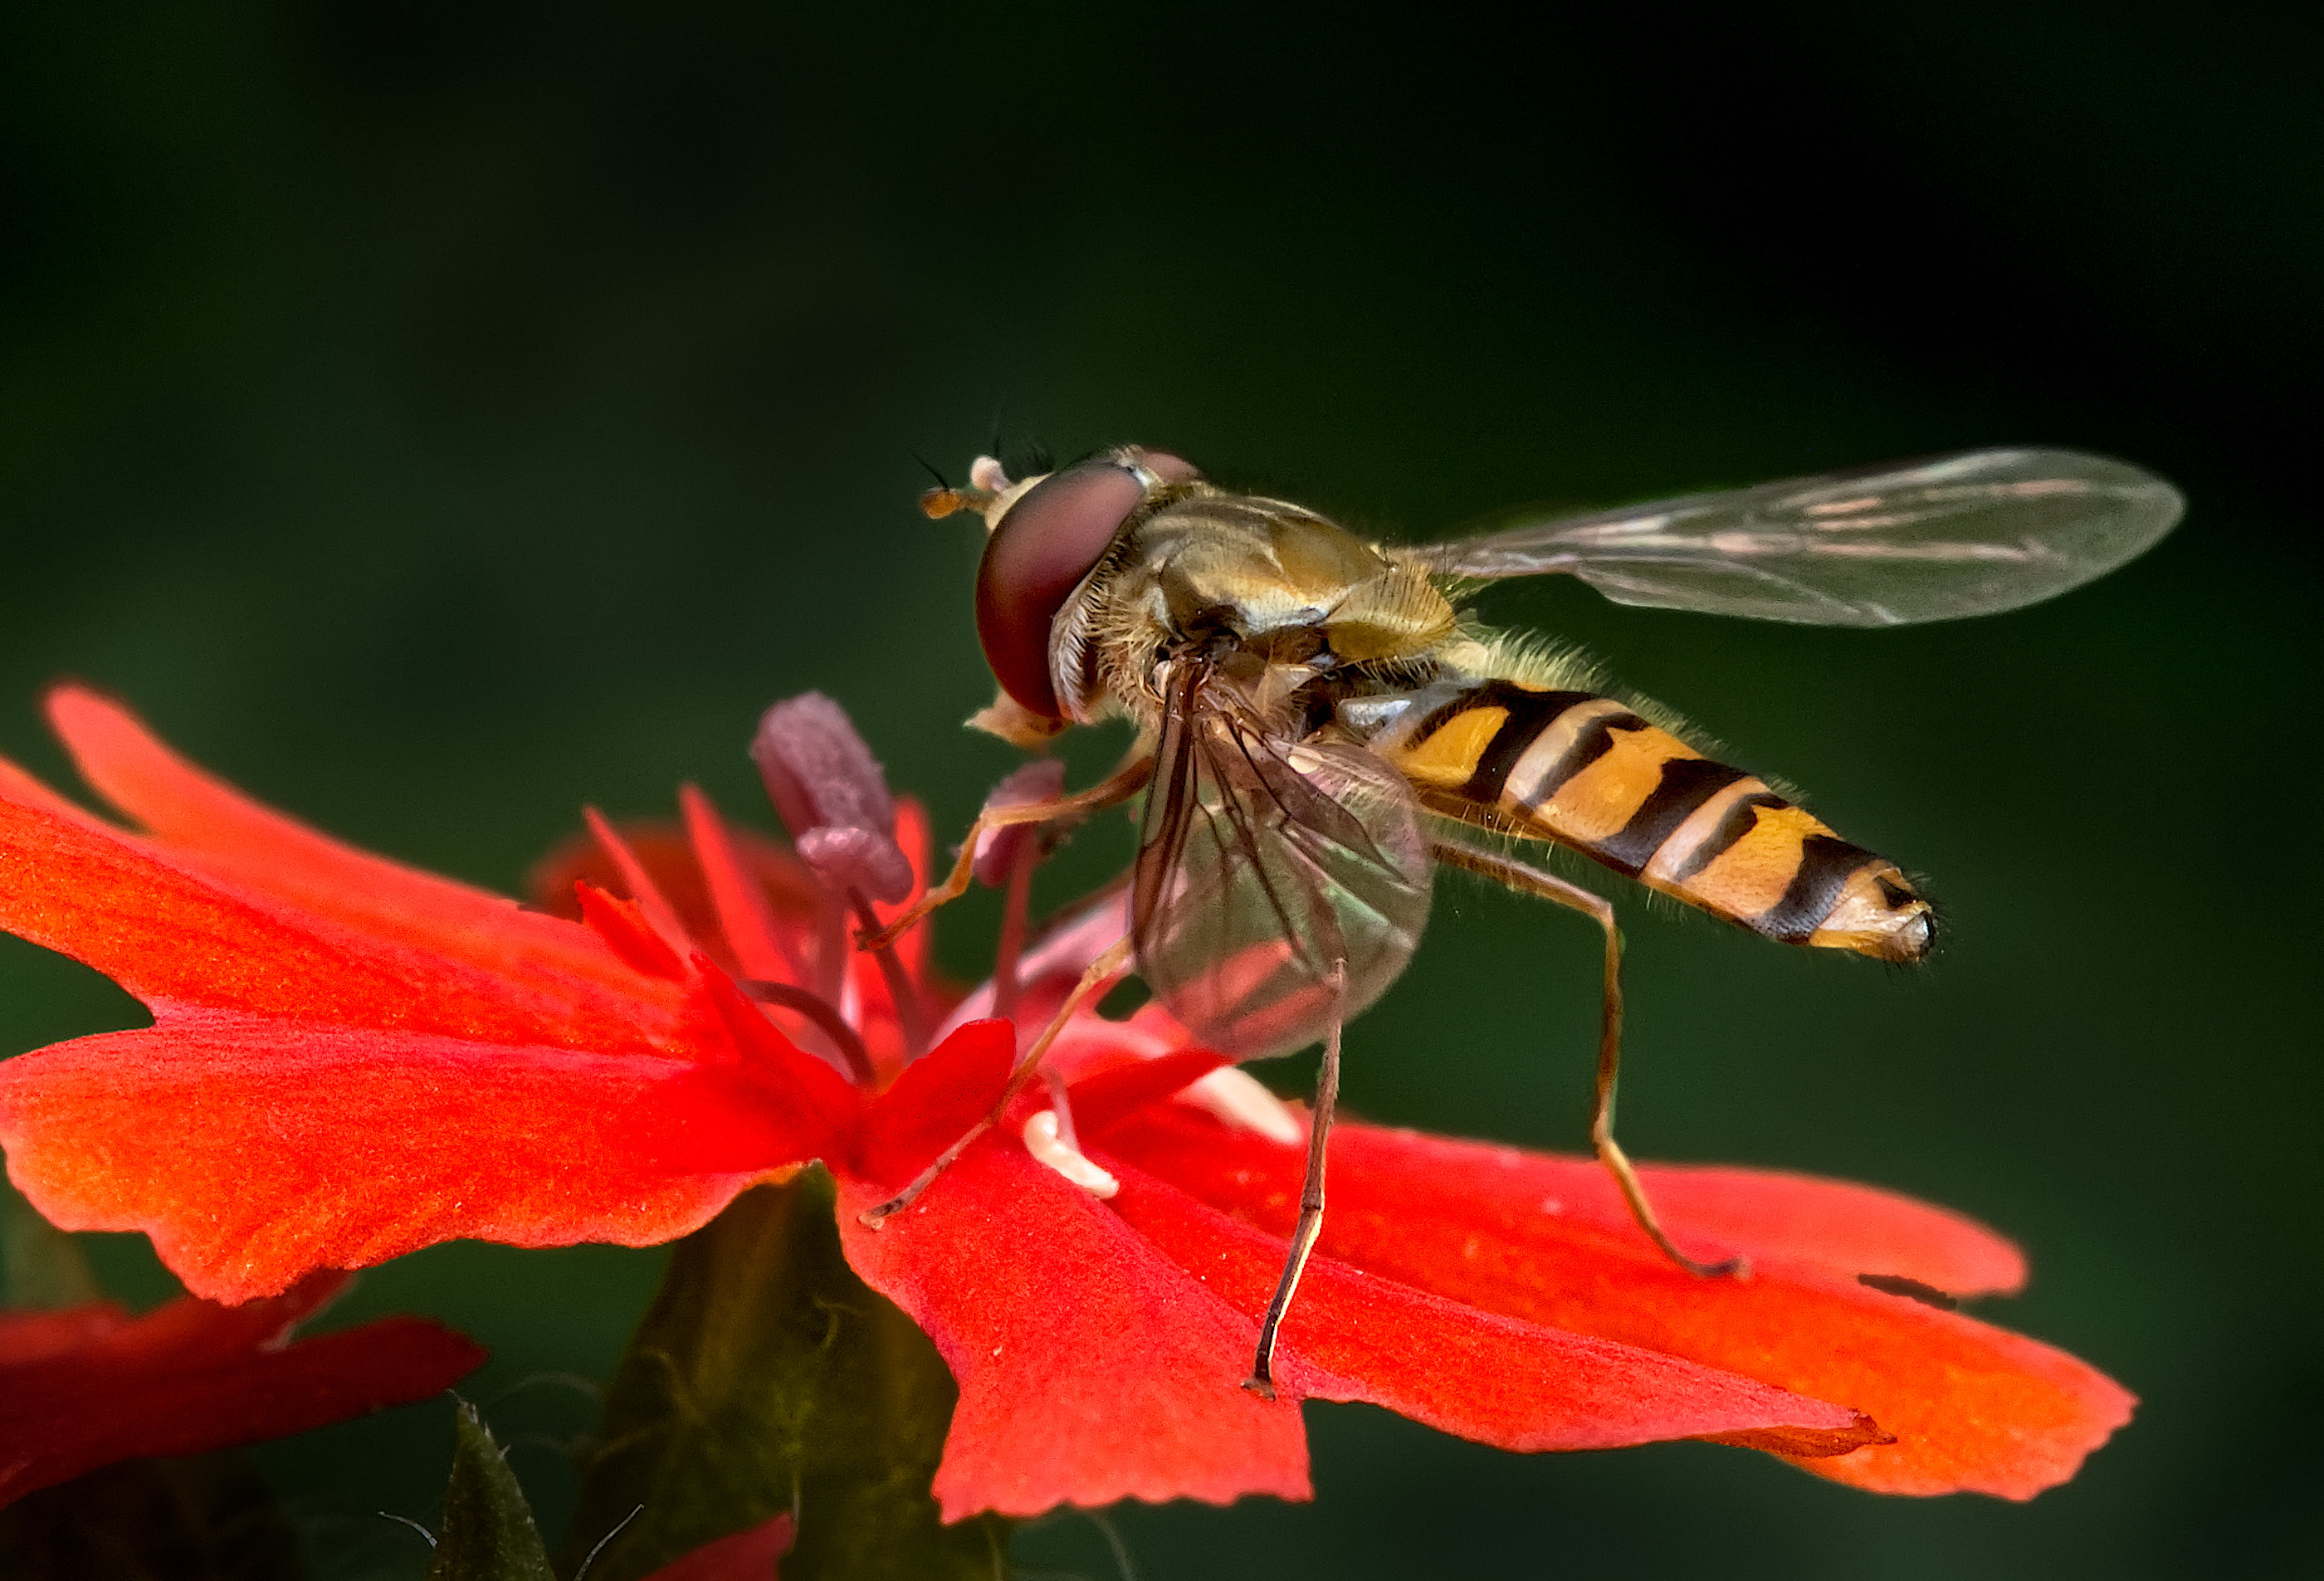
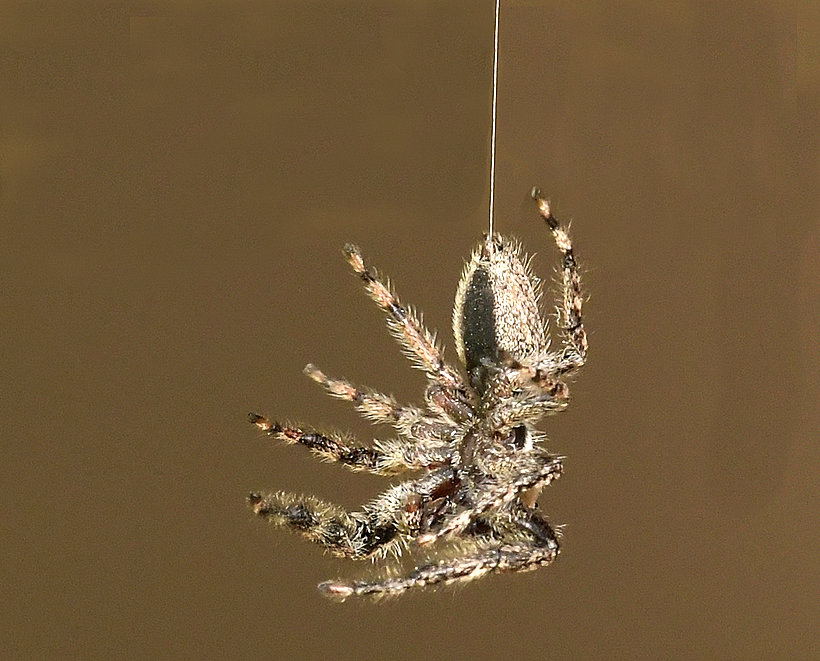
I'm sure that Tom will do a better job than me, but I took a screen print and did a bit of editing in Affinity. The line was fairly easy to remove with the clone brush. I've found its "Inpainting" tool is good in some circumstances, although it didn't do a good job here. Neither did the blemish removal tool, but I don't usua;;y use that. The clone brush however did it easily. I did it in two stages. For replacements that have a line in them like this (I mean the silk thread), as the eye is so good at seeing errors in lines, I started there. The clone brush requires you to set the source first. (this is Affinity but I guess PS will be similar). So I clicked on the silk near the top, then came down to the background line and when the ghost image (showing you where the paste would be) was aligned spot on, I clicked and dragged to do the cloning. I was using opacity 100%, flow 100% (since we want to remove the background line completely) hardness 0% (this gives a soft edge to the pasted area). When the area varies in colour or texture then any unevenness needs to be cloned over again until it looks OK. Later I set the hardness to 100% to remove the blurry edge so that I could clone close to the legs. If you want to do a really good job then using a mask around where you don't want to paste is useful, but it's worth getting practice on the clone too on its own first. The source moves as you drag, but it "sees" the image as it was before you cloned, so whilst you see the result as it will become, if you drag such that the source area moves over some detail that is no longer on screen but was there, then it will clone that original detail, which is a real pest! (Maybe PS won't do this, but Affinity does.) So you need to release the mouse button occasionally to "add" the paste in, then you can continue, cloning from your previous cloned area, if you want to.
Anyway, I like your picture. I added a bit of clarity adjustment before saving the result. |
May 7th |
 |
3 comments - 8 replies for Group 95
|
9 comments - 11 replies Total
|