|
| Group |
Round |
C/R |
Comment |
Date |
Image |
| 77 |
Dec 22 |
Reply |
All of your comments about reasons for flipping make sense to me Carol. I actually flipped the image as the first step when post processing and it didn't feel right for some reason, so I went back to the original orientation. But now when I see it again, I can really see your point.
Thanks! |
Dec 22nd |
| 77 |
Dec 22 |
Reply |
Thanks for your comments Connie! |
Dec 22nd |
| 77 |
Dec 22 |
Reply |
Thanks for your comments Michael. I have not played with the AI Remix so I'll give it a try! |
Dec 18th |
| 77 |
Dec 22 |
Reply |
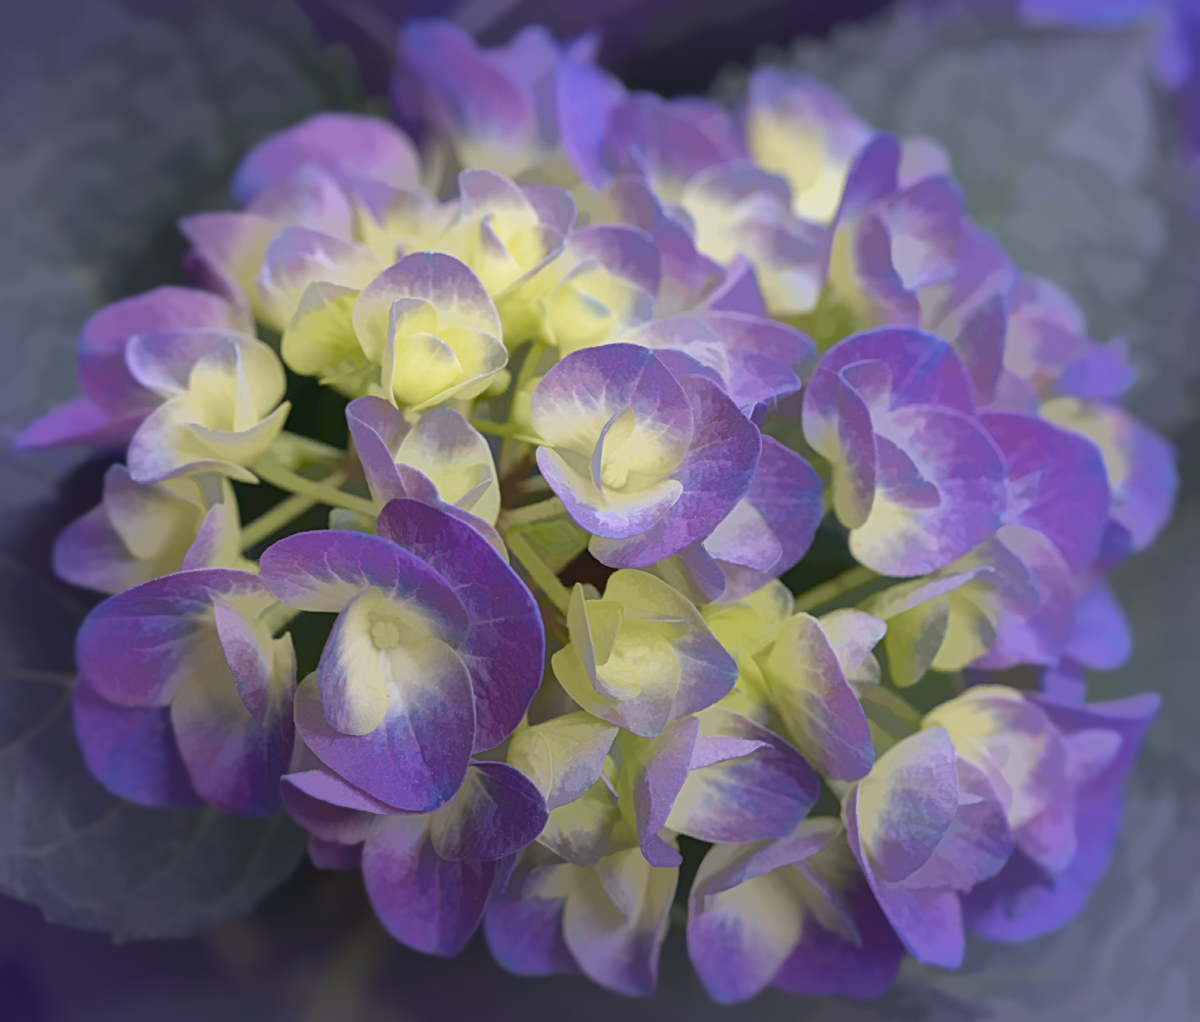
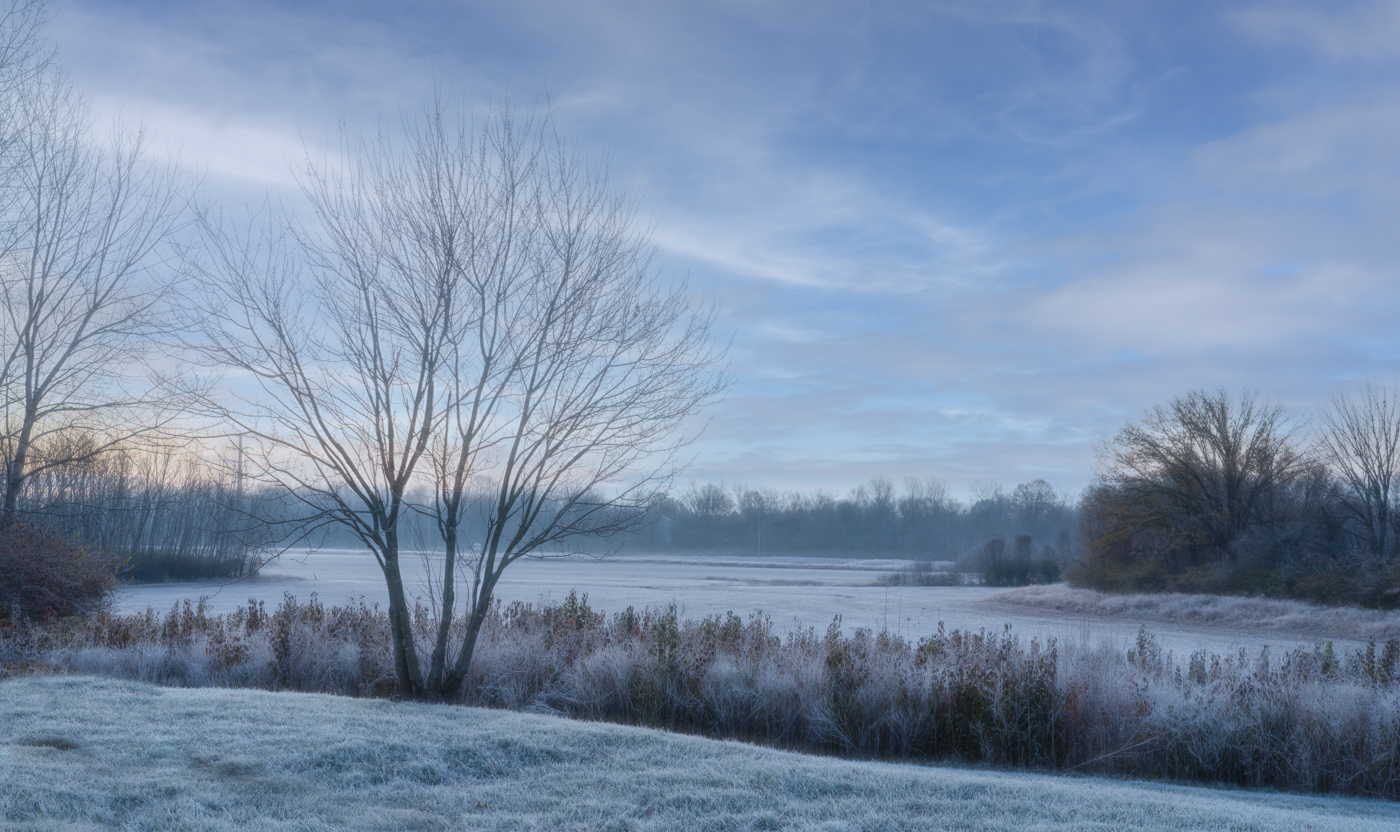
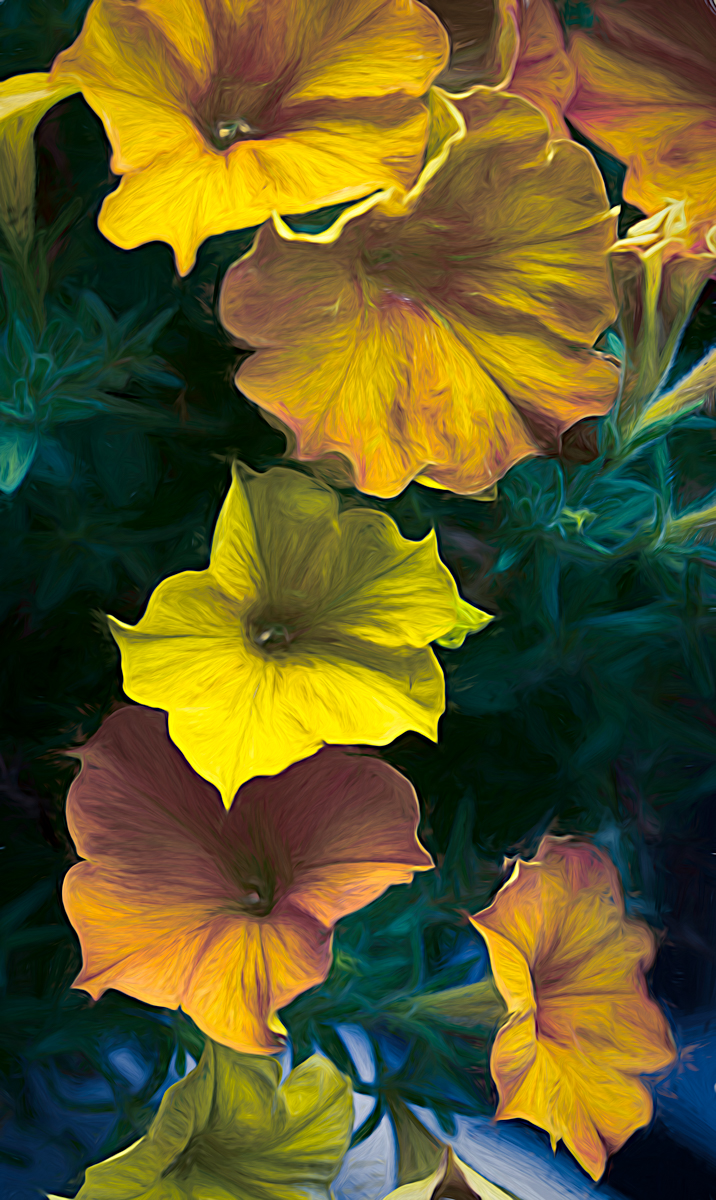
Thank you for the visual feedback Linda. I like how the color in the sky reflects more of a "sunrise" color tone to them. I think the sharpness you added looks fine as well, but I still prefer keeping things softer.
I appreciate your feedback! |
Dec 18th |
| 77 |
Dec 22 |
Comment |
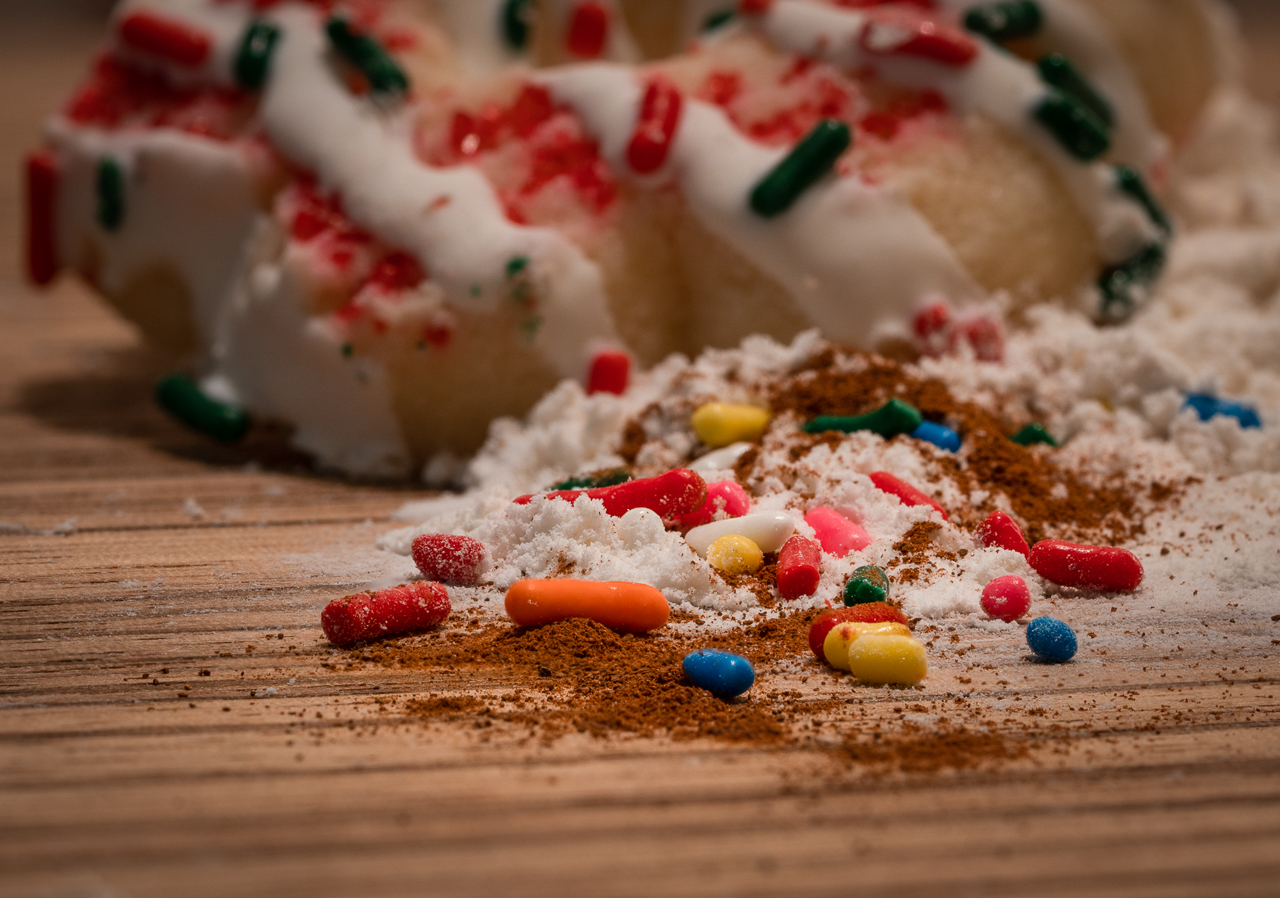
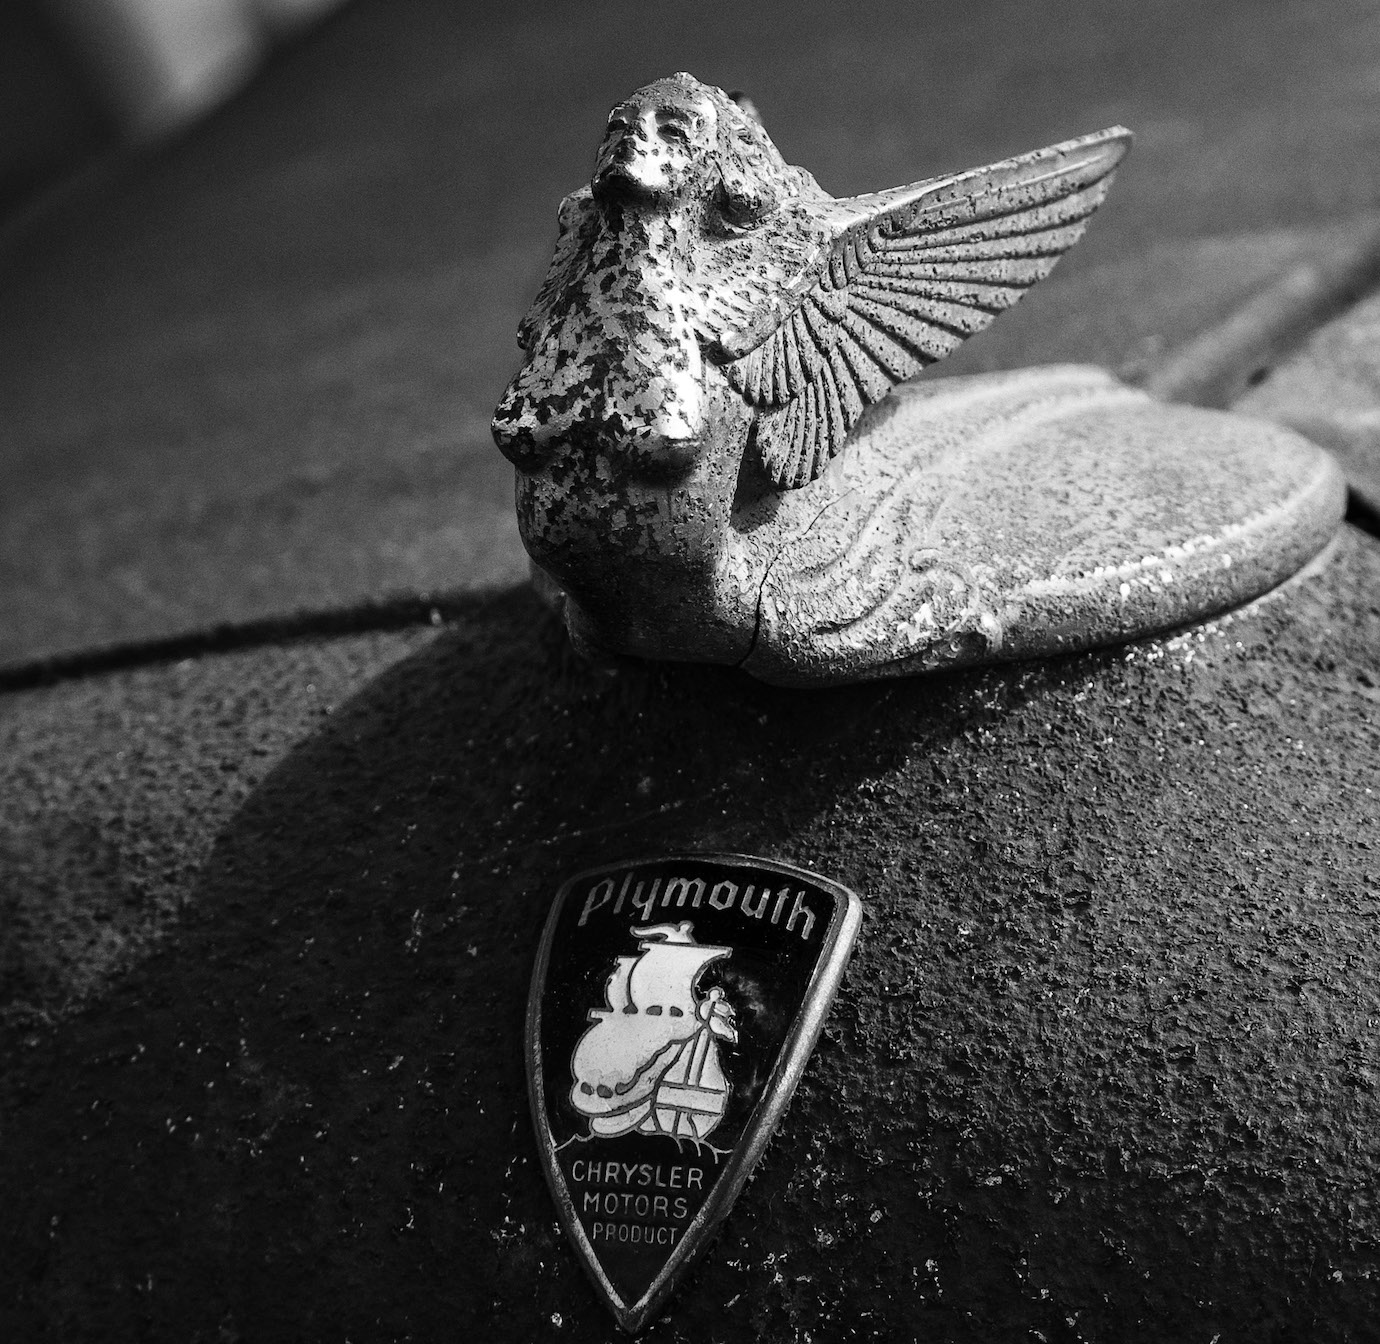
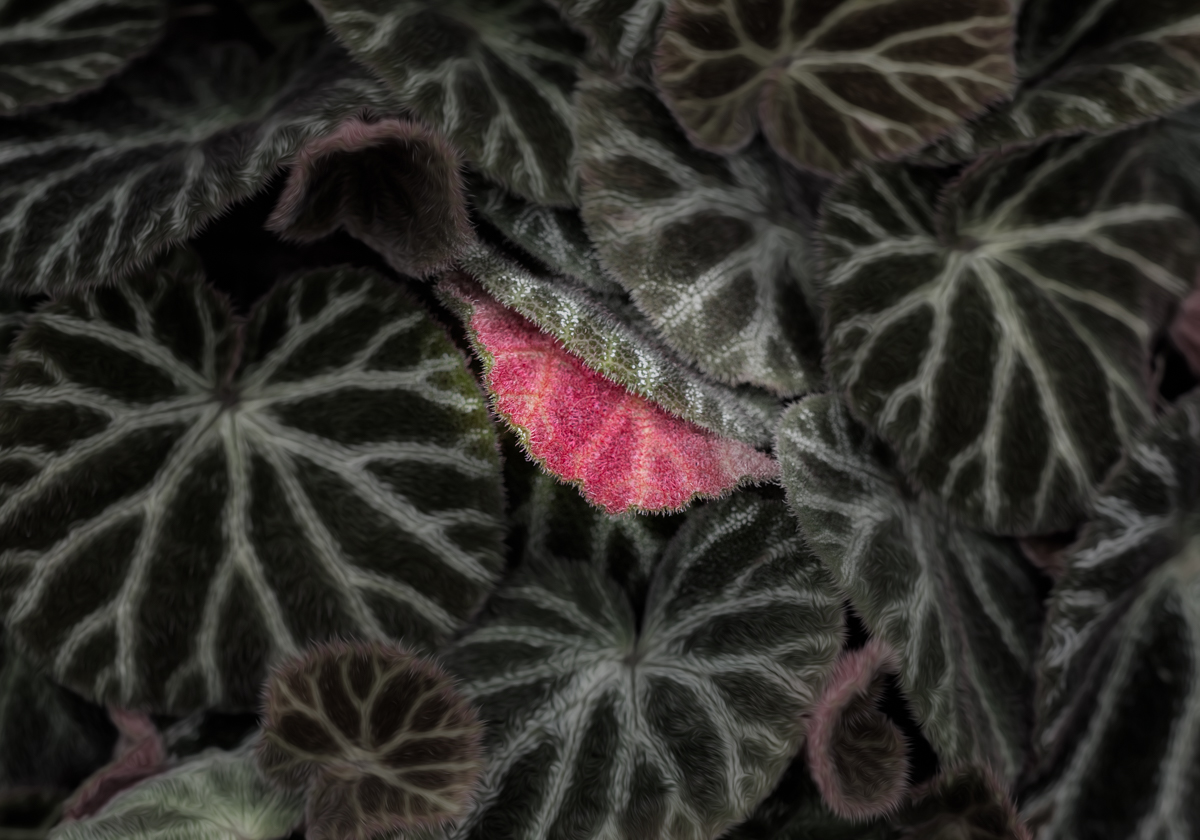
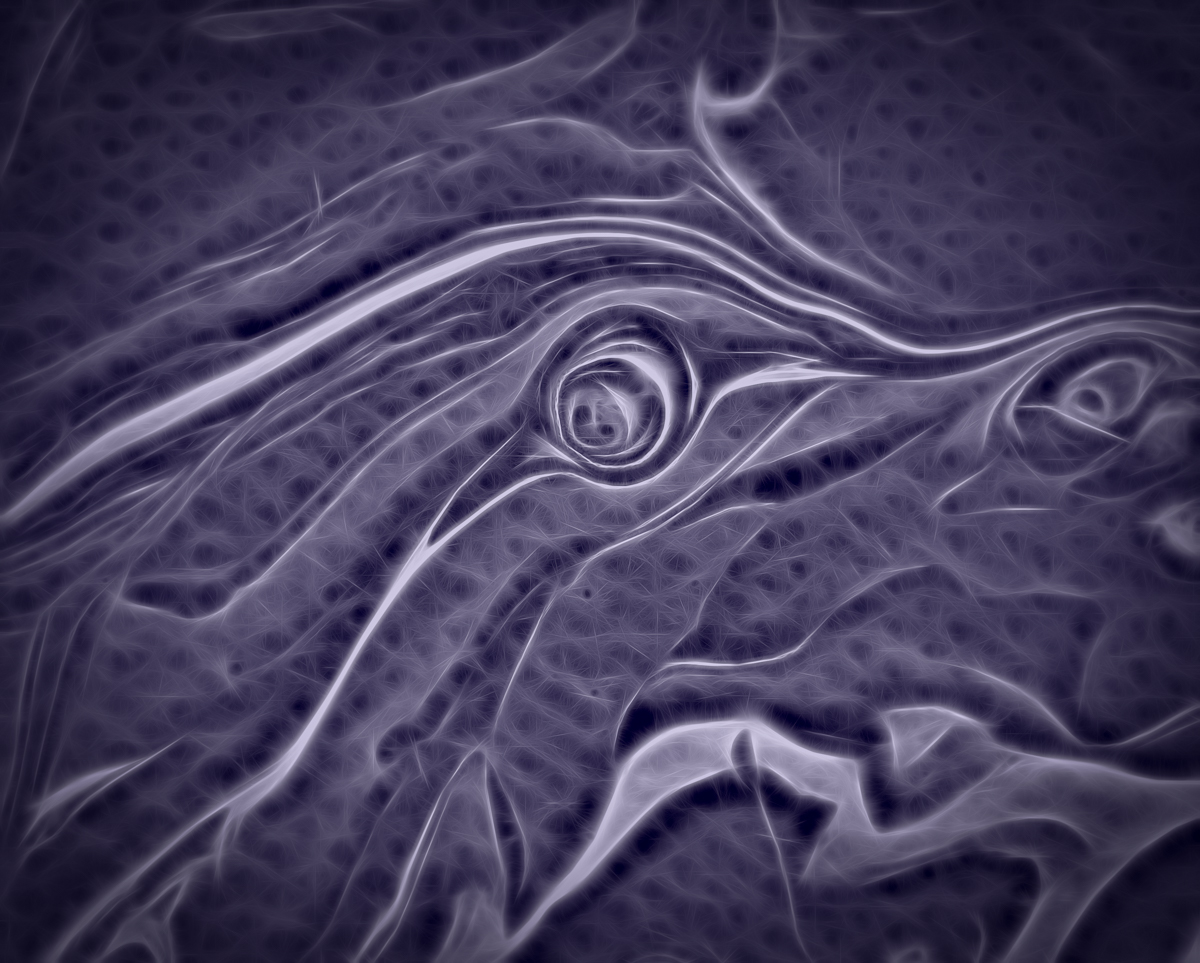
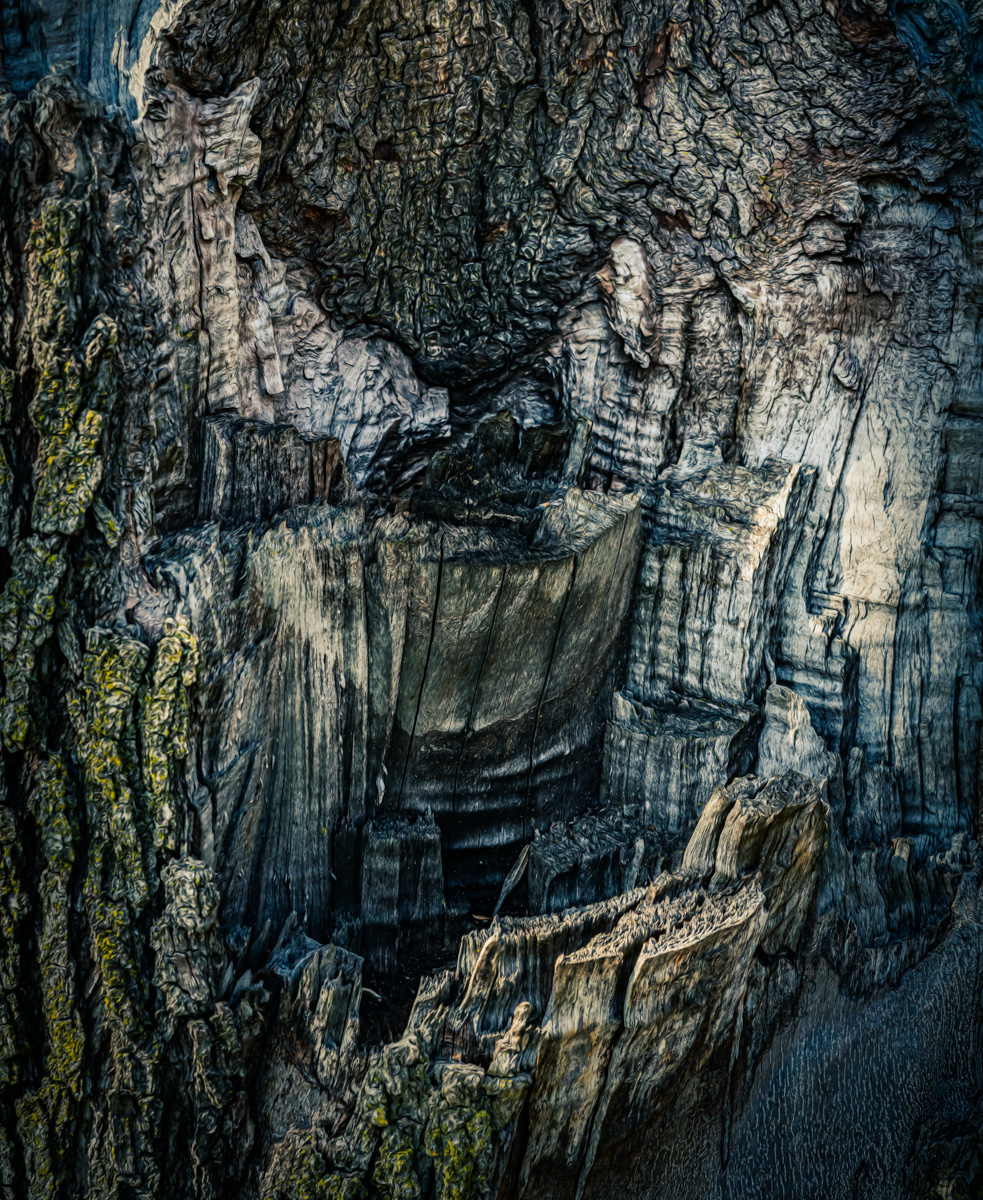
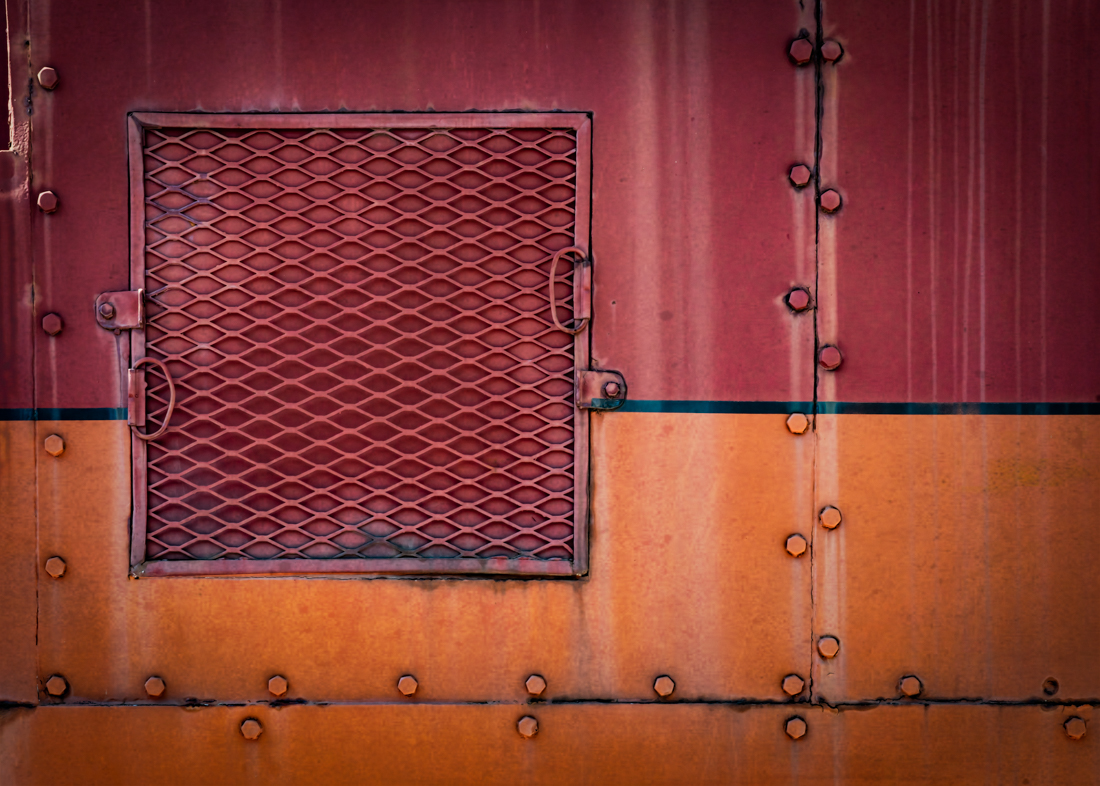
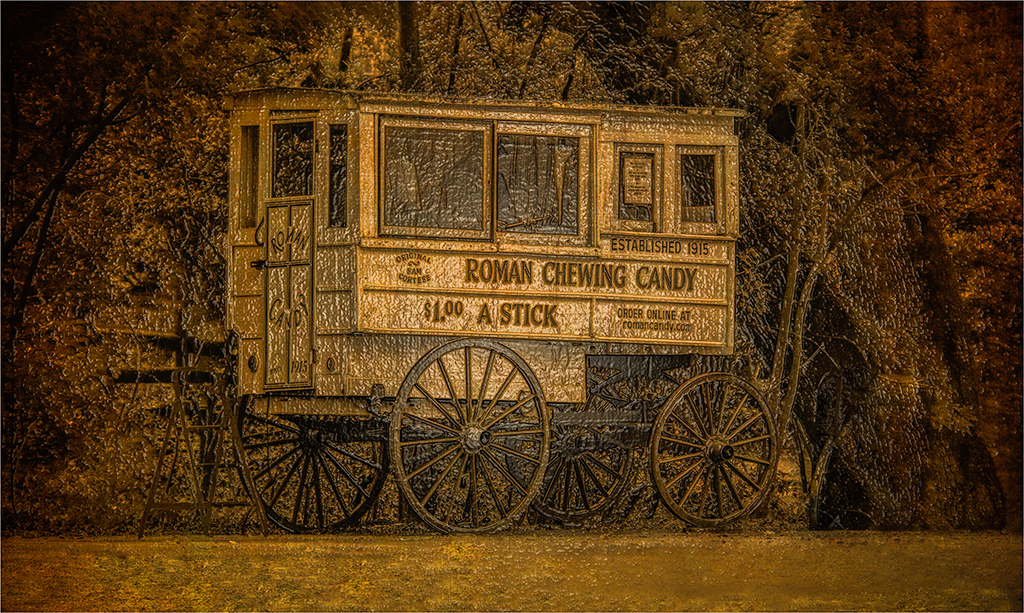
I really love this subject matter Linda. I can see why you held on to it to work with! I like your choice to make this monochrome which suggests to me that you are looking at something from the past. Like you have come across a traveling fair visiting various cities. The work you did on the foreground removes the look of a paved path, so again, enhances the fact that this could be from a past time.
If your intent was to take us back in history, I would clone out the trash can entirely. Also, I feel like I would like to see just a little more detail in the wagon. Maybe fewer texture layers would allow more detail to shine through or increasing the brightness of the wagon, before the textures are added. I took a shot at some edits using Lightroom and masking the wagon and increasing the exposure a bit, then blending the trashcan into the background a little more using the healing tool. Just trying to provide some kind of example of what I'm thinking. And as usual, all just my opinion!
I really like the overall composition and choice to take us into the past with this candy wagon! |
Dec 14th |
 |
| 77 |
Dec 22 |
Comment |
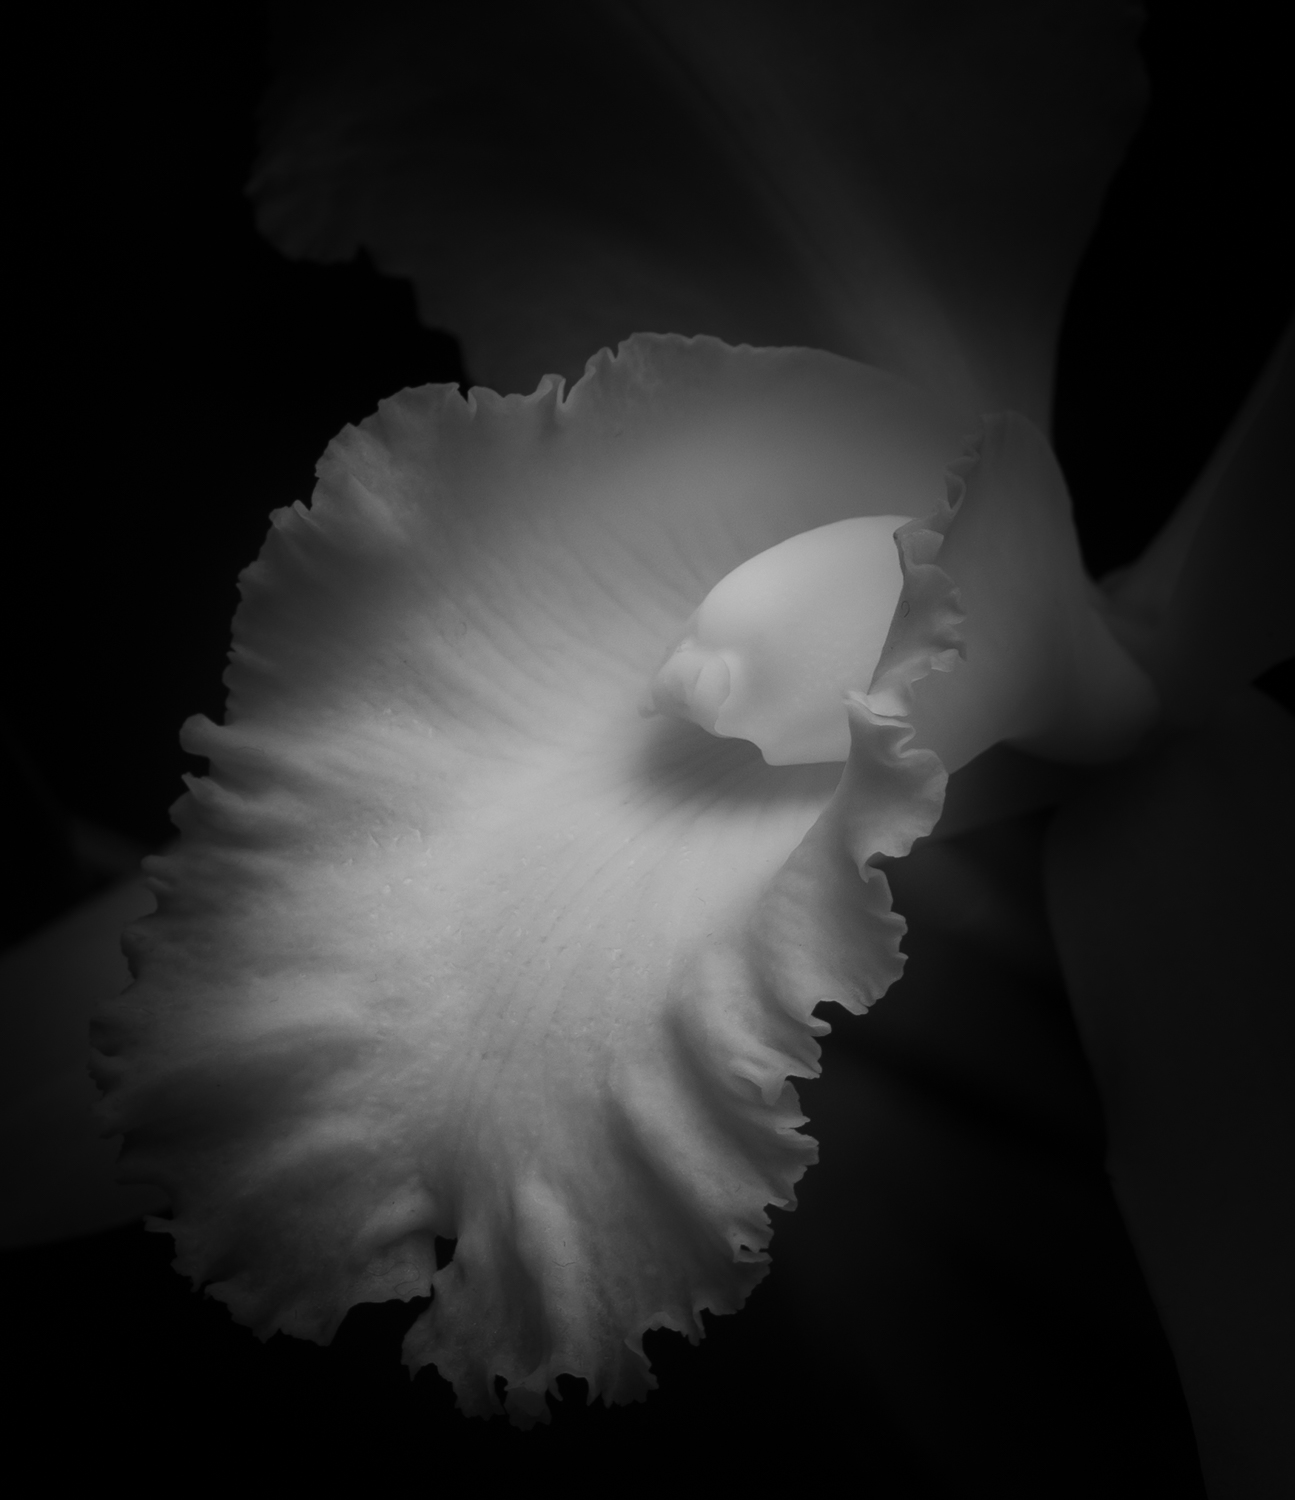
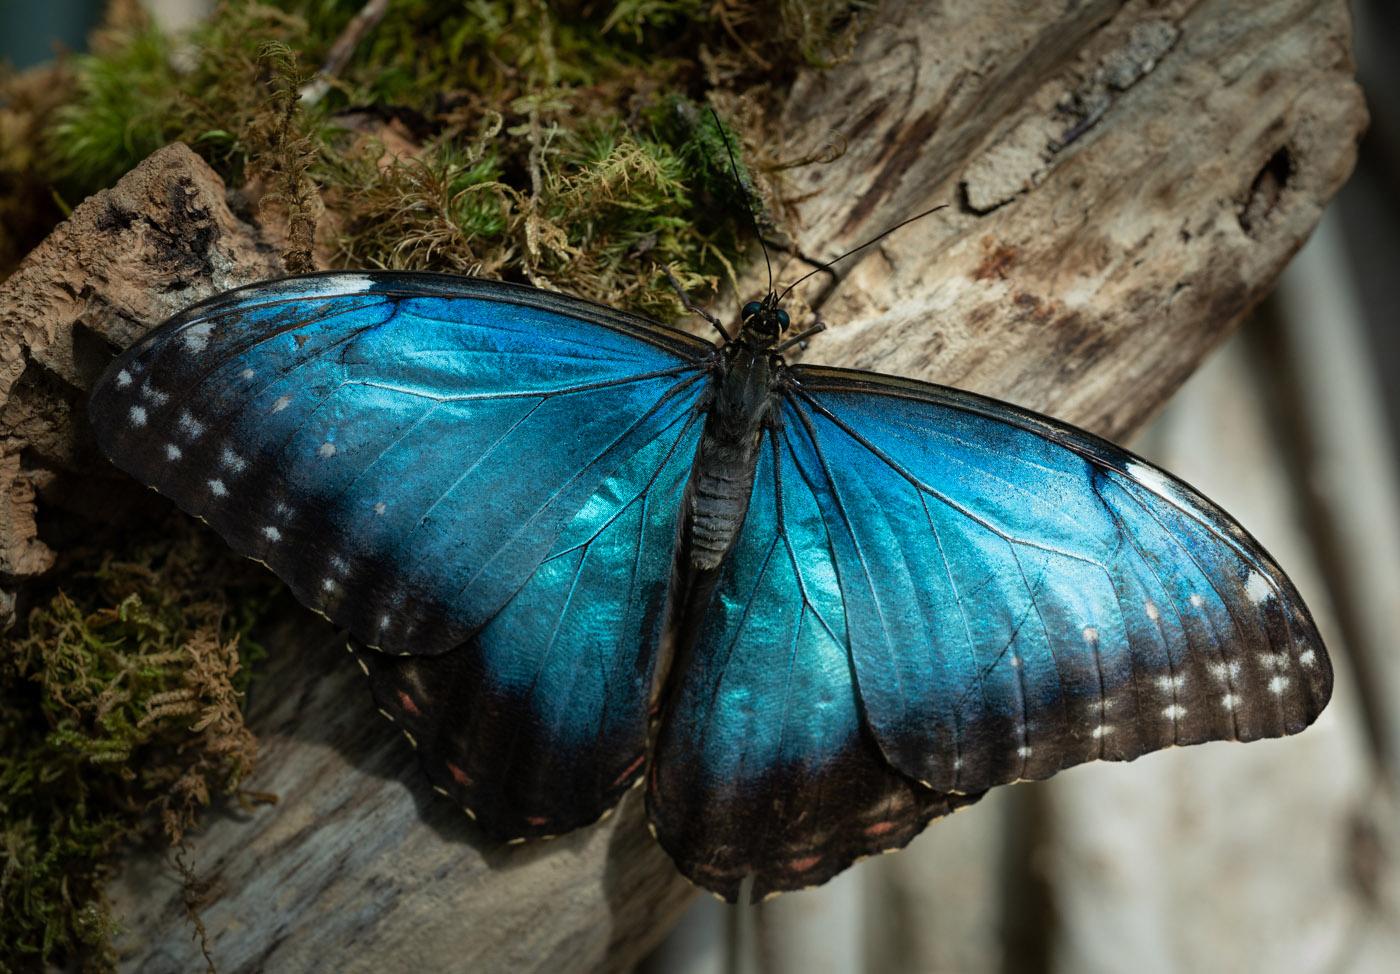
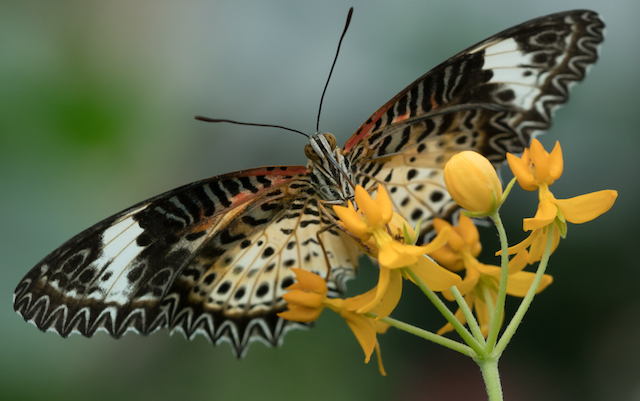
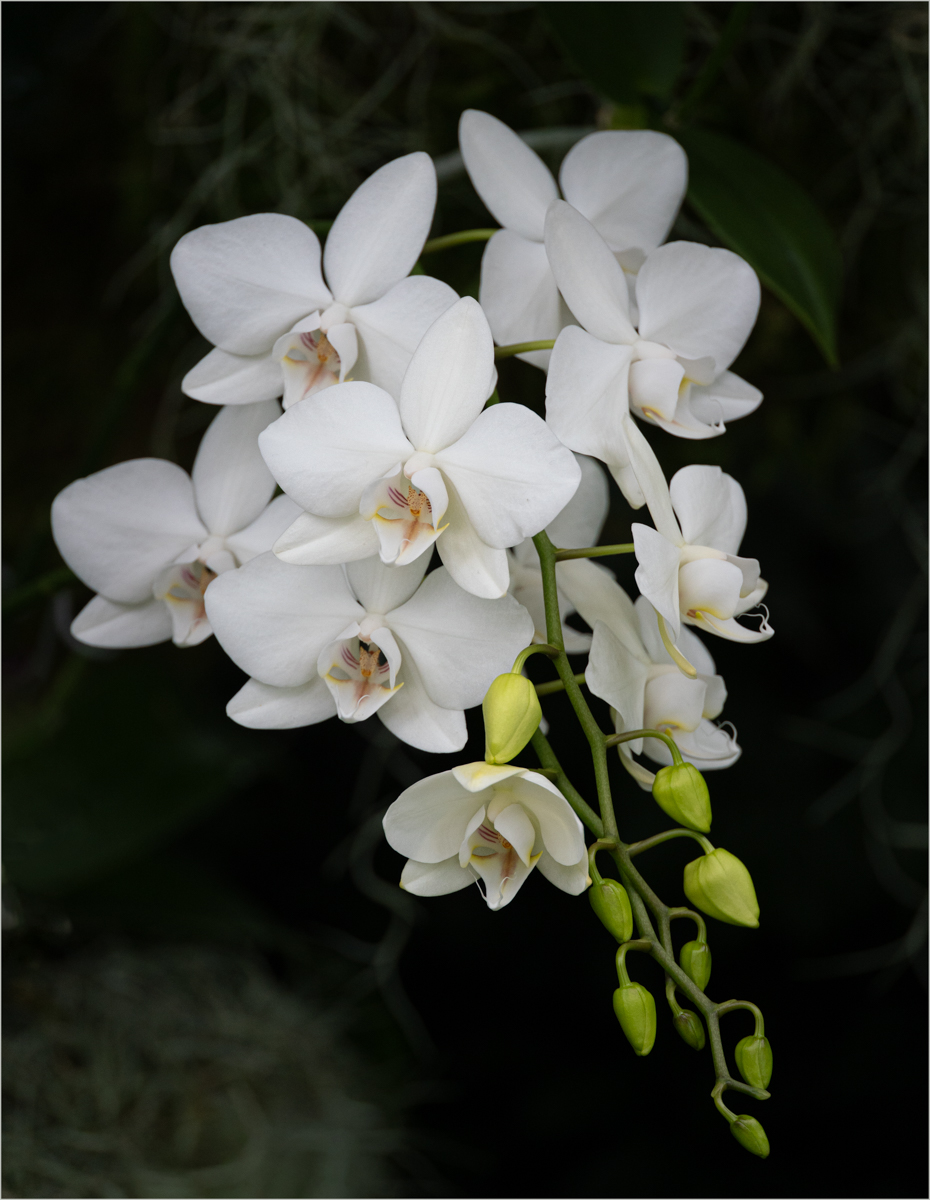
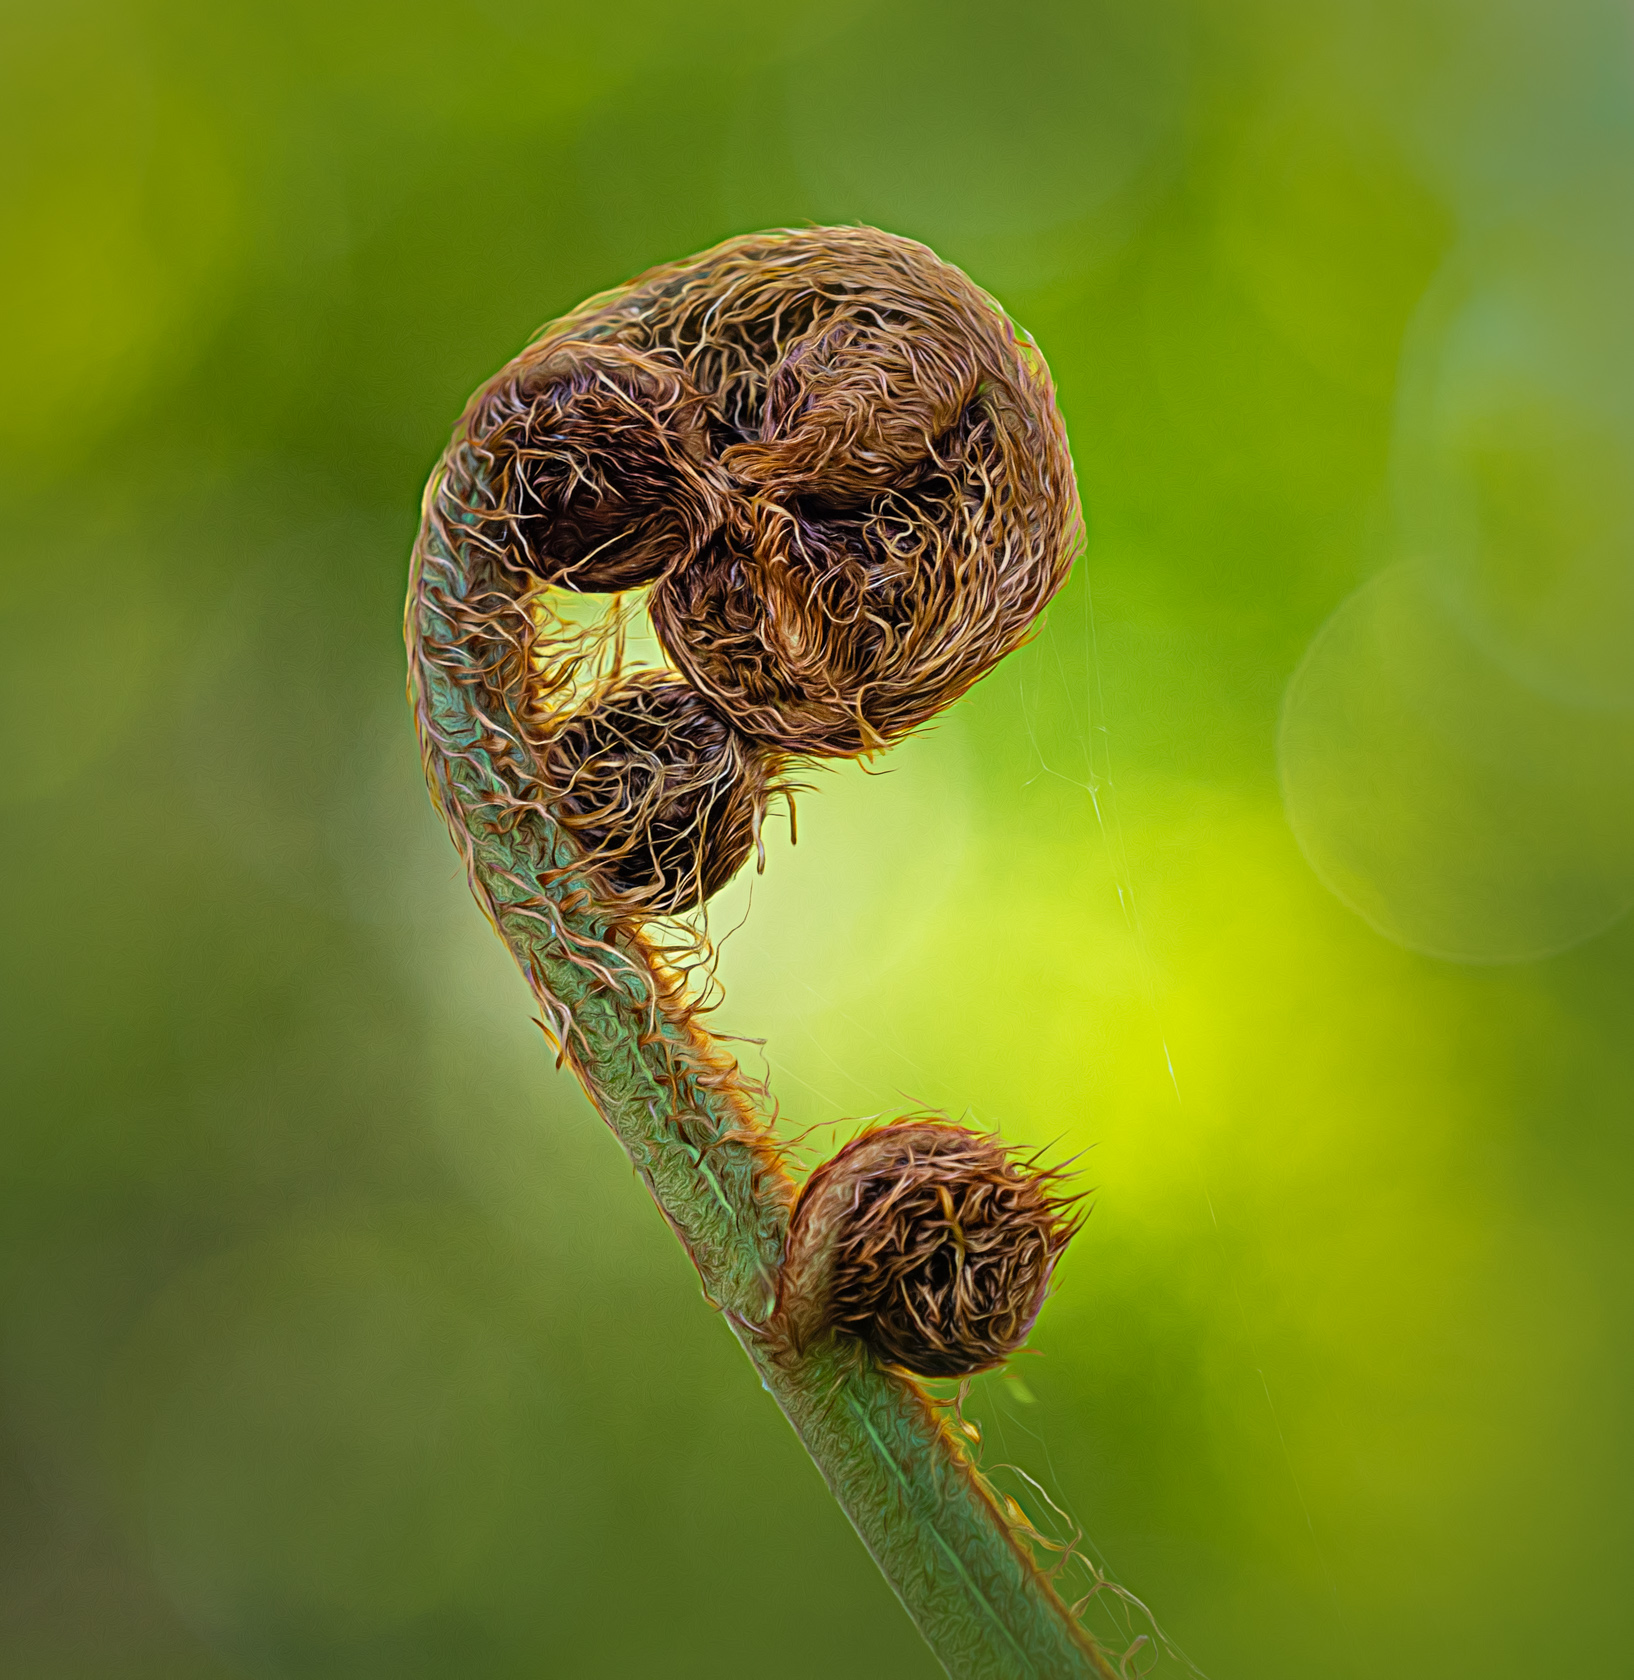
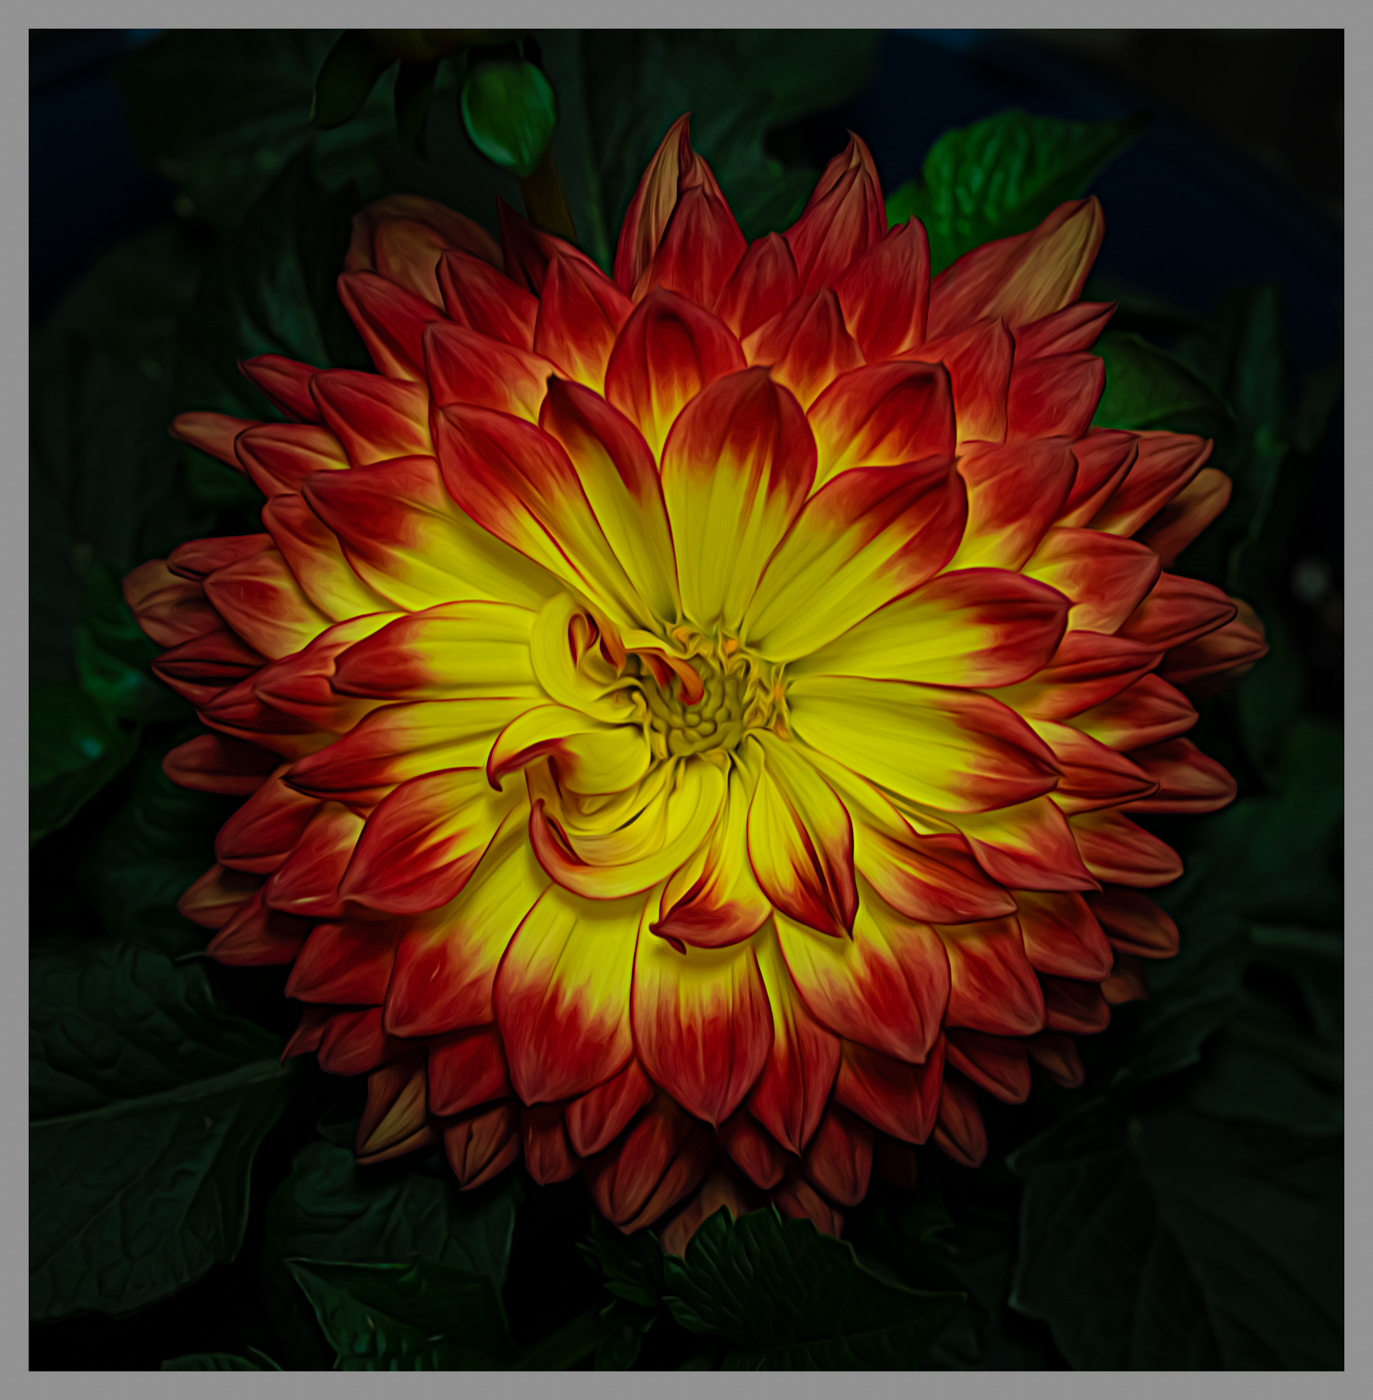
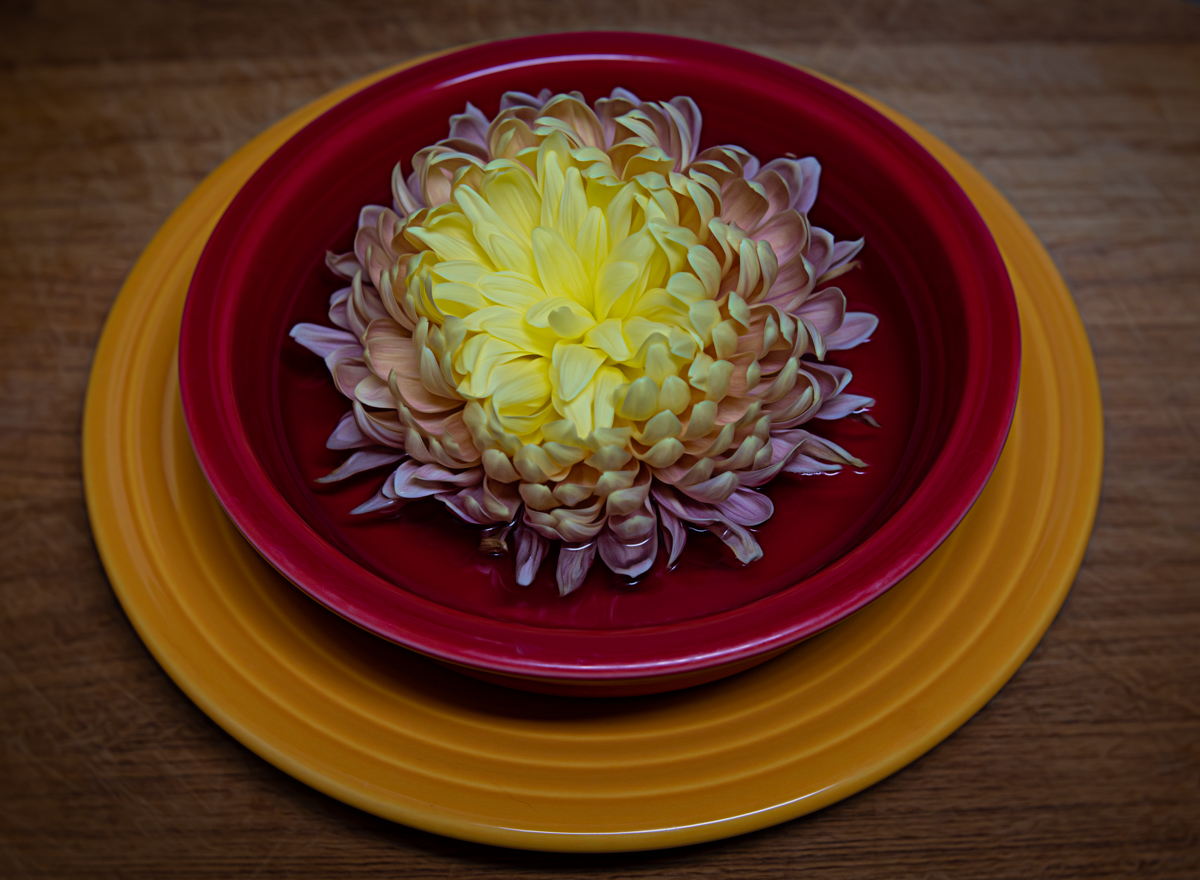
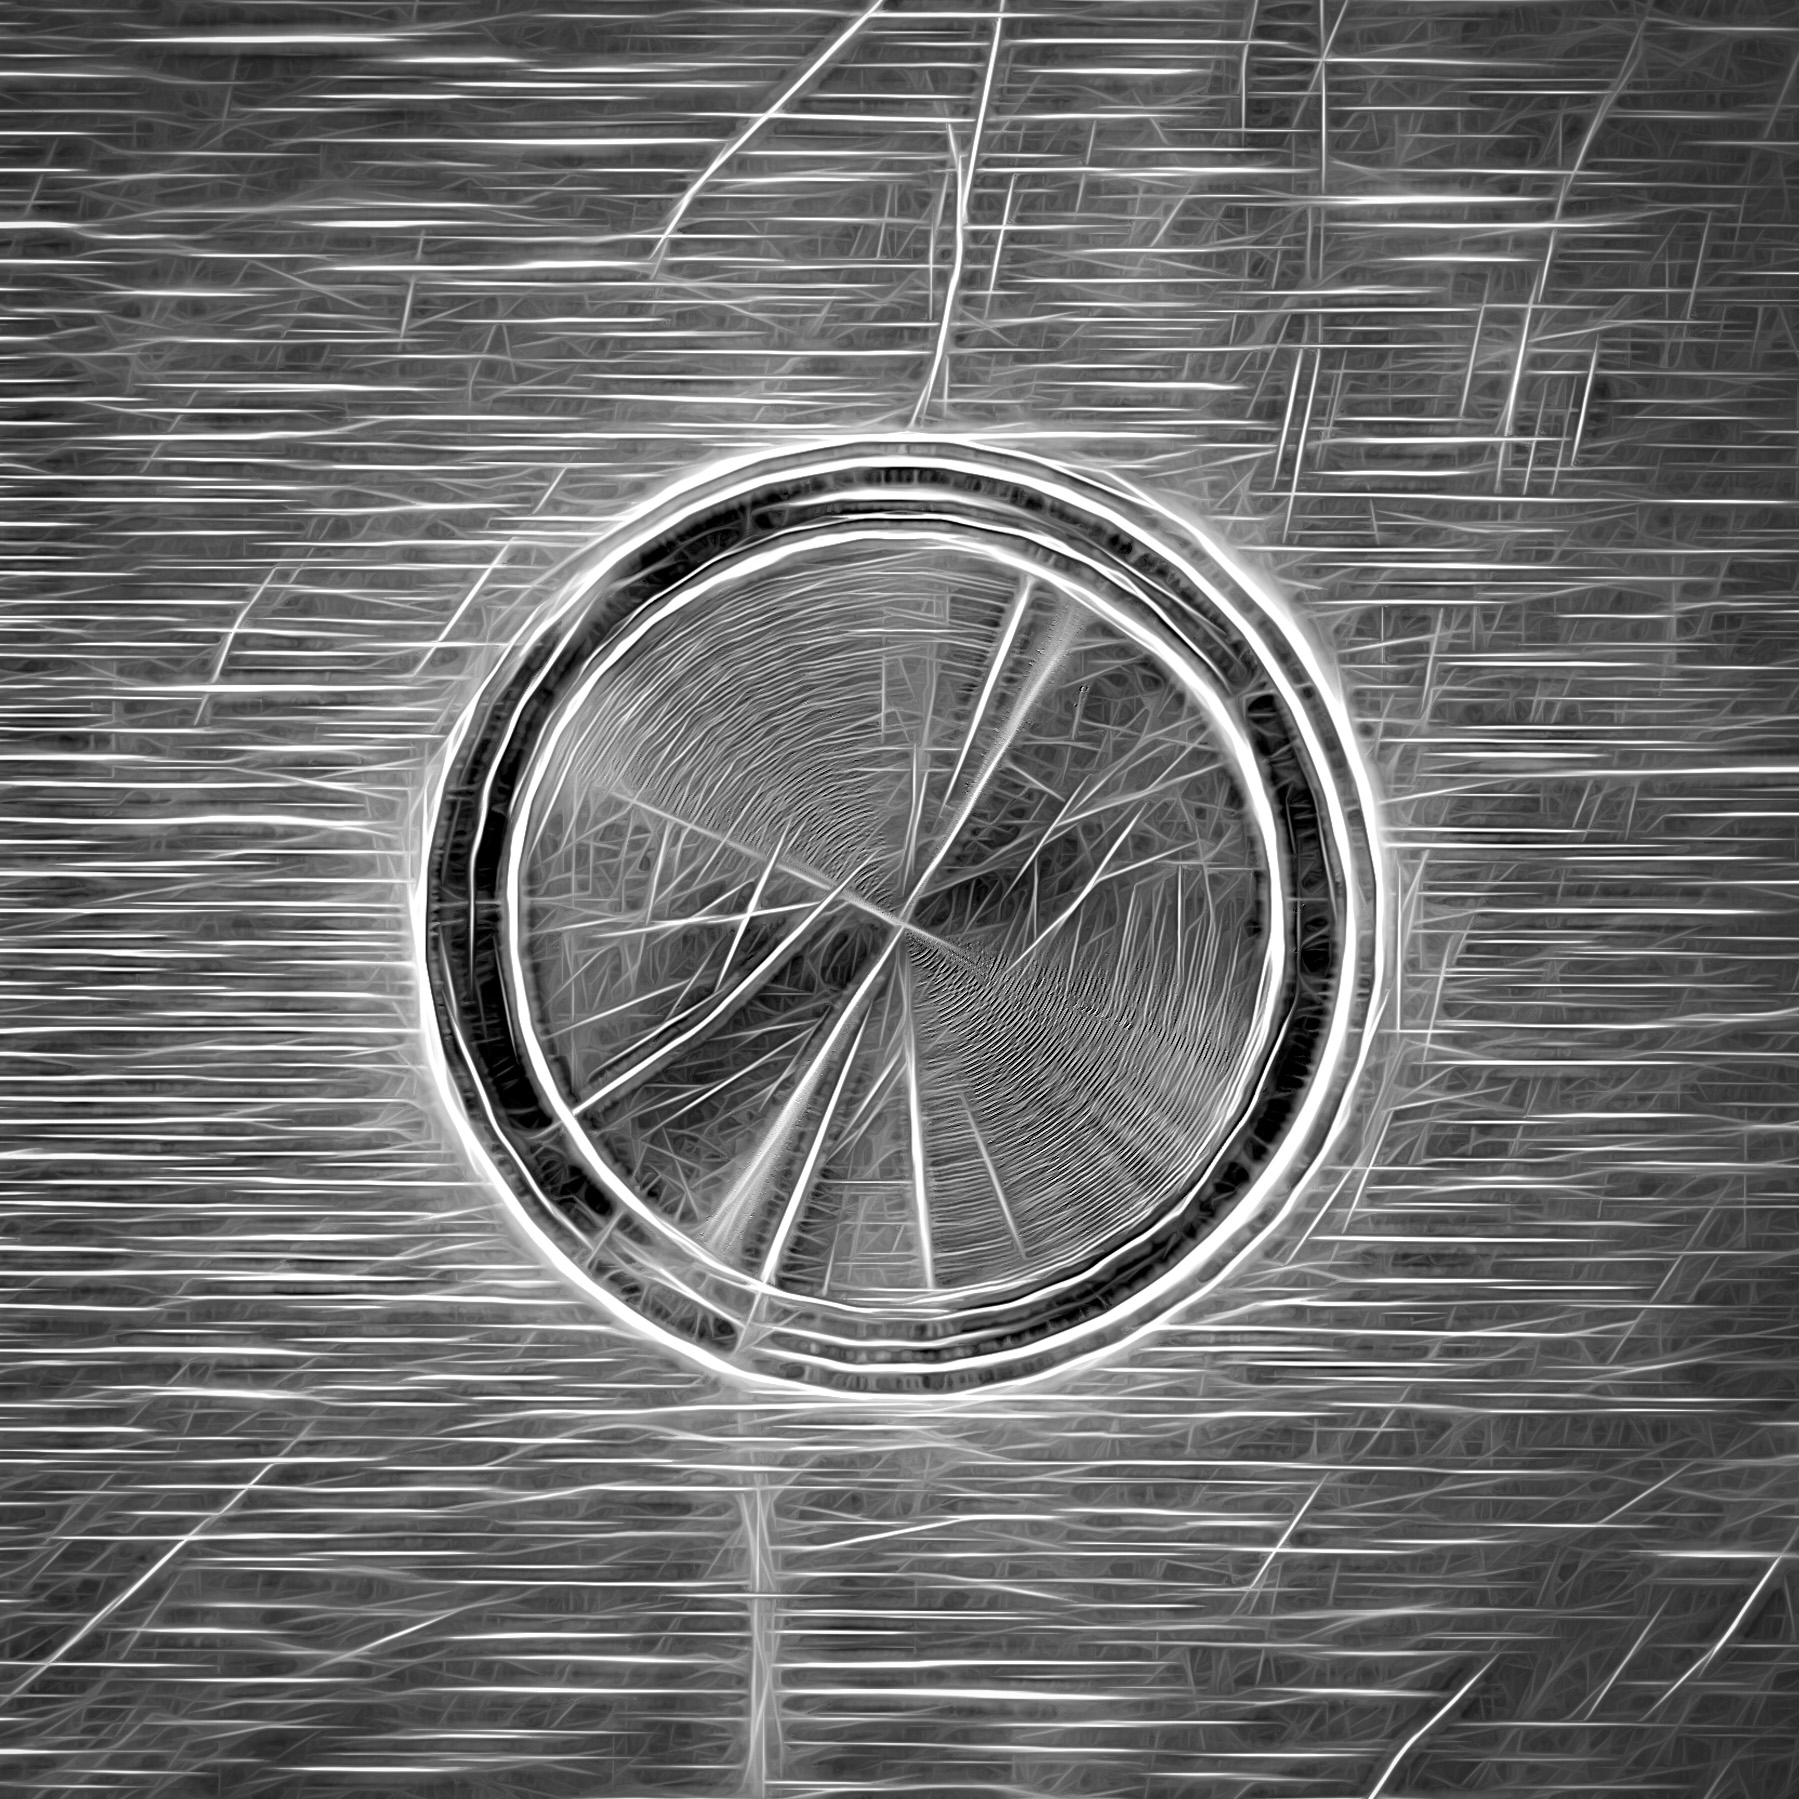
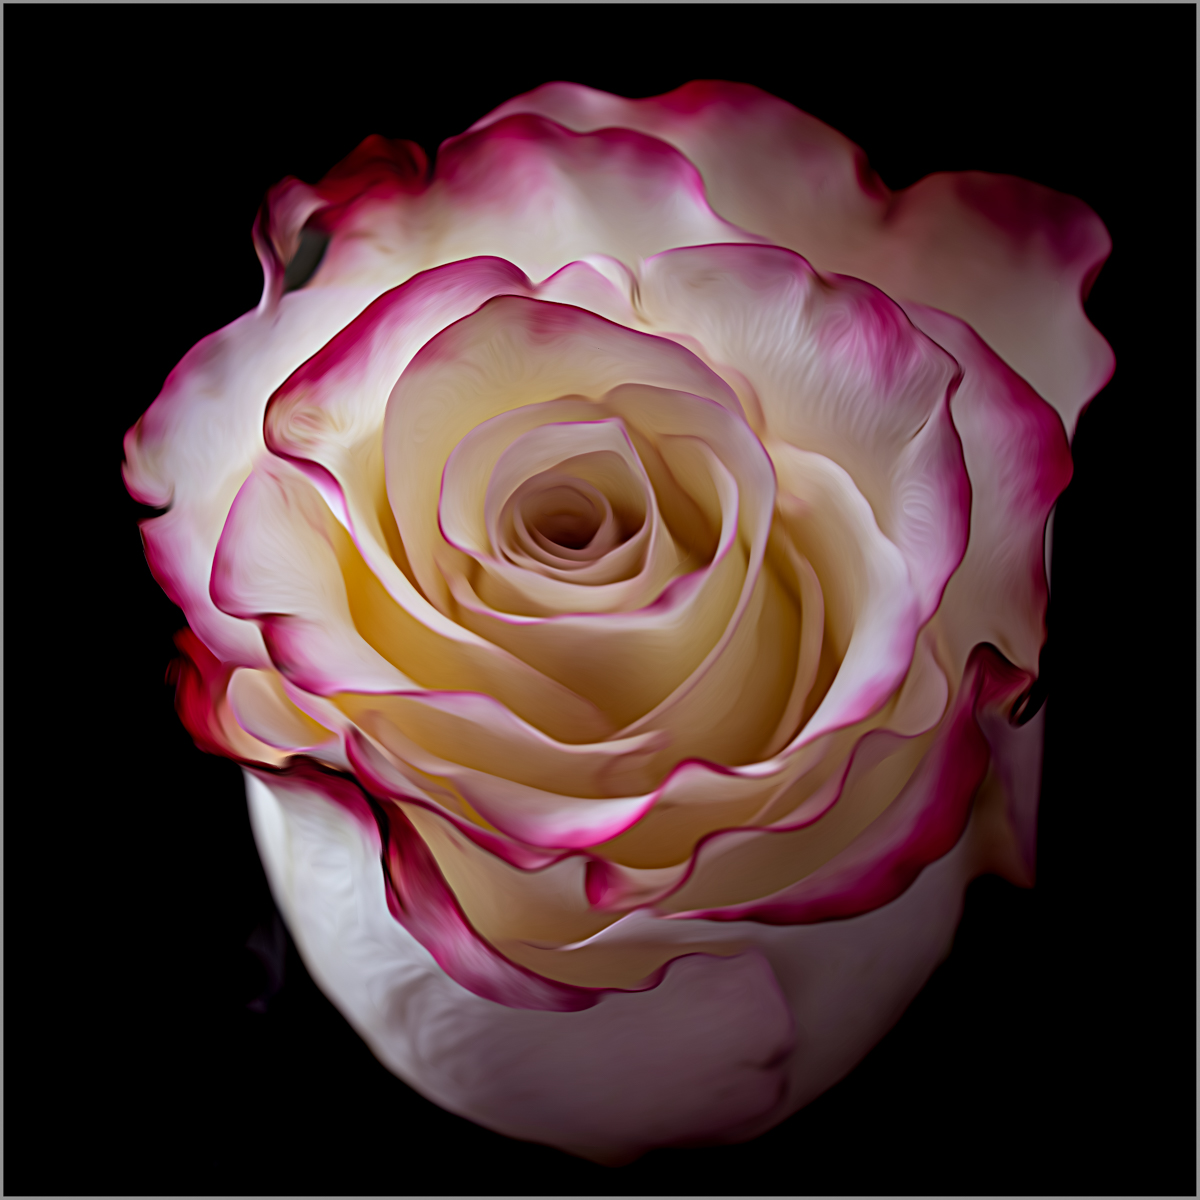
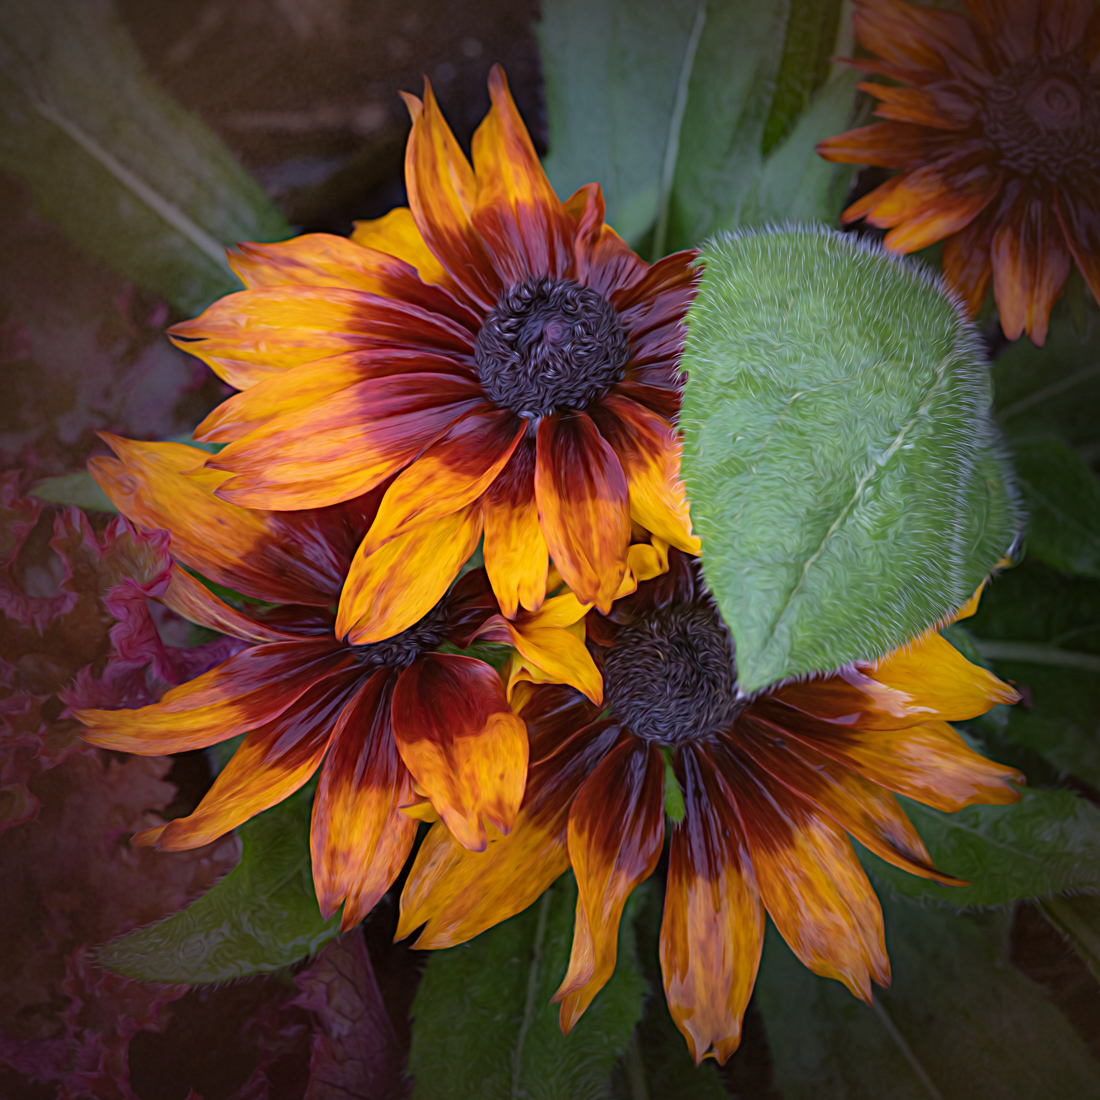
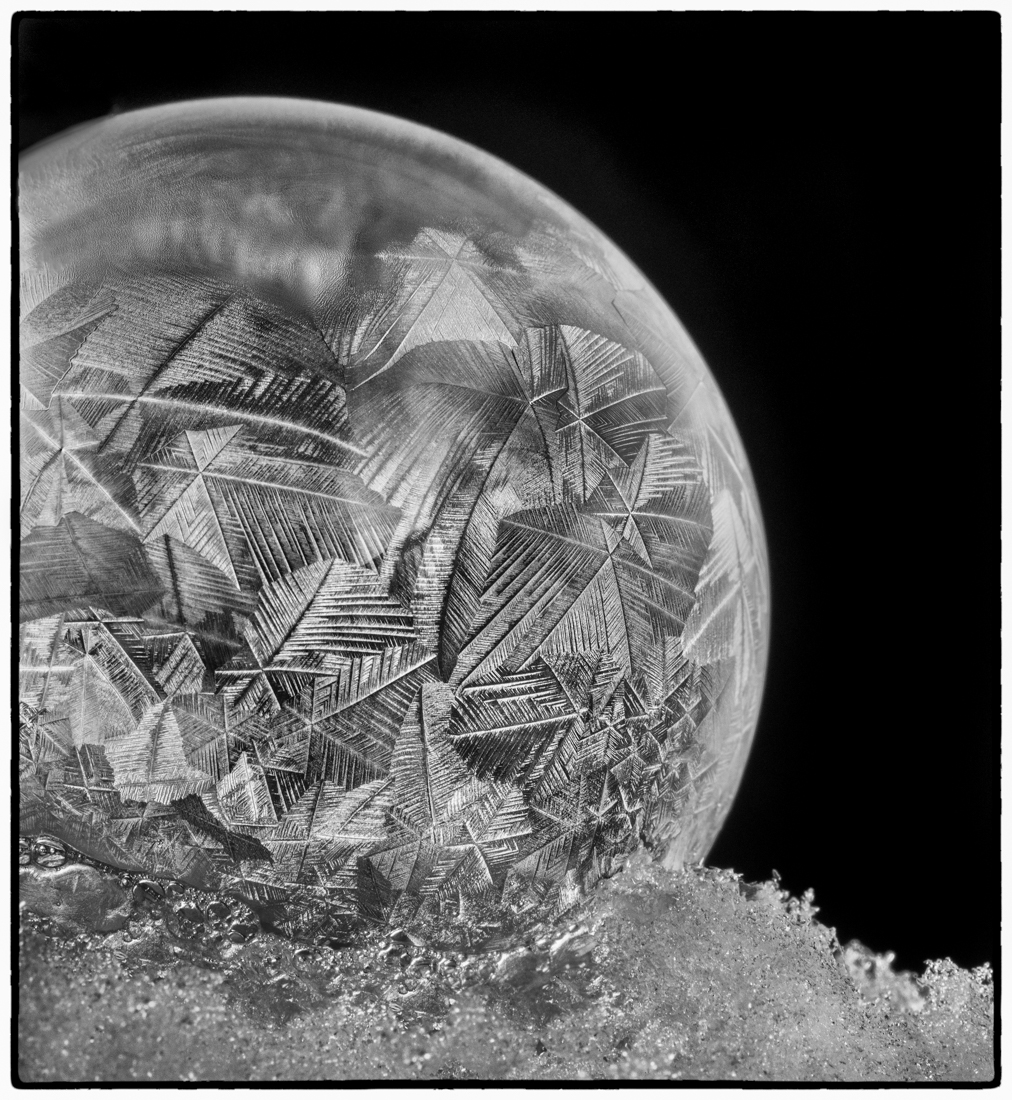
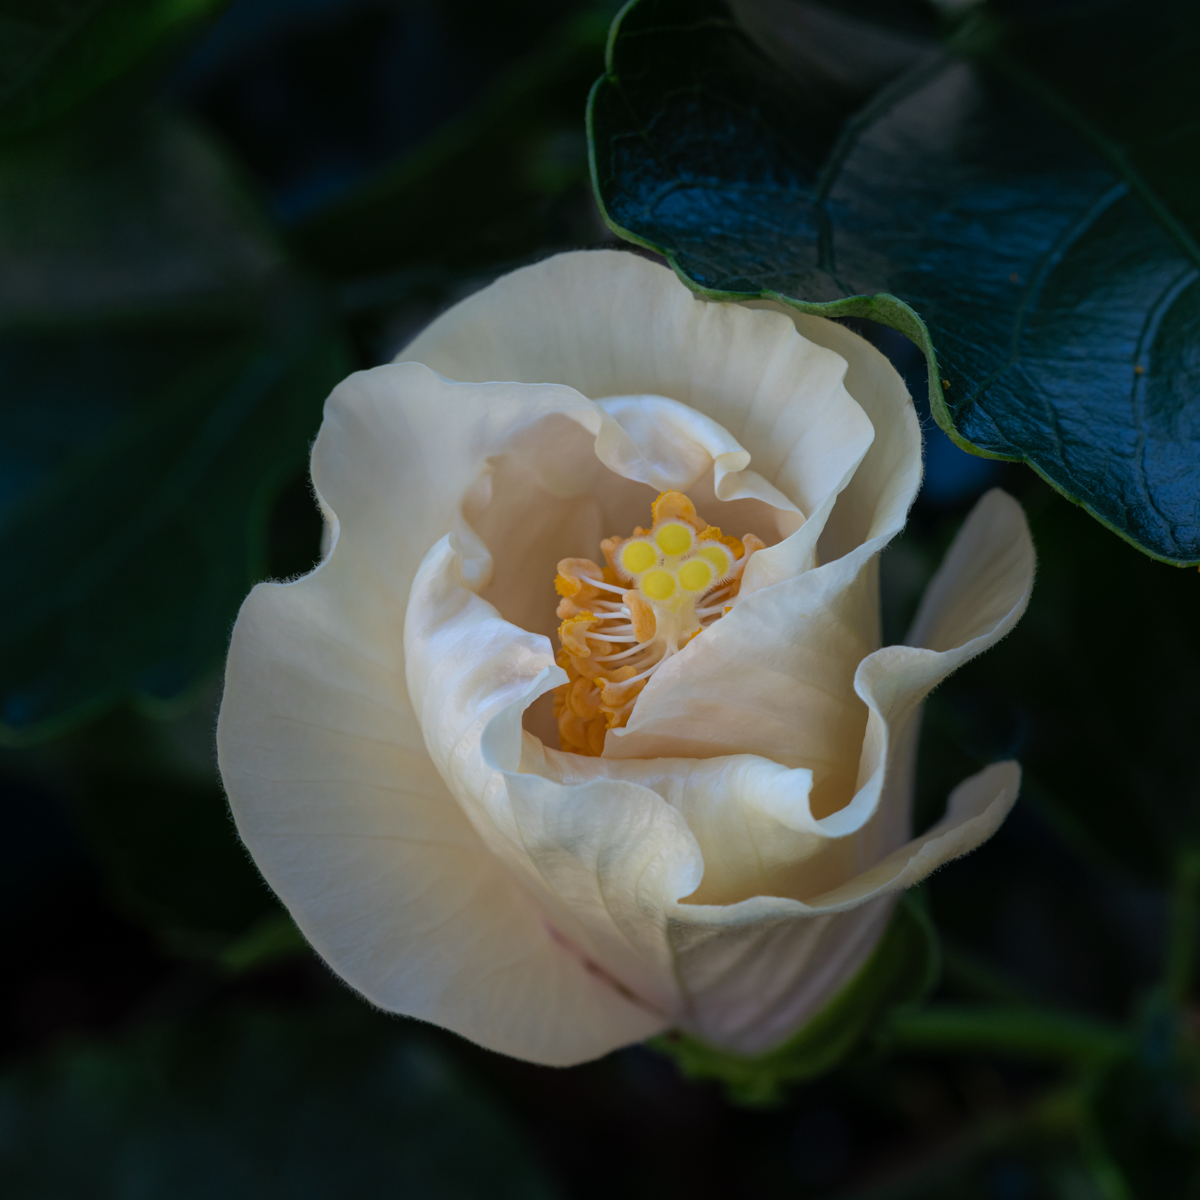
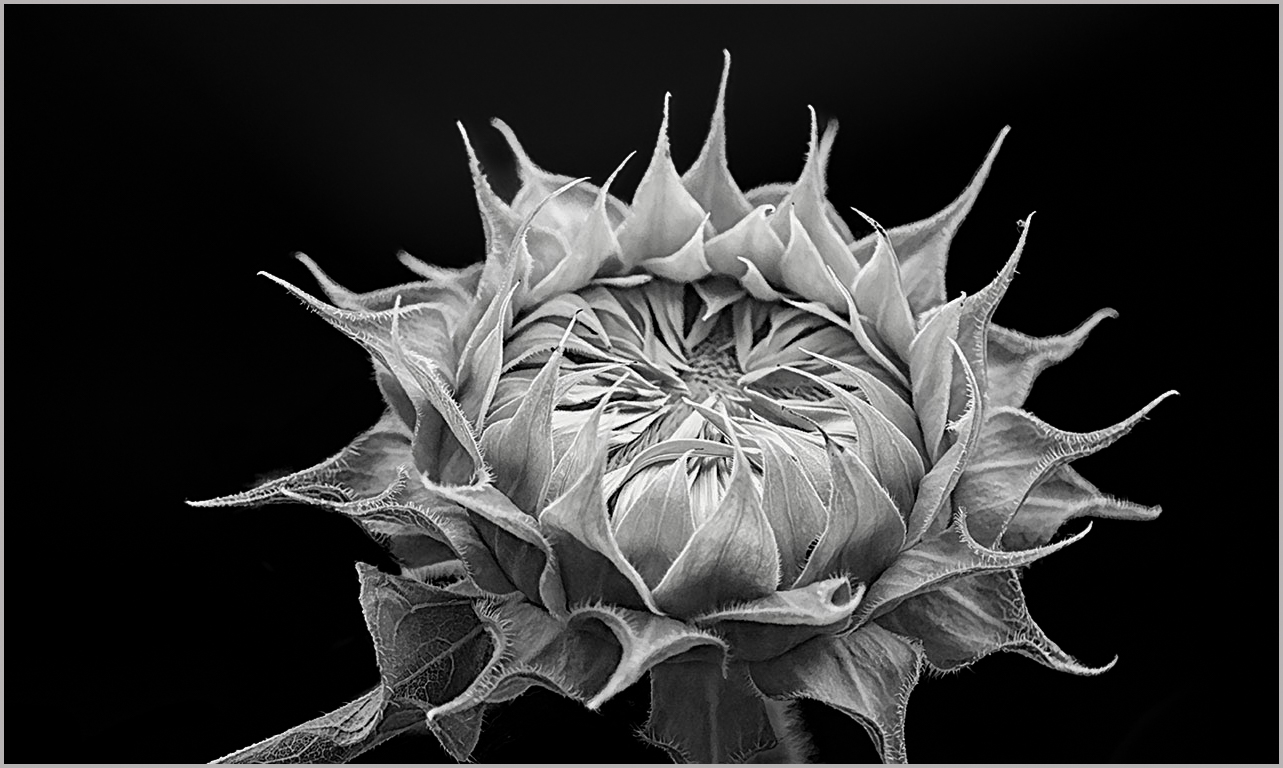
I also enjoy capturing flowers in various stages of blooming. The sunflower you found has really nice detail and I like your choice to convert to black and white. The exposure is well made so that you can see the interesting texture of the flower.
One suggestion for improvement is to give the flower more room at the bottom. You have cut off the tips of some of the green bracts (I think that's what they are called), which effects the overall balance of the image in my opinion. It appears your original image excluded this part of the flower and it wasn't a cropping decision. If that was so, I would suggest you allow more room for the flower when taking the photo and then decide if you want to crop parts off during post processing. Otherwise, you do risk effecting the composition in a manner that can sometimes be hard to fix in post.
I made some other example edits/suggestions on the photo attached. I used Lightroom to turn the entire background black instead of leaving that small bright spot above the flower. To do that, I used the masking tool, selected "subject" then inverted the mask to effect just the background. I then reduced the highlights and exposure until it was all black. Lightroom masking was recently improved to make it much easier to select the subject well, with just one click, then invert the mask if you only want the background effected. But you can also just select the background, LOL, but sometimes I want to see how well the subject is outlined and choose to do the inversion instead. Just depends on what works the best. I also increased the clarity on the flower a bit, to bring out a little more detail and cropped a little off the left side of the image. Because you didn't have a lighter stroke or border around the picture, it's hard to tell how it was cropped when it's uploaded to this site. I added one in Photoshop, so when you click on the attached image, you can see it.
I hope you find these suggestions helpful. |
Dec 14th |
 |
| 77 |
Dec 22 |
Comment |
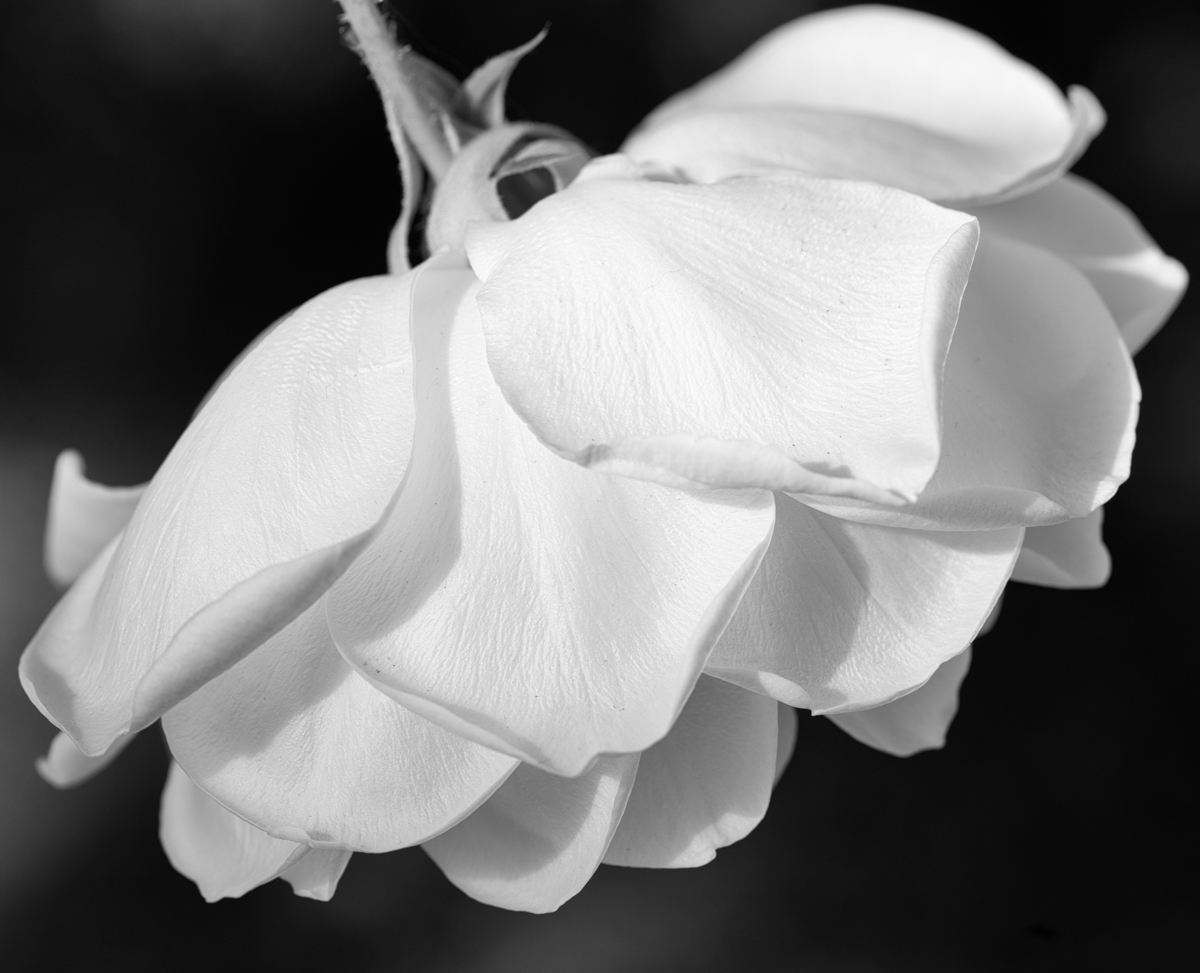
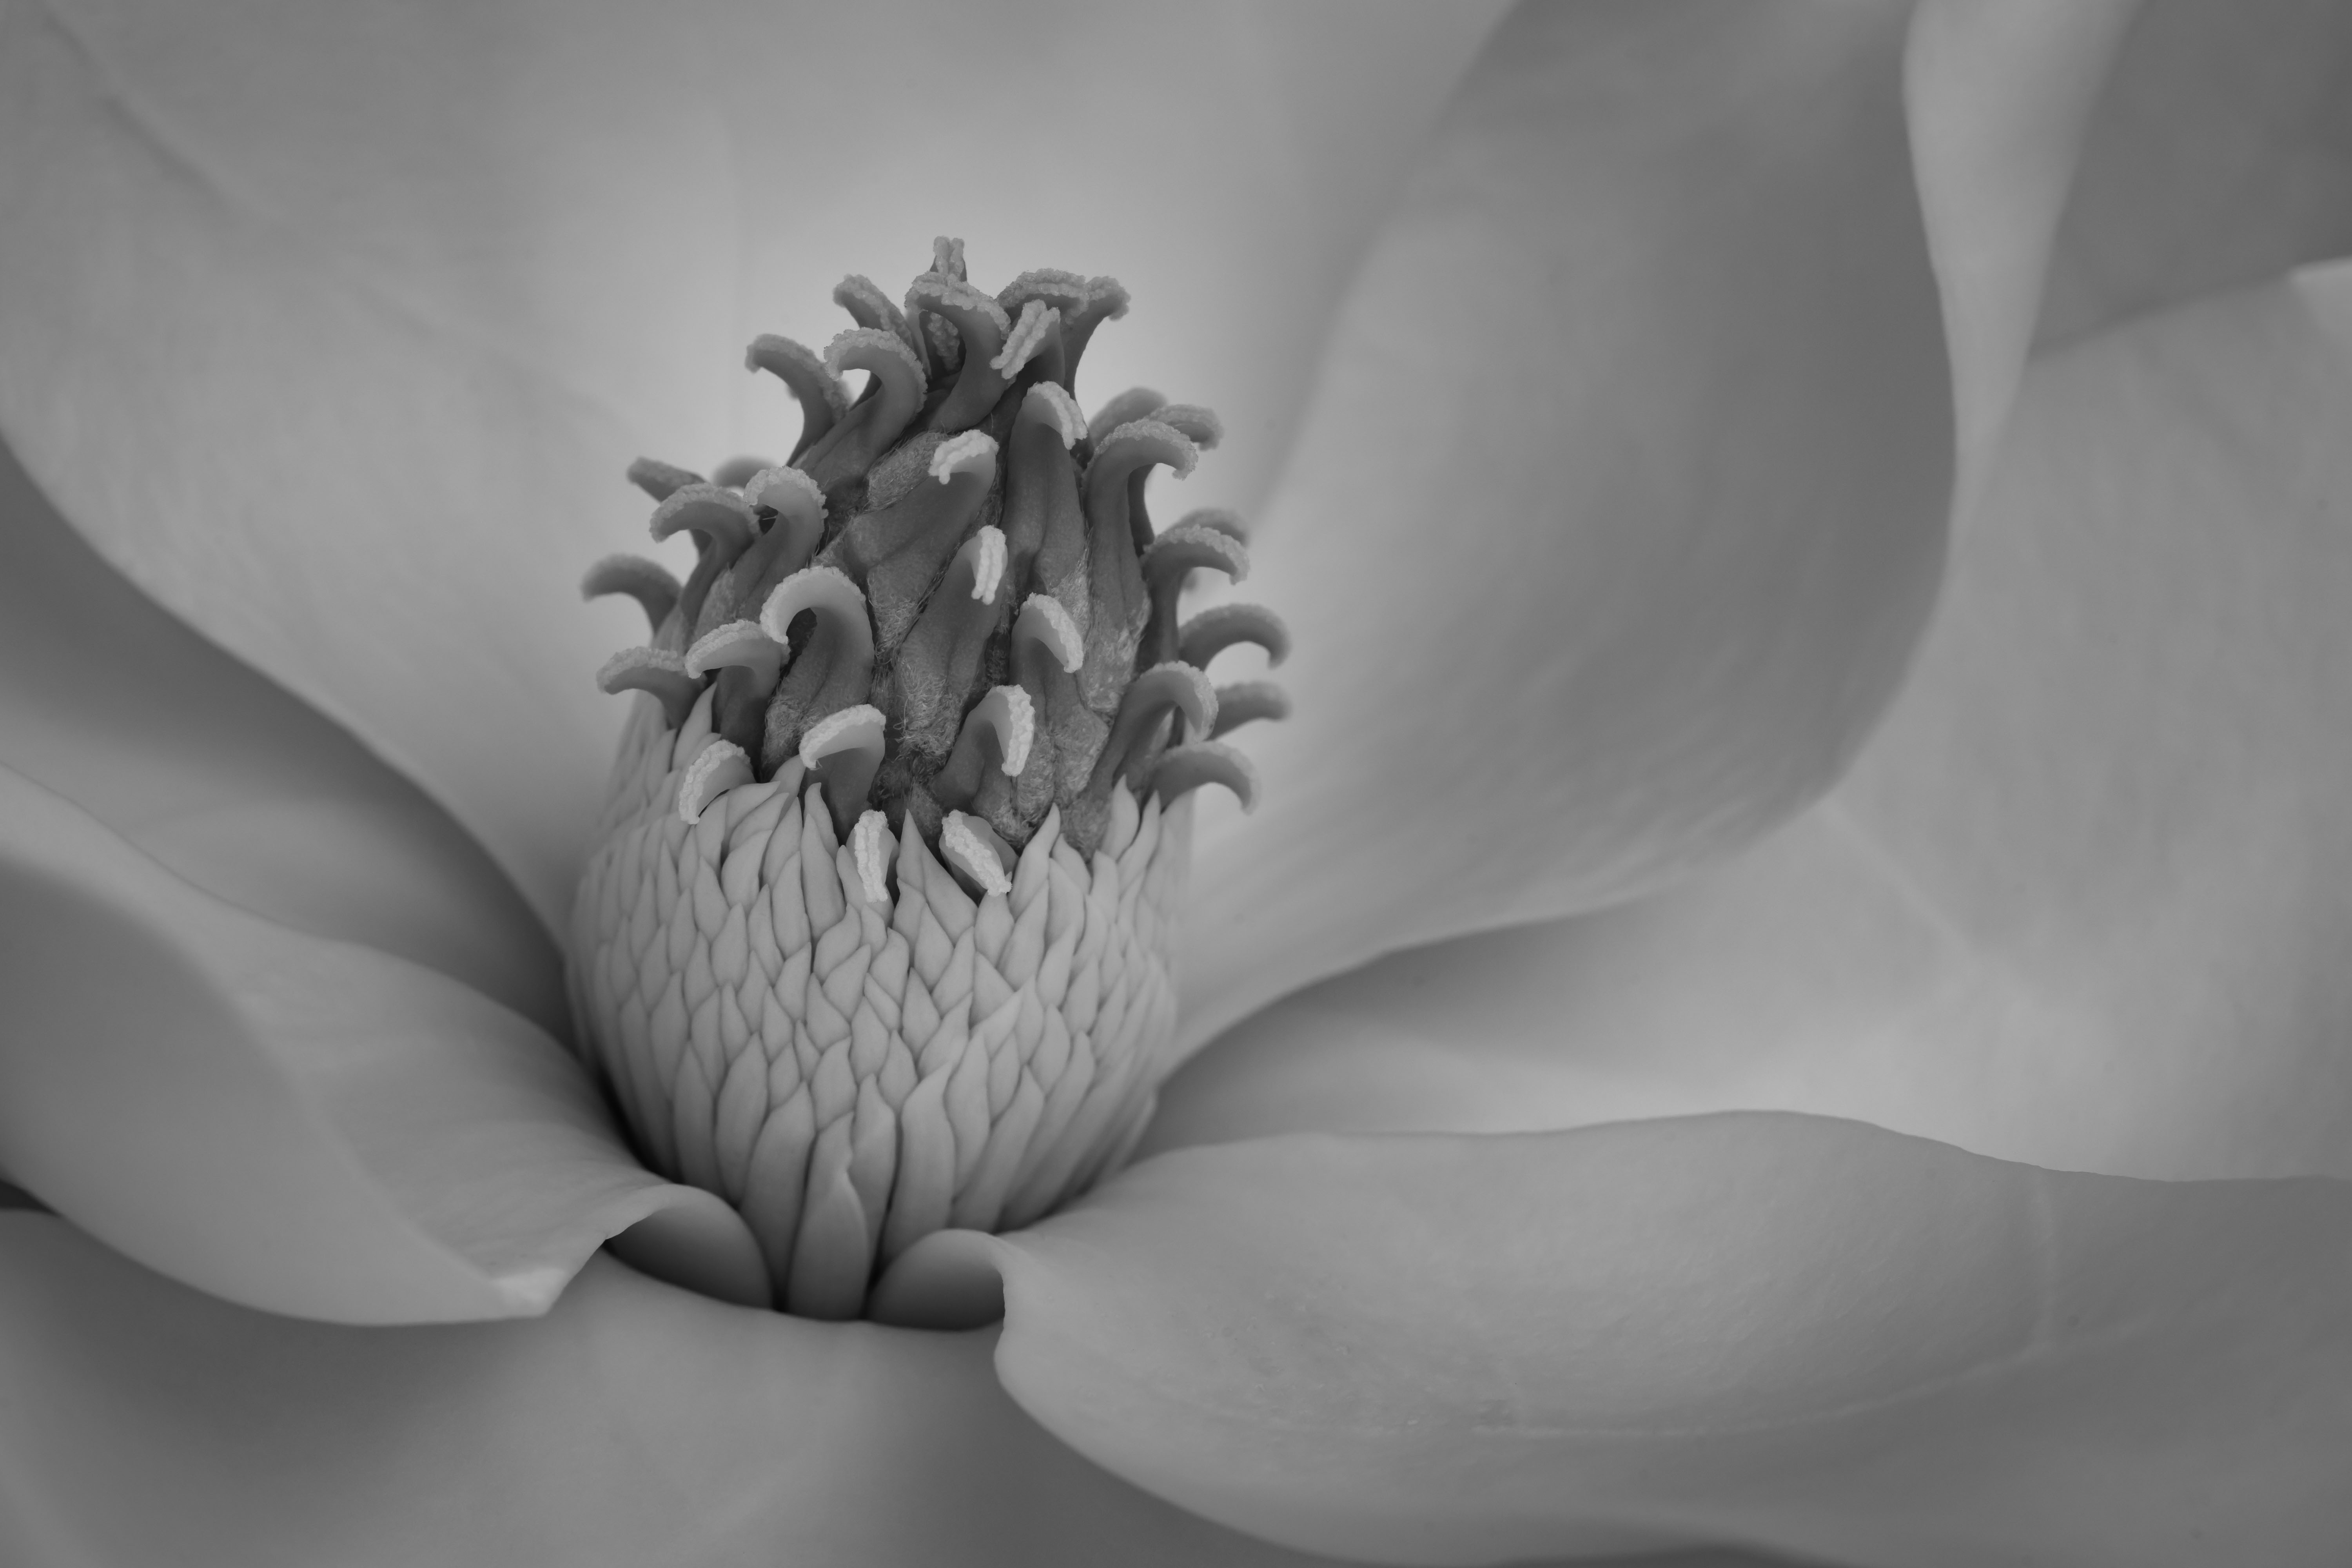
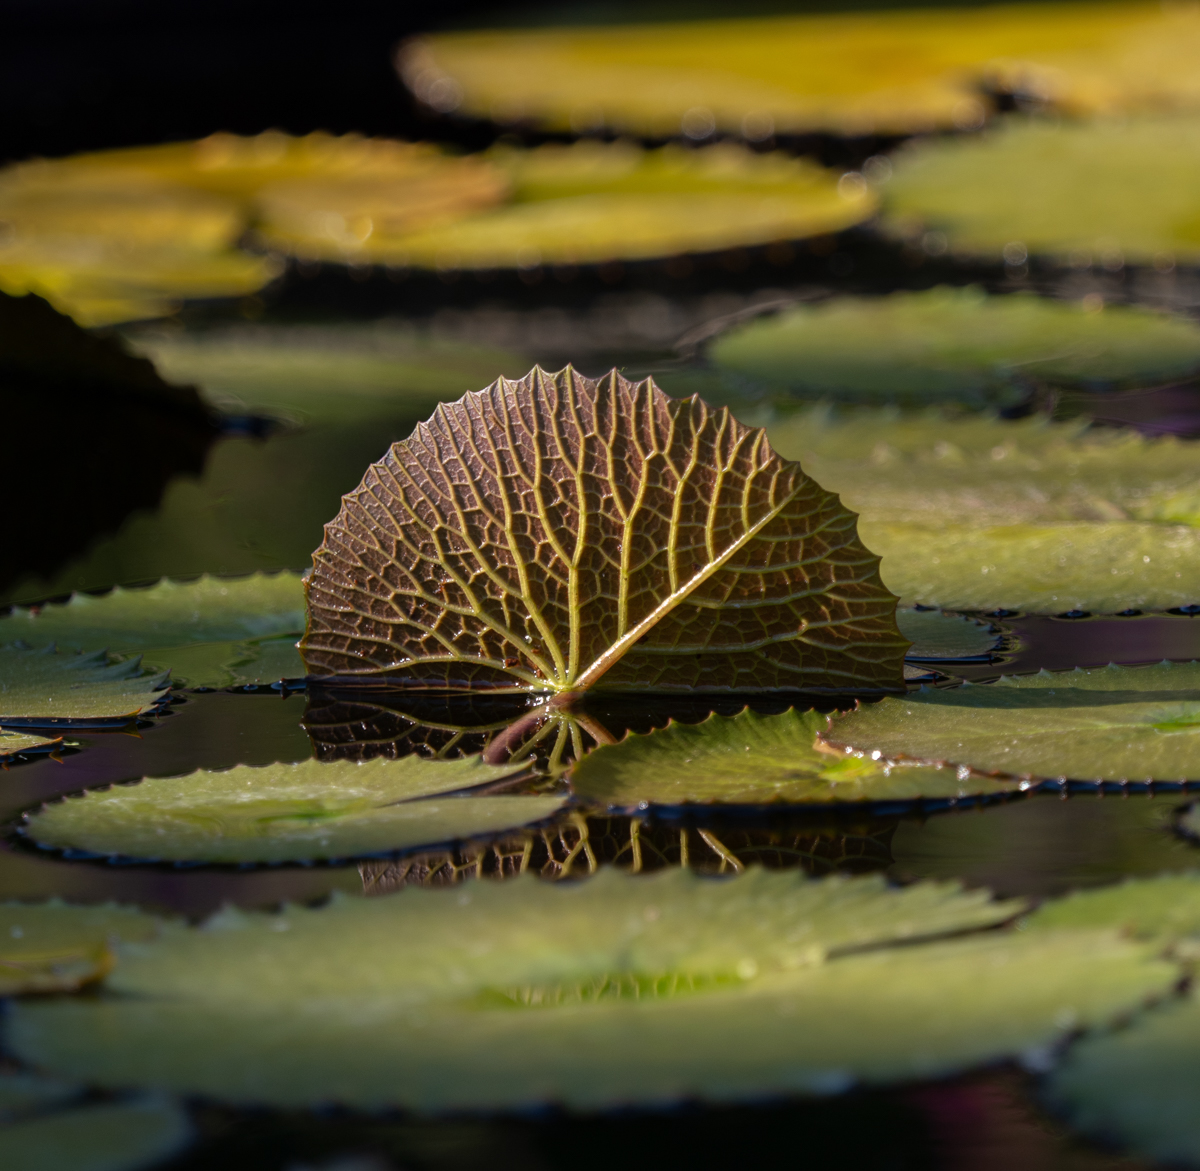
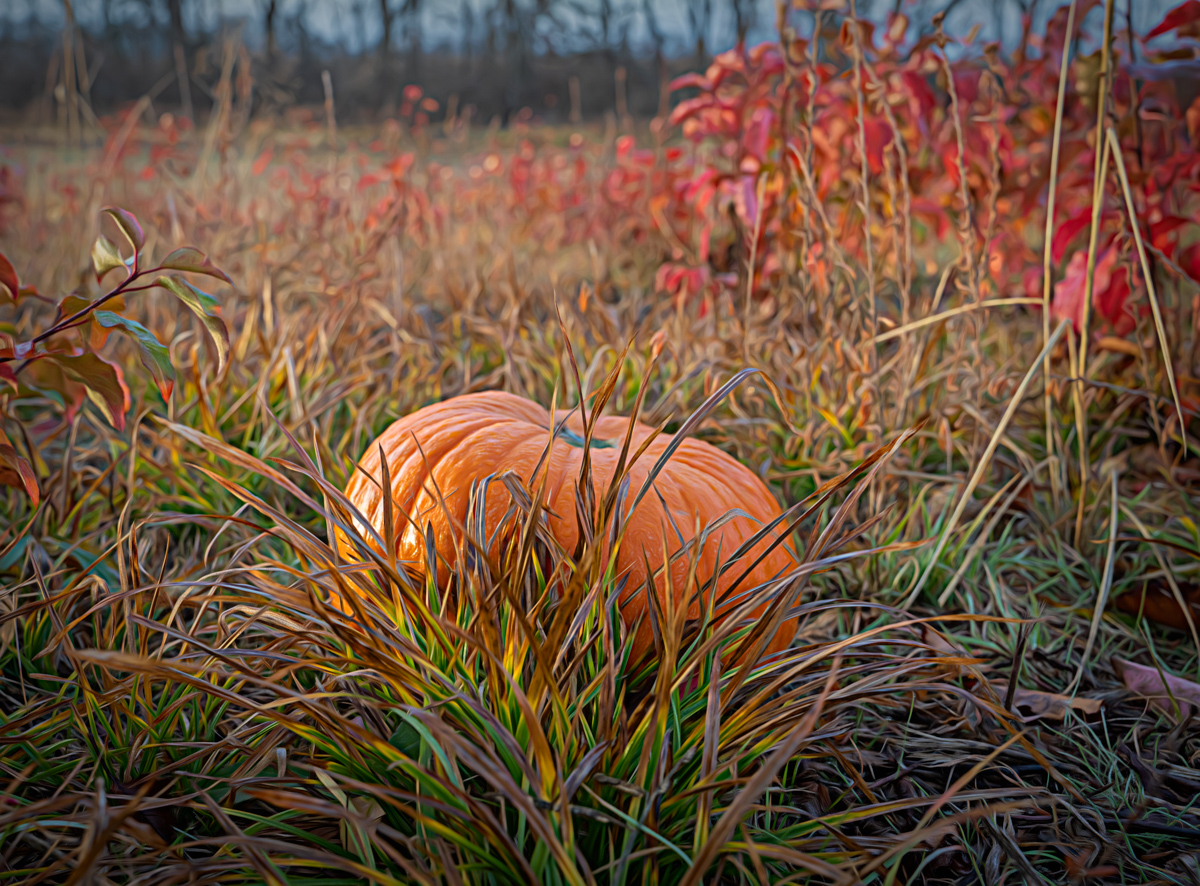
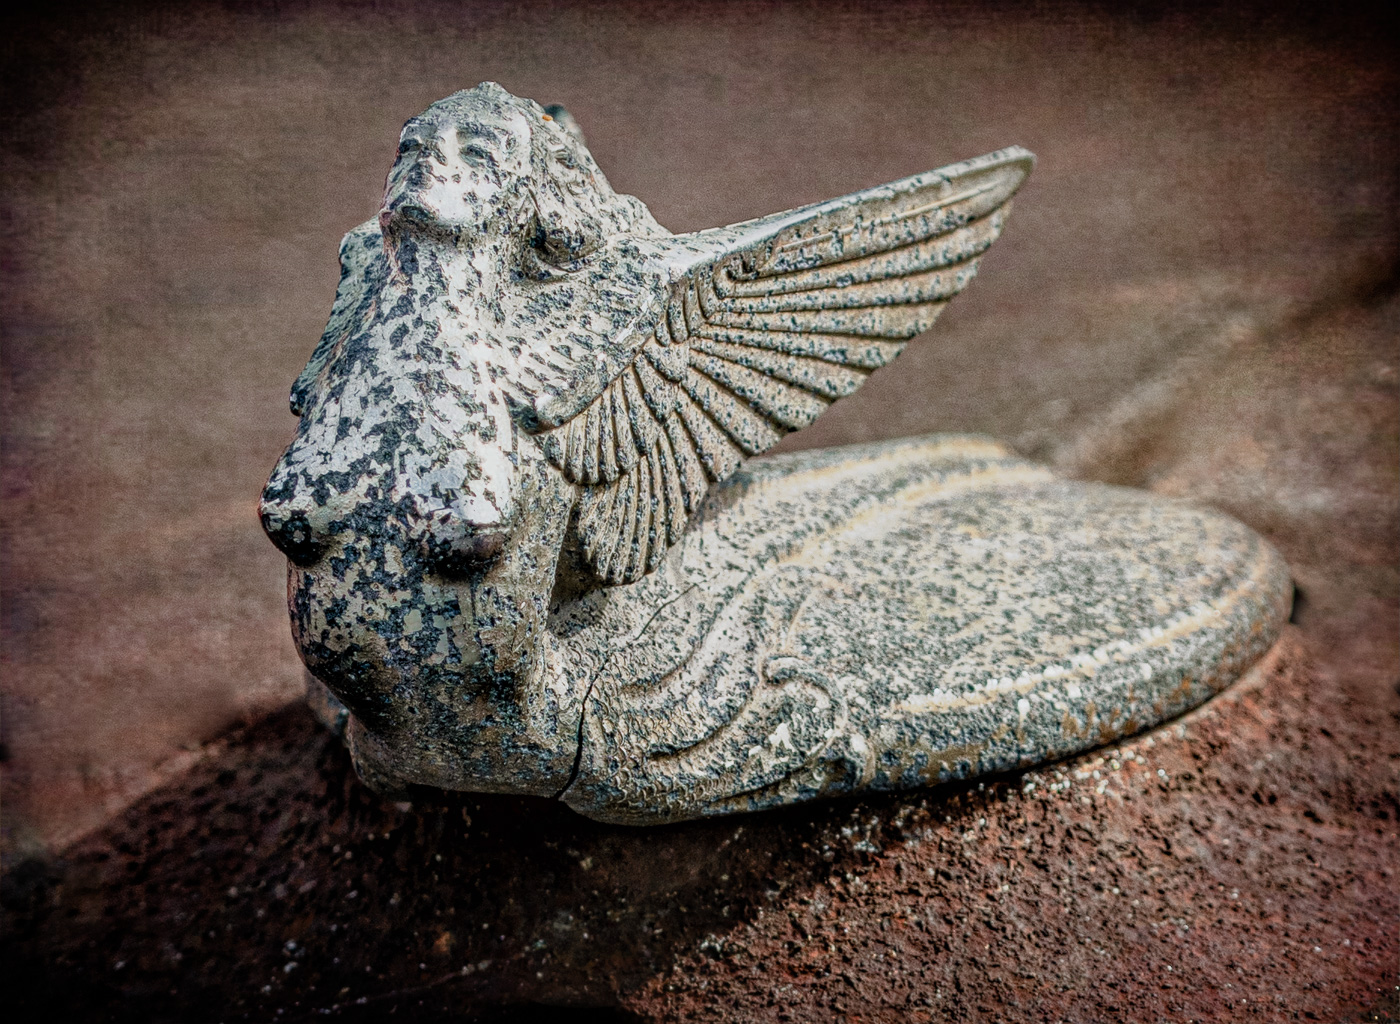
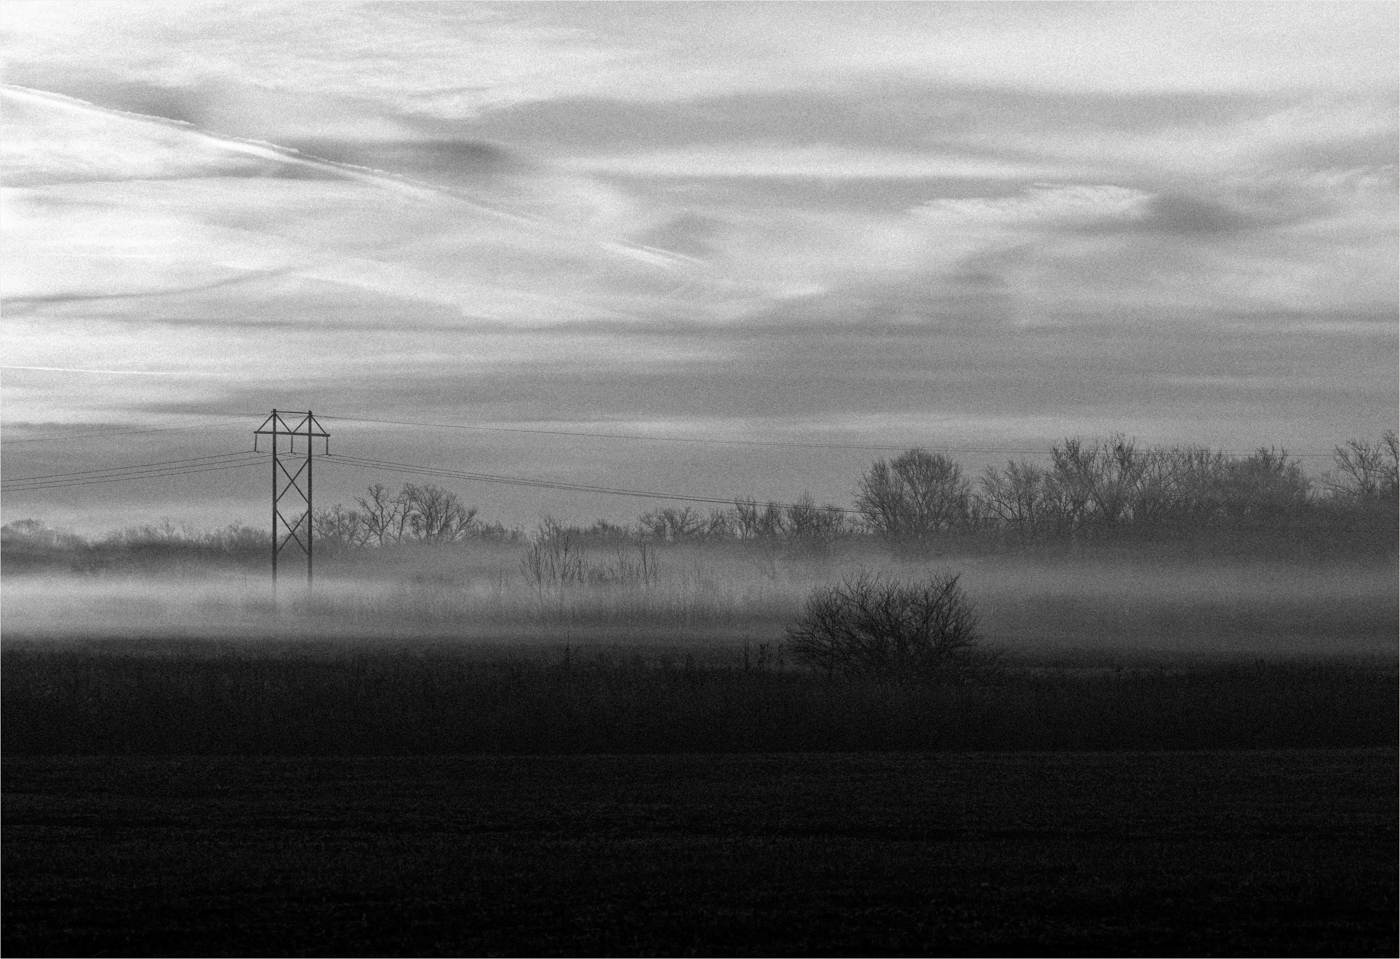
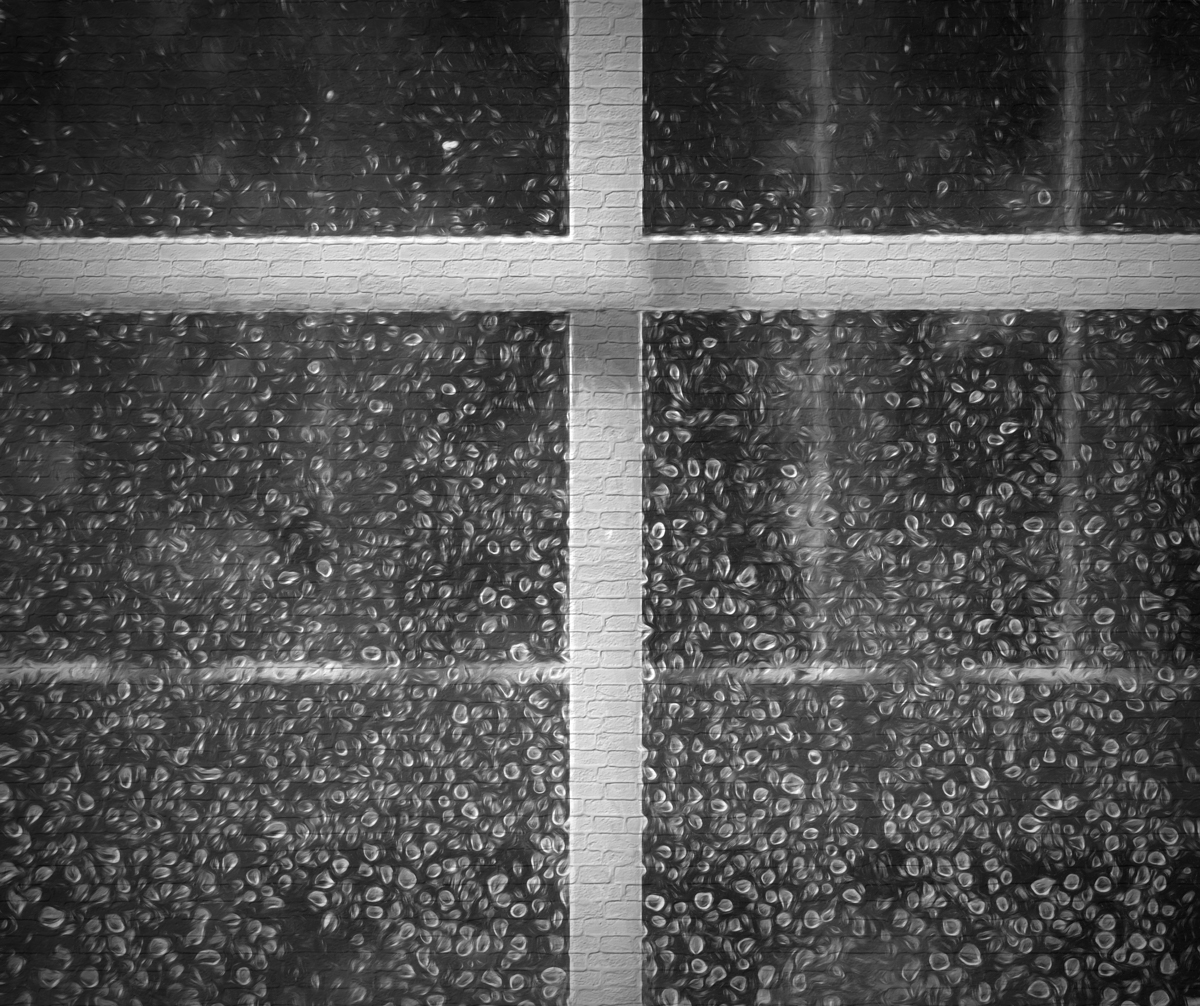
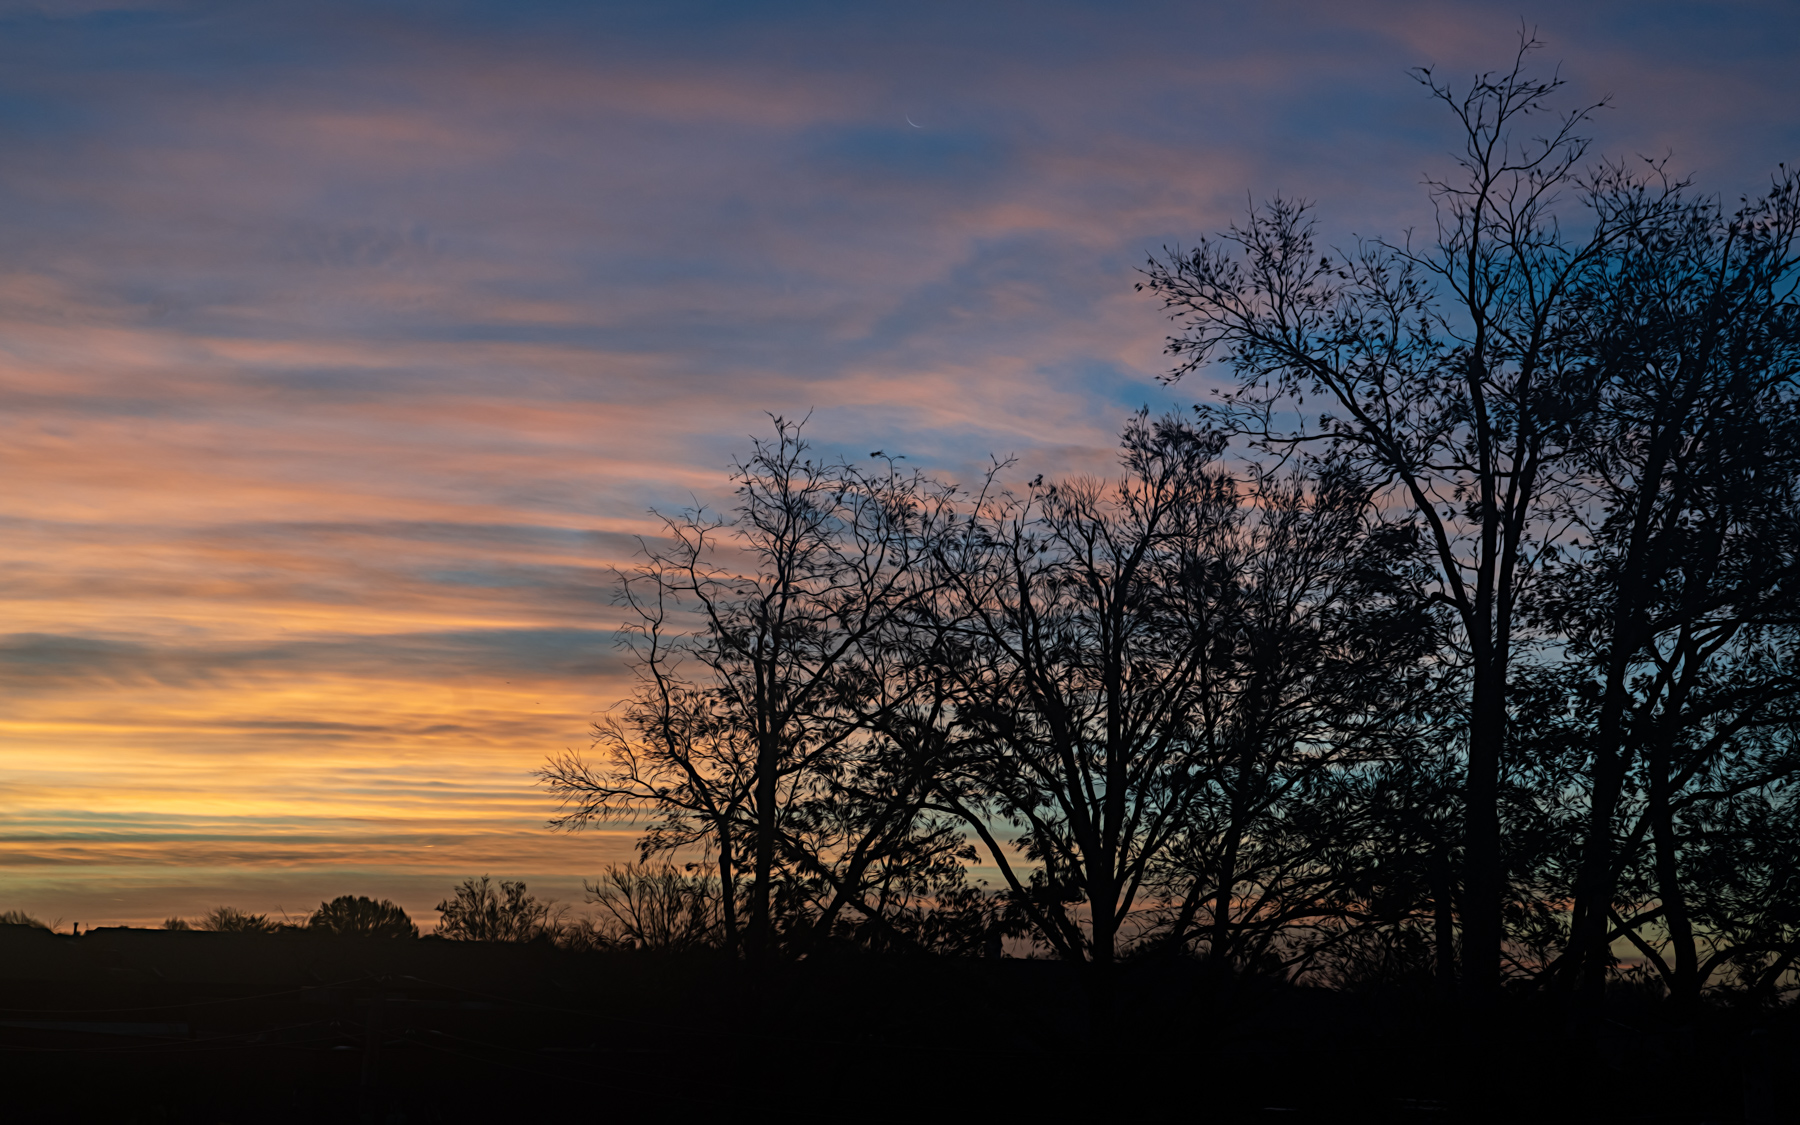
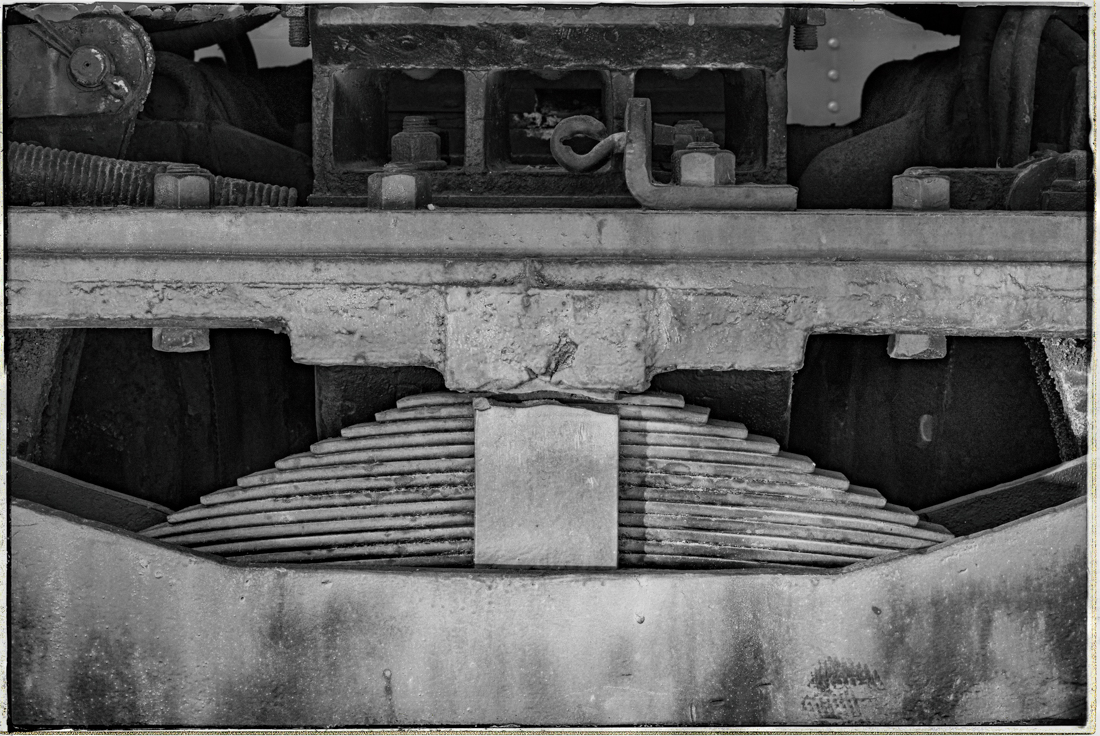
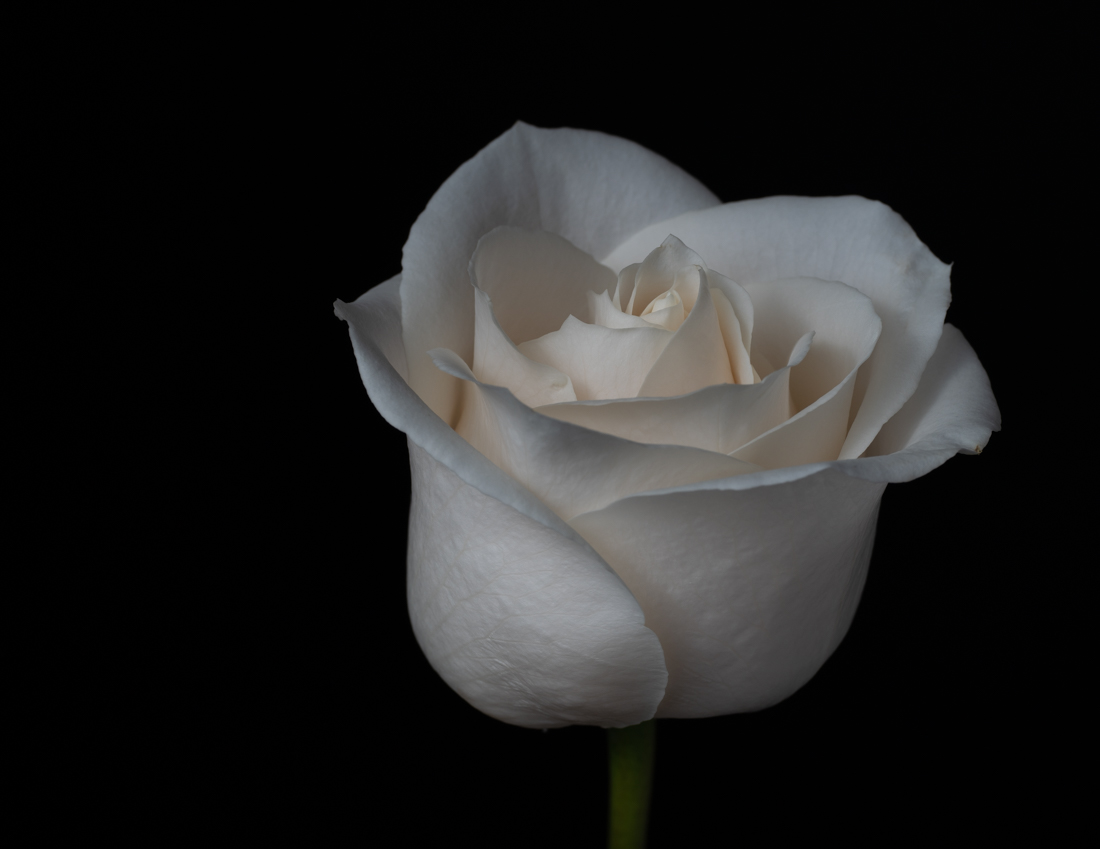
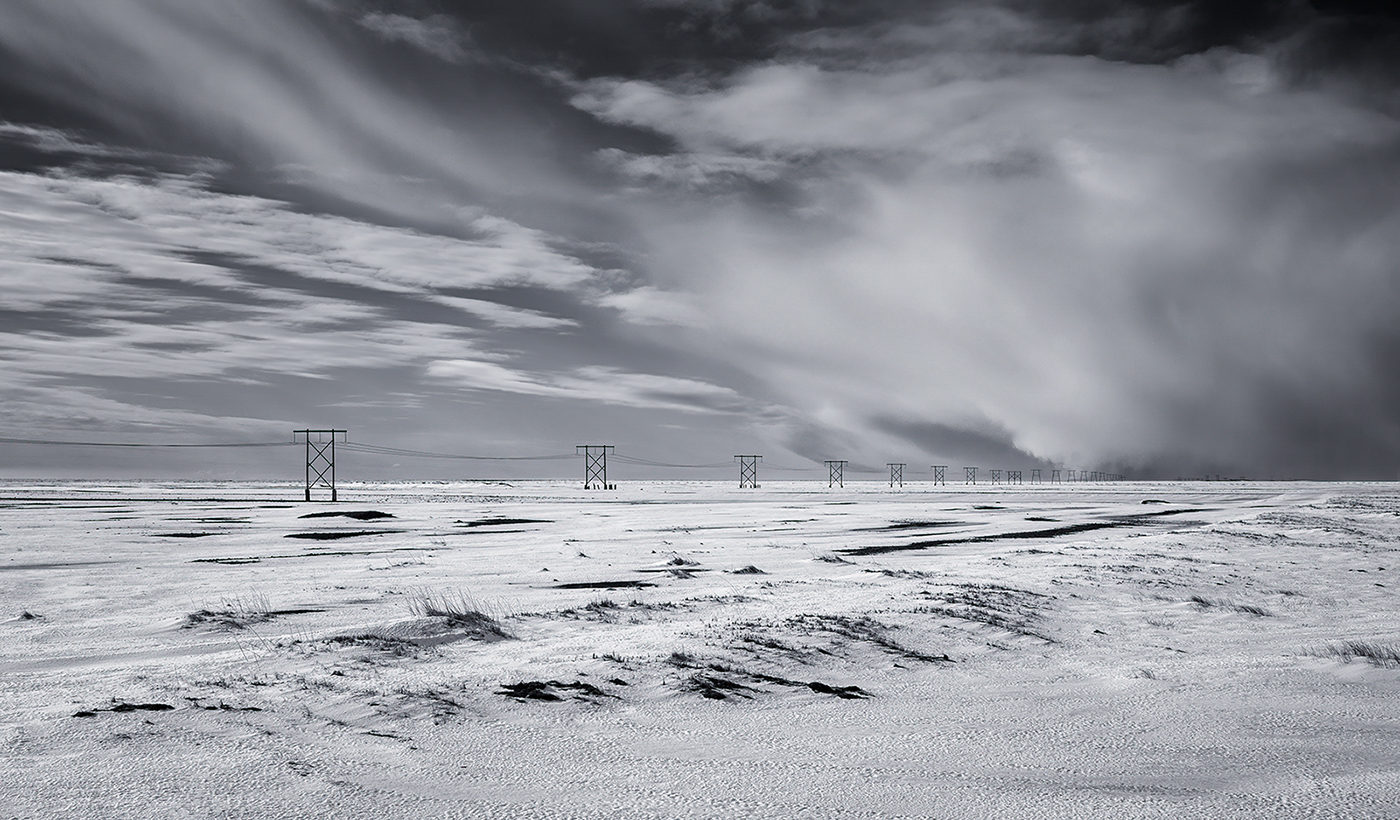
I really like this image Carol. I get a real sense of cold and desolation with your monotone conversion. I think your choice to flip the image really improved it. The leading line from left to right, fading off into the distance works very well.
My only suggestion for improvement concerns the sky. There is a patch of white on the smooth section of clouds that is drawing my eye. I took your image into Lightroom and used a brush to paint a mask and adjust just that white section that stood out to me. Because the sky gets darker as you move into the right horizon, I reduced the highlights and increased the shadows to darken just that area. I feel it blends well into the darker area. I've attached that example edit for reference. I may just be splitting hairs here, but just a thought. |
Dec 14th |
 |
| 77 |
Dec 22 |
Comment |
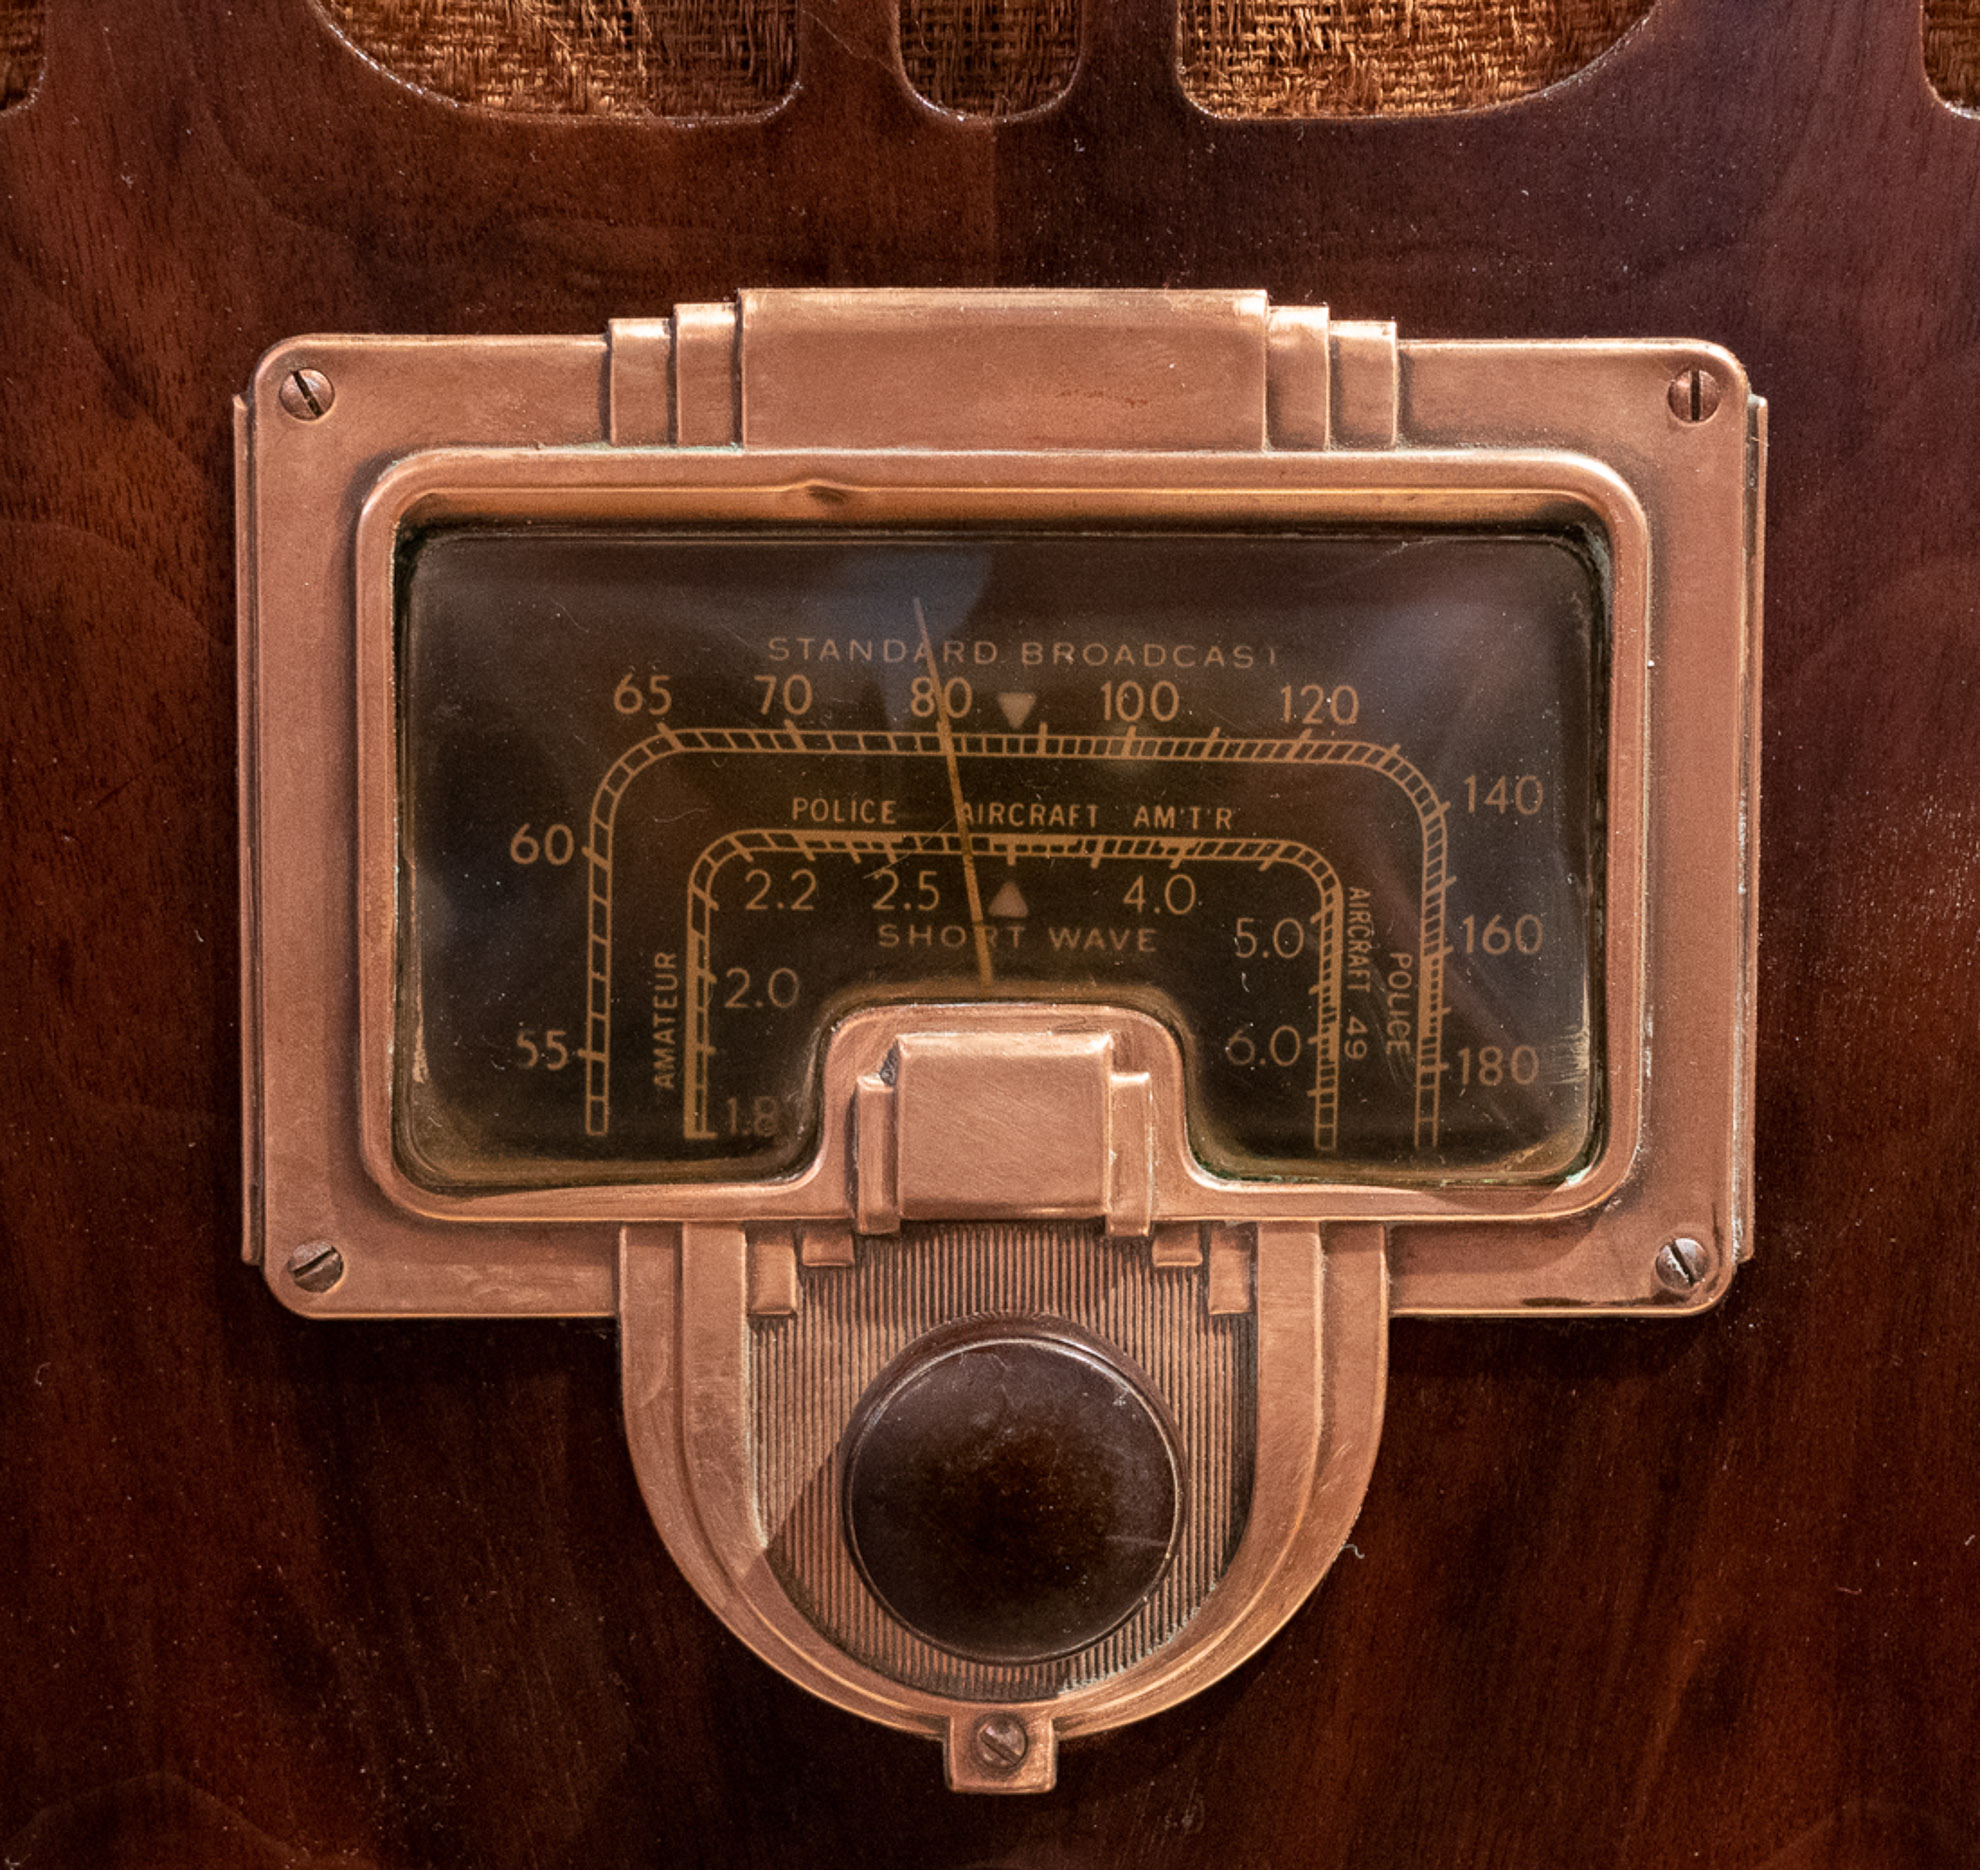
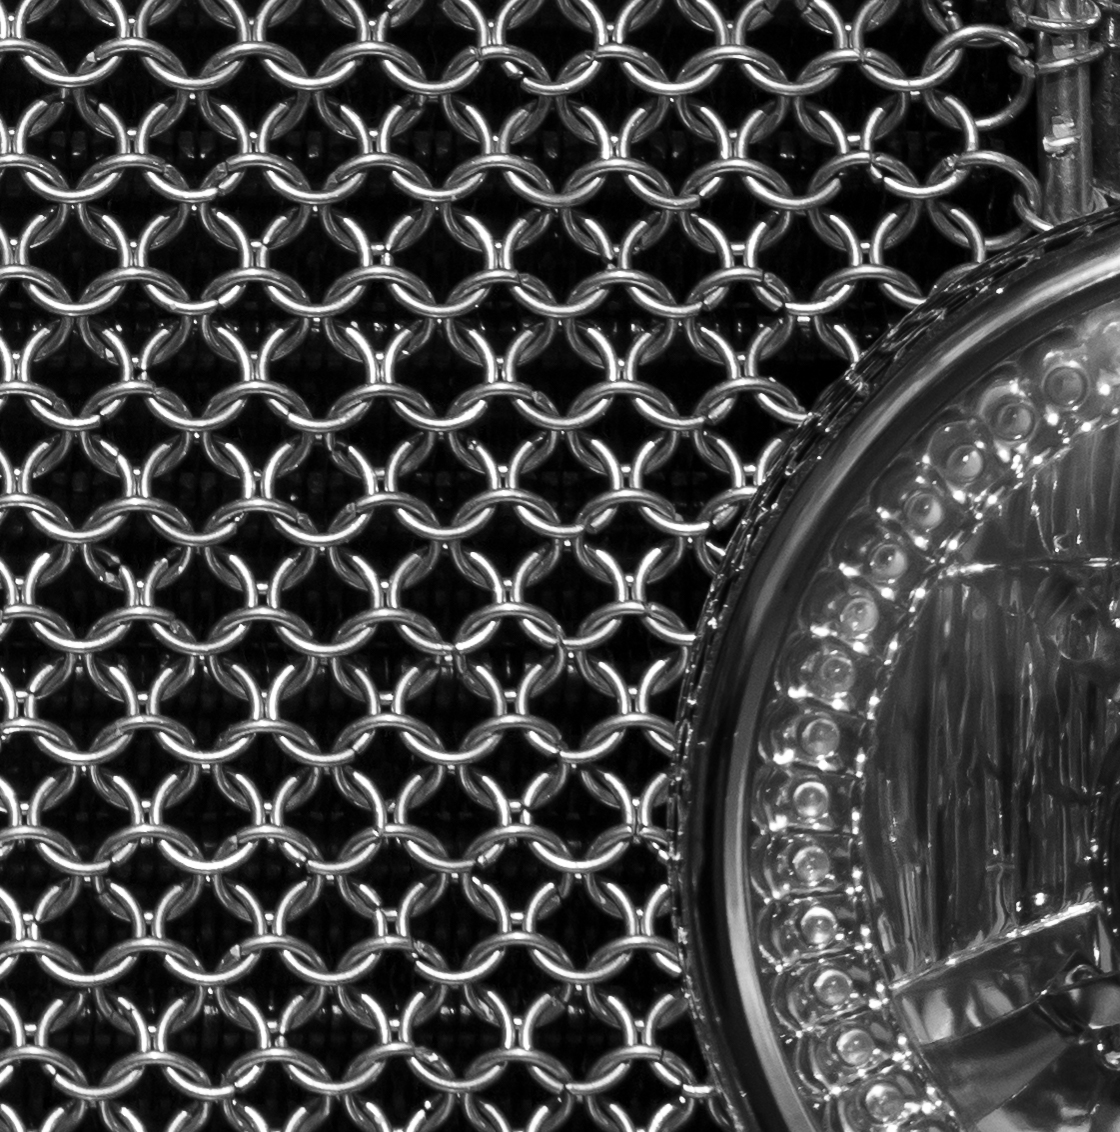
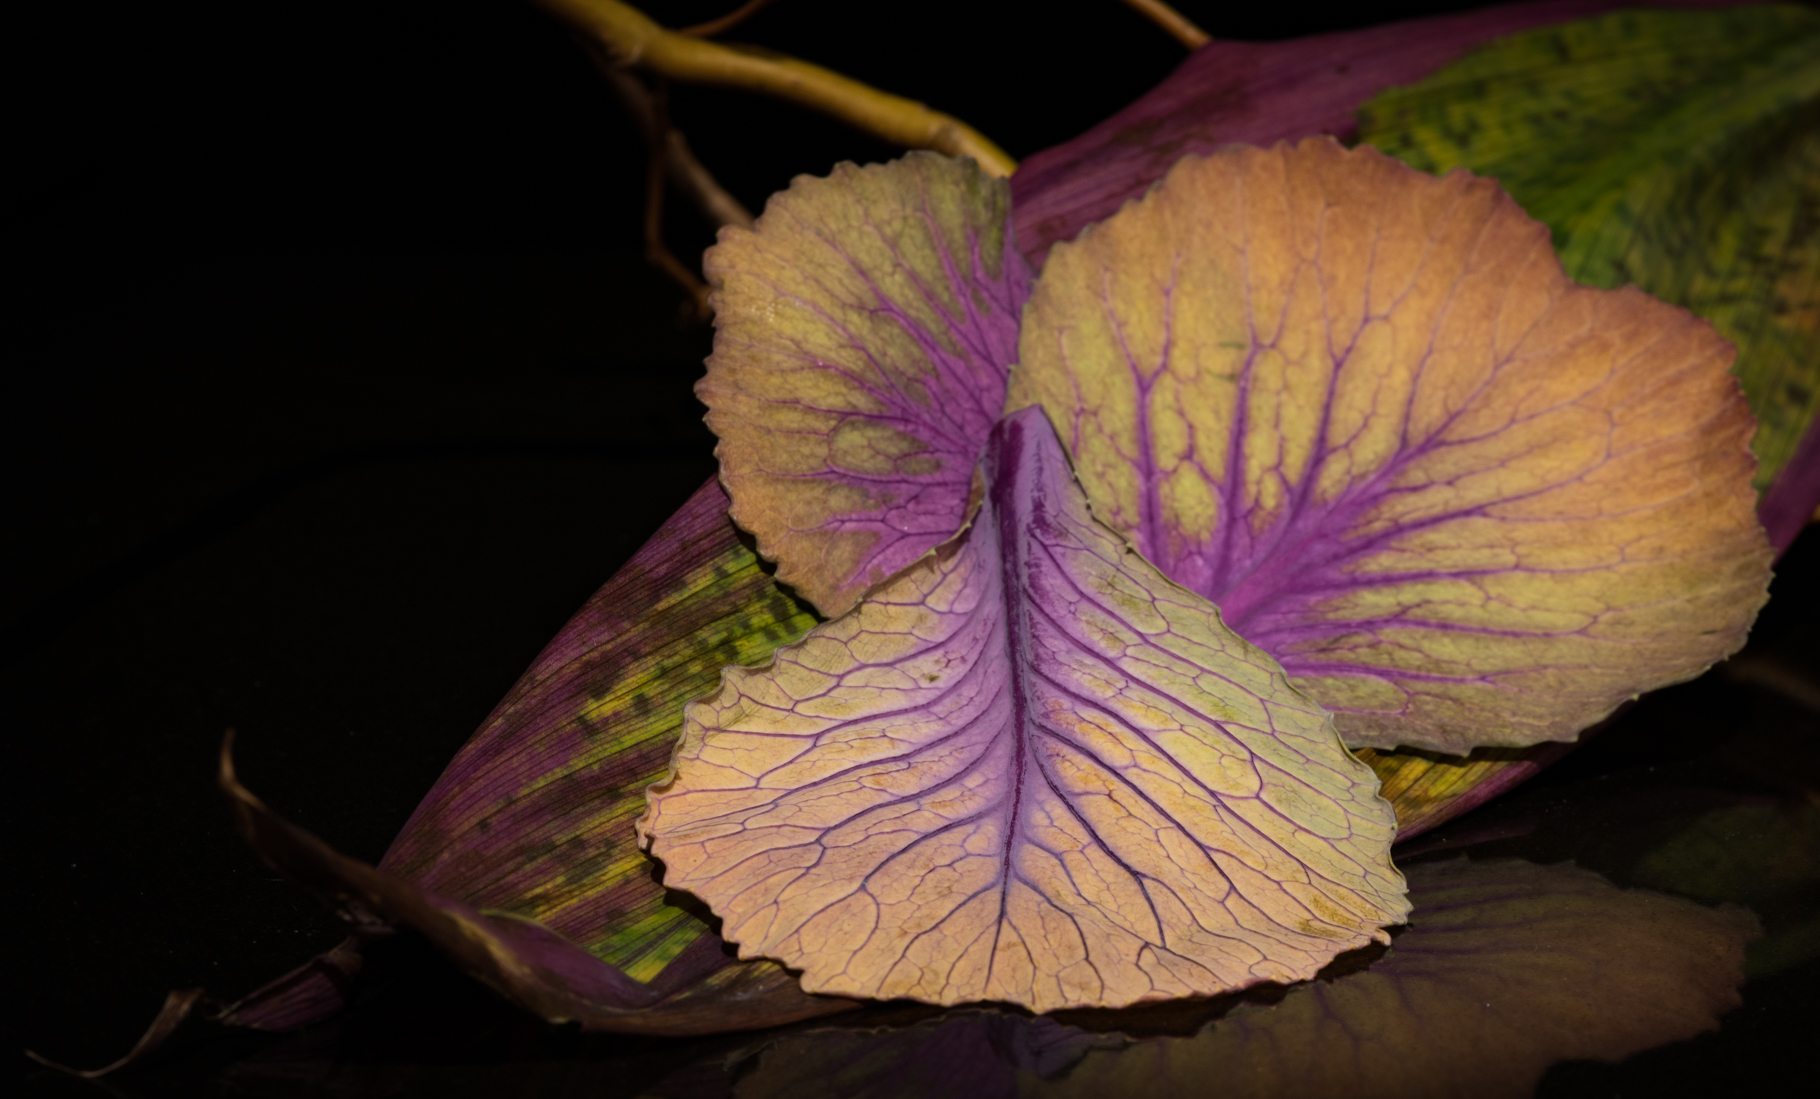
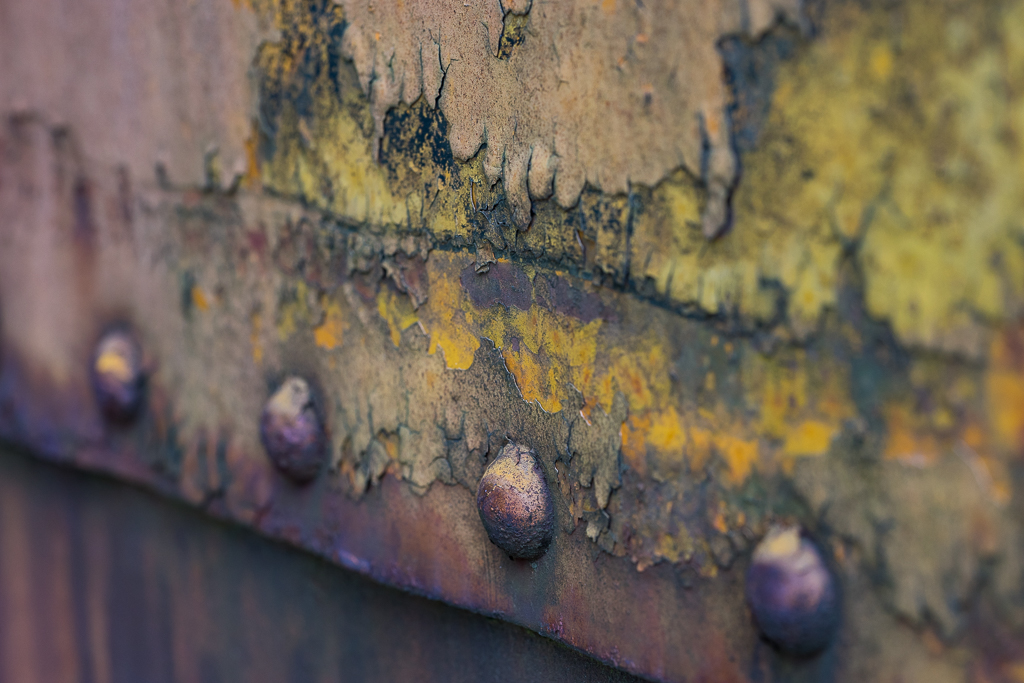
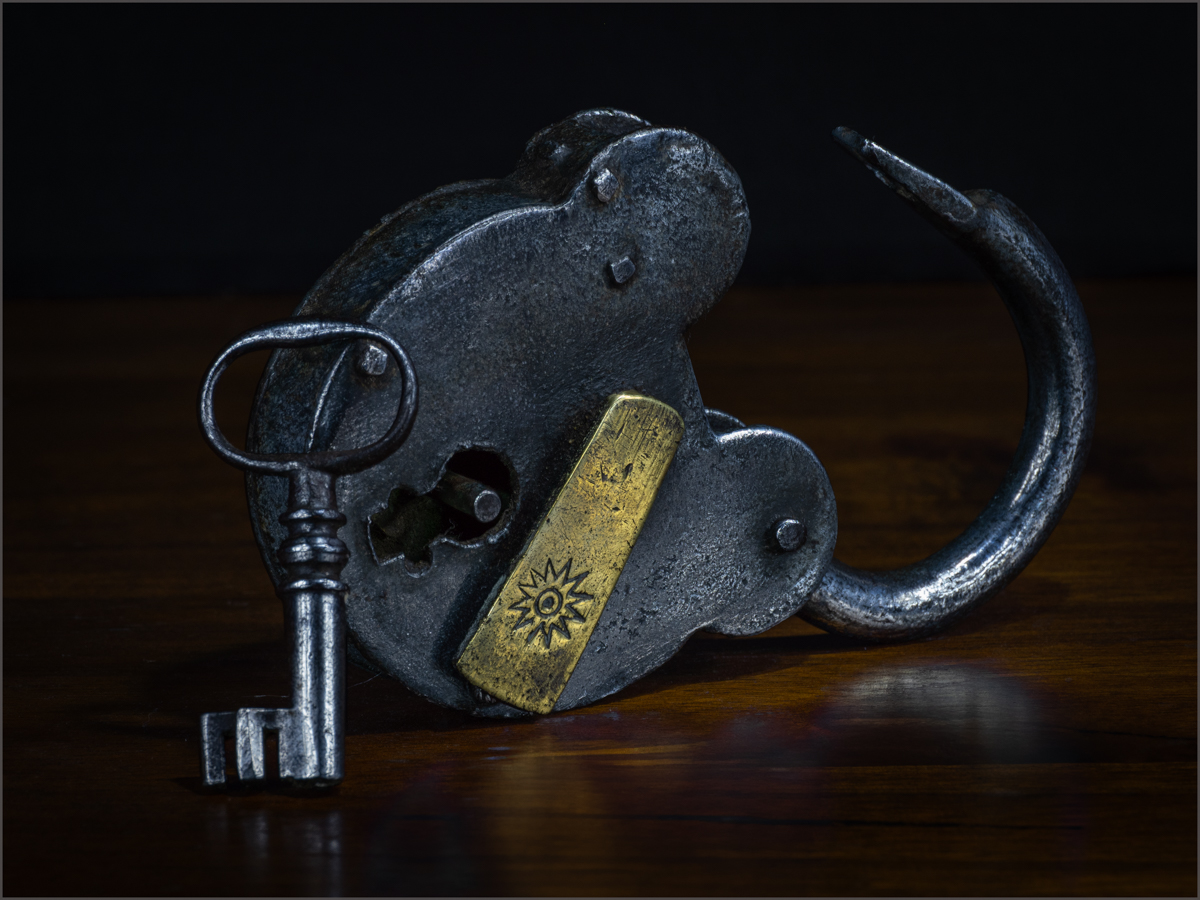
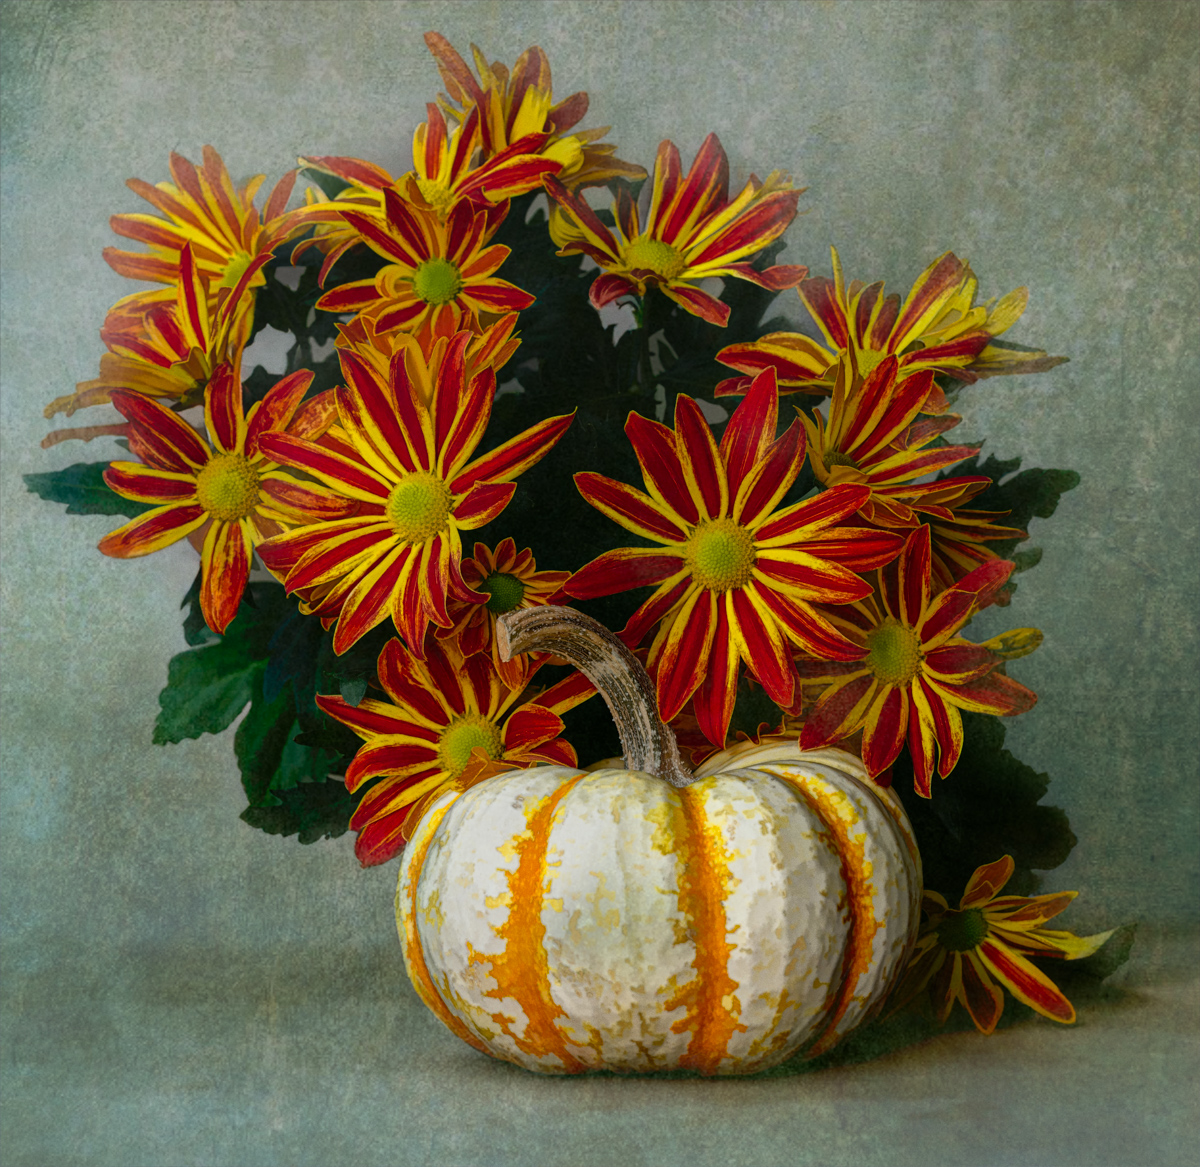
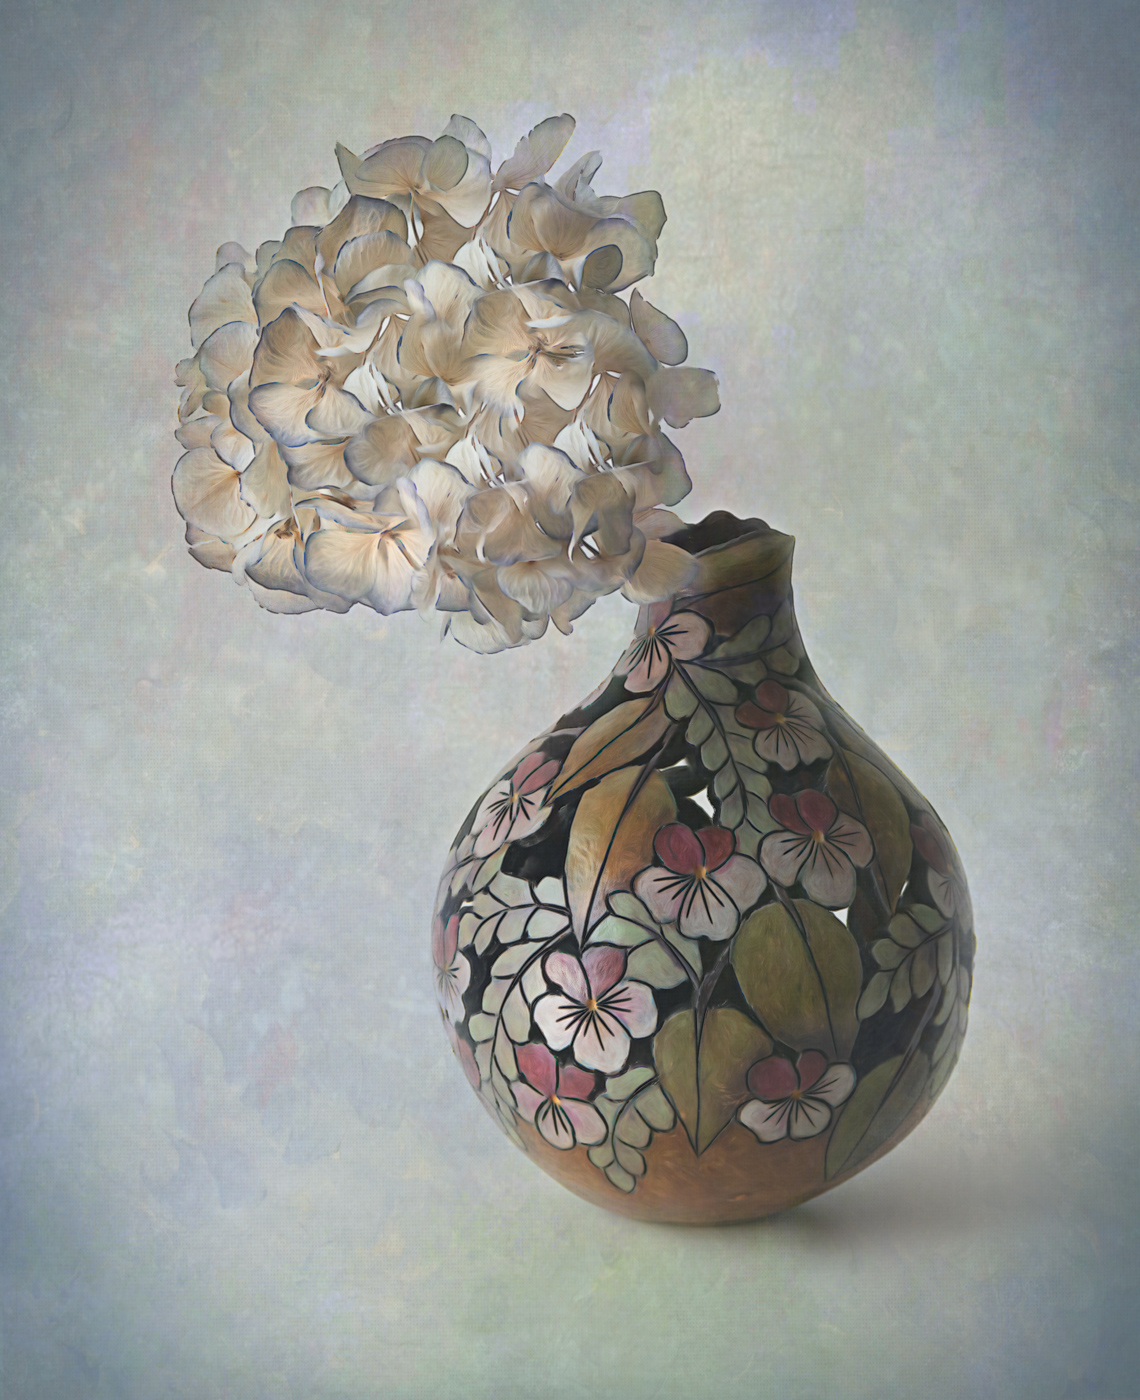
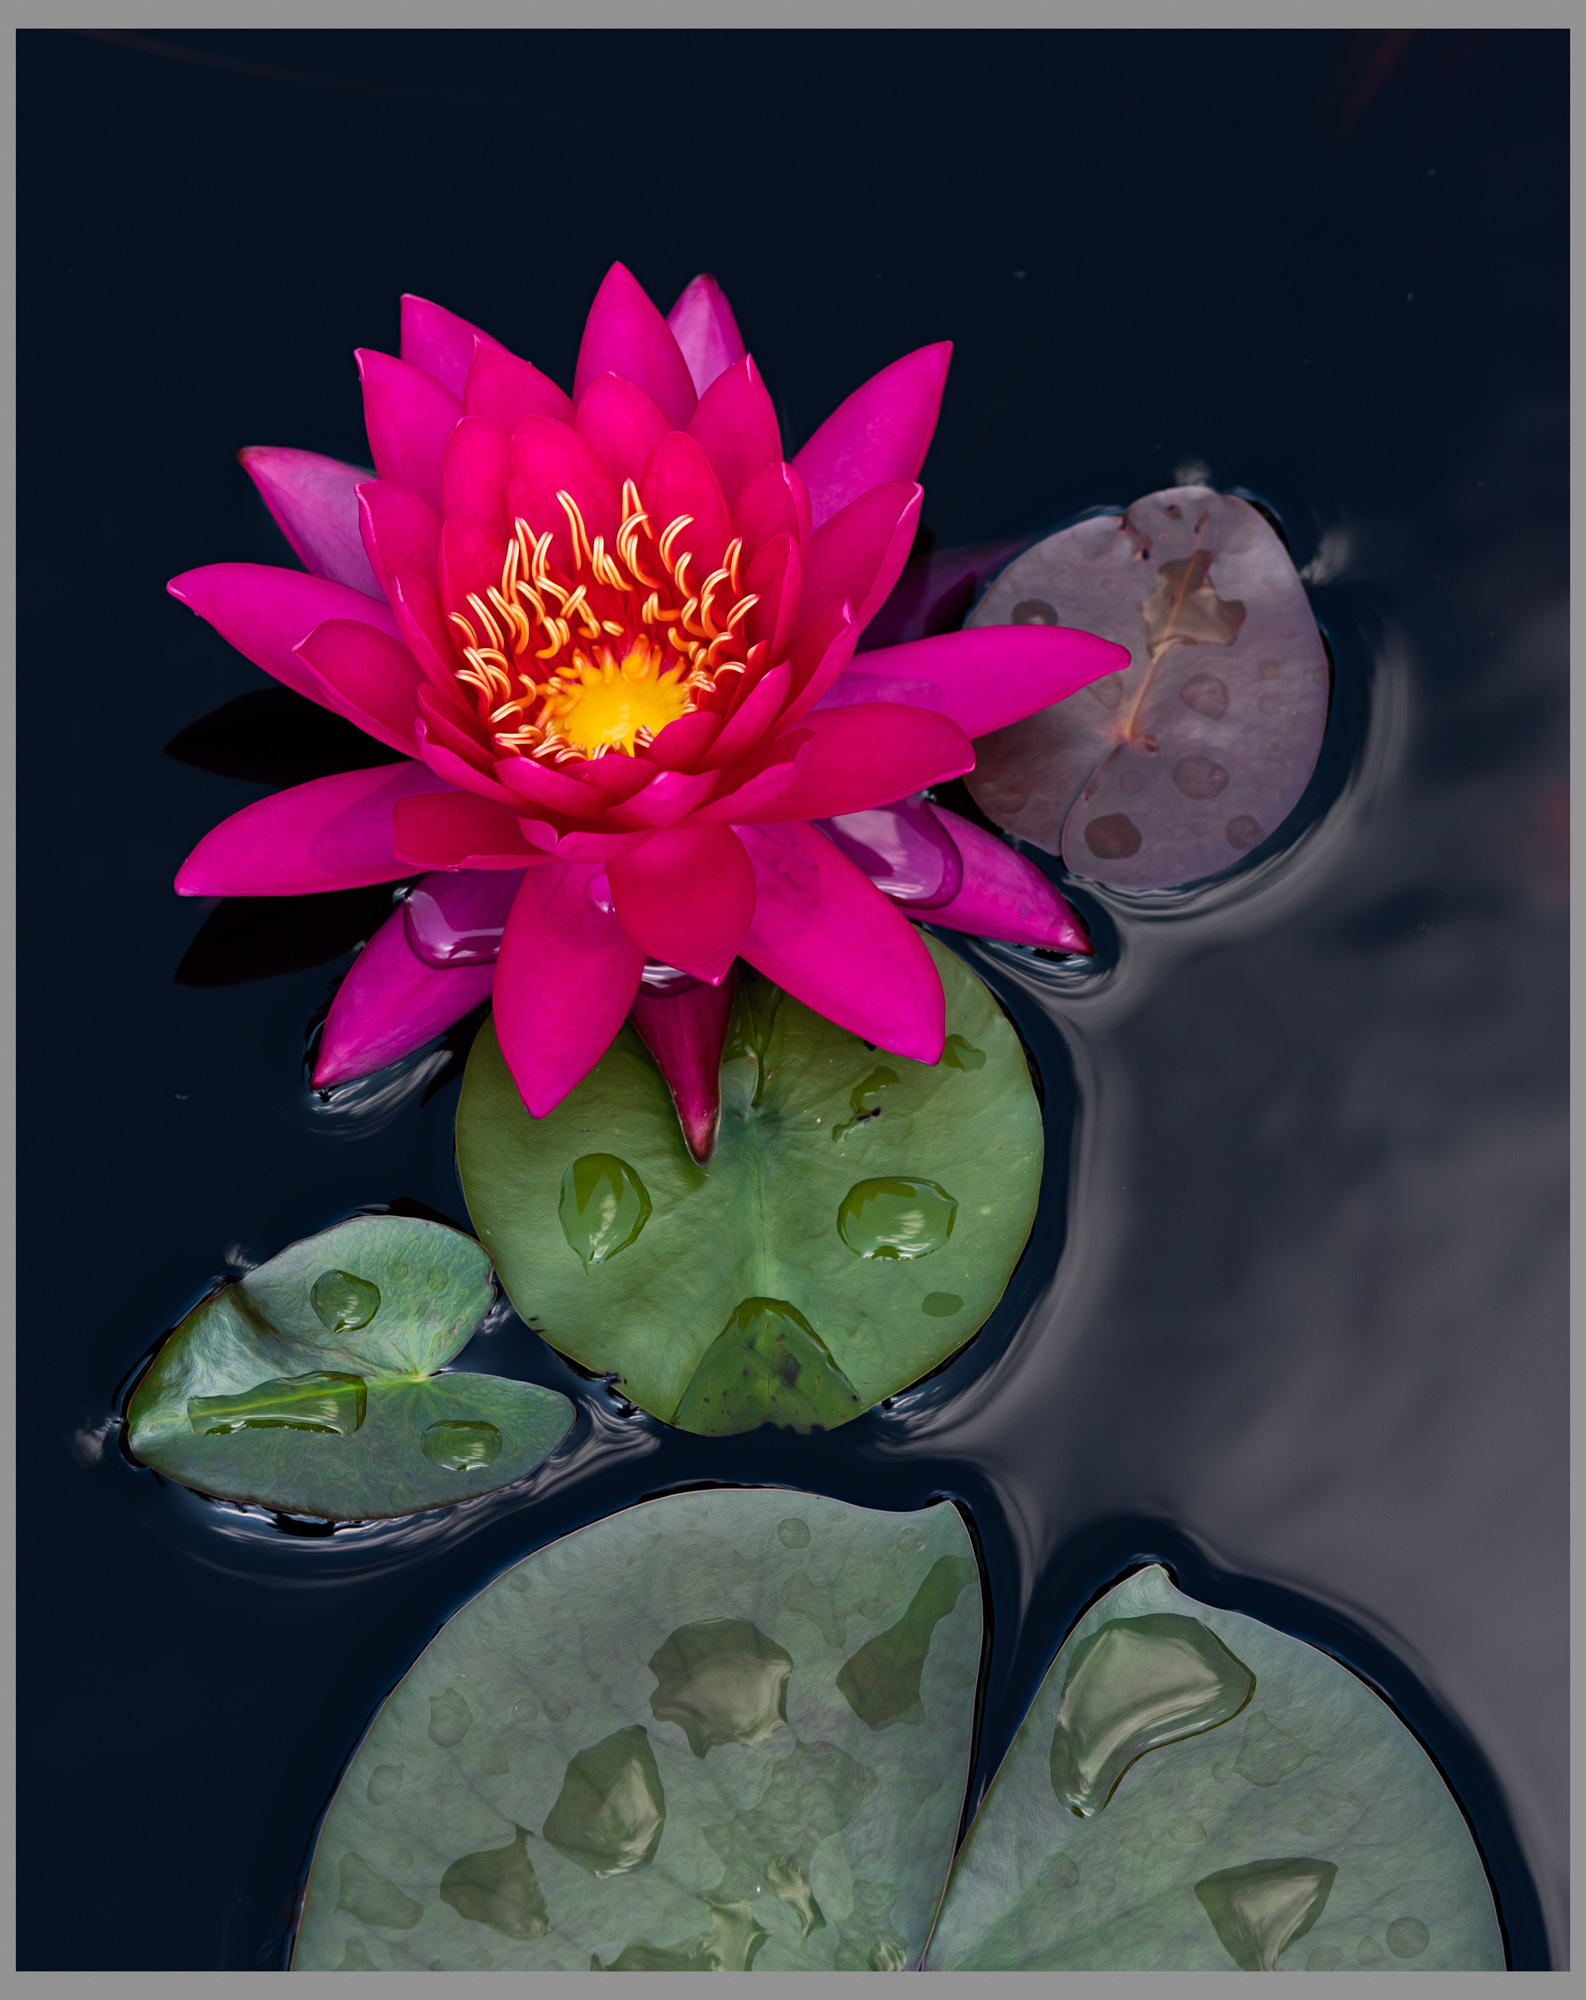
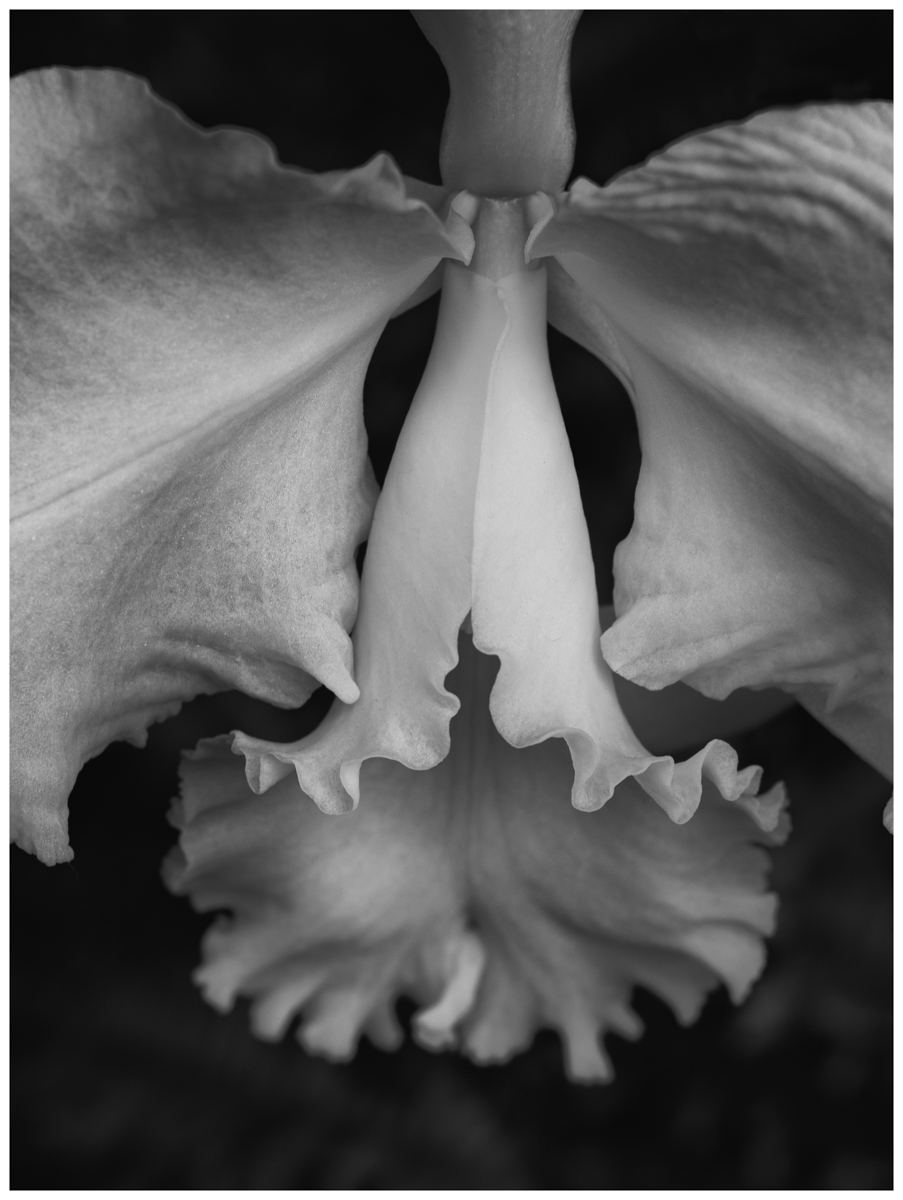
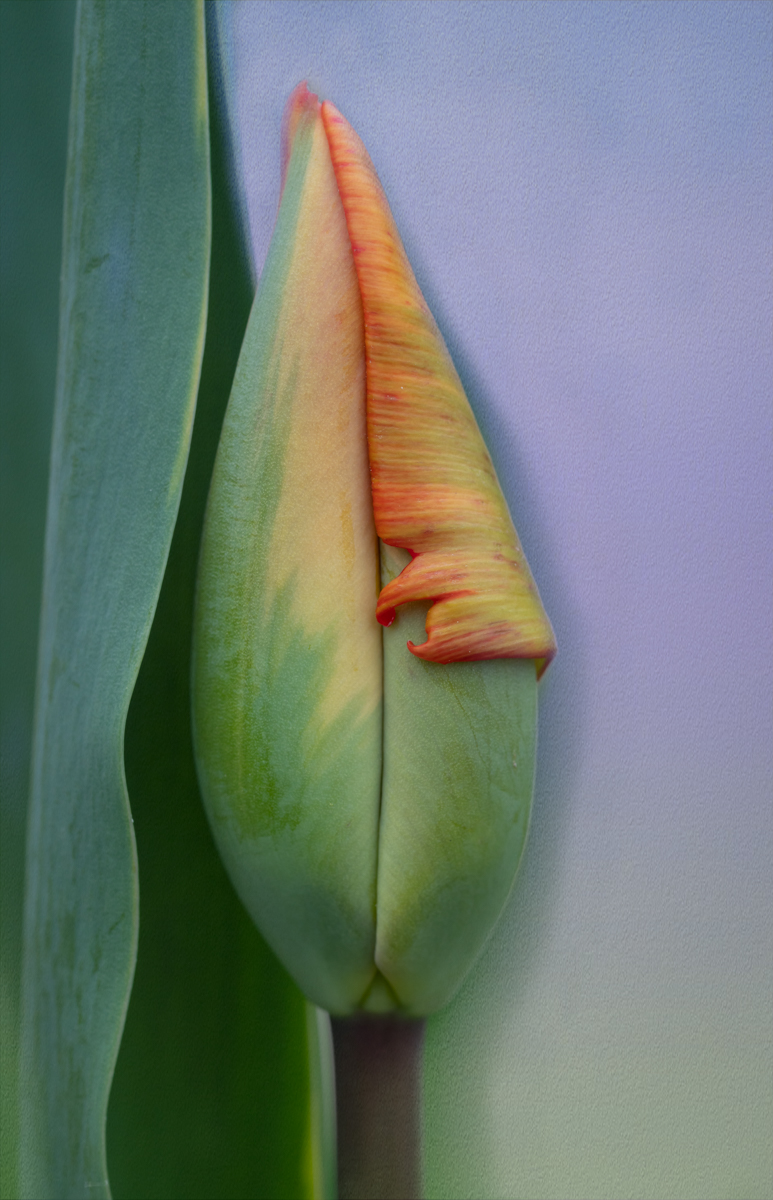
I think you did a very nice job of selecting and arranging all of the elements into a balanced composition. Your written explanation does help tell the story, but even without it I would look at this and be able to make up a similar story in my head.
My only possible improvement suggestion concerns the scalloped edges. I assume you were looking for kind of a torn edge effect, as if we were looking at an old blueprint or document. But for some reason this looks a little "frilly" to me. I've seen some really nice edge effects in other post-processing applications, such as Analog Efex Pro 2 in the NIK collection and Topaz Studio 2 has a filter called Edge Exposure that lets you manipulate you photo edges as well. I'm not familiar with what may be available in Photoshop as I don't use it very much.
Regardless, to me, this is an image that makes you stop, look, and think about what it represents, and I very much like that! |
Dec 14th |
4 comments - 4 replies for Group 77
|
4 comments - 4 replies Total
|