|
| Group |
Round |
C/R |
Comment |
Date |
Image |
| 5 |
Sep 22 |
Reply |
Create a new layer. Set blending mode to "Darker Colour". Clone with a small brush, say twice the size of the halo, from the sky over the halo. If you go into the rock it will not be affected as you have chosen "Darker Colour" as blending mode. You can clone very quickly as you don't need to be accurate. Give it a go with this image. |
Sep 8th |
| 5 |
Sep 22 |
Reply |
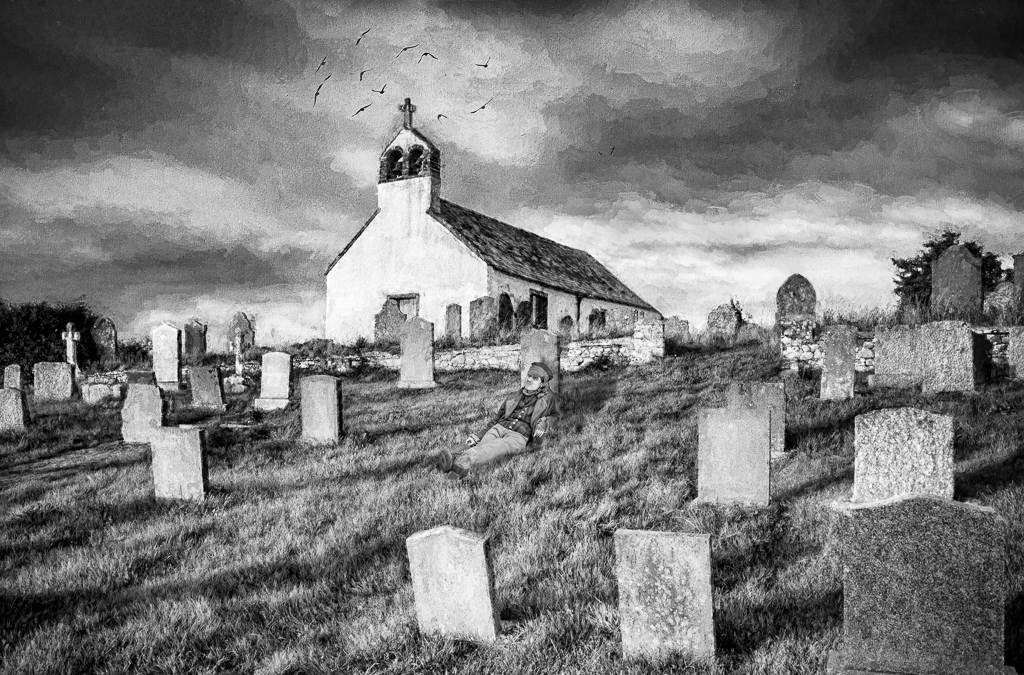
Again something I hadn't noticed but I like what you have done with the leg. How did you do it? Puppet Warp? |
Sep 4th |
| 5 |
Sep 22 |
Reply |
Thanks for you comments and work Jim. For me the original and your version is too red and I prefer the pink vest. I hadn't noticed the green/cyan cast which you pointed out and which I have now corrected. |
Sep 4th |
| 5 |
Sep 22 |
Reply |
I hadn't noticed the green /cyan colour cast but as soon as it was pointed out I could see it. The more I work on an image the more I miss obvious flaws but that's why I am in digital dialogue. |
Sep 4th |
| 5 |
Sep 22 |
Reply |
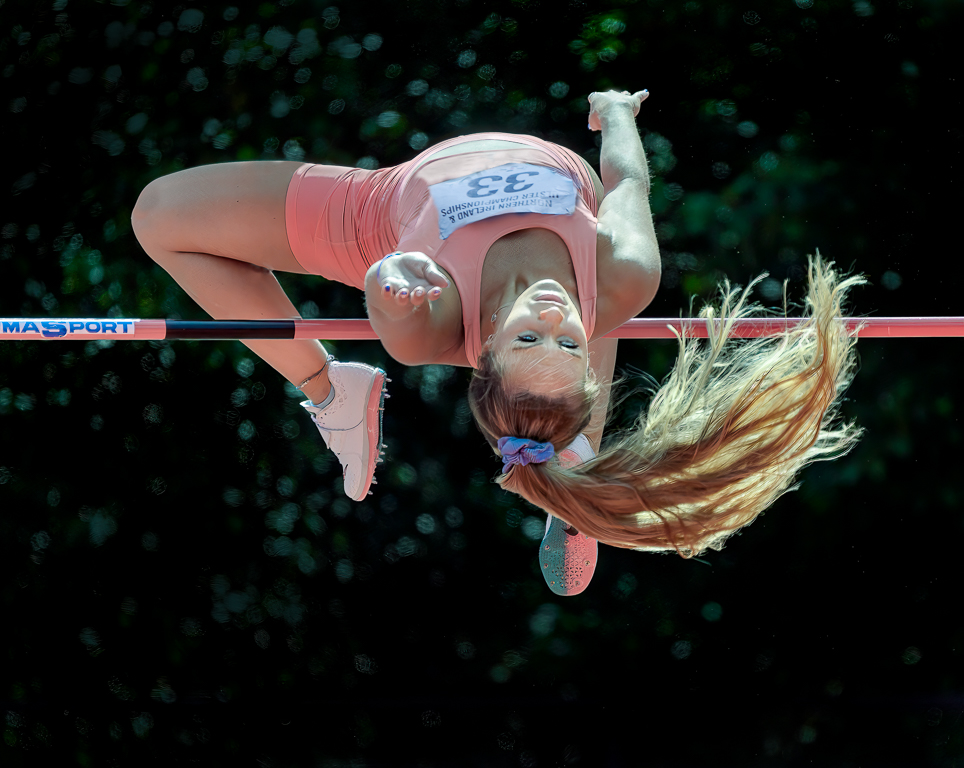
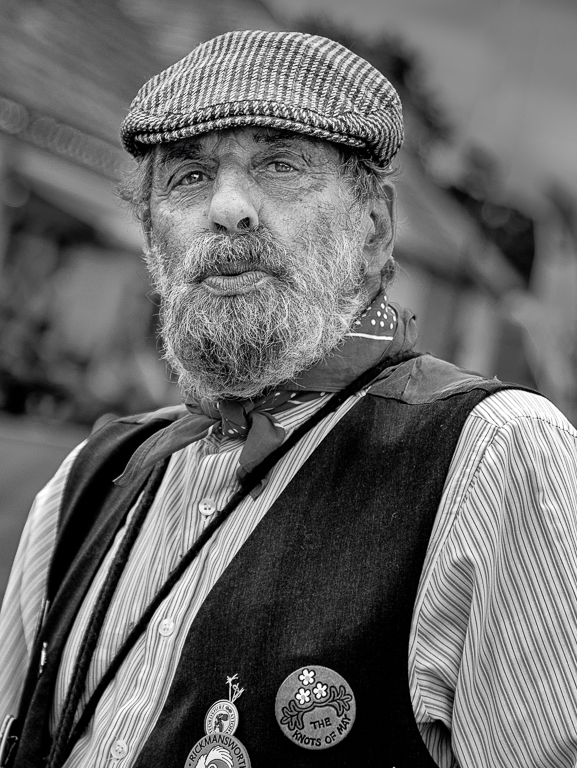
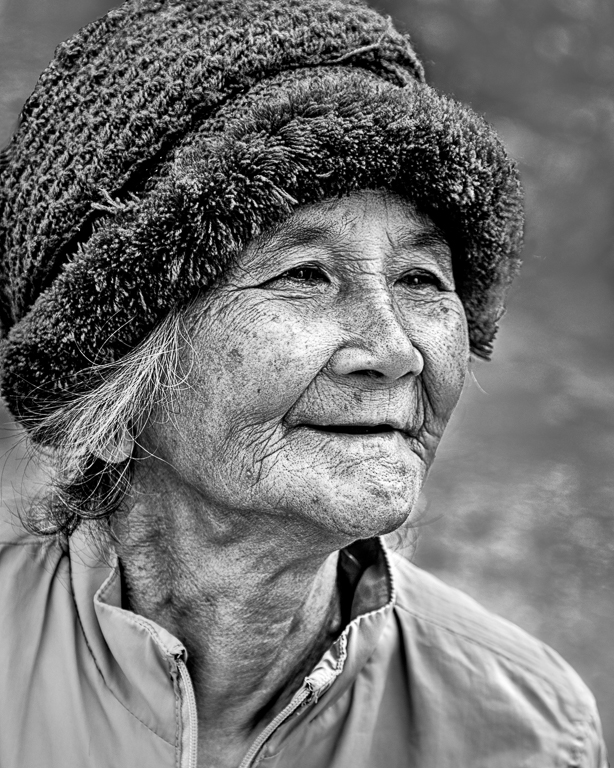
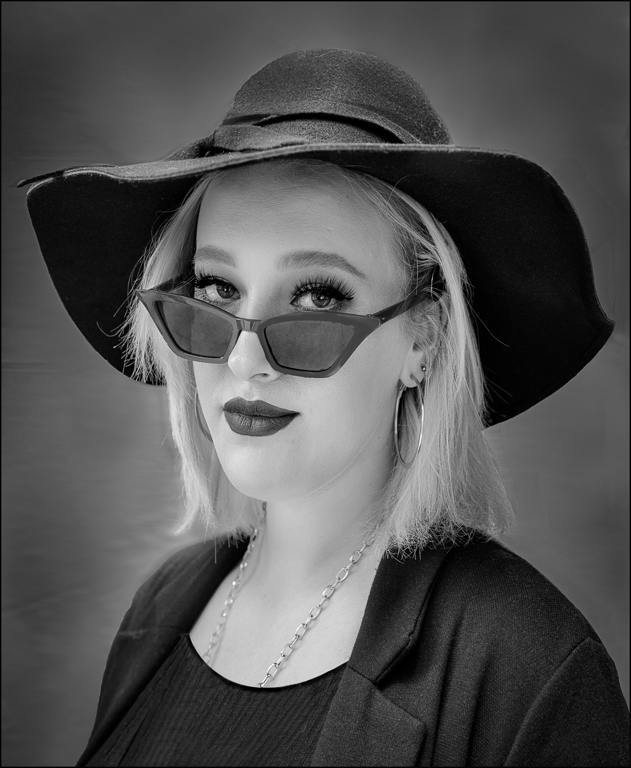
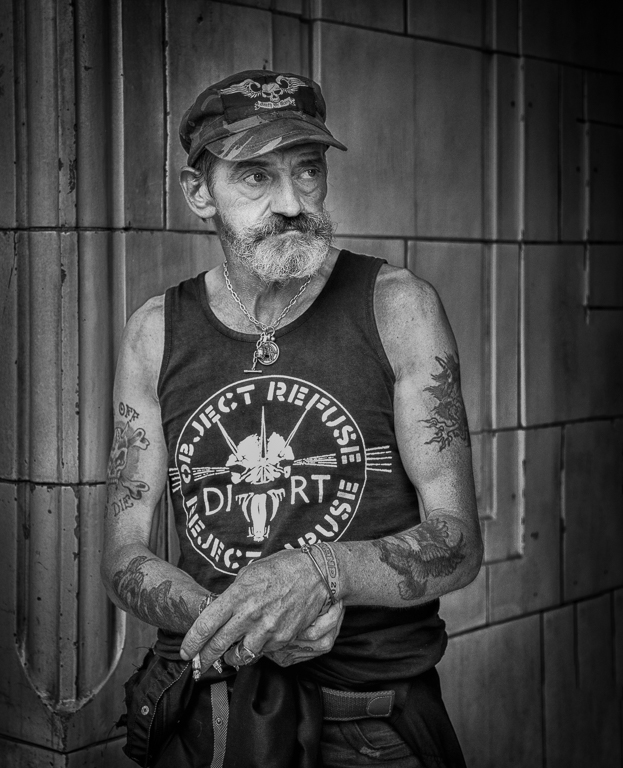
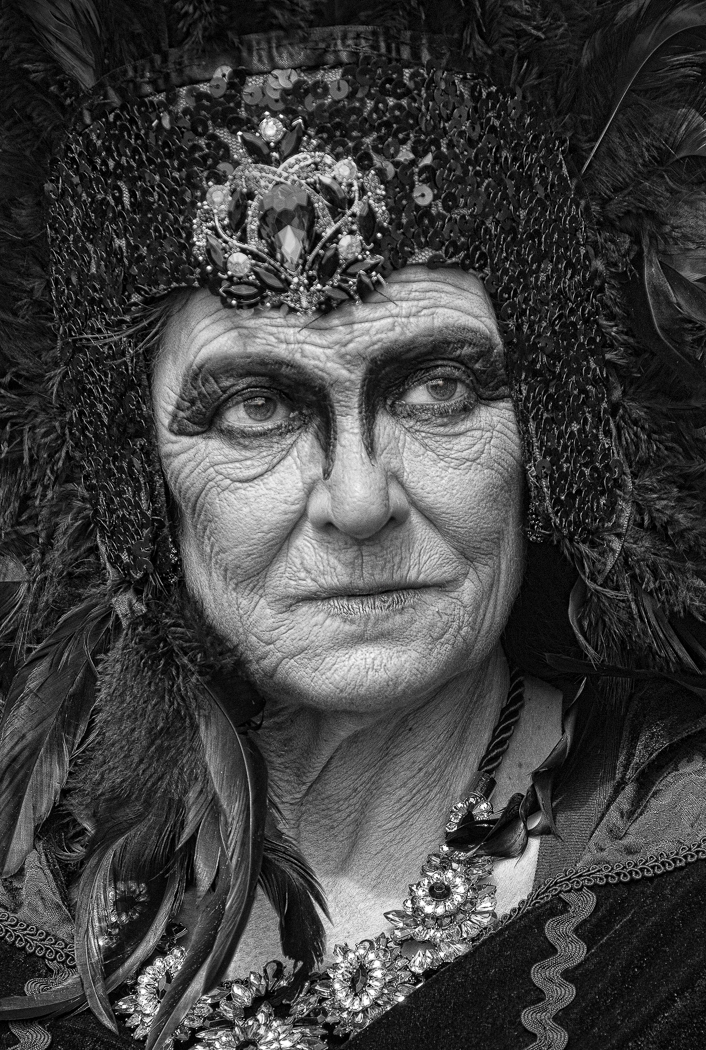
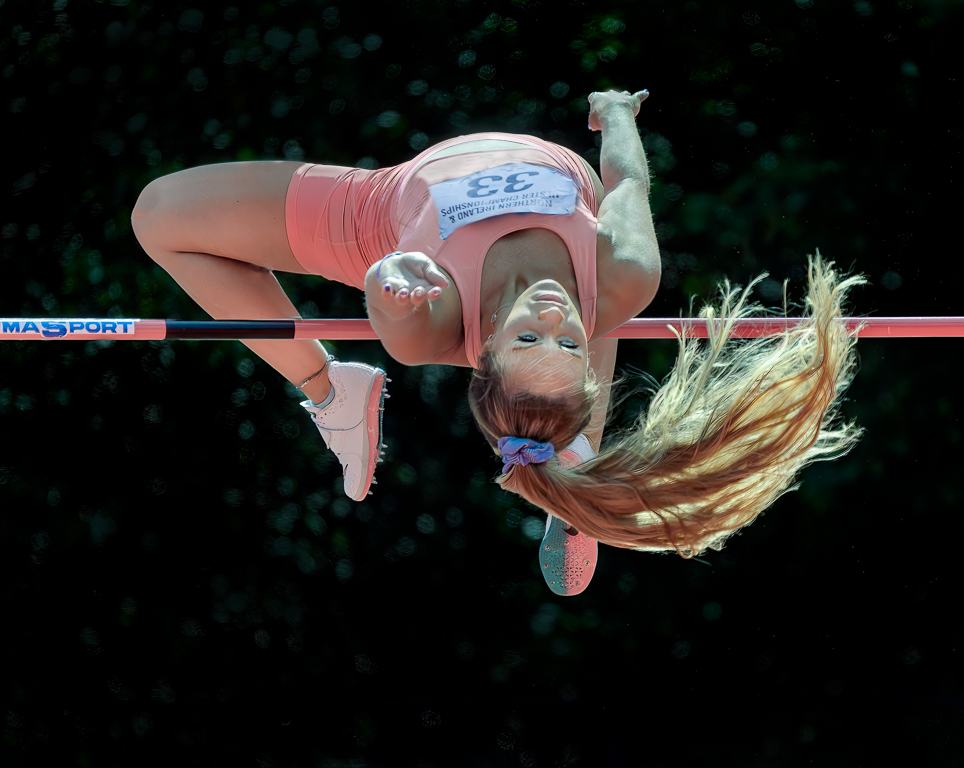
Thanks Barbara. She is not a high school student but a professional athlete. She is in her twenties and this image was taken at the Mary Peters (remember her?) athletics track in Belfast. |
Sep 4th |
| 5 |
Sep 22 |
Comment |
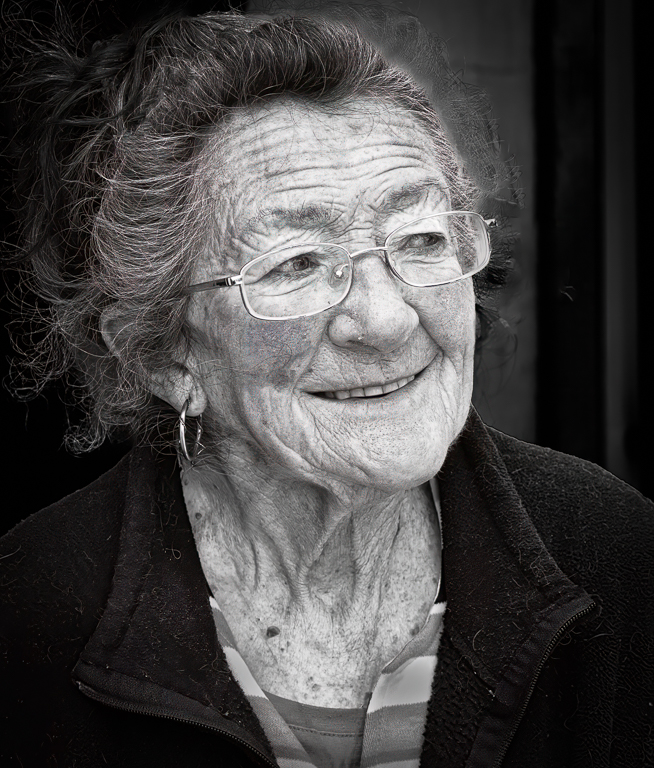
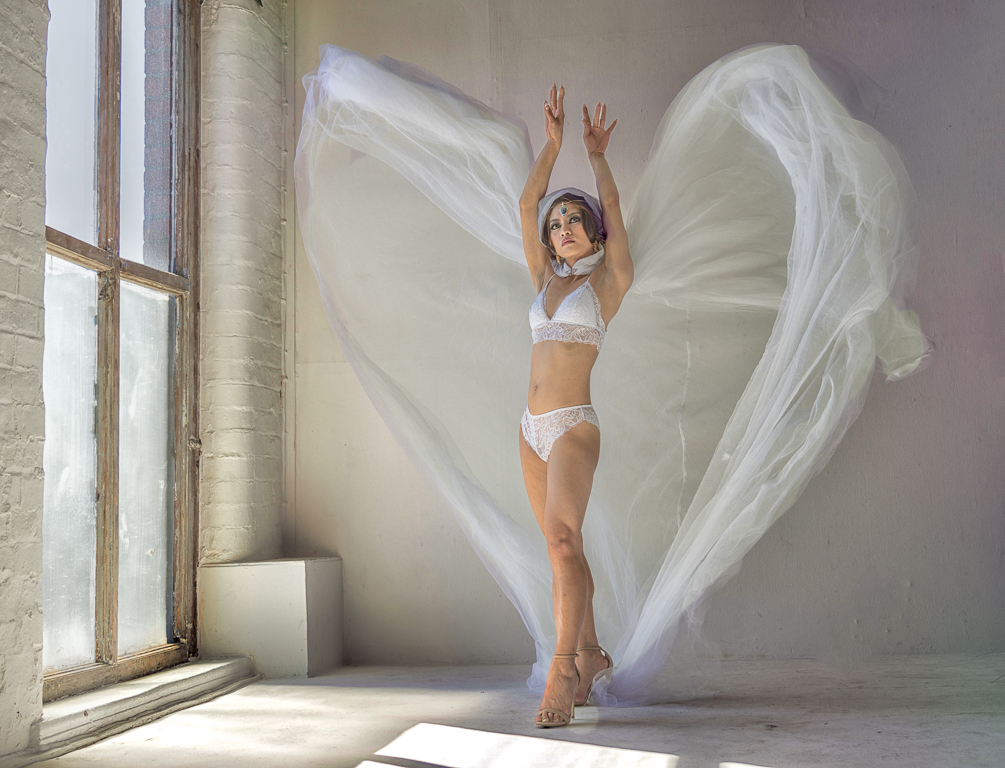
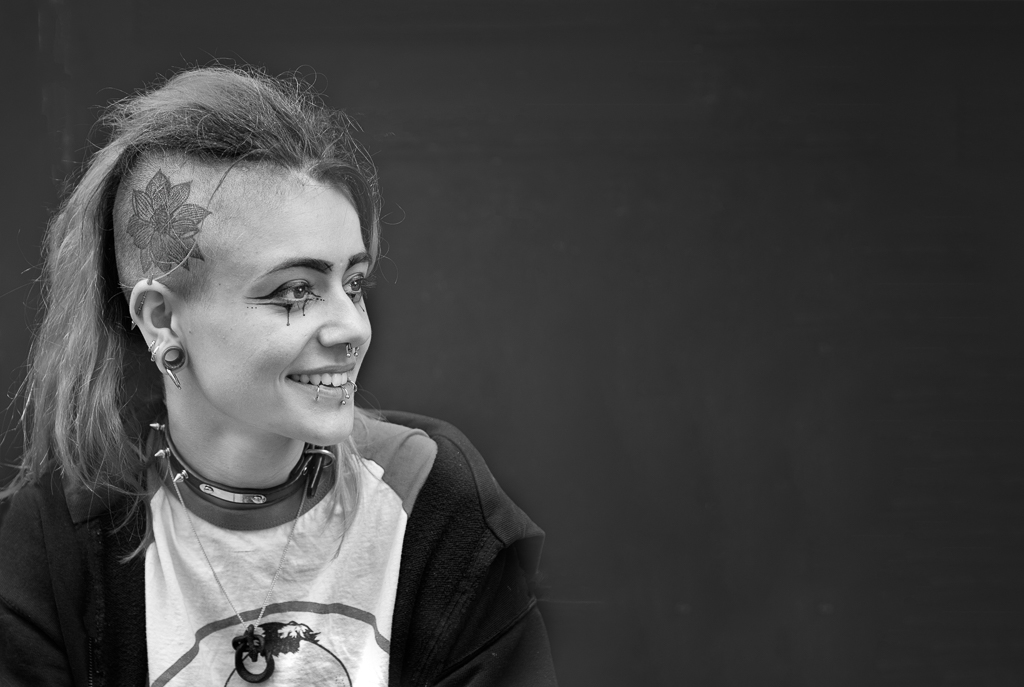
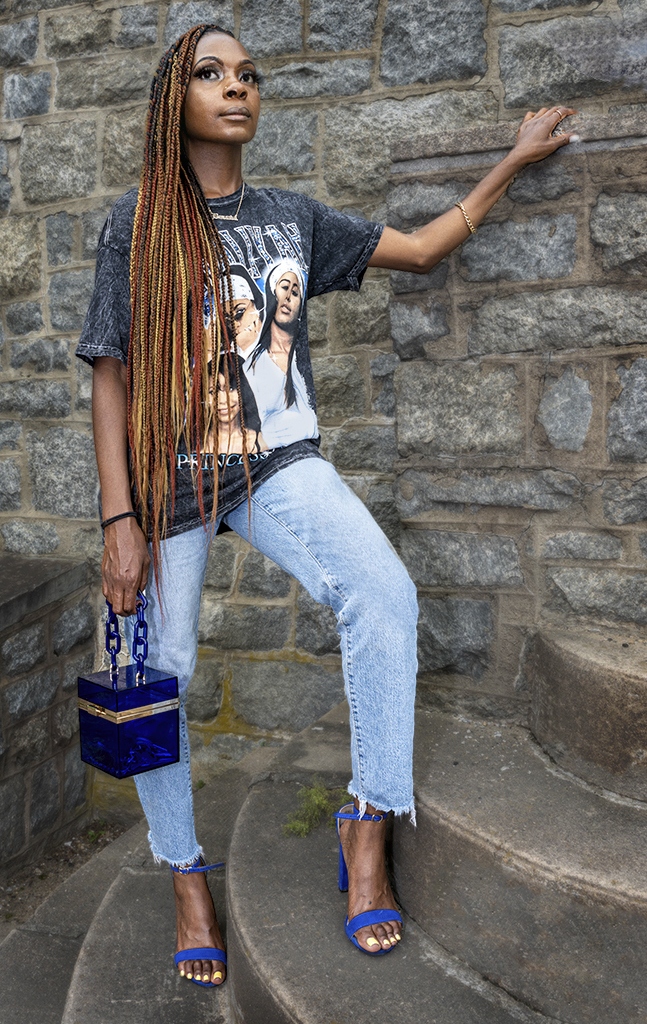
I agree that you need a full body shot to show her hair. I think you have chosen a good location and her pose is good including her legs and arms. I agree with the comments about her eyes. I took the image into Neural filters and moved her eyes to the left. I then selected the model, put her on a new layer then slightly blurred the layer below. I think it is important that the wall isn't too blurred when the hand touching it is in focus. I cropped a bit then cloned a few areas which were bright such as her jeans, the block by her hand and her shirt. I also darkened the background but I am not sure if I prefer the lighter background. Finally I took her into Luminar Neo, brightened her face and eyes. |
Sep 4th |
 |
| 5 |
Sep 22 |
Comment |
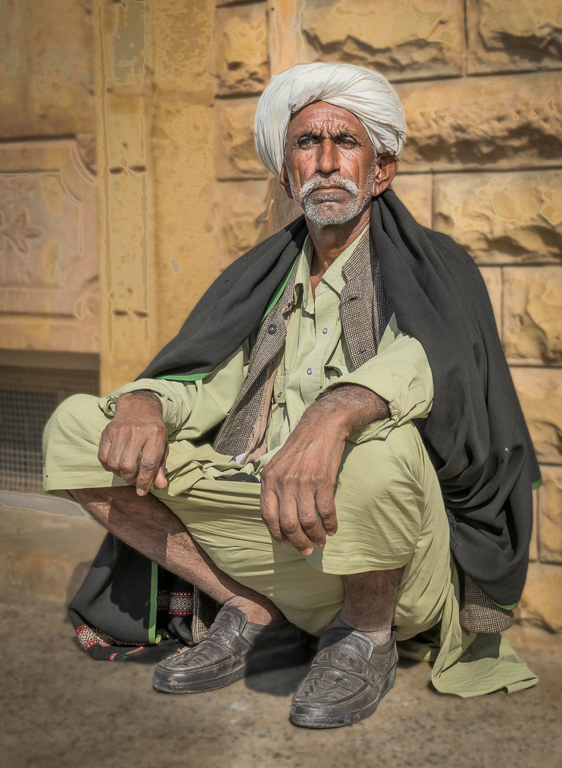
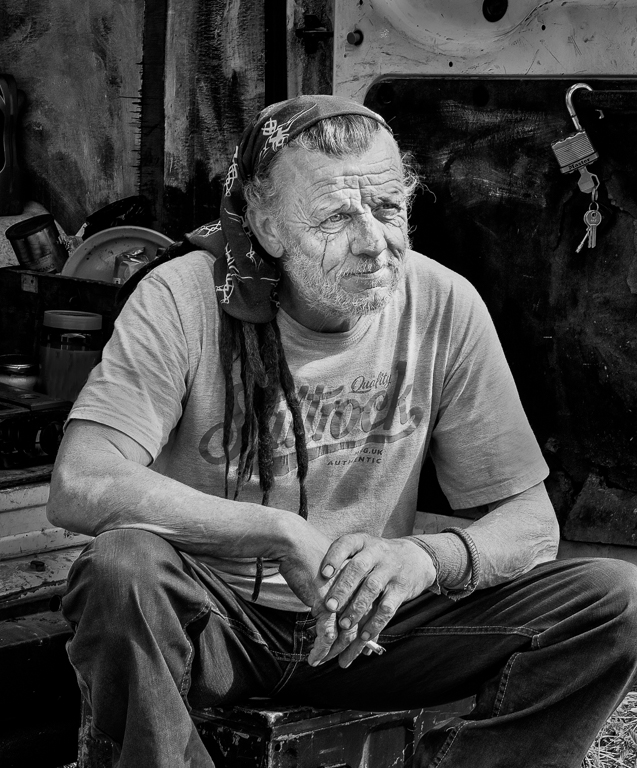
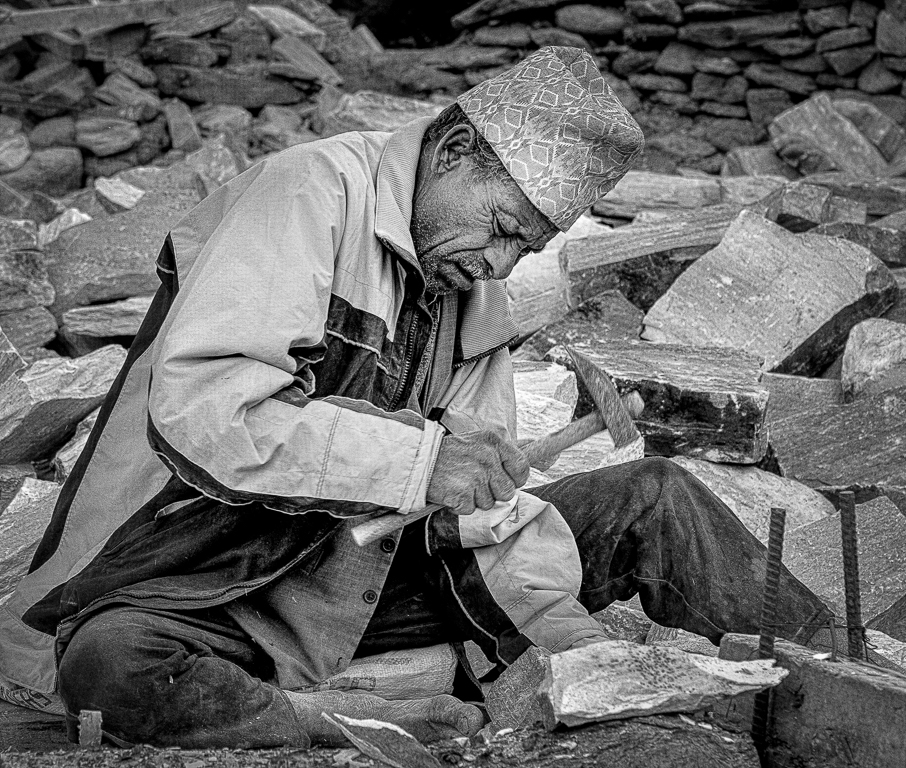
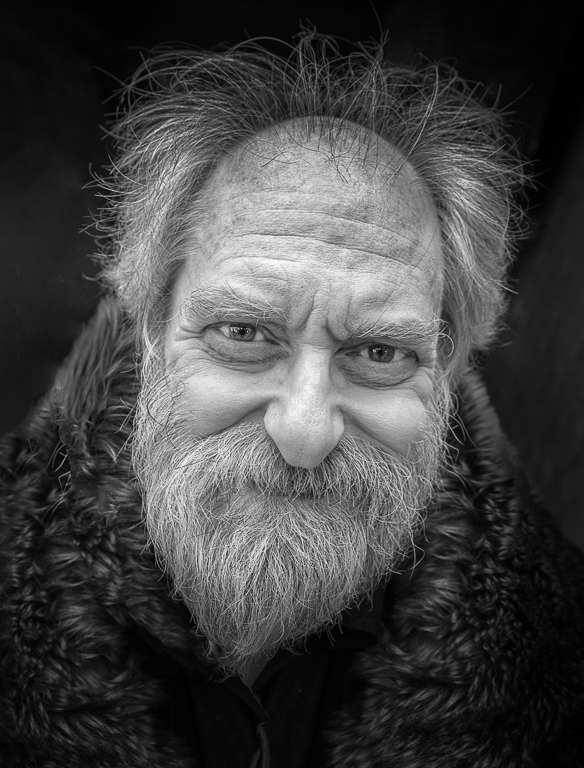
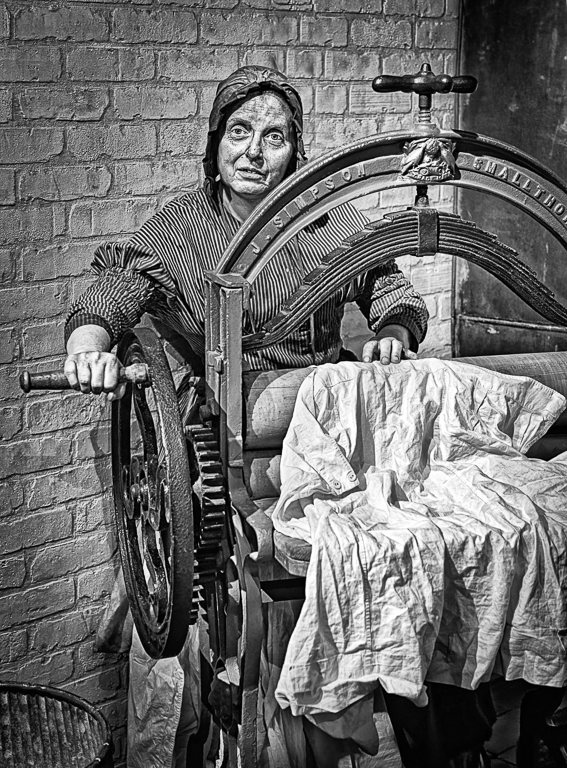
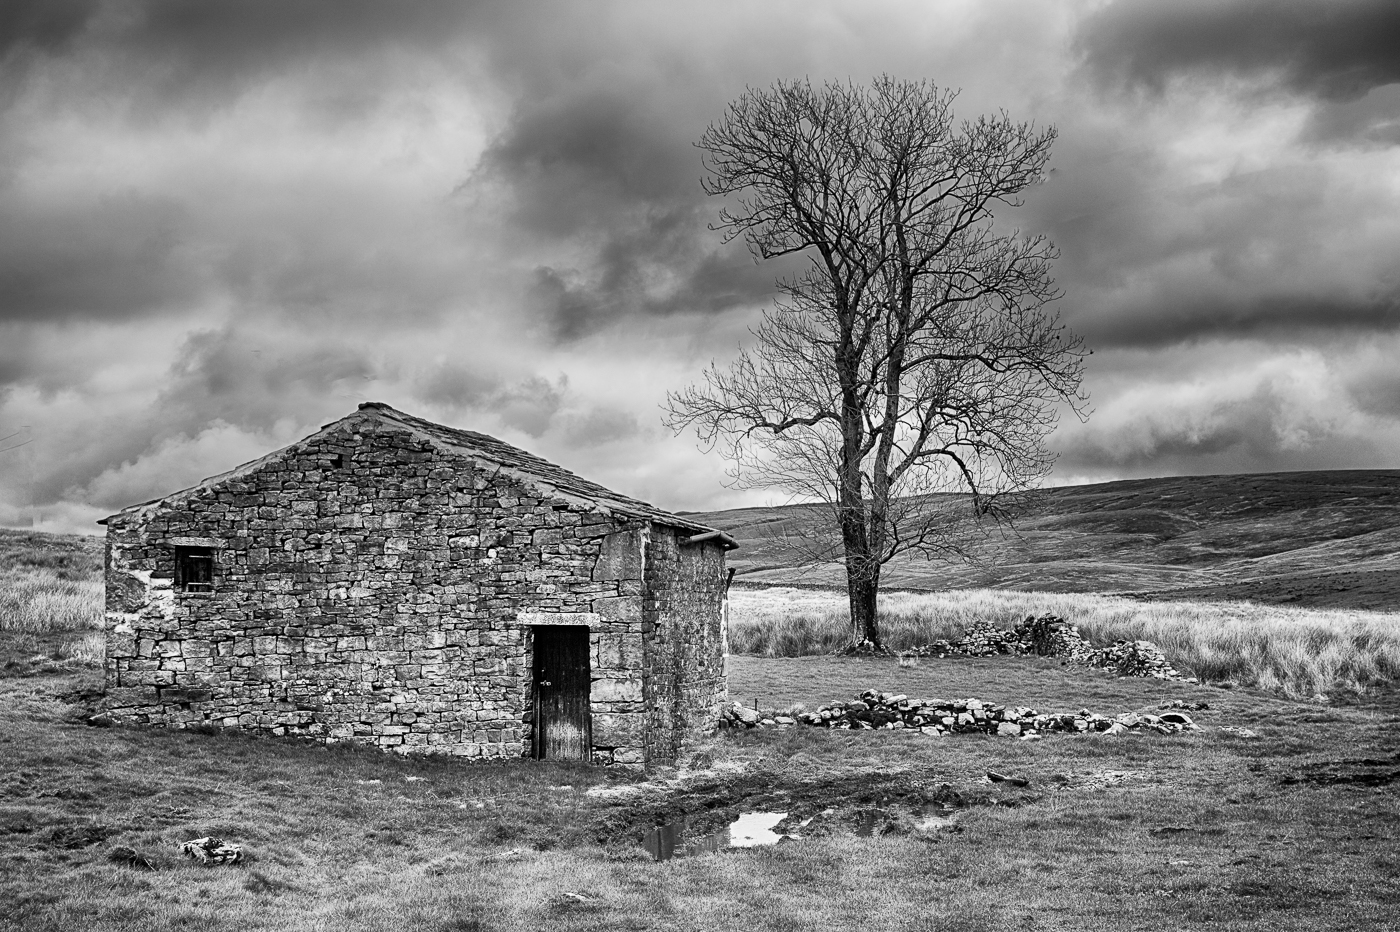
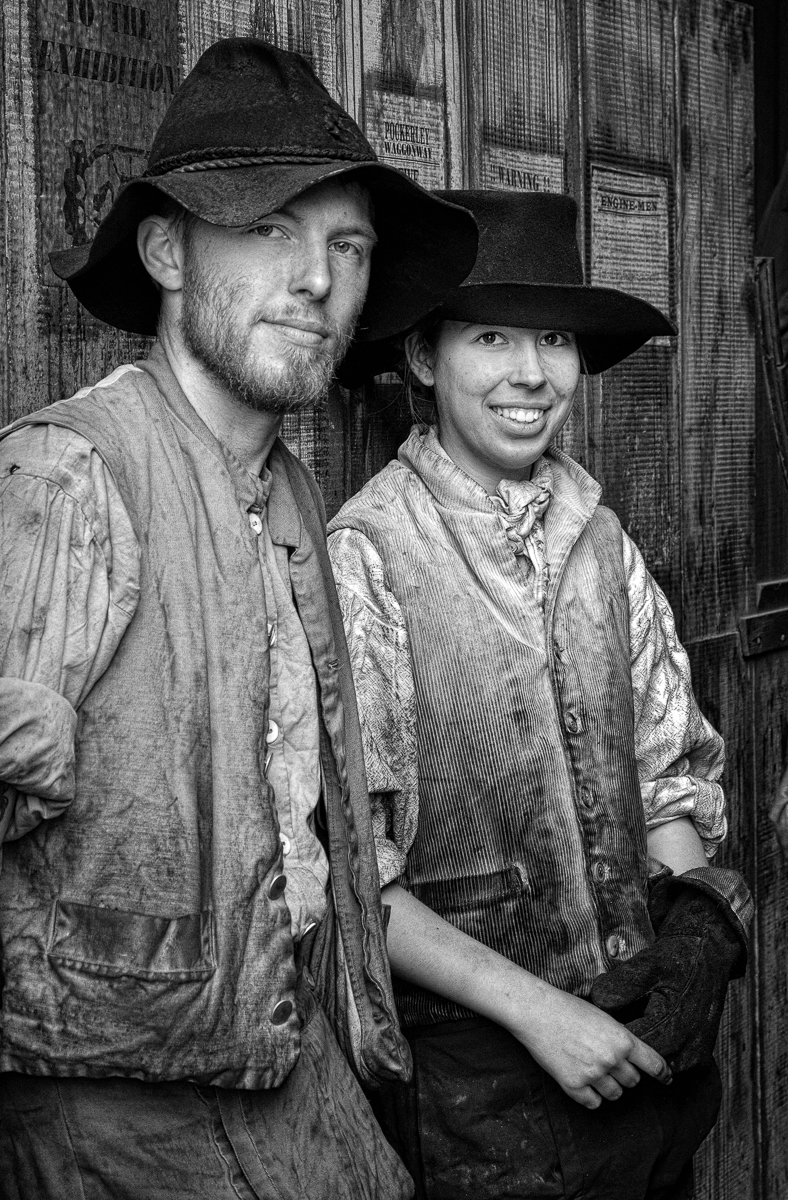
You have done an excellent job with the processing and the shadow frame completes it. Do you have other images showing more of his body? |
Sep 4th |
| 5 |
Sep 22 |
Comment |
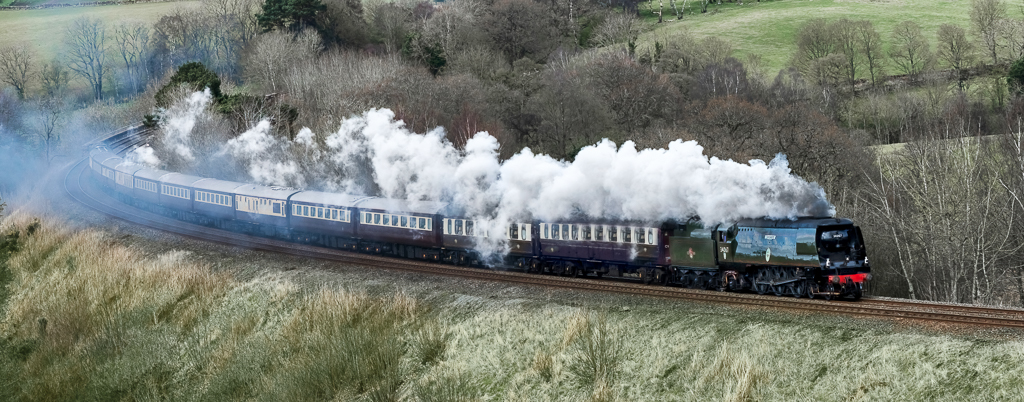
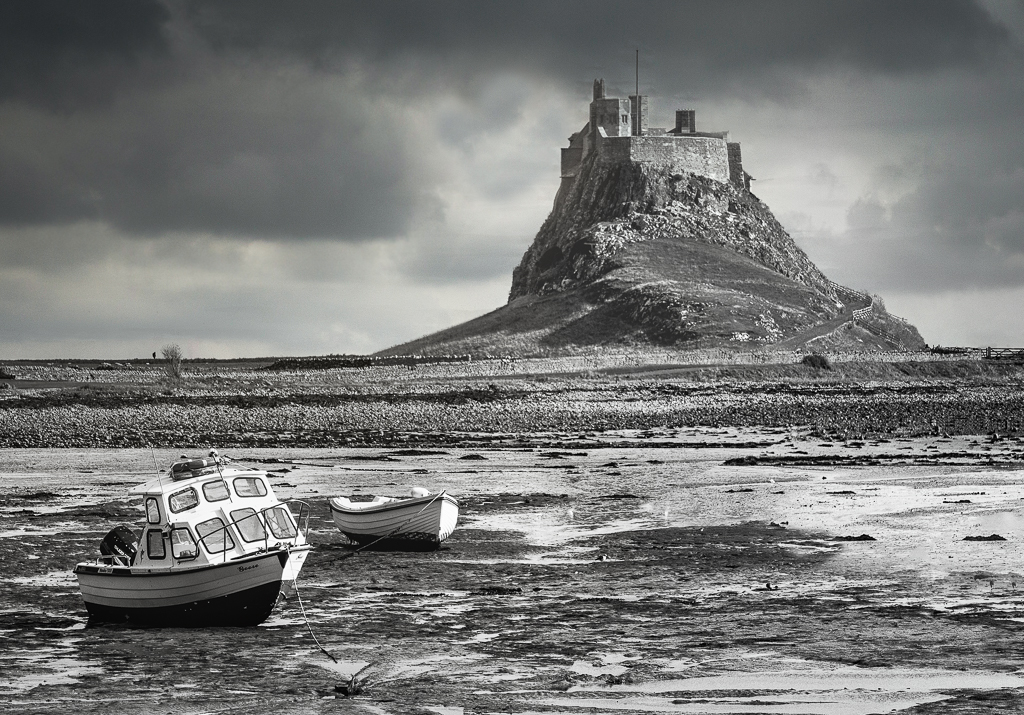
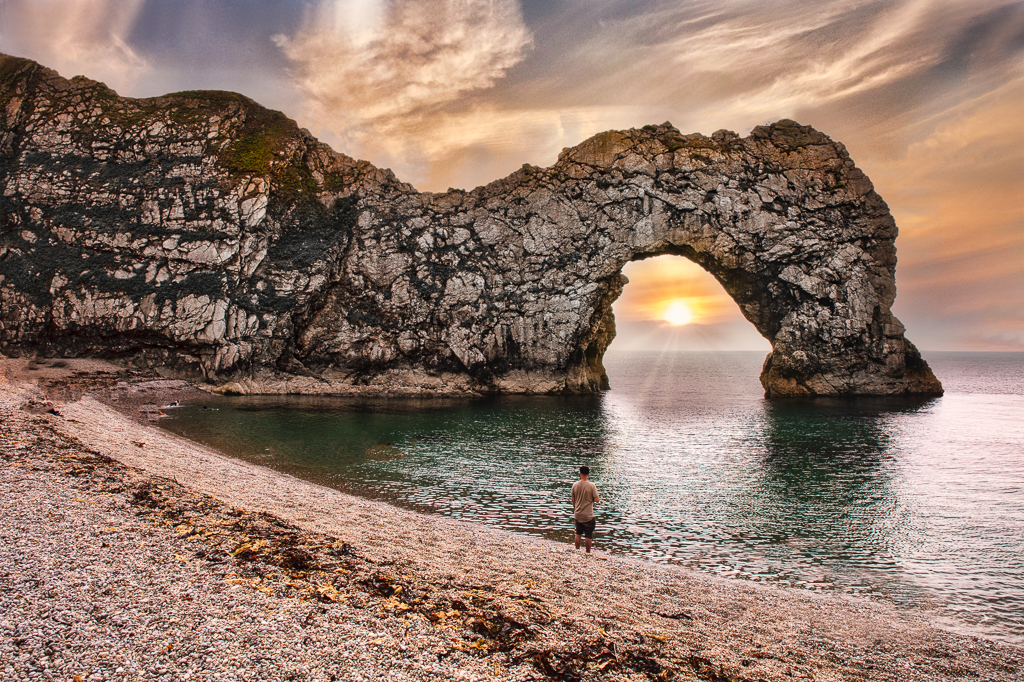
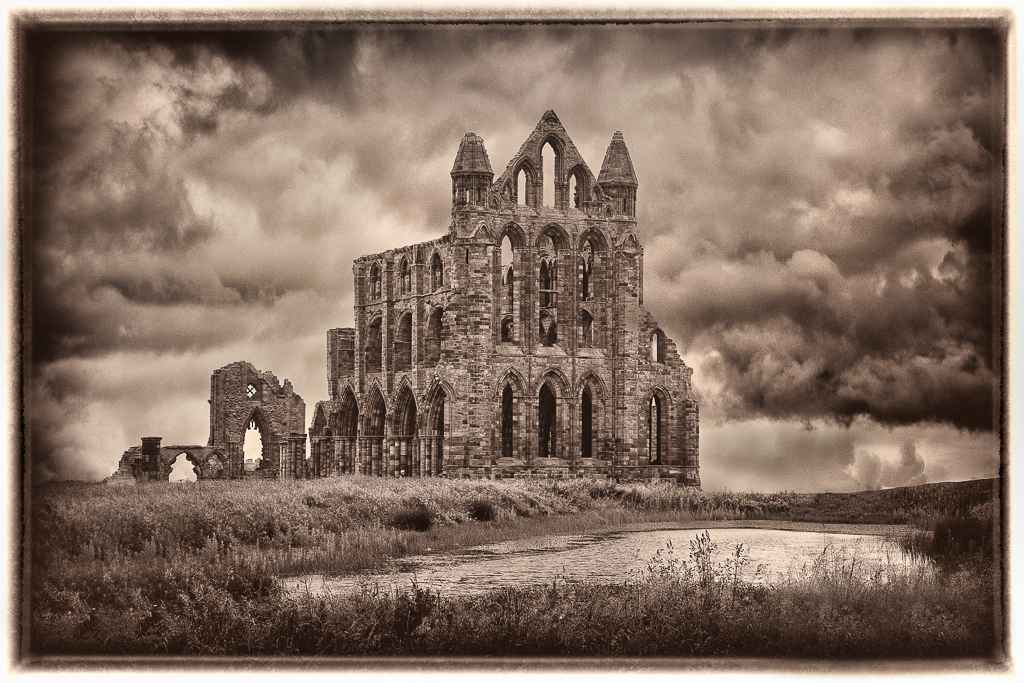
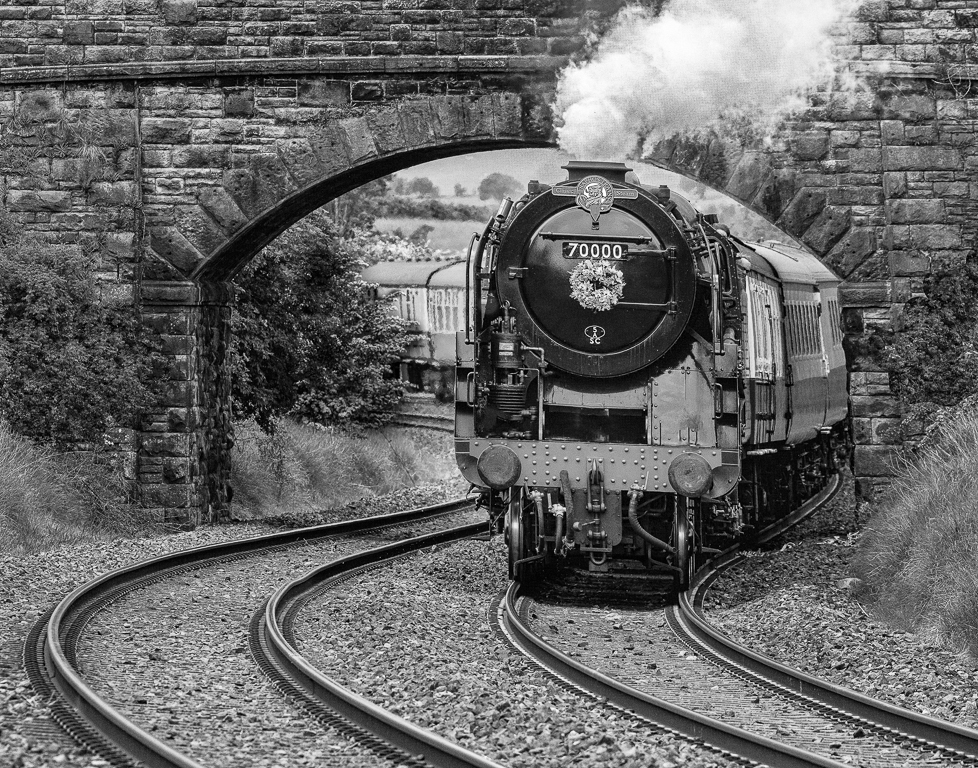
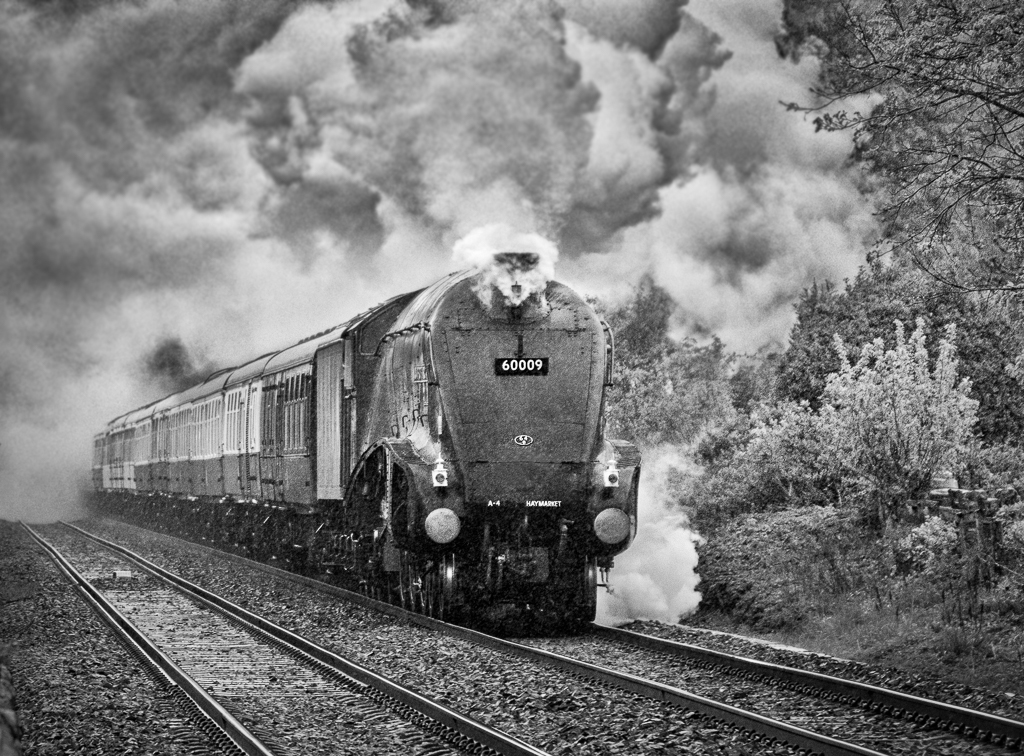
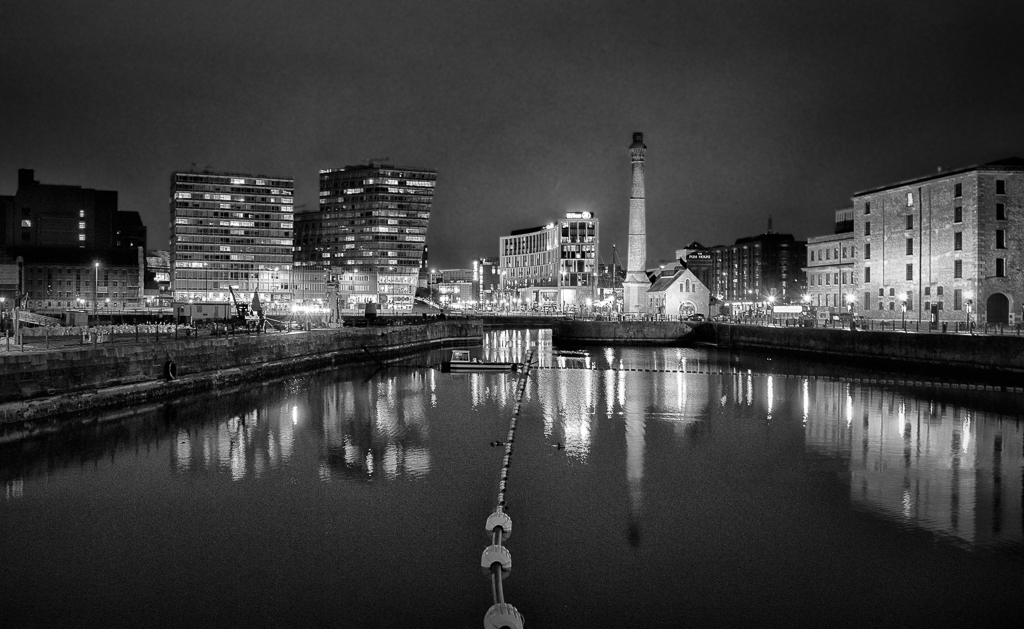
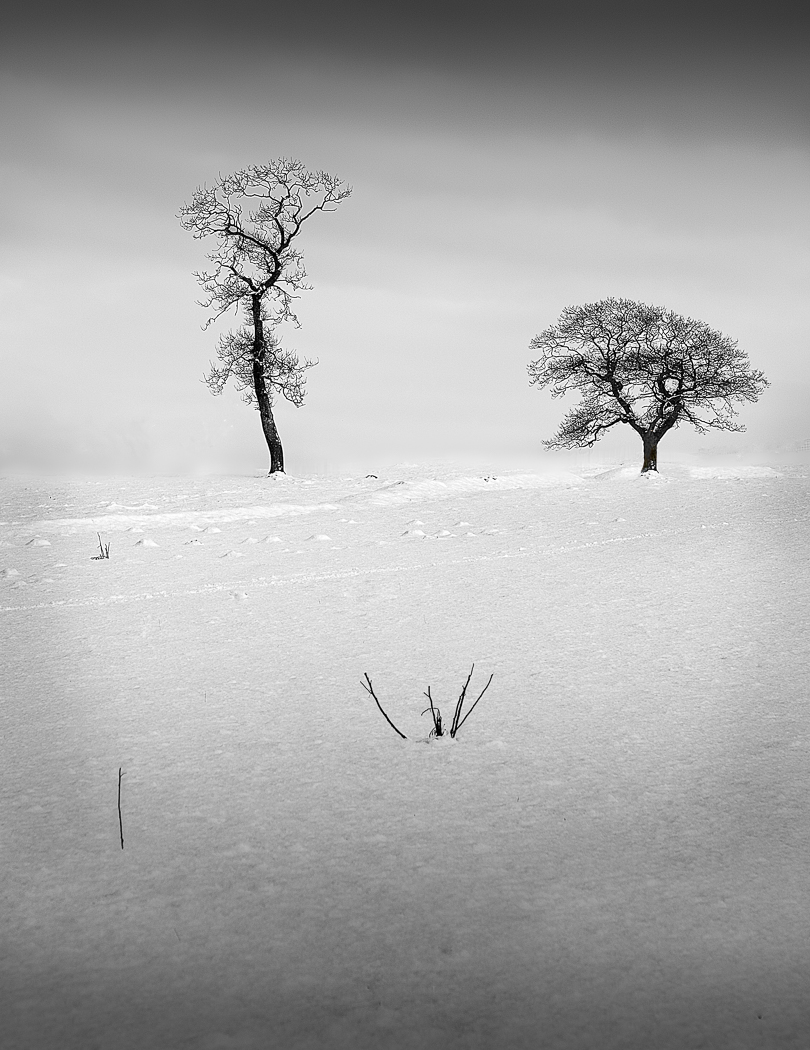
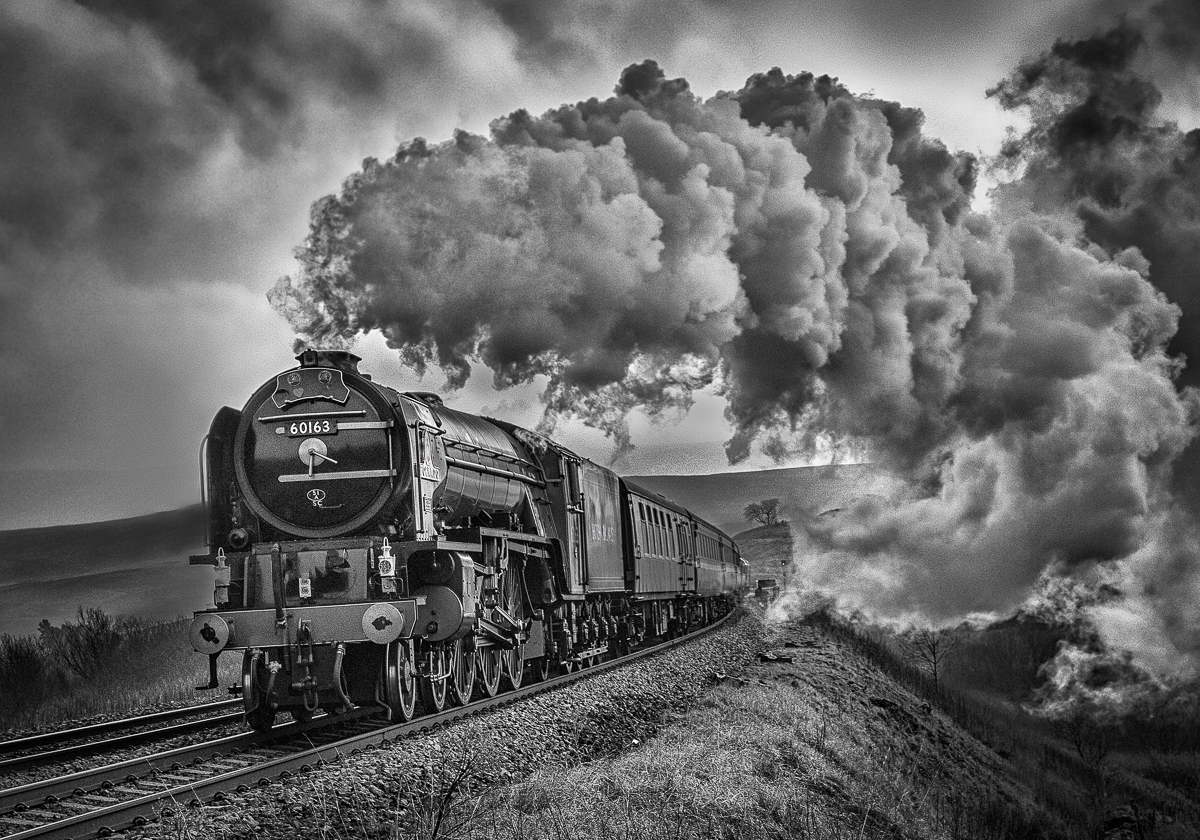
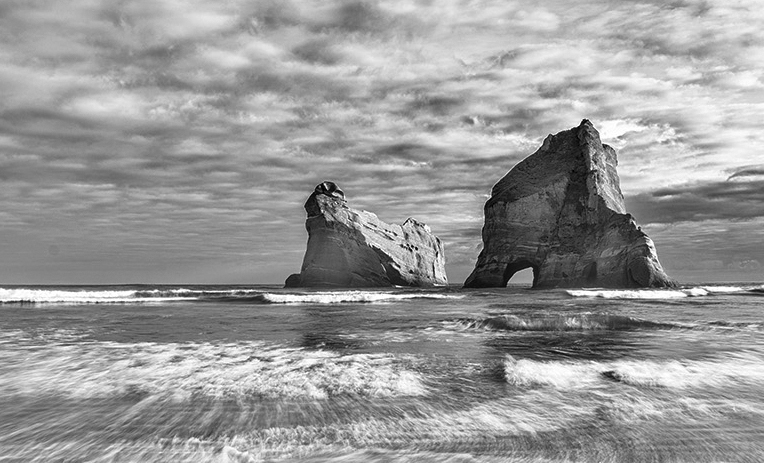
My initial impression was that I liked this image and in particular the mono version. I agree with your comment that the story is about the shapes of the stacks but then I wondered why they were such a small part of the image. If it were mine I would crop the image, add a little more contrast and bring more detail into the stacks. There is a halo on the LHS of each stack which is easily rectified. |
Sep 4th |
 |
| 5 |
Sep 22 |
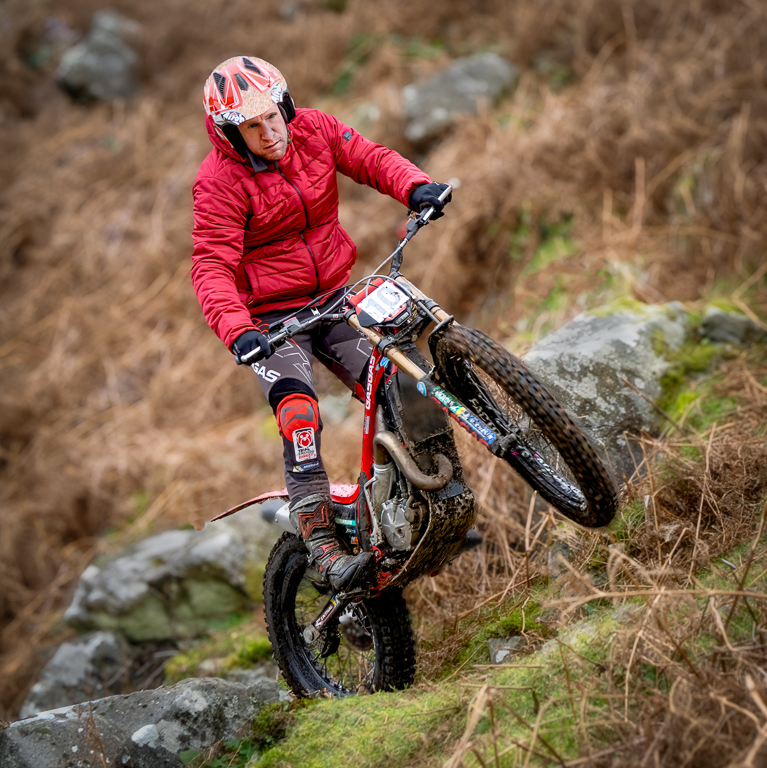
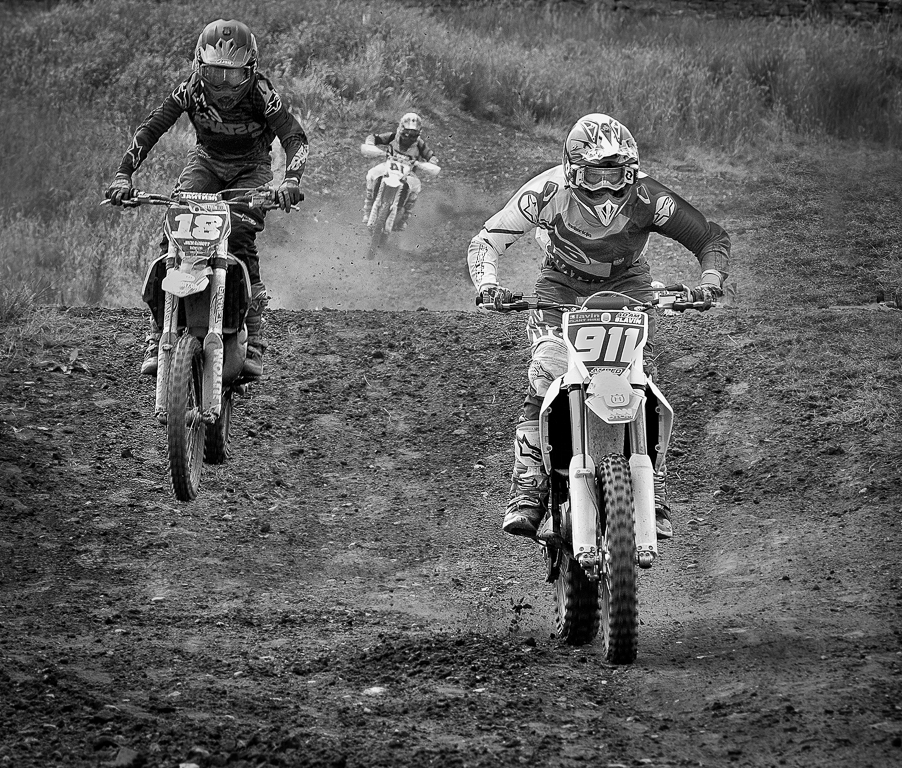
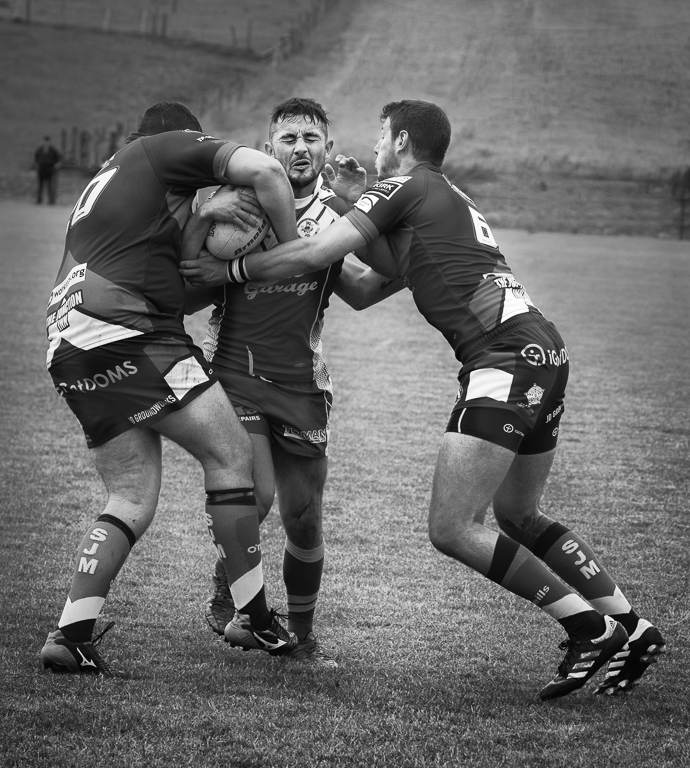
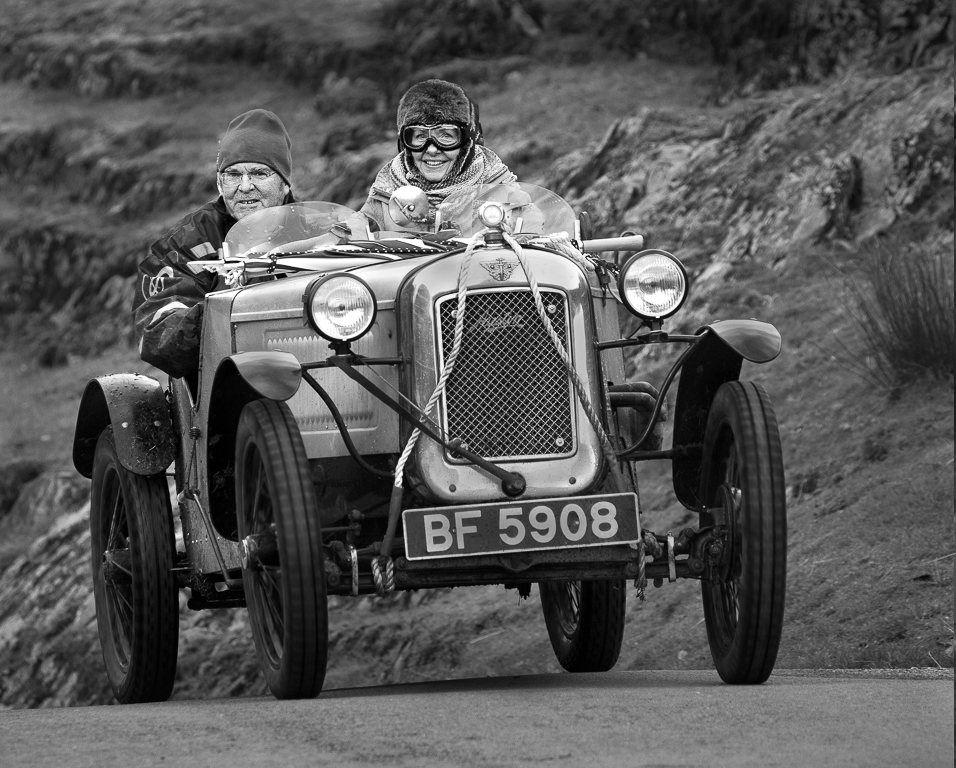
Comment |
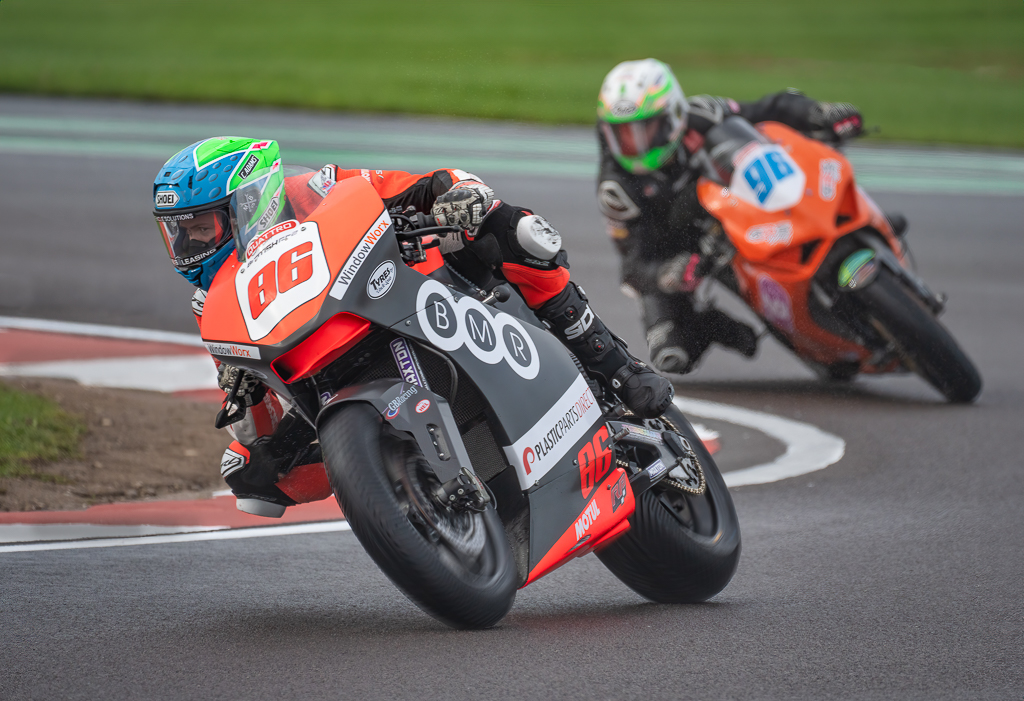
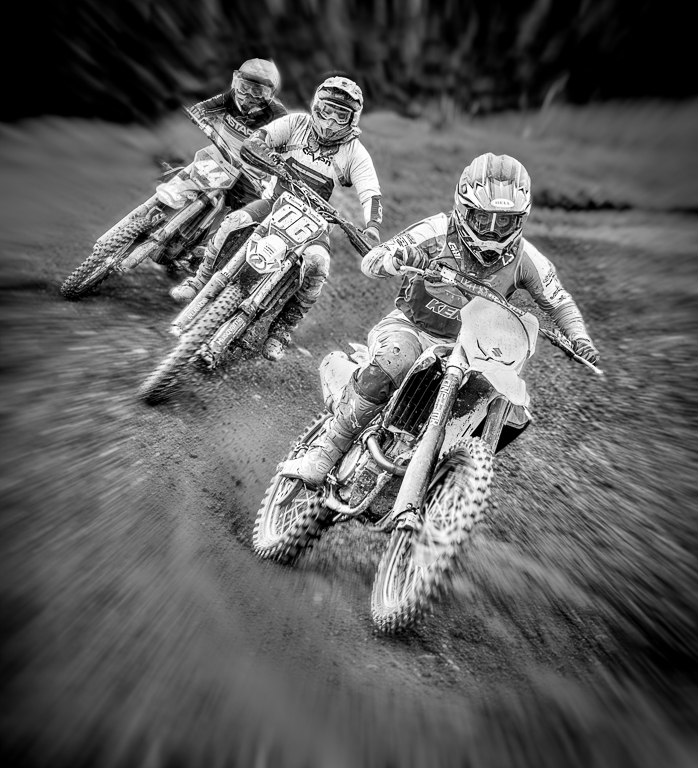
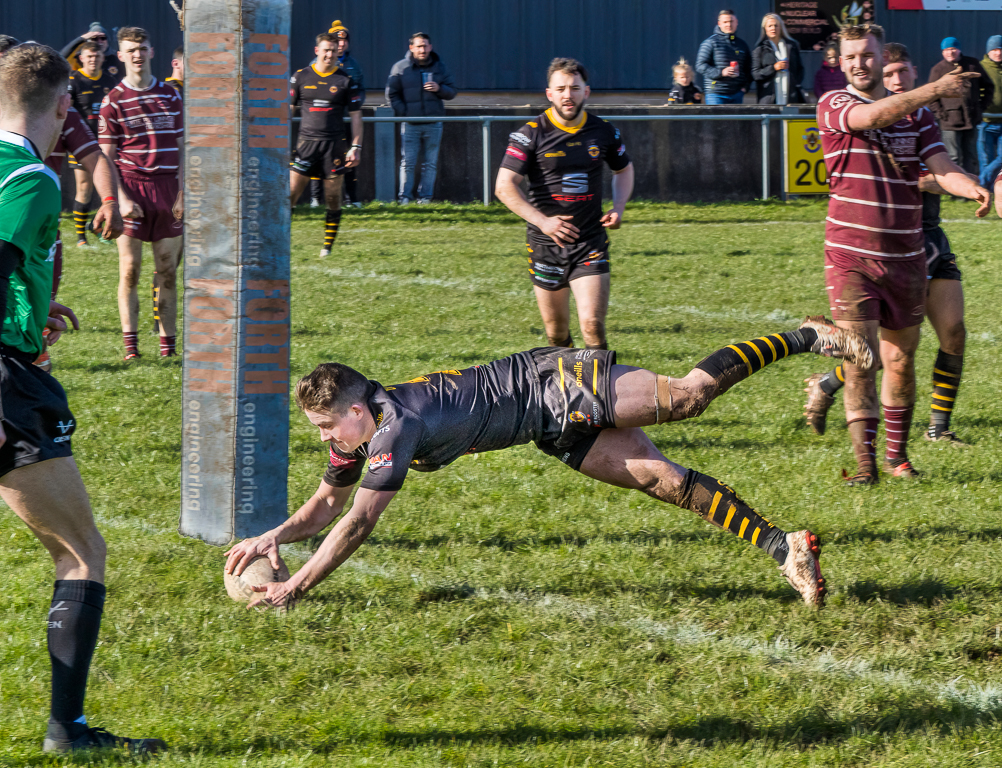
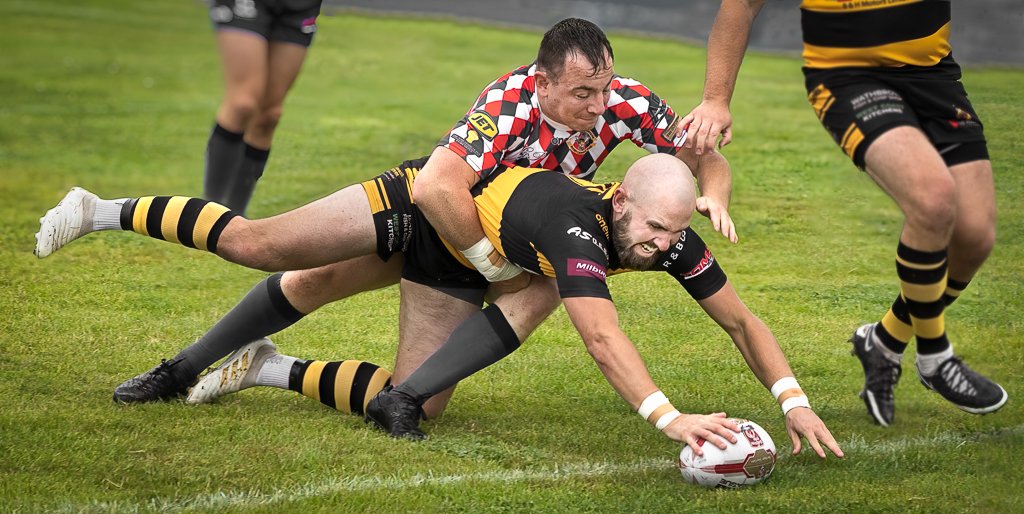
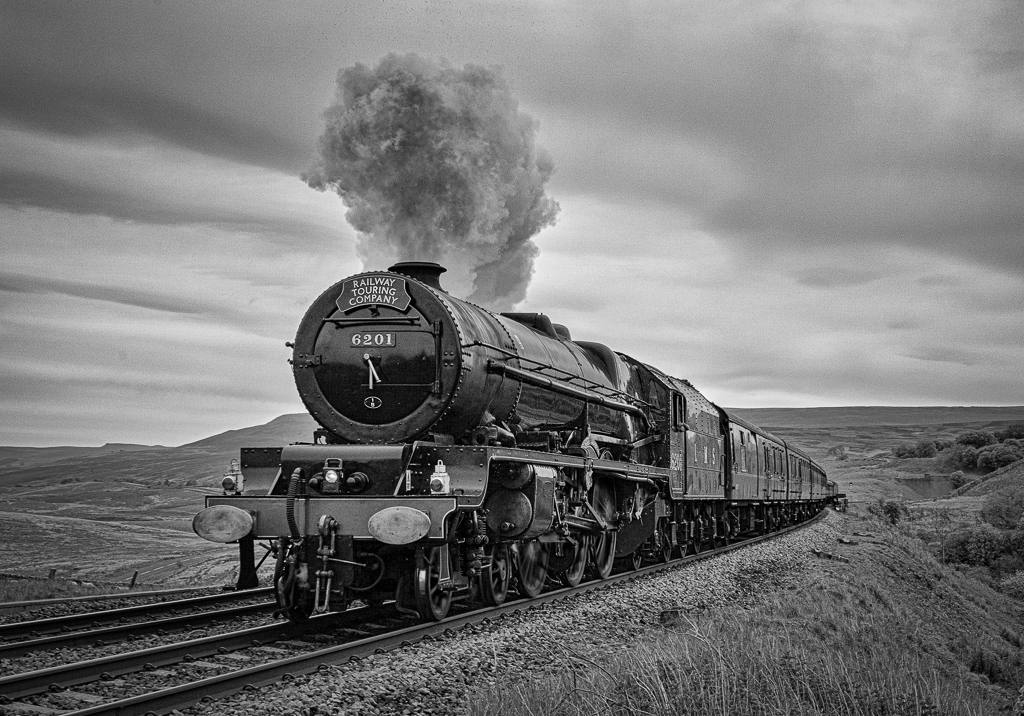
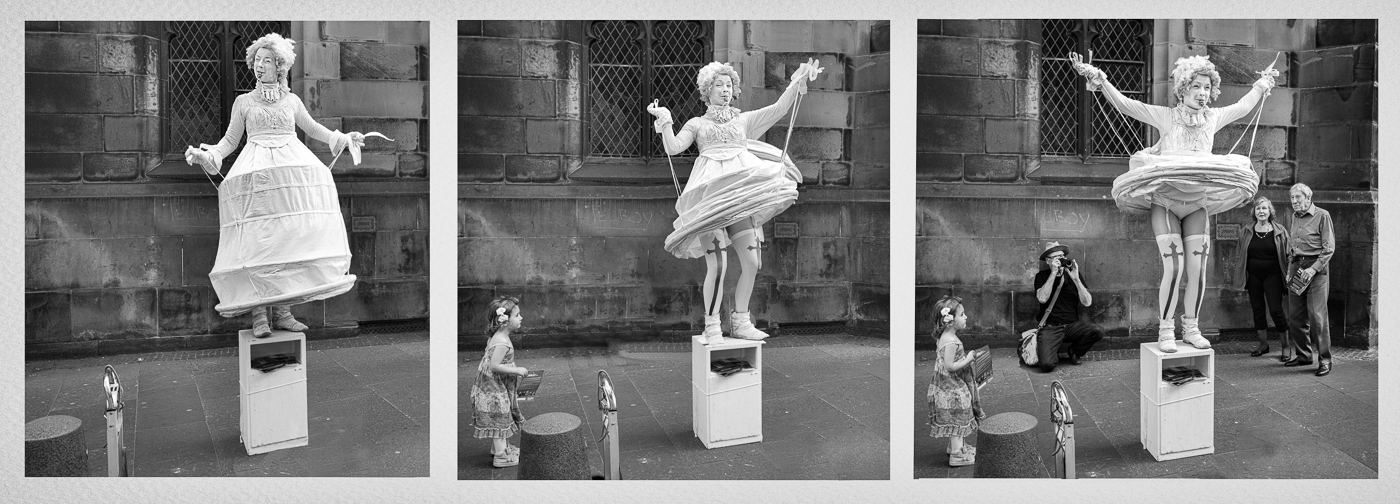
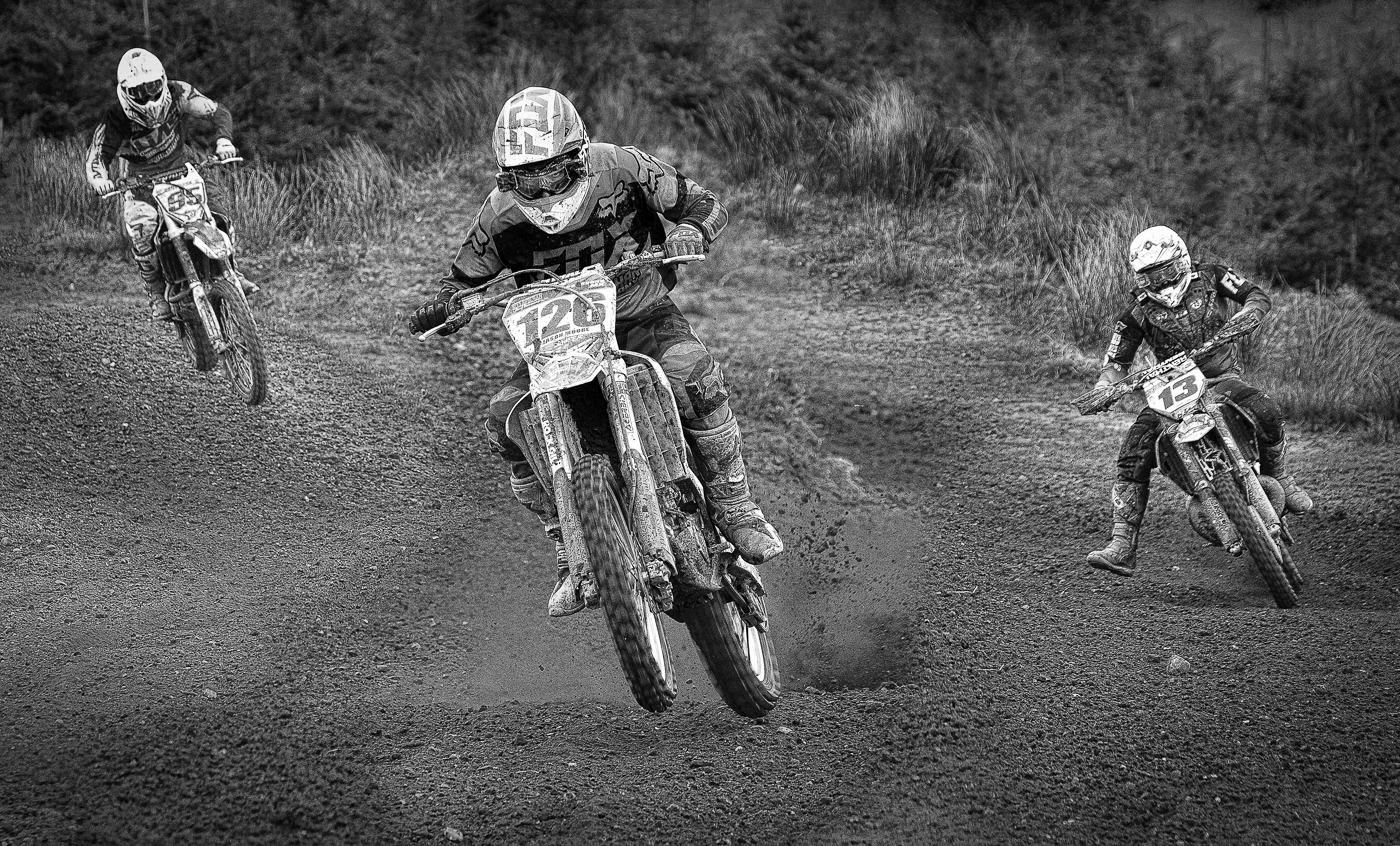
As Jim and Richard say this is a great action shot. Again they both suggest a tighter crop which I agree with but for me Jim has left too much space on the RHS and a little too much on the LHS whilst Richard has left too much on the top and bottom. I agree with Richard about the sharpening. |
Sep 4th |
 |
| 5 |
Sep 22 |
Reply |
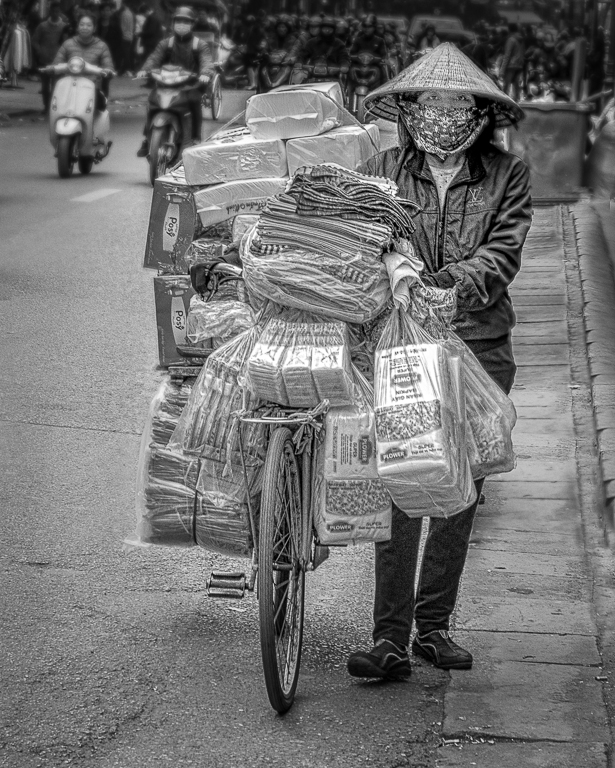
Thanks Sophia. I had just printed it out and turned the print upside down and thought her lower face and arm was too bright so I have toned it down. I would be grateful for further comments on attached before I re-print it
David |
Sep 1st |
 |
| 5 |
Sep 22 |
Comment |
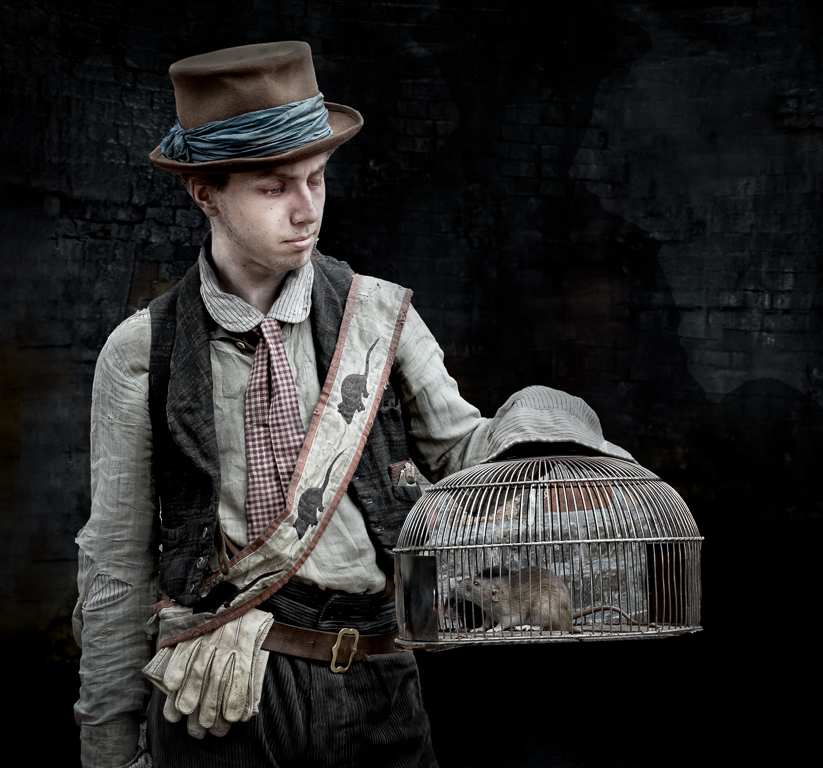
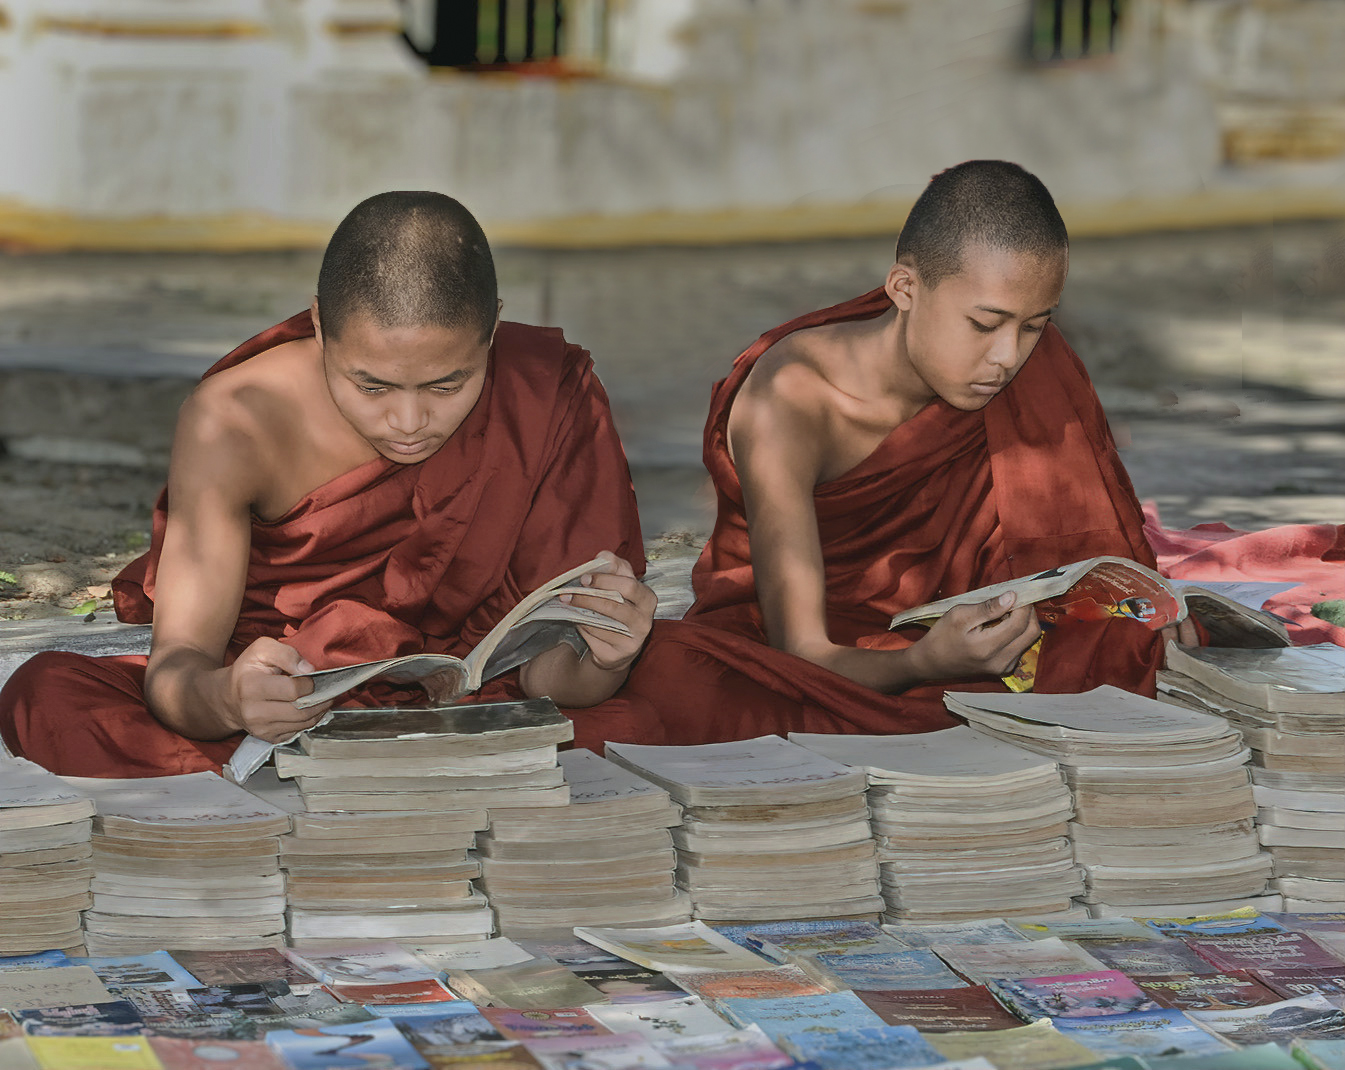
I like this image and I think you have done a good job with the processing. I have used Neural Filters before but never to change the depth of field. I will have to try it. Although you have done well manipulating the image, I still find the third monk distracting and I would clone him out. |
Sep 1st |
 |
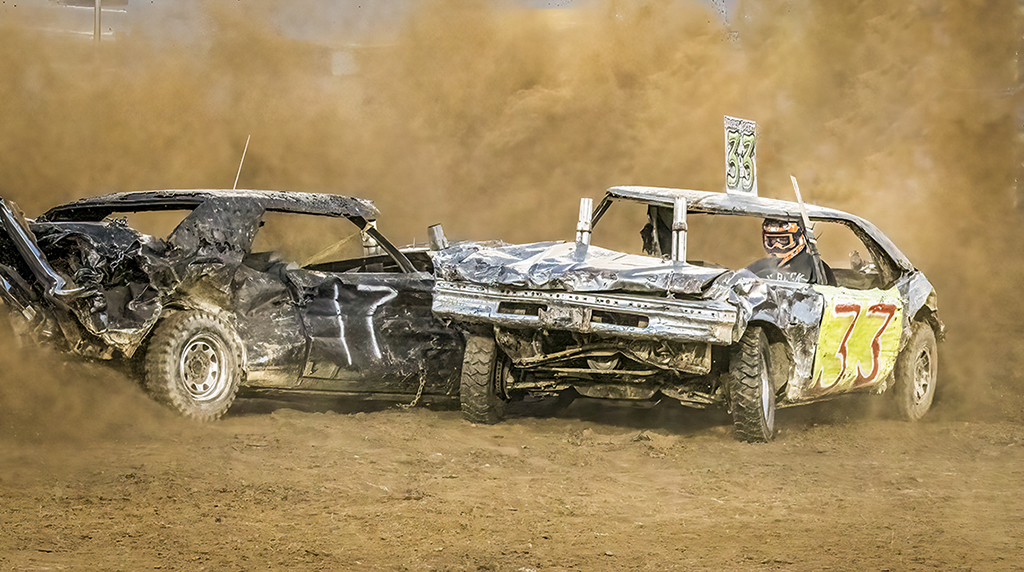
| 5 |
Sep 22 |
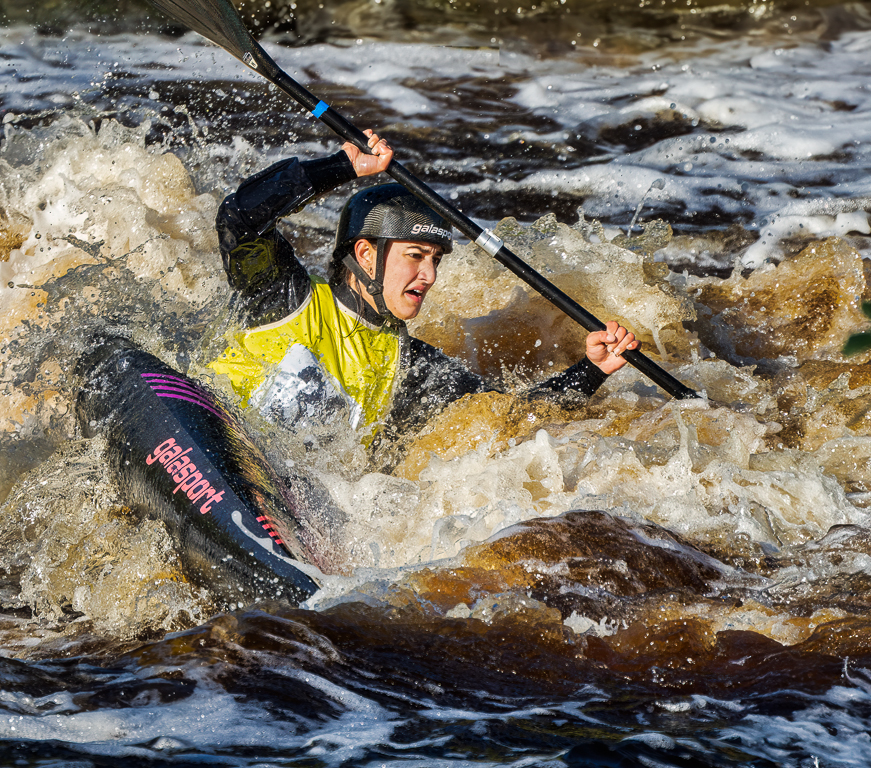
Comment |
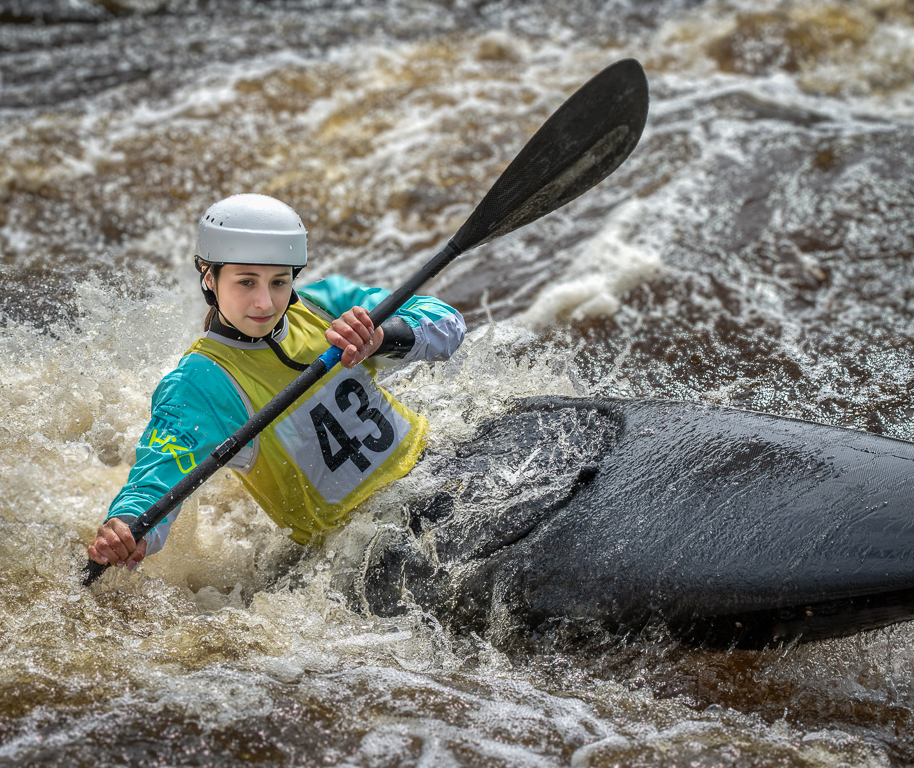
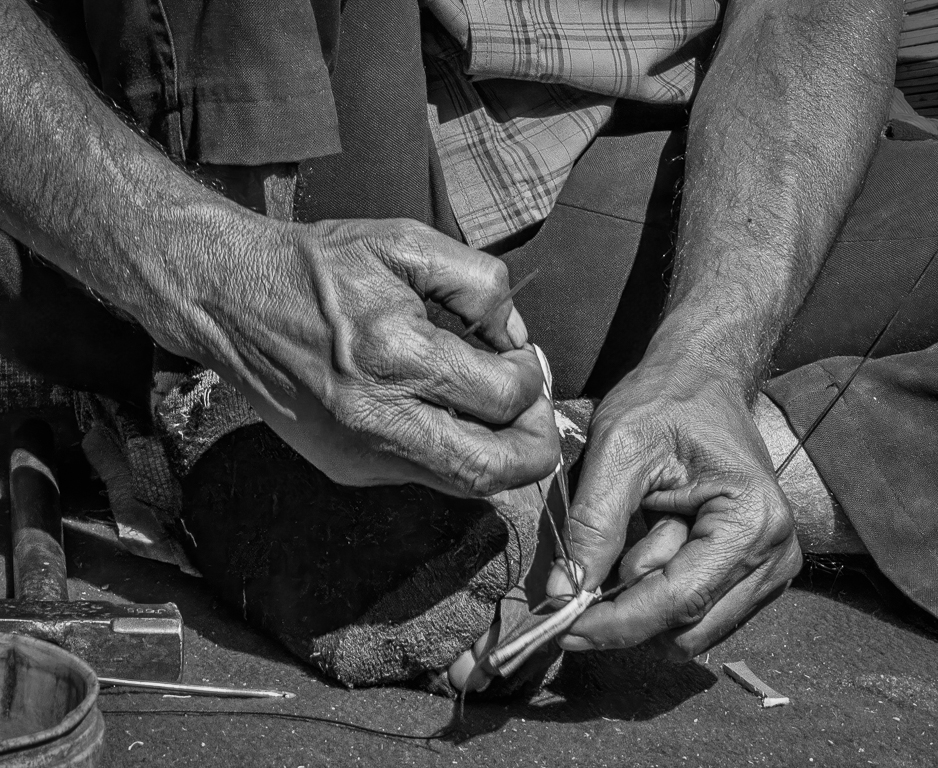
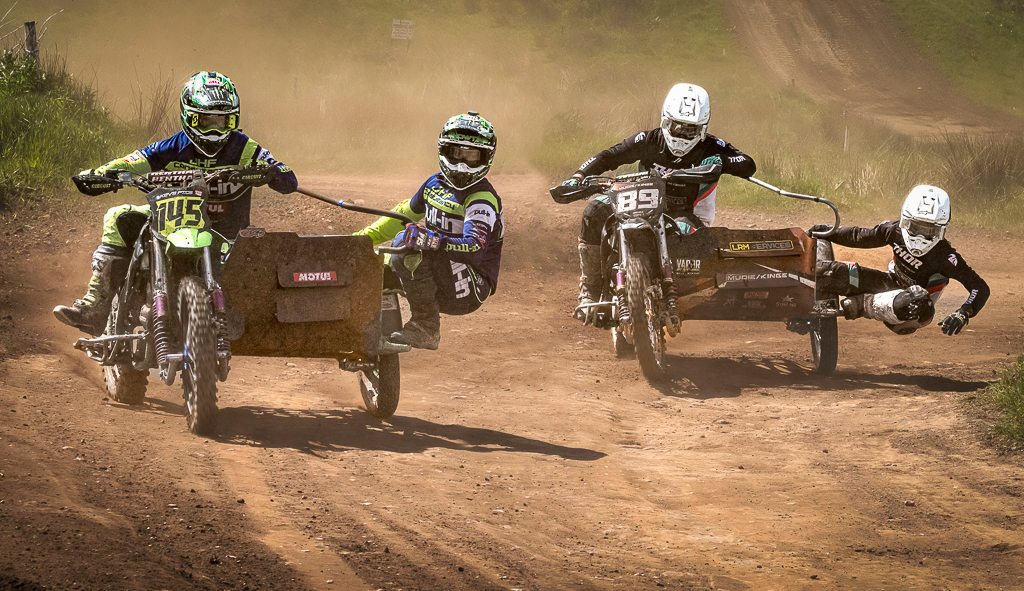
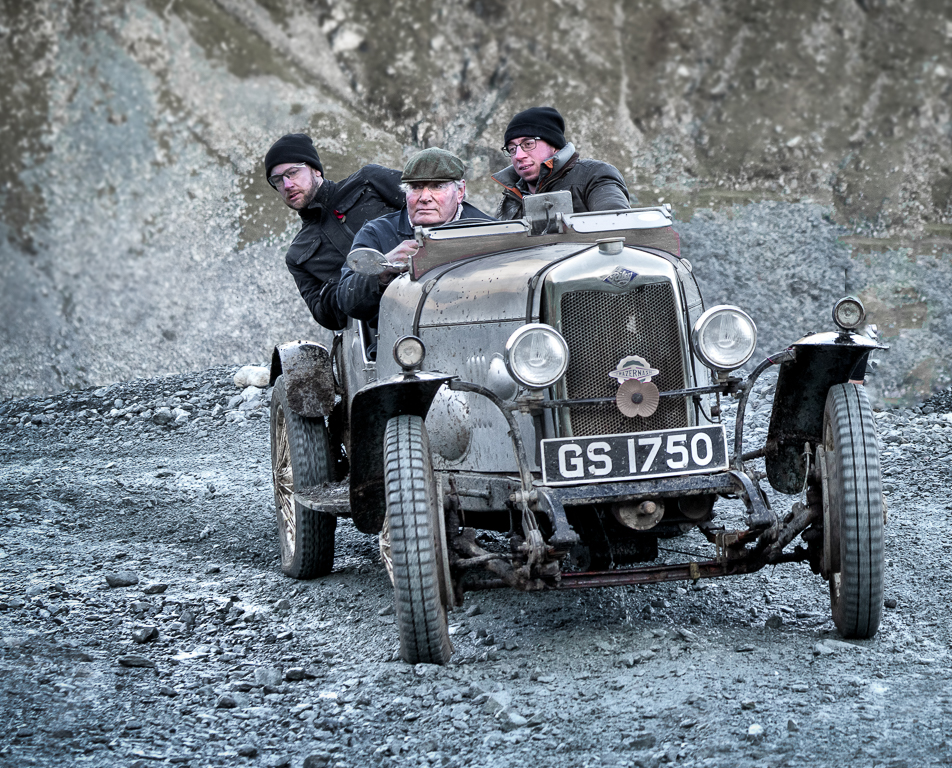
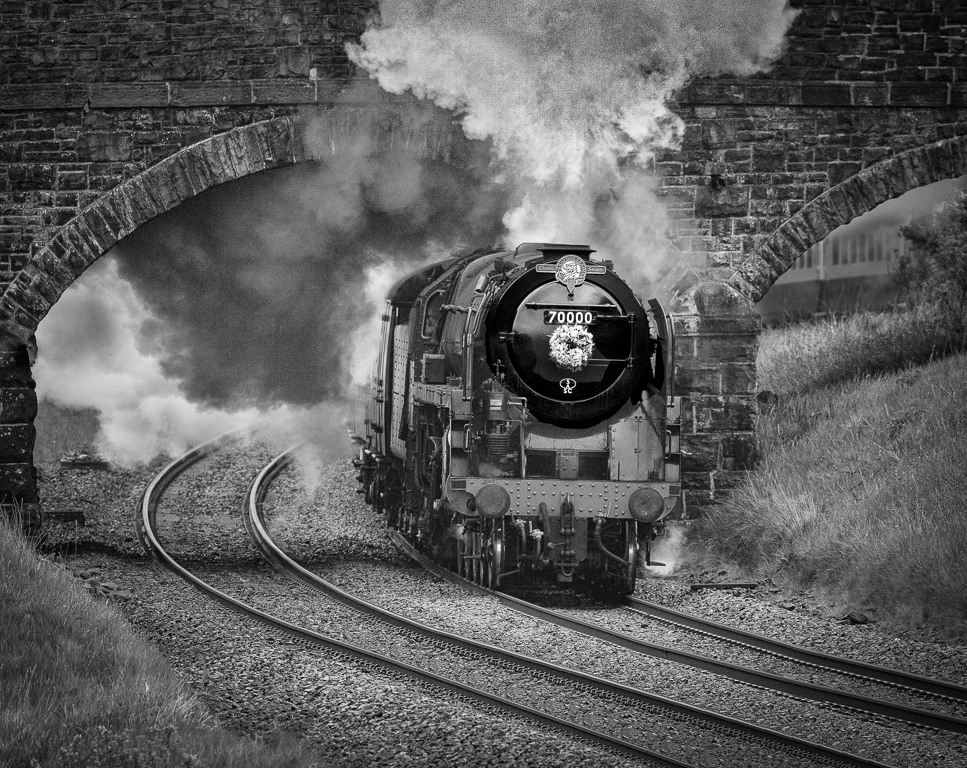
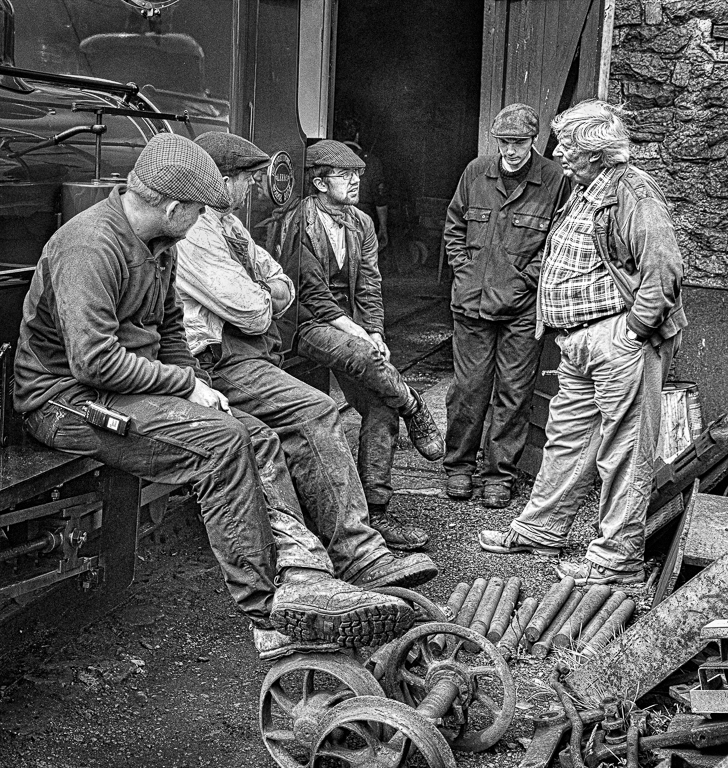
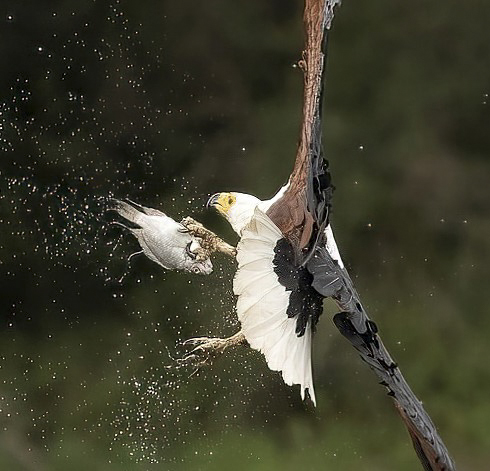
A good action shot Pete. I love the dust and I think you have done a good job with the processing. I wouldn't have cropped the left hand side. My eyes are drawn away from the cars with the people in the background you might consider cloning them out by creating more dust. |
Sep 1st |
 |
6 comments - 6 replies for Group 5
|
6 comments - 6 replies Total
|