|
| Group |
Round |
C/R |
Comment |
Date |
Image |
| 5 |
Jan 22 |
Reply |
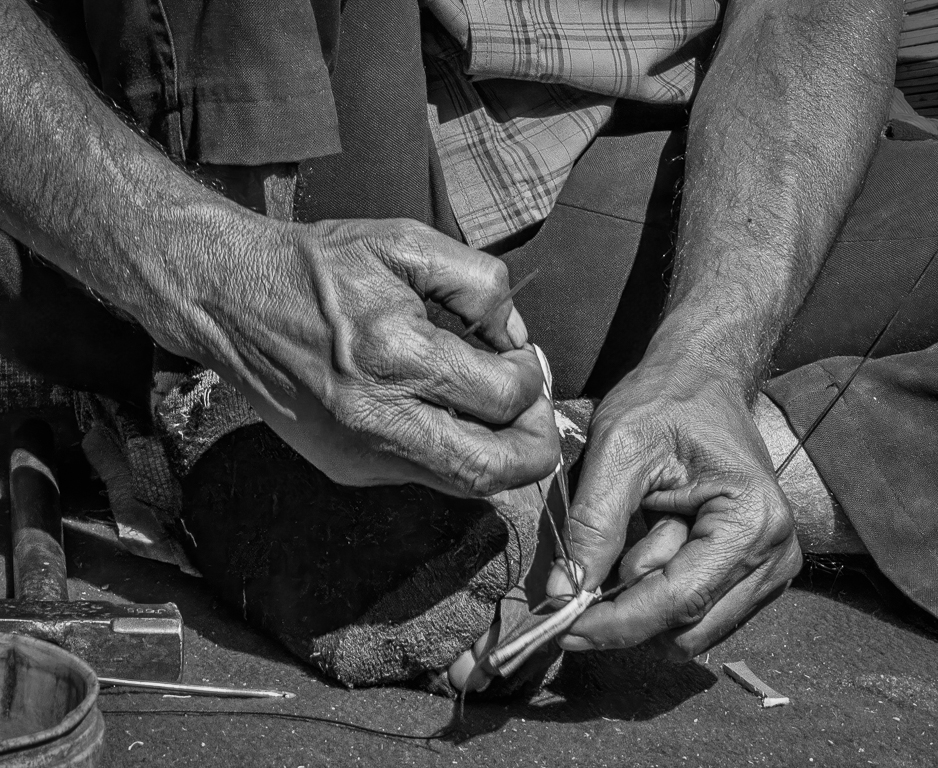
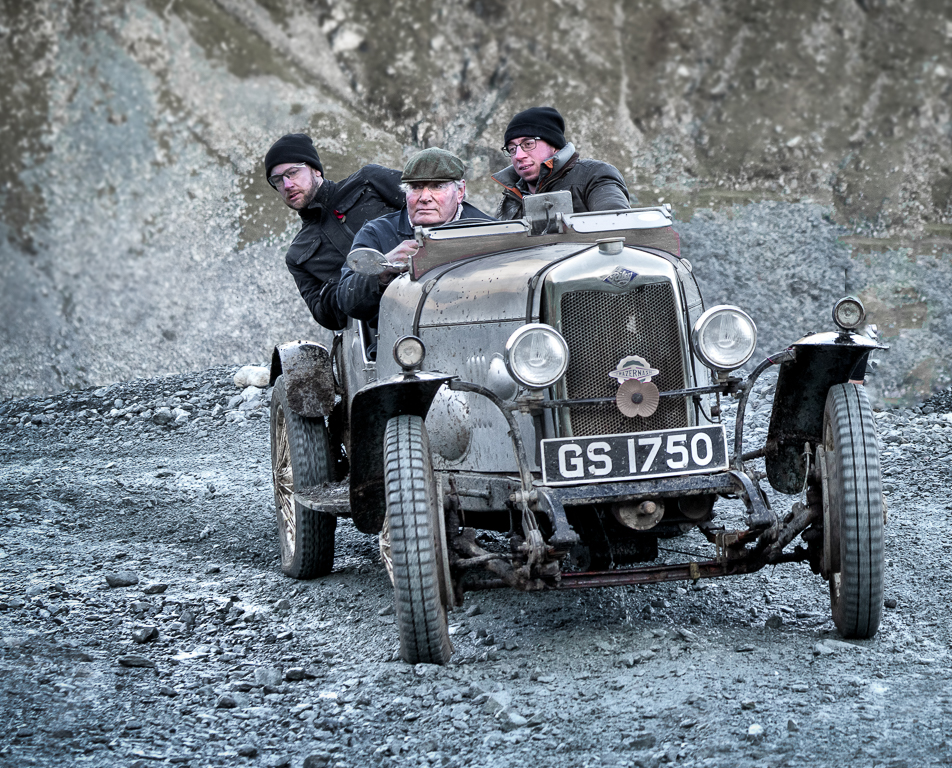
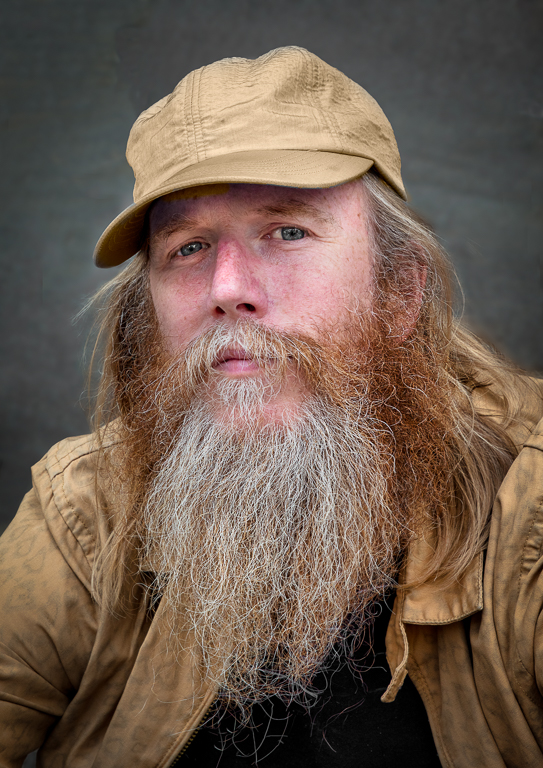
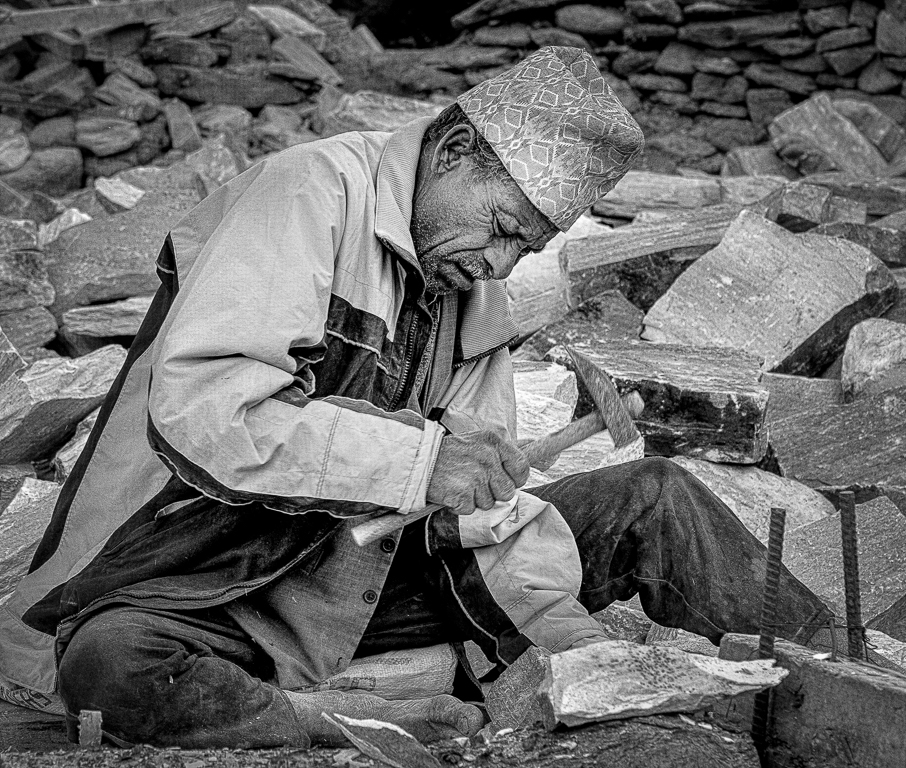
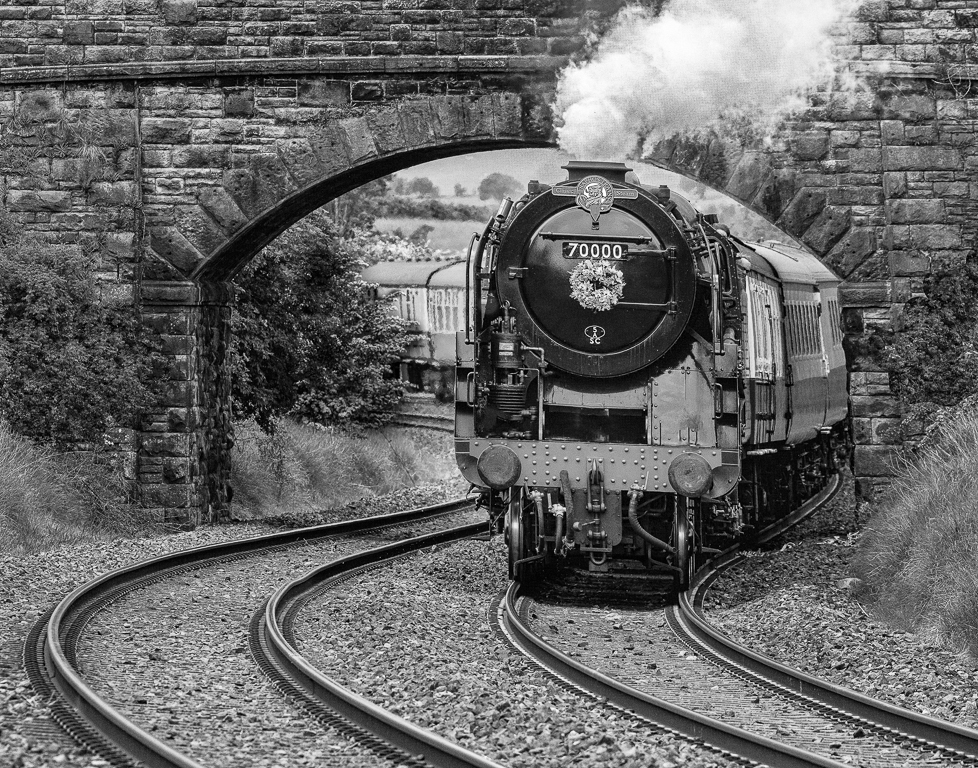
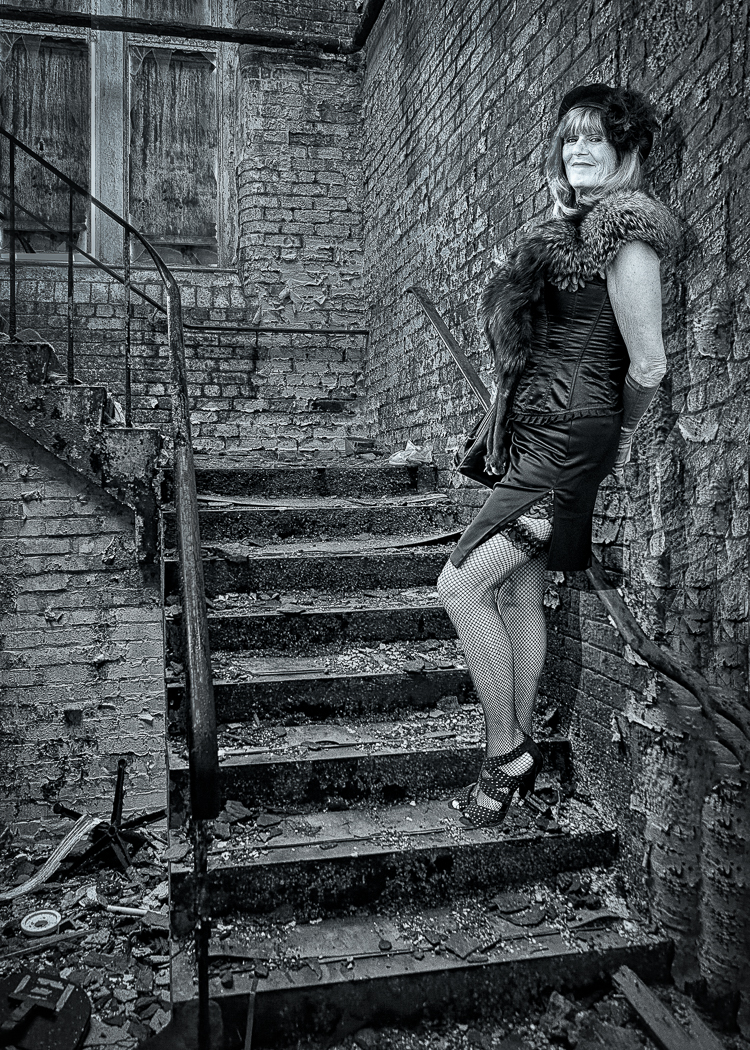
You could try using "Content aware crop" then clone a hand as below. By the way I like Pete's version. |
Jan 15th |
 |
| 5 |
Jan 22 |
Comment |
I much prefer Pete's version. I took his version and the original into Photoshop and put them onto separate layers. I then cropped to Pete's version which I think significantly improves it and then by turning the top layer on and off I could easily see the difference his editing made. For me it made a huge improvement. |
Jan 14th |
| 5 |
Jan 22 |
Reply |
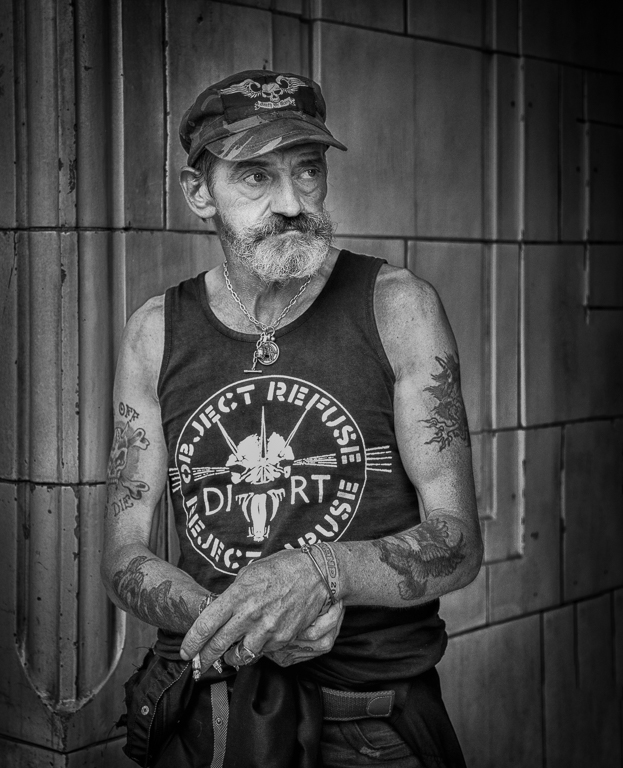
Thanks for your work. I took your version and mine into Photoshop and aligned the layers. I then turned the top layer off and on to see which I preferred. I then reduced the opacity of the top layer to 50% and decided this was my preferred option. I agree with the cropping. |
Jan 6th |
 |
| 5 |
Jan 22 |
Comment |
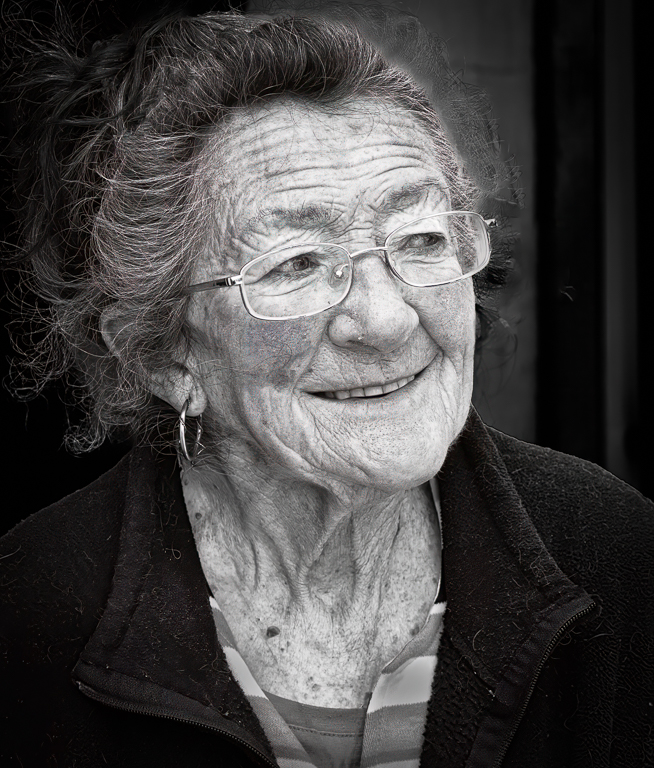
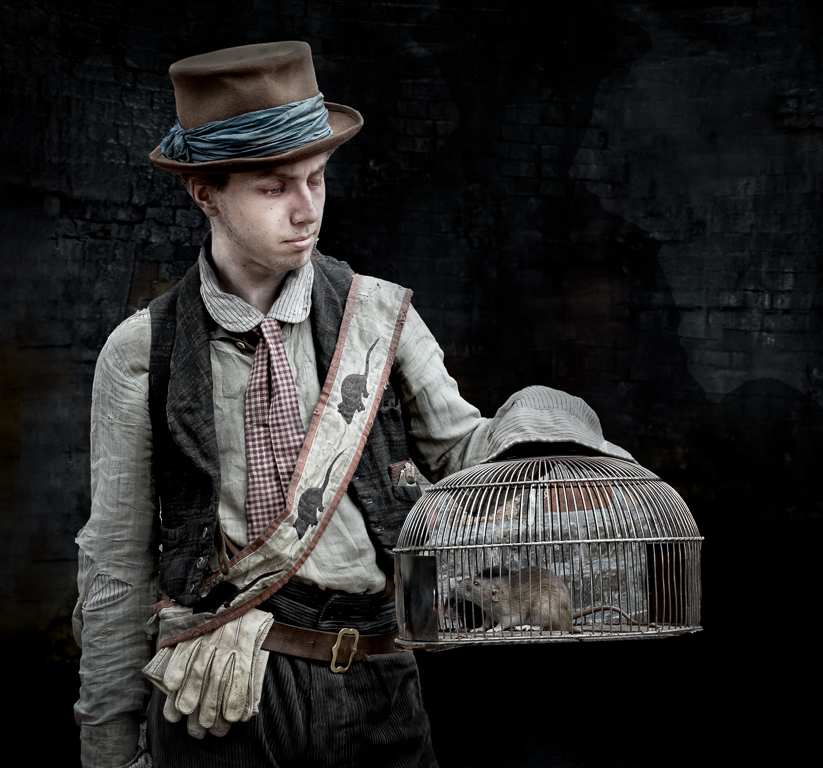
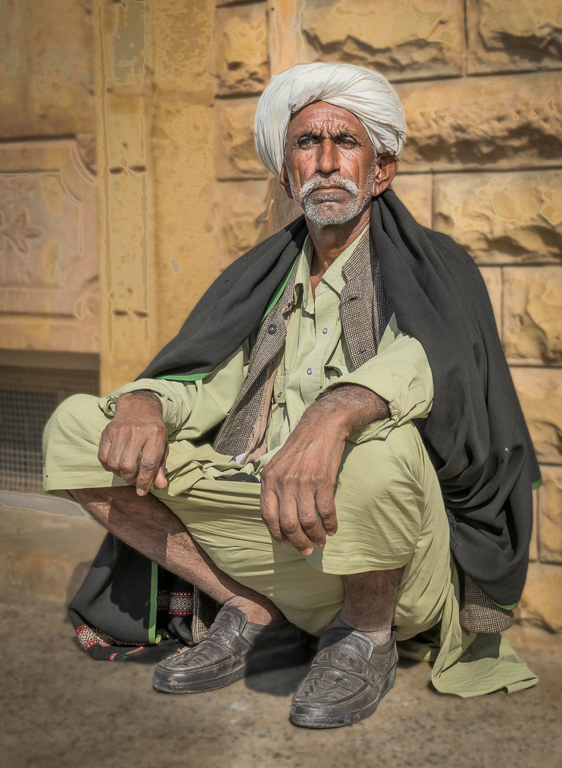
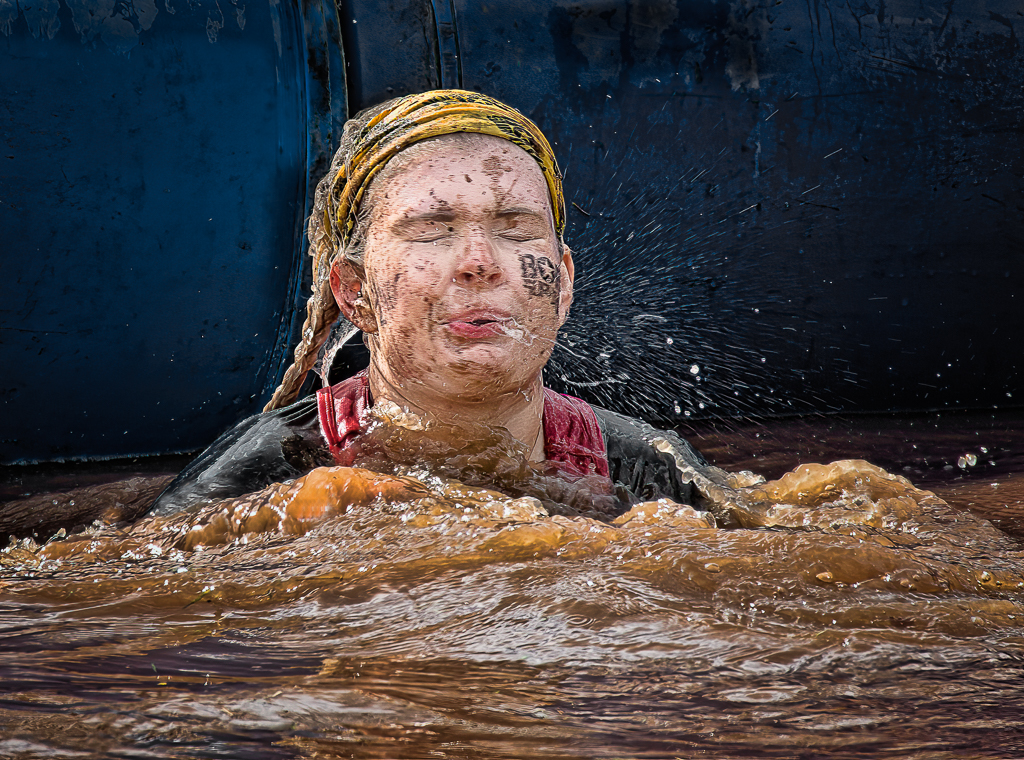
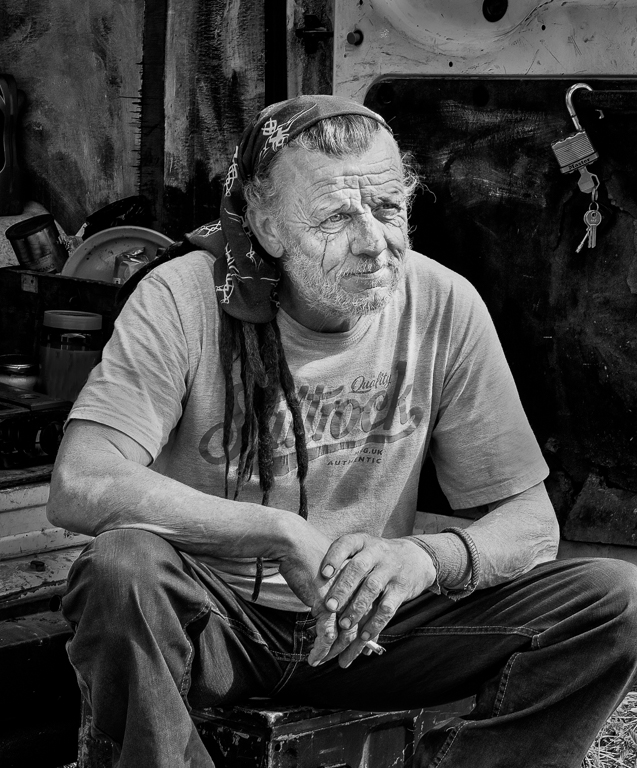
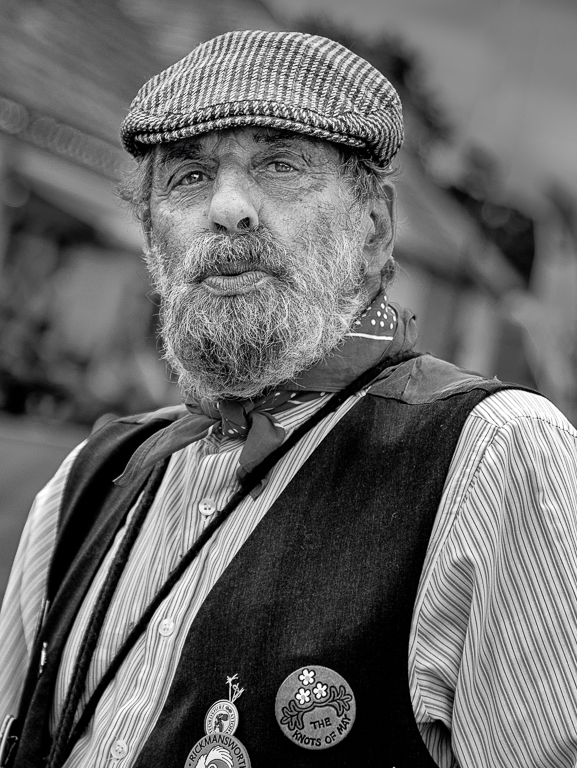
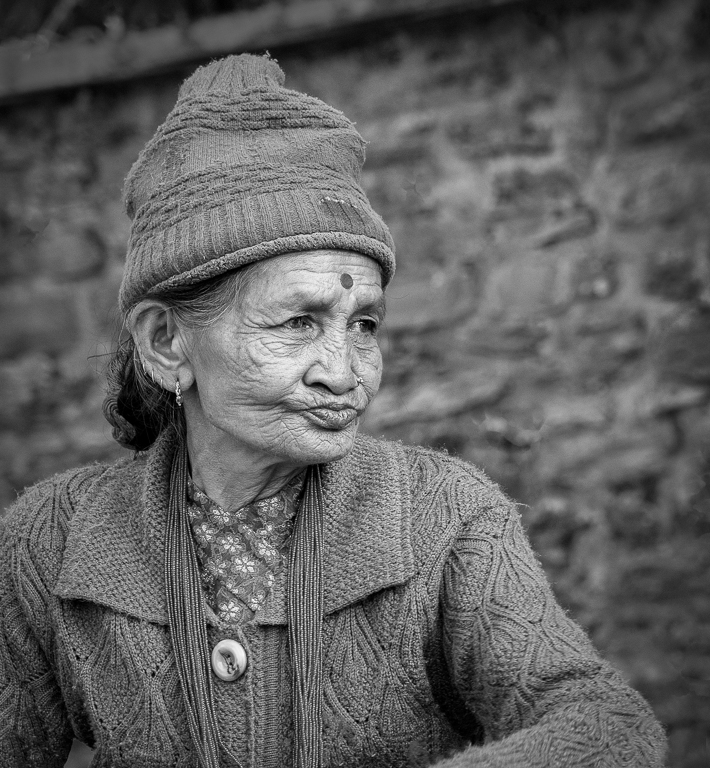
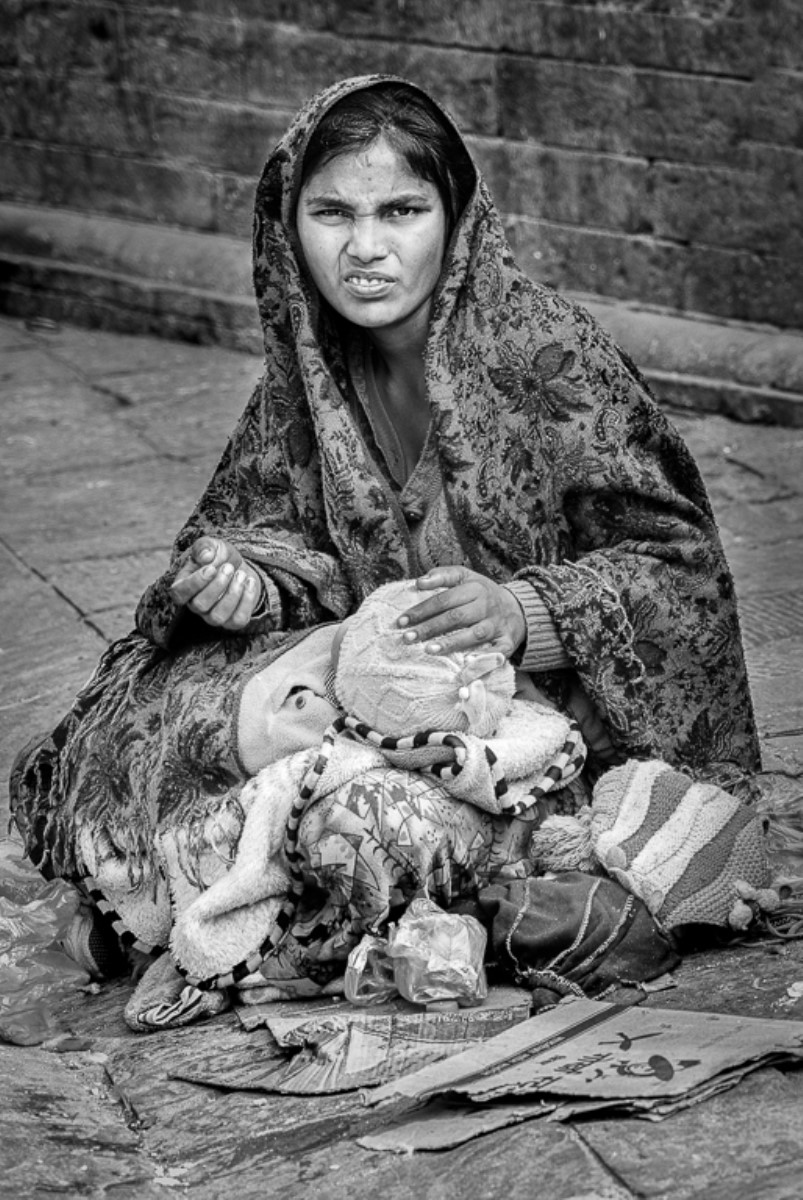
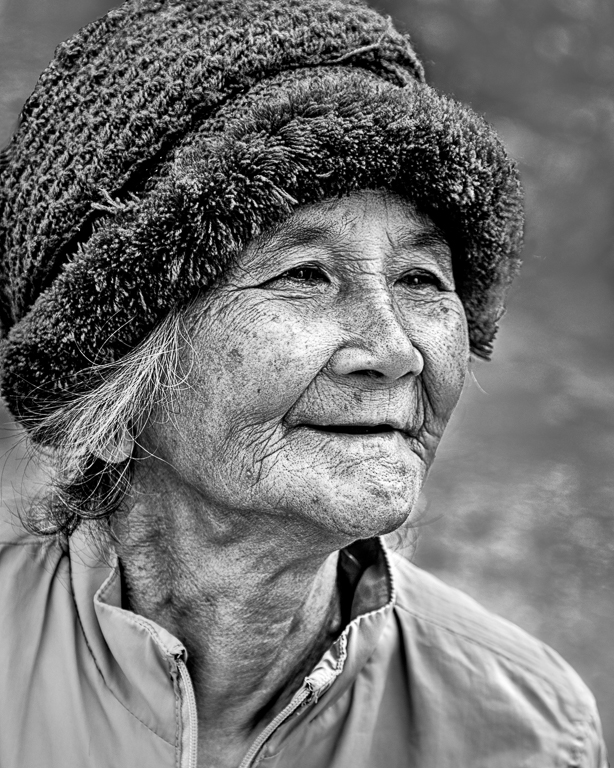
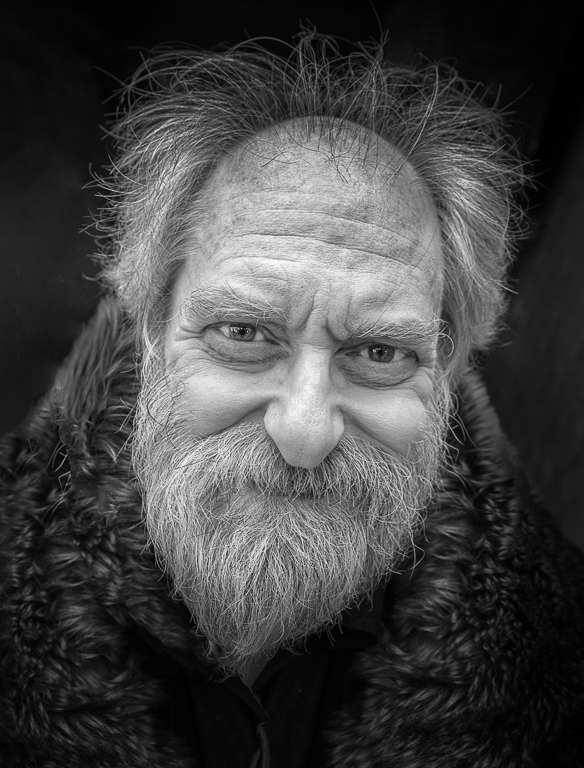
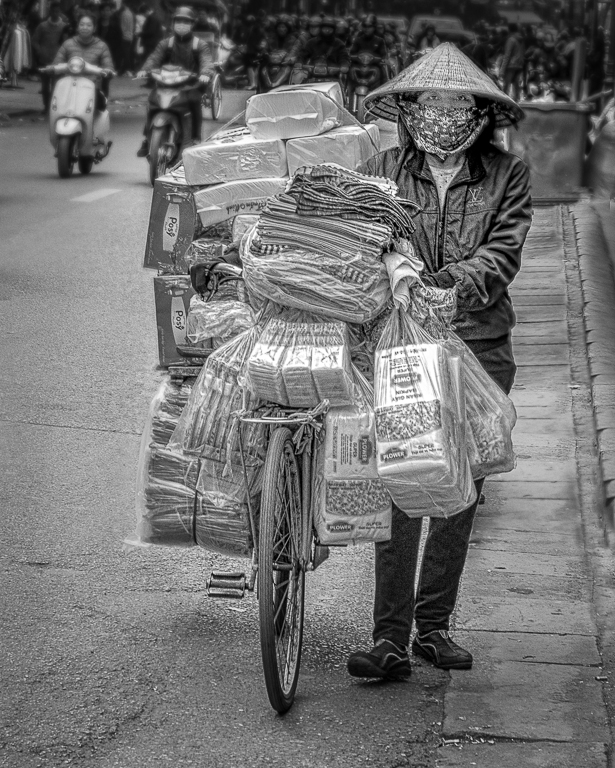
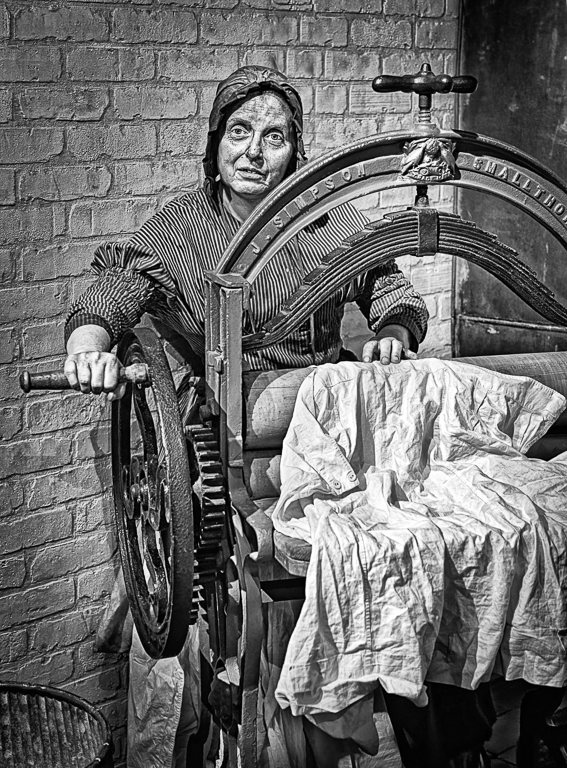
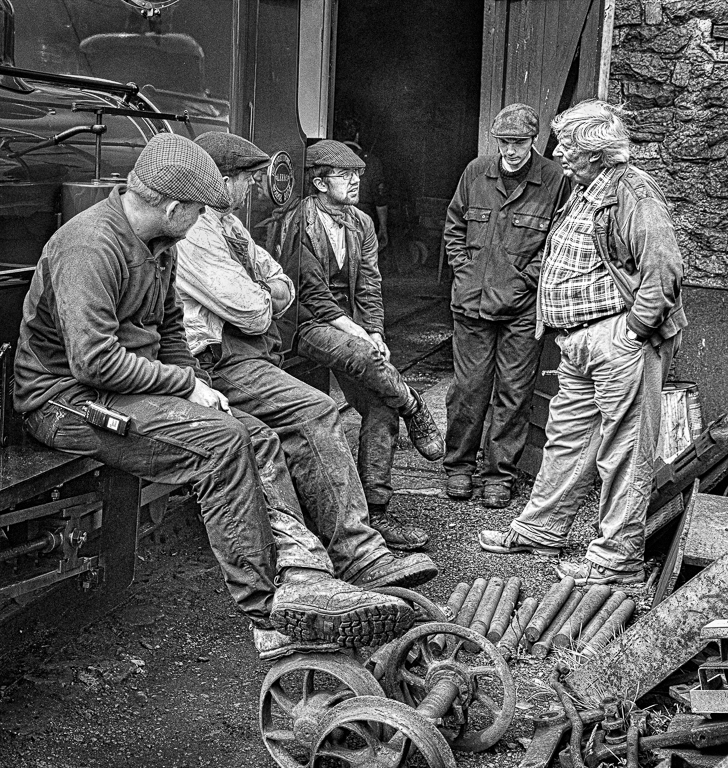
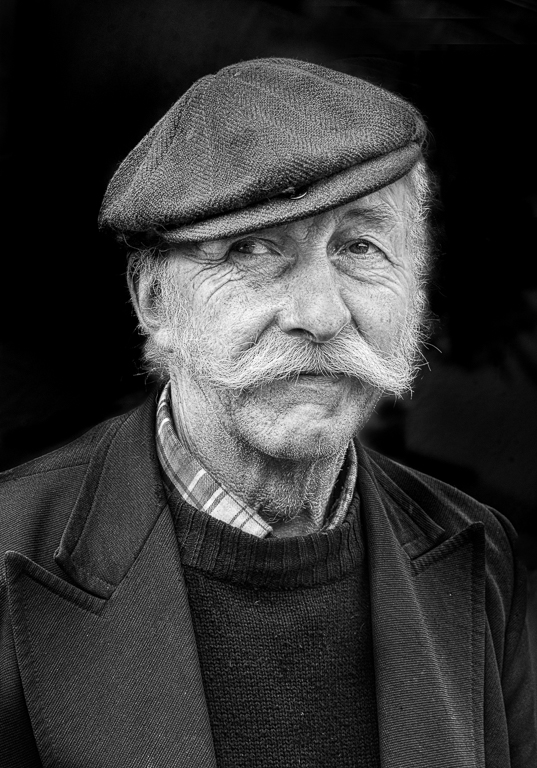
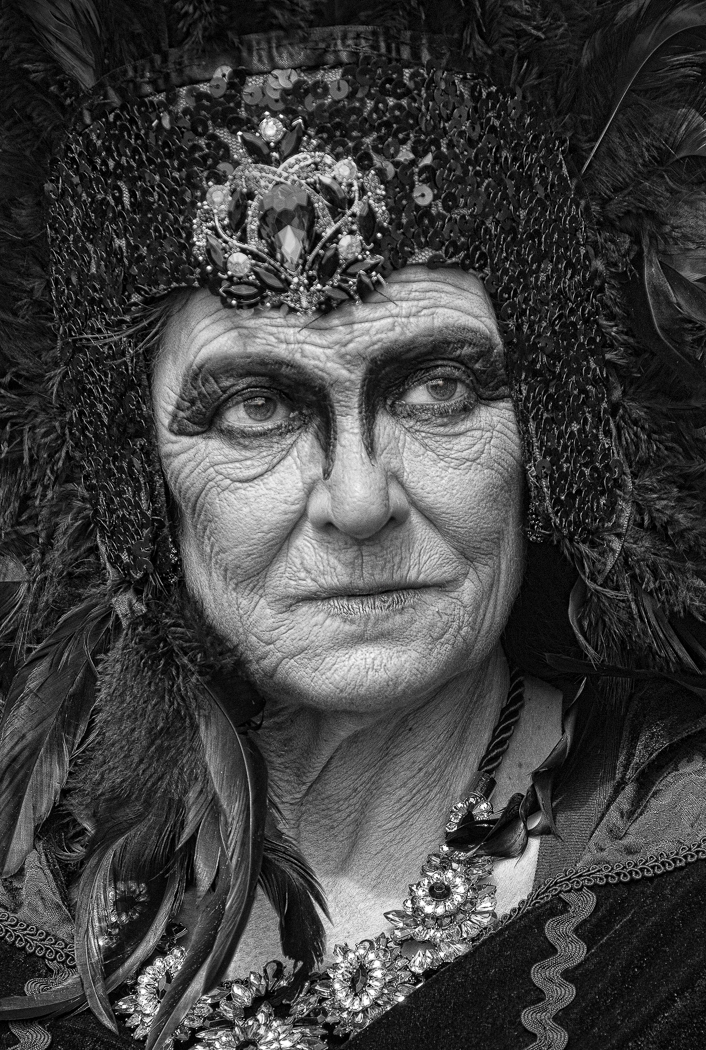
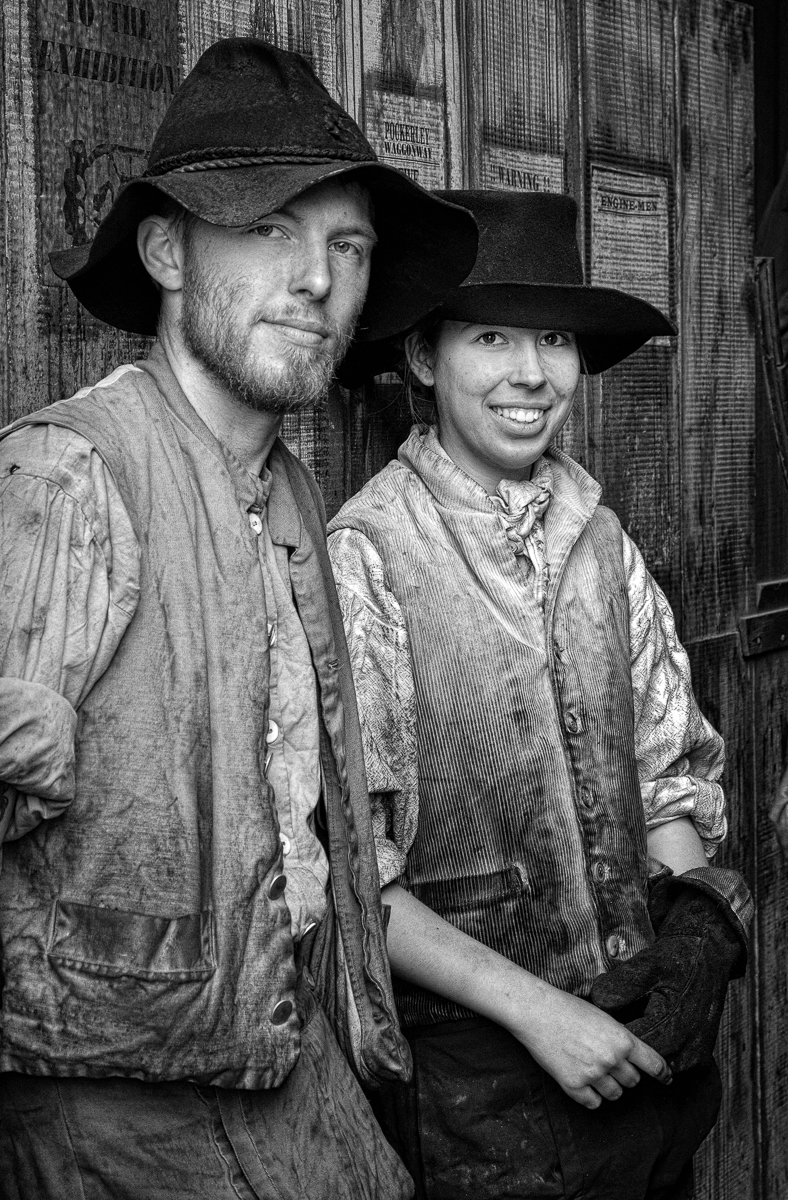
You have taken an interesting picture in very difficult lighting conditions. You have done well to bring out the detail in his sweater. A few things you may consider: The shadow line on his face is distracting for me particularly where his skin appears to be burnt out on his cheek and nose. In the attached I have used a few Brightness/Contrast layers to lighten the top of his face. I have then cloned out the bright spots. I find the writing in the background distracting so I have cloned the letters out. I have also blurred the background a little more and added more contrast to the whole image. I am not totally happy with his skin tone on my version but I think this would be easier to deal with on a full sized image. I have not cropped his hand out but agree it should be done. |
Jan 6th |
 |
| 5 |
Jan 22 |
Comment |
Barbara, I agree with Richard and Isaac regarding the oversaturation and contrast. When you said you would like to clone out the distracting petal I initially thought as Isaac did that it was only the small petal in the background but after doing this using content aware fill I then thought you also wanted to remove more petal (see my image). Have a go at my method.
1. Create duplicate layer.
2. Use Select and chose Focus Area. Chose options "Auto" Output to New Layer and untick "Soften Edge" Click OK
3 You will now have 3 layers with the middle layer turned off. Turn this on. You can now clone on the middle layer and it will not affect the butterfly. You will need to do some tidying up. Consider using a hard brush on some of the edges.
I have done this quickly but the method works. |
Jan 2nd |
 |
| 5 |
Jan 22 |
Comment |
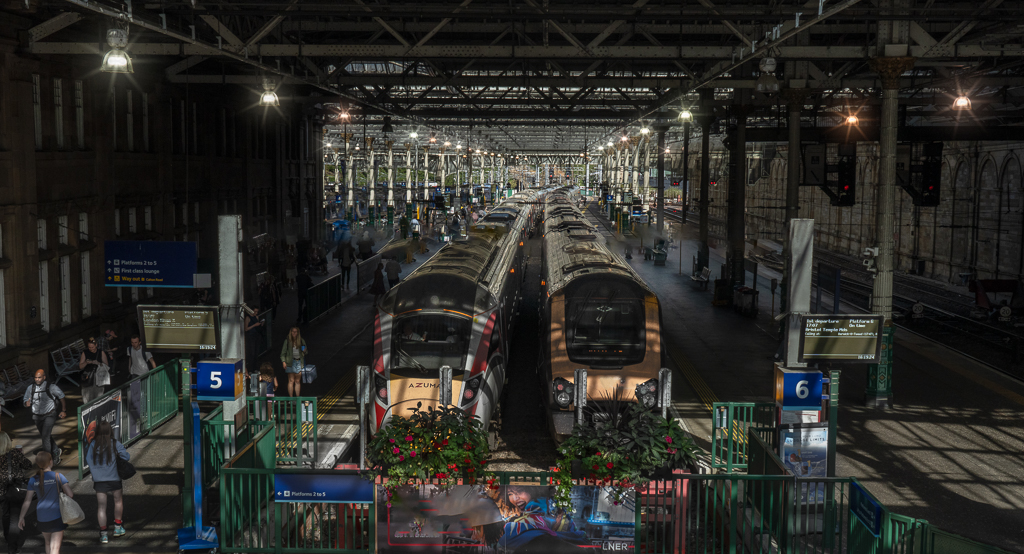
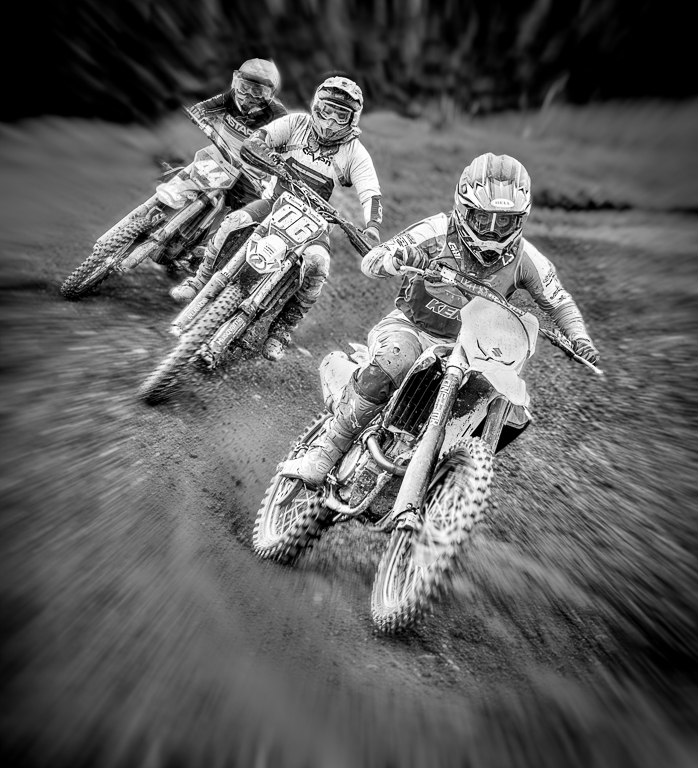
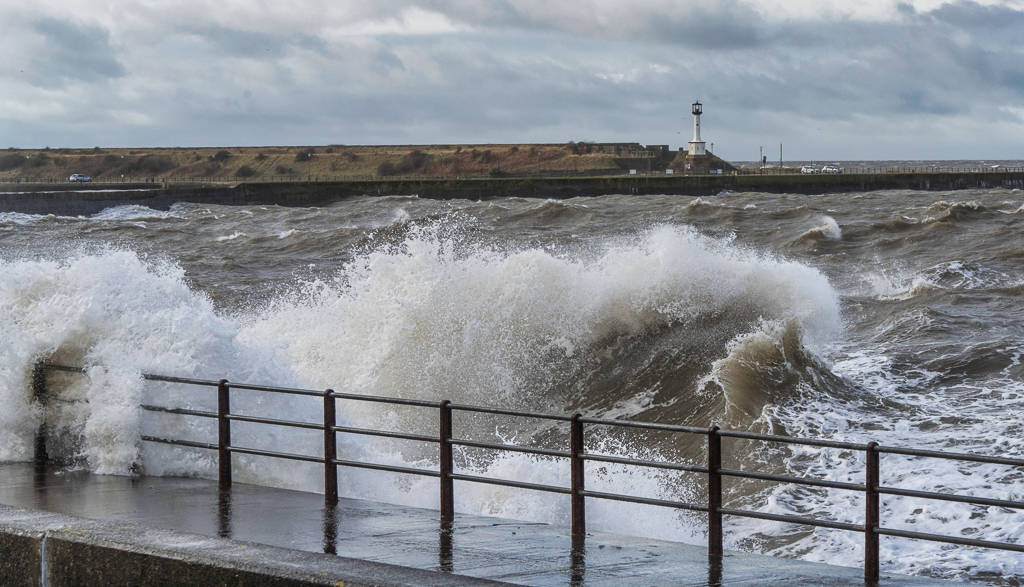
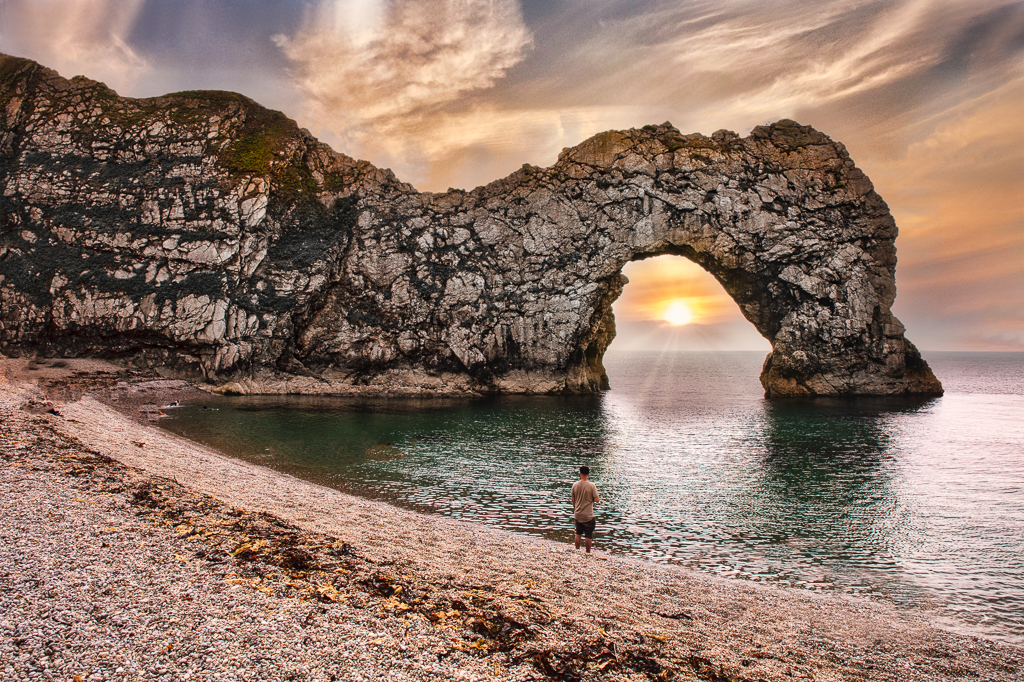
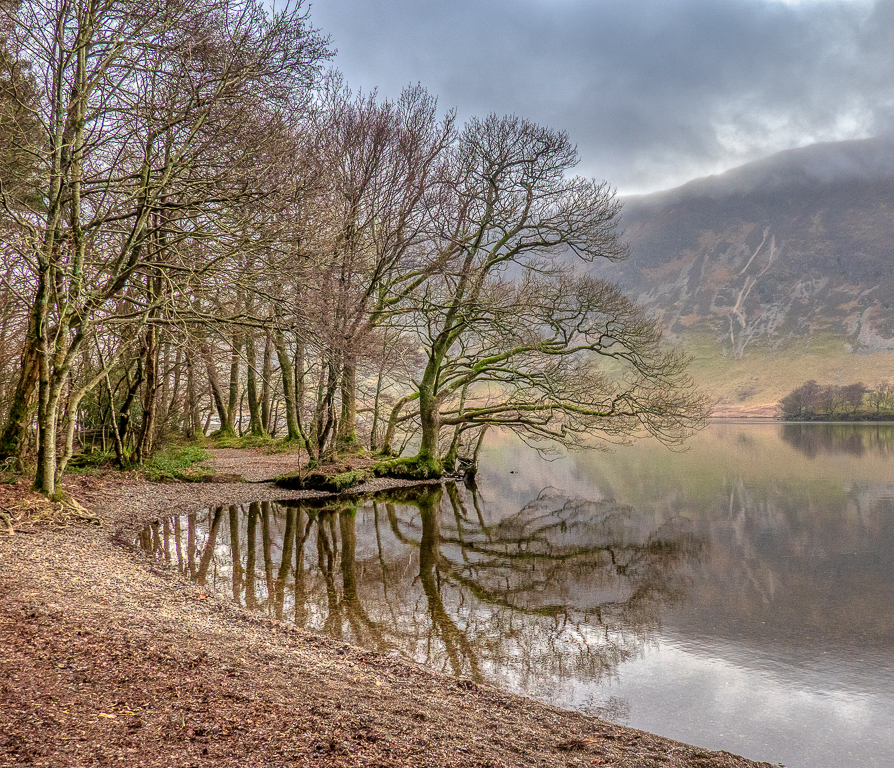
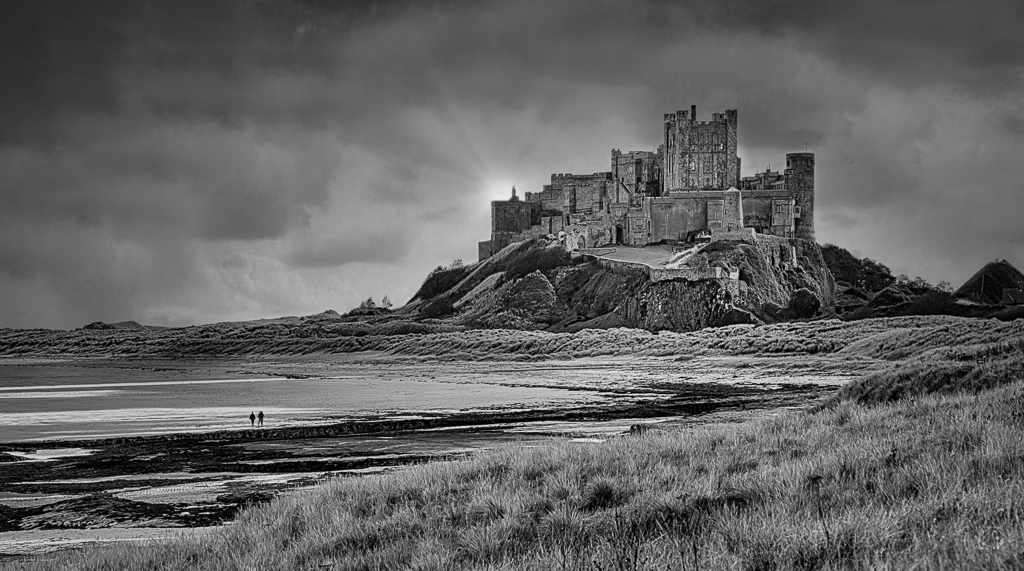
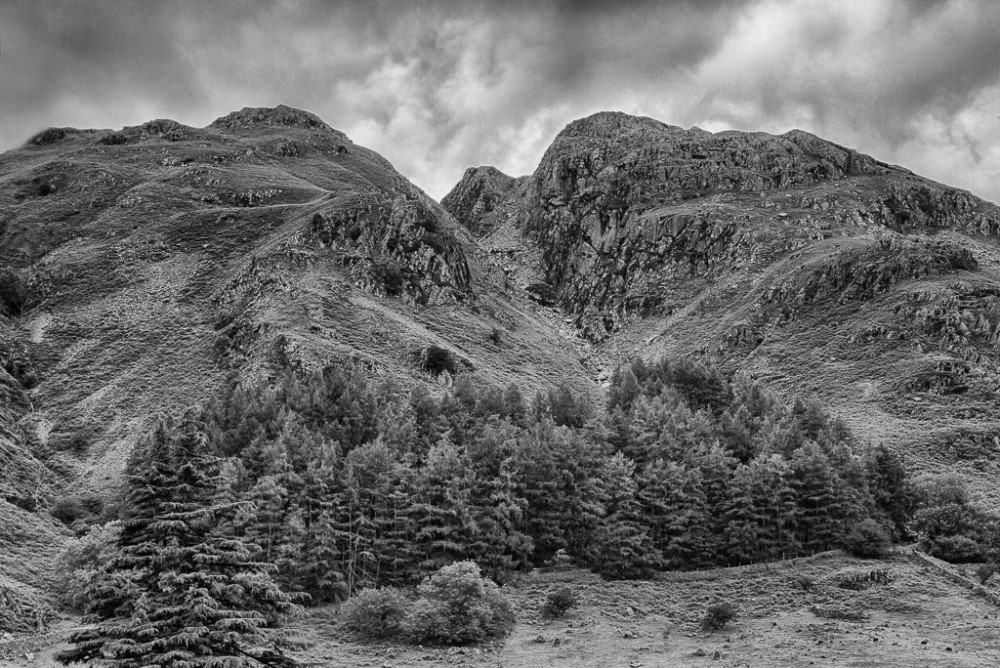
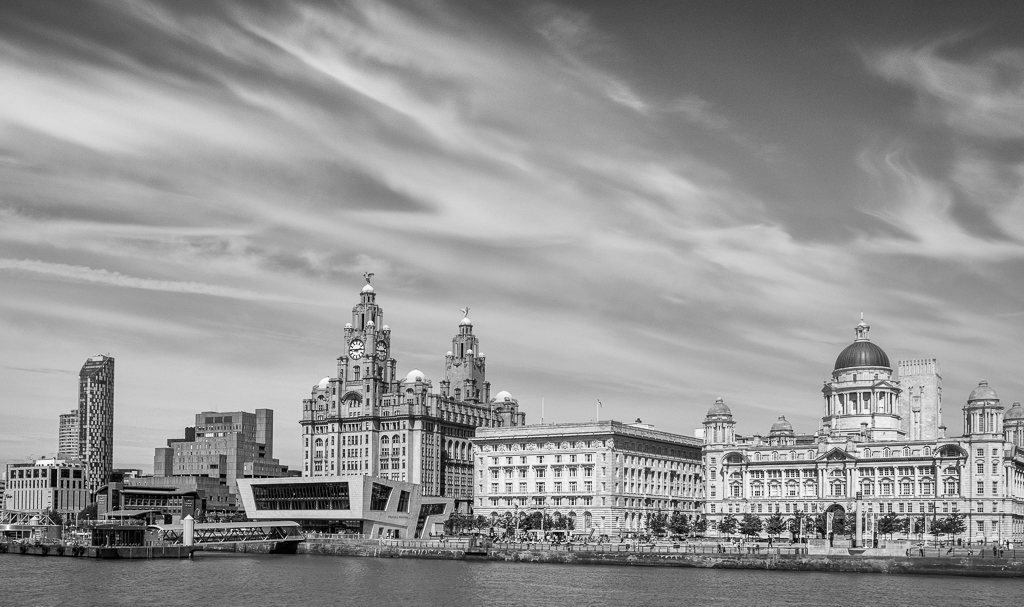
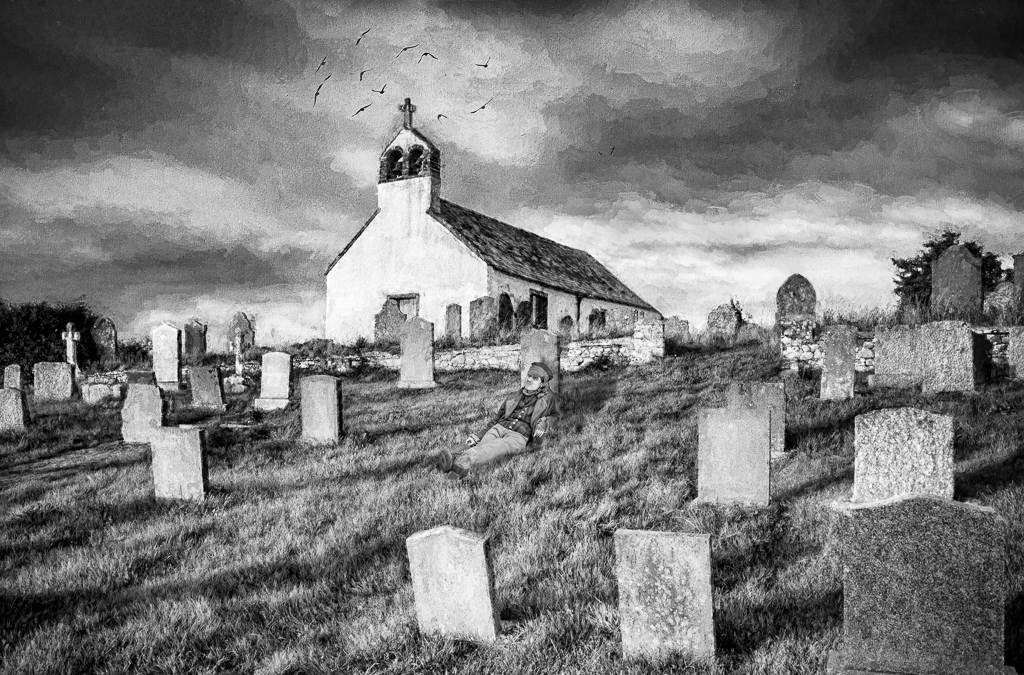
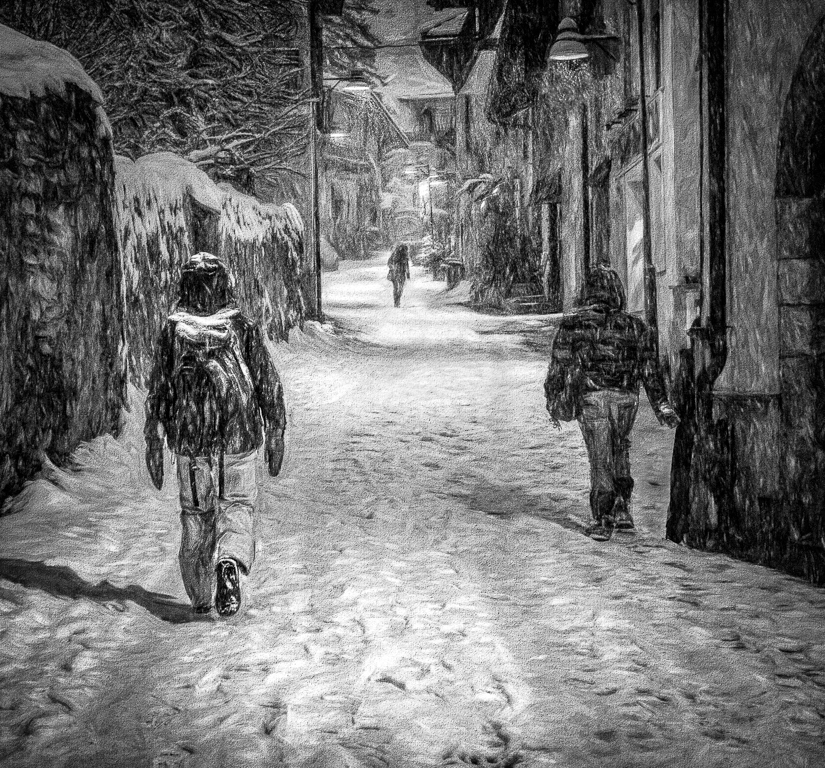
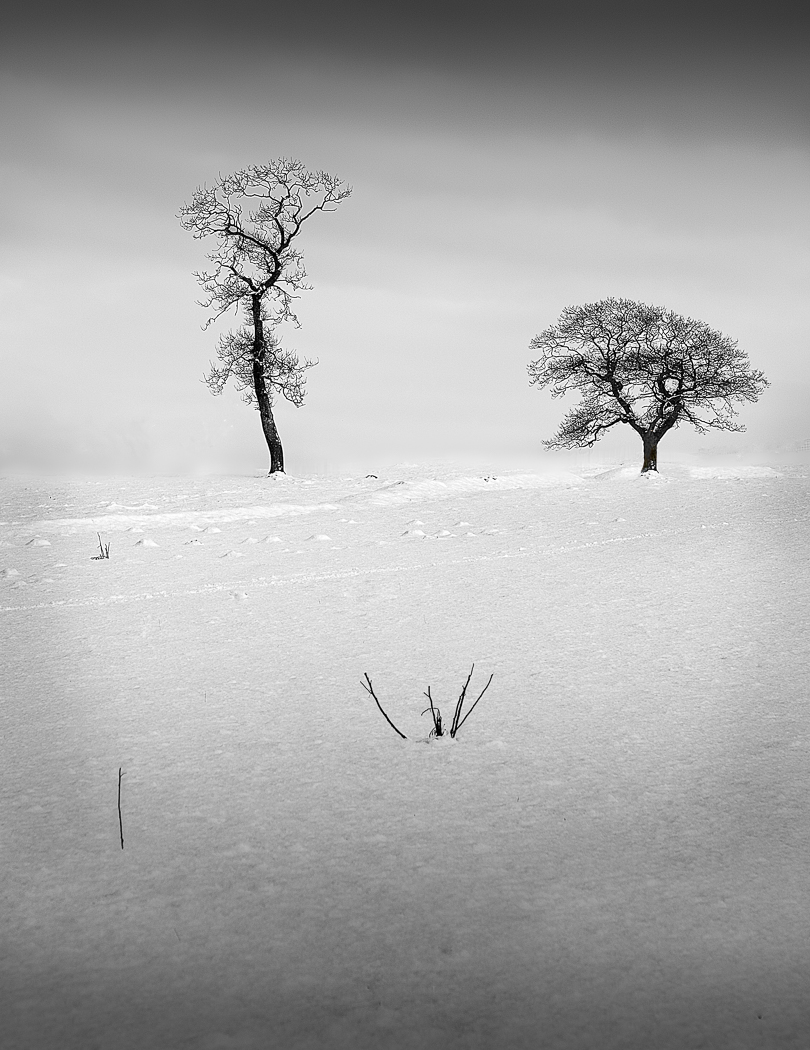
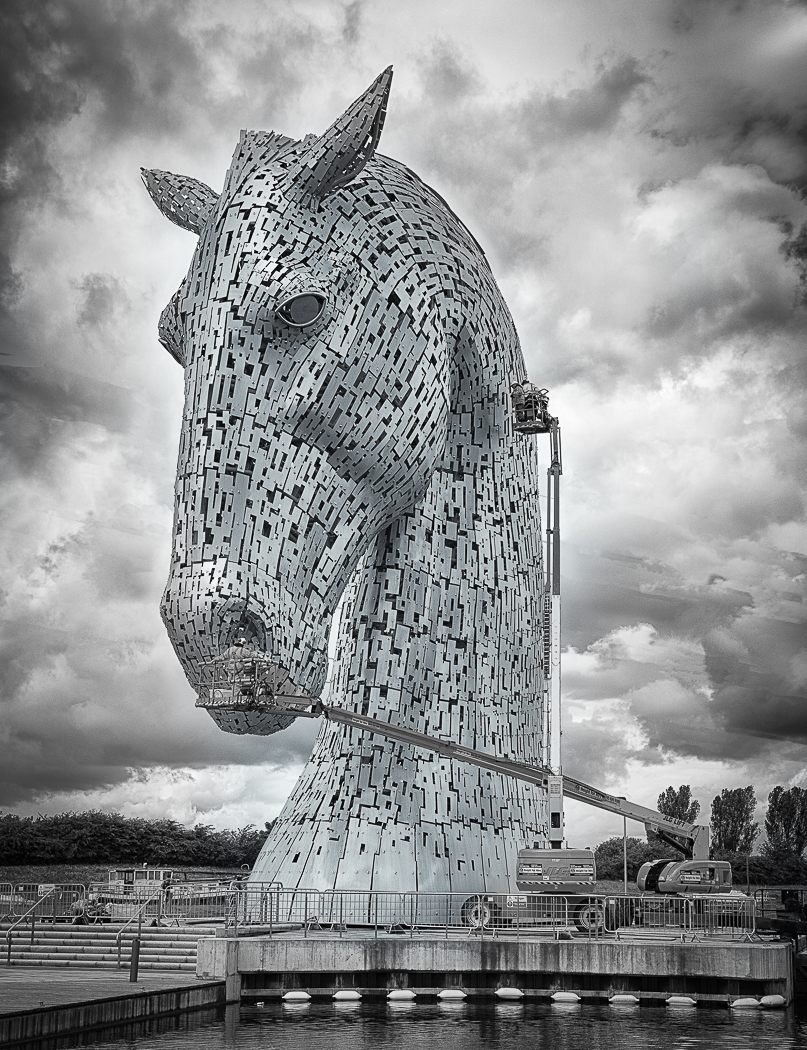
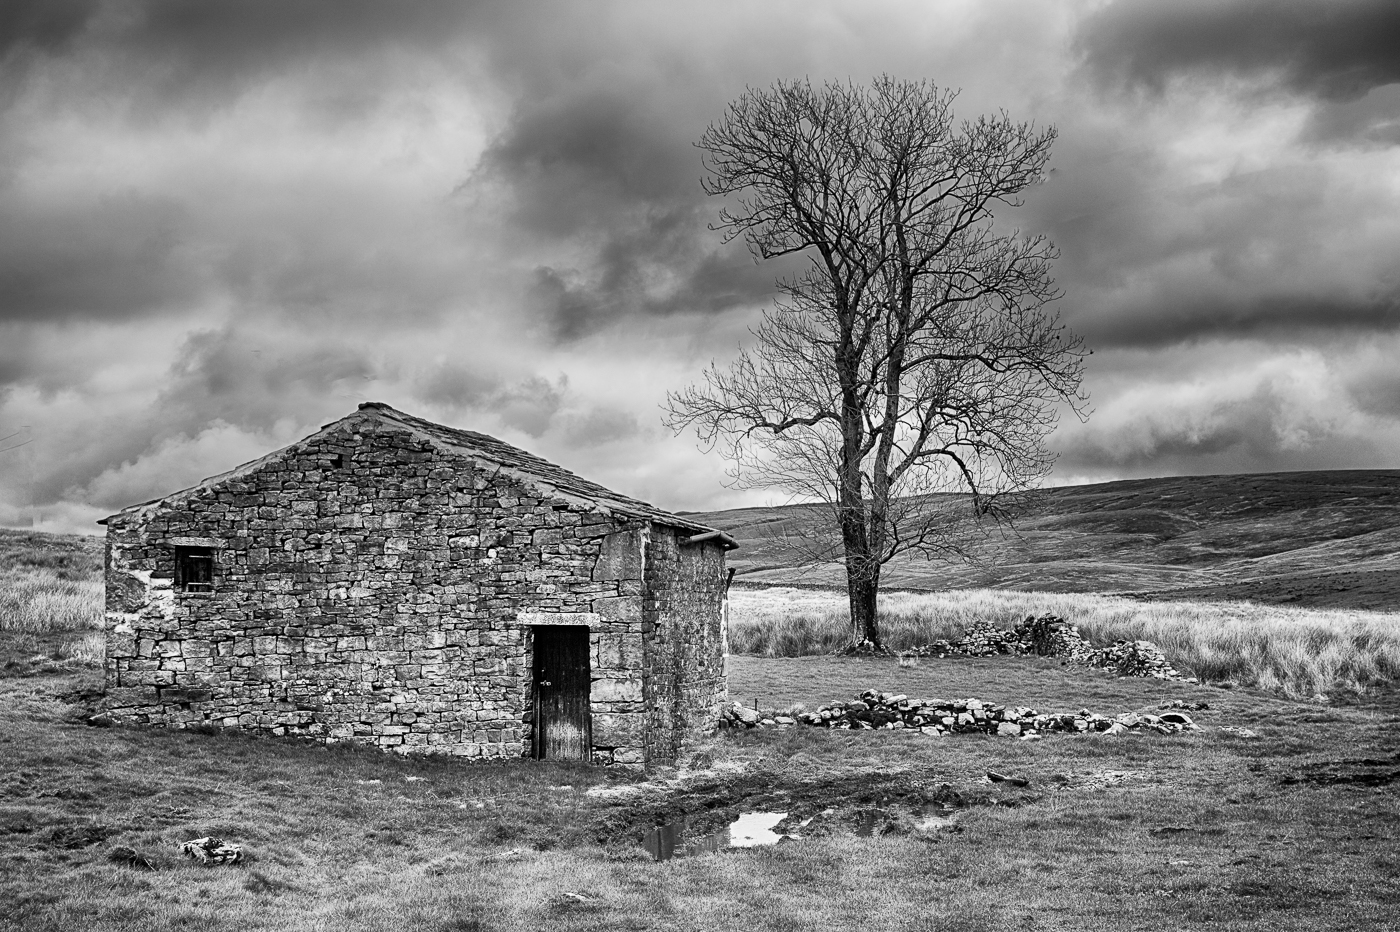
I think that Richard is correct in that the image is lacking a focal point, my eye wanders around the image with nowhere to rest. I prefer your previous forest image. |
Jan 2nd |
| 5 |
Jan 22 |
Comment |
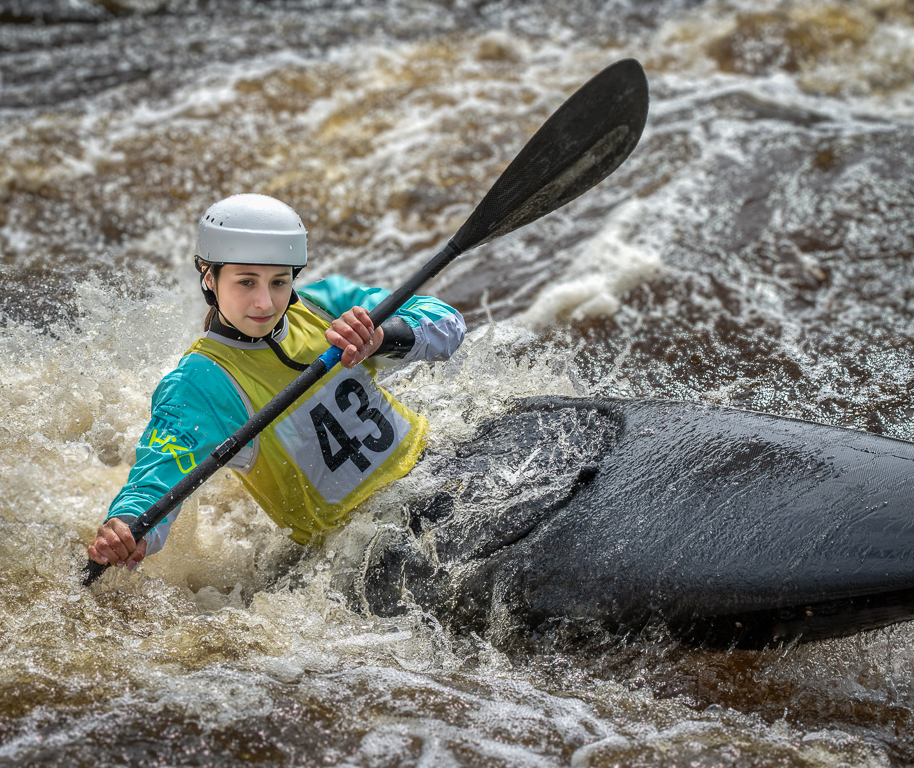
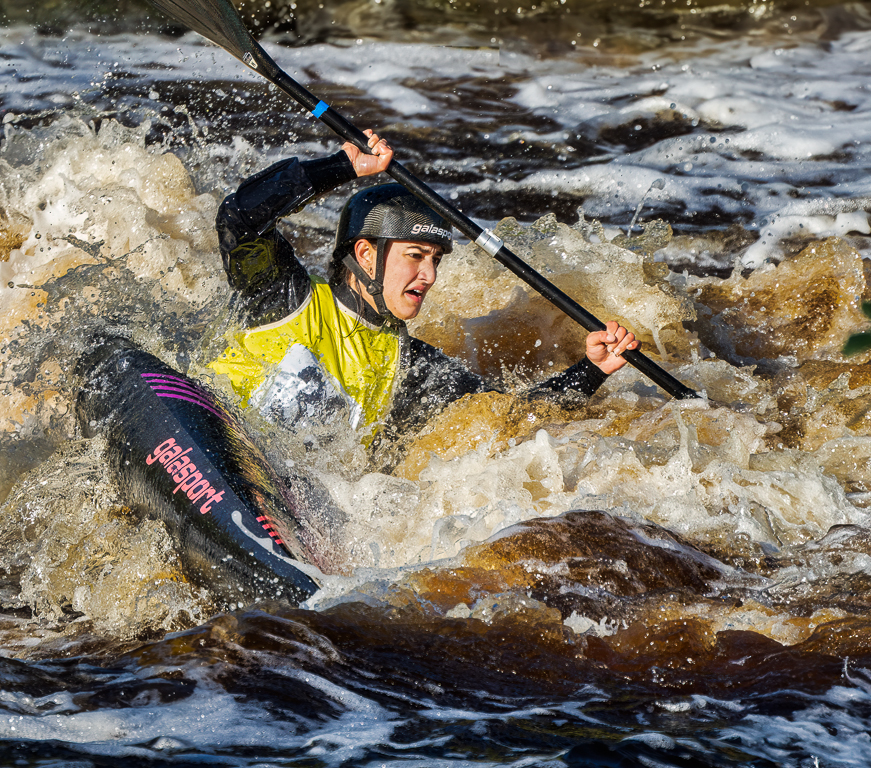
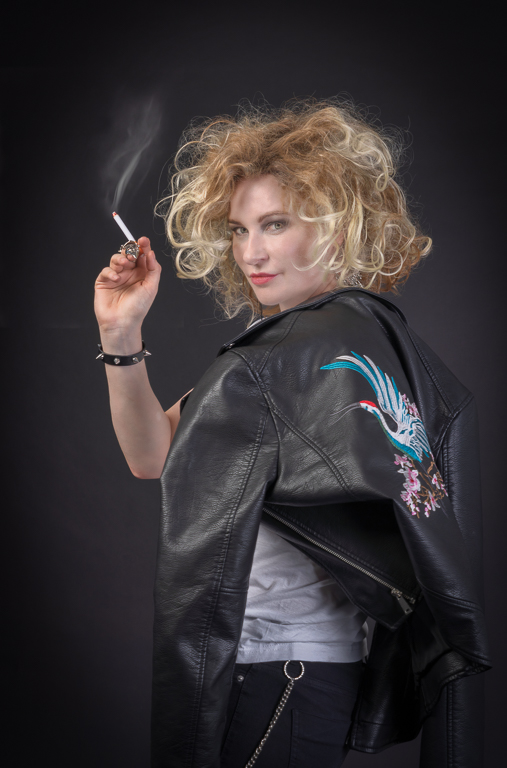
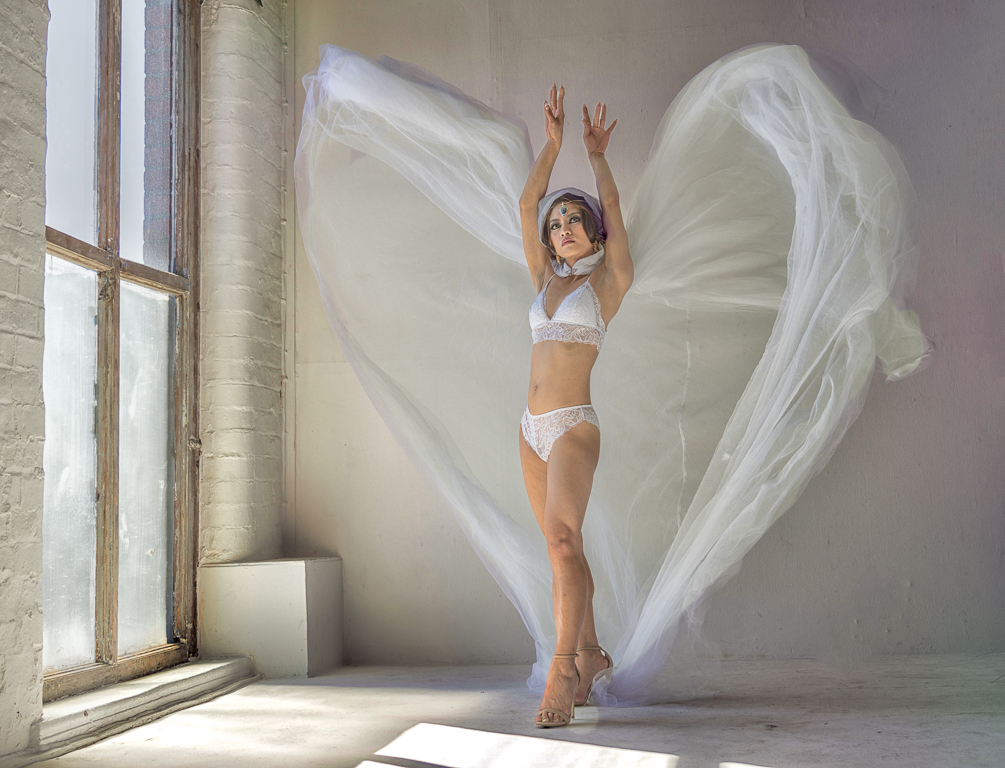
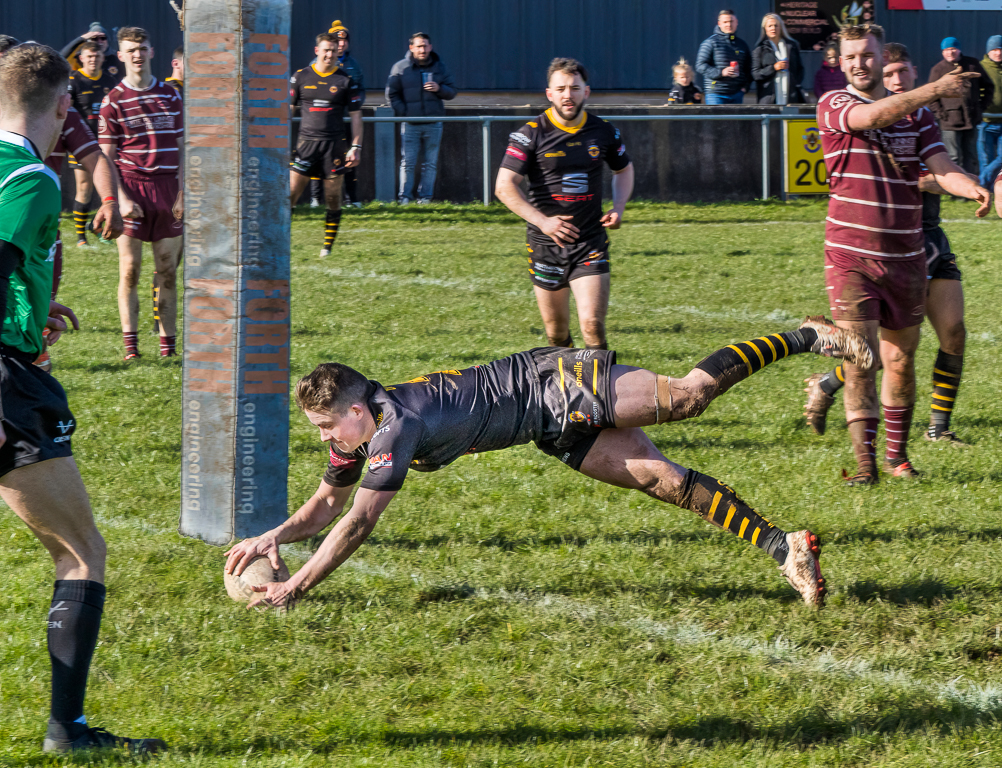
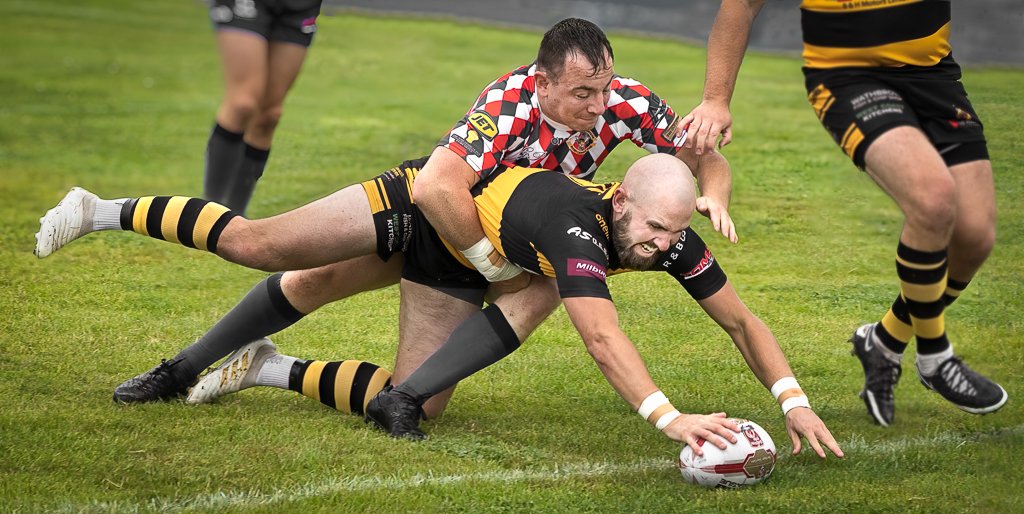
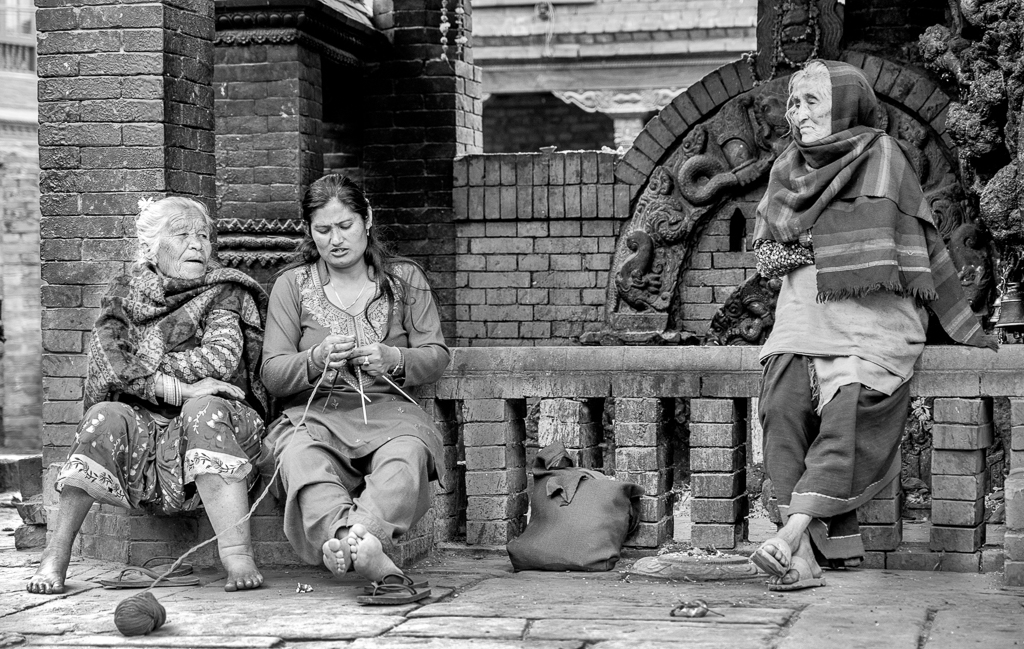
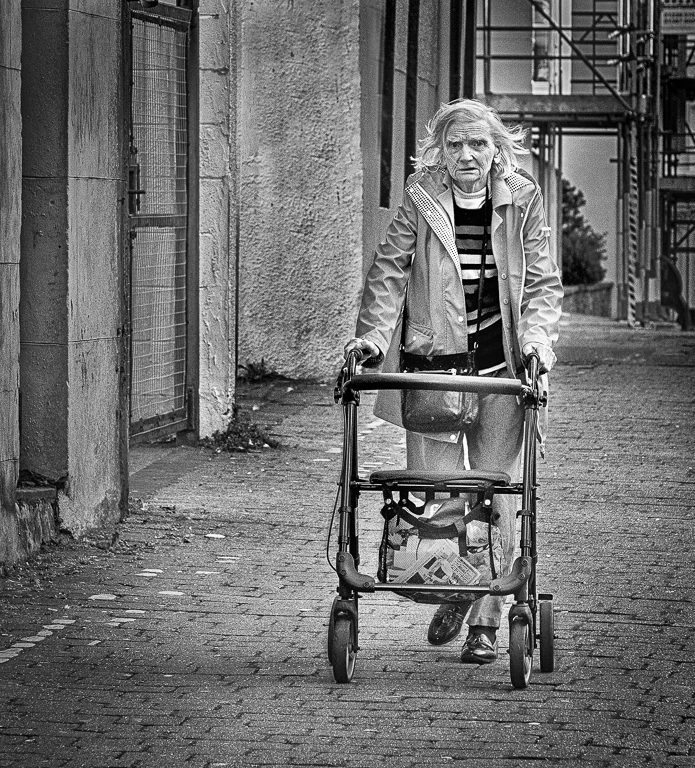
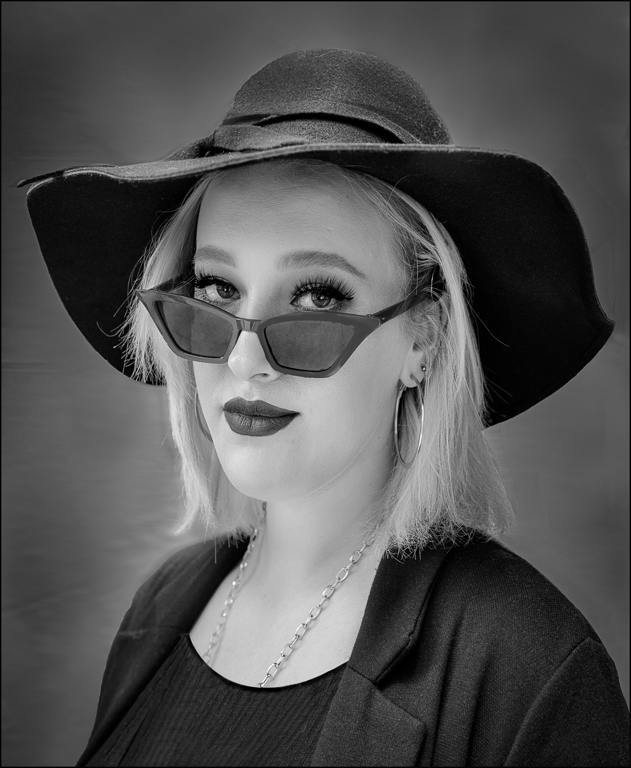
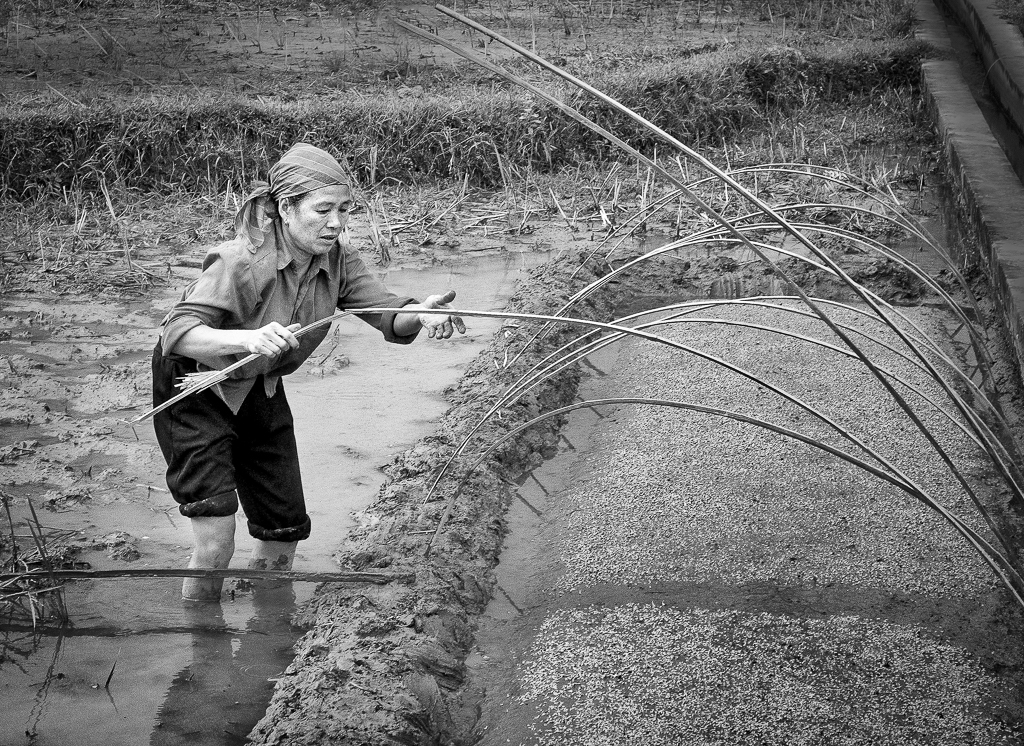
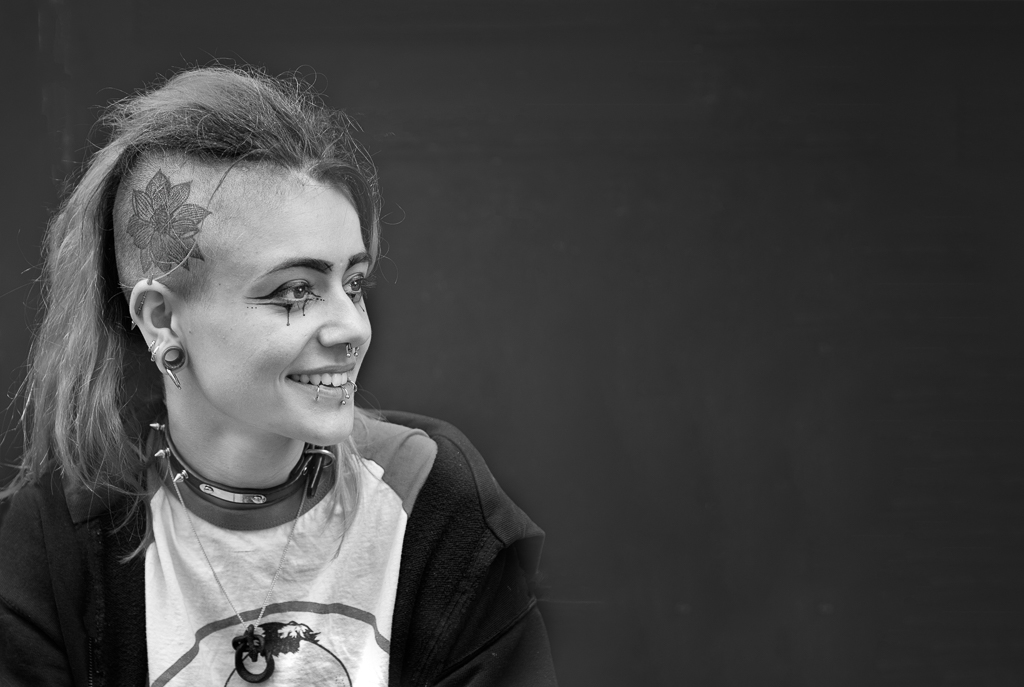
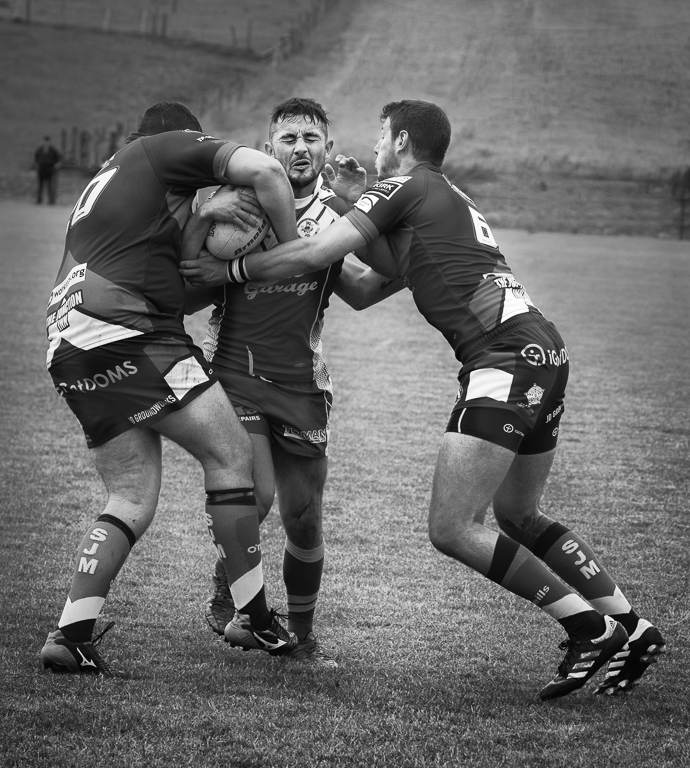
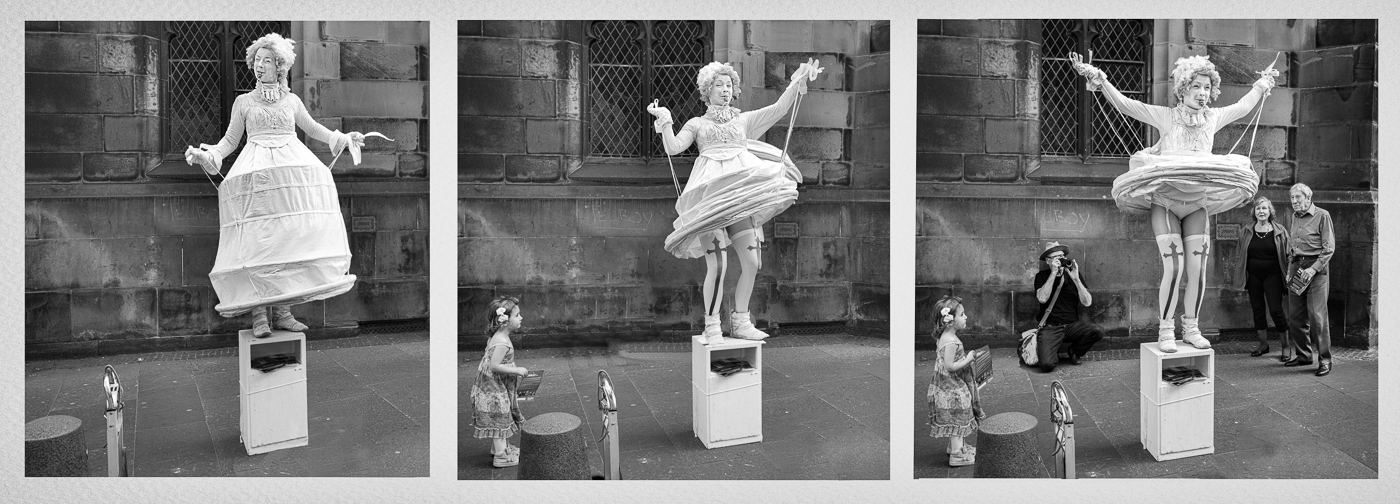
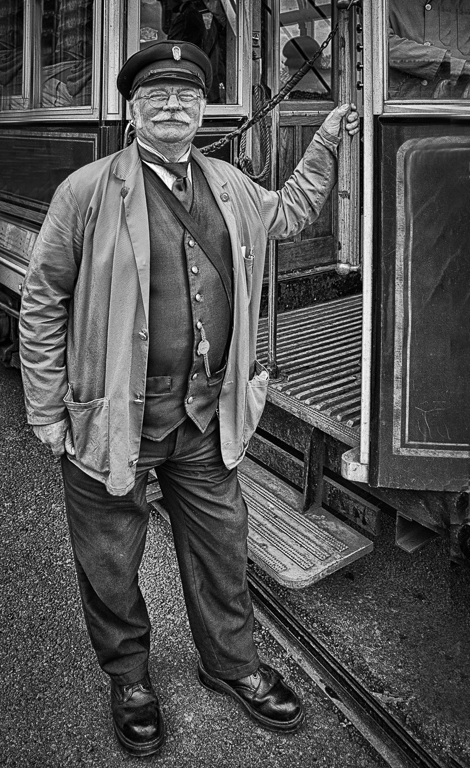
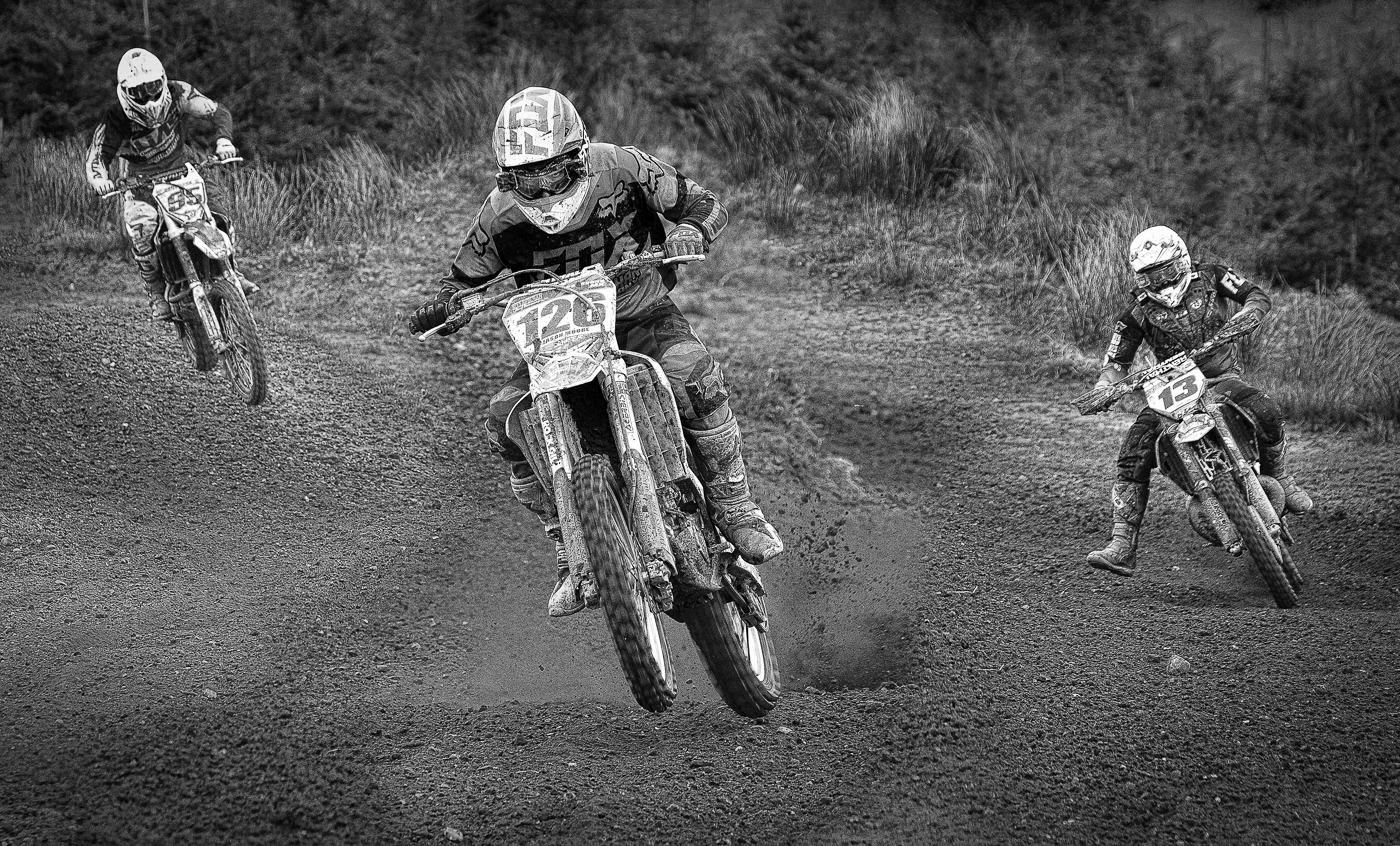
An interesting picture but for me you are too close to the subject. I would have liked to see the whole of the net and at the very least not to have cut the subjects right hand off. I'm not sure if you shot in raw and if you did I would try to get more detail in the subject. |
Jan 2nd |
| 5 |
Jan 22 |
Comment |
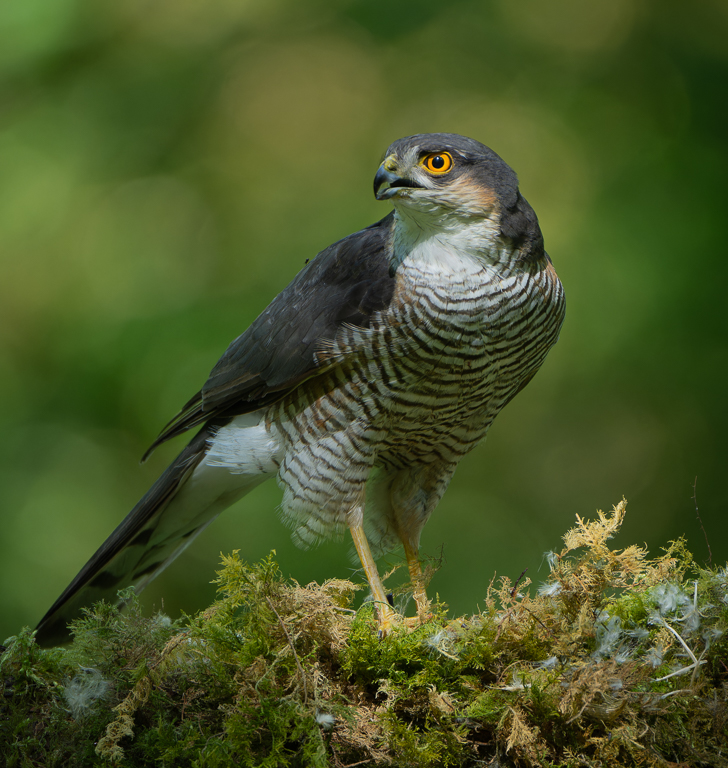
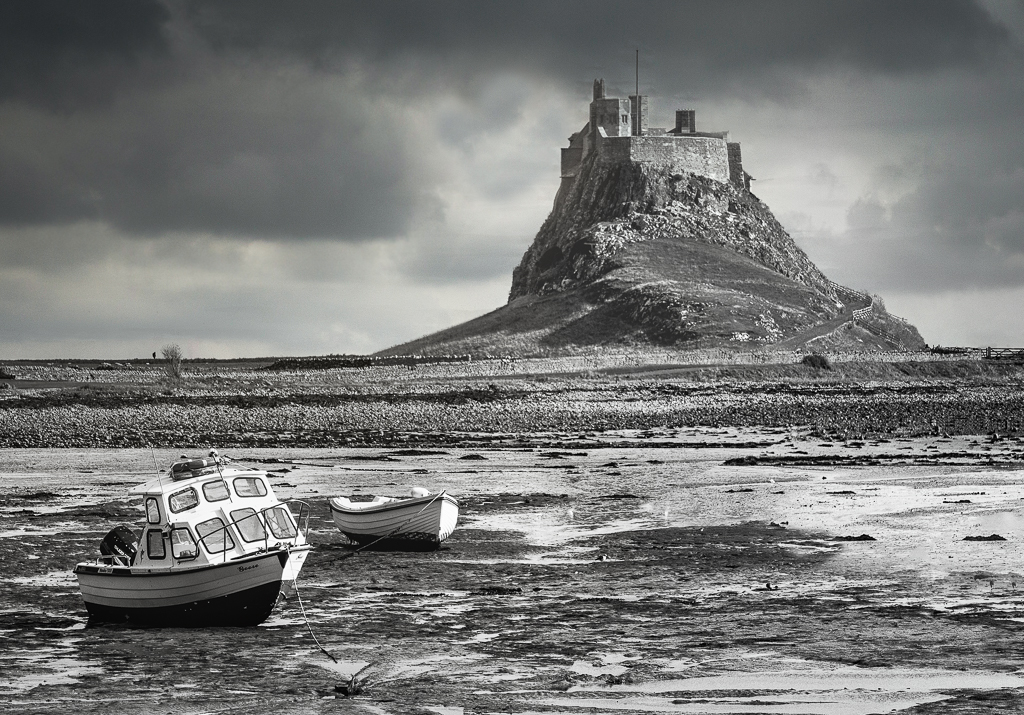
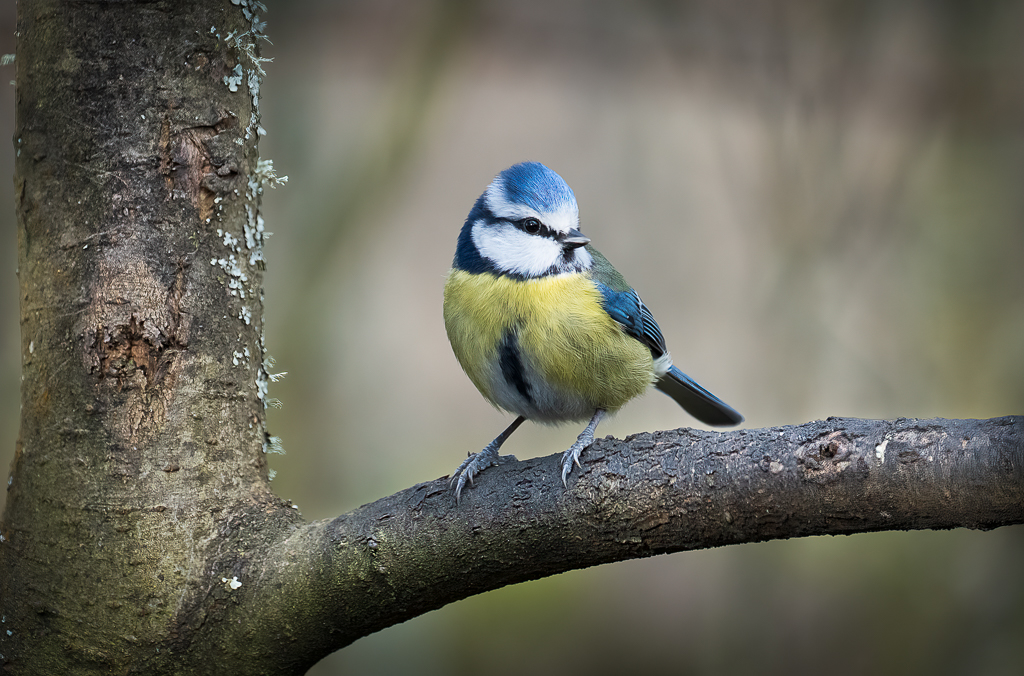
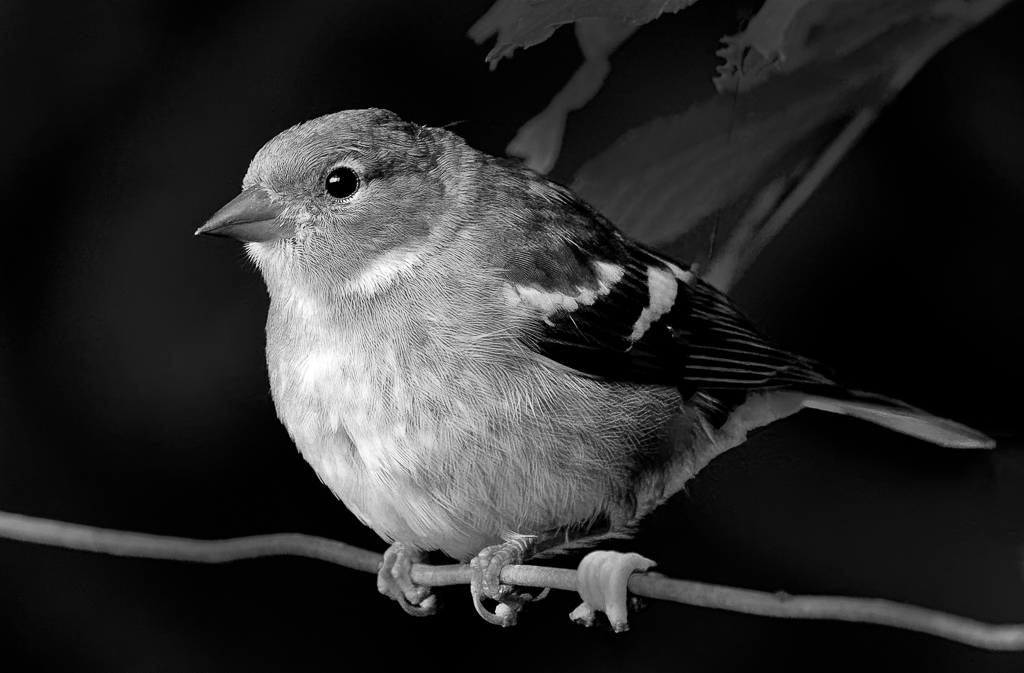
I like it when people go out and find their own wildlife rather than pay someone to set the image up for them. You have done well to capture the bird and have it so sharp. I particularly like its eye and beak. For my taste you have over lightened the wing on the left. Unlike Richard I am not keen on your sky replacement. To me it doesn't harmonise with the rest of the image. |
Jan 2nd |
 |
| 5 |
Jan 22 |
Reply |
Thanks for your comment Richard. Please see amended version. Further comments are welcome. |
Jan 2nd |
 |
6 comments - 3 replies for Group 5
|
6 comments - 3 replies Total
|