|
| Group |
Round |
C/R |
Comment |
Date |
Image |
| 69 |
Apr 22 |
Reply |
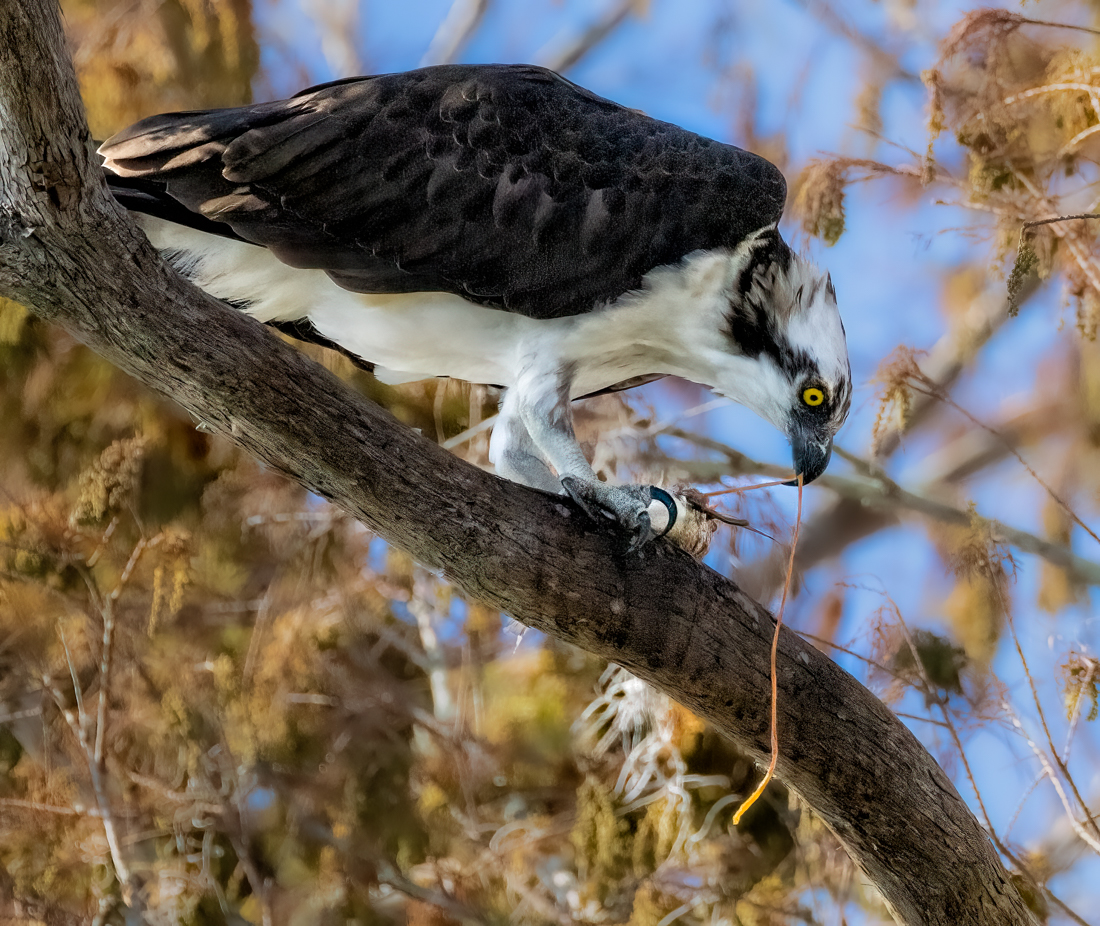
Wow, thanks for your workflow, Candy! I would never have thought to add all those steps. I'm printing this! And I love what you did to your osprey in Group 34! Again, a lot of steps, but it created a very unique and interesting image! |
Apr 22nd |
| 69 |
Apr 22 |
Comment |
I like the effect you used, but you don't mention how you created it? I think two different things would really move this to the next level. In Lightroom Classic, I'd use the radial gradient (or brush) to bring out their faces just a bit, as they went dark. Then I would darken the trees and the ground at the their feet. The easiest way to is to Select Subjects, Inverse and then lower exposure.
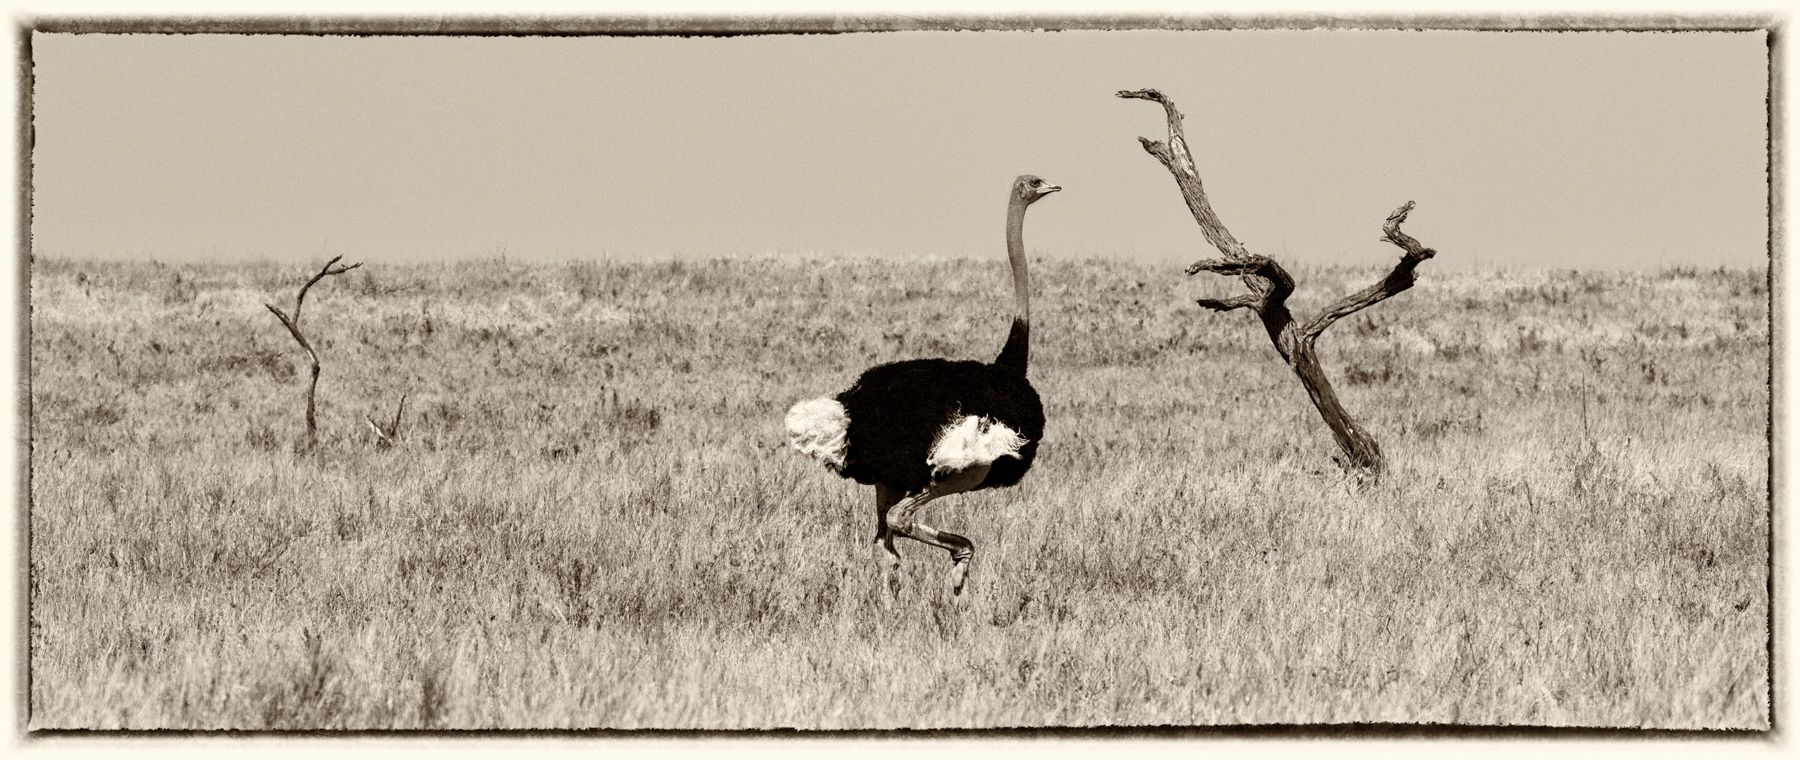
I worked at an Animal Park and took care of emus. Much nicer than the ostriches, which were mean. We had emu eggs once, it was huge and delicious.
For the record, I love this image.
|
Apr 10th |
| 69 |
Apr 22 |
Comment |
Jacob, I've not seen a skunk cabbage as a baby before! I like how its in focus and nicely lit. Most photographers want the subject to stand out and the background blurred. If you look at the images entered this month, you'll see we all chose neutral backgrounds.
You can easily accomplish this in SnapSeed, a free app for cell phones, if the subject can't be separated from the busy background by getting low or moving a bit to either side. I would look to selectively darken the light limb in the background, as it leads our eye right off the page and we don't stay on your interesting plant.
I don't remember if you have Lightroom cc. If you do, there is a Select subject, and then you make your subject brighter and crisp, then Select Inverse and darken and blur the subject, all in under 60 seconds! Great videos on how to use the new Lightroom cc features, I'm happy to send links to you, if you are using Lightroom Classic.
This has such nice potential, as do almost all your images. |
Apr 10th |
| 69 |
Apr 22 |
Comment |
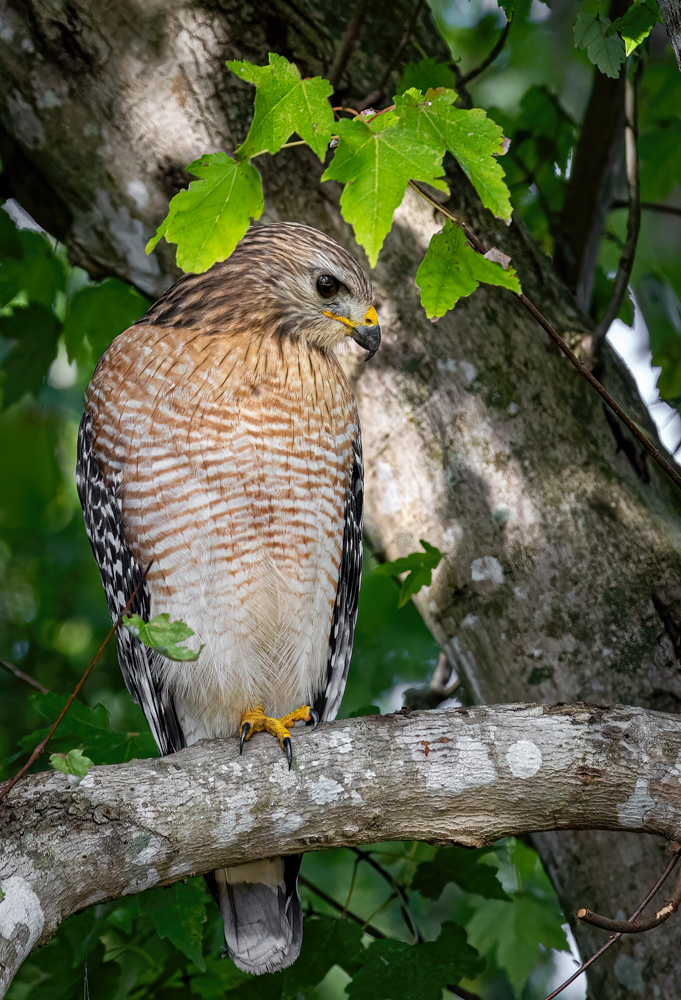
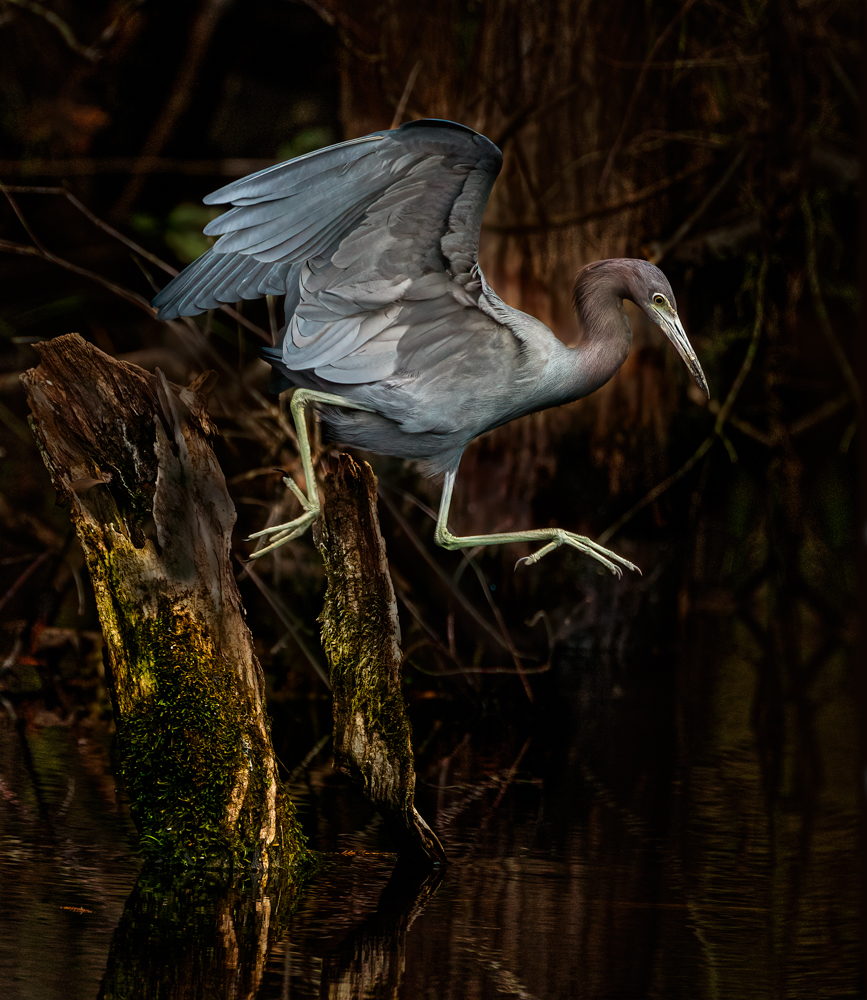
Another Green Heron this month! Just a great texture behind him. Changing background color a bit really strengthened the composition. Love his breeding "haircut". Cool about rebuilding his toes. It's spectacular!
I'd love to hear how you changed your background color palette. Thanks! |
Apr 5th |
| 69 |
Apr 22 |
Comment |
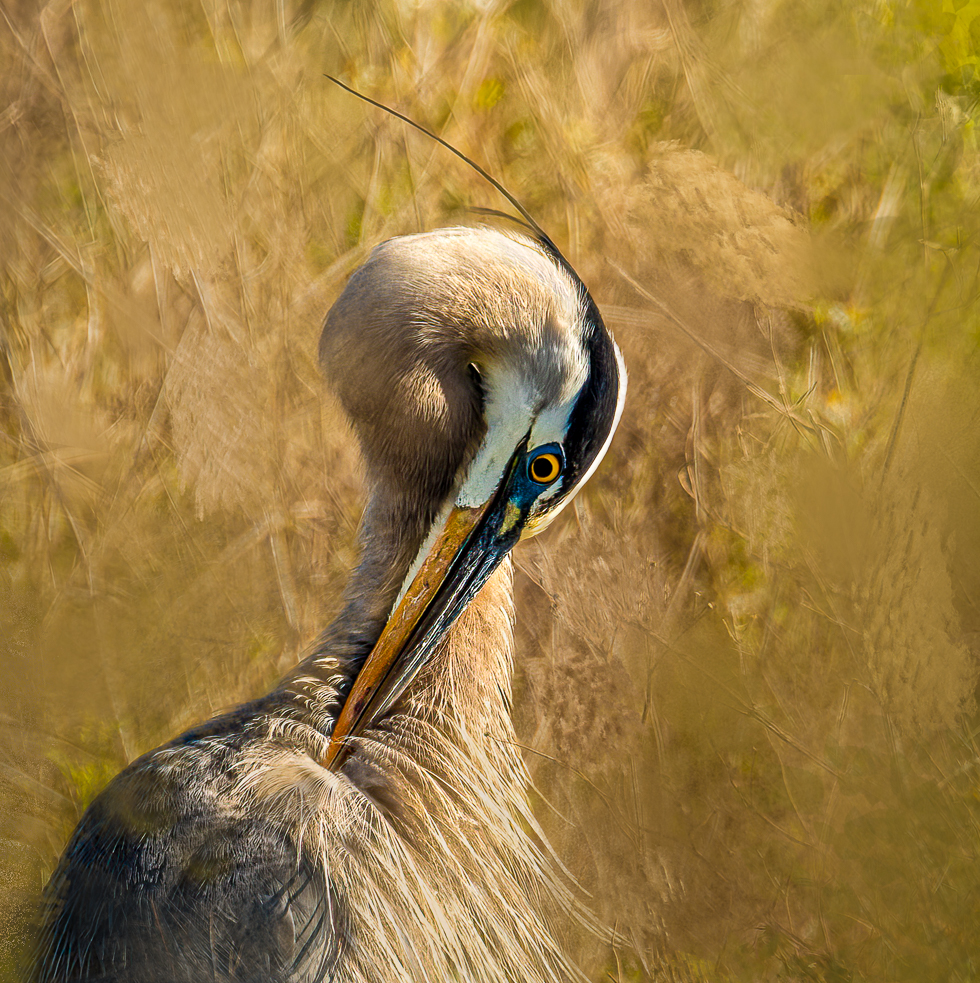
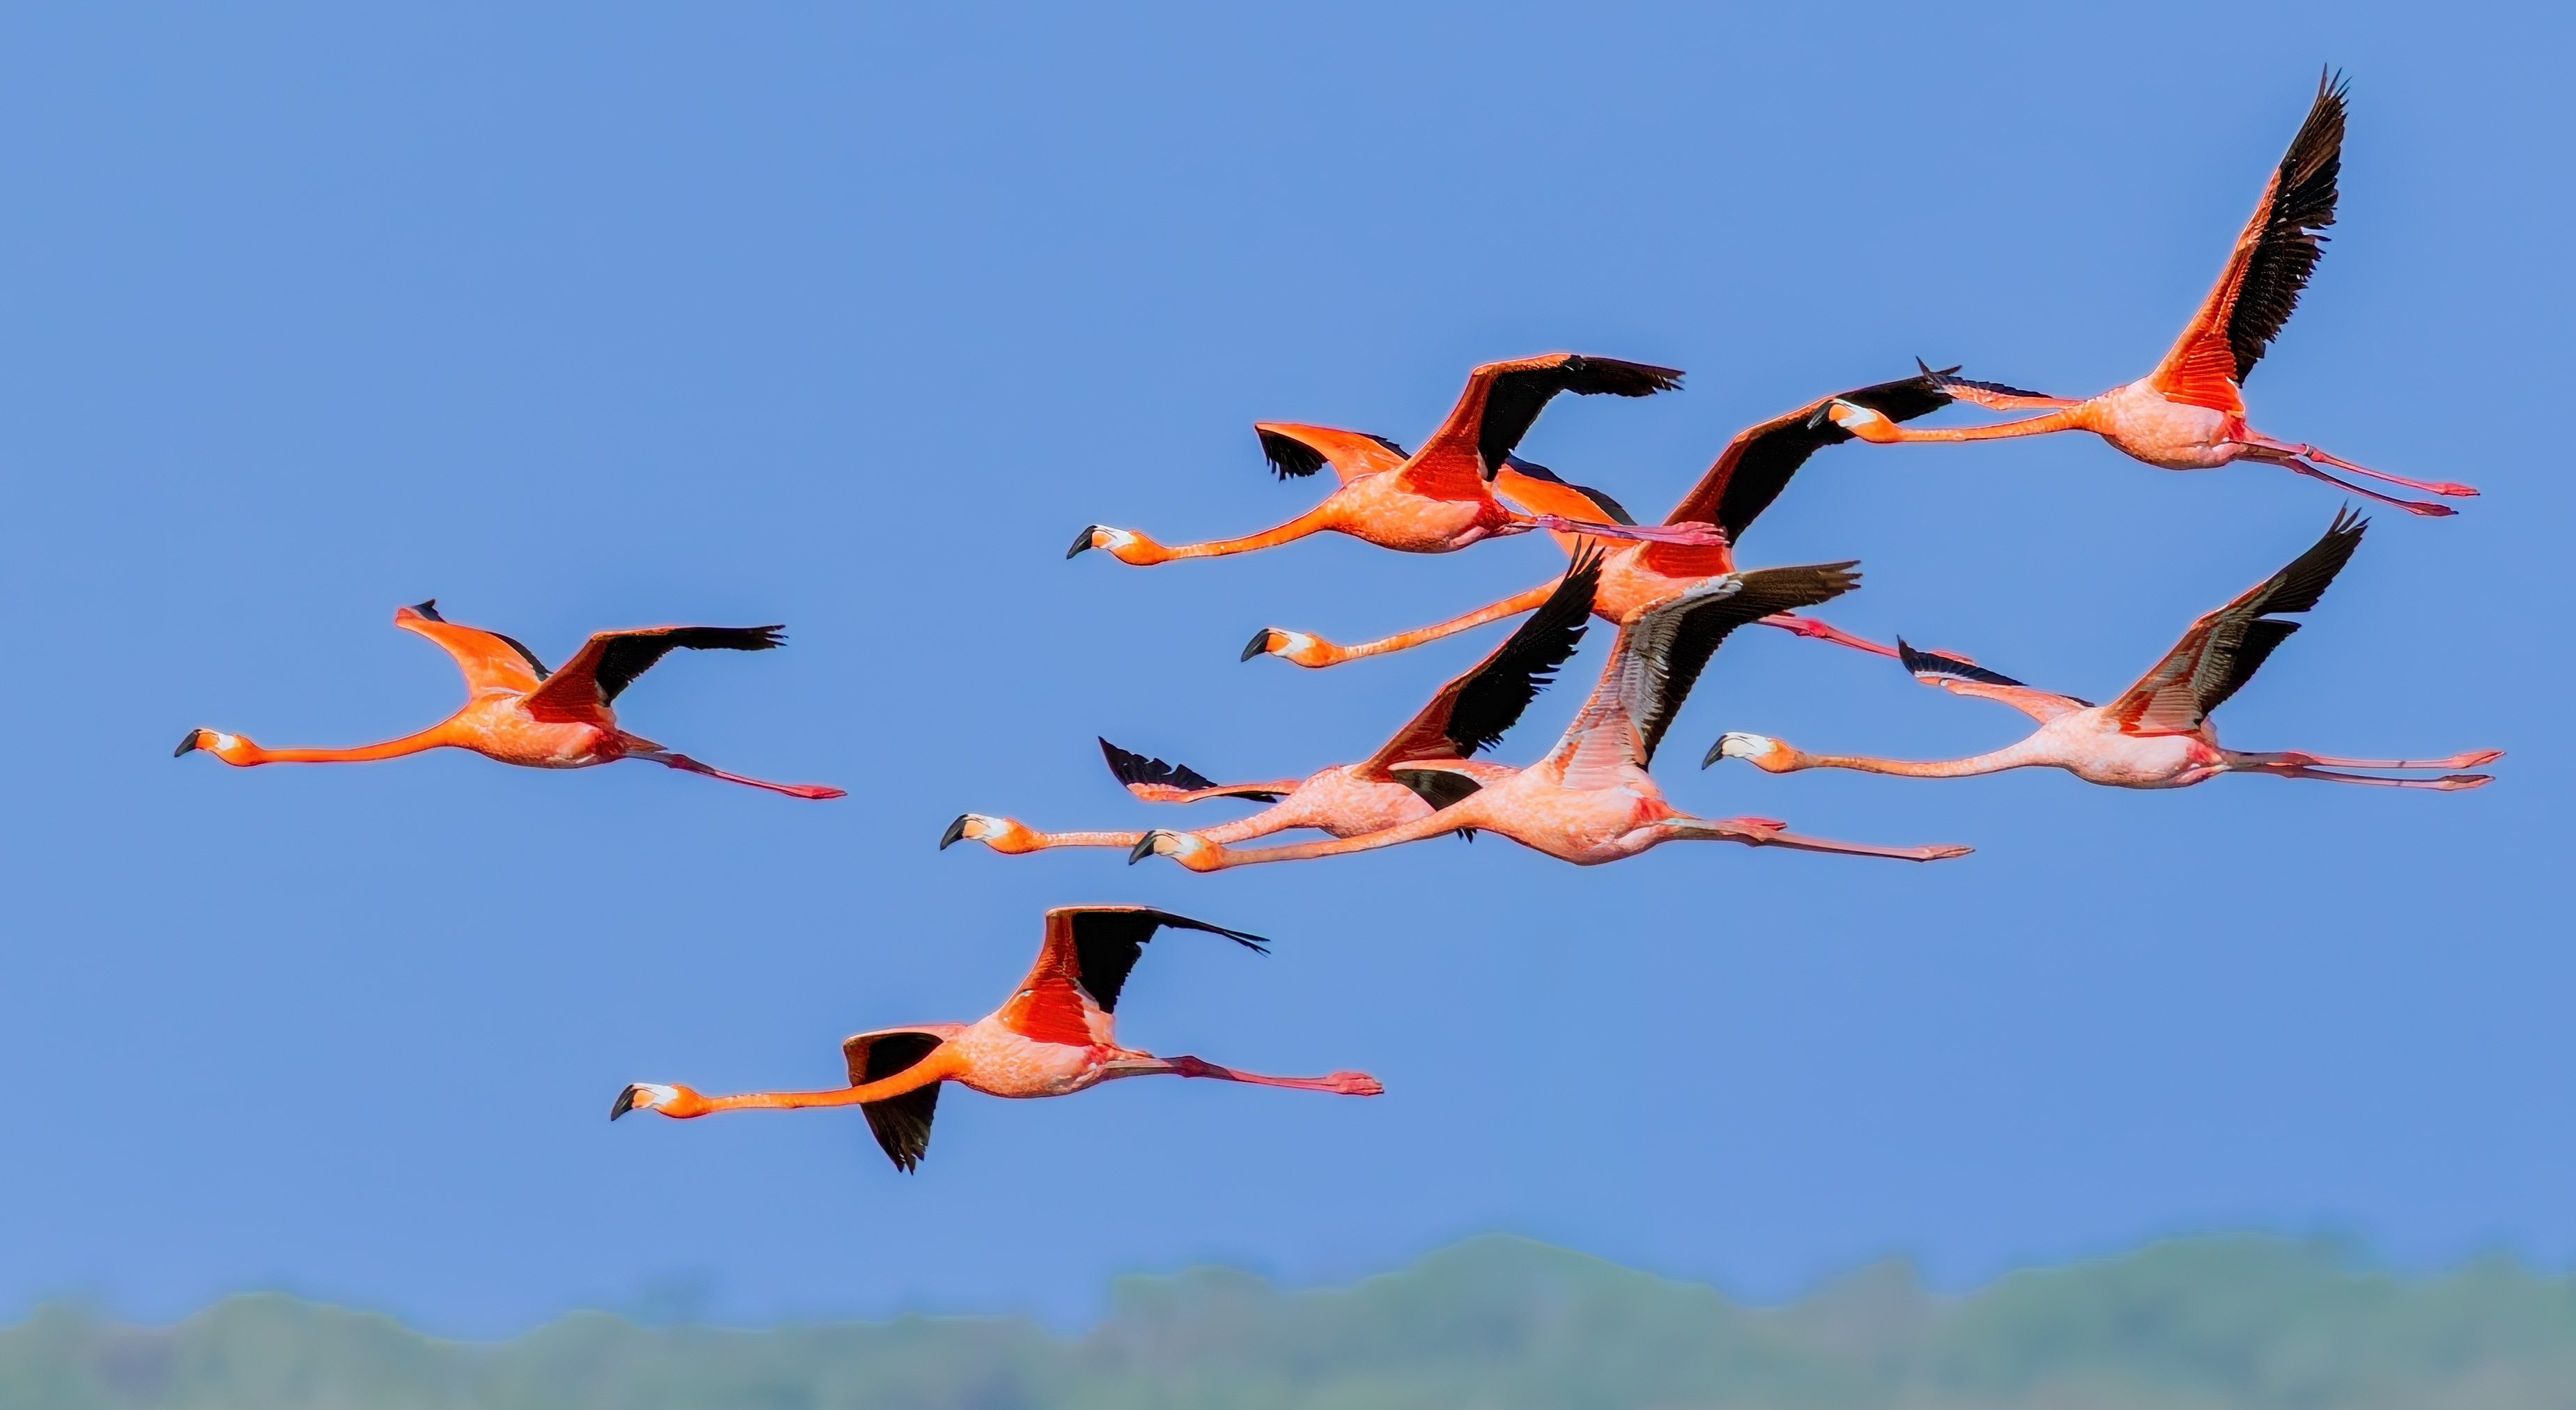
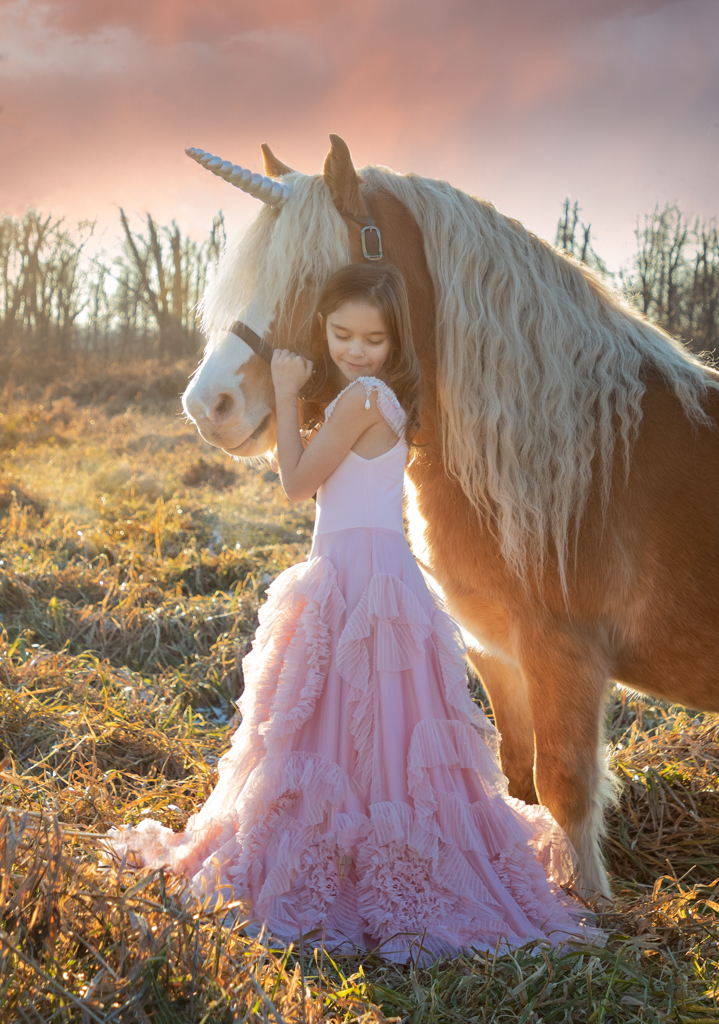
Love this image! I think it has enormous potential, its an amazing environmental image. I do agree with Dean that its a bit bright and I think the right contrast could make it more weighty. If you use NIK or Topaz, I'm sure you can find a look that will really wow you. |
Apr 5th |
| 69 |
Apr 22 |
Comment |
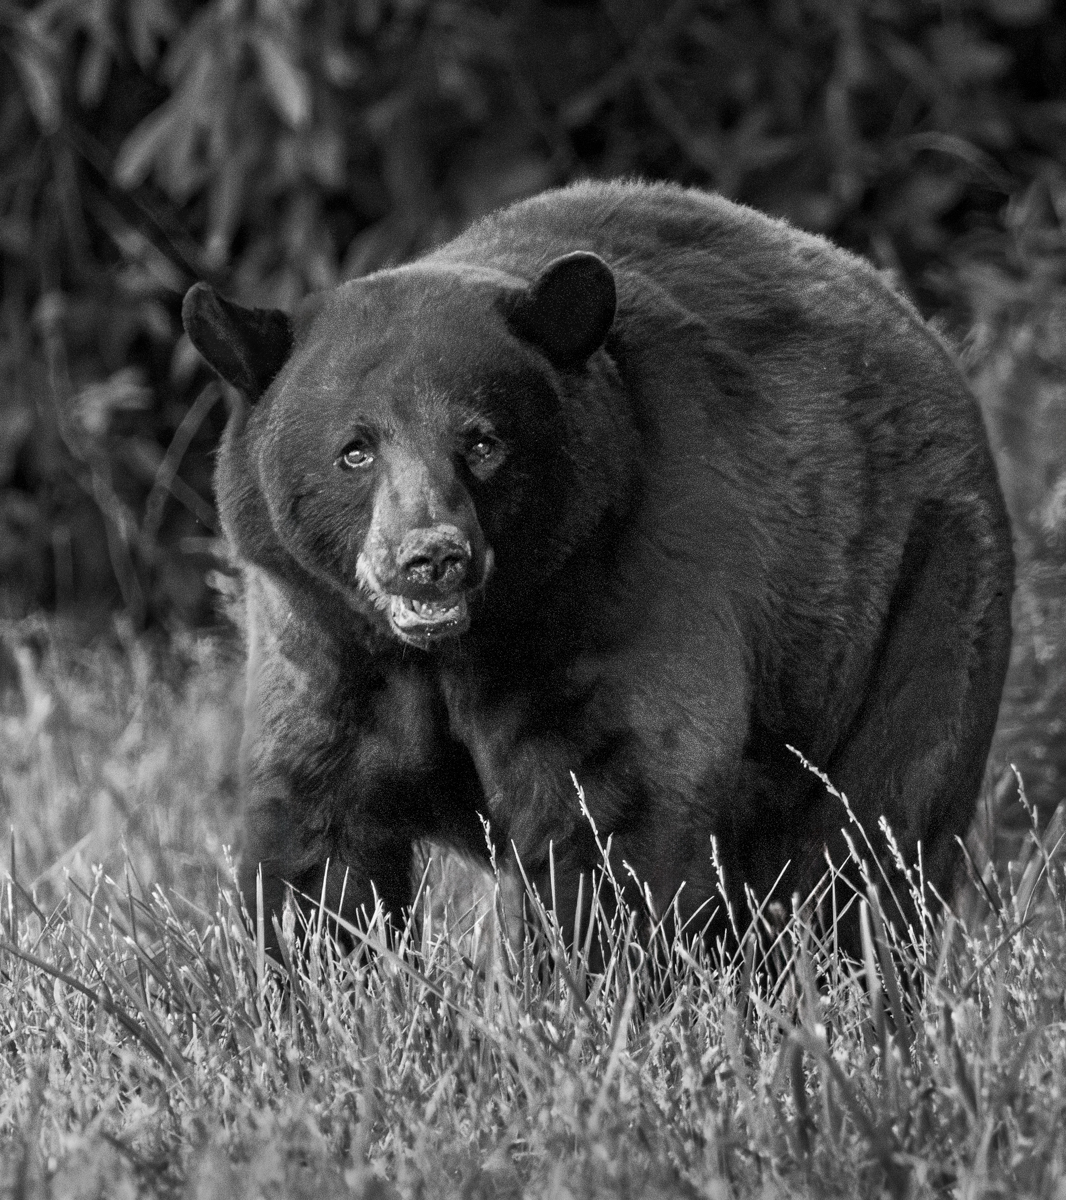
Sweet! I do agree Geoff has a point about a bit of straightening. I love everything, but I might brighten the eyes a bit so they don't look so "dead". Just brighten the catch light a bit. He's a bit centered. You might crop to put him more off center A lovely moment.
. |
Apr 5th |
| 69 |
Apr 22 |
Comment |
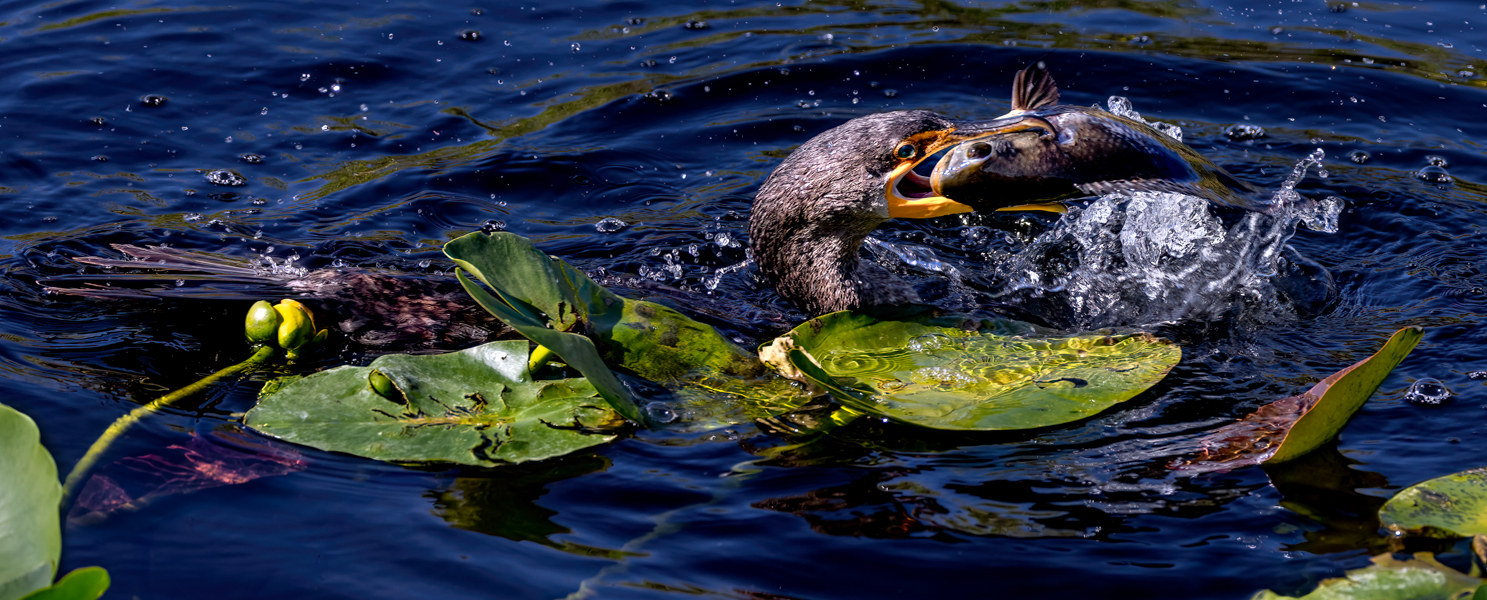
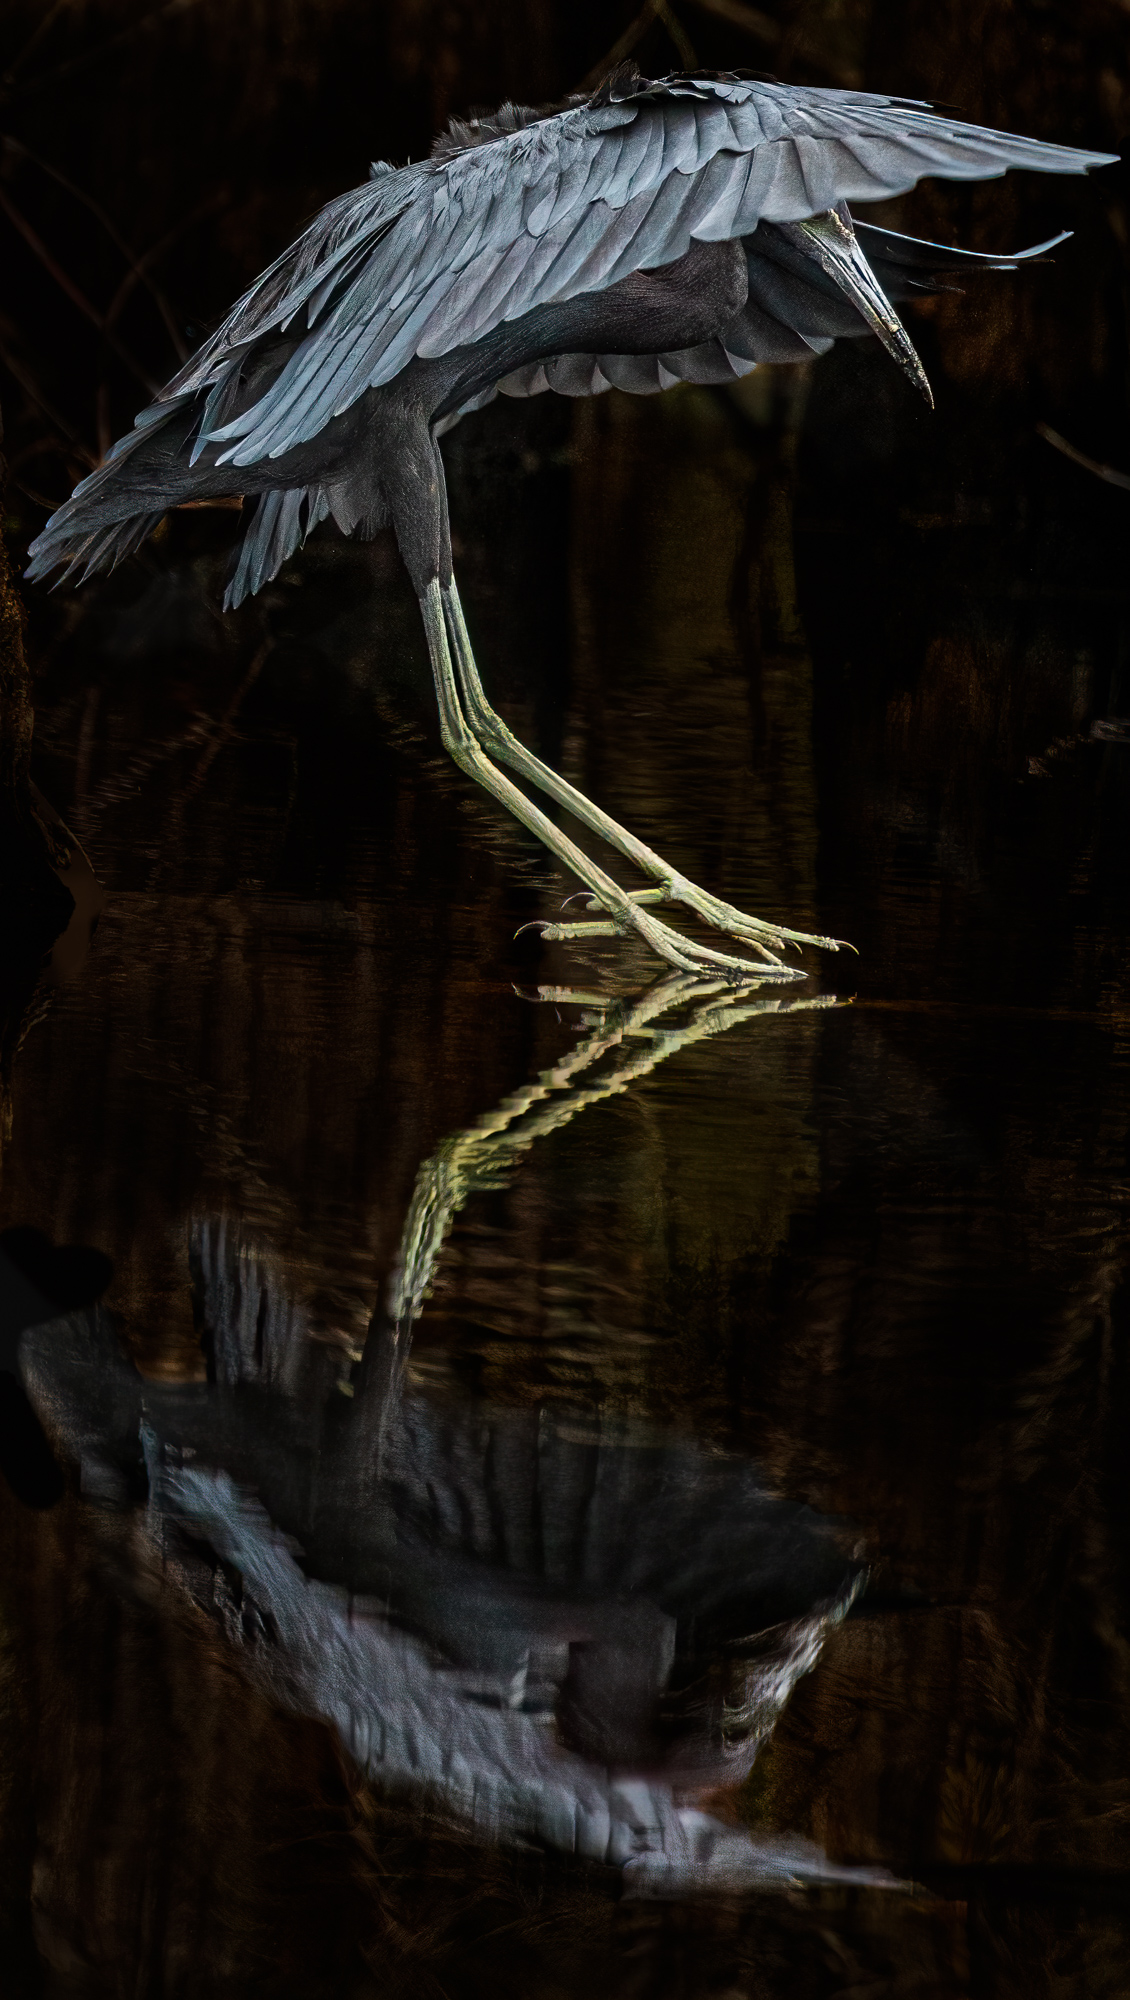
Mervyn, its a great capture of a lovely Green heron. Perfect angle to see that fish going down!
Beautiful lines with the limb, gorgeous processing on the heron. But I think Dean is right that a little darkening of the ground would help keep our attention on your heron. |
Apr 5th |
| 69 |
Apr 22 |
Reply |
Dean, if Mervyn is entering this in any PSA Nature competitions, he can't use a vignette. But he can darken his entire background and lighten his gorgeous green heron. |
Apr 5th |
| 69 |
Apr 22 |
Reply |
Thanks so much, Dean. |
Apr 5th |
6 comments - 3 replies for Group 69
|
| 78 |
Apr 22 |
Comment |
What do you think he is, Mitch? Besides hideous? Wow, that Canon ring light worked beautifully! You'll find Gigapixel will really help when your object is such a small part of the photo. Topaz recommends DeNoise--Sharpen--Gigapixel as the order. You can use them right in Lightroom before you do anything to the photo other than crop. Right clock on film strip photo and then Choose "Edit In".
It's just one photo and not stacked? Amazing! Man of many talents! |
Apr 5th |
| 78 |
Apr 22 |
Comment |
Love your bug!! And your mystery is making me wild. Fess up!
I think you would love the DeNoise/Sharpen/Gigapixel package. Your bug would get even more sharp...every detail. I believe you can try it for 30 days. |
Apr 5th |
| 78 |
Apr 22 |
Comment |
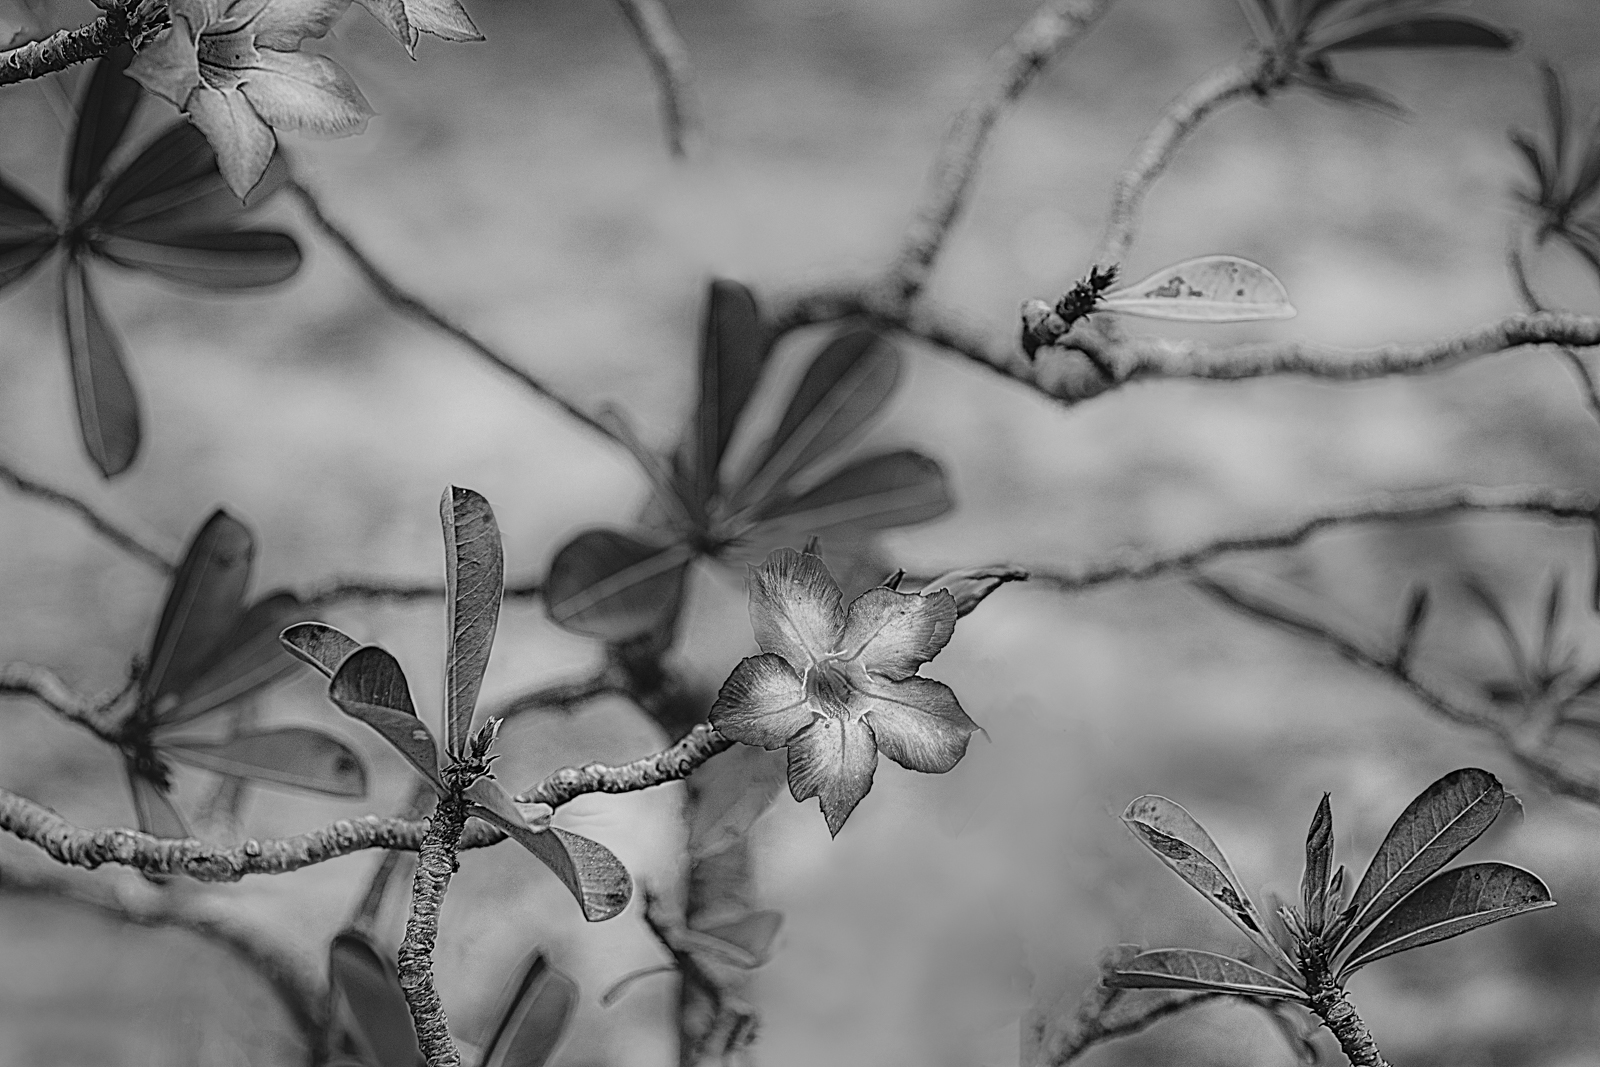
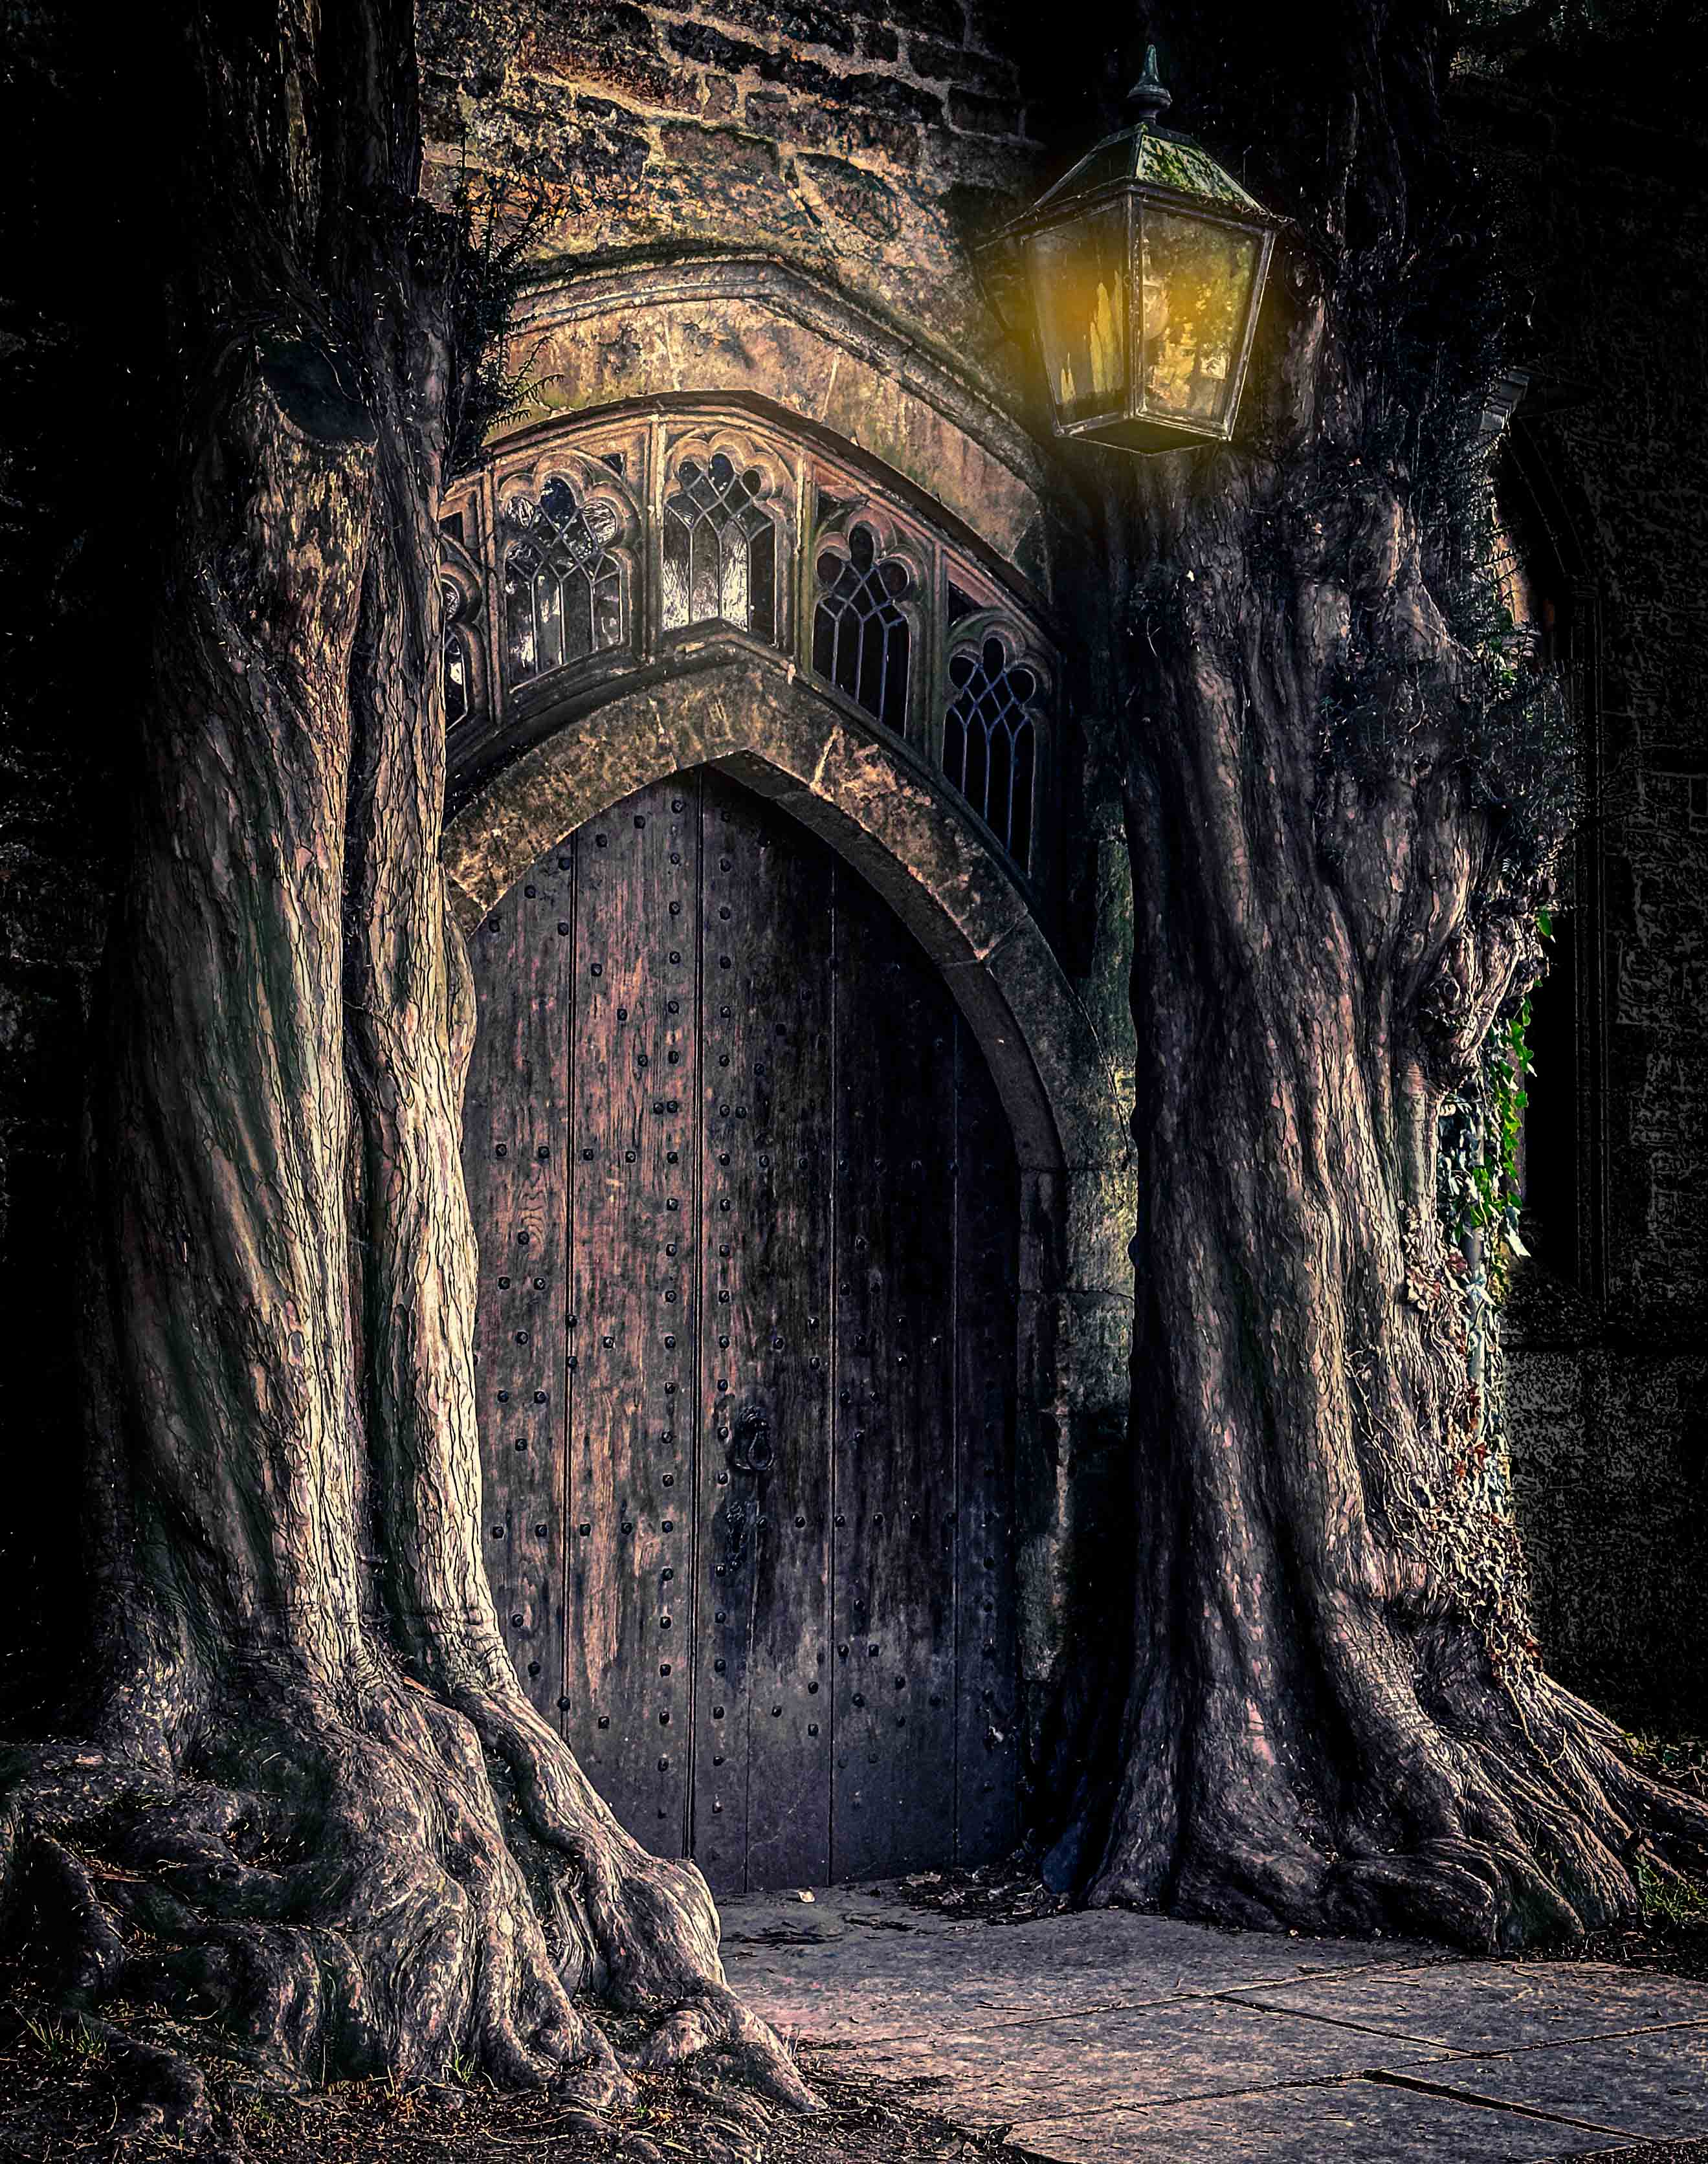
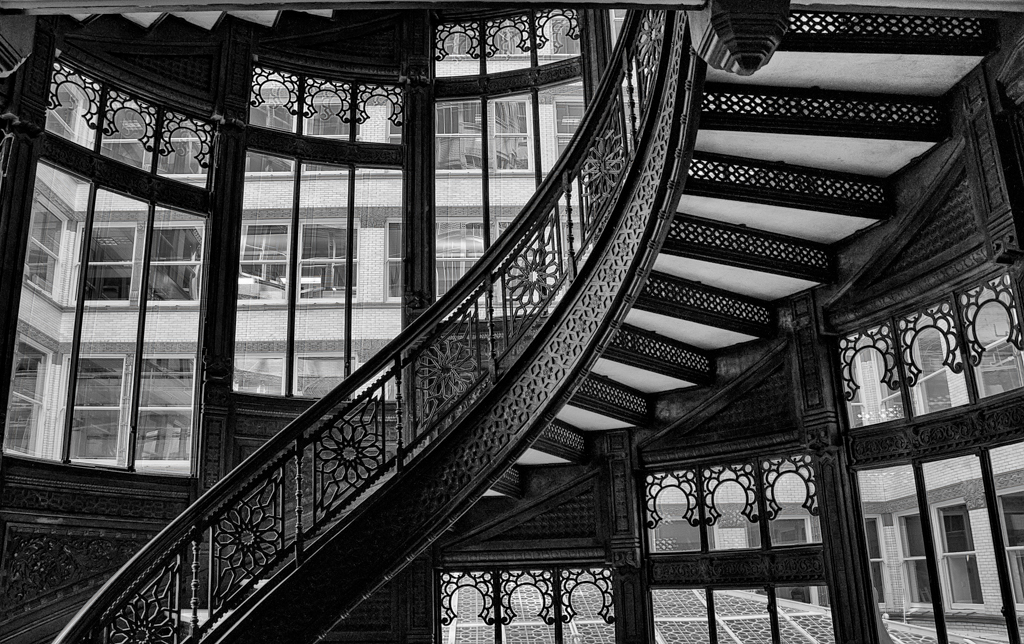
Love the mono conversion! Awesome place!
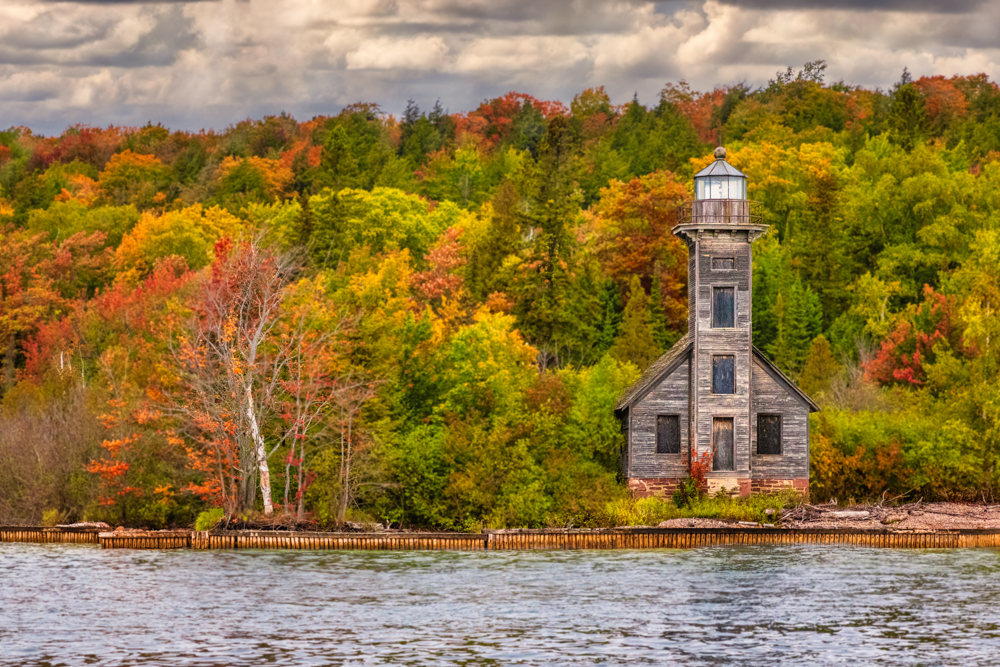
If it were mine, I'd be tempted to use one of the NIK detailed filters for architecture to really bring out all the old brick in the building or use High Pass in Photoshop-Filter-Other-High Pass. Watch a quick video on using it, its not difficult if you've not done it before. It seems to be what most folks doing architecture use. |
Apr 5th |
| 78 |
Apr 22 |
Comment |
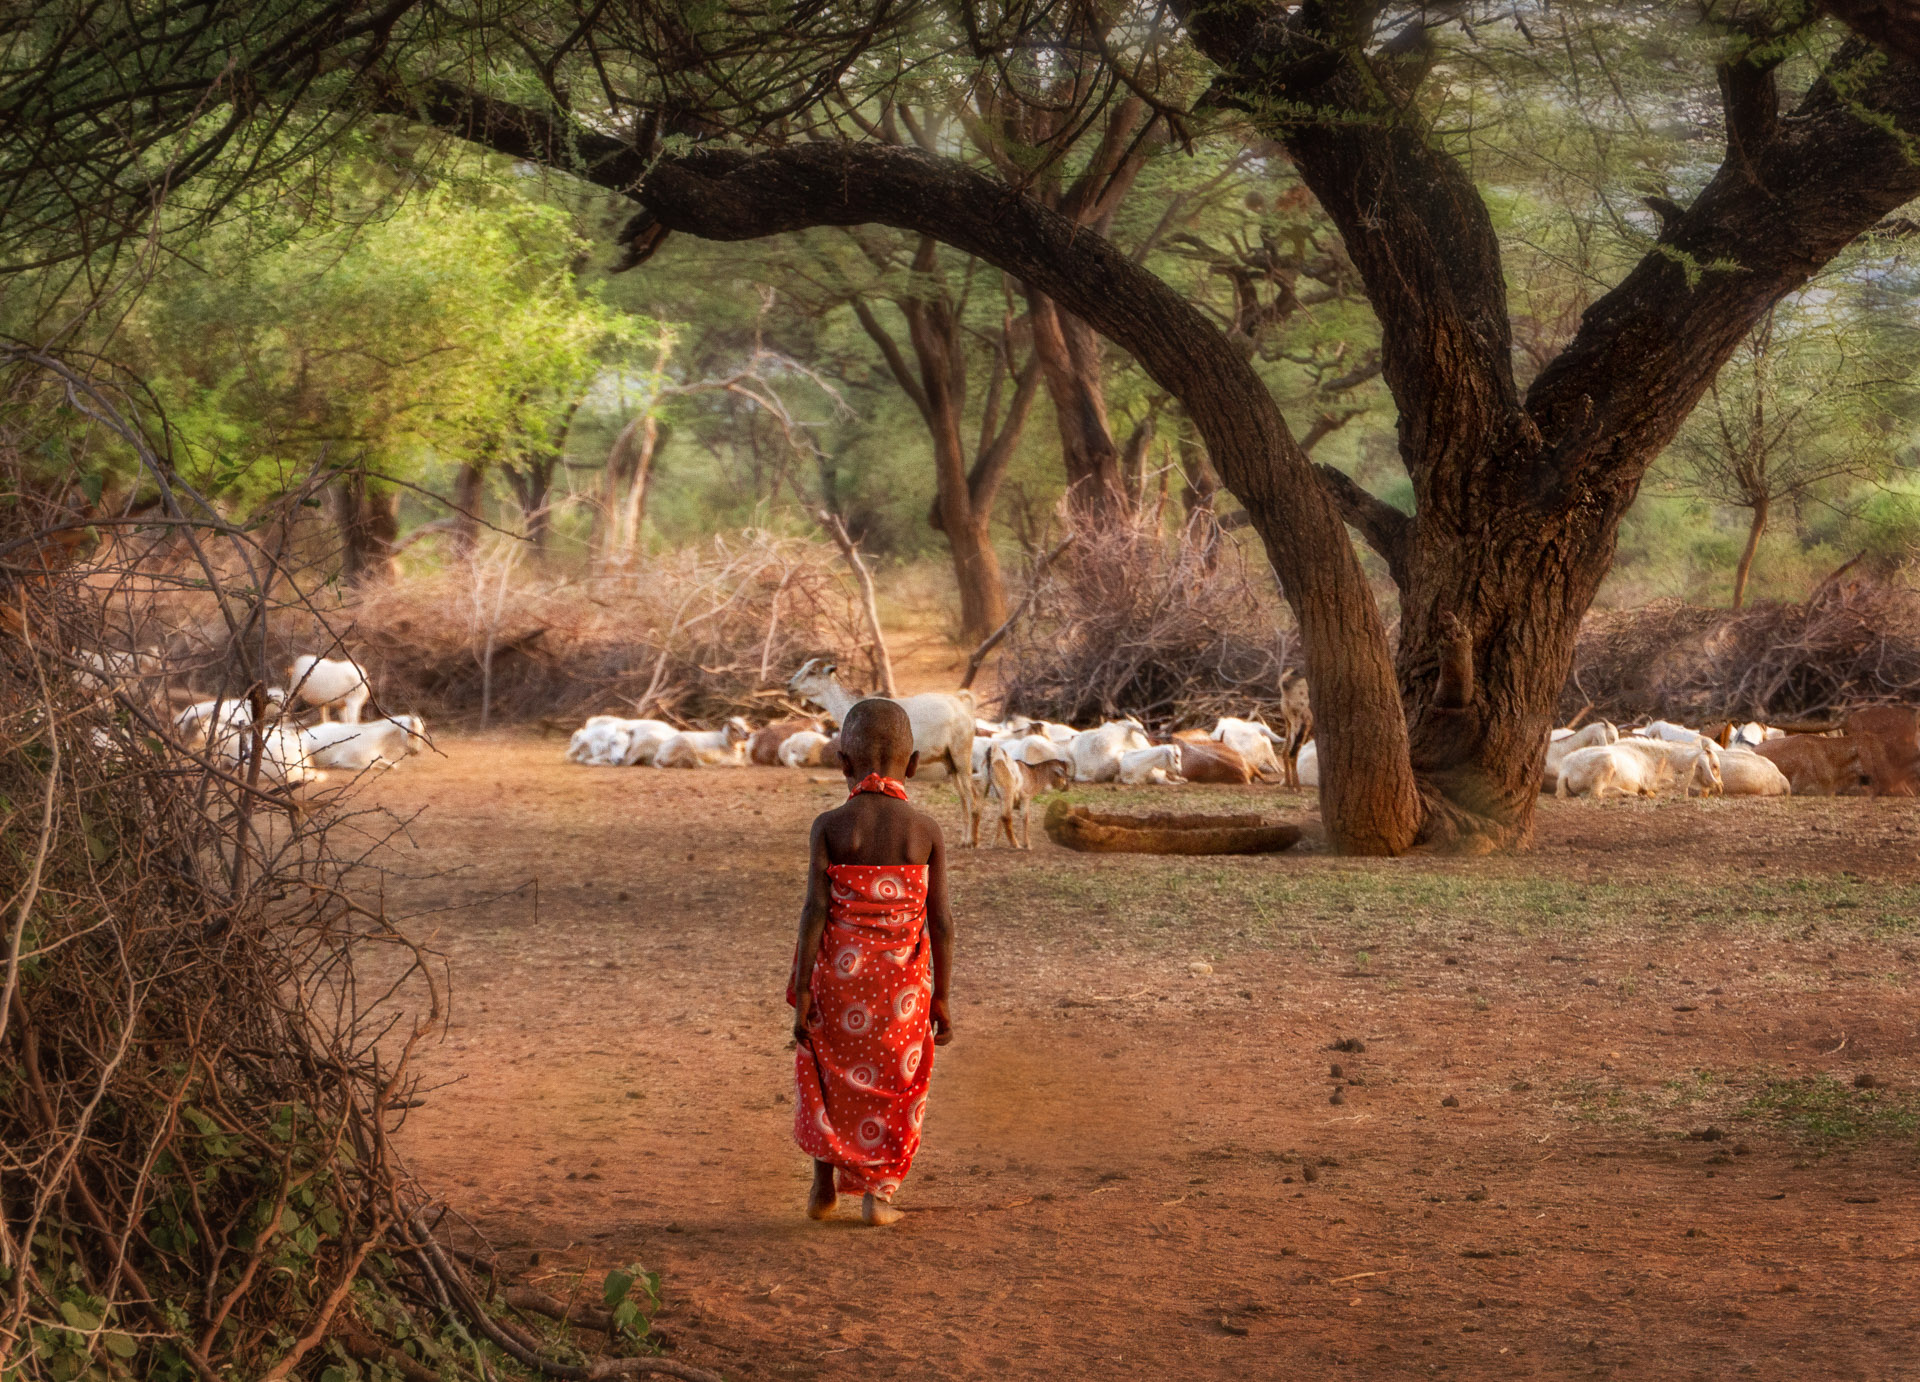
Helen, I can see why you converted to monochrome with all those crazy colors on the kids. I'm not a street photographer, but if this wasn't street photography, I'd go in tight on the two kids together and lose the third kid looking at you. That cuts out many of the distractions and keeps us on the sweet moment between the two kids. |
Apr 5th |
| 78 |
Apr 22 |
Reply |
Jason, check out my link below on how to blur the background naturally. Great little trick in under 2 minutes! |
Apr 5th |
| 78 |
Apr 22 |
Comment |
Helen and Jason, you will love the 2 minute video by Colin Smith of PhotoShop Cafe on the way to blur so that its realistic and the focus "falls off" naturally. I just saw this video and now want to redo all my photos where it looks like the subject is "stuck on" a blurred background.
https://photoshopcafe.com/instantly-blur-the-background-of-a-picture-in-photoshop-with-depth-blur-neural-filter/?goal=0_548063c647-25ea639e3d-249717402&mc_cid=25ea639e3d&mc_eid=f58e3f1a7d
|
Apr 5th |
| 78 |
Apr 22 |
Comment |
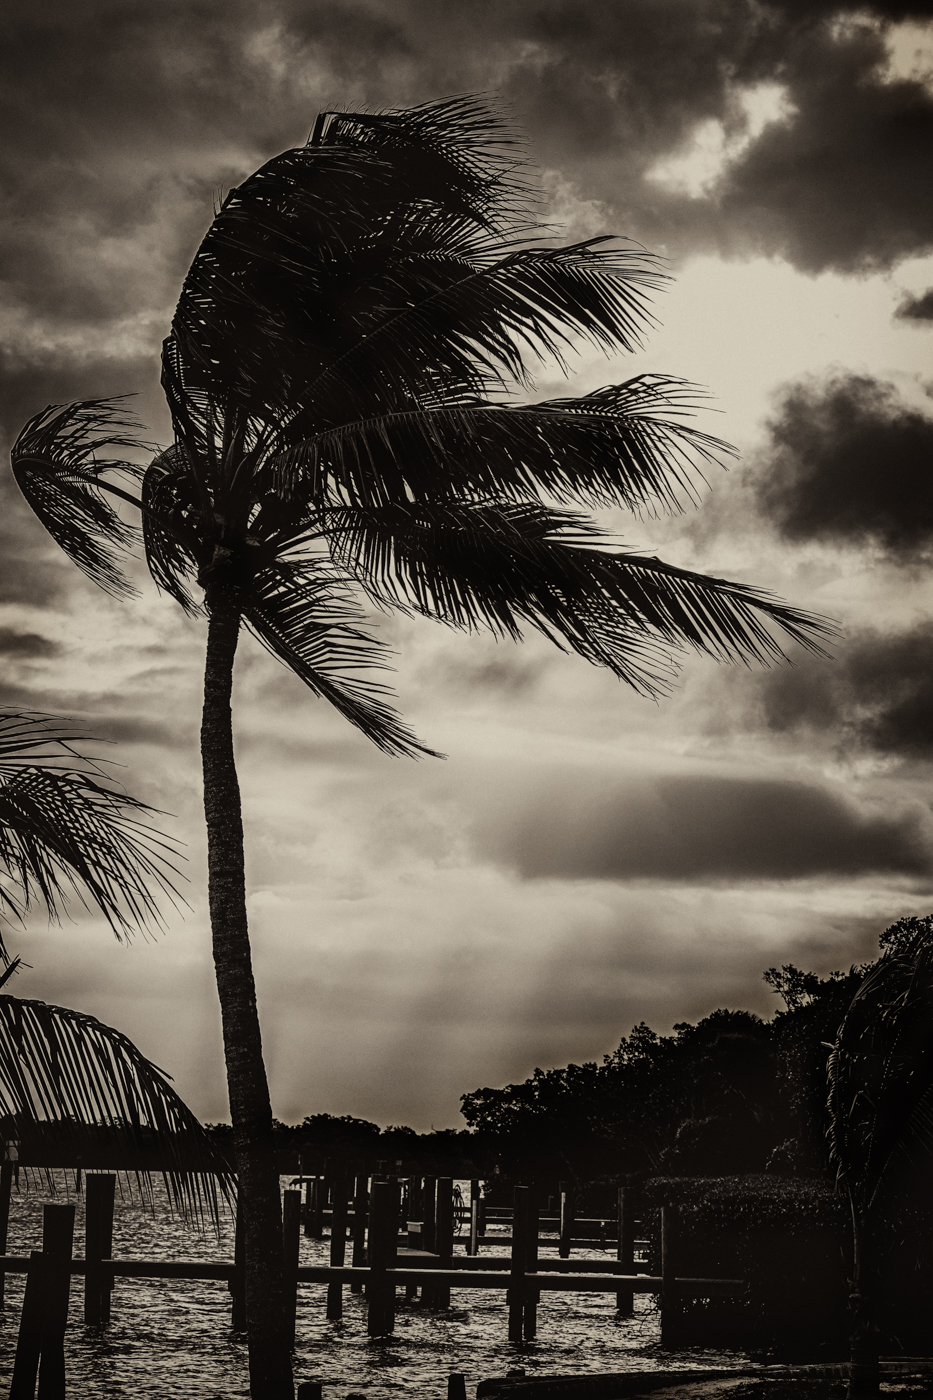
I love the soft green grass in the boat and around the boat in the original. It seems dried and maybe too sharp in the b/w conversion. I would be tempted to stay with the green, crop the top, but keep the bottom. To me, the message is the boat is having a renewed life, which is not clear in the monochrome version.
Love the boat image, Sunil.
|
Apr 5th |
| 78 |
Apr 22 |
Comment |
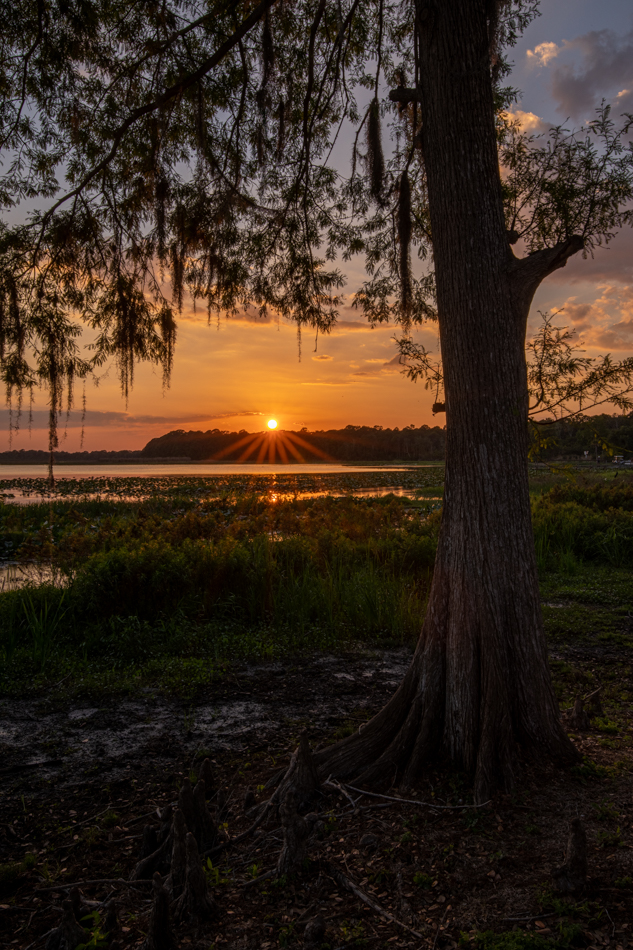
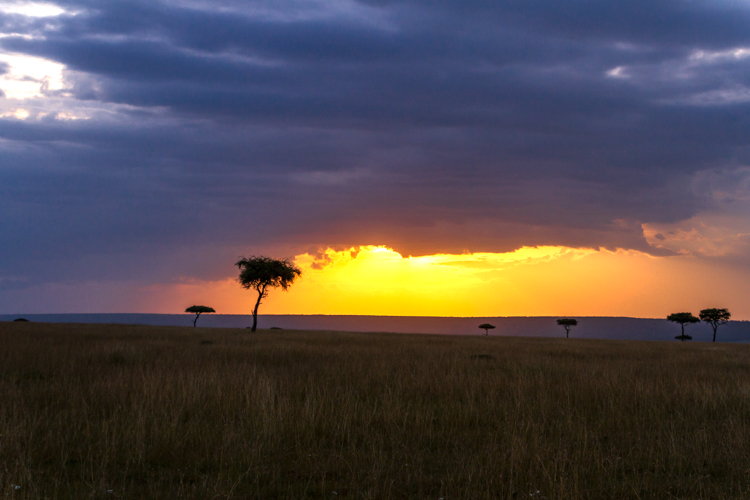
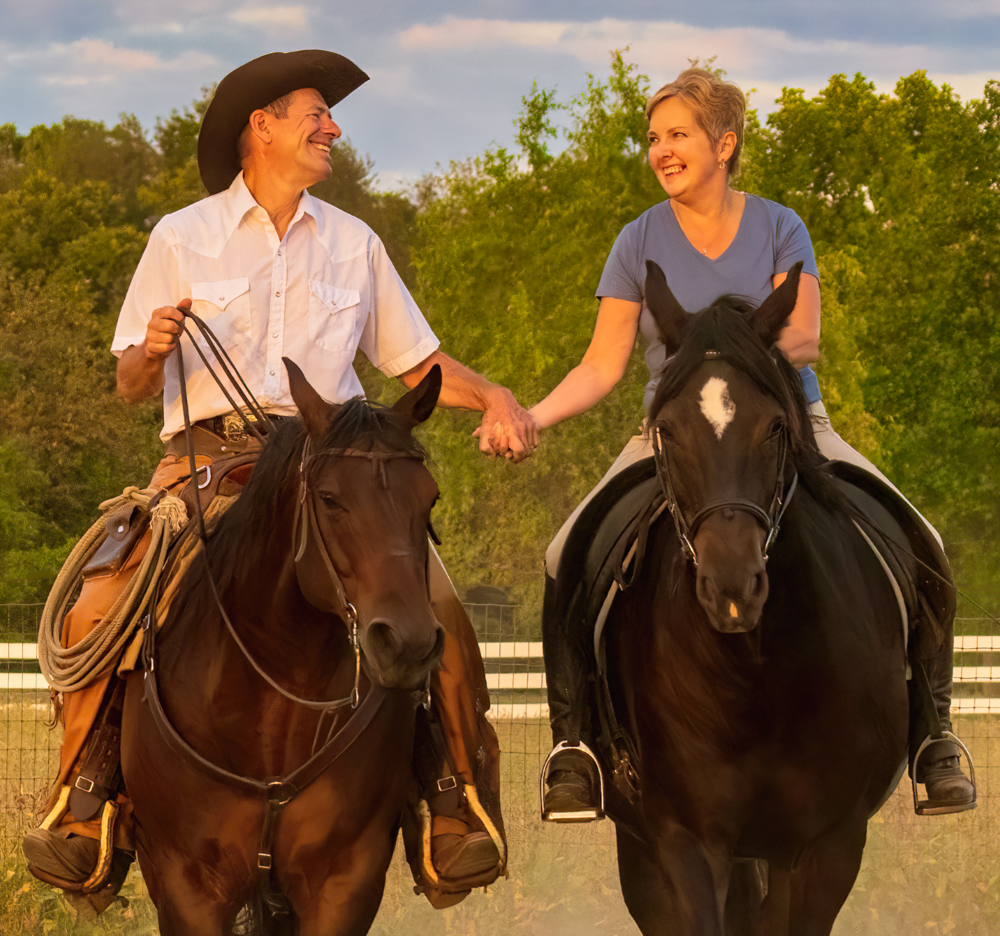
Jim, A great sunset for sure. I love your updated image with just the couple and other changes you added from everyone. To me, the couple are a bit red from the sunset, look at the guys legs. Since they are looking at the sunset, they wouldn't be enveloped in the red sunset light, would they?
Really a clever idea and can't wait to see how it does in PSA Competition. |
Apr 5th |
| 78 |
Apr 22 |
Reply |
Jason, I love your title suggestions! "The Offering" does ass to the sweetness of the image, but all are fabulous! |
Apr 5th |
| 78 |
Apr 22 |
Reply |
Thanks, Helen! Yes, a vignette is a no-no, but you can darken anything down to make the subject stand out in PSA Nature. Did you find the background too dark? |
Apr 5th |
| 78 |
Apr 22 |
Reply |
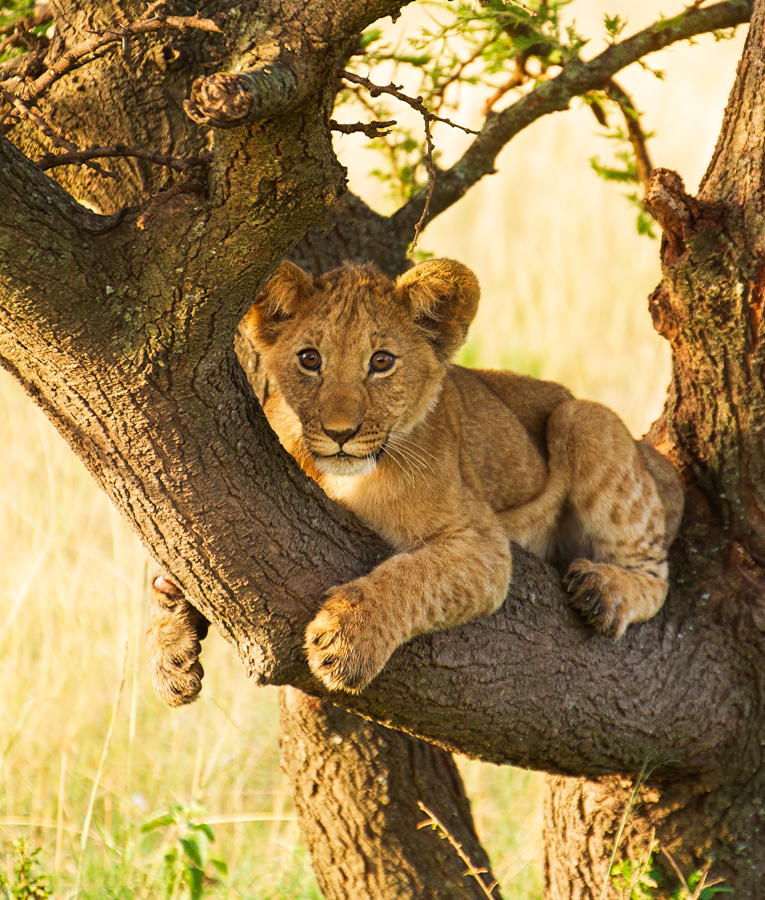
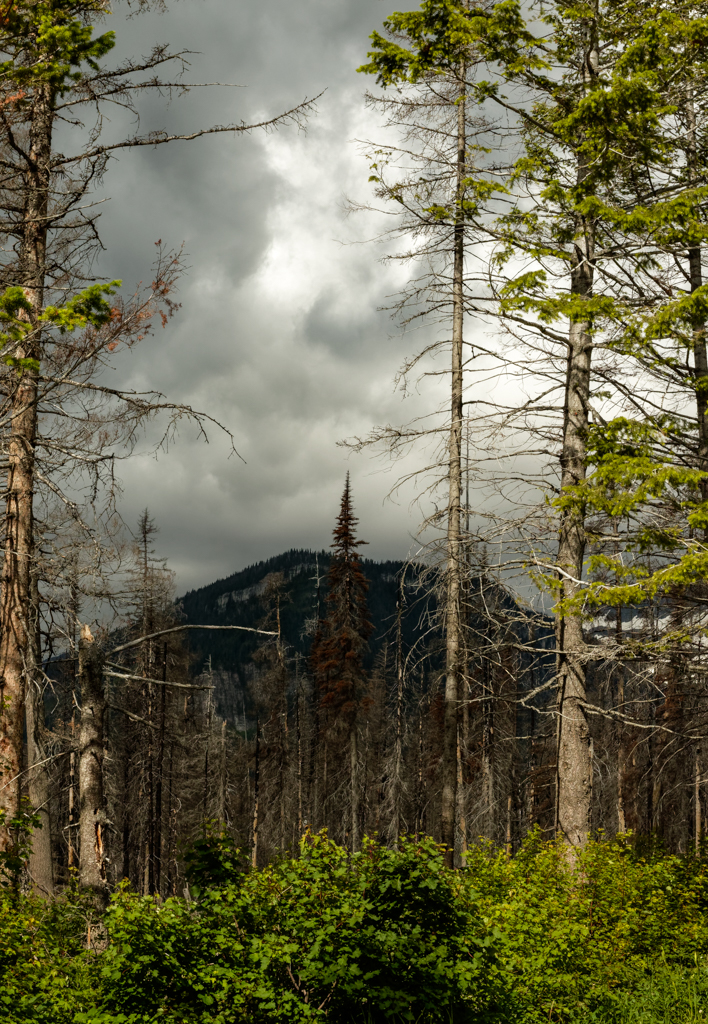
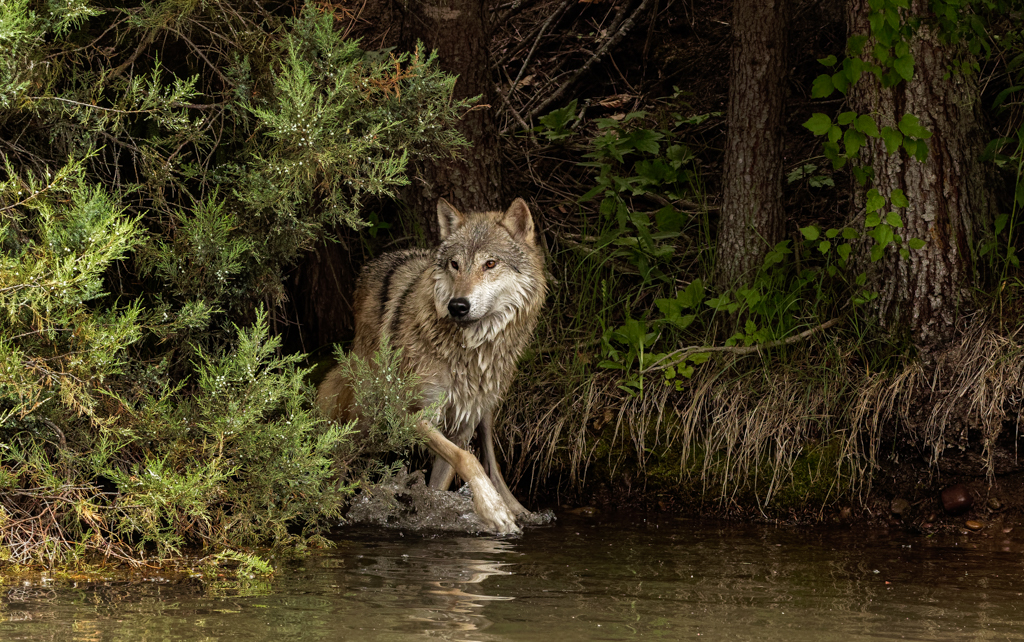
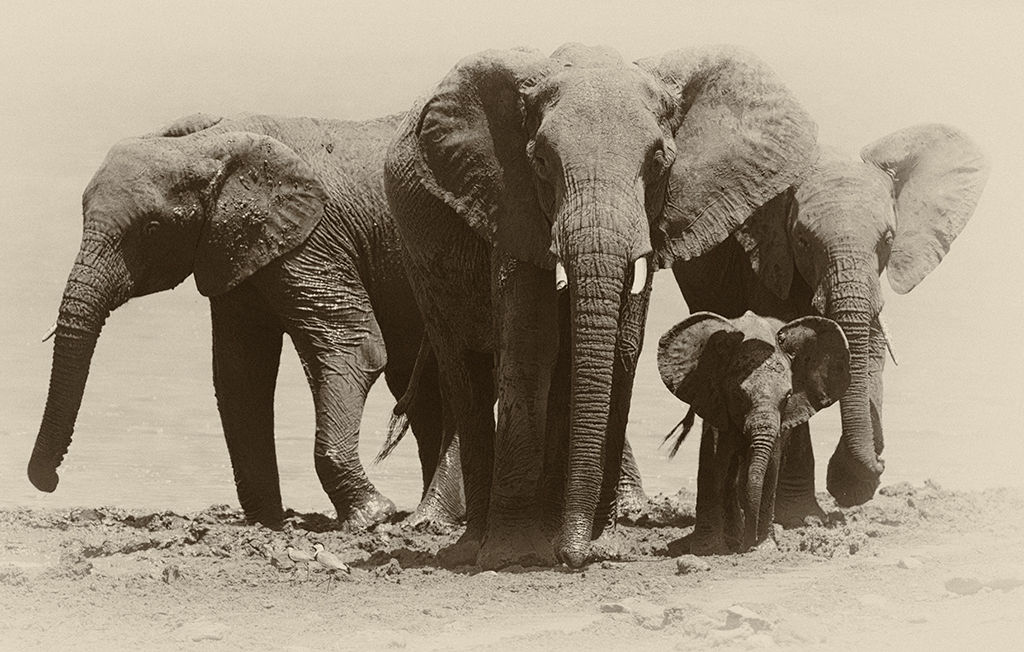
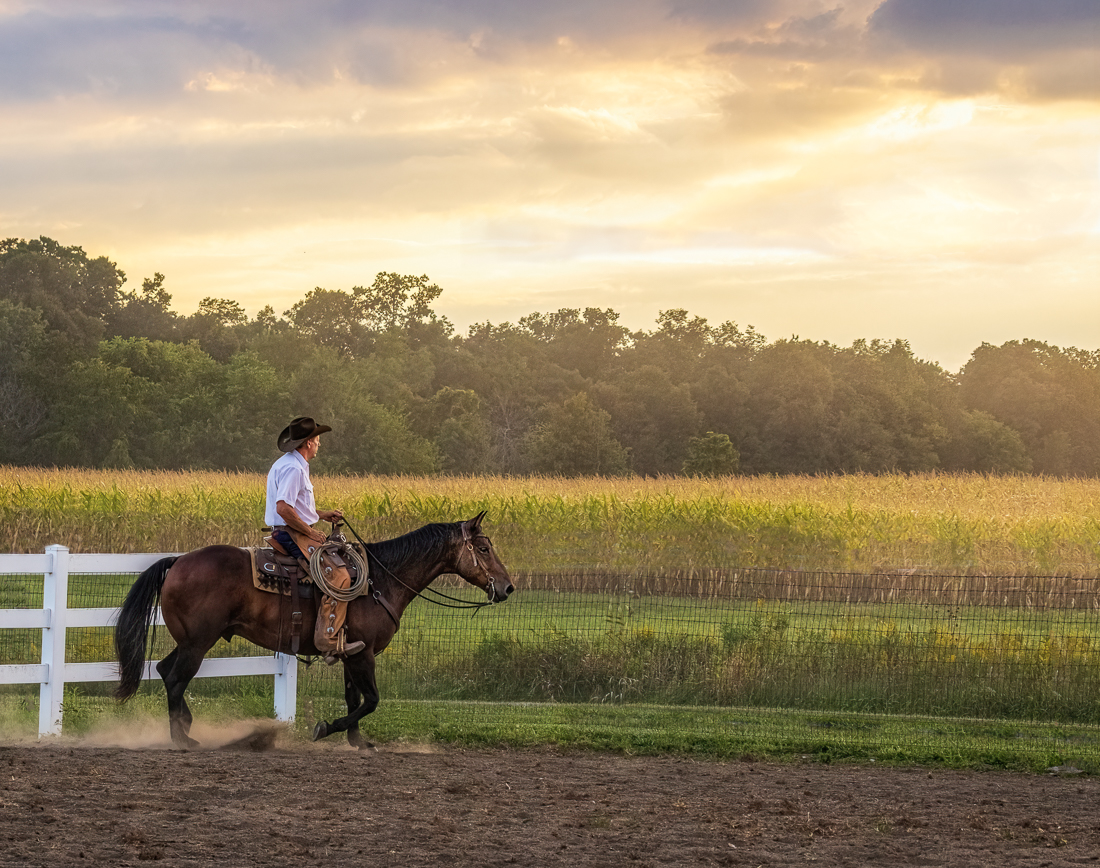
Jason, I like your idea of what animal chooses to appear. We had great animal viewing this week. In addition to the animals choosing us, it depends on what you choose to see. I think there are a lot more animals there, but do you see them?
I liked Sunil's idea of mono. |
Apr 5th |
| 78 |
Apr 22 |
Reply |
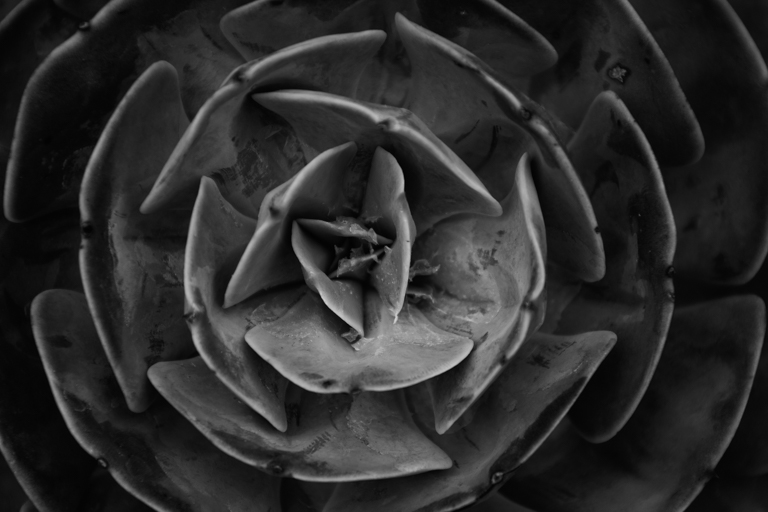
Sunil I love the b/w conversion, it really brings out the circular nature of the image. Will give it a try! |
Apr 5th |
8 comments - 5 replies for Group 78
|
14 comments - 8 replies Total
|