|
| Group |
Round |
C/R |
Comment |
Date |
Image |
| 24 |
Oct 22 |
Reply |
This can also be accomplished in Lightroom using the Adjustment brush to heal out that flower. |
Oct 19th |
| 24 |
Oct 22 |
Reply |
Adding to what Bev said, PSA has an excellent online course for members: Introduction to Photoshop ( https://psa-photo.org/page/mo-introduction-to-photoshop-course ). d;¬{D |
Oct 19th |
| 24 |
Oct 22 |
Comment |
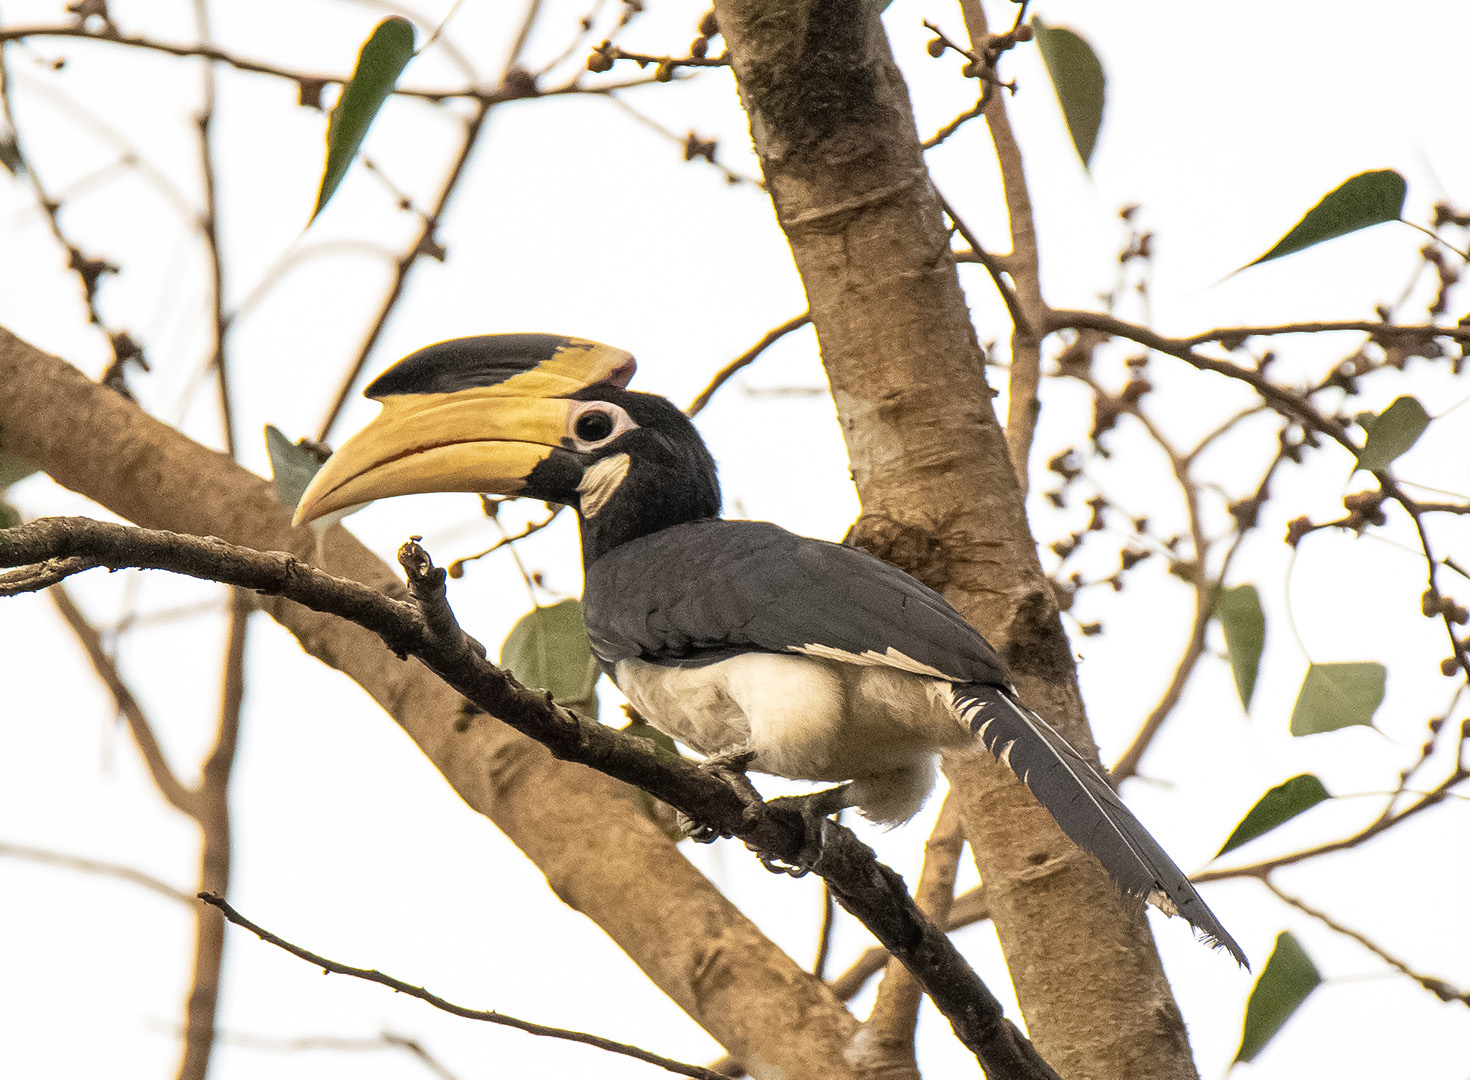
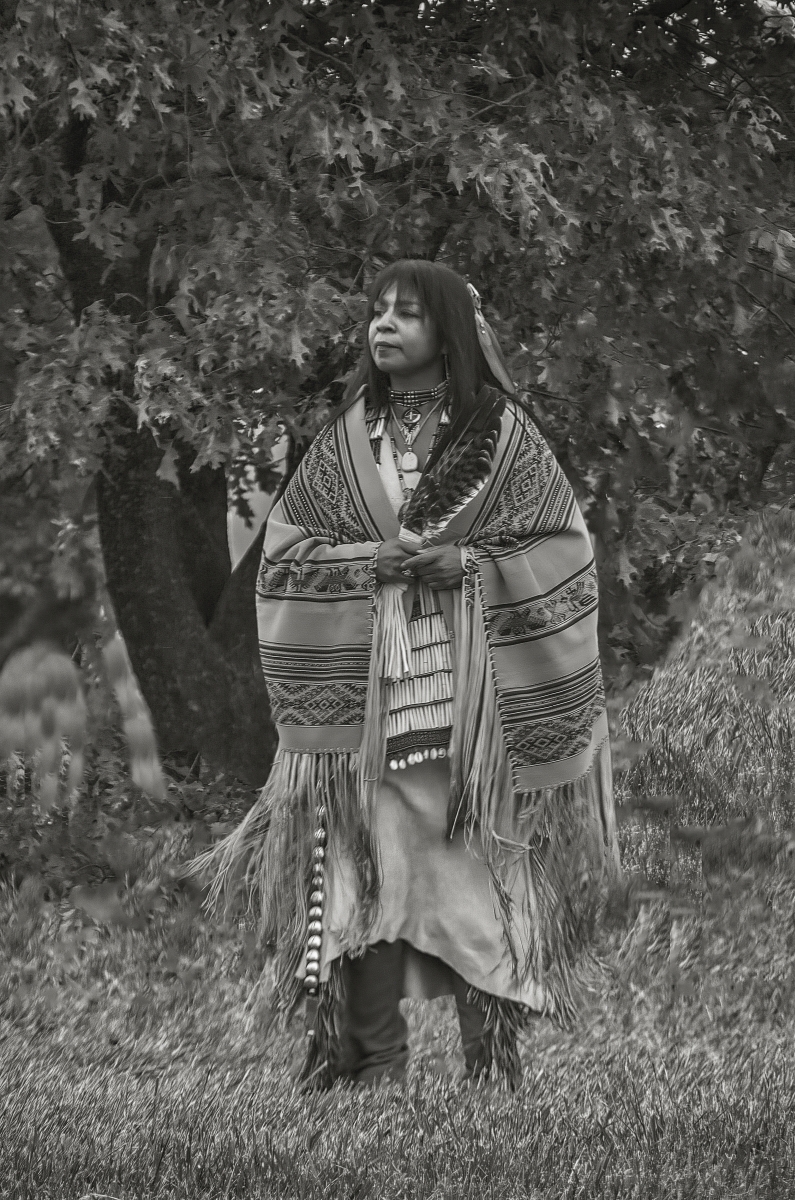
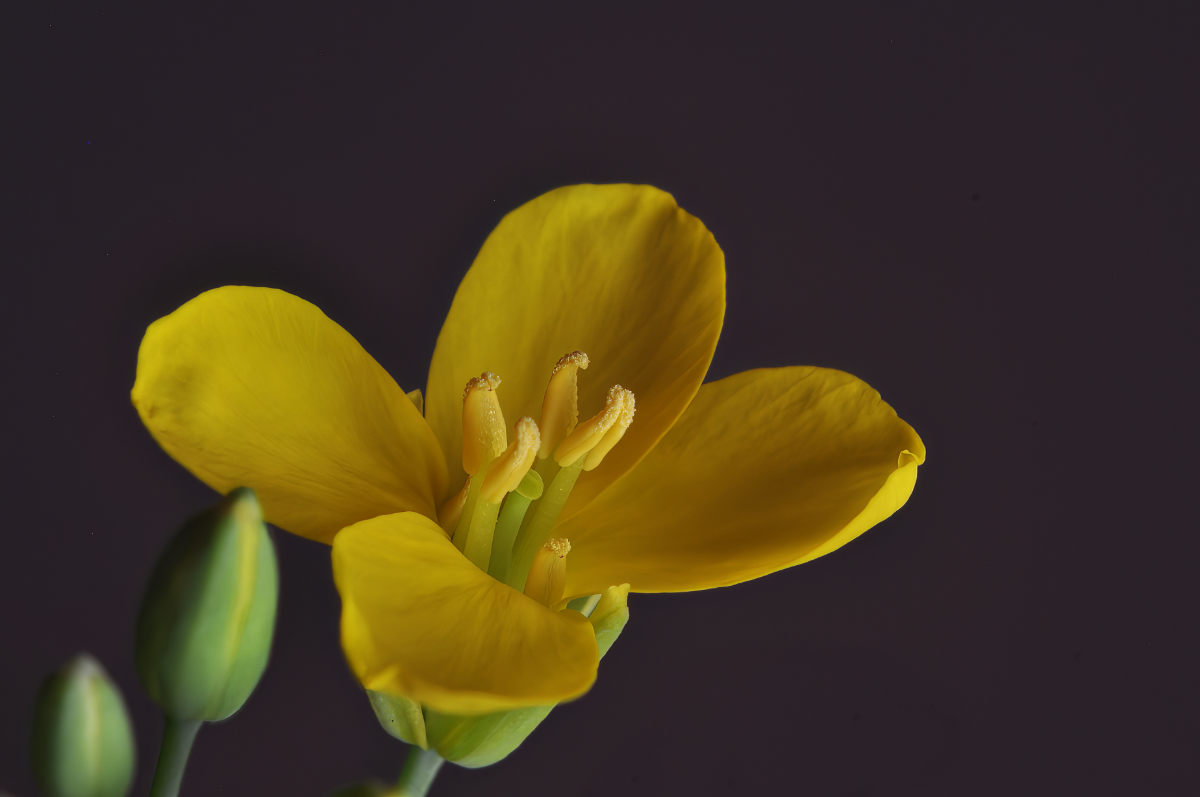
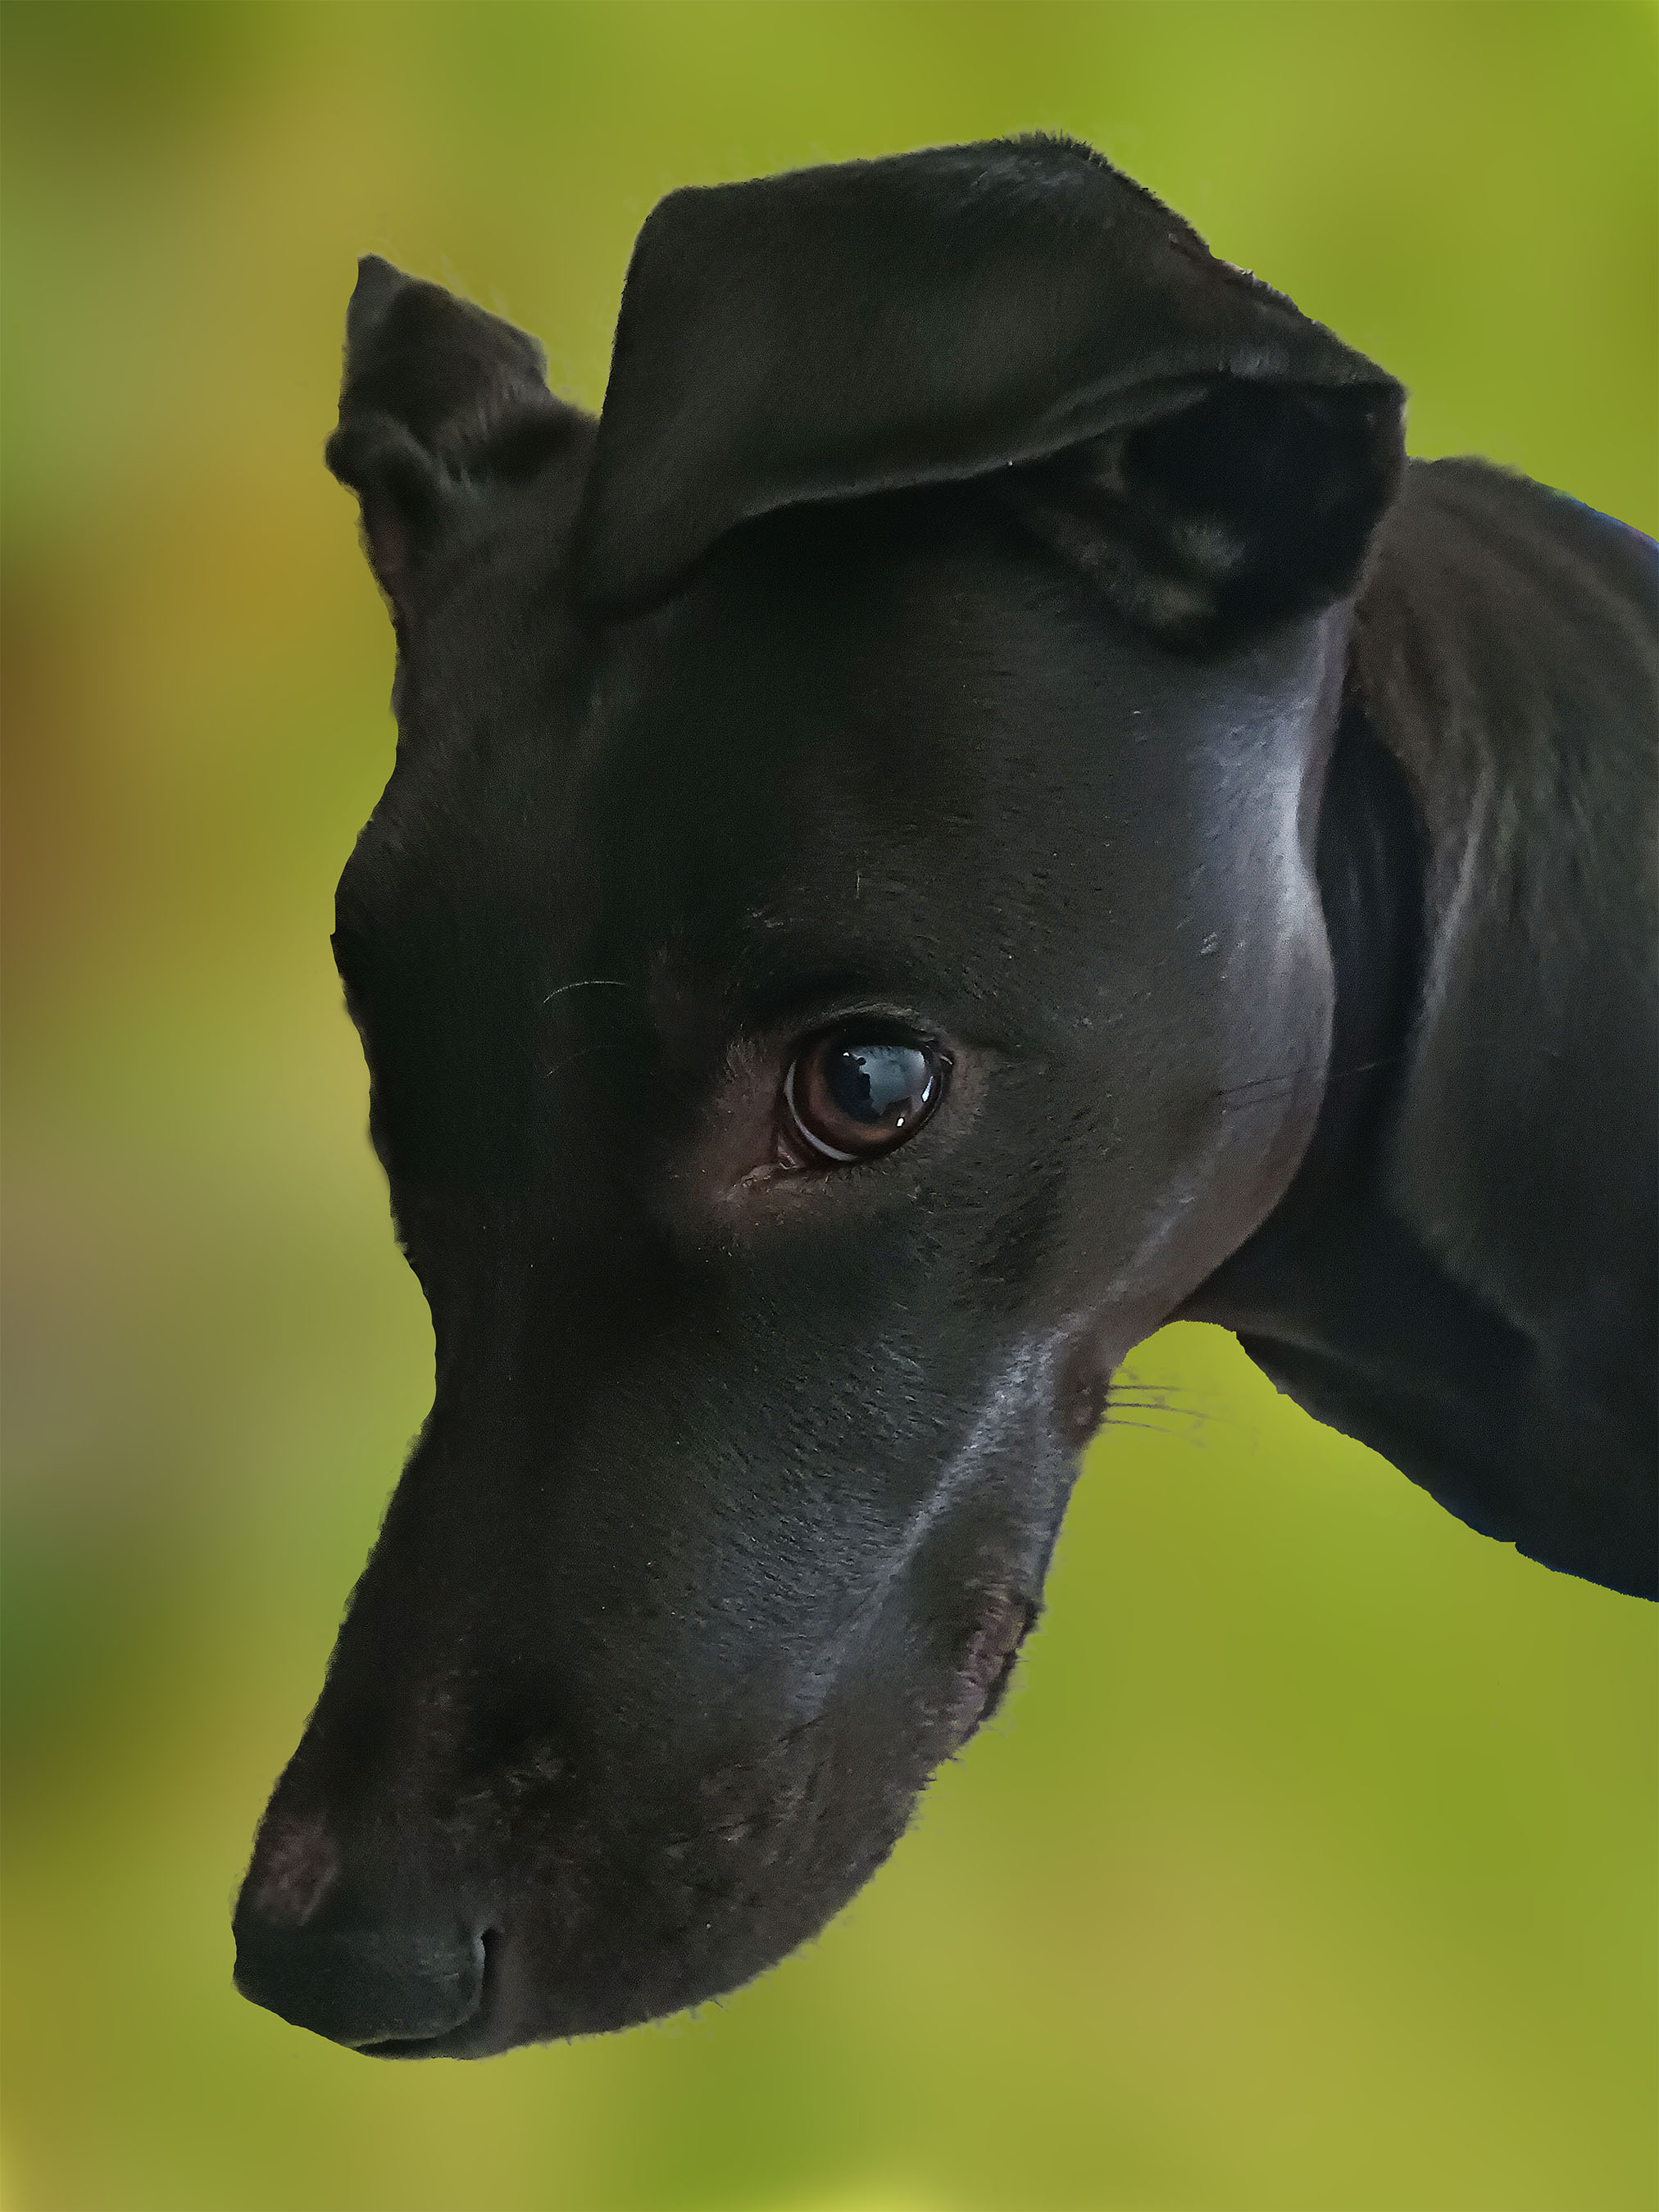
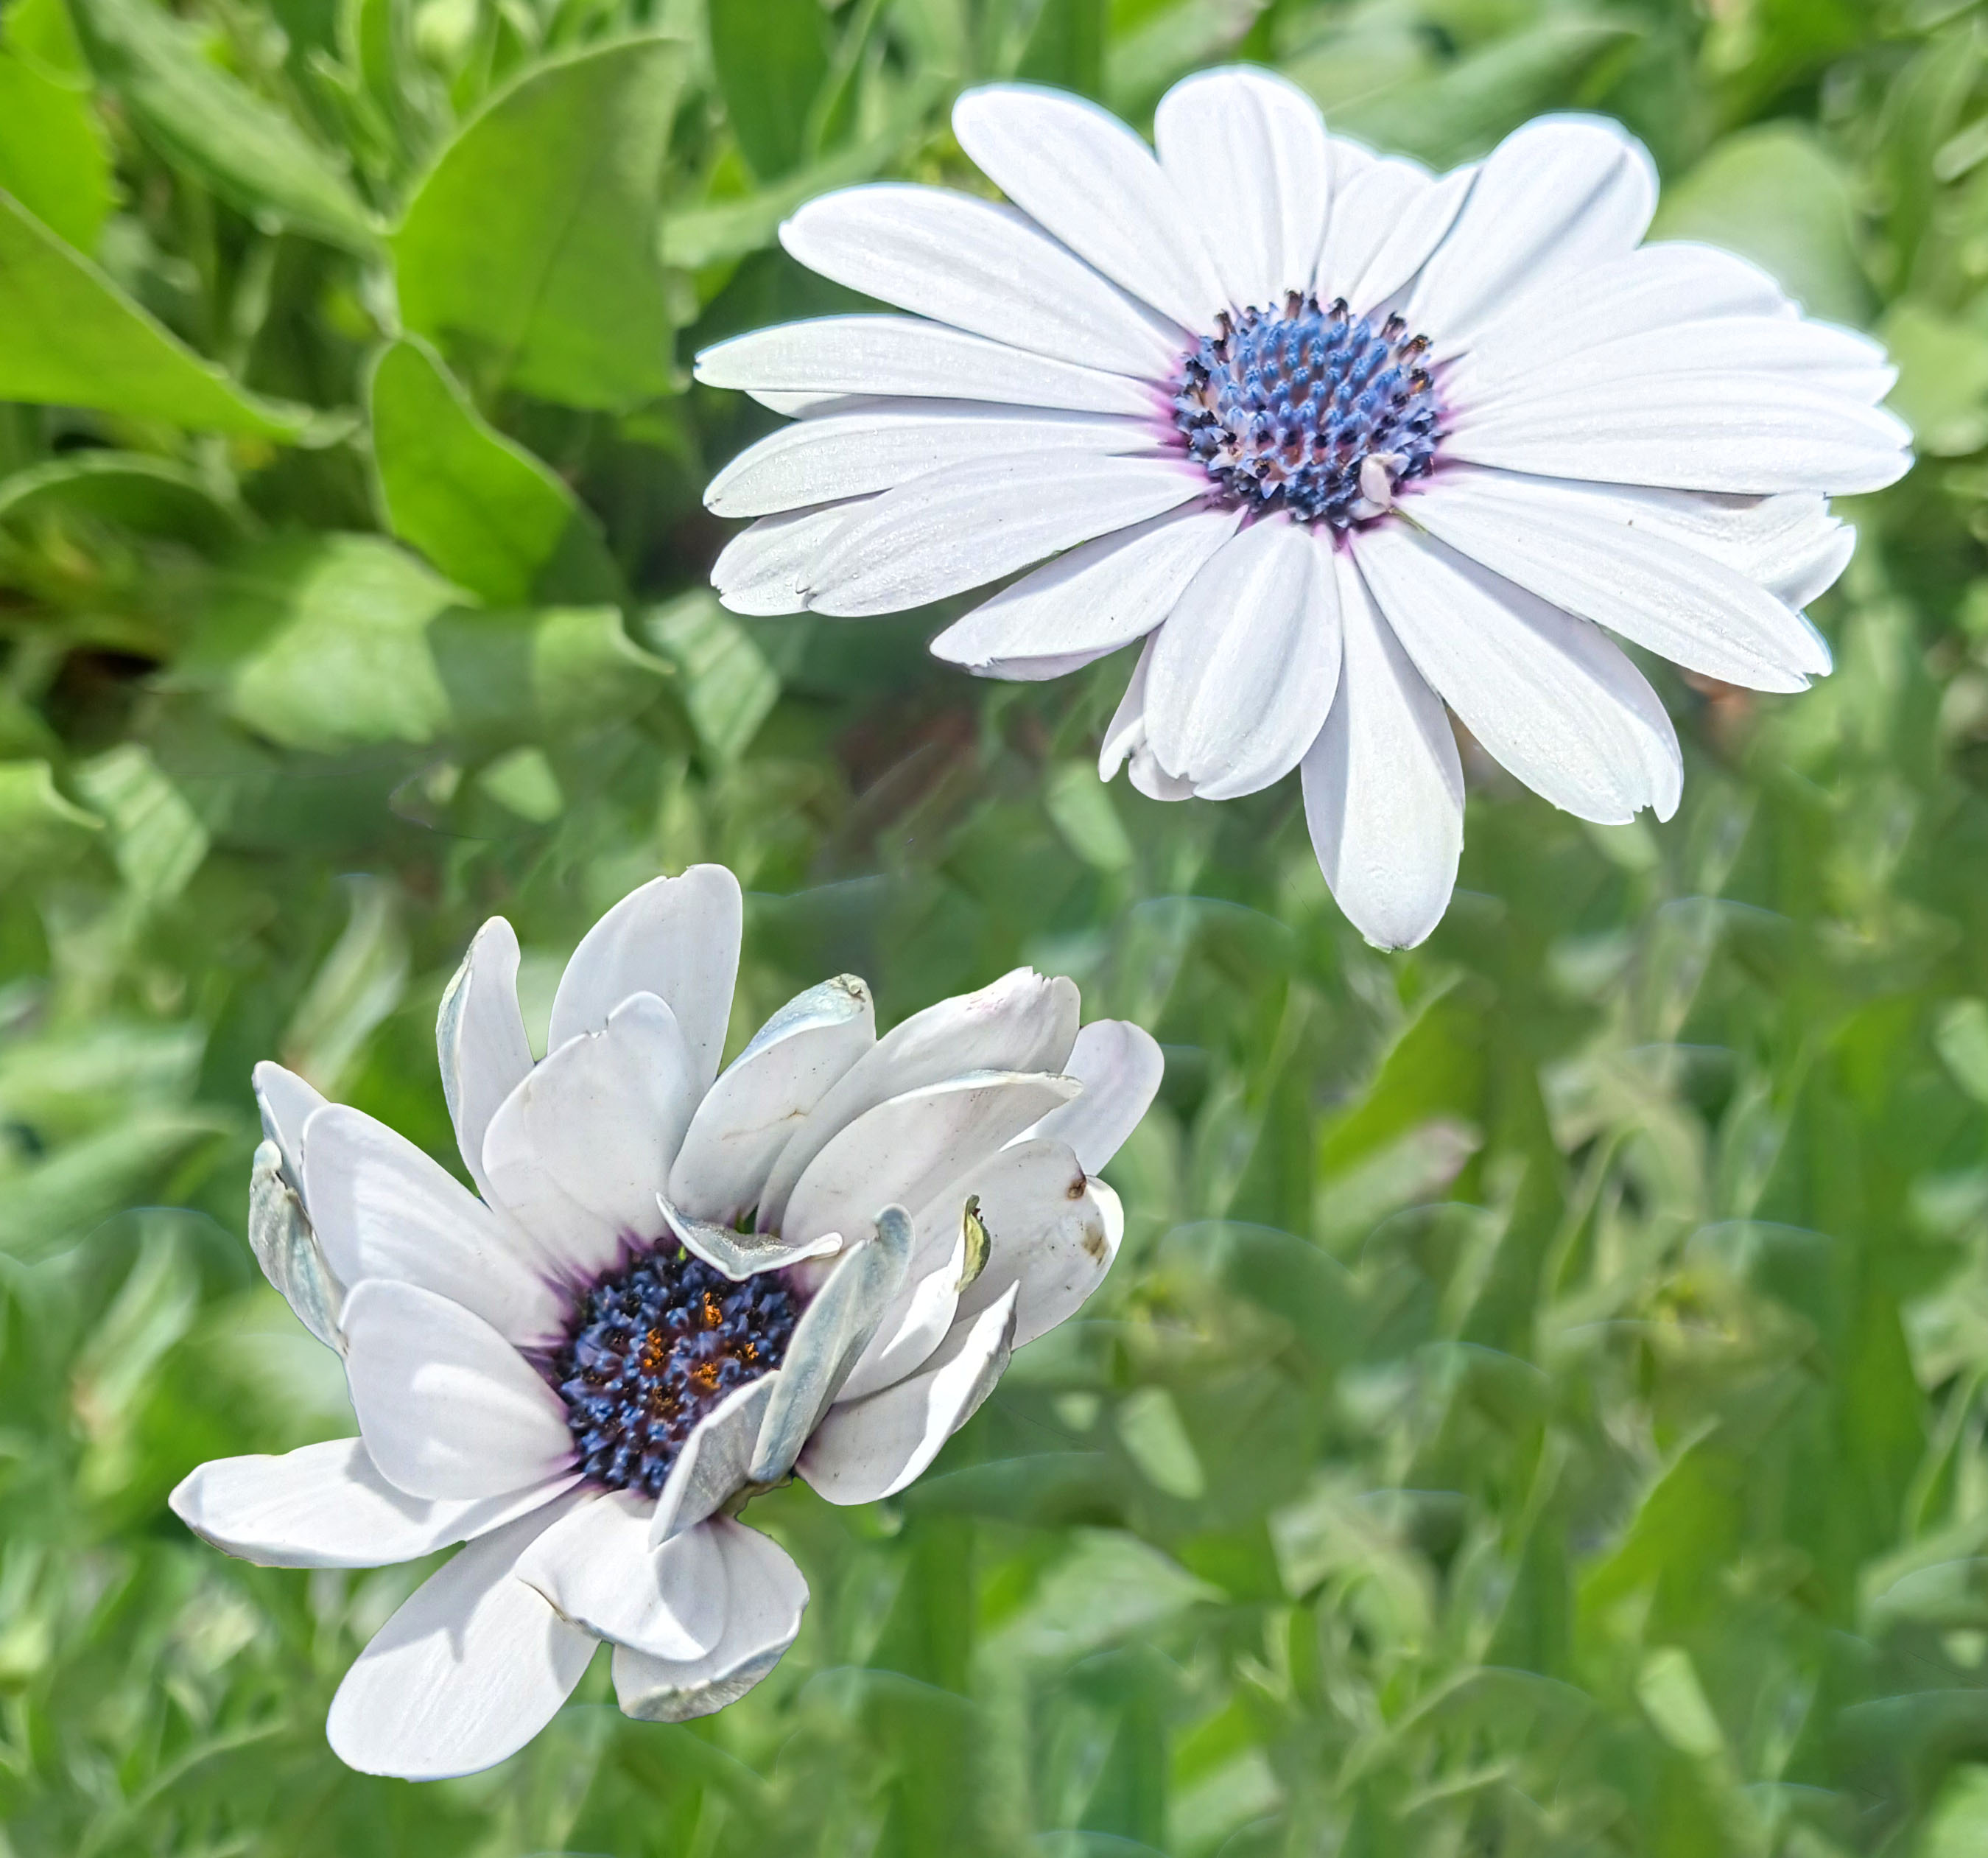
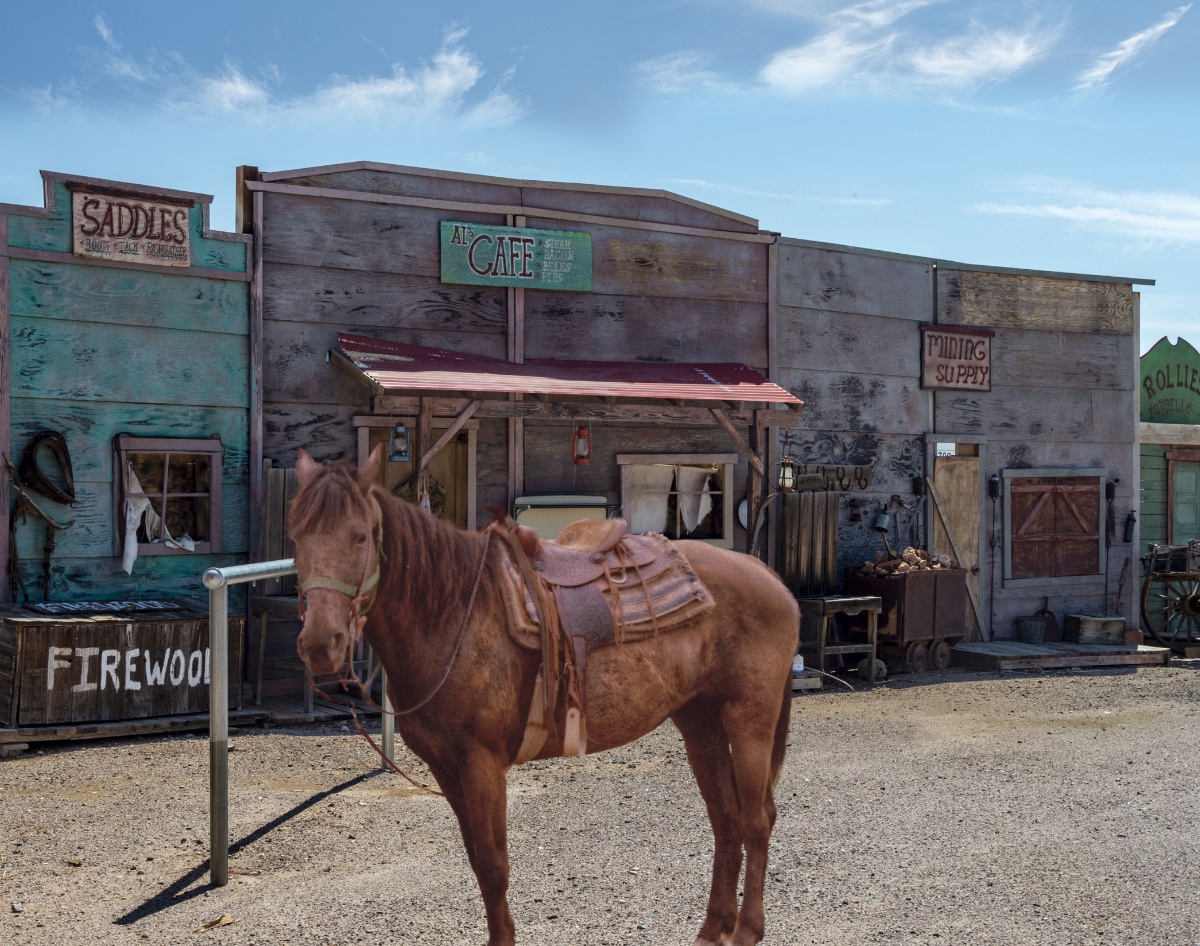
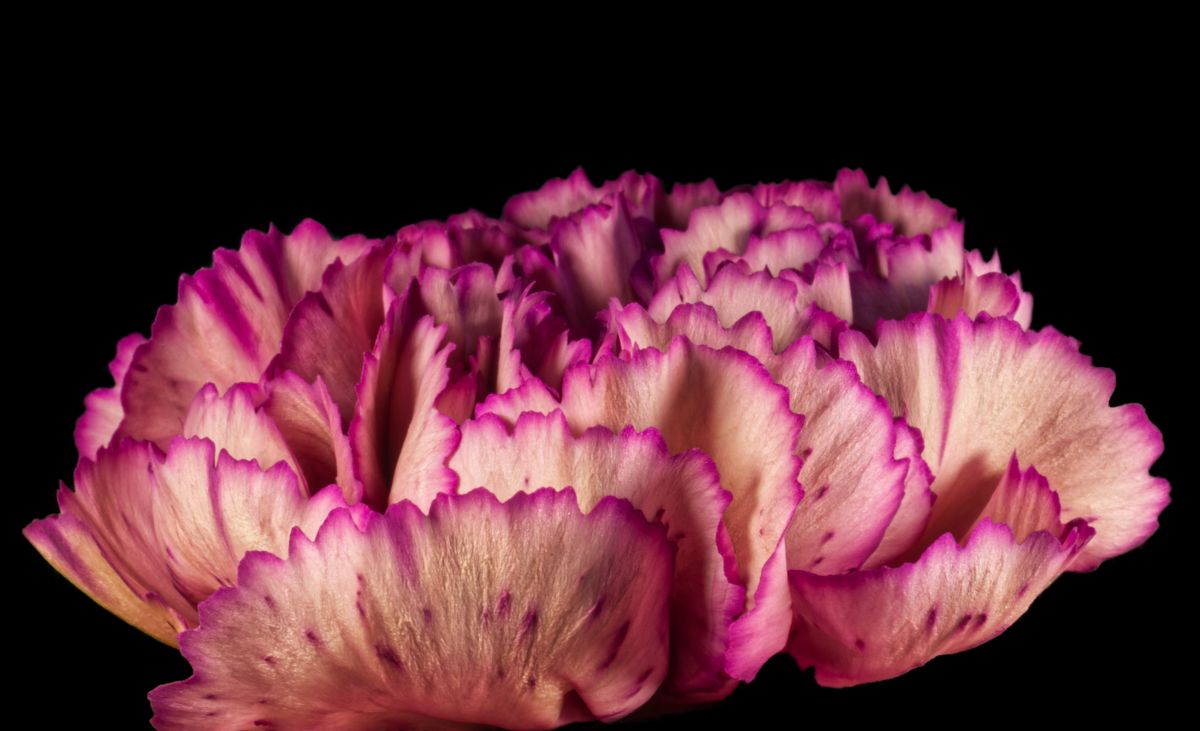
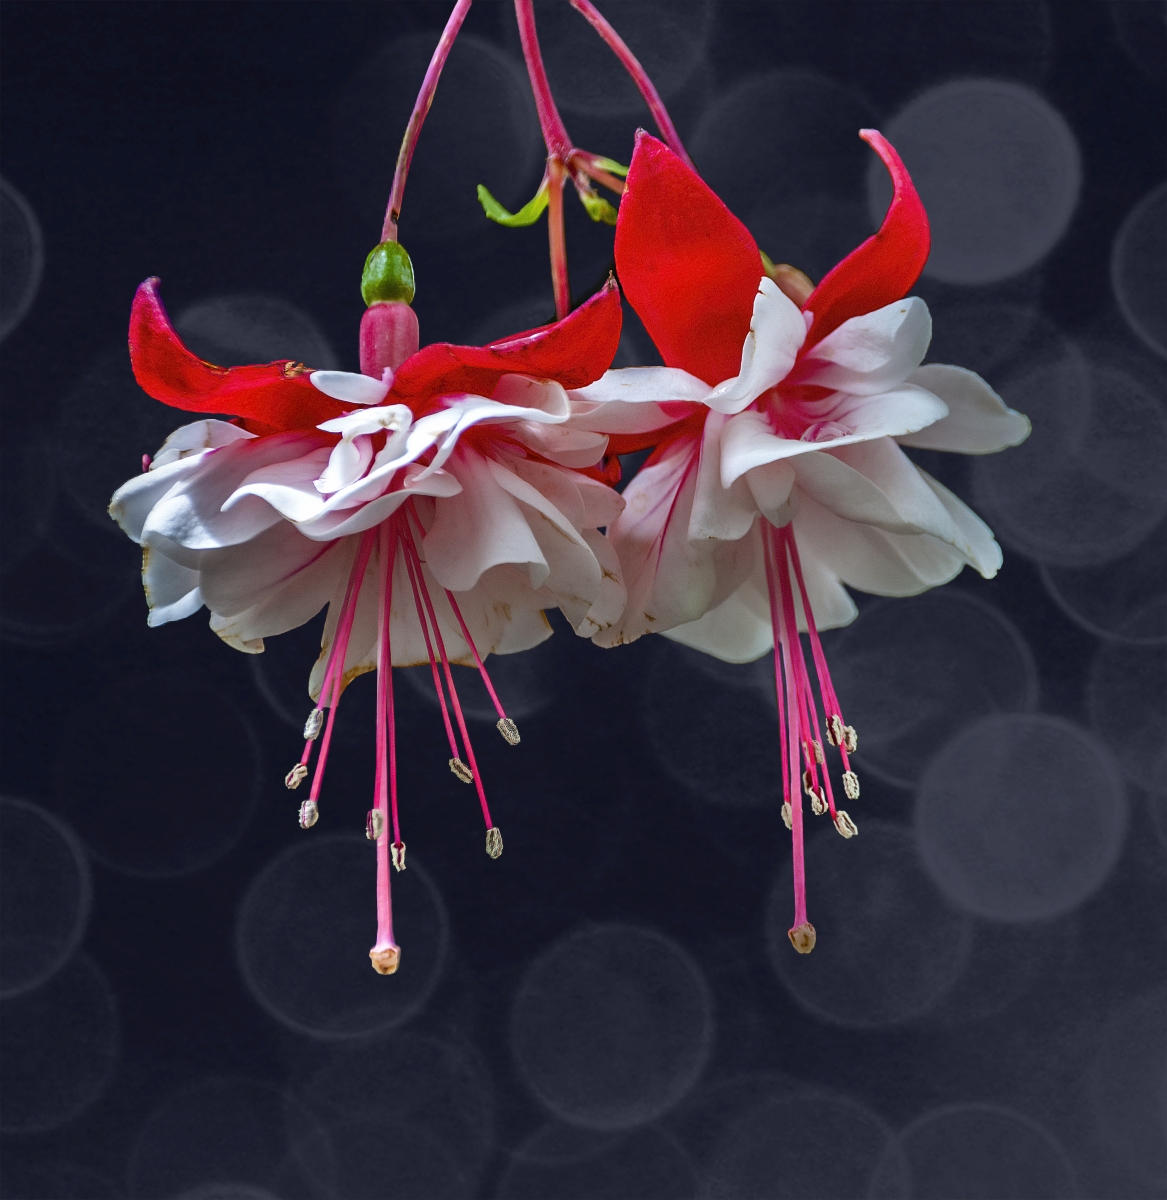
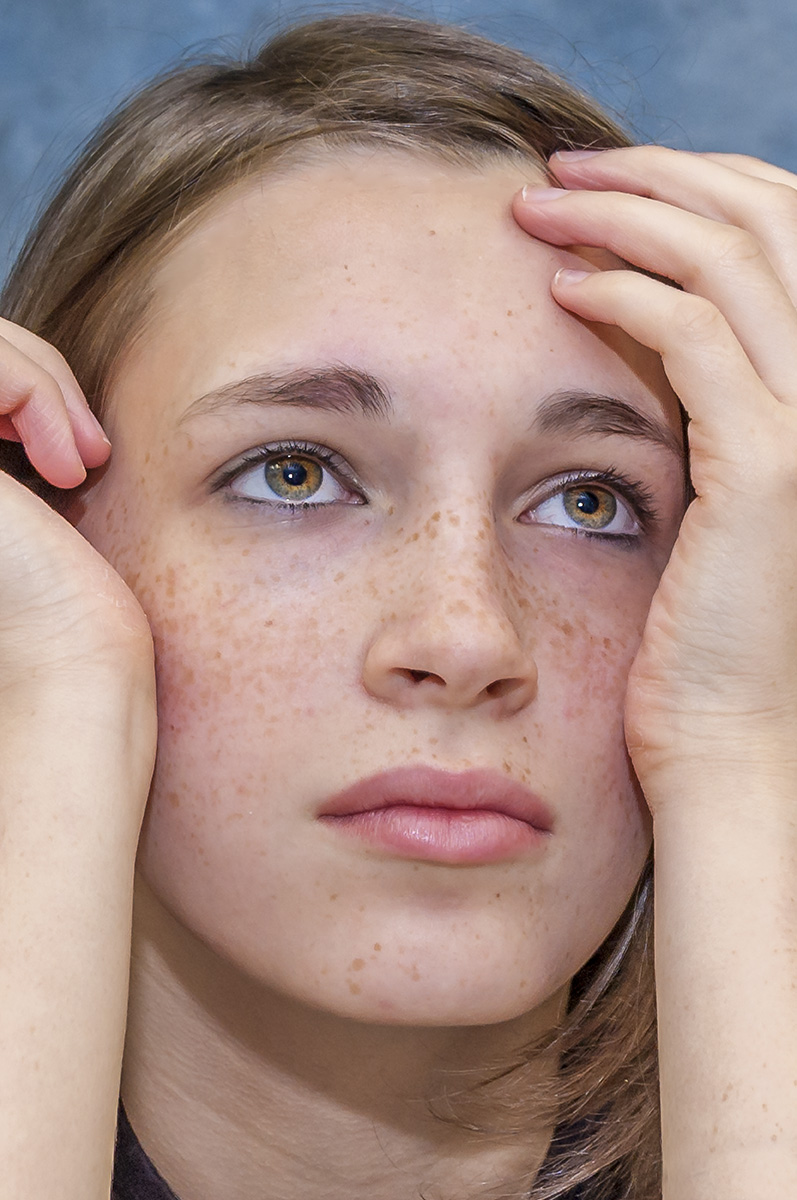
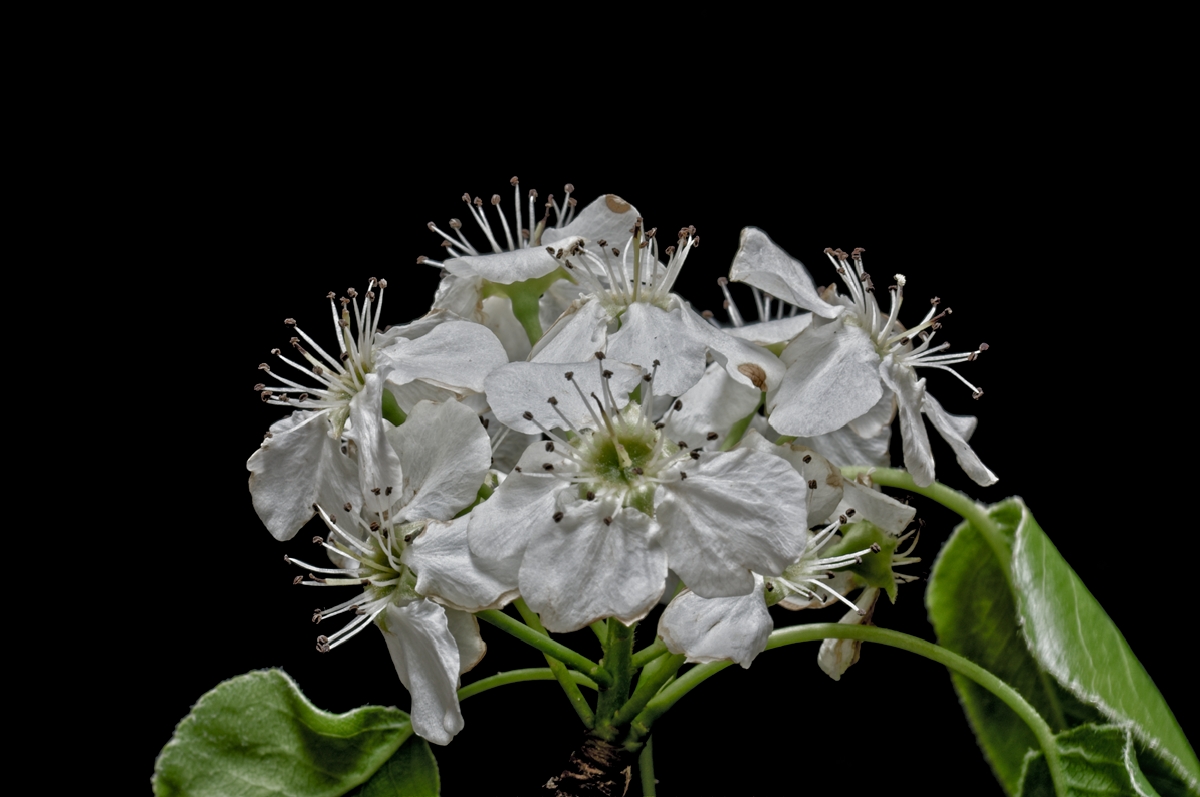
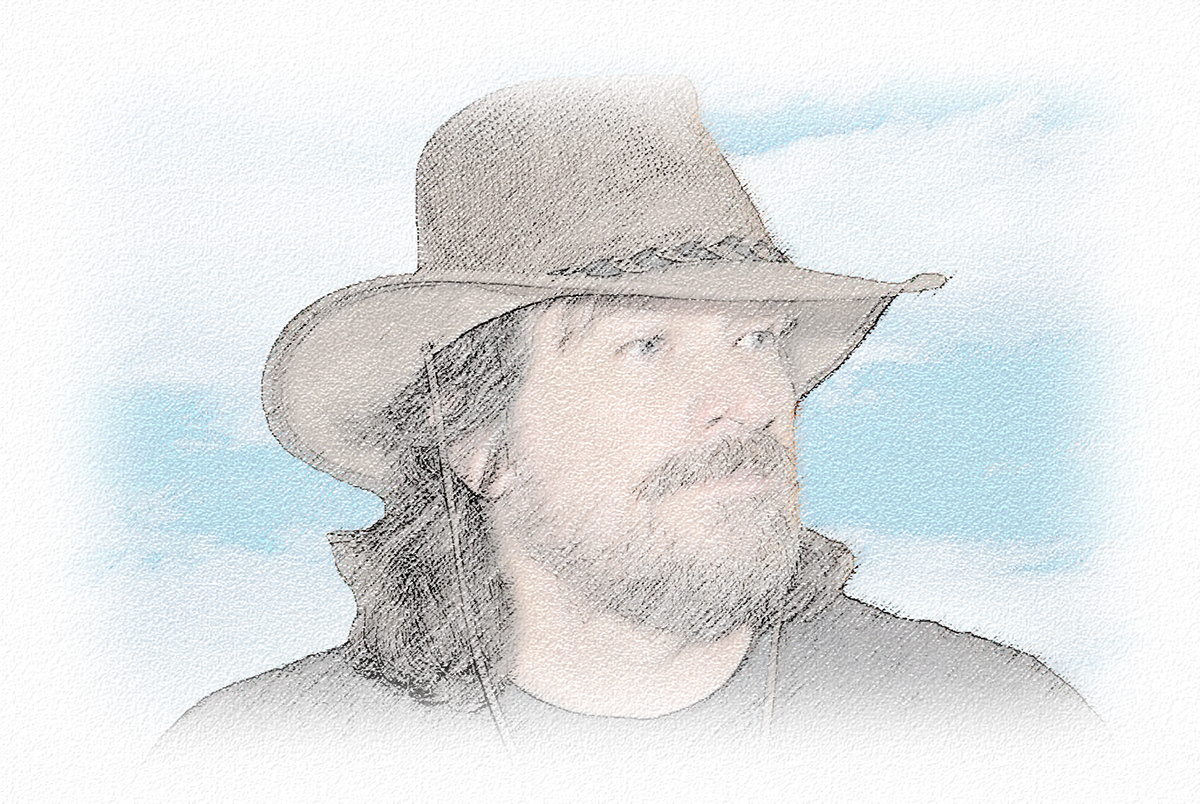
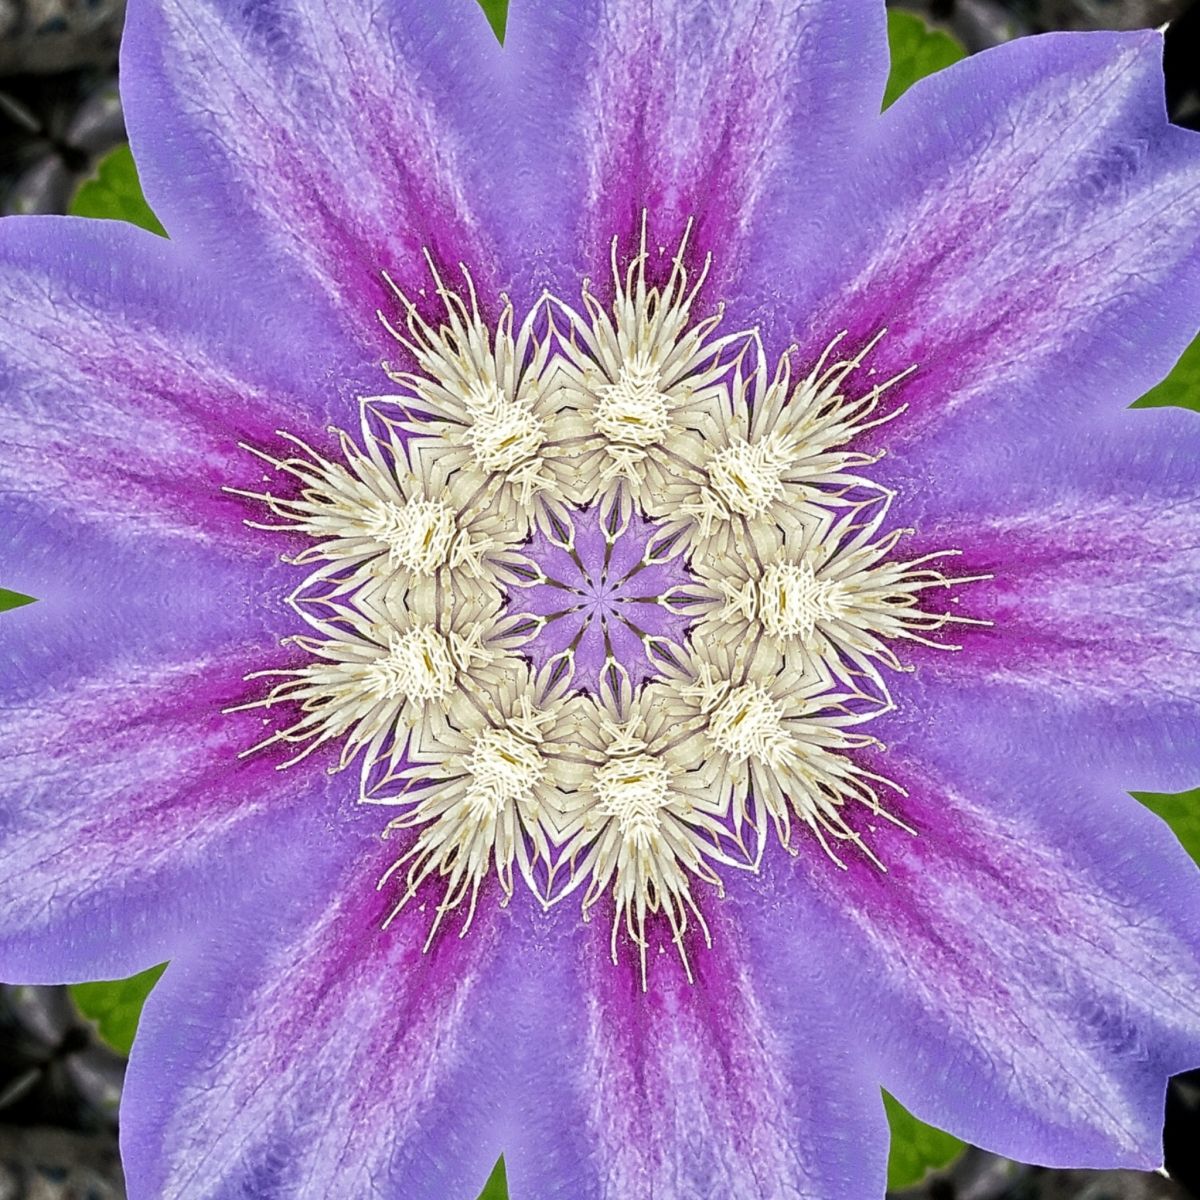
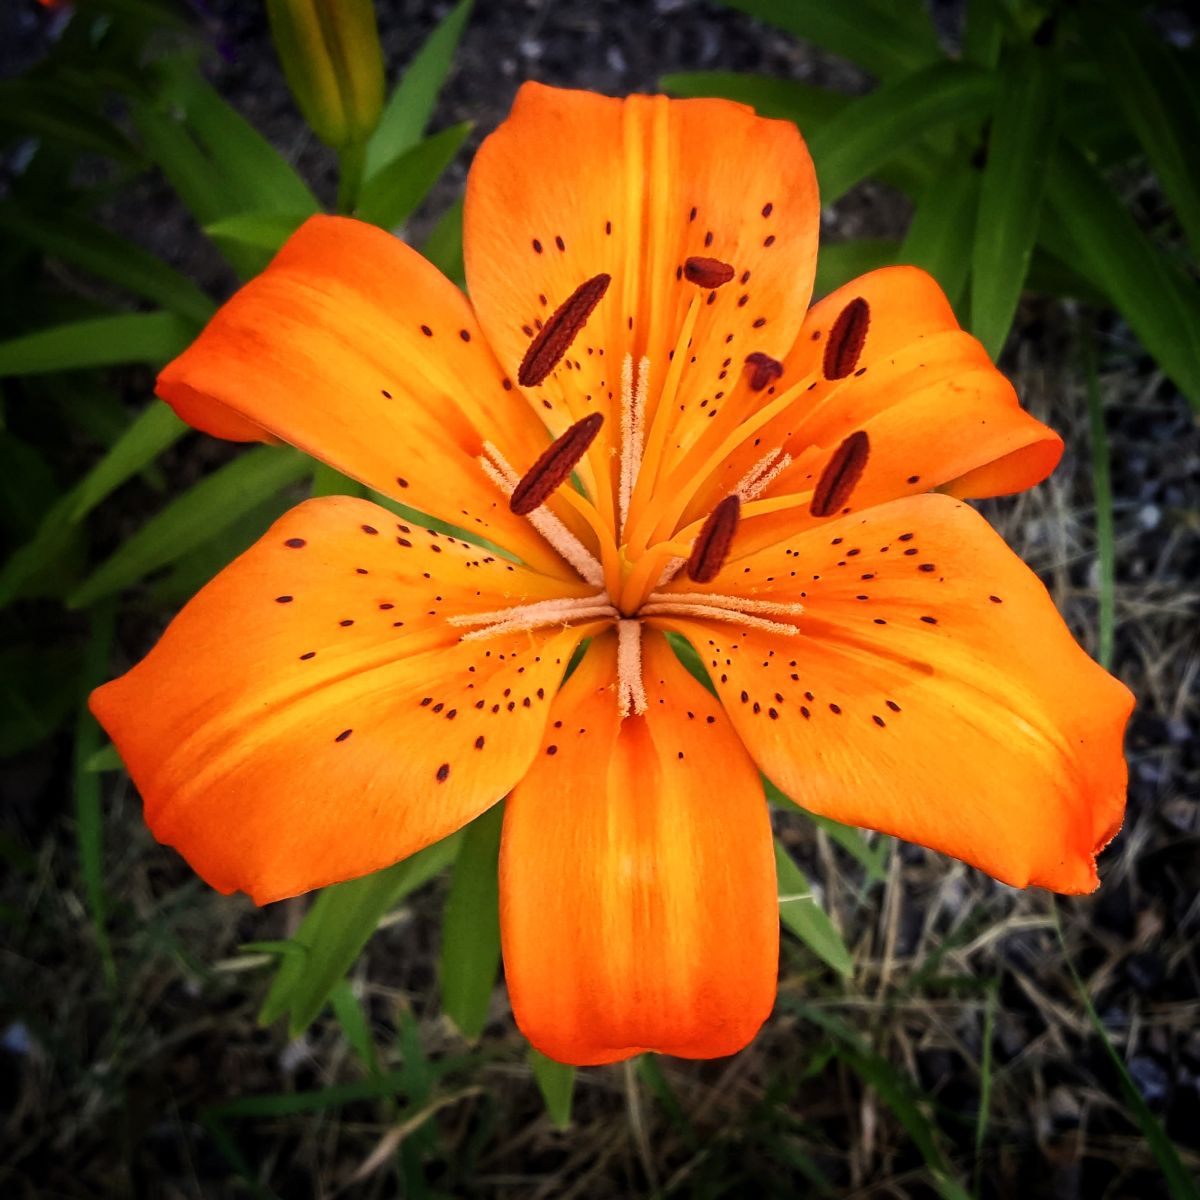
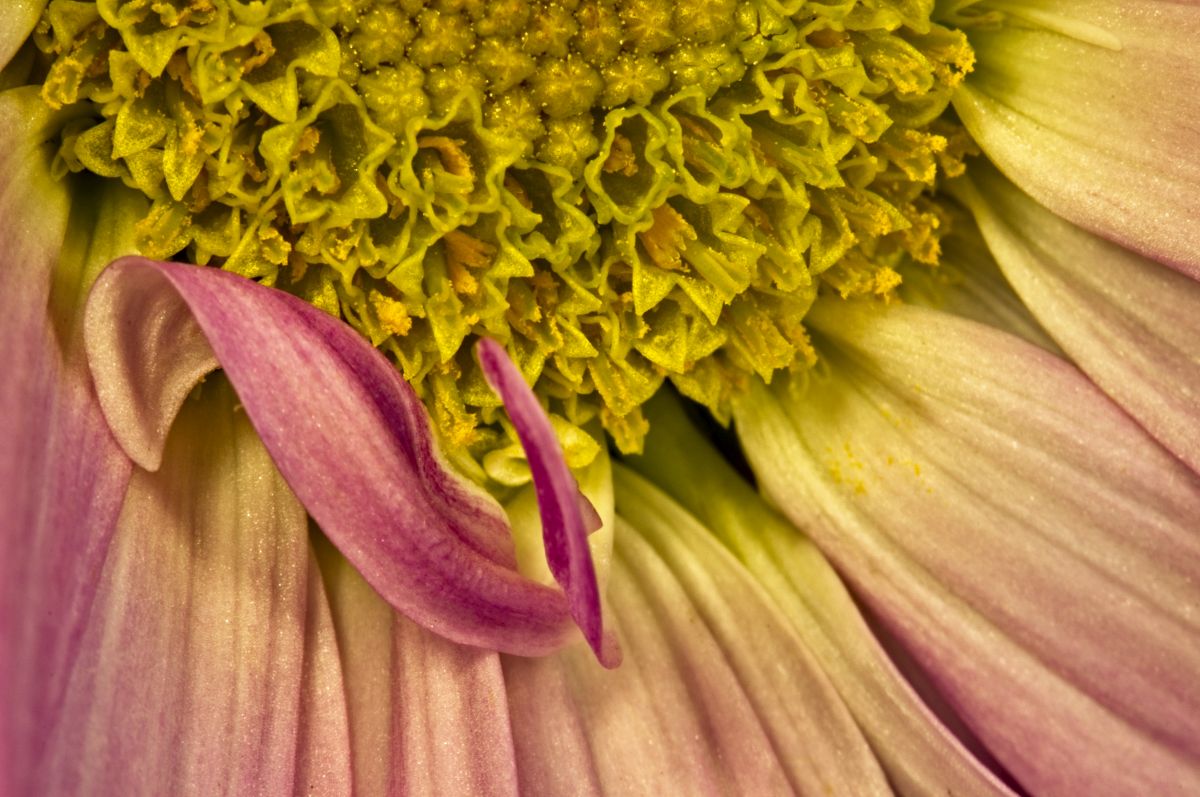
I particularly like your environmental portrait. Like Lance, my only issue is the cut-off flower on the right. Here's what your image looks like without it: |
Oct 19th |
 |
| 24 |
Oct 22 |
Comment |
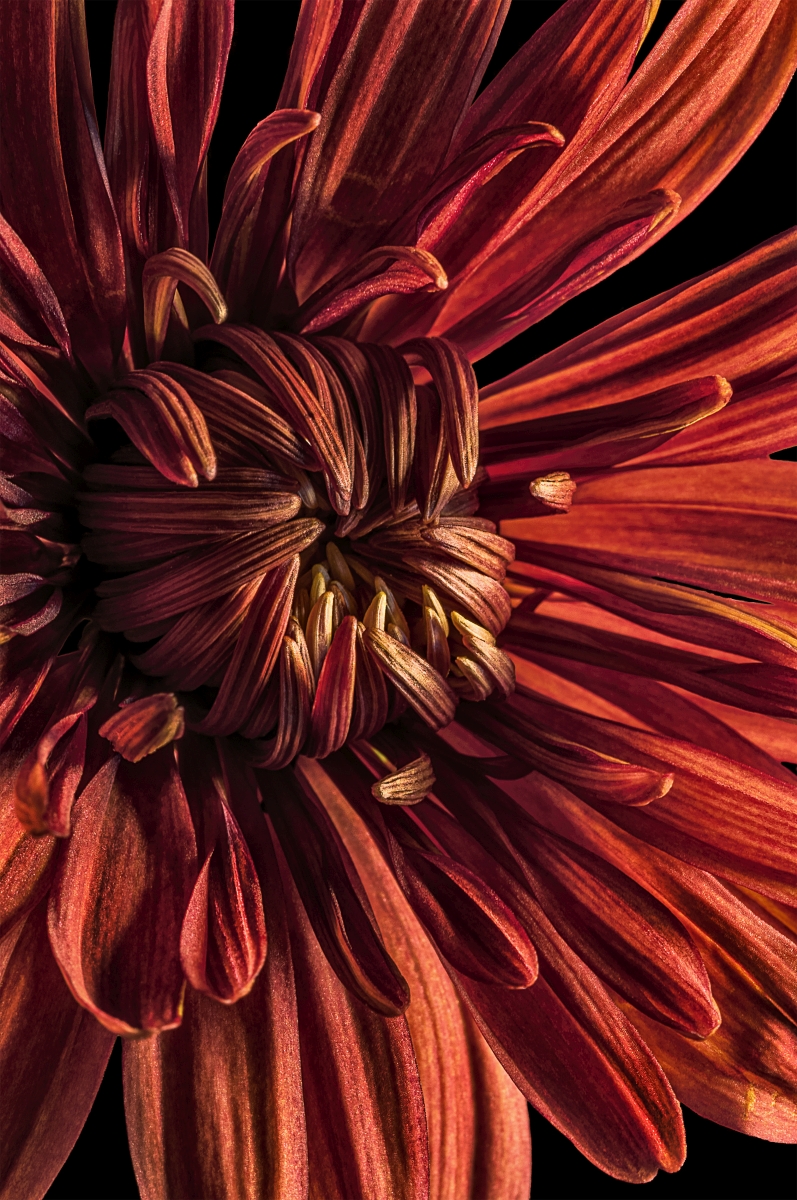
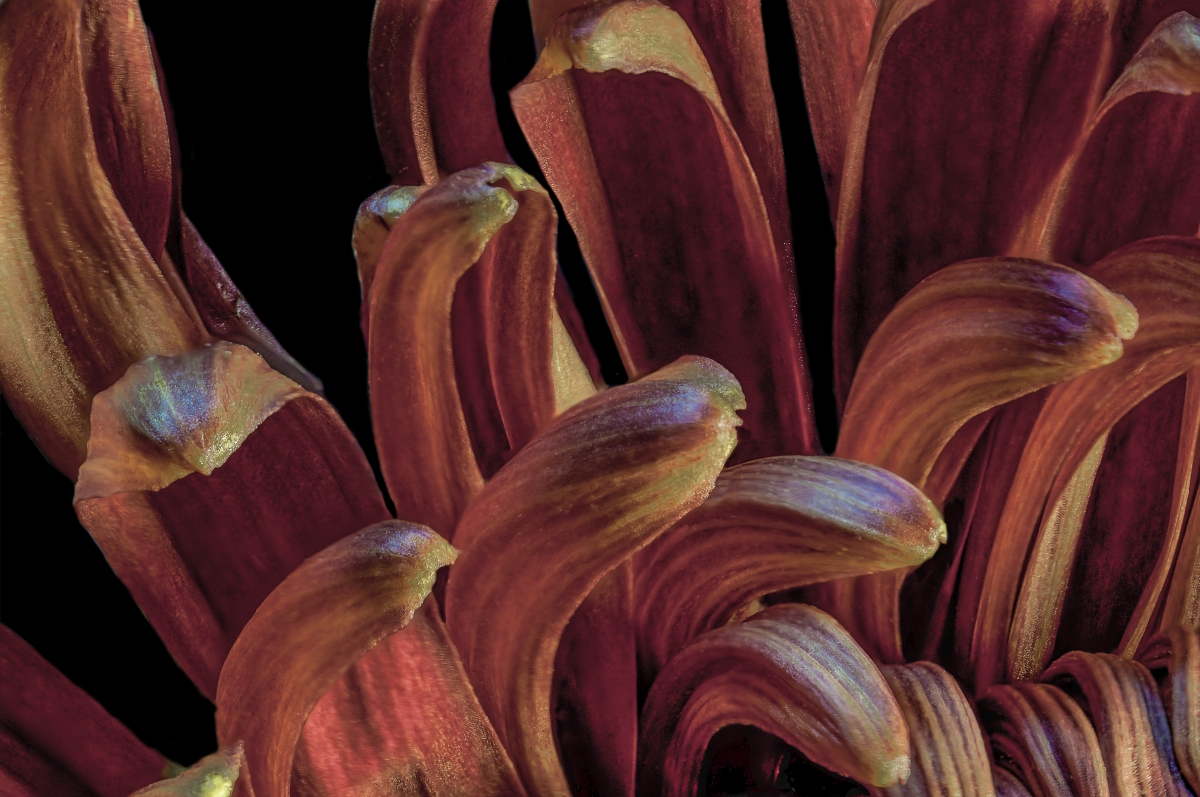
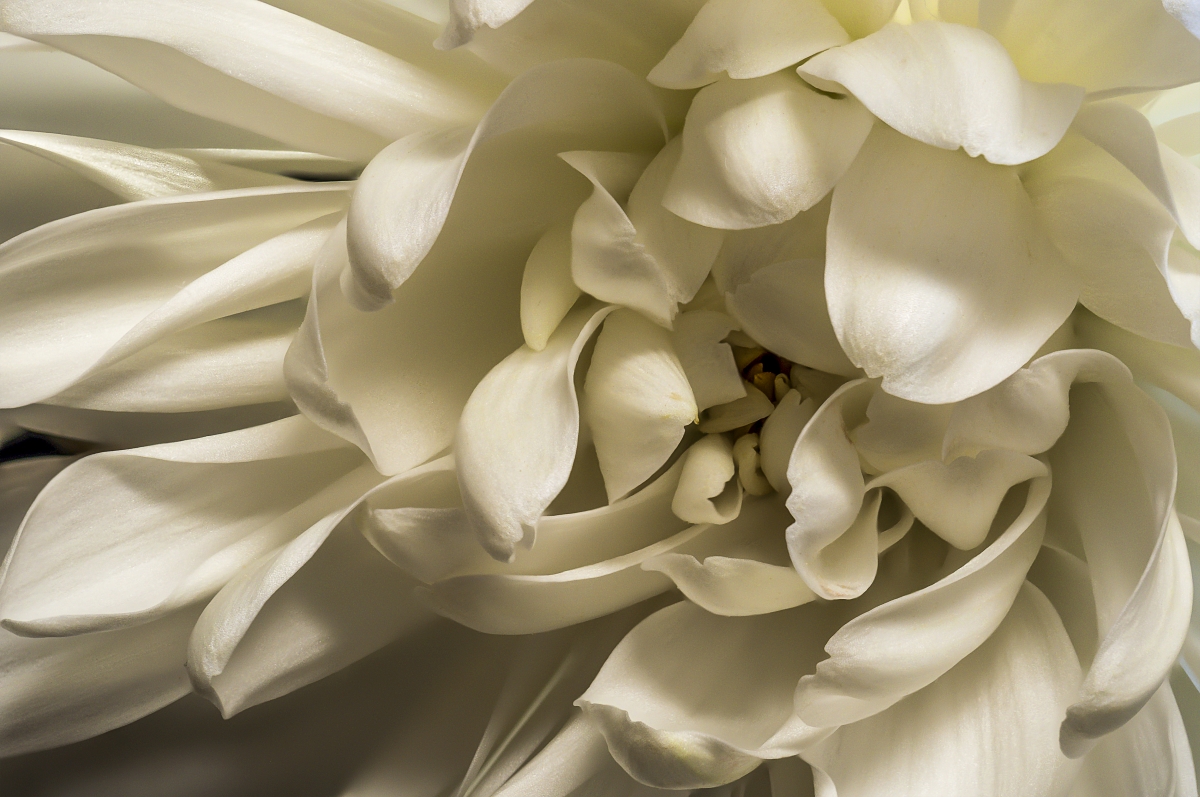
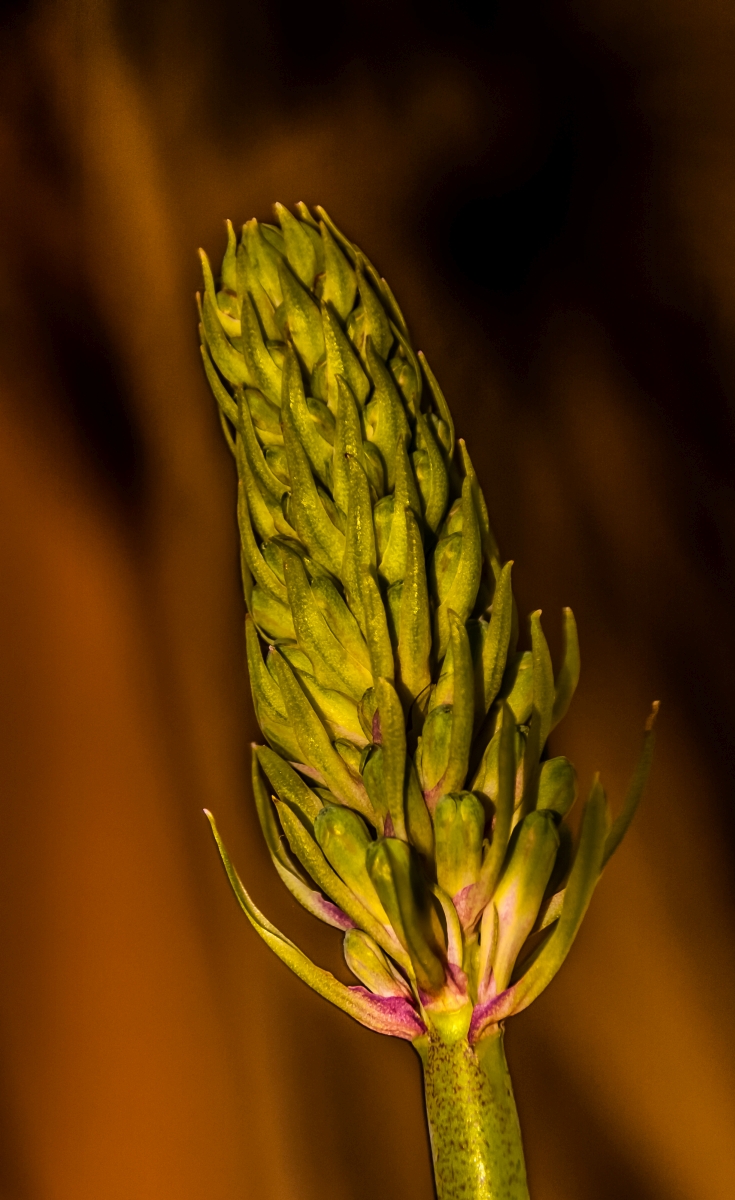
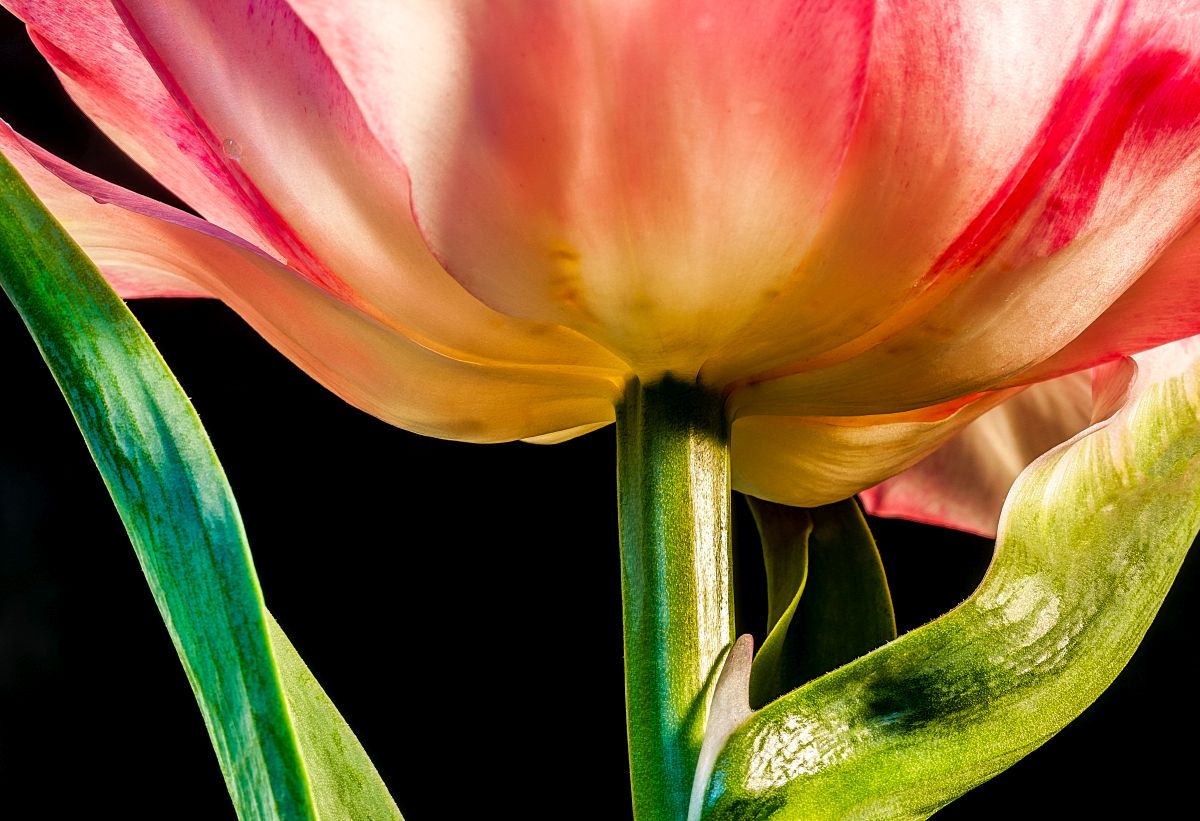
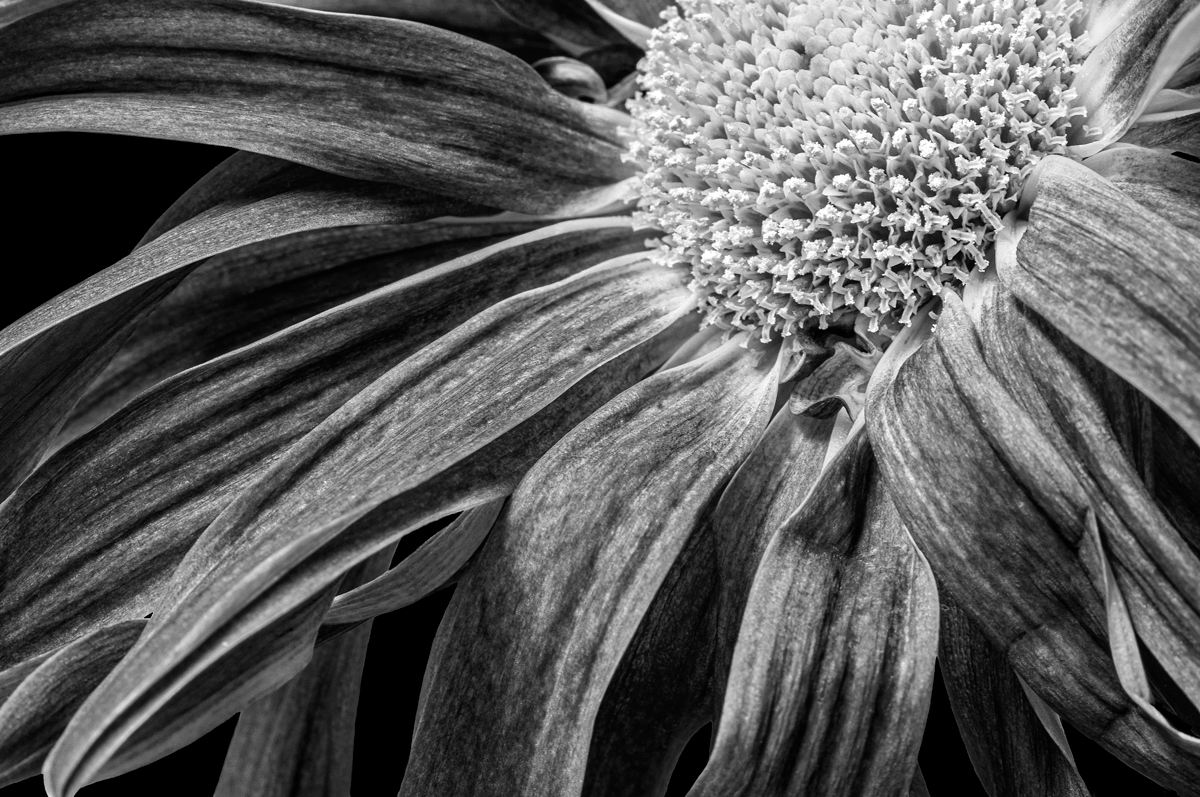
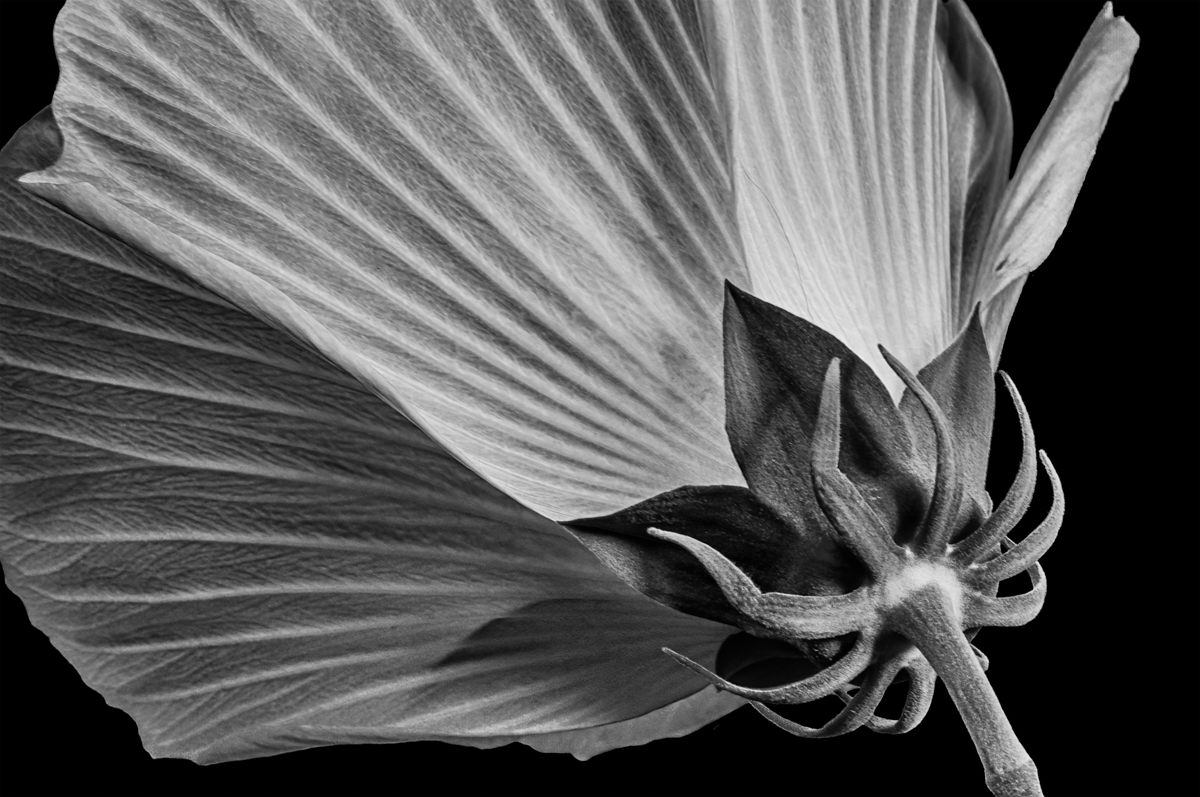
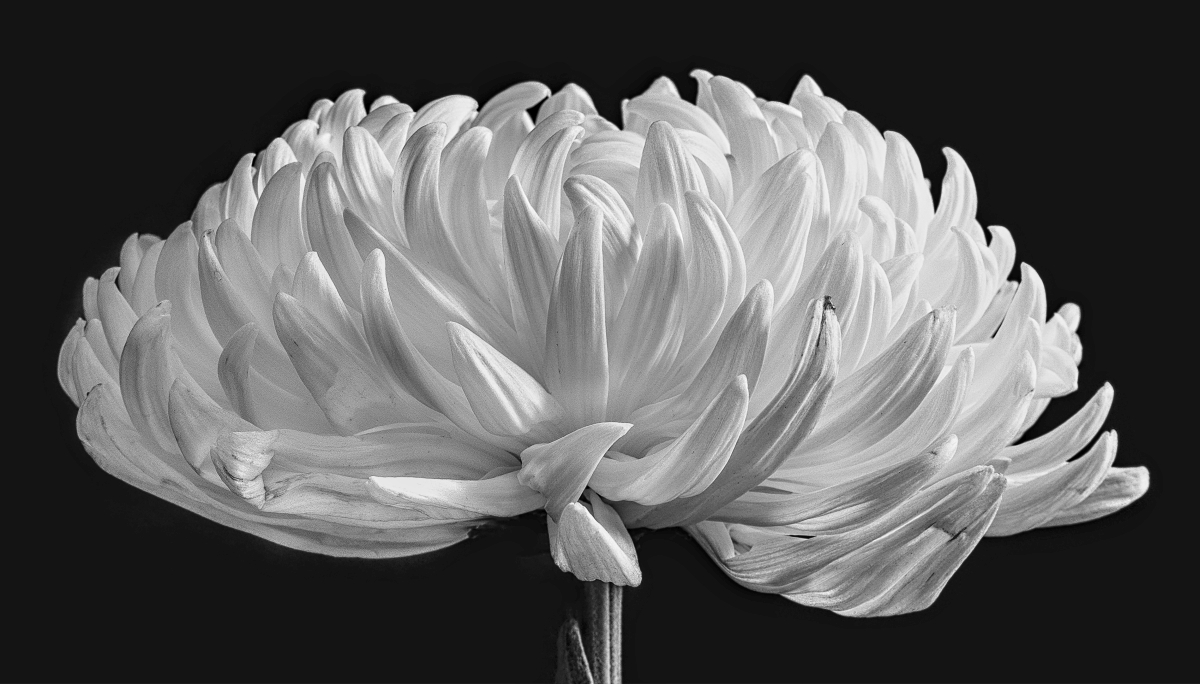
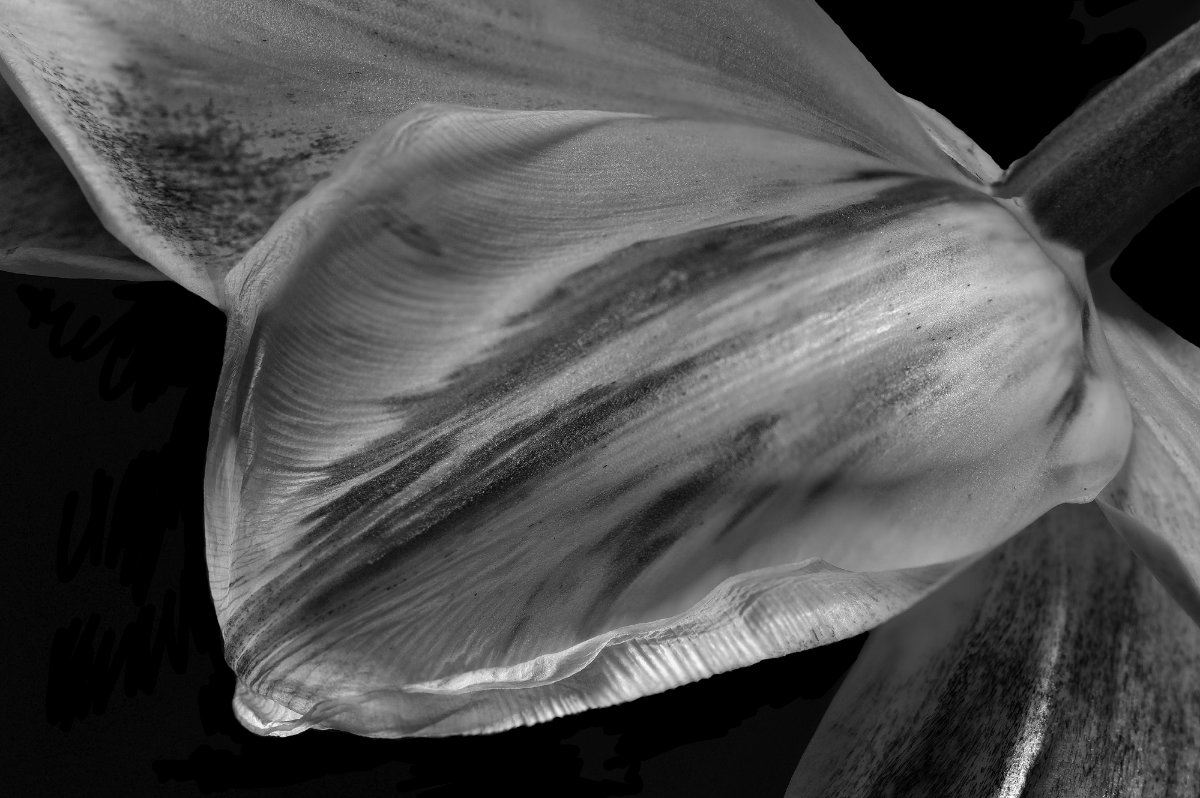
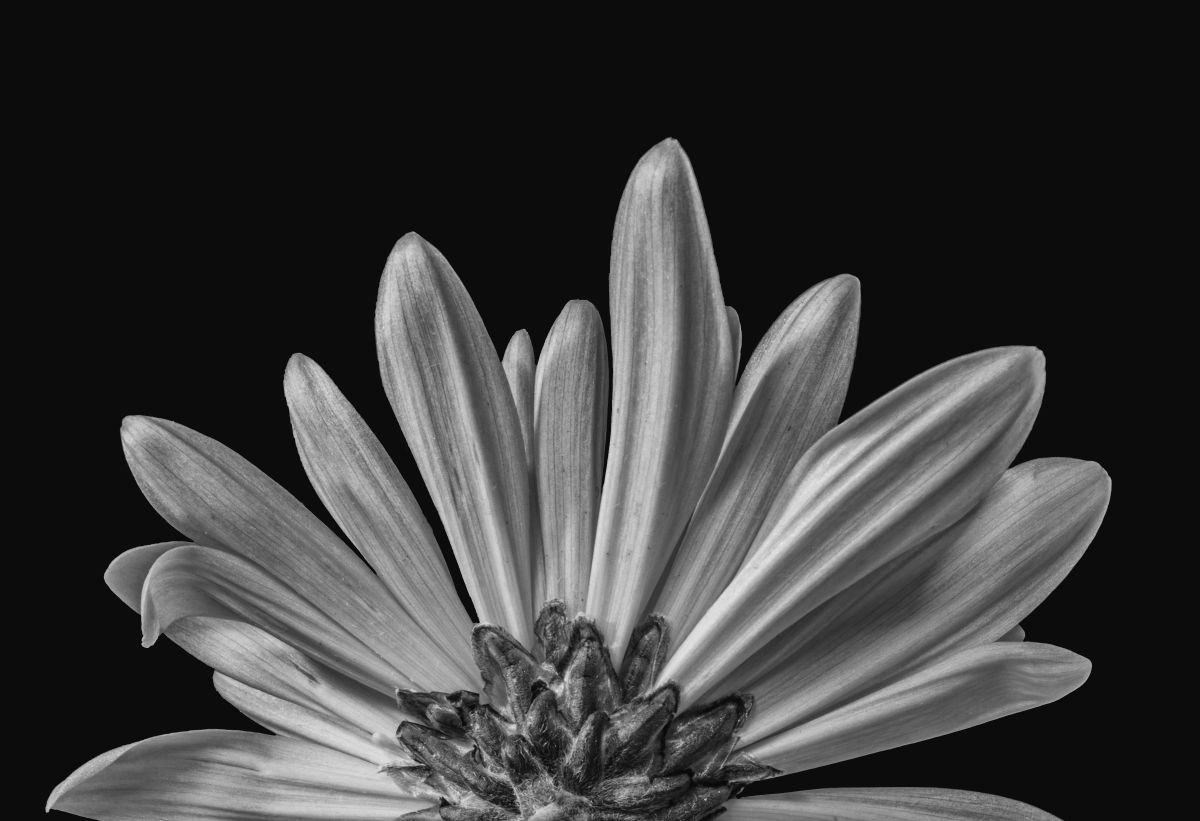
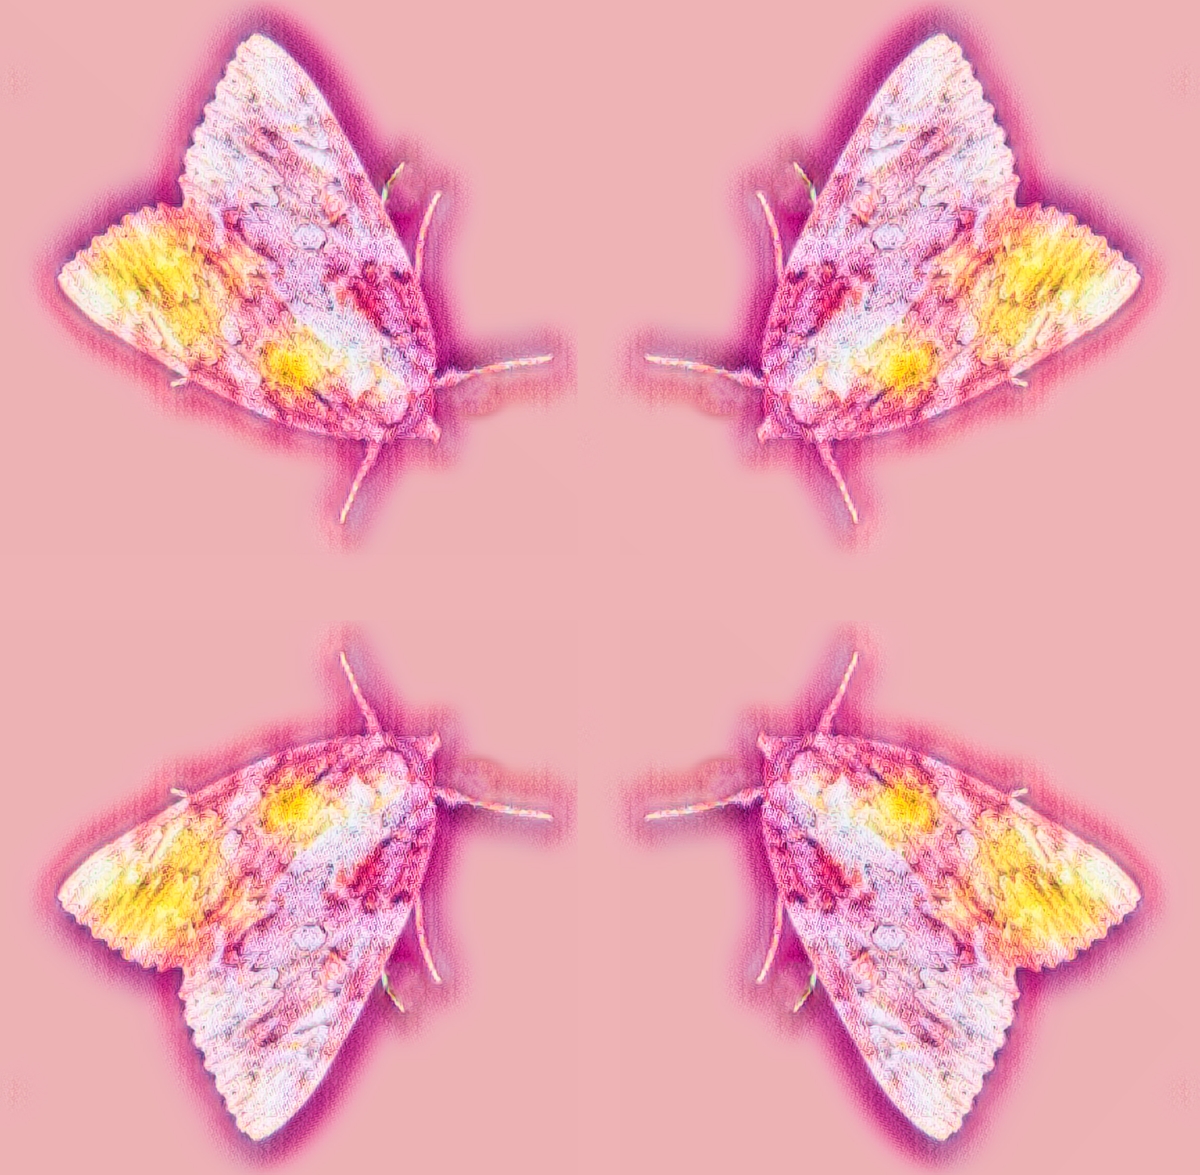
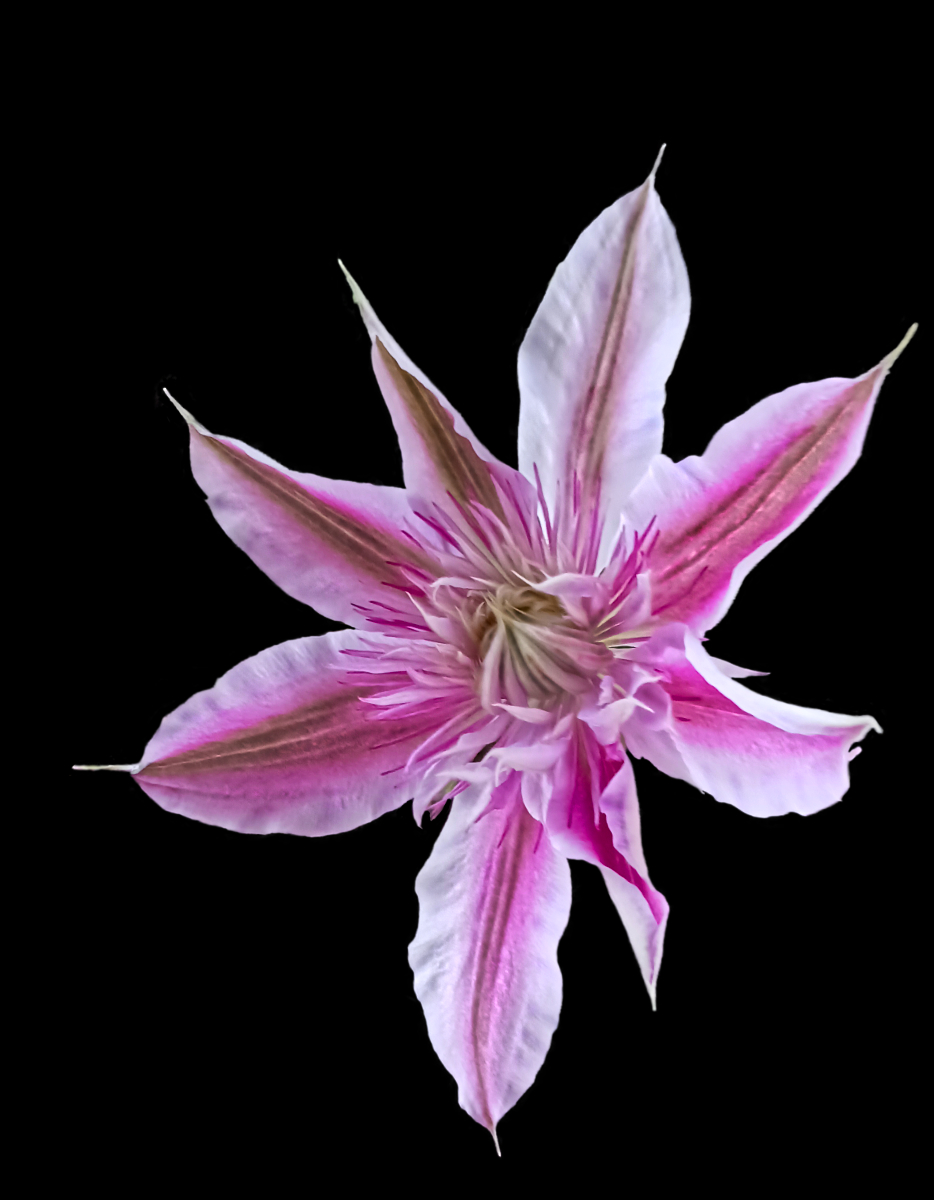
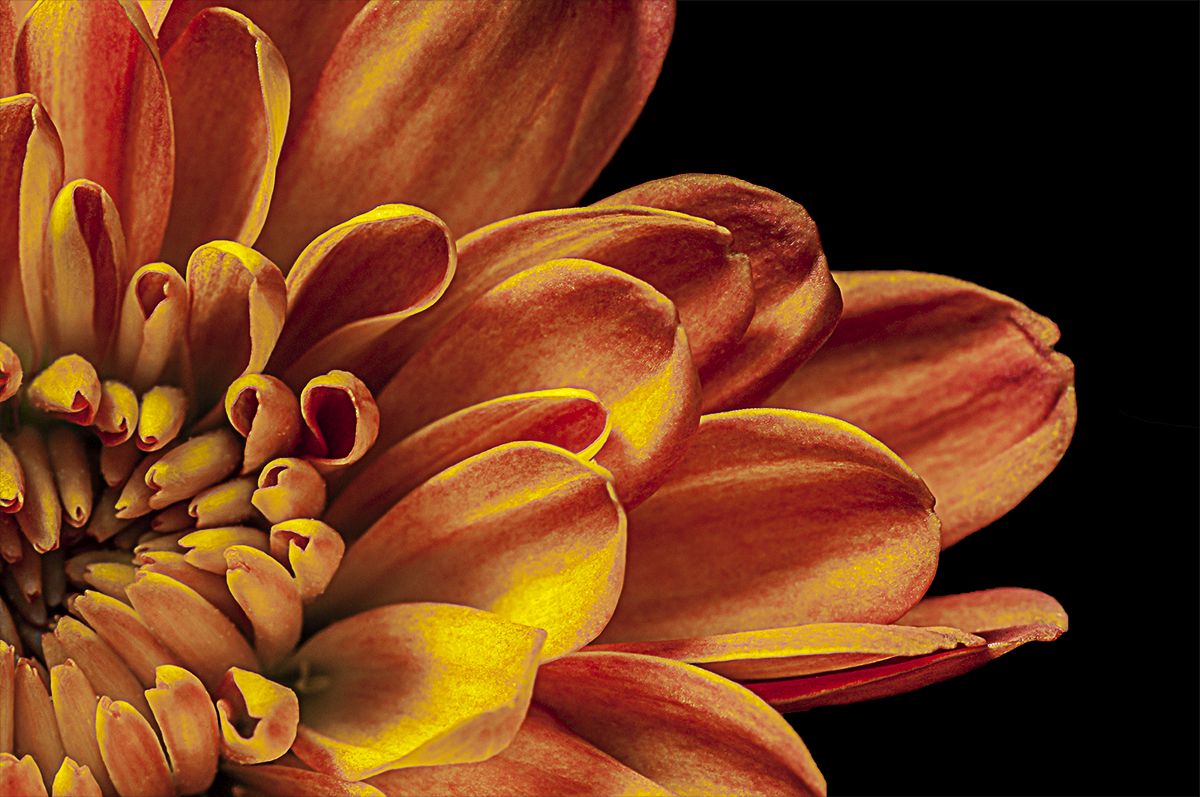
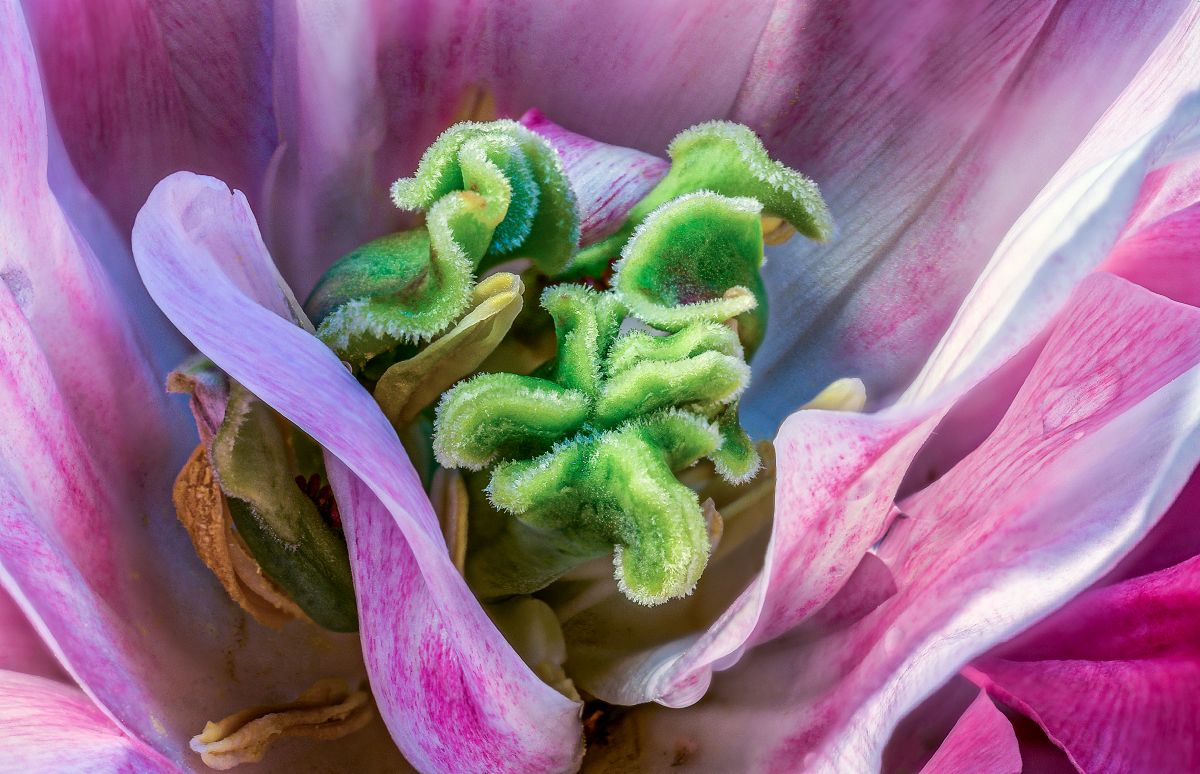
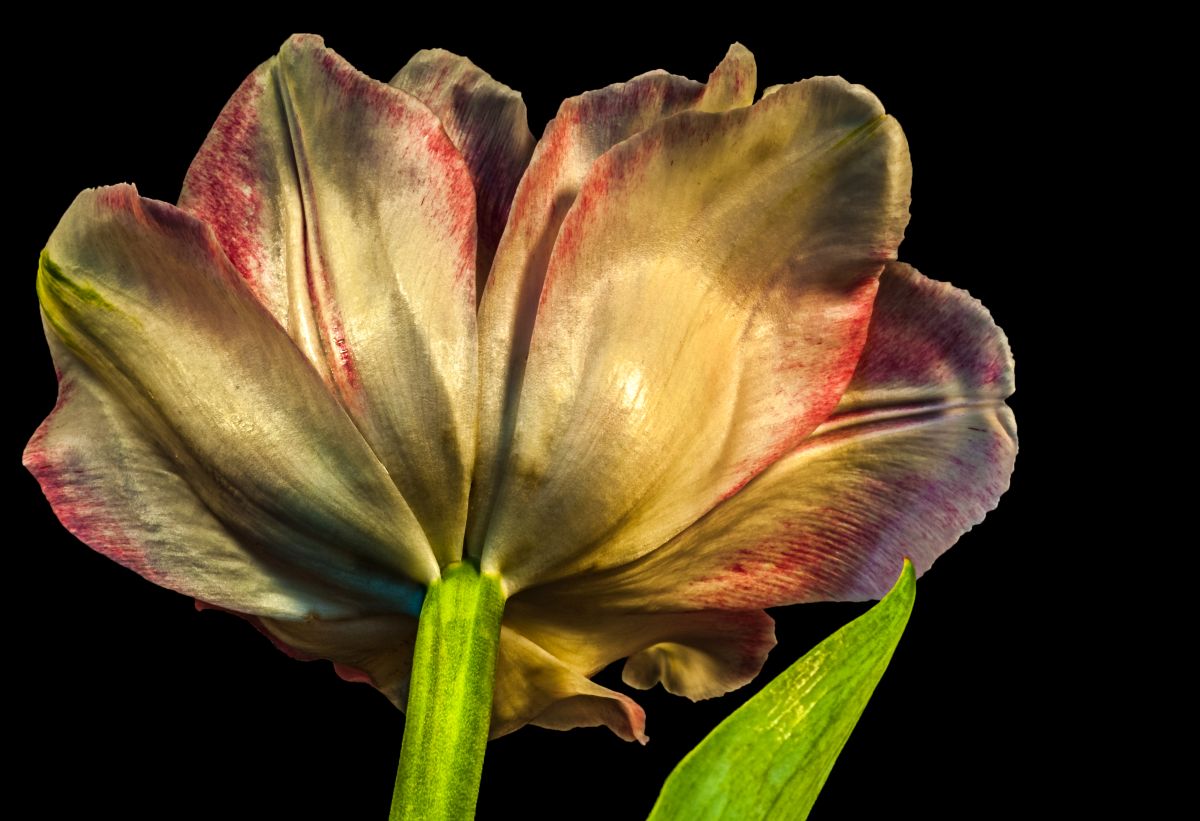
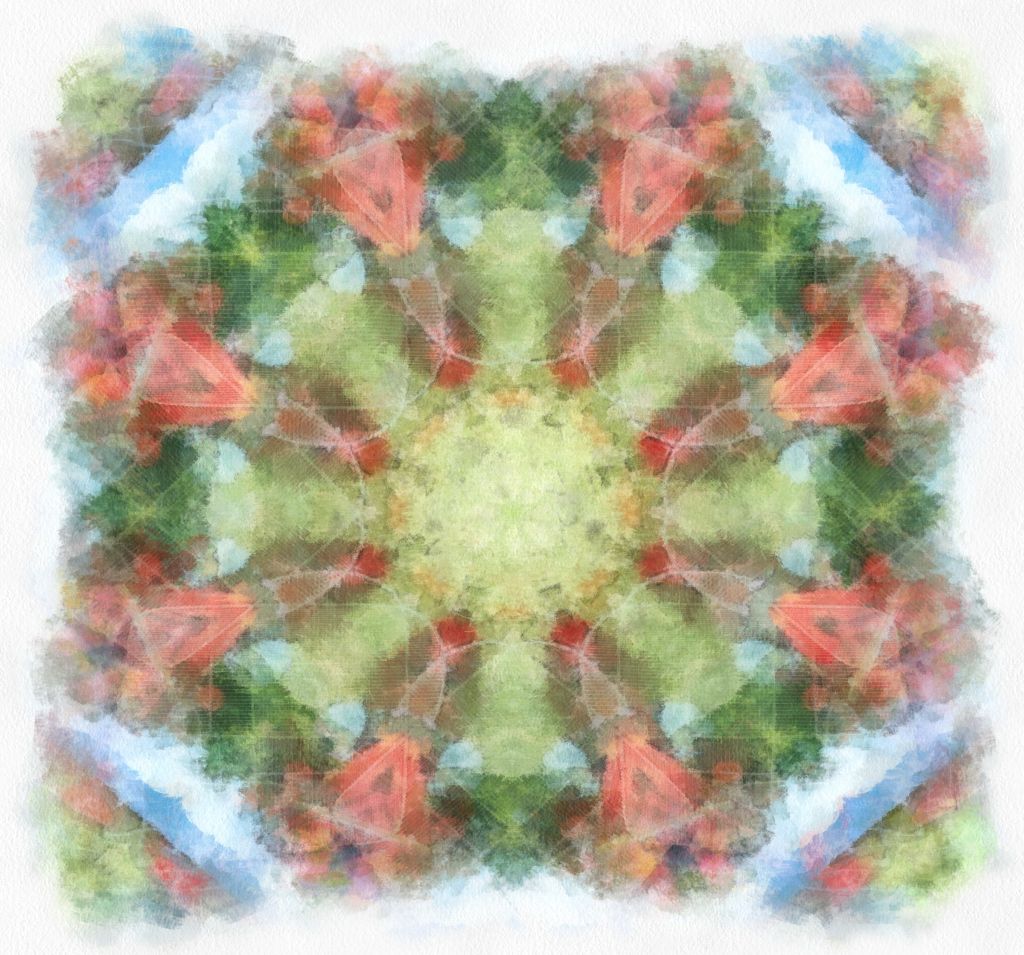
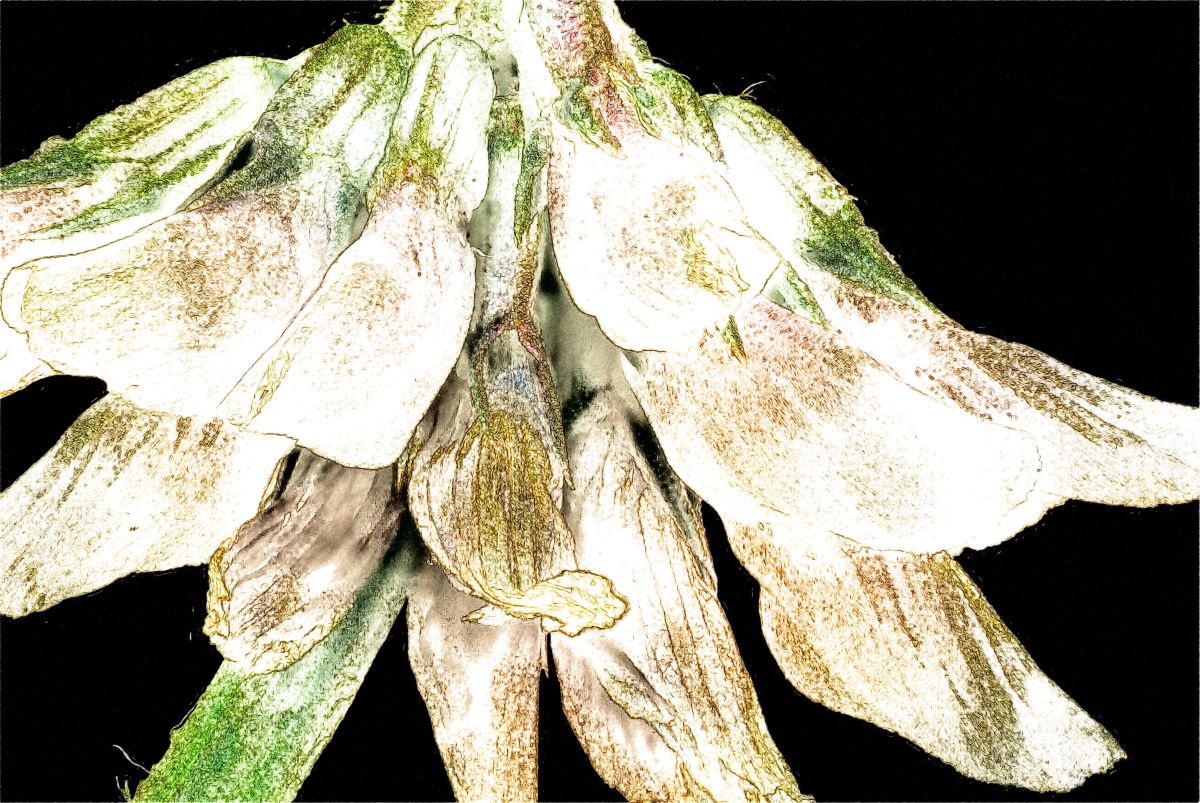
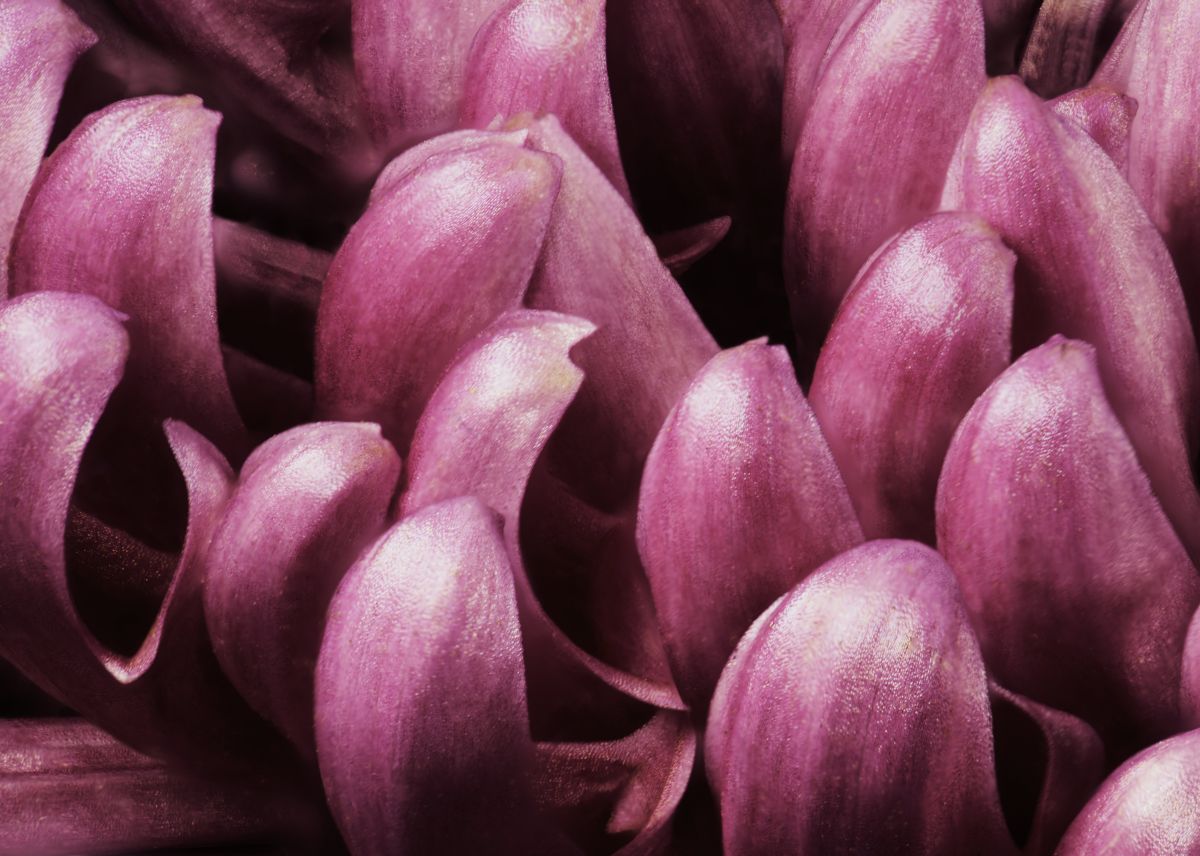
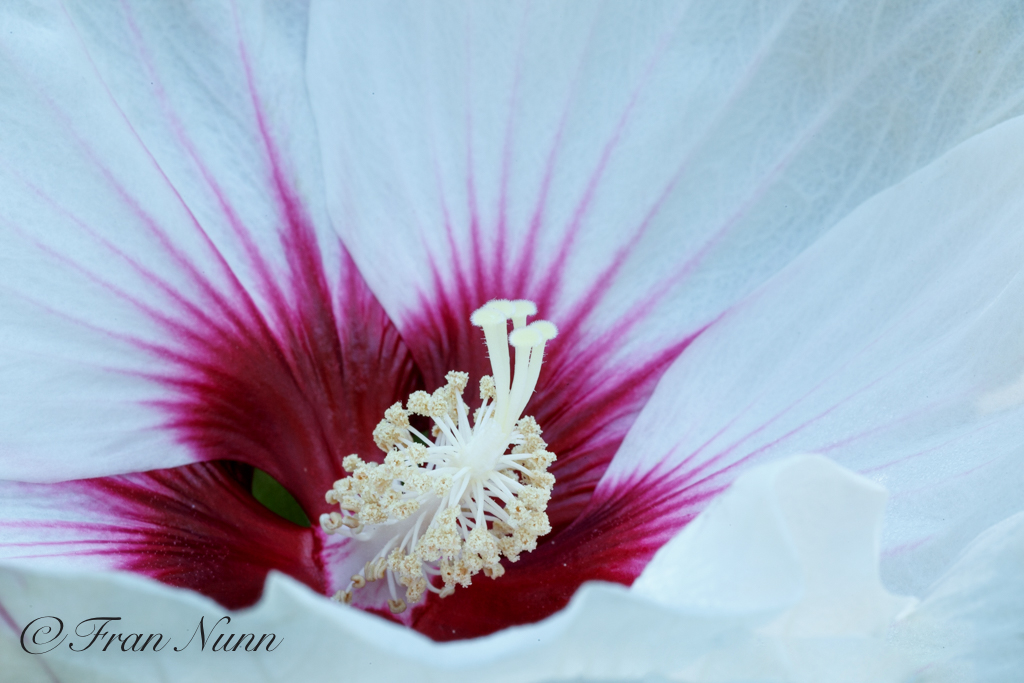
I've never experimented with a Lensbaby. Frankly, the idea is very intimidating, but I often find the results when people use one fascinating.
I really like how you breathed life into this dying flower. For me, the background was a bit distracting, so I present a slightly different crop for your consideration: |
Oct 19th |
 |
| 24 |
Oct 22 |
Reply |
Thank you, Lynne. I simply didn't take the time with this image to bring out all it could be. |
Oct 19th |
| 24 |
Oct 22 |
Reply |
I like that you brought out more dimensionality with your mid-tone adjustment. I should have taken the time to dodge and burn some as well.
I will certainly consider a different crop. |
Oct 19th |
| 24 |
Oct 22 |
Reply |
Much appreciated, Pinaki! d:¬{D |
Oct 19th |
| 24 |
Oct 22 |
Reply |
I have the same video and found I had already used many of the techniques for texture creation, but his brushes were lovely.
I've not really used textures with my floral works, though I have changed skies from time to time. I will definitely have to consider employing subtle textures in the future. Thanks for the suggestion. |
Oct 19th |
| 24 |
Oct 22 |
Comment |
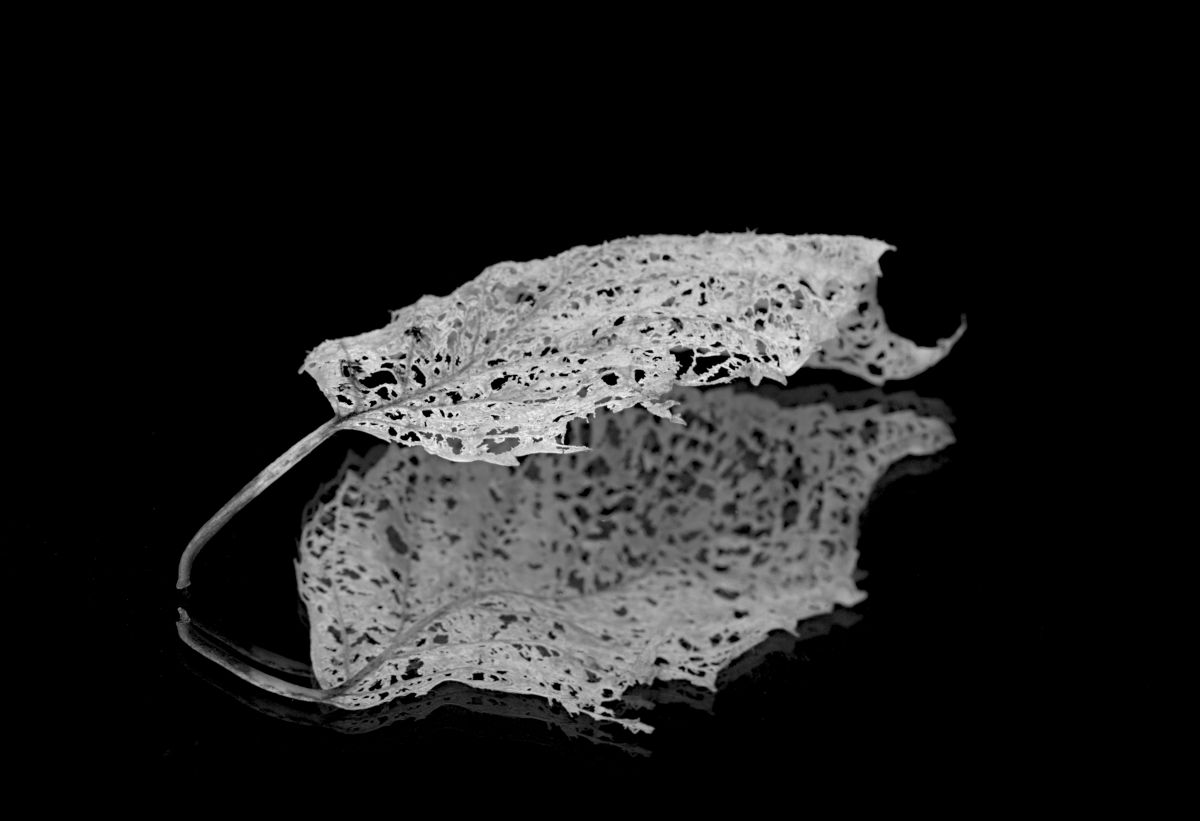
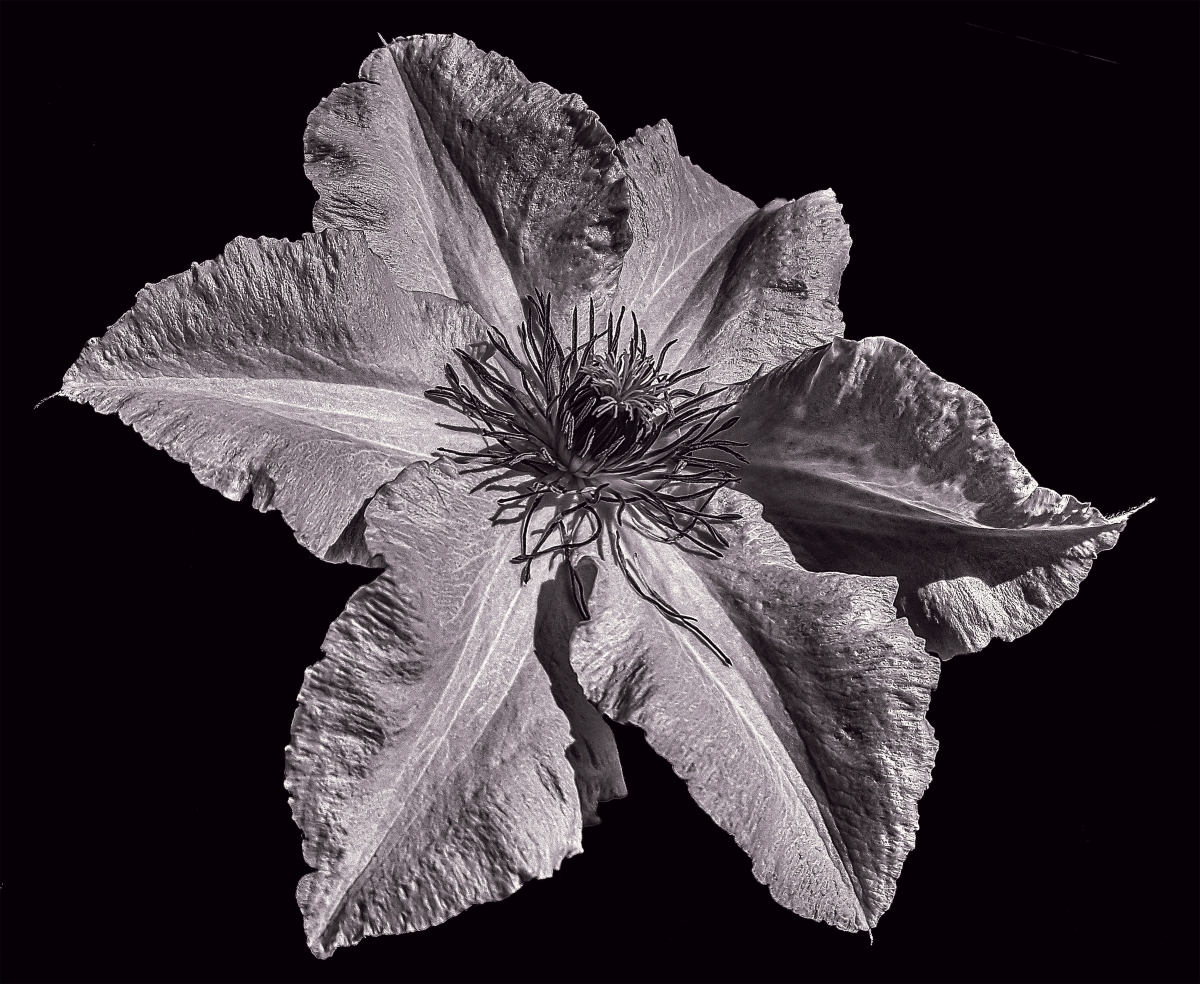
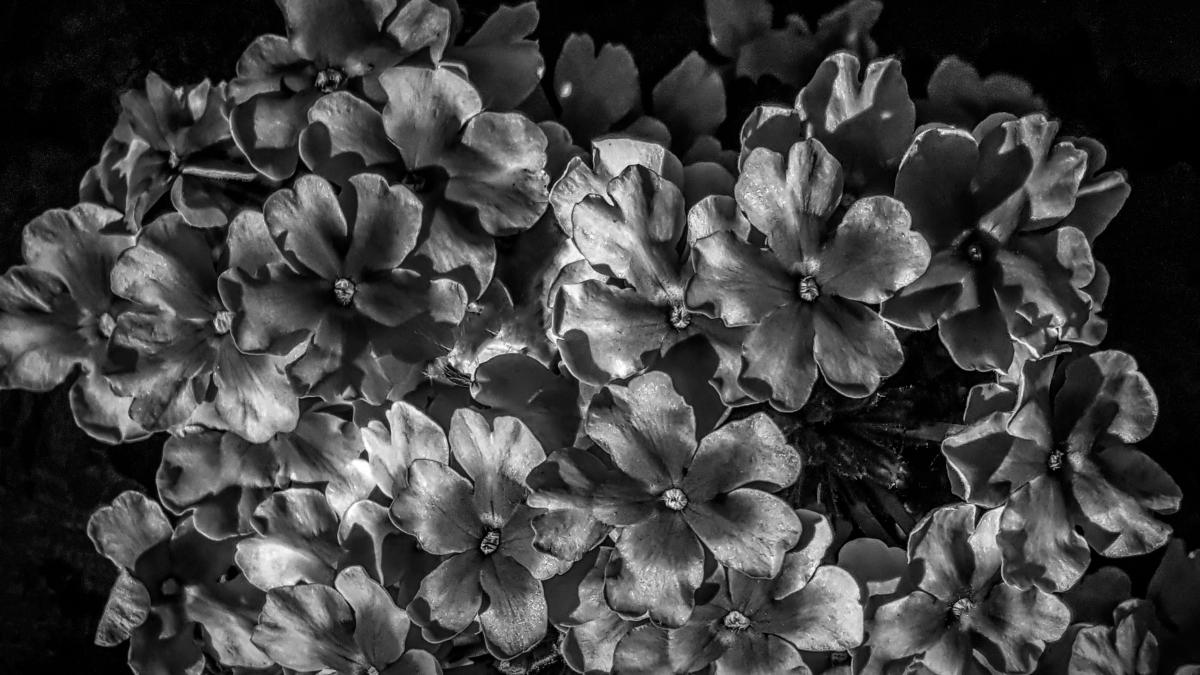
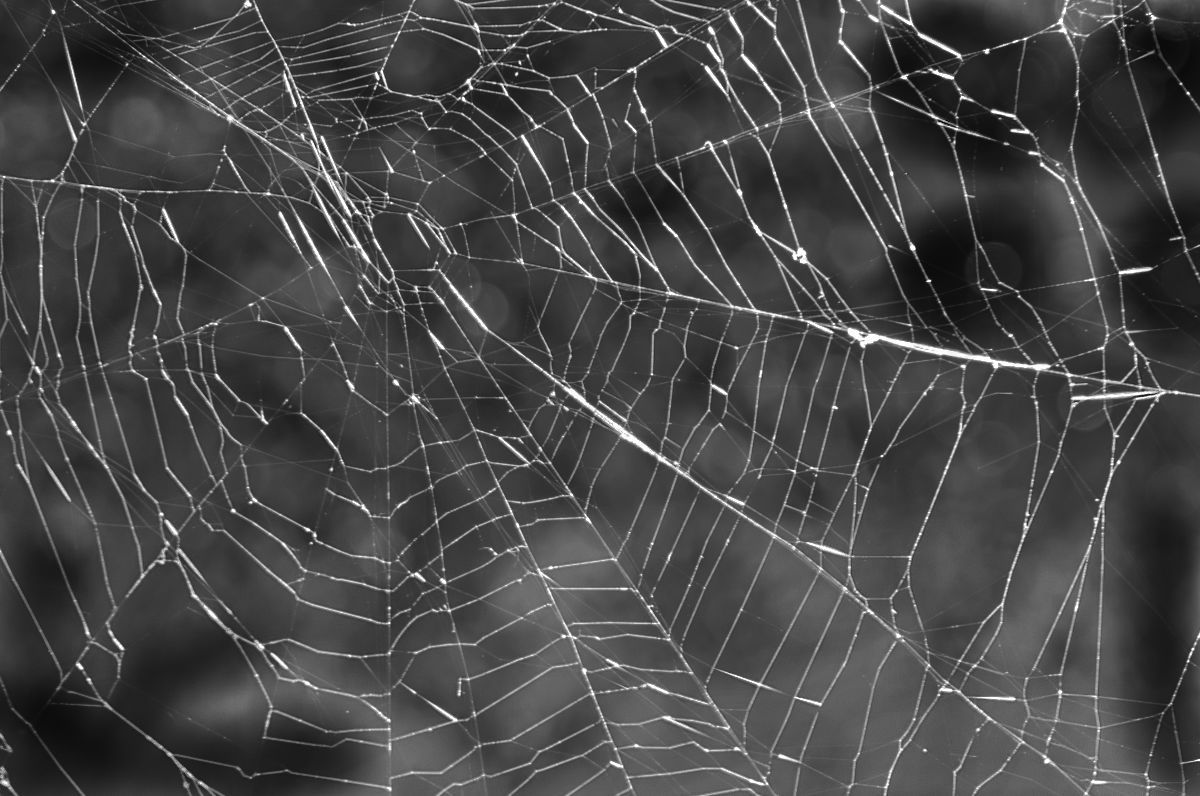
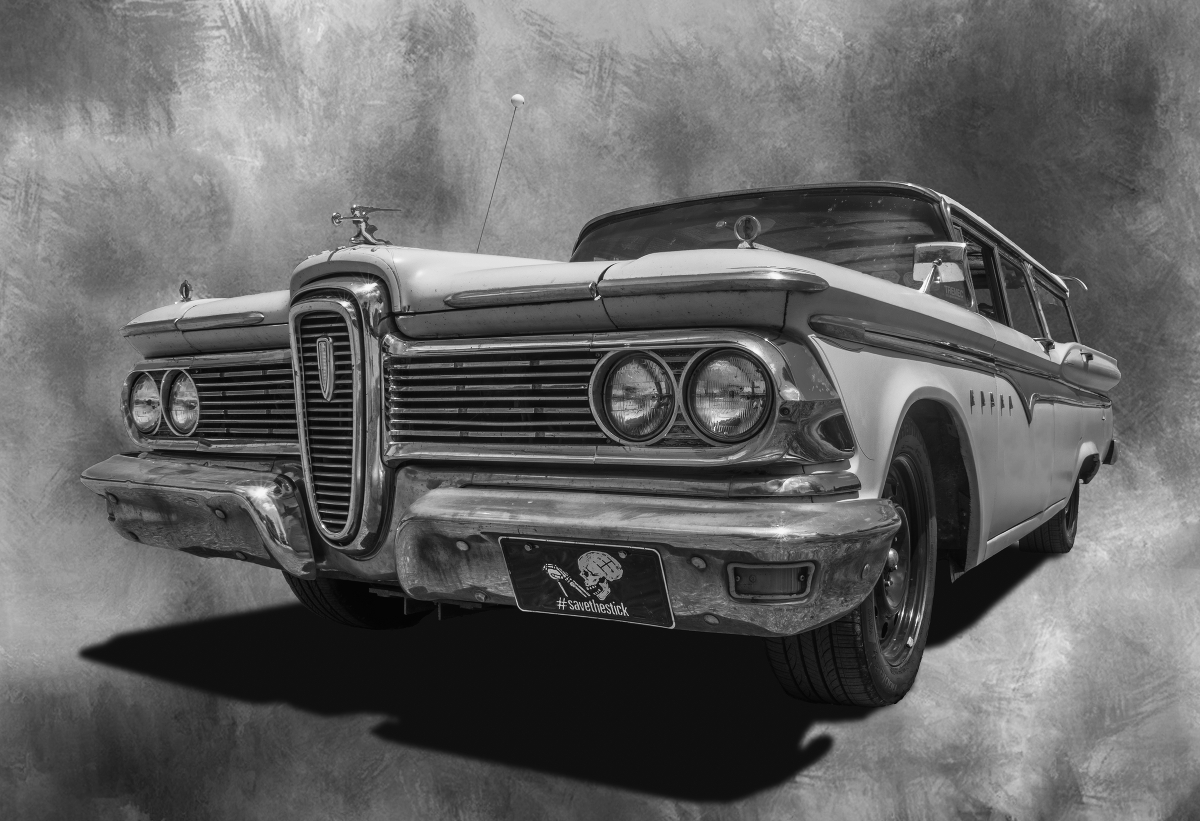
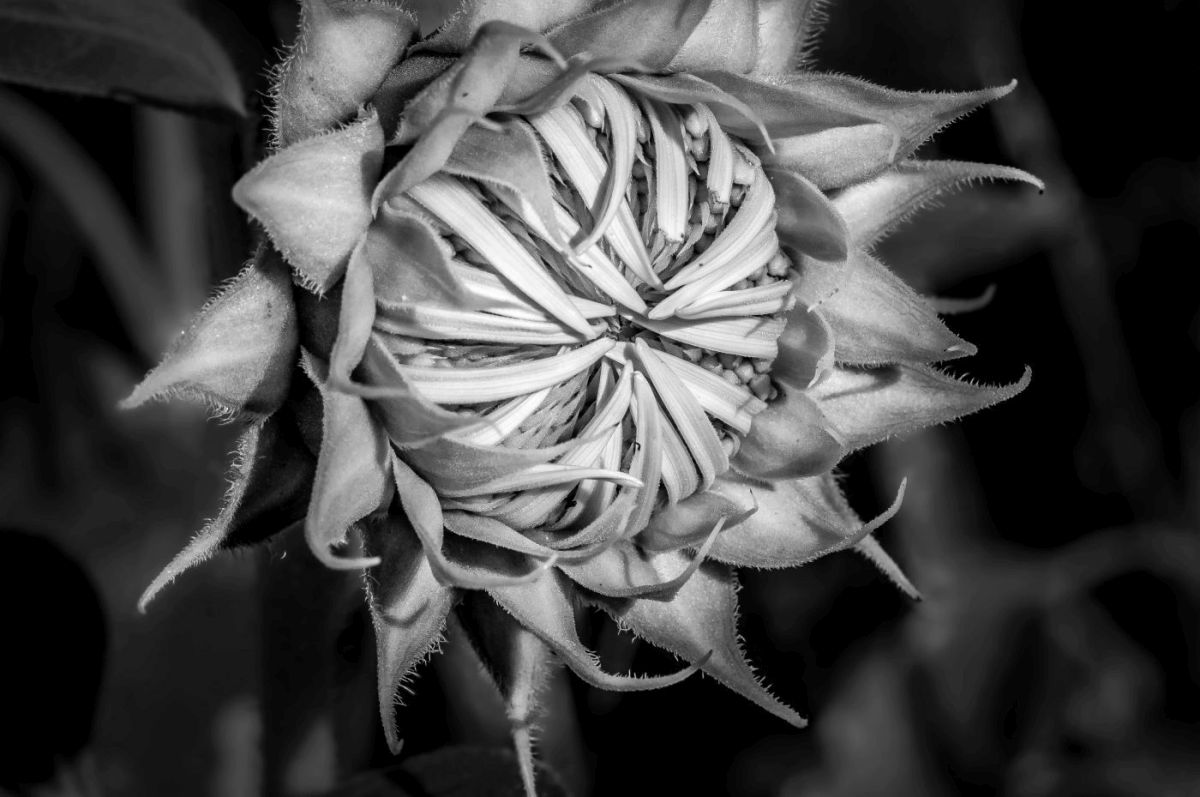
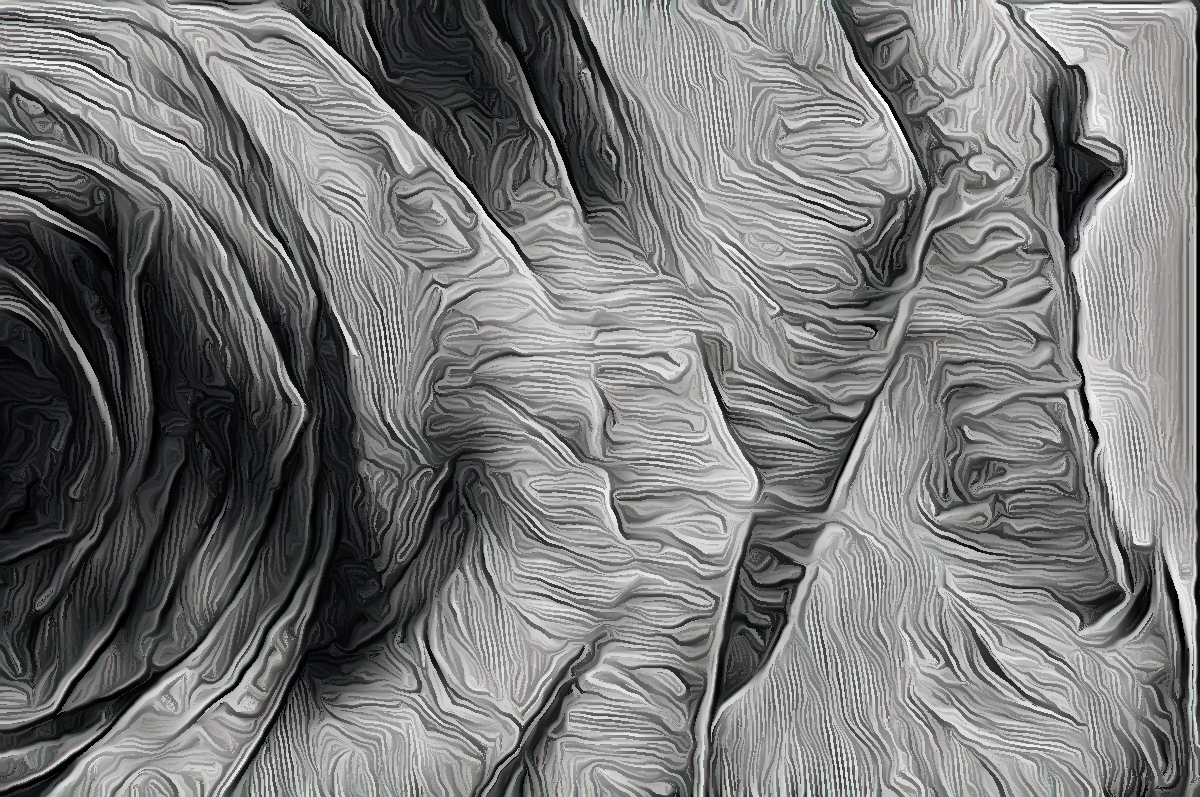
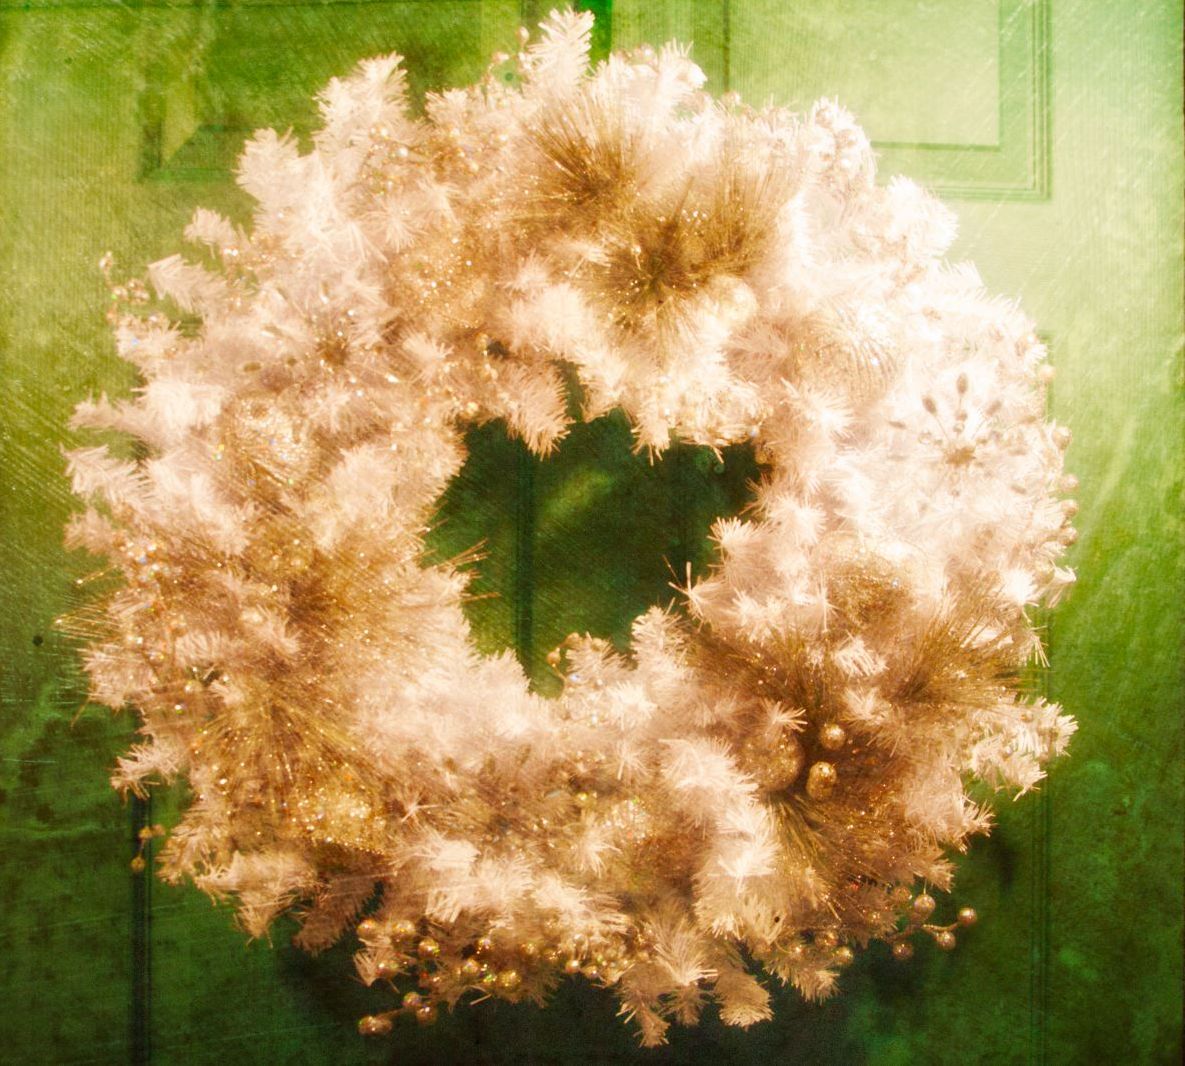
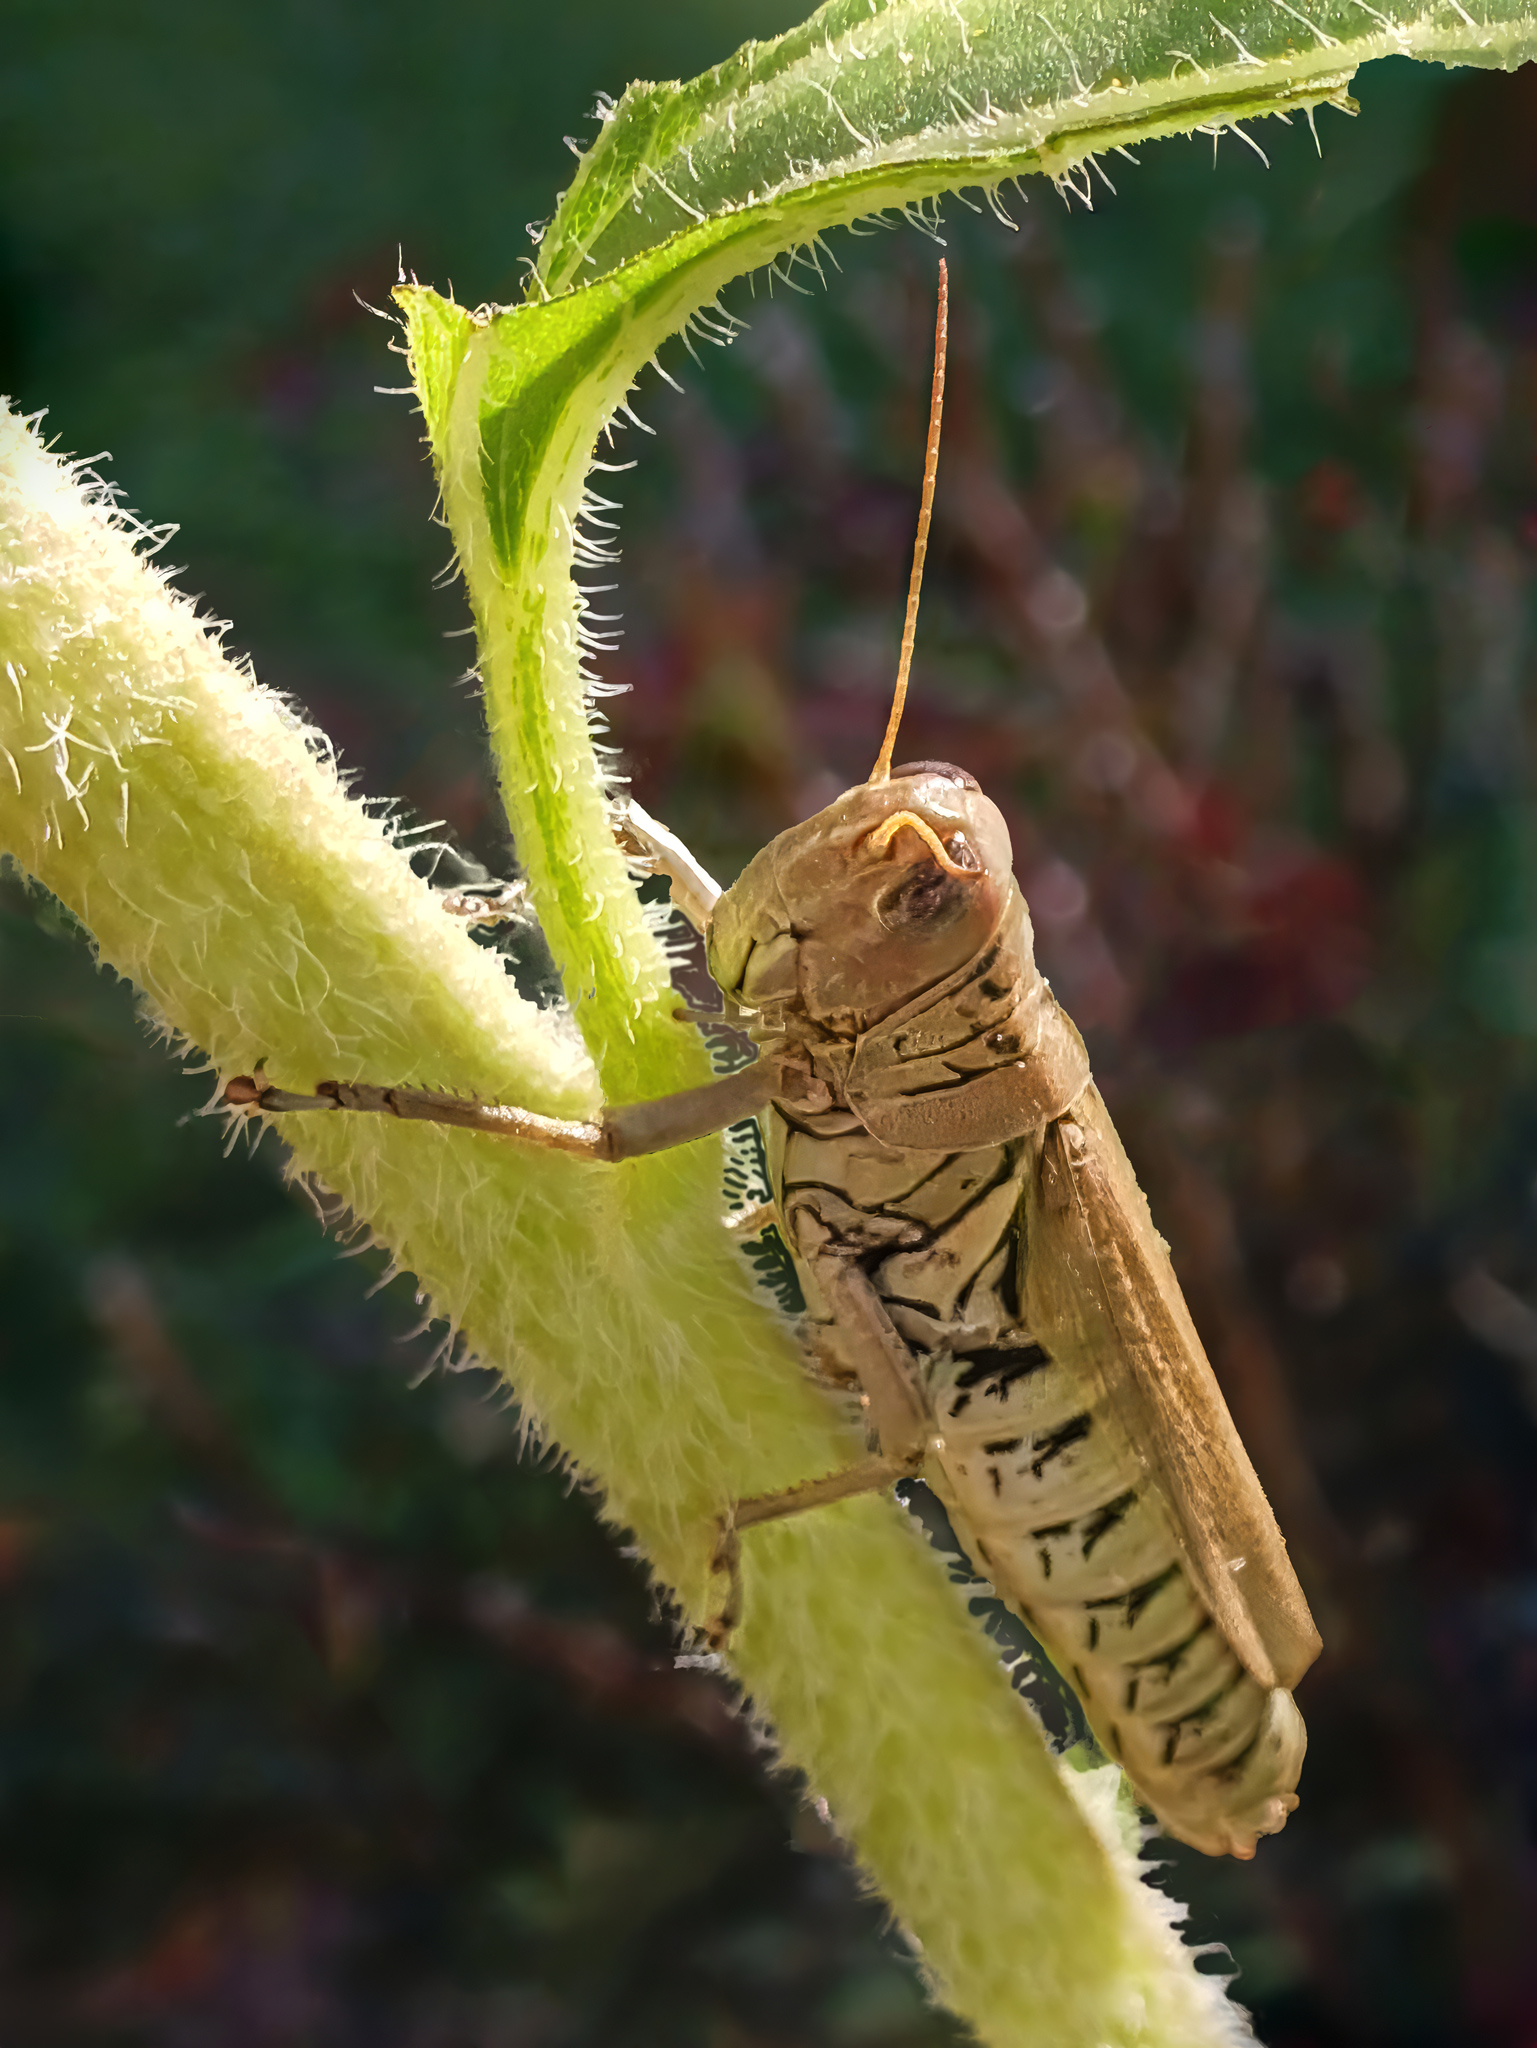
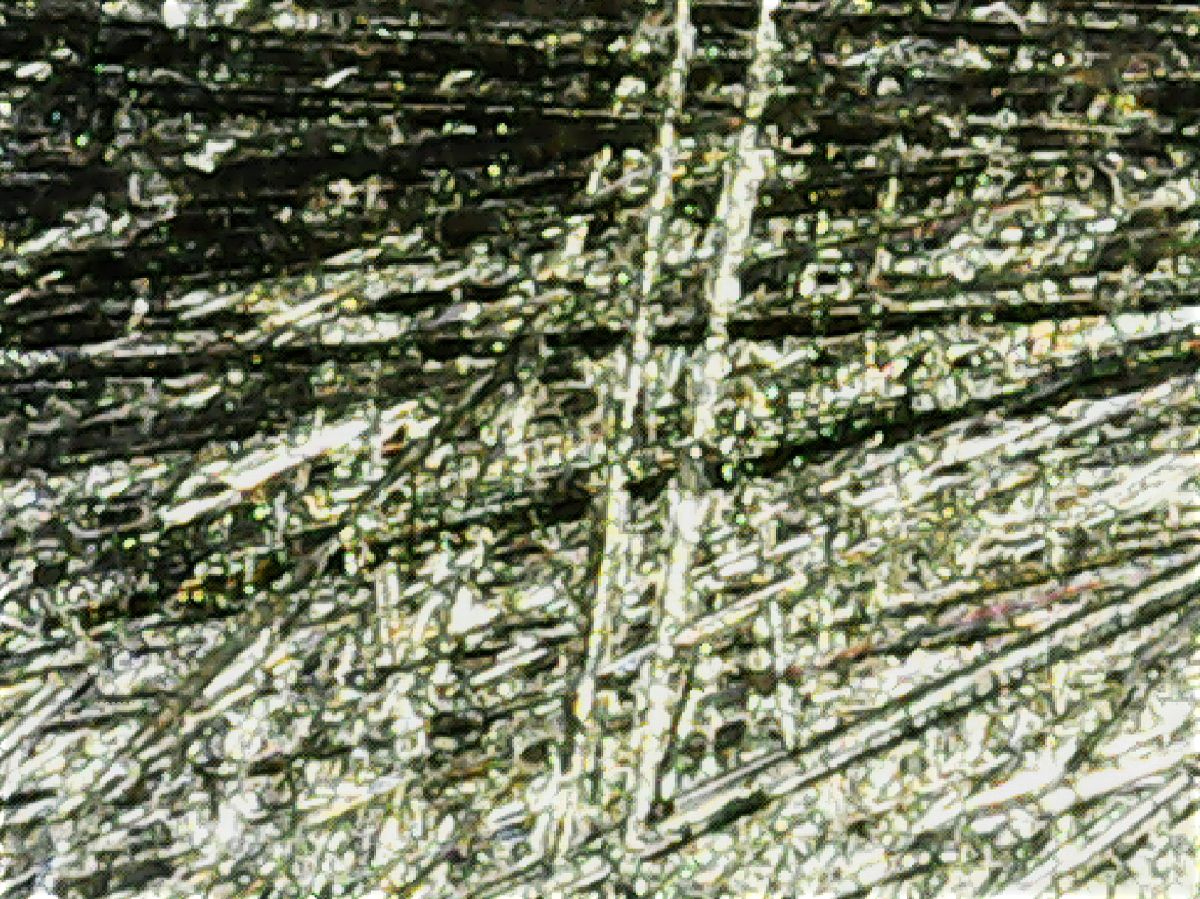
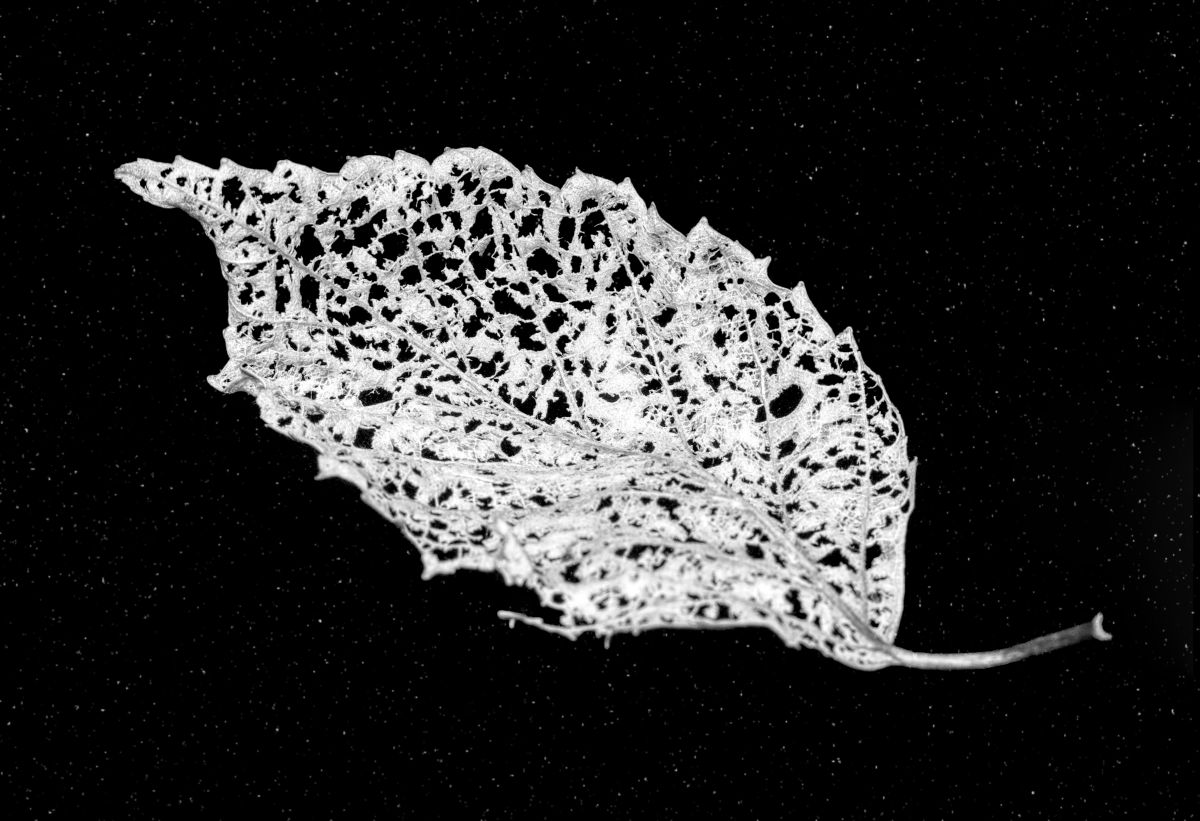
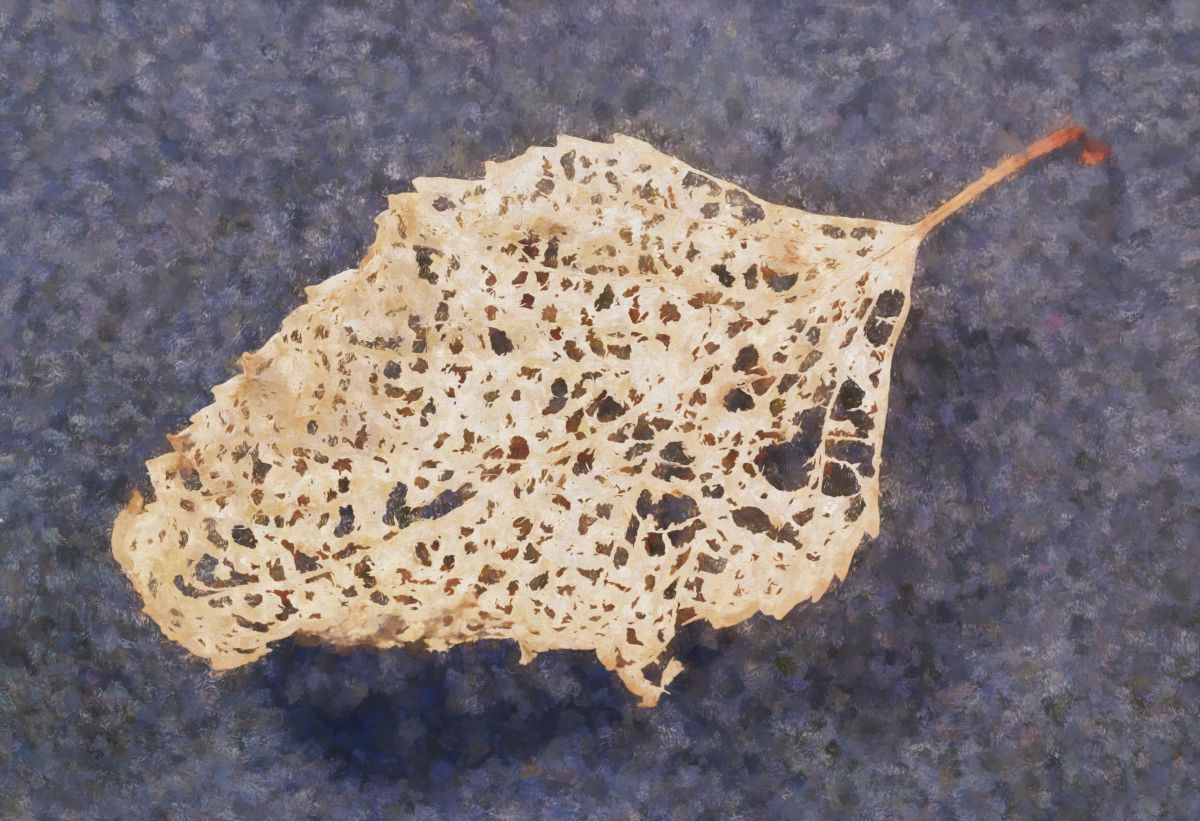
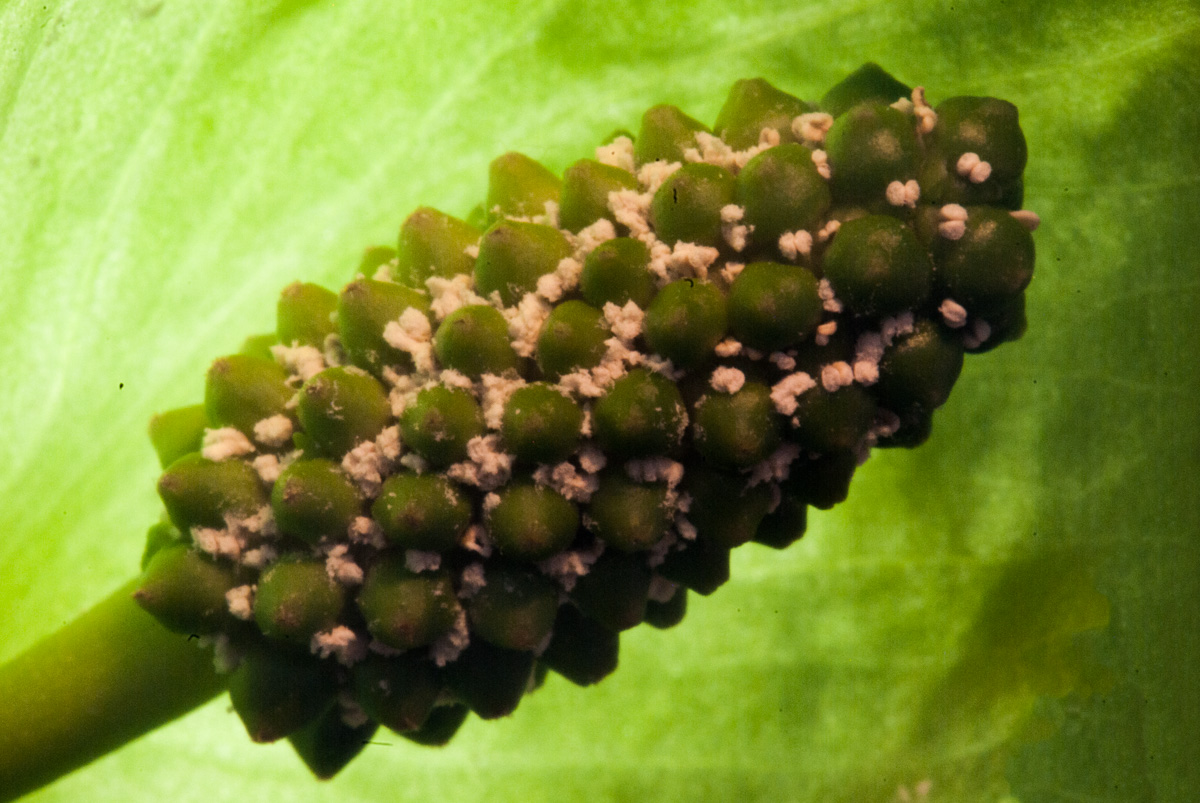
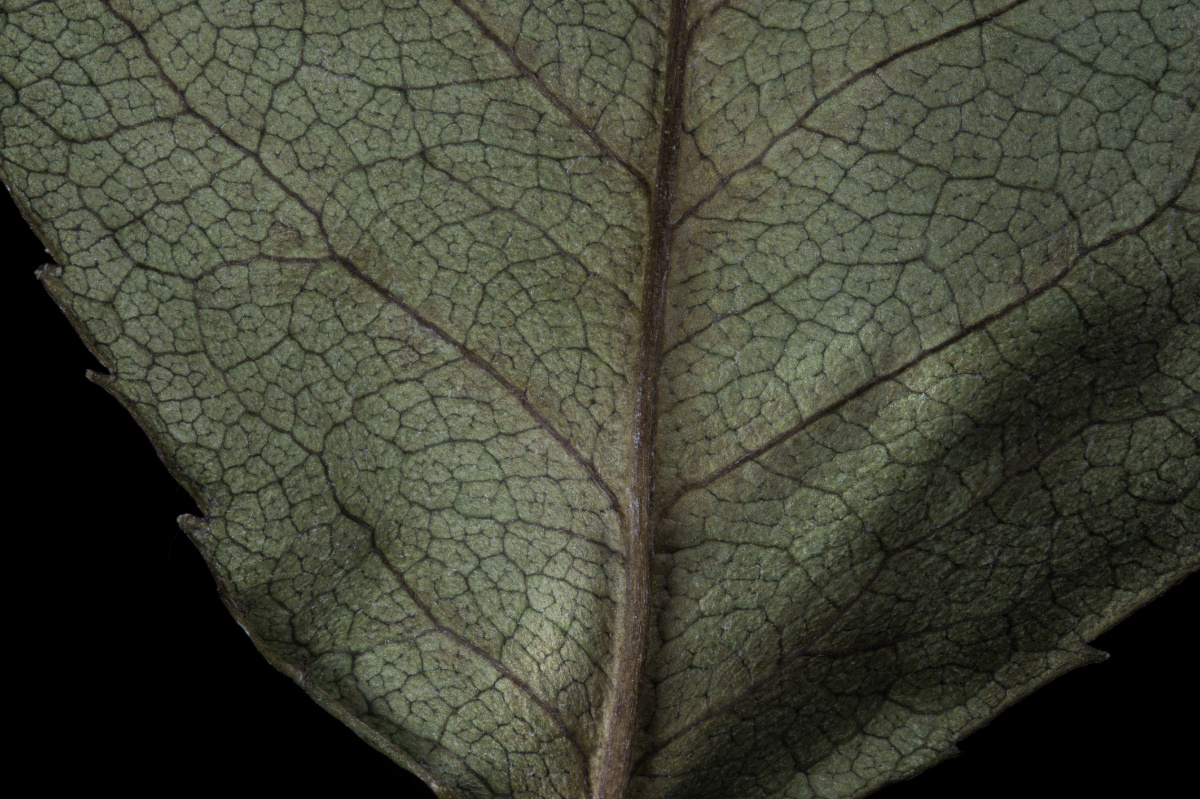
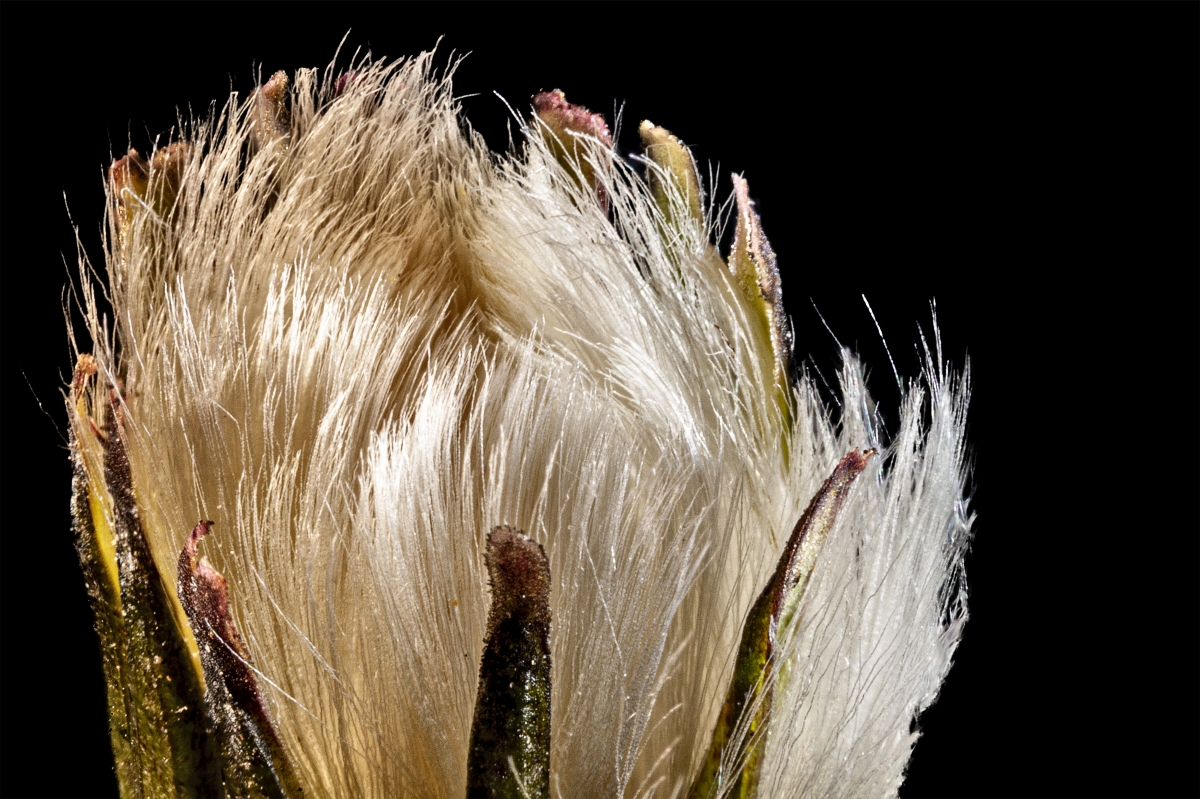
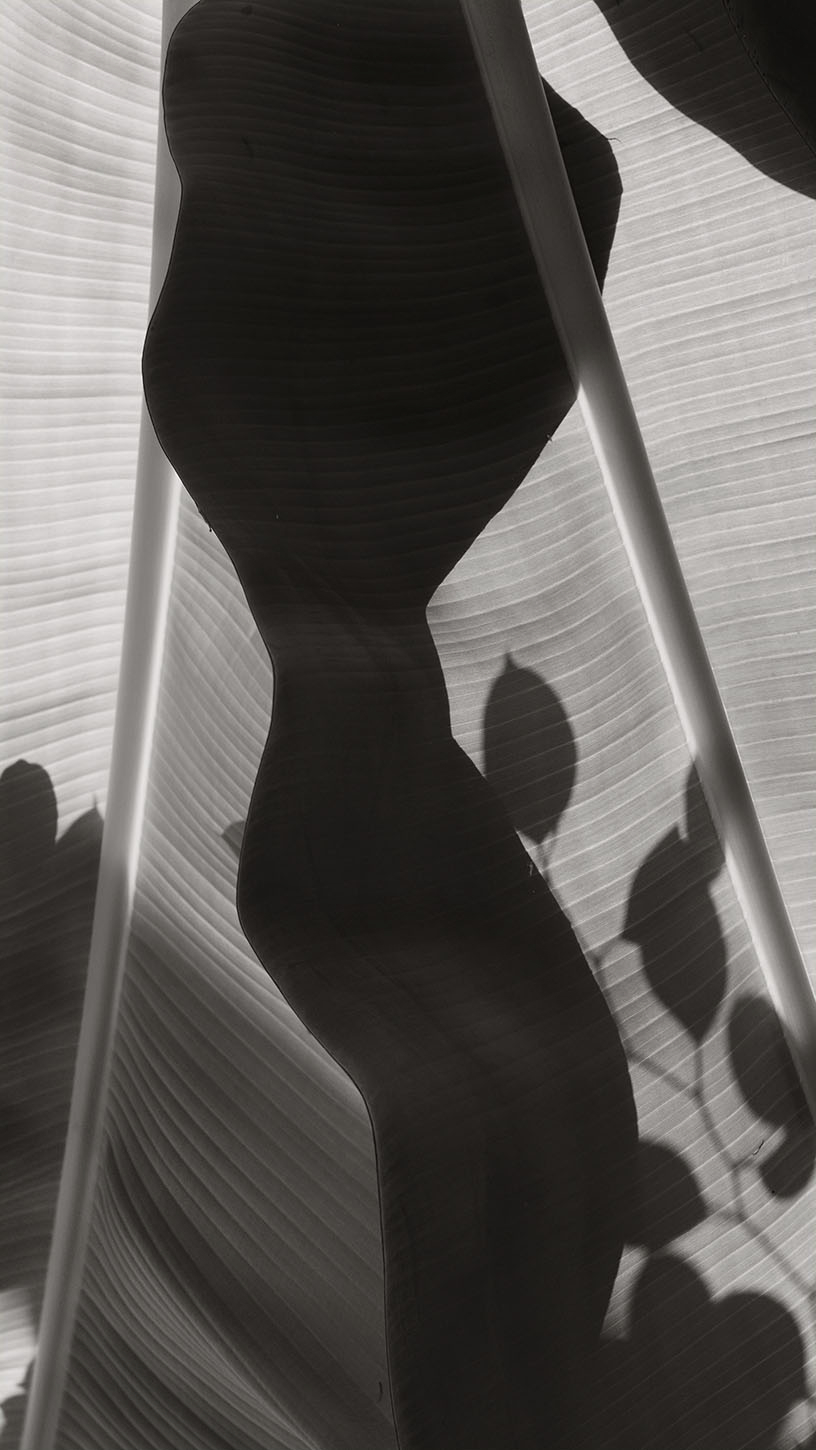
The theme for the group is Flowers and Plants, so your B&W treatment of these leaves is very fitting.
Your monochrome result has a nice range of tones and forces the viewer to study more, giving them an opportunity to see the subtle details. I think a bit more subtle dodging and burning to add more dimensionality would boost that study. Thoughts? |
Oct 19th |
 |
| 24 |
Oct 22 |
Reply |
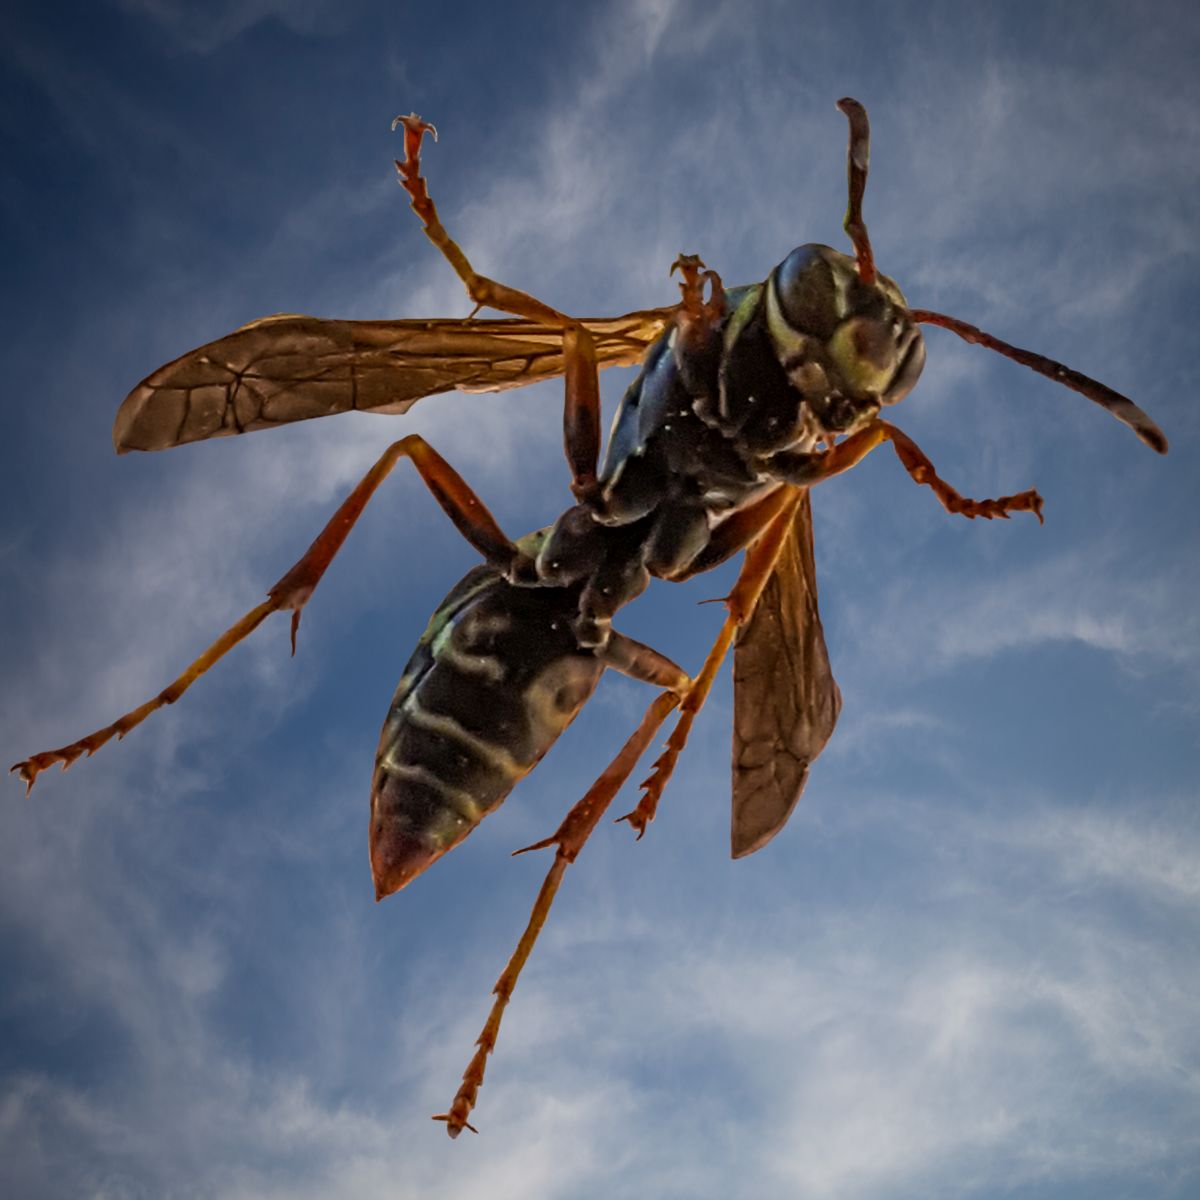
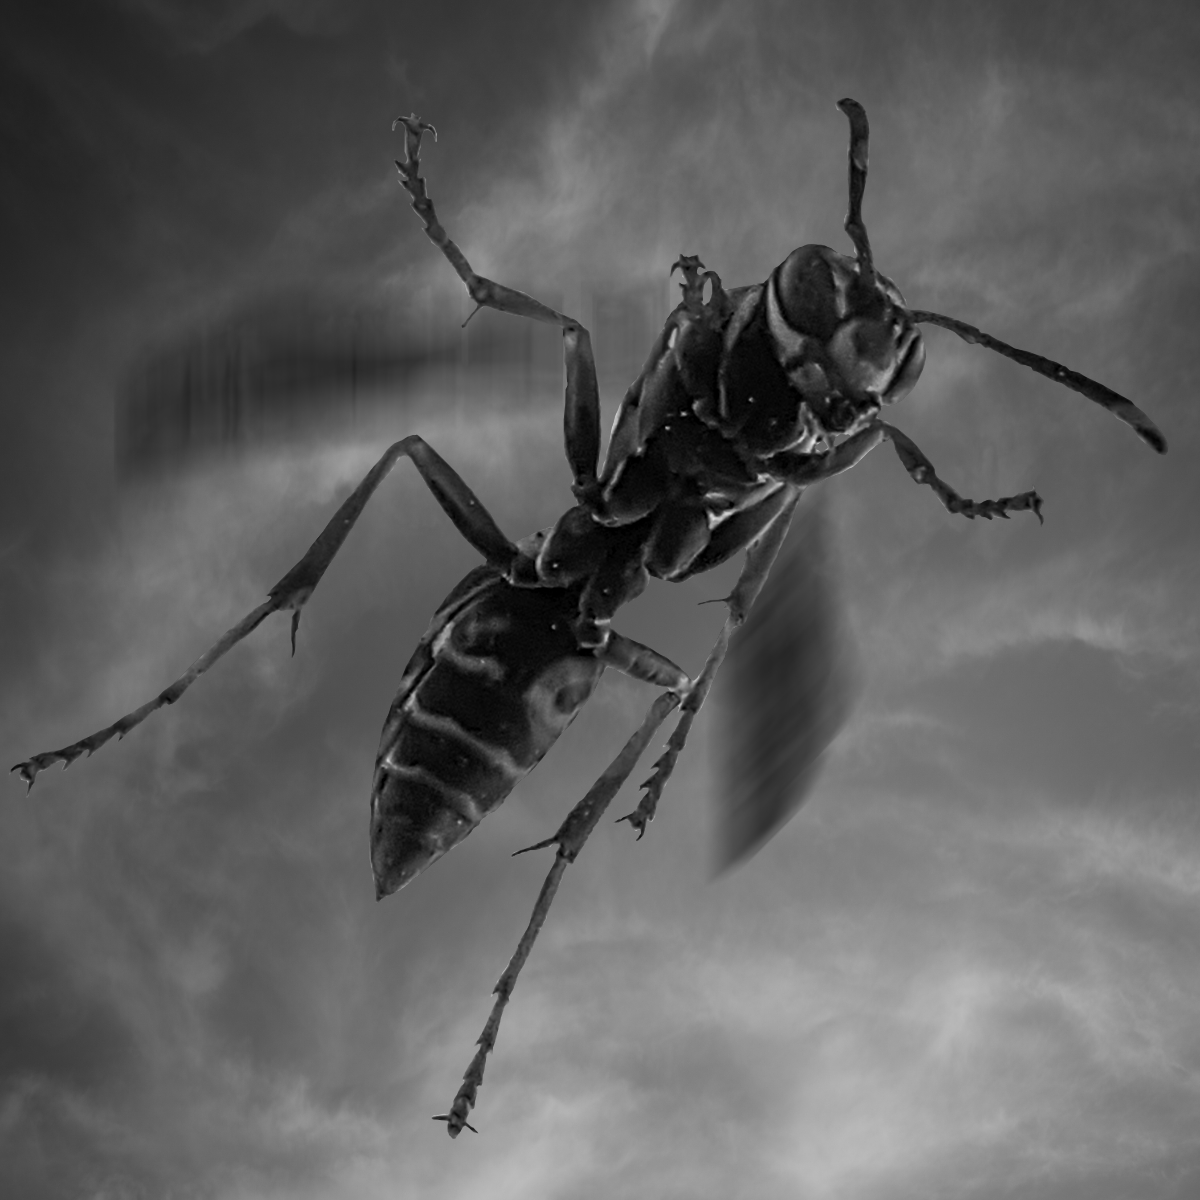
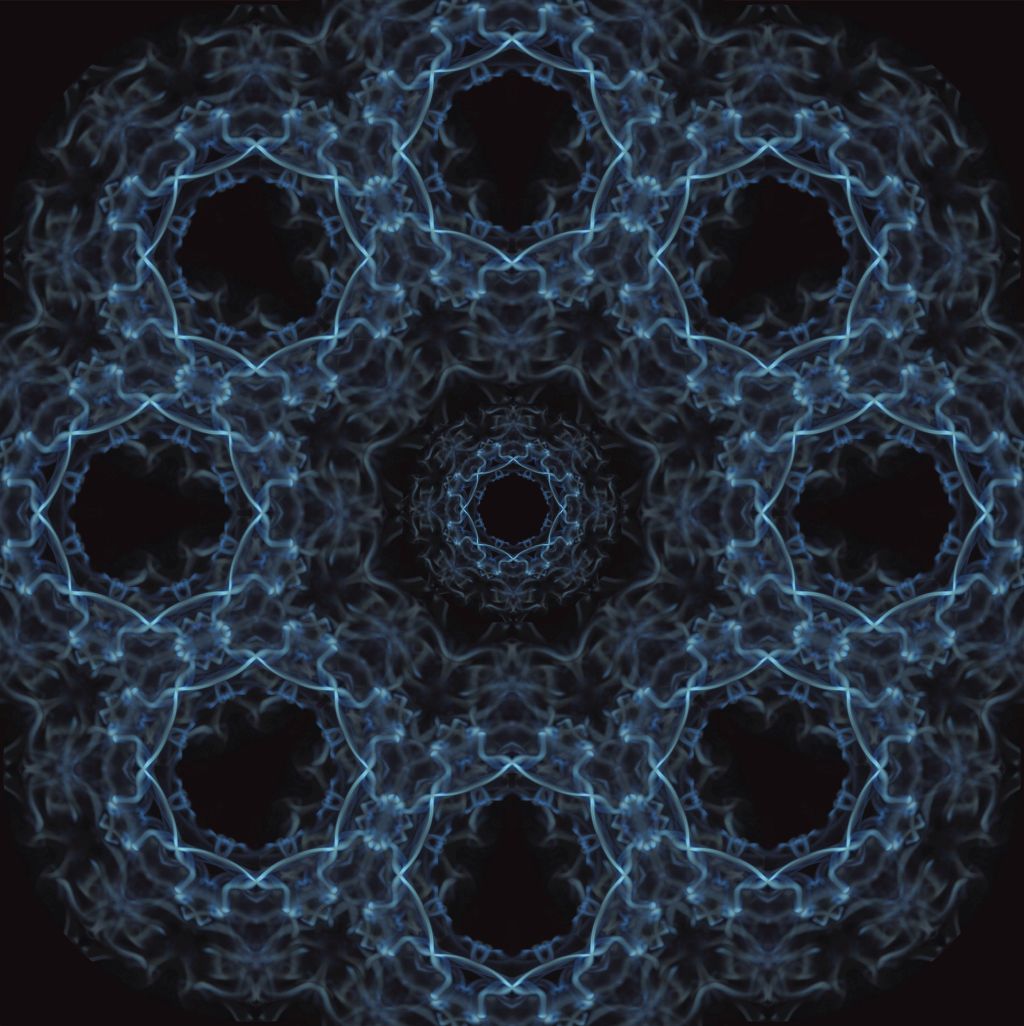
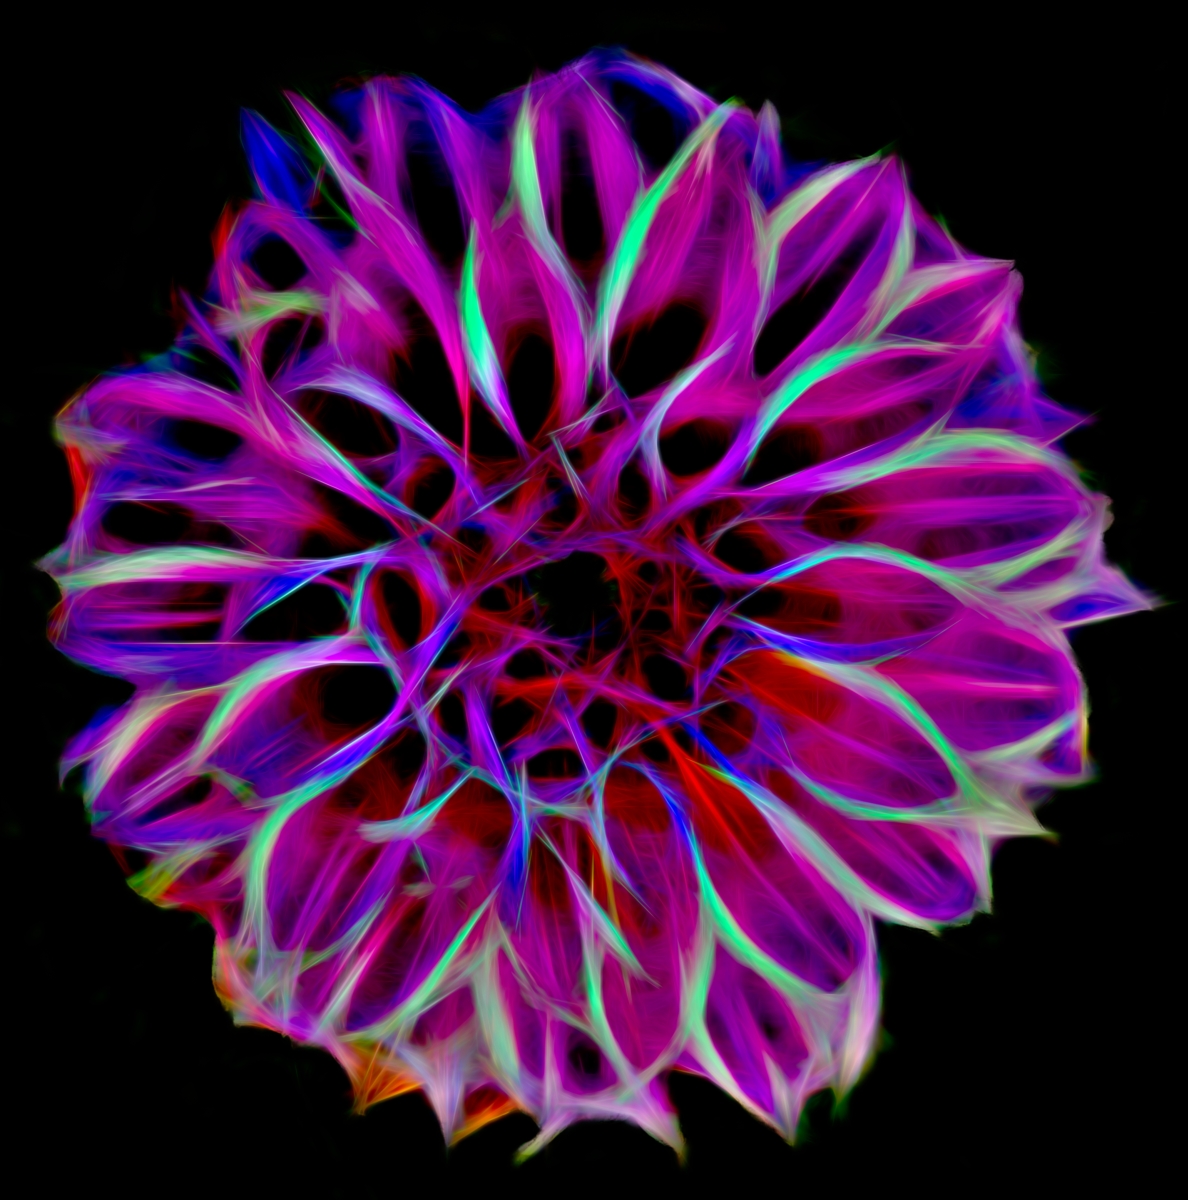
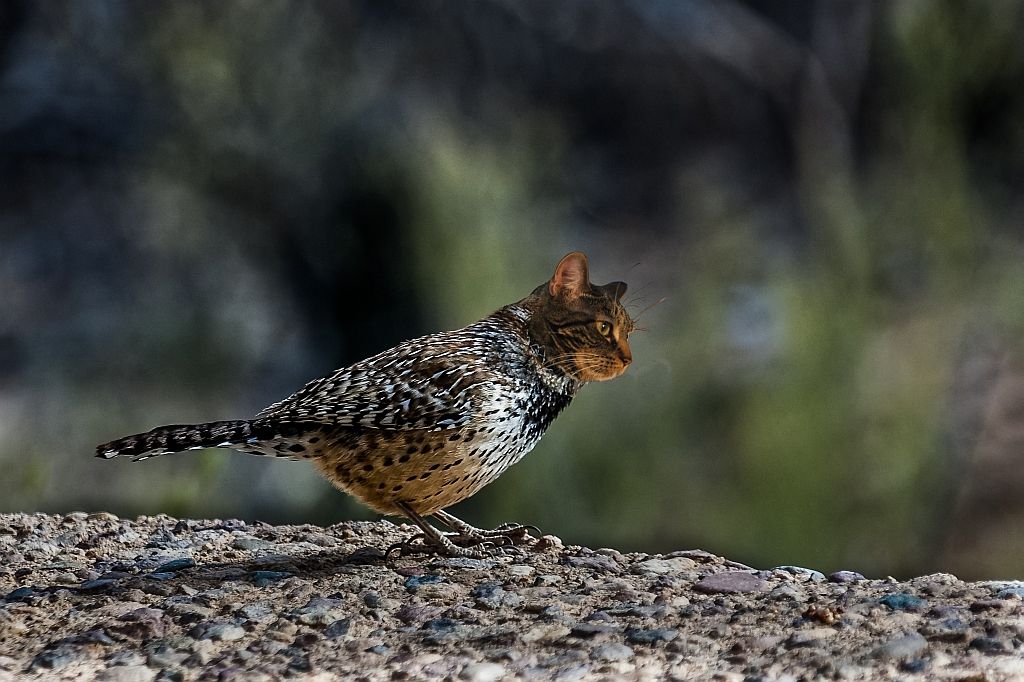
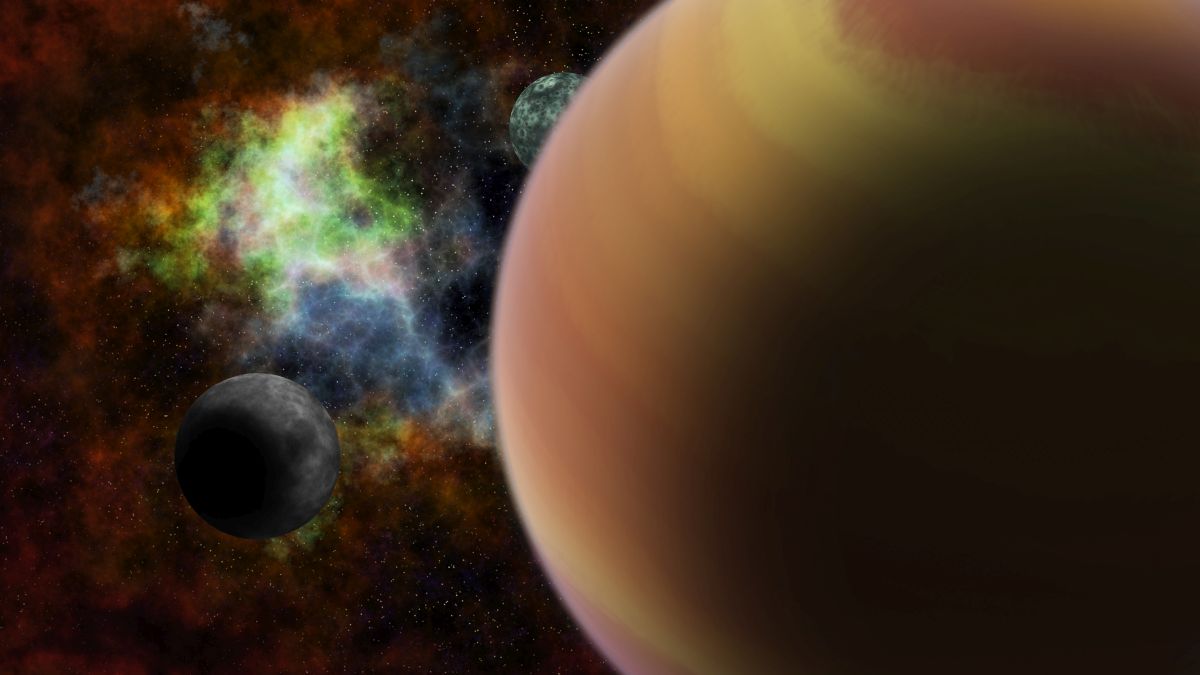
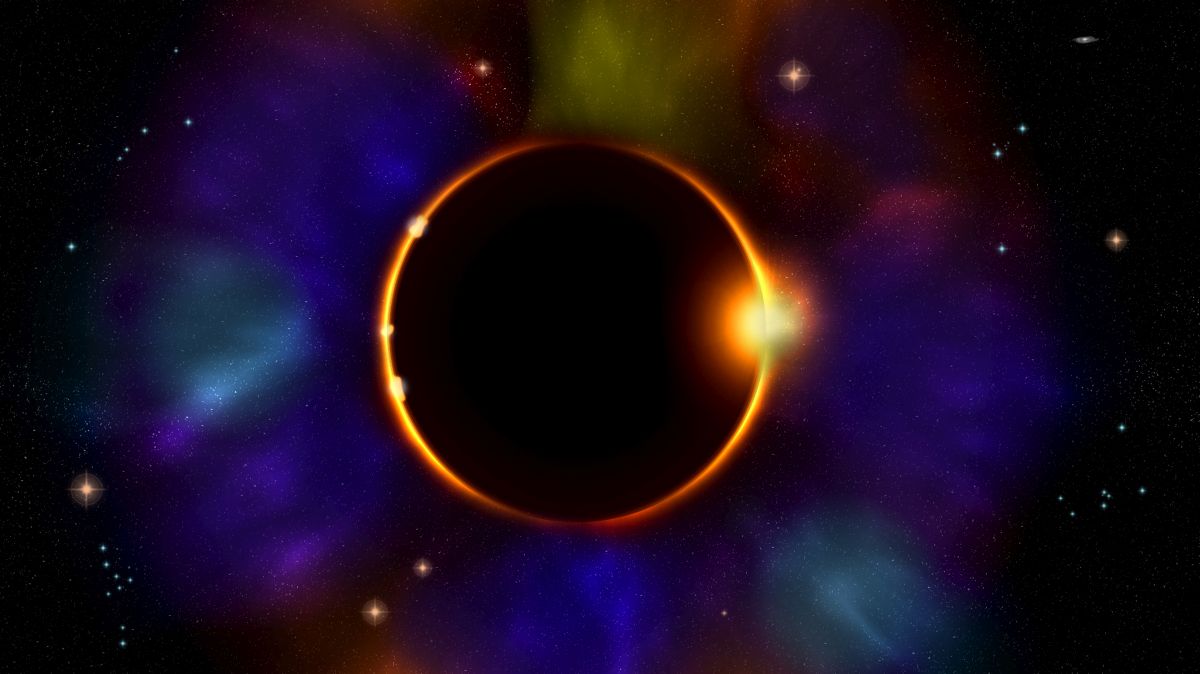
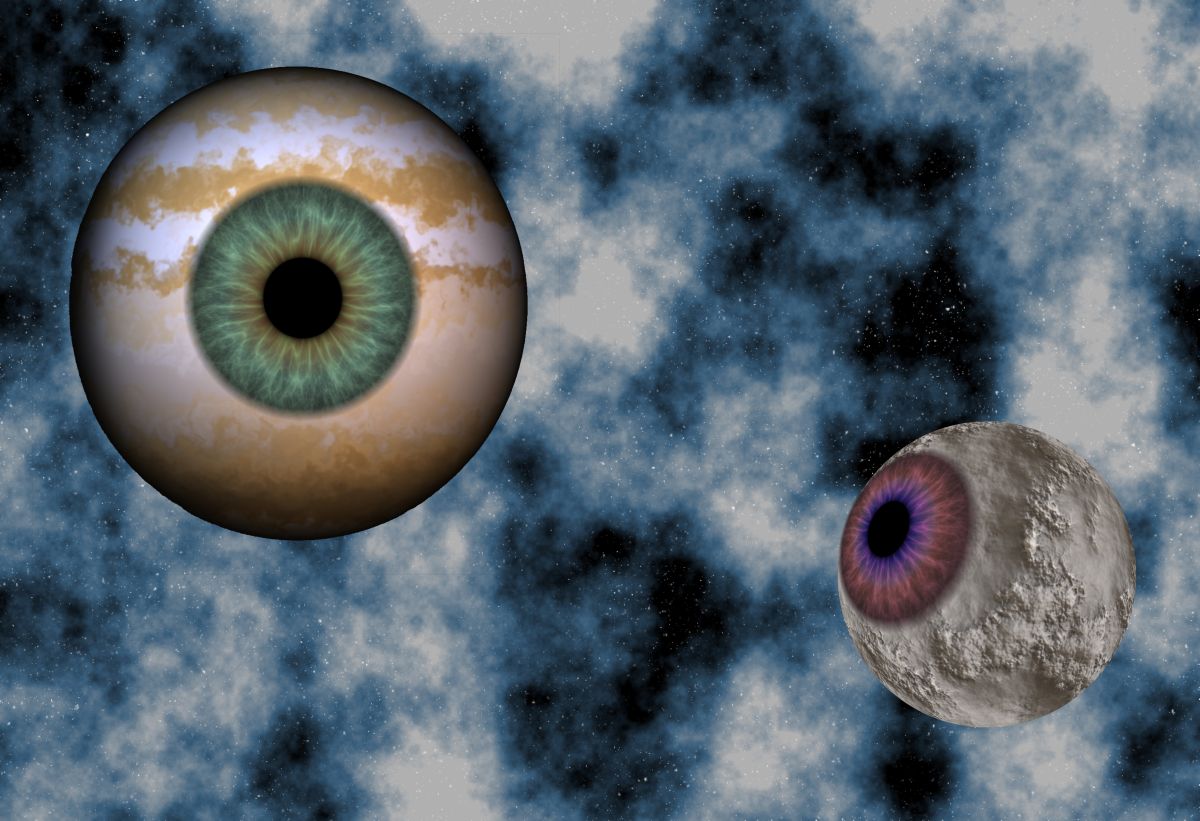
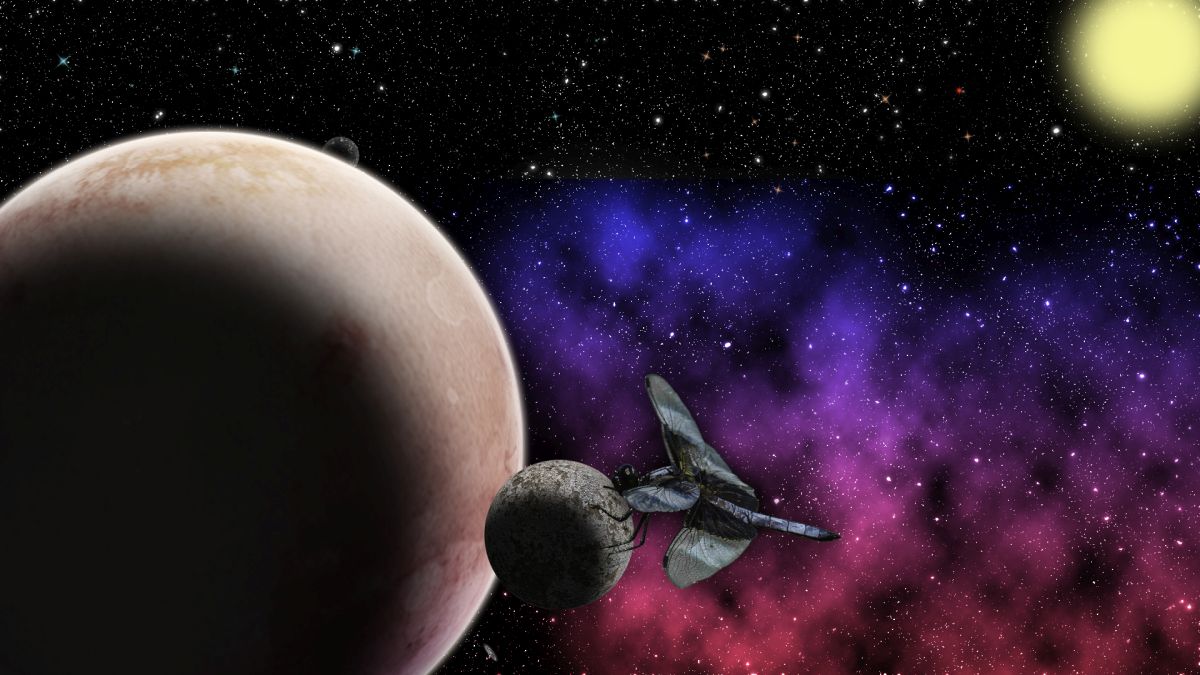
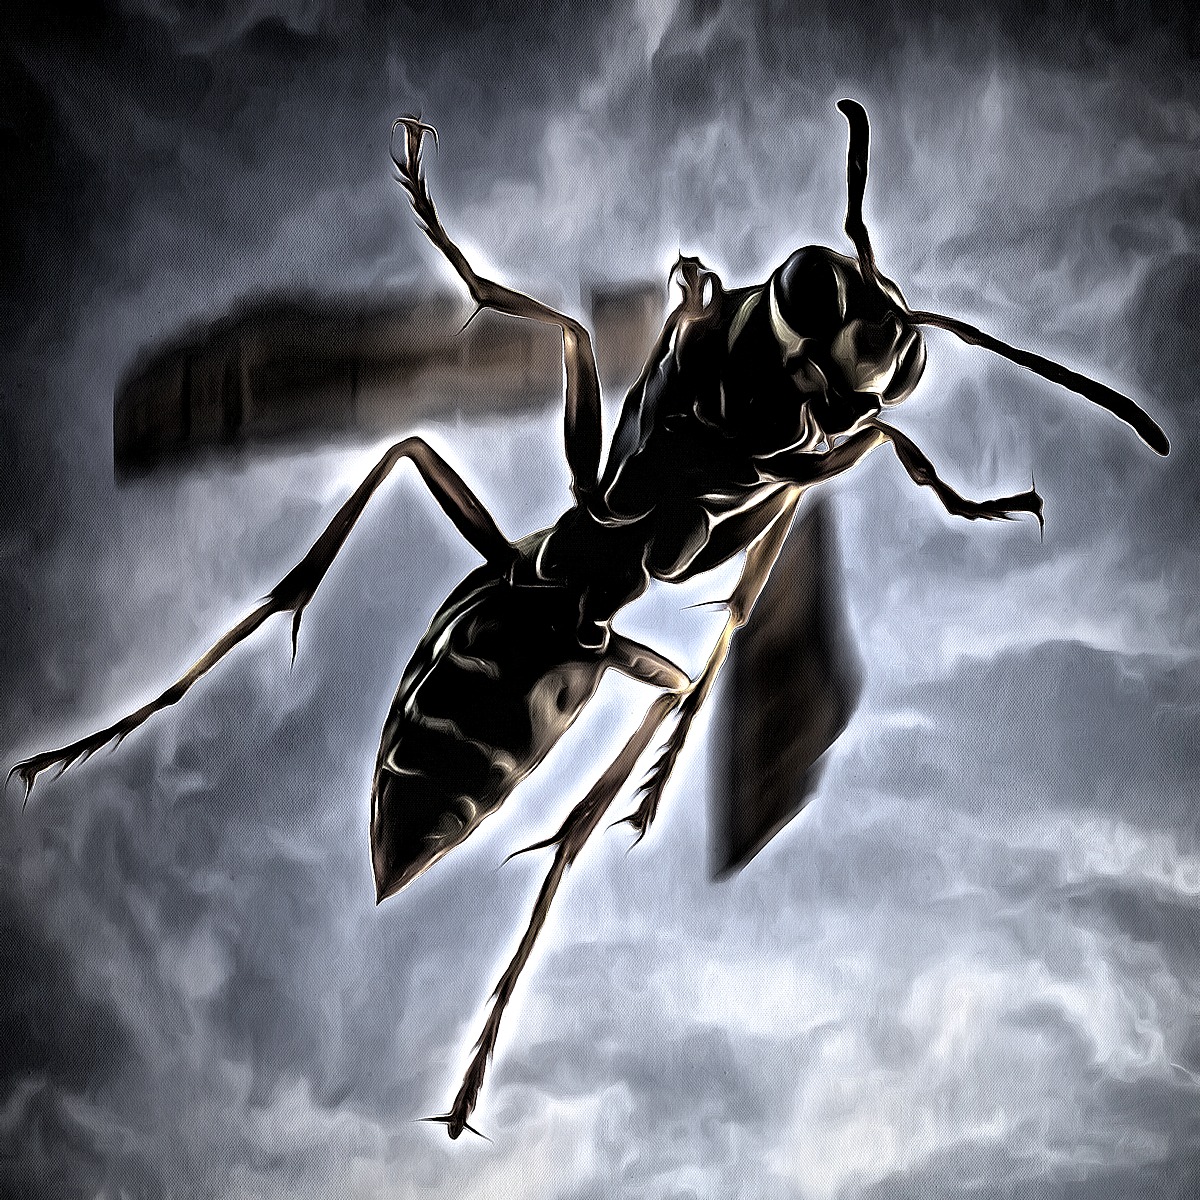
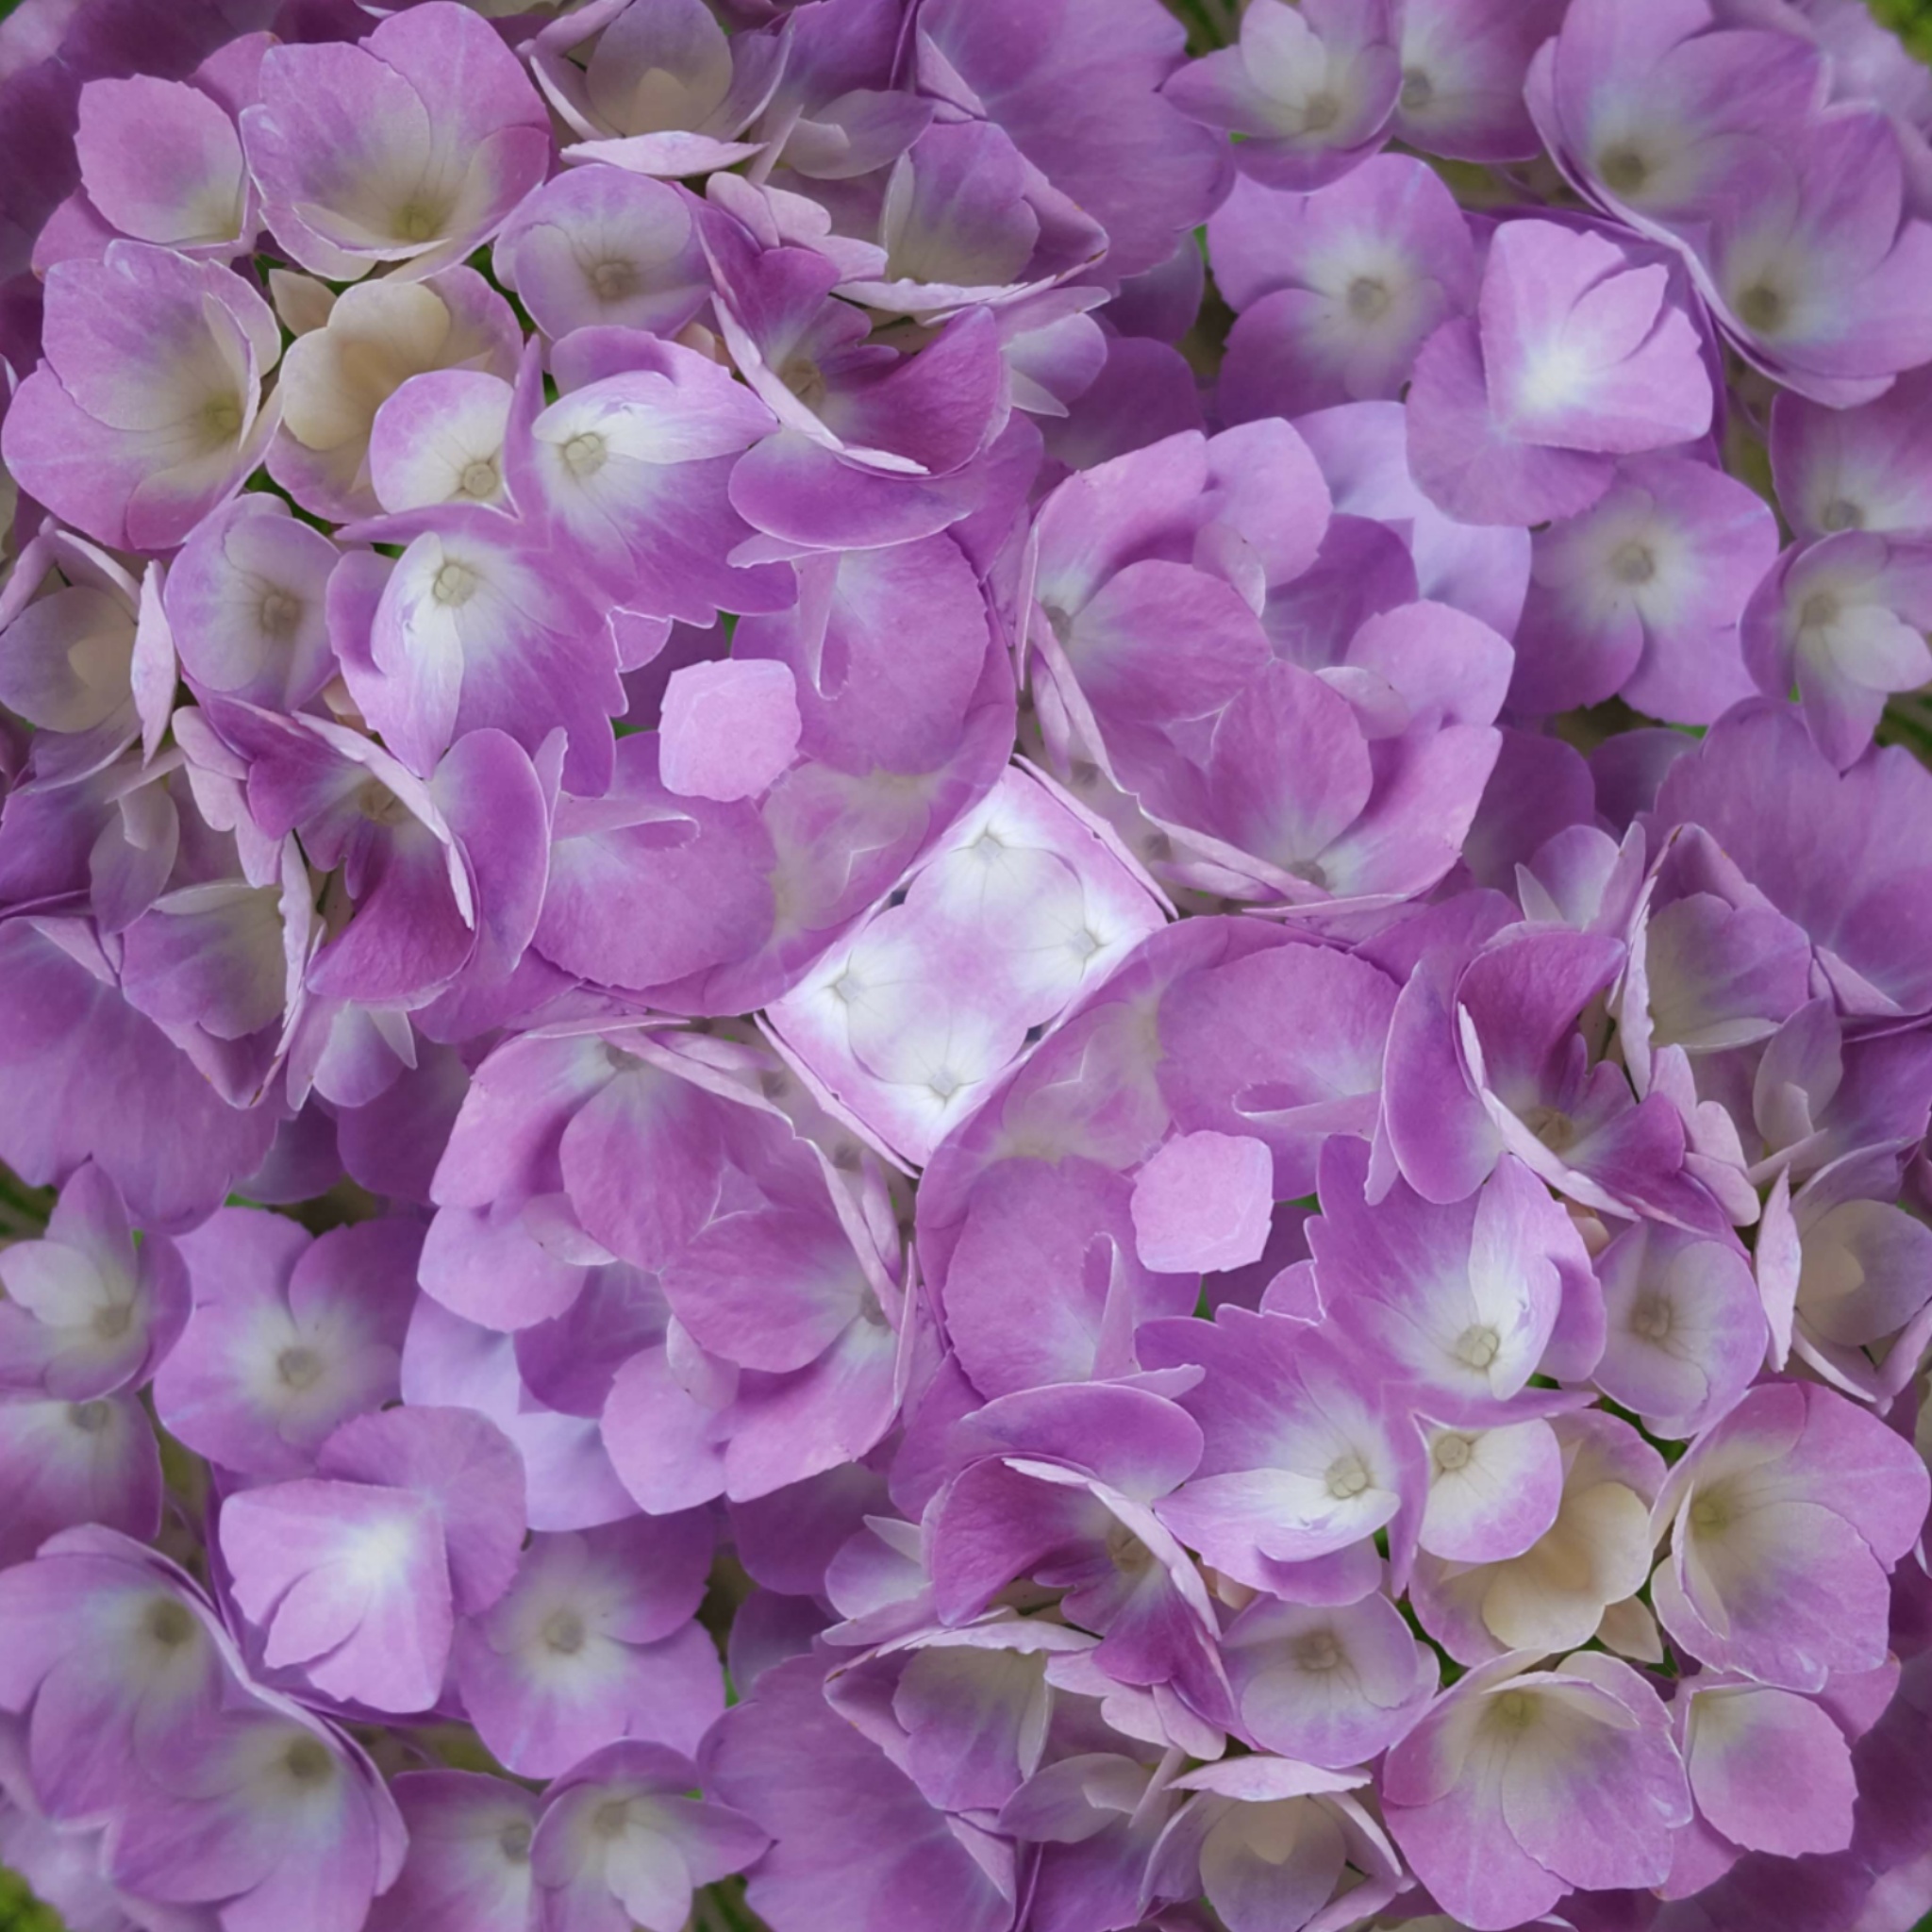
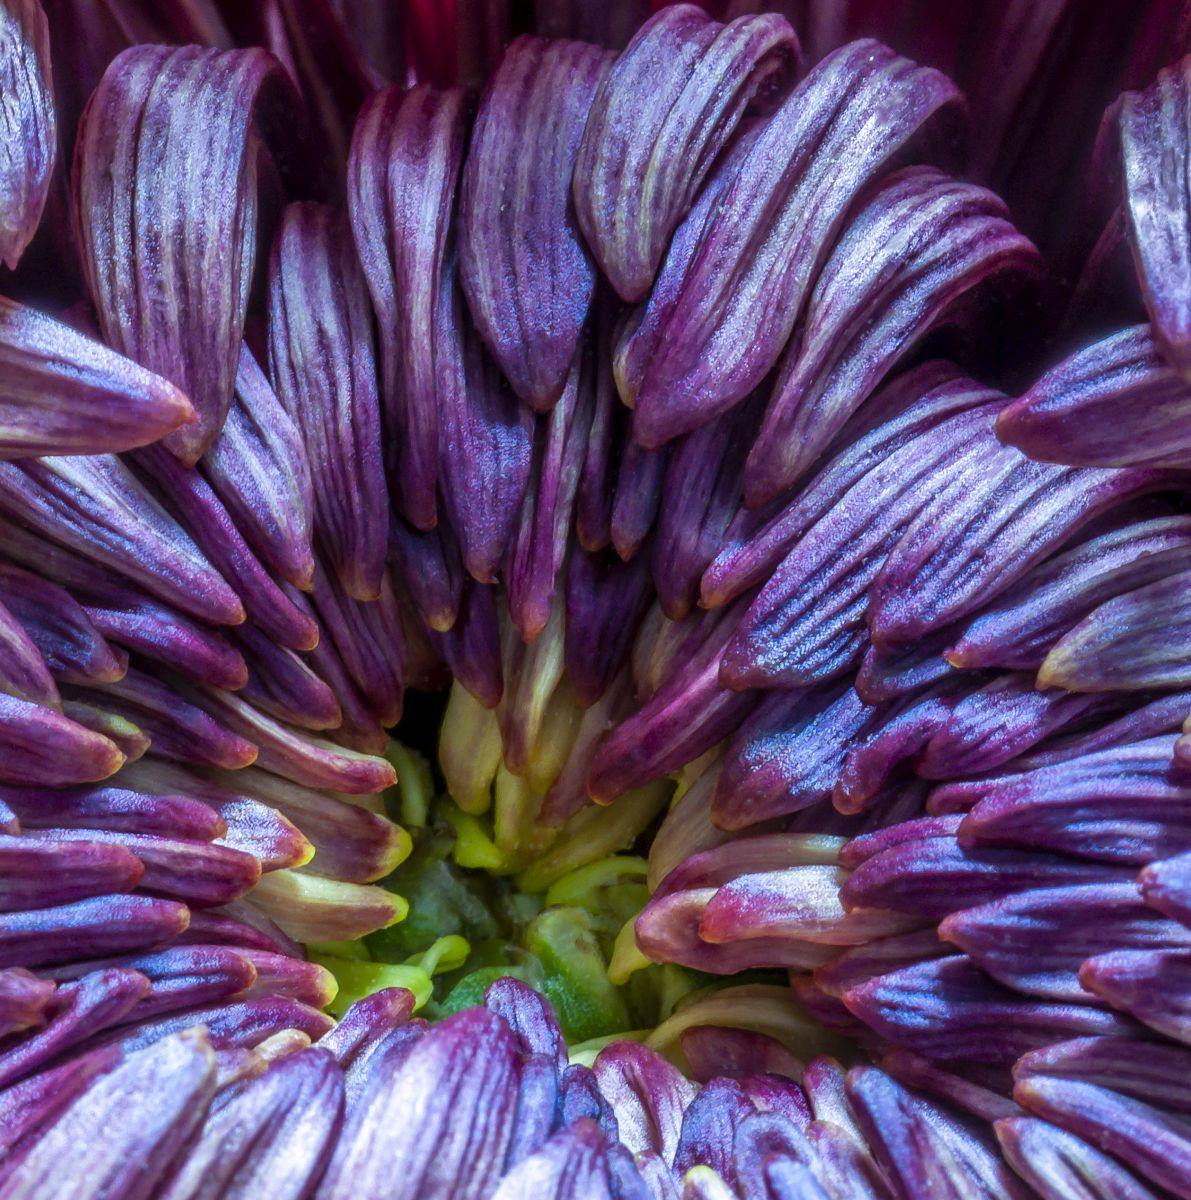
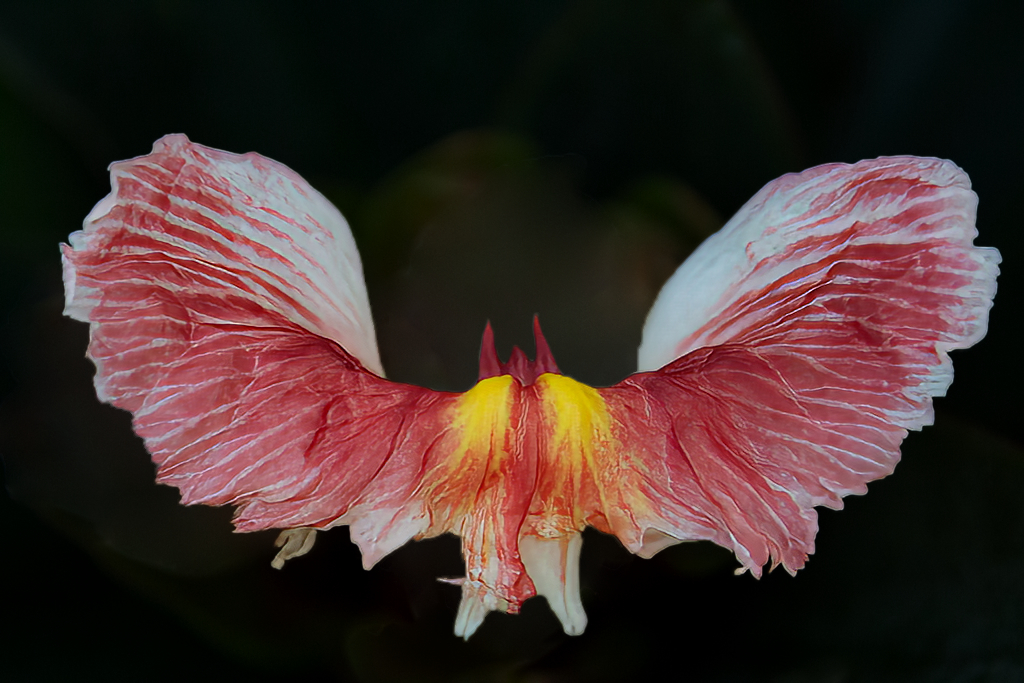
Then, since this is the month of Halloween, here's my re-imagining of the BatFlower: |
Oct 19th |
 |
| 24 |
Oct 22 |
Comment |
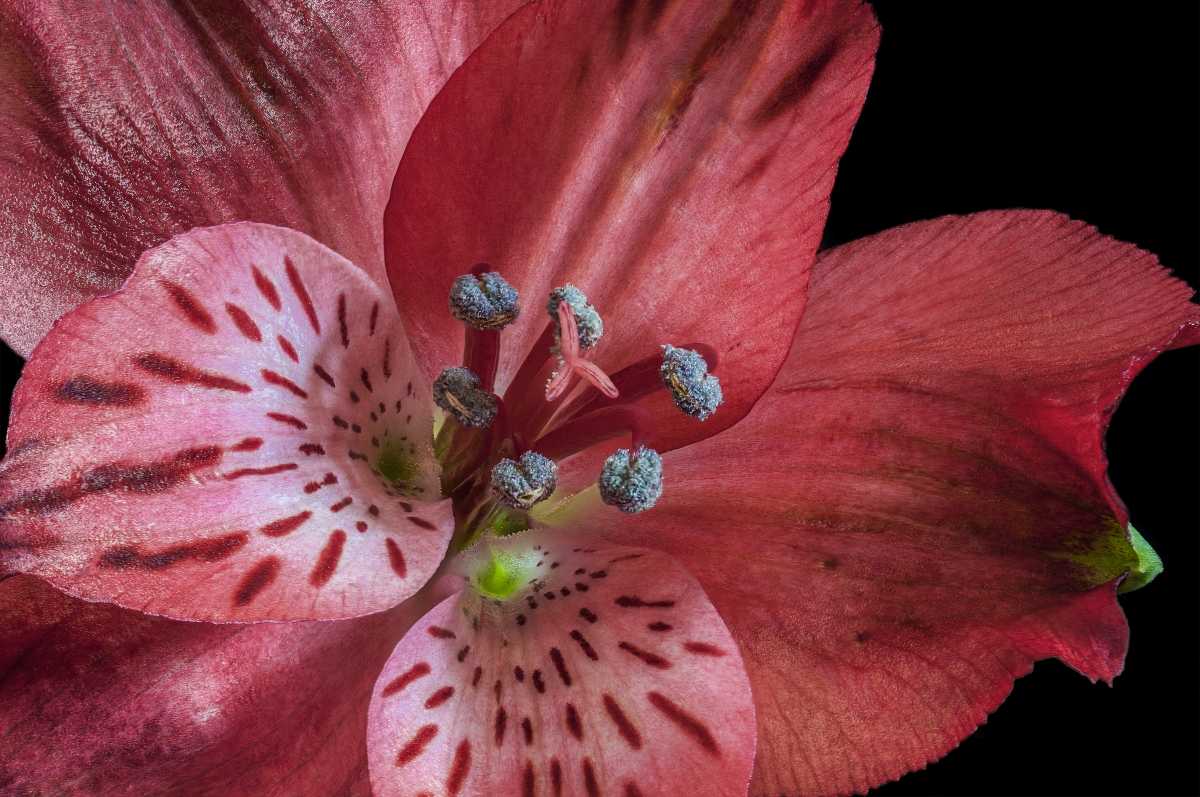
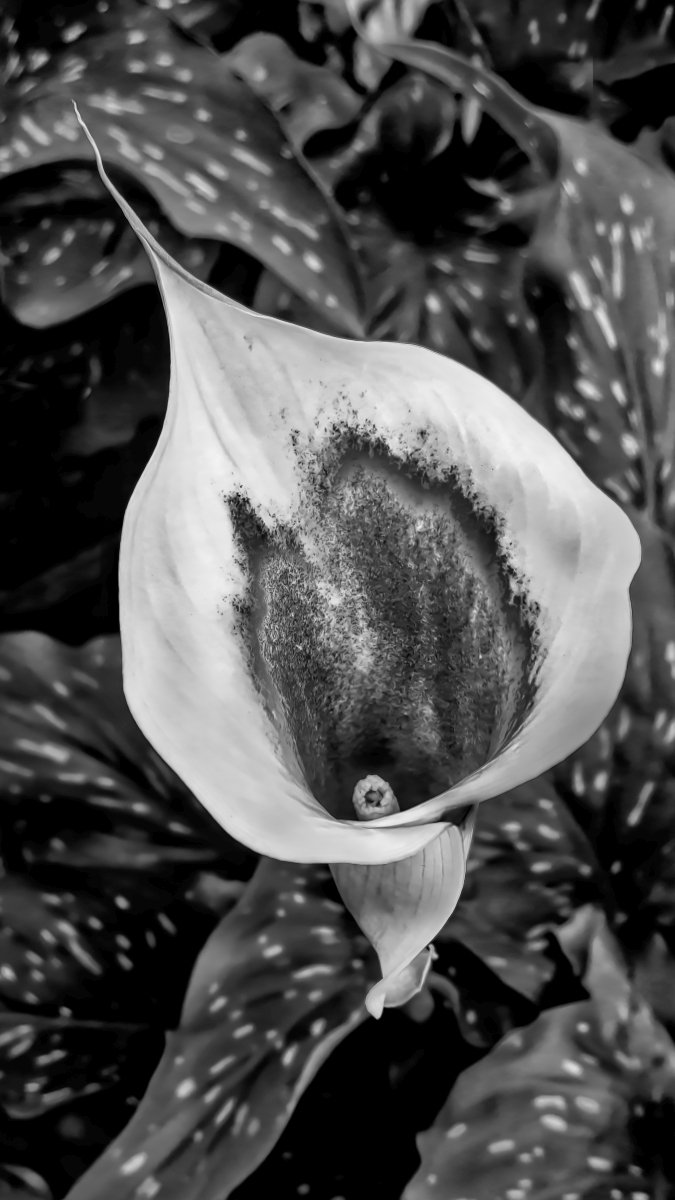
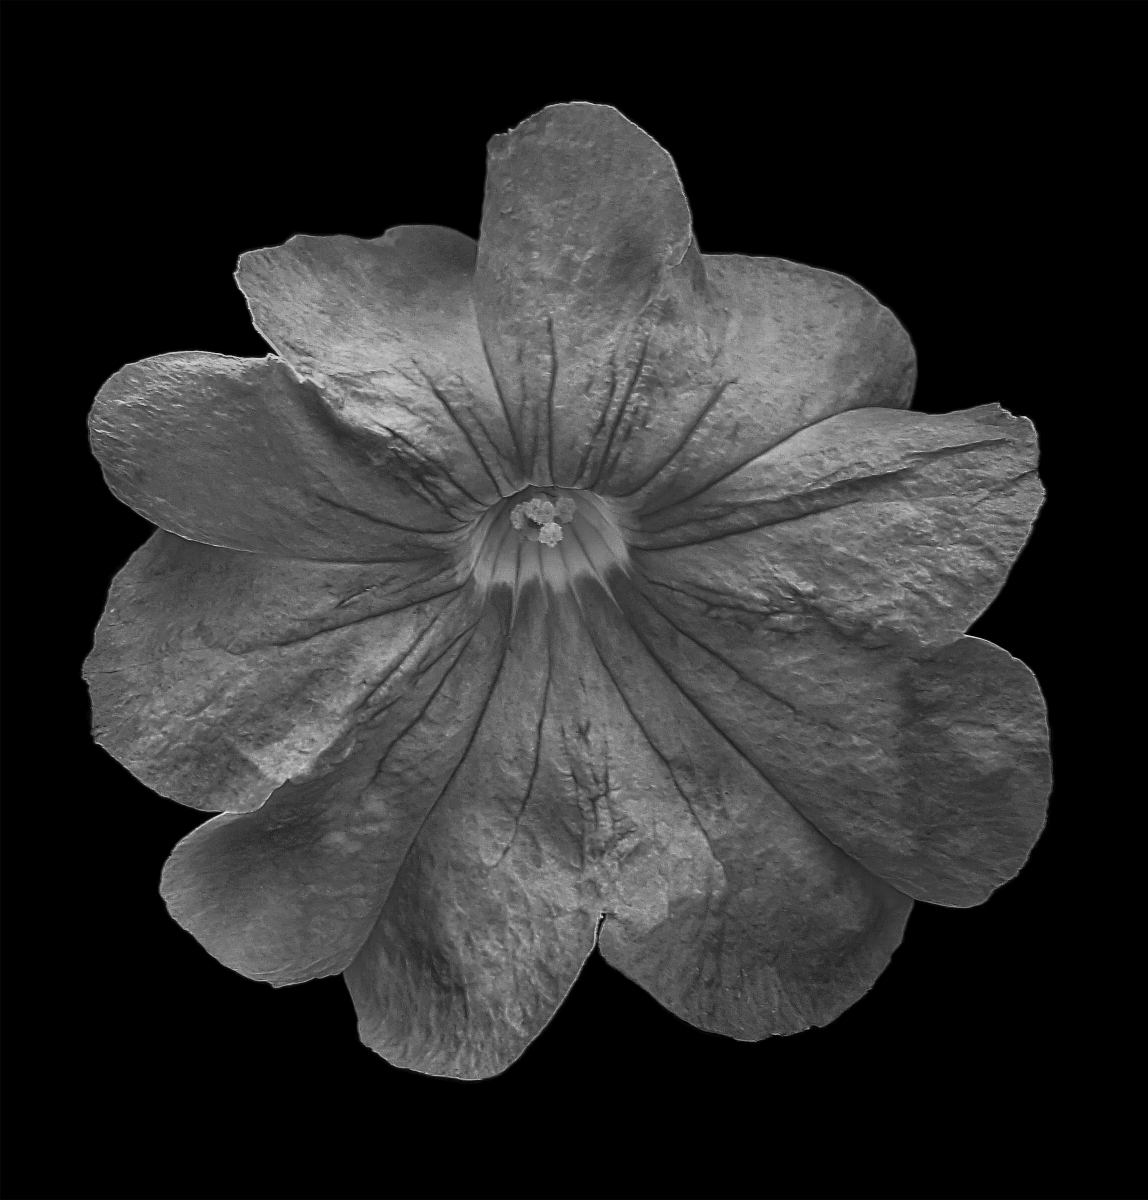
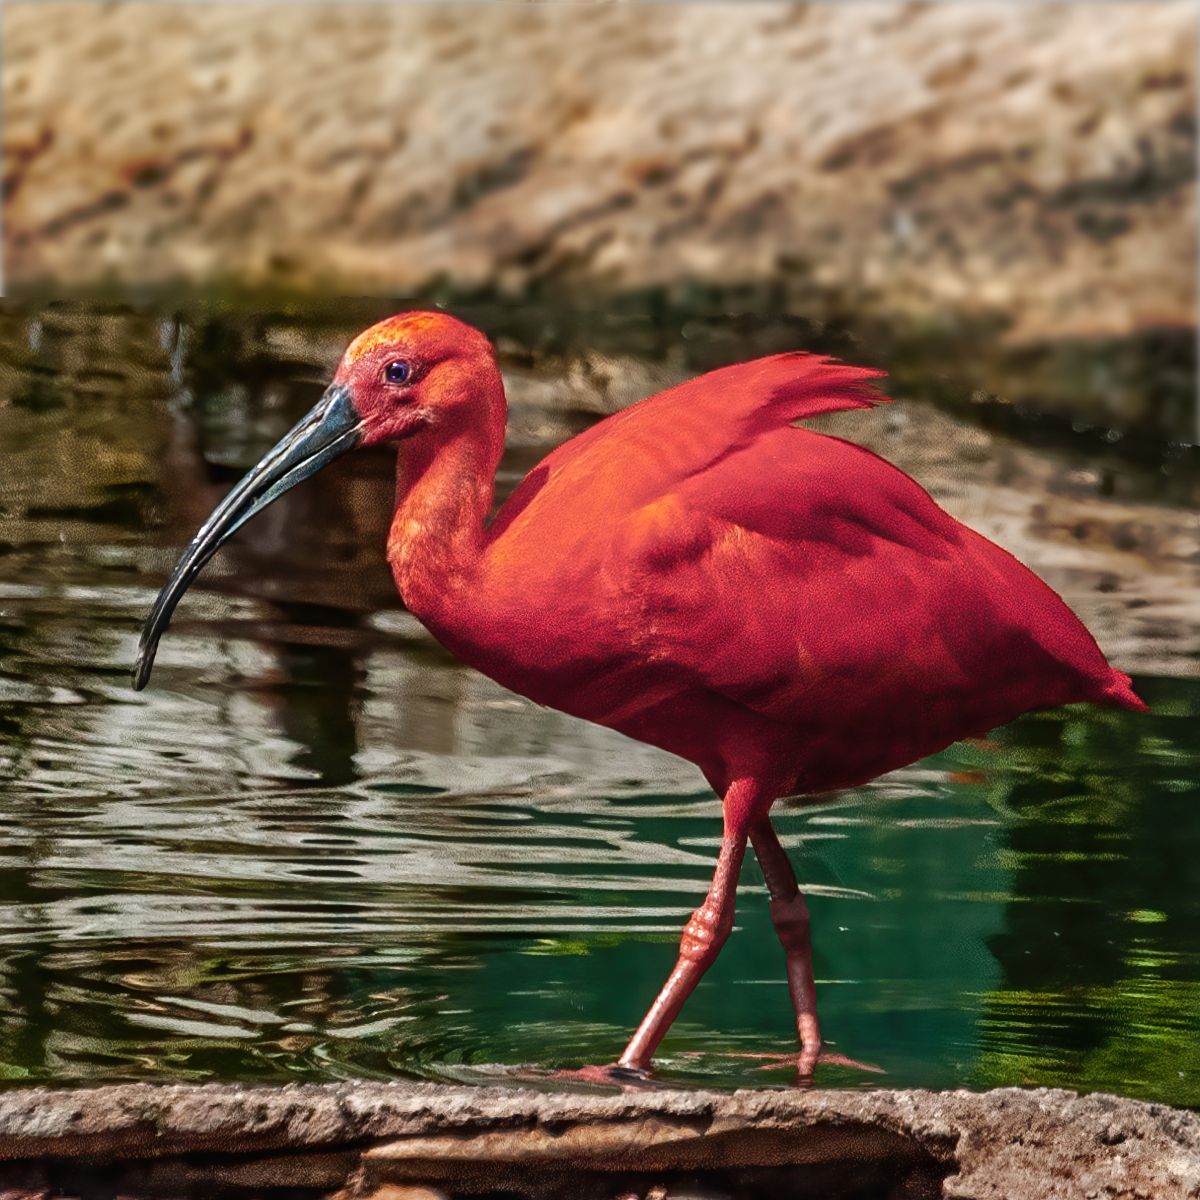
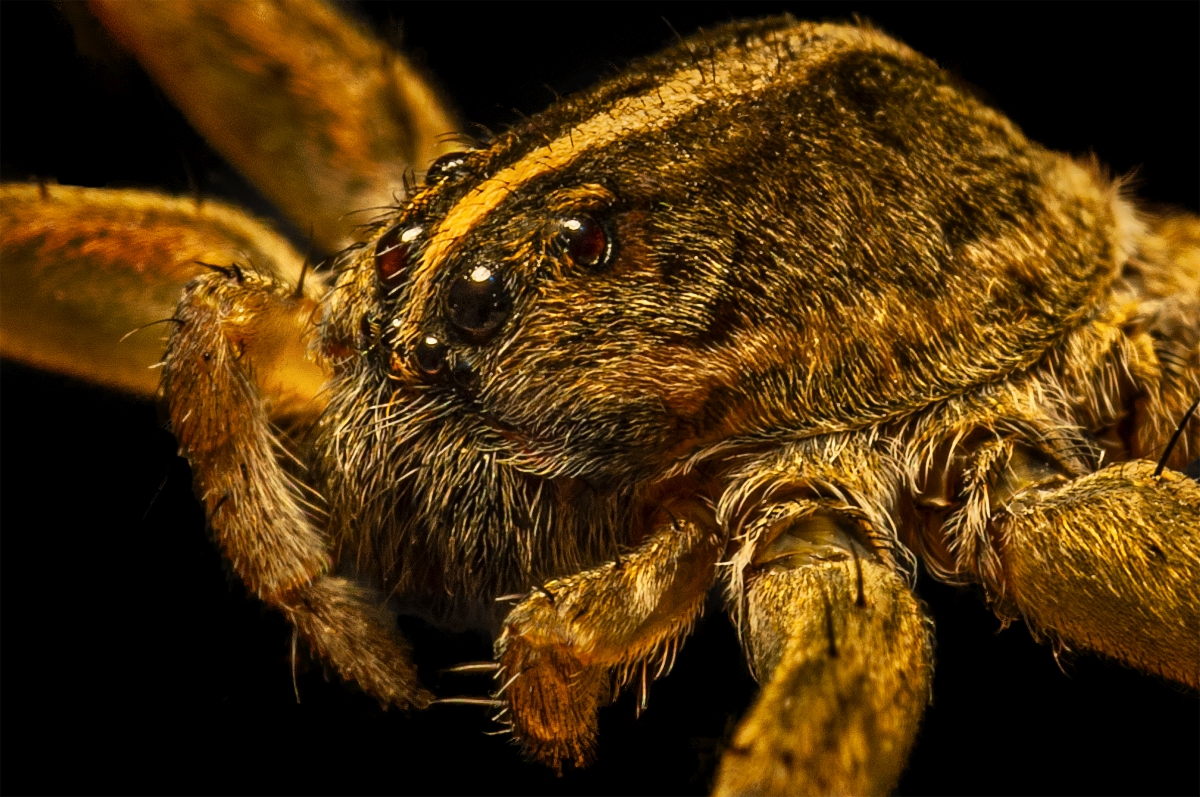
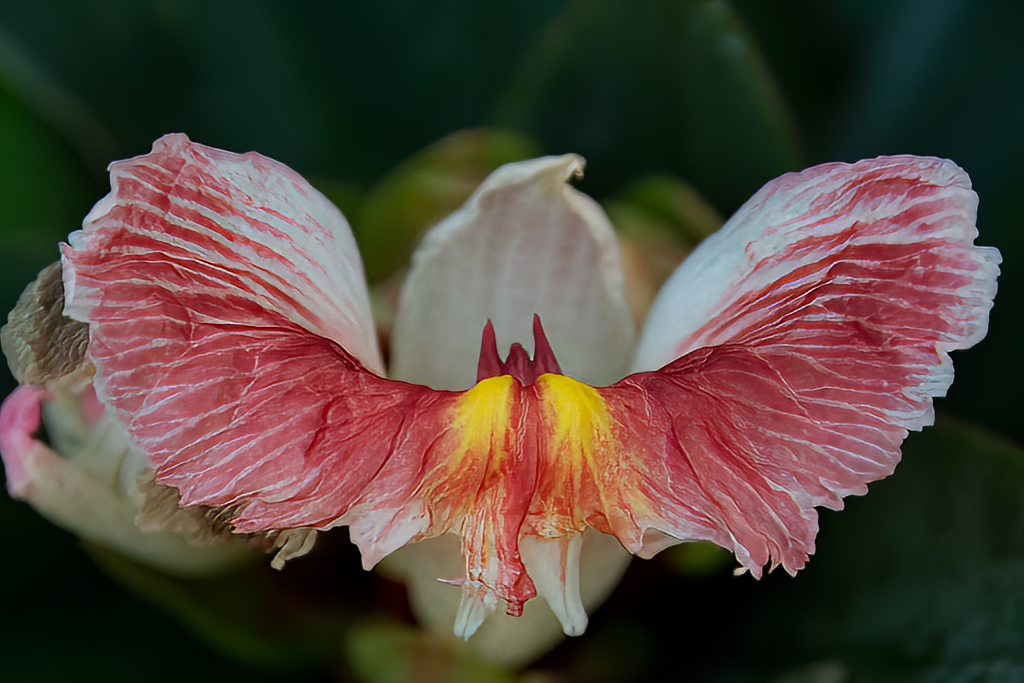
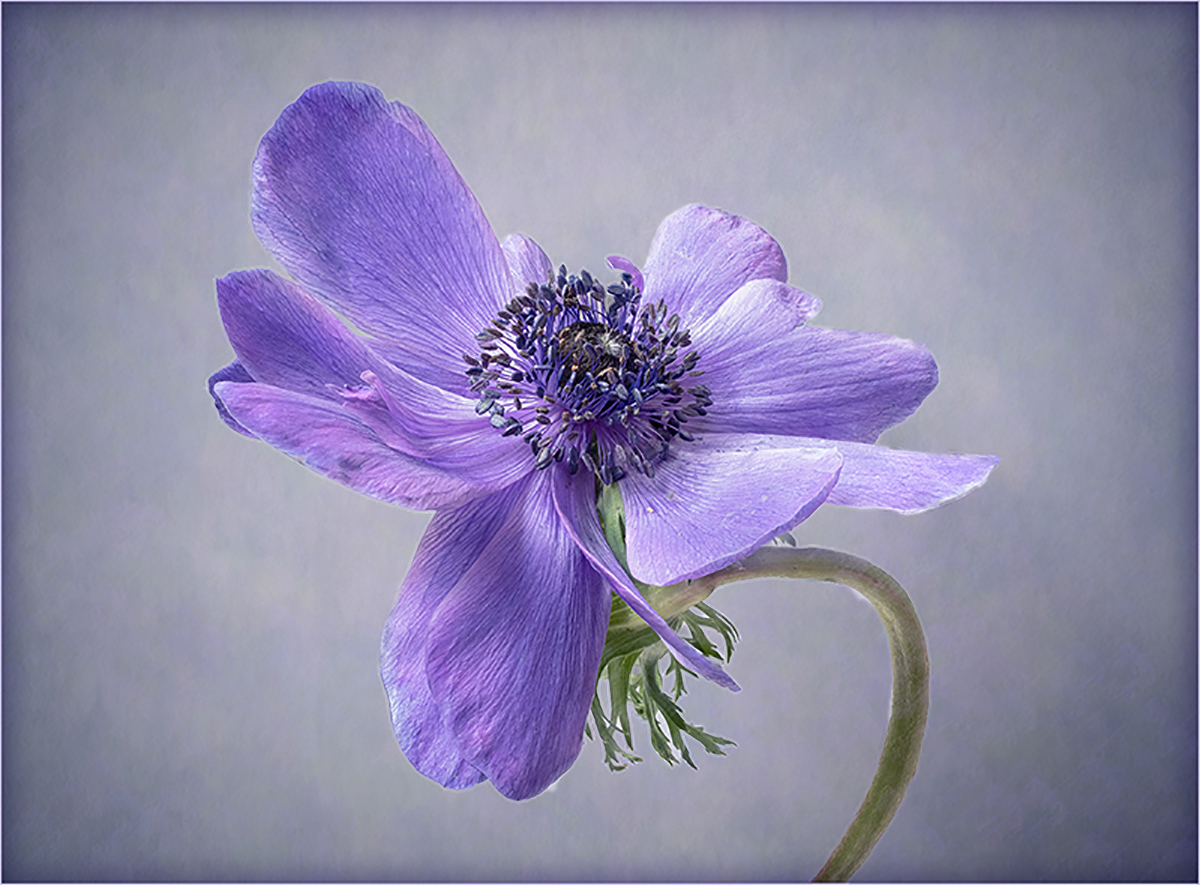
A fascinating flower, Fred. I must agree with Lance's assessment of the chosen camera settings for this. I took the original into Topaz's Photo AI to see if I could better see the flower: |
Oct 19th |
 |
| 24 |
Oct 22 |
Comment |
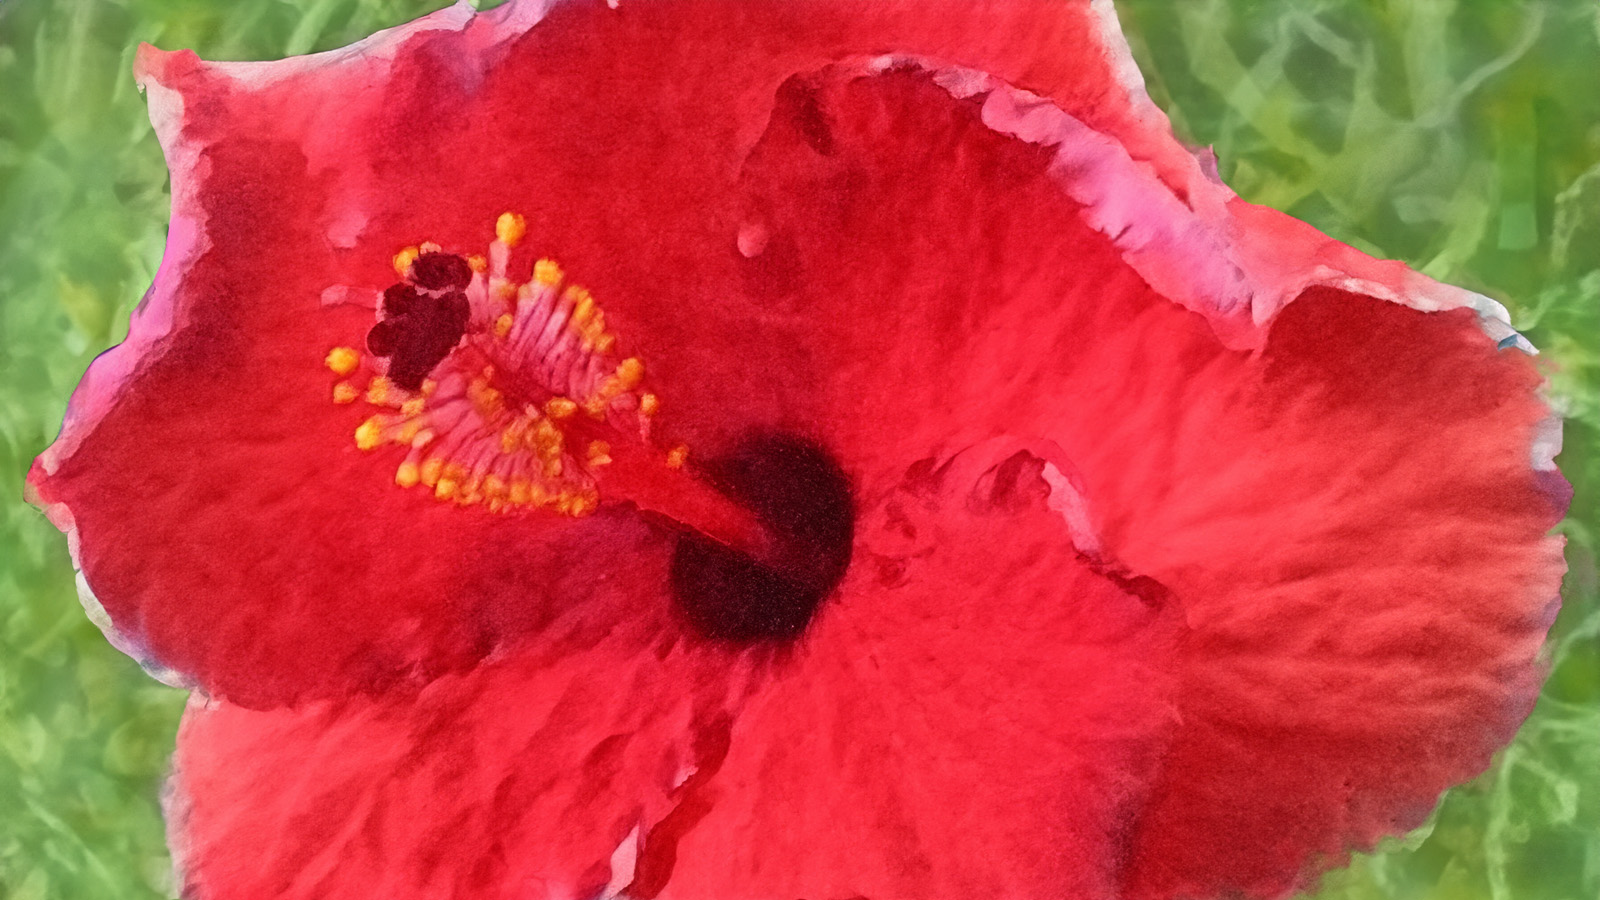
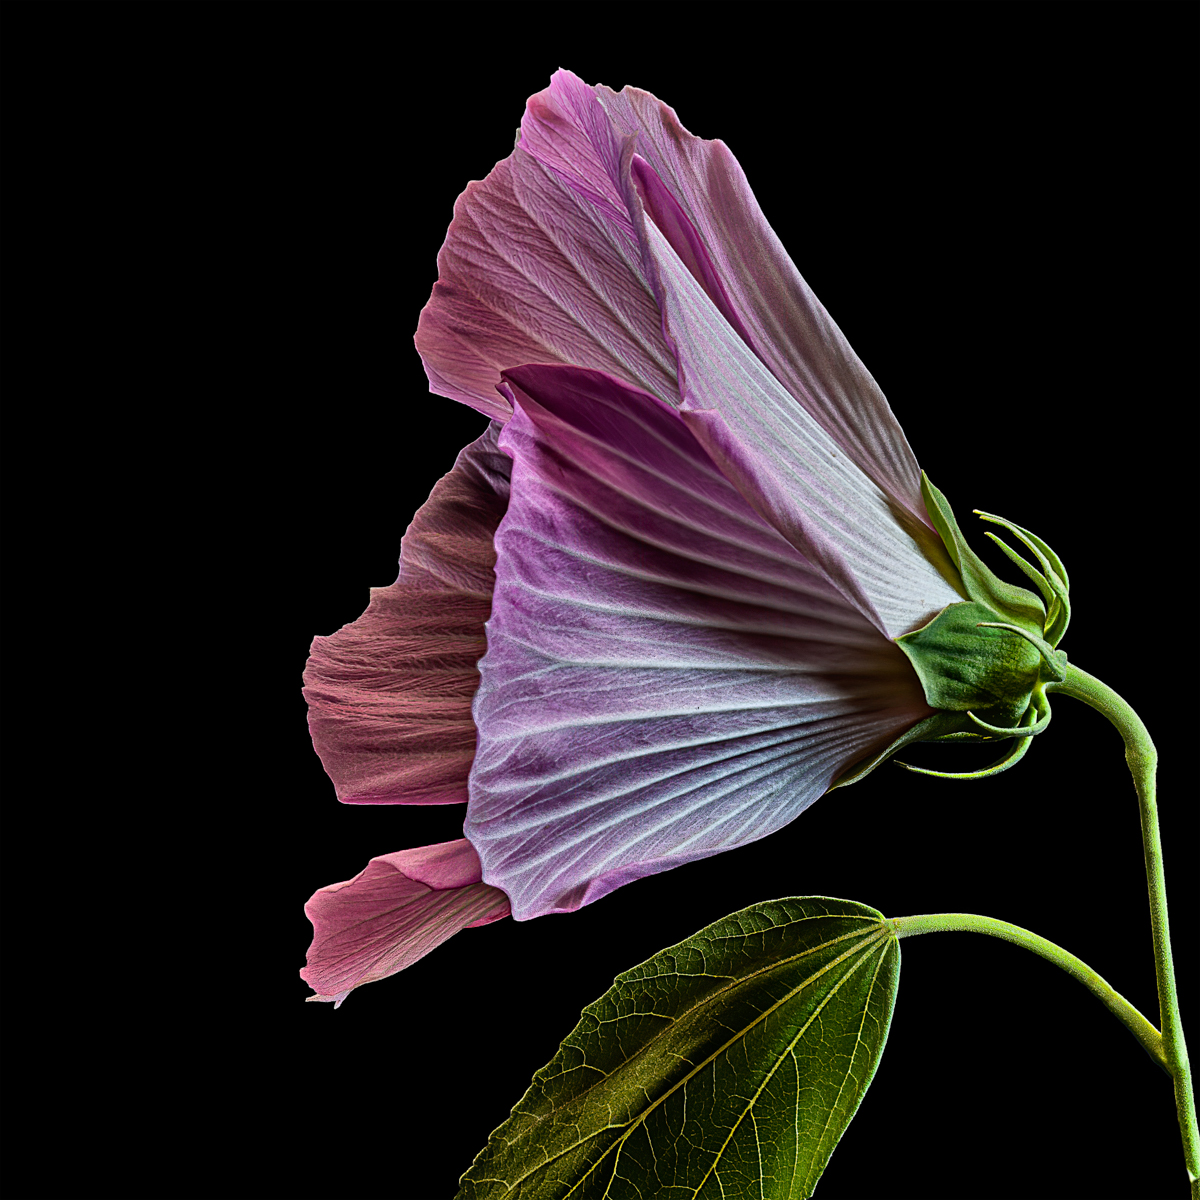
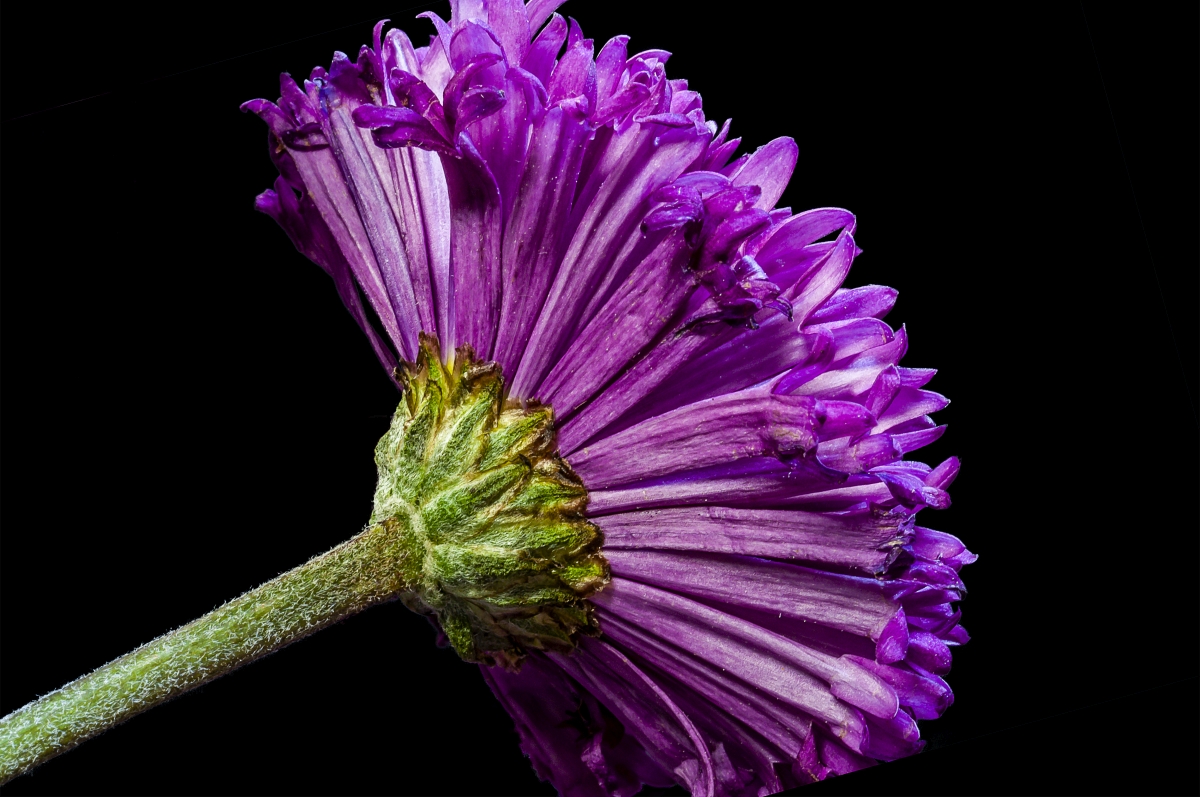
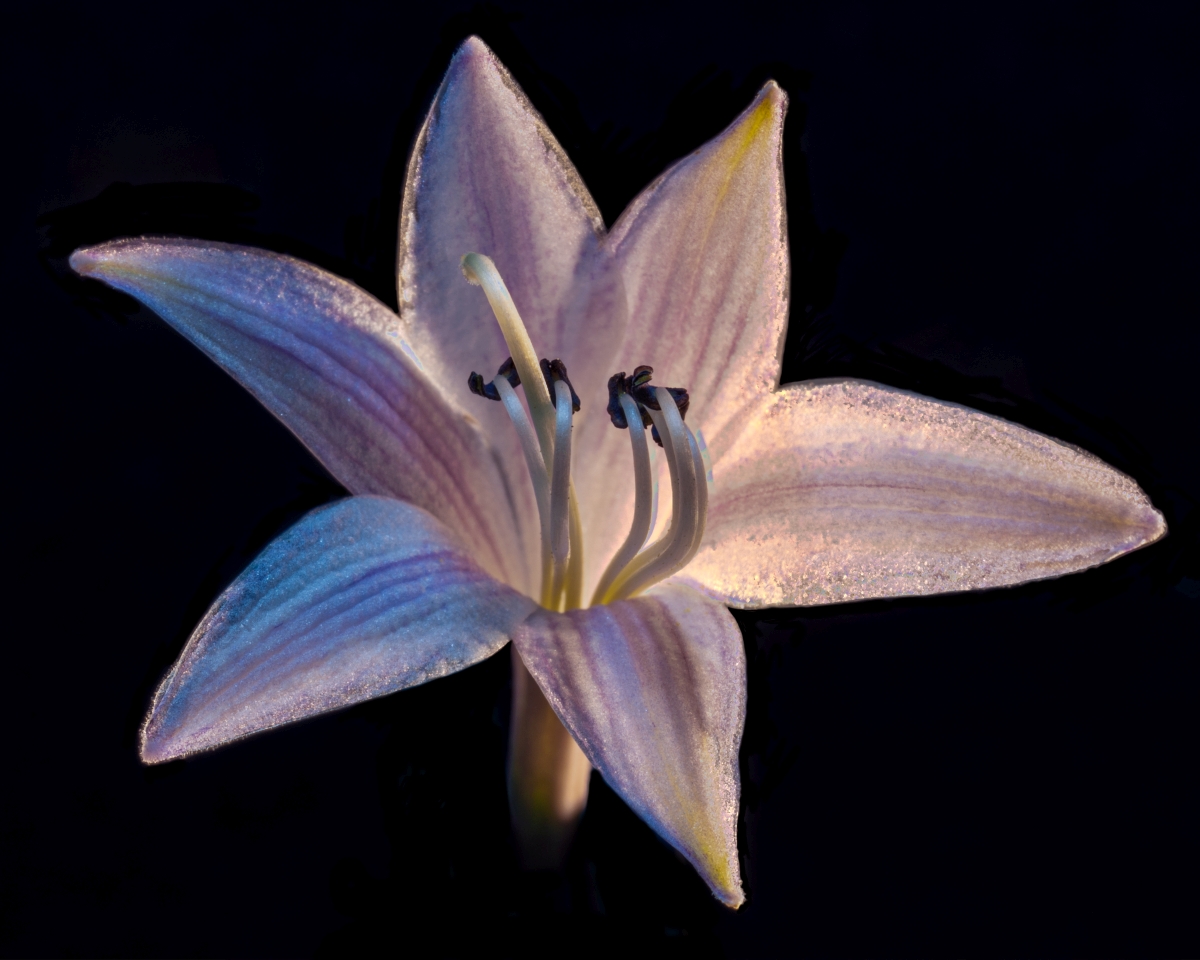
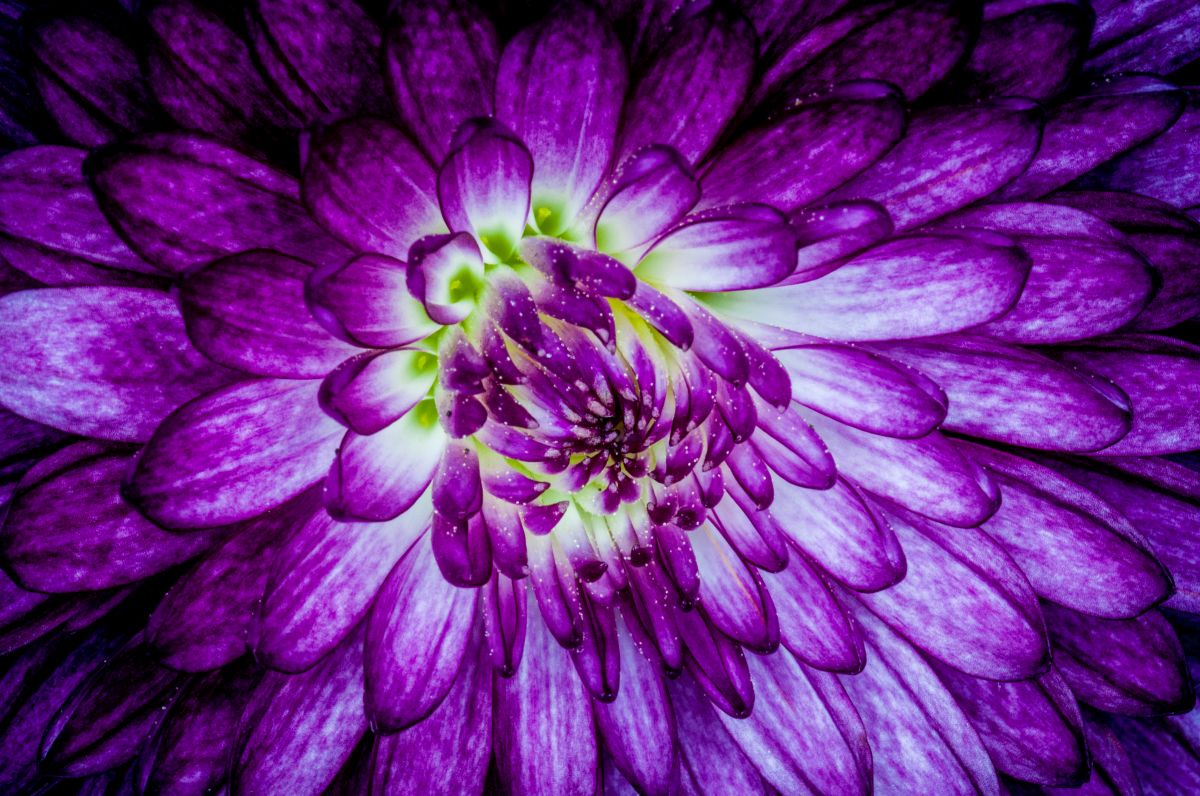
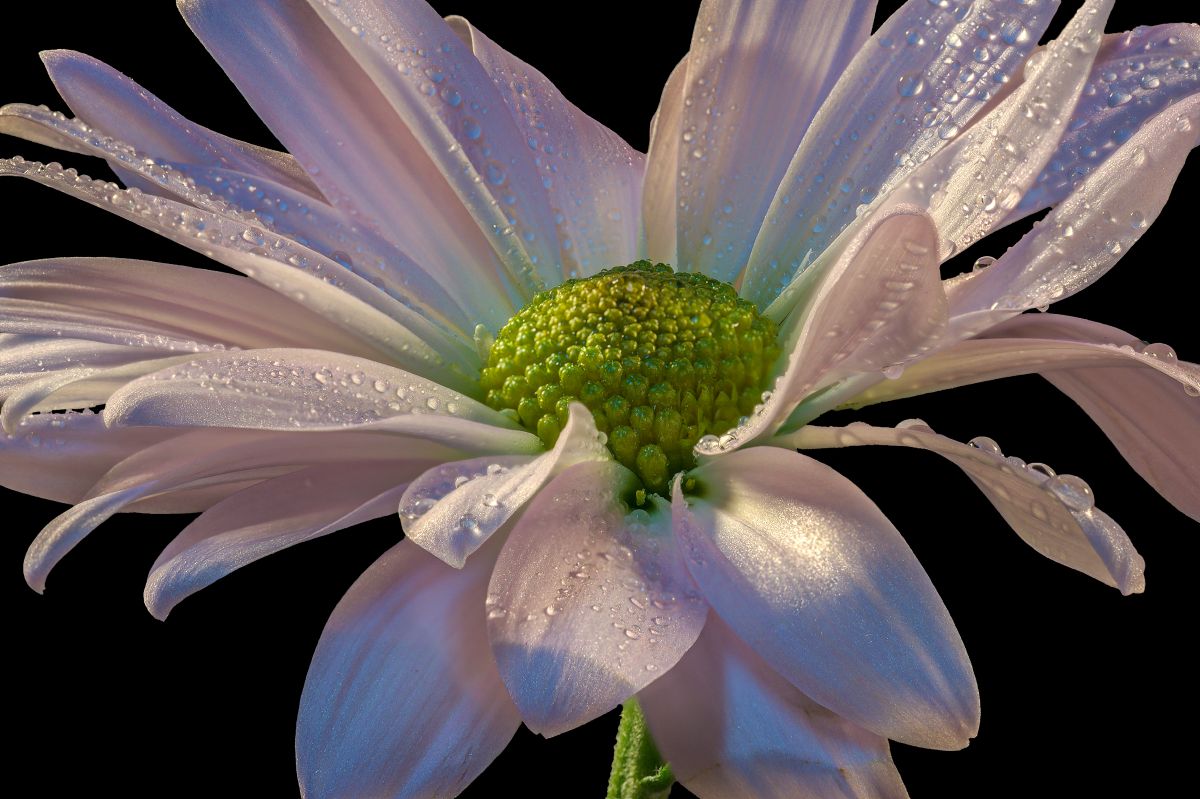
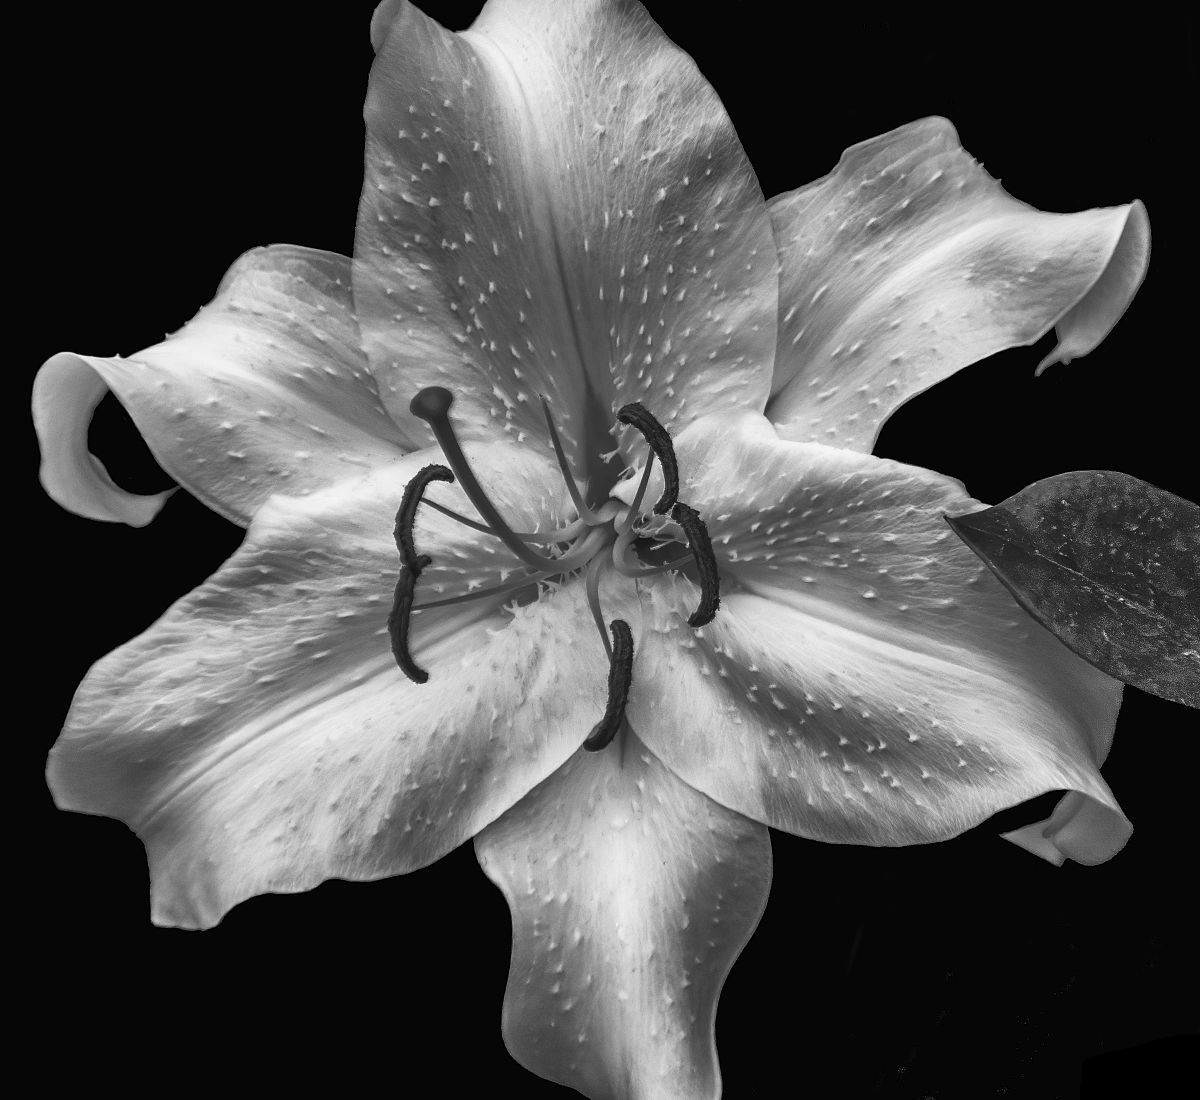
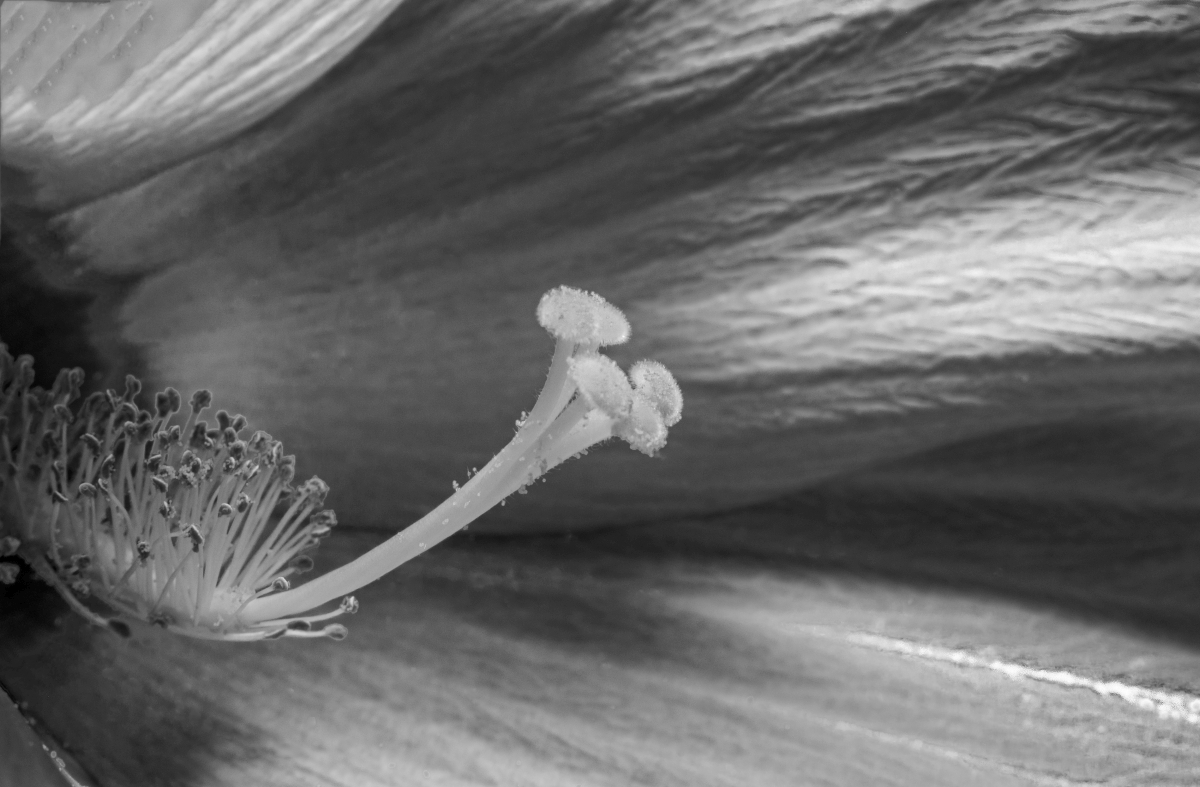
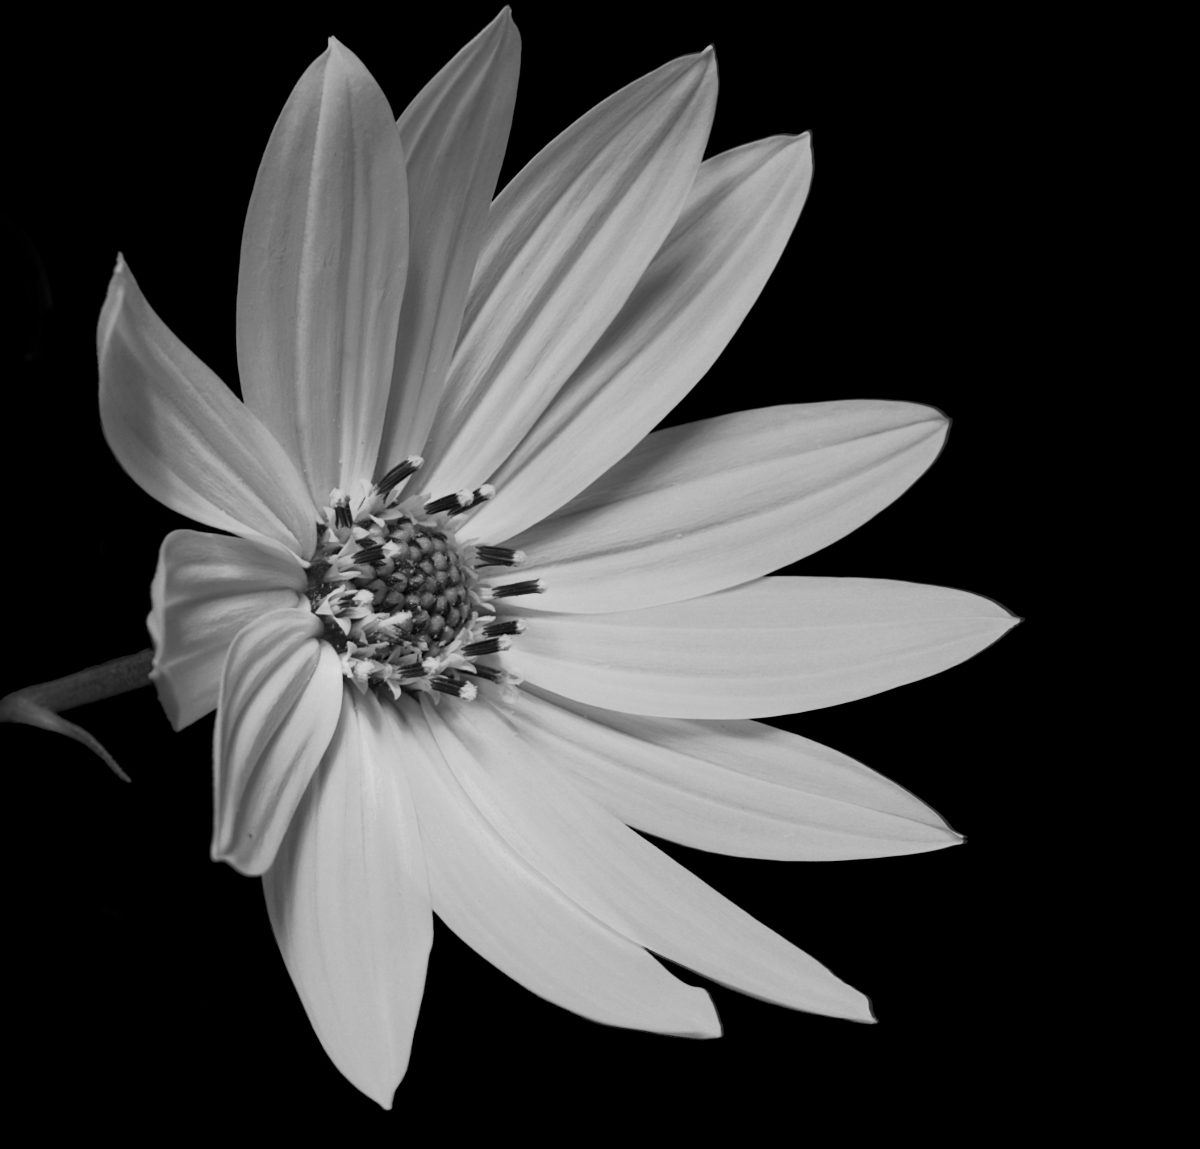
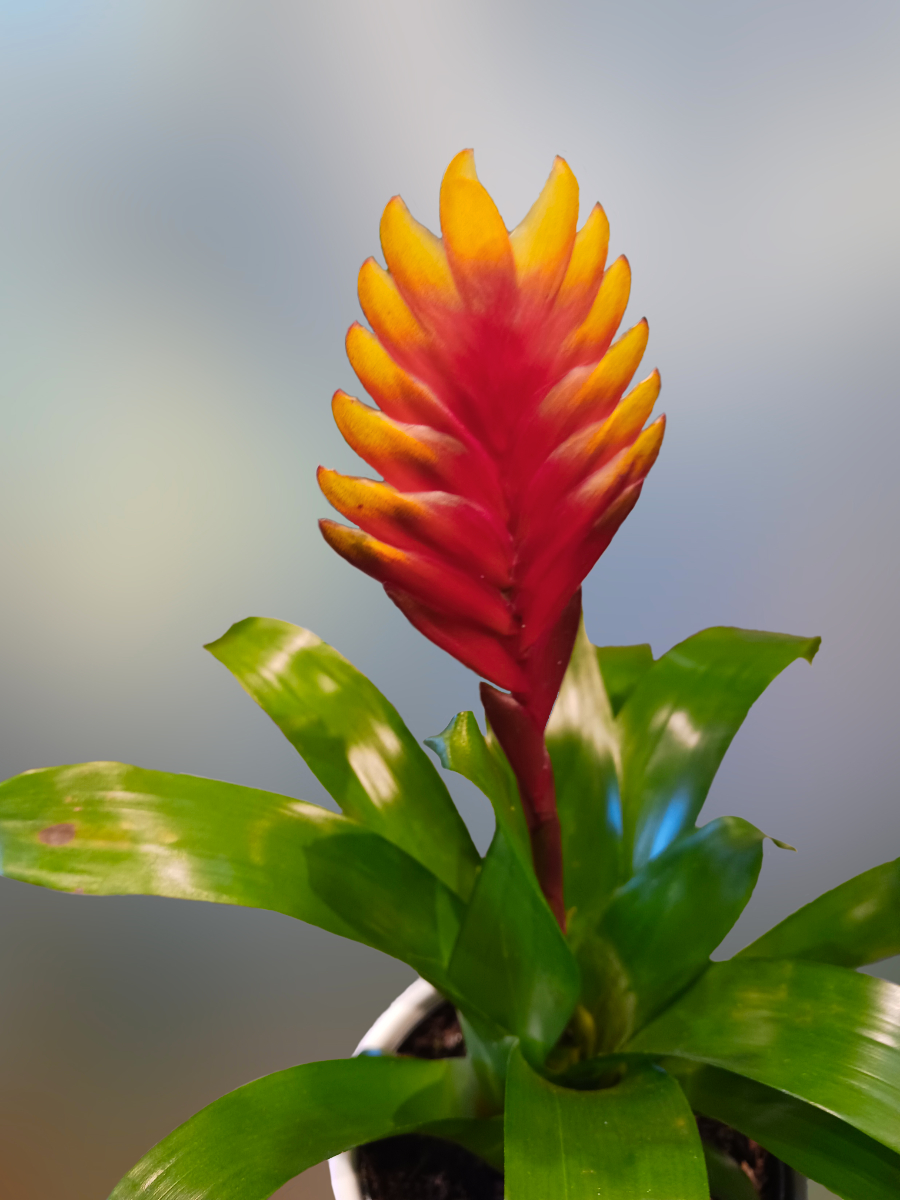
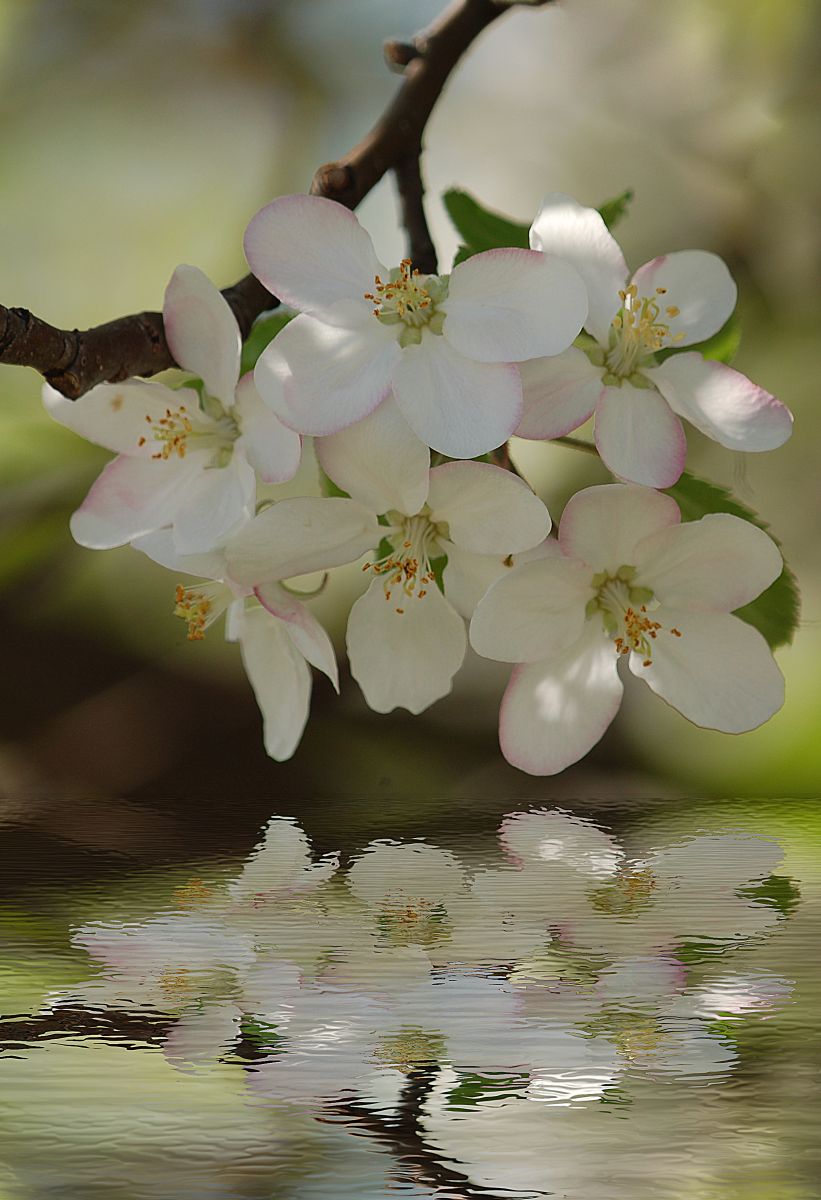
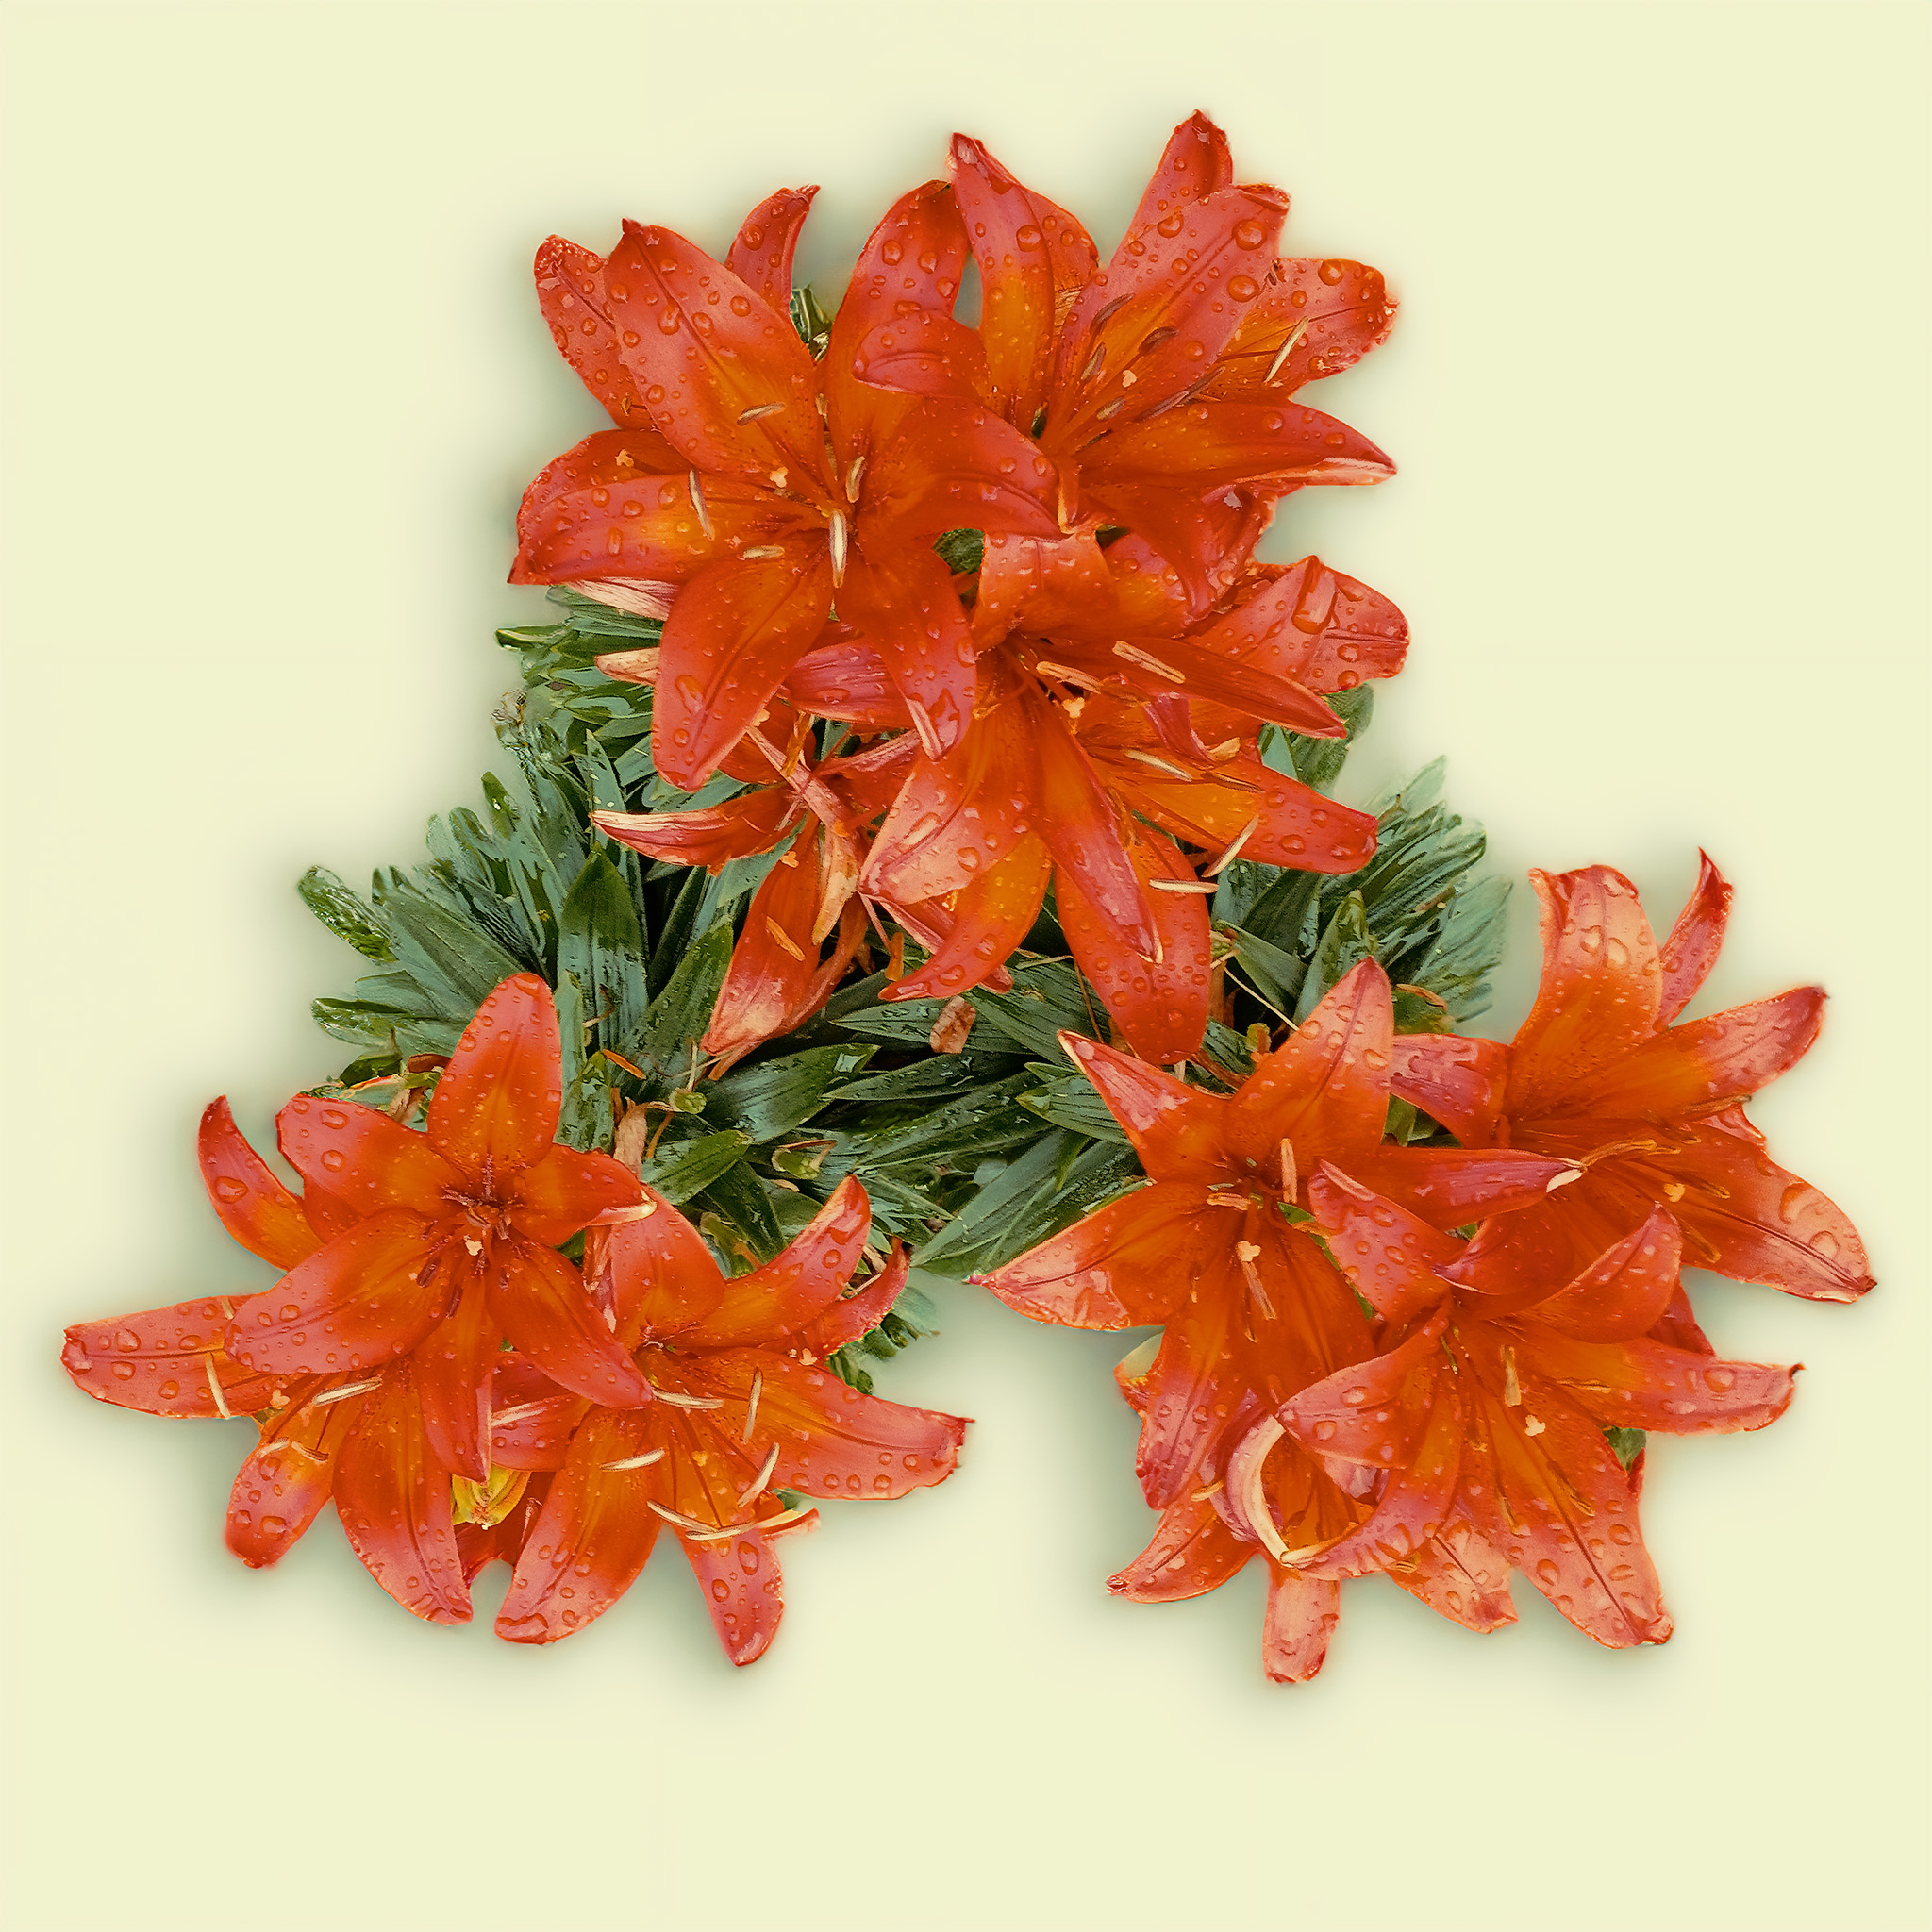
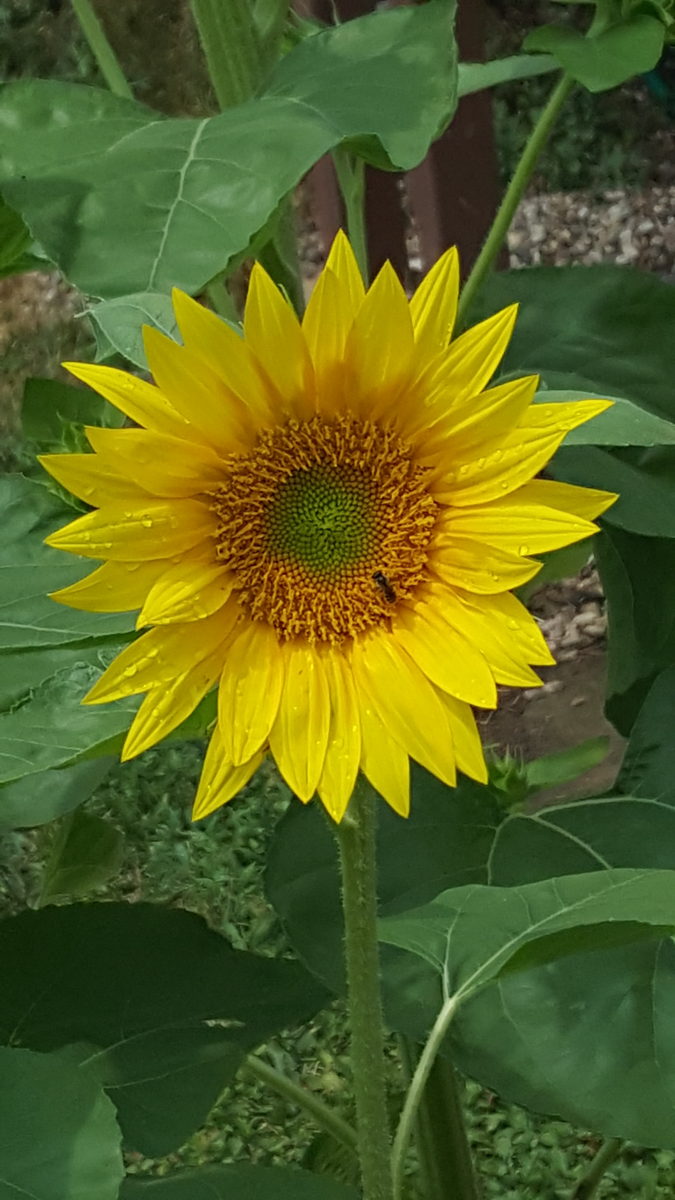
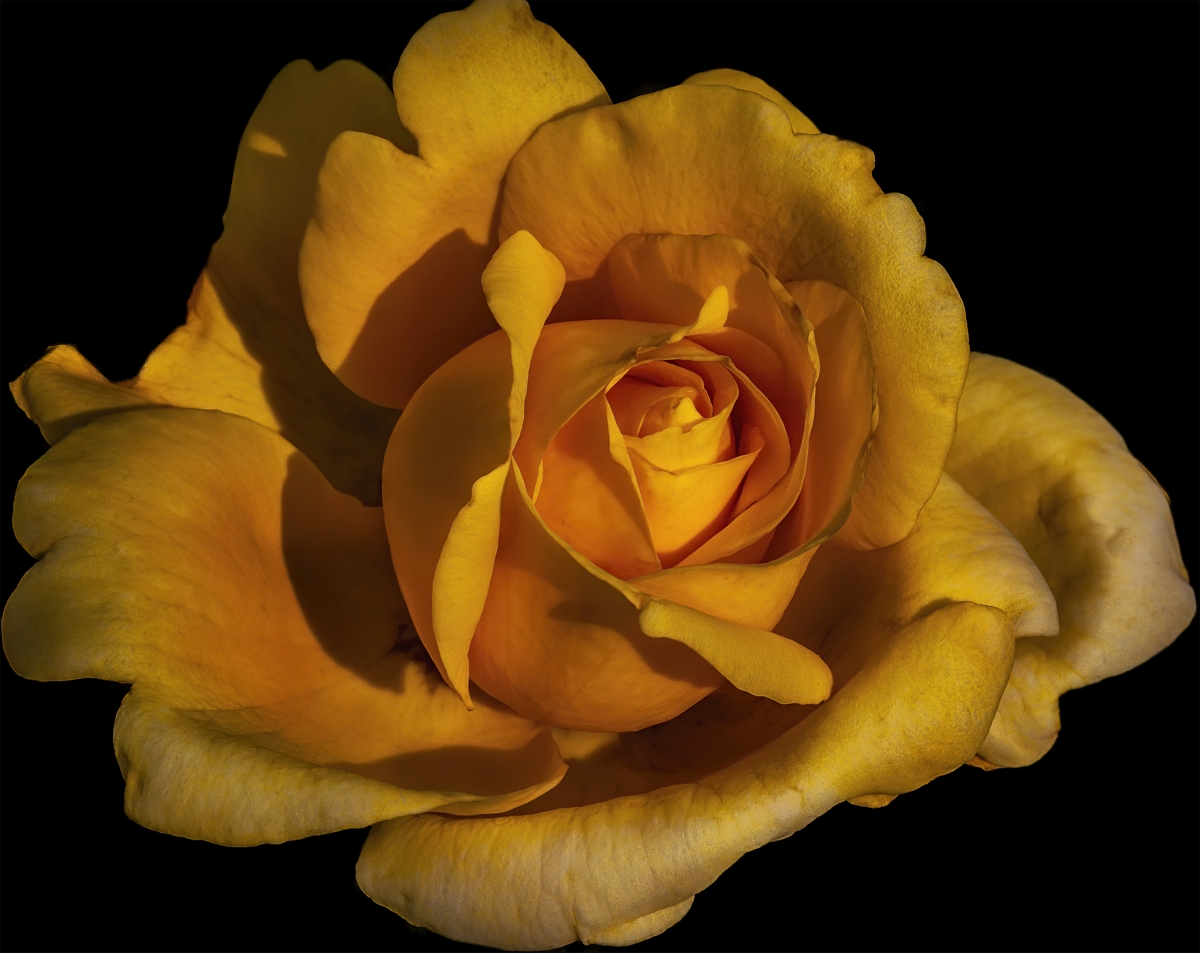
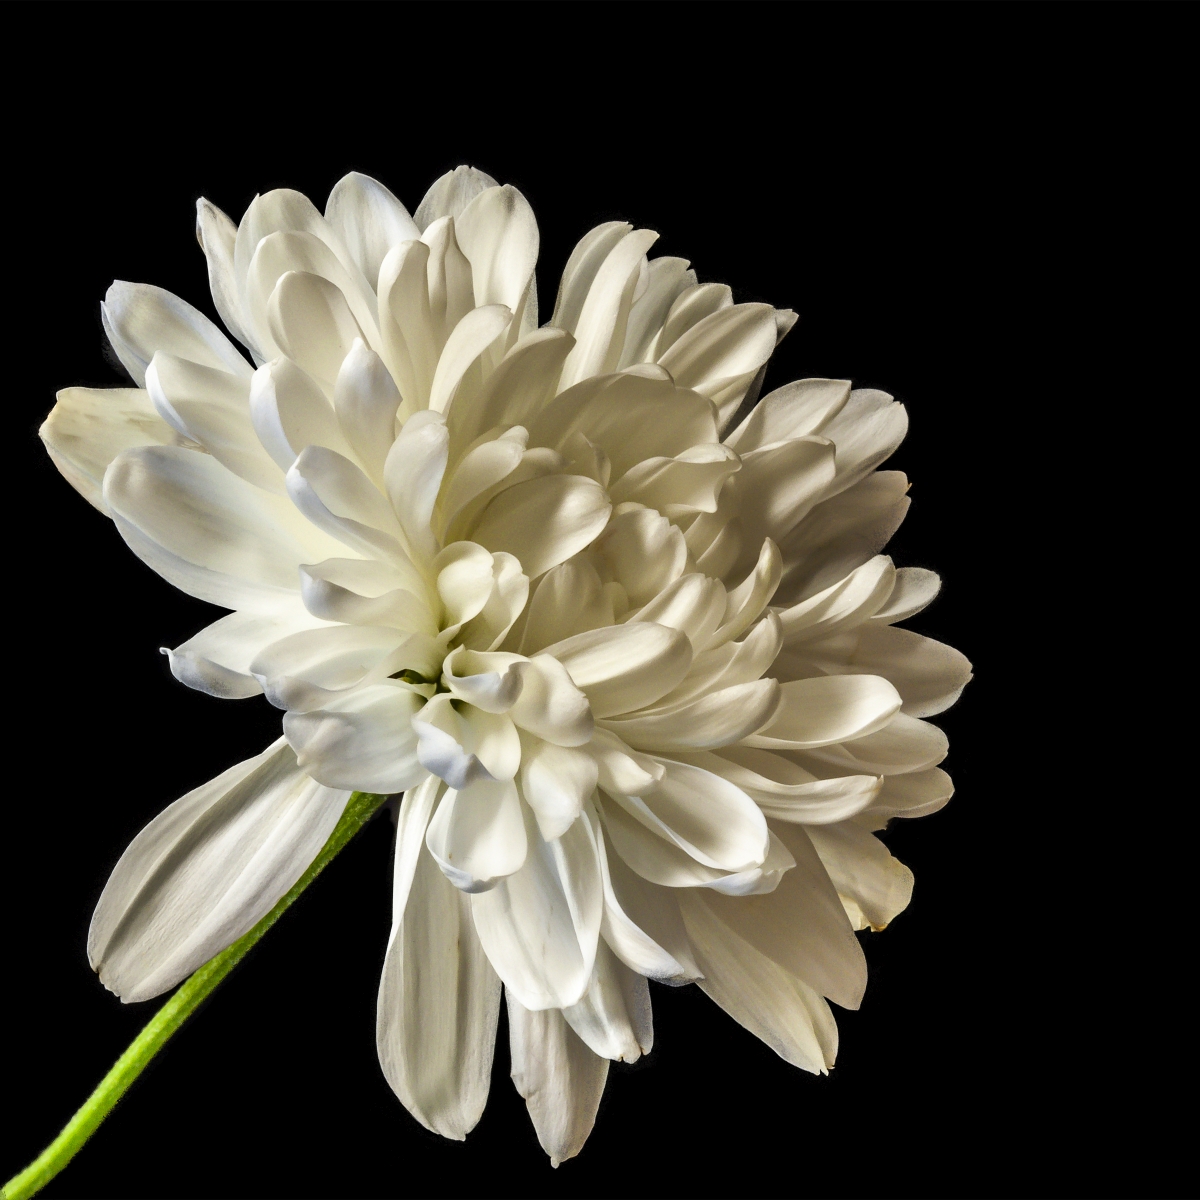
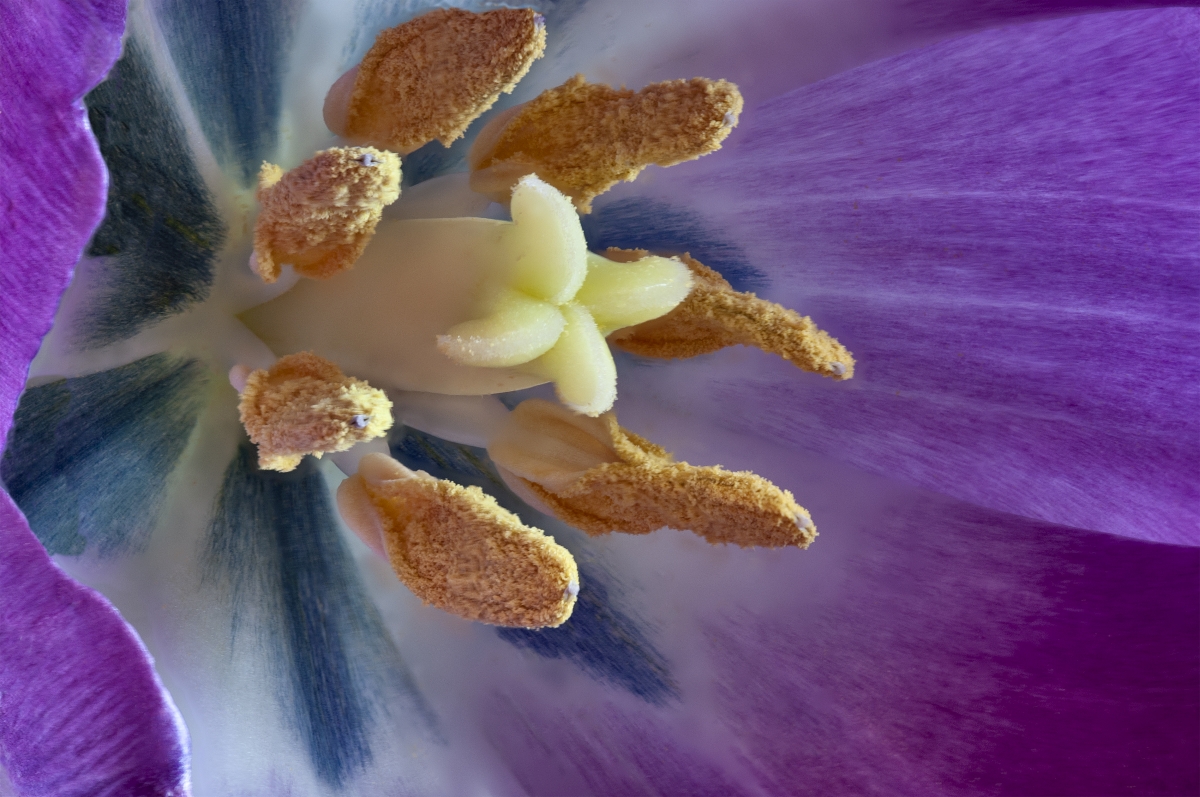
A gorgeous flower presented very well, worthy of gracing the wall.
Like Bev's beautiful entry, my eye does find the background a little bit too bright, so I've darkened it a touch. Thoughts? |
Oct 19th |
 |
| 24 |
Oct 22 |
Comment |
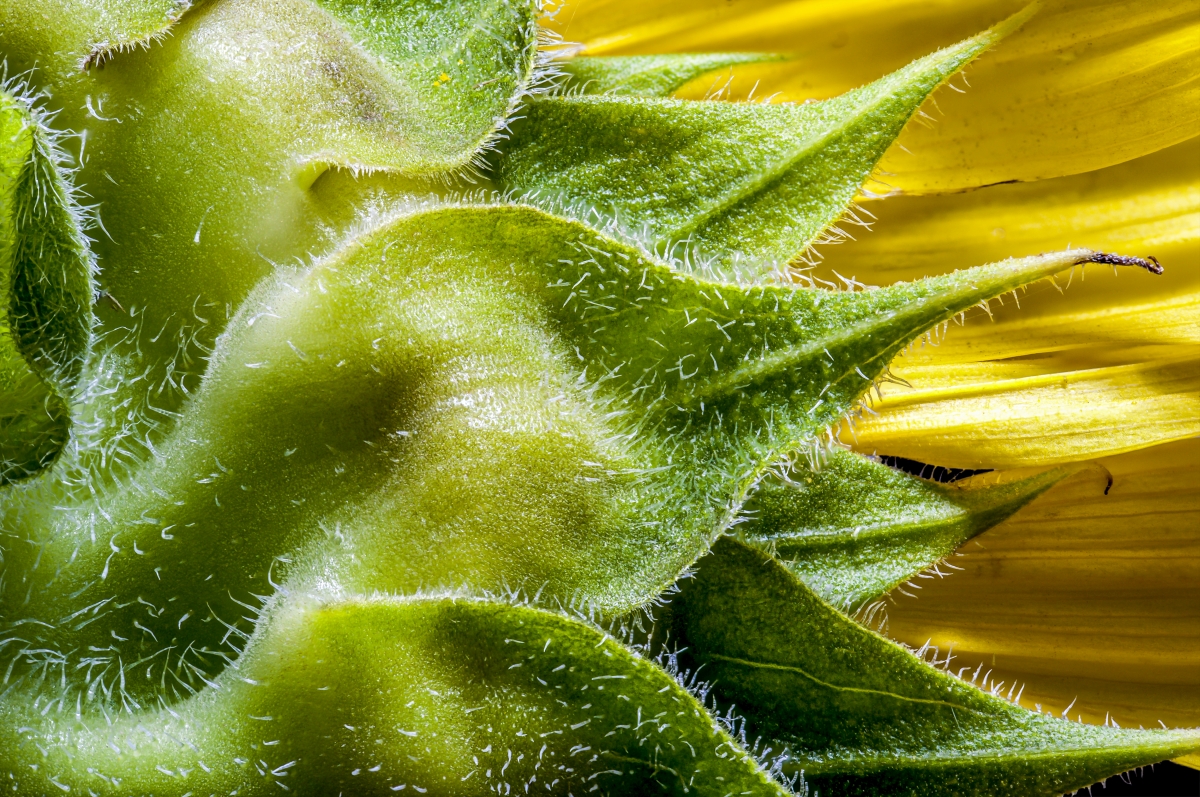
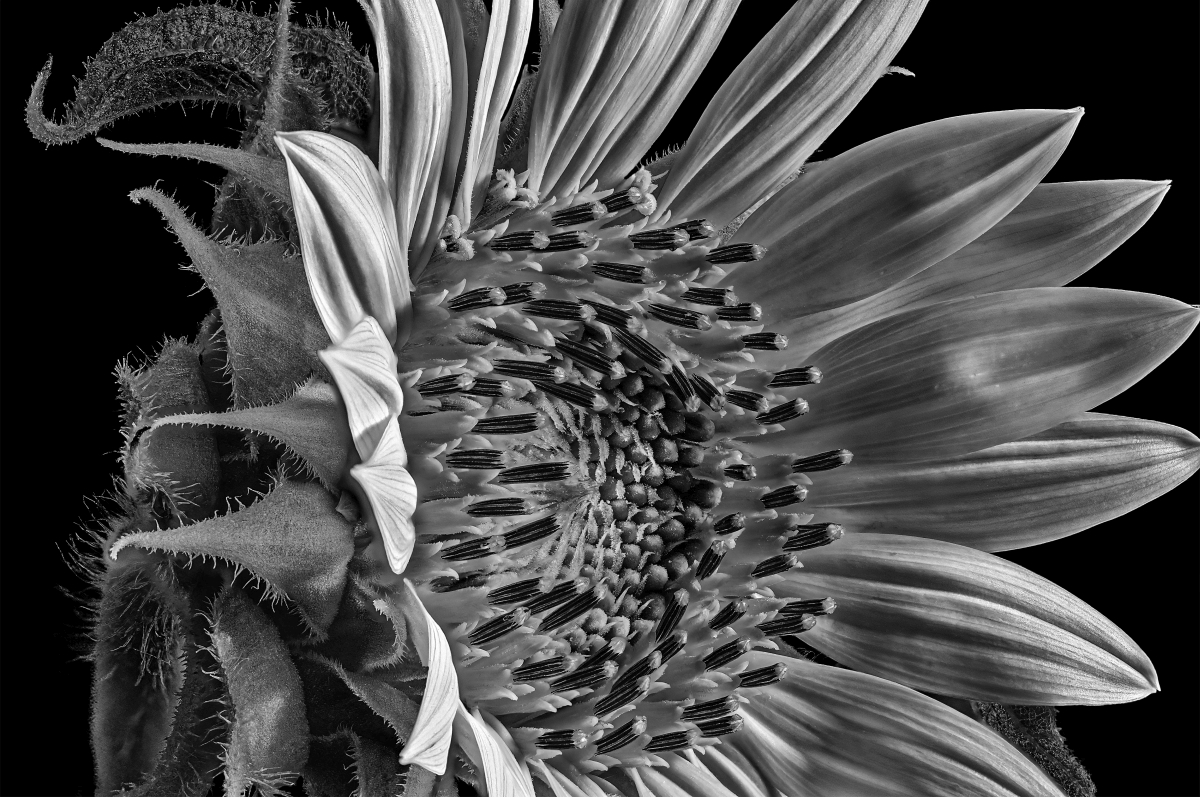
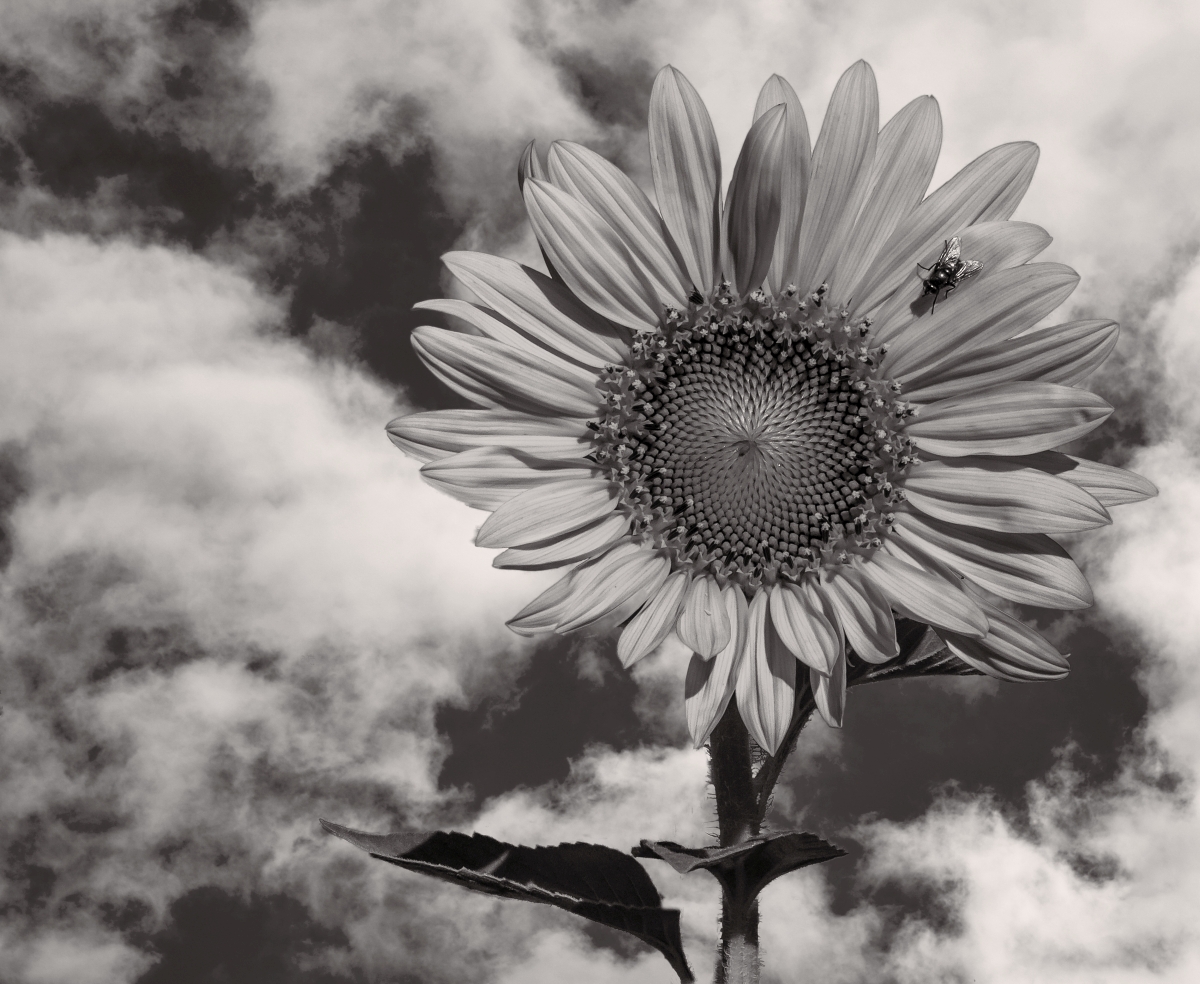
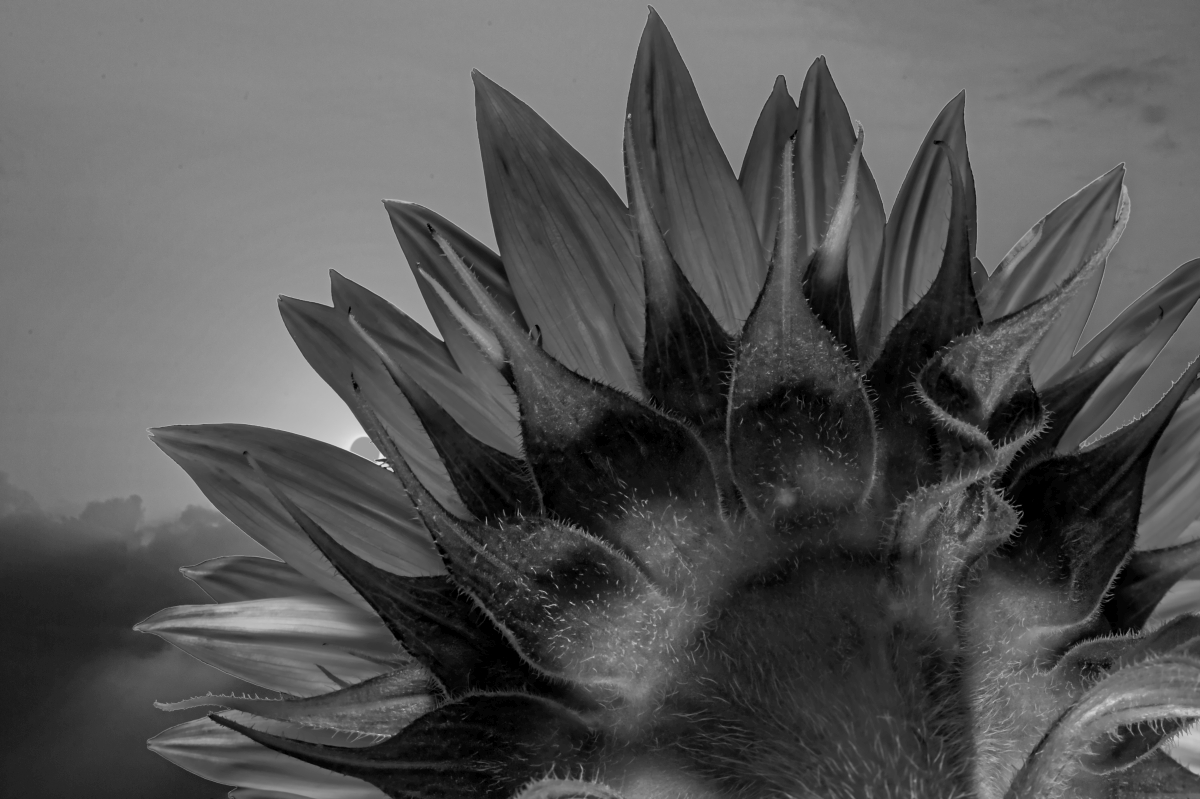
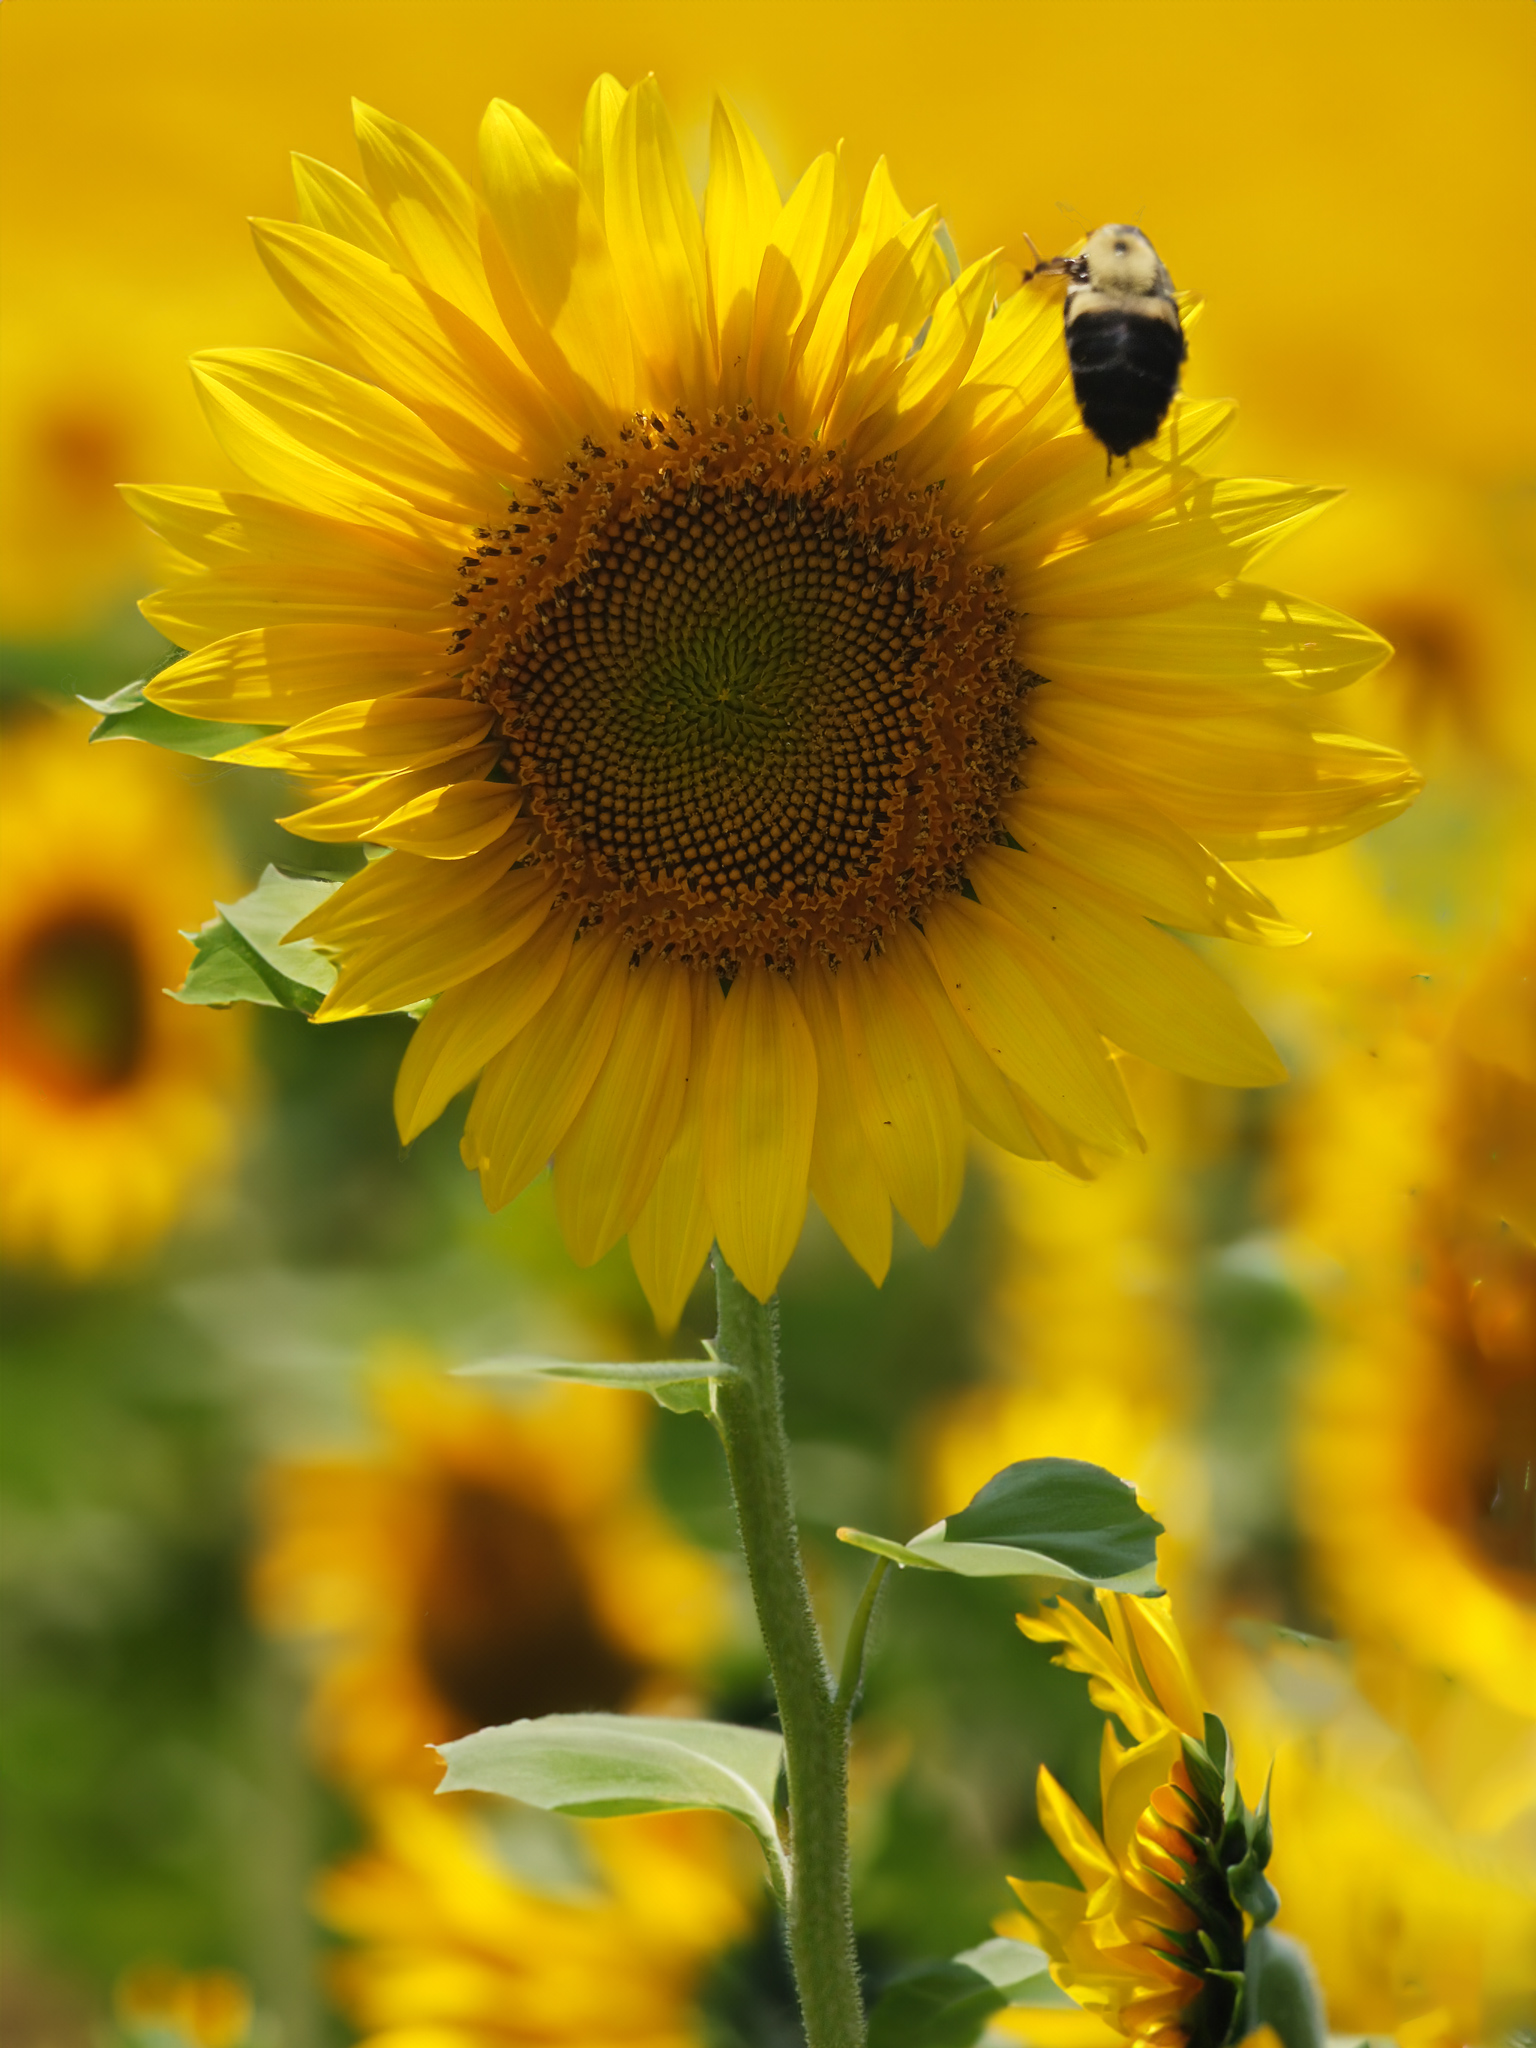
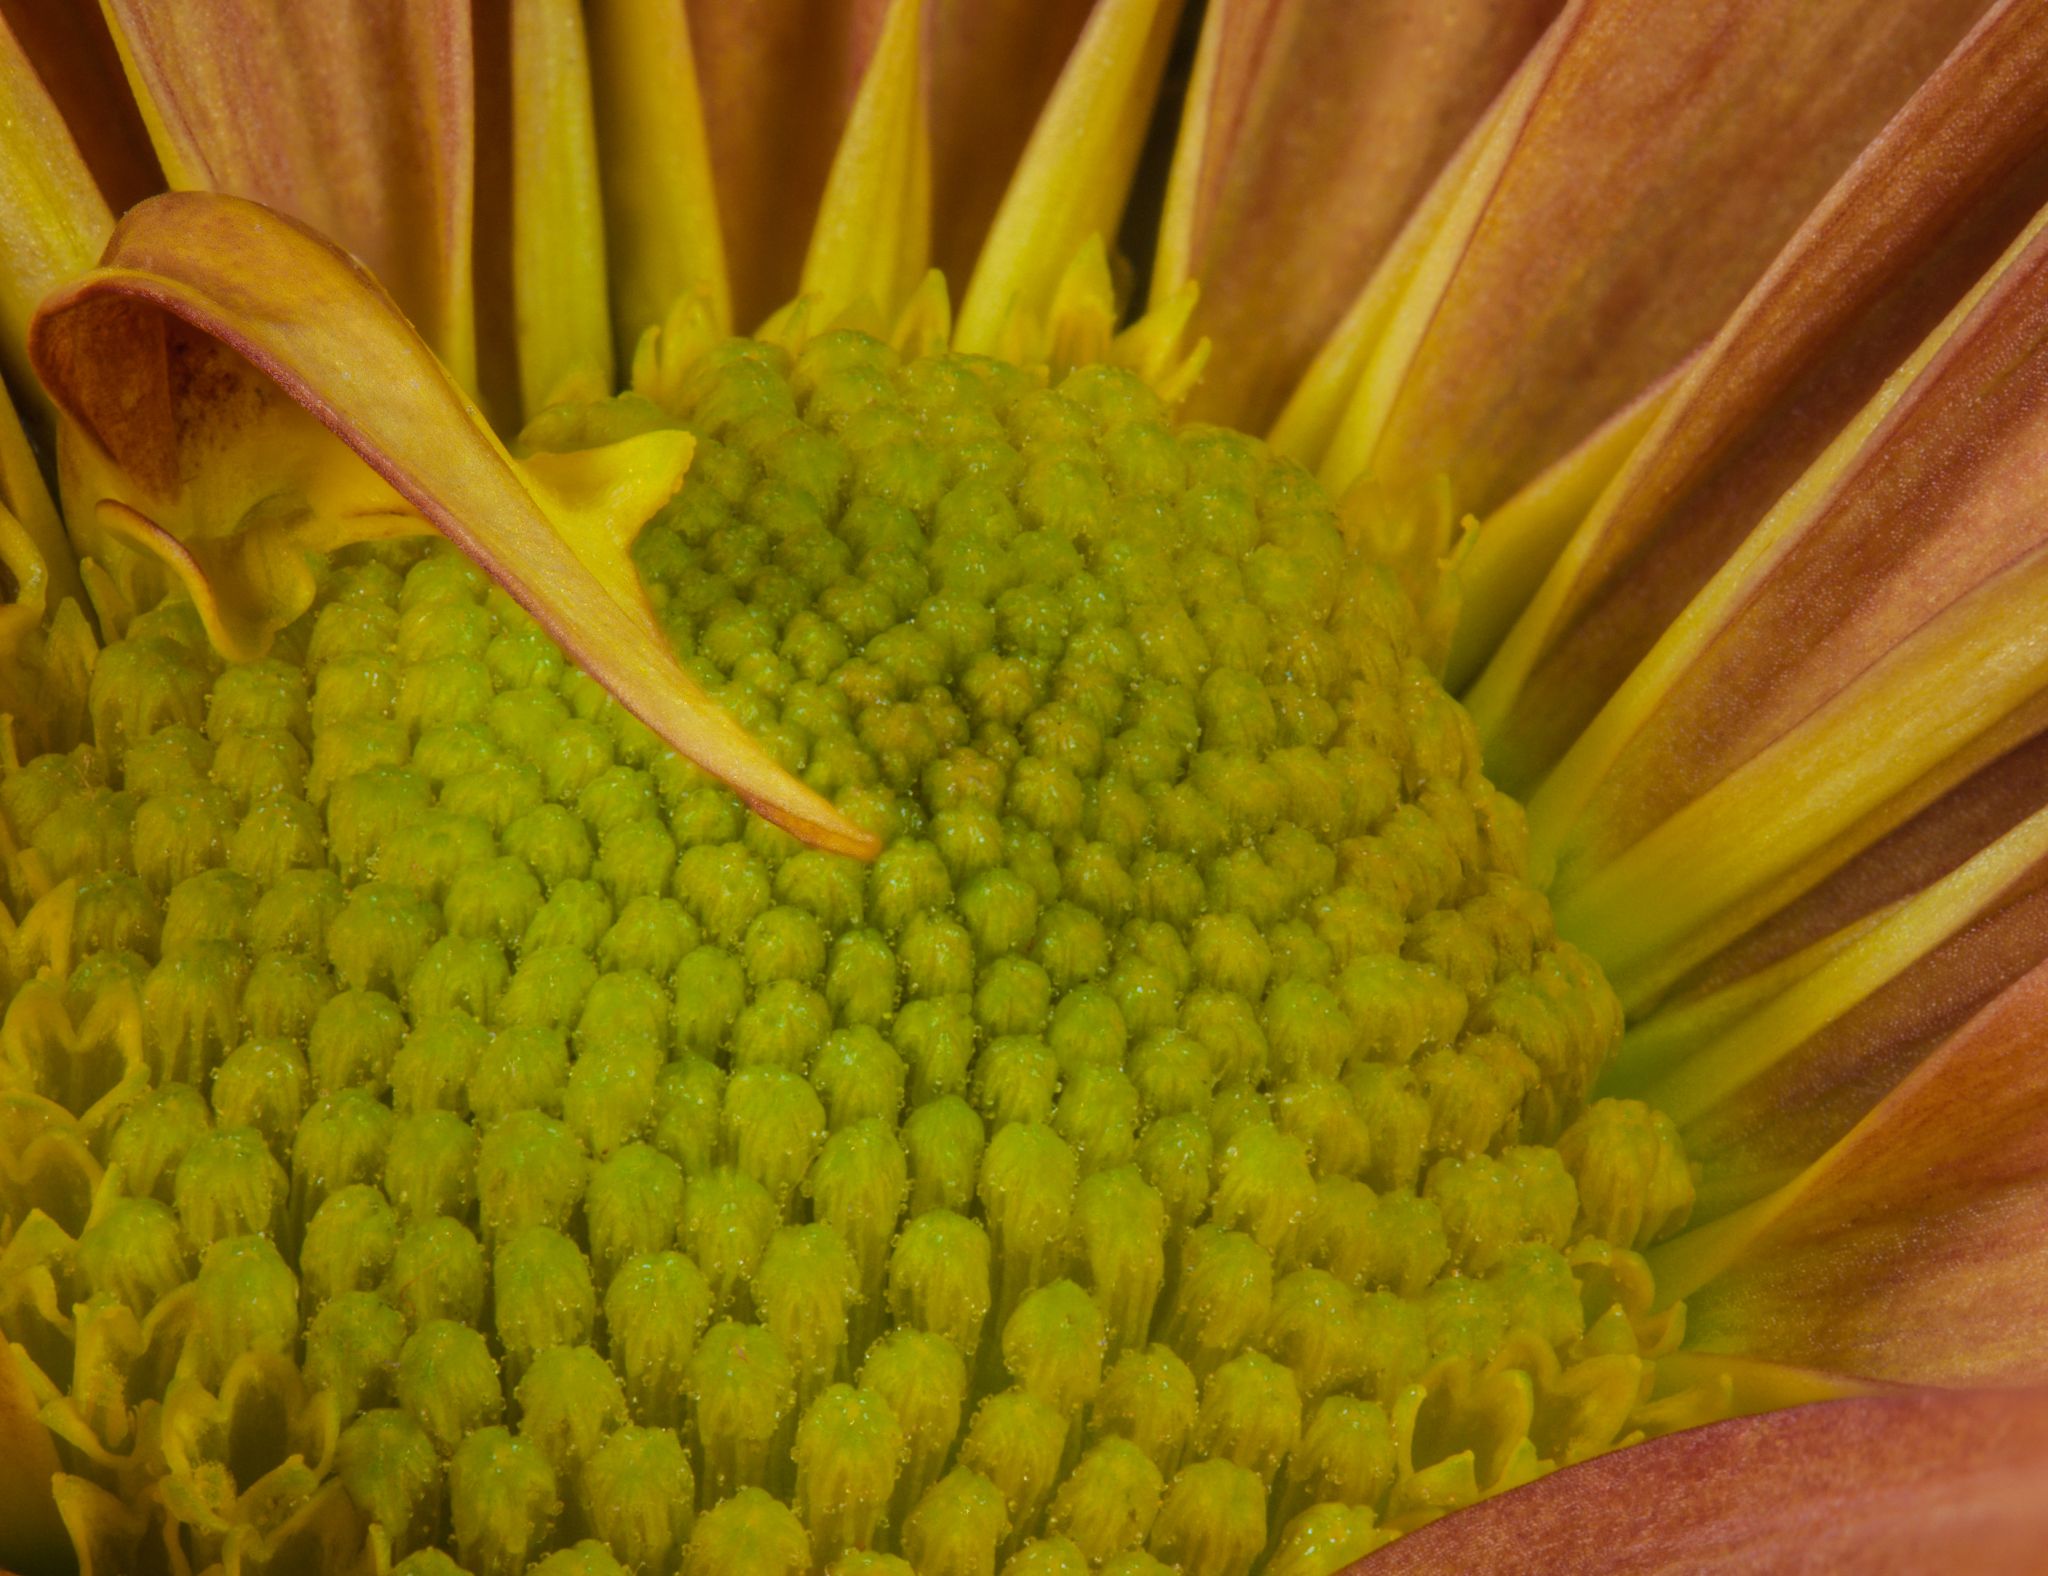
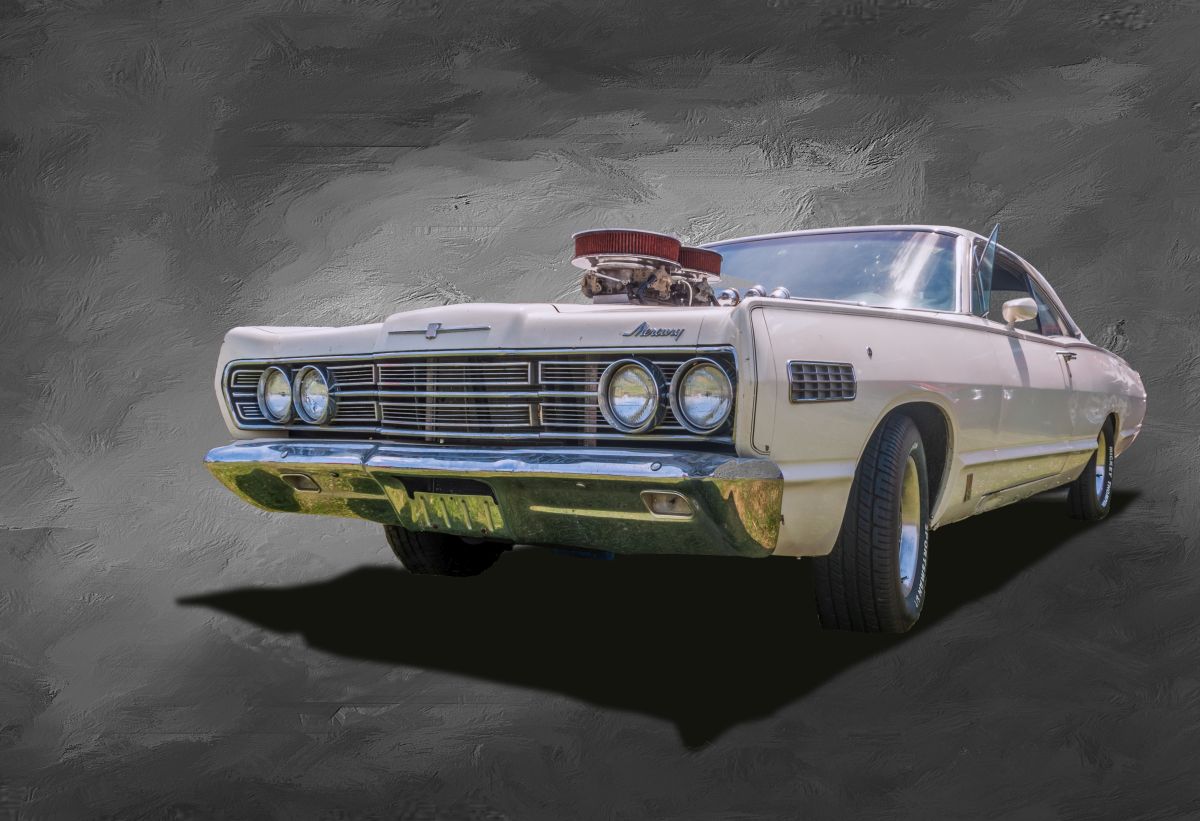
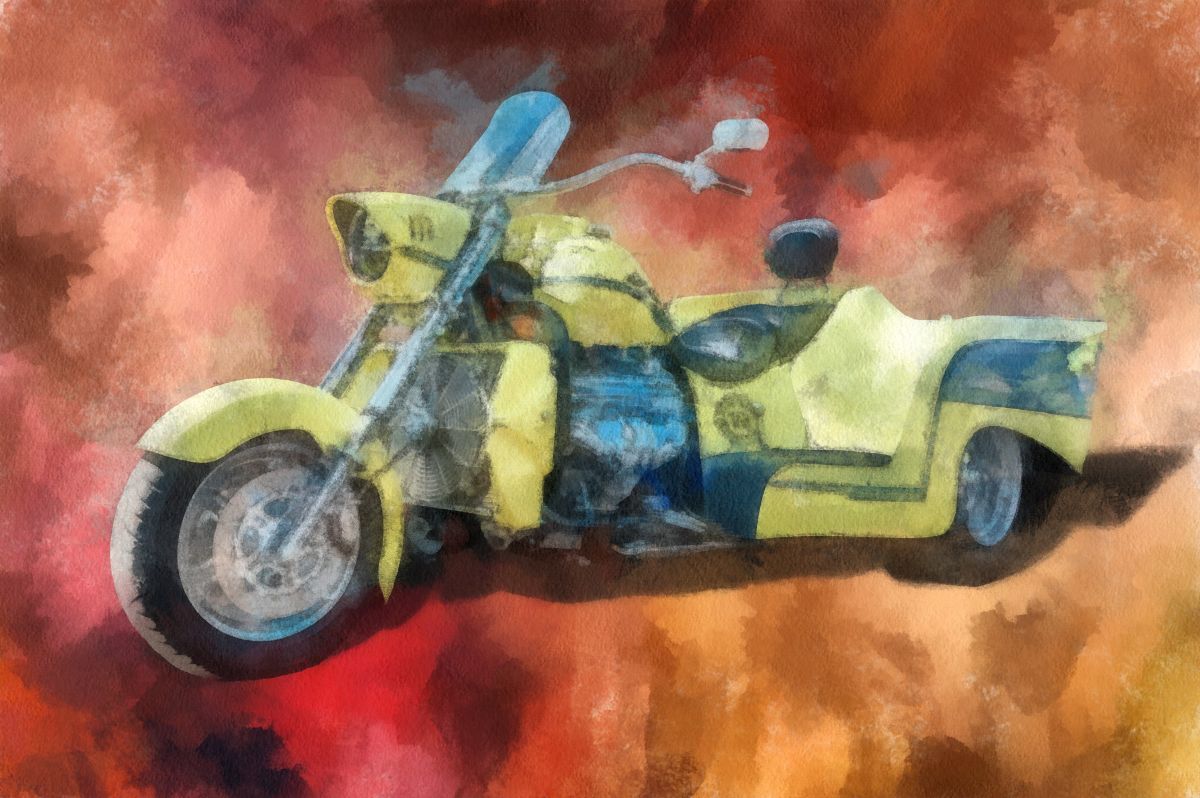
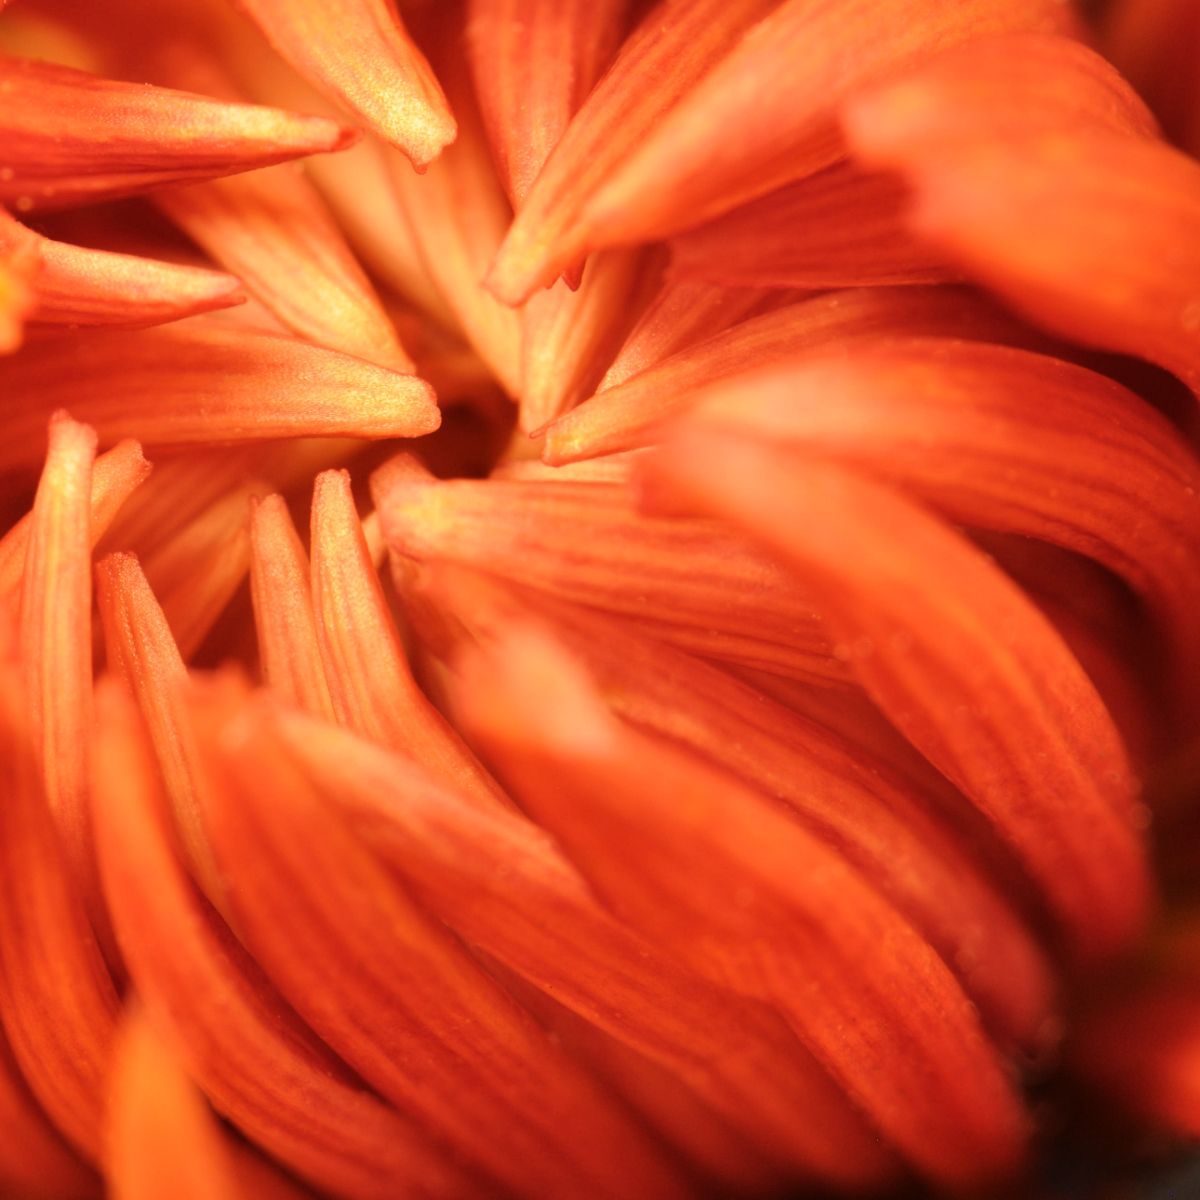
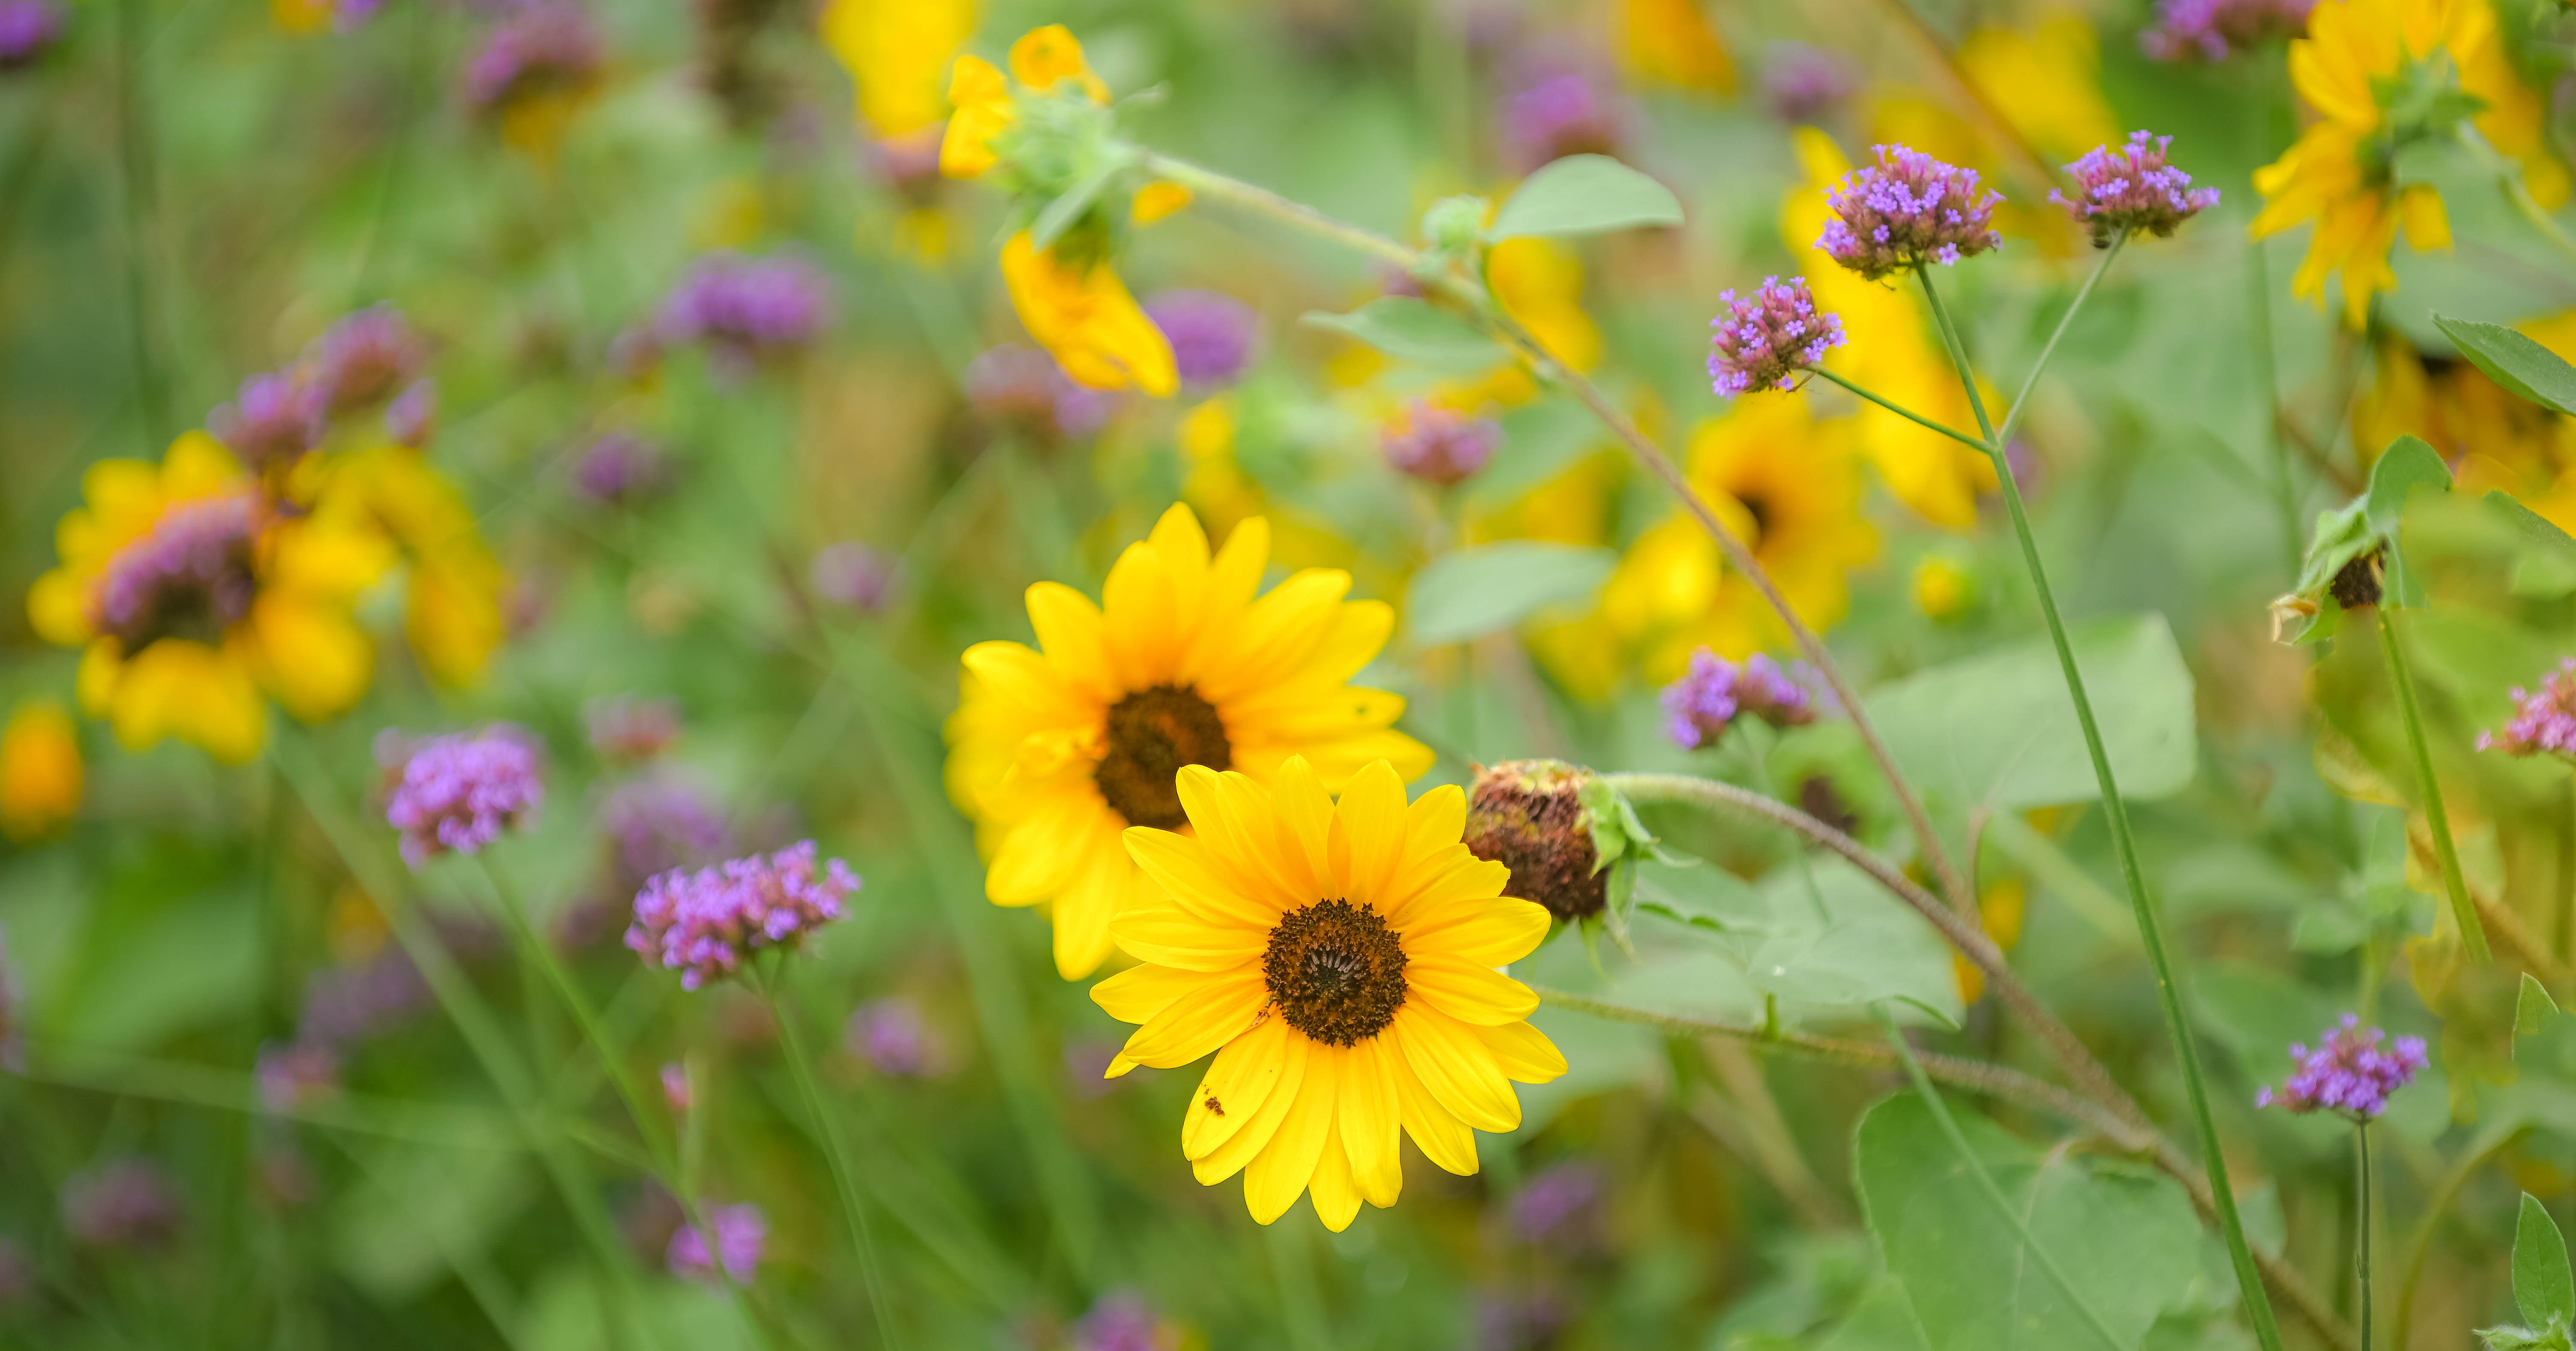
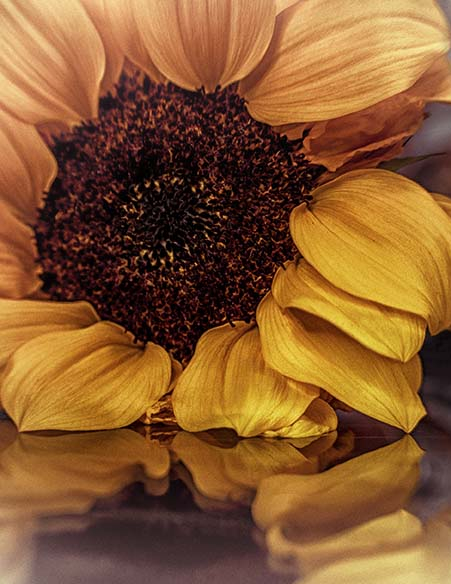
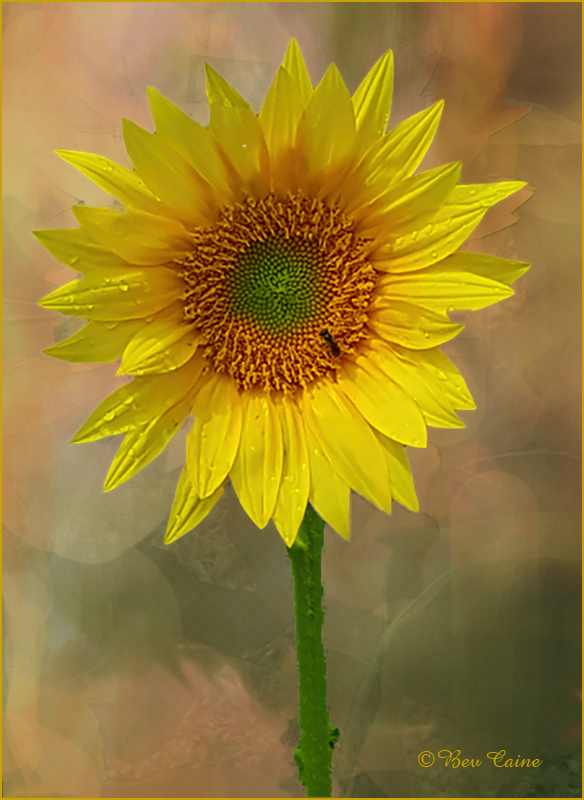
I love sunflowers so much that I used to grow a patch in my former backyard. This is a fine example and your painterly treatment has turned it into a pleasant piece of art.
For my eye, the background is a little bit too bright for the sunflower, so I brought it down a bit. Thoughts? |
Oct 19th |
 |
6 comments - 7 replies for Group 24
|
| 53 |
Oct 22 |
Reply |
Hmmm... Gears turning now. d;¬{D |
Oct 17th |
| 53 |
Oct 22 |
Comment |
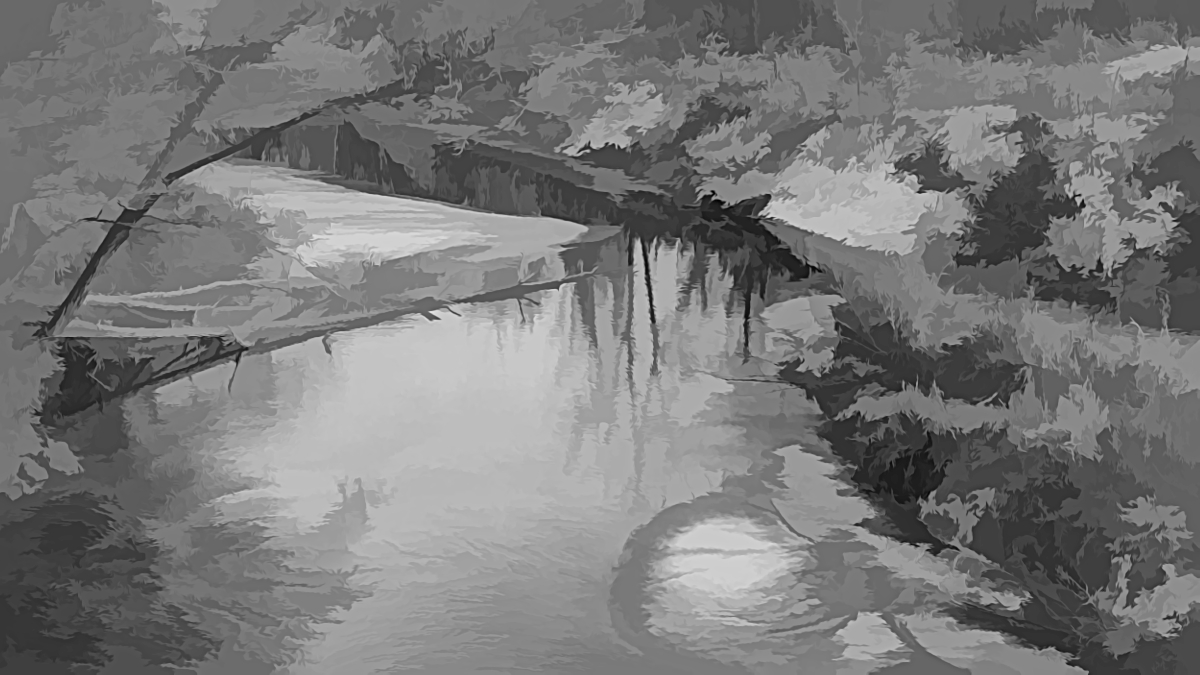
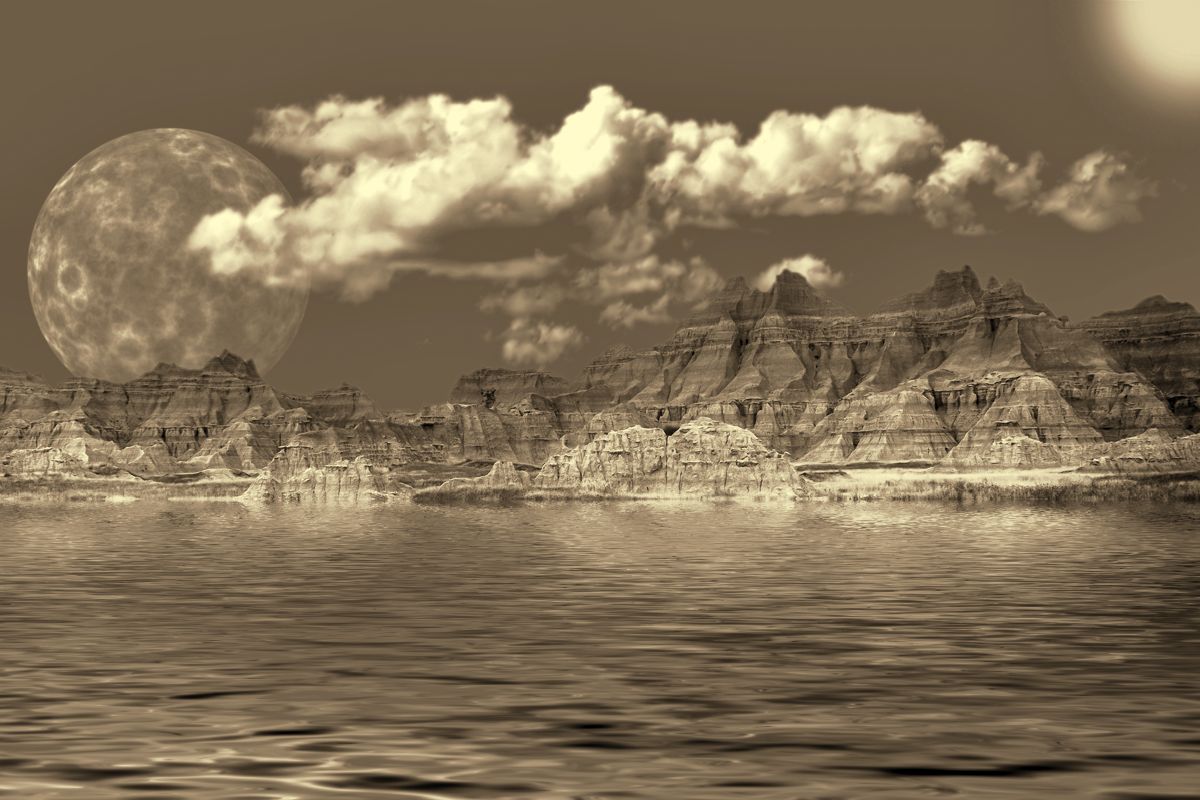
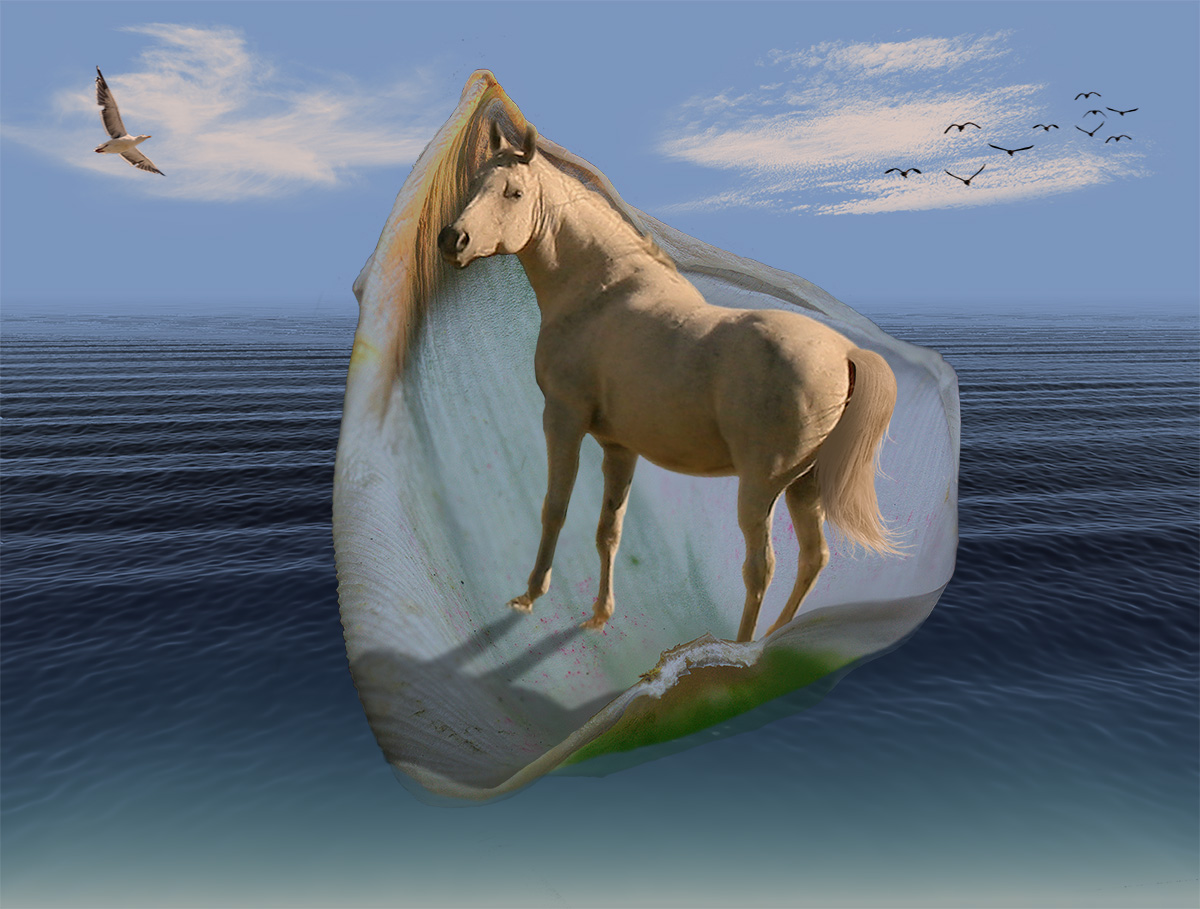
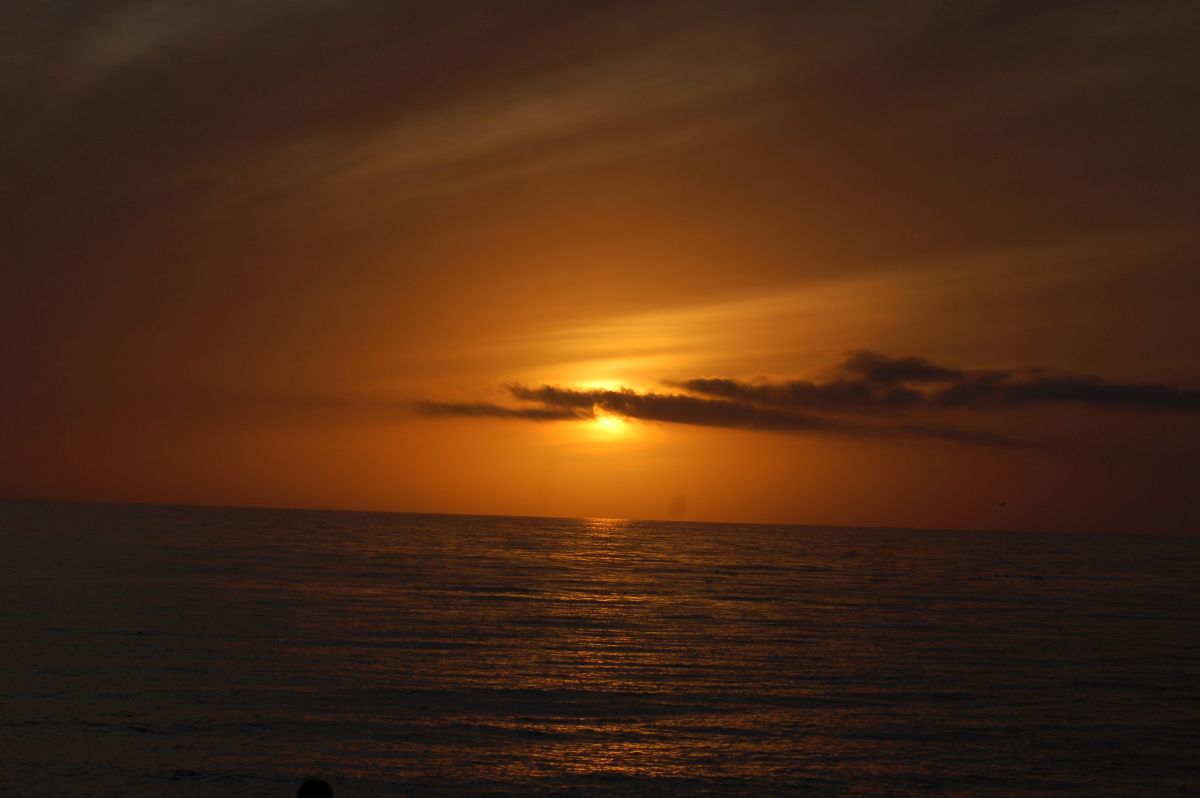
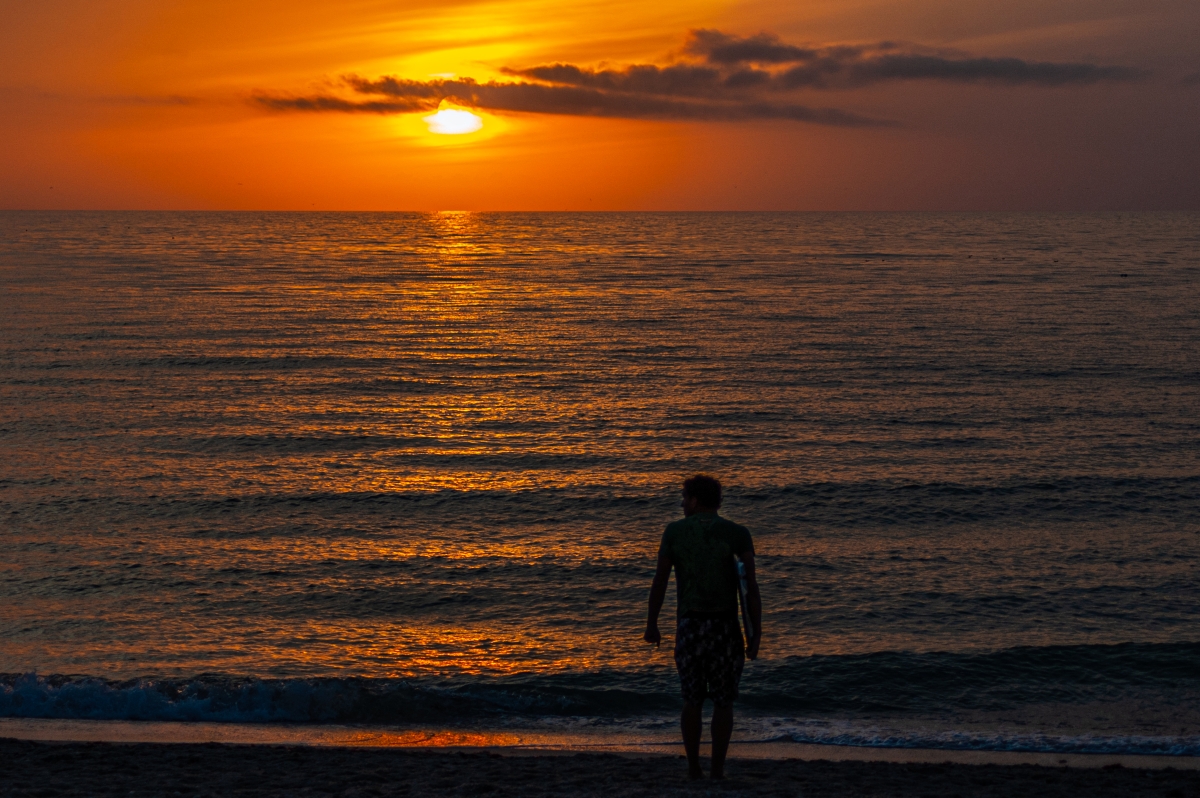
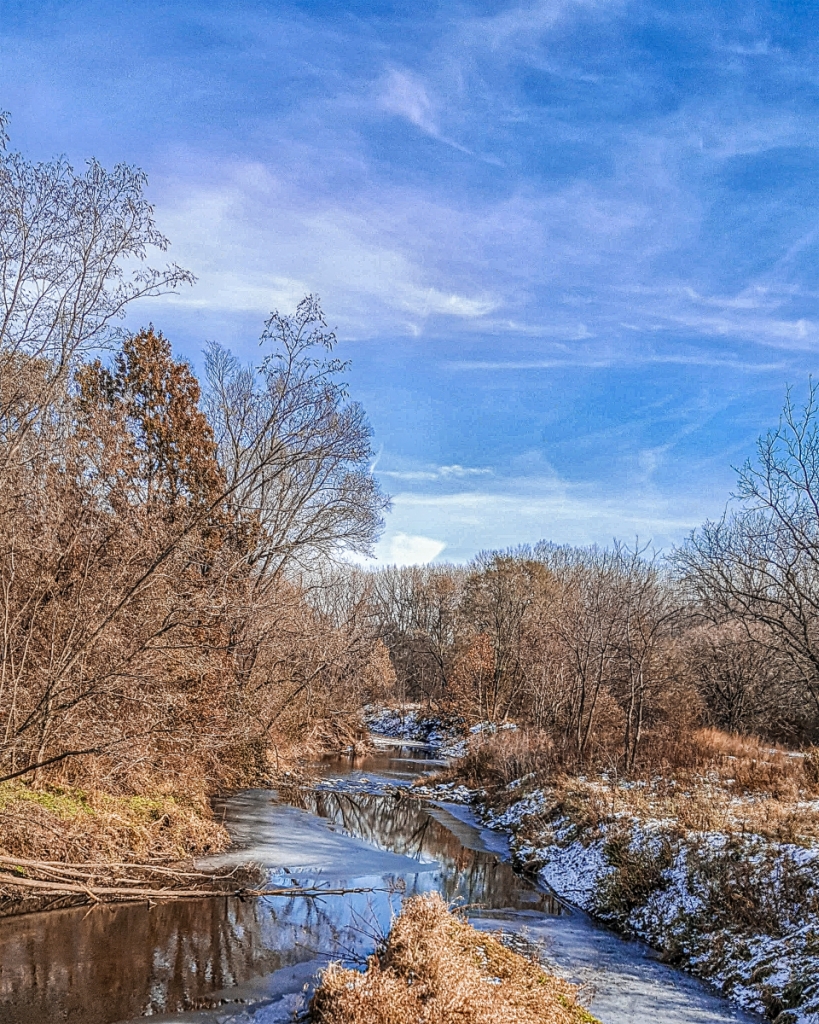
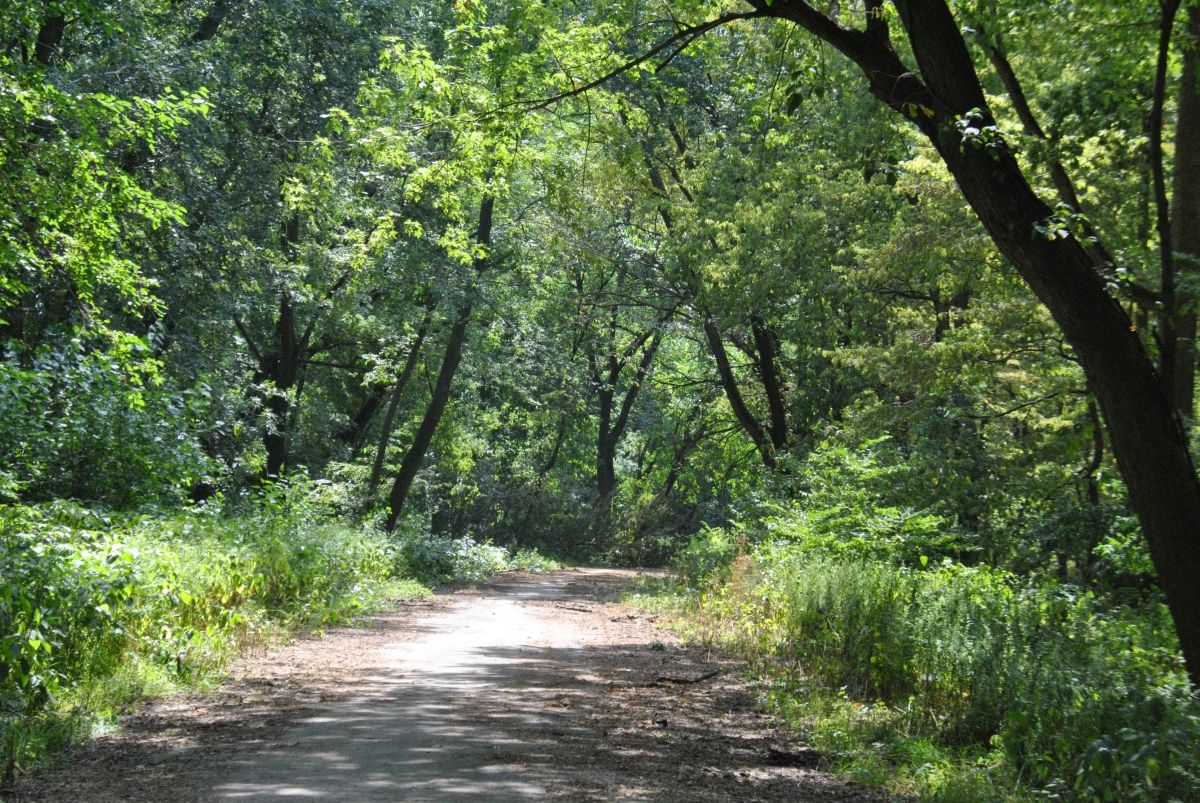
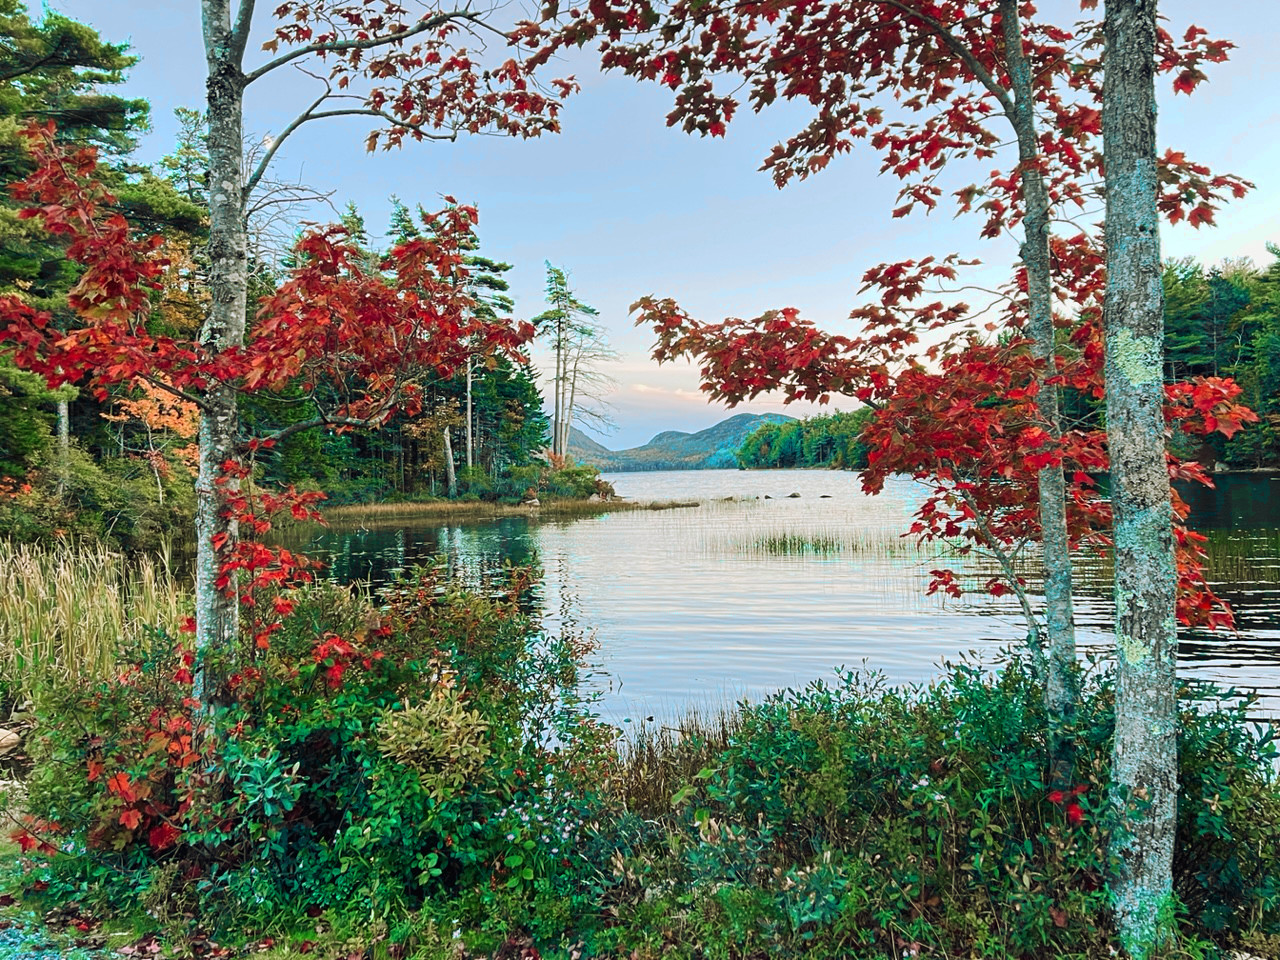
Wow, Arabella! What a dreamy location!
I didn't have an issue with your horizon as the trees provide a proper sense of orientation. I do think the colors could be popped some more and the overall scene could use some additional warmth. Thoughts? |
Oct 15th |
 |
| 53 |
Oct 22 |
Comment |
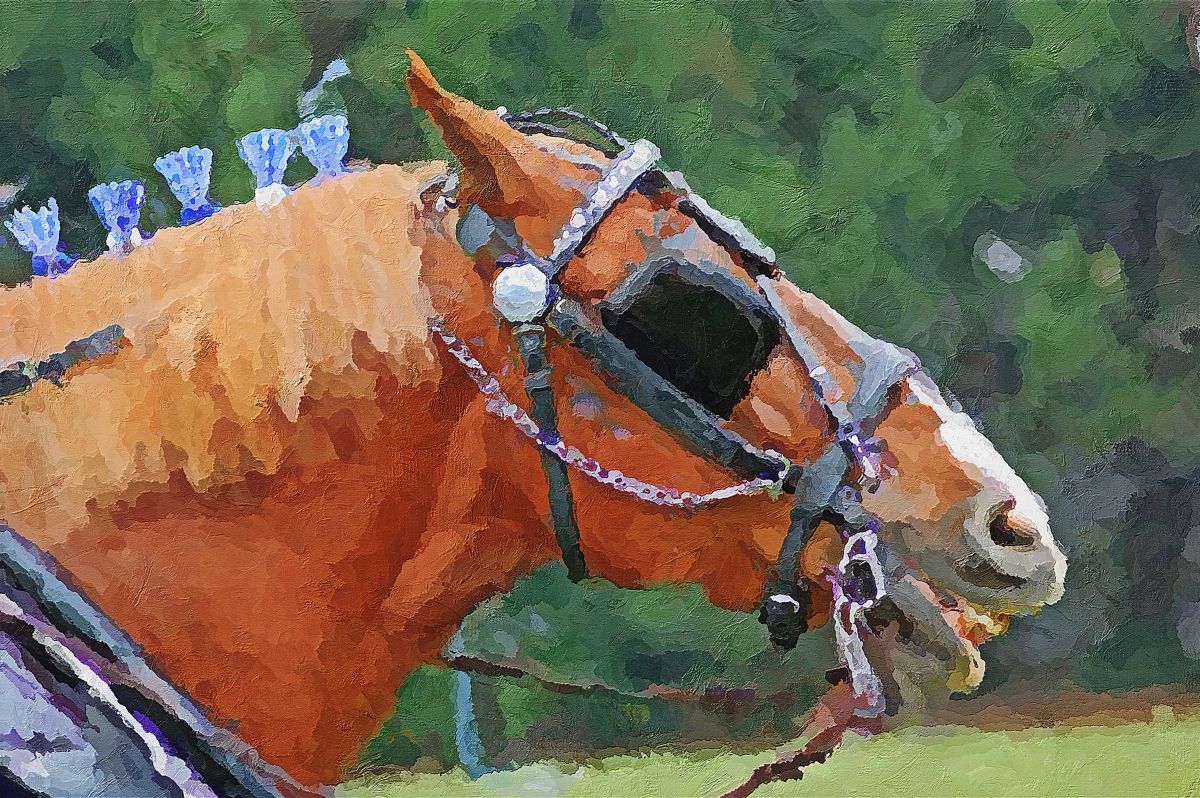
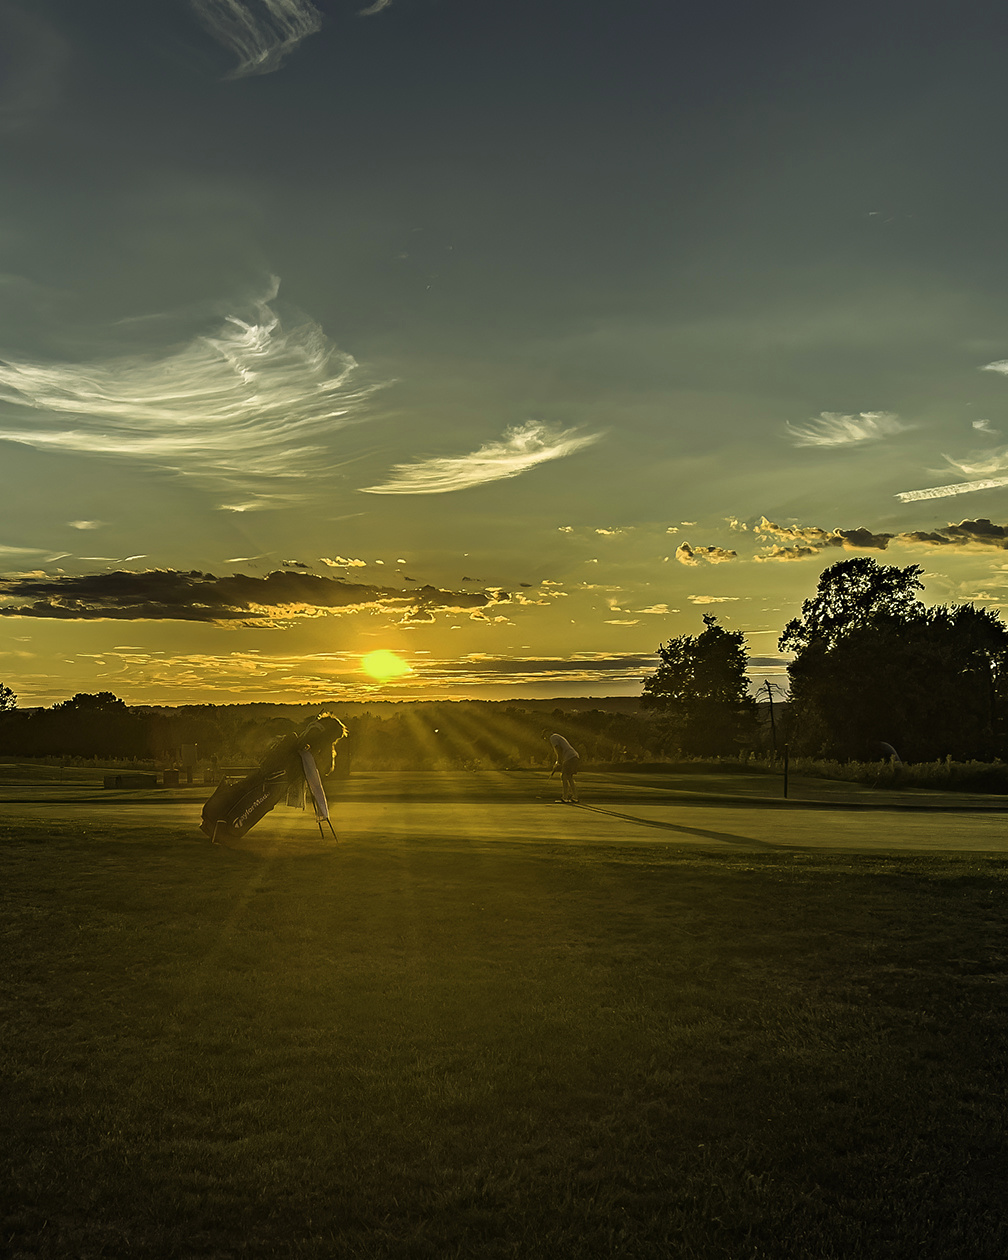
Great angle for this shot. You presented golf in a refreshingly new manner with this image.
A few nitpicks for me that I think hold the image back a bit: The golfer on the right is too much like the golfer in the middle; the bag is almost invisible; and a few clouds are inconsistent. Here's my rendition with those things corrected. Thoughts? |
Oct 15th |
 |
| 53 |
Oct 22 |
Comment |
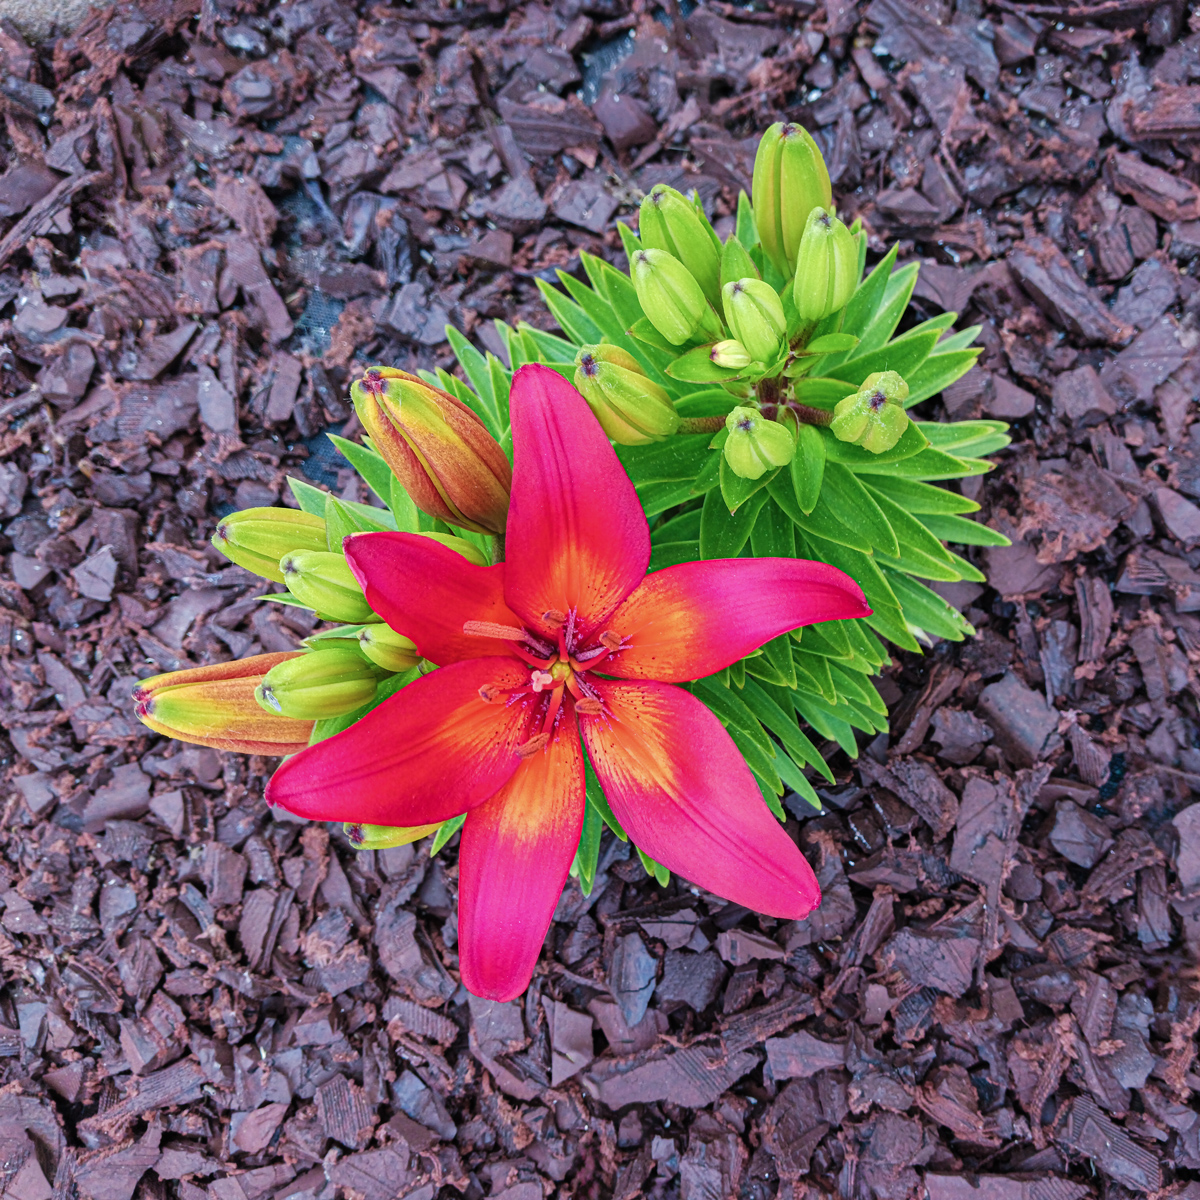
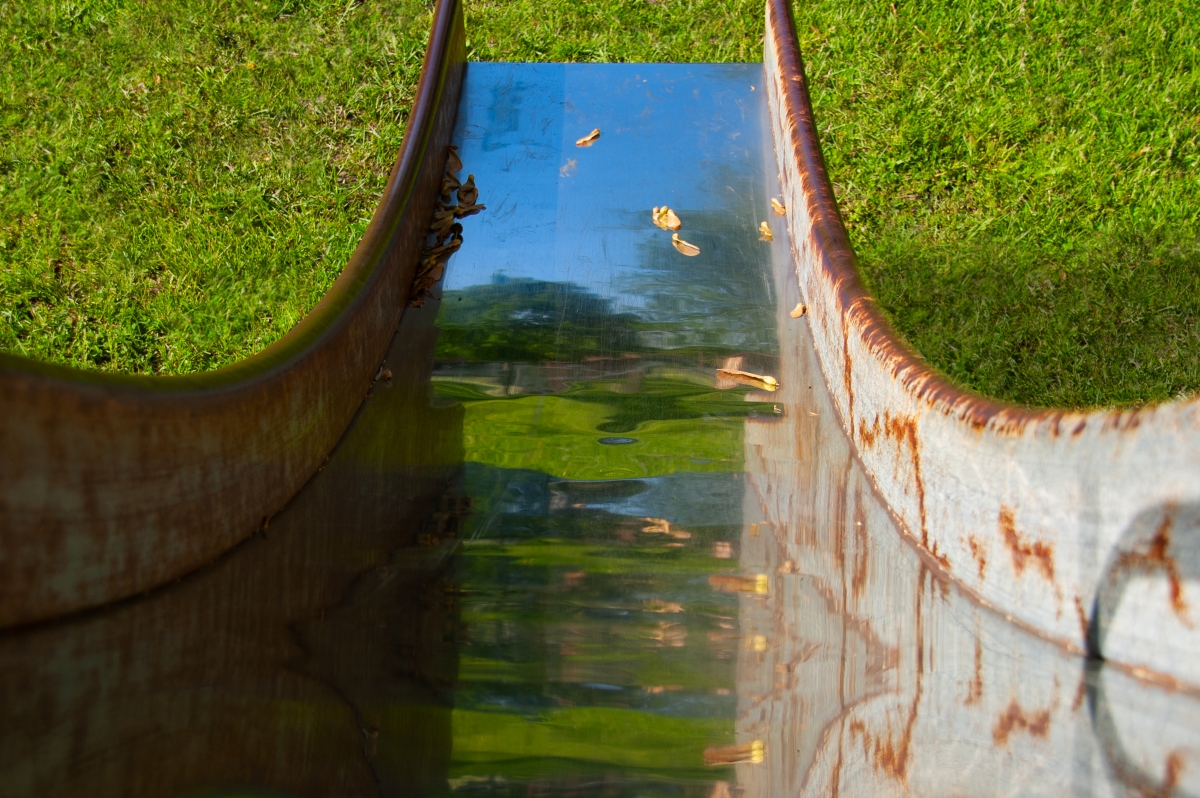
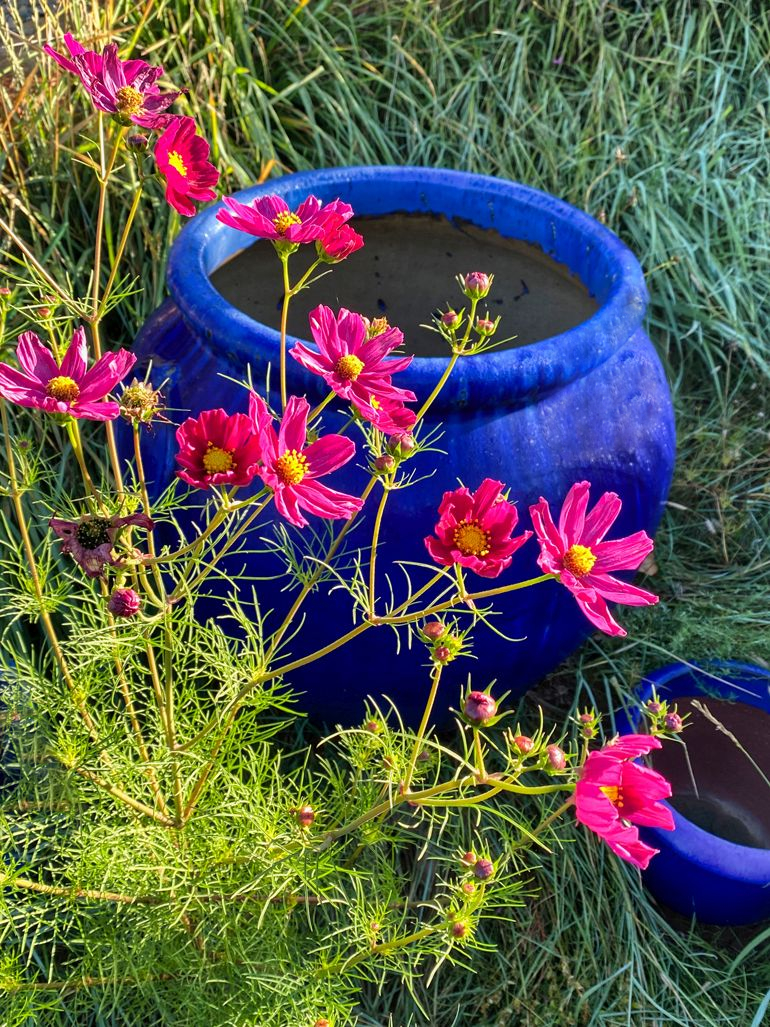
Miriam has evaluated your image well. It has a strong composition overall and the colors really pop.
I also removed the left pot, which was a little distracting, removed all the glare on the pot, and one blade of grass in the upper right corner that was out of place. Thoughts? |
Oct 15th |
 |
| 53 |
Oct 22 |
Reply |
Agree about removing the halfway hidden pot on the left. I think you could have gone further with removing the hotspots. |
Oct 15th |
| 53 |
Oct 22 |
Comment |
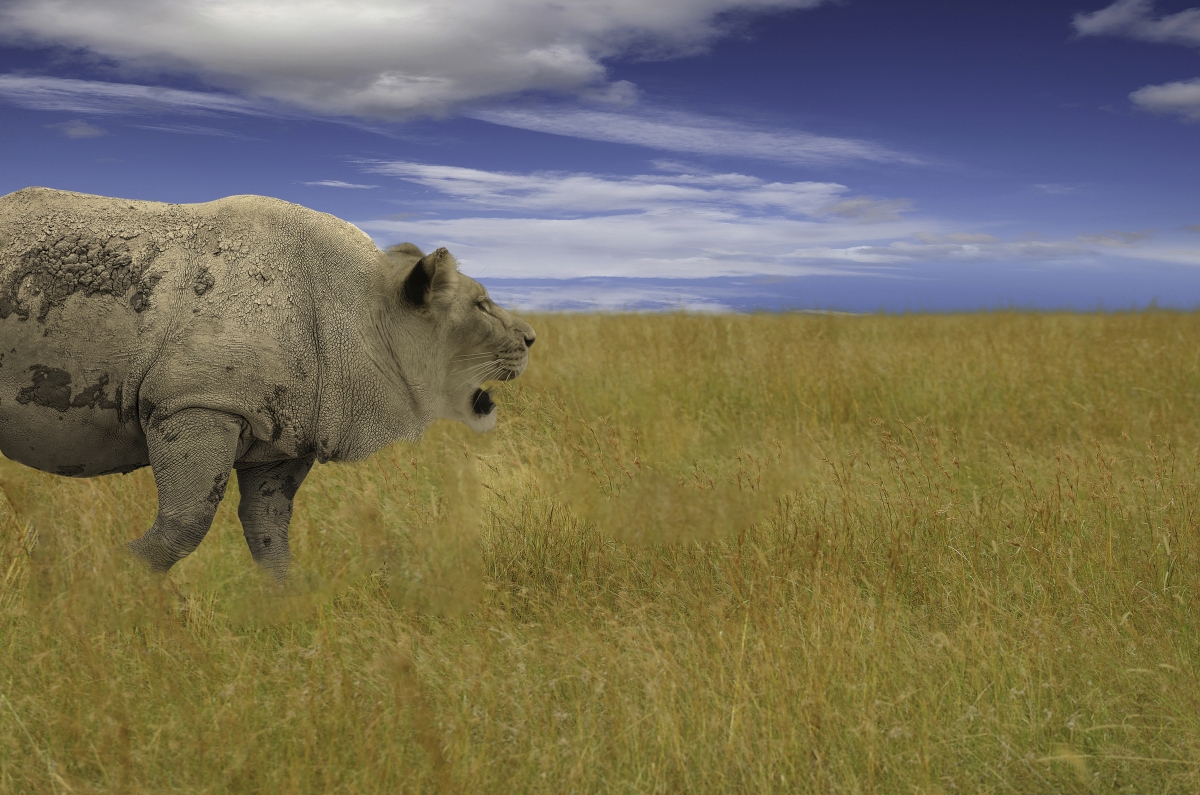
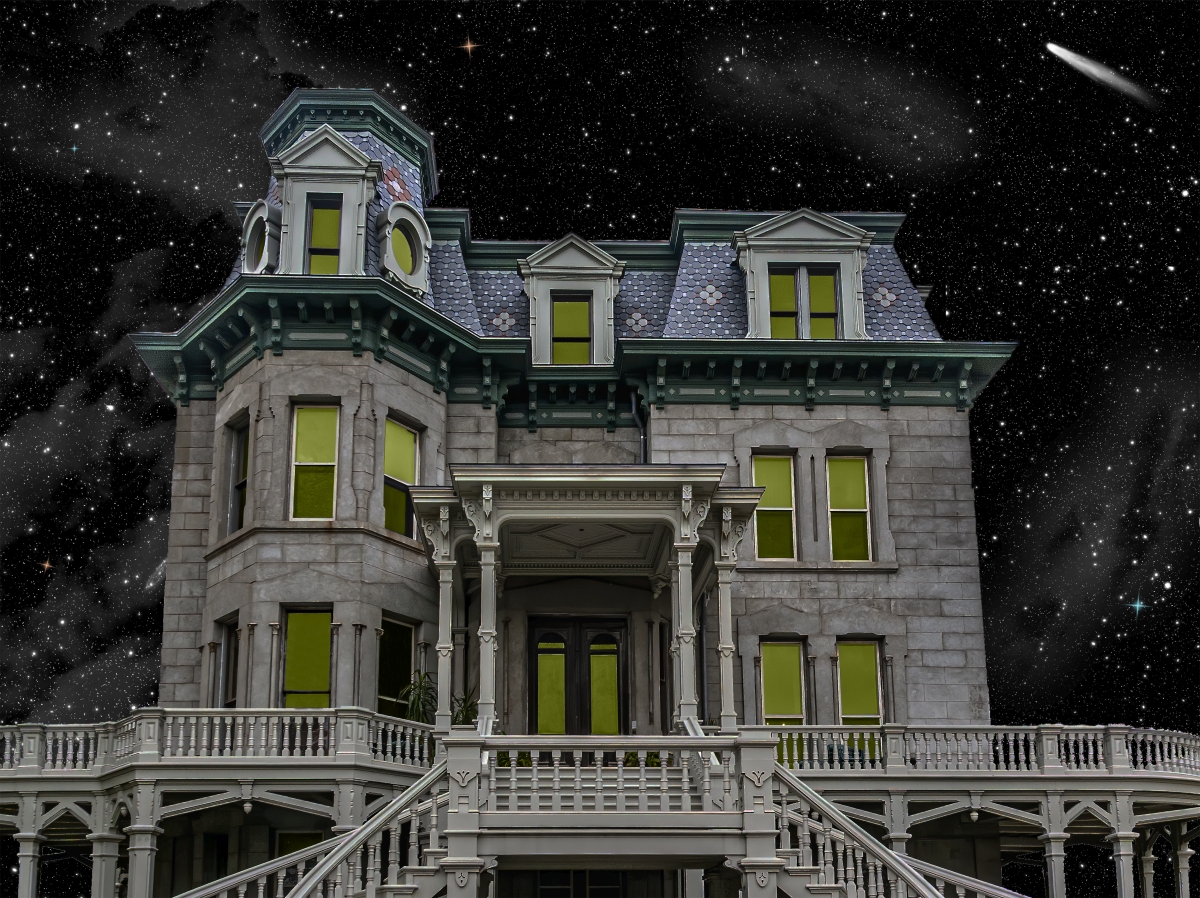
OMG, that's so creative! This certainly fits for Halloween and you executed it brilliantly. Well done, Miriam!! |
Oct 15th |
| 53 |
Oct 22 |
Comment |
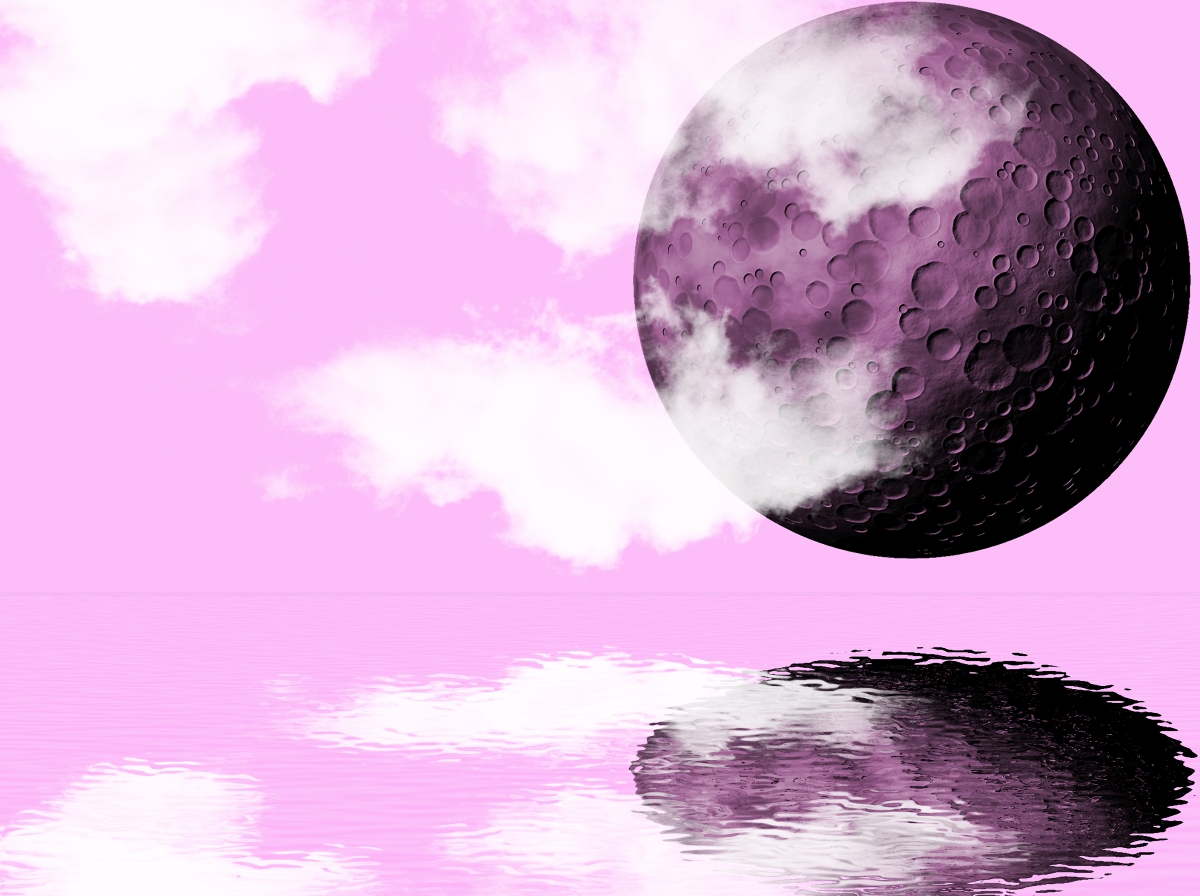
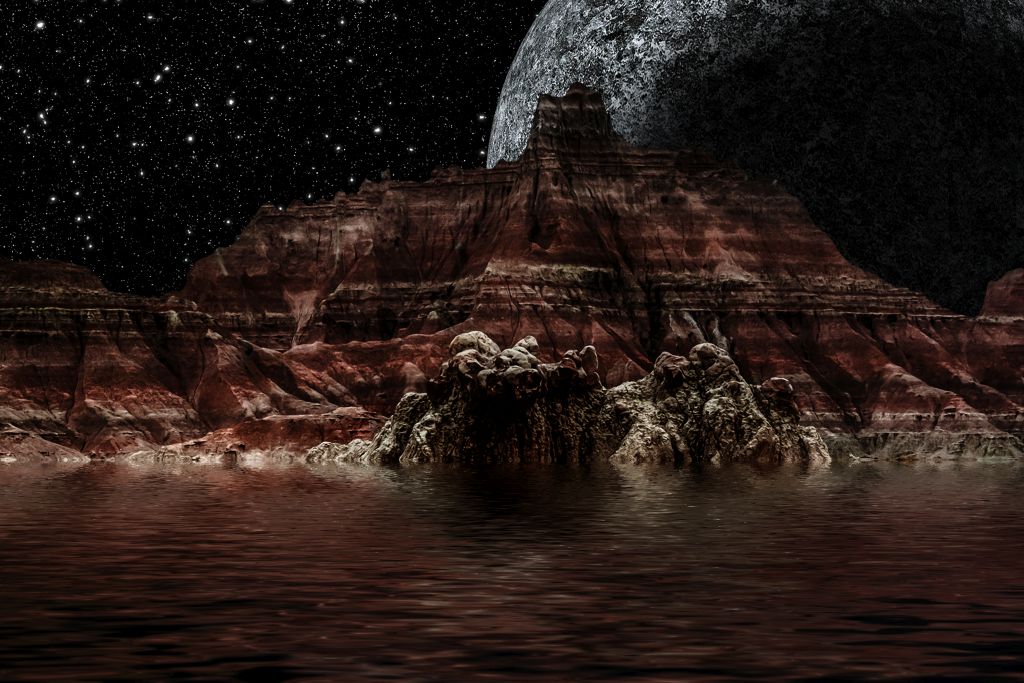
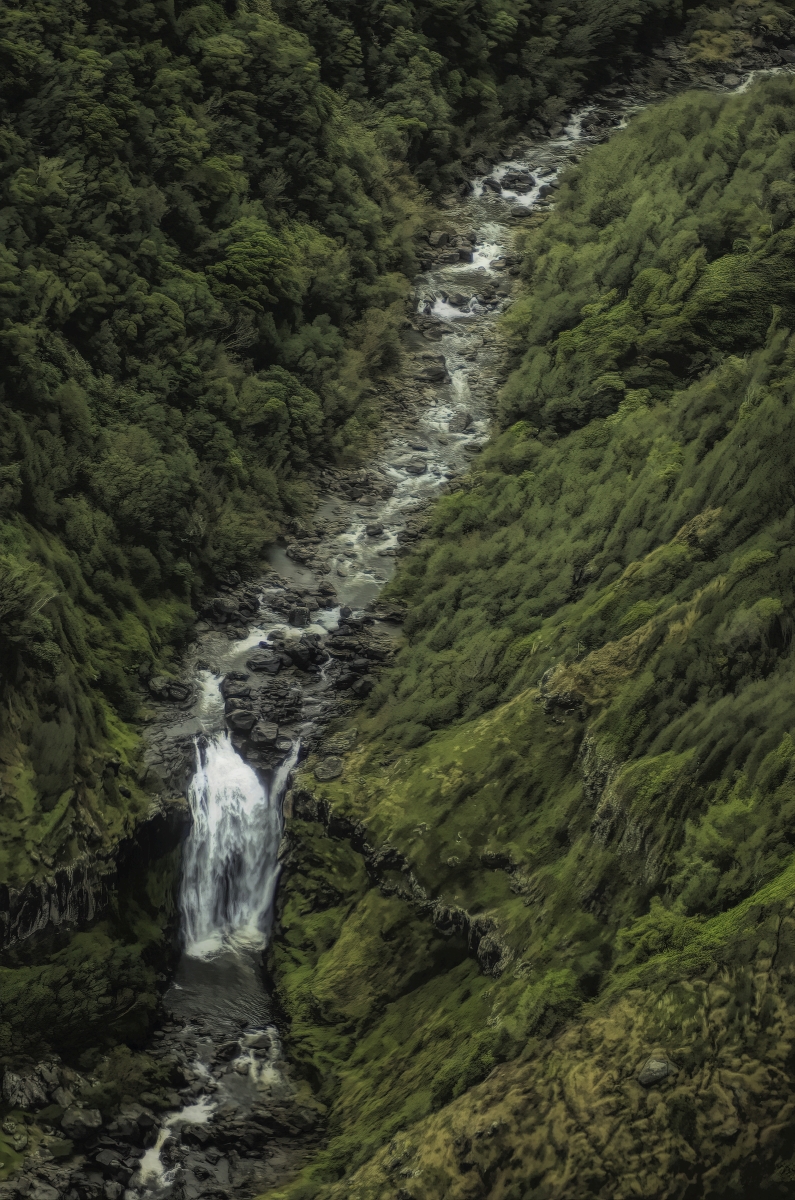
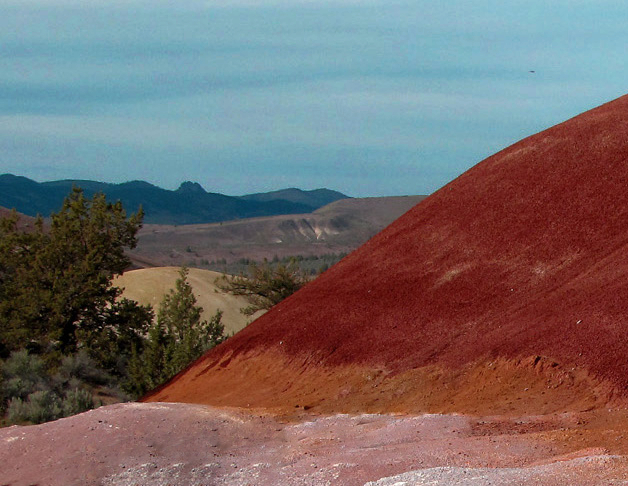
The red of the hill really pops. I wish you had given us more of a view of it.
The one thing that really distracted me was the shadow of a tree or bush across some of the hill. I removed that and modified the sky with added contrast and a some darkening. Thoughts? |
Oct 15th |
 |
| 53 |
Oct 22 |
Comment |
This is a lovely scene, Albert. Any chance you could post the original so we can see what you started from? |
Oct 15th |
| 53 |
Oct 22 |
Reply |
Thanks, Miriam. Can you give me some suggestions? |
Oct 15th |
6 comments - 3 replies for Group 53
|
| 95 |
Oct 22 |
Reply |
Ideally, there shouldn't be any play so you have the maximum control over the movement of the camera. With play in the knob, make sure the rail is as level as possible so that gravity is not playing into it. That will allow you to keep the rail loose. Hopefully there is some type of measurement on the side of the rail so you can better determine how much movement before each shot.
Worm drive rails typically are smoother, but add about $100 to the price. |
Oct 26th |
| 95 |
Oct 22 |
Reply |
Well, they start at about $12.50 and go up from there.
I forgot to mention another rather crucial accessory for focus stacking - a cable or wireless shutter release. That way you don't have to touch the camera to take a shot.
The rail I started with, linked below, was an inexpensive alternative that helped me to determine that I wanted to go further with this macro thing. My current rail allows for more control but is 10 times as expensive. The one I want, which Stuart just got a deal on, is motor driven and will adjust the camera's position in very tiny increments and, in essence, press the shutter button automatically, but it's a lot more. Both are linked below as well.
The one I started with is: https://www.amazon.com/DSLRKIT-Focusing-Slider-Updated-Version/dp/B007L41QZG/ref=sr_1_10?crid=1IT292BOZO6Z4&keywords=focus+rails&qid=1666638747&qu=eyJxc2MiOiIyLjU2IiwicXNhIjoiMS45MiIsInFzcCI6IjEuNTkifQ%3D%3D&sprefix=focus+rails%2Caps%2C326&sr=8-10
Now I'm using this: https://www.amazon.com/NiSi-Focusing-NM-180-Degree-Rotating/dp/B08BCCFQC3/ref=sr_1_3?crid=1LCH63TUPK2CS&keywords=nisi+focus+rails&qid=1666638897&sprefix=nisi+focus+rails%2Caps%2C119&sr=8-3
Stuart has graduated to this: https://www.wemacro.com/?product=wemacro-rail |
Oct 24th |
| 95 |
Oct 22 |
Reply |
If you have Photoshop (not Elements) or Affinity Photo, you already have software that can merge the images. There are a few software packages that do just the merging of image stacks - Helicon Focus (what I use mainly) and Zerene Stacker are the ones most serious macro shooters use.
You will need a solid tripod and a focus rail for capturing your stacks. You will be setting your macro lens on 1:1 and turning off its auto-focus function. You will use the focus rail to focus on the closest point of your subject. You will then take a series of shots, moving the camera a tiny bit closer to the subject (thus capturing deeper images) at regular intervals until you have captured the furthest point of the subject.
I'm sure there are a bunch of books out there, but I've never read any. What I've learned has been by trial and error (it can be a great teacher) and by following a few YouTube channels like Allan Walls Photography. If you go to YouTube and search for Macro Focus Stacking, you should find a bunch of instructional video channels to investigate. |
Oct 24th |
| 95 |
Oct 22 |
Reply |
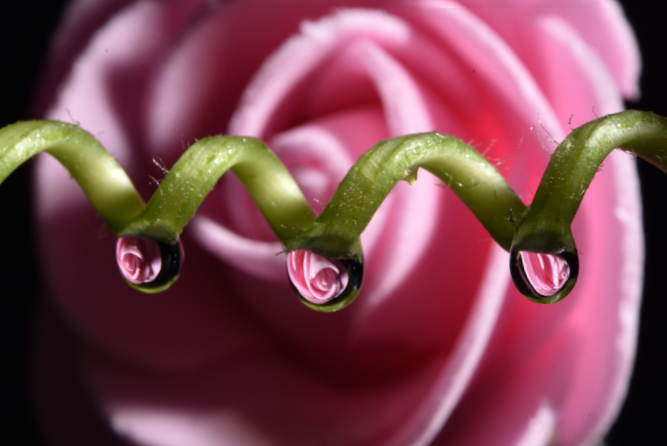
Yes, the desired result is to have sharp focus all the way through. Unfortunately, in this case, I had the aperture a bit too small, forgetting to widen it when I decided a single image wouldn't cut it. The number of slices all depends on how deep the subject is and the DOF of the lens at a particular aperture.
Because my aperture was so small, it made the merging software have difficulty getting a totally sharp result. It's a constant learning process,with many factors to consider. |
Oct 17th |
| 95 |
Oct 22 |
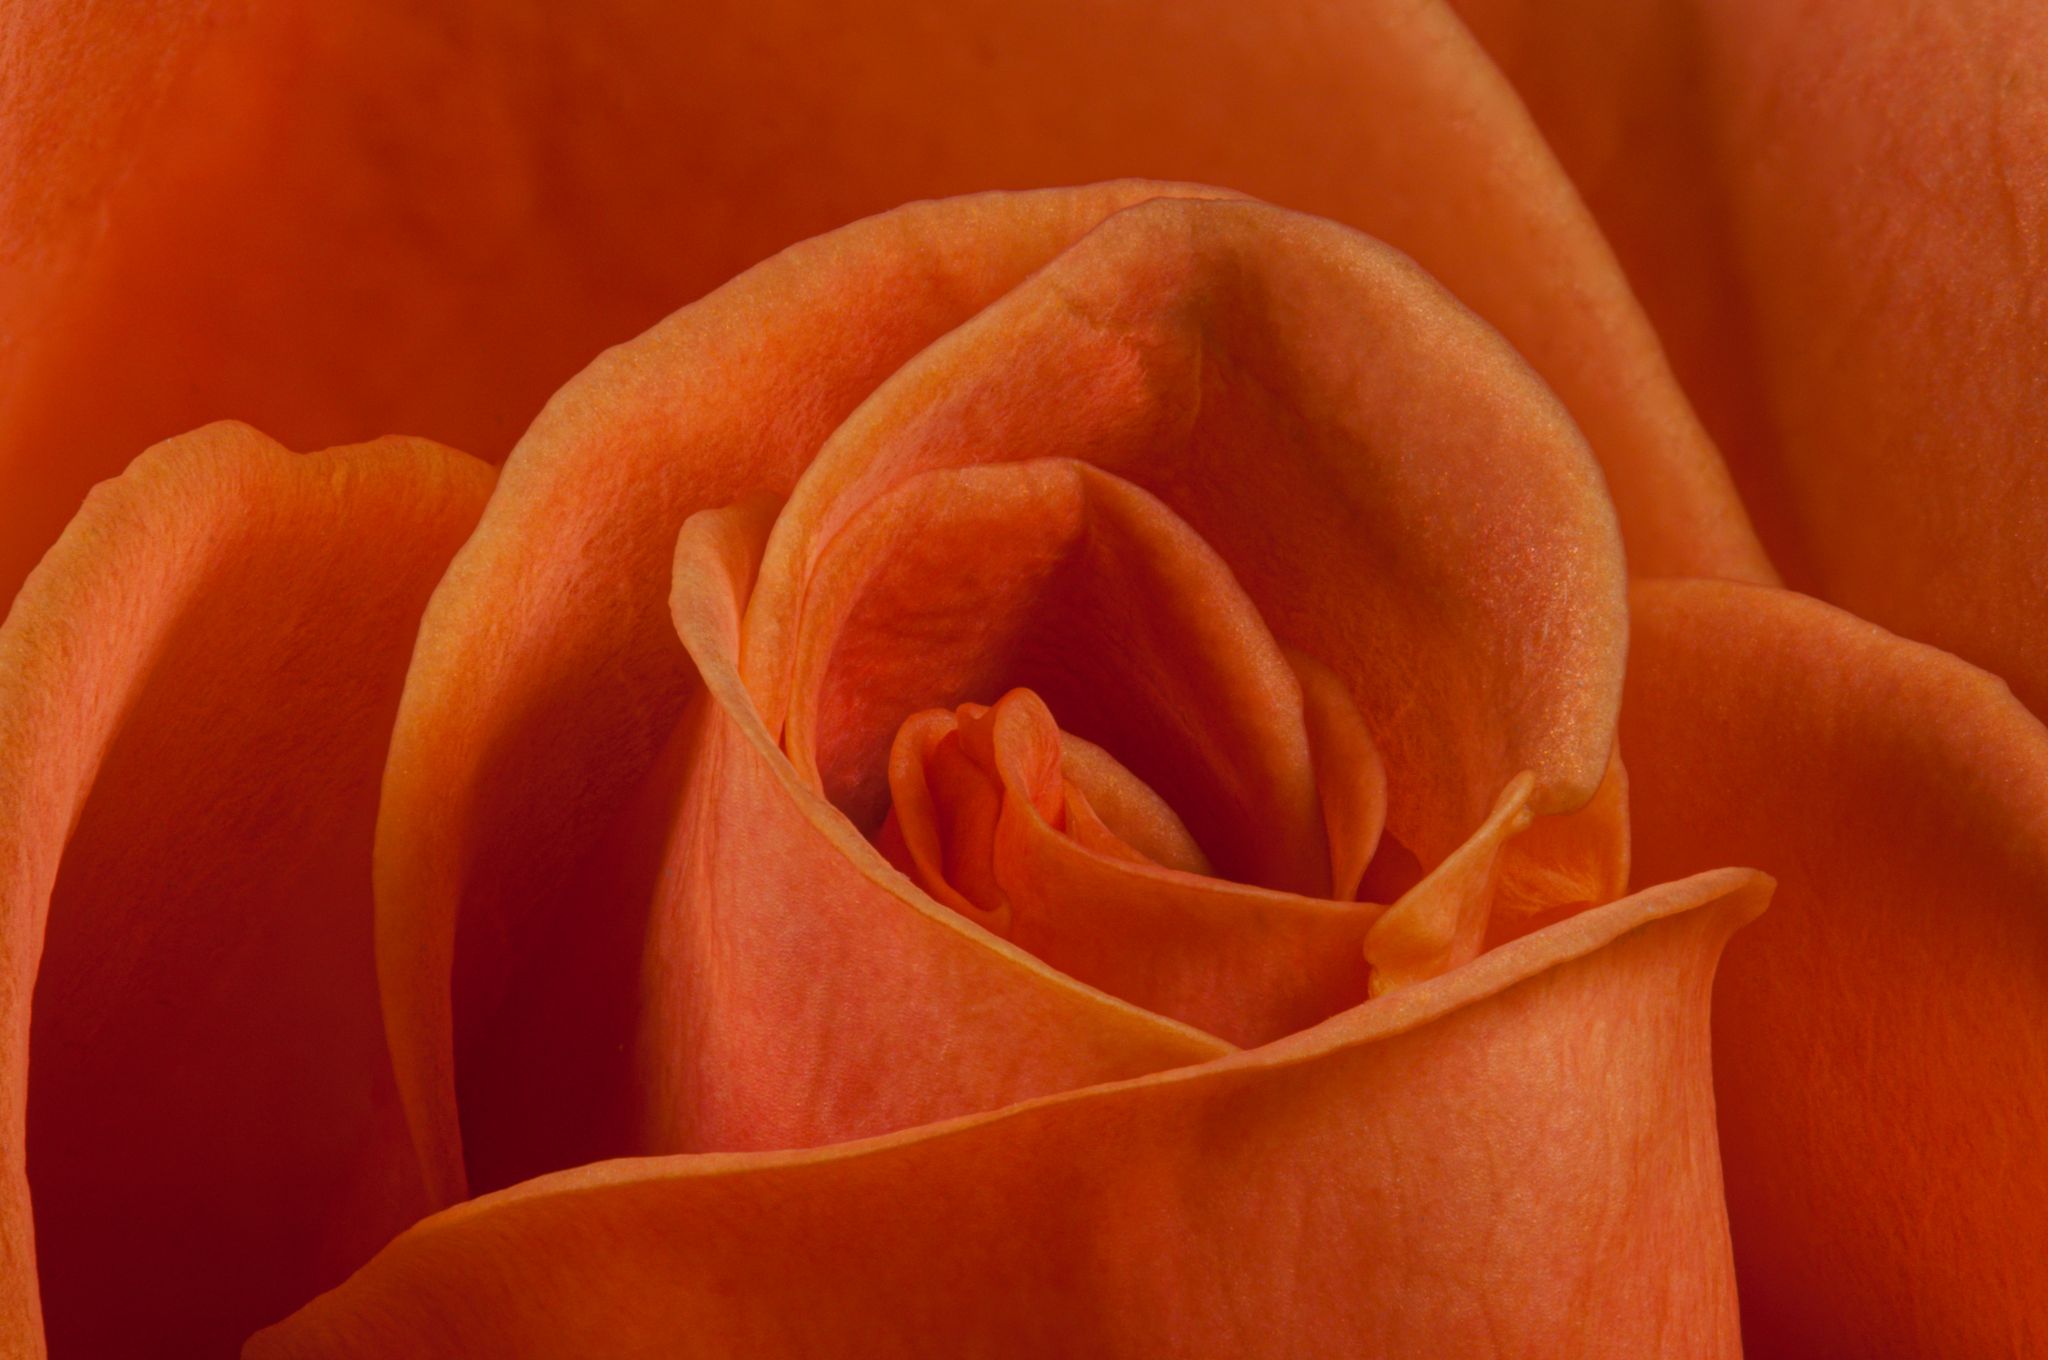
Reply |
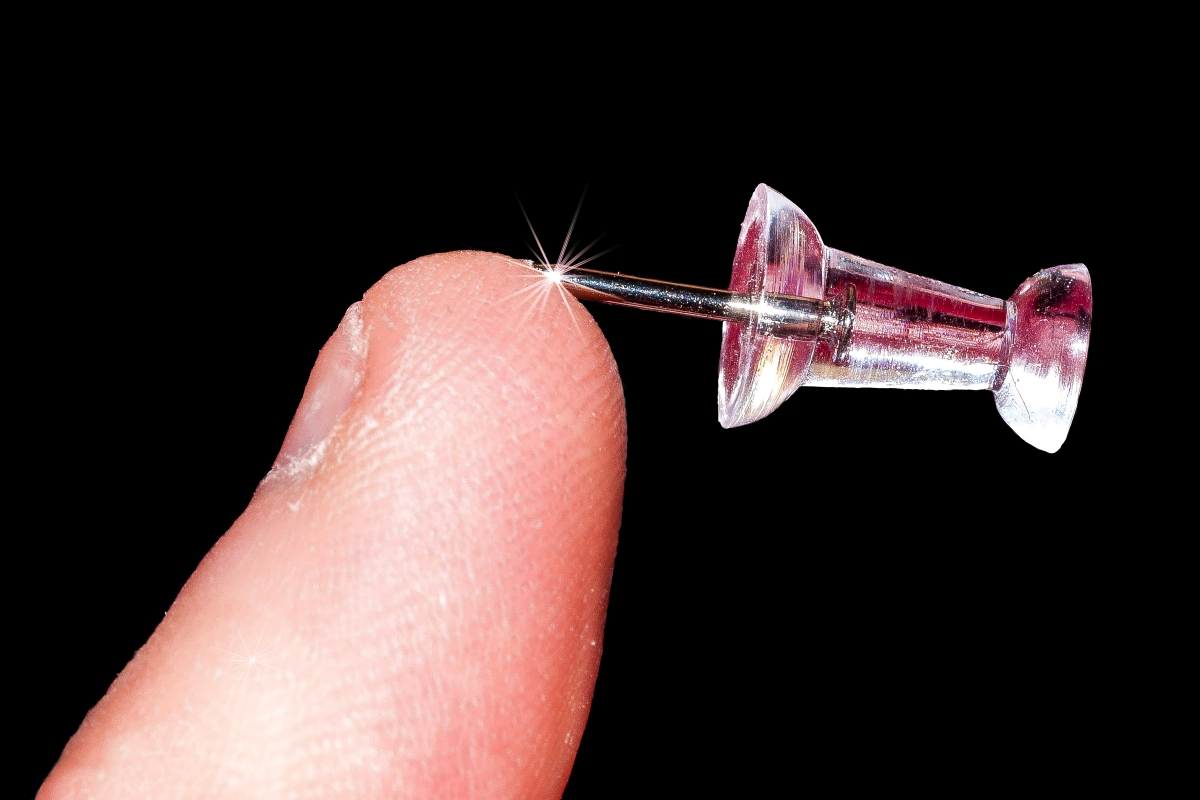
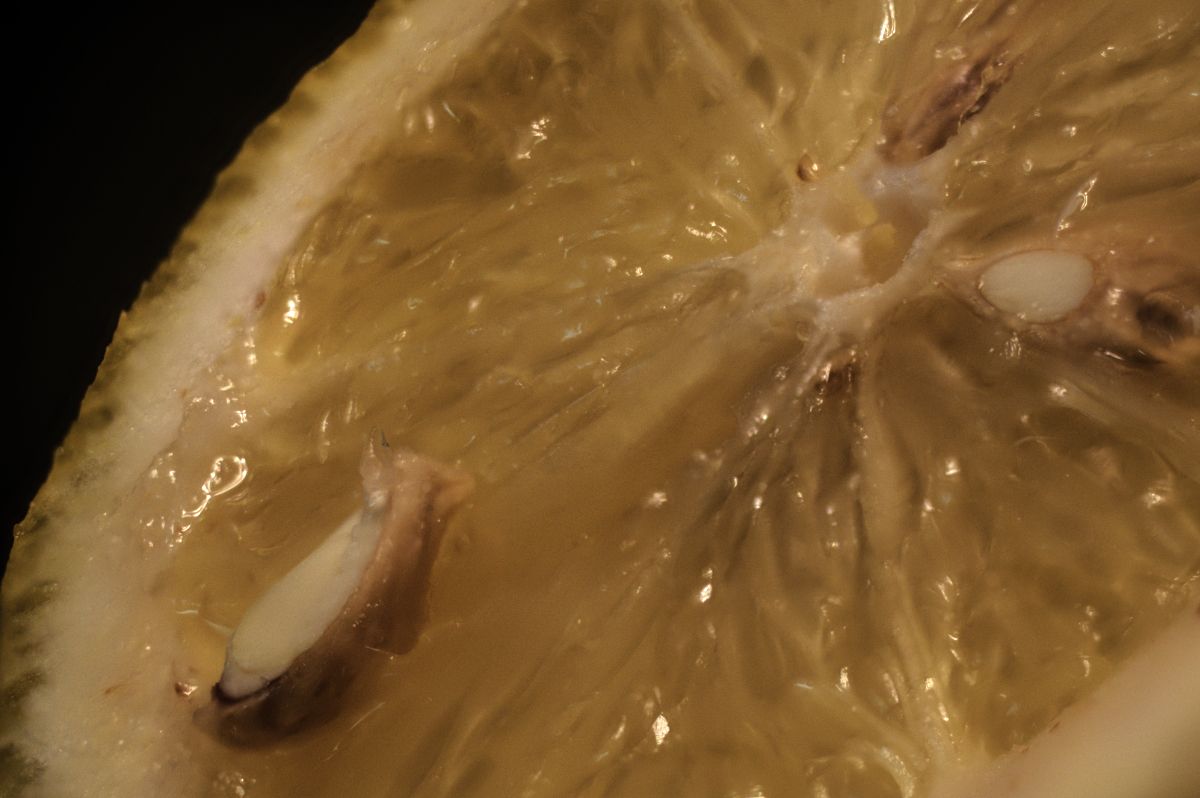
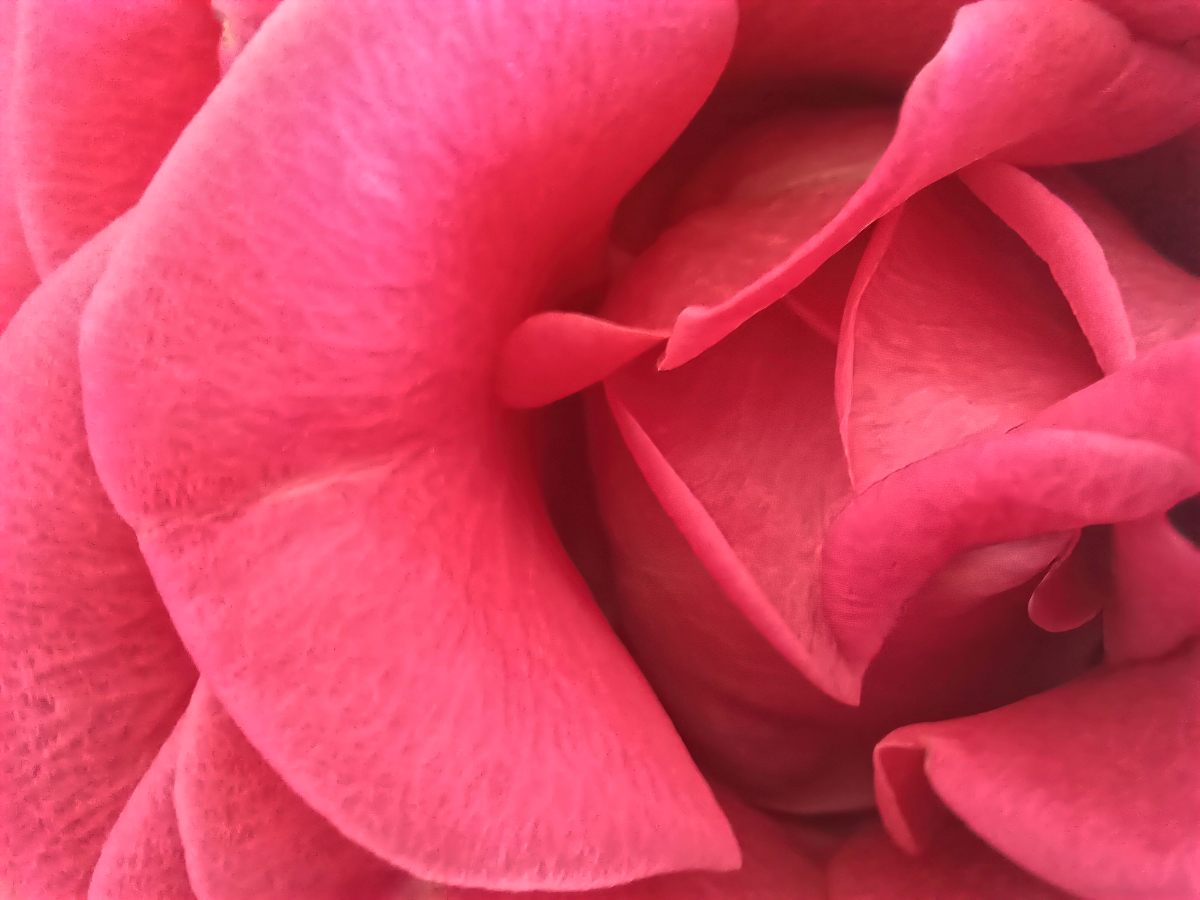
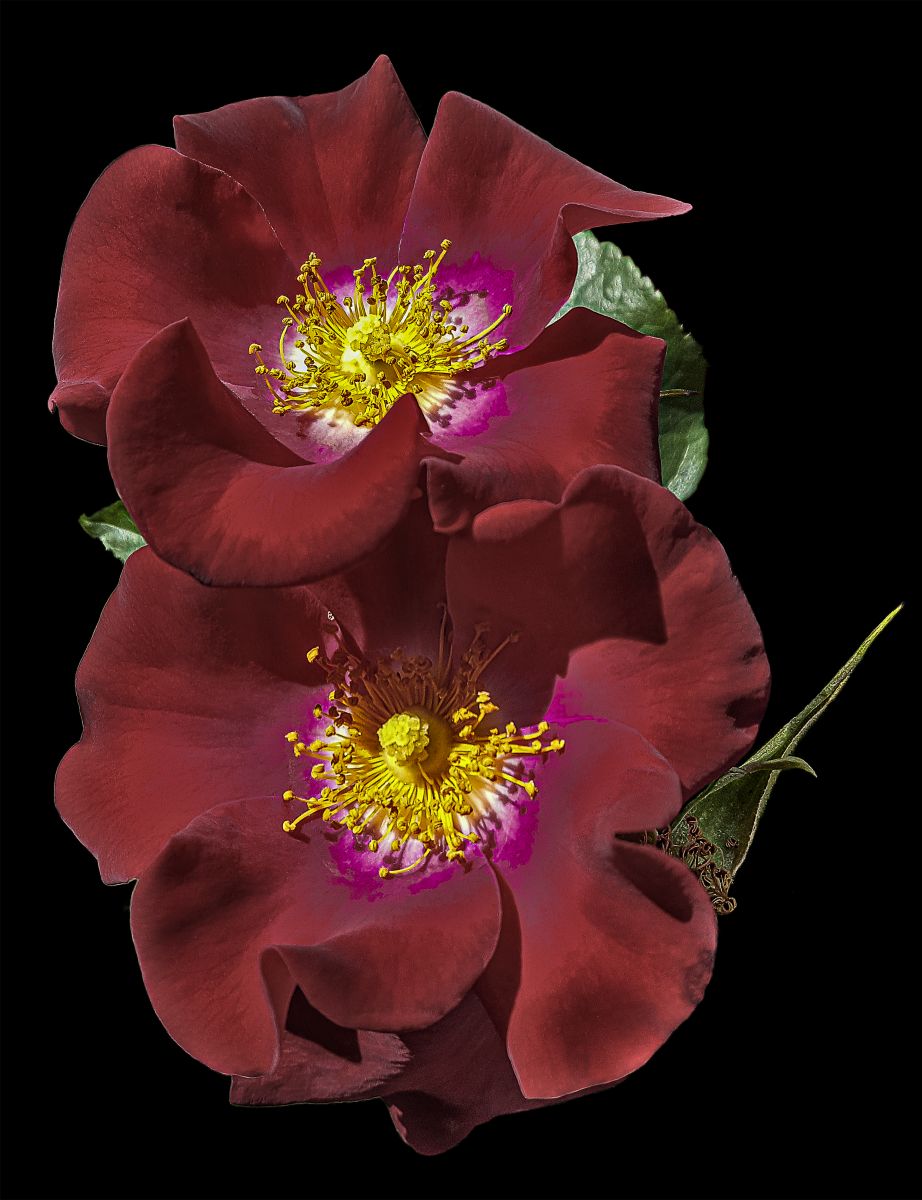
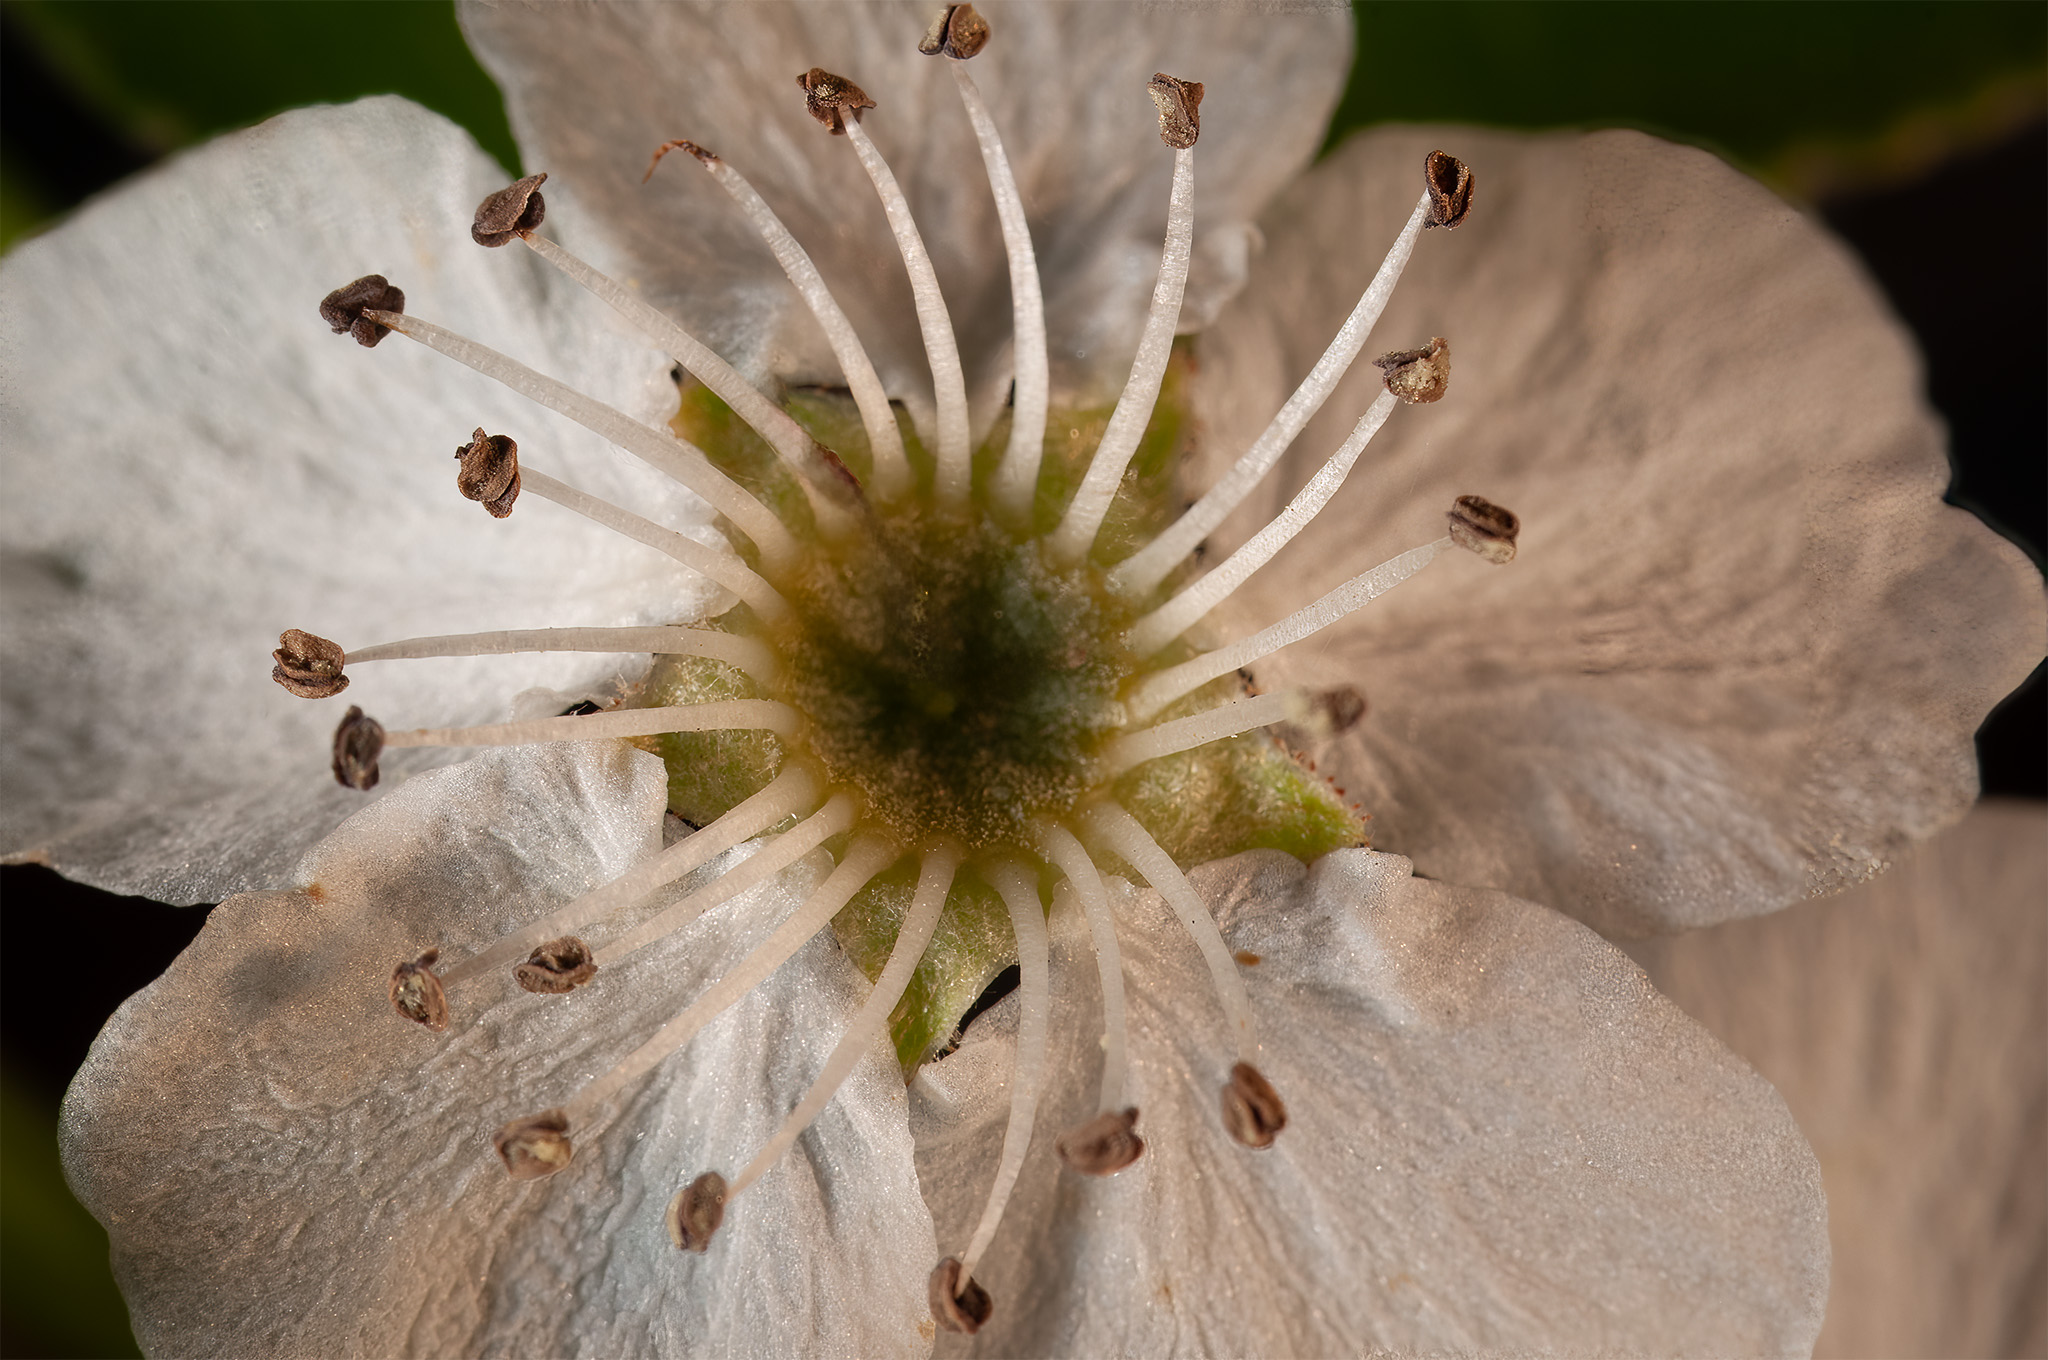
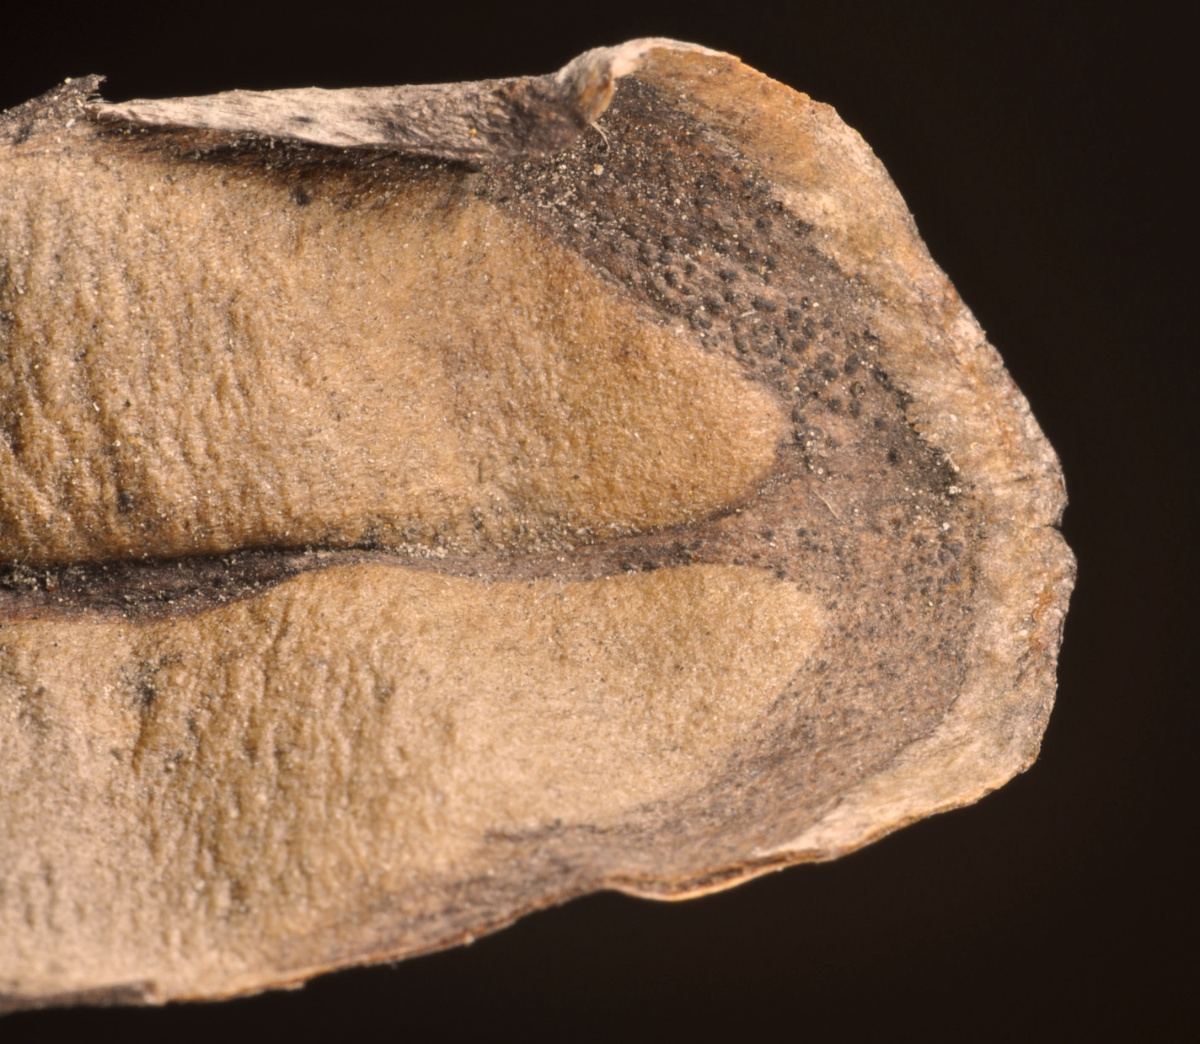
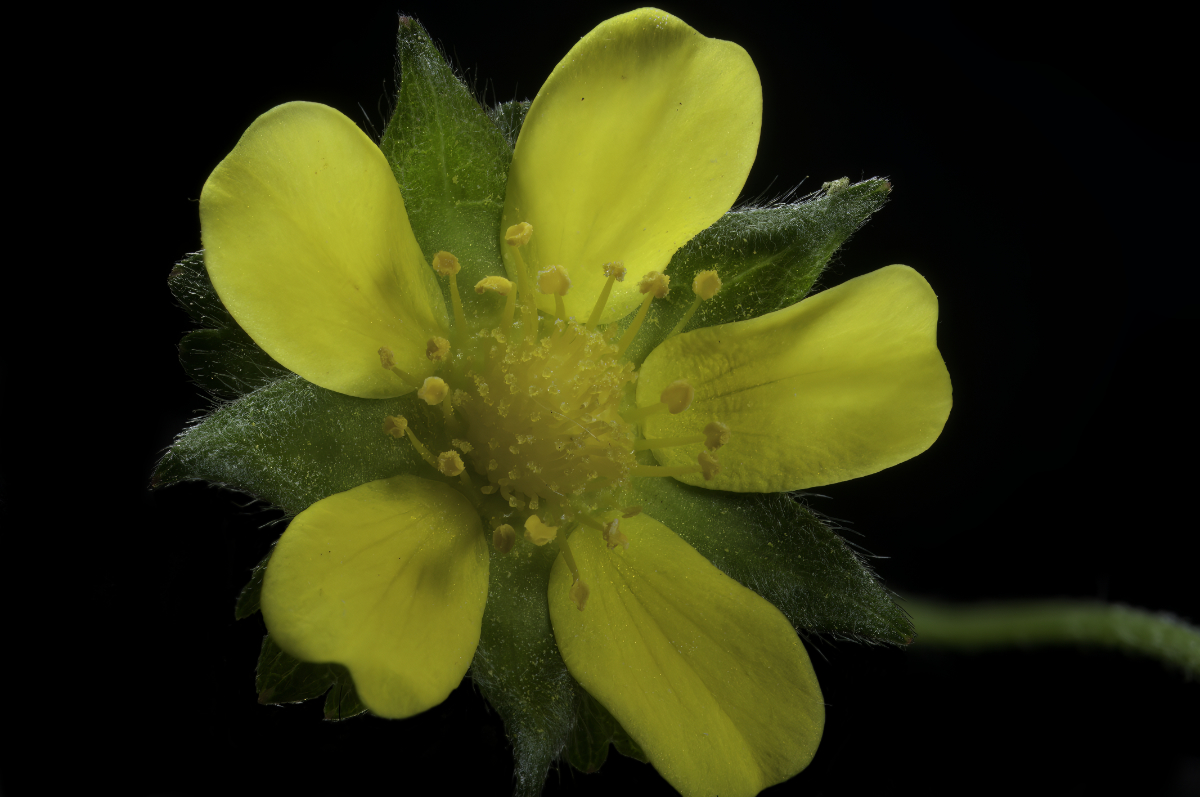
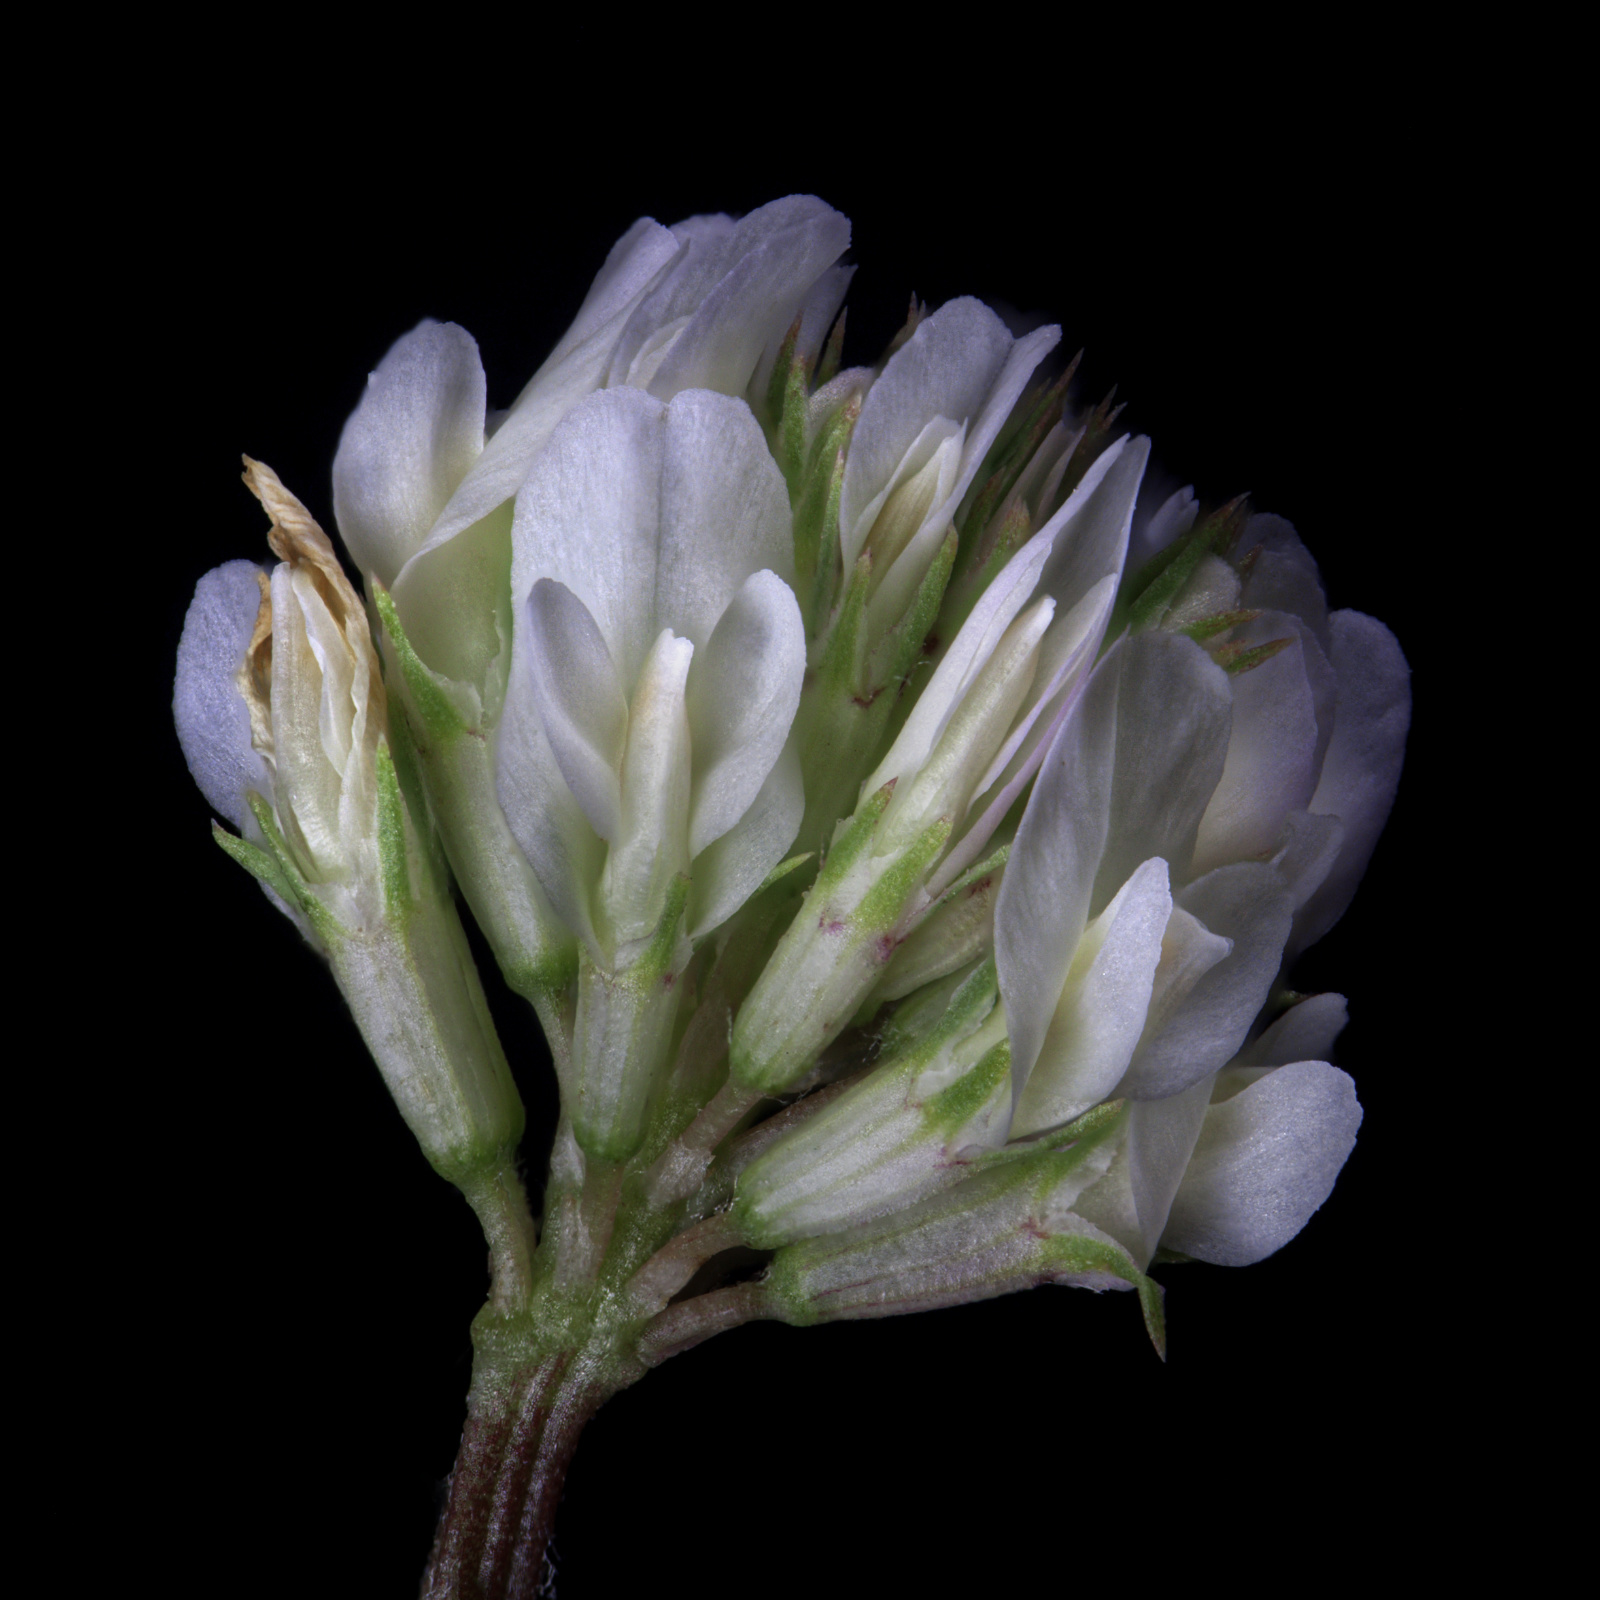
Thanks for the info, Fran. Such a tiny flower that I'd never have imagined it be a rose. |
Oct 16th |
| 95 |
Oct 22 |
Reply |
While it's not so great news about the cataract, the surgery to correct it is very effective. It's also fascinating to watch (I had the opportunity to observe one live). |
Oct 16th |
| 95 |
Oct 22 |
Reply |
True dat! |
Oct 16th |
| 95 |
Oct 22 |
Reply |
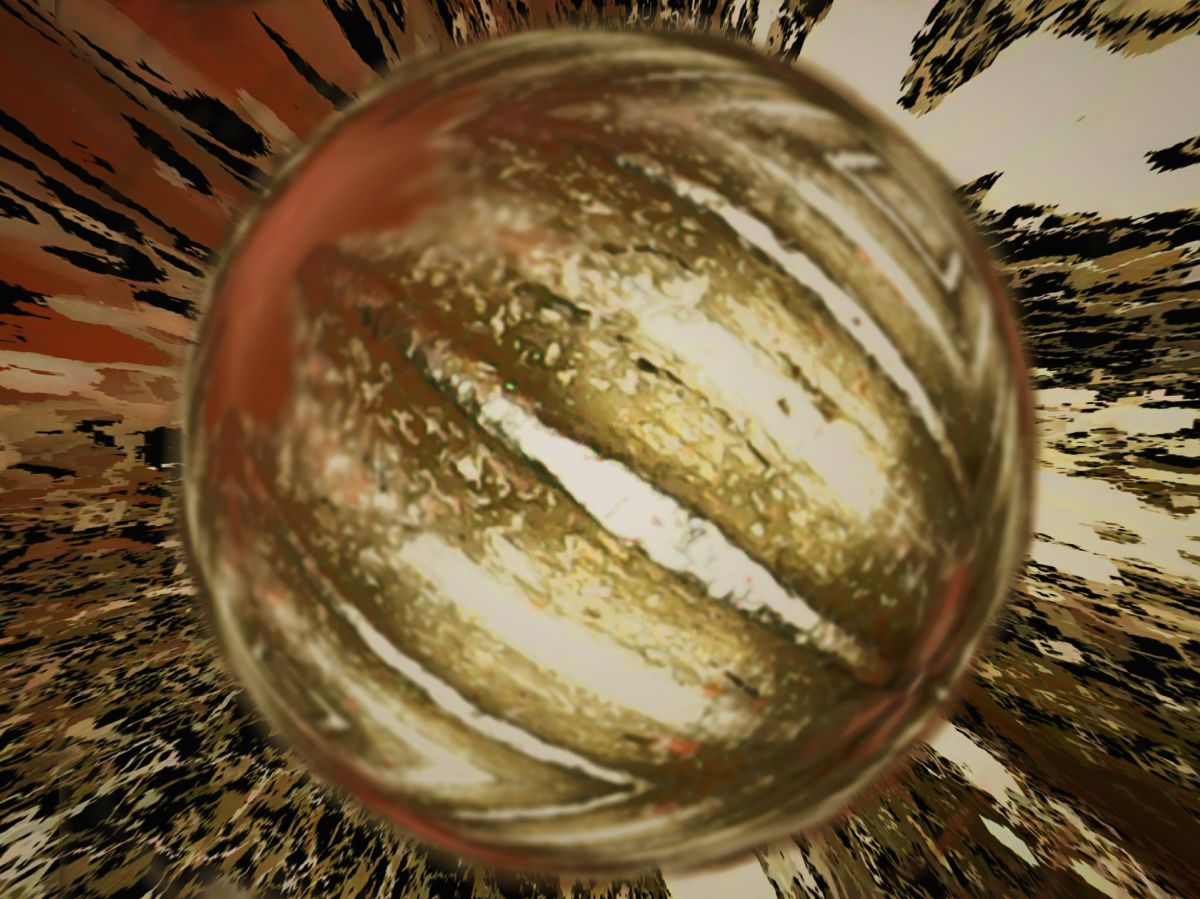
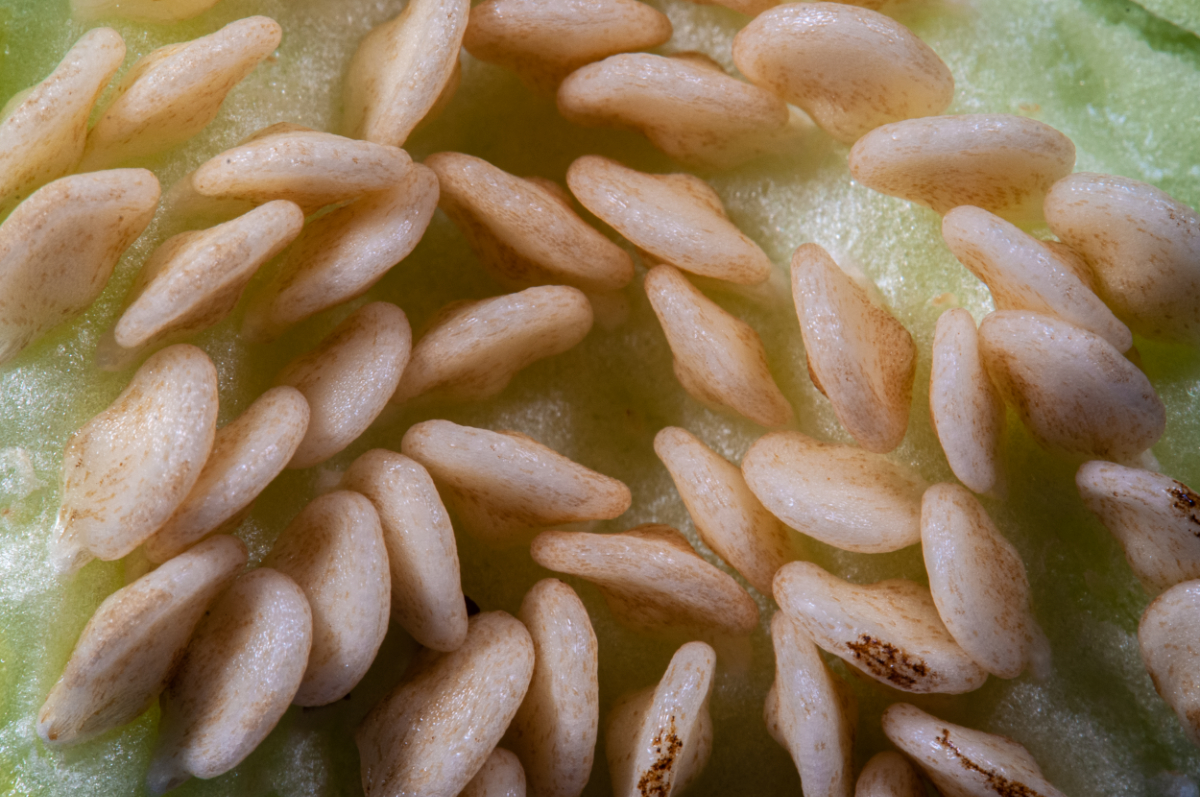
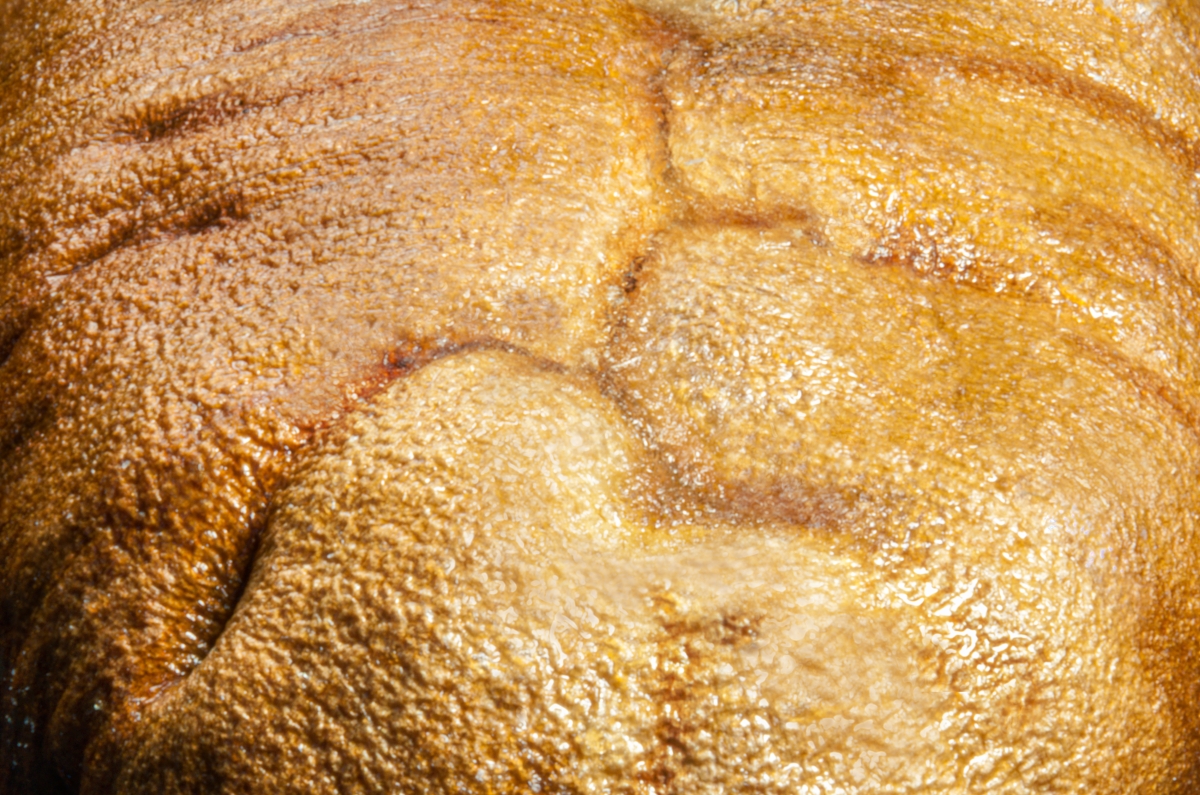
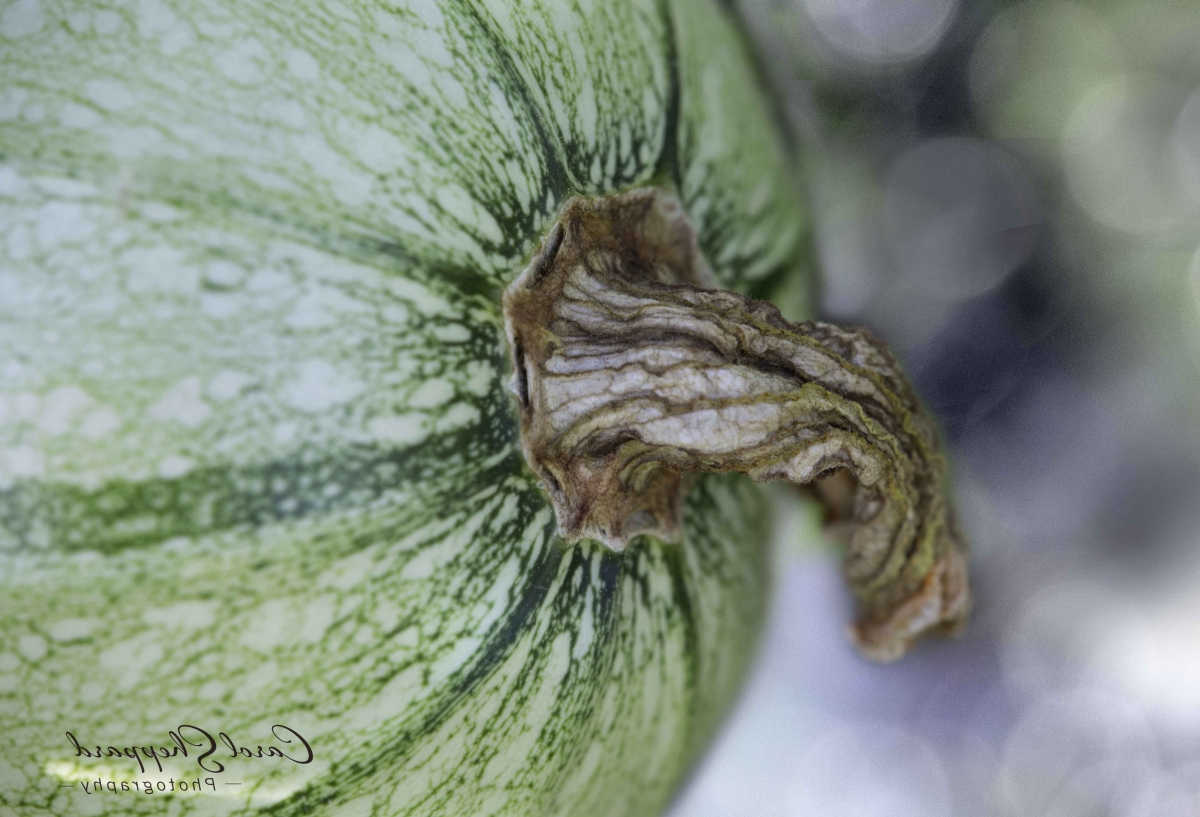
It's a occidental vs oriental way of looking at things. In the west, we tend to look at things from left to right including reading and writing, while in the east it's the opposite.
We photograph things as they are, but the orientation for the viewer can be more pleasing often when it fits with the way we look at things.
For me, the stem of the melon pointing to the right was more pleasing. It's neither right nor wrong - a matter of taste. |
Oct 16th |
| 95 |
Oct 22 |
Reply |
This is how we learn our craft. d:¬{D |
Oct 15th |
| 95 |
Oct 22 |
Reply |
Aha! You did such a good job I didn't notice. I tip my hat to ya! |
Oct 15th |
| 95 |
Oct 22 |
Comment |
I enjoyed this as is, Carol, with one exception. I think it would be a stronger composition if the image were flipped horizontally. Thoughts? |
Oct 15th |
 |
| 95 |
Oct 22 |
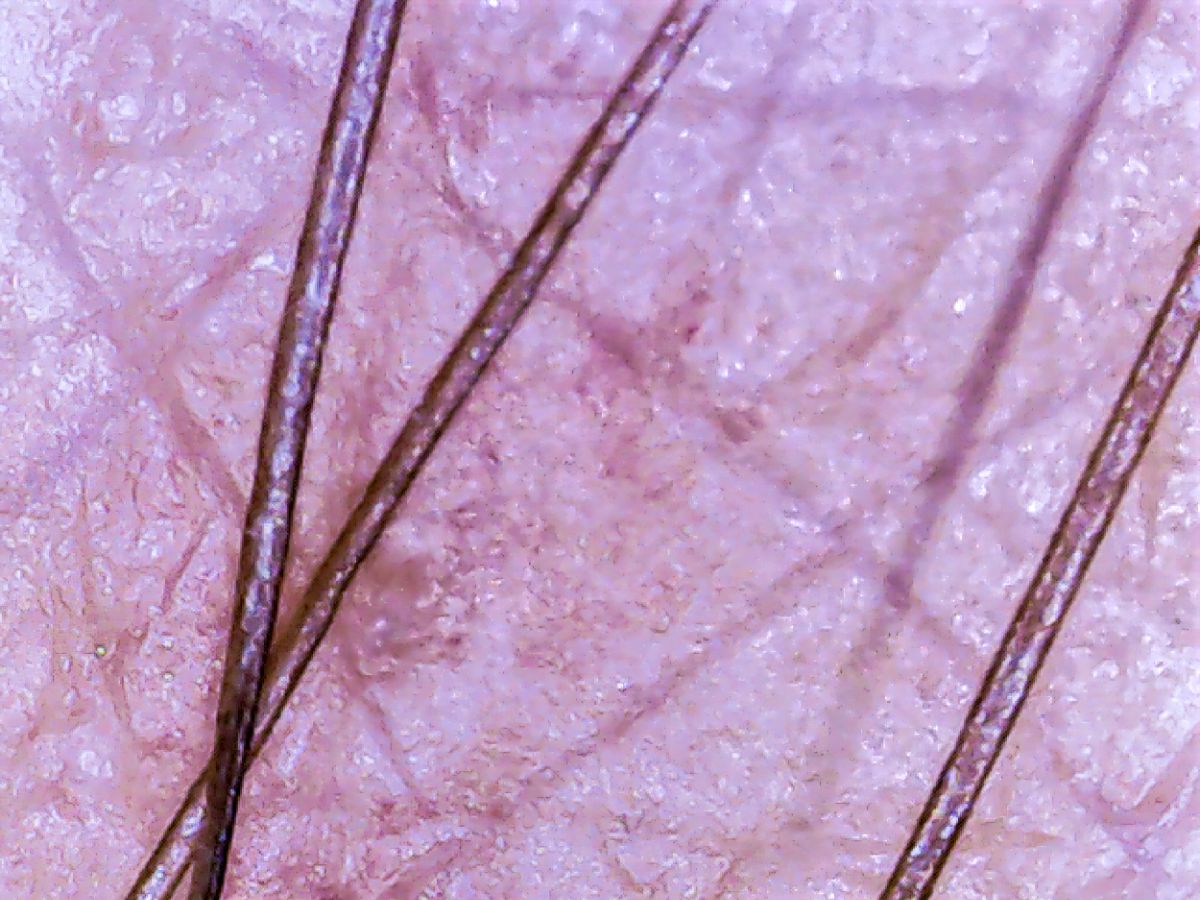
Comment |
Stuart has nailed this one. I stared at it for a while, not able to figure out what was bugging my eye. That subtle "too-sharp" edge was feeling artificial, which is not present in the original.
Using Affinity Photo, this is what I came up with applying a bit of clarity to the foreground: |
Oct 15th |
 |
| 95 |
Oct 22 |
Reply |
I suppose you're right about the soft bottom areas. [sigh] Guess I'm getting sloppy. d:¬{( |
Oct 15th |
| 95 |
Oct 22 |
Reply |
Dang! I missed that I'd cut off the bottom! AARRGGHH! |
Oct 15th |
| 95 |
Oct 22 |
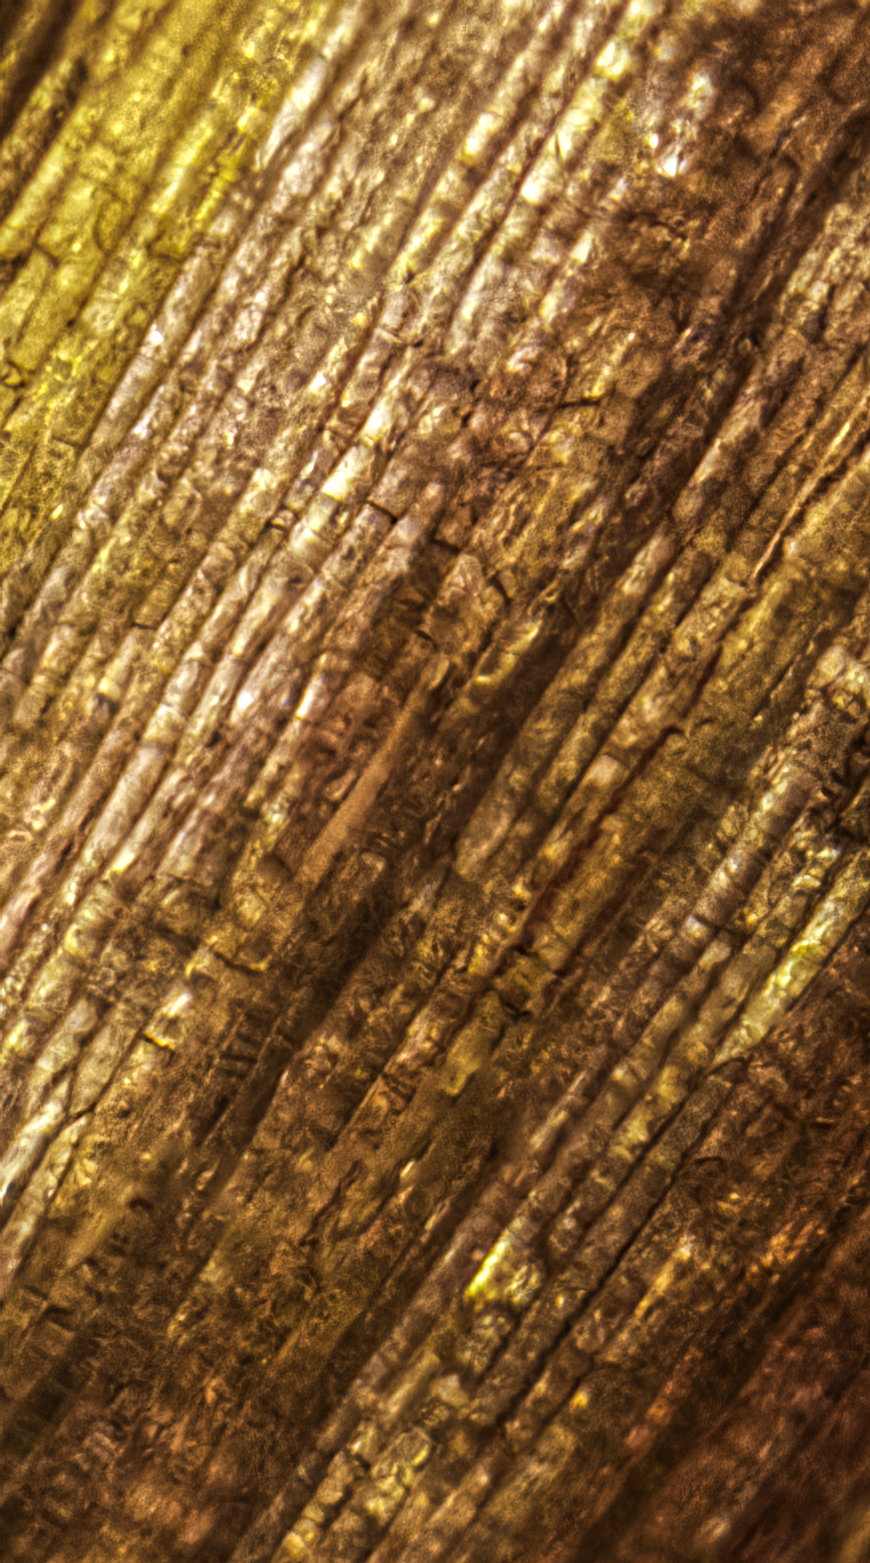
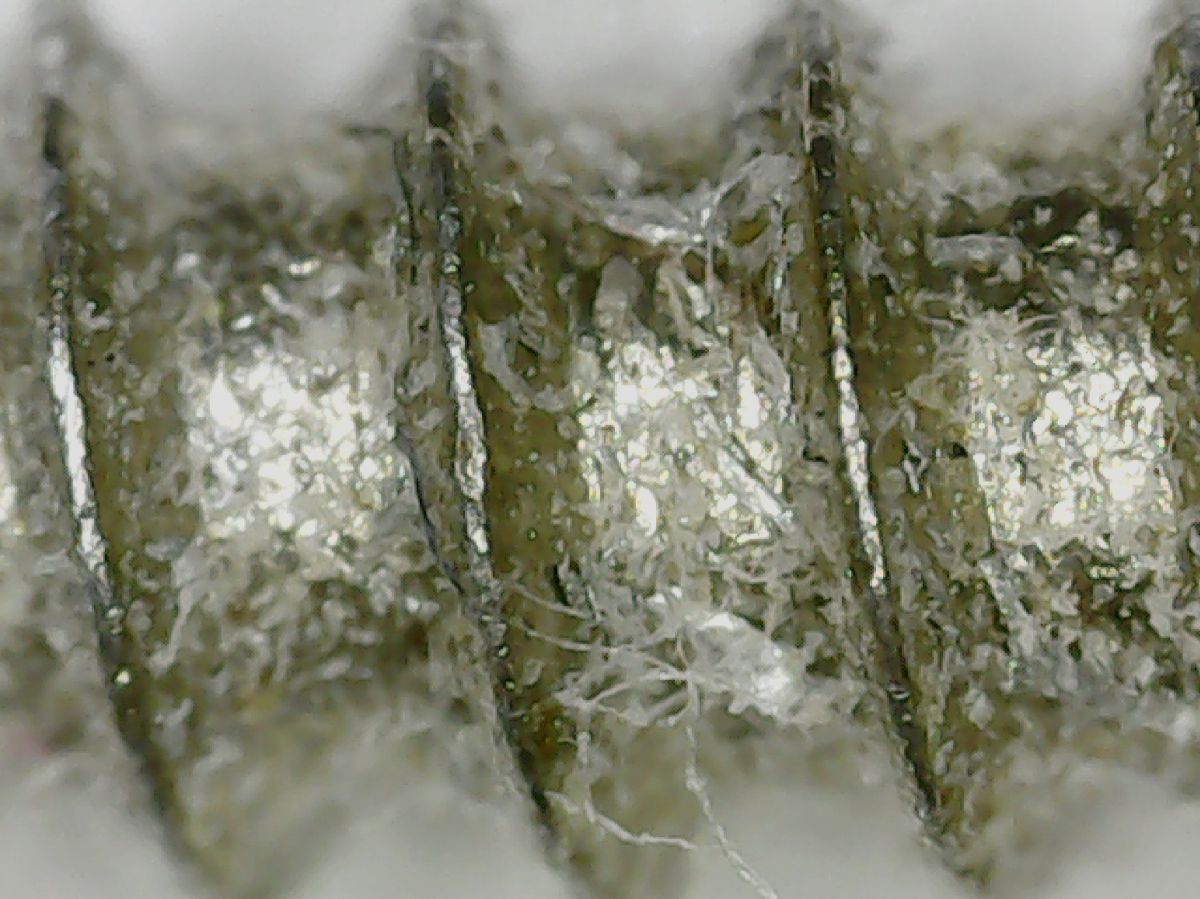
Comment |
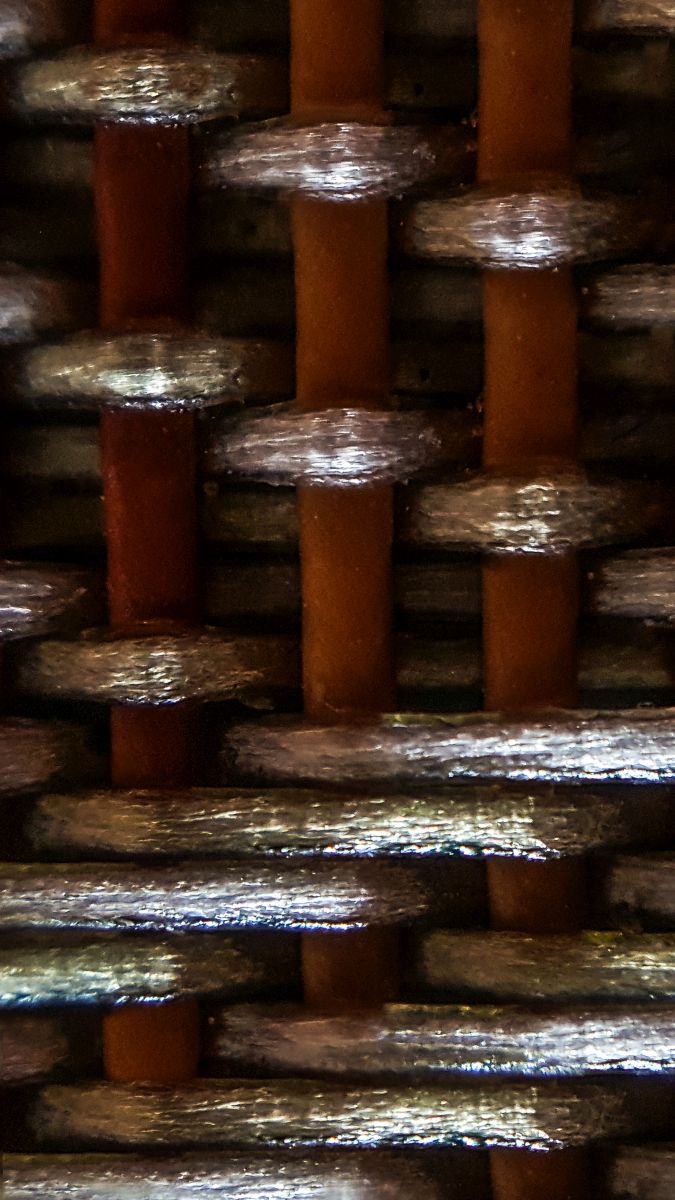
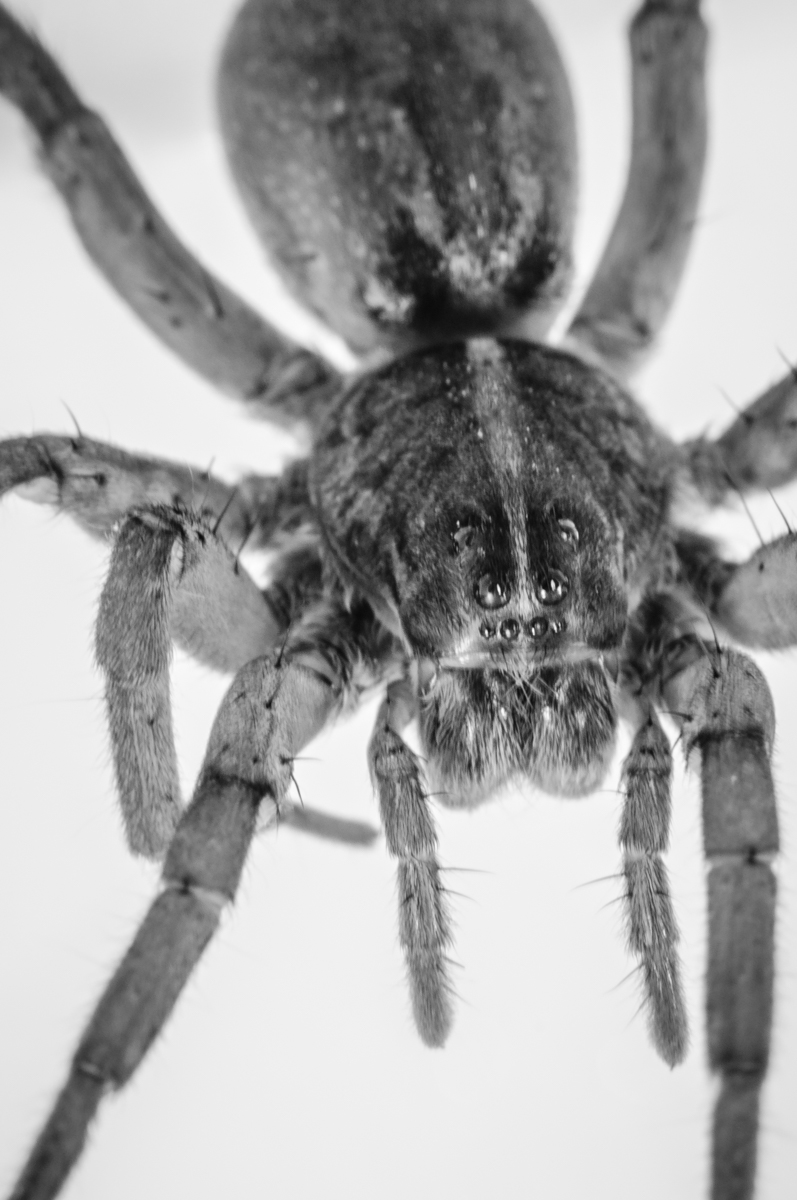
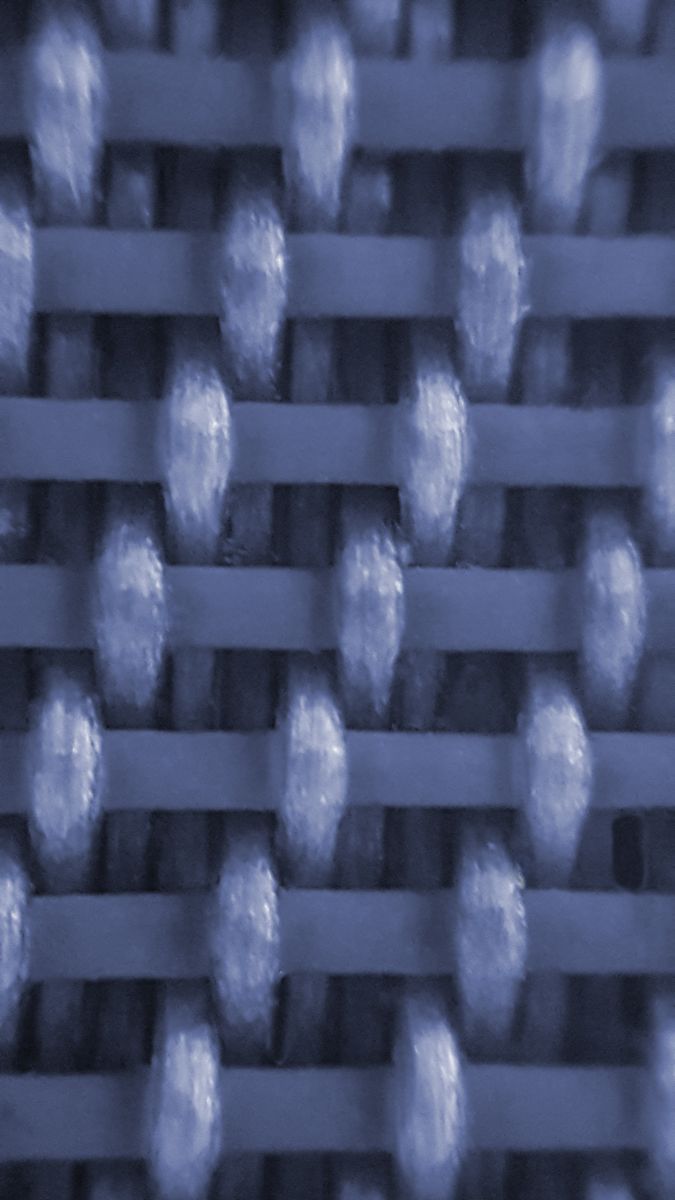
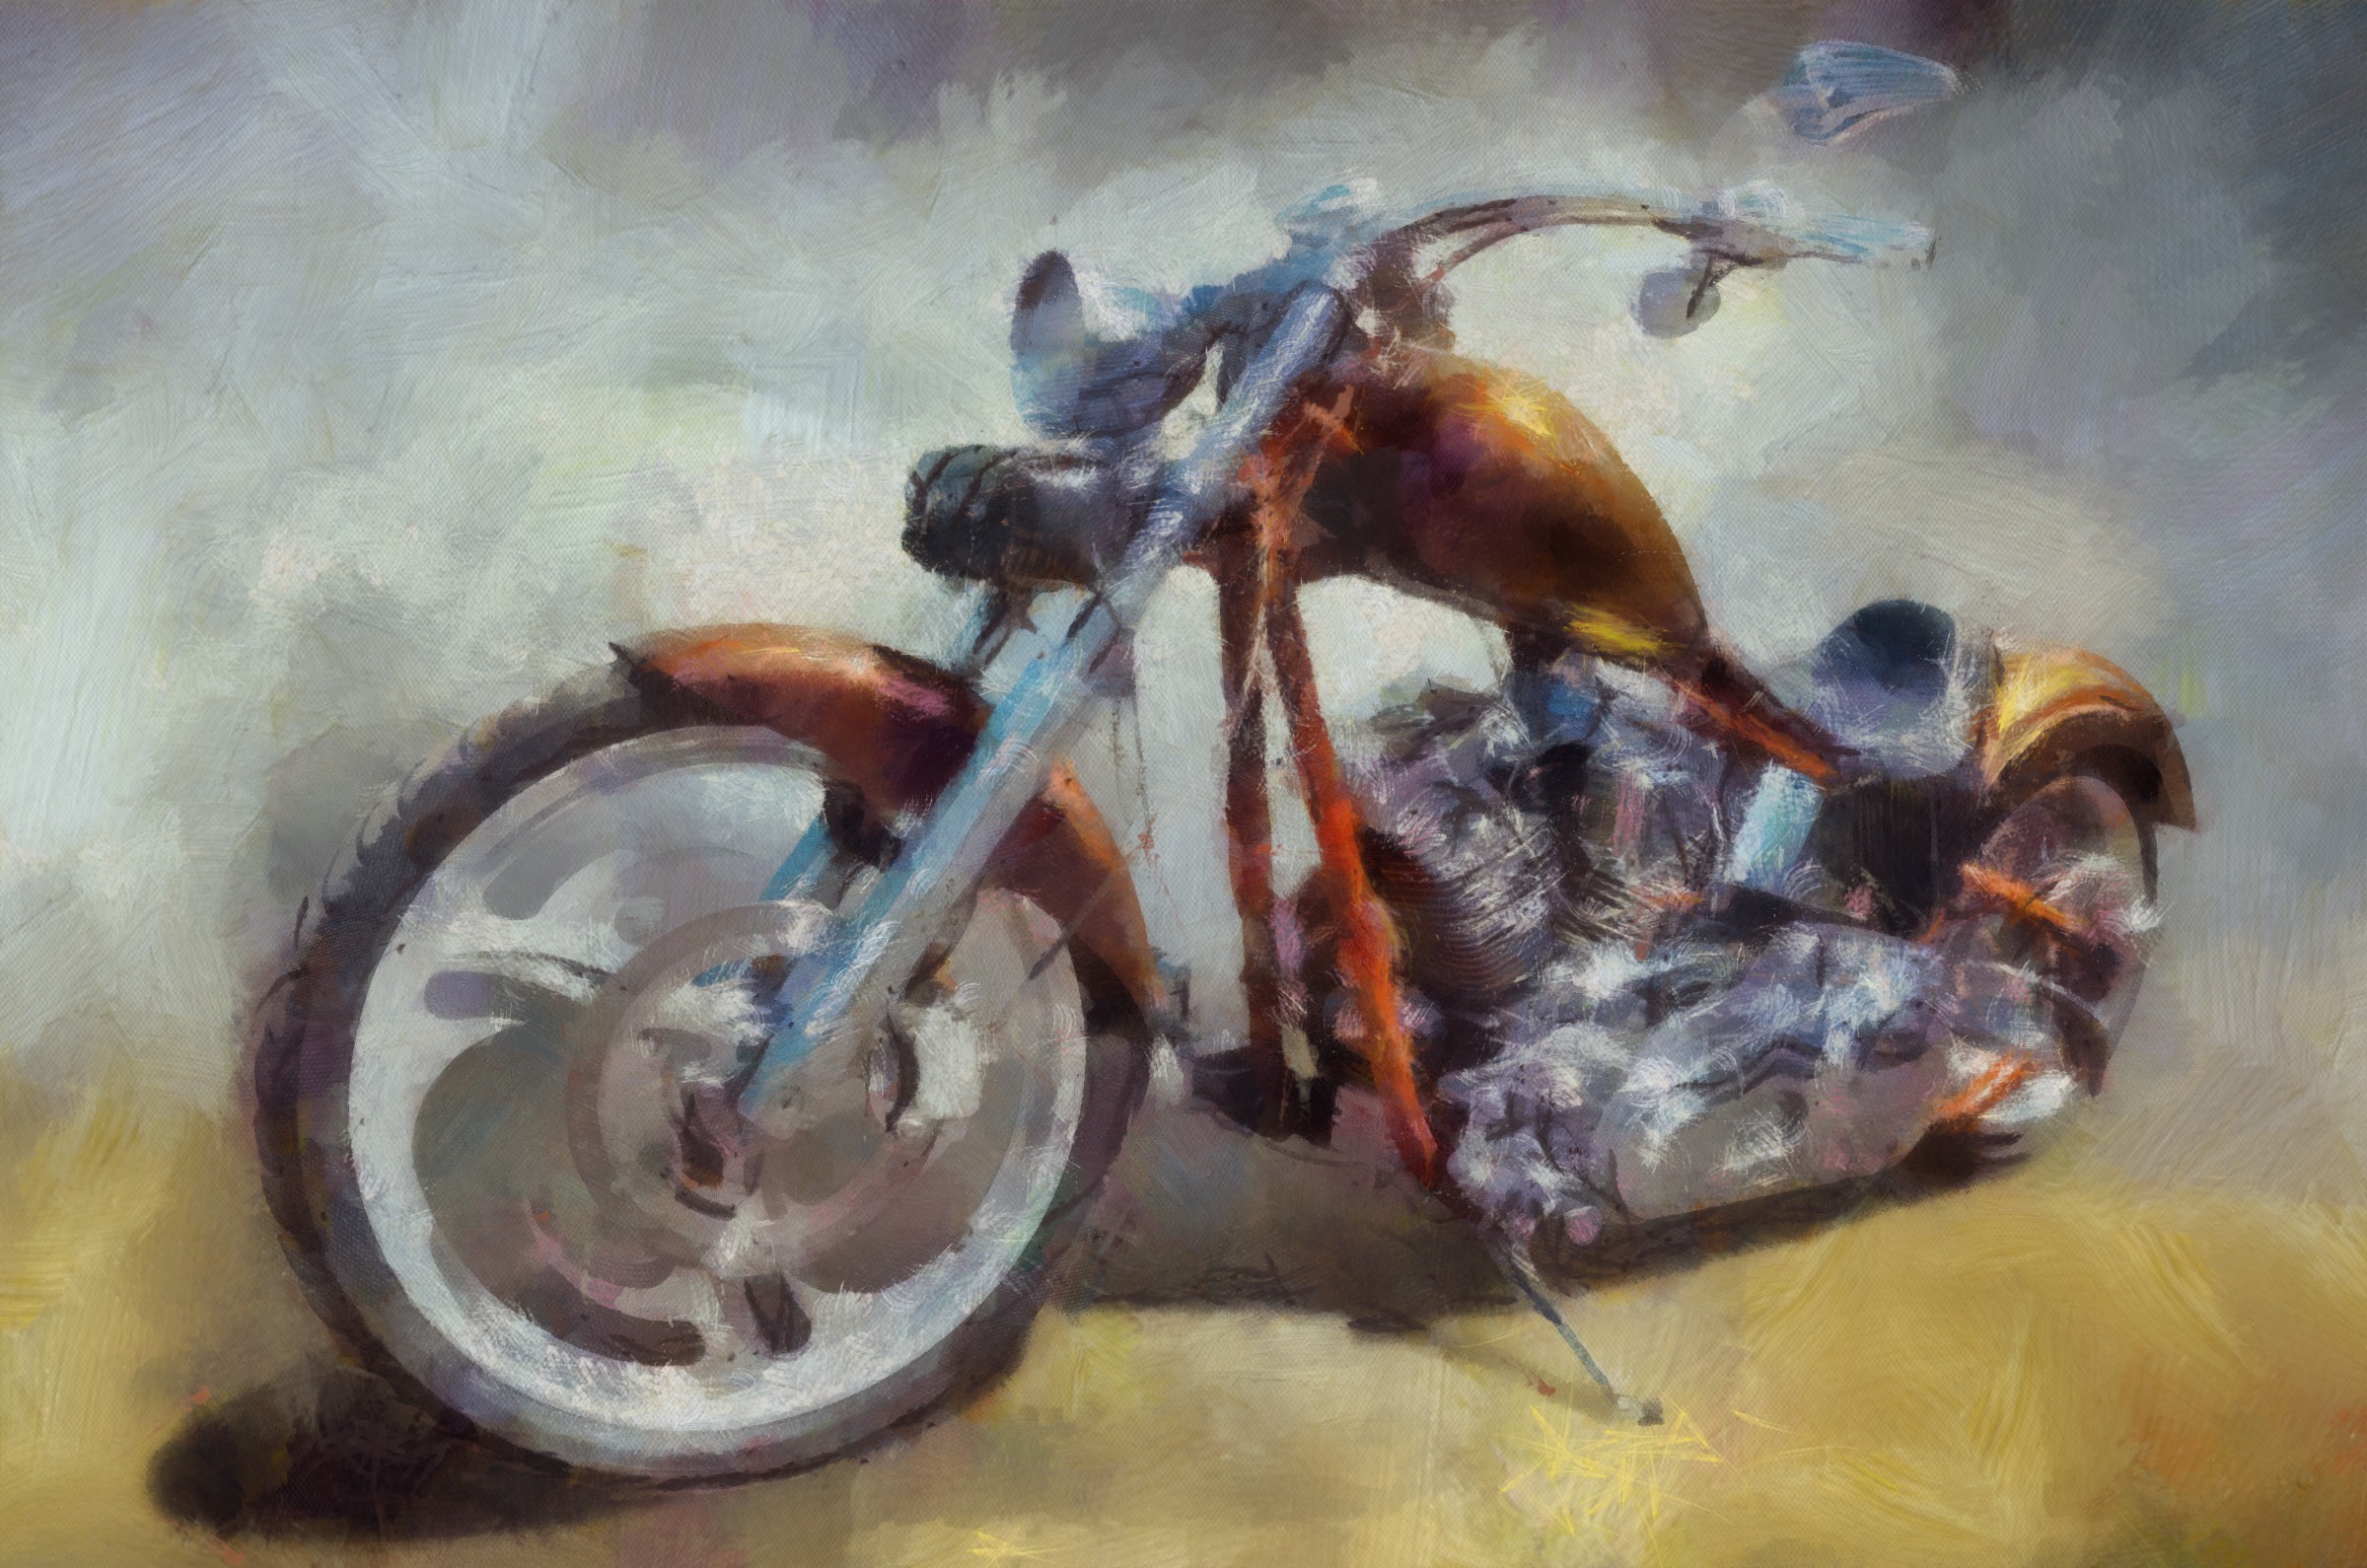
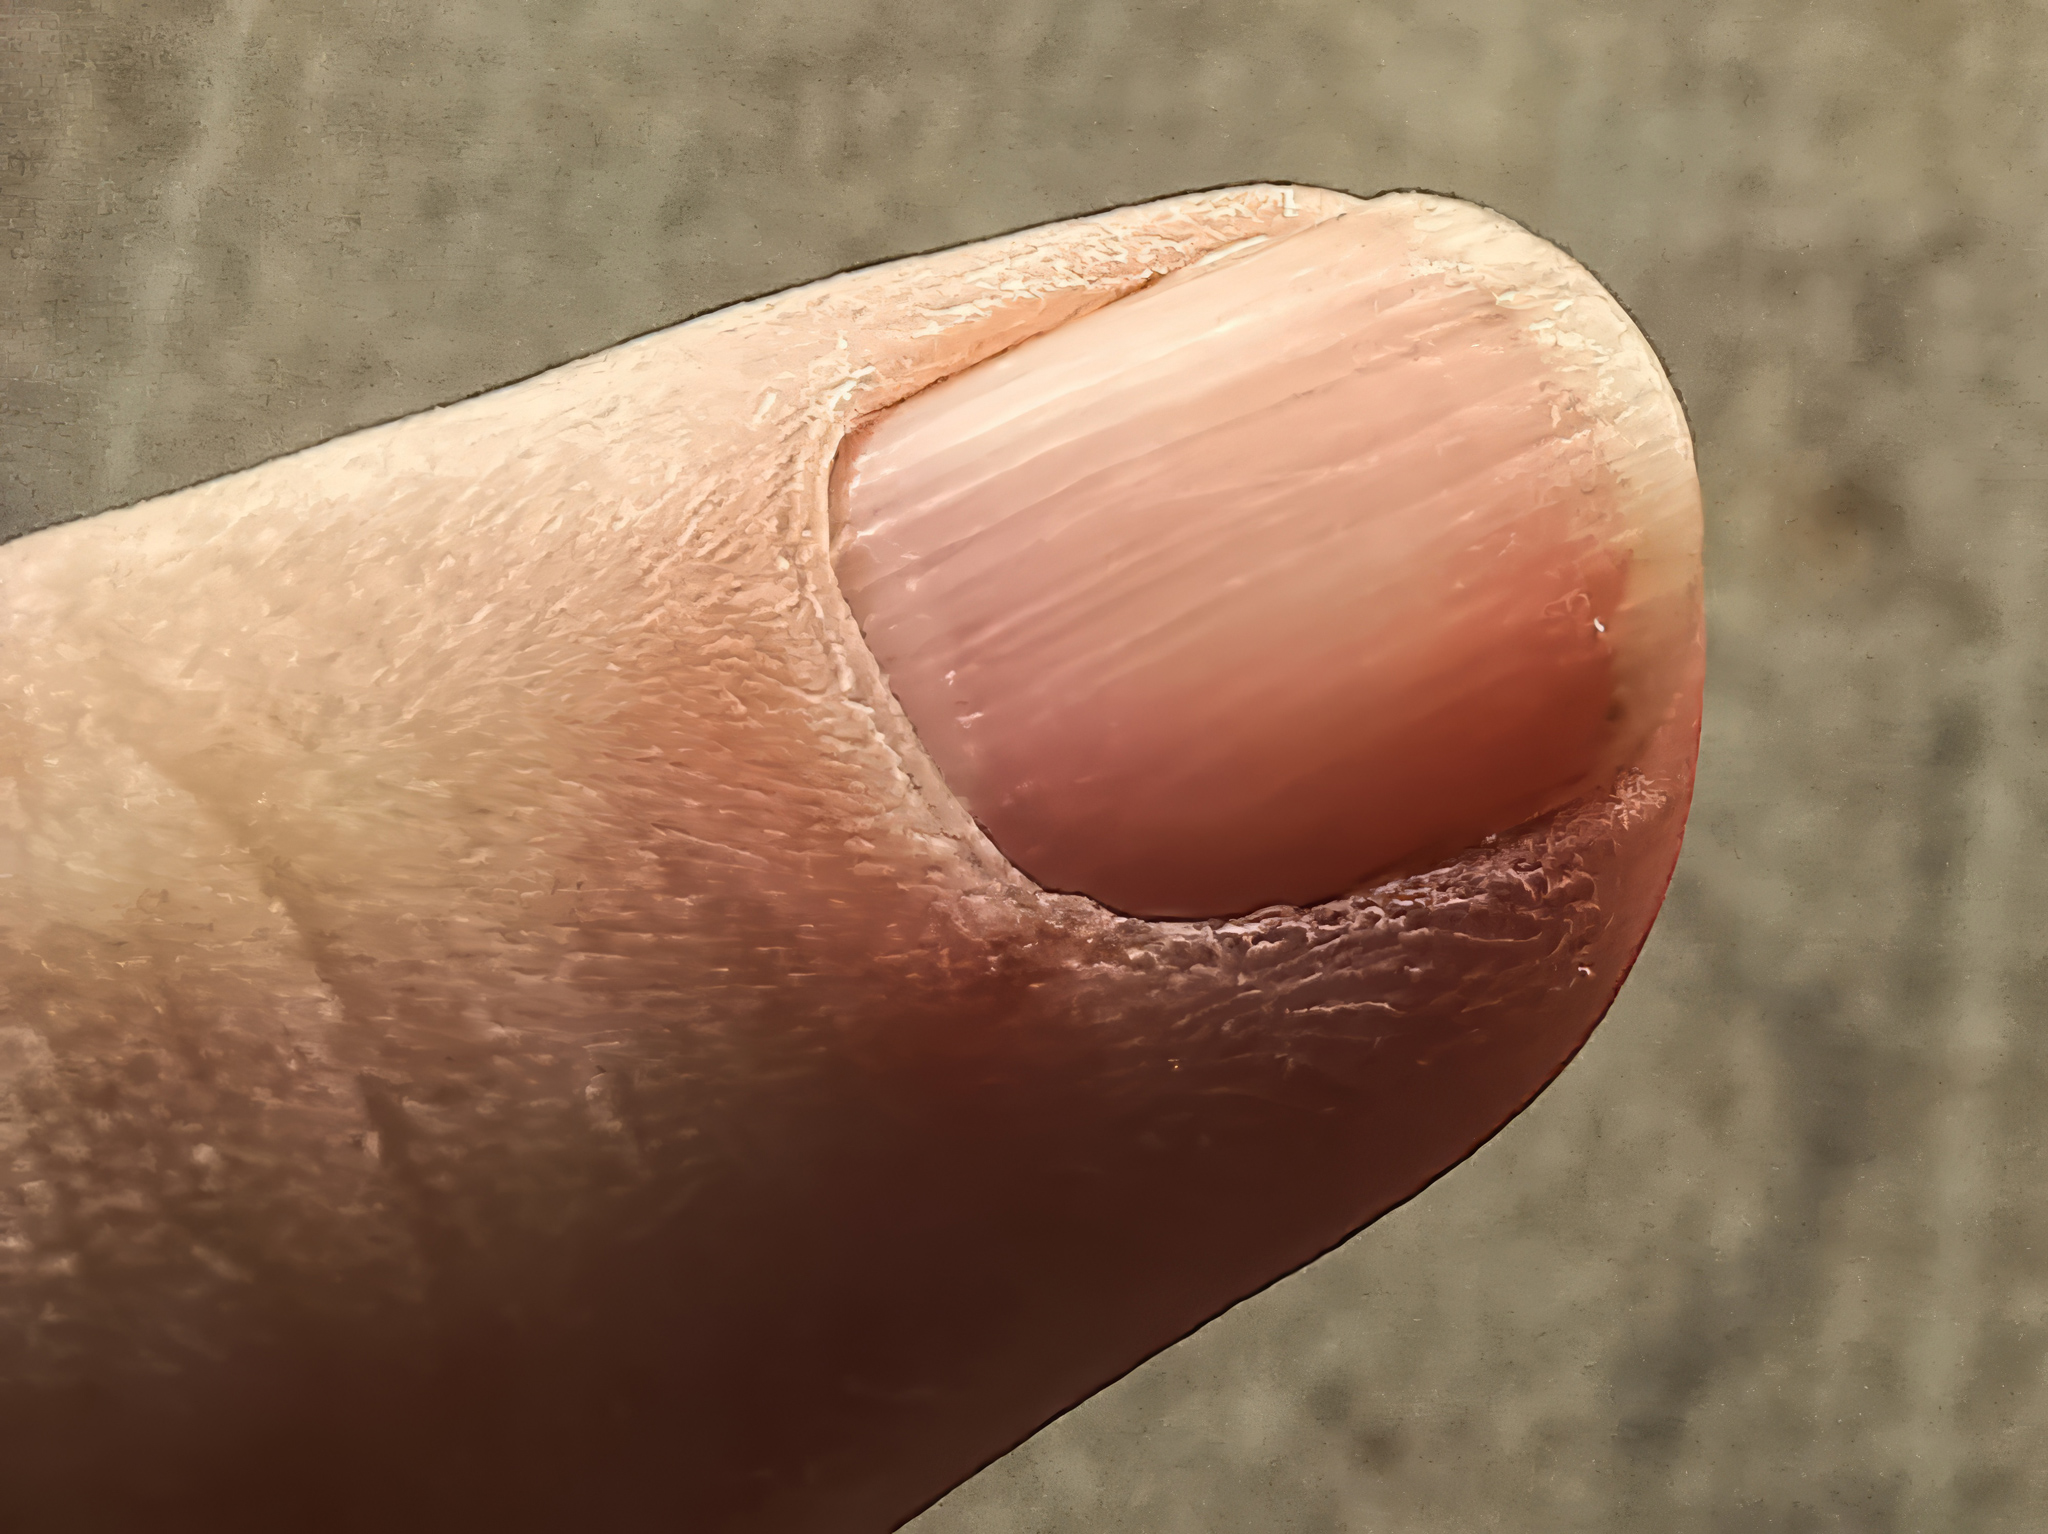
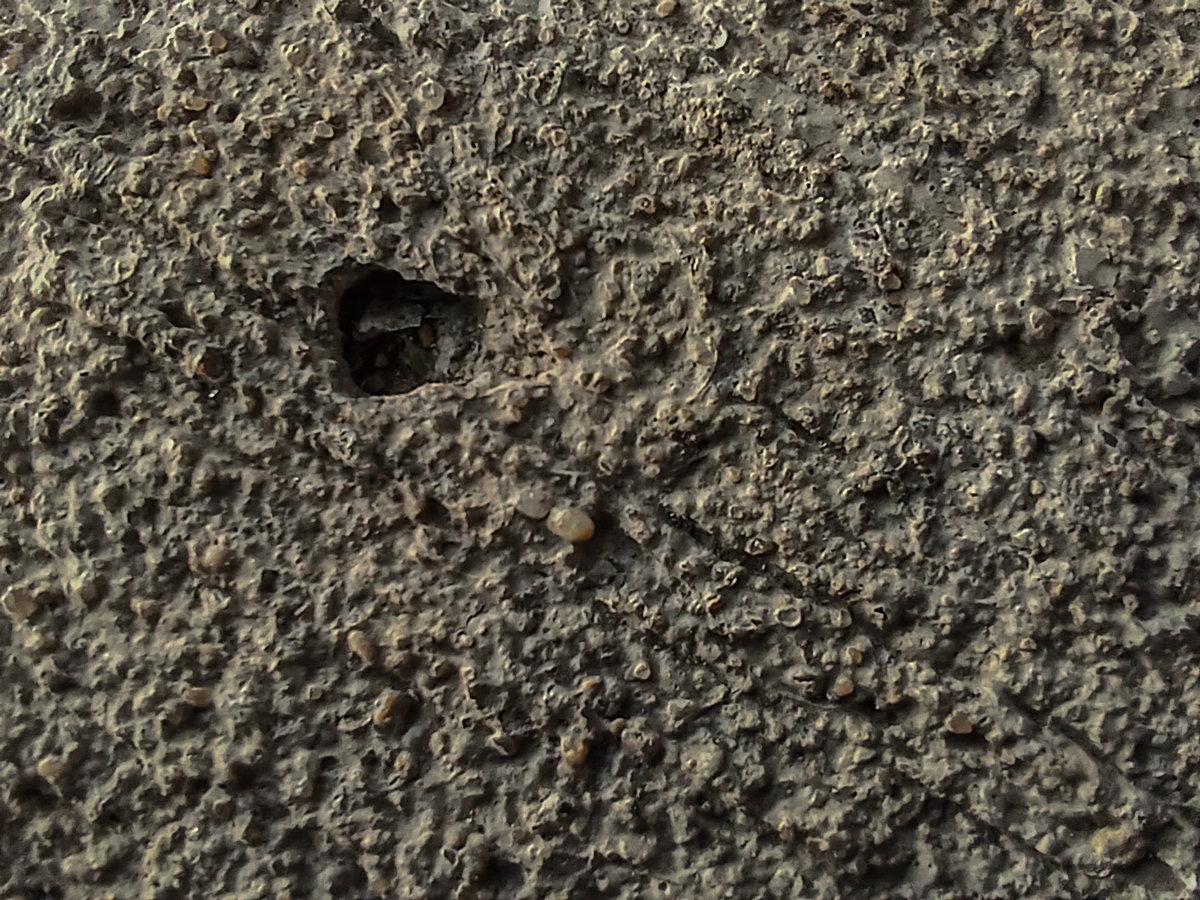
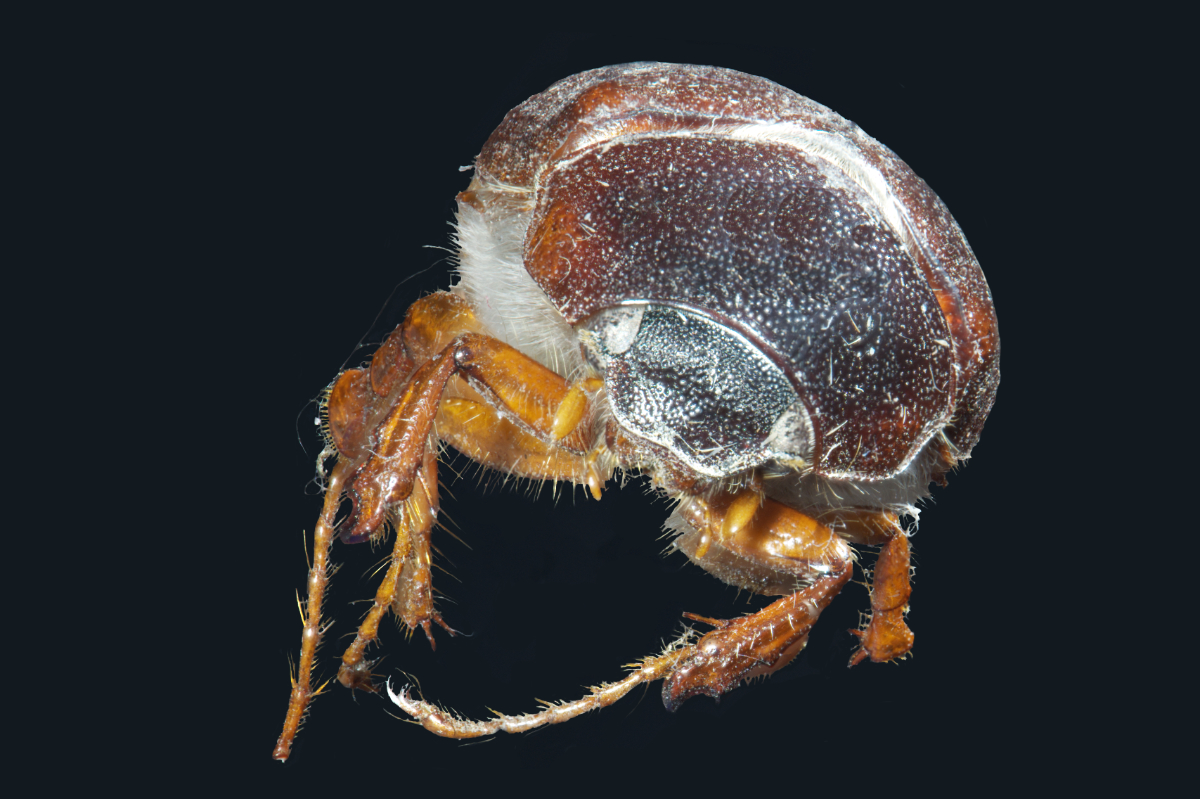
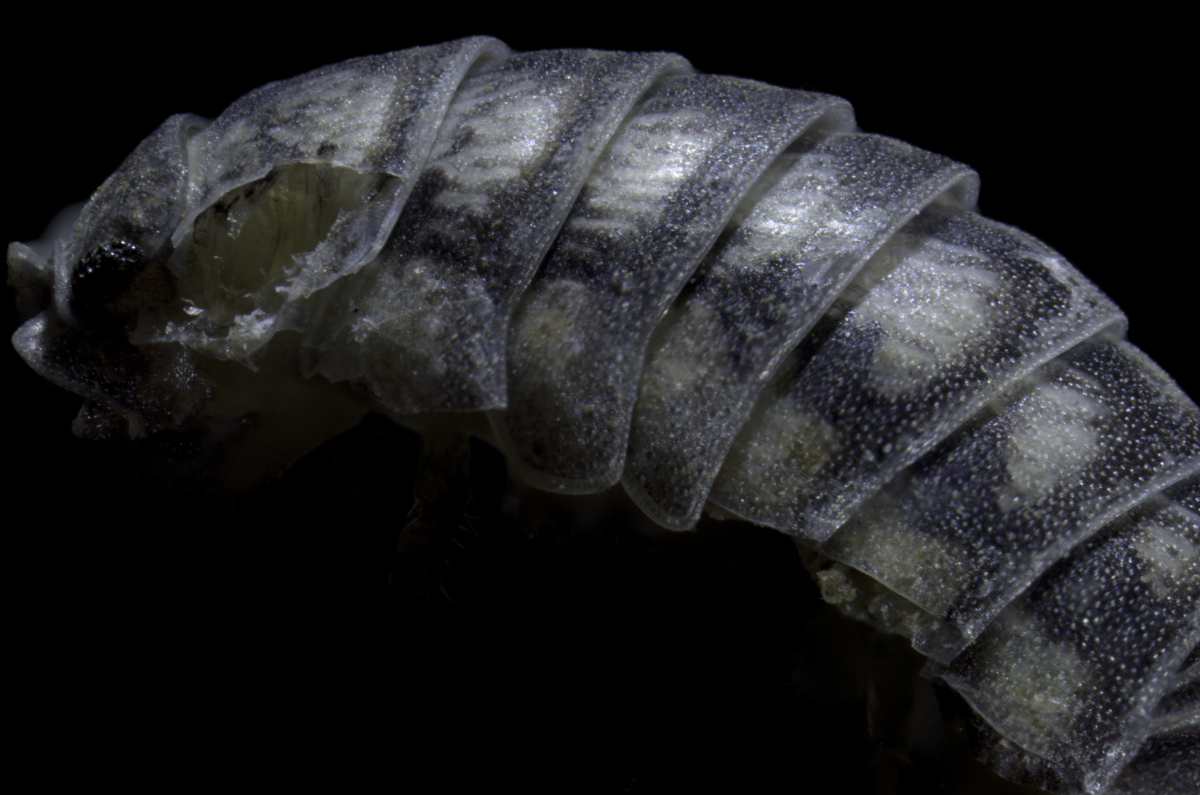
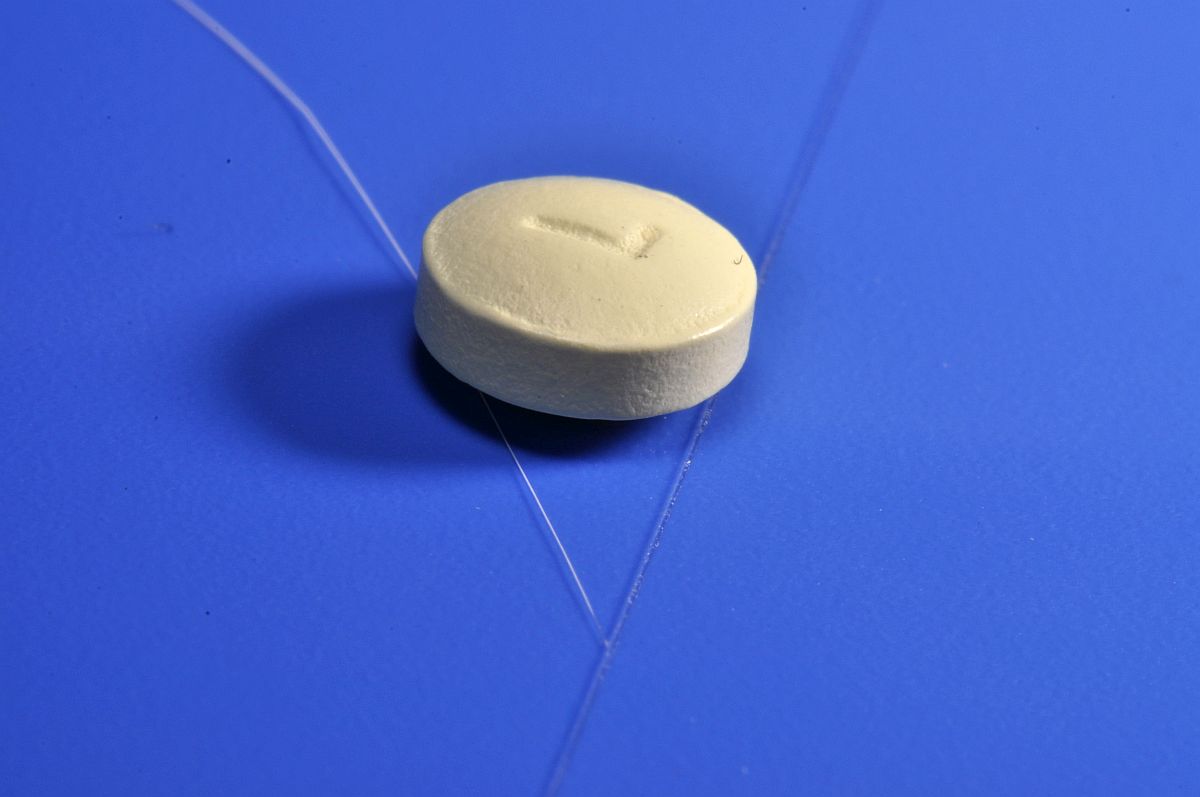
Glad to see you're using that focus rail to fine-tune your focal point. While I typically find fault with out of focus areas in macro, your image of the belt works for me even with soft areas. Great job, Pat! You've come a long way! |
Oct 15th |
| 95 |
Oct 22 |
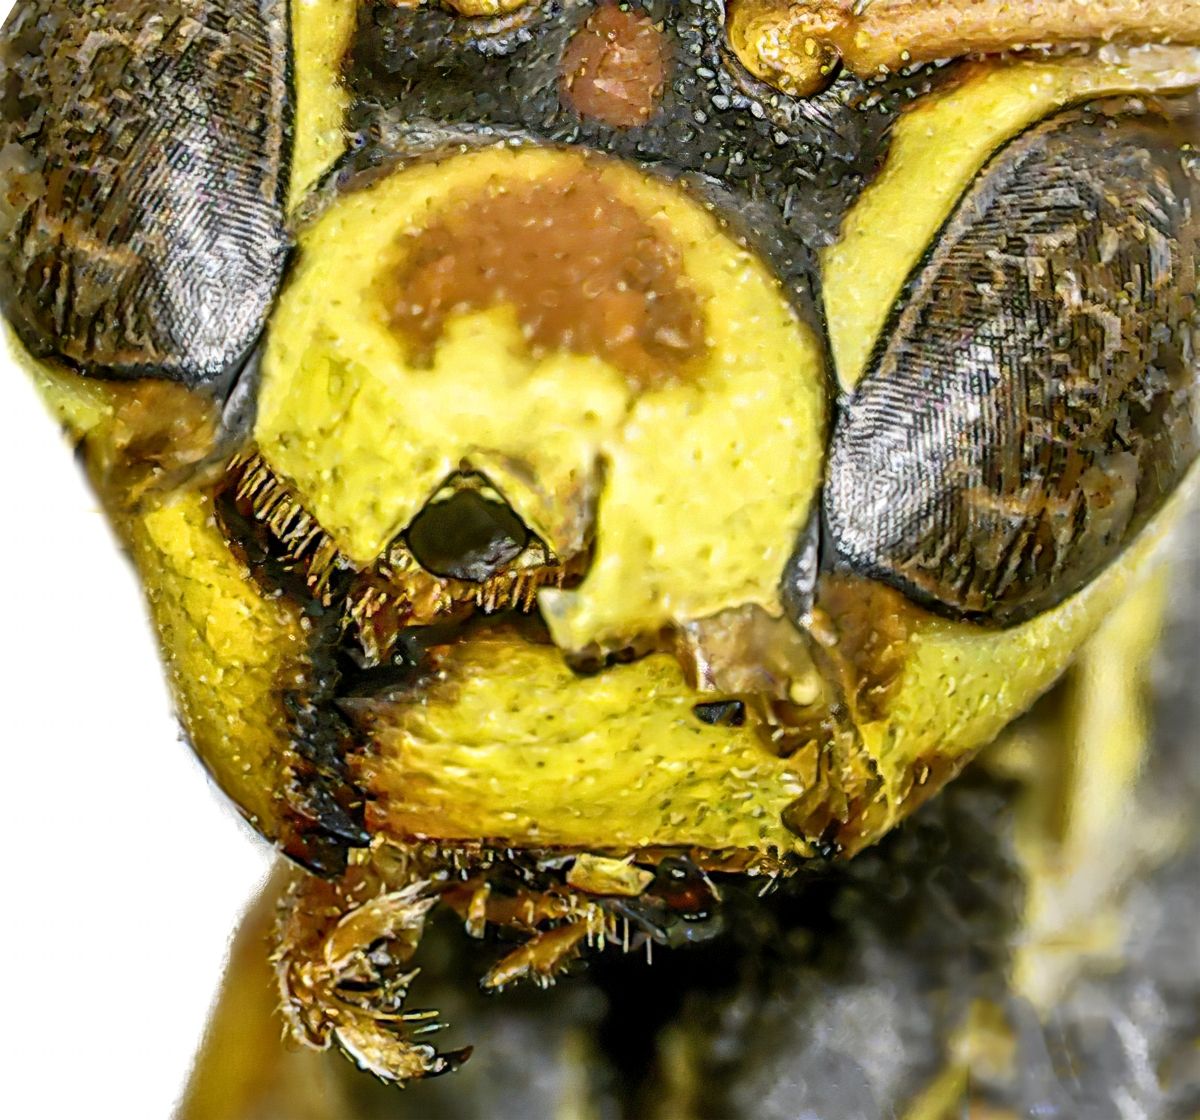
Comment |
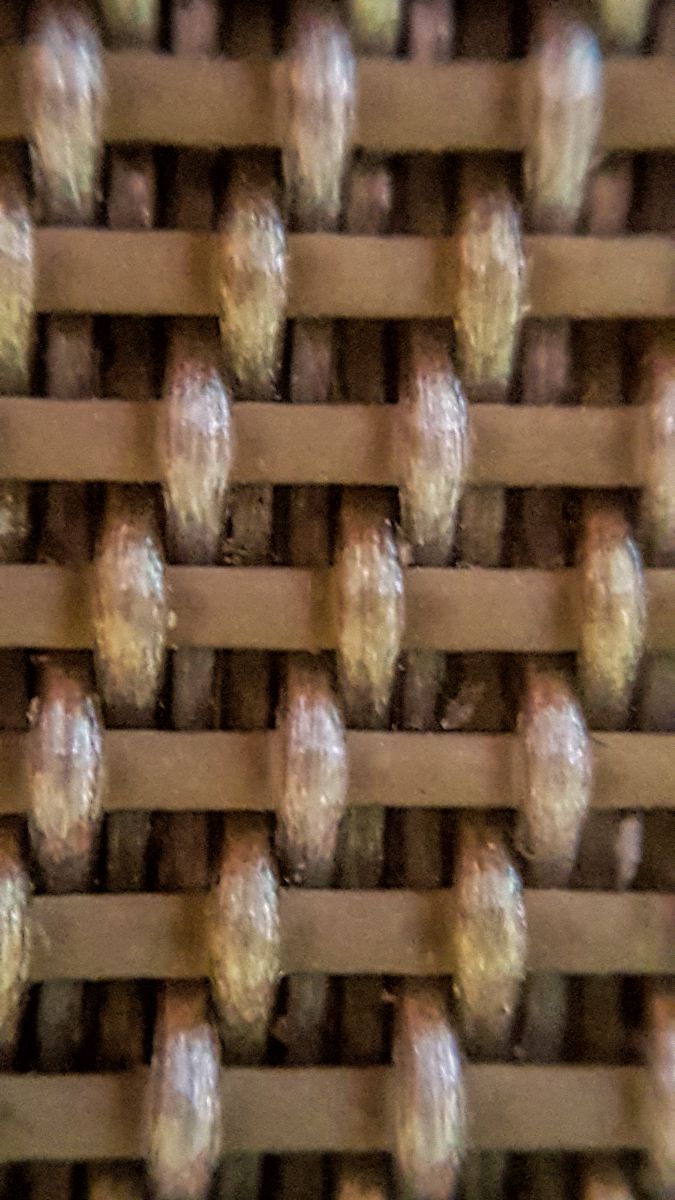
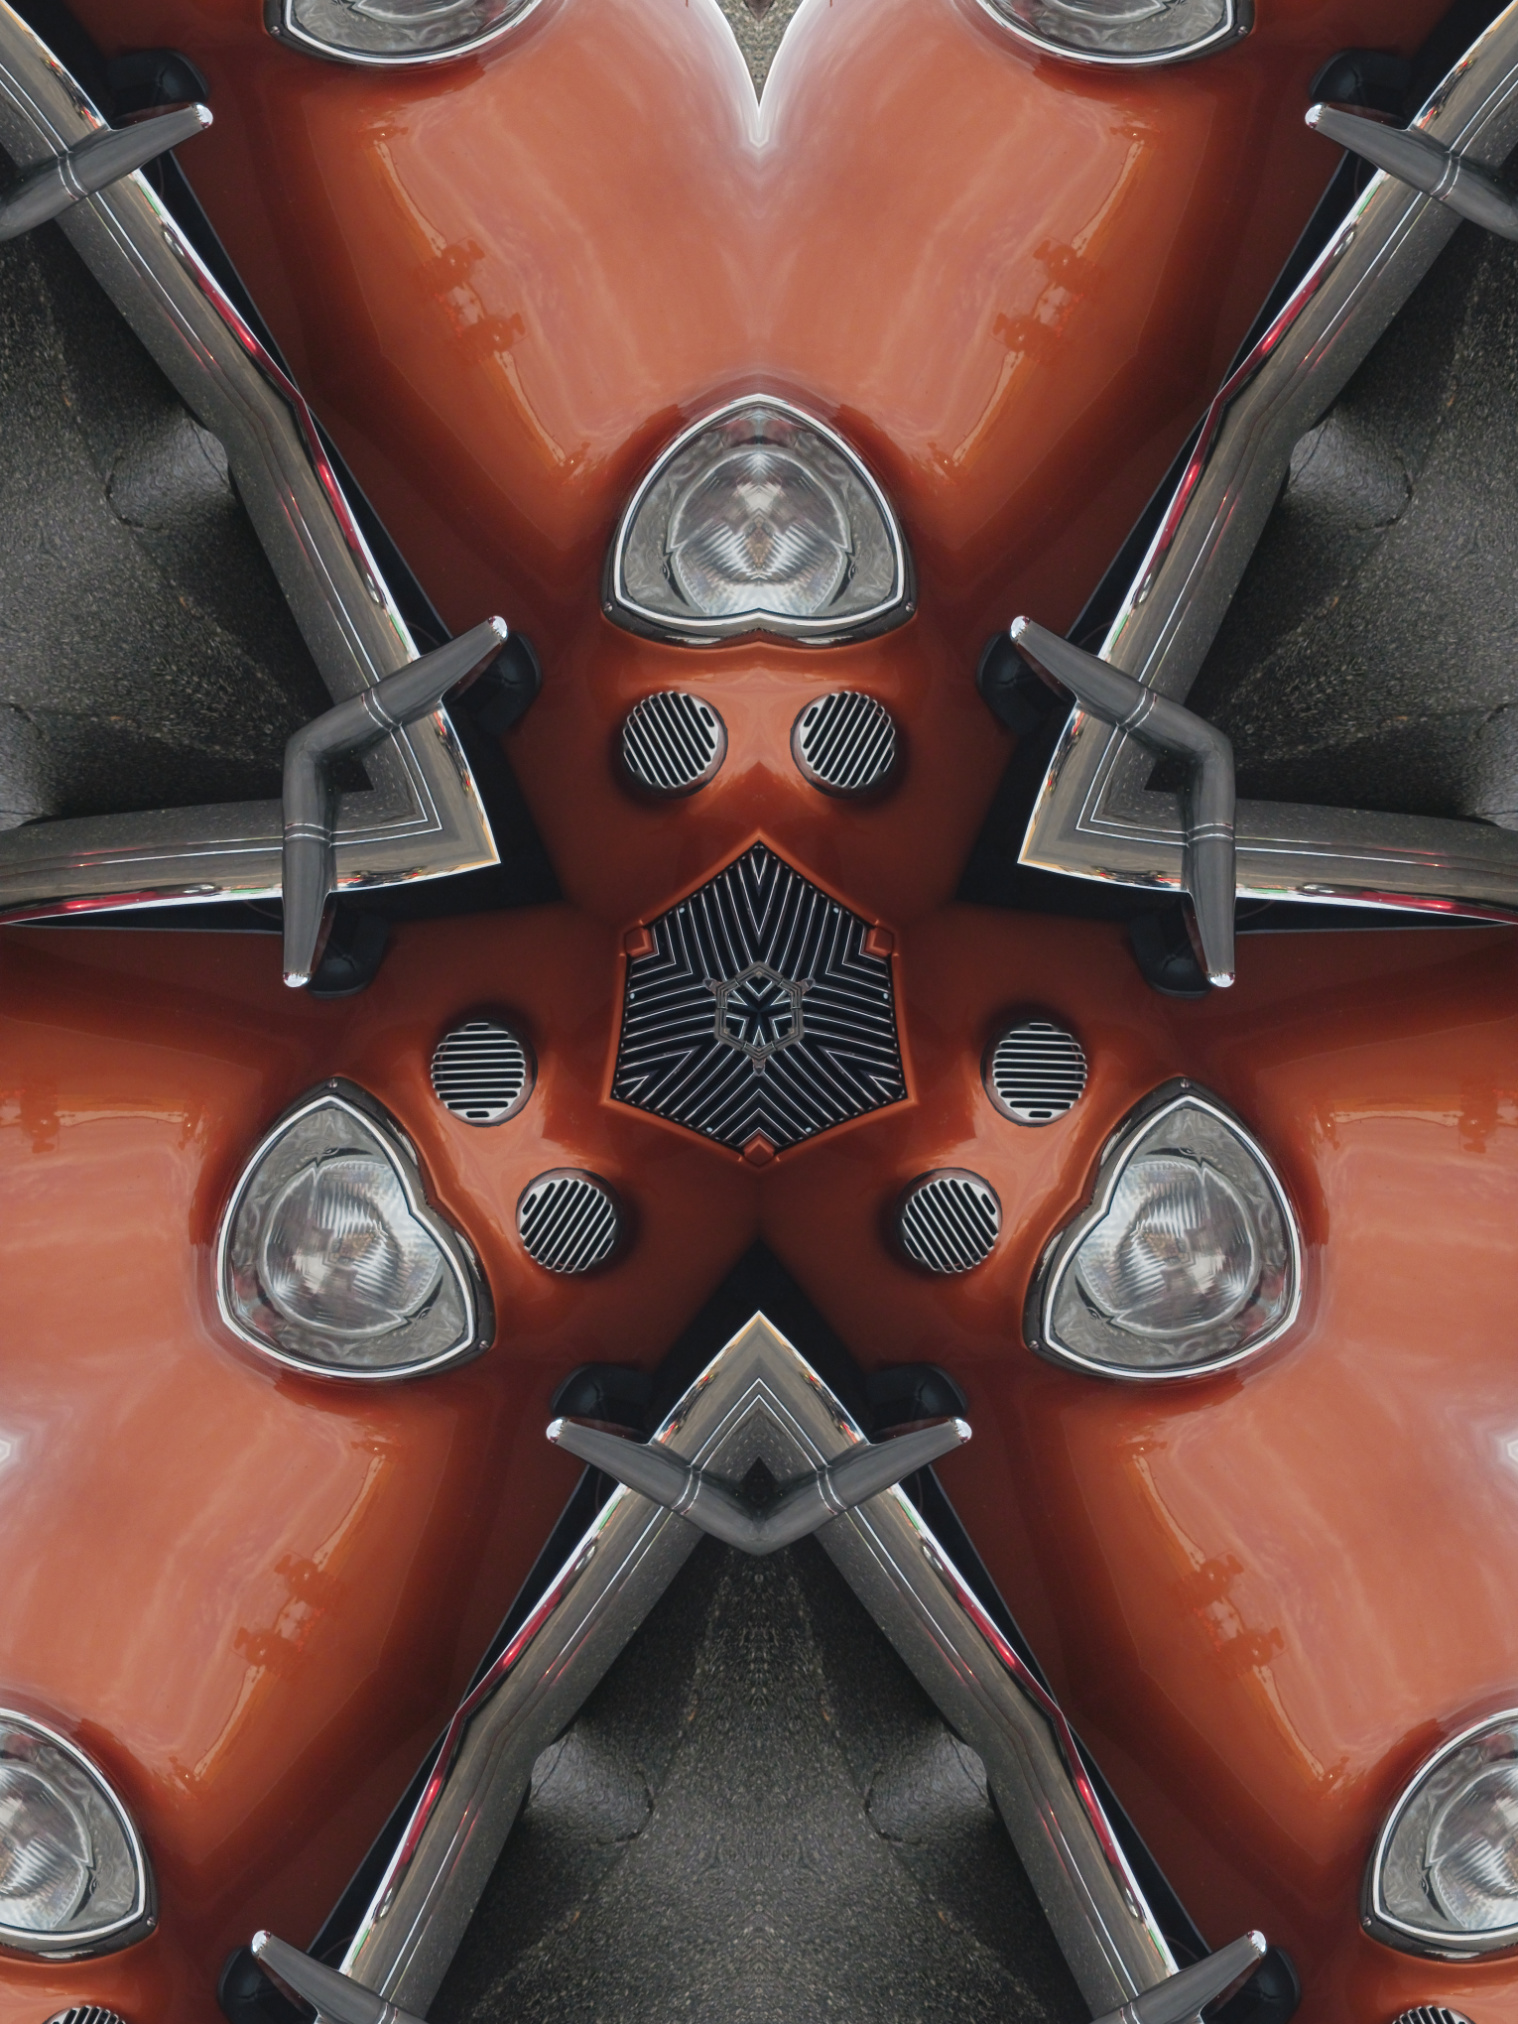
You stumped me, Stuart! Tell us what "creative" addition you made????
Beyond that, this is a great image and really shows off what can be done with one of these mechanized focus rails. I'm certainly jealous. d;¬{D |
Oct 15th |
| 95 |
Oct 22 |
Reply |
Thanks for sharing this resource, Stuart! |
Oct 15th |
| 95 |
Oct 22 |
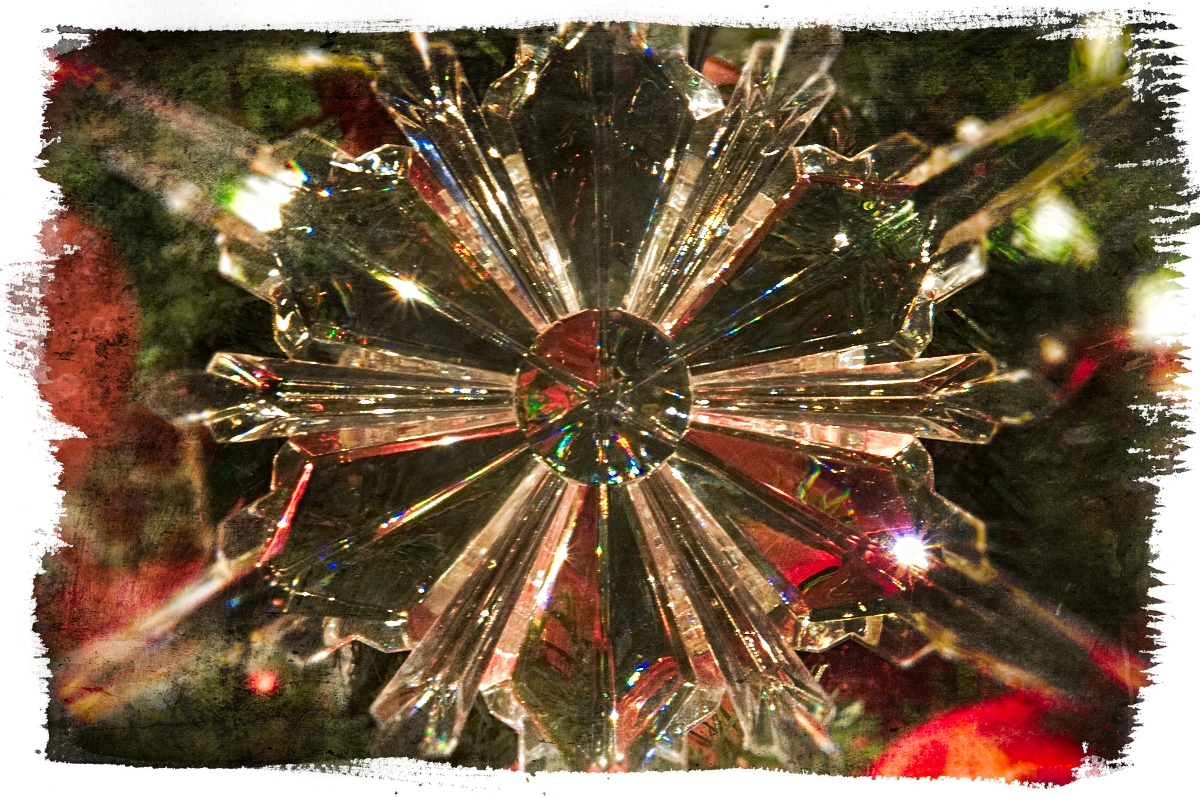
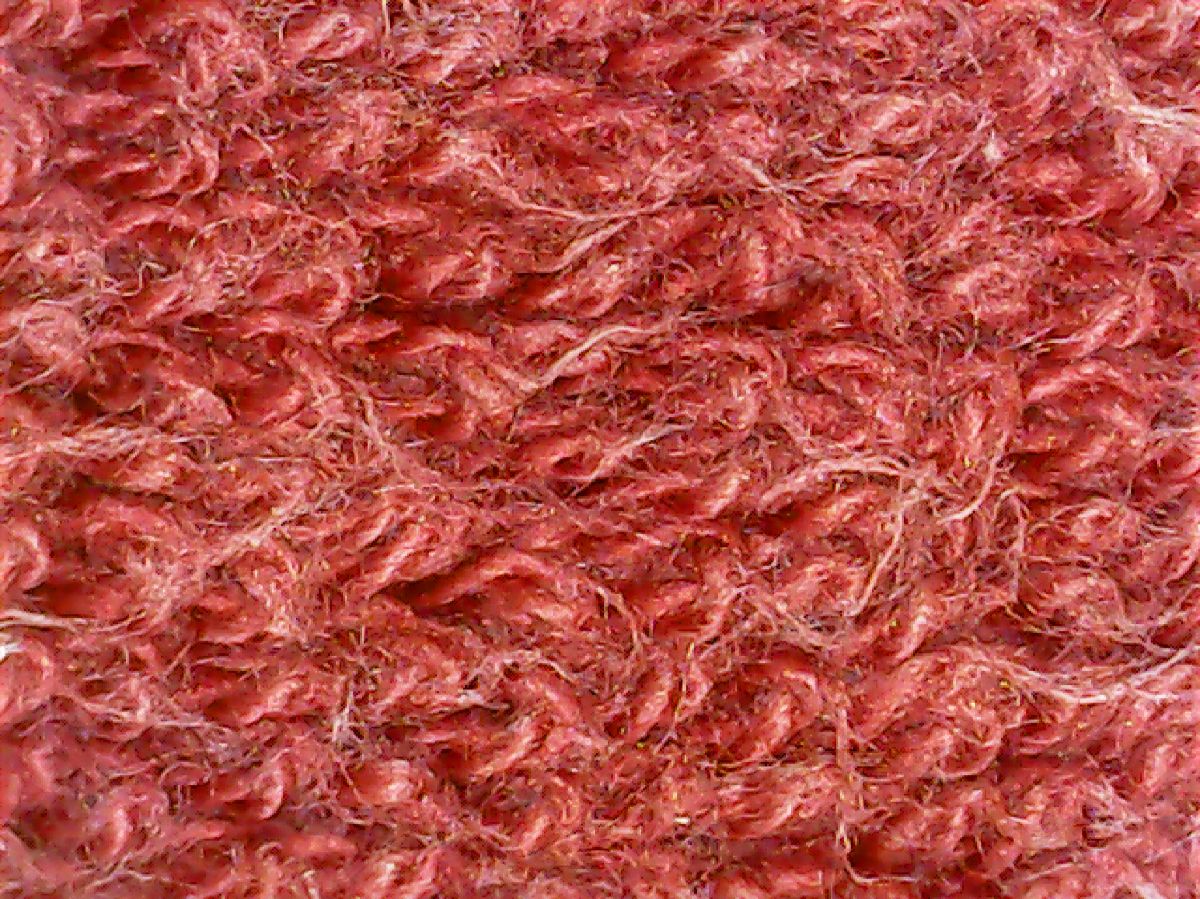
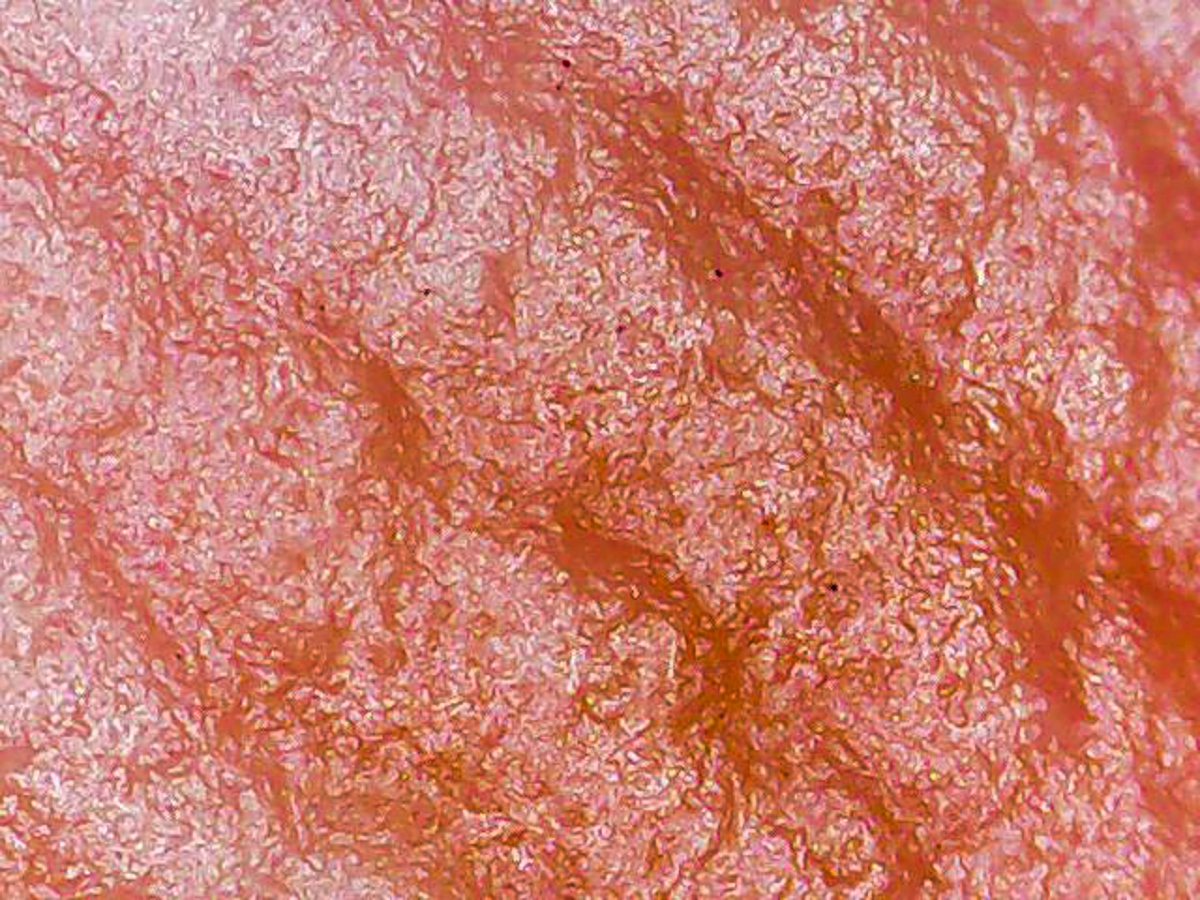
Comment |
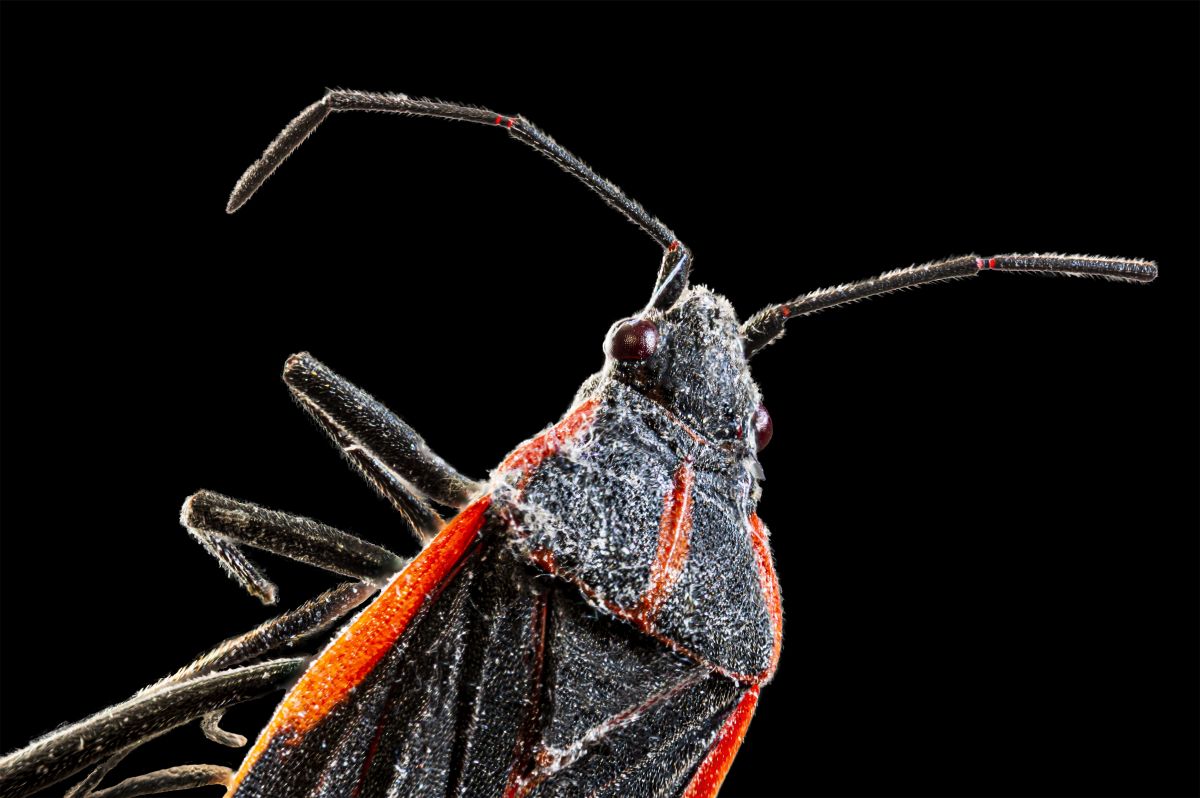
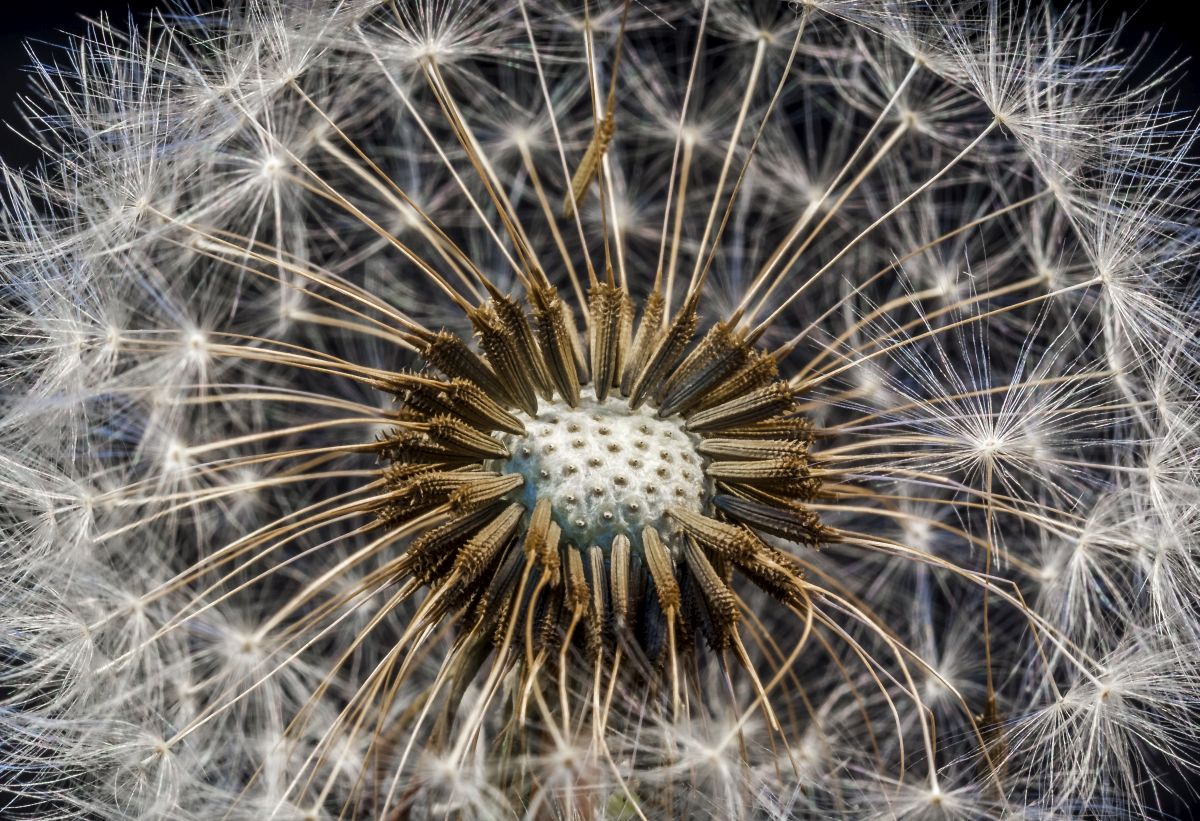
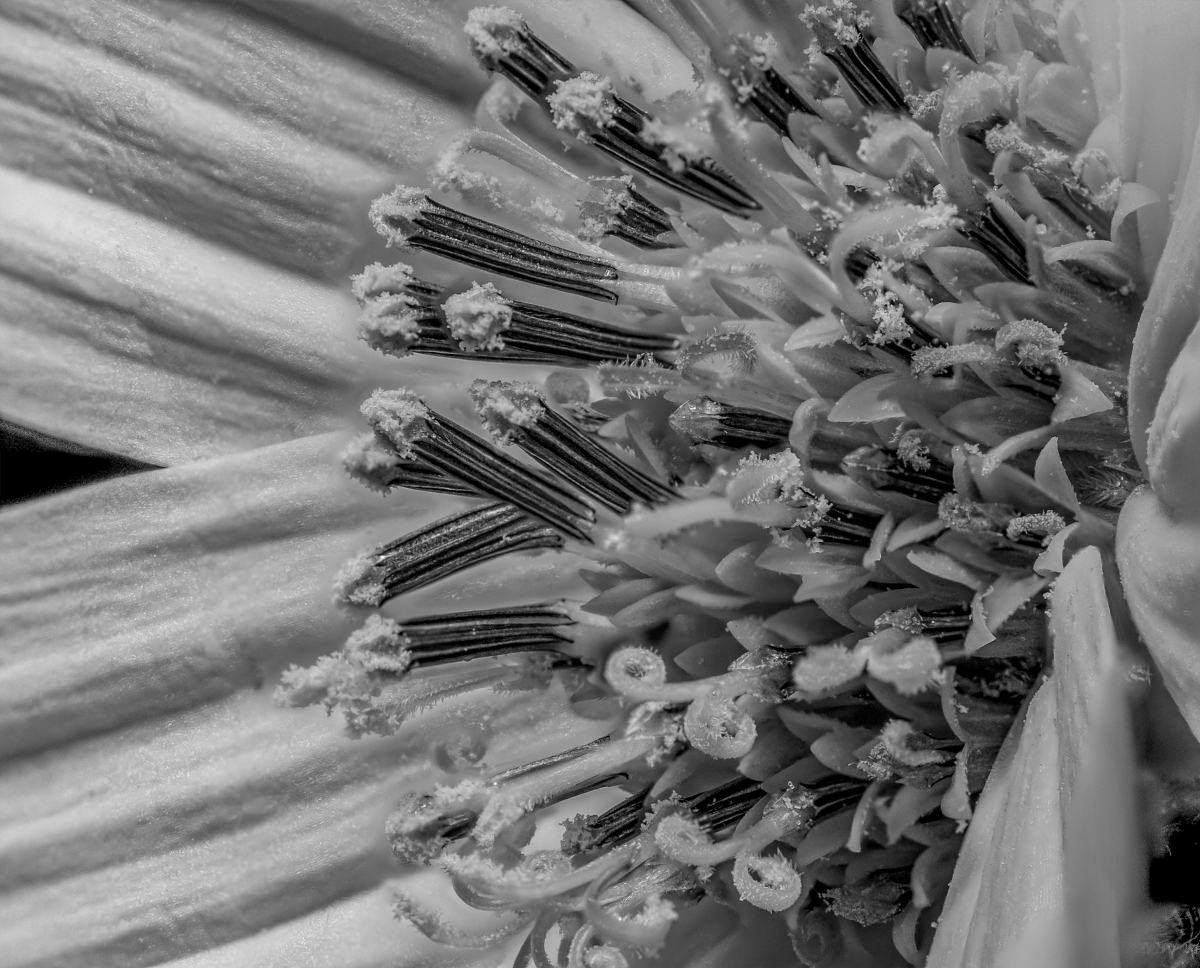
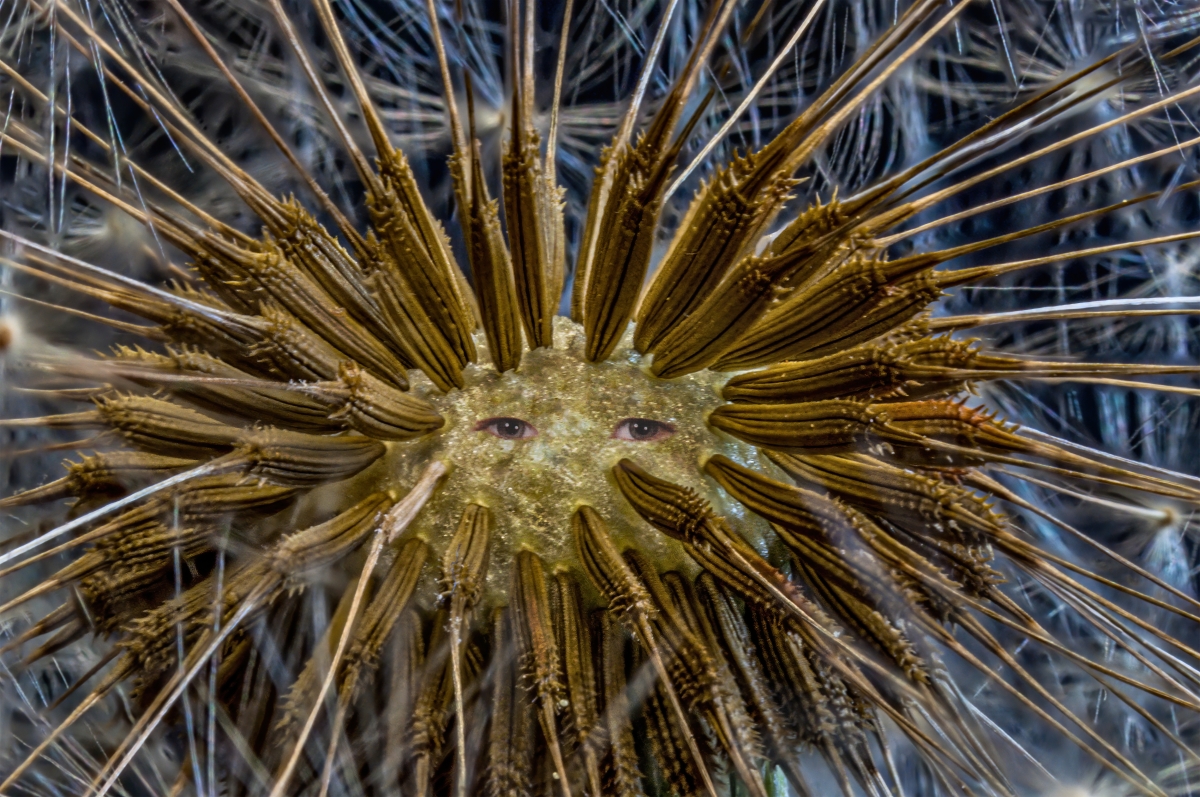
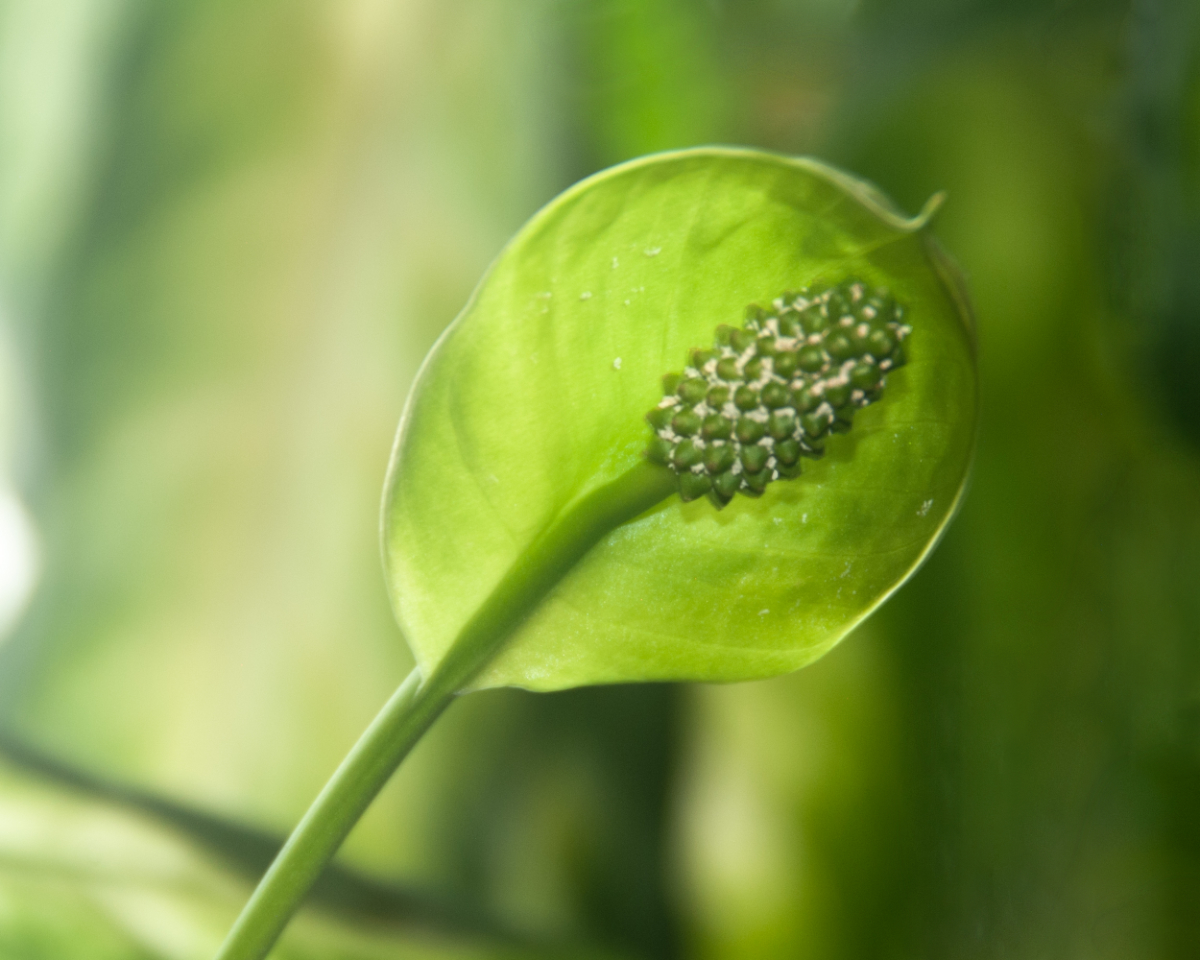
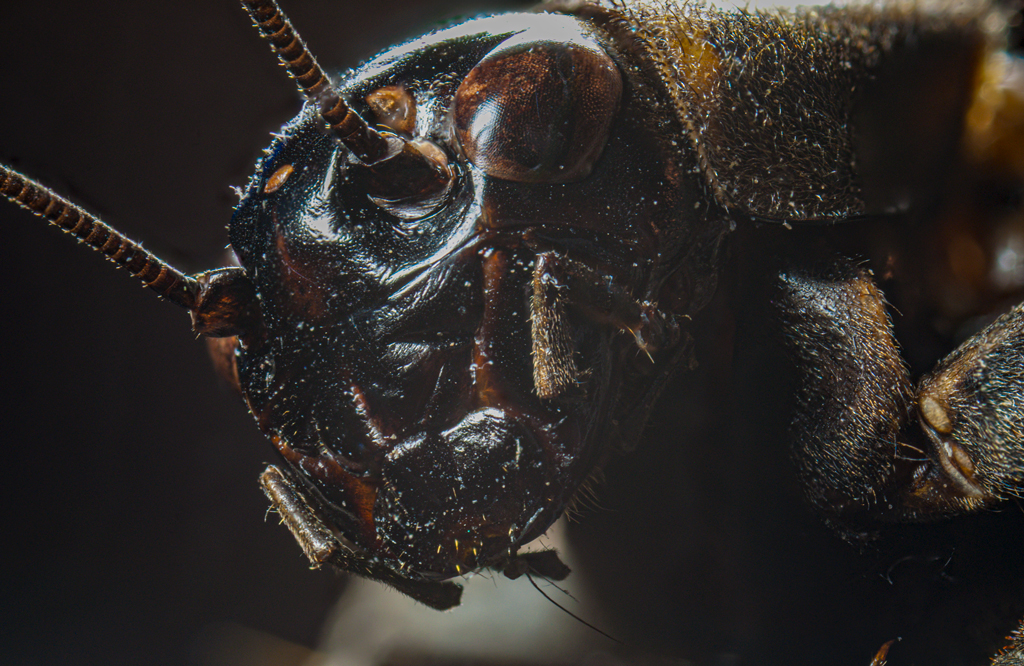
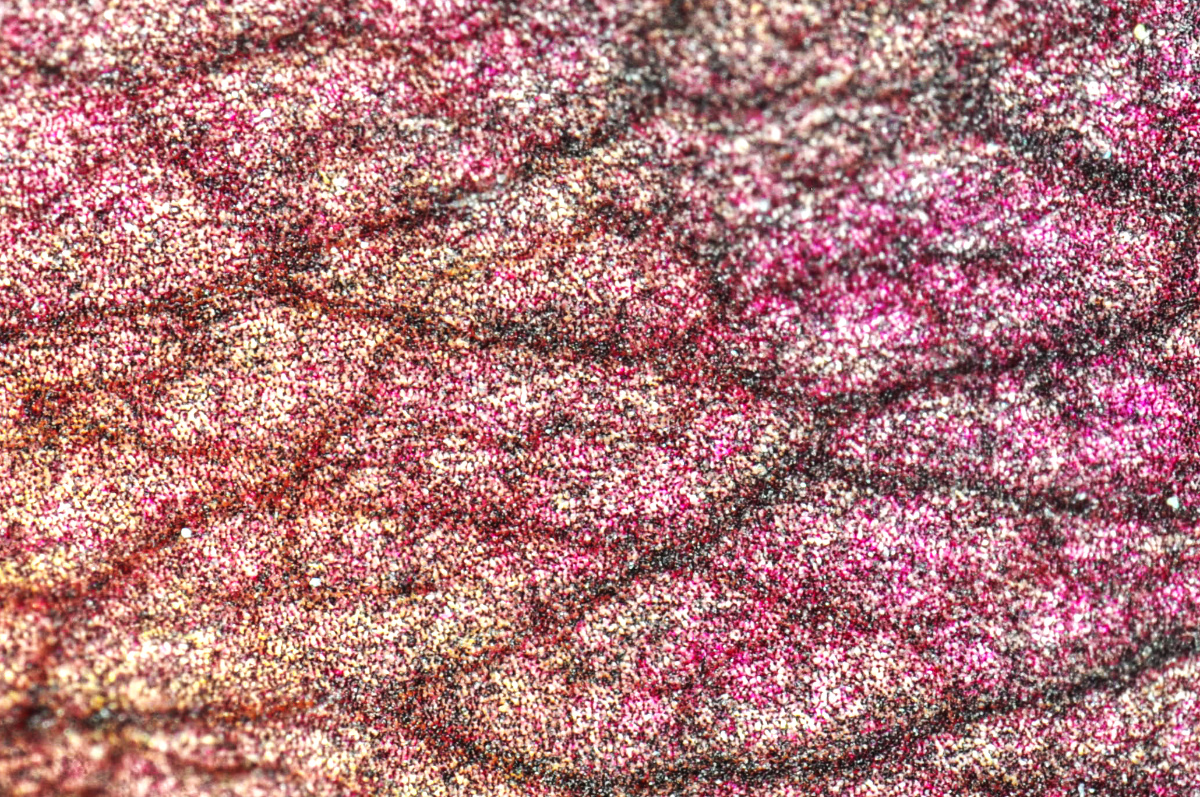
This is a well-balanced image, Gloria. You have great detail and give the viewer plenty to study from a subject where few notice the hidden treasures. Well done! |
Oct 15th |
| 95 |
Oct 22 |
Comment |
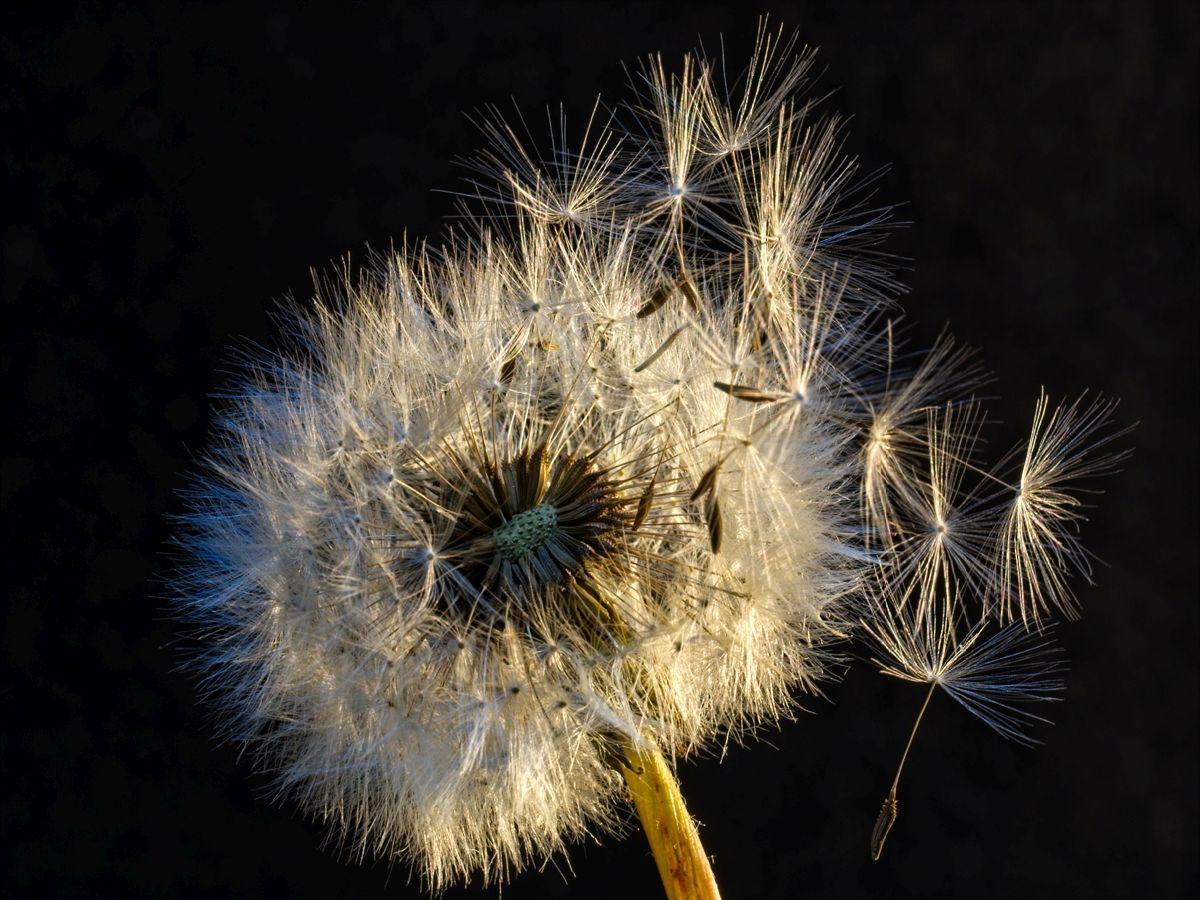
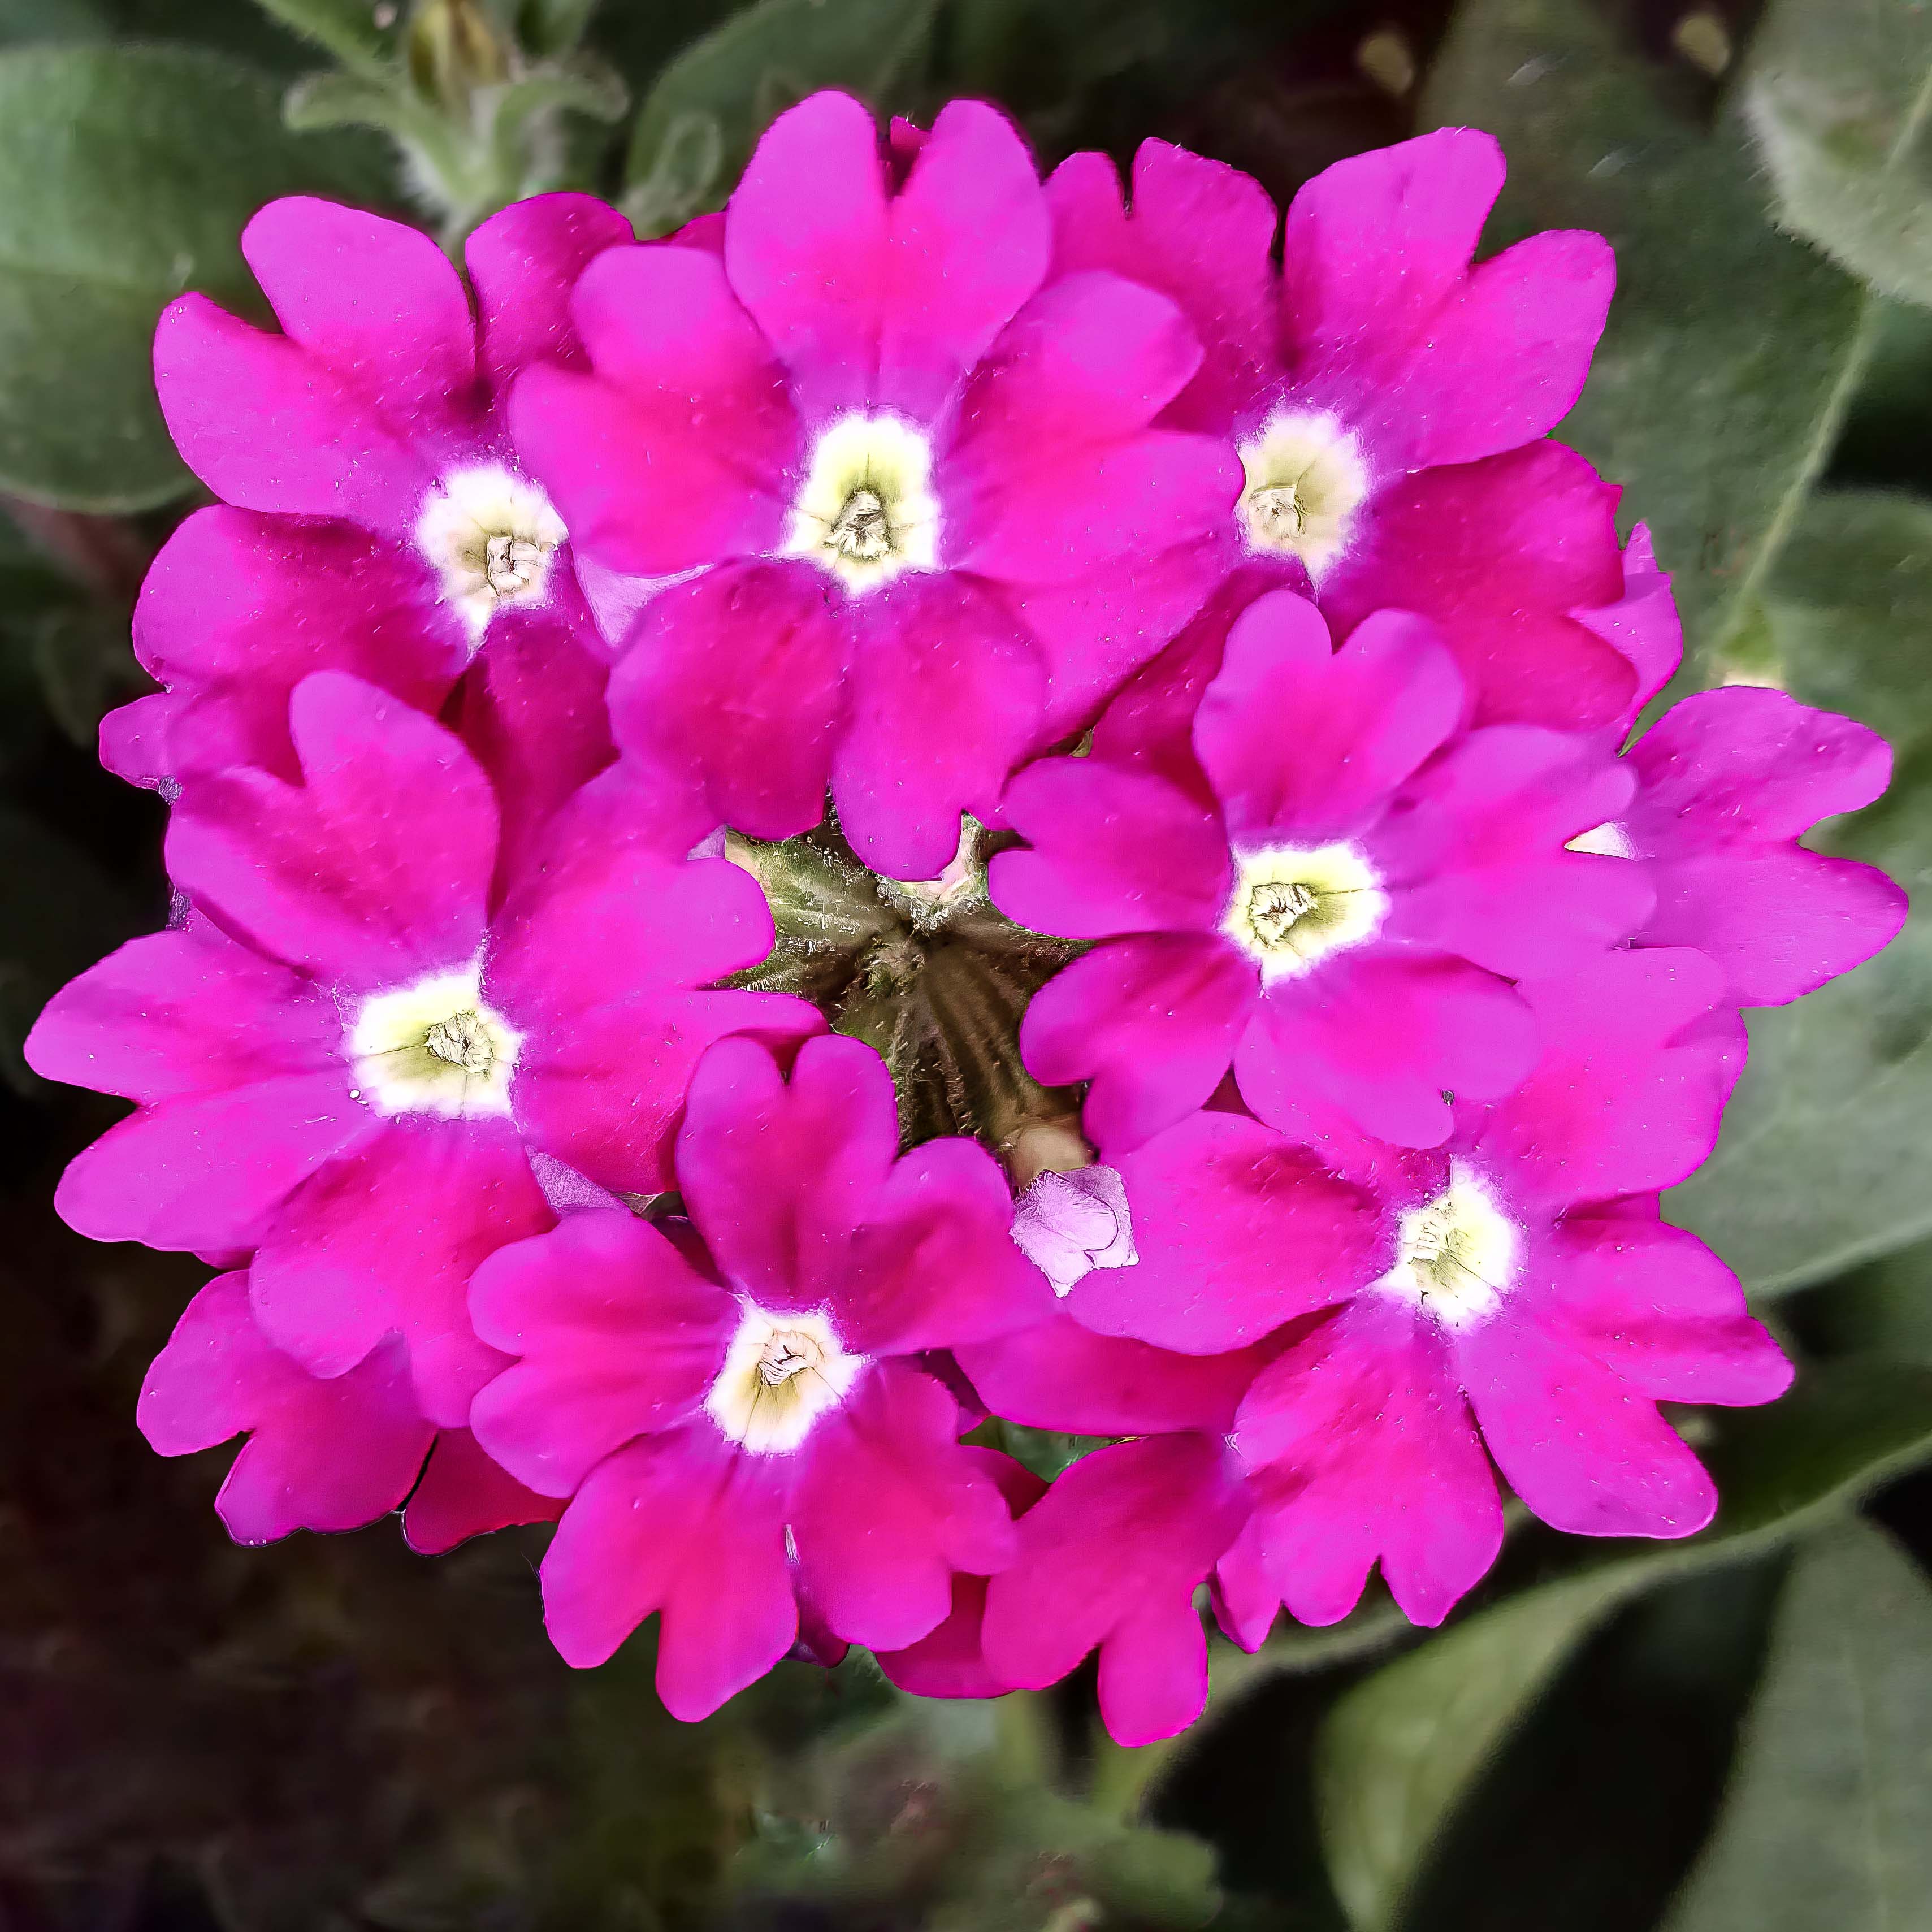
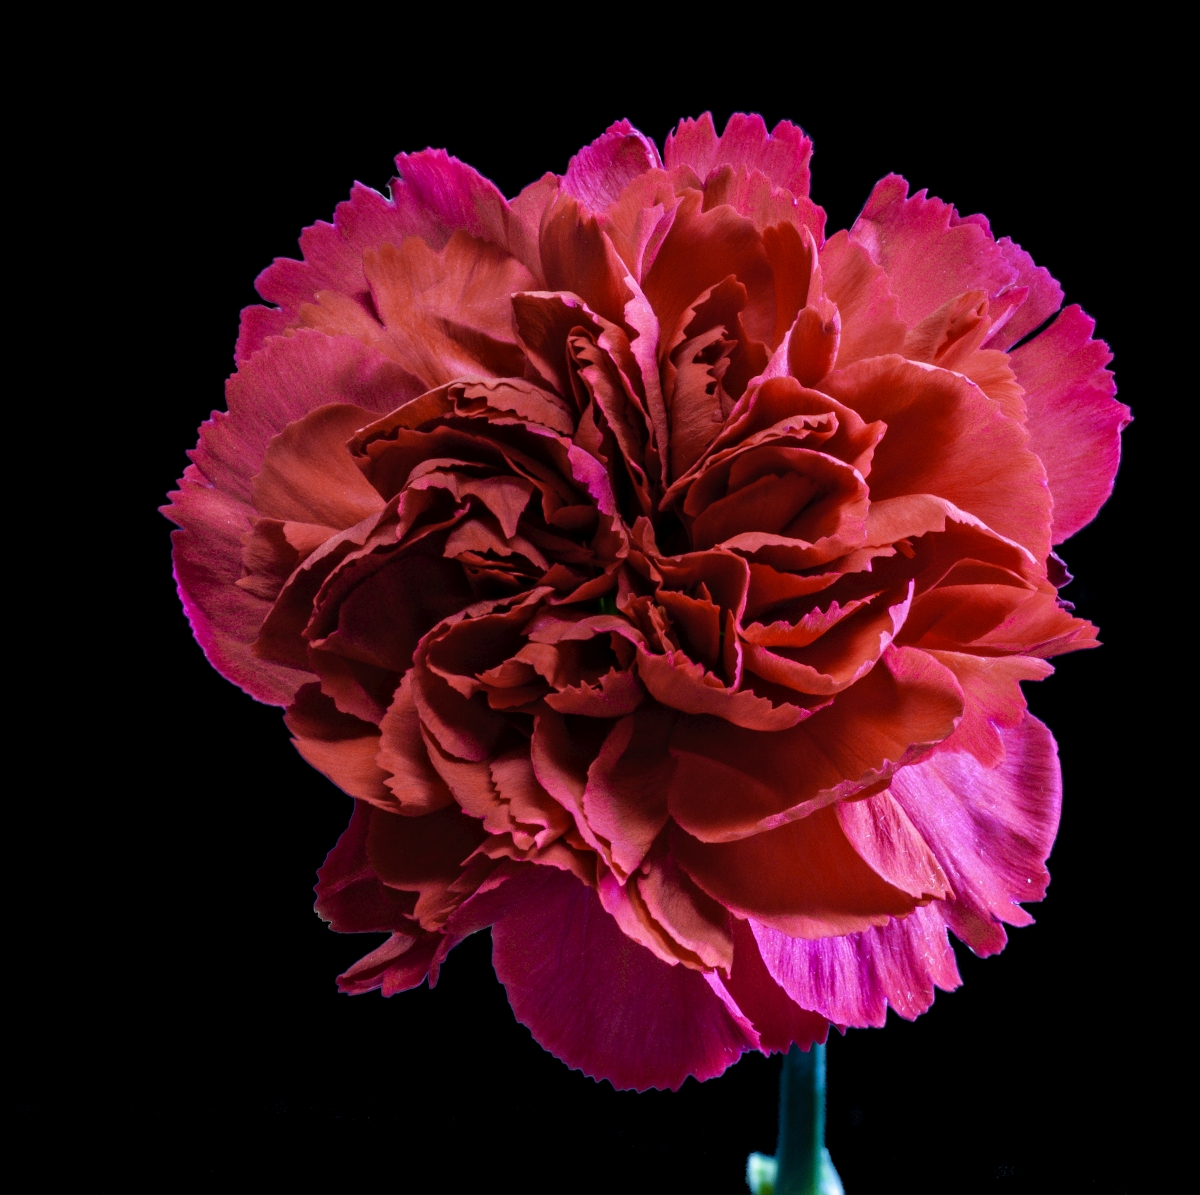
Simply gorgeous! Yes, the corner is a minor distraction, but not enough to really take away from the impact of the image.
Here's the image with it cloned out: |
Oct 15th |
 |
6 comments - 13 replies for Group 95
|
18 comments - 23 replies Total
|