|
| Group |
Round |
C/R |
Comment |
Date |
Image |
| 0 |
Oct 20 |
Comment |
test |
Oct 7th |
 |
| 0 |
Oct 20 |
Comment |
test |
Oct 7th |
 |
2 comments - 0 replies for Group 0
|
| 53 |
Oct 20 |
Reply |
My version has now been added below. |
Oct 26th |
| 53 |
Oct 20 |
Reply |
My version has now been added below. |
Oct 26th |
| 53 |
Oct 20 |
Reply |
My version has now been added below. |
Oct 26th |
| 53 |
Oct 20 |
Reply |
My version has now been added below. |
Oct 26th |
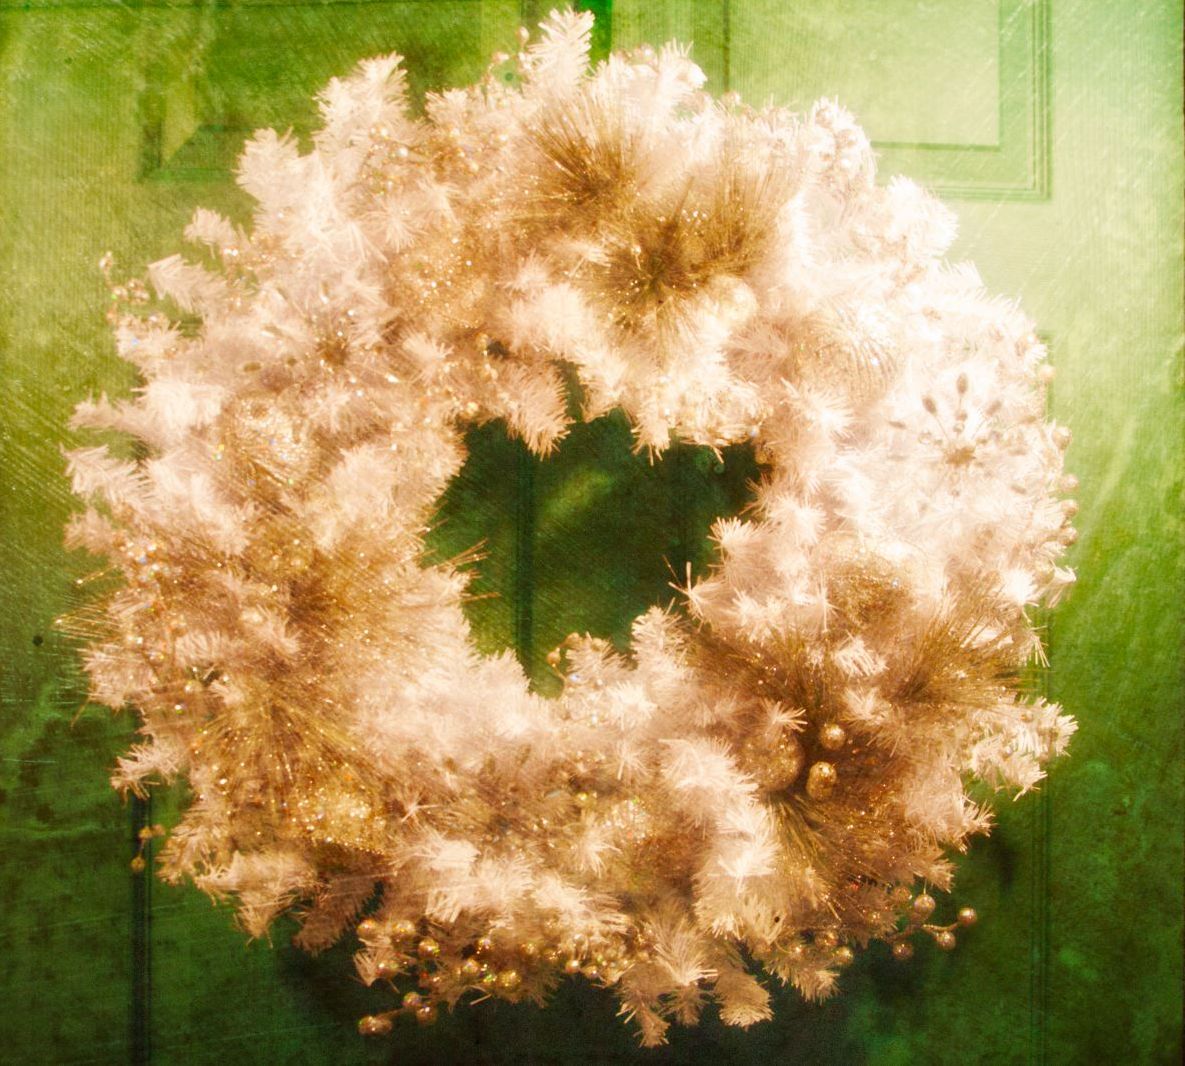
| 53 |
Oct 20 |
Comment |
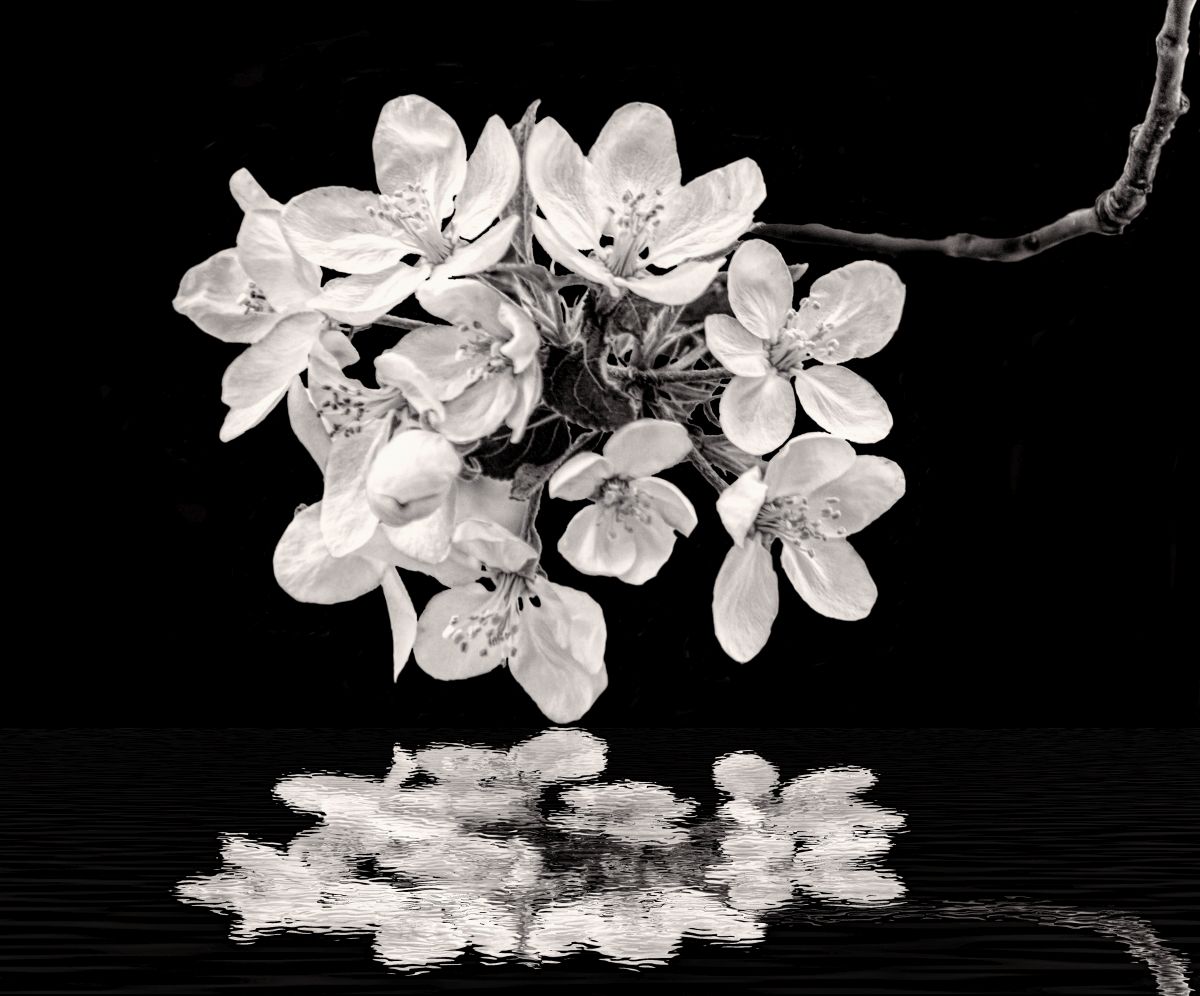
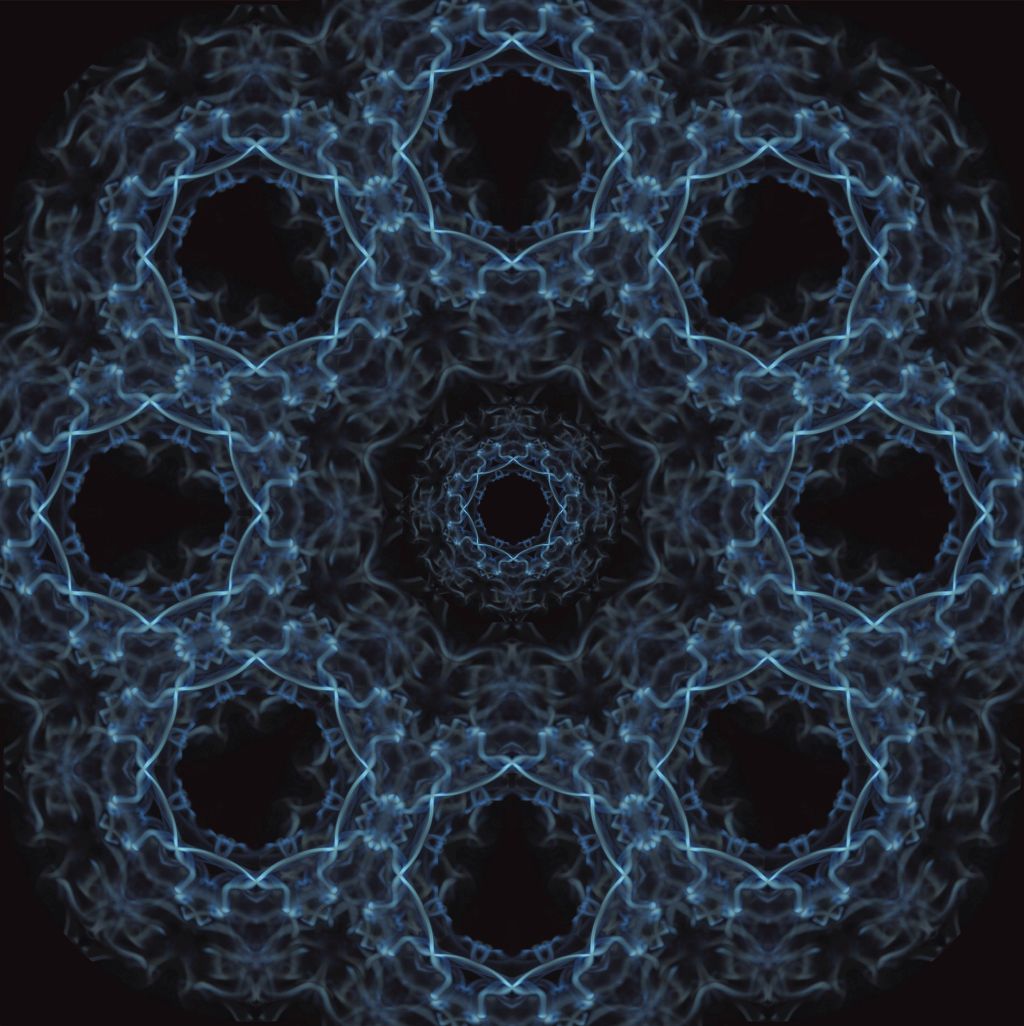
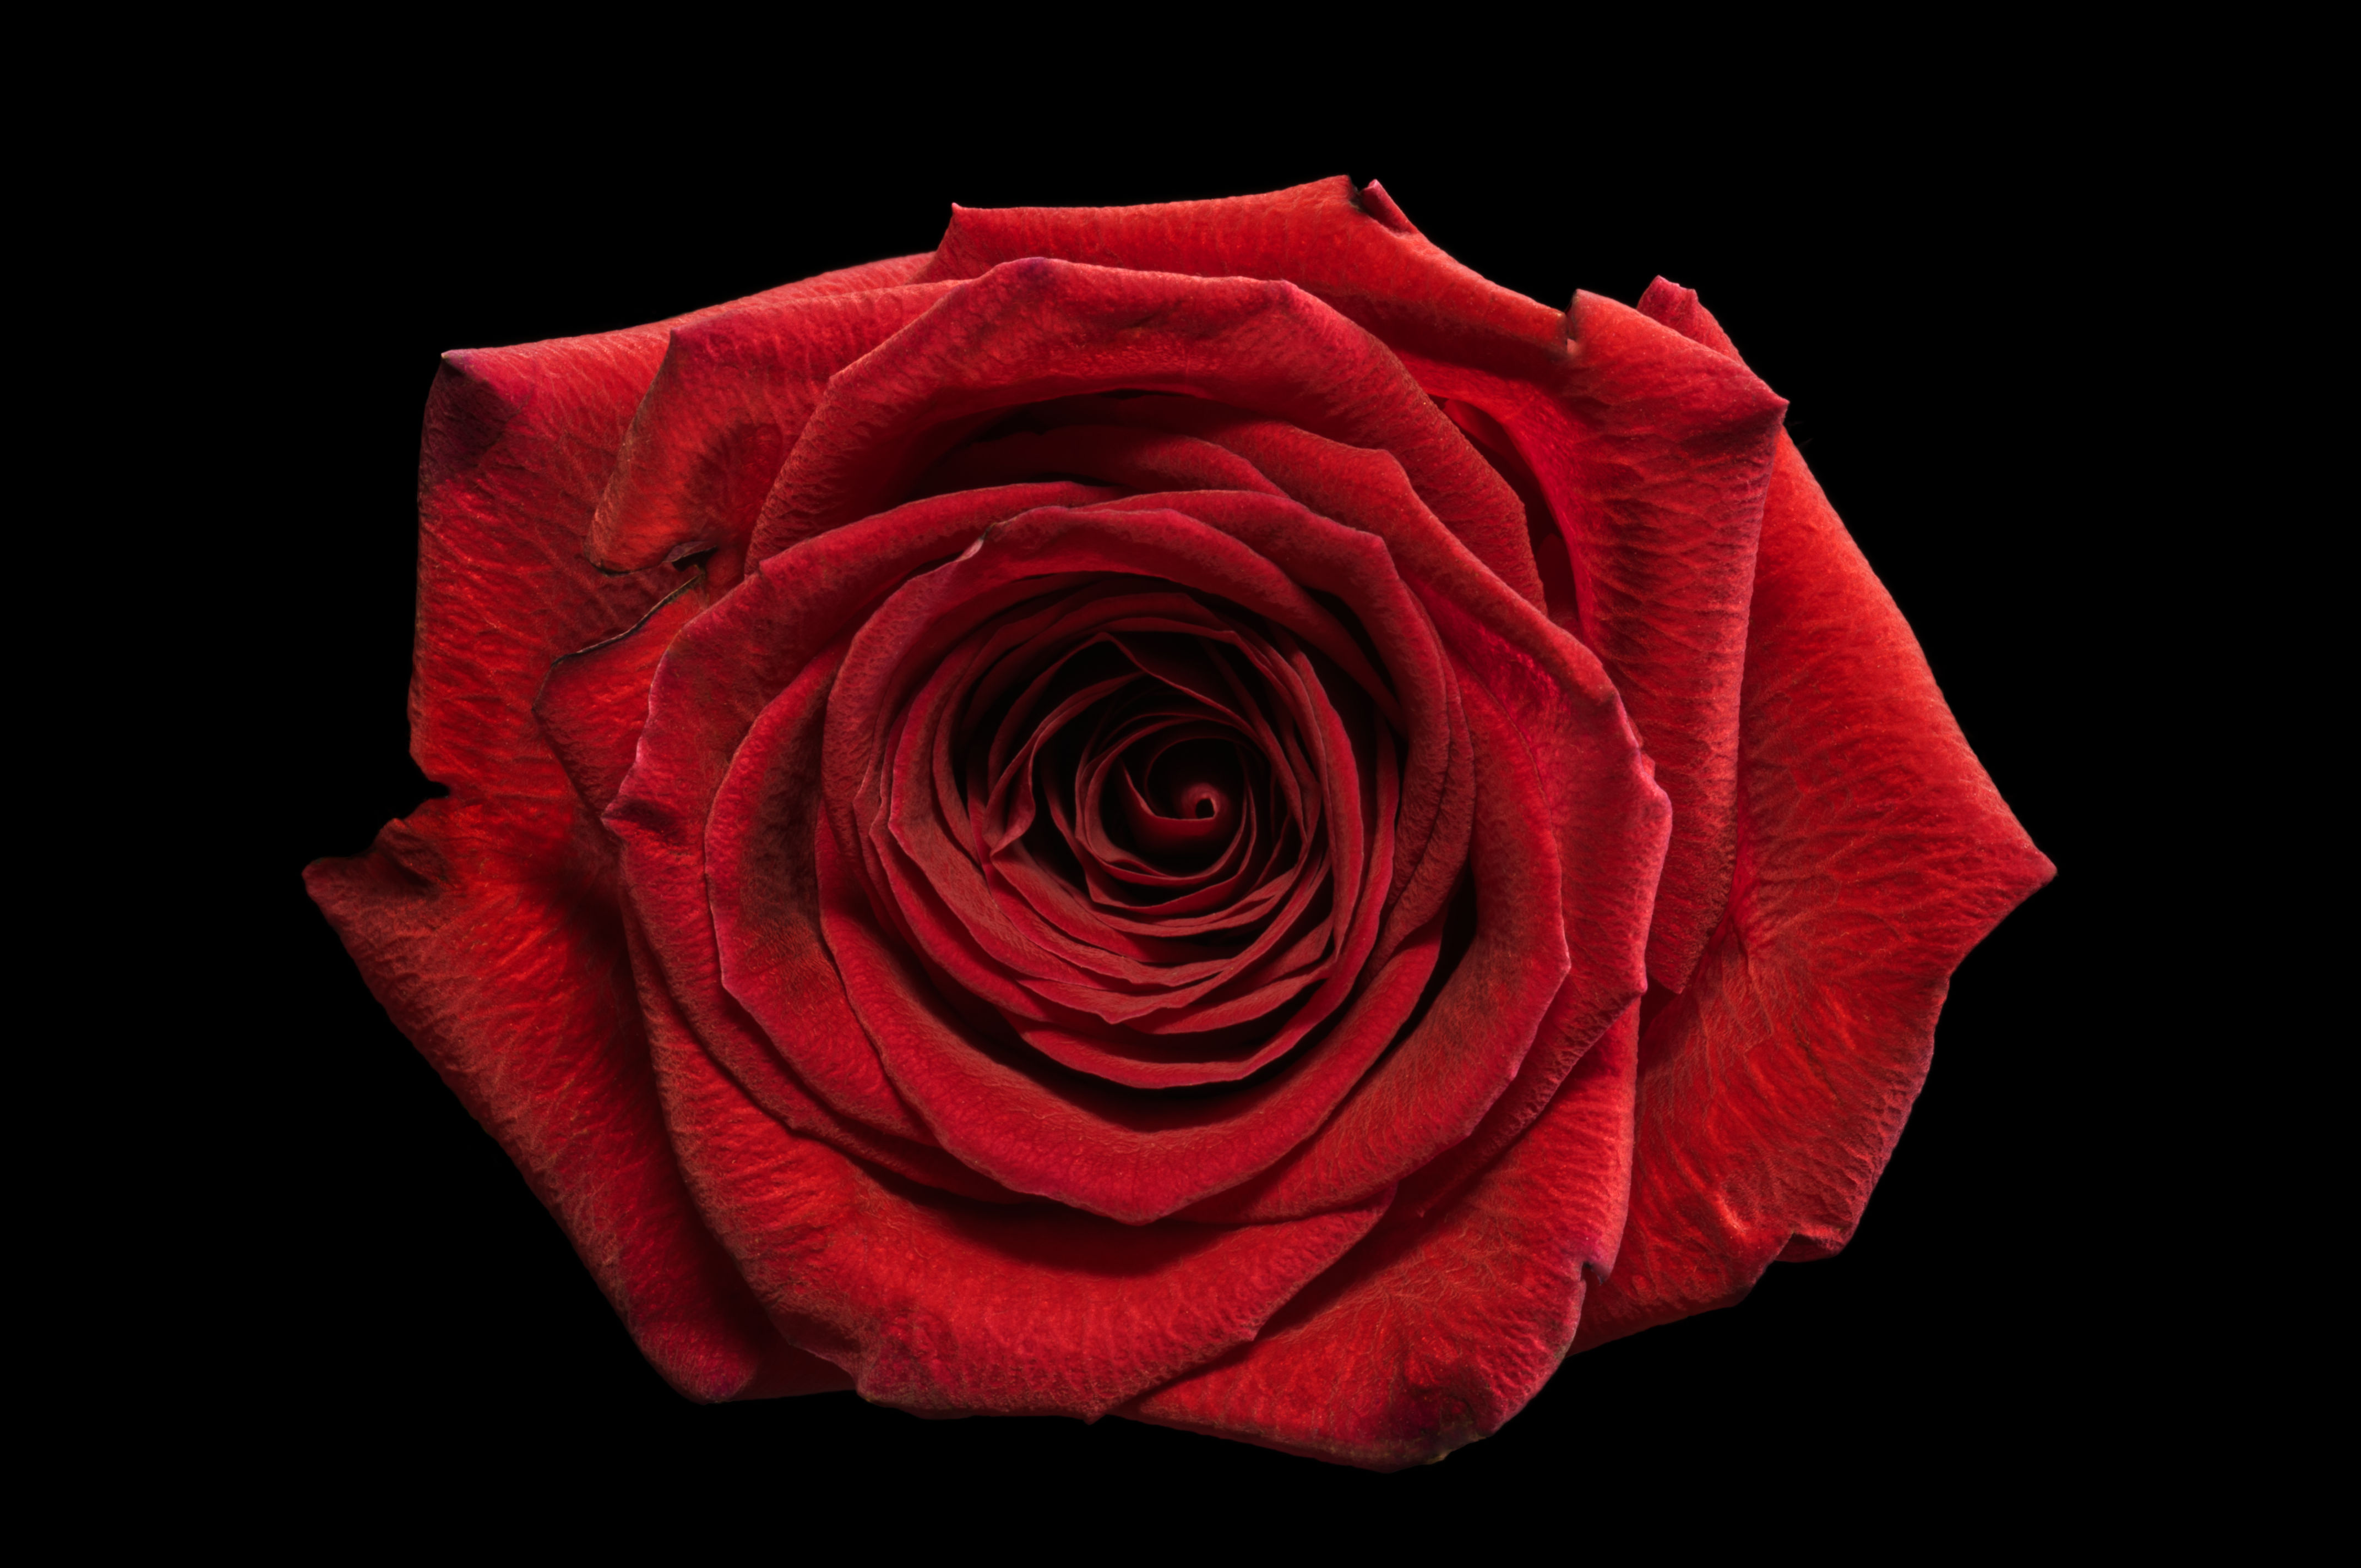
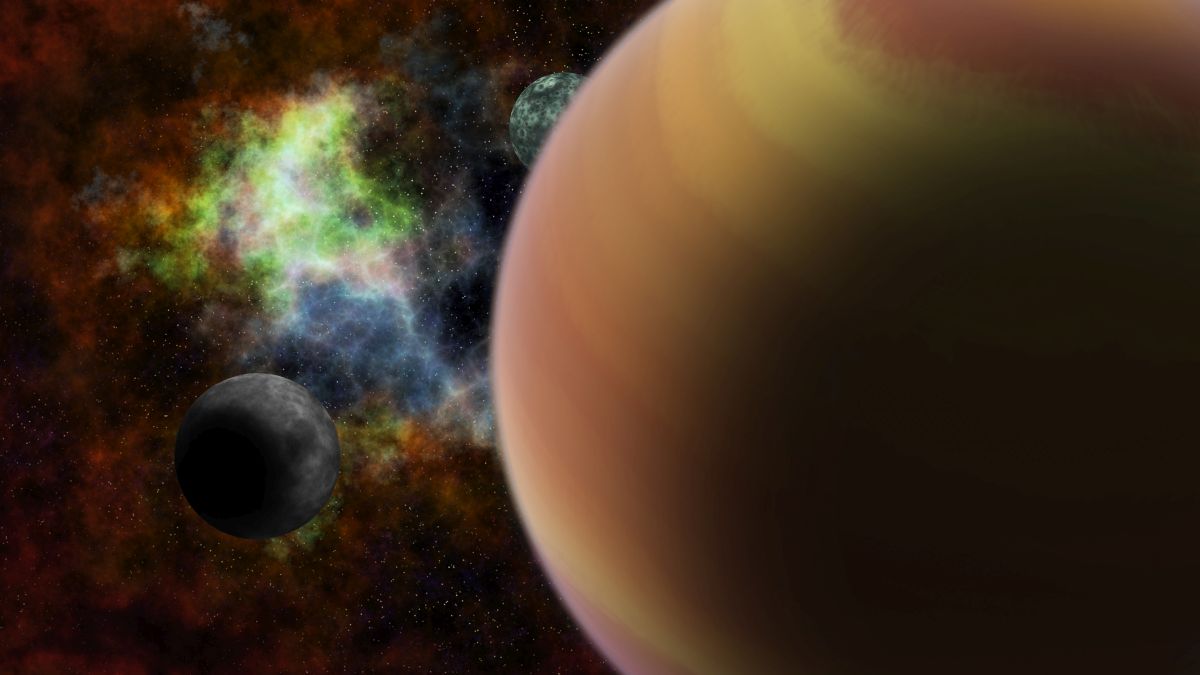
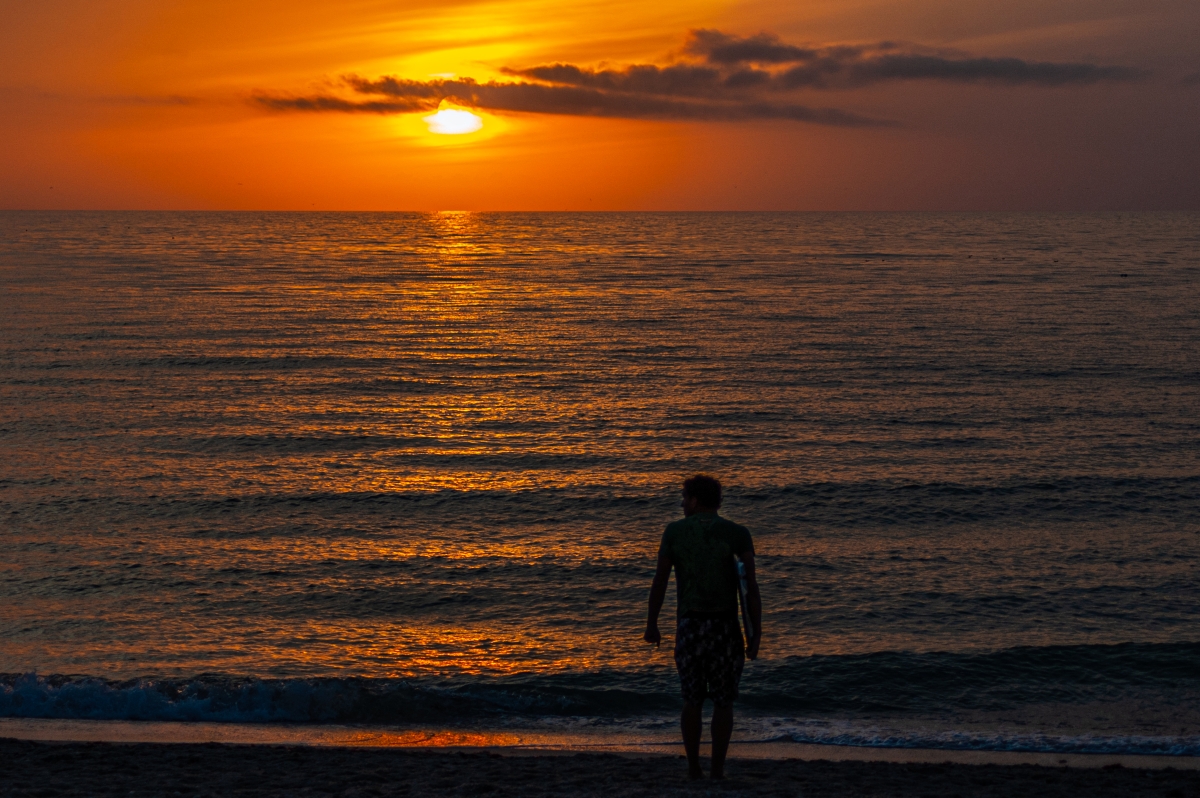
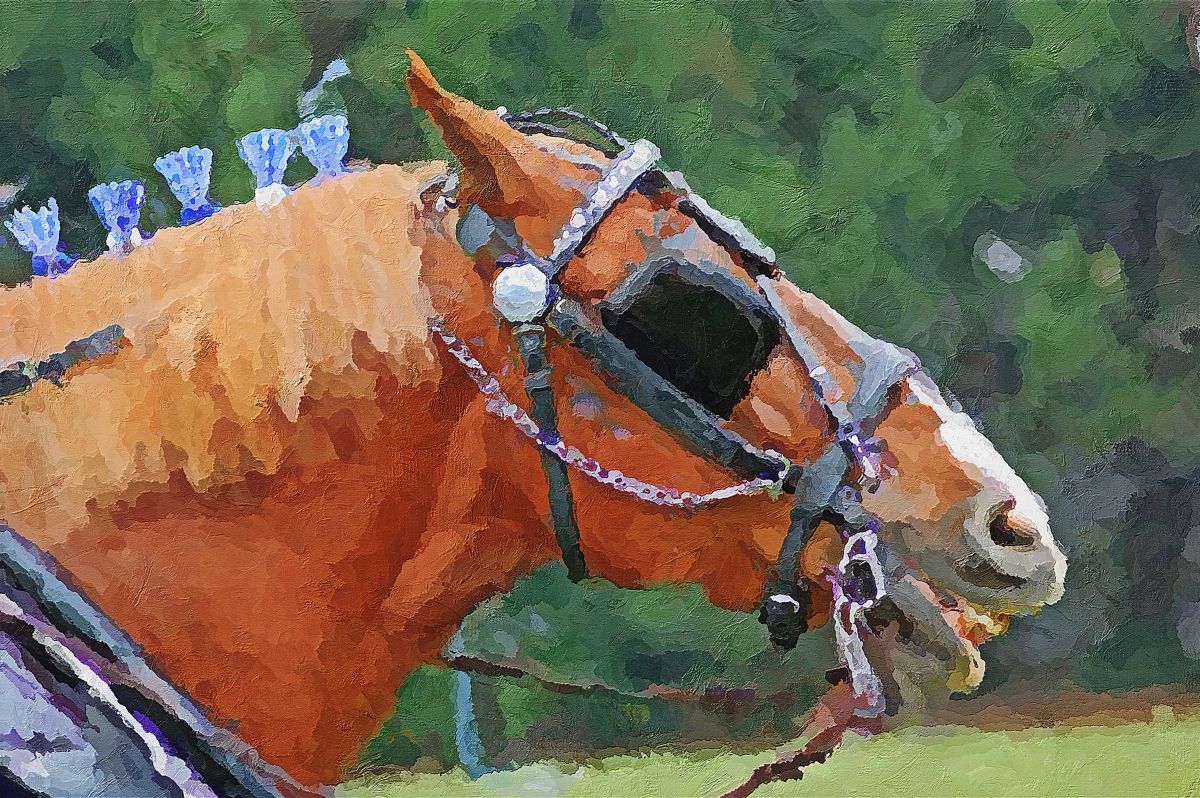
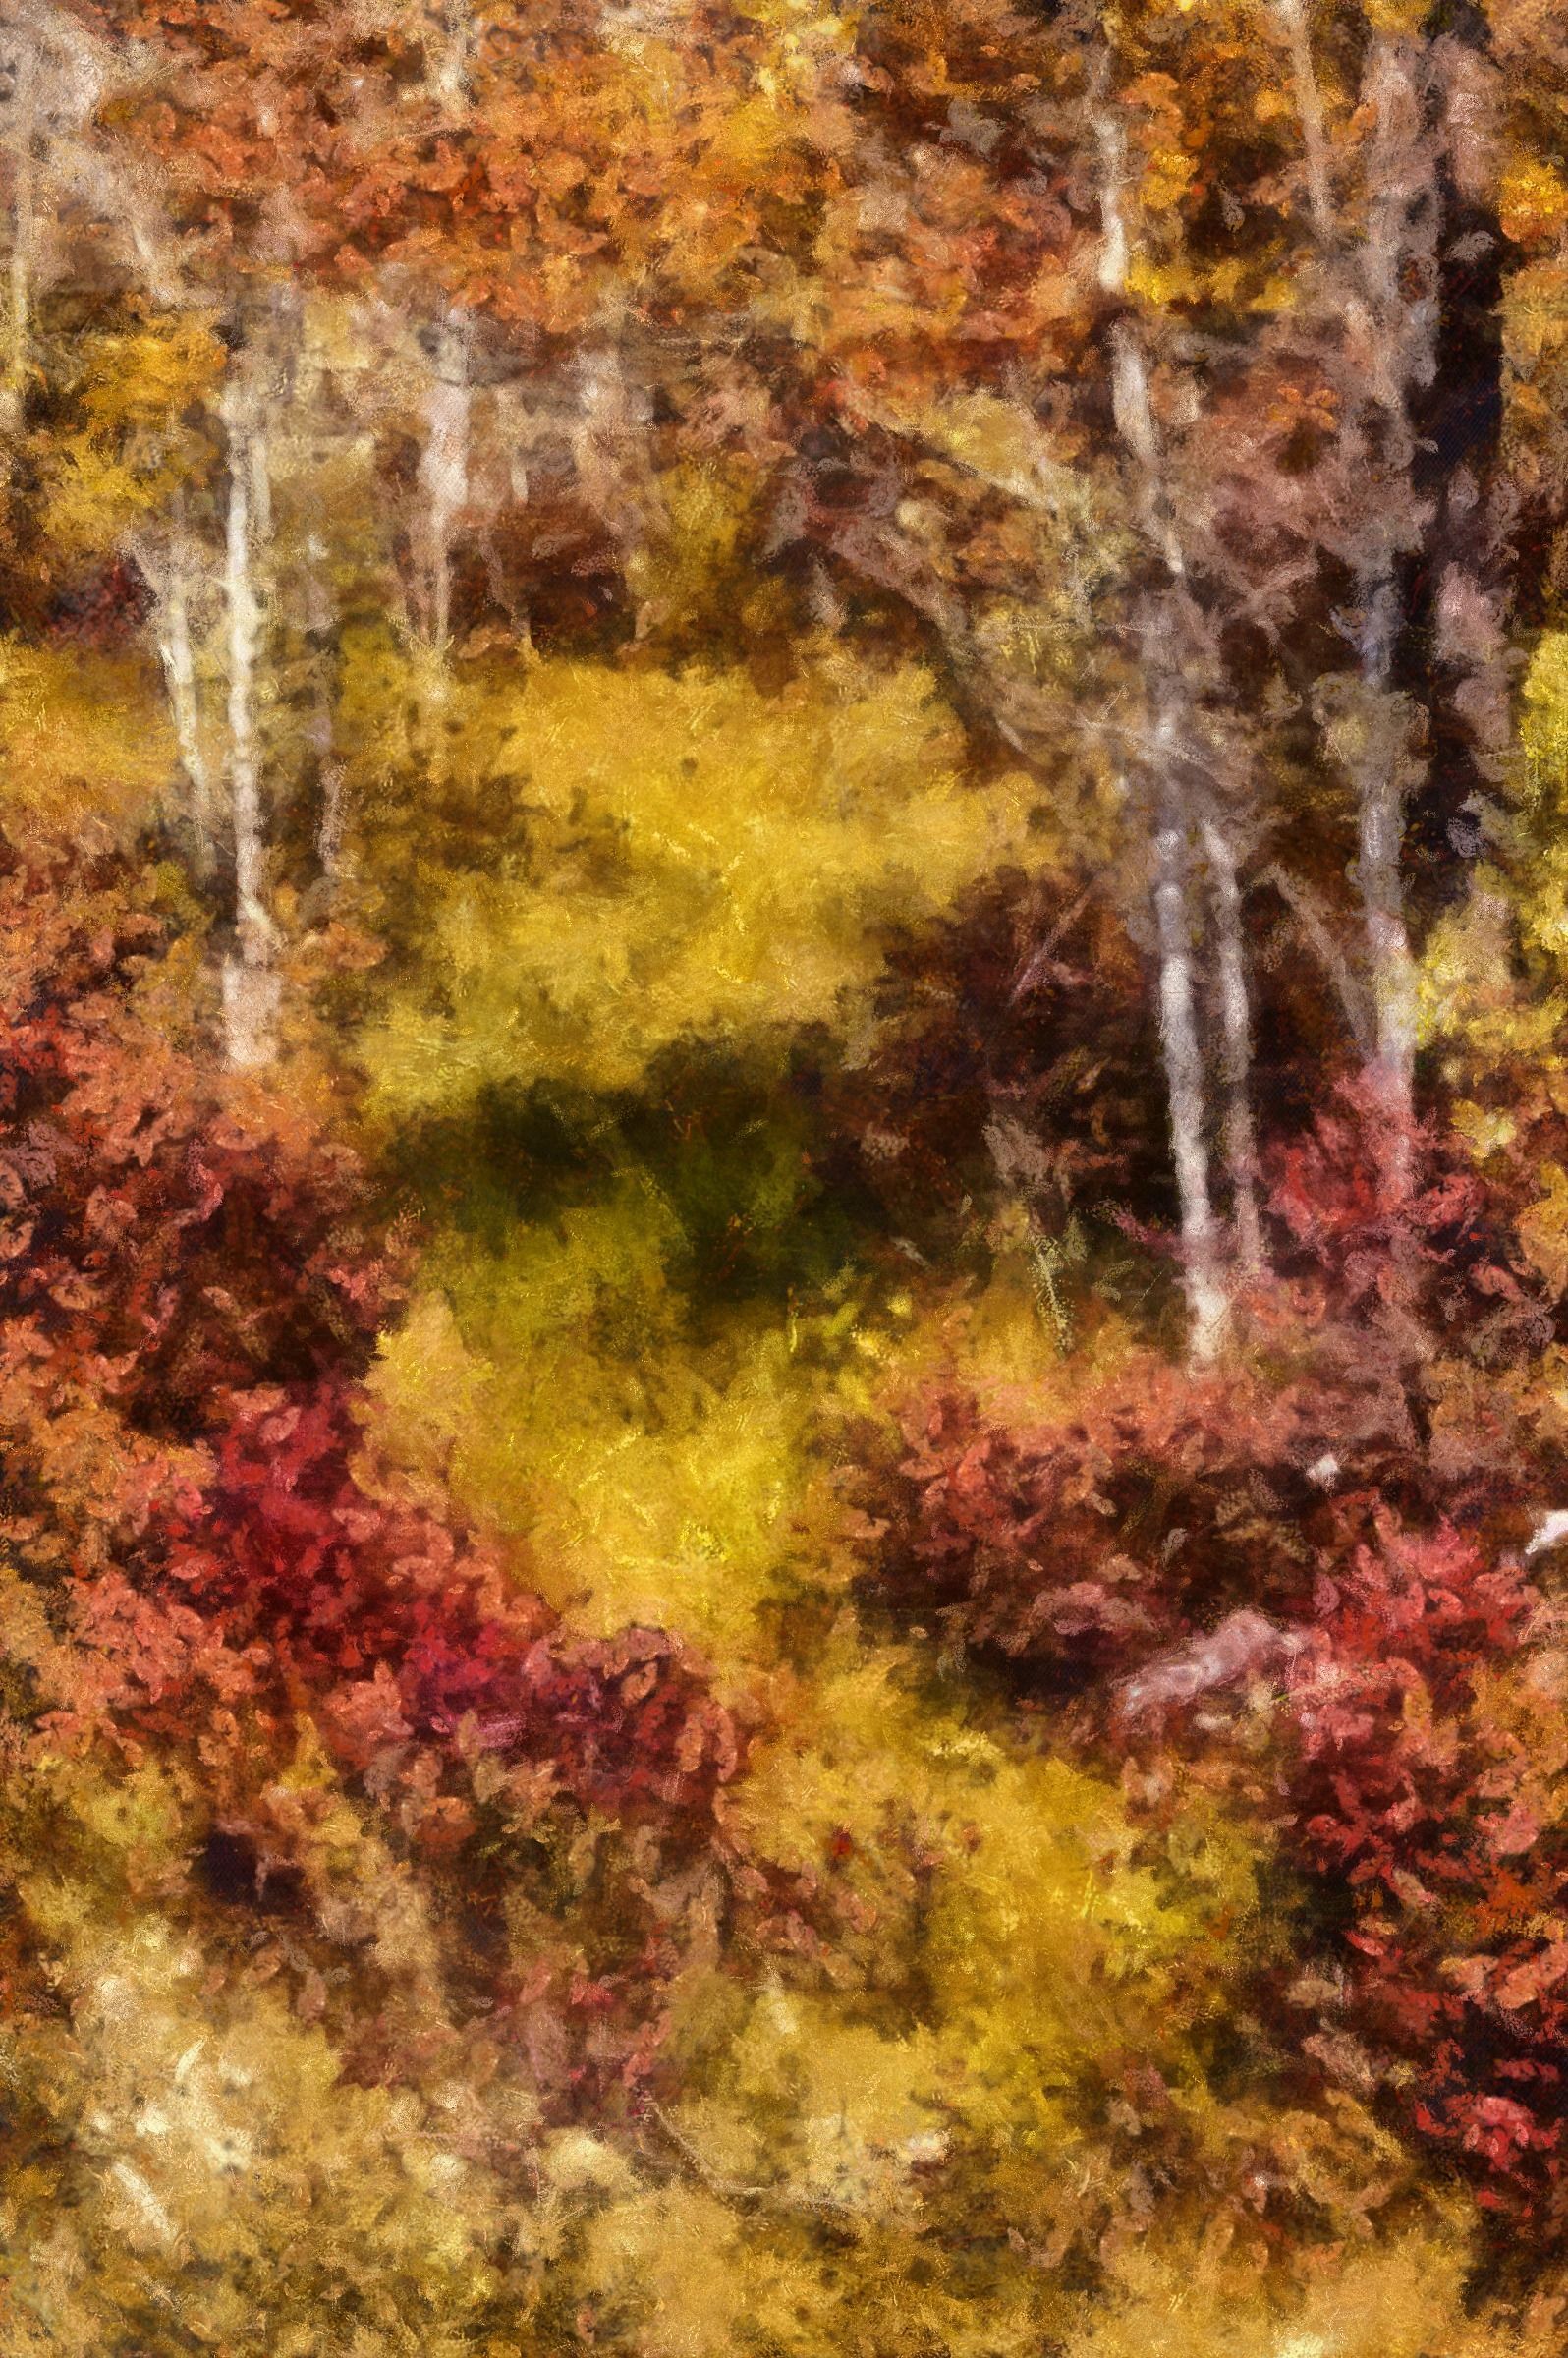
As it appears nobody else is planning to play along, here is my finished image based upon the original. After leveling and cleanup, I played with the colors, trying to bring this closer to the colors I remember seeing on that evening. What do y'all think? |
Oct 26th |
 |
| 53 |
Oct 20 |
Reply |
Expertly done, Arabella. Good choices all around. |
Oct 26th |
| 53 |
Oct 20 |
Reply |
You came the closest to my result with this. I'm still learning how to do image apps on my tablet, so you're way ahead of me. d;¬{D |
Oct 26th |
| 53 |
Oct 20 |
Reply |
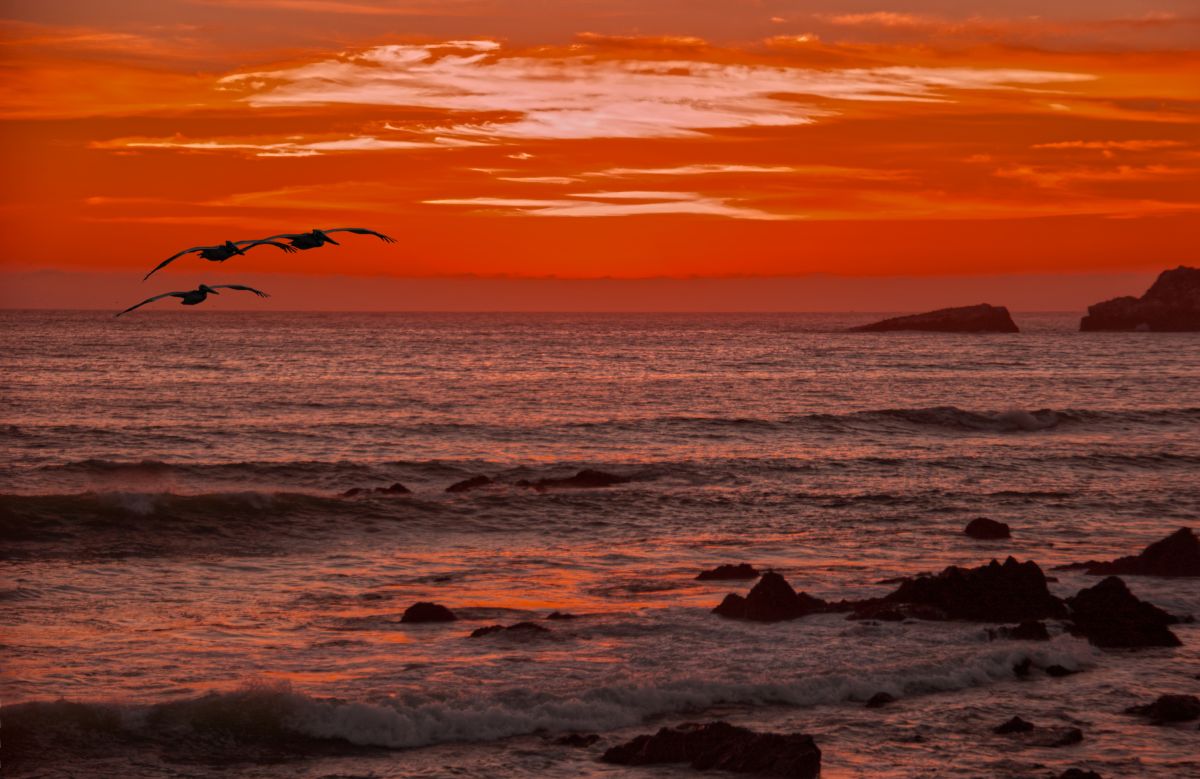
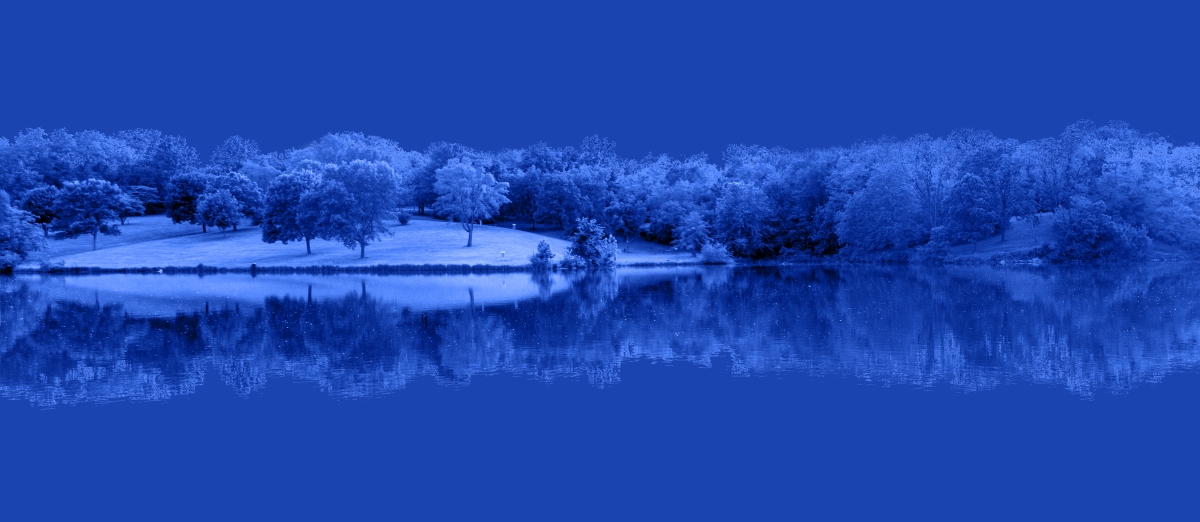
Very creative spin, Rusty! Becomes more painterly and gently brings the viewer's focus onto the setting sun. I think it very much enhances the look. |
Oct 23rd |
| 53 |
Oct 20 |
Reply |
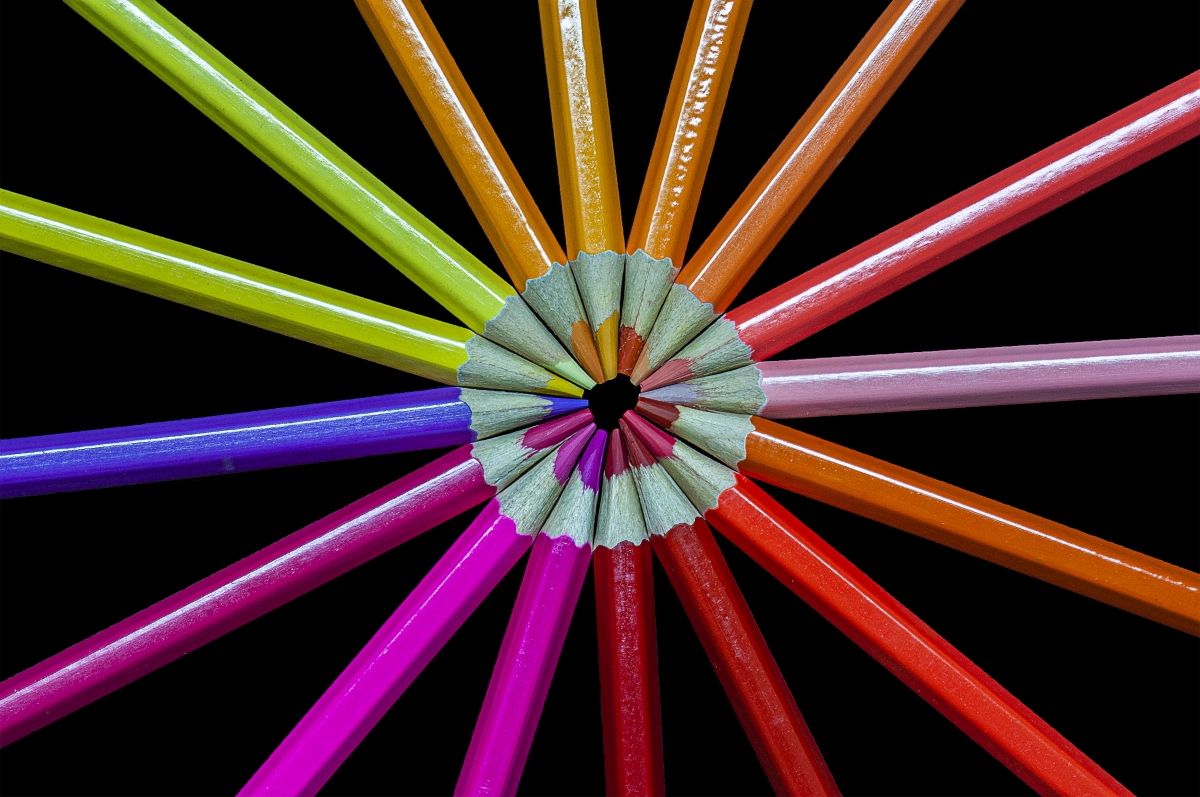
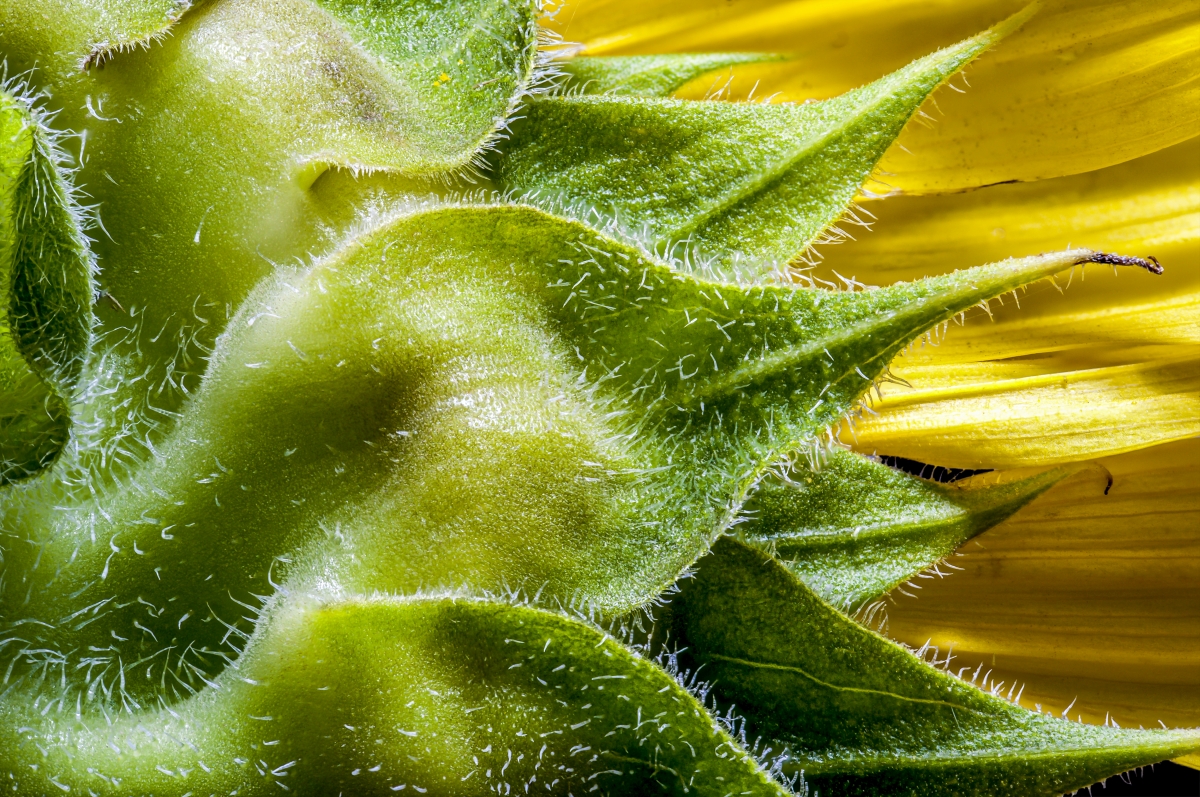
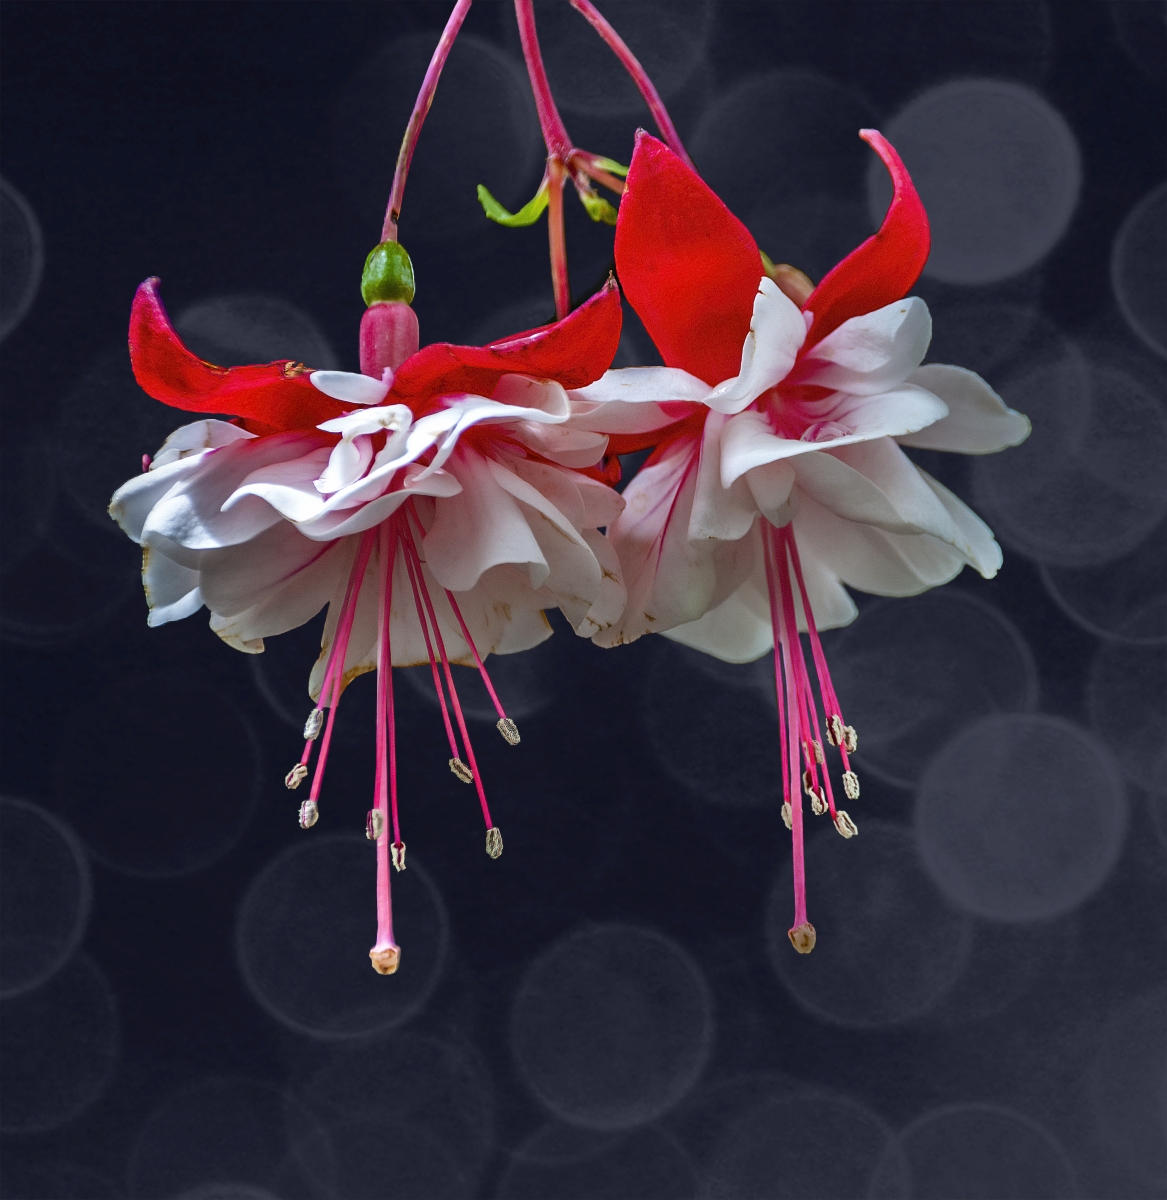
These are important steps for macro photography like this. Thanks for sharing. d:¬{D |
Oct 16th |
| 53 |
Oct 20 |
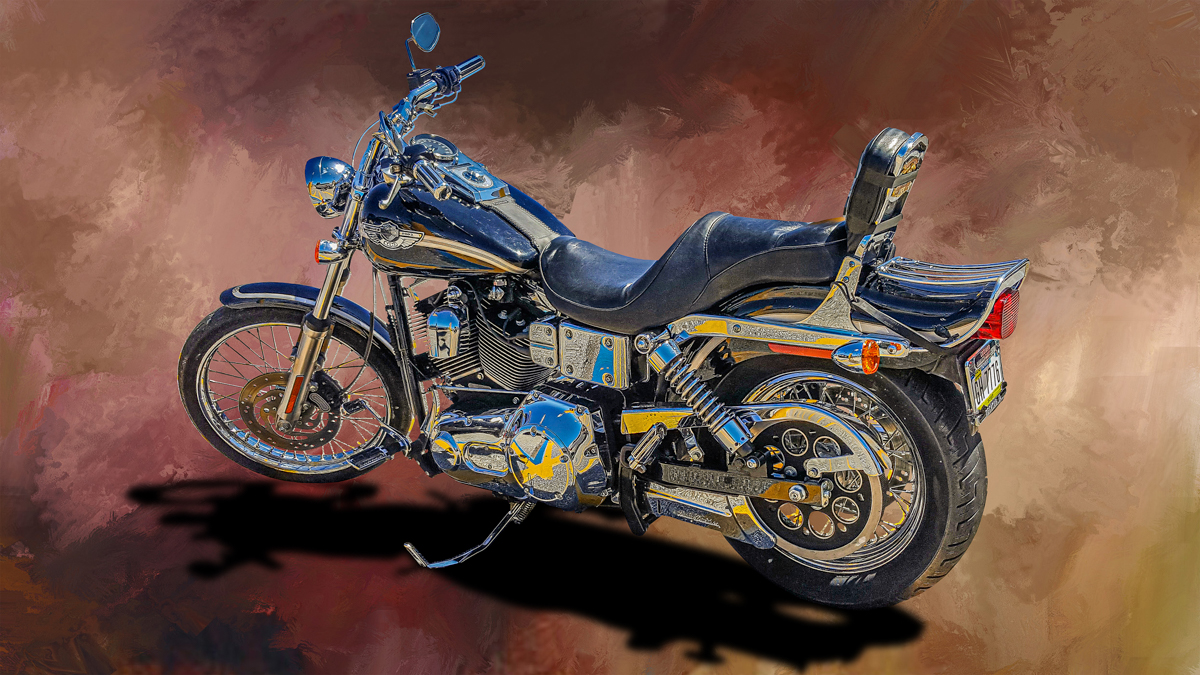
Comment |
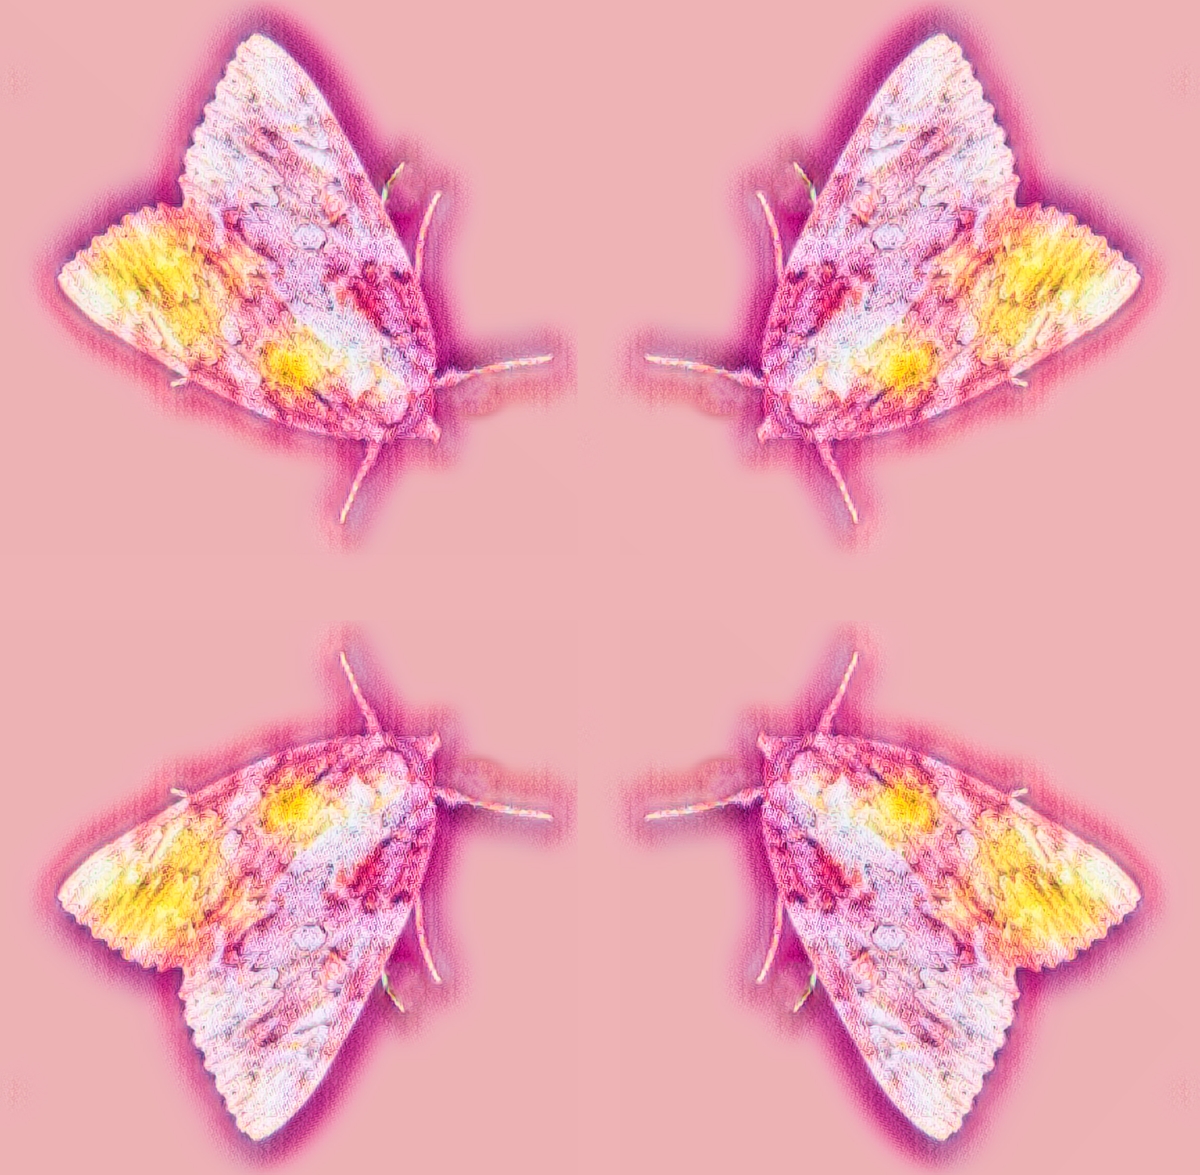
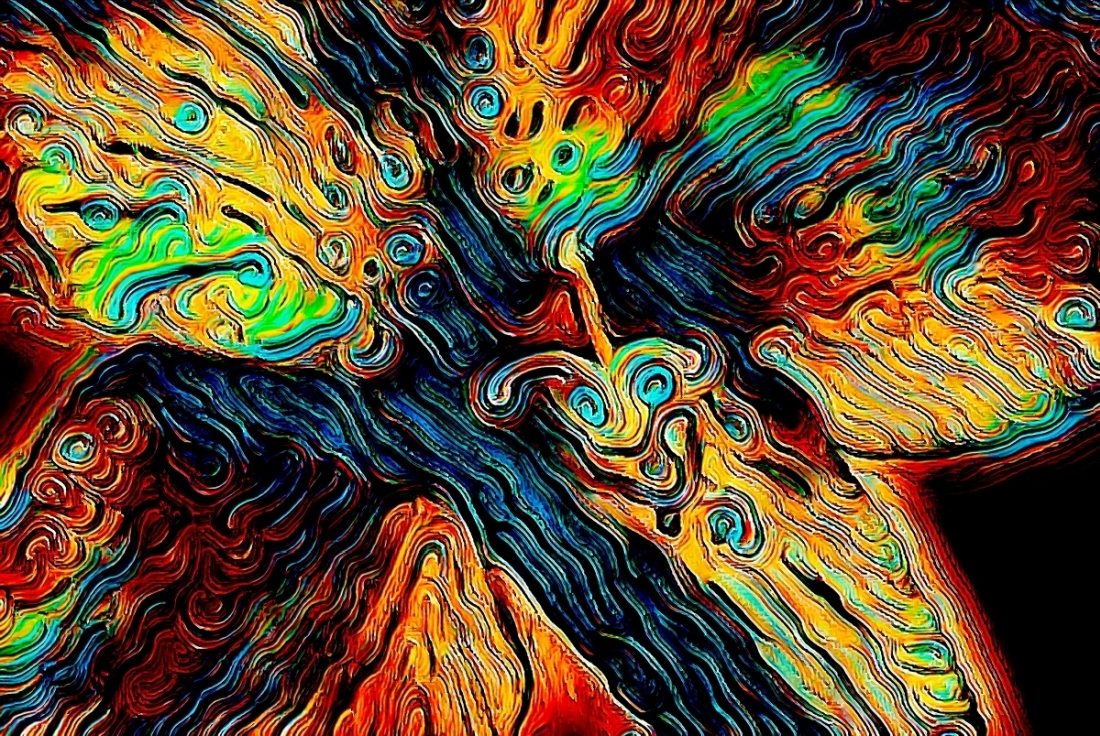
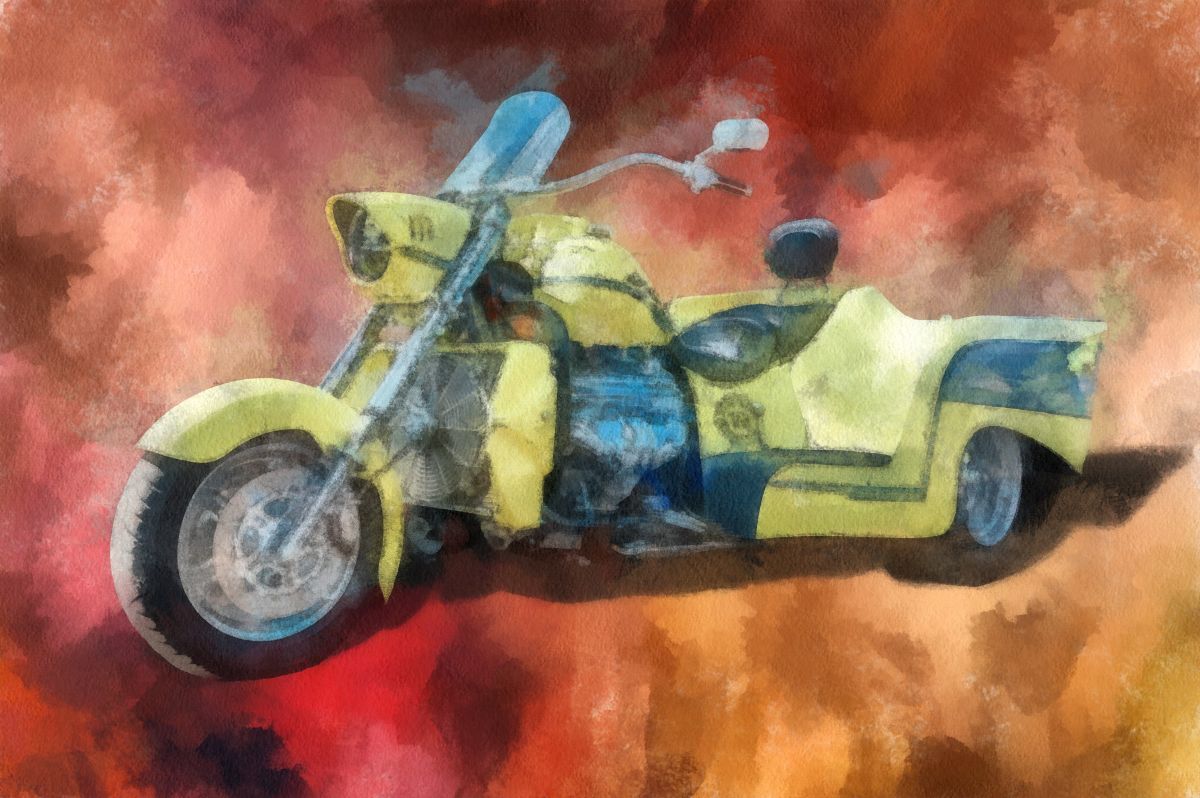
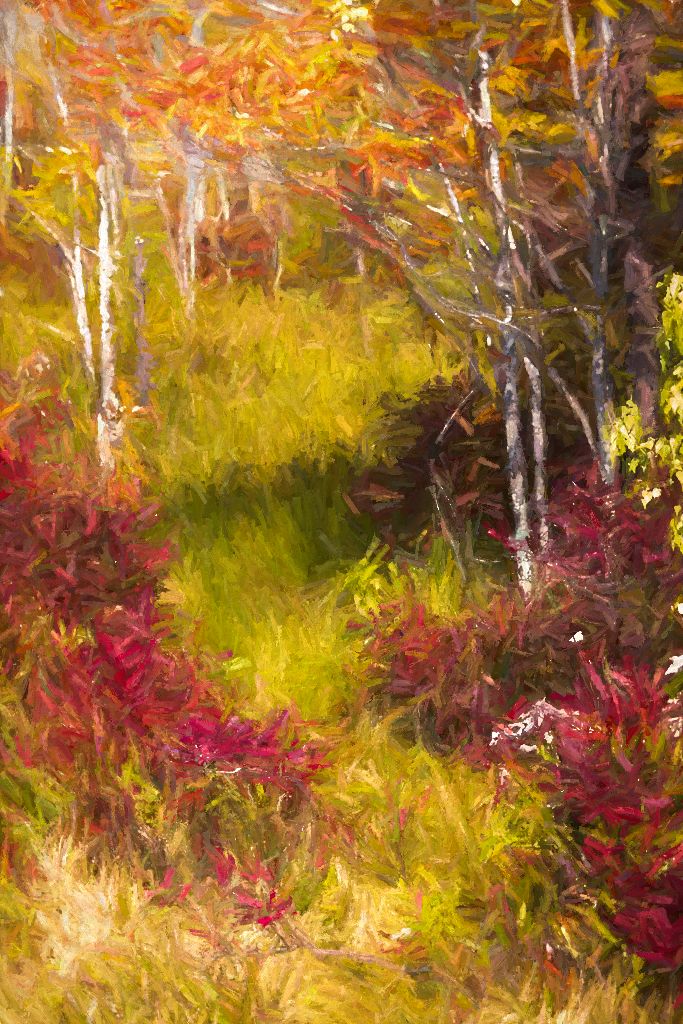
And, finally from me, a version created in Dynamic Auto Painter, in a Benson style: |
Oct 16th |
 |
| 53 |
Oct 20 |
Comment |
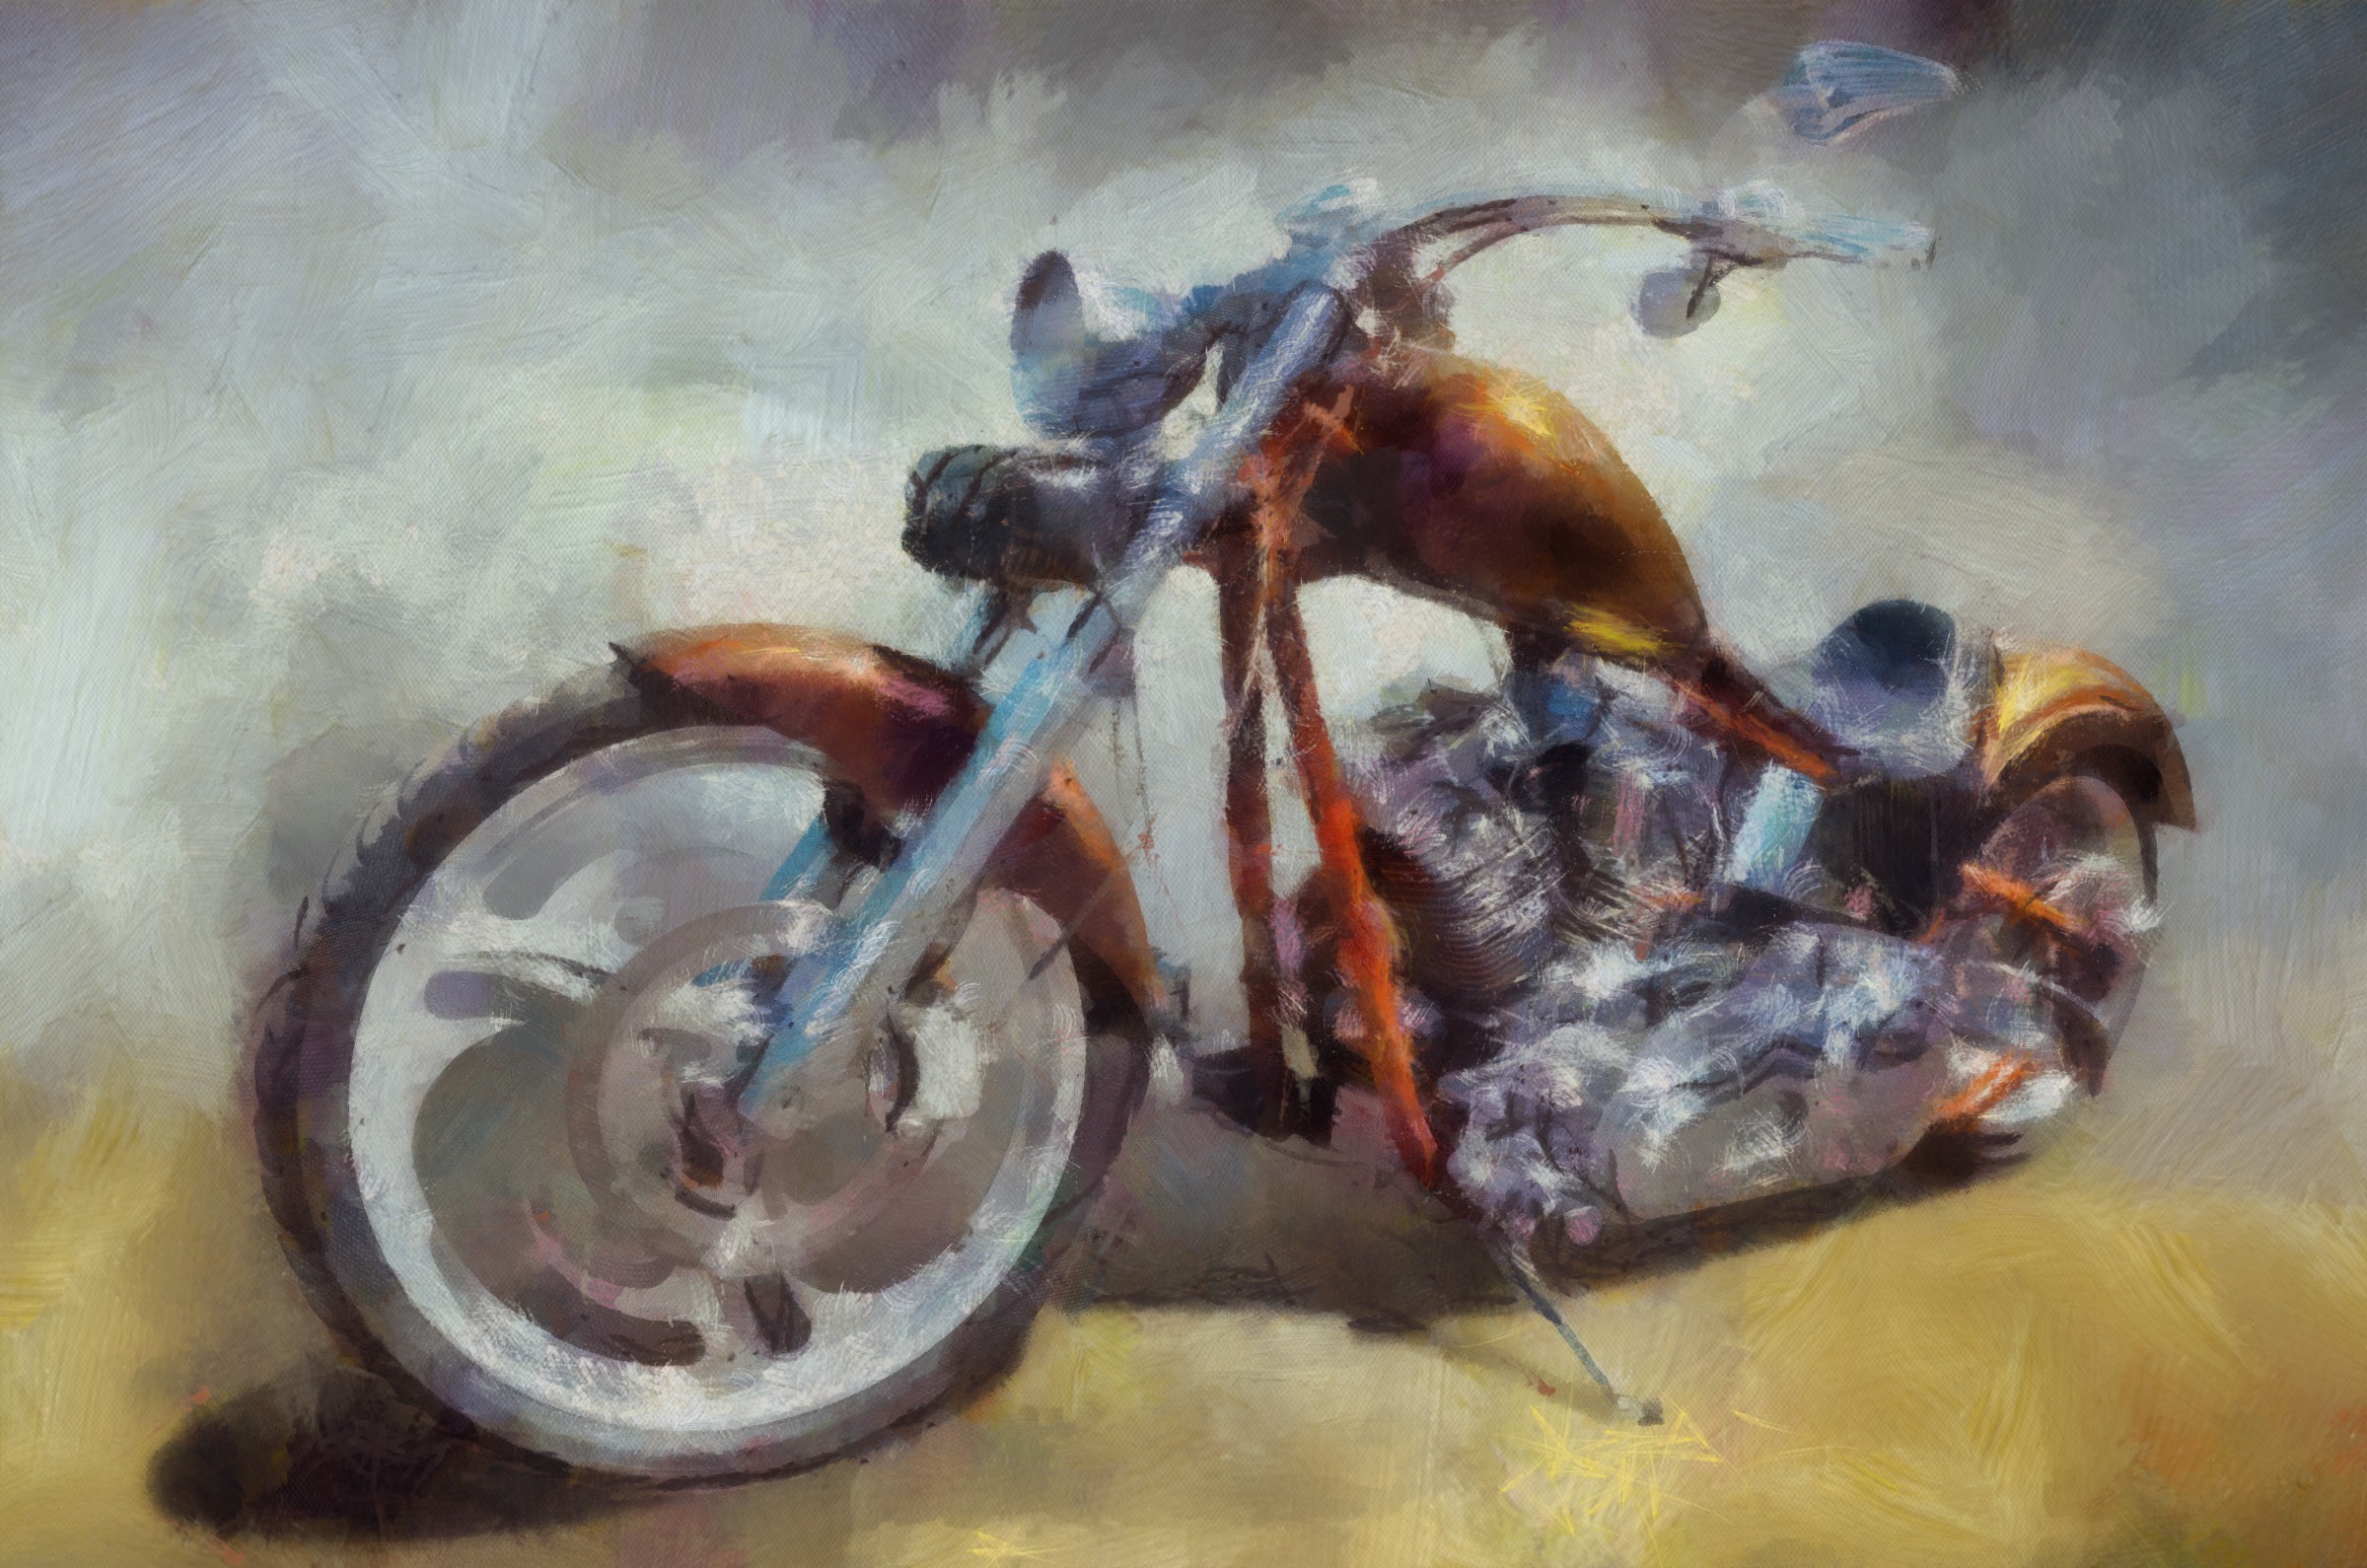
And a more sedate one from Topaz Studio: |
Oct 16th |
 |
| 53 |
Oct 20 |
Comment |
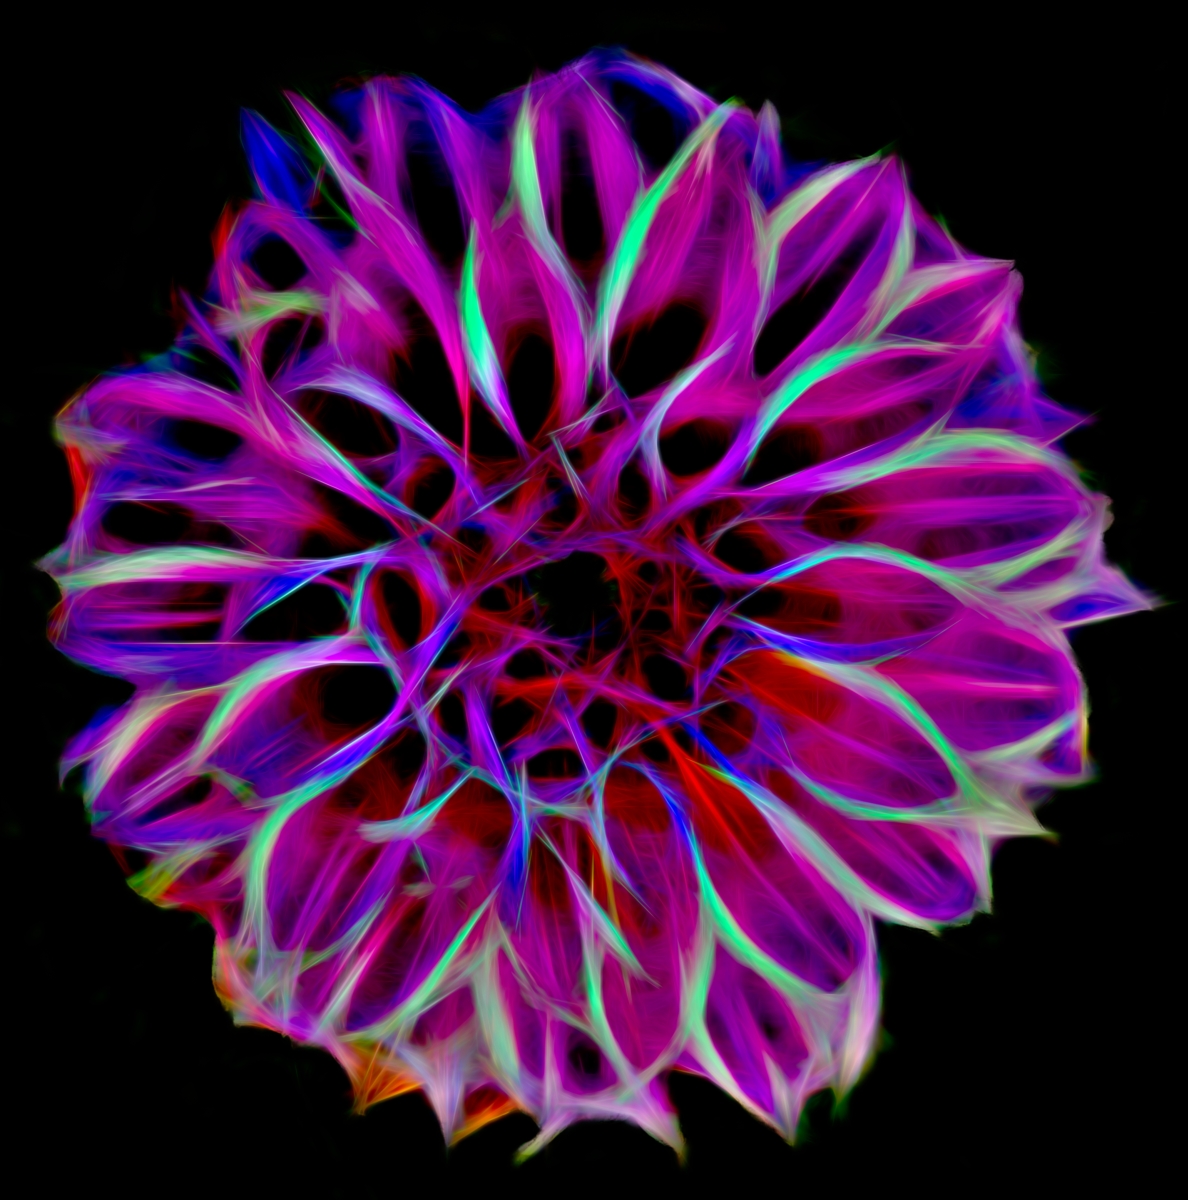
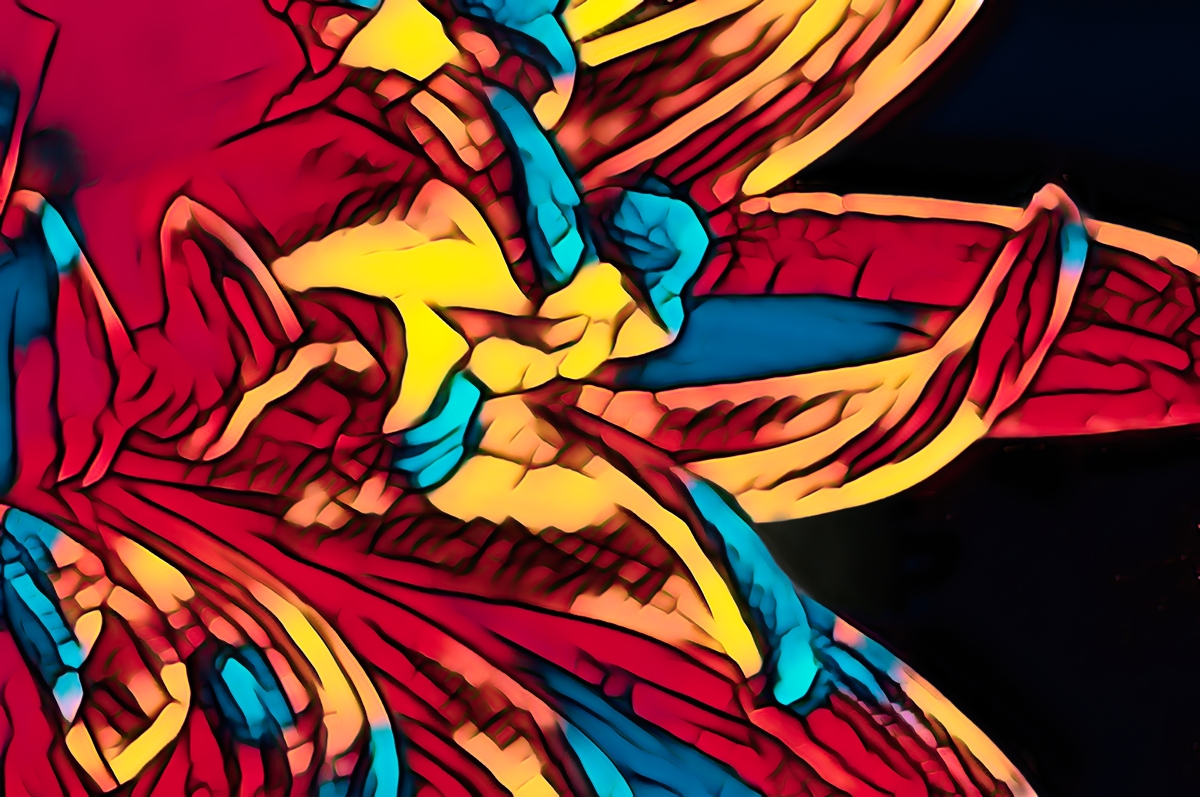
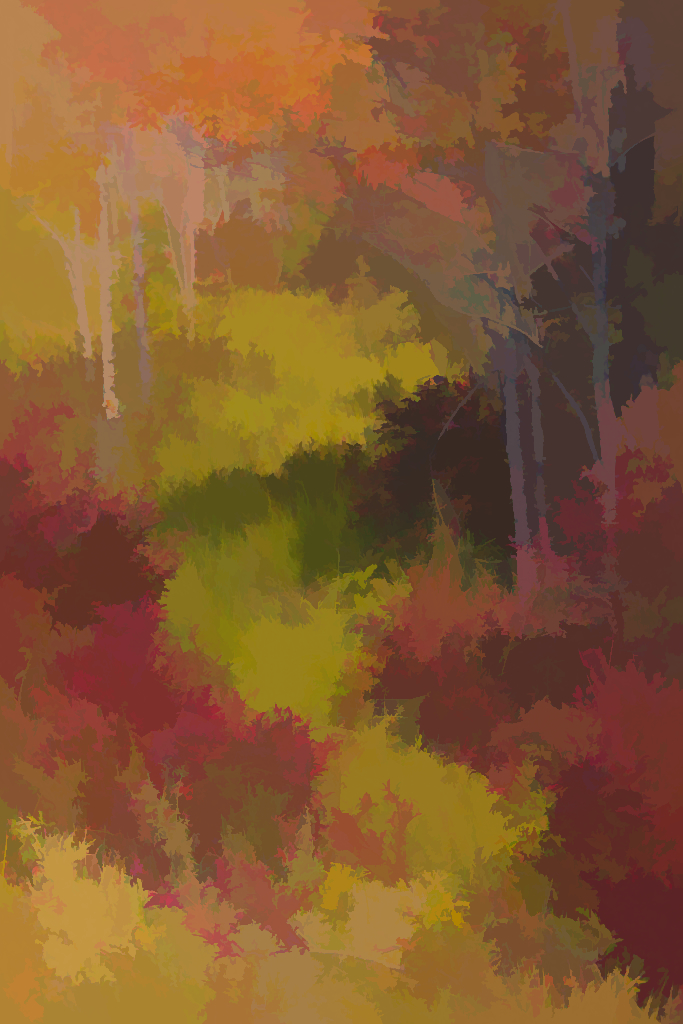
Here's an extreme paint effect from Topaz Studio: |
Oct 16th |
 |
| 53 |
Oct 20 |
Comment |
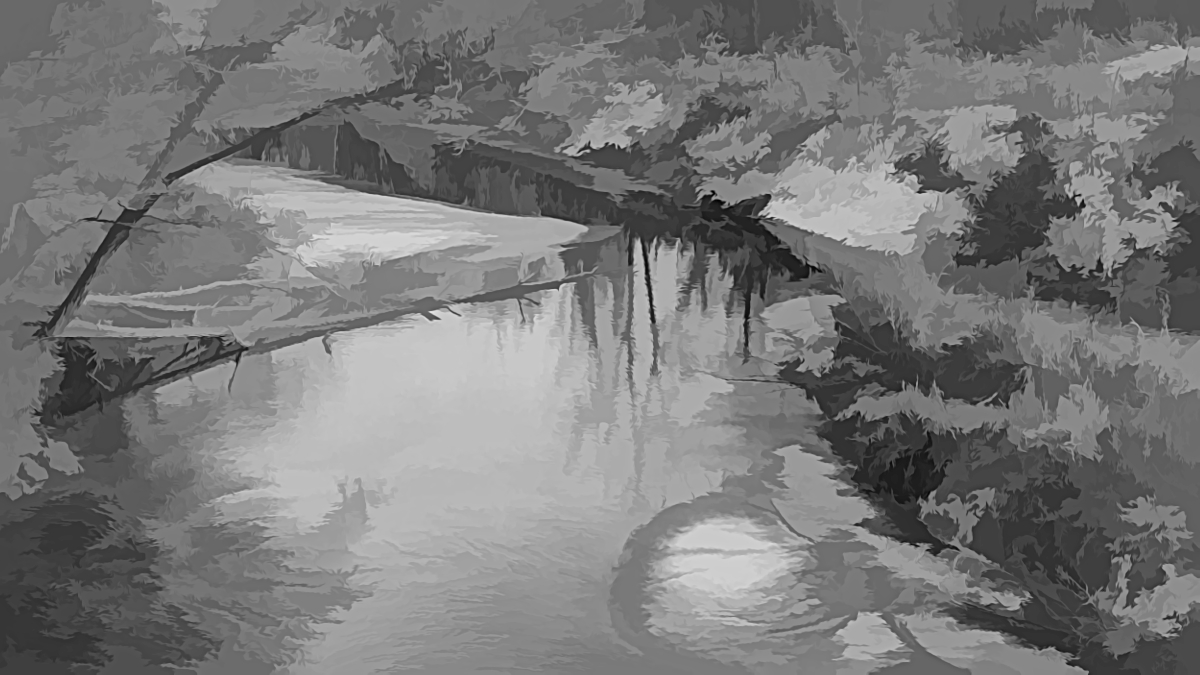
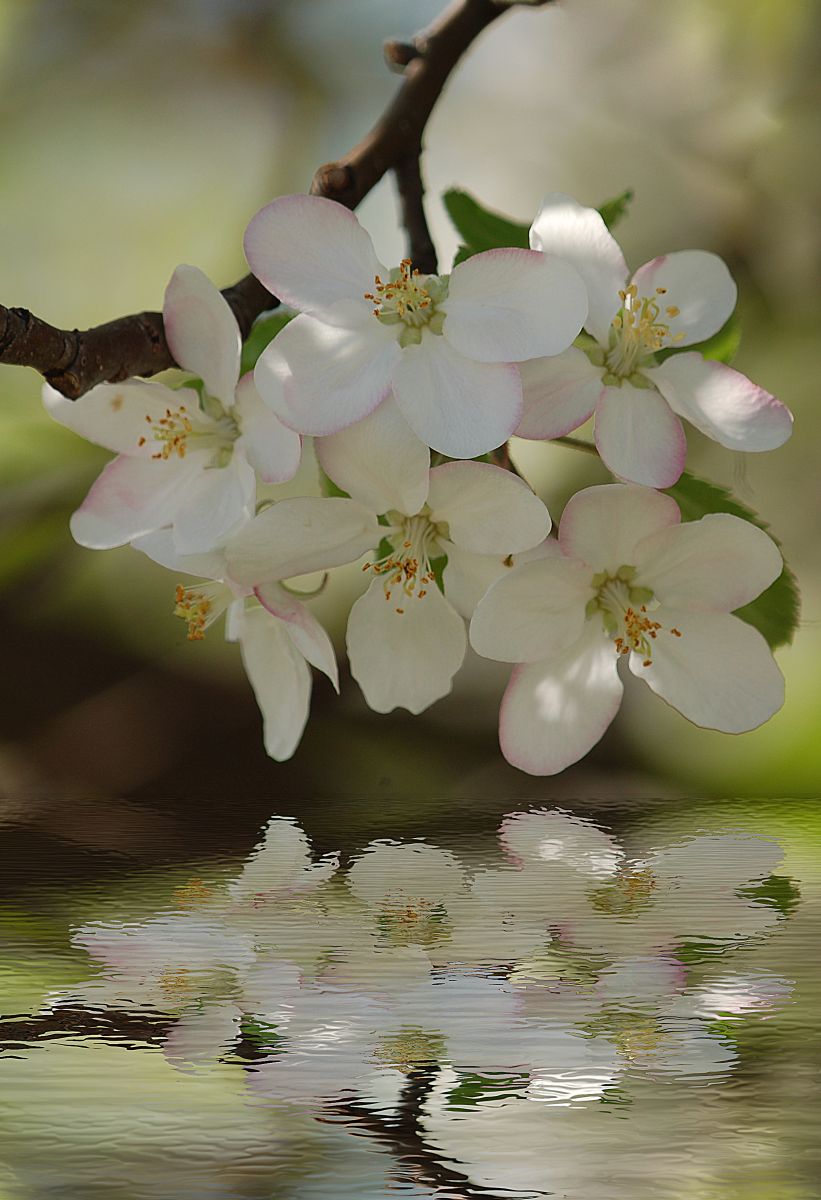
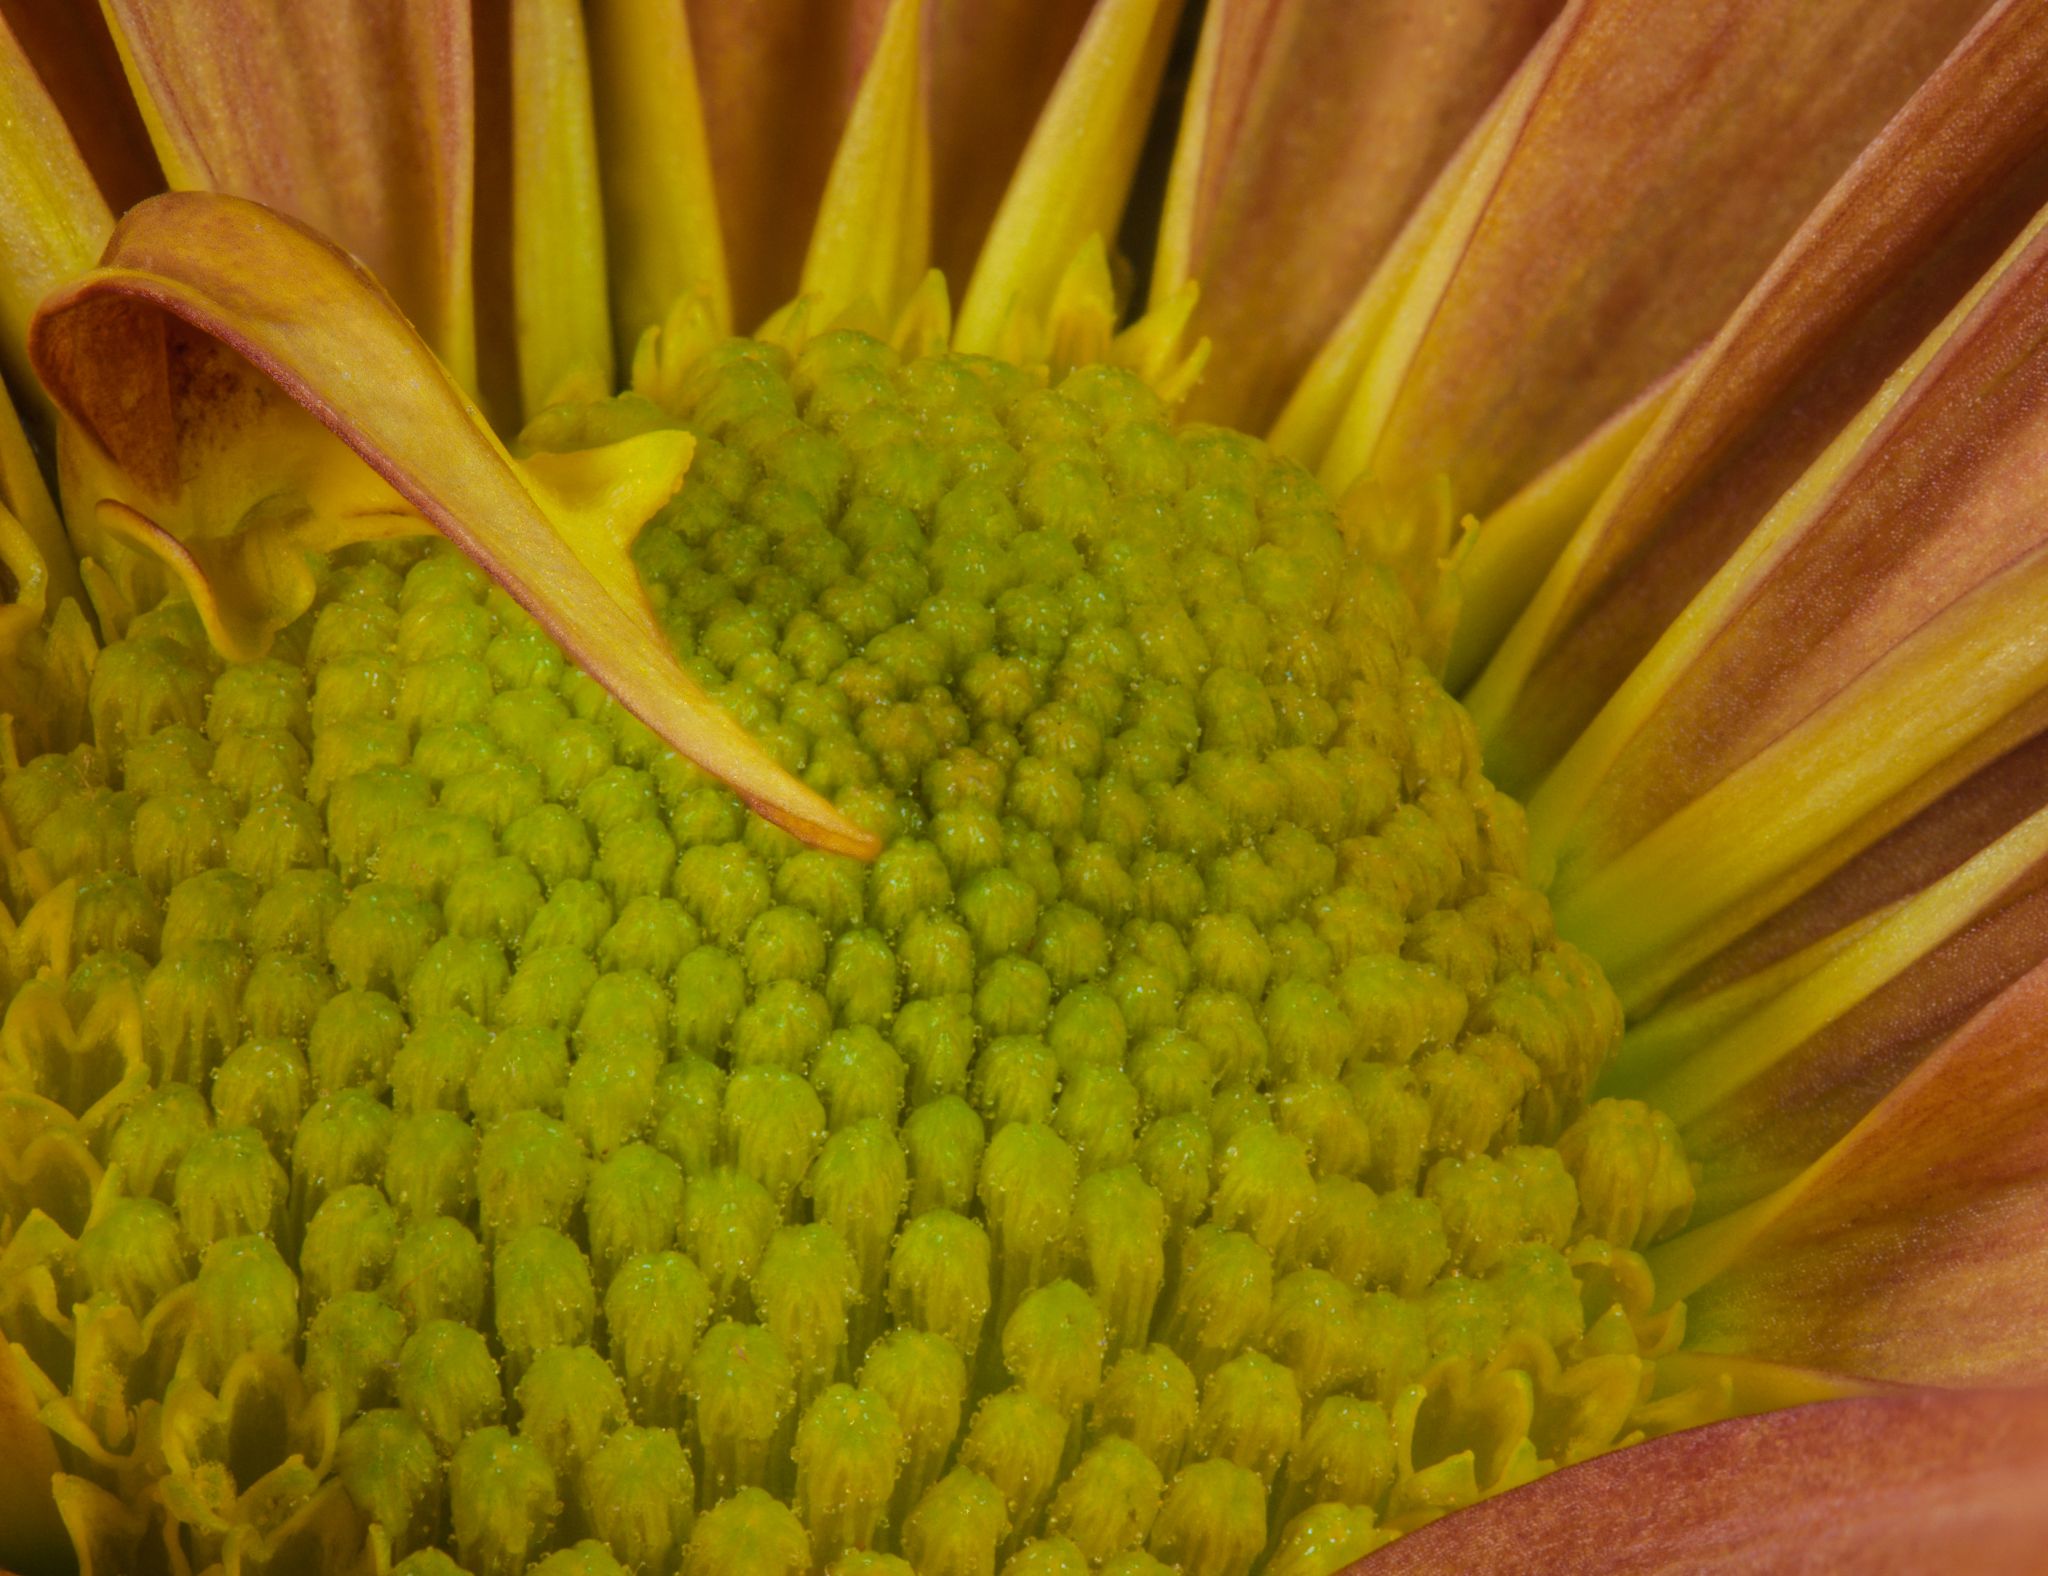
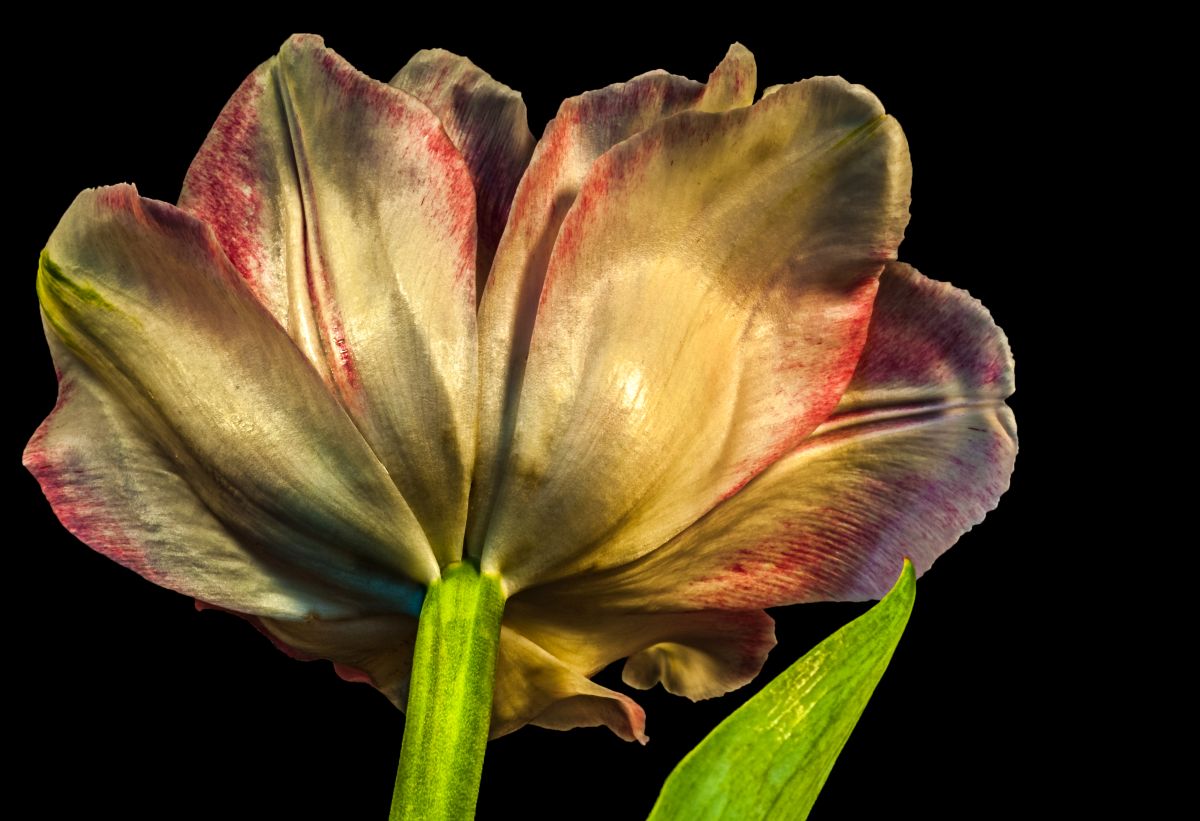
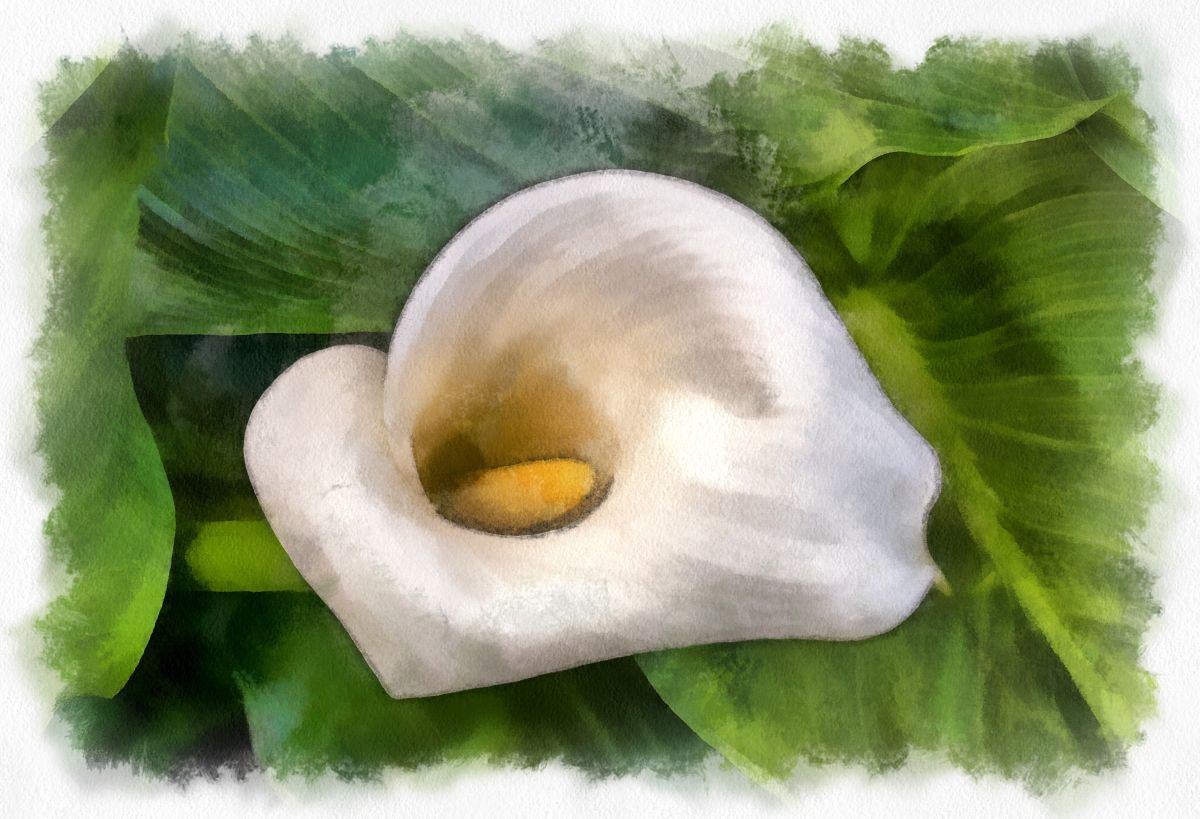
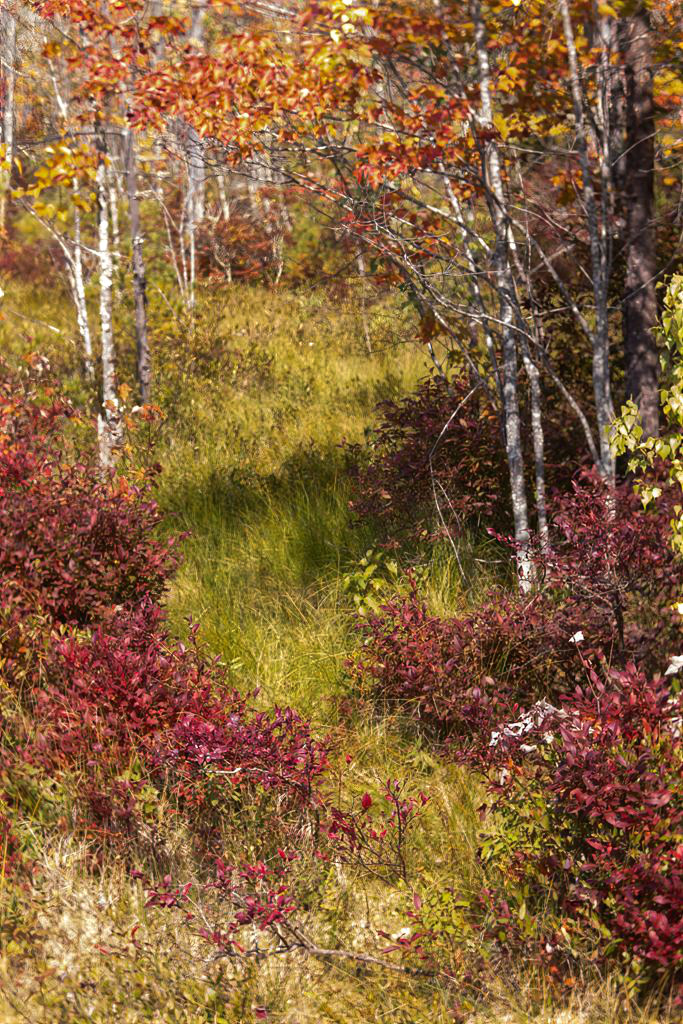
What gorgeous colors you captured here - wild and fall-like.
I agree with your idea to turn this into a painting, or perhaps do some more sharpening.
Here's with more sharpening: |
Oct 16th |
 |
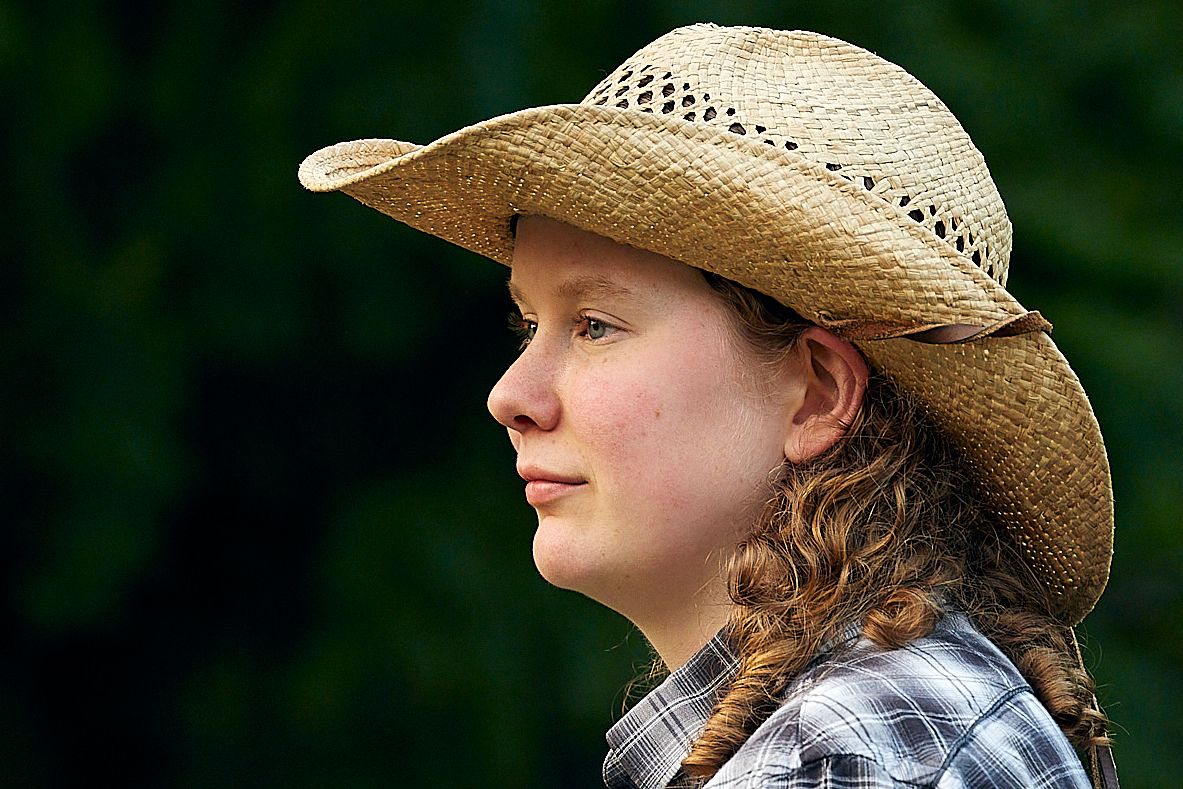
| 53 |
Oct 20 |
Reply |
Crop 2 - Horizontal: |
Oct 16th |
 |
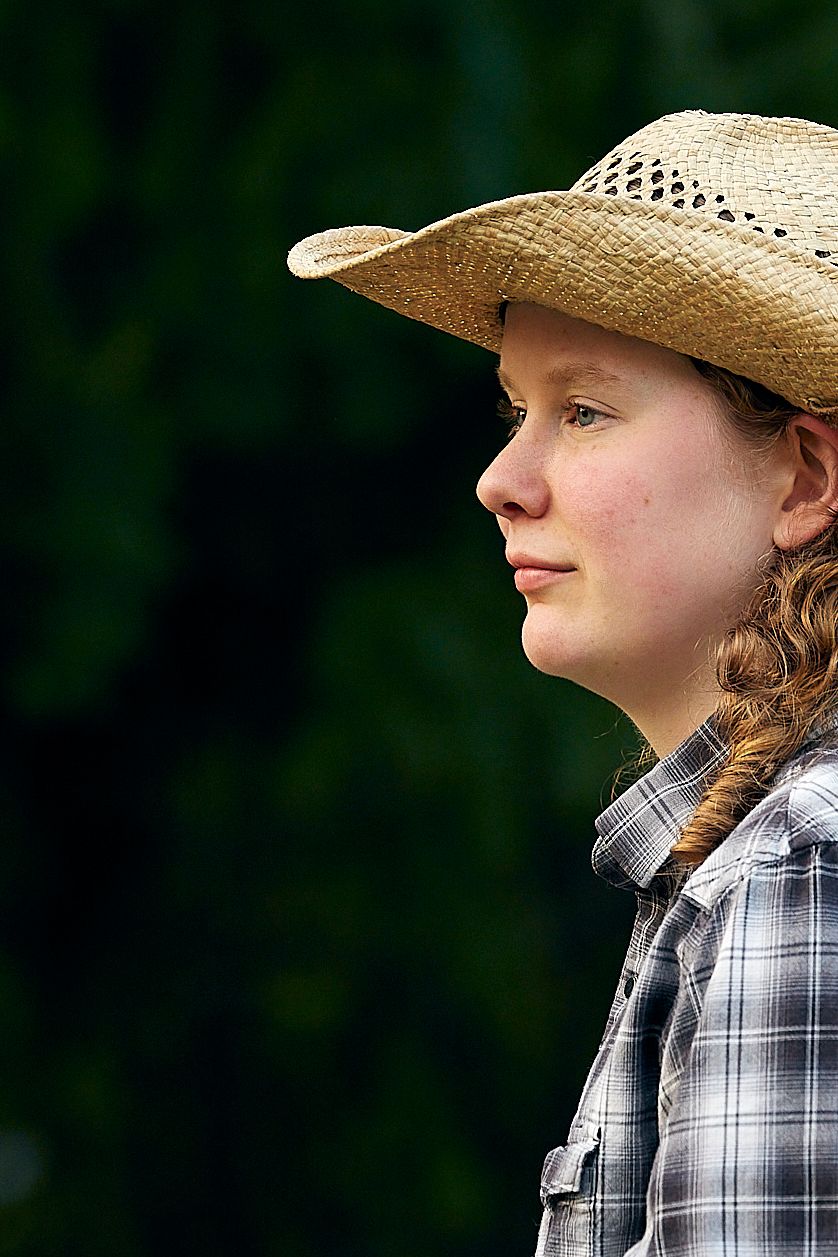
| 53 |
Oct 20 |
Reply |
Crop 2 - Vertical: |
Oct 16th |
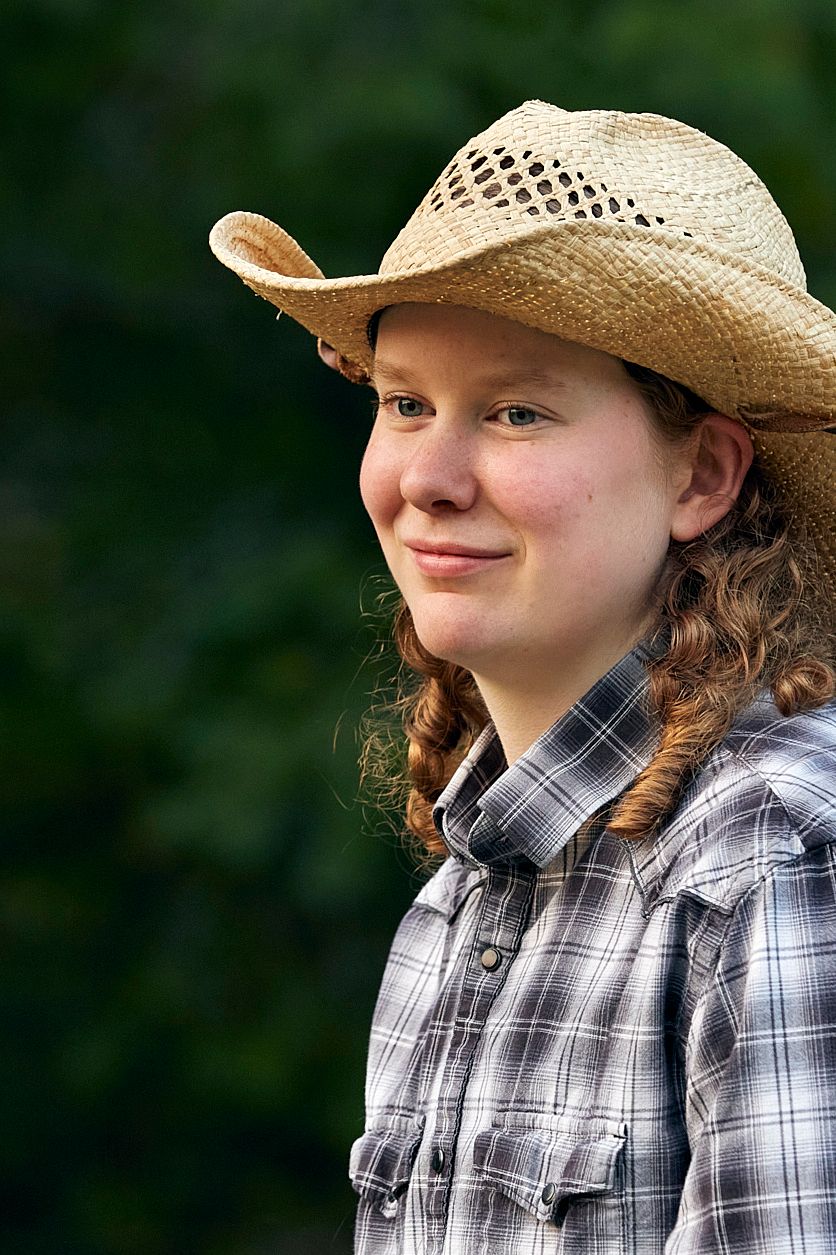 |
| 53 |
Oct 20 |
Reply |
Crop 1 - vertical: |
Oct 16th |
 |
| 53 |
Oct 20 |
Comment |
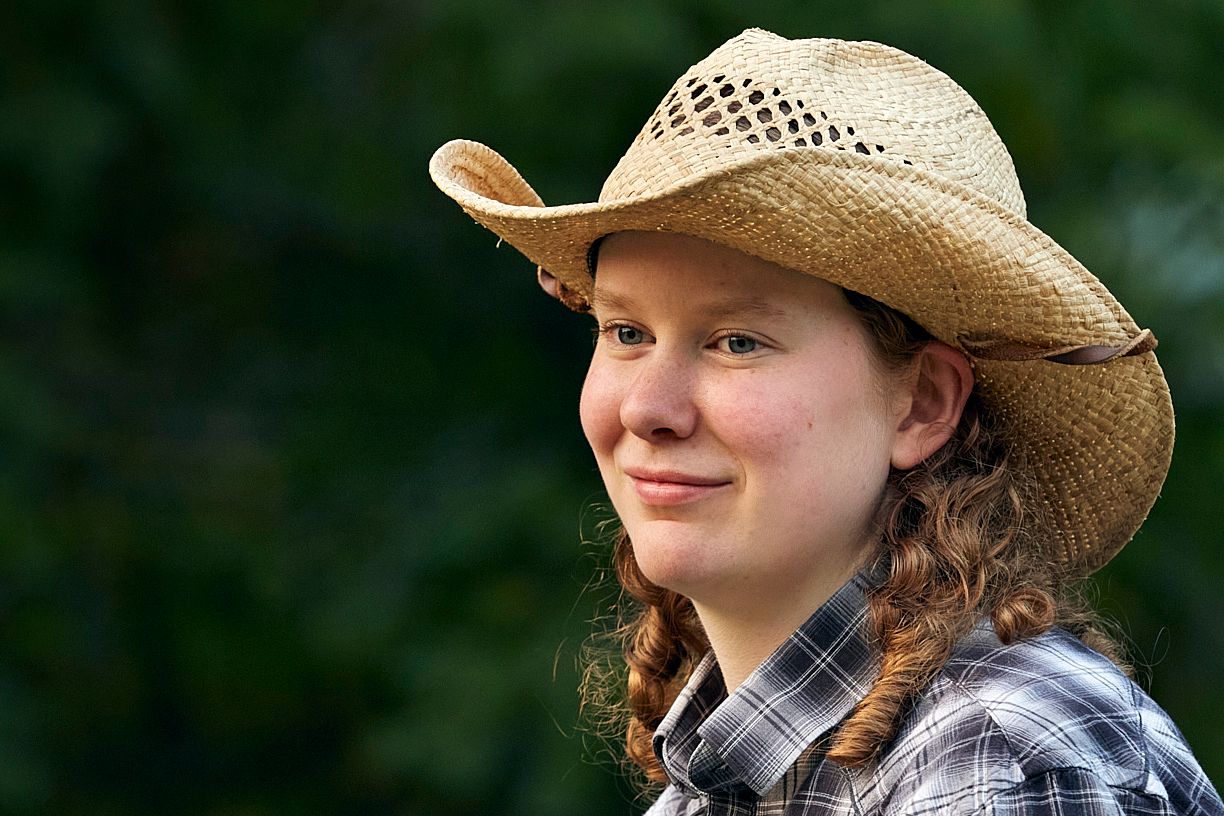
Both images have great exposure, color, focus and background bokeh. For me, what both need is a stronger composition. Also, it's important to emphasize the model's best features and de-emphasize those that are less flattering. Her face in the hat is the most important. So, I'll show you a few and hopefully others will weight in.
Crop 1 - Horizontal: |
Oct 16th |
 |
| 53 |
Oct 20 |
Comment |
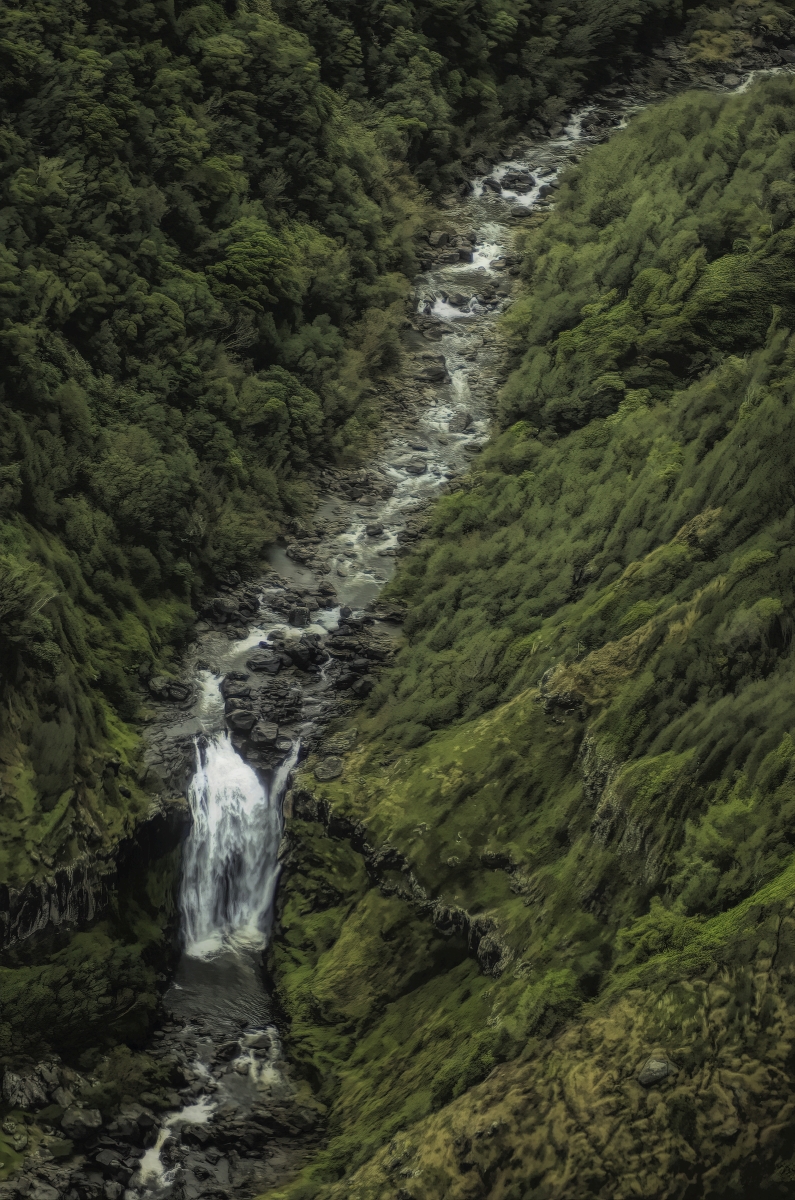
What a cool place and an amazing scene to capture.
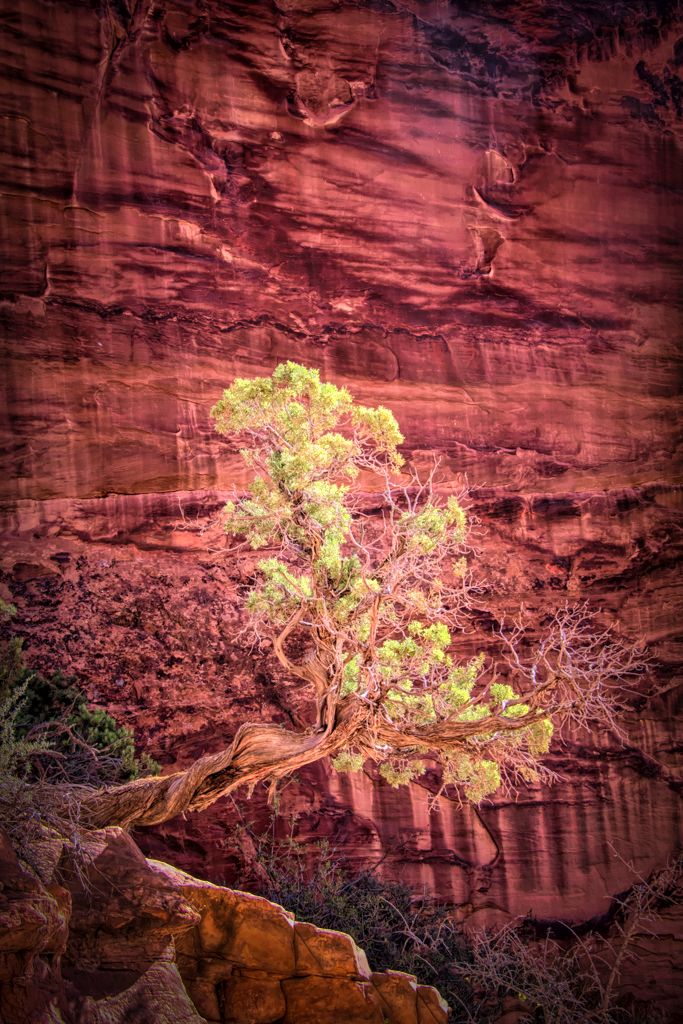
I have to agree with the assessment of the others regarding the brightness of the background. To deal with it, I used the HSL tool to adjust the brightness of the individual hues for both the rock face and the bush, then did a fair amount of dodging and burning to try and bring out more dimensionality in the scene. Thoughts? |
Oct 16th |
 |
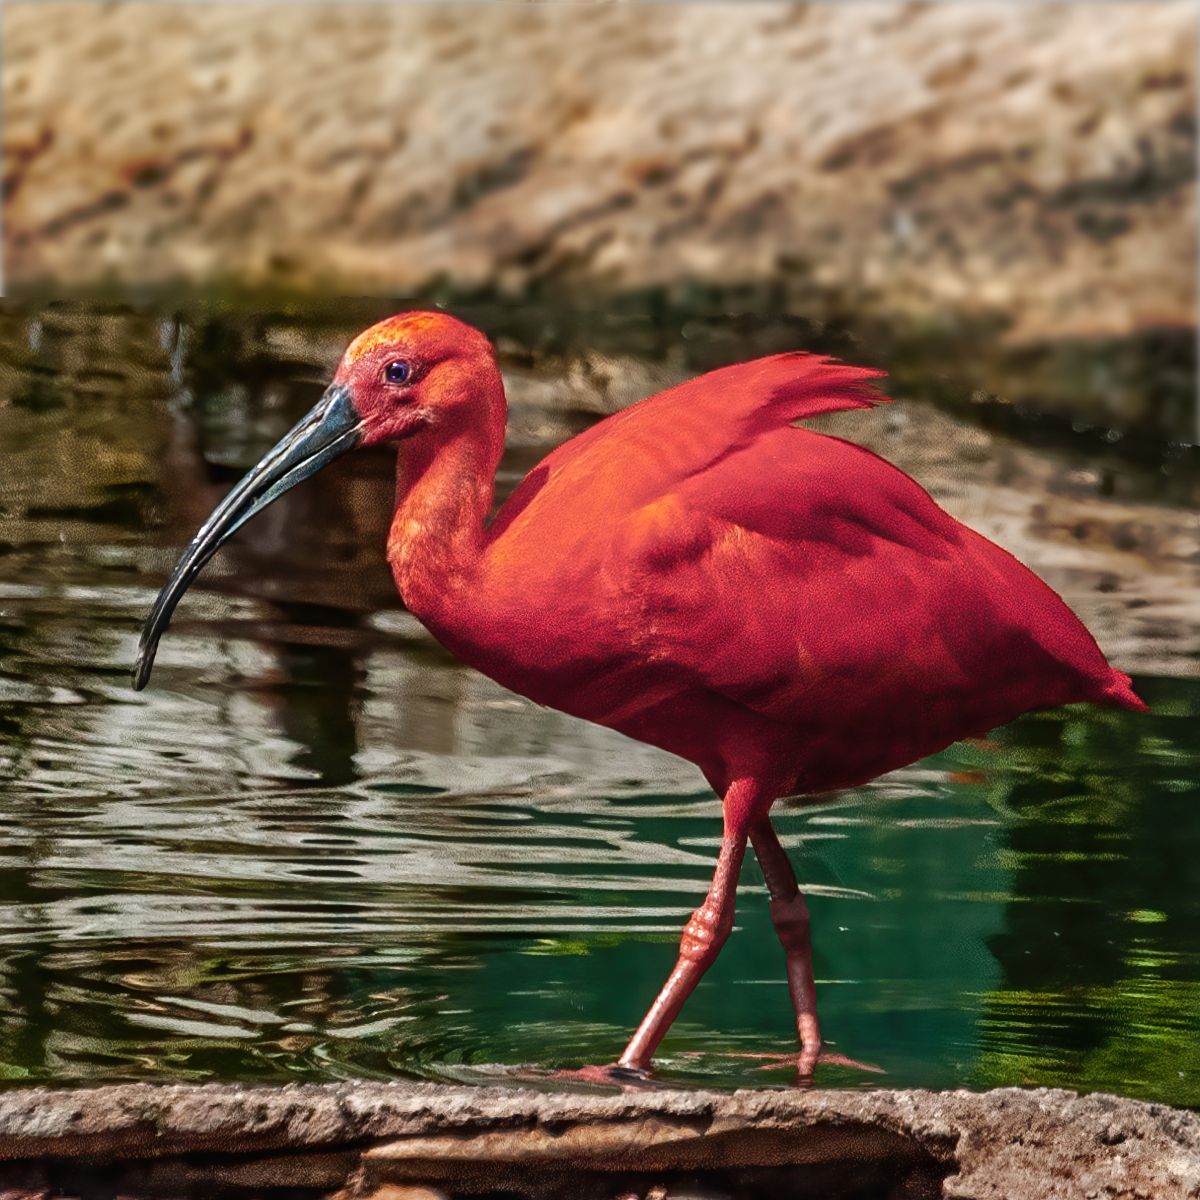
| 53 |
Oct 20 |
Comment |
While it is a small bird, surrounding it with more water really won't give enough context to show its size. So, to determine the best crop, a good starting point is the tried and true rule of thirds. Here's a crop using that: |
Oct 16th |
 |
| 53 |
Oct 20 |
Reply |
I do and I did. d;¬{D |
Oct 16th |
| 53 |
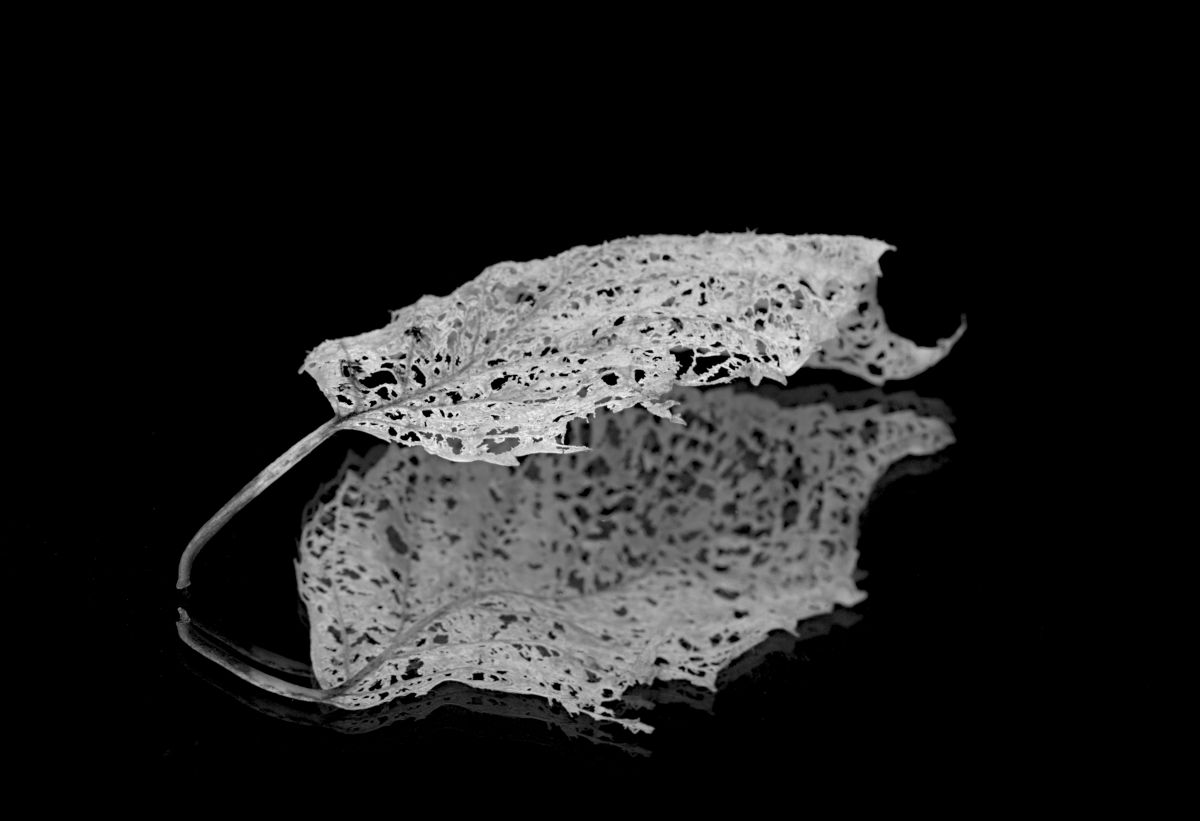
Oct 20 |
Comment |
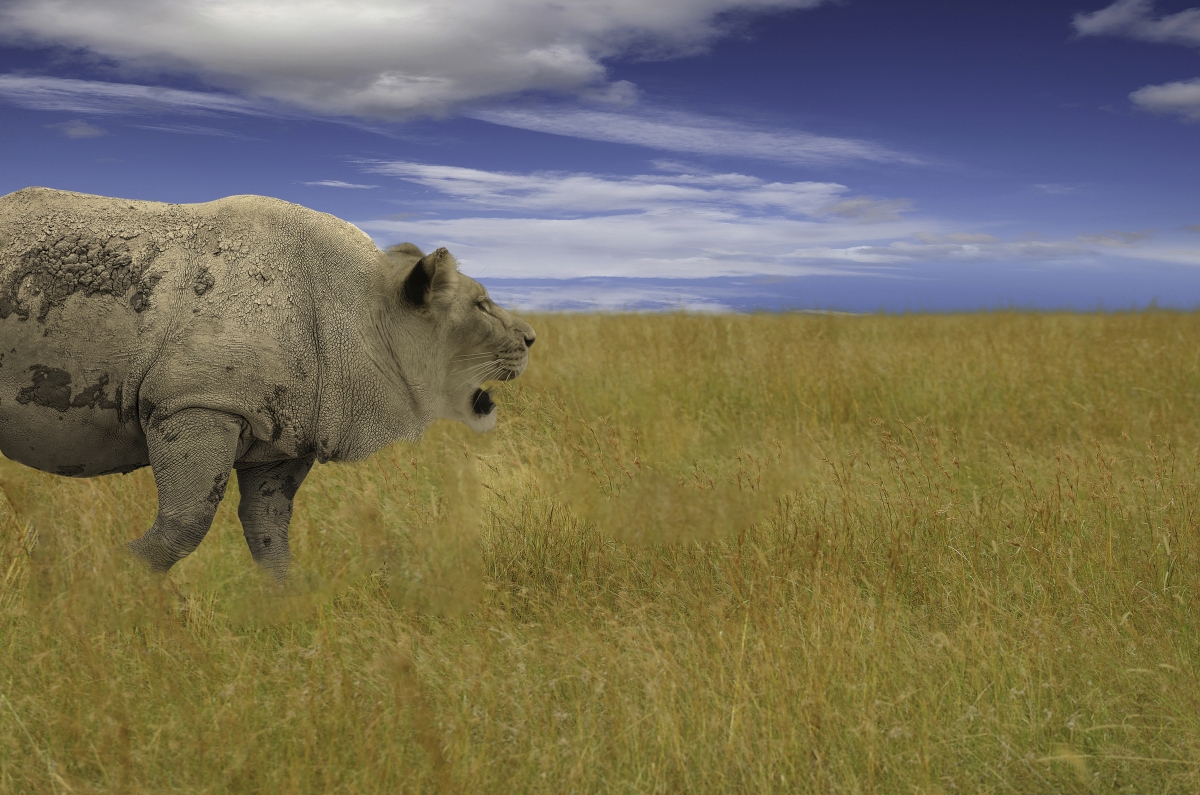
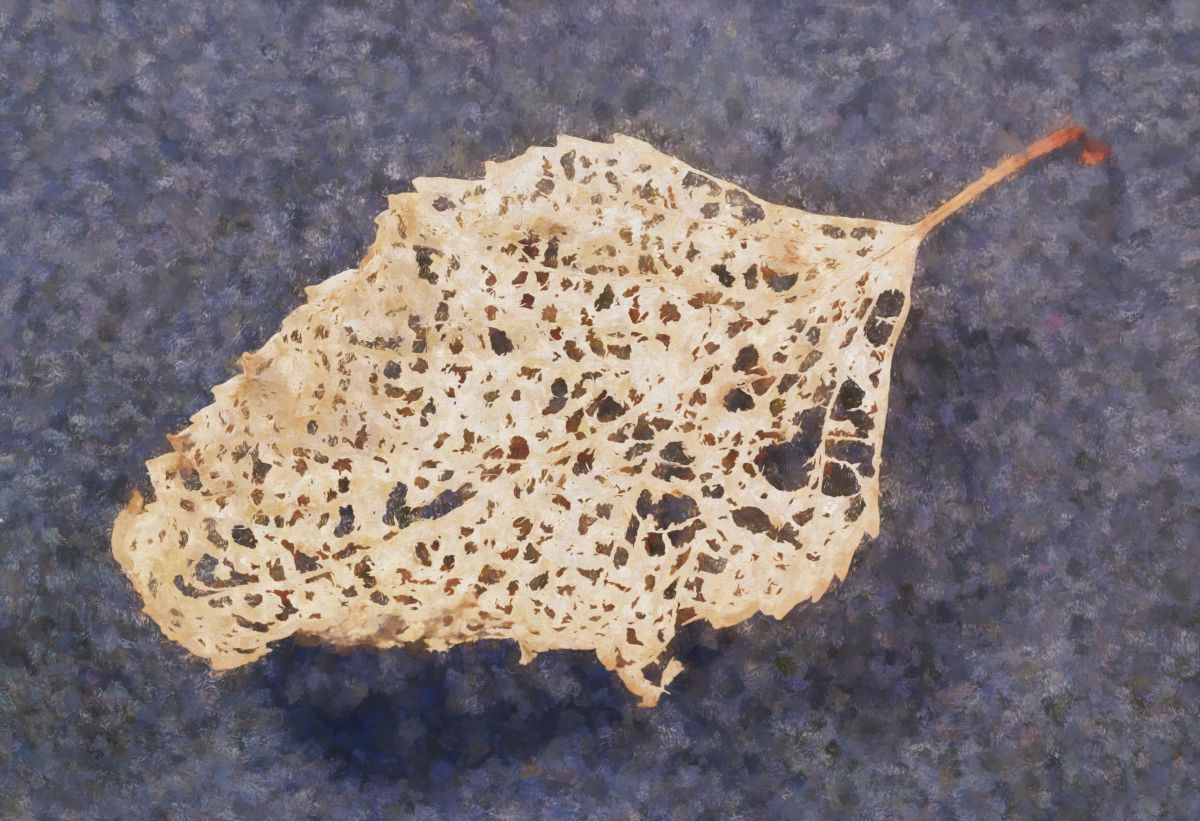
What a fun capture. Brings back fond memories of a time when I was adopted by a gander who had lost his brother. He would march back and forth outside the bungalo where I was working, honking for me to come out and play, and protecting me from all visitors. d;¬{D
Aside from the noise, which is quite severe to be sure, there is plenty of good information to work with. As suggested by Dan, I did take this into Topaz Denoise AI and, after clearing the noise, I also healed out some of the dirt and debris and then dodged a bit on the eye to being it out more. What do you think? |
Oct 16th |
 |
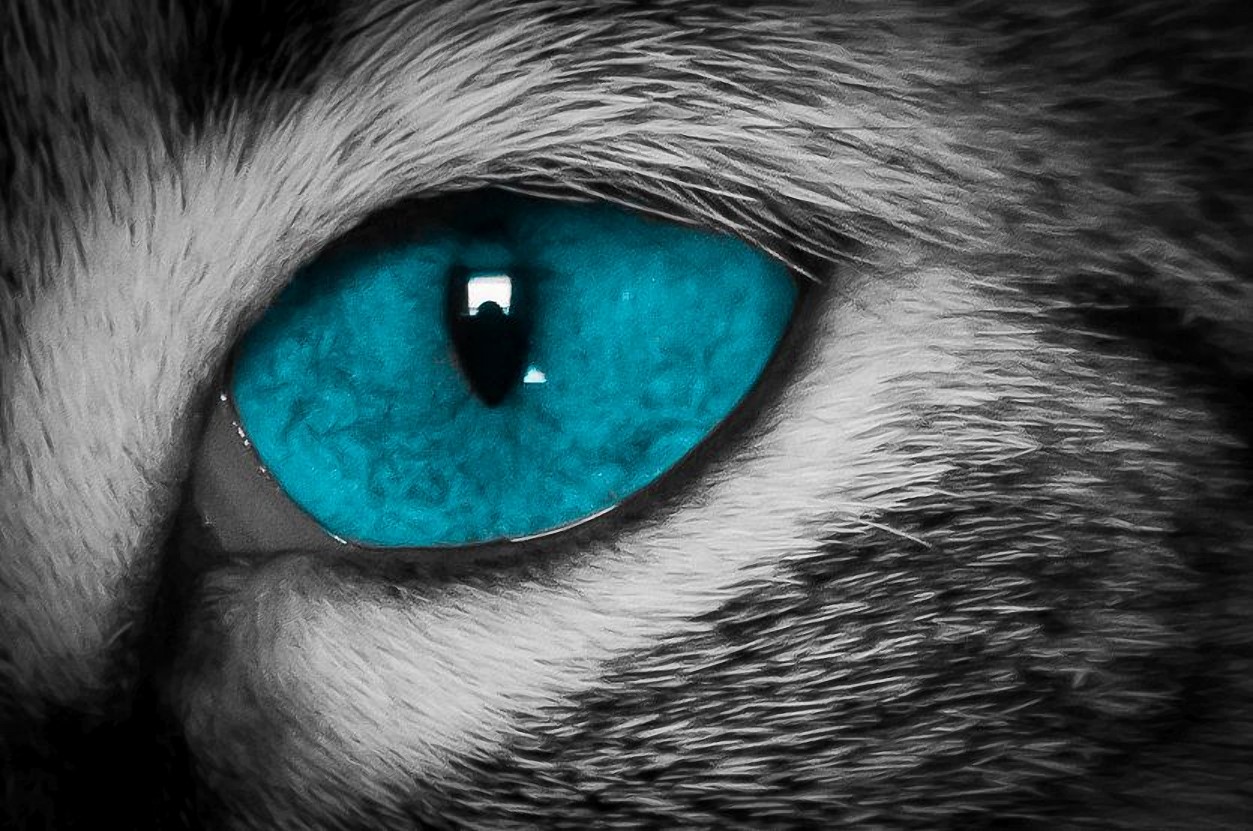
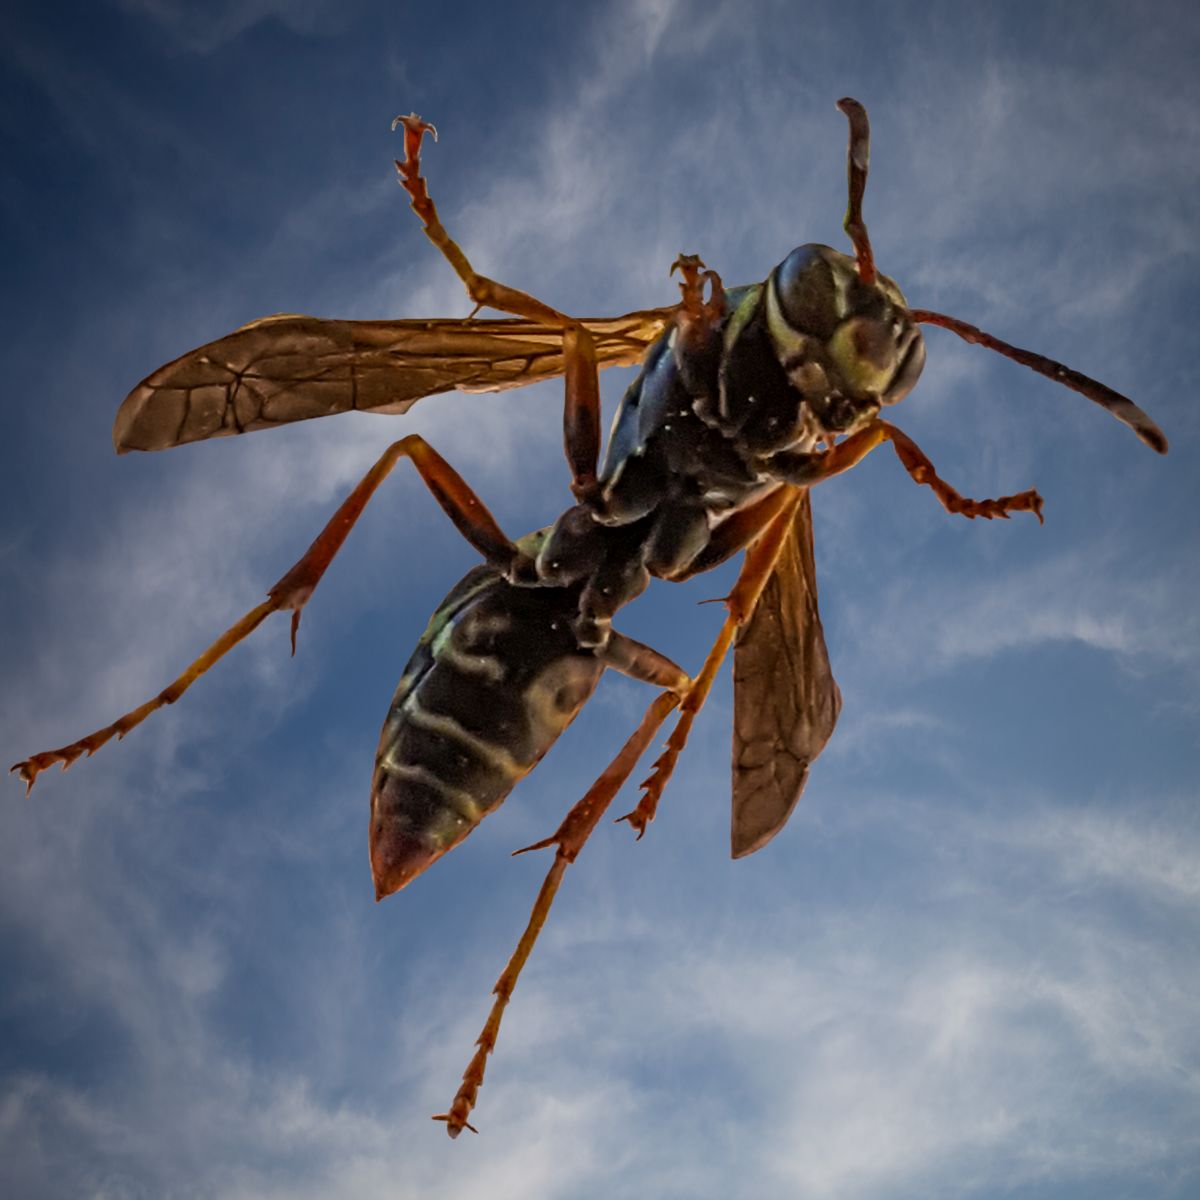
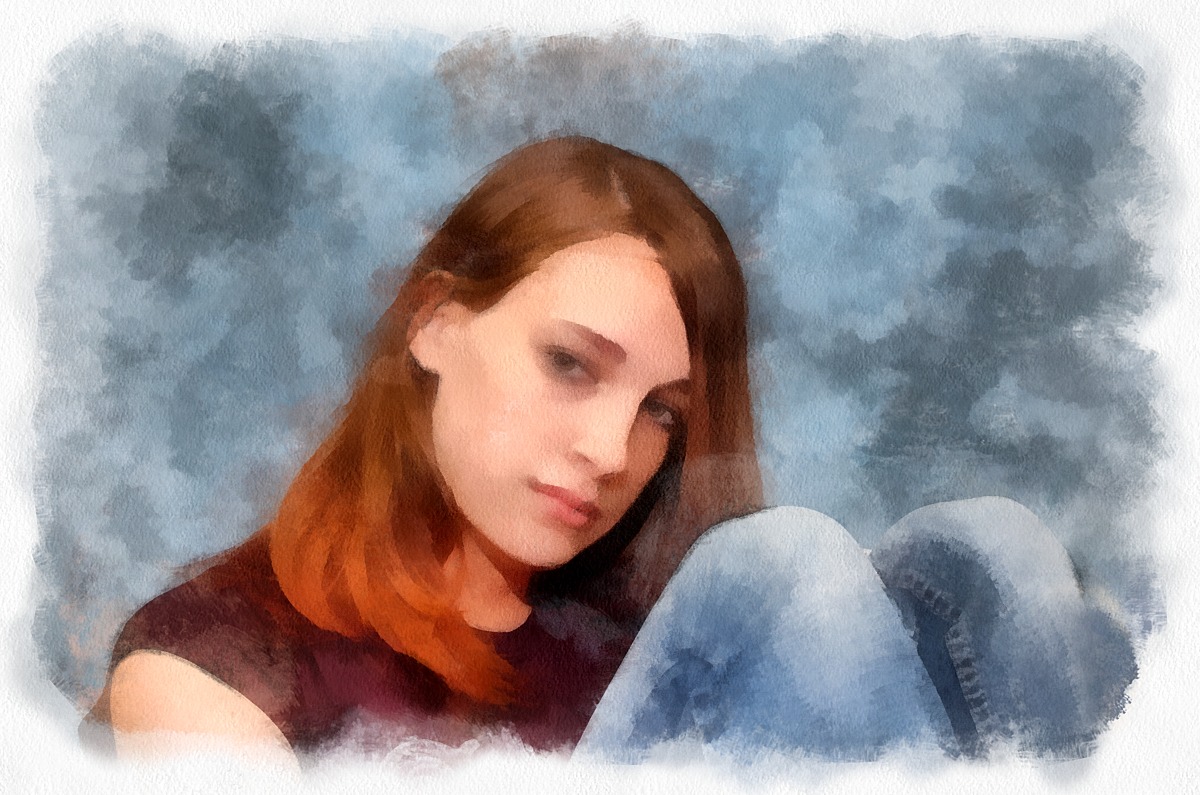
| 53 |
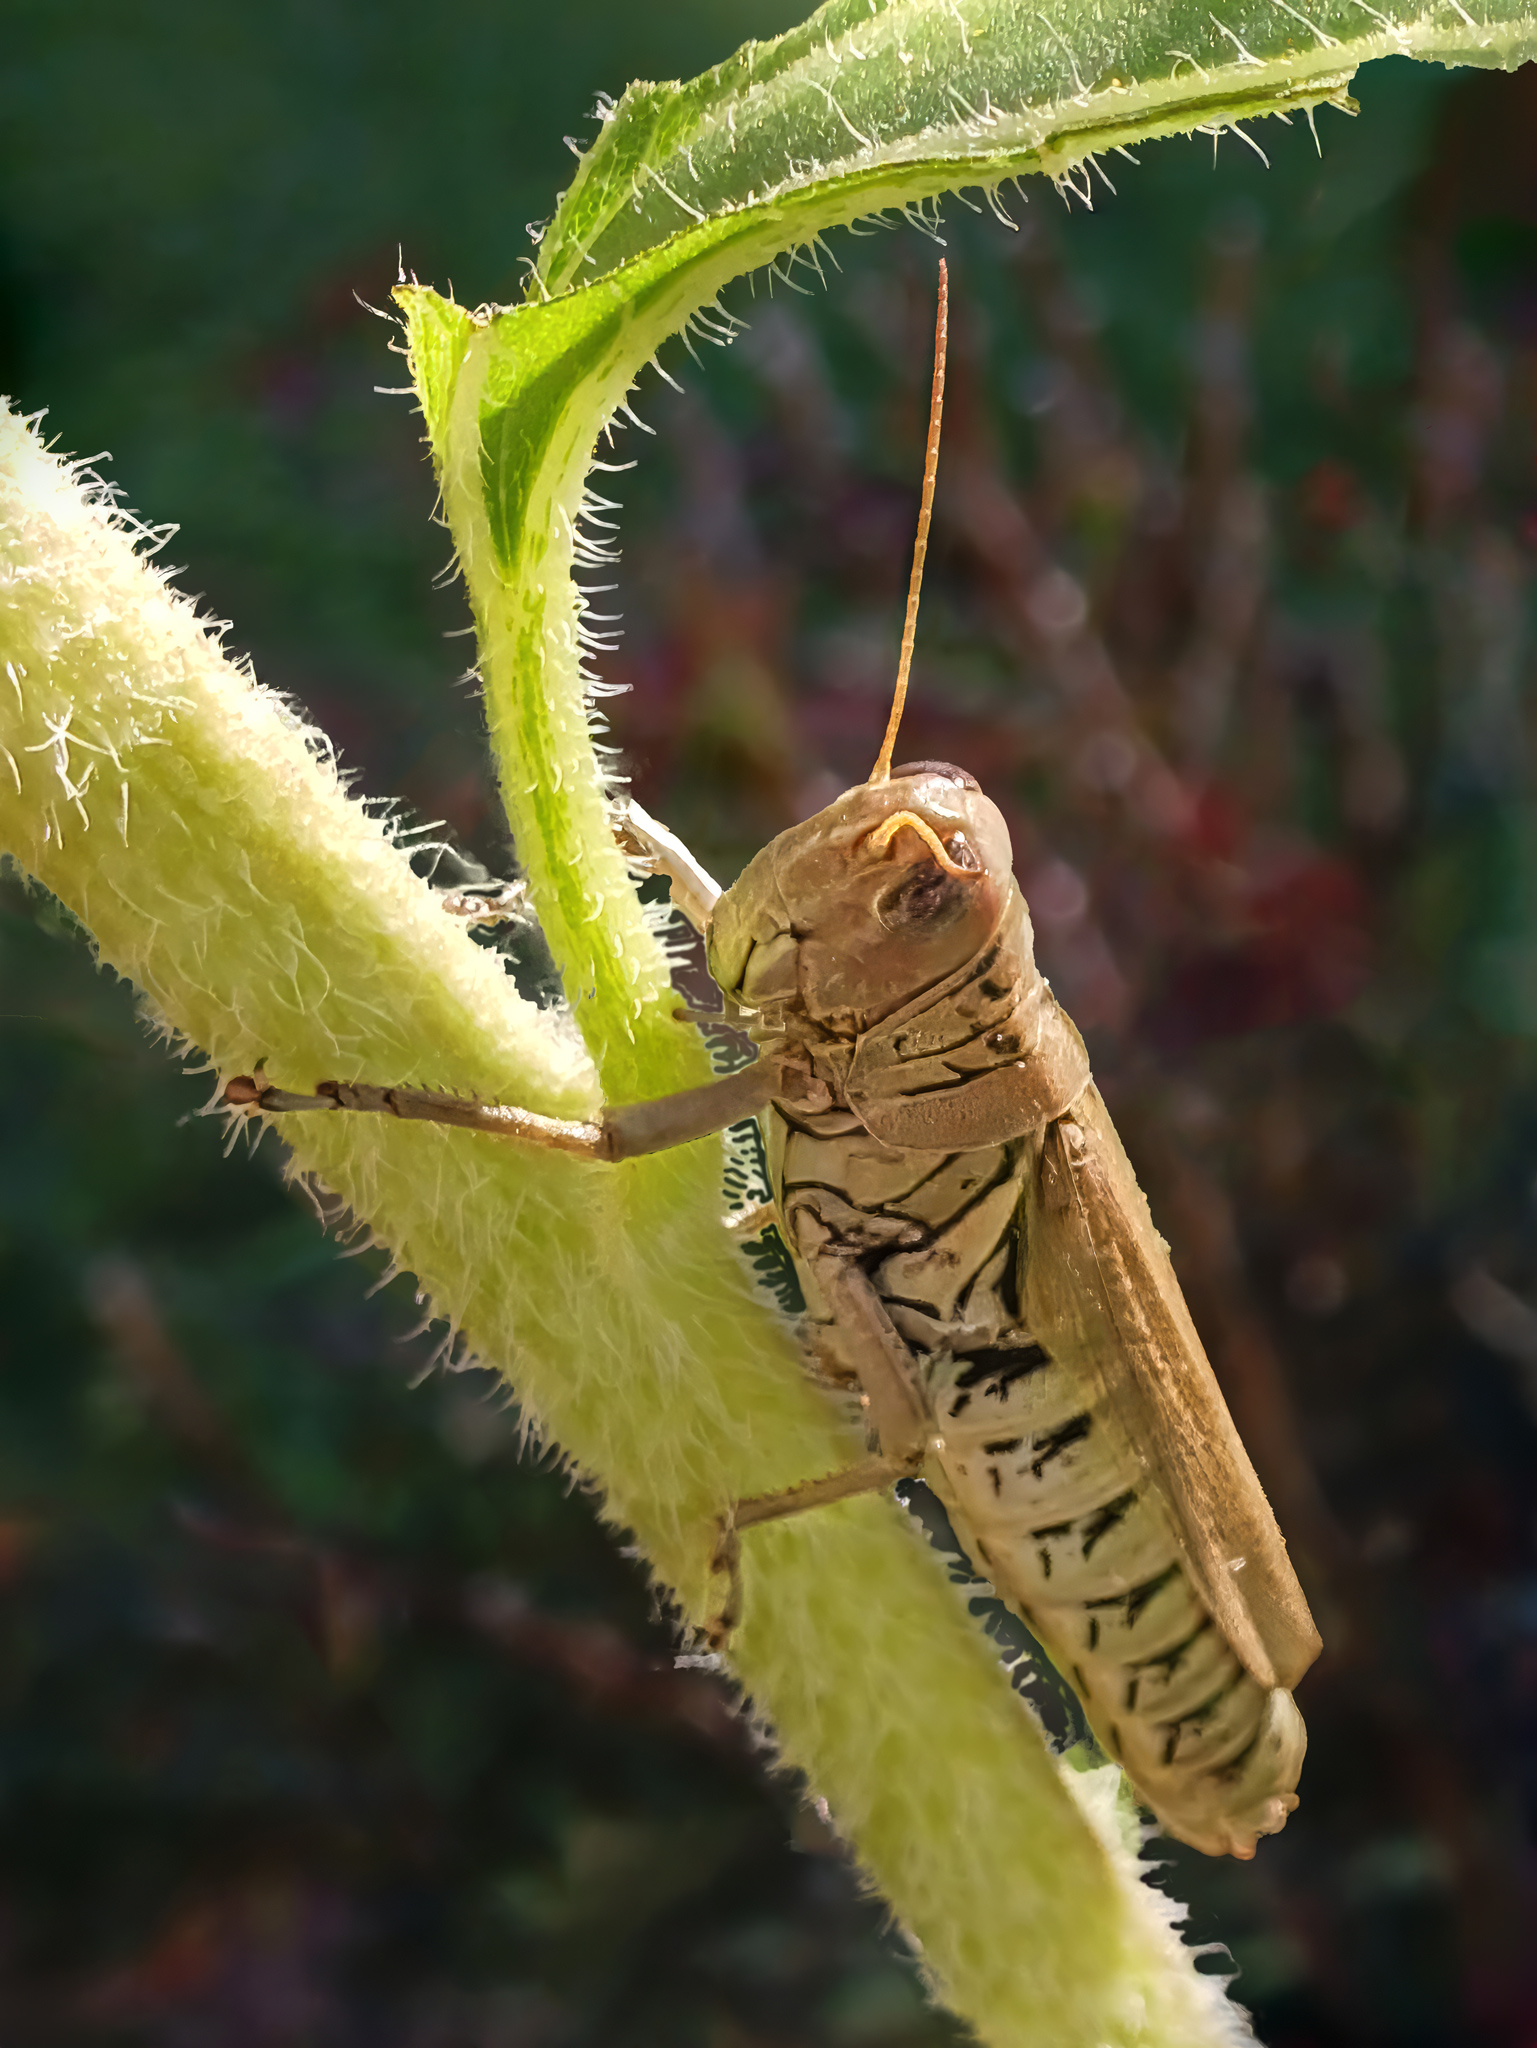
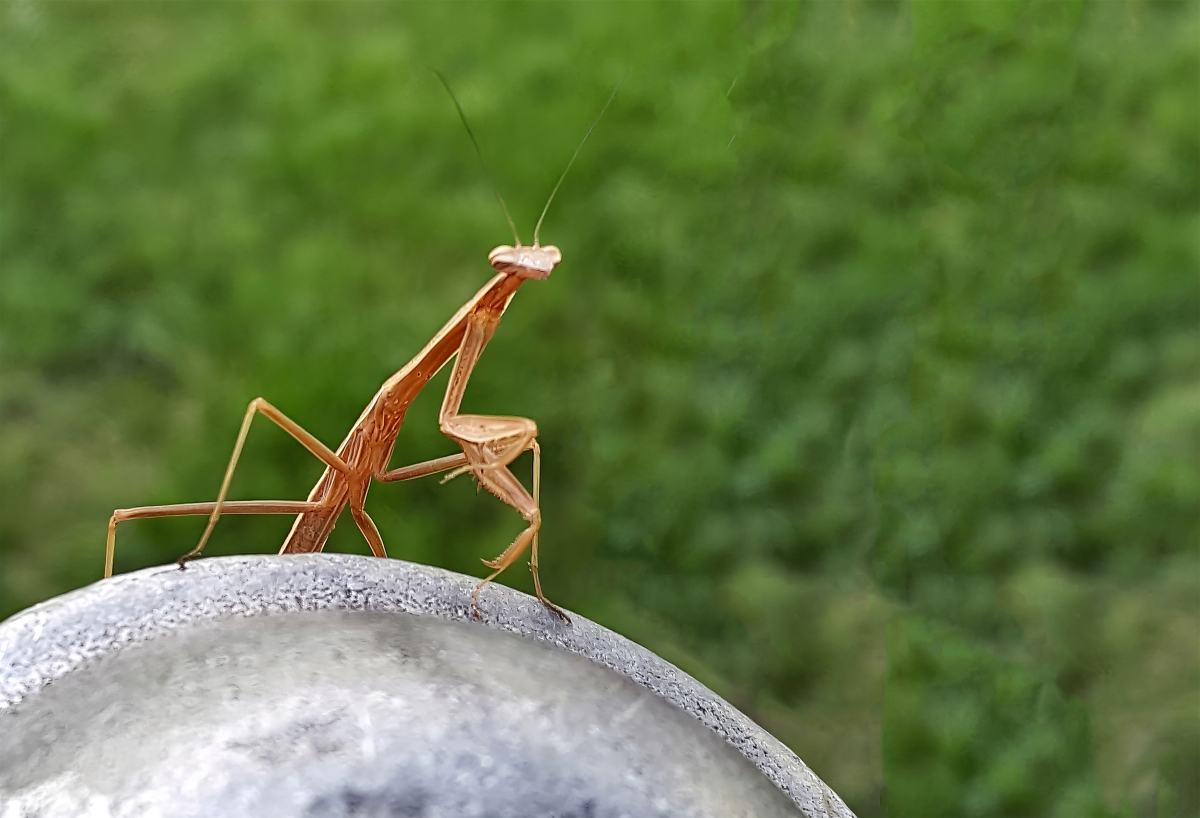
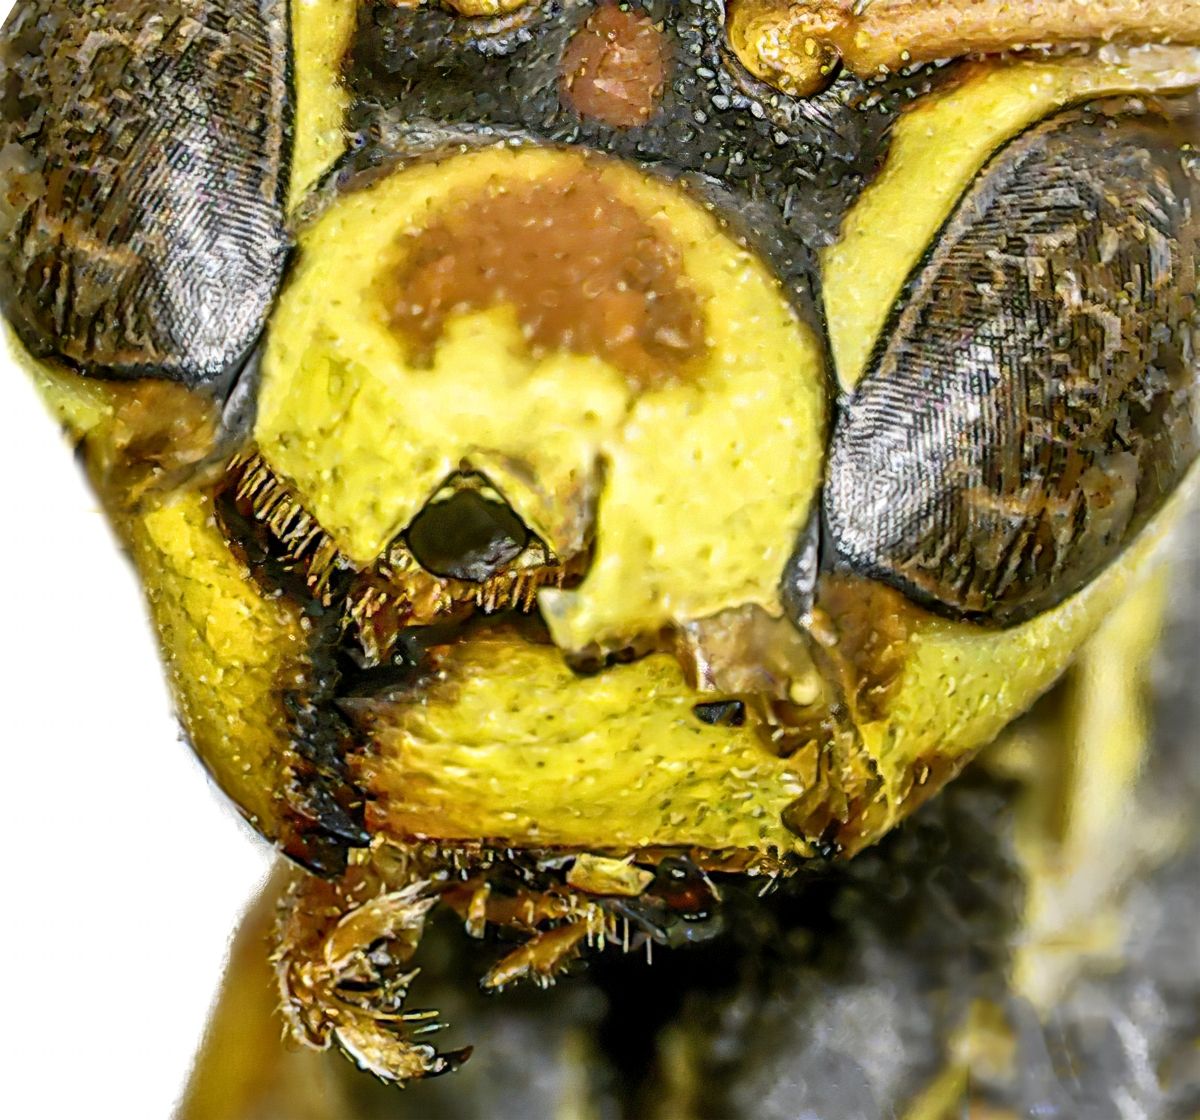
Oct 20 |
Comment |
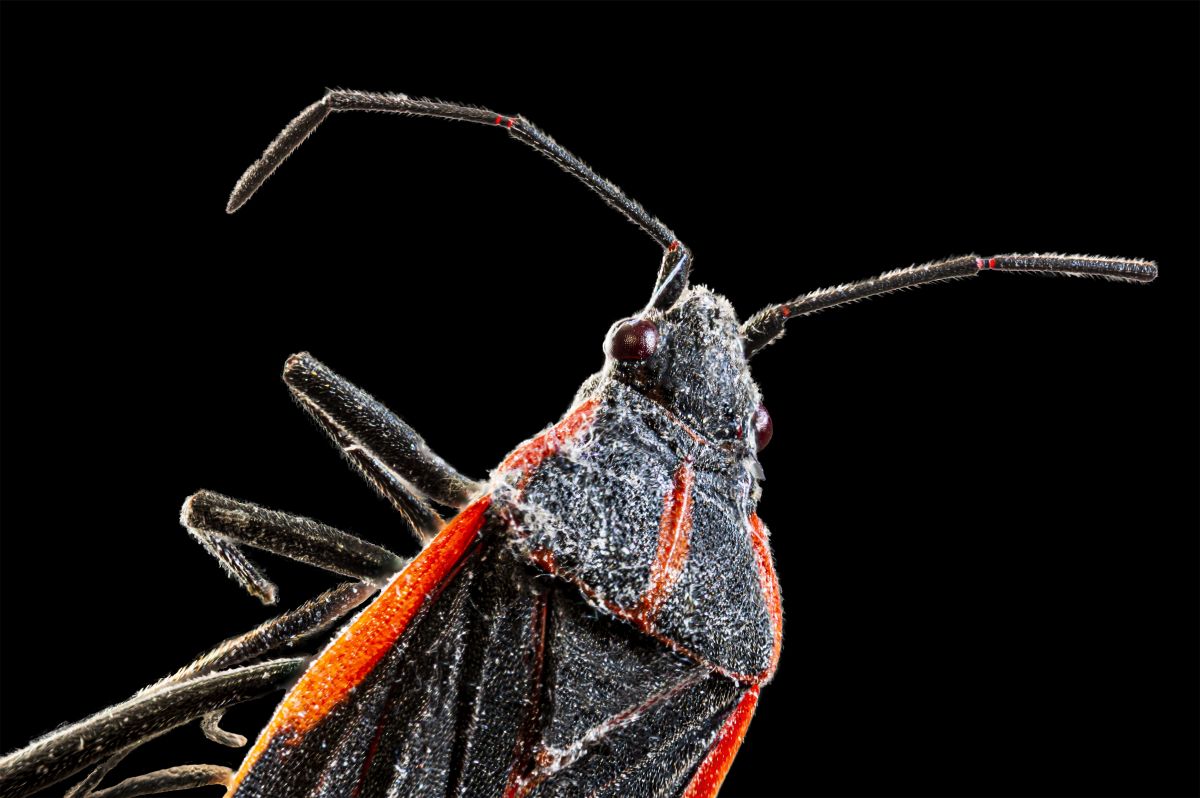
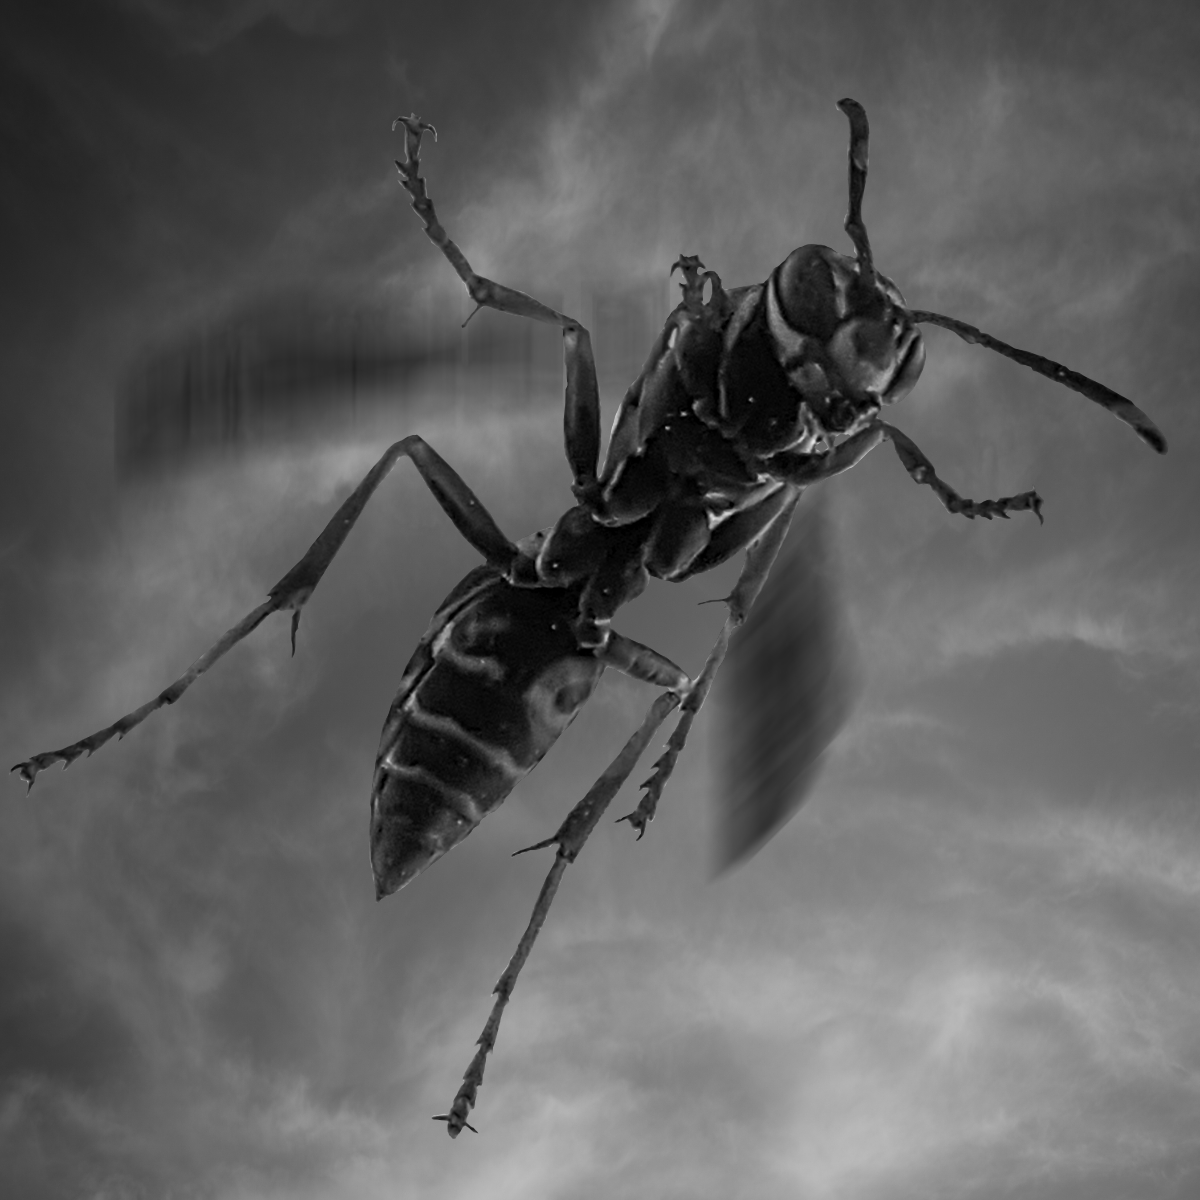
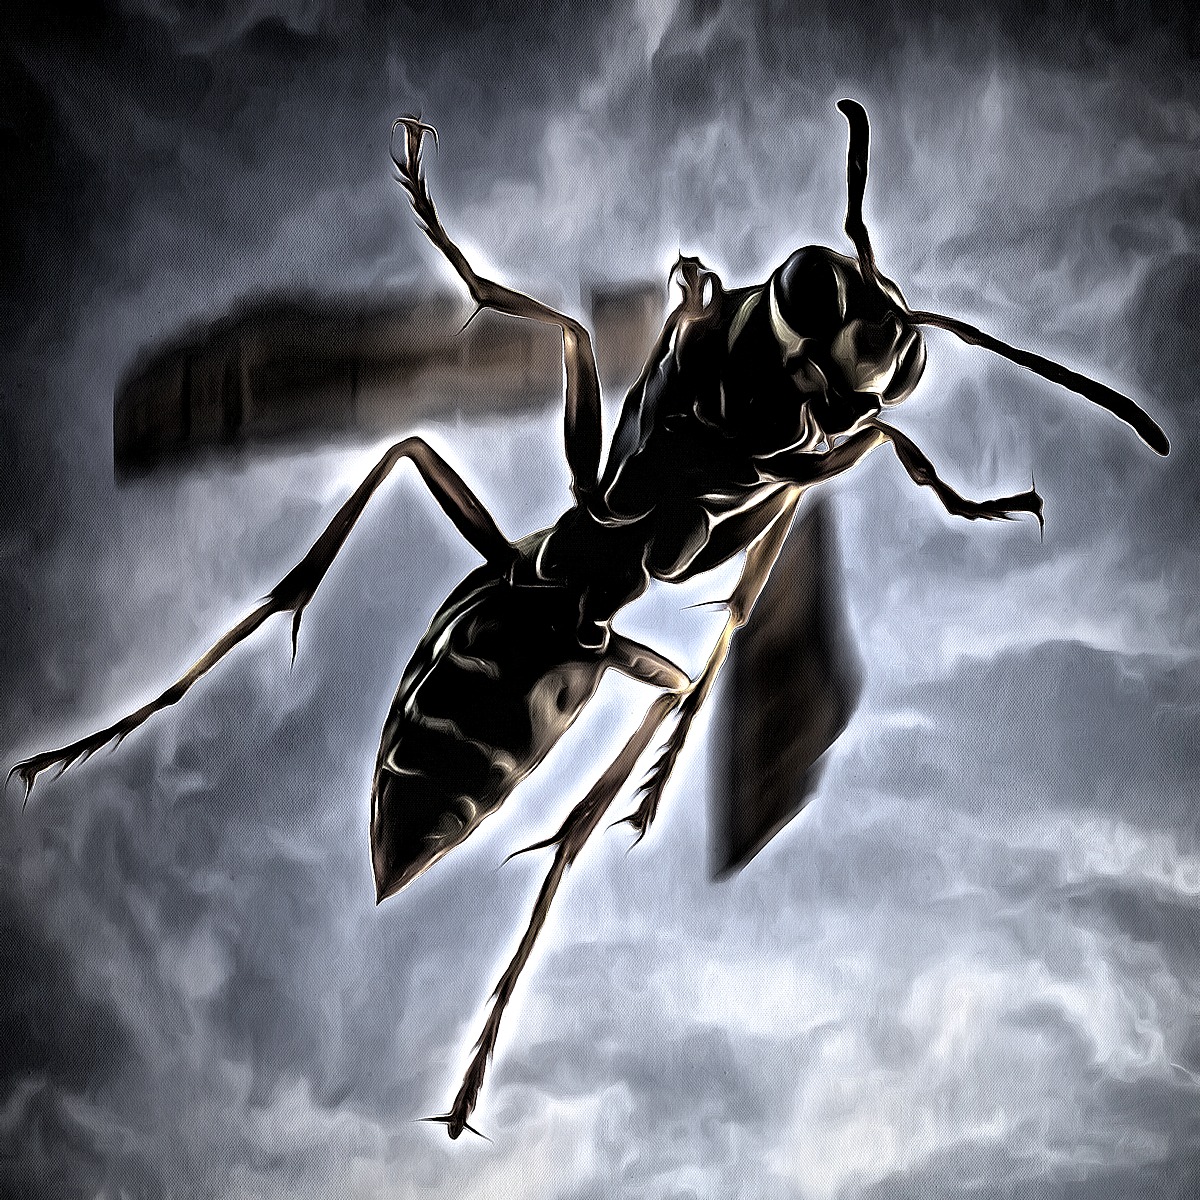
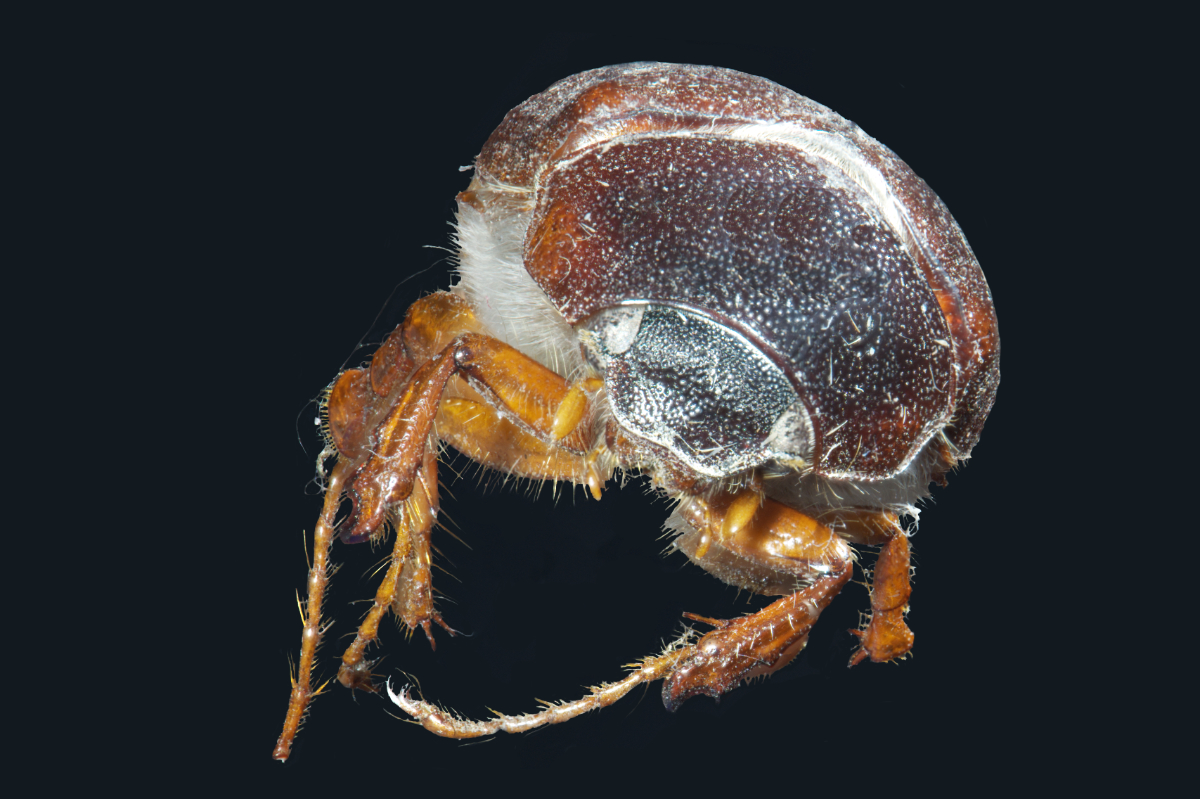
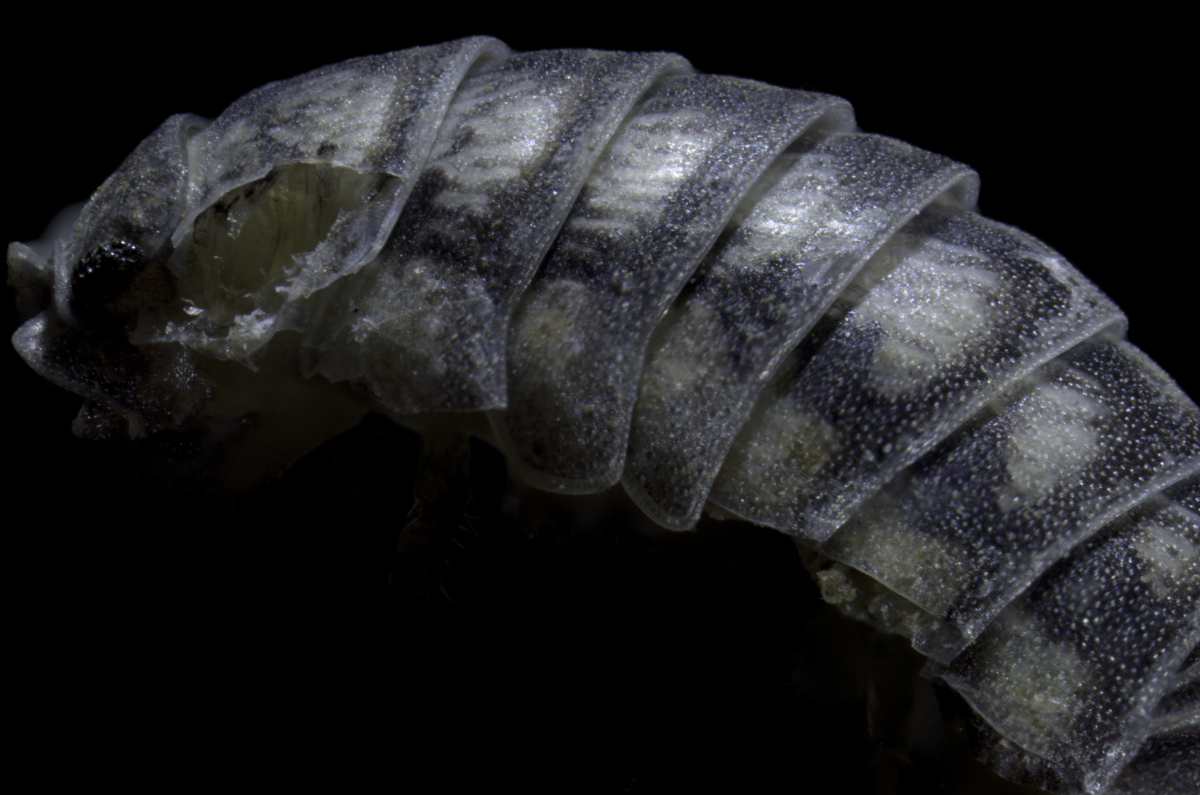
The lighting makes this look very ominous - armored and ready to face all challengers. Great stack.
Can you tell us a bit about how you prepared the beetle before photographing it? |
Oct 16th |
| 53 |
Oct 20 |
Reply |
Well done, but that's no surprise. d:¬{D |
Oct 7th |
10 comments - 13 replies for Group 53
|
| 86 |
Oct 20 |
Comment |
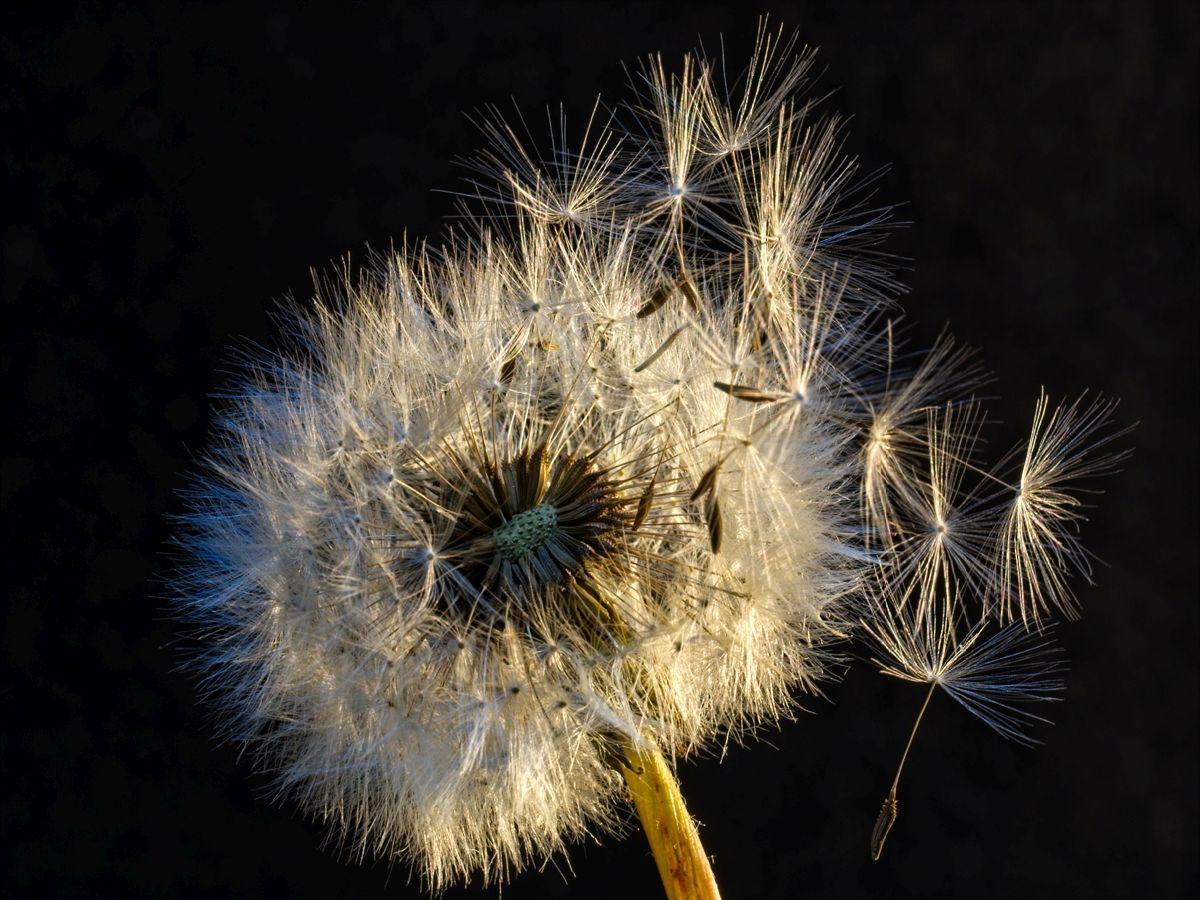
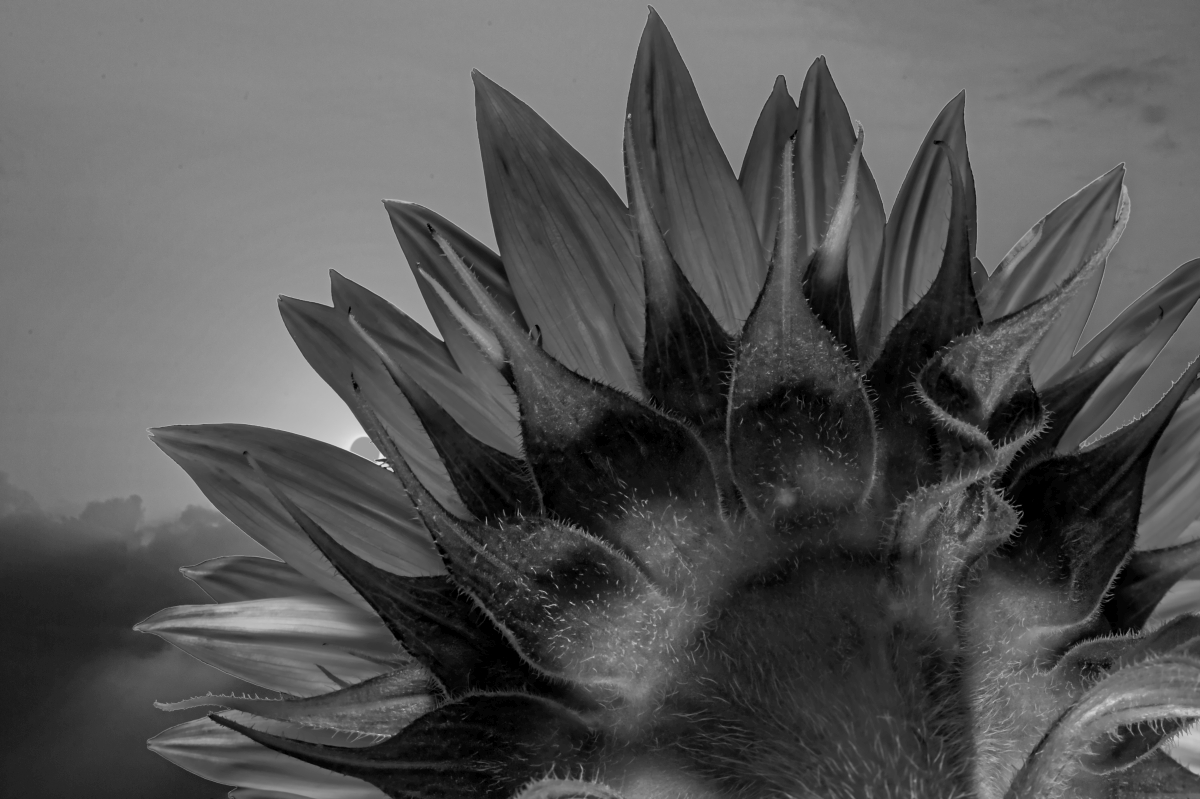
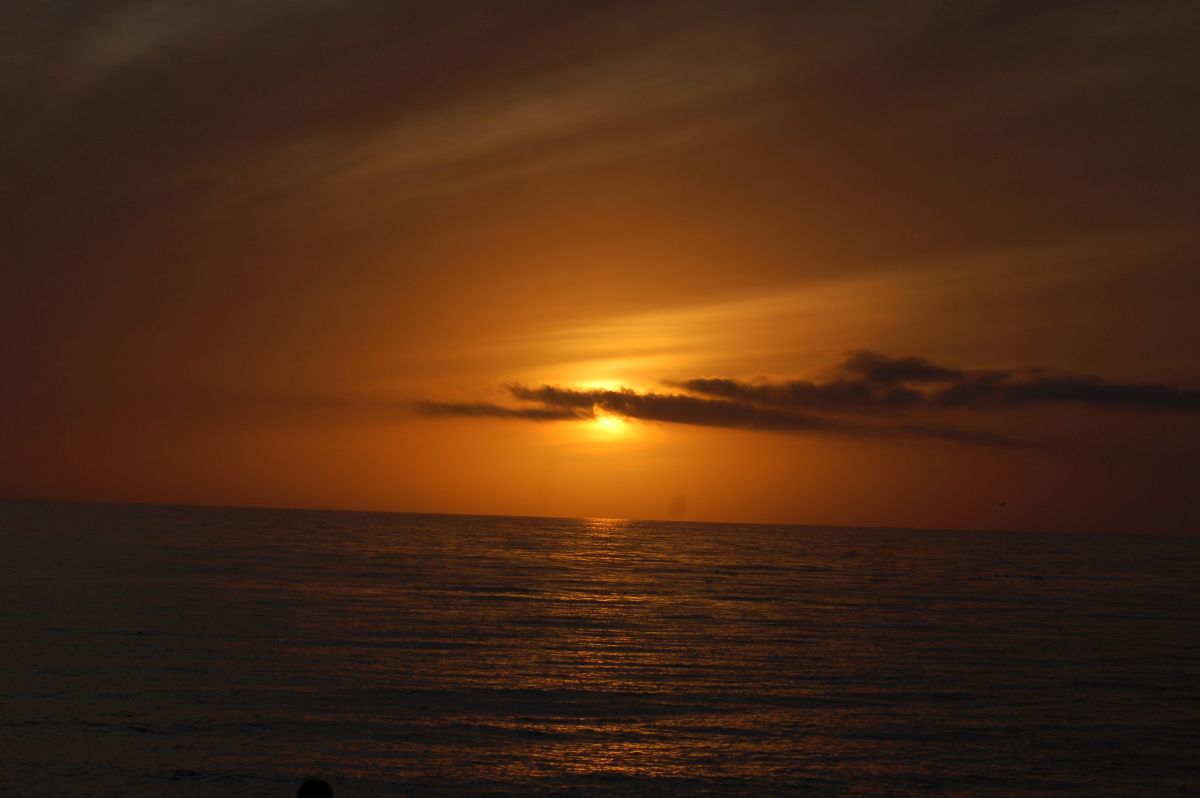
Thank you all for your feedback. This was a surprise result for me and your comments tell me it was an unwitting success. I didn't have this result in mind when I started, but I'm glad I arrived there. d:¬{D |
Oct 21st |
| 86 |
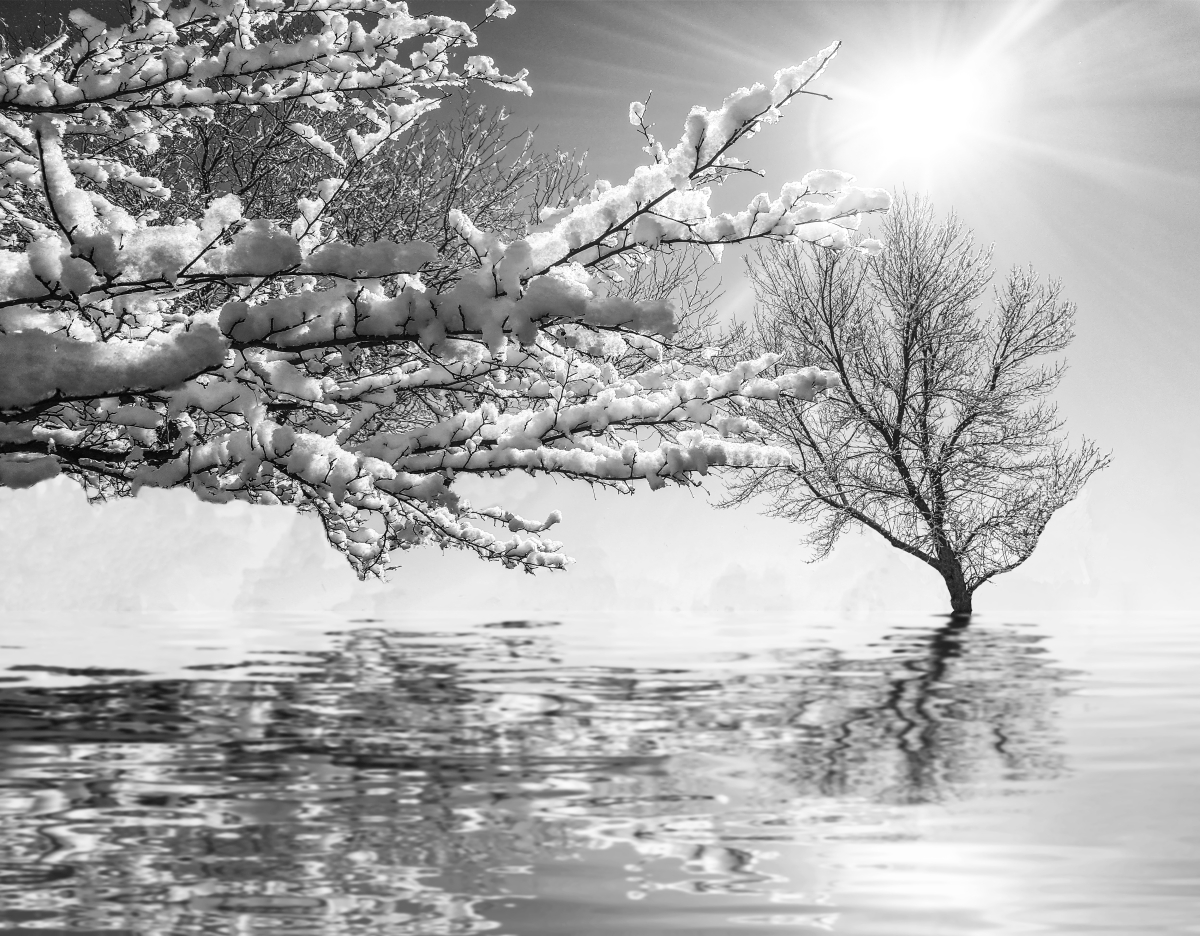
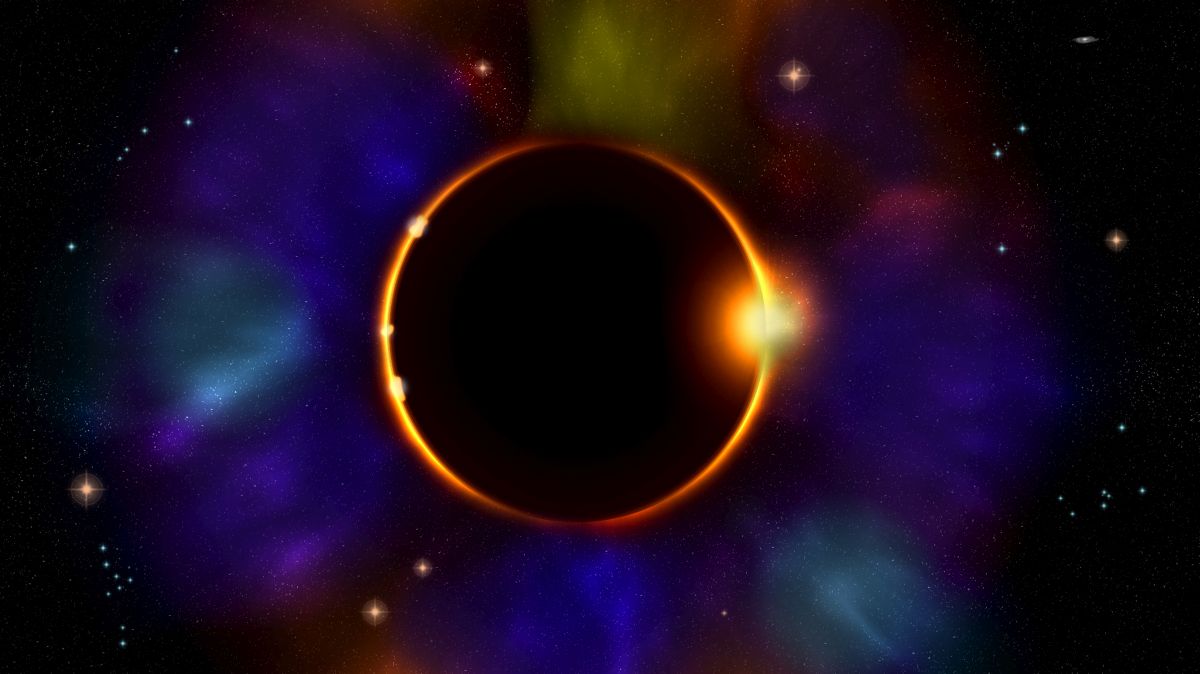
Oct 20 |
Comment |
Normally, it's best to have your diagonal go from left to right. Trying that with your image proves that idea to be wrong in the case of this image. While the sun is rather bright, as it would be, it really doesn't distract as one would expect. You got a wonderful image here and i think it's definitely worthy of a place on your wall! Well done! |
Oct 21st |
| 86 |
Oct 20 |
Comment |
Taken as a whole, this is a very nice scene. The duck is an element of the whole and doesn't have enough weight to become the subject. As it stands, the rock is the main focus because of how bright it is and how it dominates the image. The top half of the rock needs to be burned (as well as the bottom of the reflection) so that it is less glaring and, as mentioned, it seems to be a bit too sharp, something that can be remedied with a slight lowering of the contrast. |
Oct 21st |
| 86 |
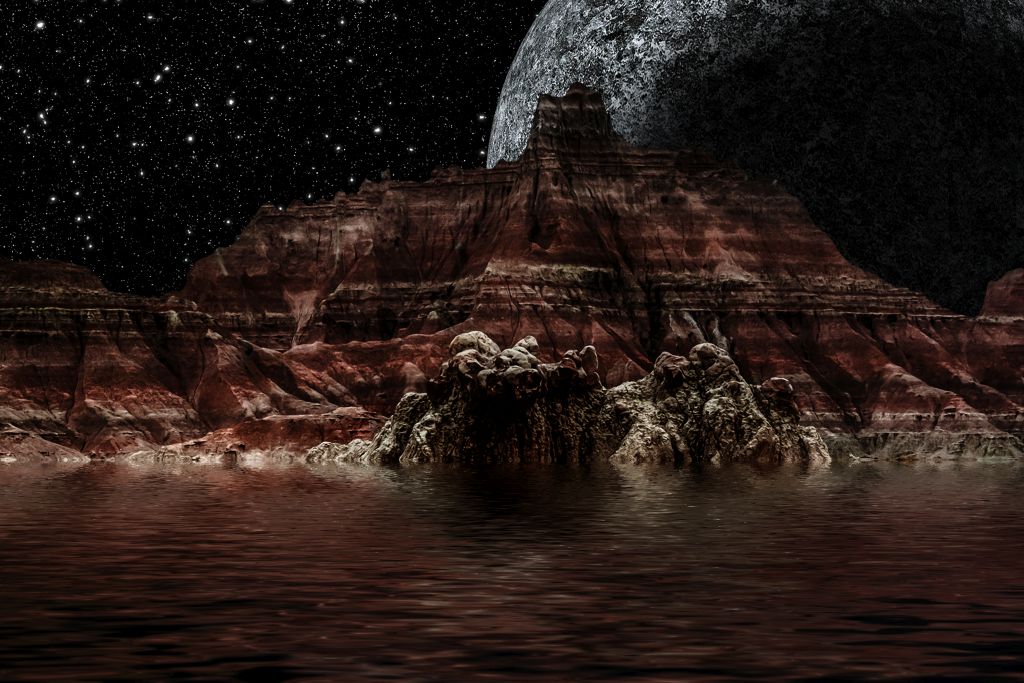
Oct 20 |
Comment |
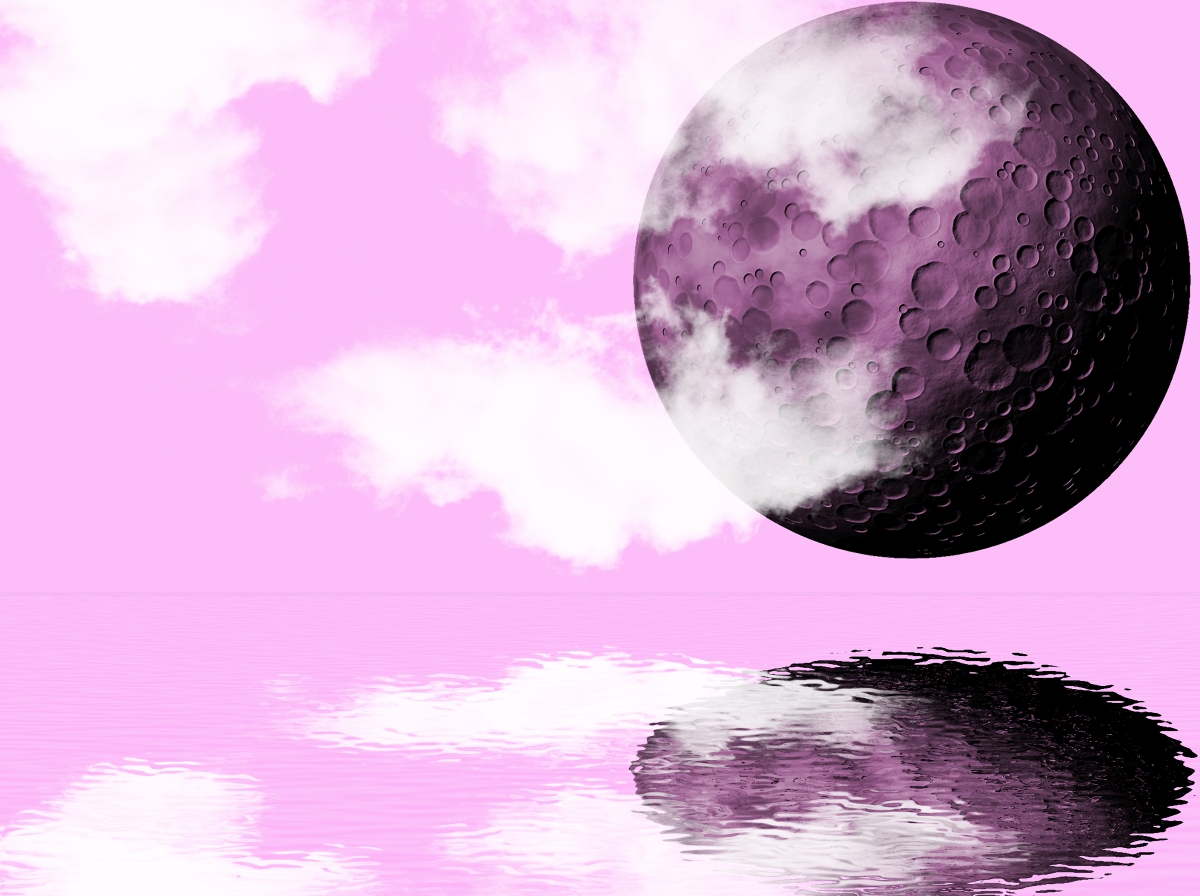
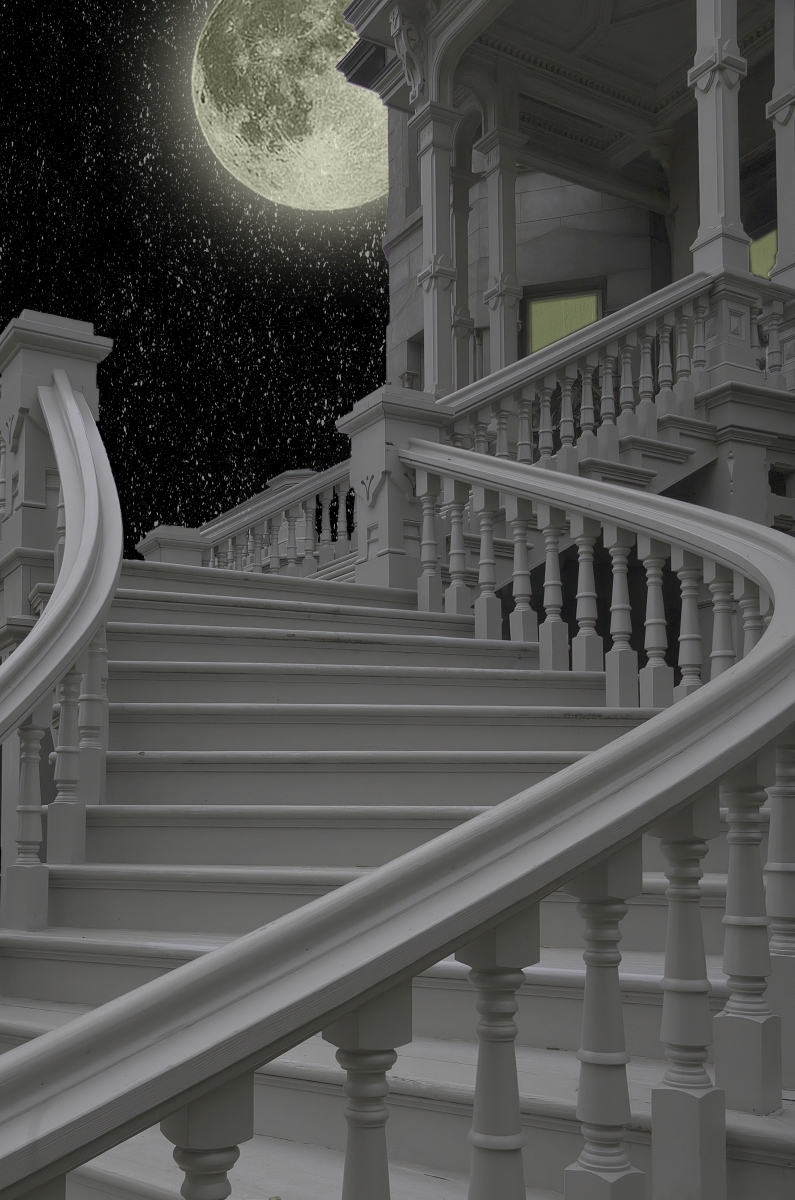
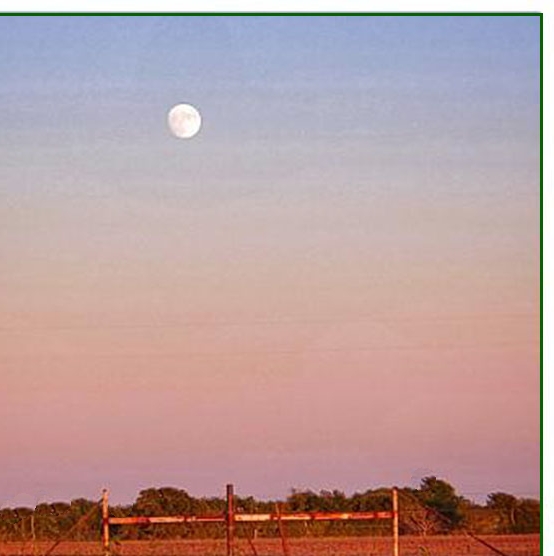
You got amazing detail in your moon. The foreground, as other have said, is somewhat distracting. I would suggest cropping from the bottom and the left to take the emphasis off the bottom and put it more on the moon. You can also easily heal out the distracting elements along the edge of tree line. |
Oct 21st |
 |
| 86 |
Oct 20 |
Comment |
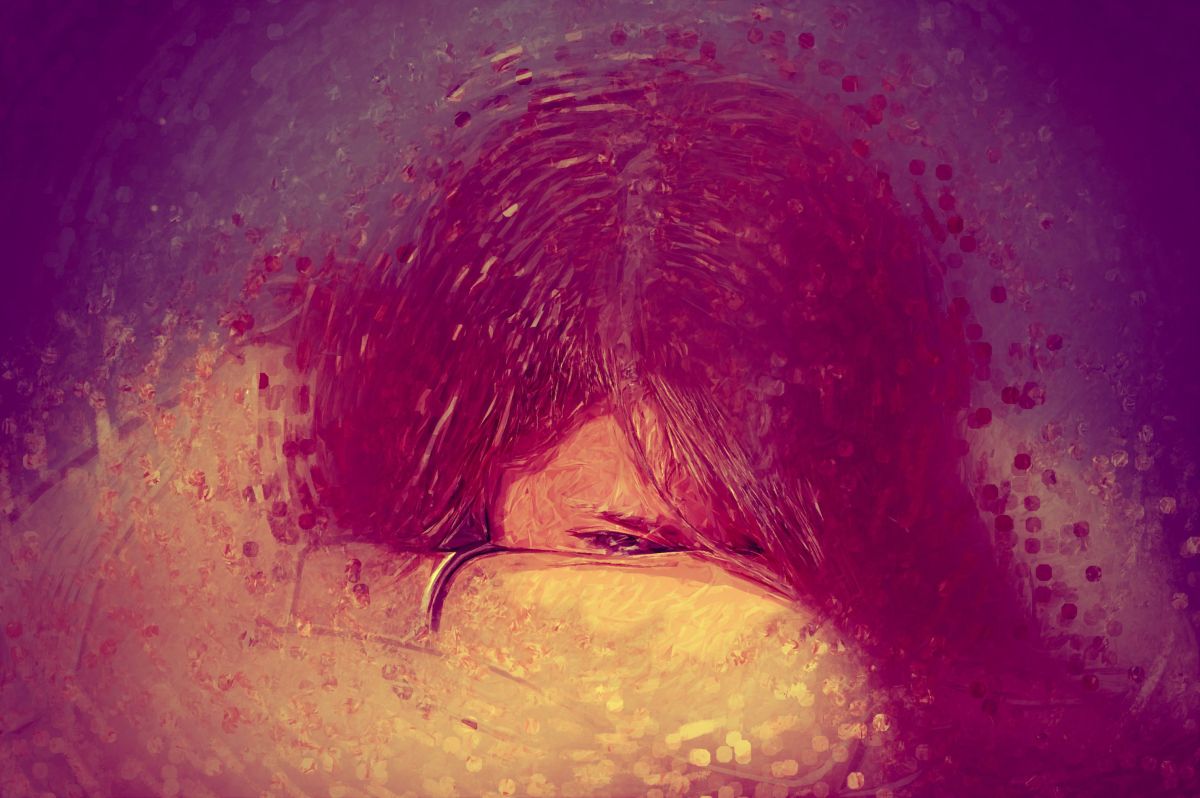
This looked like an impressionist take on a sail being lowered - quite surreal. I don't know how you cook these things up in your mind - I'm too disciplined to let myself go like you do. d;¬{D |
Oct 16th |
| 86 |
Oct 20 |
Comment |
This works really well and your direction to clear the clutter is working.
What I've found works well in Snapseed is to use the Brush tool, set to Exposure and dialed to -1.0. This will darken objects like the post. It may take a couple of passes, but it does the job.
The other suggestion I would make is to experiment with the brush tool to dodge and burn to bring out more dimensionality, though doing so on my tablet is much more difficult than on my desktop. |
Oct 16th |
| 86 |
Oct 20 |
Comment |
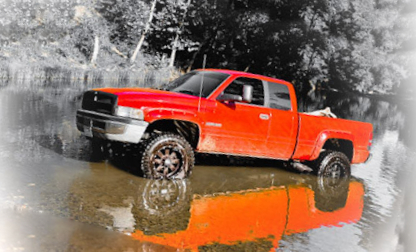
Shot on an angle is definitely the route to go with this. It would be stronger if the angle had the truck pointed to the upper left, like it's rising from the river.
Looking closer at the image, I see that the shoreline is angled downward, which feels unnatural as it's usually used as the horizon line. Rotating the image to level the shoreline, points the truck slightly upward, making for a stronger composition. |
Oct 16th |
 |
7 comments - 0 replies for Group 86
|
| 95 |
Oct 20 |
Reply |
This allows you to target/block the effect to/from certain areas of the image. Bonus, from my perspective, is you're not required to switch to the Develop persona and then bake the changes, but instead it's totally non-destructive. |
Oct 17th |
| 95 |
Oct 20 |
Reply |
...and it has its own layer mask. |
Oct 17th |
| 95 |
Oct 20 |
Reply |
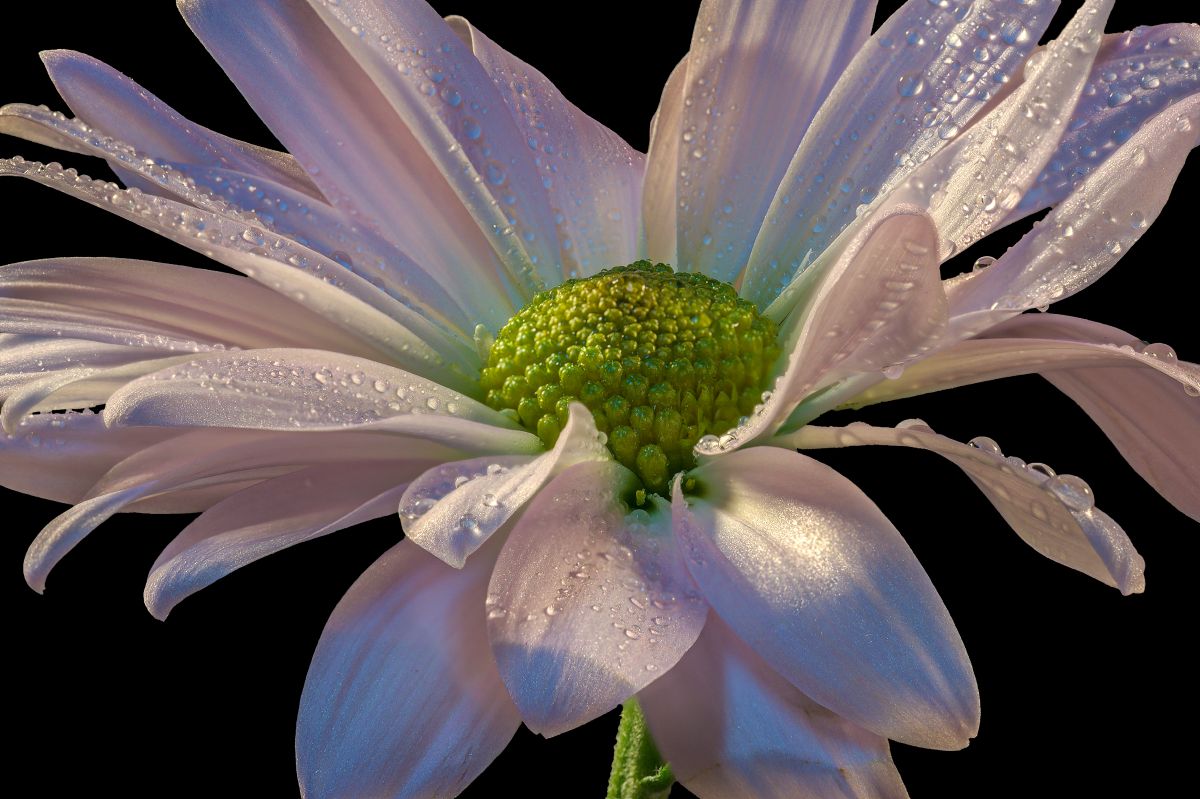
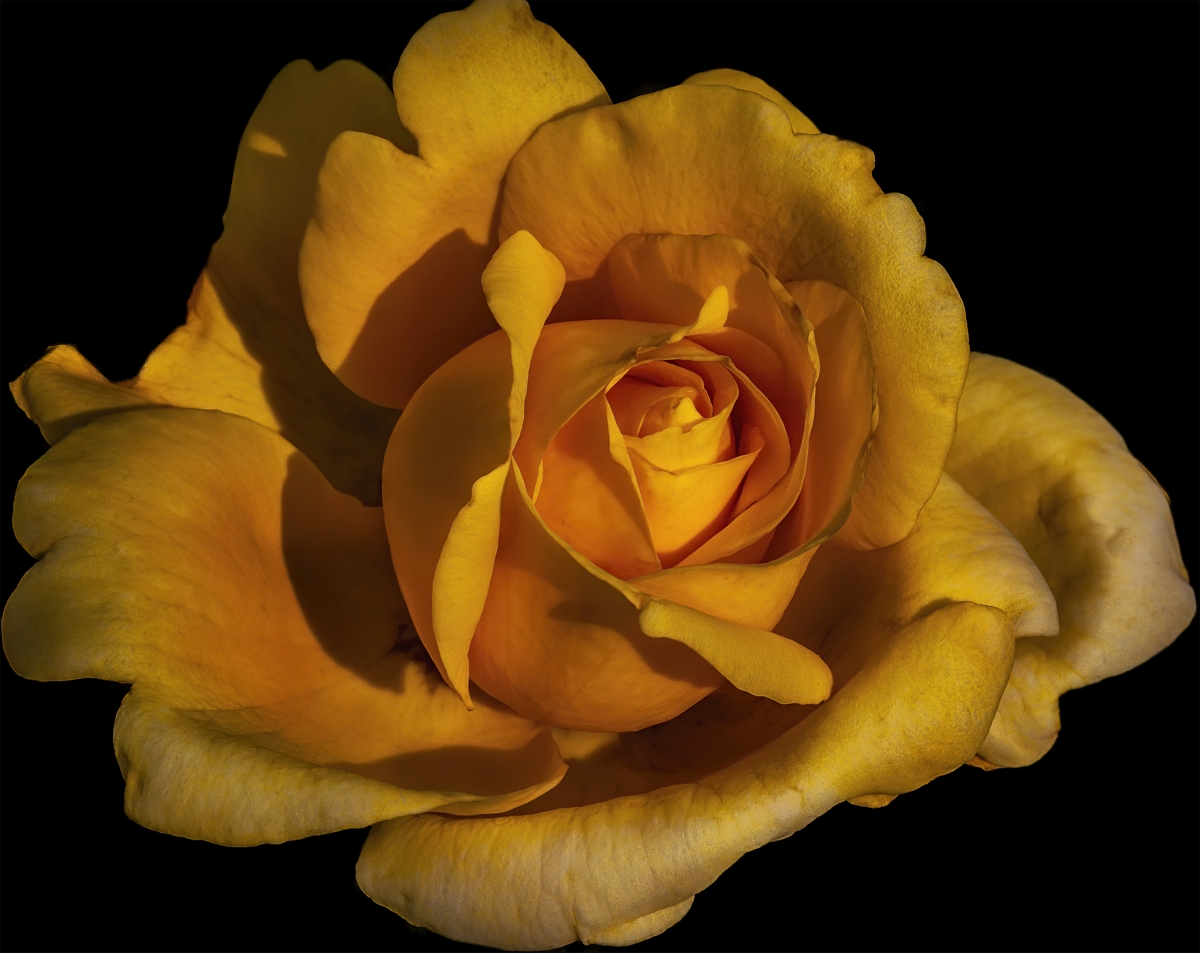
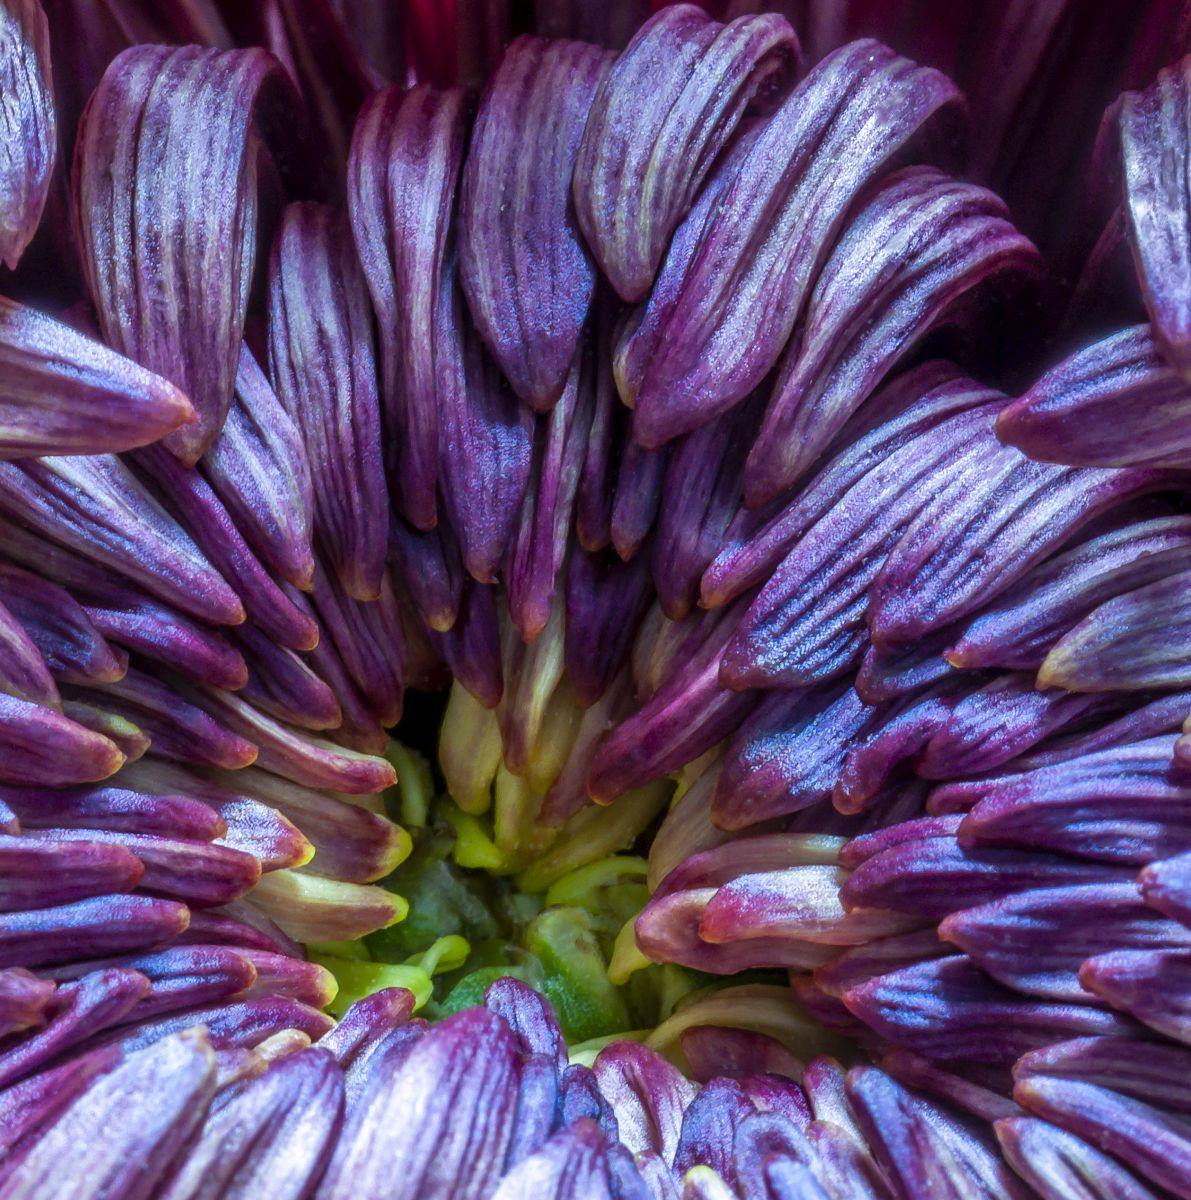
When I was starting into macro, as I indicated on Carol's image, mums proved to be a great subject for macro work. Plus, you can often get cheap bouquets at local supermarkets that provide marvelous subjects. d;¬{D |
Oct 16th |
| 95 |
Oct 20 |
Comment |
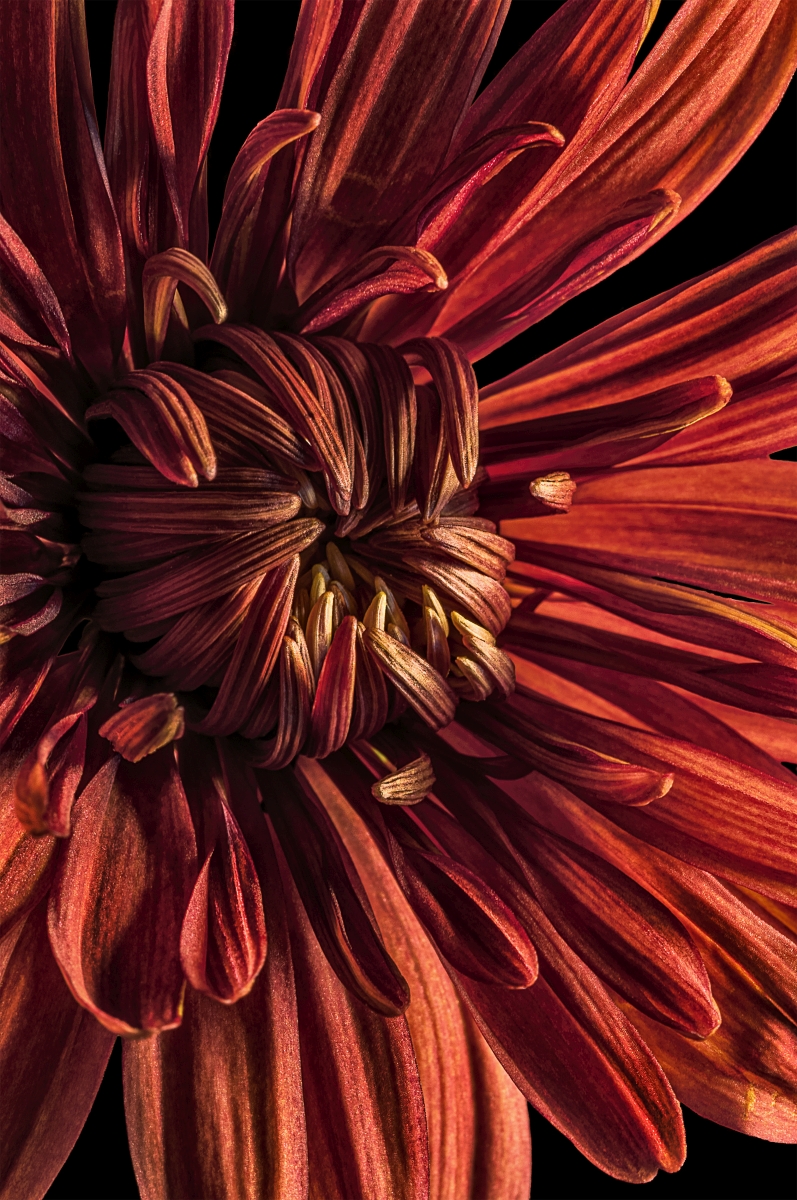
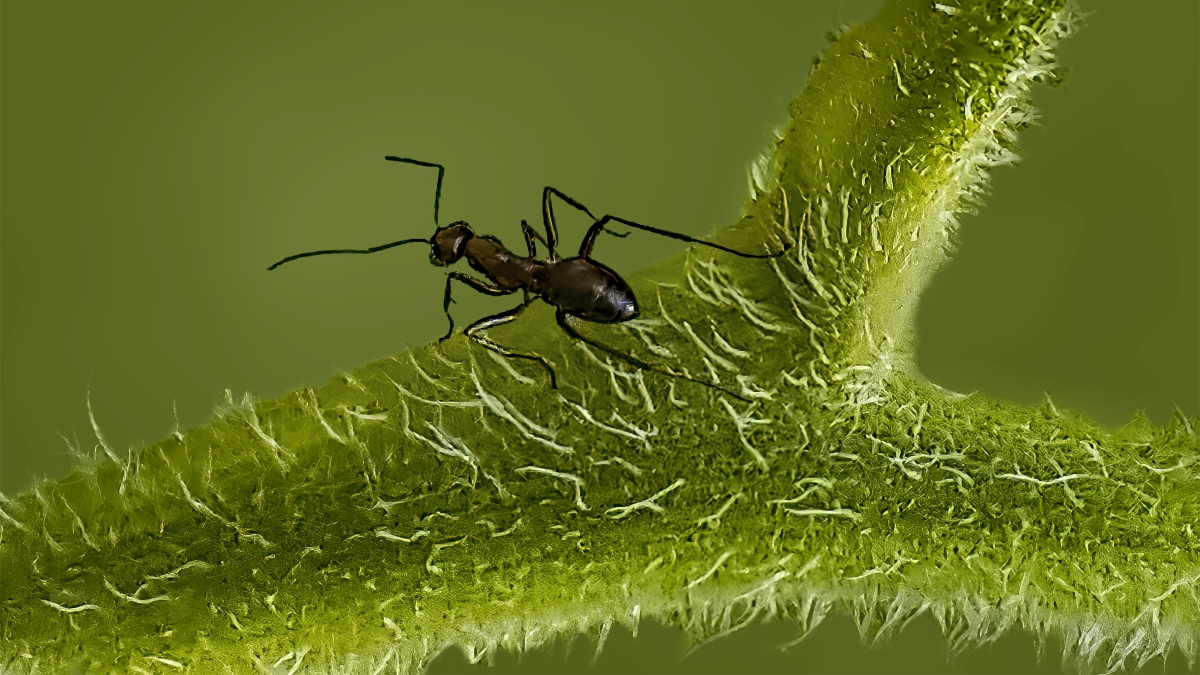
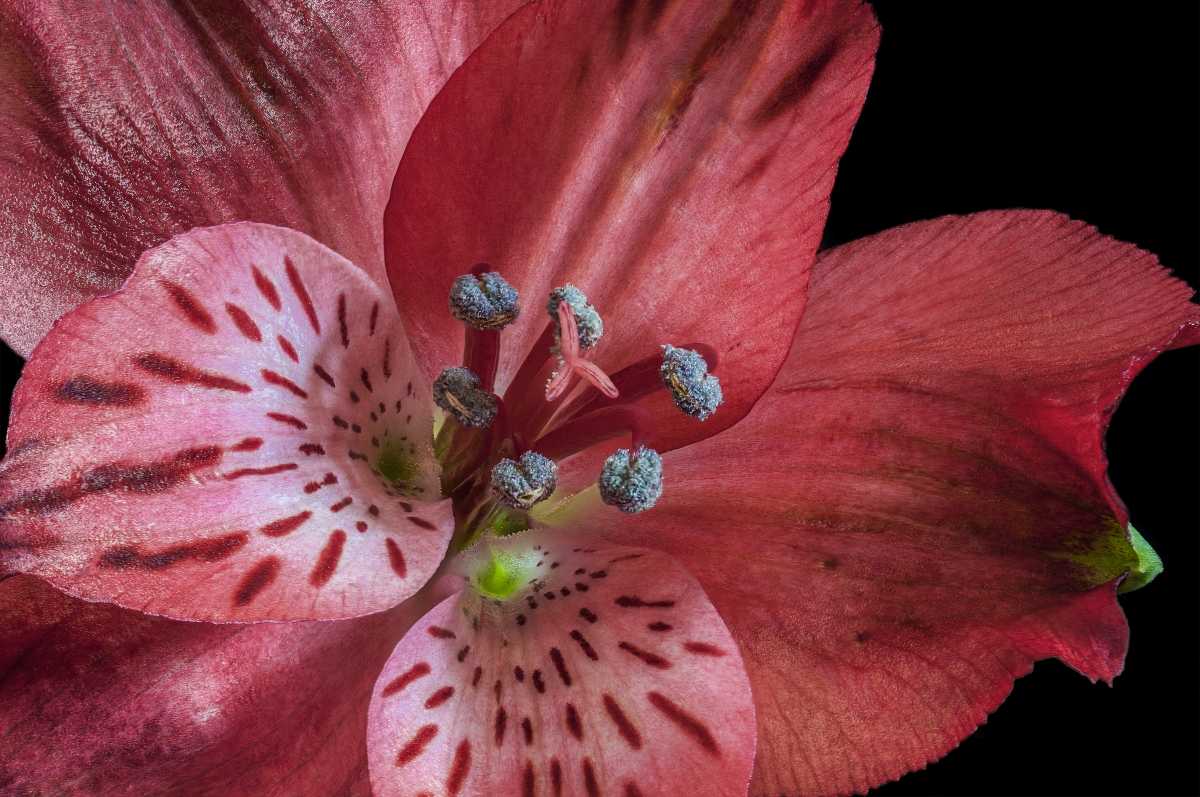
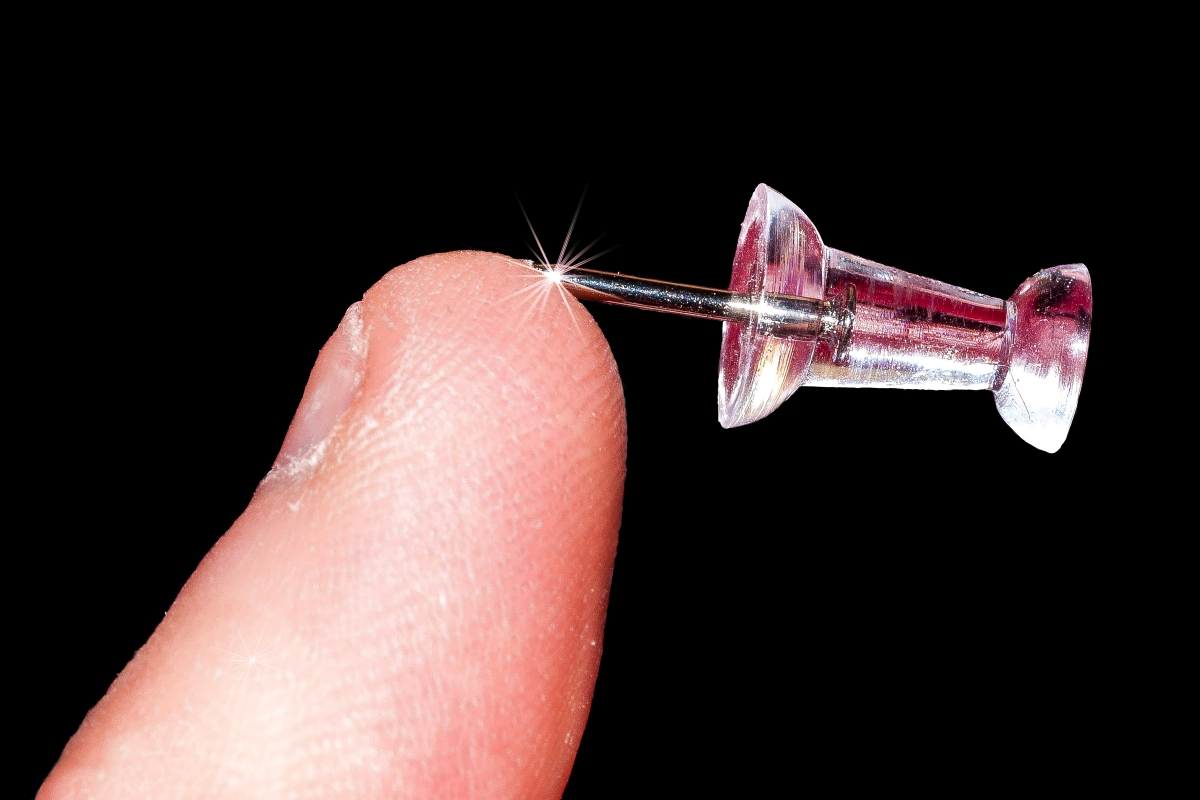
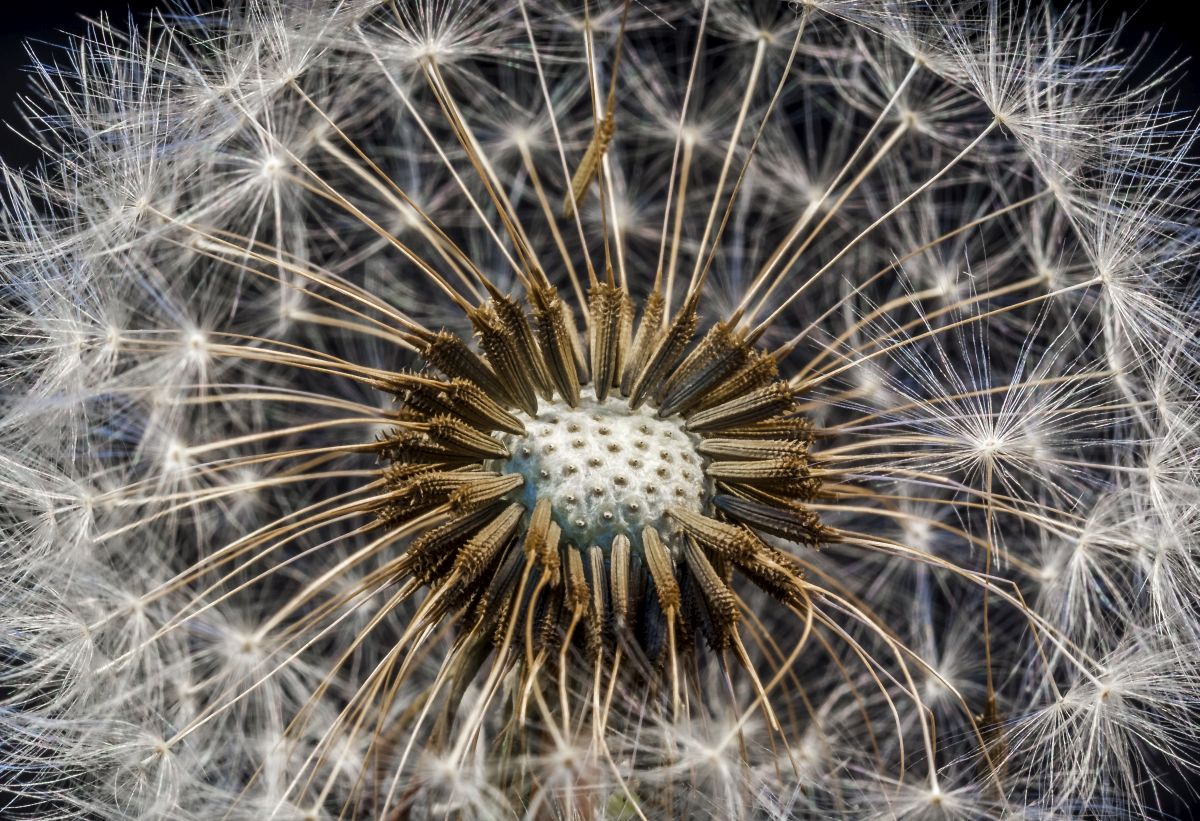
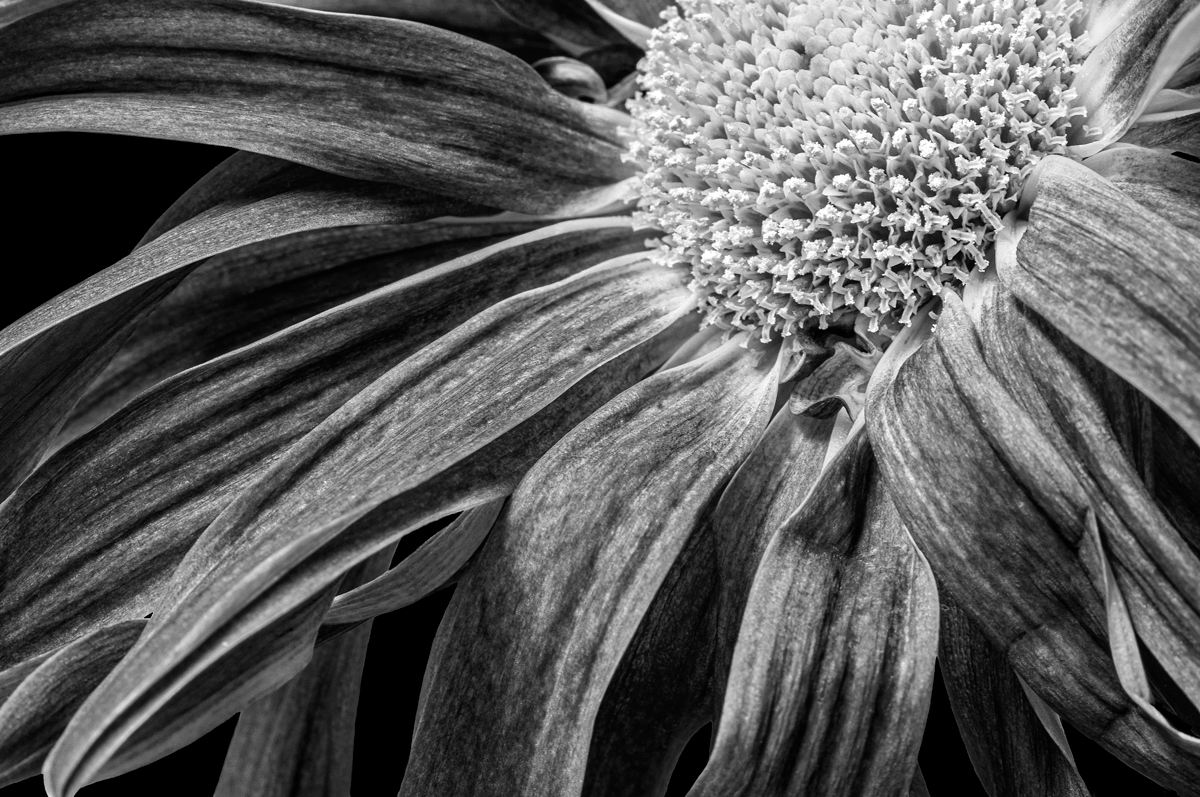
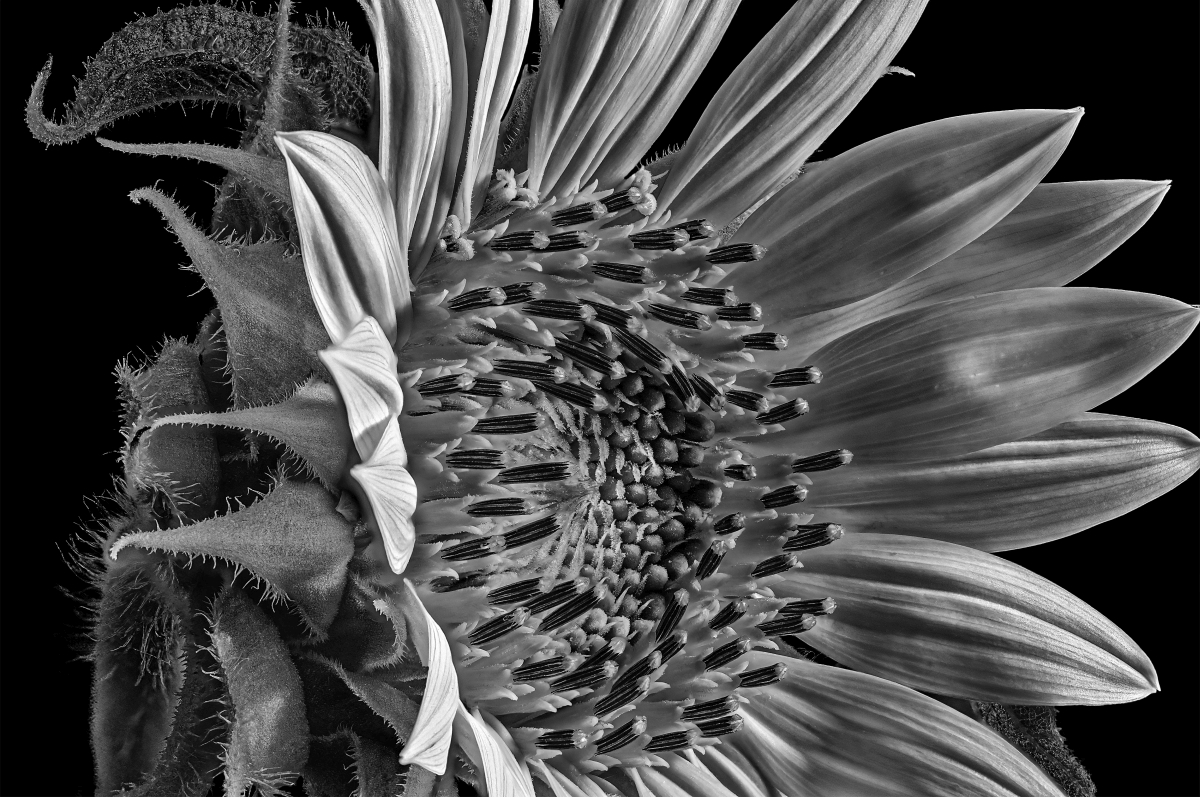
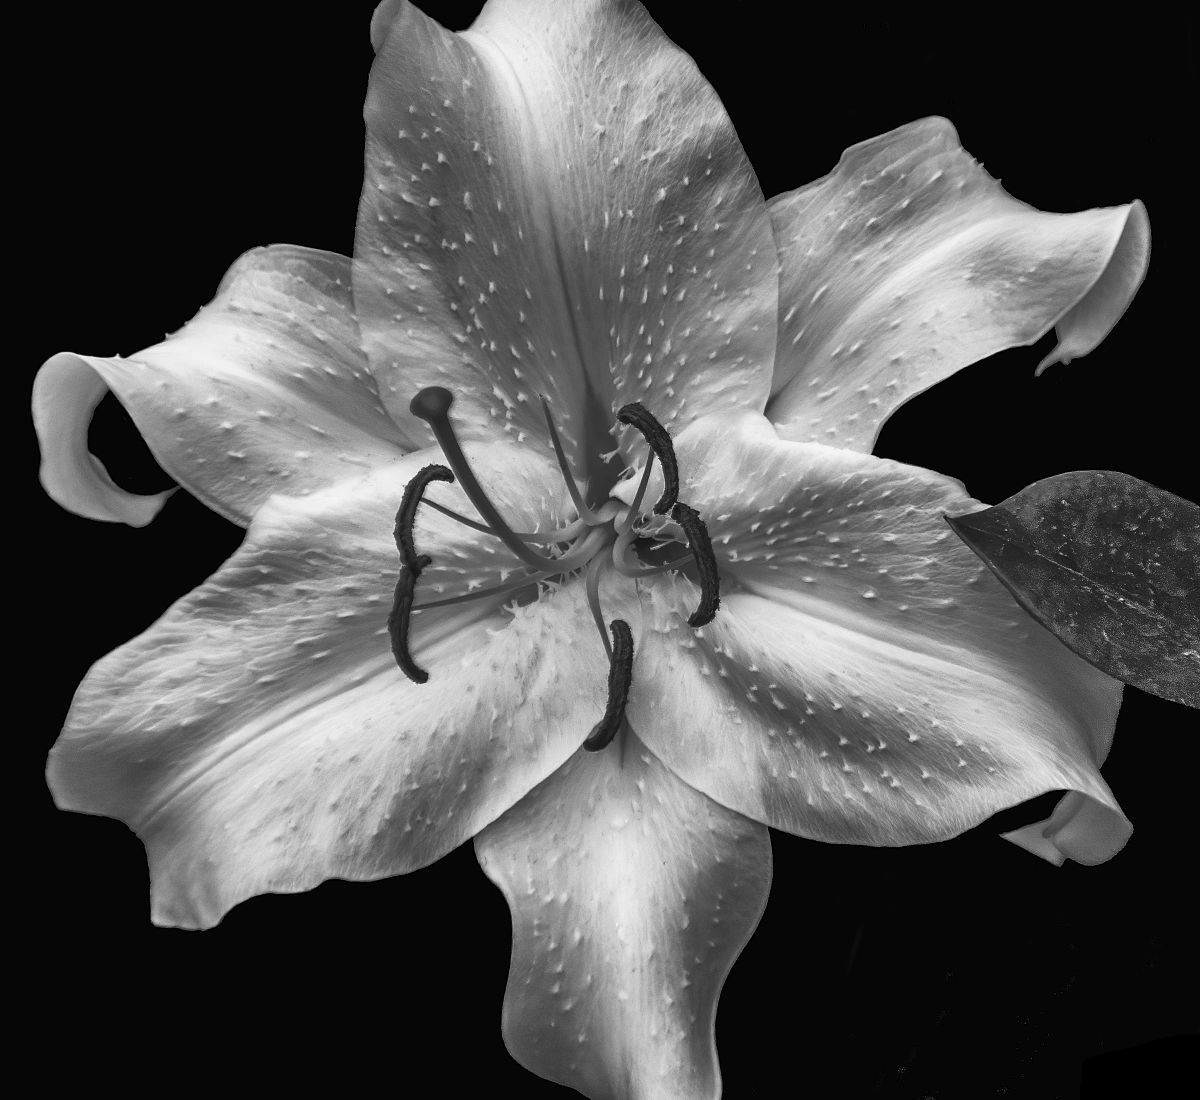
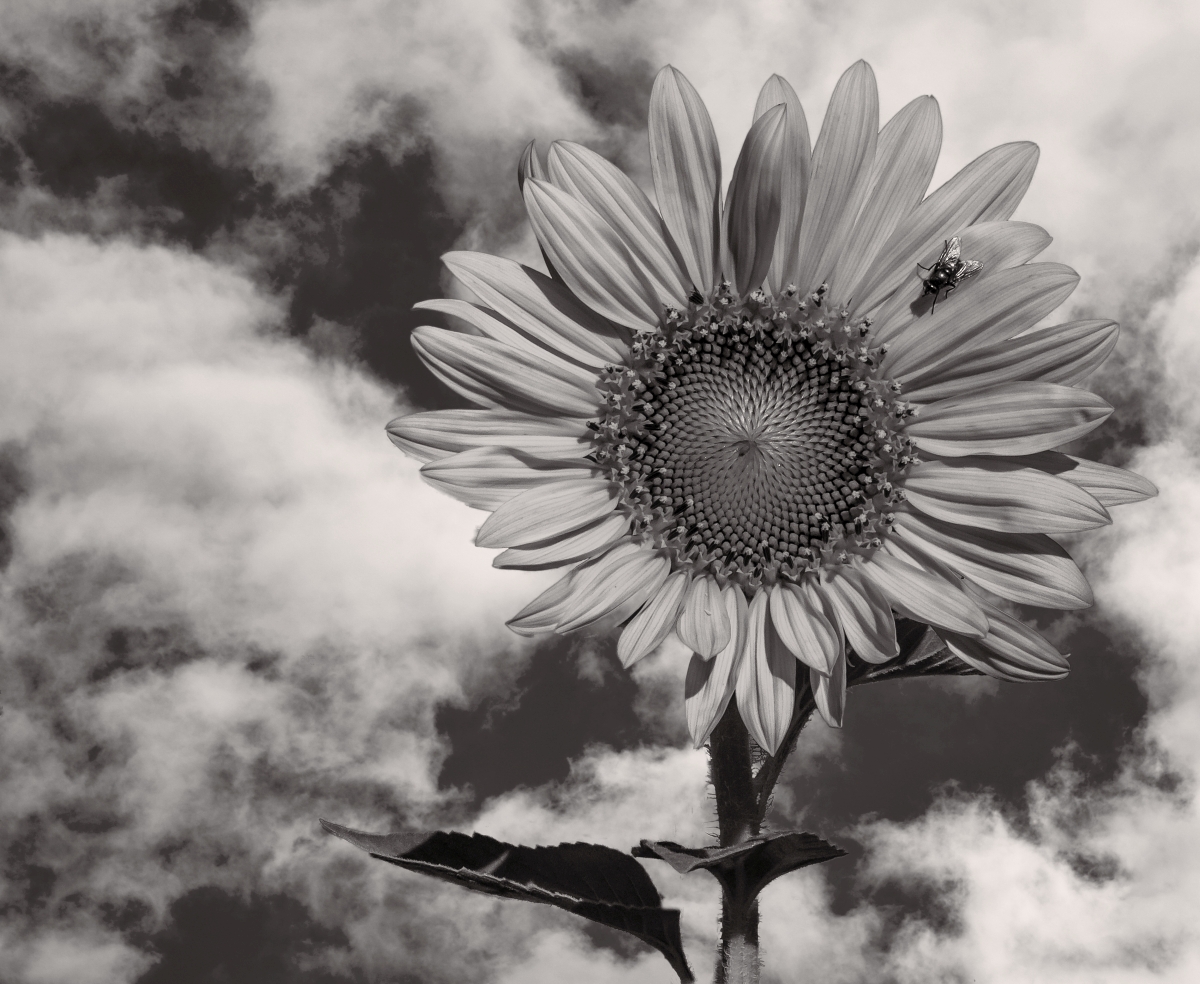
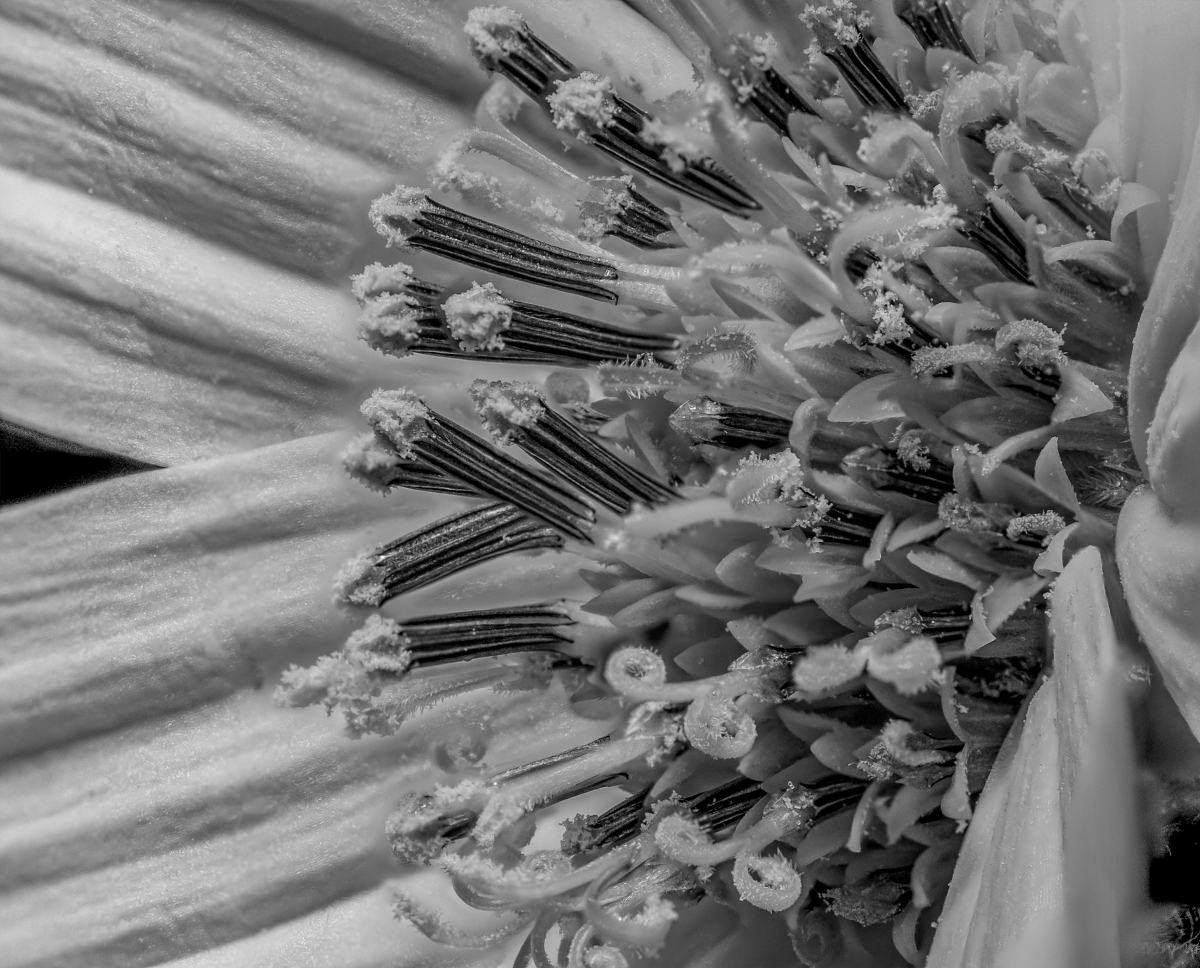
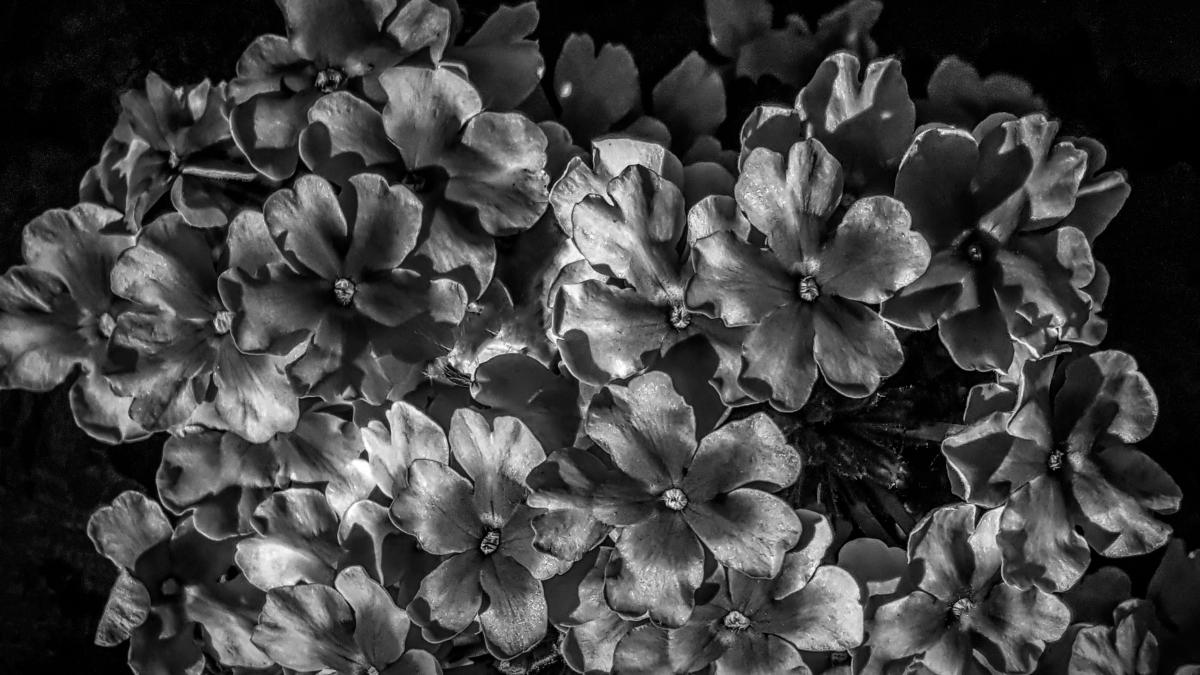
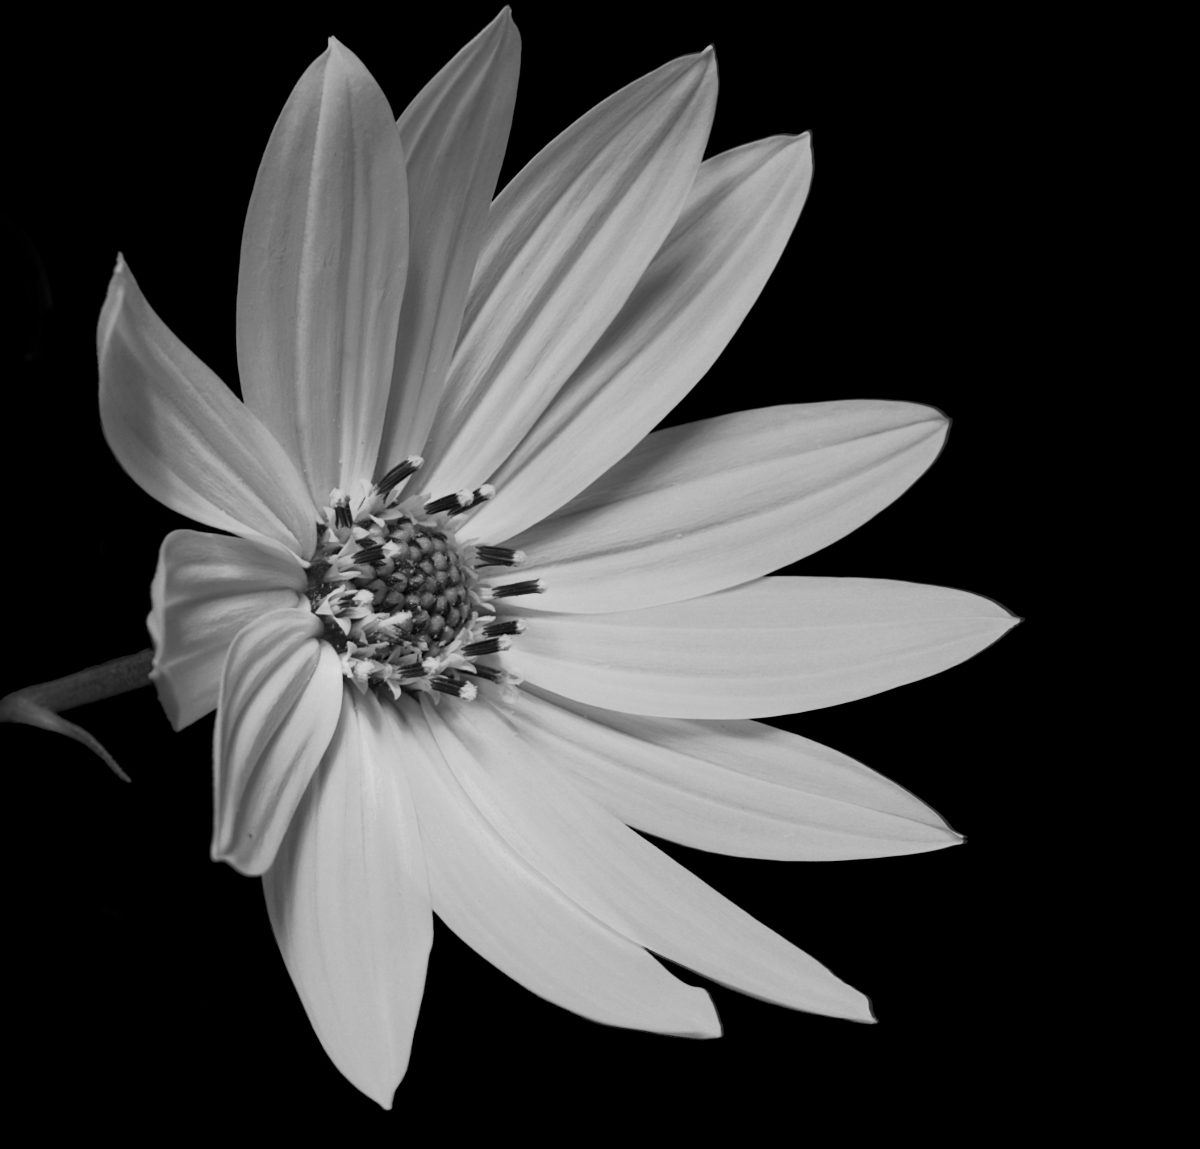
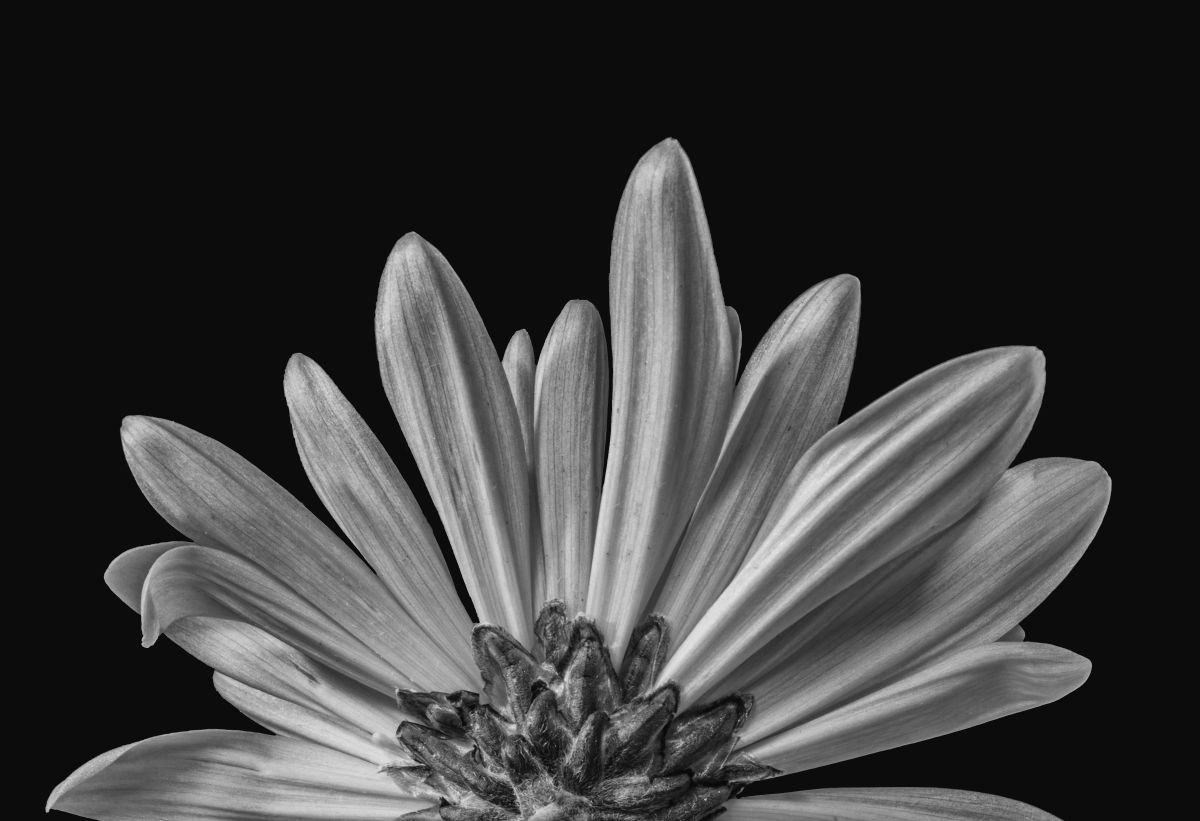
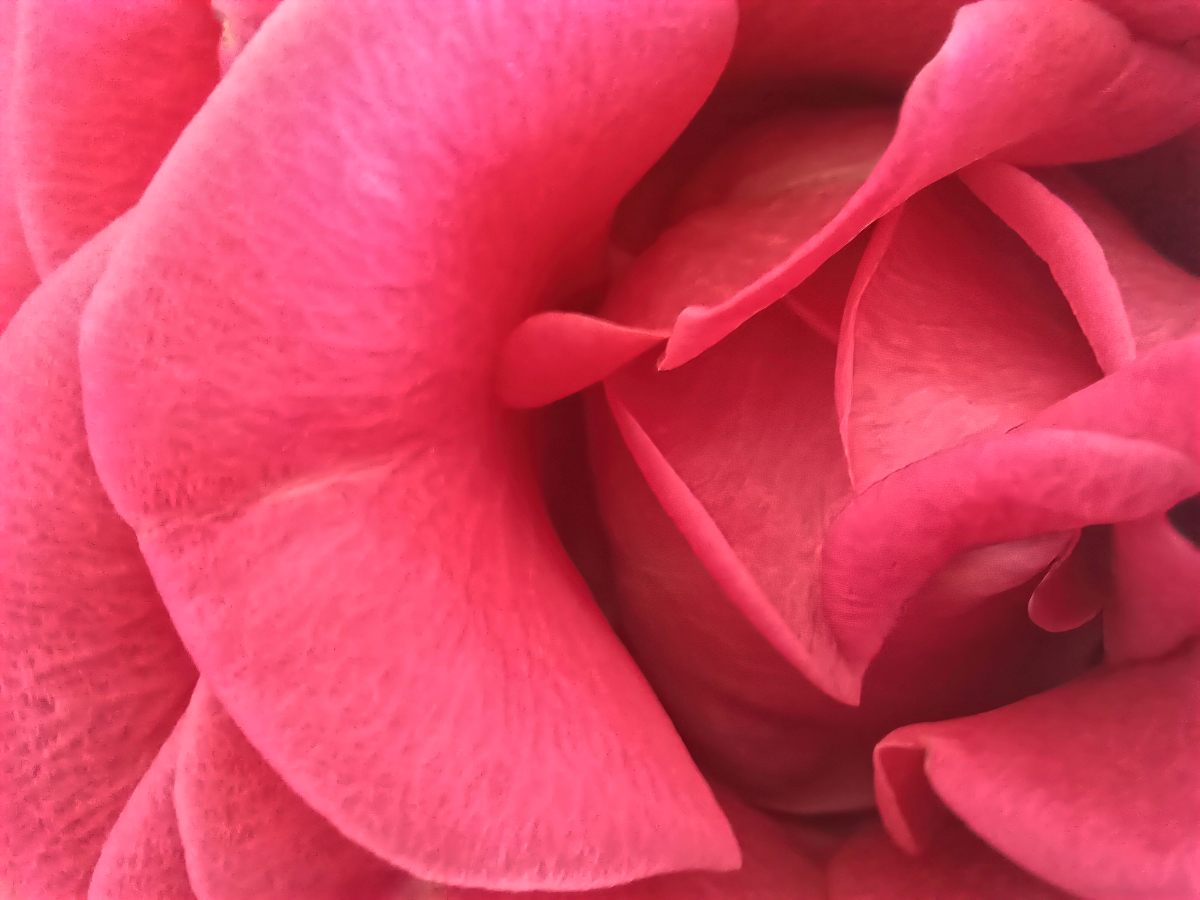
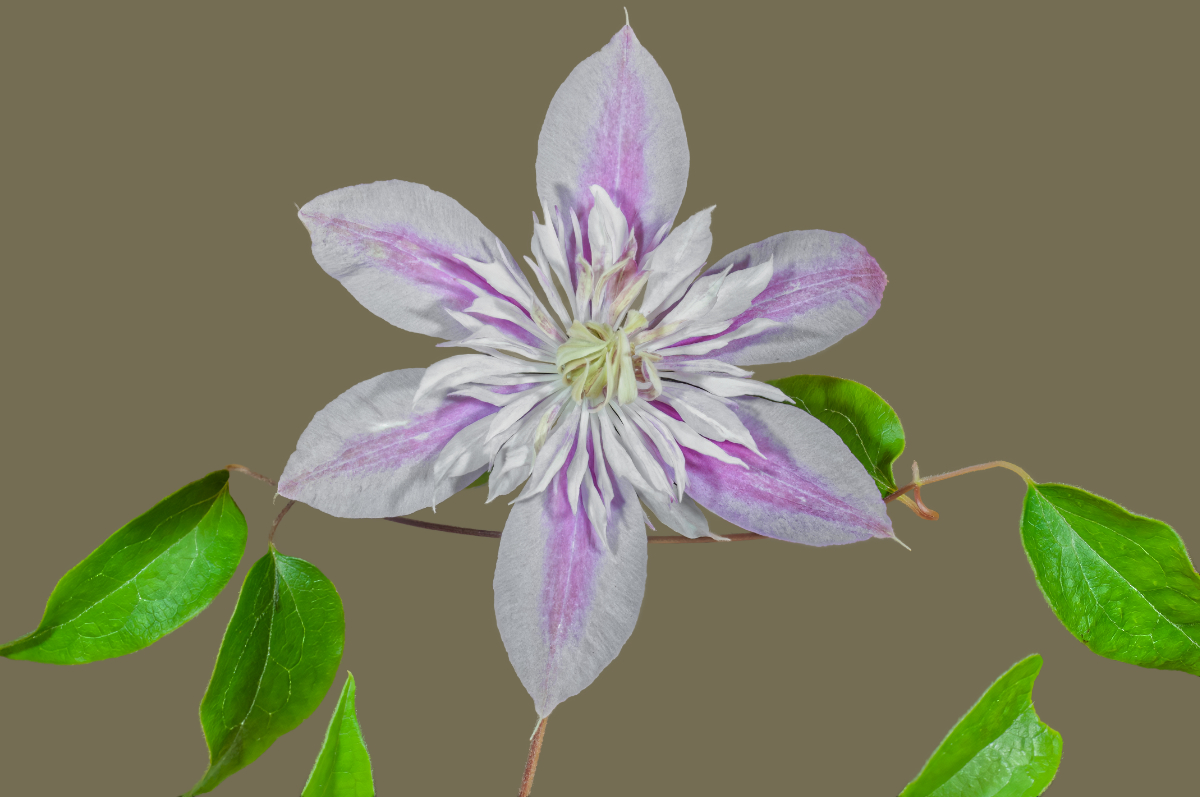
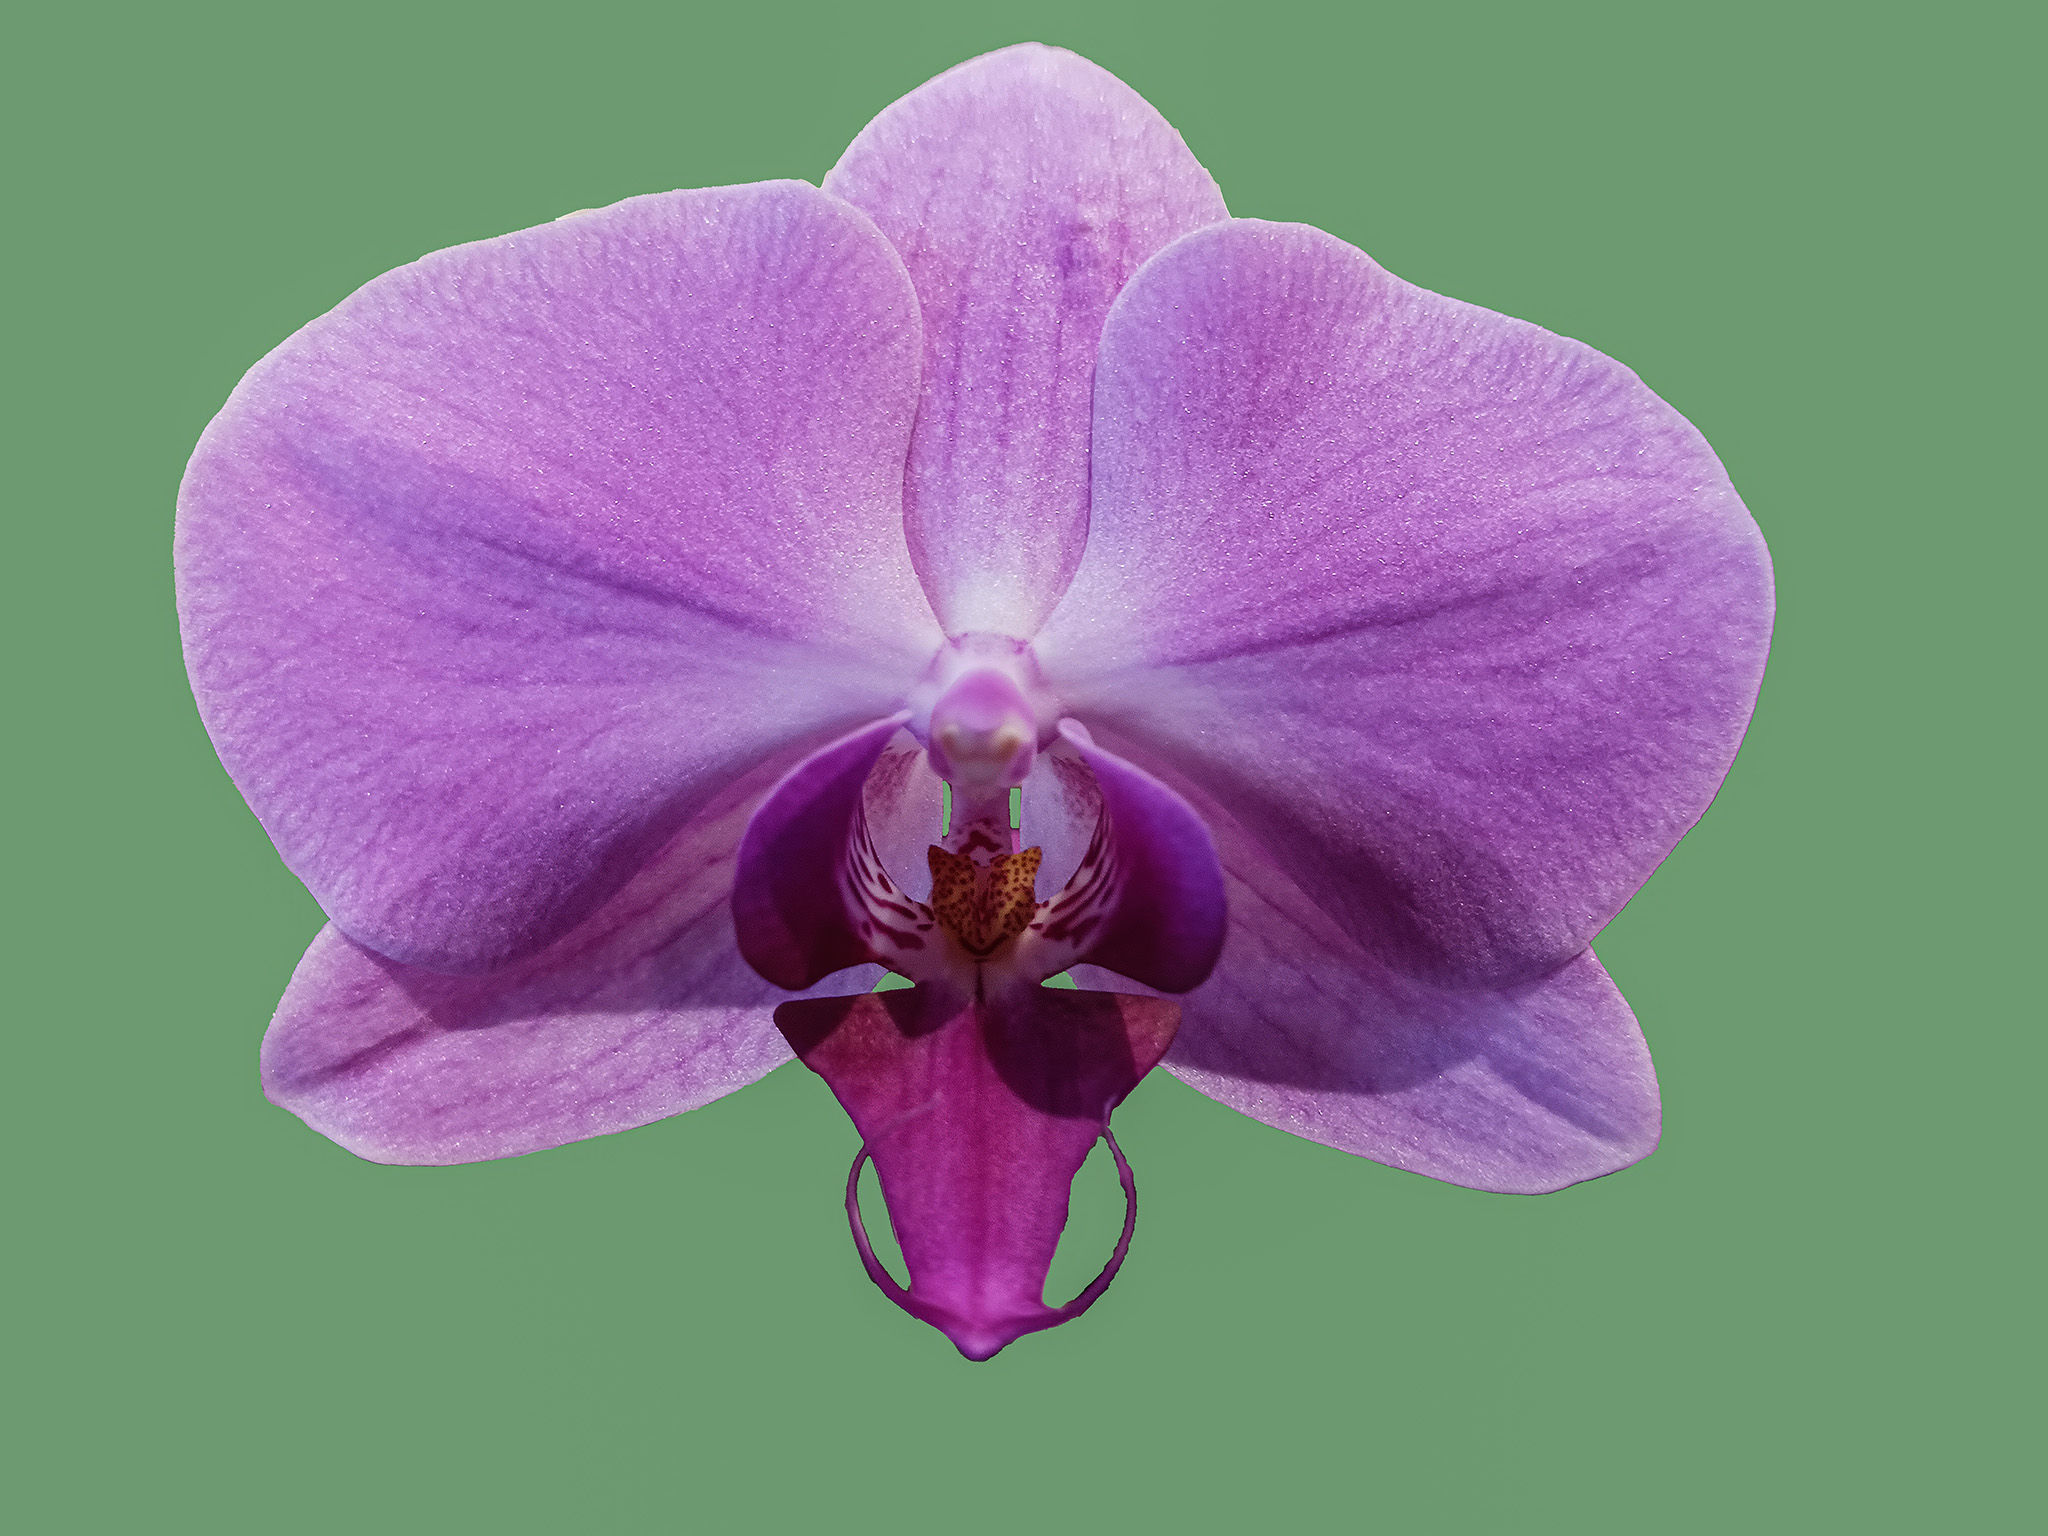
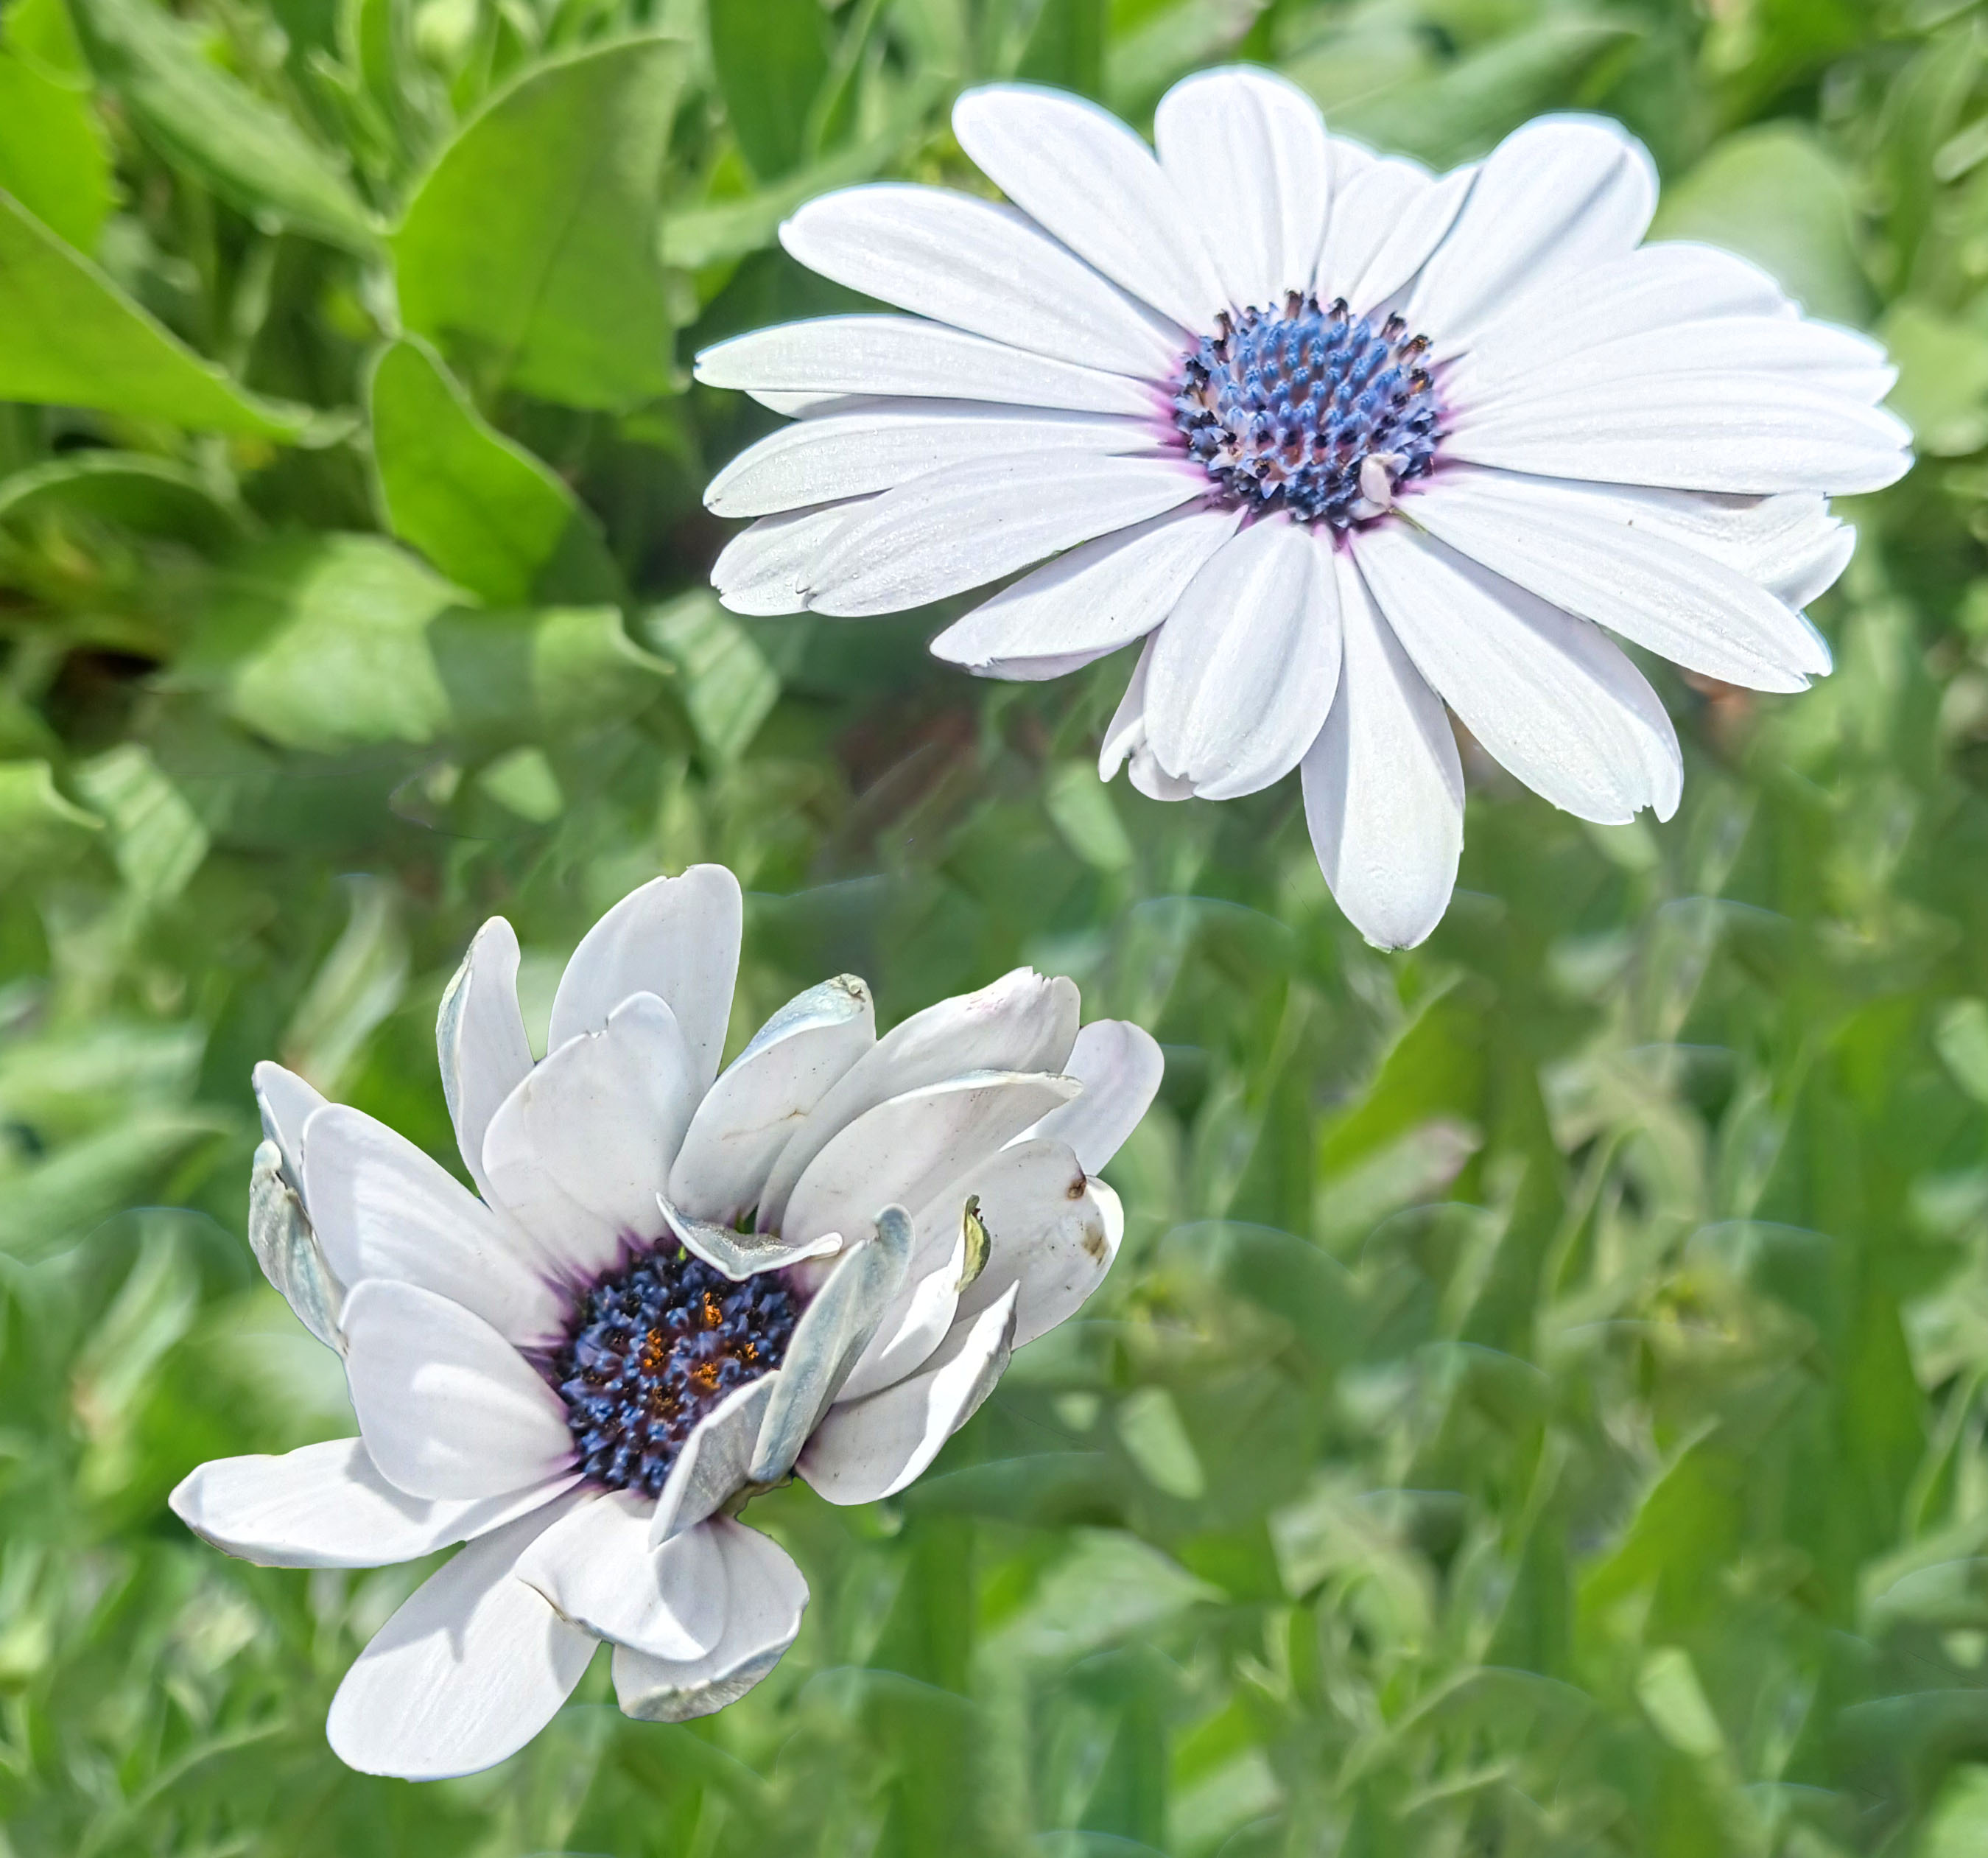
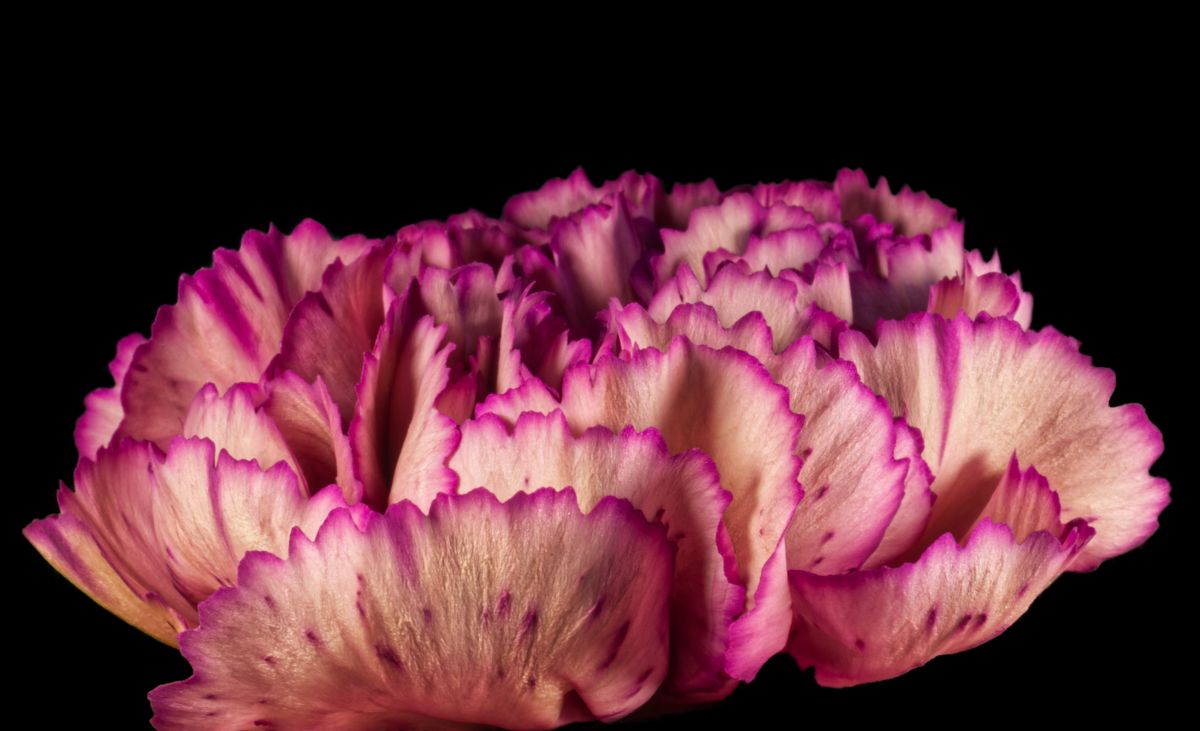
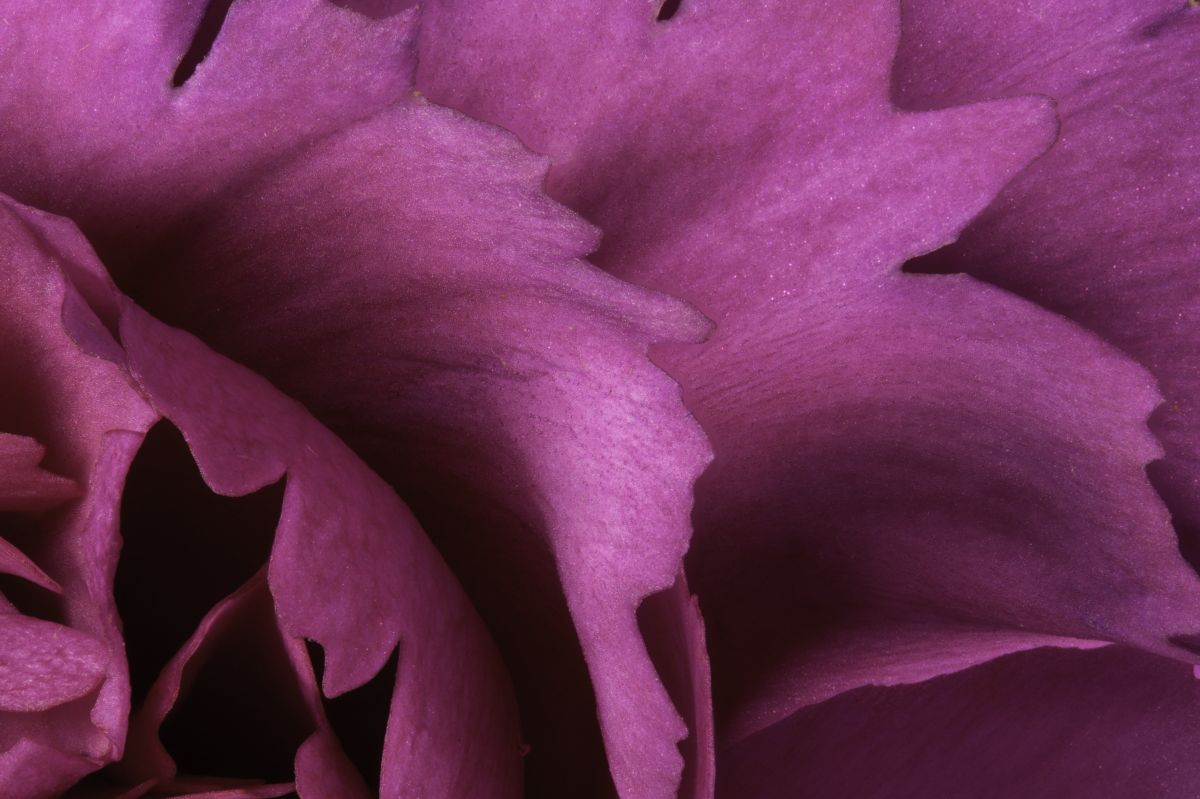
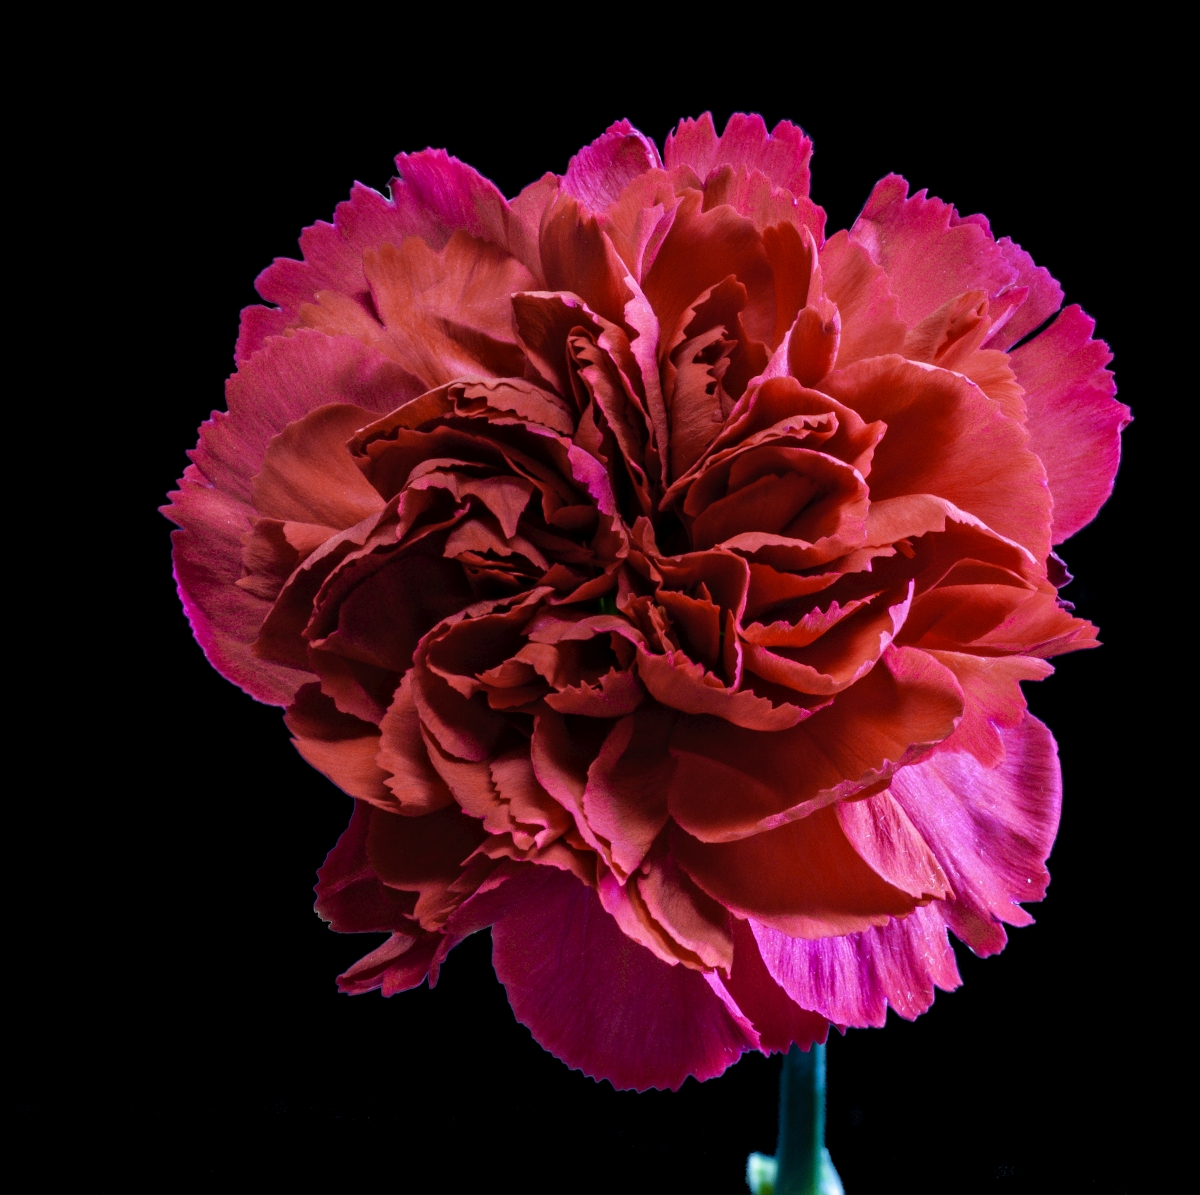
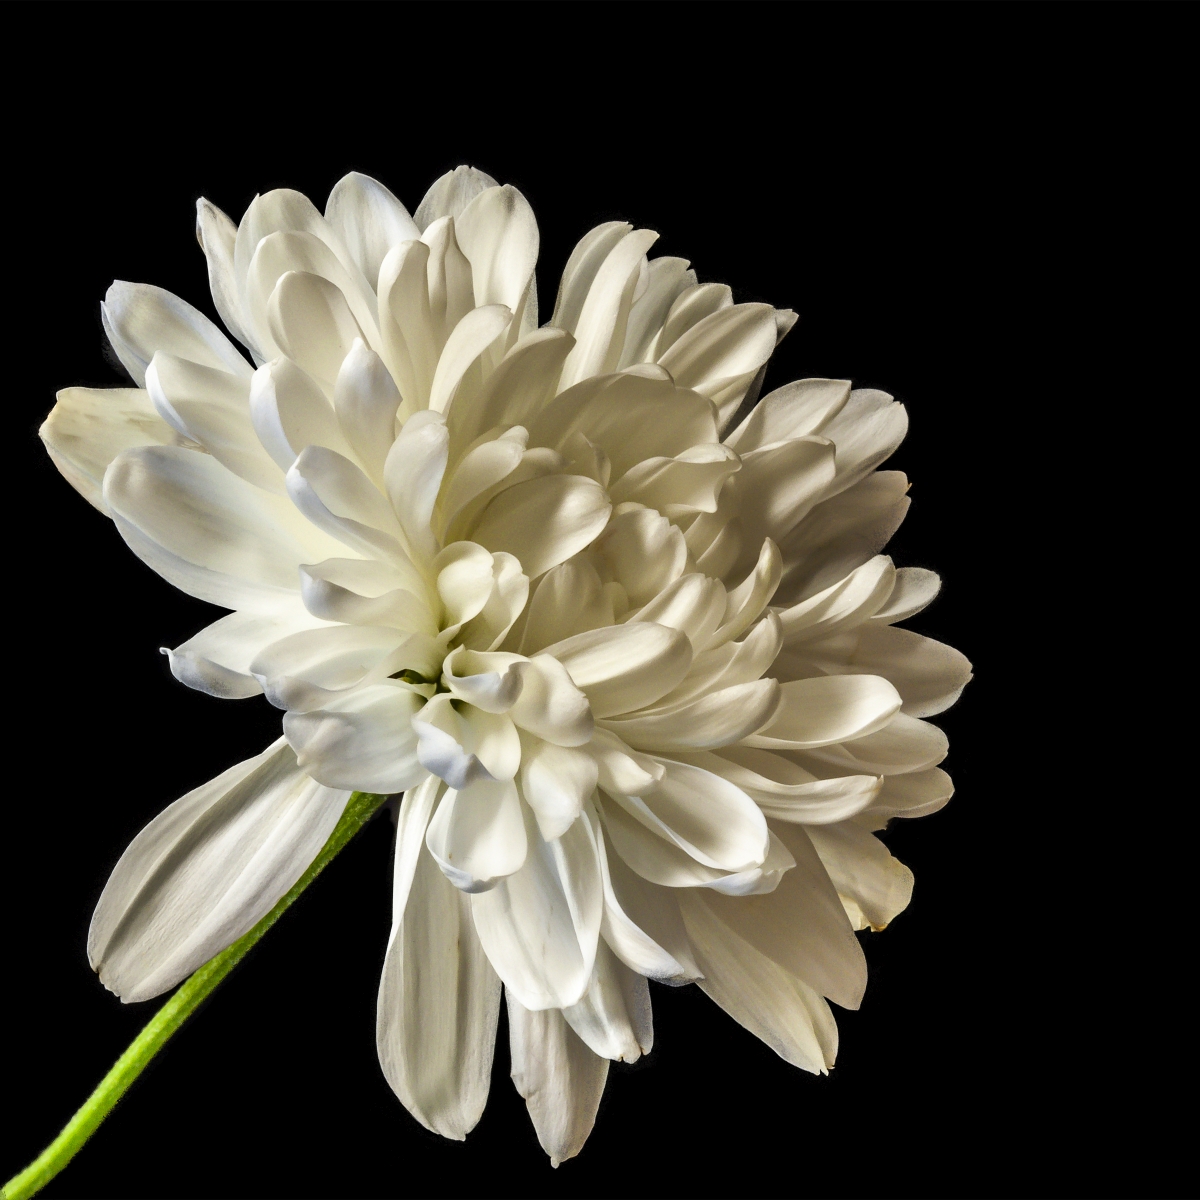
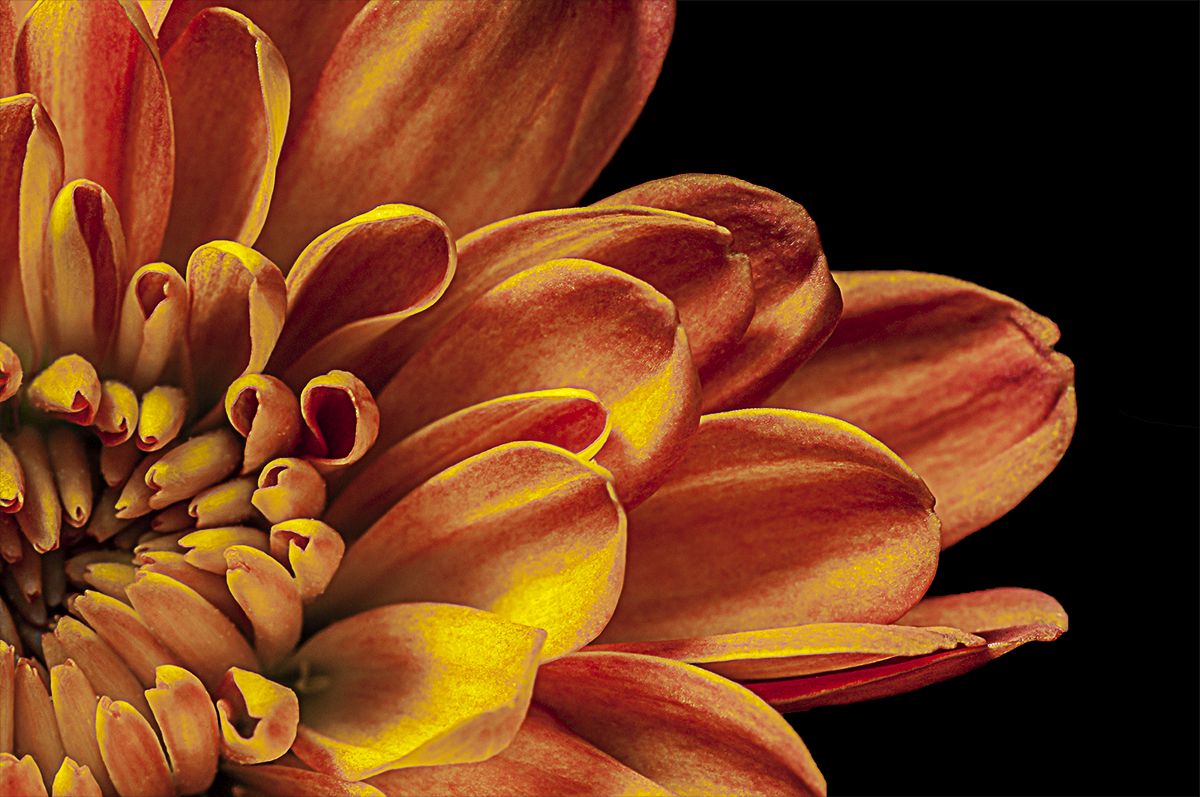
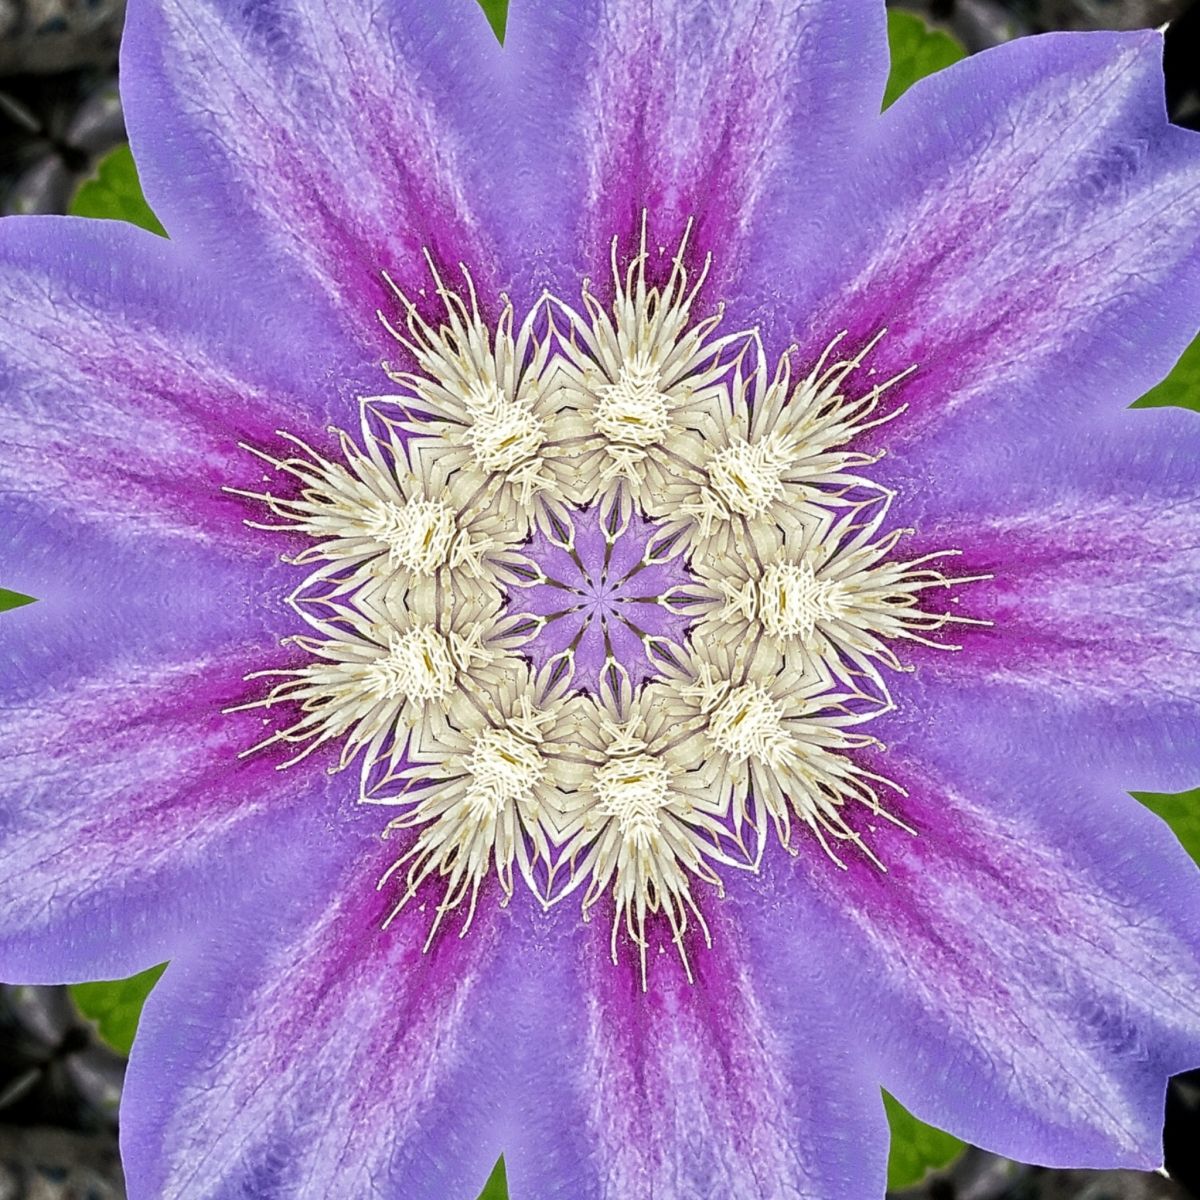
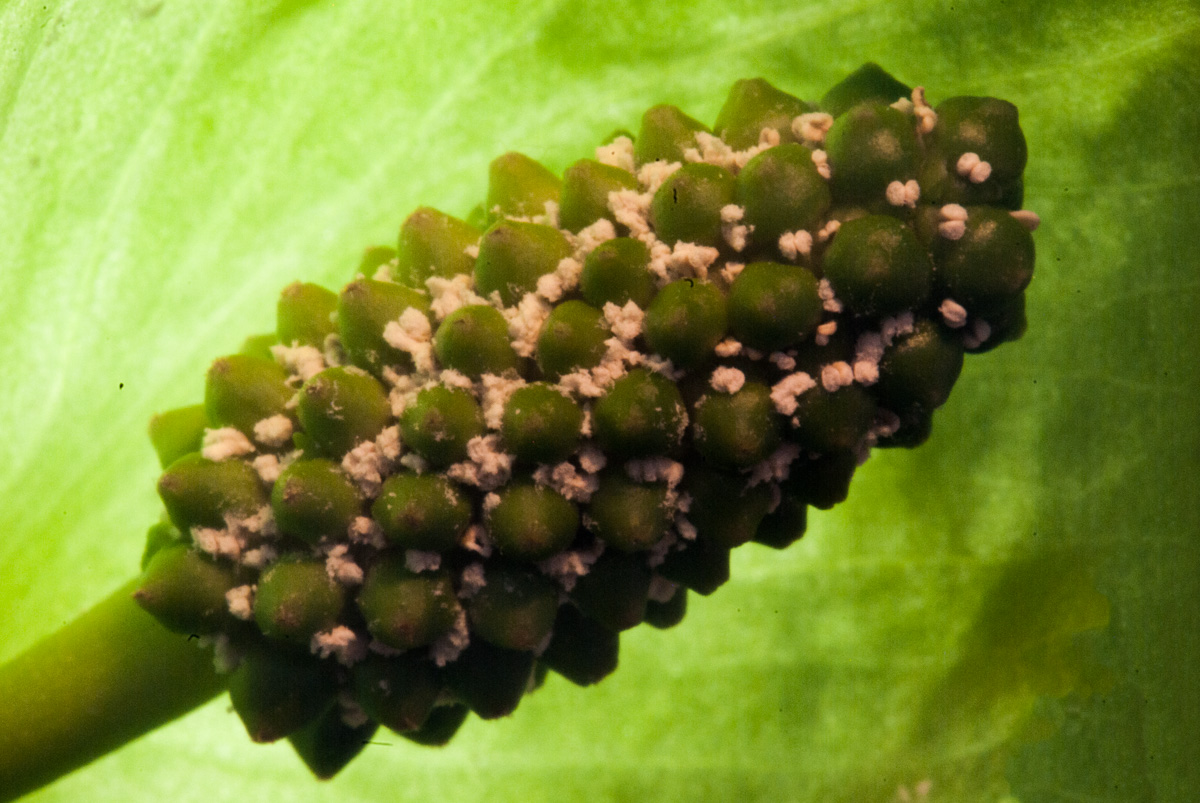
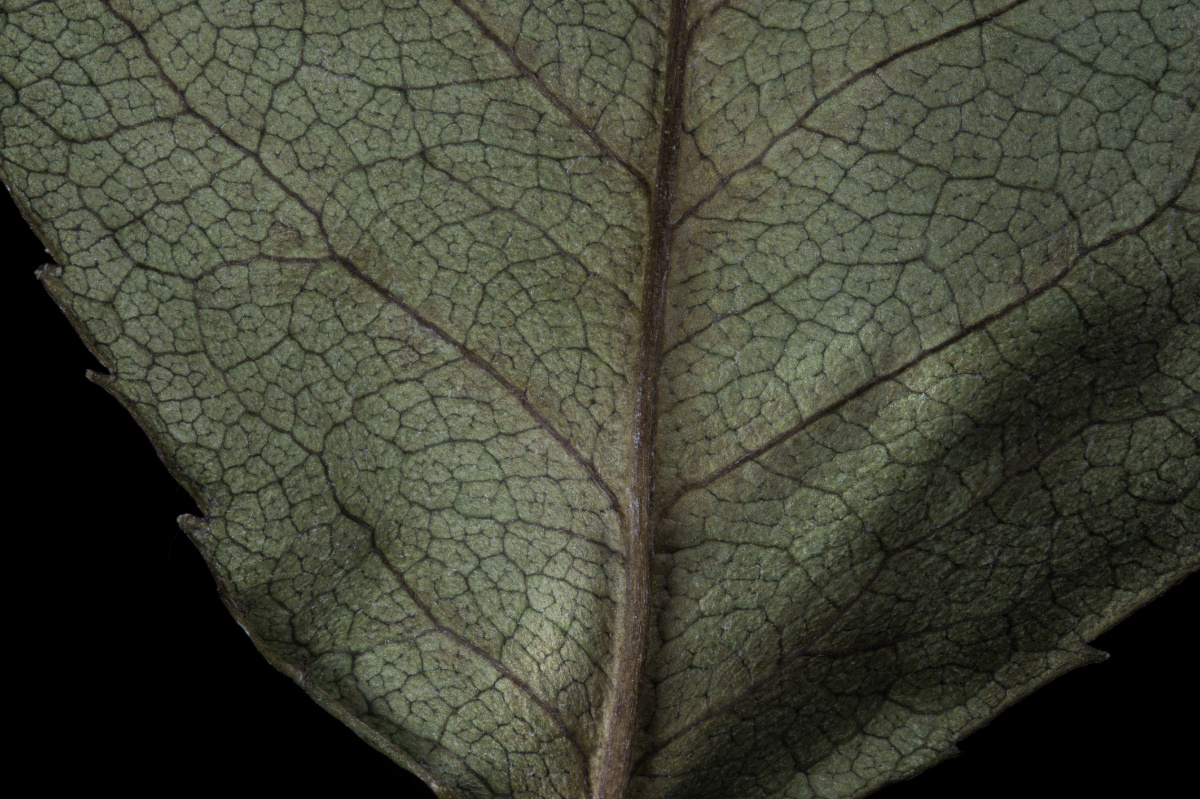
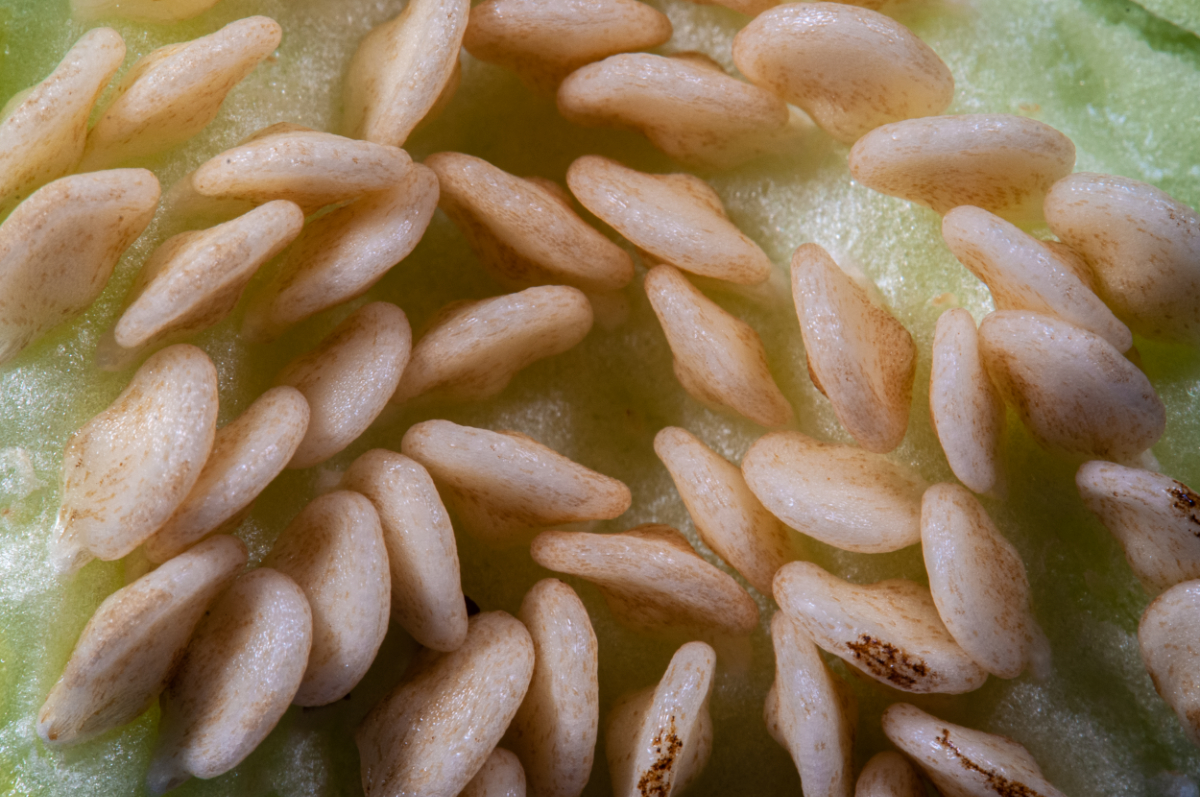
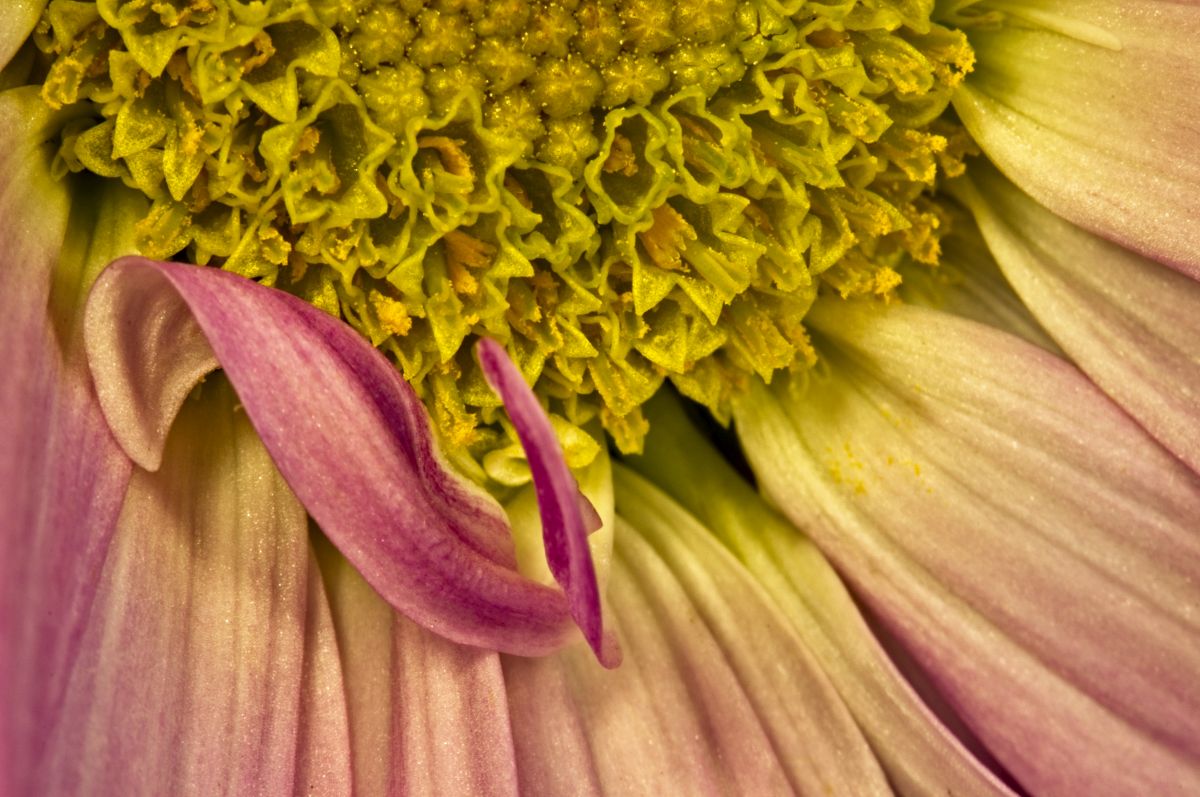
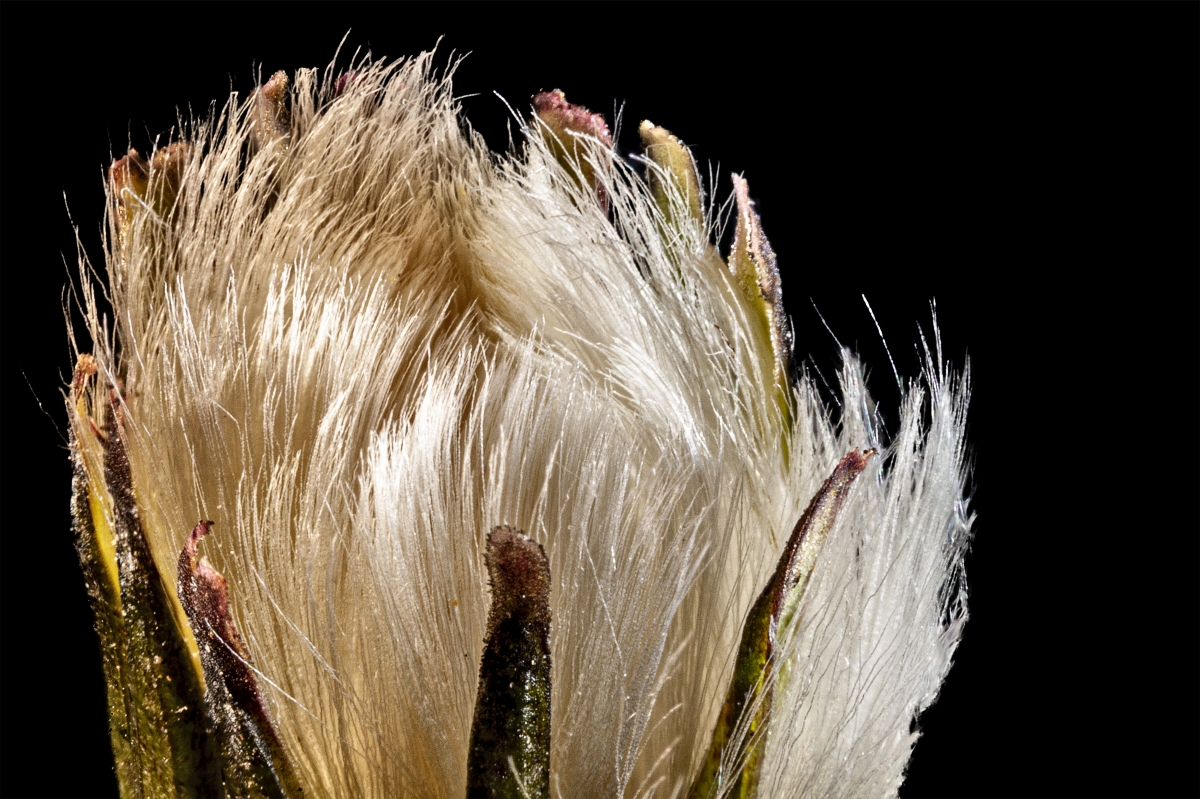
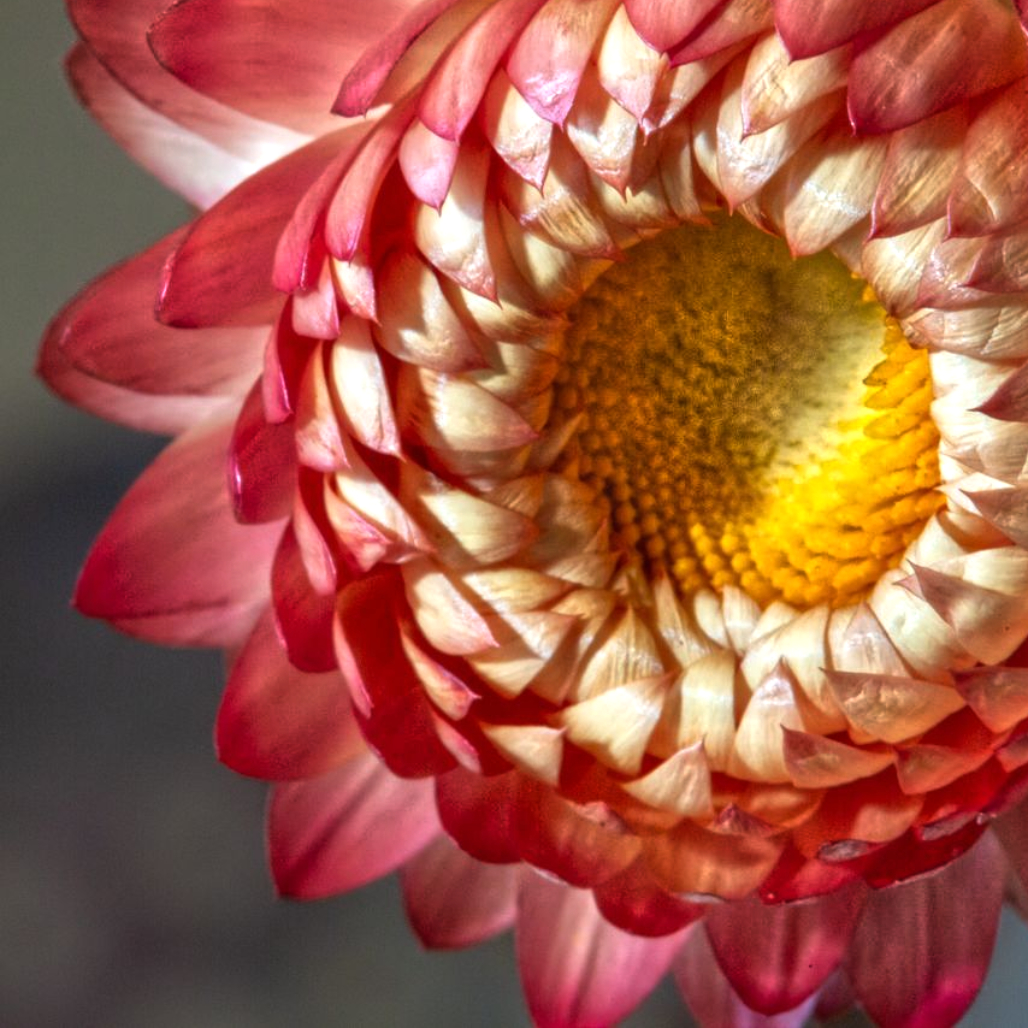
This appears to be a young mum, not to be confused with a 20-something female parent. Mums are one of my favorite floral subjects and a lot of my earlier macro work has been featuring them.
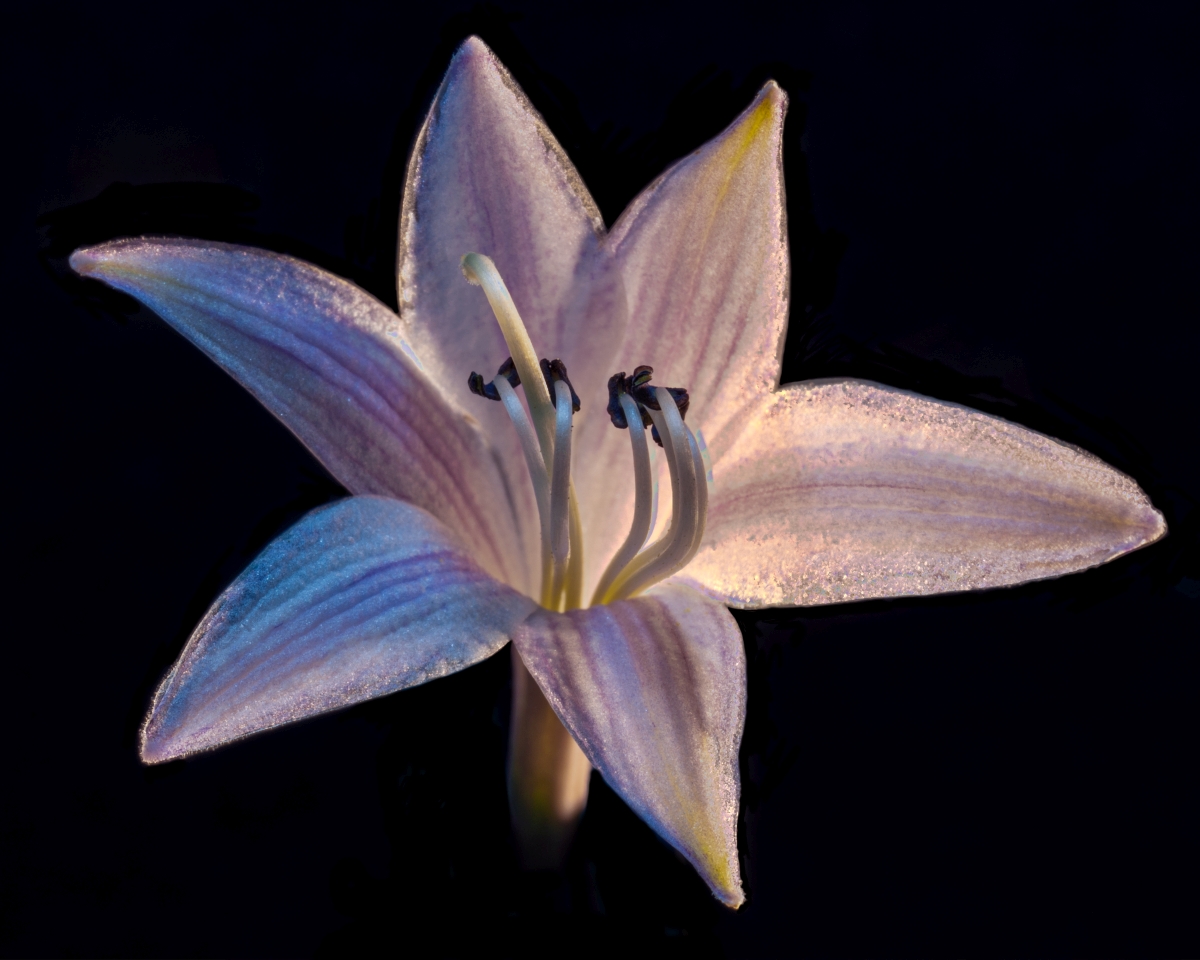
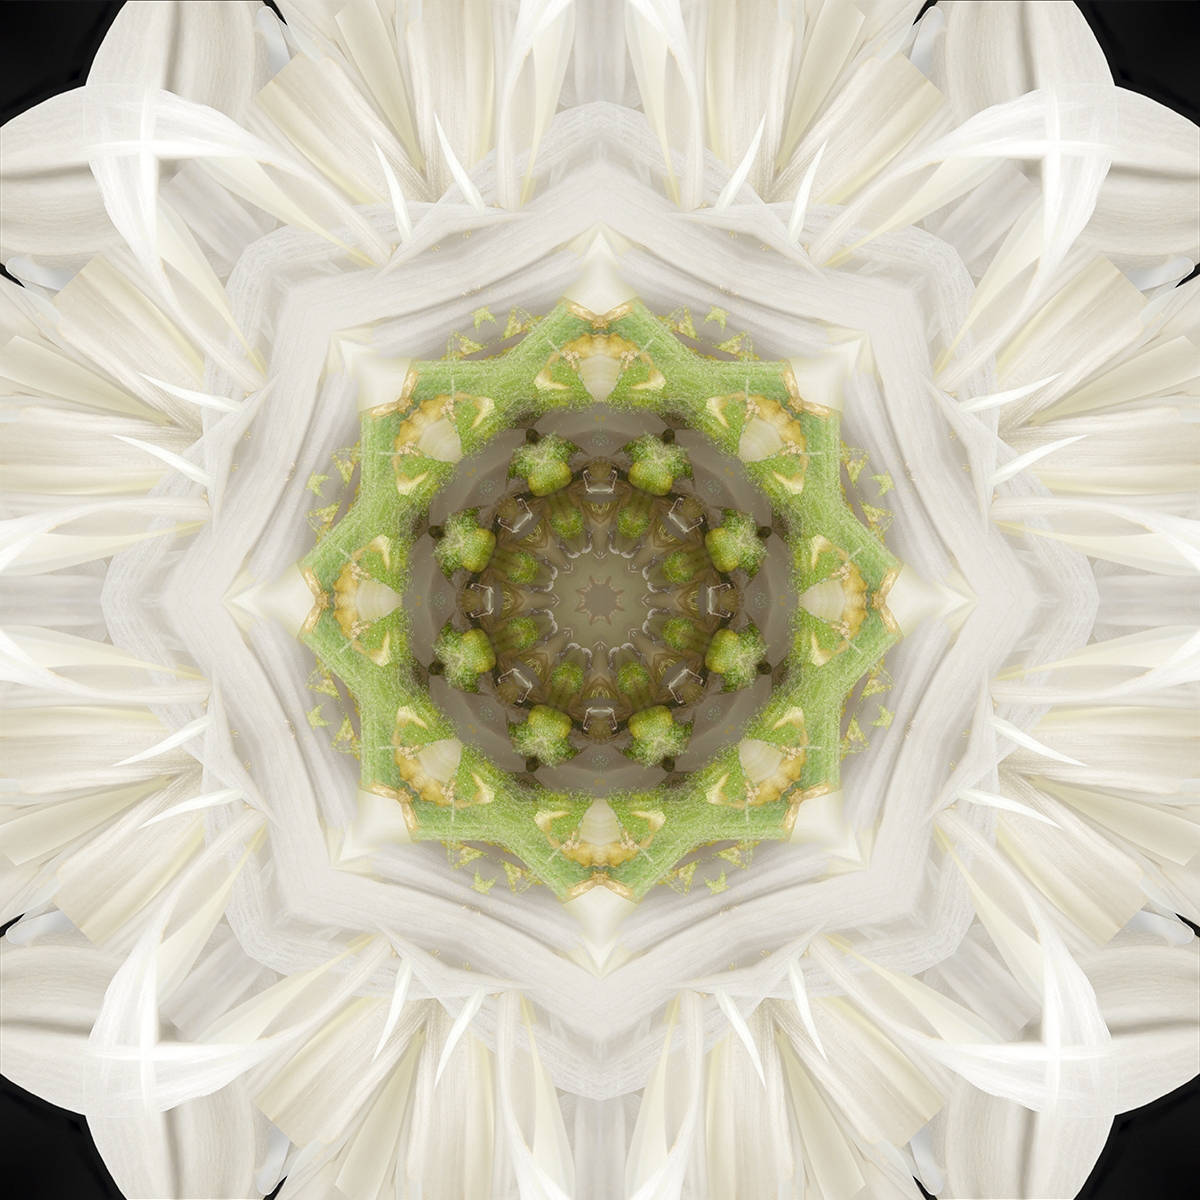
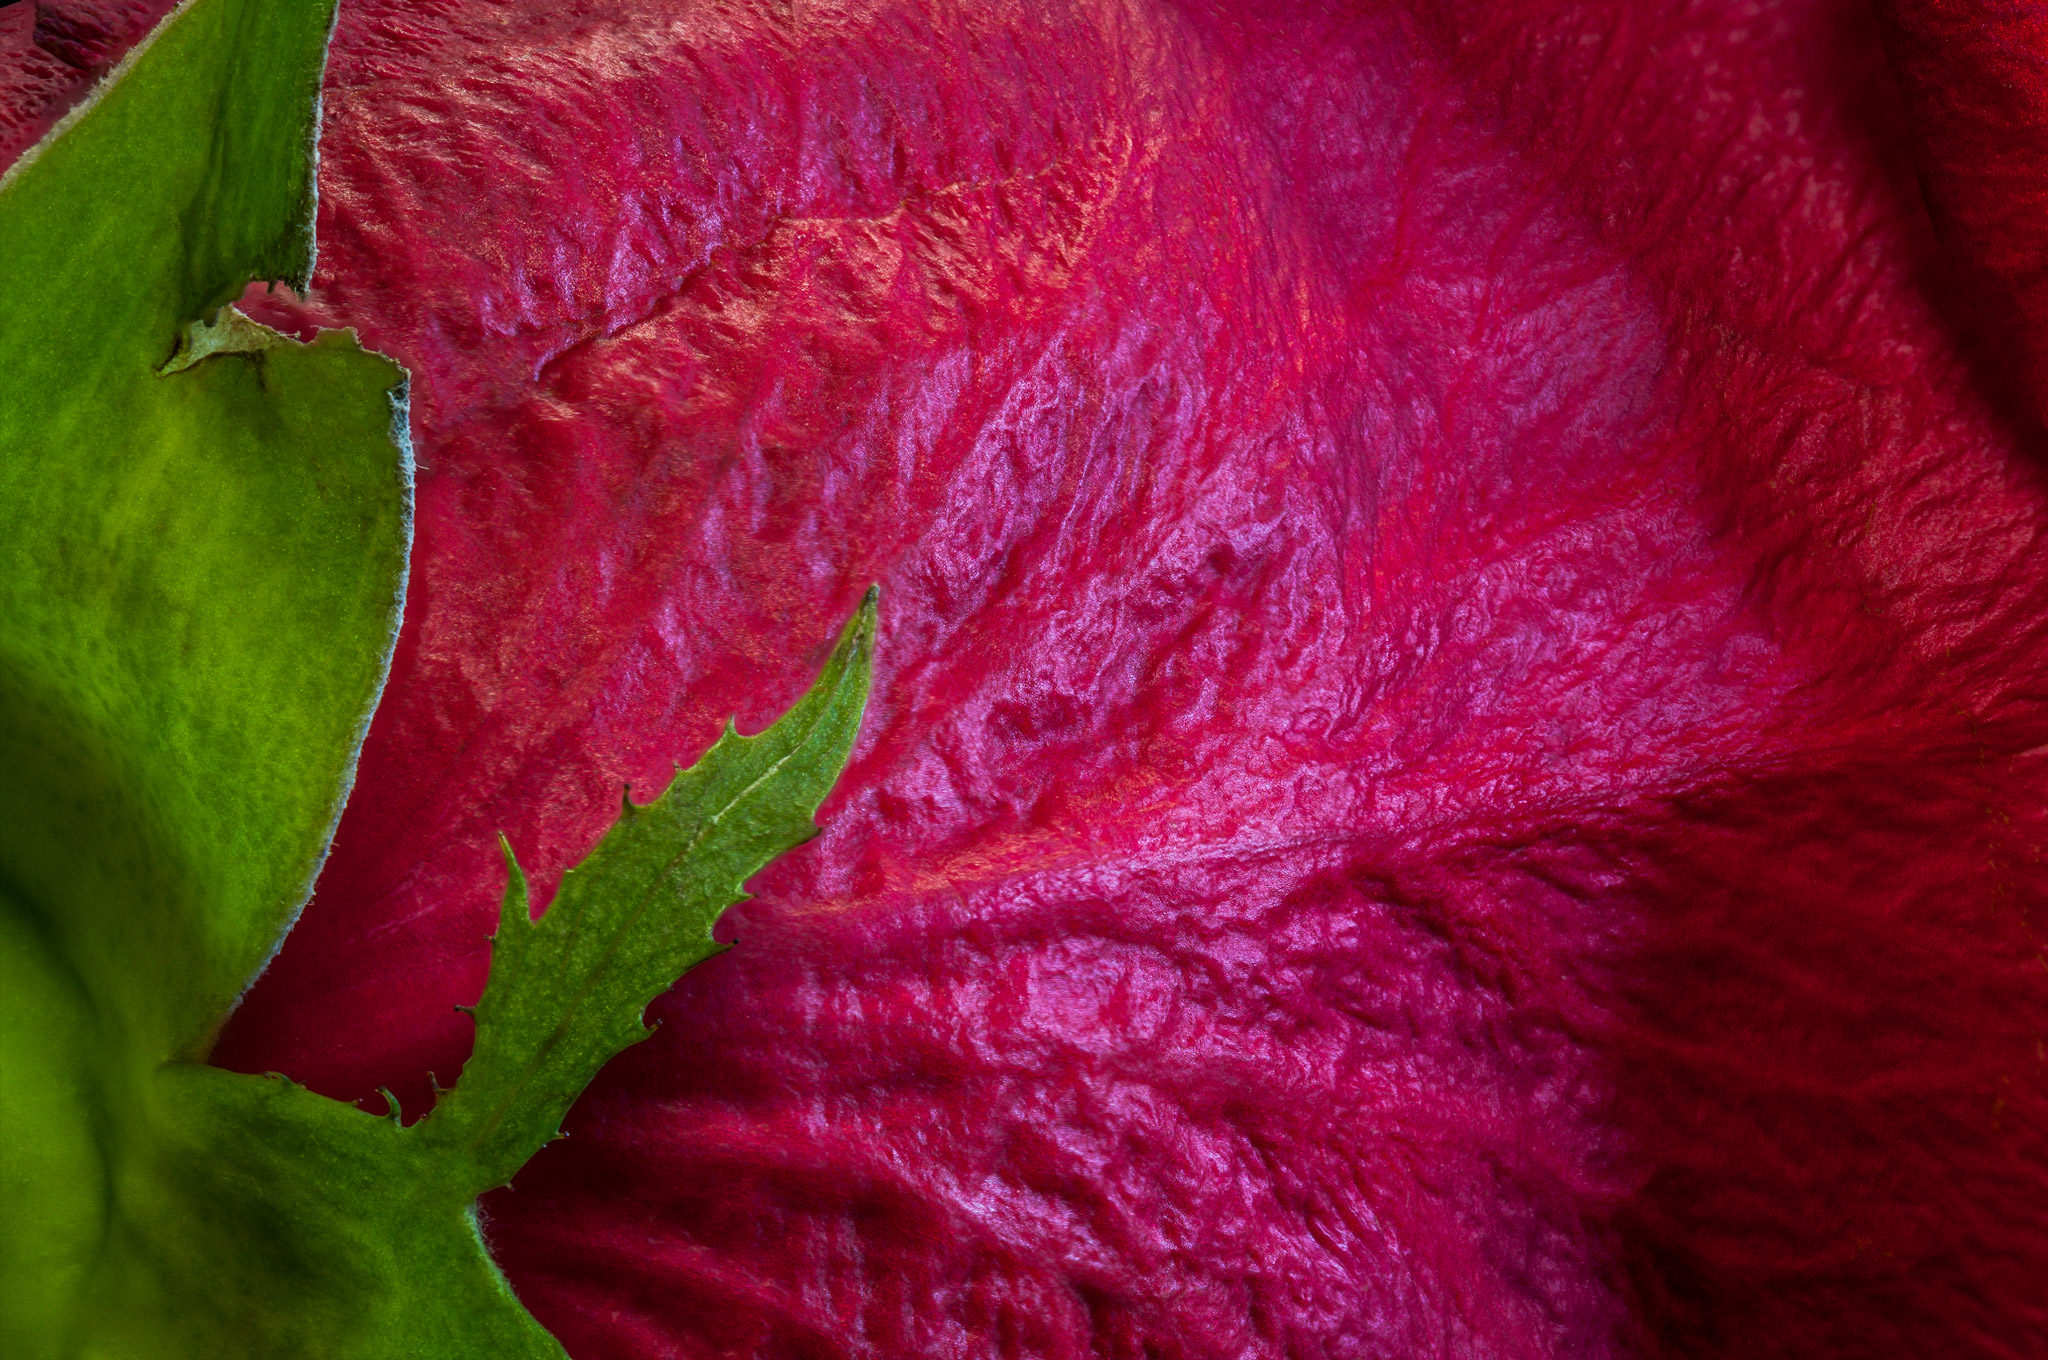
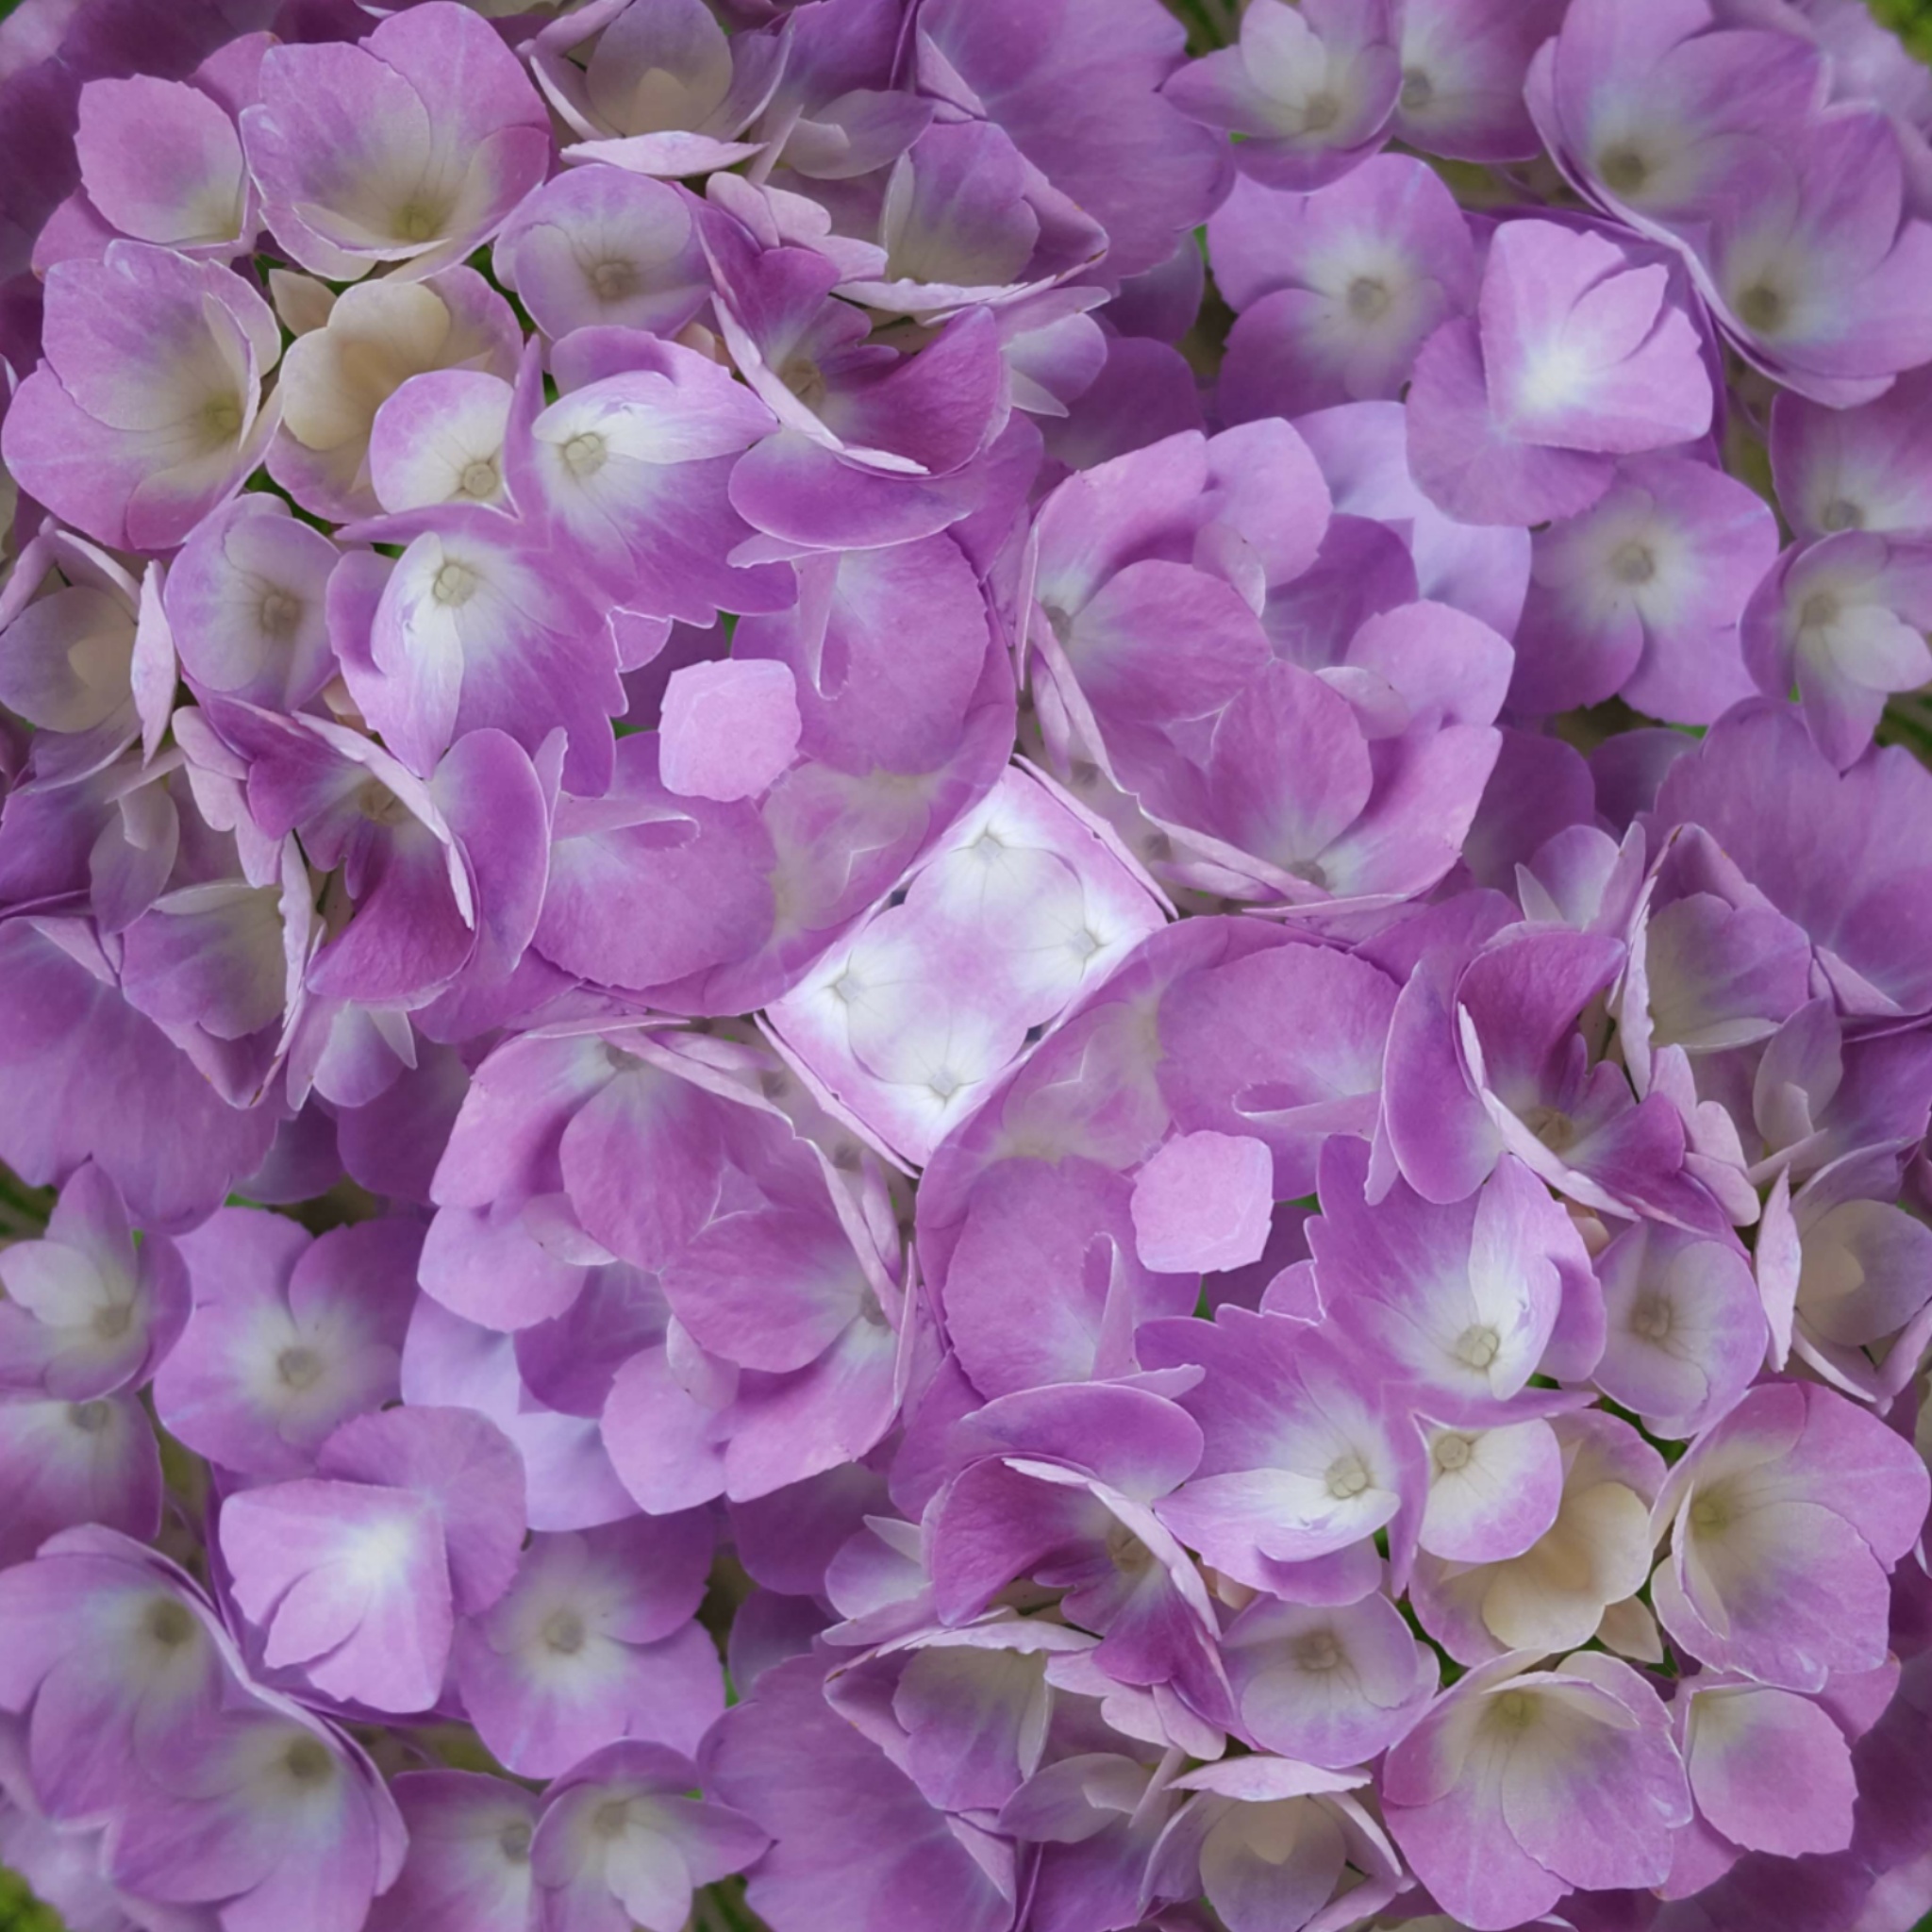
If you were at 1:1, this is an incredibly tiny blossom and it's understandable that your DOF would be so shallow here. There's plenty of detail and you could bring out more by applying still more clarity. I created a version with added clarity and cropping in from top and right. Thoughts? |
Oct 16th |
 |
| 95 |
Oct 20 |
Comment |
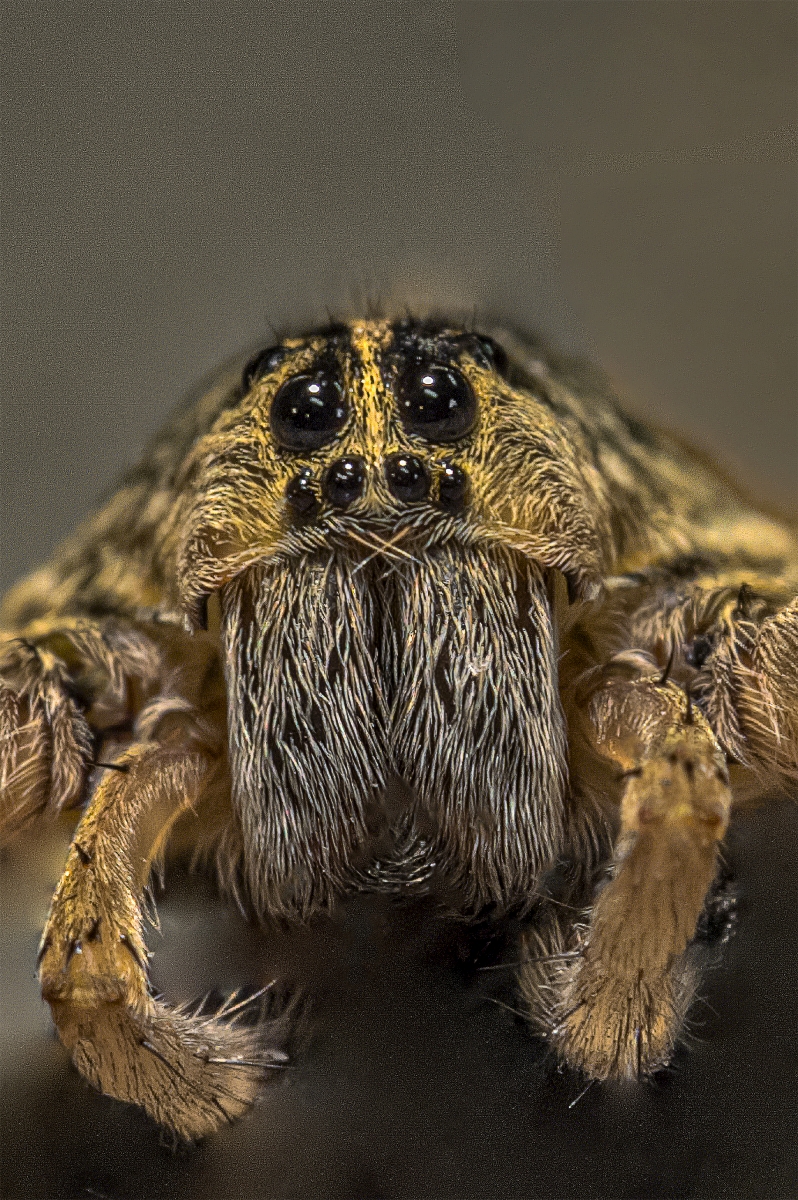
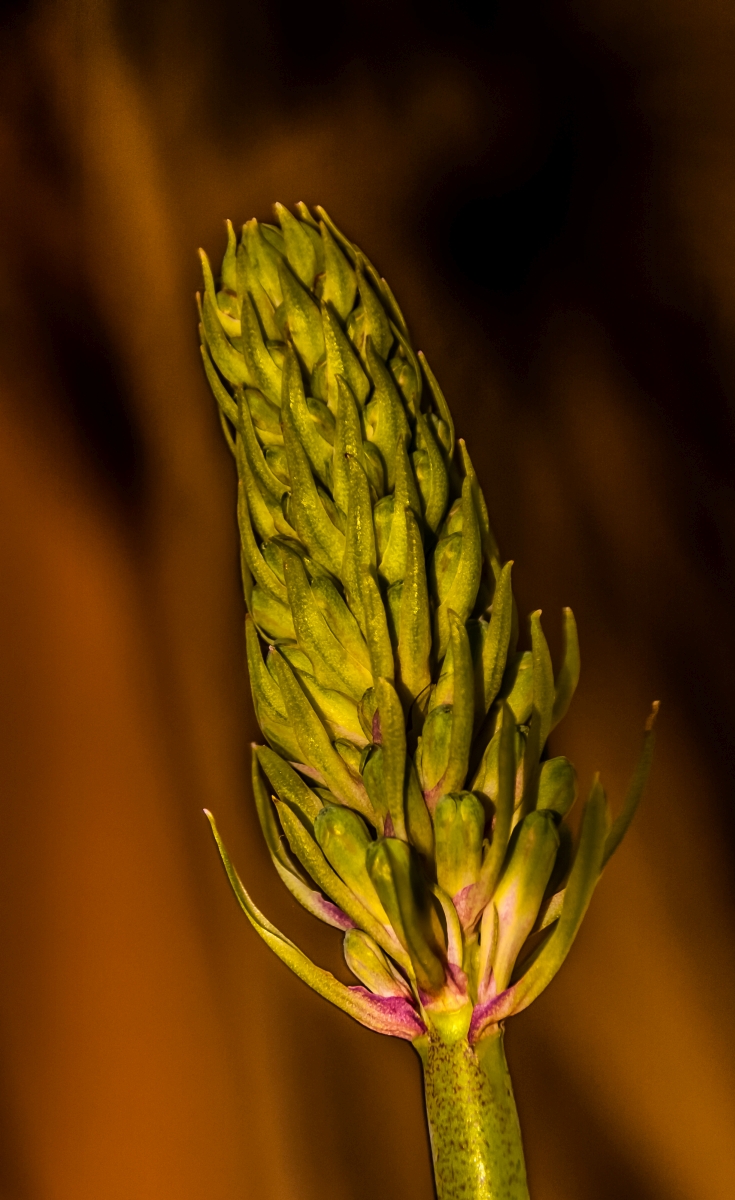
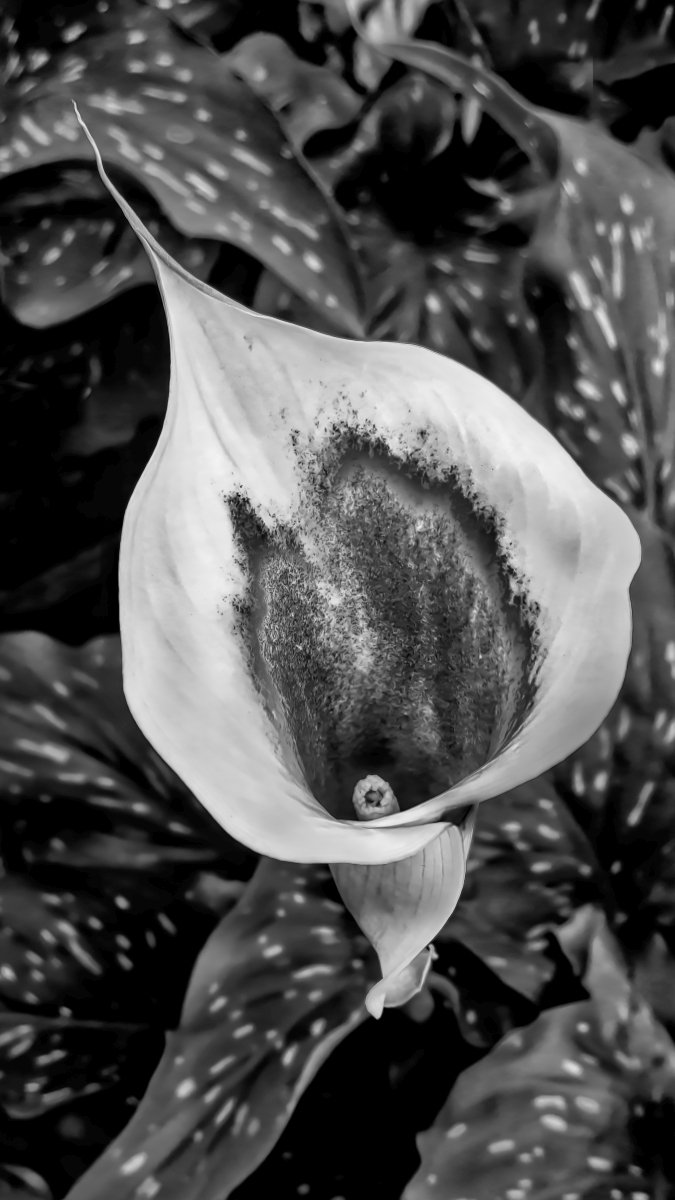
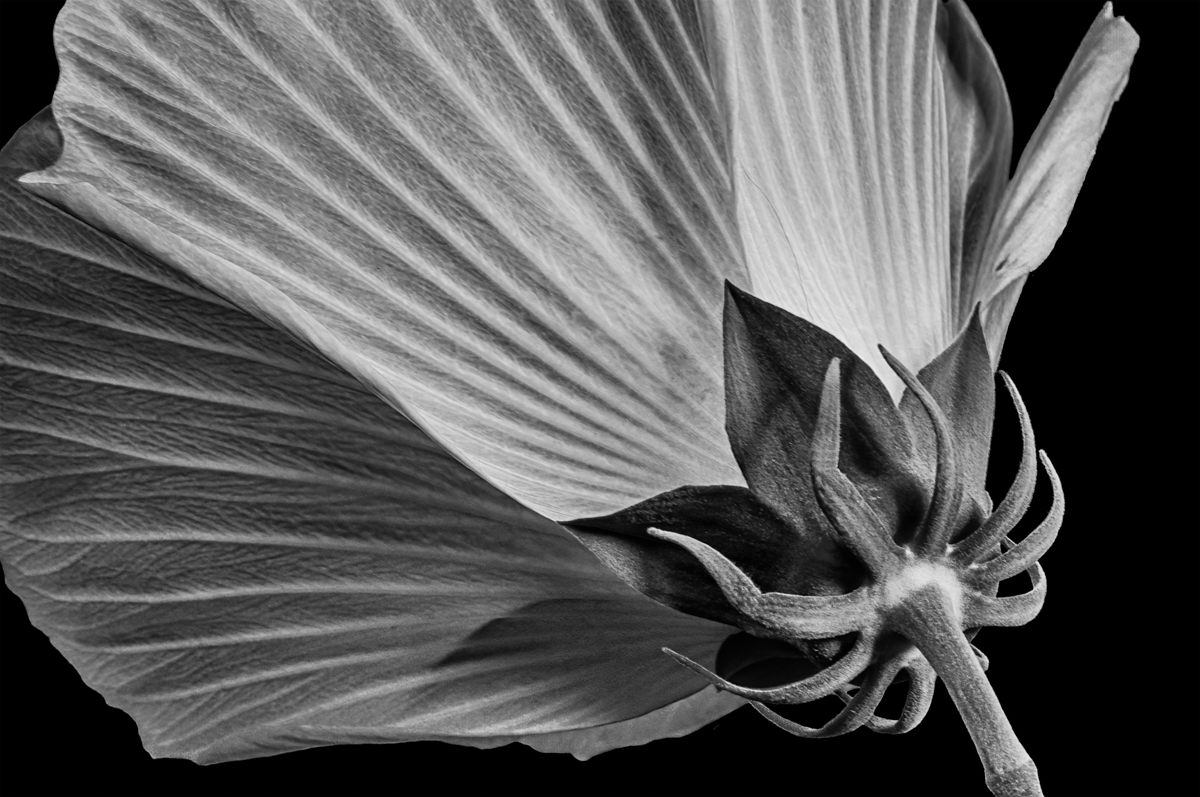
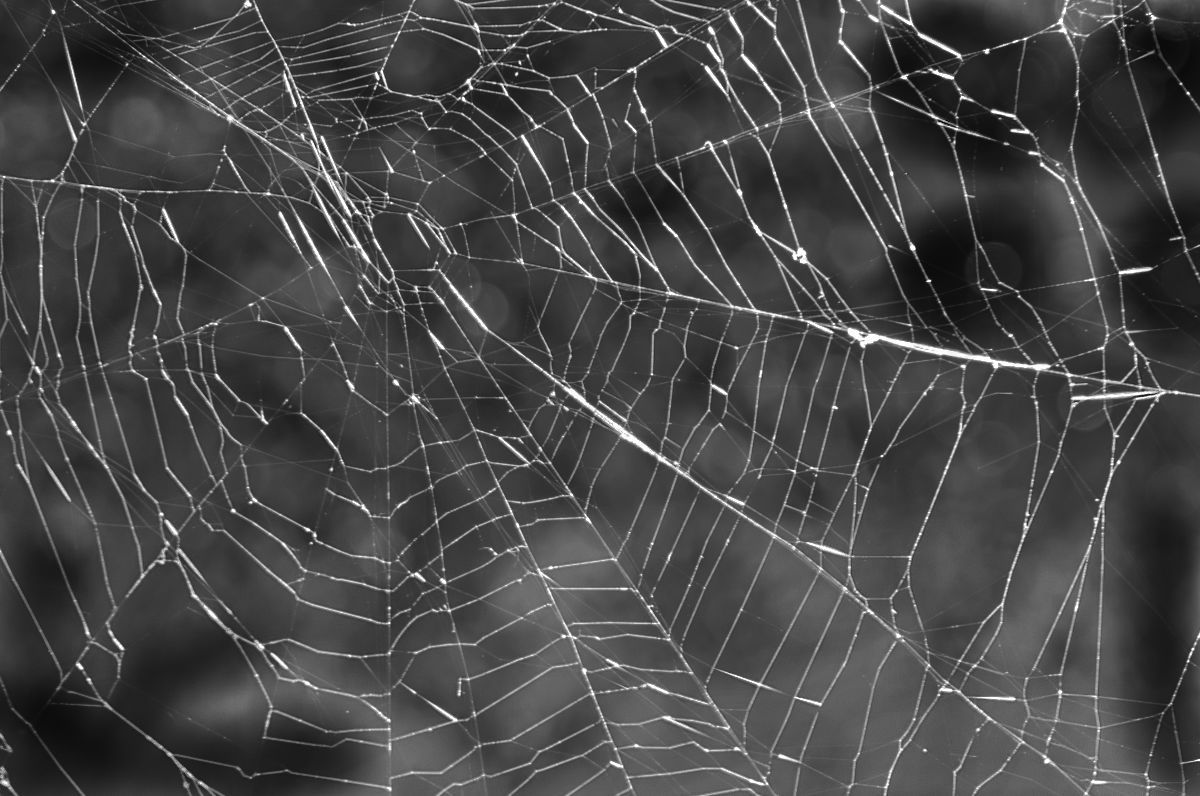
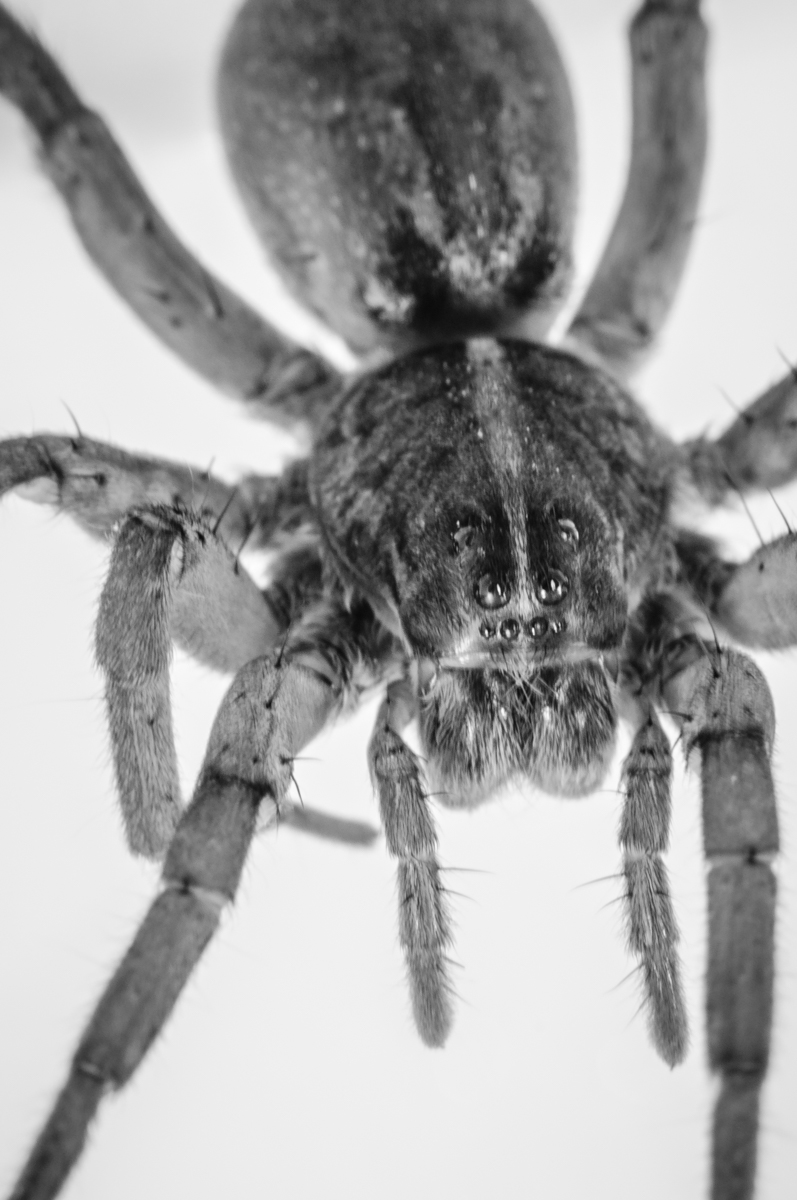
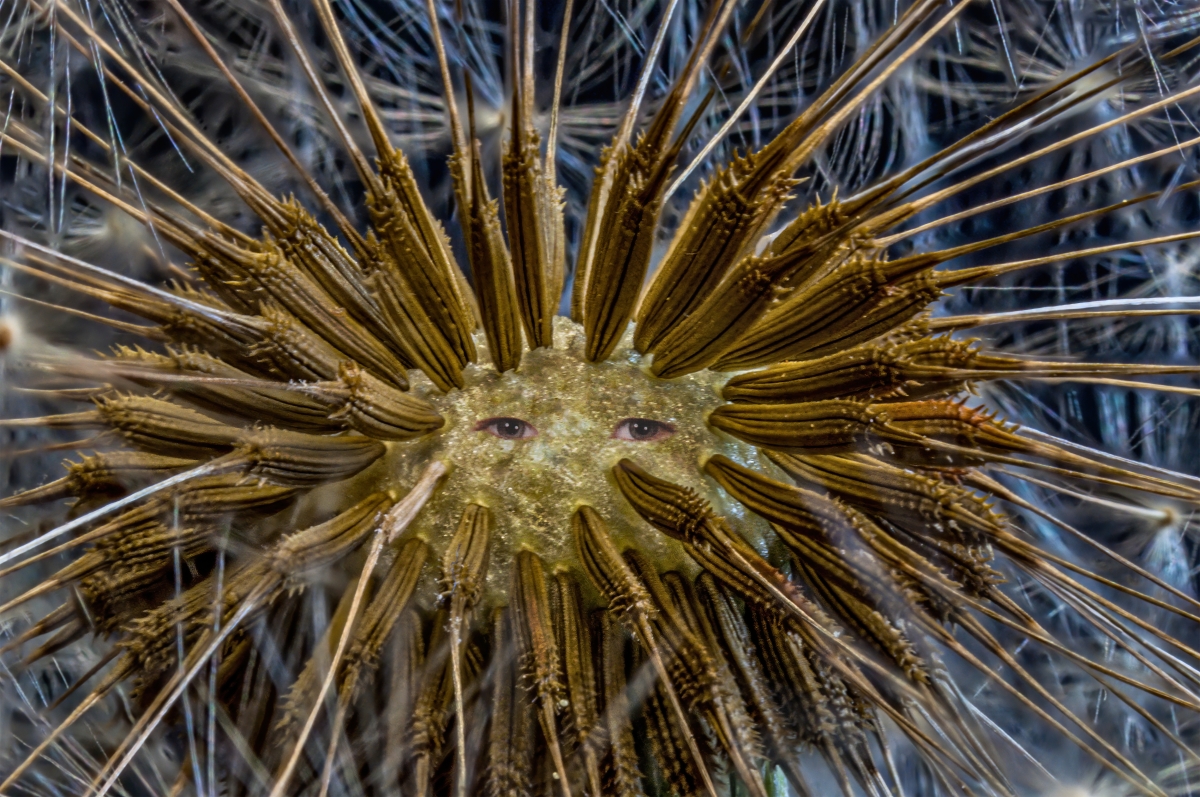
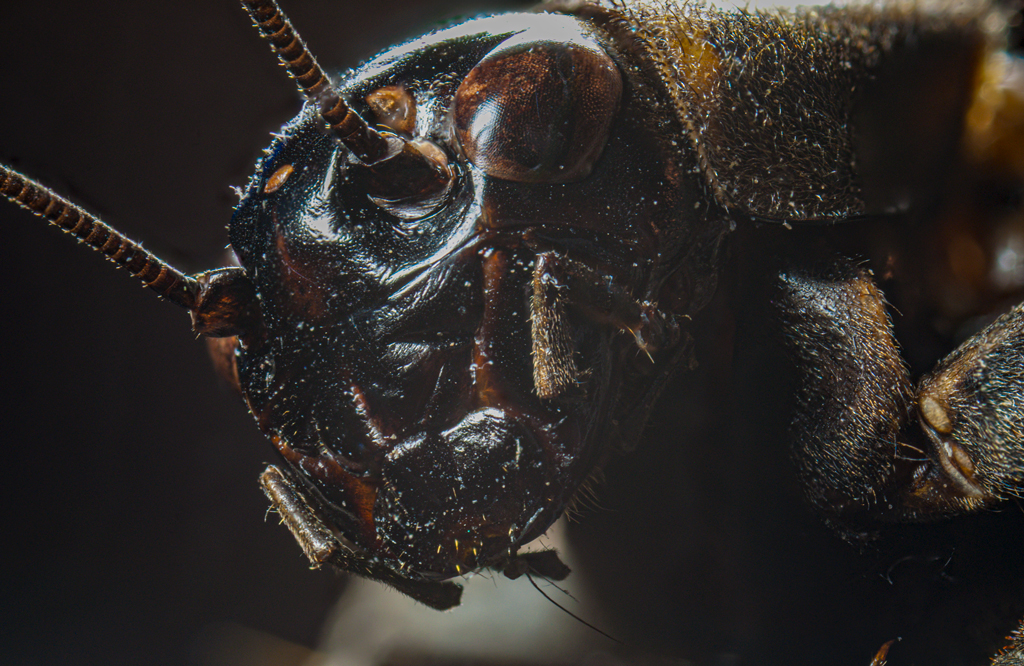
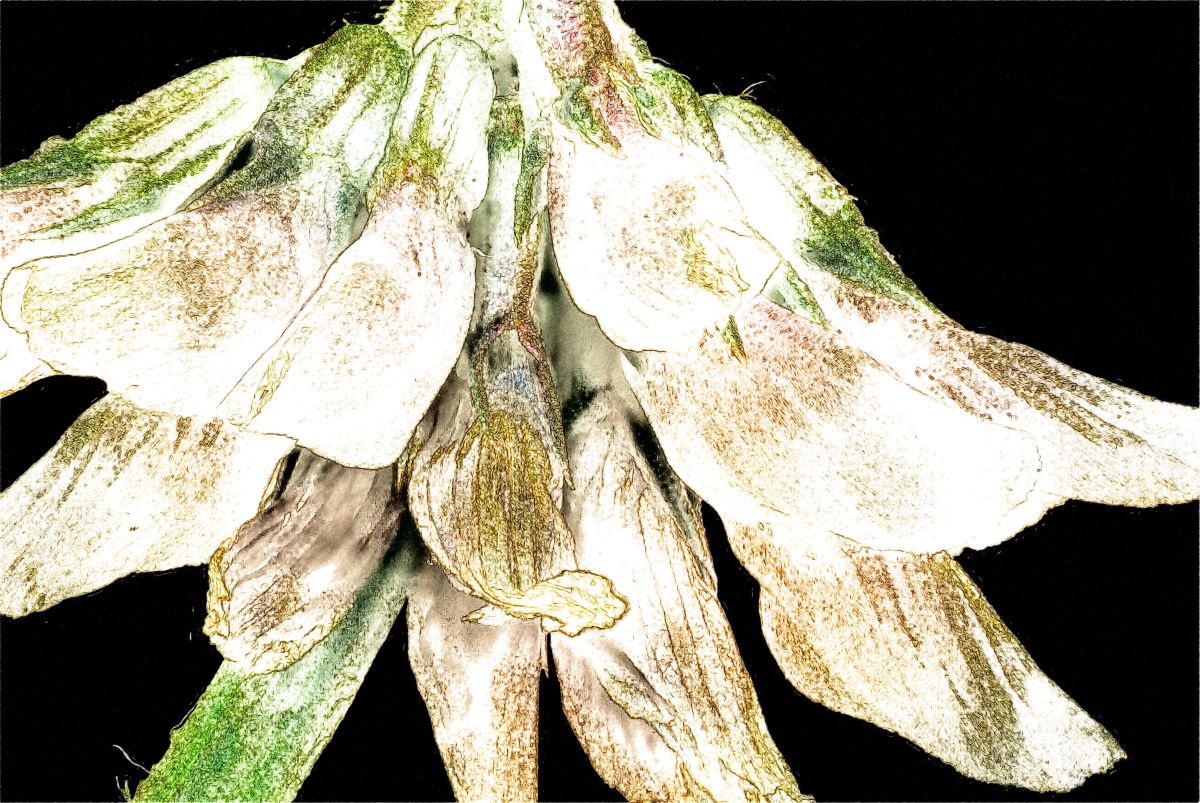
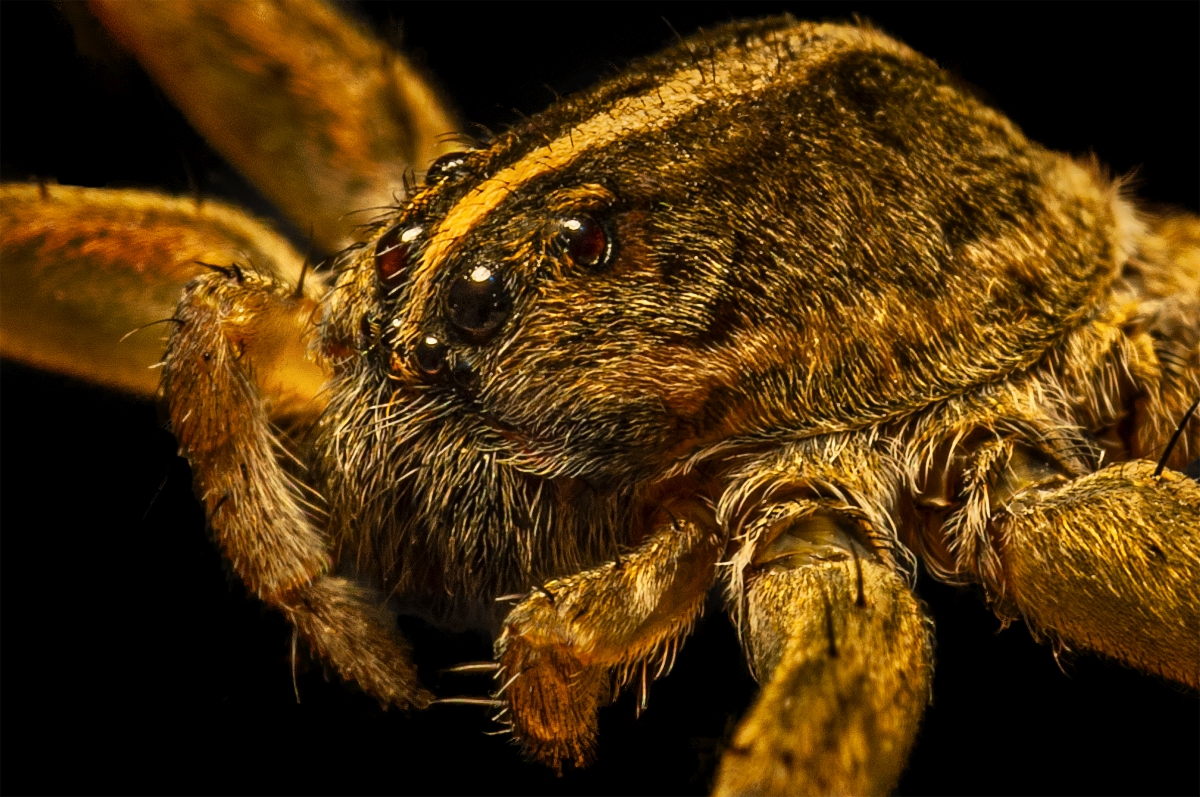
I have to start off with the controversy about the spider. While you insist that there isn't one, the configuration of the eight legs is too much like a spider to be something else. While I've seen spiders that are naturally masquerading as other insects, I've never seen a plant with parts that masquerade as the 8 segmented legs of a spider. While we cannot see the body from this angle, I'm convinced it must be one.
Now that that's out of the way, you captured some amazing detail here. Using flash for macro is a tricky endeavor, especially as the lens can cause shadows and the light can be rather harsh unless you diffuse it. The best macro diffuser I've seen can be found here:
https://www.amazon.com/Lumpna-Speedlight-Accessories-Photography-Lightweight/dp/B07W3S6GJW/ref=sr_1_8?dchild=1&keywords=macro+flash+diffuser+for+speedlight&pd_rd_r=030588e6-3c43-4aa0-bc9e-5c509c80aeec&pd_rd_w=axvaY&pd_rd_wg=M1y7I&pf_rd_p=307d74a9-862d-42f3-b475-cd53024ee52d&pf_rd_r=89WP5NTW6VJWB8JHPC80&qid=1602885899&quoq=crafty+bells+macro+diffuser&sr=8-8
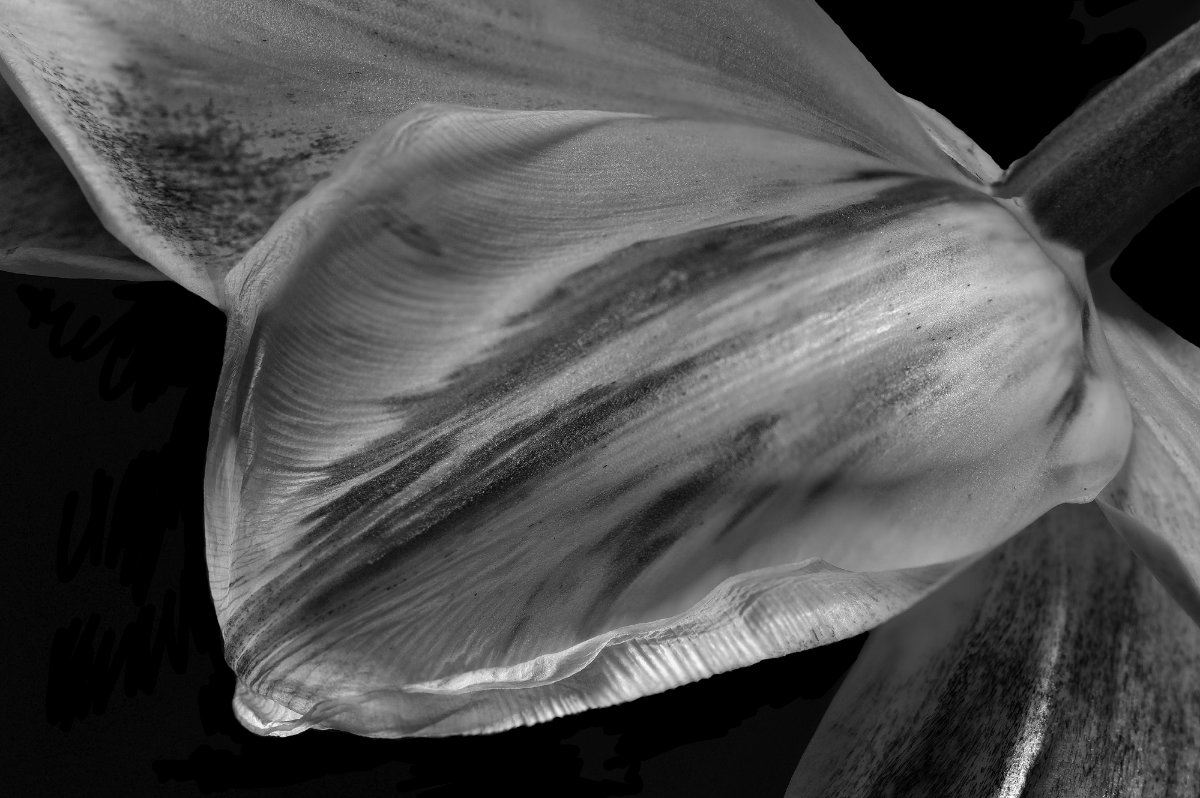
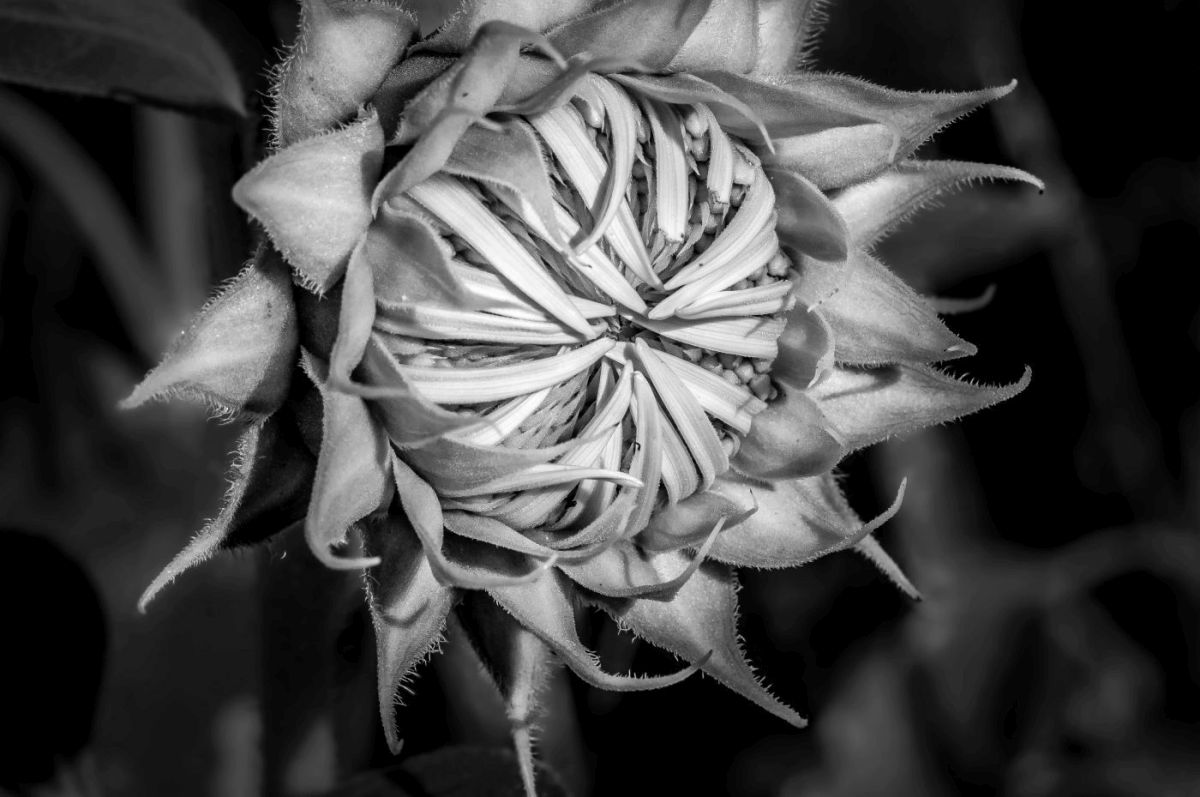
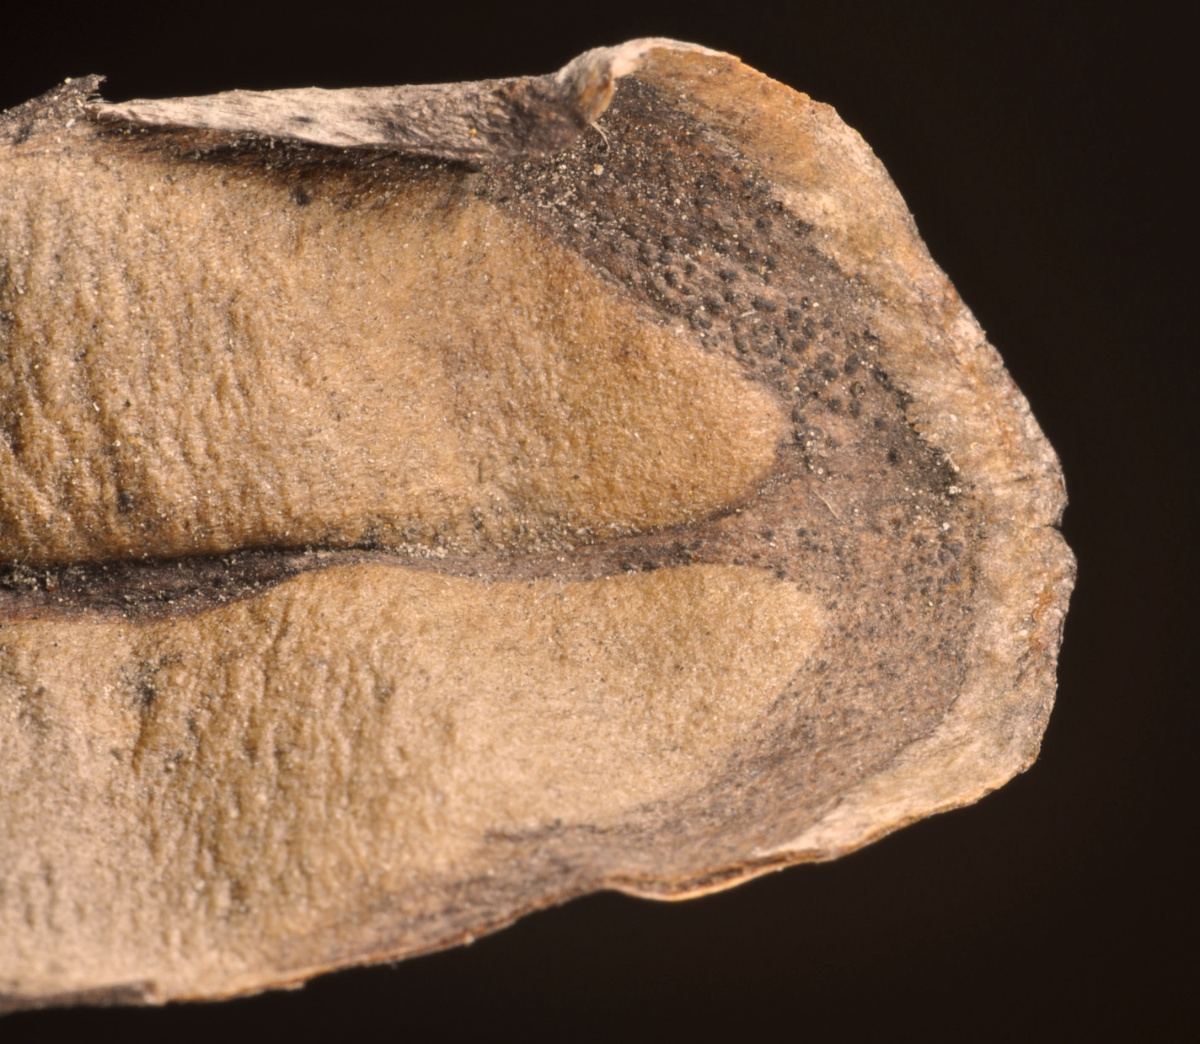
It is certainly difficult to dscern what your subject is, mainly because the shallow DOF blurs details in the surrounding parts of the pine cone so we cannot tell what we're looking at. Course who am I to talk when a lot of my images don't look like anything we're used to seeing. d;¬{D
Frankly, I think it's great that you tackled this difficult subject and I say, keep at it! d:¬{D |
Oct 16th |
| 95 |
Oct 20 |
Comment |
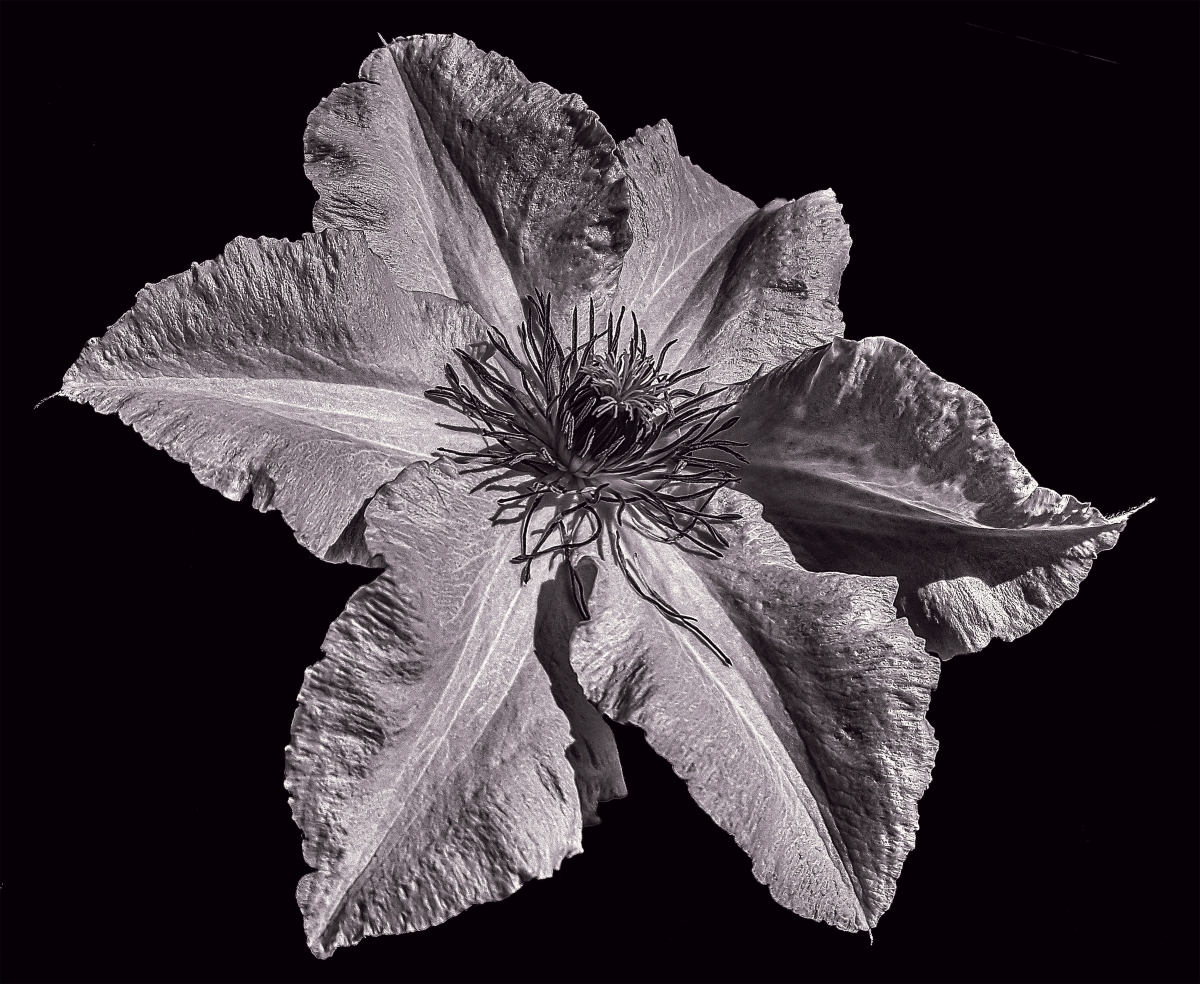
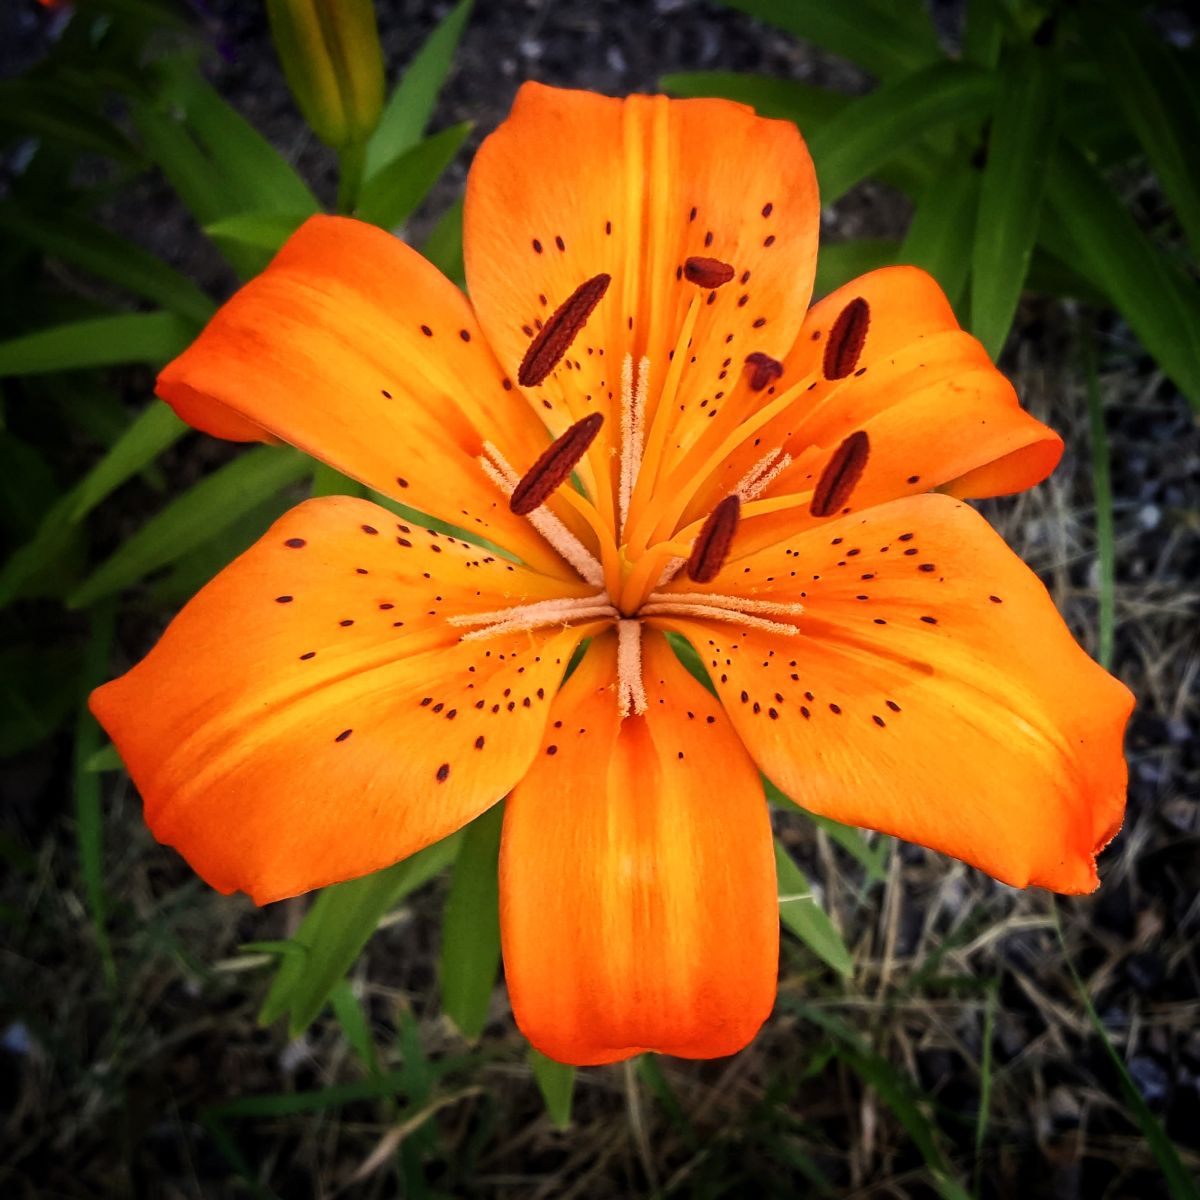
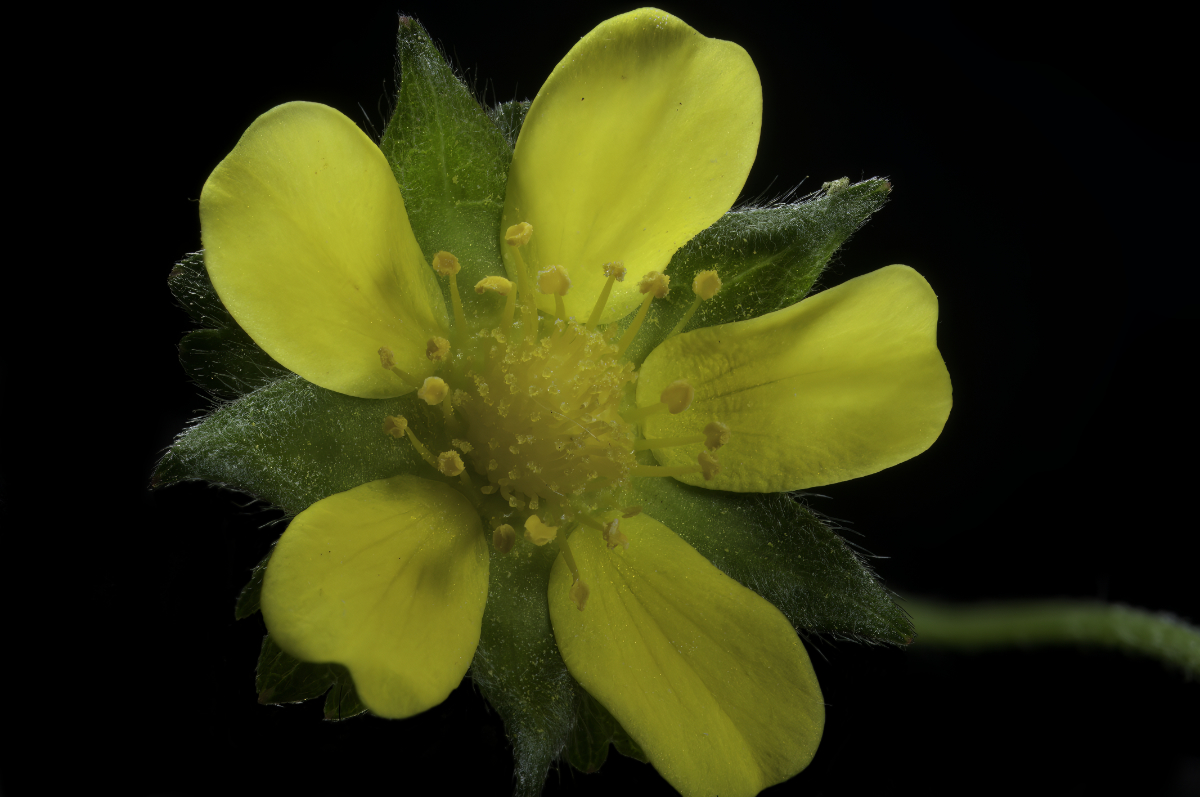
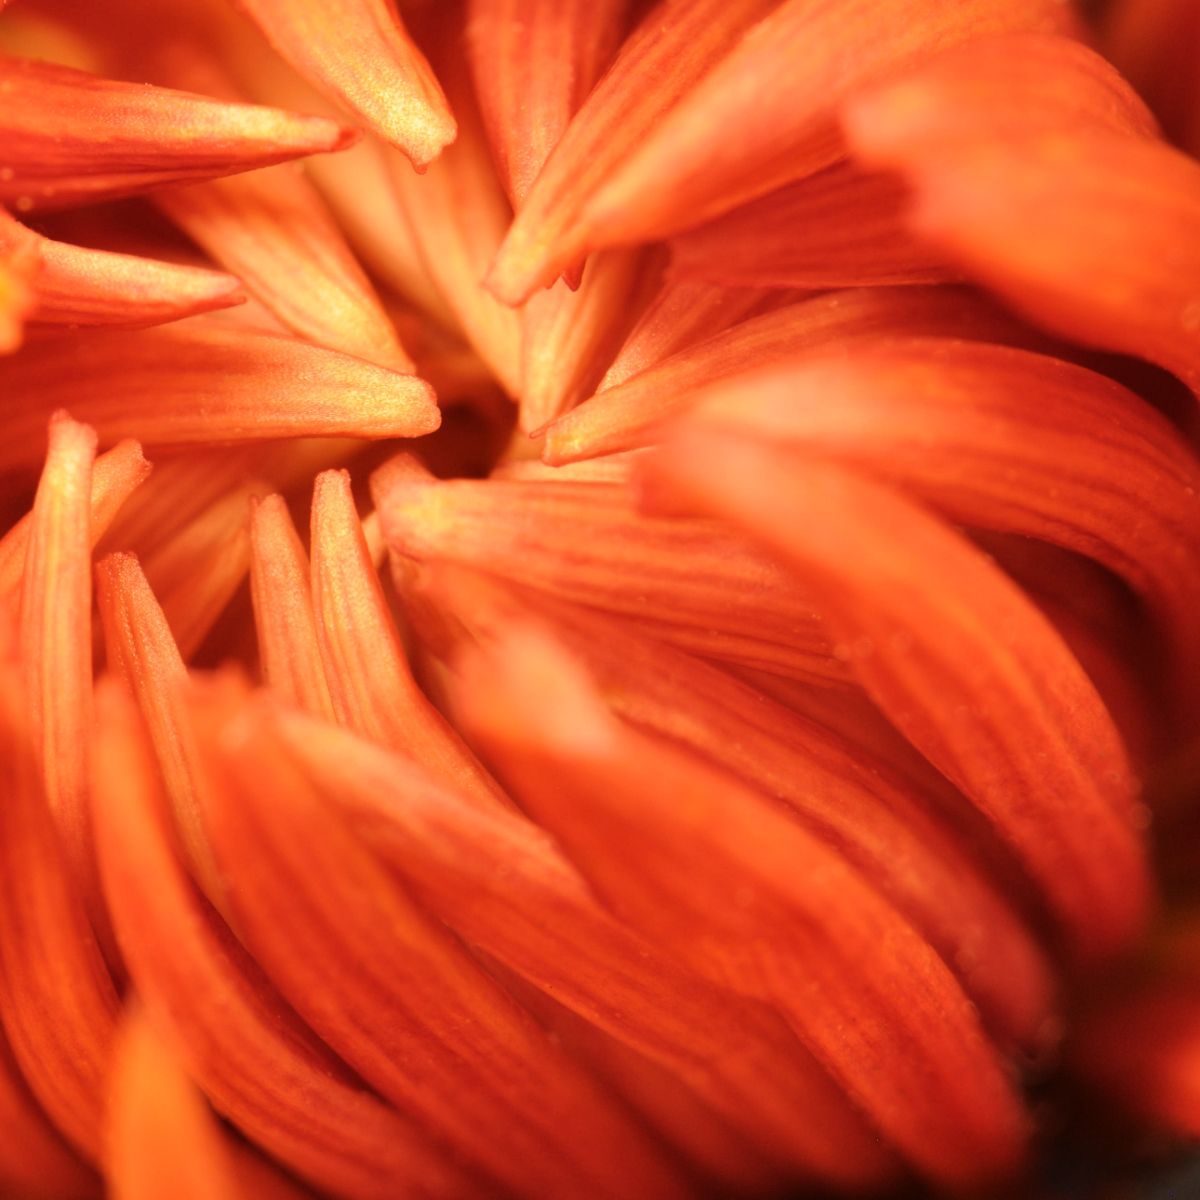
Was this a daisy your captured the spider on? It looks like it. With a single shot, you have your focus where it needs to be and the rest is clear enough to complete the whole of the arachnid. Adding a bit of clarity would take this to the next level. Well done! |
Oct 16th |
| 95 |
Oct 20 |
Comment |
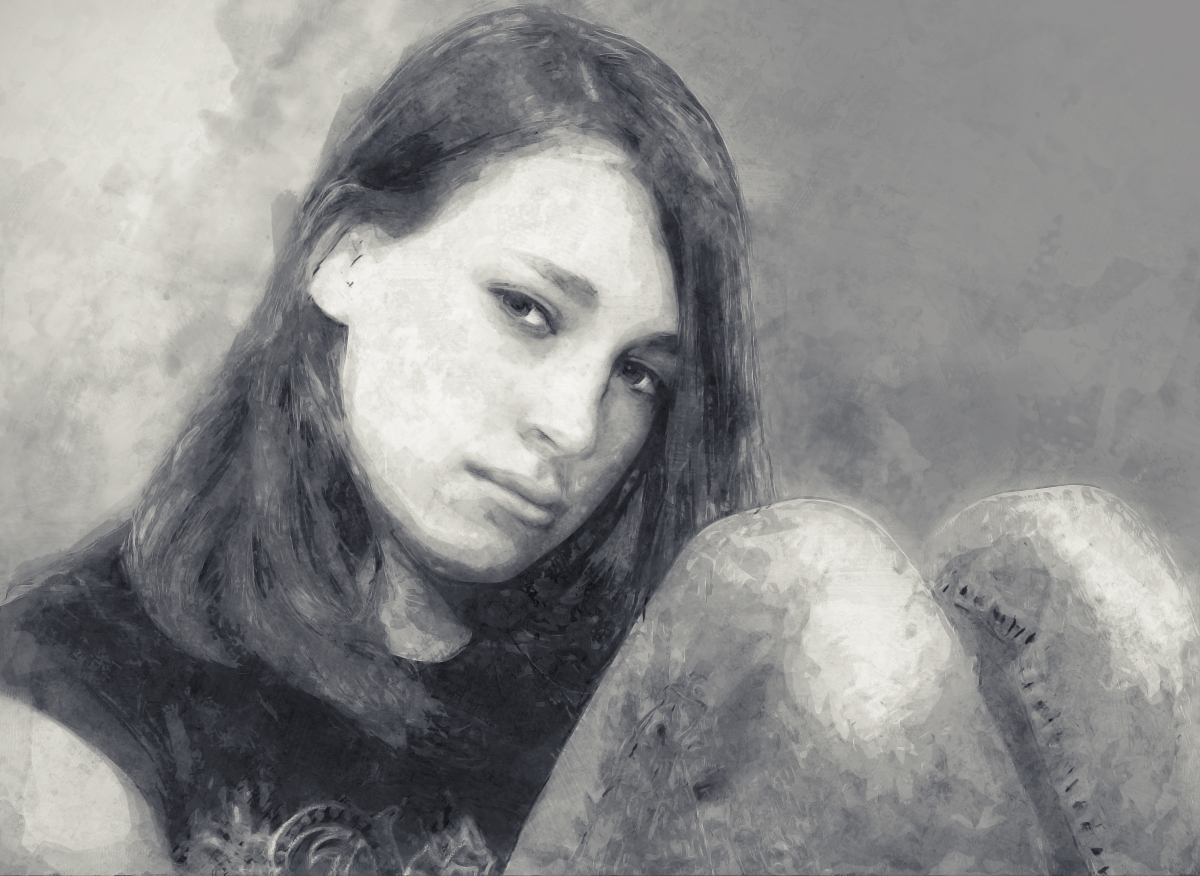
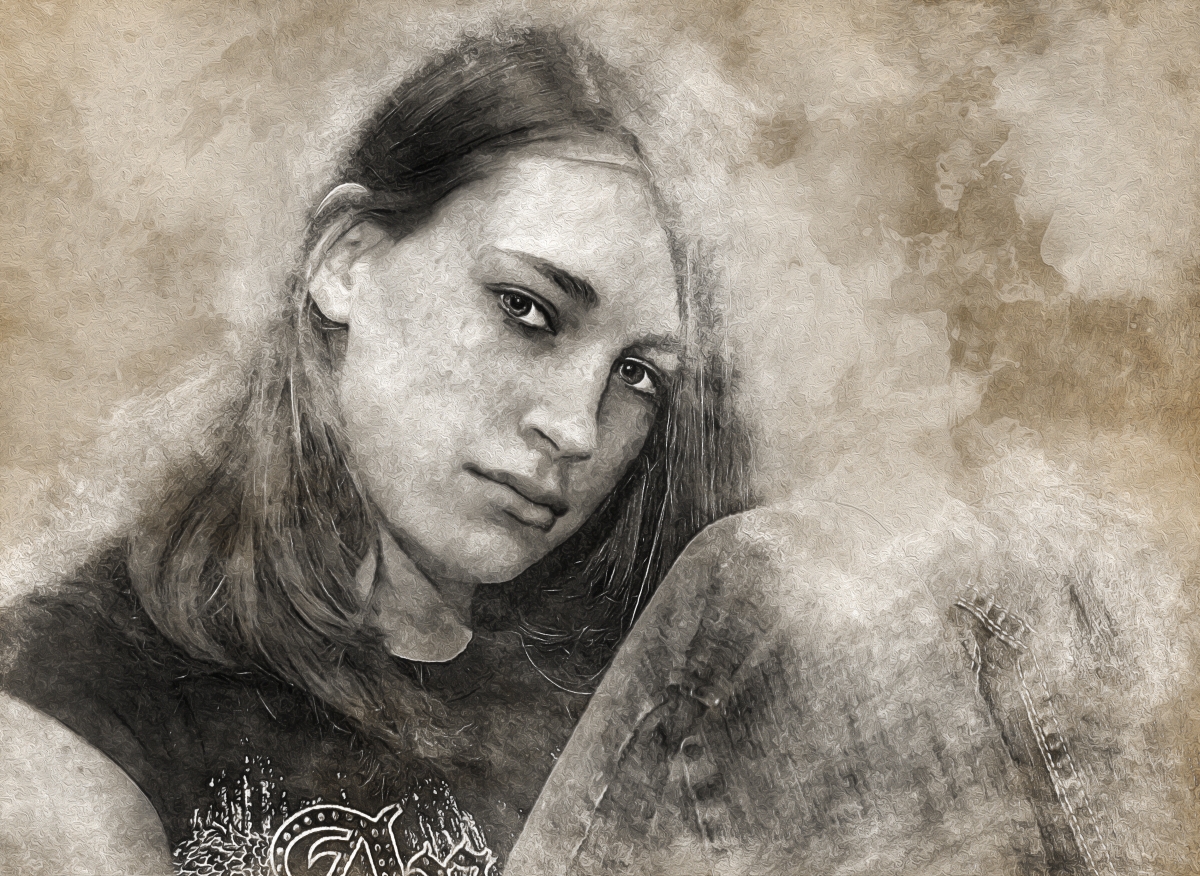
I agree with Boy about the detailed painting job your son did. With hands like that, he could be a surgeon.
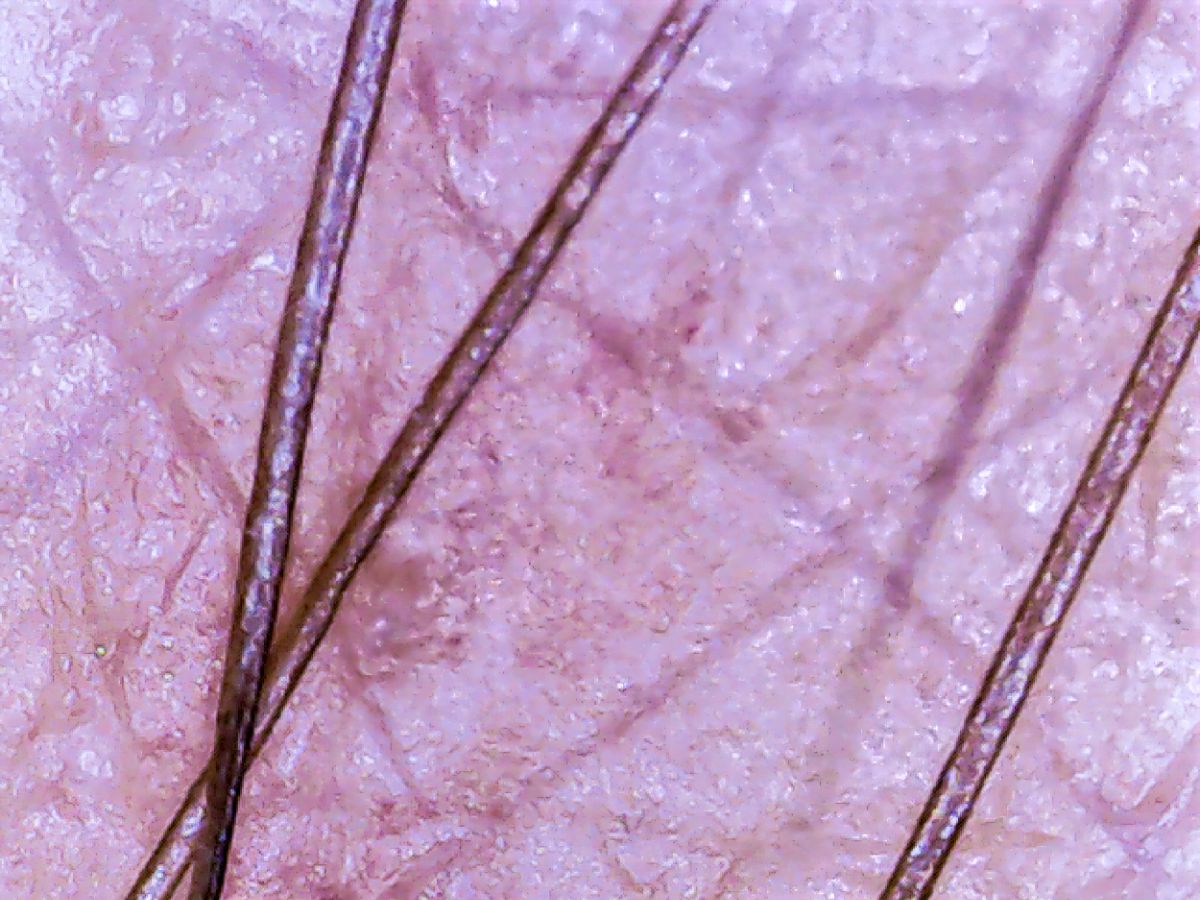
You captured some incredible detail in this capture of the model, down to the minute bits of lint that has accumulated over the years, something the naked eye cannot discern. That's the fun part of macro for me, seeing things I had no clue were there but too small for me to see. d;¬{D |
Oct 16th |
| 95 |
Oct 20 |
Reply |
Another option in Affinity Photo, is to add clarity via Layer > New Live Filter Layer > Sharpen > Clarity... |
Oct 16th |
| 95 |
Oct 20 |
Comment |
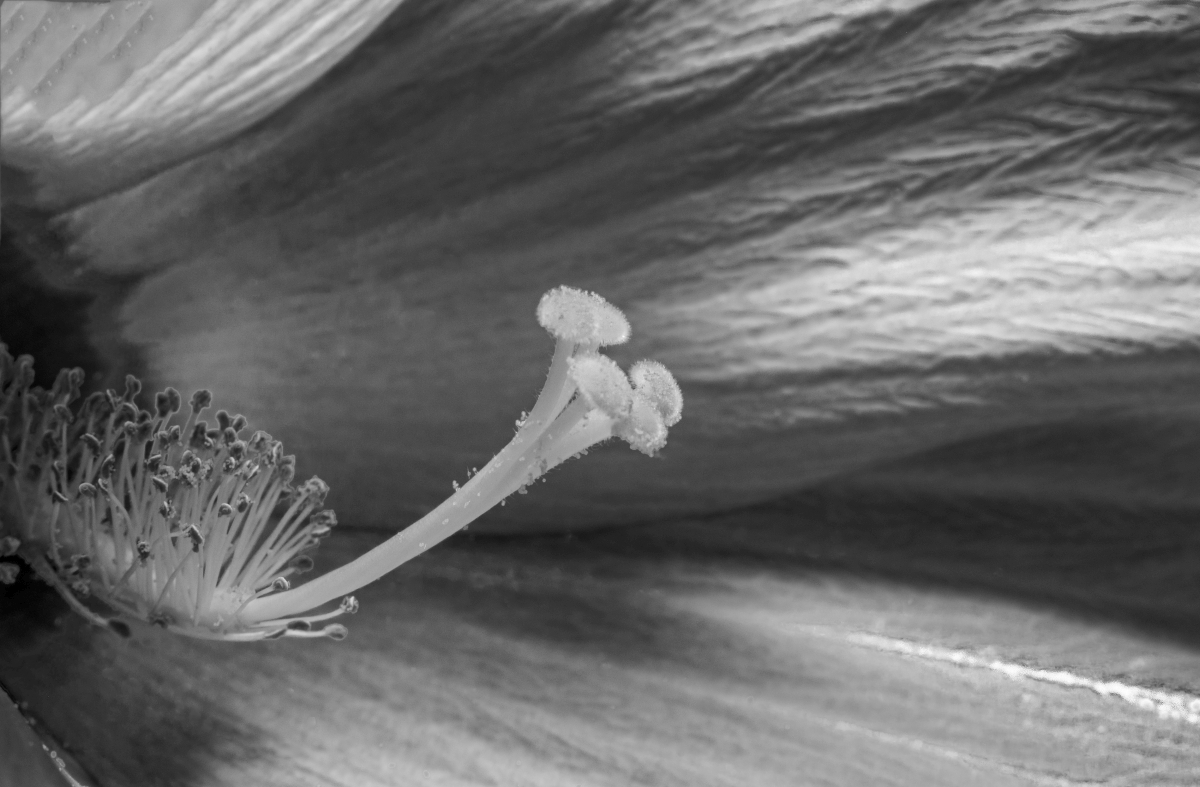
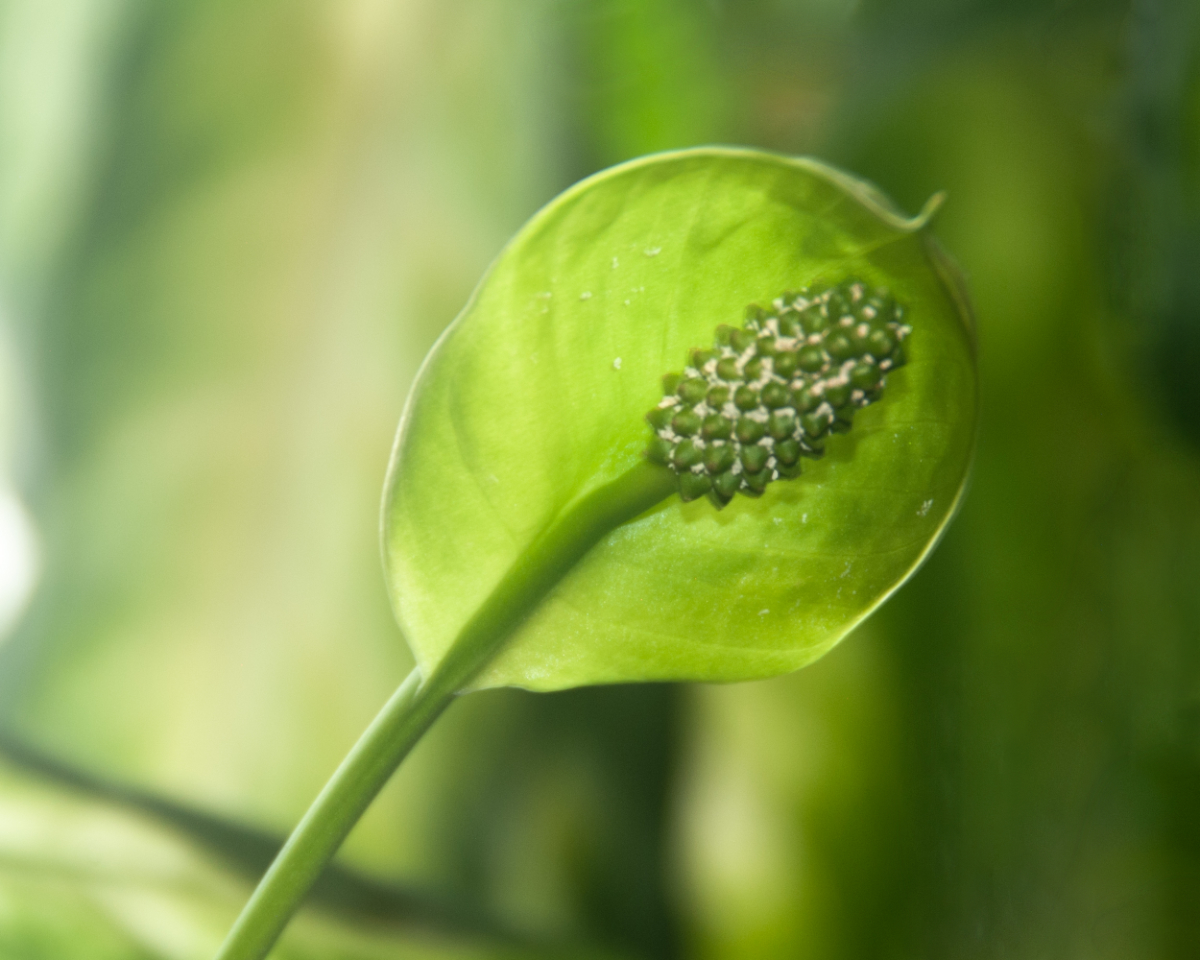
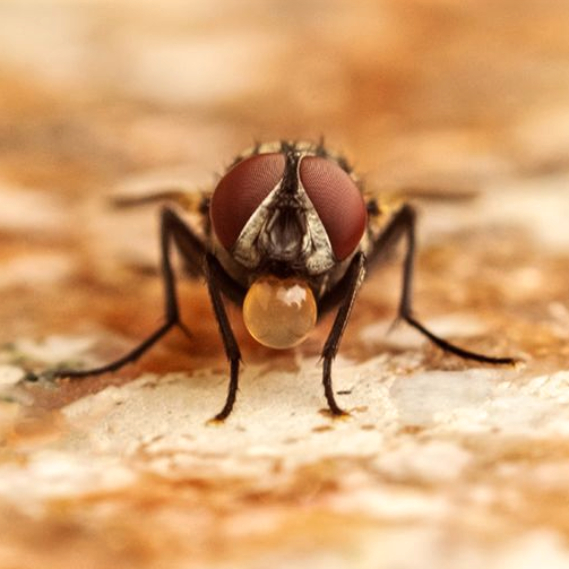
This is quite fascinating - learn something new every day. Welcome to the group - you started with a rather mind-blowing image and explanation. You have your DOF just right, with the story elements in focus and the rest of the fly soft but recognizable.
That said, I would suggest a different crop for this image - a square one - which will make the bubble-blowing fly appear a bit bigger. Thoughts? |
Oct 16th |
 |
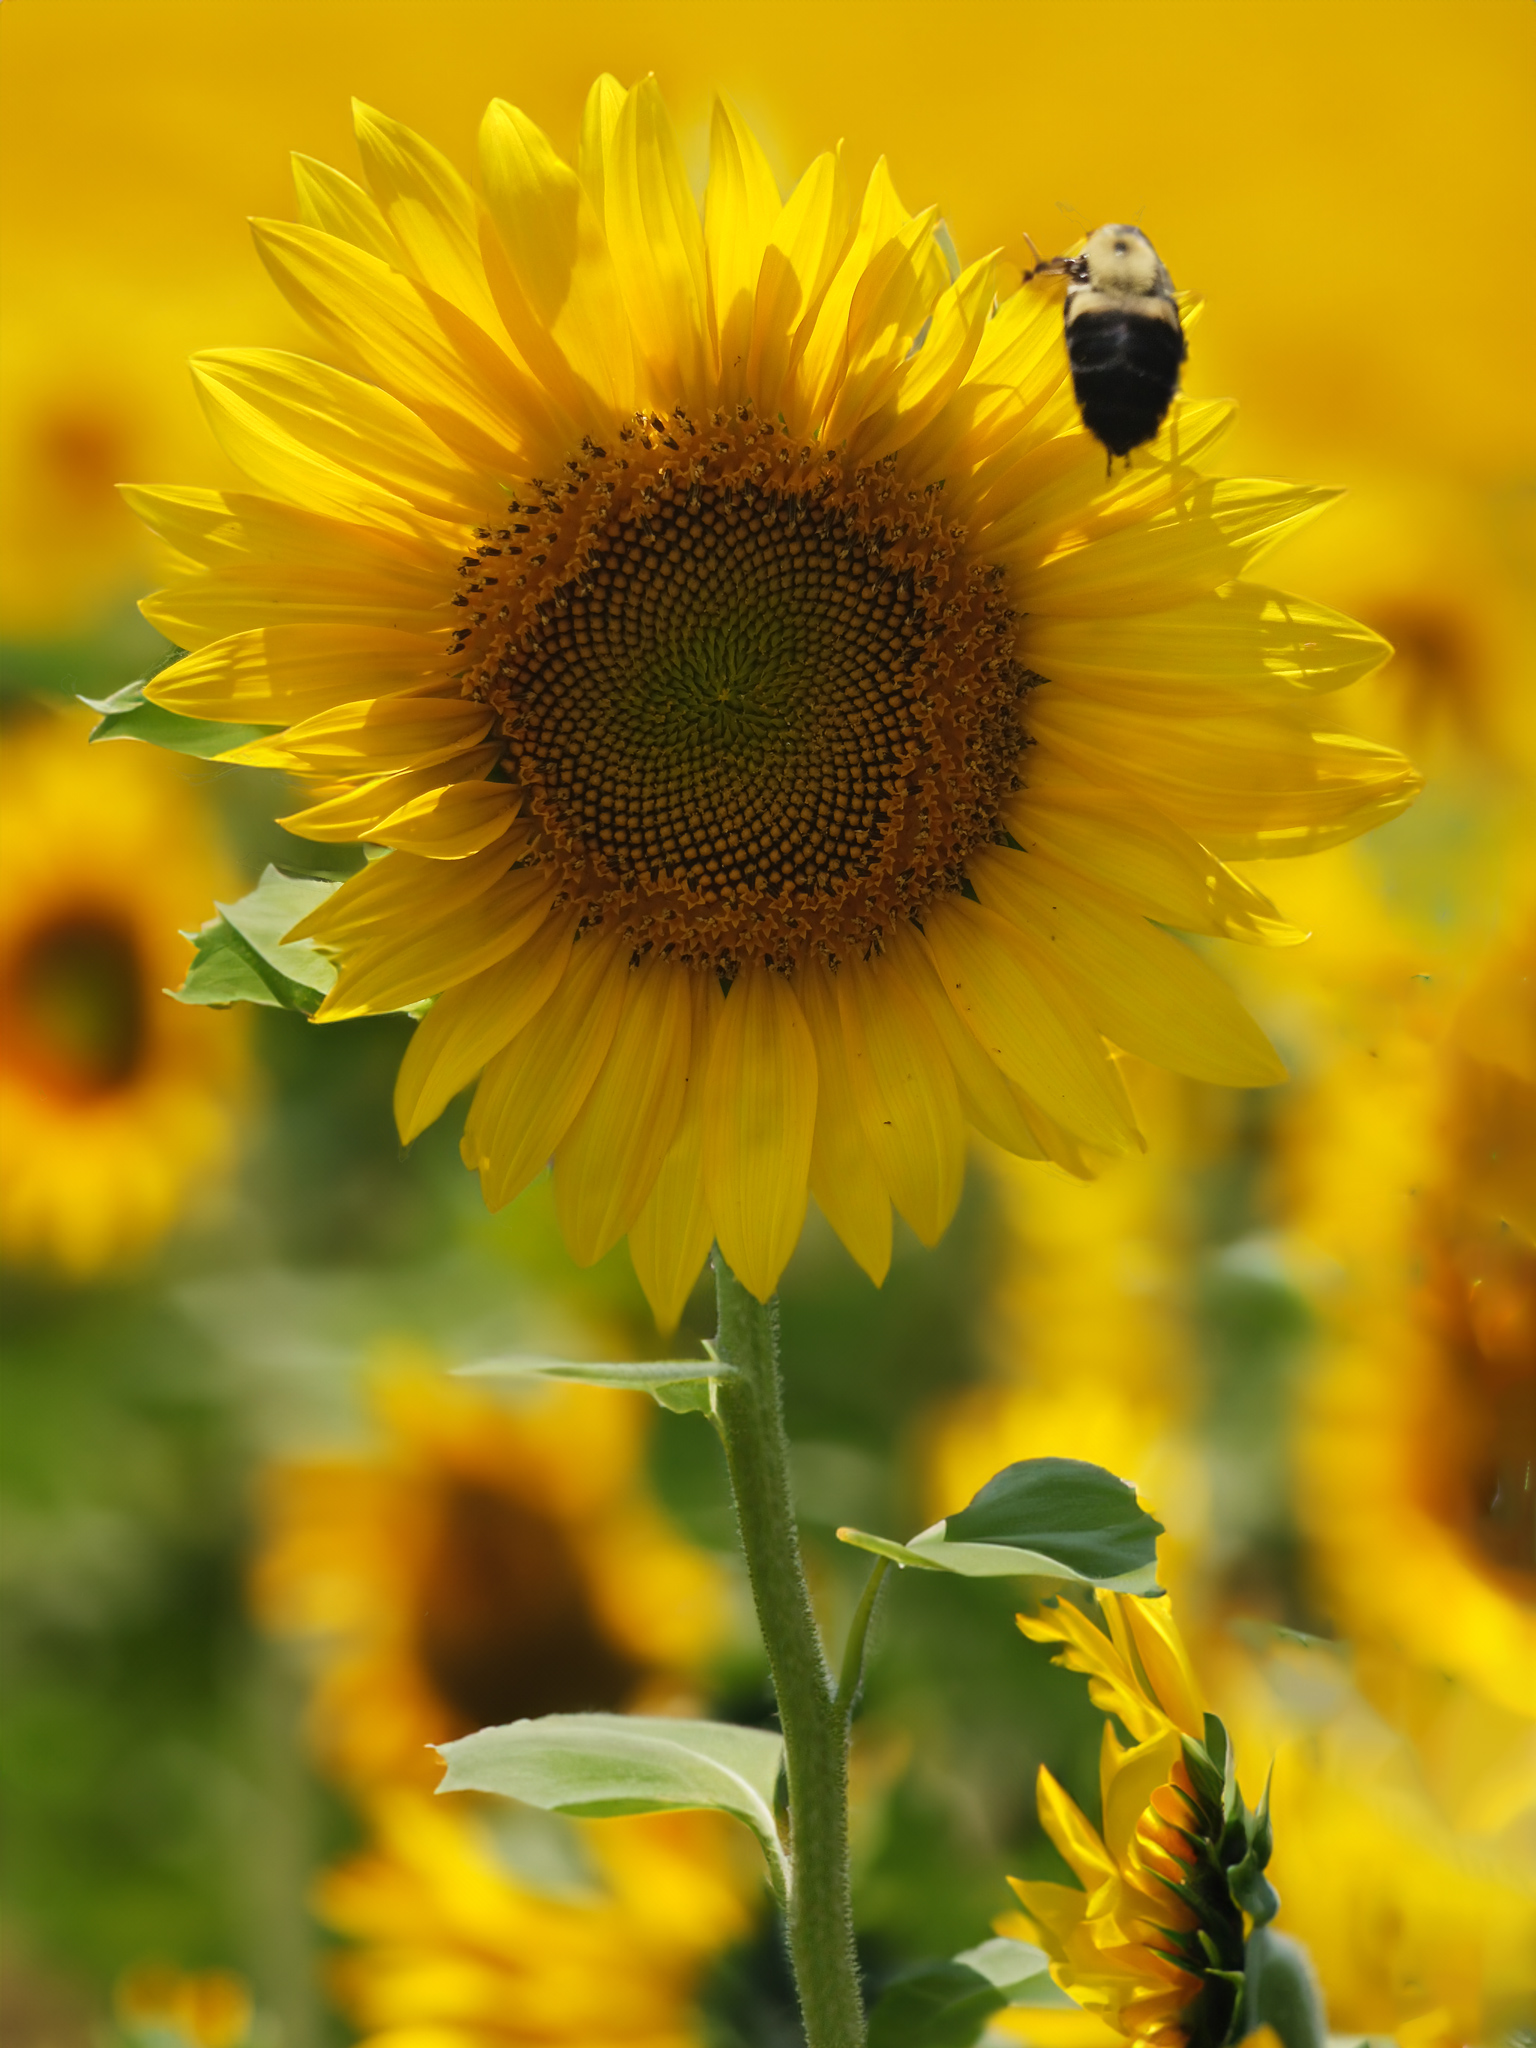
| 95 |
Oct 20 |
Comment |
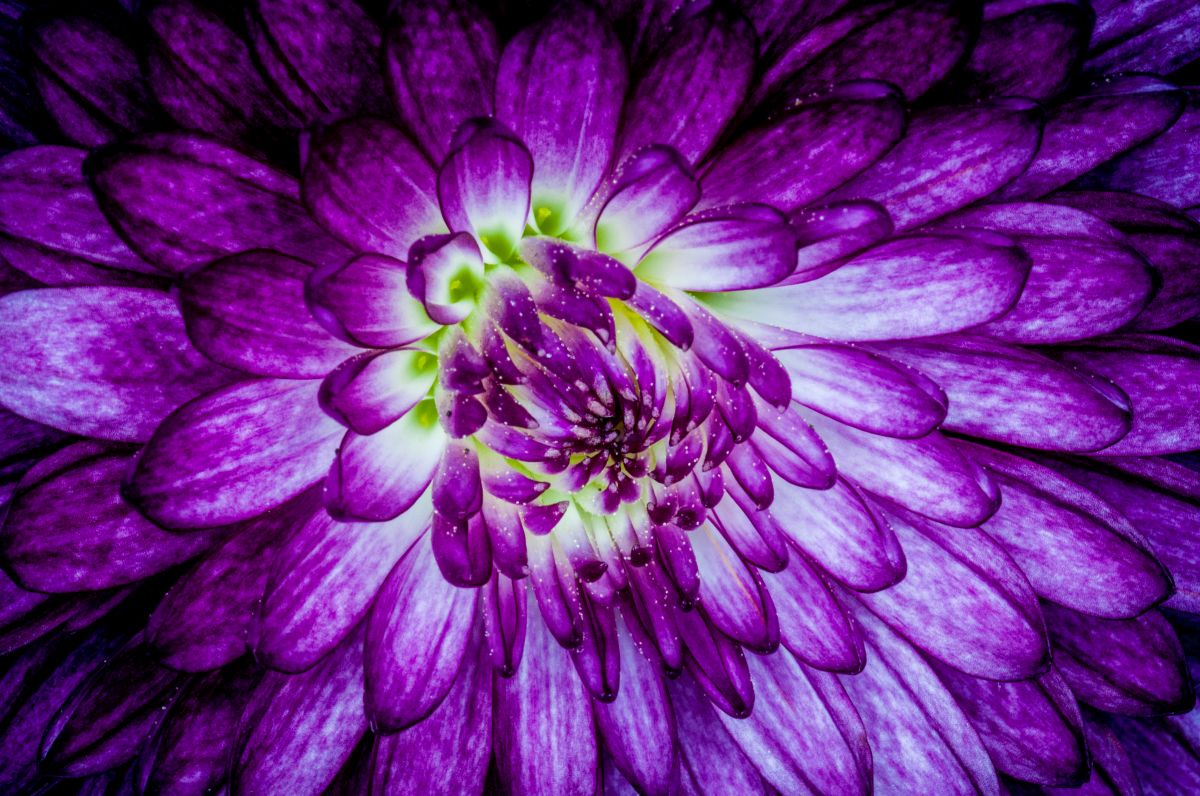
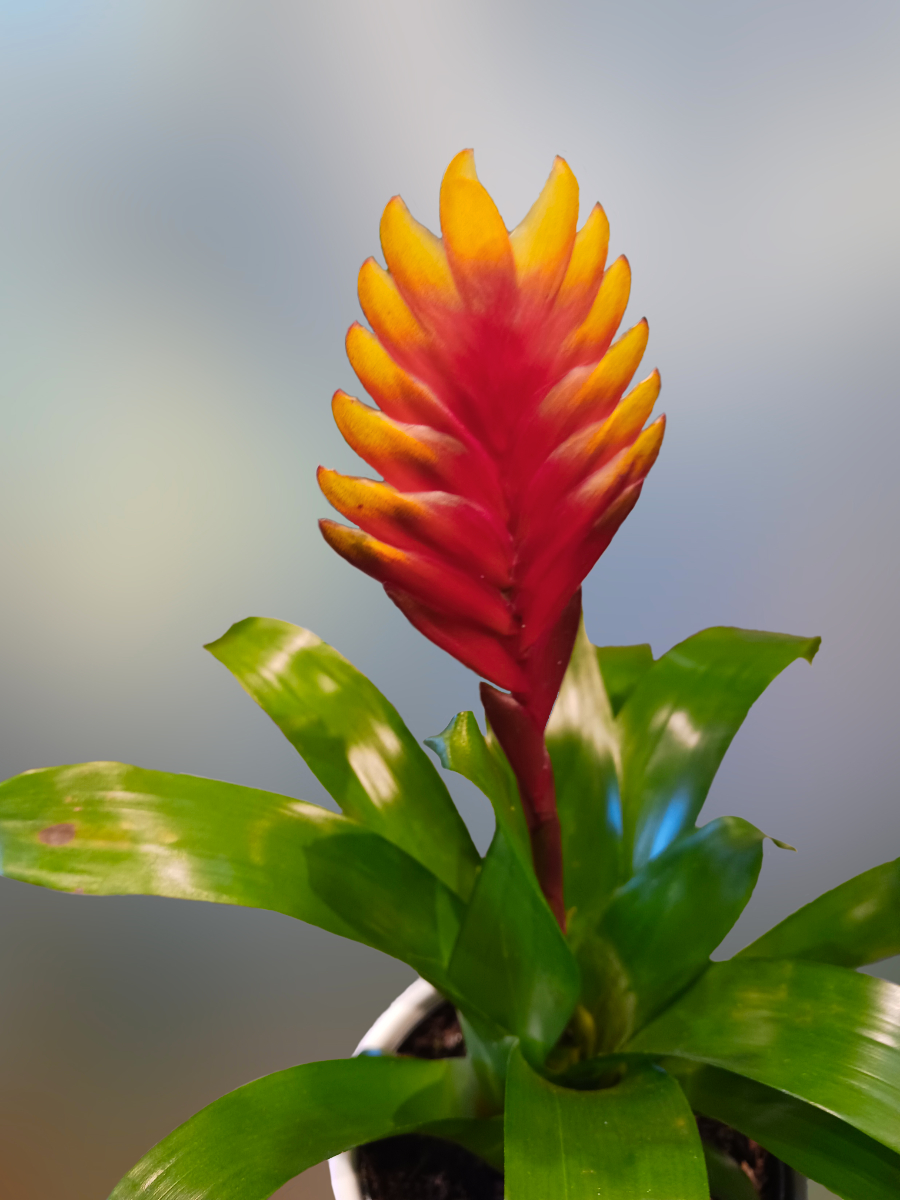
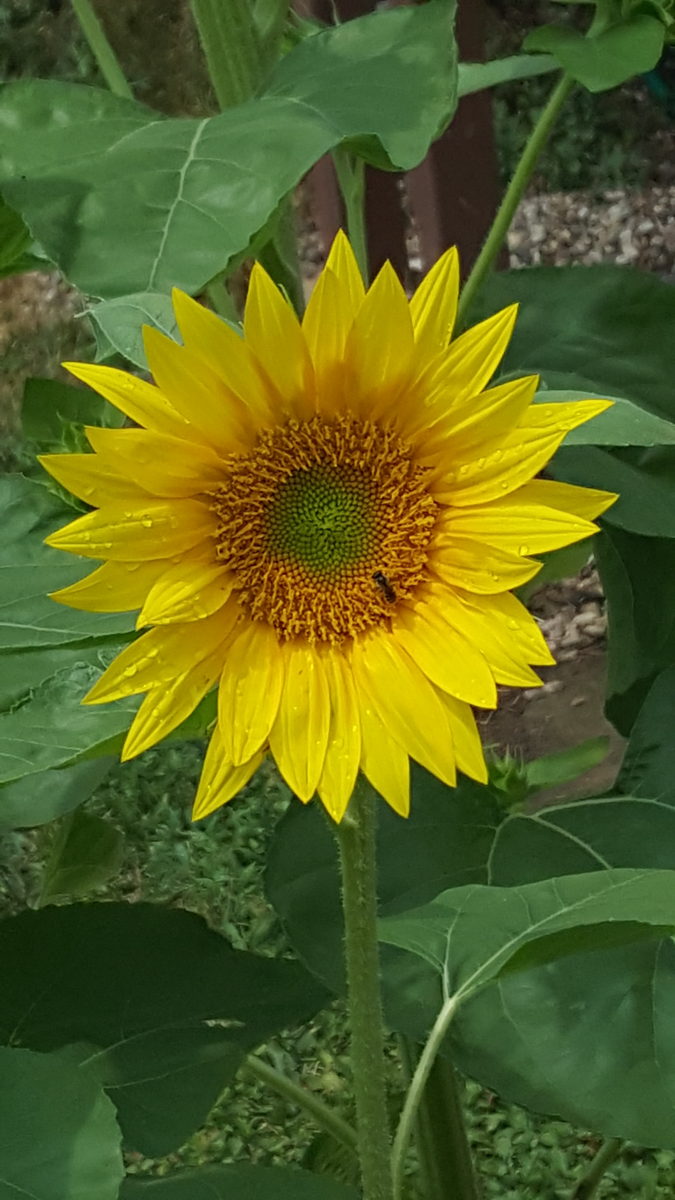
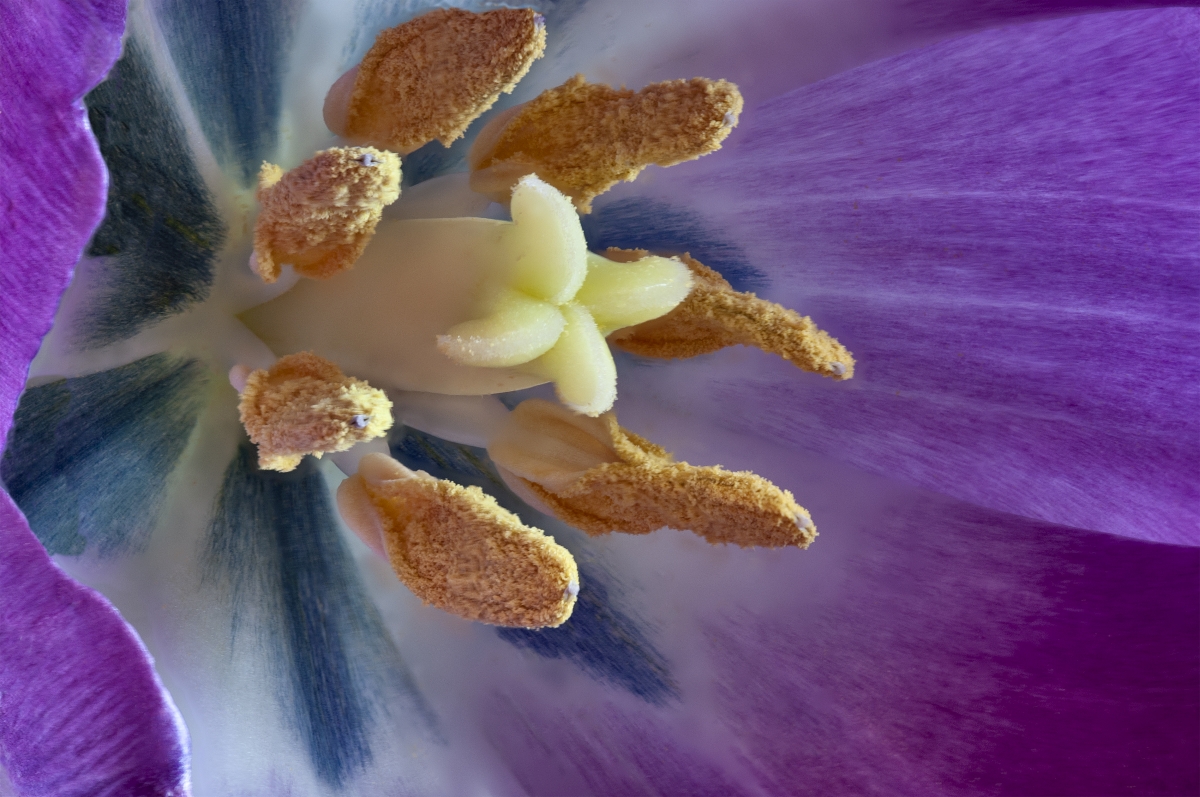
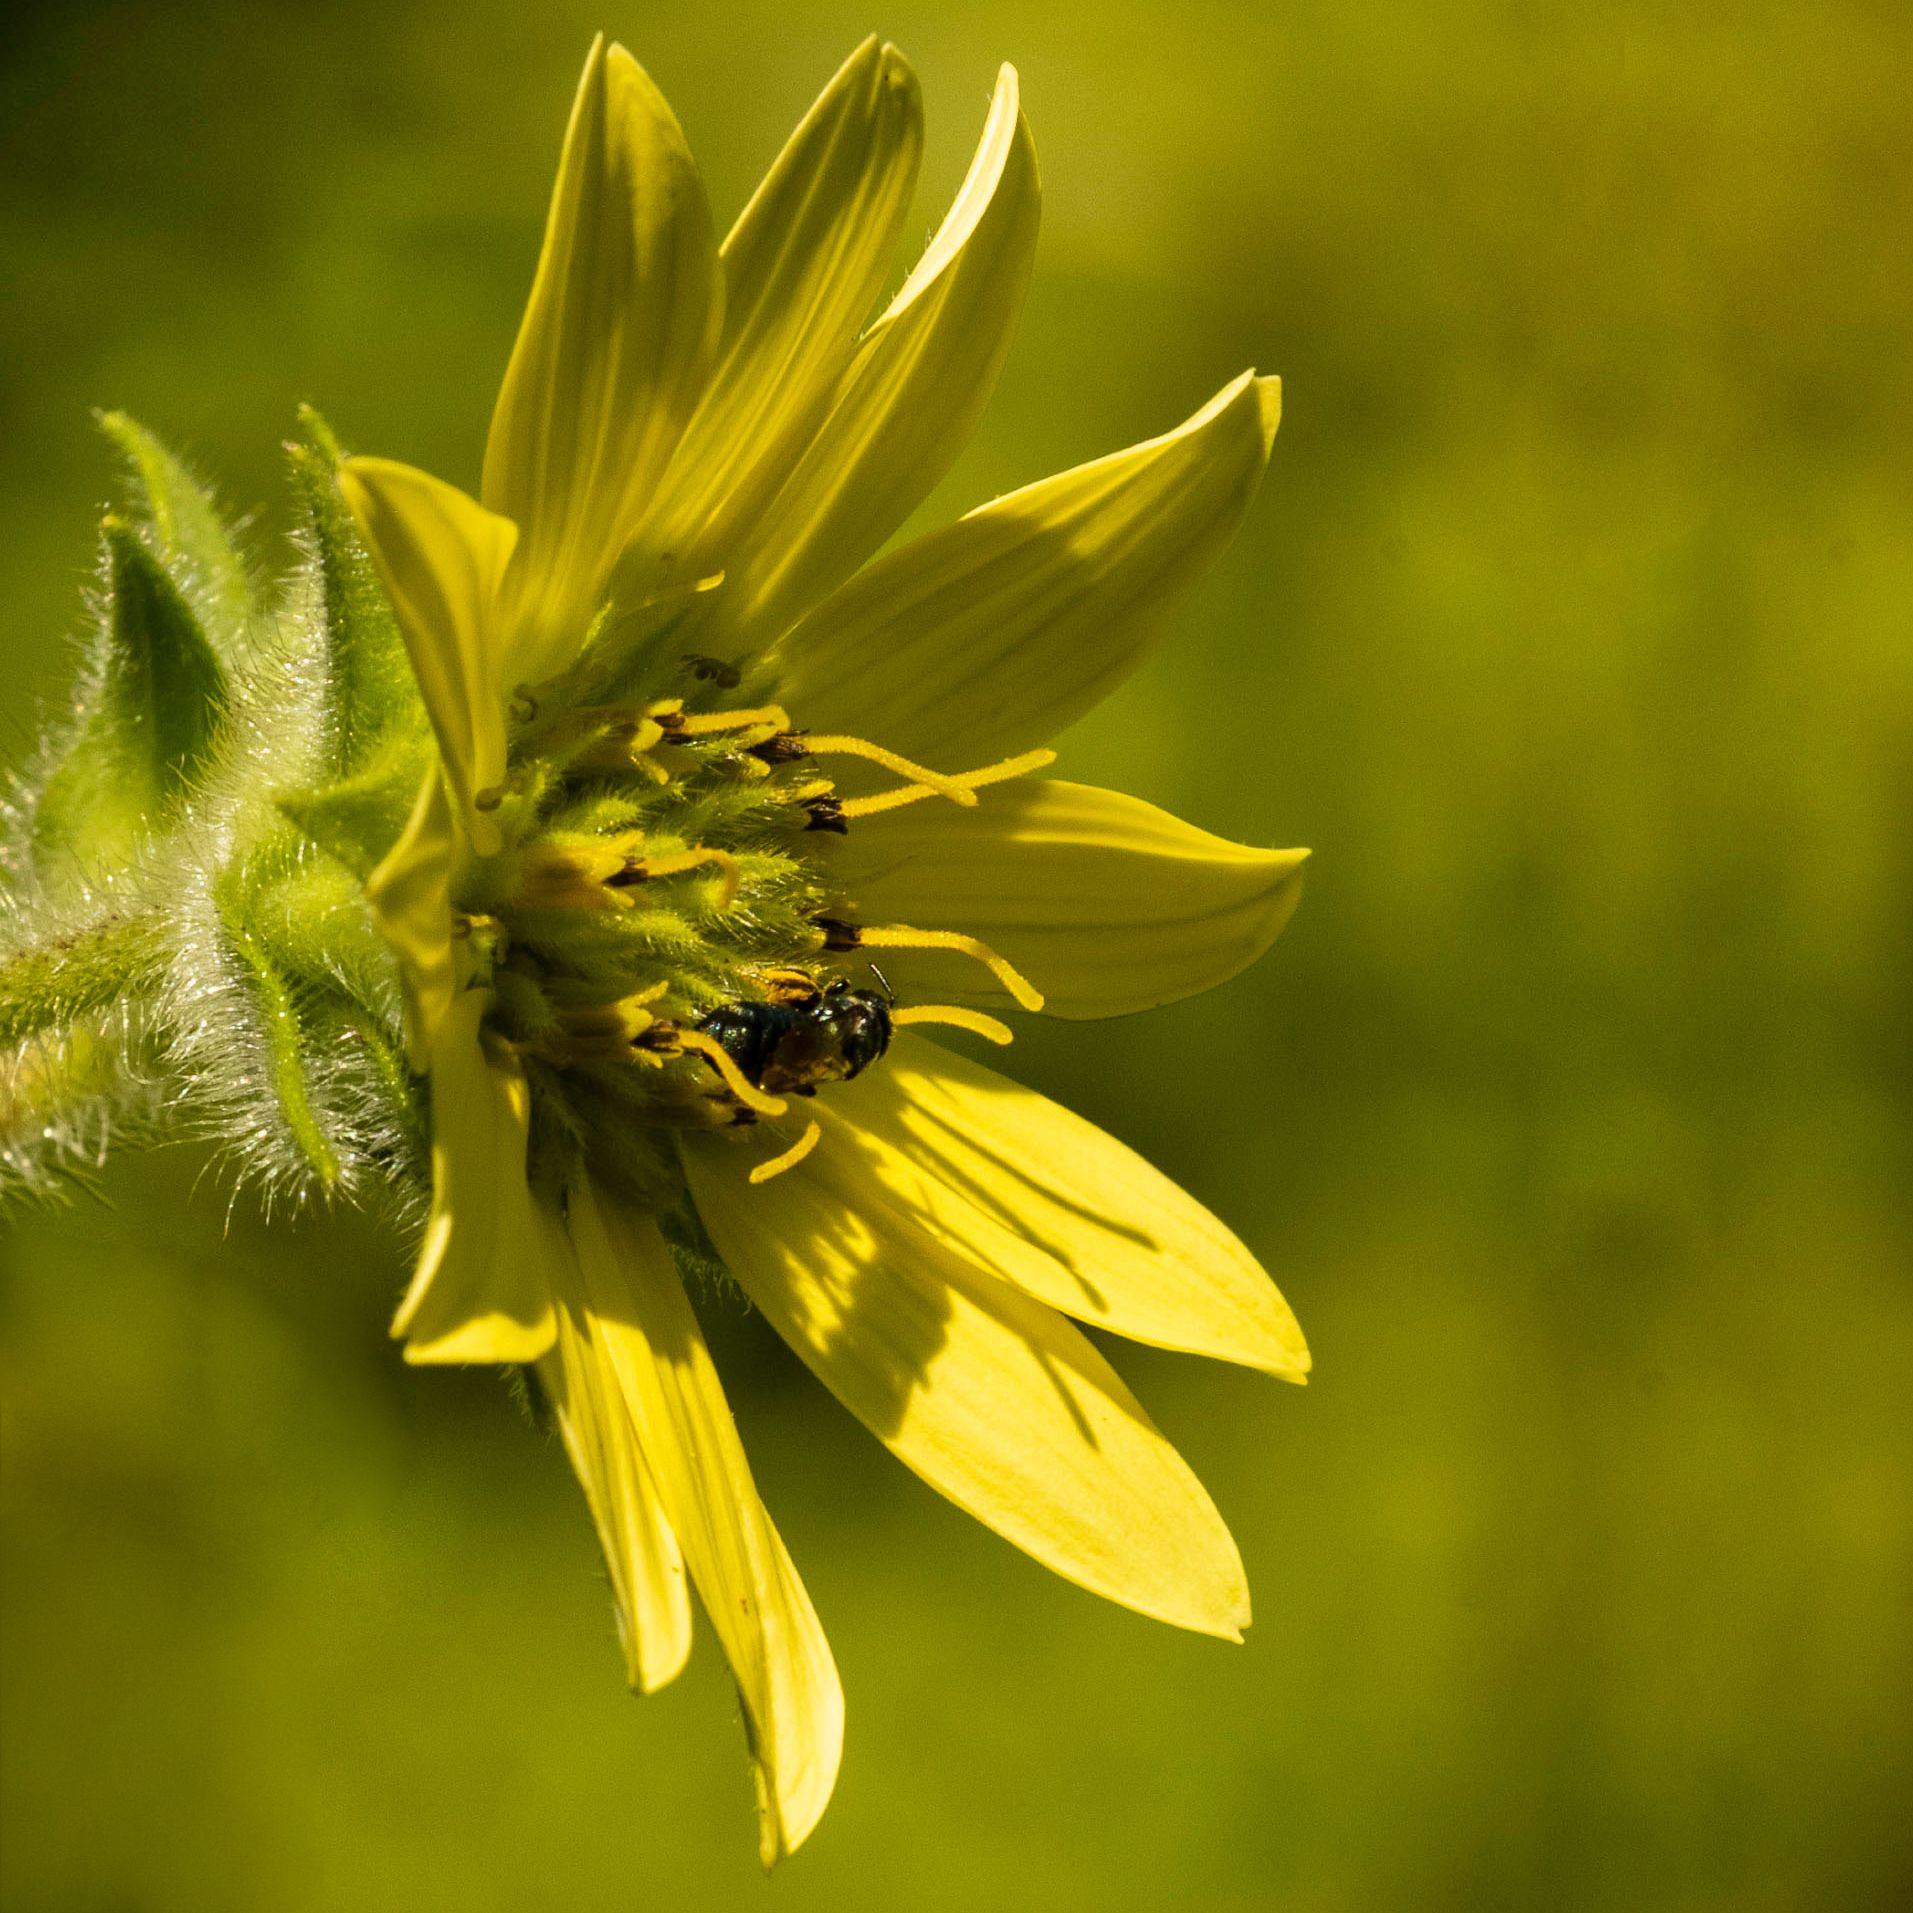
I like this a lot, especially with the lovely bokeh background that pops the flower with its guest.
I fould that it was a little crowded, so I cropped it on the left, added canvas on the right and did an InPainting Fill in Affinity Photo (equivalent to Content-Aware in Photoshop). I then removed the blurry flower behind, and finally dodged the bee to bring it more visible. Thoughts? |
Oct 16th |
 |
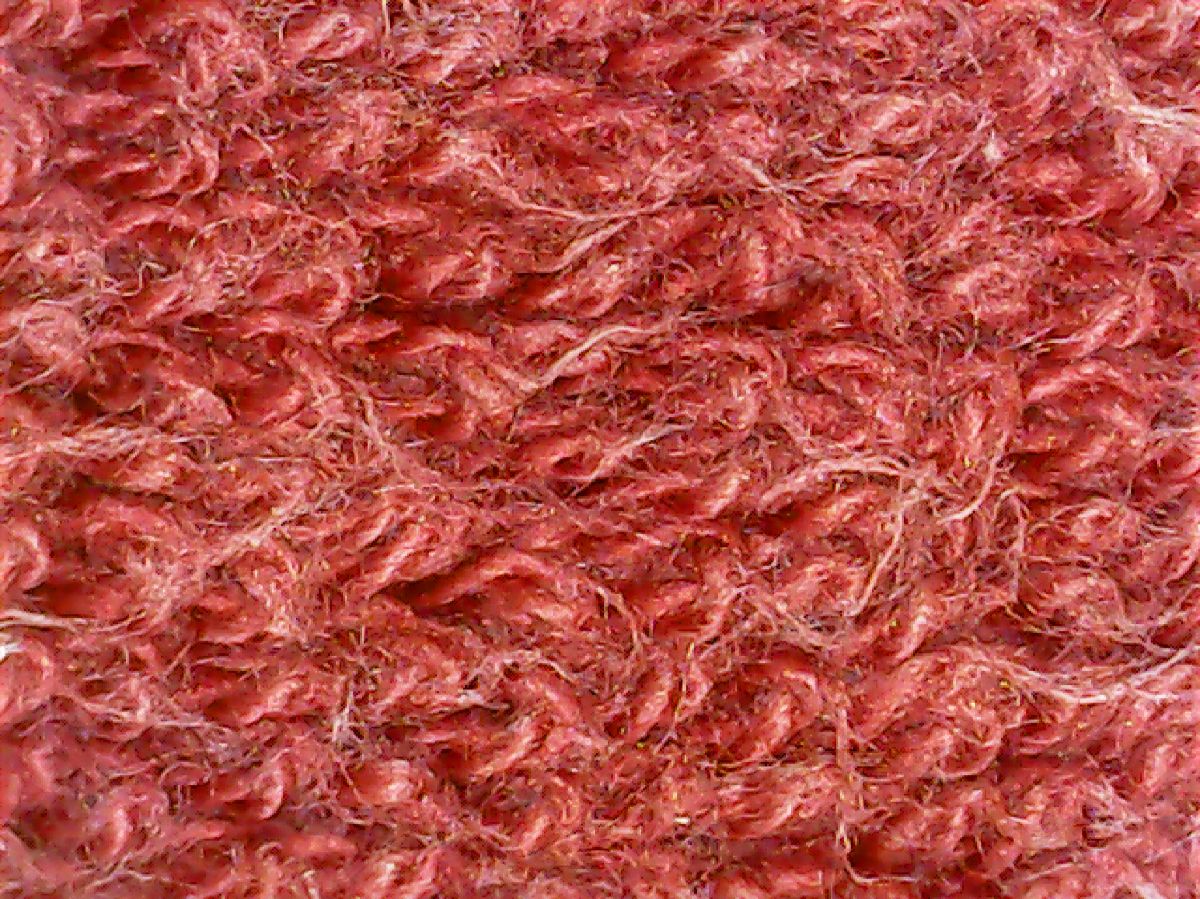
| 95 |
Oct 20 |
Reply |
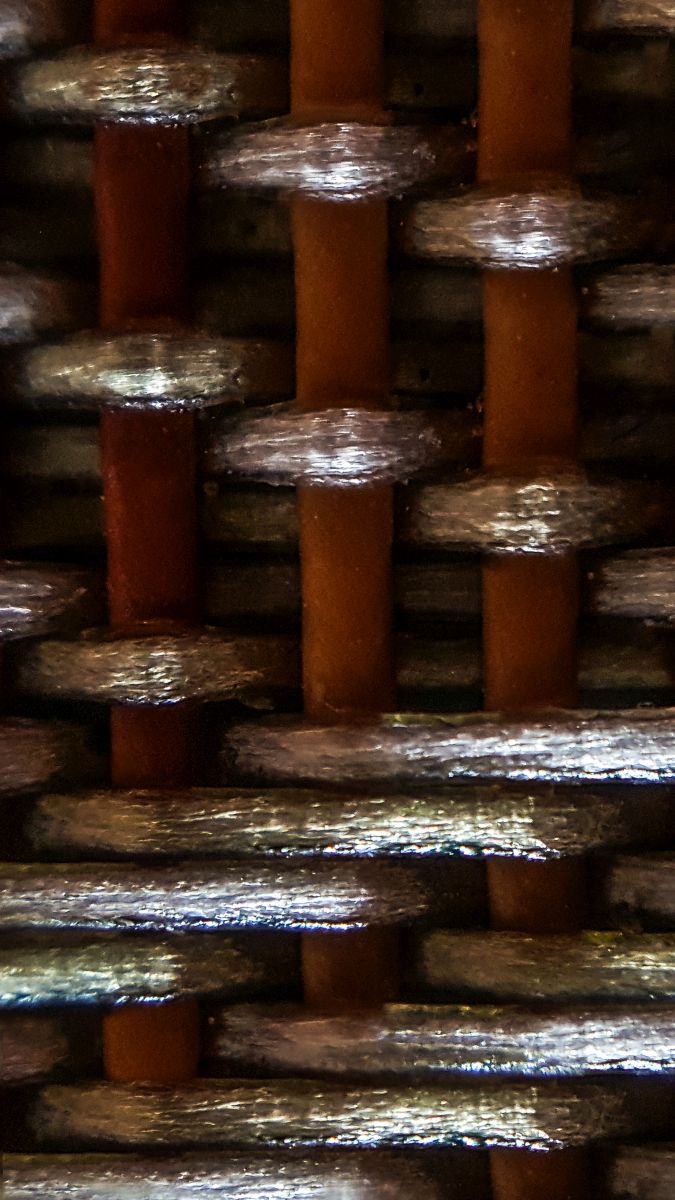
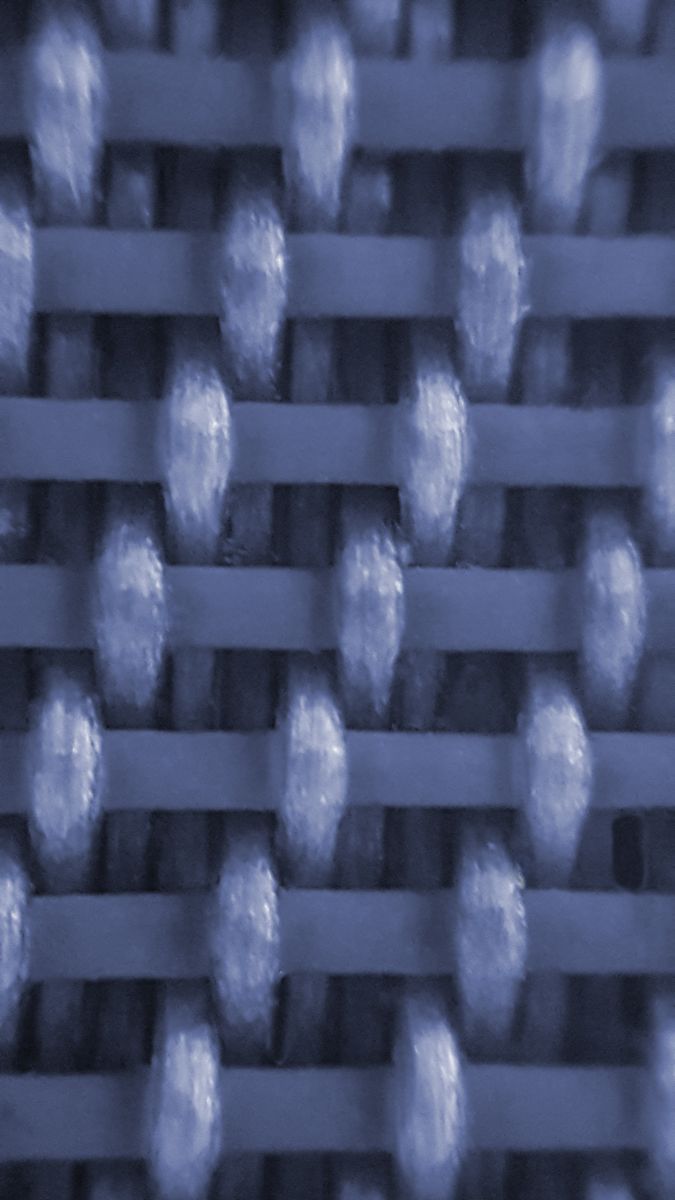
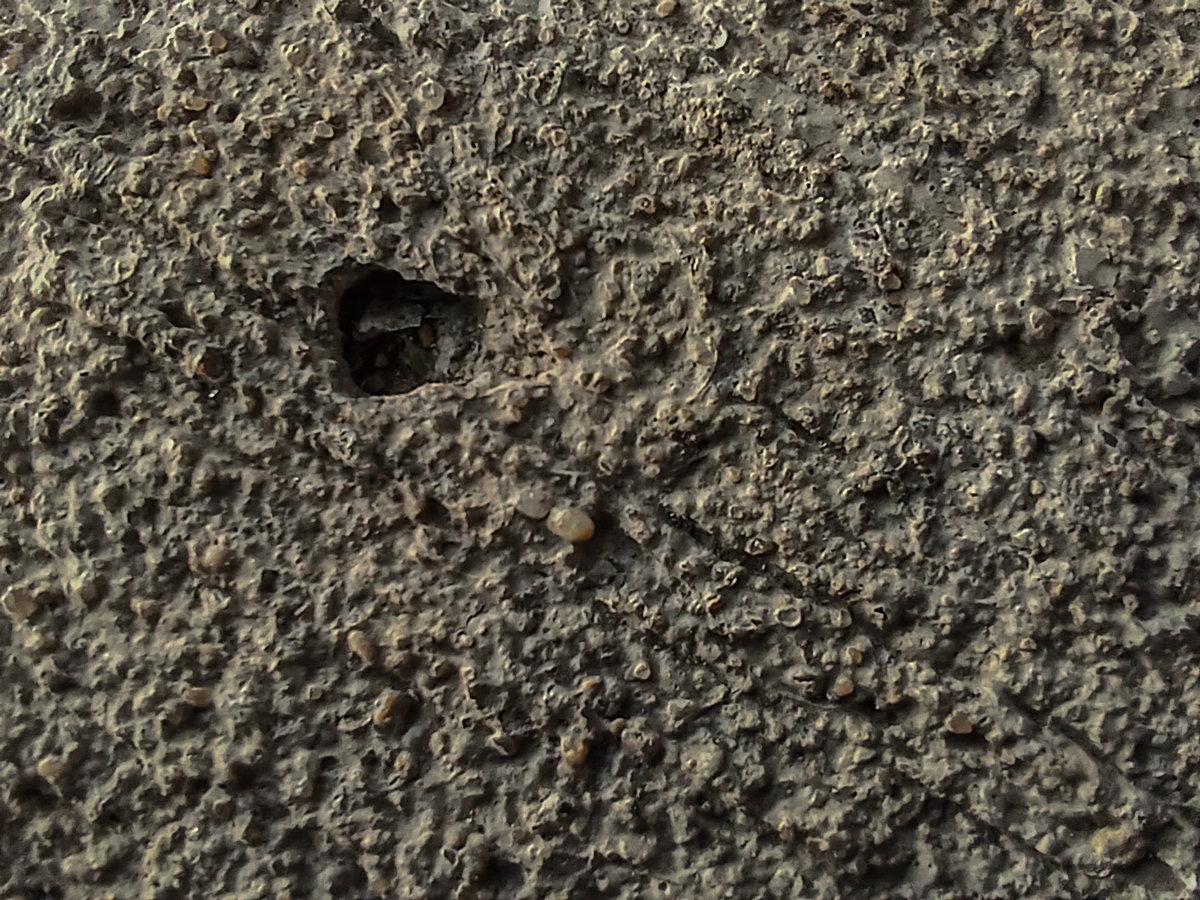
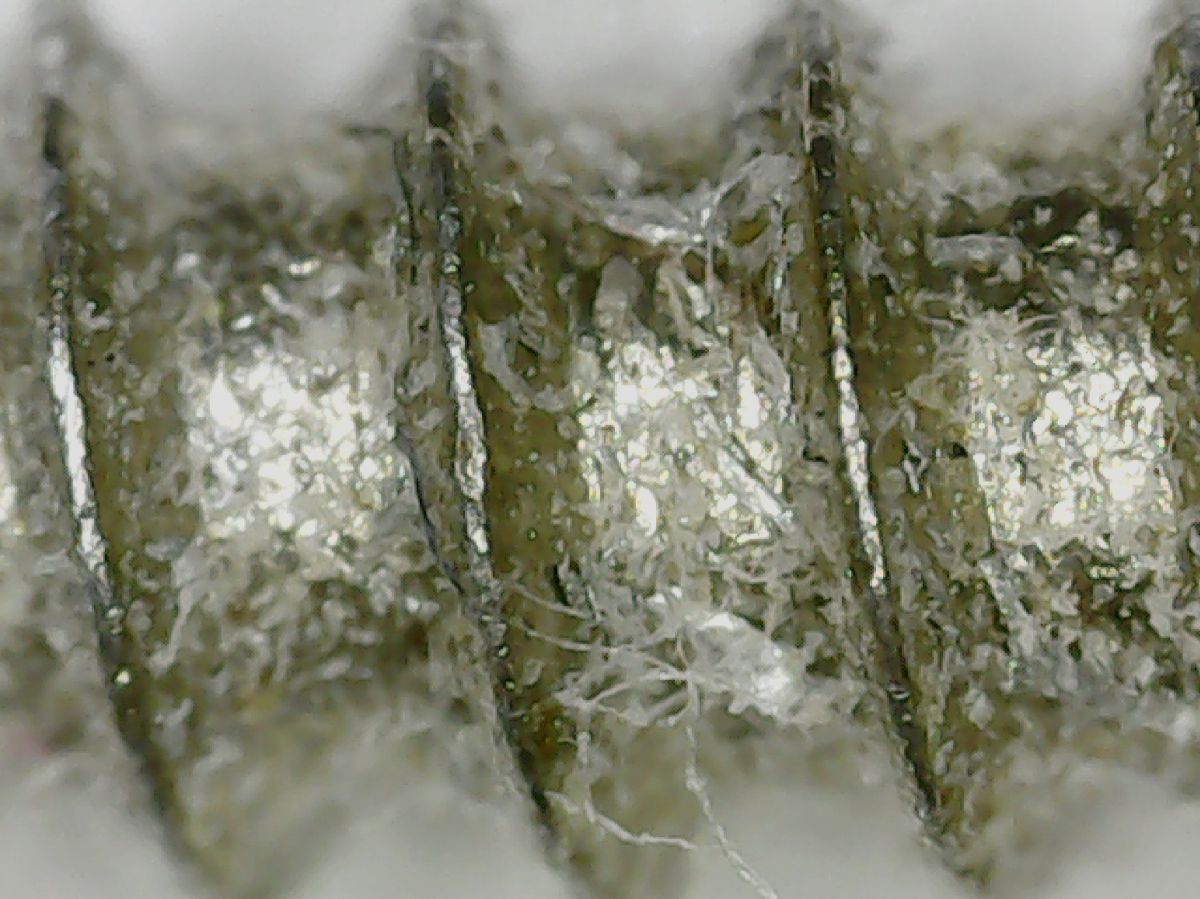
The plastic really surprised me. I'm accustomed to seeing plastic threads when a hole is bored, but had no idea on the micro fibers that a screw picks up. |
Oct 8th |
| 95 |
Oct 20 |
Reply |
I'm not familiar with it either, Nilan. Not sure what we'll encounter along the way, but it will definitely be an experience. d;¬{D |
Oct 8th |
| 95 |
Oct 20 |
Reply |
Thank you, Barbara. Who would think something so simple as a screw could become a piece of art? Certainly not I. d;¬{D |
Oct 6th |
| 95 |
Oct 20 |
Reply |
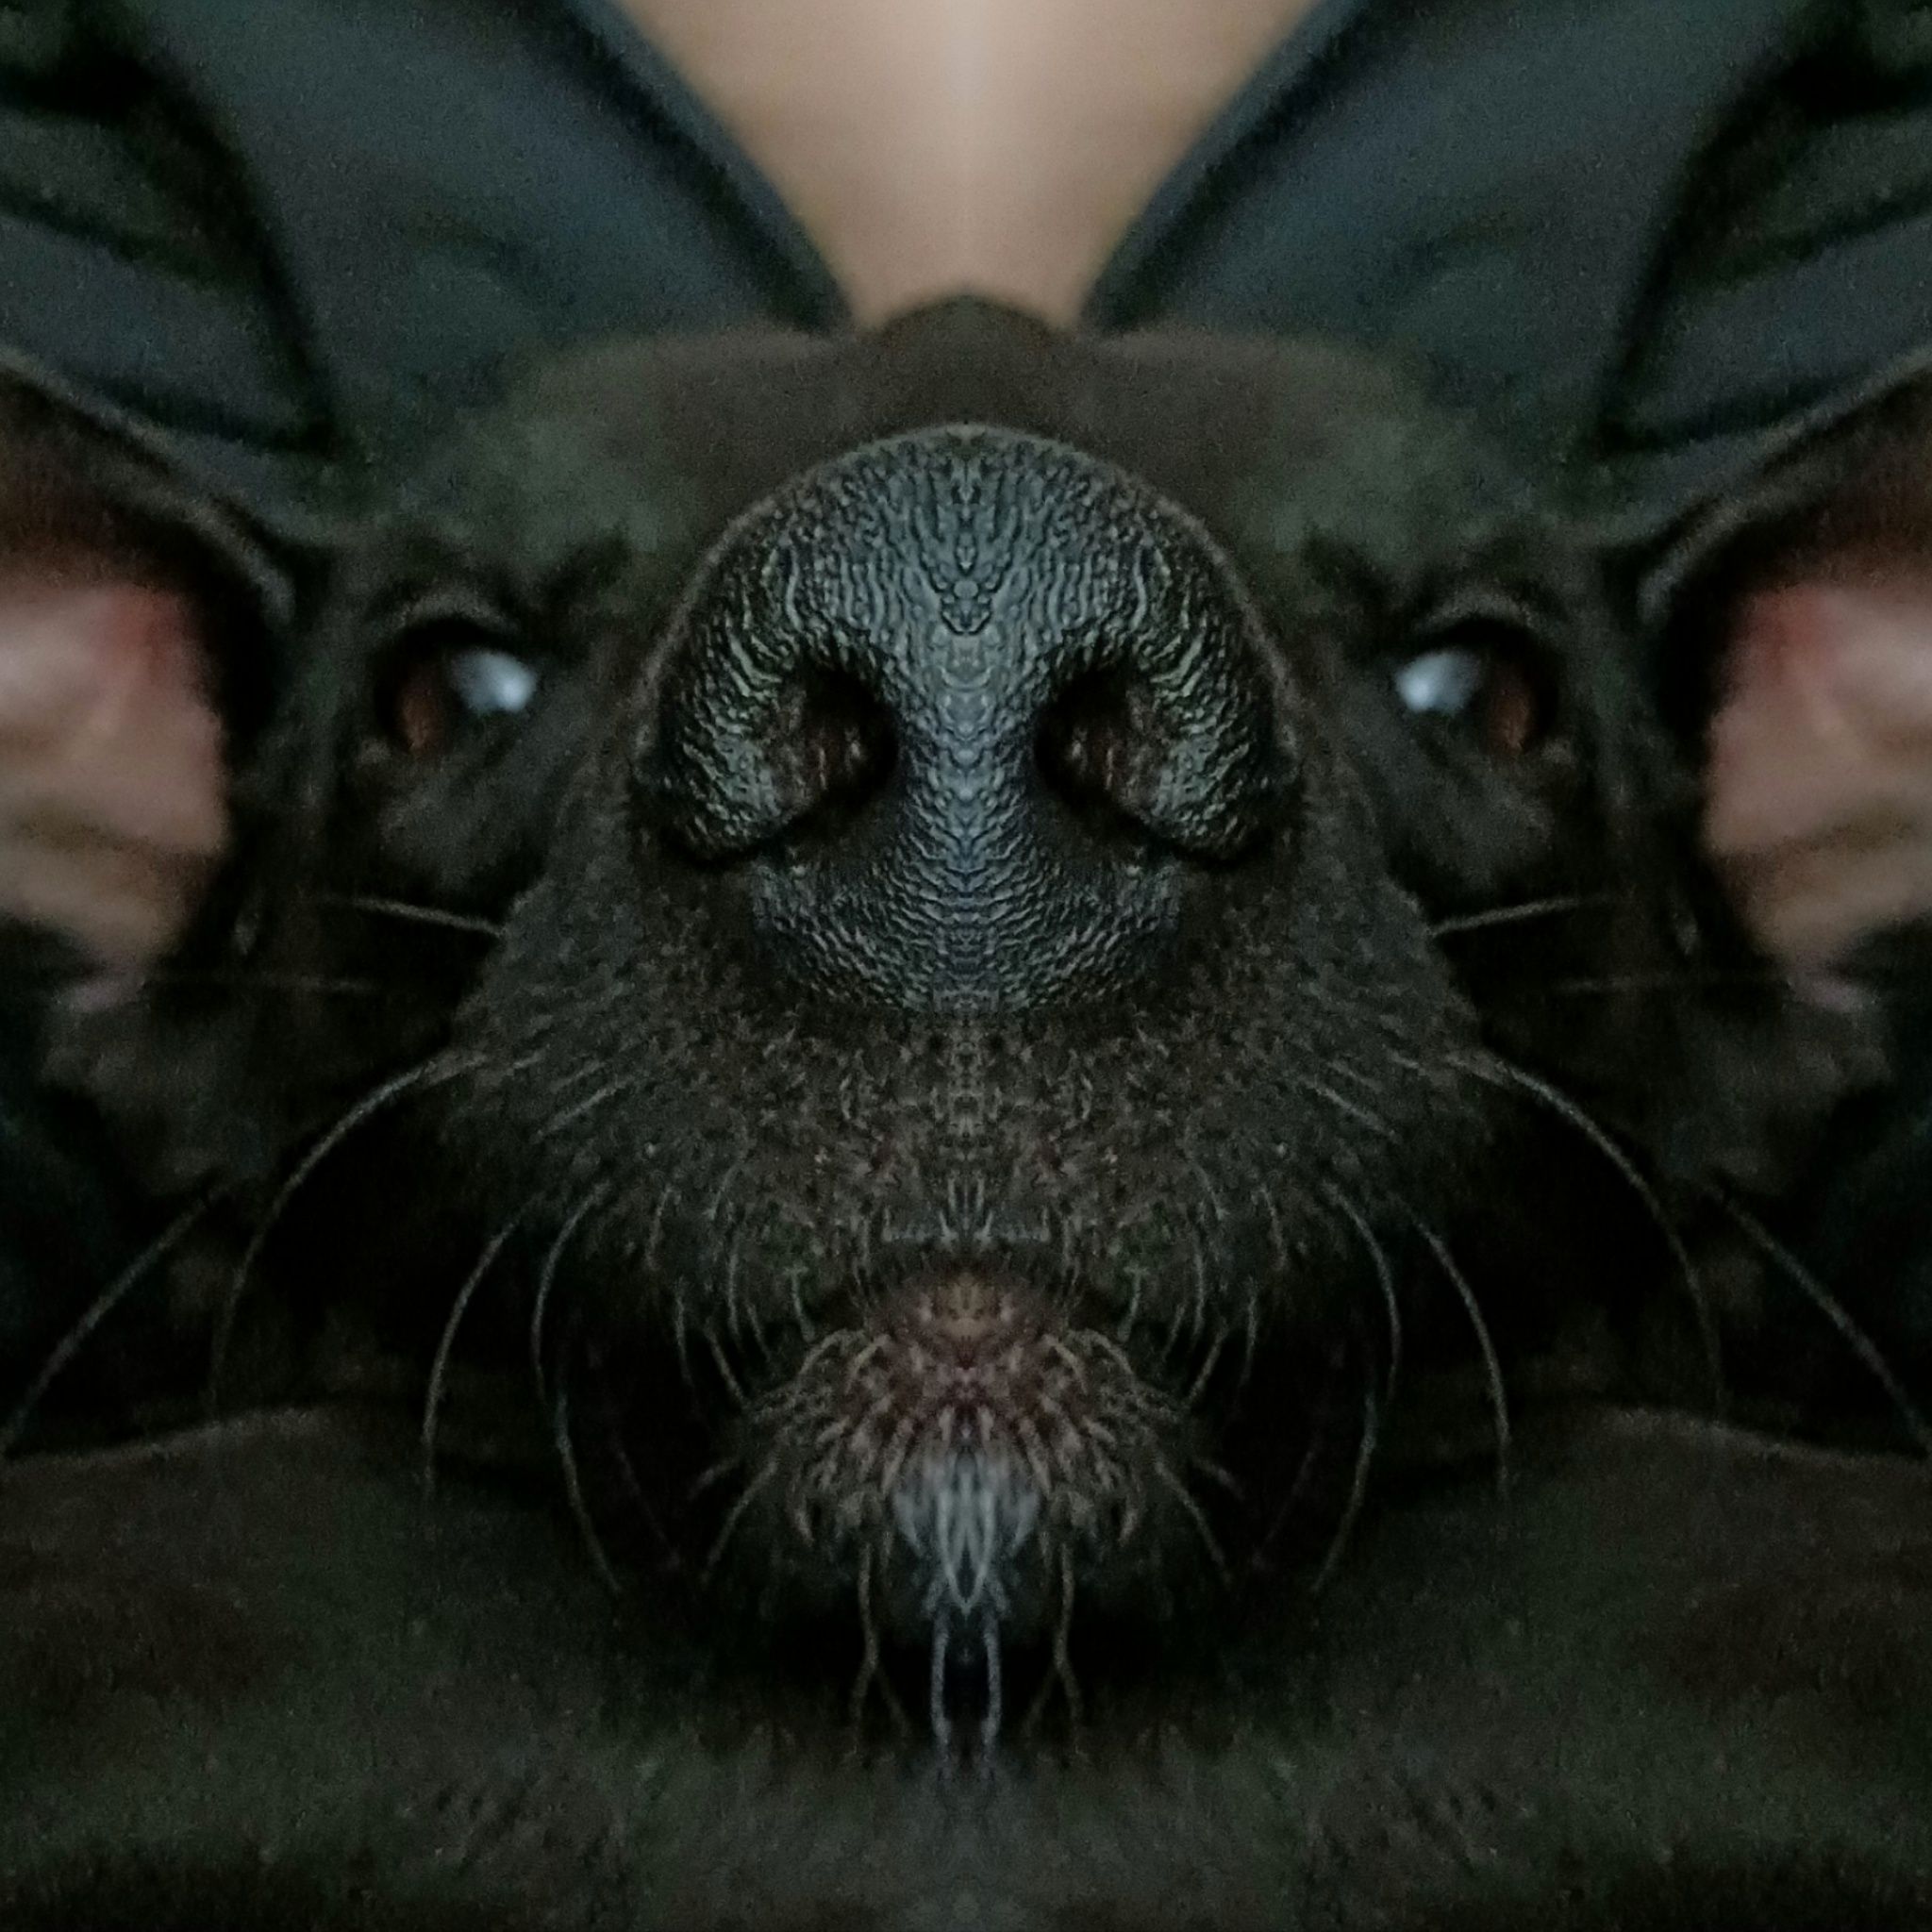
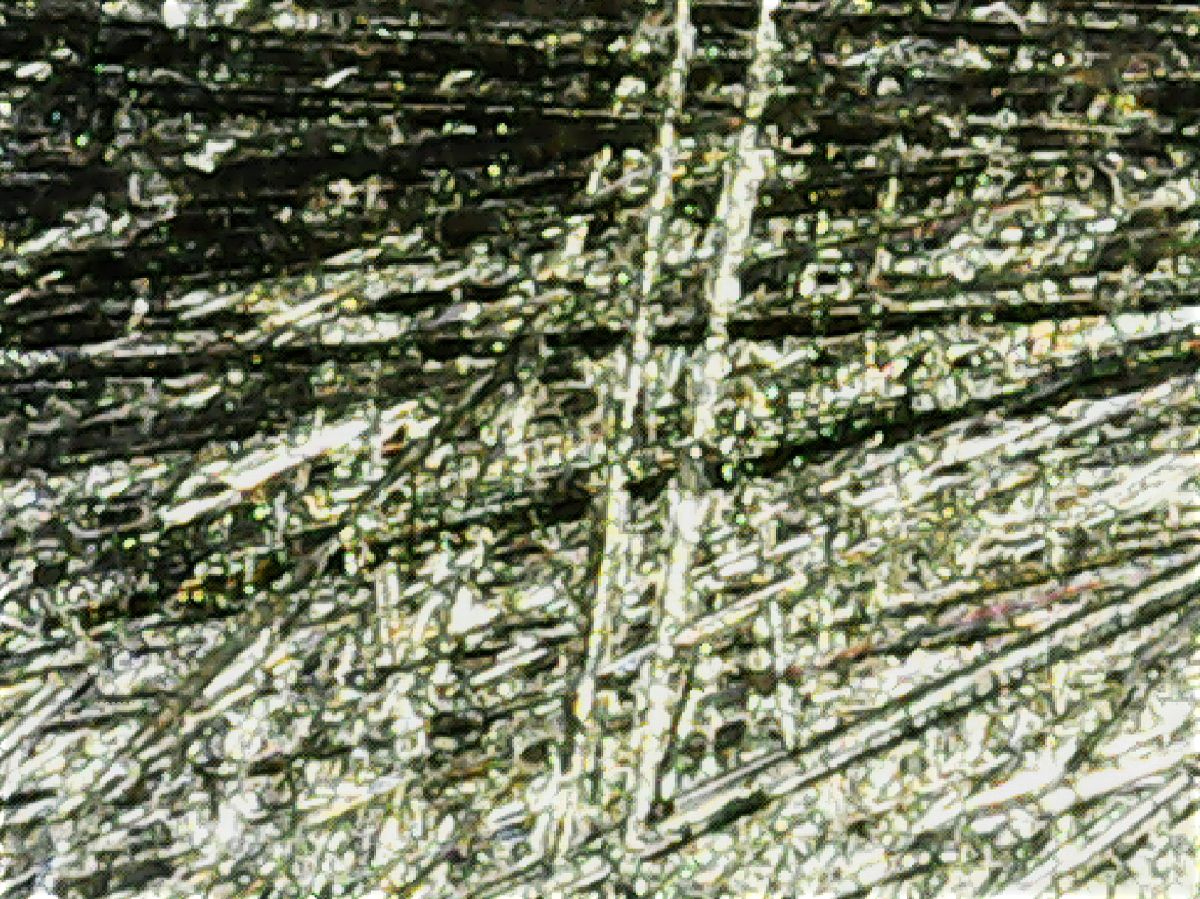
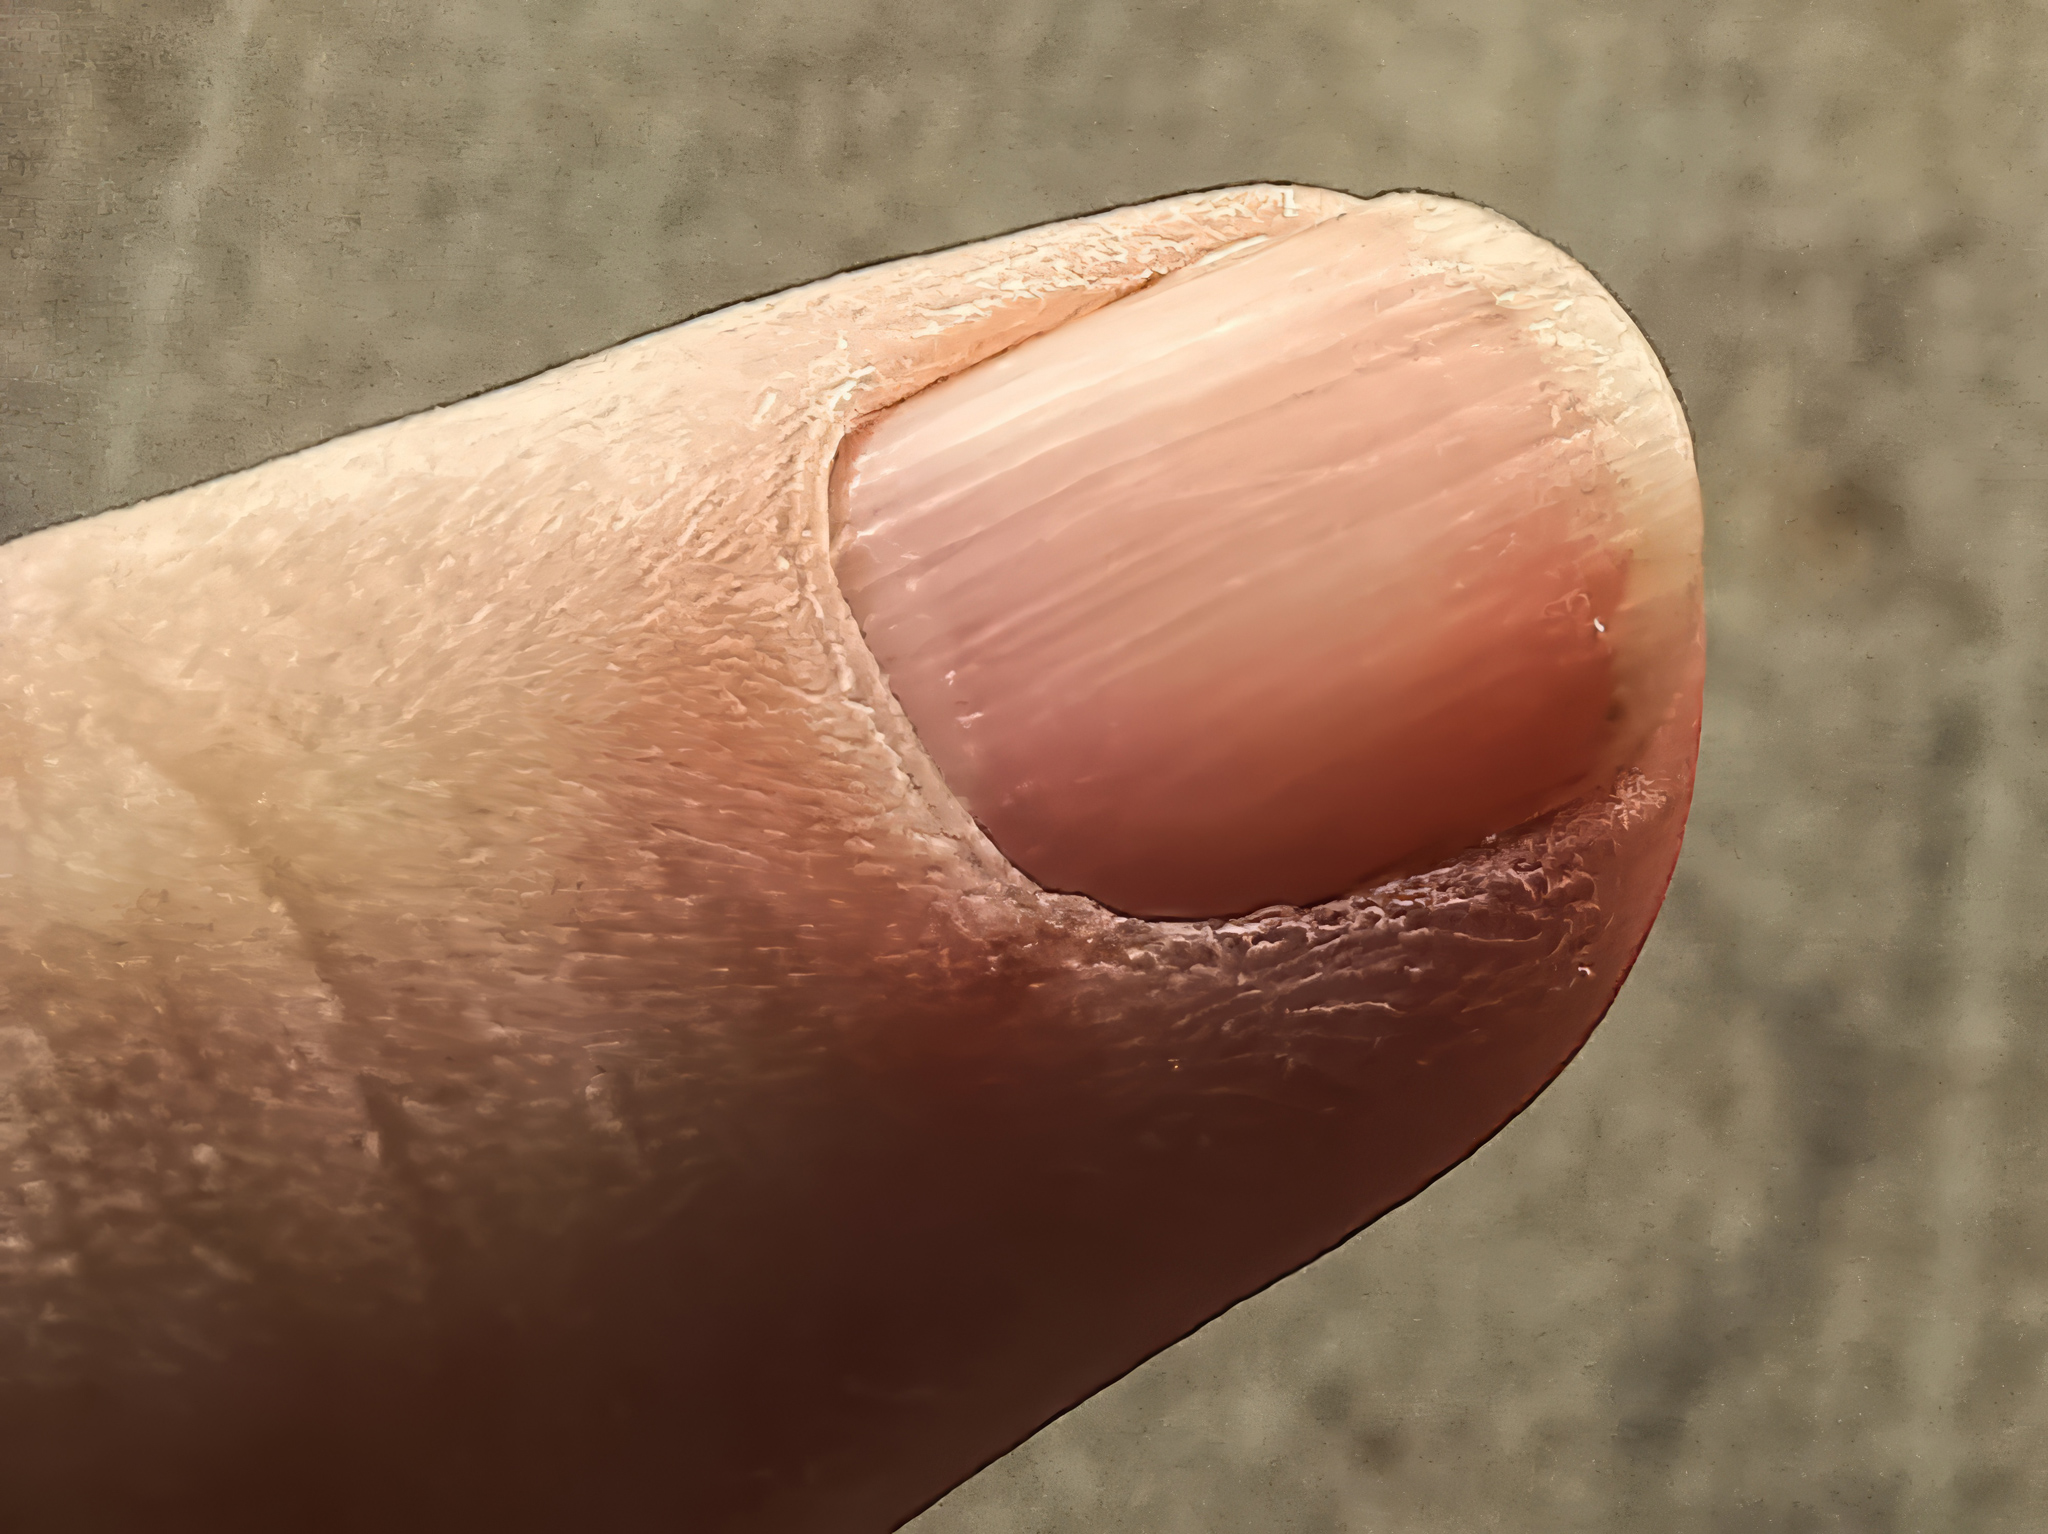
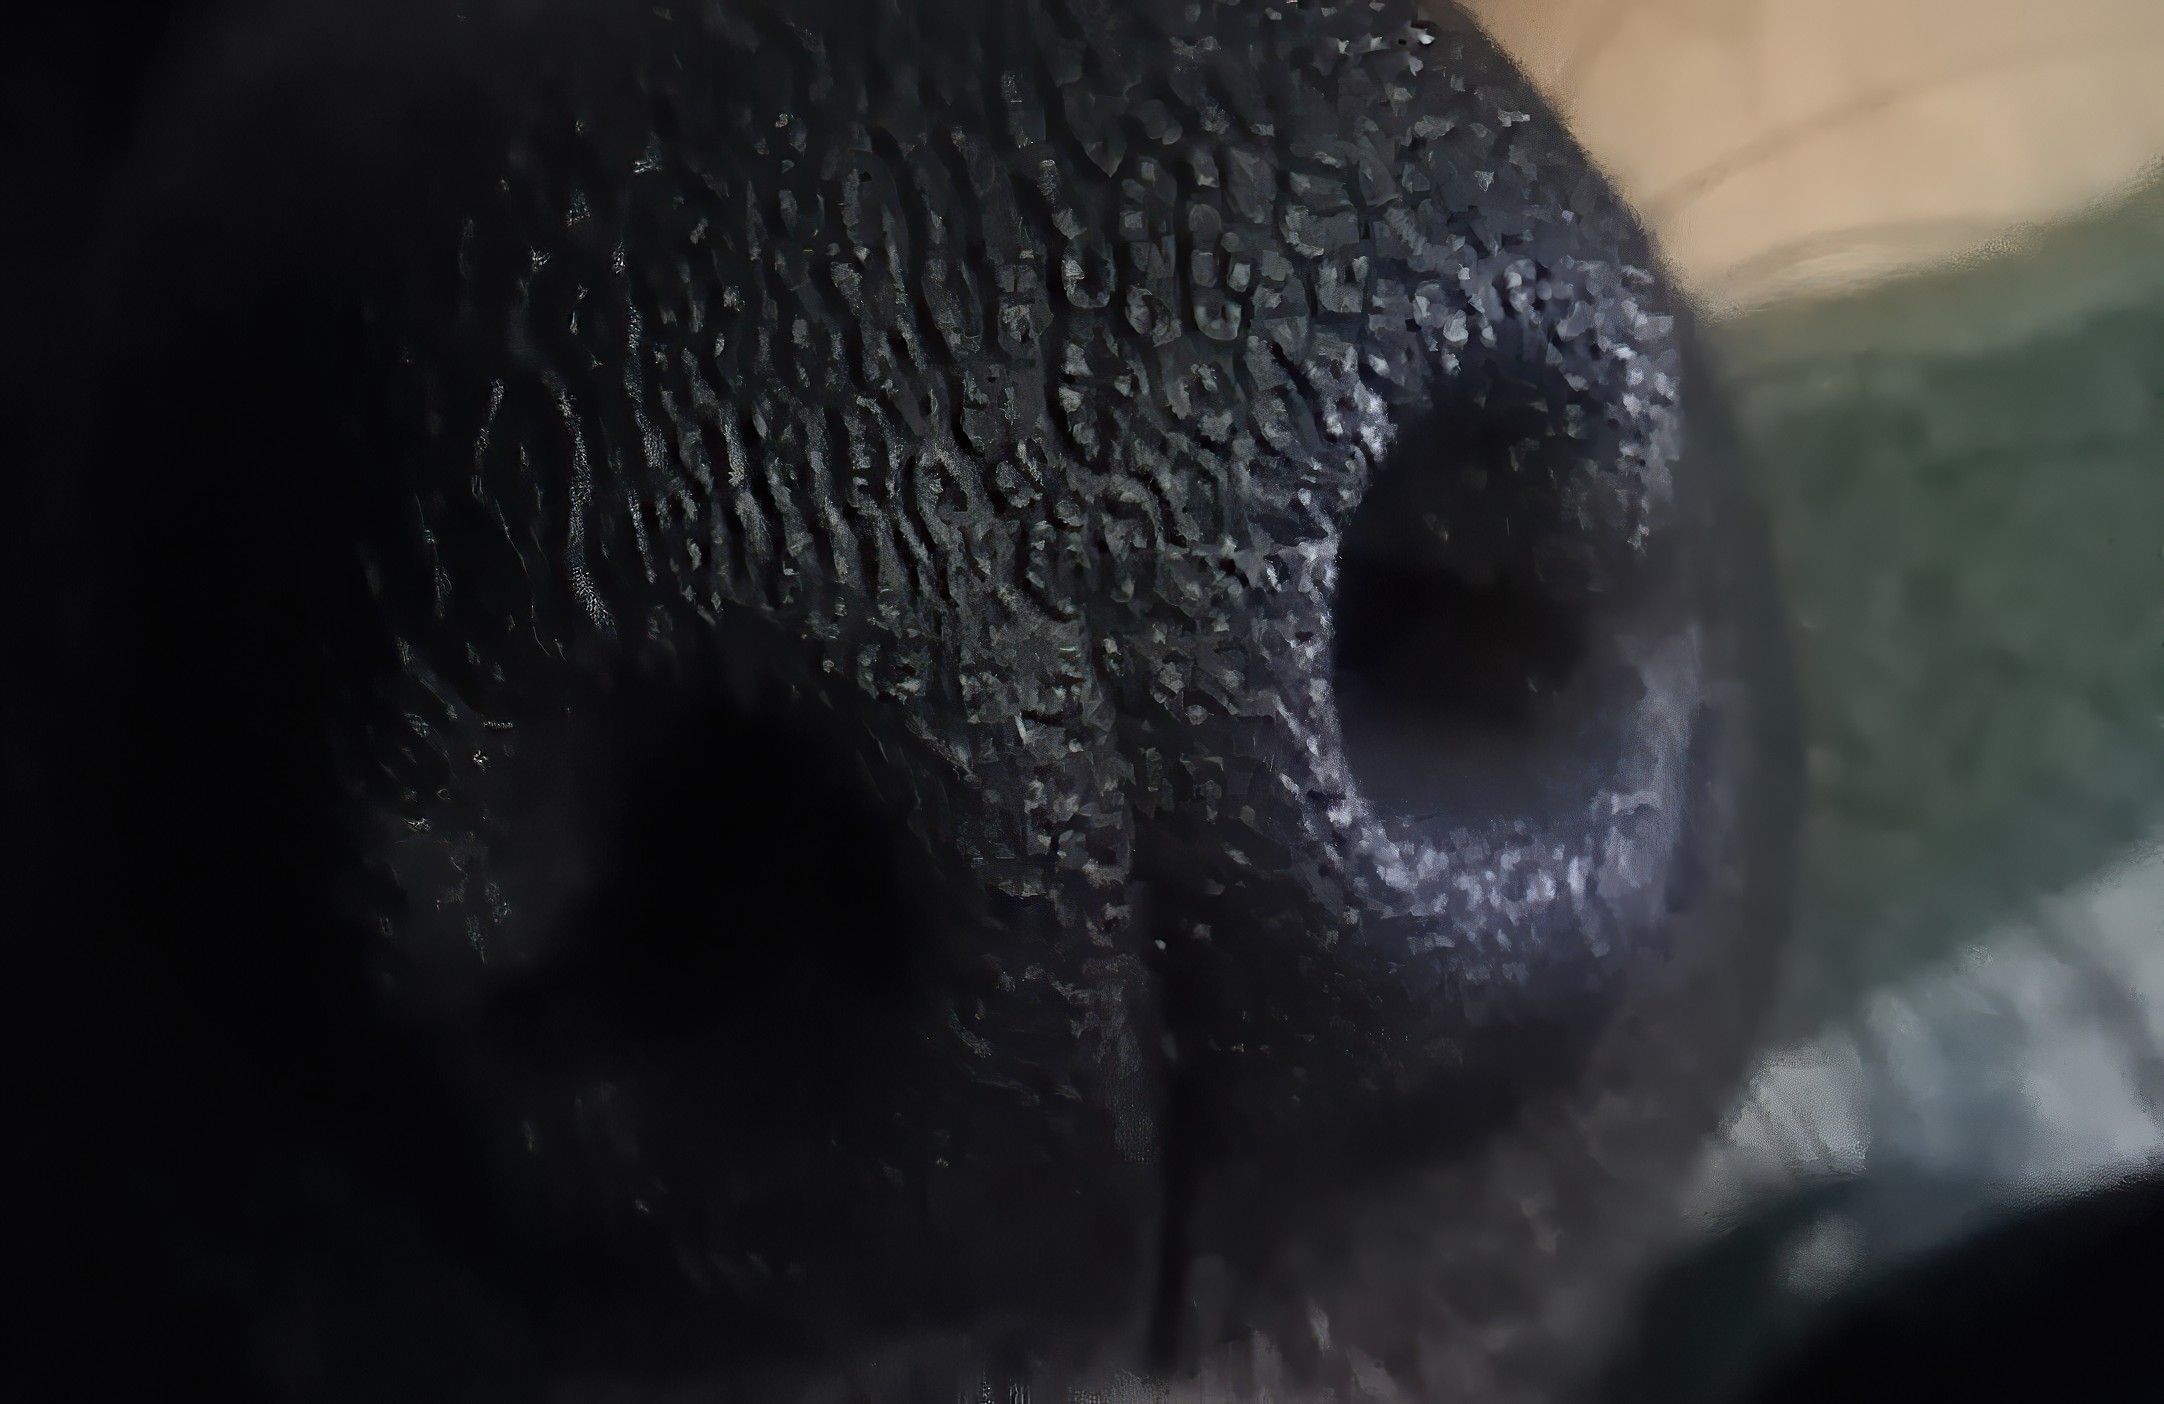
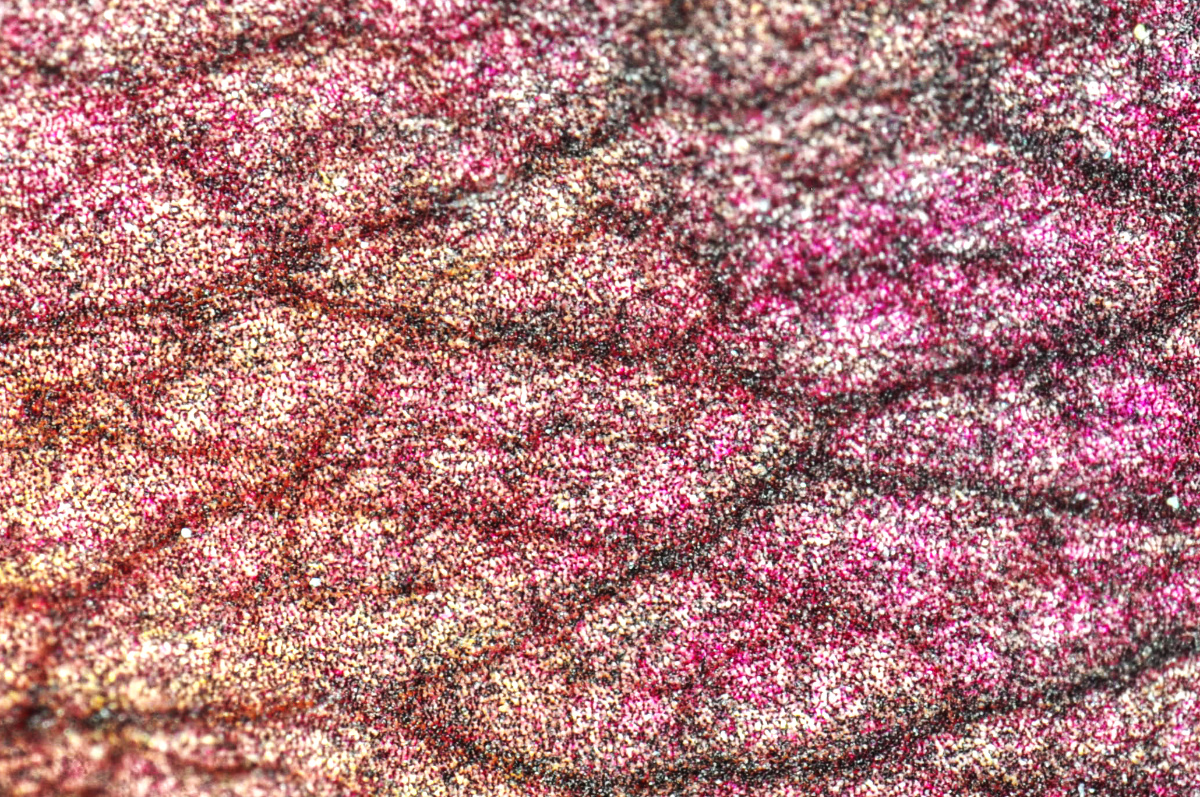
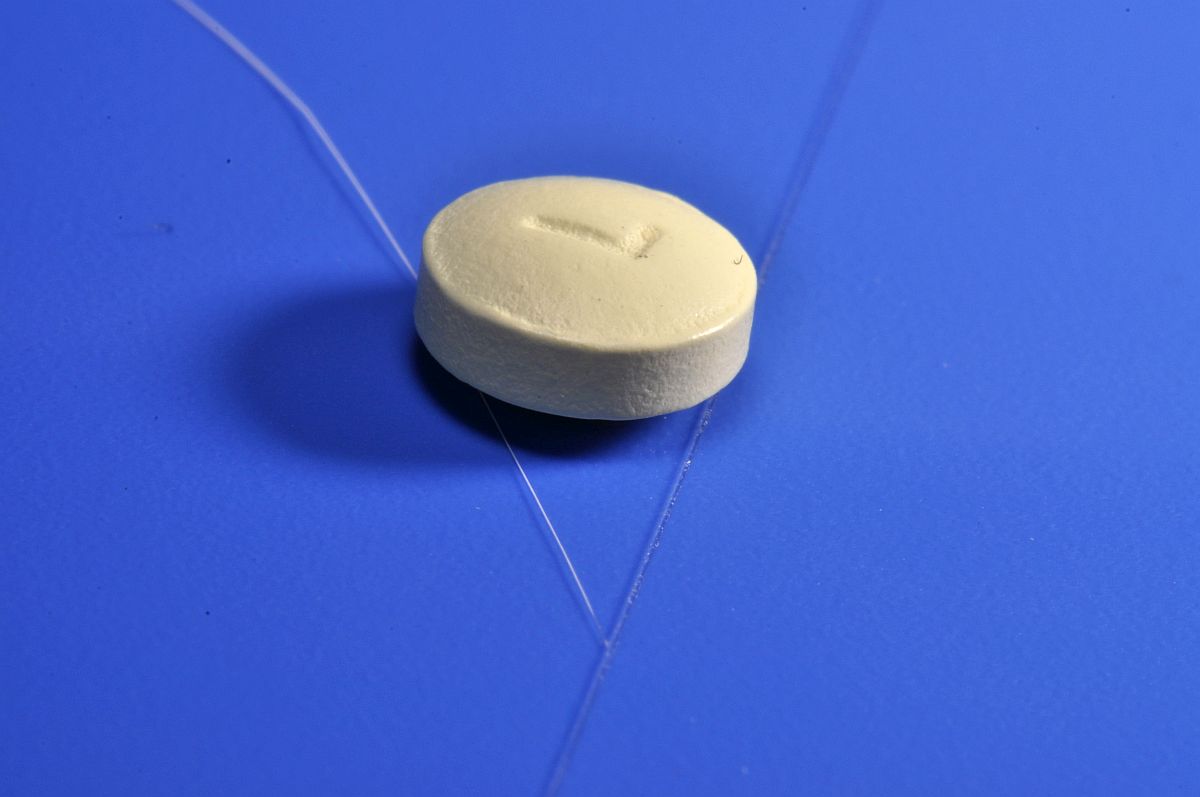
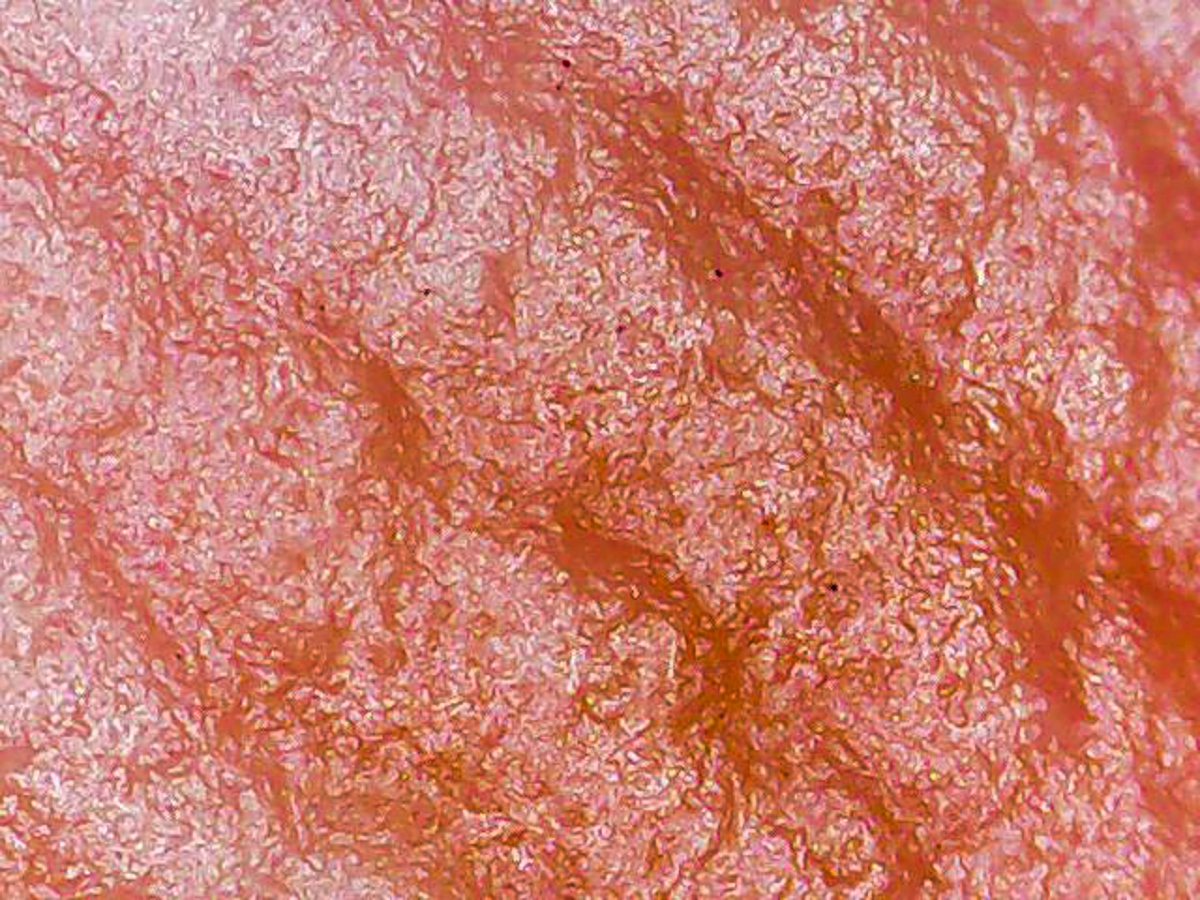
Wow! If this somehow looks like a part of body, my self-image is all out of whack! d;¬{D
All kidding aside, I'm discovering that extreme macro can really change one's view of the world we cannot see with the naked eye (is it okay to say naked?). Today, I received a stand for my 'scope and it's going to change everything. Now it operates more like a regular microscope and my test shots are so much better with it. |
Oct 6th |
 |
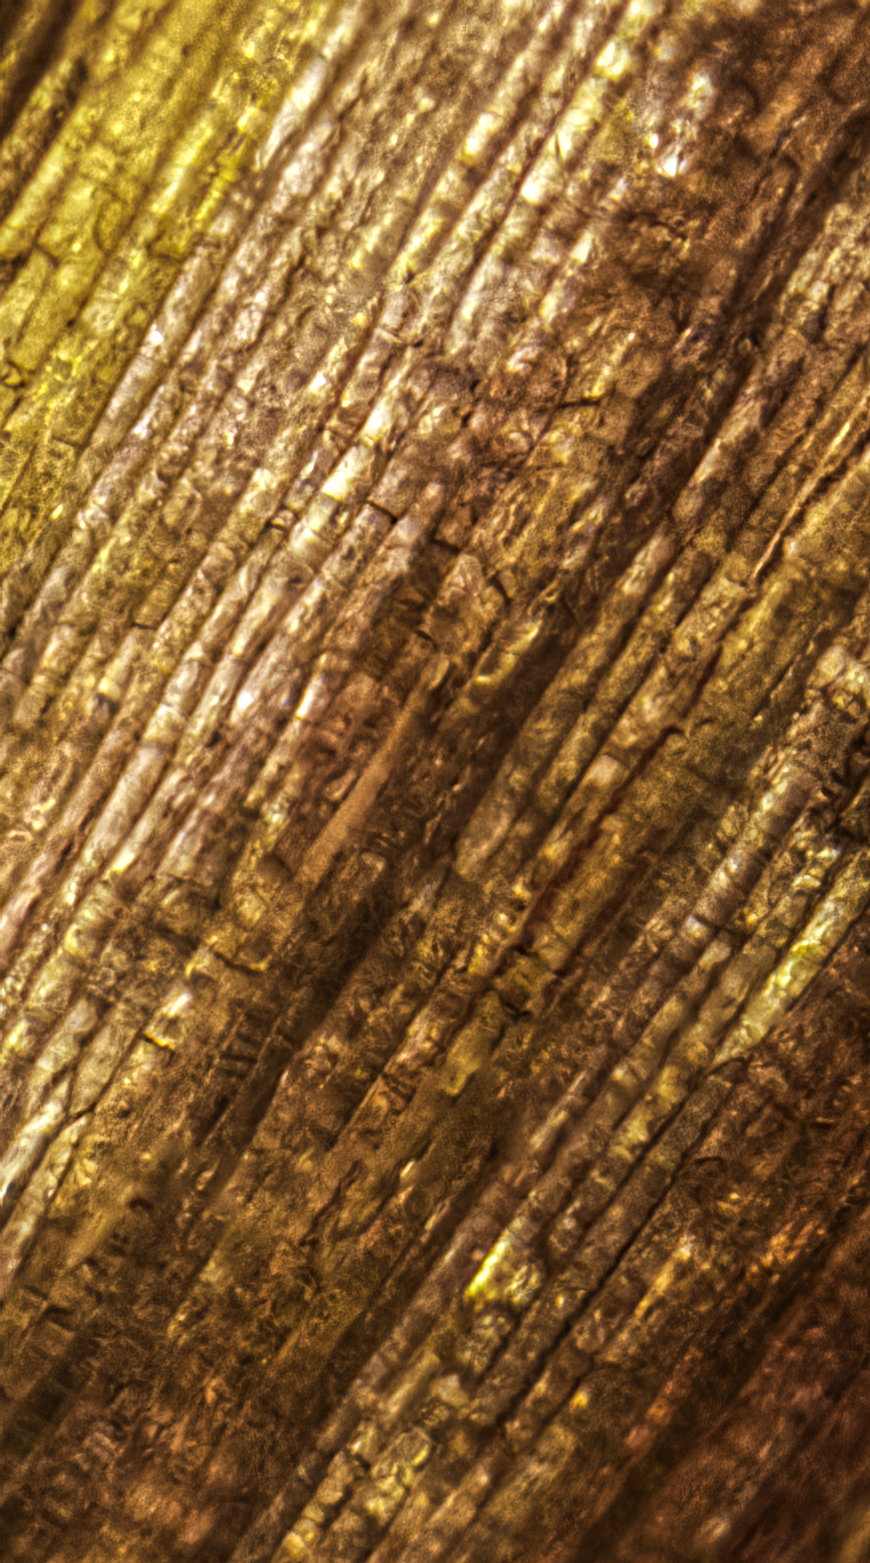
| 95 |
Oct 20 |
Reply |
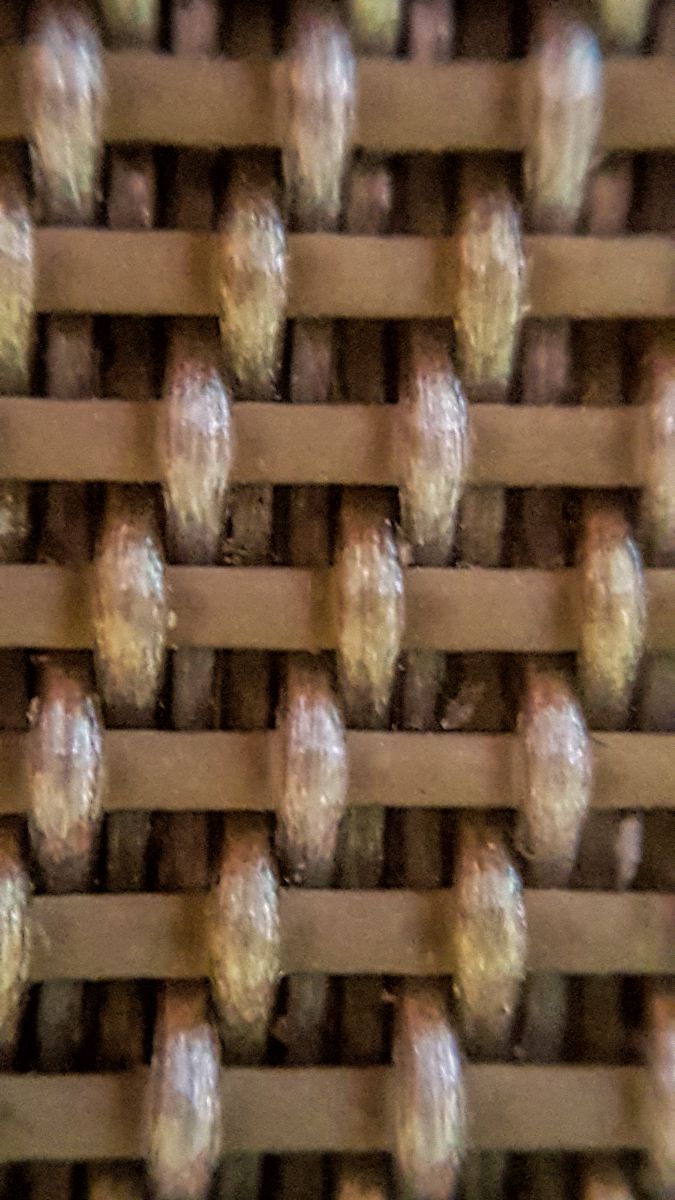
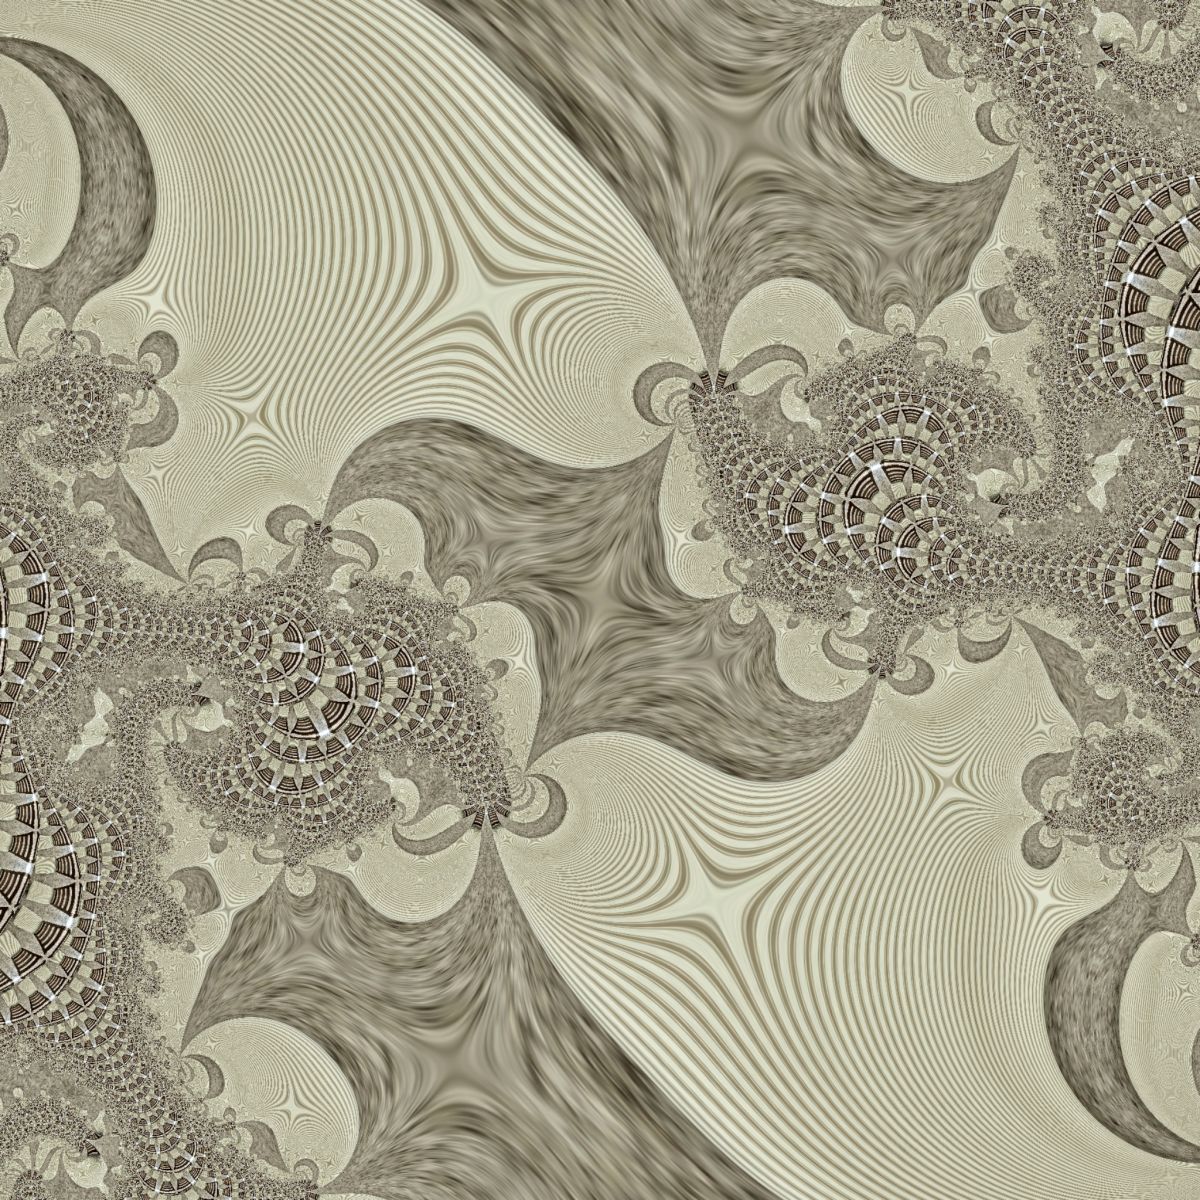
The most difficult part of using this gizmo is keeping it steady. Most of the images I capture with it make this image look tack-sharp. The disparity from left to right is from the scope not being level with the subject.
I ordered a stand made for these devices that it clamps into and allows it to be raised and lowered like a traditional microscope. Hopefully I'll have better luck once it arrives.
The stuff in between the threads is most likely plastic, as the screw is left over from the disassembly of a malfunctioning device with a plastic case.
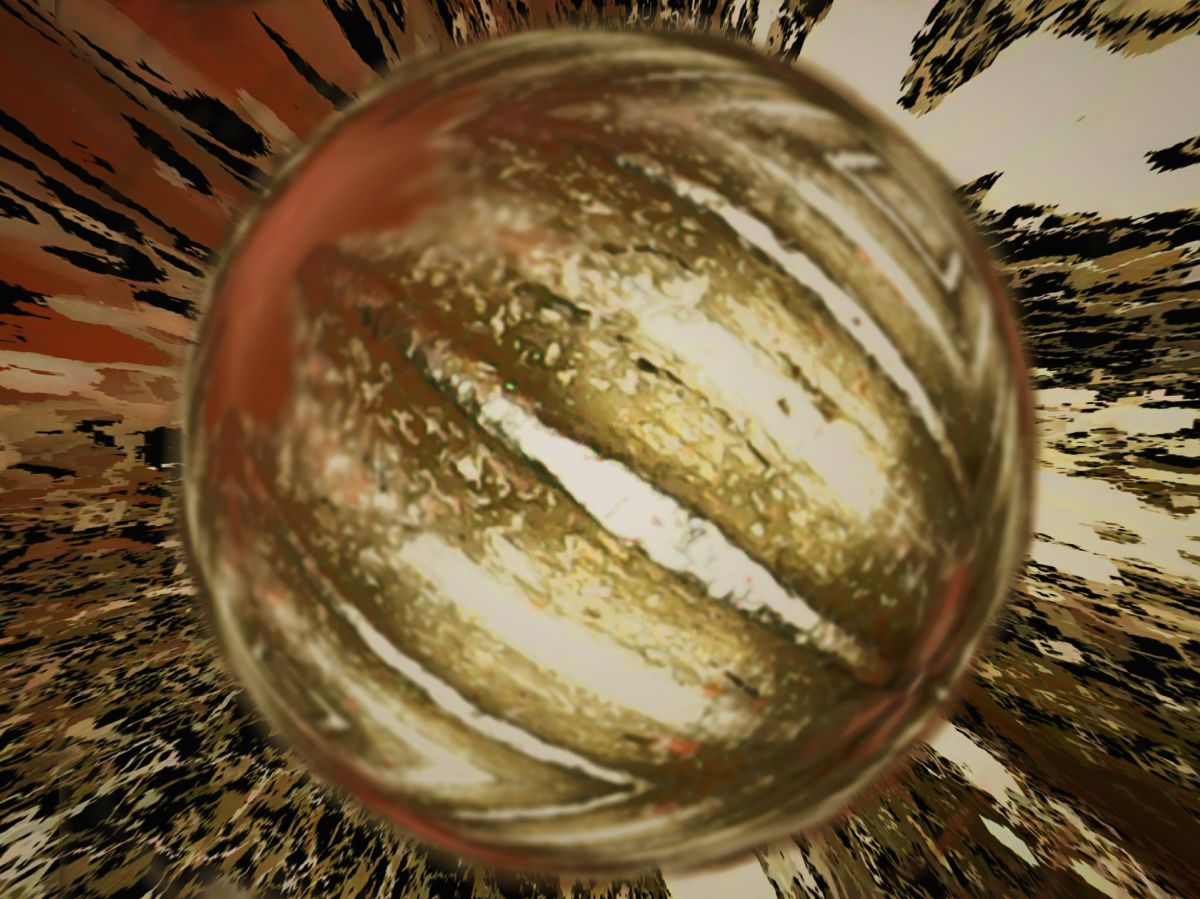
Lighting is a real issue with the scope. It has a ring of LED's that surround the "objective" and their intensity is adjusted by a dial on the cord. The screw was lying on my desk (the white in the background) and, obviously the DOF is extremely shallow.
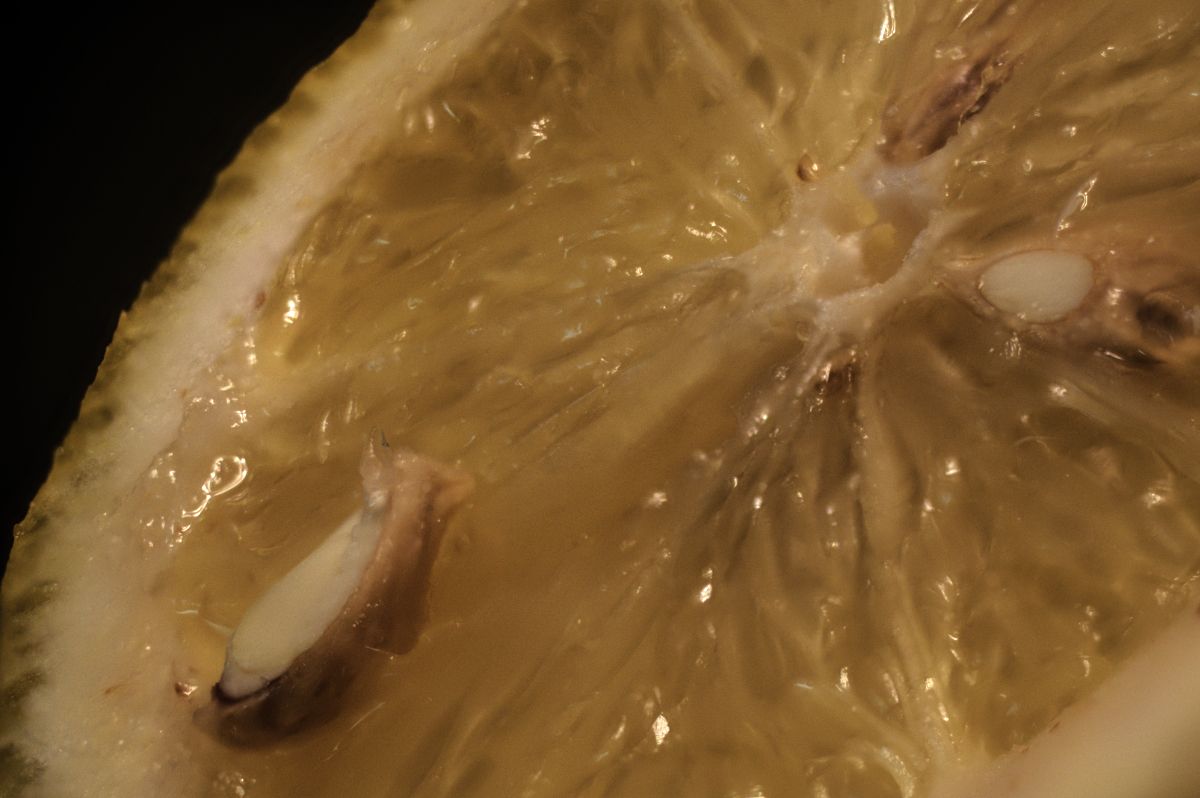
Fruit will likely make for an interesting subject matter. Now that I can connect it to my smartphone, this may well be a future subject for the device. |
Oct 2nd |
6 comments - 9 replies for Group 95
|
25 comments - 22 replies Total
|