|
| Group |
Round |
C/R |
Comment |
Date |
Image |
| 63 |
Jun 25 |
Reply |
It is true that these different approaches each give a different result, and that is great. As long as the results you do get is intentional, and not due to a lack of ability to do anything else. |
Jun 14th |
| 63 |
Jun 25 |
Reply |
In Photoshop I added a curves adjustment layer to tone down the green leaf. I then added a mask to only allow the leaf edits to show. Note that in the curves layer you can adjust the RGB layer to adjust the total tone content and one or more of the color-based layers (Red, Green, Blue) for more selective edits. I adjusted the green layer to reduce some of the green intensity some in this case.
In terms of the sharpness, I duplicated the entire pixel layer and used Topaz Photo AI as my sharpening tool on this new layer. I then added a mask that only allowed the tip of the sharpened leaf to be visible. |
Jun 14th |
| 63 |
Jun 25 |
Comment |
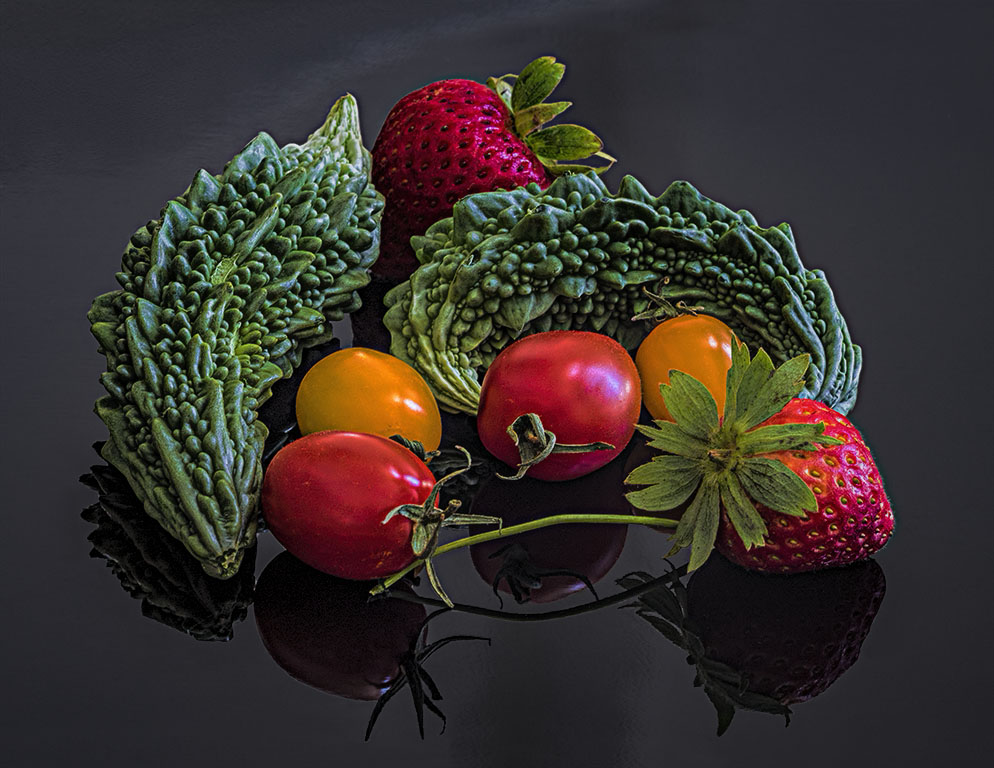
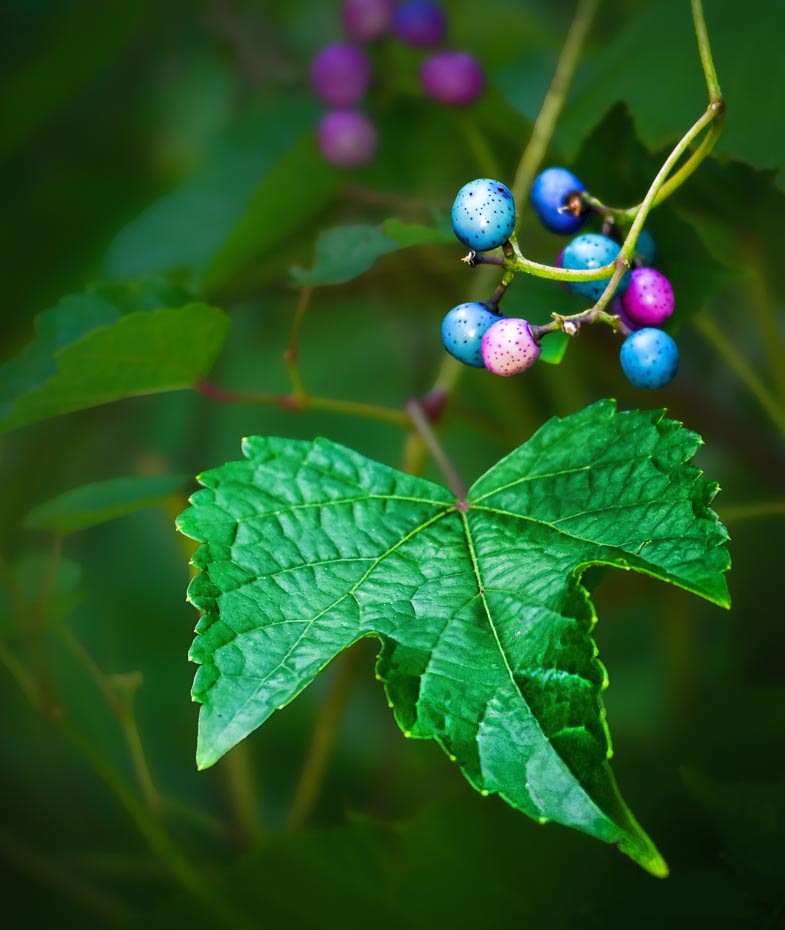
Once again you are using the "Partial Focus" technique you enjoy, quite effectively. And again, you are attempting to accomplish this entirely "in-camera". By employing the f/6 aperture, your depth of field includes most of the berries, some stem and most of the leaf in the original image. More berries, stems and leaves are still visible but are effectively de-emphasized in softness and tone. As such they give us a feeling of the environment without being the main stars of the show.
I do feel that the leaf is a bit bright and has a bit of a "in-your-face" quality to it. I might suggest toning down the intensity and brightness of the green a bit in this element. Also, the tip of the leaf closest to the viewer is a bit soft and bothers me some. Here I would sharpen the tip of the leaf, adjust the color of the leaf some and add back a bit of contrast to allow more of the native leaf detail that you have captured to show through. Finally, may I suggest cropping a bit form the top and left side to balance the image a bit. I have included a version where I have employed these suggestions to illustrate my thoughts.
I know that you feel that your partial focus approach is essential to your photography and that is wonderful. However, may I suggest that this does not need to be accomplished entirely 'in-camera" and that minor post-processing edits may further enhance your vision.
|
Jun 13th |
 |
| 63 |
Jun 25 |
Comment |
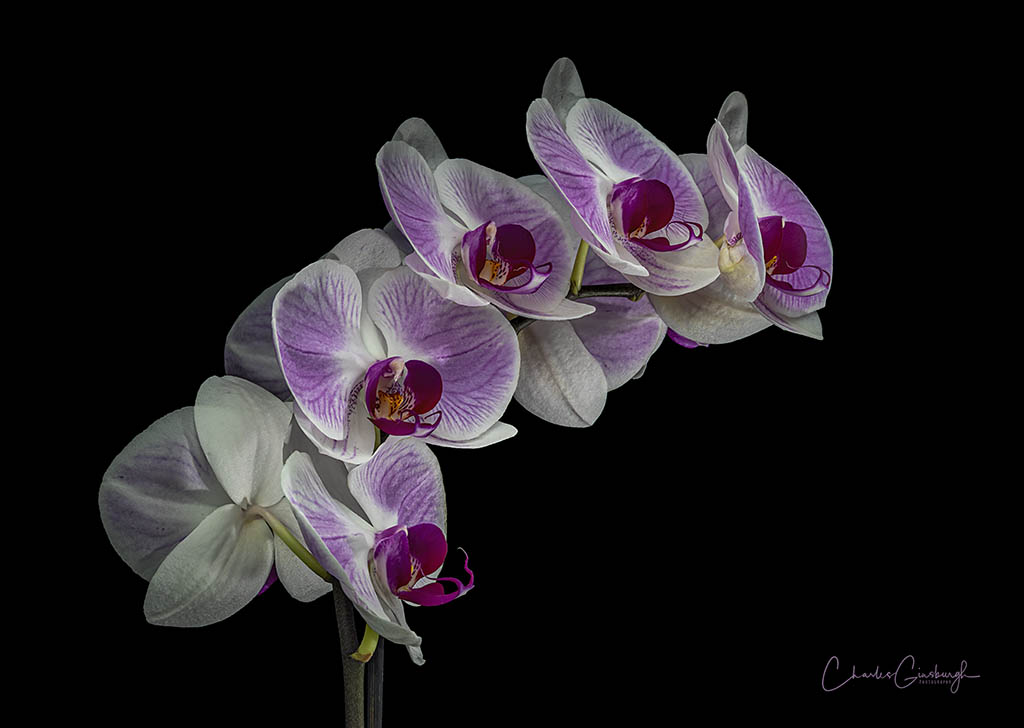
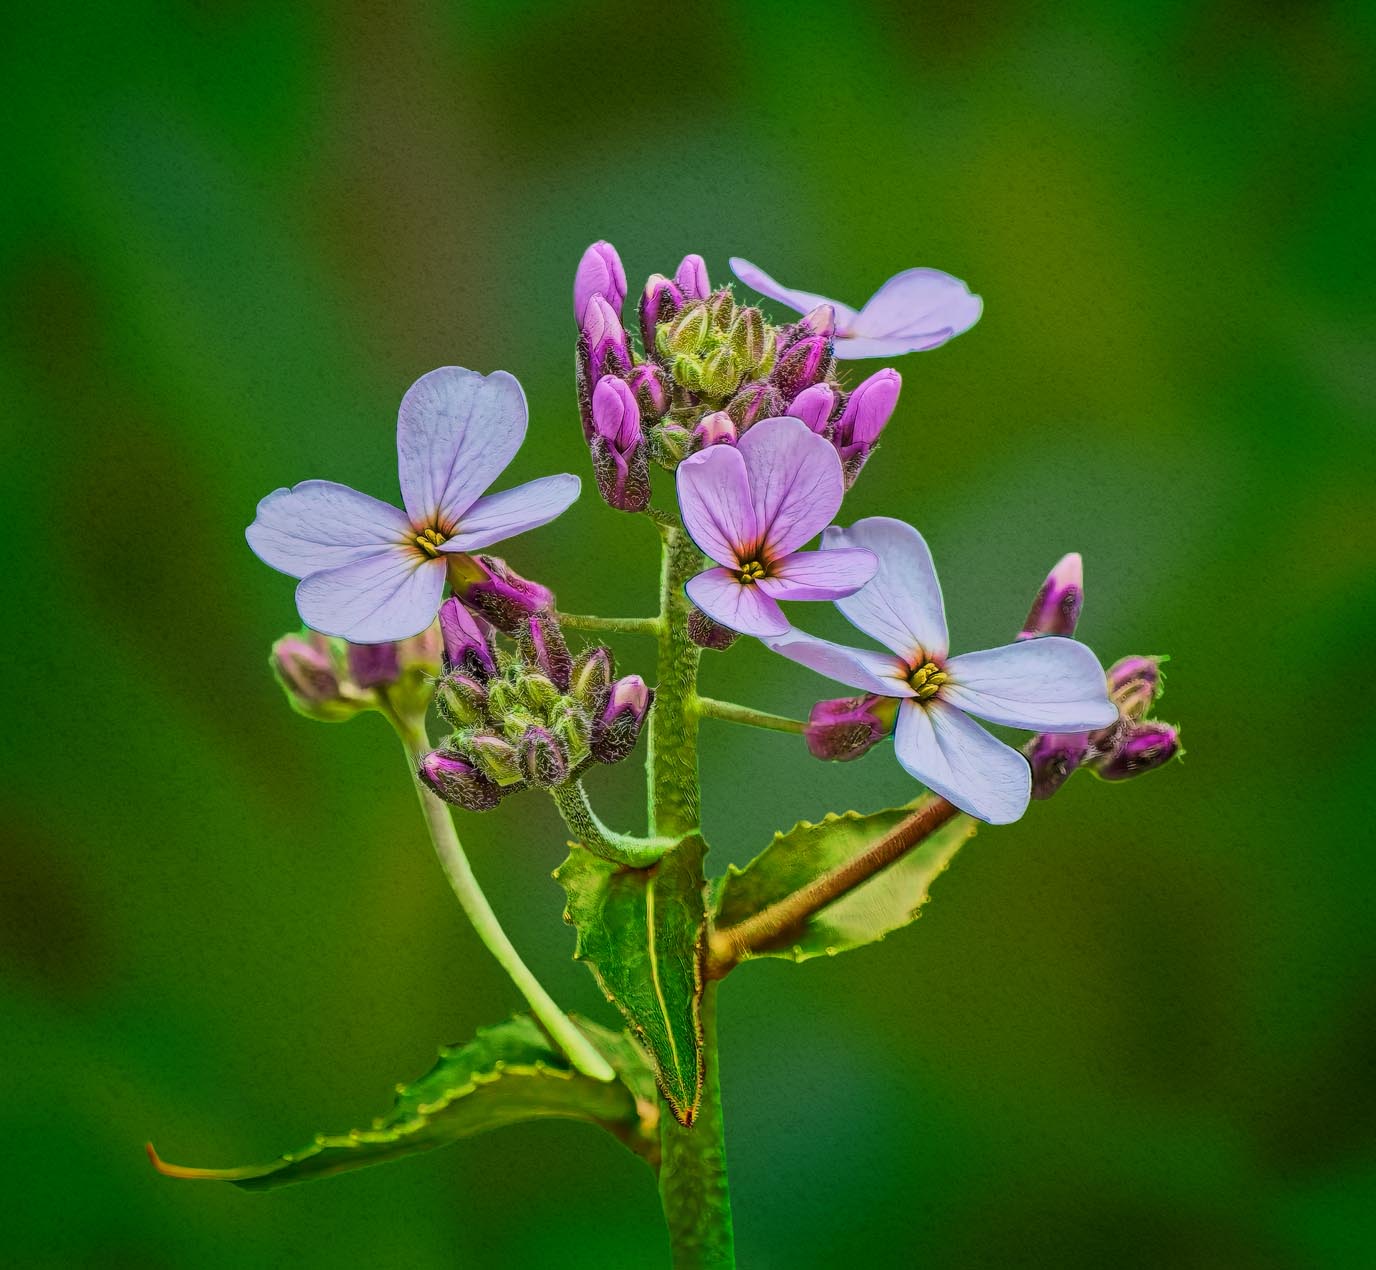
I do applaud you for making use of the equipment on hand to capture this image. The main subjects are cleanly captured with sufficient color and detail. Unfortunately, the subject is rather washed out and blends in with the background, reducing the effectiveness of this presentation. Murphy's suggestions begin to address this effect but may not go far enough. Here I would blur and darken the background and slightly darken and increase the microcontact of the blooms, leaves and stems. I might also balance the presentation of the leaves to be a bit more similar to the other buds and stems. Finally, may I suggest cropping down a bit from the top as well. I have included a version where I have employed these suggestions to illustrate my thoughts.
While we work fairly hard to capture our images, we don't need to settle on what our camera gives us, in or pursuit of our best images. I acknowledge that you may not agree with all of the edits I suggest, but I hope that I have demonstrated that there is a lot more that one could do with this image. |
Jun 13th |
 |
| 63 |
Jun 25 |
Comment |
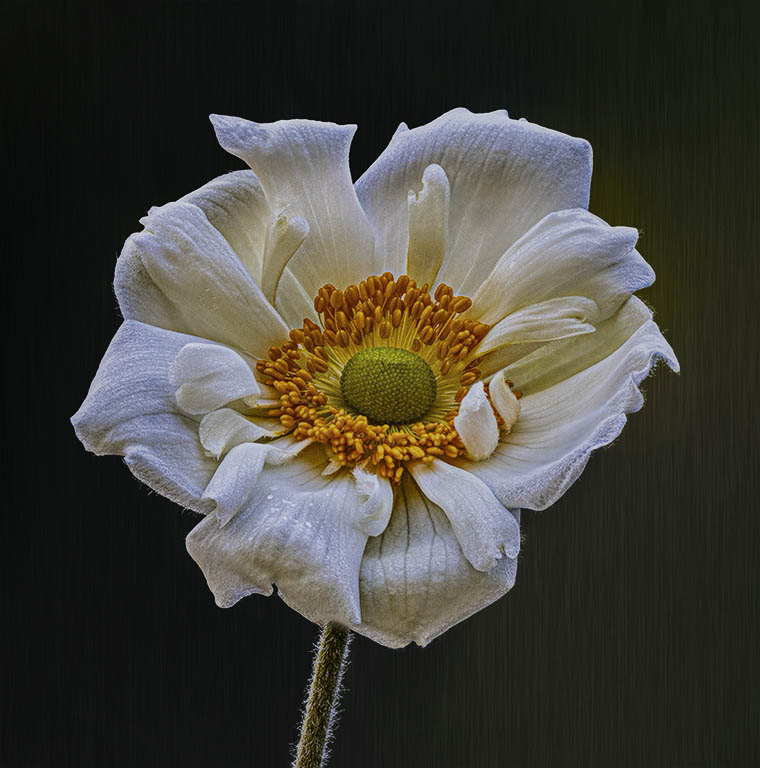
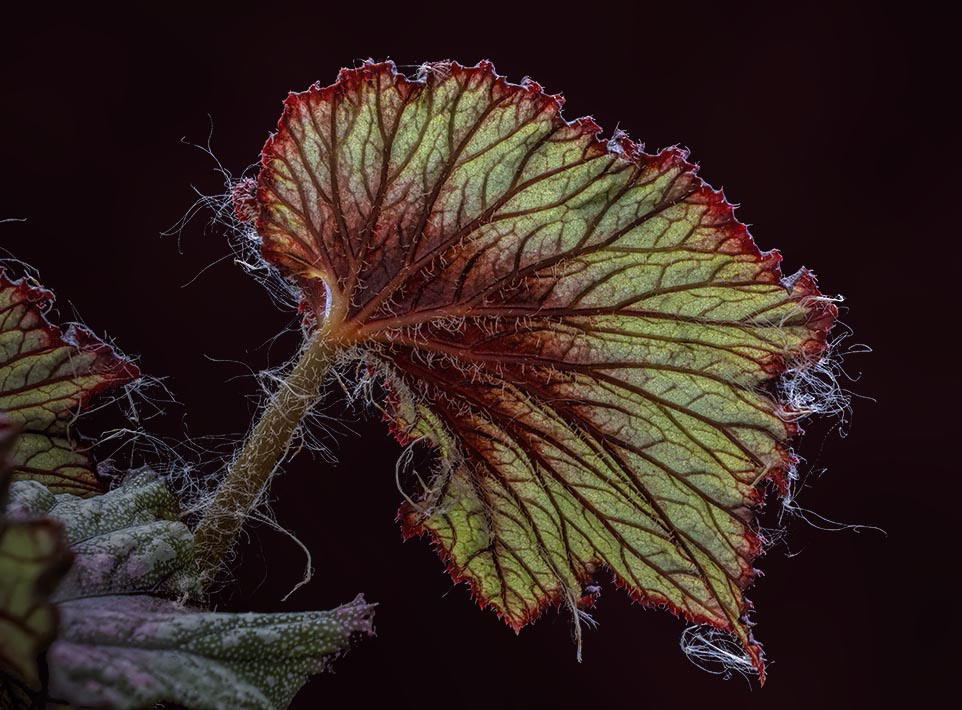
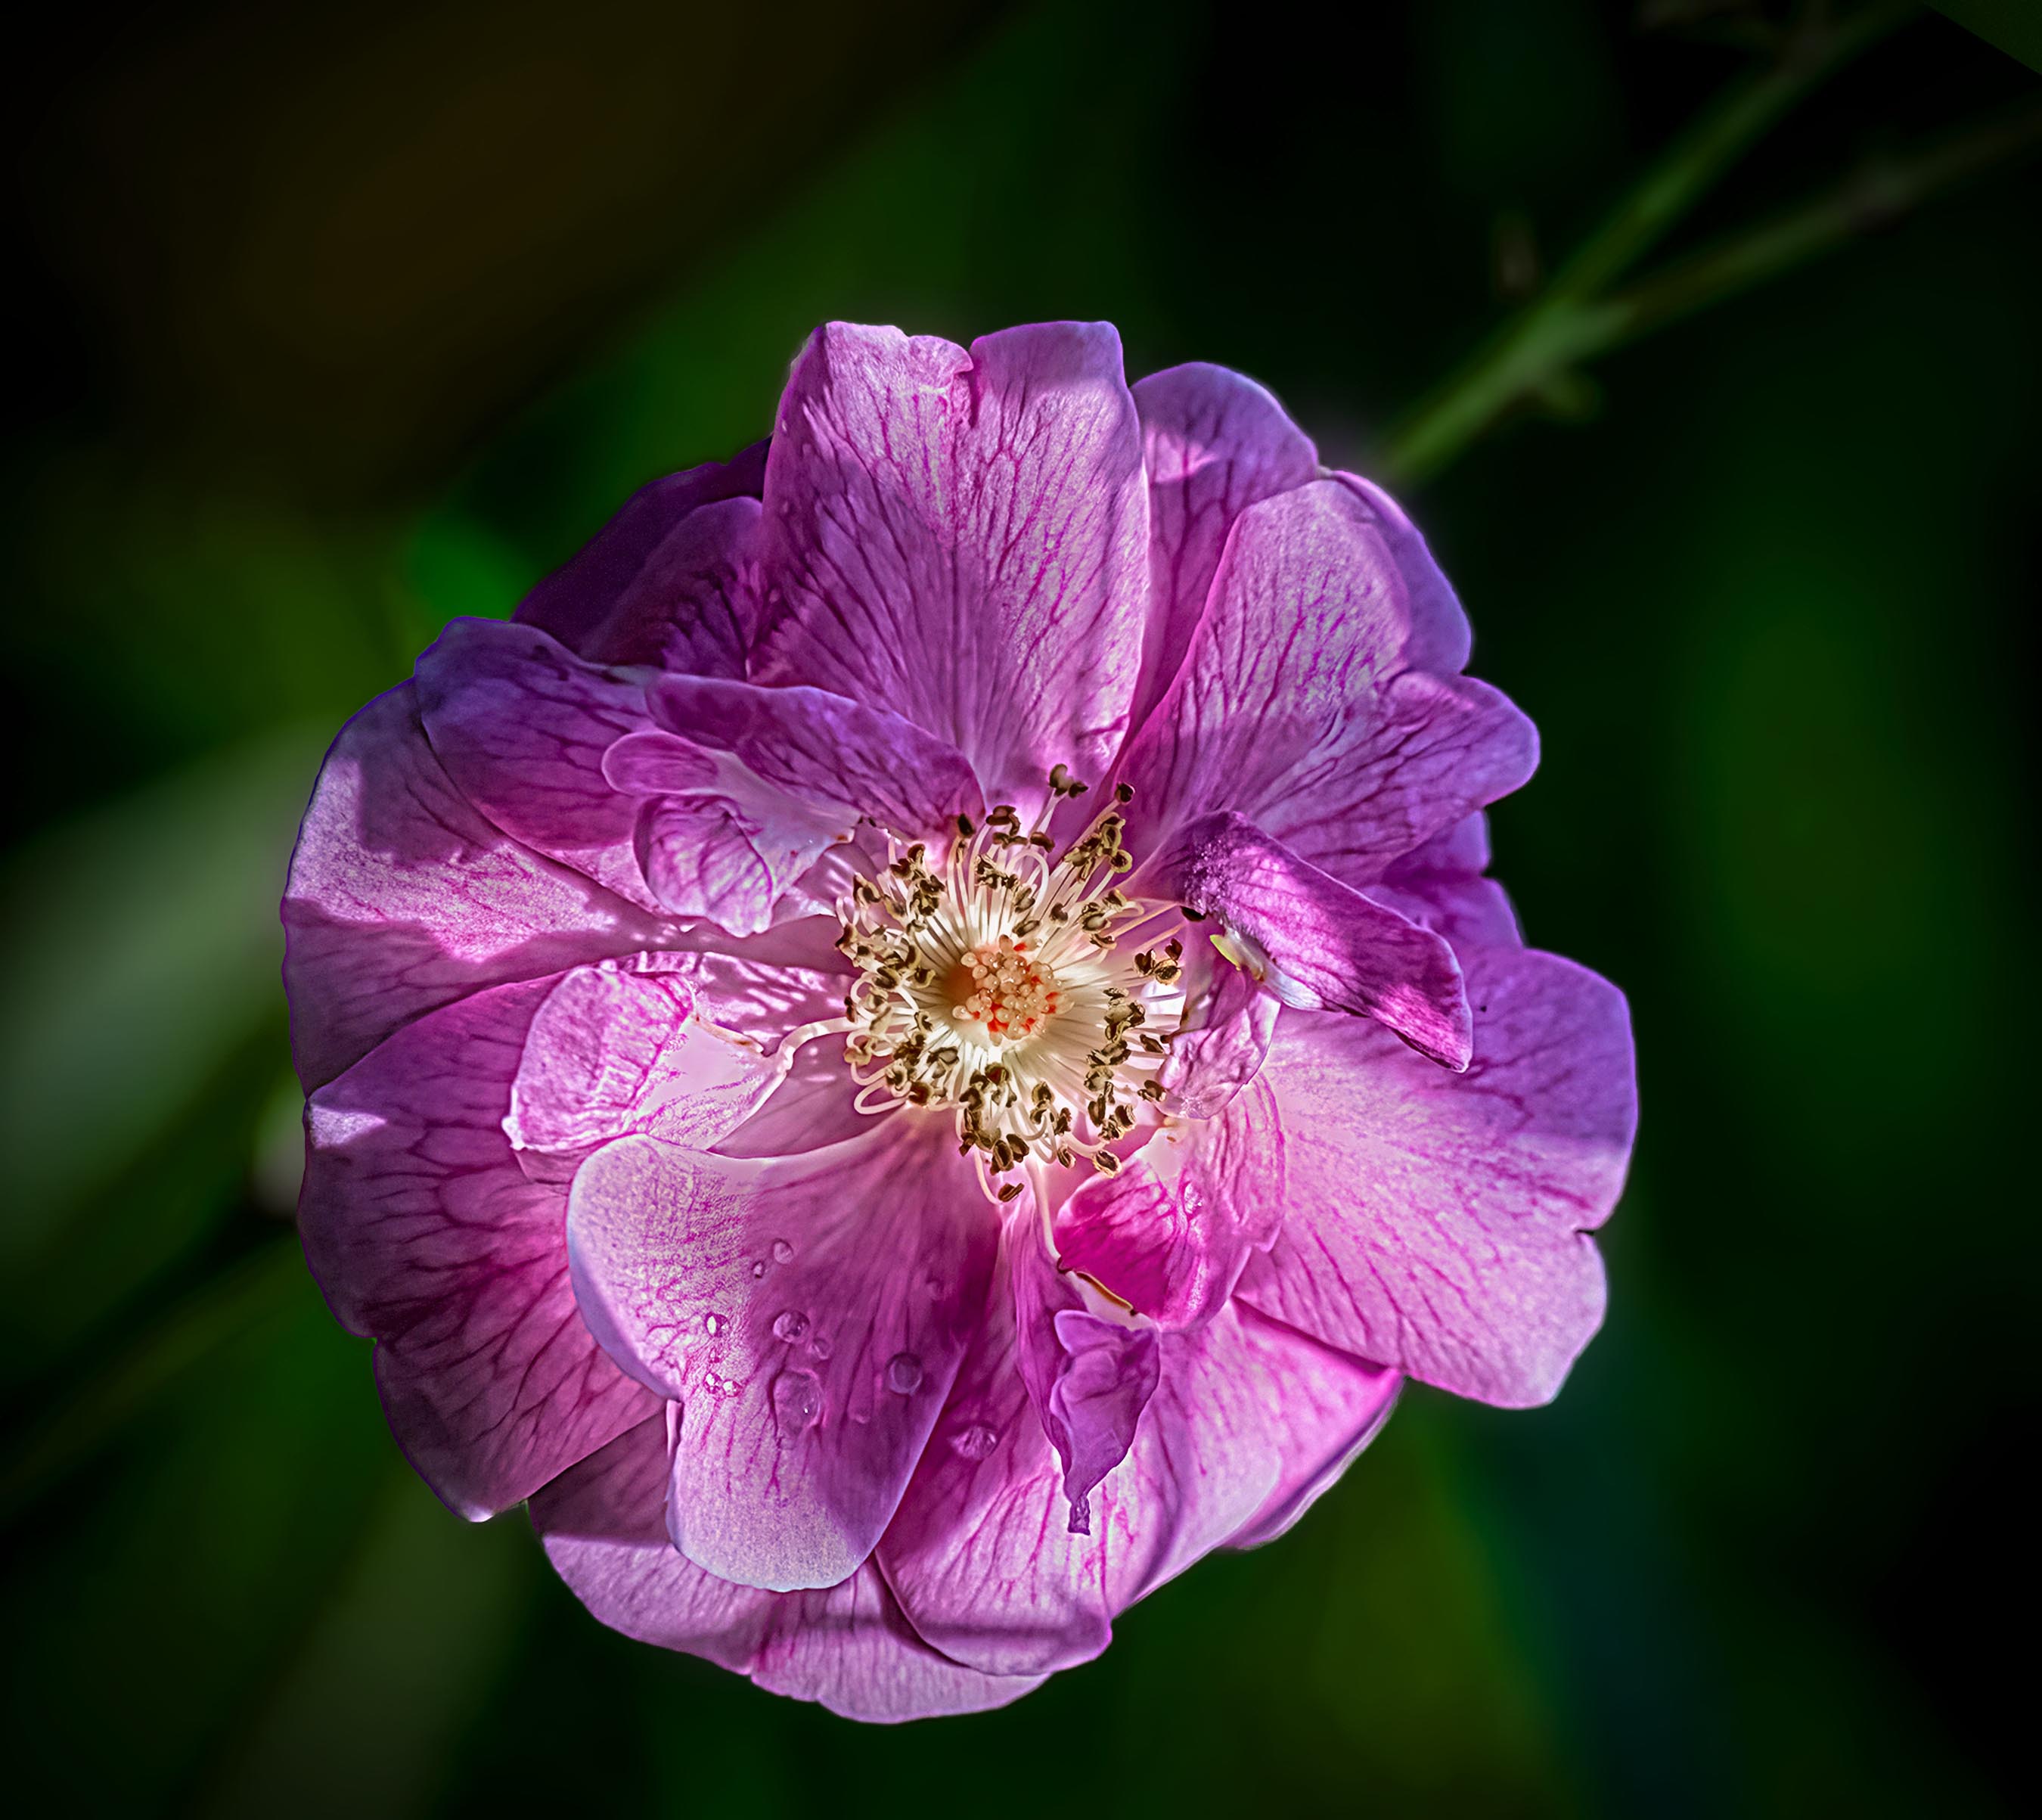
Learning to see and training our eyes and brain to more effectively see the environment is an advanced photography skill. It takes a lot of time, effort and practice to accomplish. One of the things that we often overlook in our flower and nature photography is variations in light, and especially in seeing dappled light on our native subjects. The dappled light is there, but our minds are so effective at smoothing out the effect, and we often don't realize that it's there or how pronounced the effect is. I think that this is what occurred in this image. This bloom is in dappled light and the magnitude of the difference between the light and dark areas is both pronounced and distracting. Often, we don't notice (if at all) it until our image processing, and at that point it is very difficult to realistically edit out the effect to save our image.
Recently I have been using a technique called Frequency Separation in my editing. This technique is most often seen in editing portraits and human faces and bodies. It separates the color and tonal information for the texture information of an image and allows one to edit one without impacting the other. This technique is far too complex to go through here, or to convey is a few steps (as I did with the background blurring earlier in the day). I applied this technique with this image, and I was able to blend out much of the tonal differences in this image without impacting the detail or texture of the bloom. This is not a complete solution, but it goes a long way in improving this image (or at least it does to my eye). I have included a version where I have employed this technique to illustrate my thoughts.
See what you think.
|
Jun 13th |
 |
| 63 |
Jun 25 |
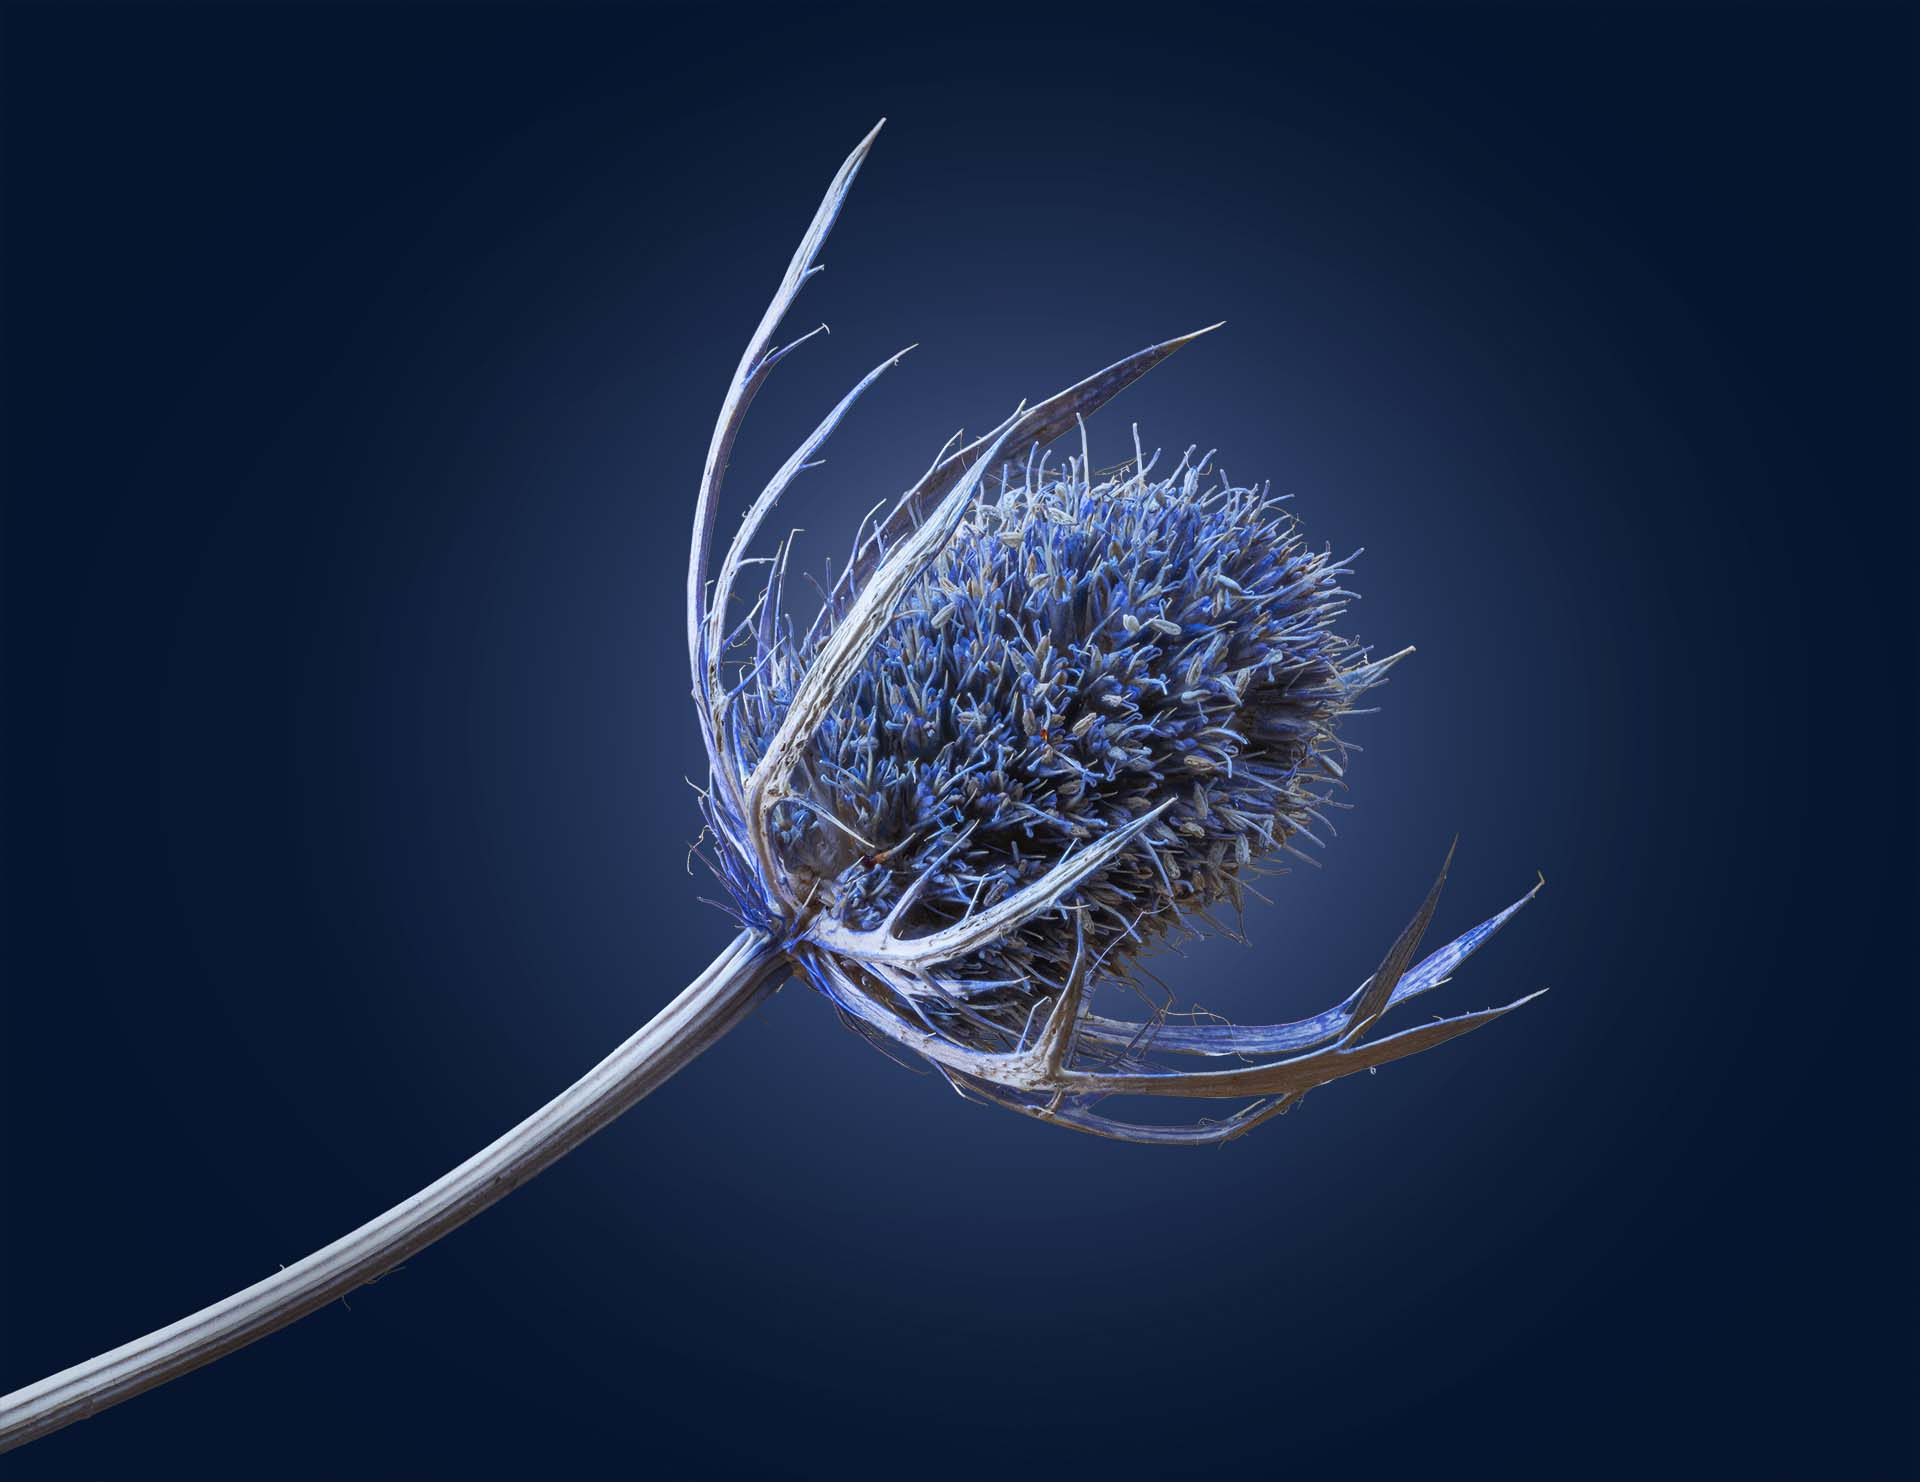
Comment |
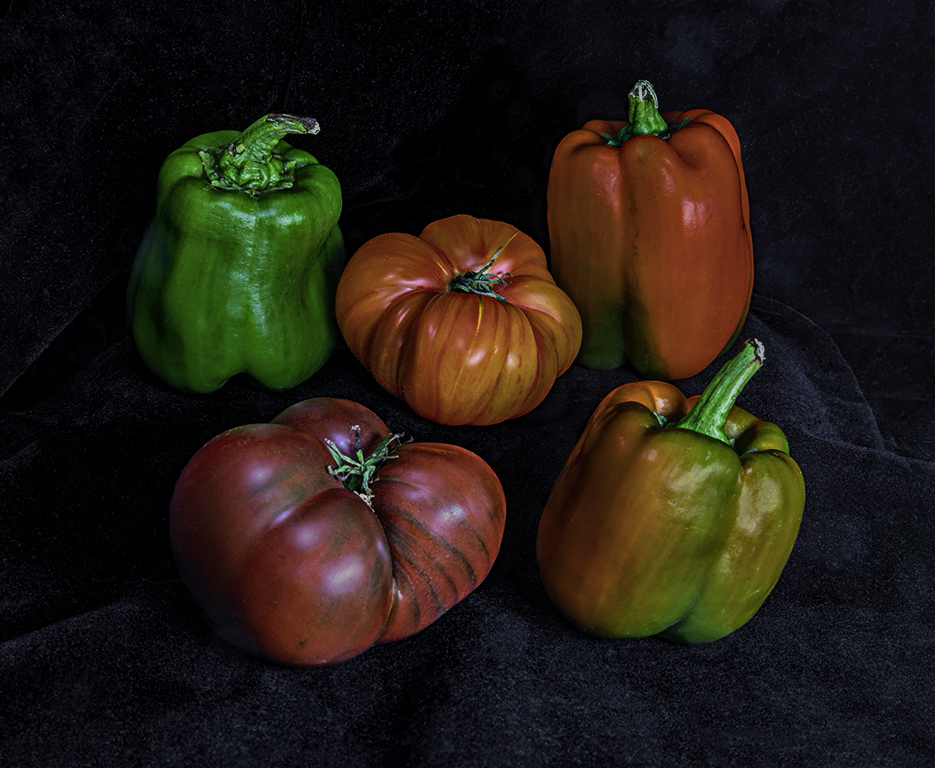
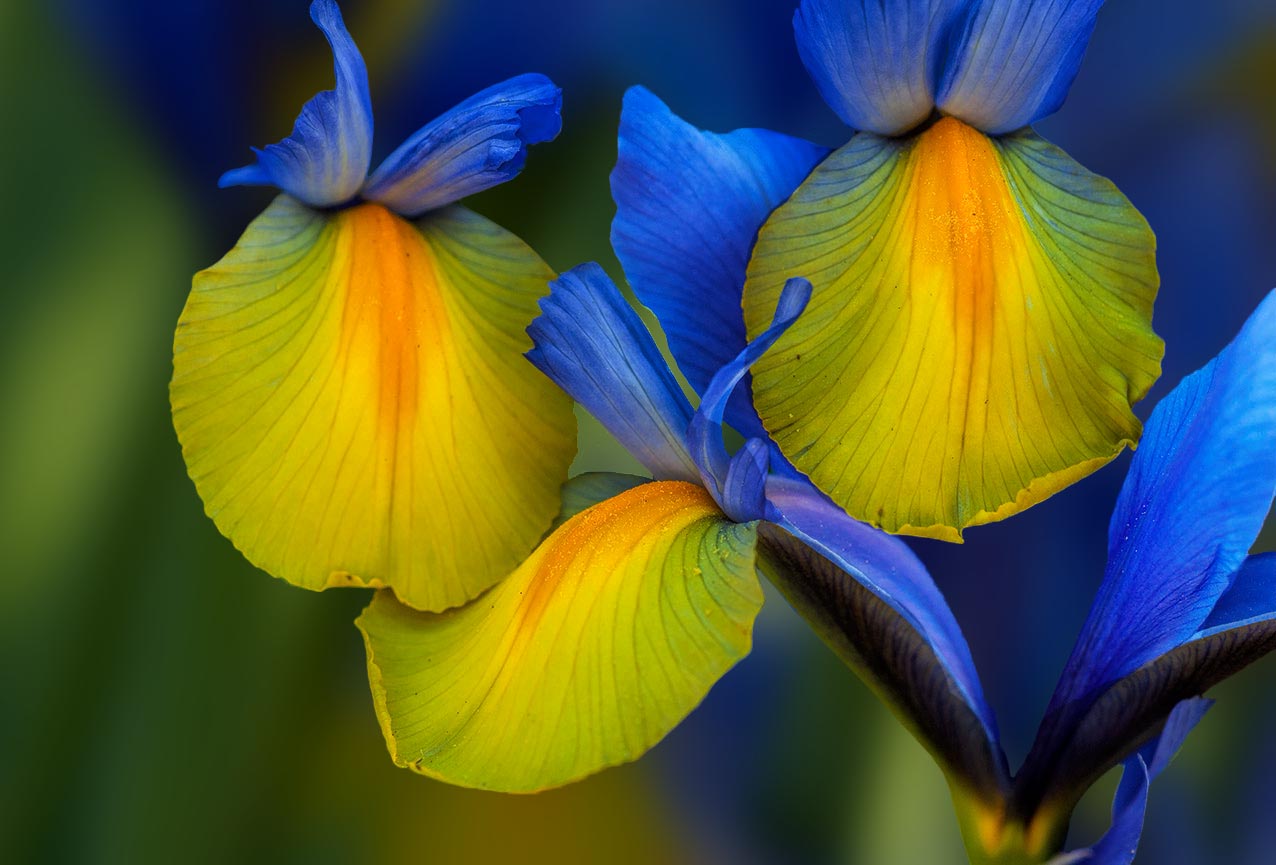
I am enjoying this image, and the areas you chose to include in your image frame. The different textures of the petals come out nicely and I love the Blue / Yellow complementary color combination this image highlights. I applaud your attempt to blur the background in an attempt to emphasize the background detail. Your idea was quite appropriate although your technique resulted in a lot of halos throughout the image. Just blurring a copy of the image and then employing a mask to visualize the crisp areas yields this effect with a lot of halos and lighter areas. There is a more effective technique that if used, blurs the background (still allowing a slider to regulate the amount of blur) without the halo effects. It's a bit more difficult but is quite effective and worth the effort. I have included a version where I have employed this technique to illustrate my thoughts. I will send step-by-step instructions for this technique to the group under a separate E-mail. |
Jun 13th |
 |
4 comments - 2 replies for Group 63
|
4 comments - 2 replies Total
|