|
| Group |
Round |
C/R |
Comment |
Date |
Image |
| 65 |
Aug 19 |
Reply |
The problem with leaving "the same amount of space on the other sides" is that you tend to center the subject (which is not really your intent) or you make the subject smaller relative to the entire image (again which may not be your intent). If I am adding space for a element to "move into" I specifically DO NOT the same amount of space to the other sides. I might add some space (dependent upon the image), but never the same amount. To me this begins to undo that effect you are trying to create. |
Aug 28th |
| 65 |
Aug 19 |
Comment |
Great scene and wonderful capture. I am not bothered by the presentation of the wings, but that is just my personal view. I do feel that the image is a bit overexposed. This is somewhat evident in the bight washed out areas of the twigs and most evident in the dragon flies. The abdomens are so bright that there appears do be a considerable amount of distortion at the edges. Its difficult to determine if the blue and dark edges on the white abdomens are real or part of the image distortion, and as such are distracting.
Perhaps a faster shutter speed or wider aperture might help you some here.
|
Aug 16th |
| 65 |
Aug 19 |
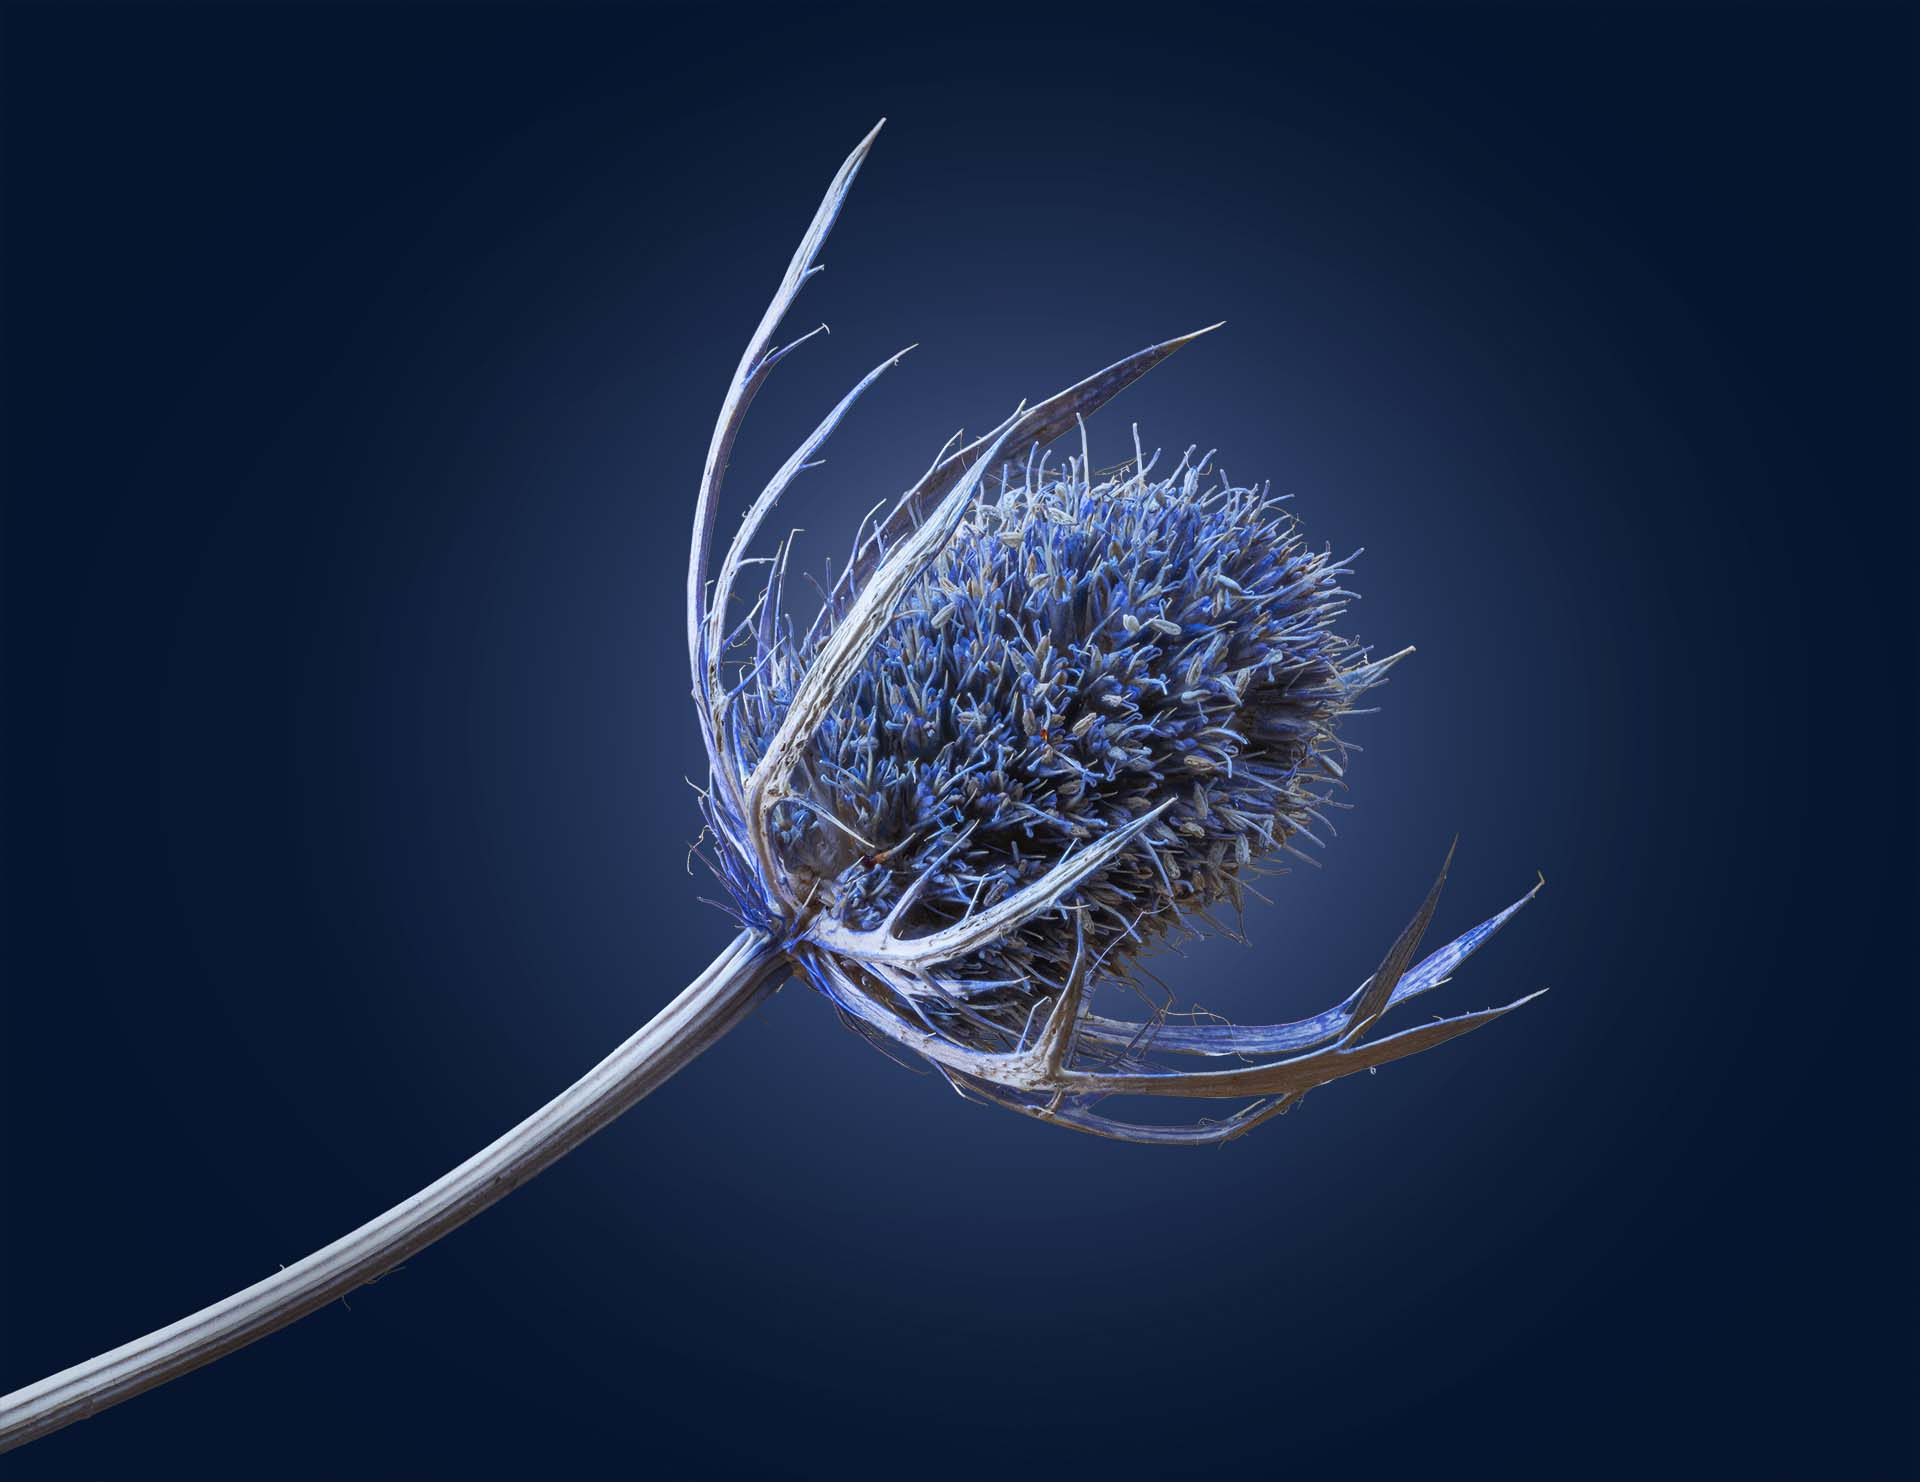
Comment |
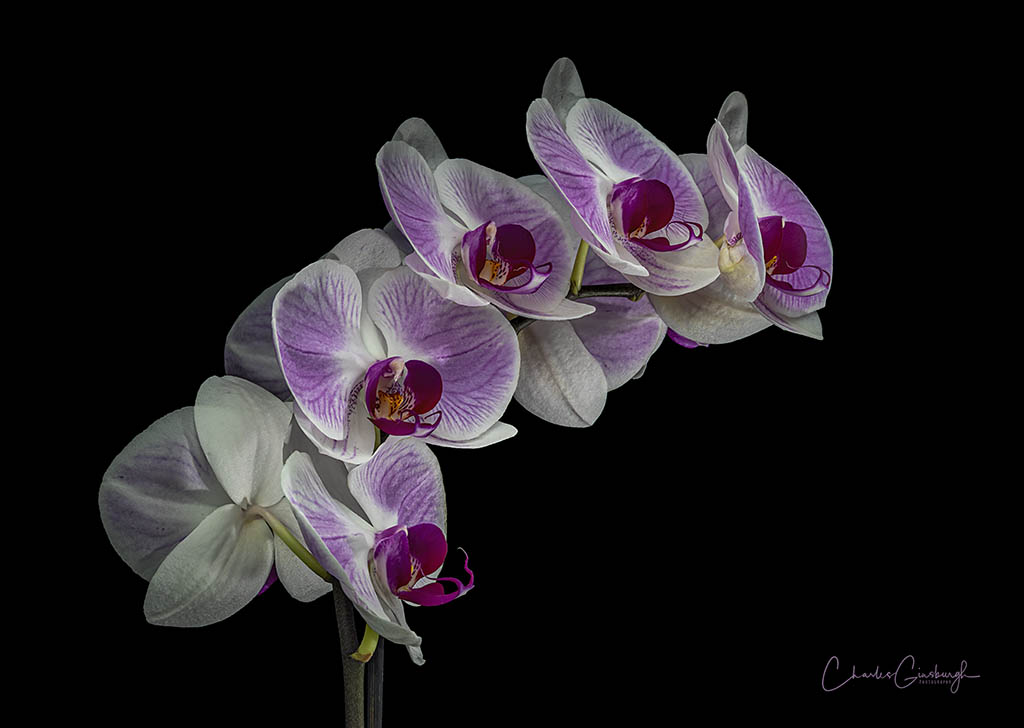
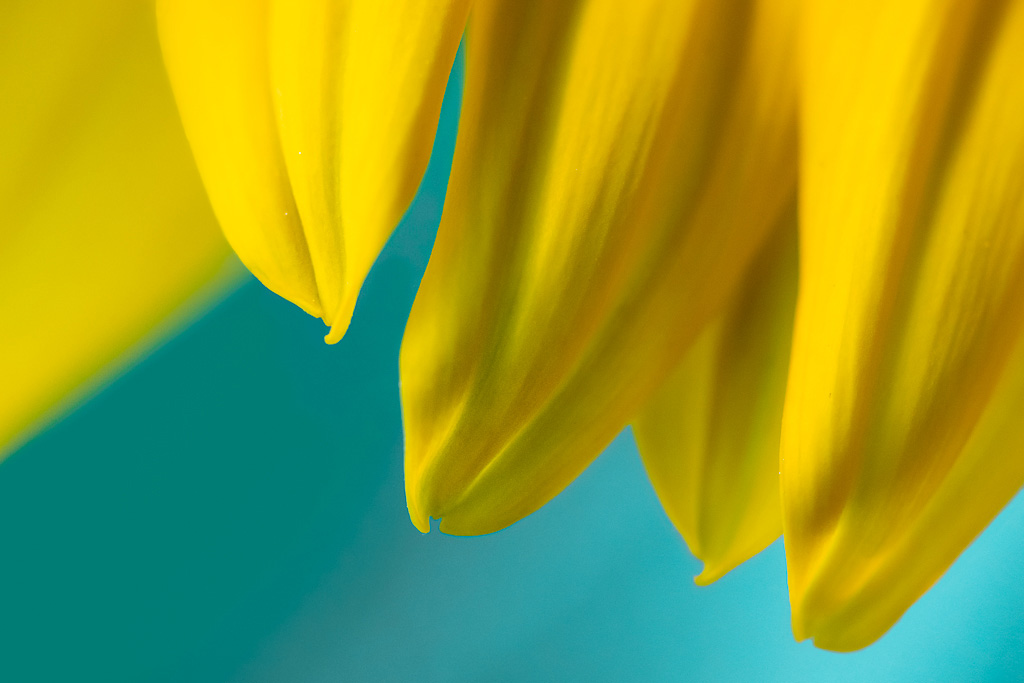
Let me echo the thoughts regarding the simplicity of the image. I find that I enjoy the texture within the petals but then run into the last blurred petal at the left. To my eye this less district and merged petal disrupts that flow of the image and as such stands out considerably. If this were my image I would be tempted to add back a little precision at the petal border to make it a bit more district from the background. I would try this by creating a selection in Photoshop of the petal and clone in some of the petal lightness in to the petal side of the petal/background border, and some of the background darkness on to the background side of the petal/background border. If you do this on its own layer, you can then blend in the correction to taste by adjusting the opacity of the edited layer.
I have included an example of what I am talking about to demonstrate this.
Let me know who you like how this subtle change impacts the entire image.
|
Aug 16th |
 |
| 65 |
Aug 19 |
Reply |
I did not see the white line that you note, but now that I do I don't disagree with you at all.
Isn't it interesting how we miss these types of things in our own images while we see them in other's. Part of the "Photography Learning Curve". |
Aug 16th |
| 65 |
Aug 19 |
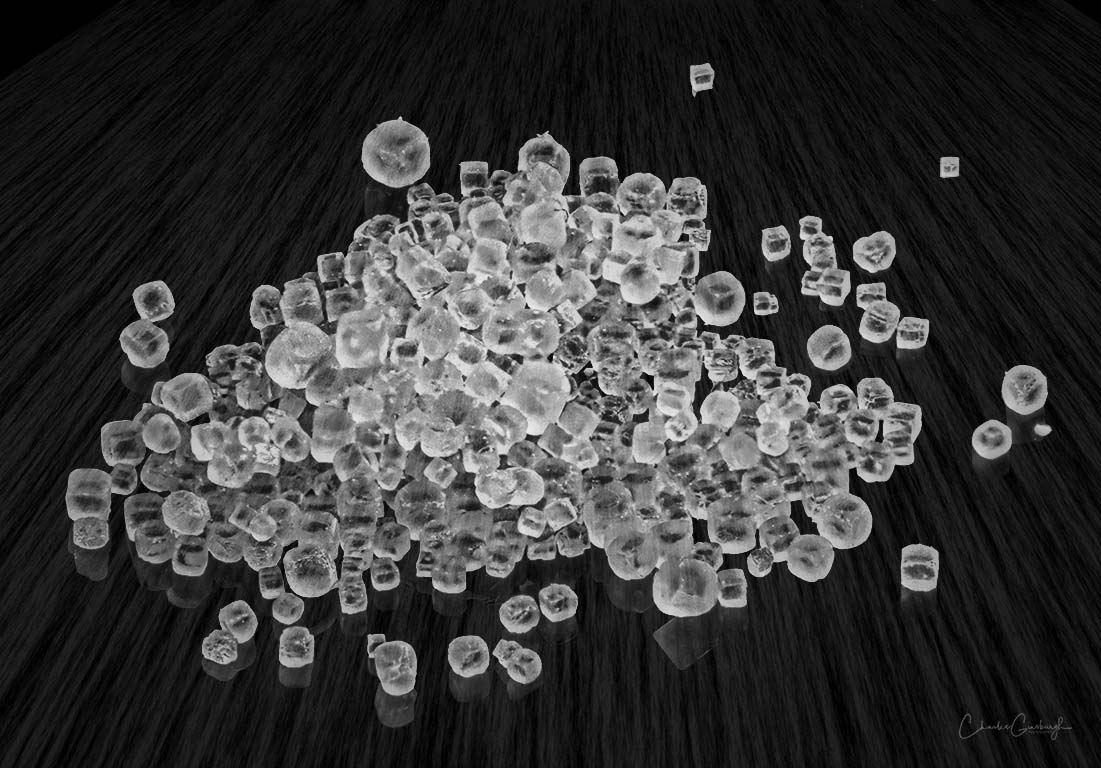
Comment |
I really am enjoying your concept here, giving us a really "up close and personal" view of the die. Your execution is great and I think the field of focus employed is really effective. However, I too find that the bright white areas on the corners and front face to be quite distracting (especially on the front face). I find that it difficult to move my eye away from those areas and to my mind this detracts from the intent of the image. You might be able to address this some in post-processing, however you also might need to re-shoot the image after adjusting your lighting some.
This does highlight how difficult it is at times to see these issue as we are capturing our images, something that I continue to struggle with.
|
Aug 16th |
| 65 |
Aug 19 |
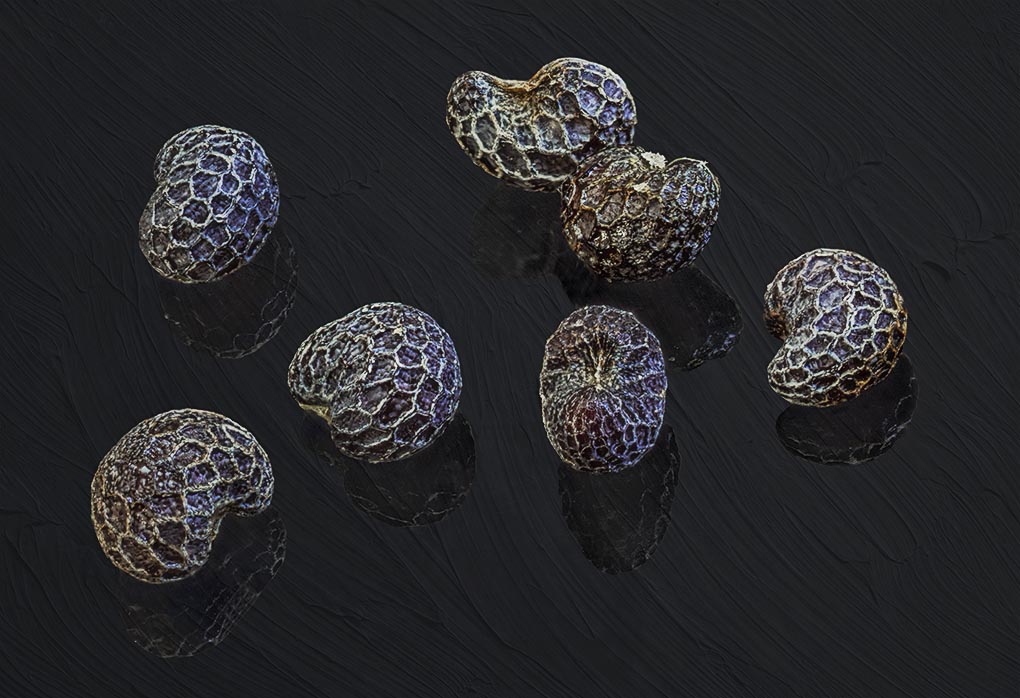
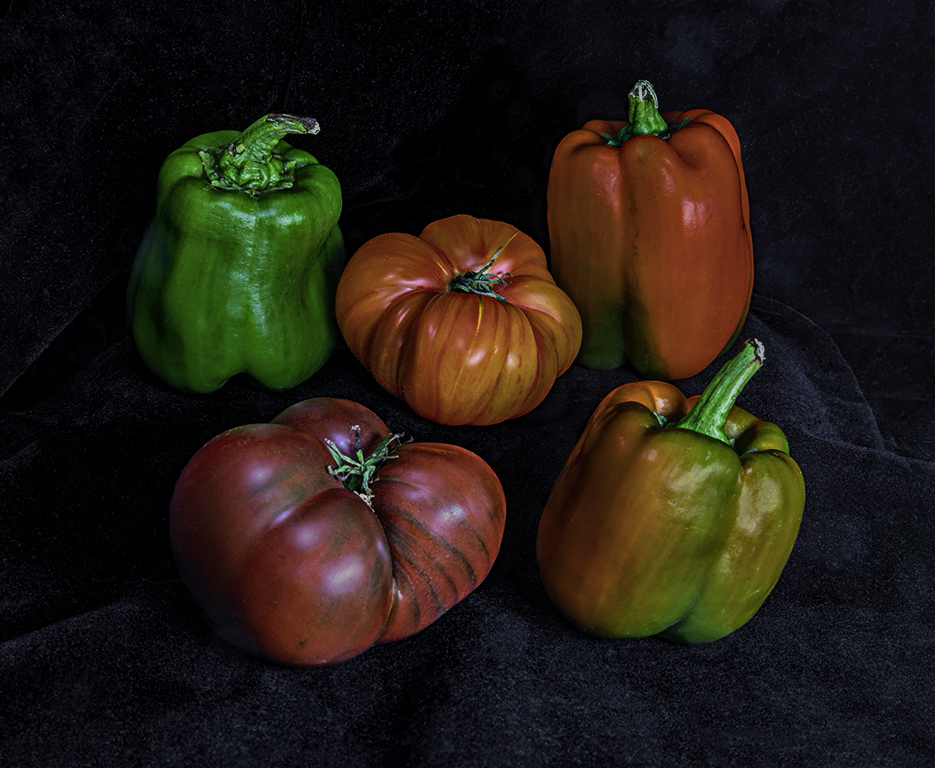
Comment |
As with many images, "simple is often better" and you have given us a simple yet elegant representation of this subject. It is difficult to see if the plane is actually sitting on a surface or is shown as though it is in flight, and perhaps that is intentional.
I do like Oscars' comment about the shadow, and perhaps you might try expanding upon this in bringing out the shadow even more (as you have lit the stage or perhaps even in post-processing). This might bring just a bit more feeling of depth to the image and it would be interesting to see if this makes things better or not. |
Aug 16th |
| 65 |
Aug 19 |
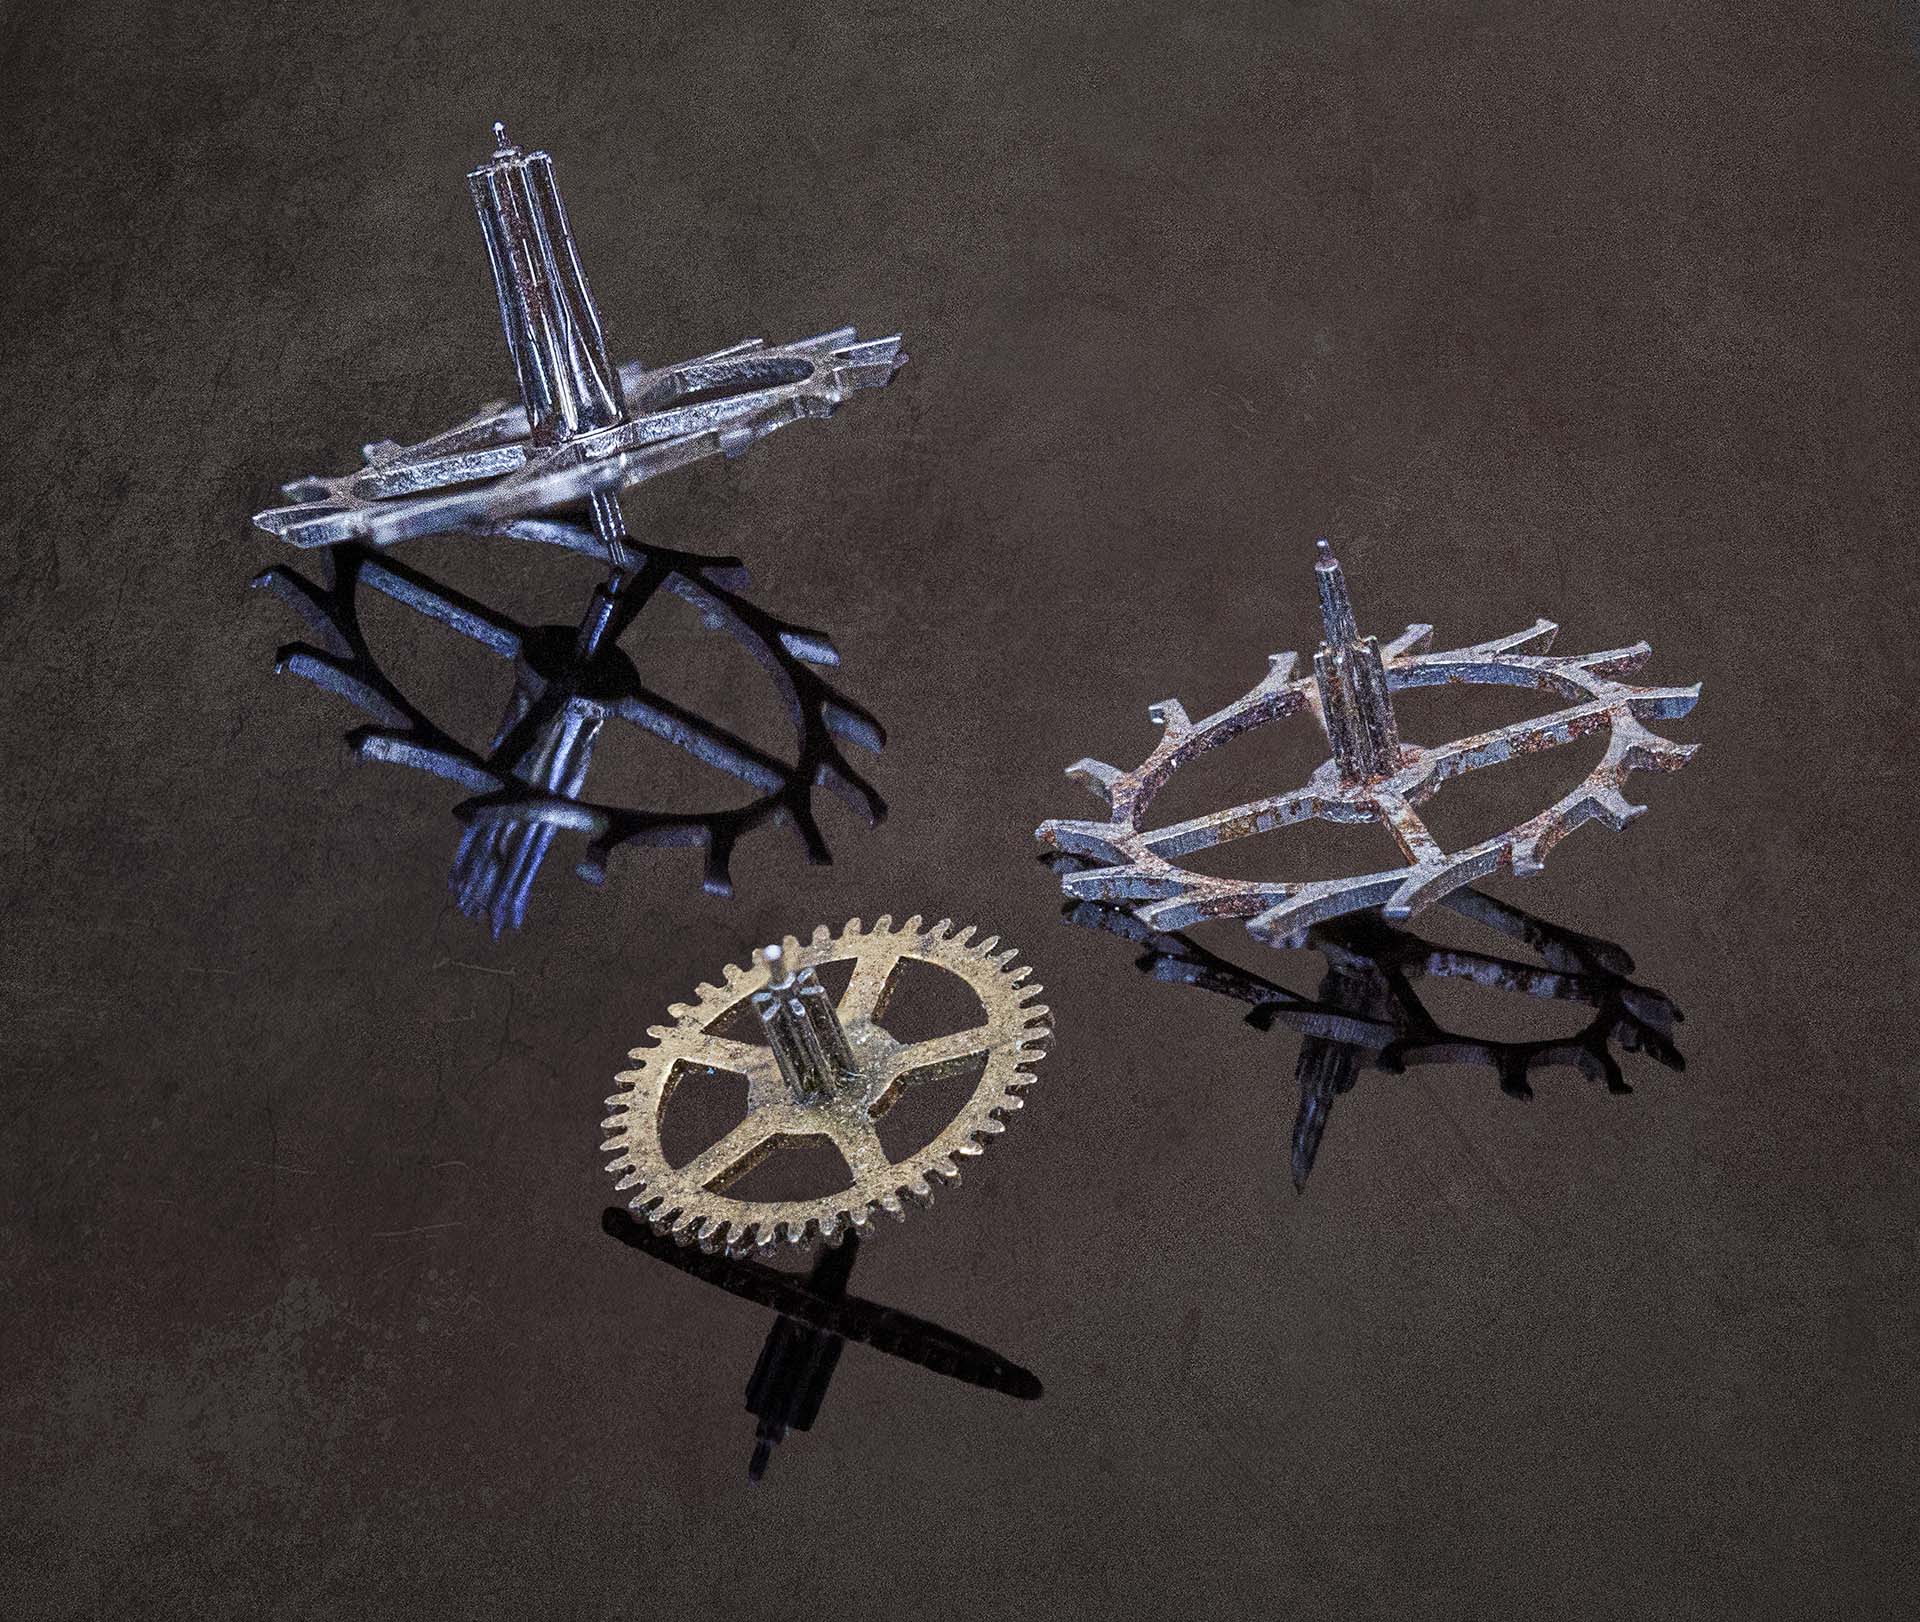
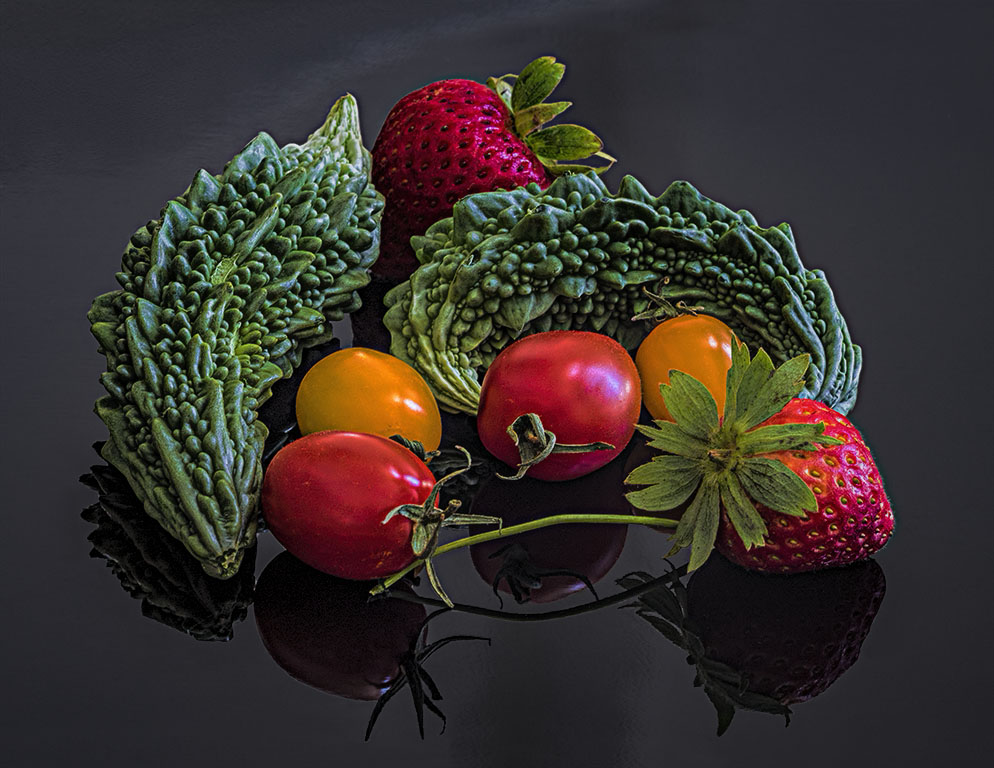
Comment |
Neat Image. Although there is a lot going on in this image the brighter tones and colors in the middle does serve to draw our eye in, and to be comfortable in viewing the image.
With regard to editing separate images with a Photoshop generated stack ��
What Photoshop does is to first add all "focus slices" into a single file as individual layers, scale and align the images within the layers , mathematically determine what part of each layer are sharp (and this is where the "magic" happens) and then to mask out the parts of the layers that are not sharp.
This is the same process that the other focus stacking applications (Helicon Focus, Zerene Stacker) do as well but they give you one final image were the stacks have been collapsed into one layer.
Photoshop uses one set of mathematical algorithms to establish what is sharp, while the other focus stacking applications gives you the choice of 3-4 algorithms (with adjustment sliders associated with many of the methods). Do you need to know which algorithm does what, NO, just pick that one that works best for your image.
However, no one mathematical algorithm works best all the time and for each image, and at times one mathematical algorithm works best for a part of an image while another mathematical algorithm may be best for other parts of the same image. So if you use Photoshop you have one option to use while you may have more options with the focus stacking specific applications.
If things don't quite work out in Photoshop, you do have the option of trying to determine which layer has the part of the image in question and to manually try to edit that layer to get a different result. This may or may not be successful, dependent upon the nature of the issue you are trying to address, and your personal Photoshop editing skills.
In many of the focus stacking specific applications, you have the option of trying a different stacking "method" (mathematical algorithm) and even to try several methods and to select the best part of each method into a single result (a process often referred to as "retouching").
So in this discussion we quickly have highlighted a potential limitation of using a "one app fixes all" approach (i.e. Photoshop) vs. a focus stacking specific application with often offers more flexibility.
That being said, if you do not collect enough information for the application to work on (i.e. you don't collect enough focus slices or place too much distance between each focus slice) all of the options discussed above may have difficulty.
Just some thoughts to consider in regard to this issue ��
|
Aug 16th |
5 comments - 2 replies for Group 65
|
5 comments - 2 replies Total
|