|
| Group |
Round |
C/R |
Comment |
Date |
Image |
| 65 |
Jul 18 |
Reply |
My signature was created for me by a company called Photologo (https://photologo.co). For about $ 40 they created a signature logo for me (from a few samples they provided on their Web-site). When completed, they sent me the logo as low and high resolution files, with the signature in both white and black . I had one chance to request a modification, and then that was that.
I also have created my own signature logos using the text tool in Photoshop, in many different fonts, but I like the Photologo best. I also tried creating a logo from my own signature, but that was an epic failure, compared to the previously mentioned methods. Also I think its best to not broadcast one's own personal signature since it is often used for legal proposes.
If you would like I could send out the procedures I use in Photoshop to (1) generate a signature file, and (2) to add and blend in the signature into a specific image (so it is not too obtrusive).
|
Jul 26th |
| 65 |
Jul 18 |
Reply |
One note regarding the exposure in focus stacking. Try to find an exposure setting that will work for all of your slices. If one makes a lot of changes between each slice (aside from the plane of focus), you can get some really unexpected and bizarre effects when the slices are stacked. It's not that you can't do this, it's just you may have to work really hard to get the final stacked image to come out as you expect. |
Jul 26th |
| 65 |
Jul 18 |
Reply |
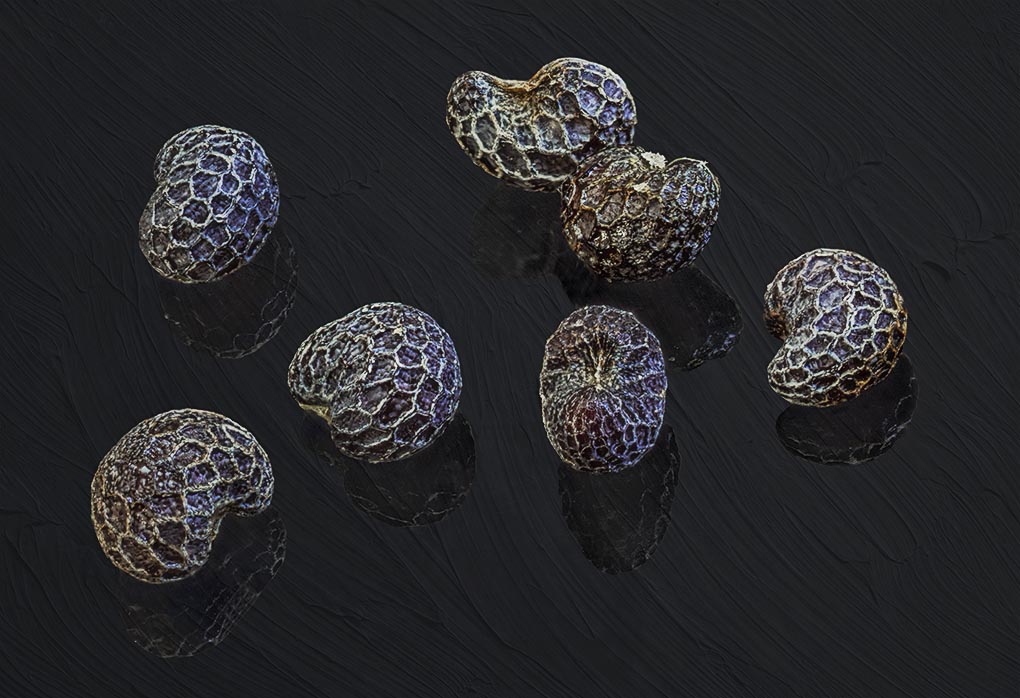
You have touched upon a really important point regarding macro photography, and a point I brought out in my January 2018 image, that being the importance of context. In this field we often take a small bit of familiar life, isolate it and magnify it to present something that is not often seen (or at least we try to). In the process of isolation, we often remove it from its normal setting, and it becomes either an abstract or unfamiliar. Since you have a hard time identifying what the image (or subject) is, your mind begins to recall and substitute similar replacement subjects. These are generally from things you already are familiar with, and being familiar they loose the "special punch" impact.
We as the makers know what the subject is, so we approach it from that perspective, but what of the viewer? Often they don't know what it is, or its relative size, so they are left guessing (micro beads or 2 inch balls, seeds or rocks).
Perhaps that is what you intended, but perhaps not. Something worth considering with macrophotography.
|
Jul 26th |
| 65 |
Jul 18 |
Reply |
This image was taken on my living room table using natural light from a window. I did edit out the major specular highlights of the window out of each bead, which may be one of the reasons the light appears somewhat balanced. I did leave some of the more muted highlights though, allowing the beads to retain some of their inner personality. The beads were placed on a piece of black art glass (from my stained glass creating days) allowing the bead reflections. |
Jul 22nd |
| 65 |
Jul 18 |
Comment |
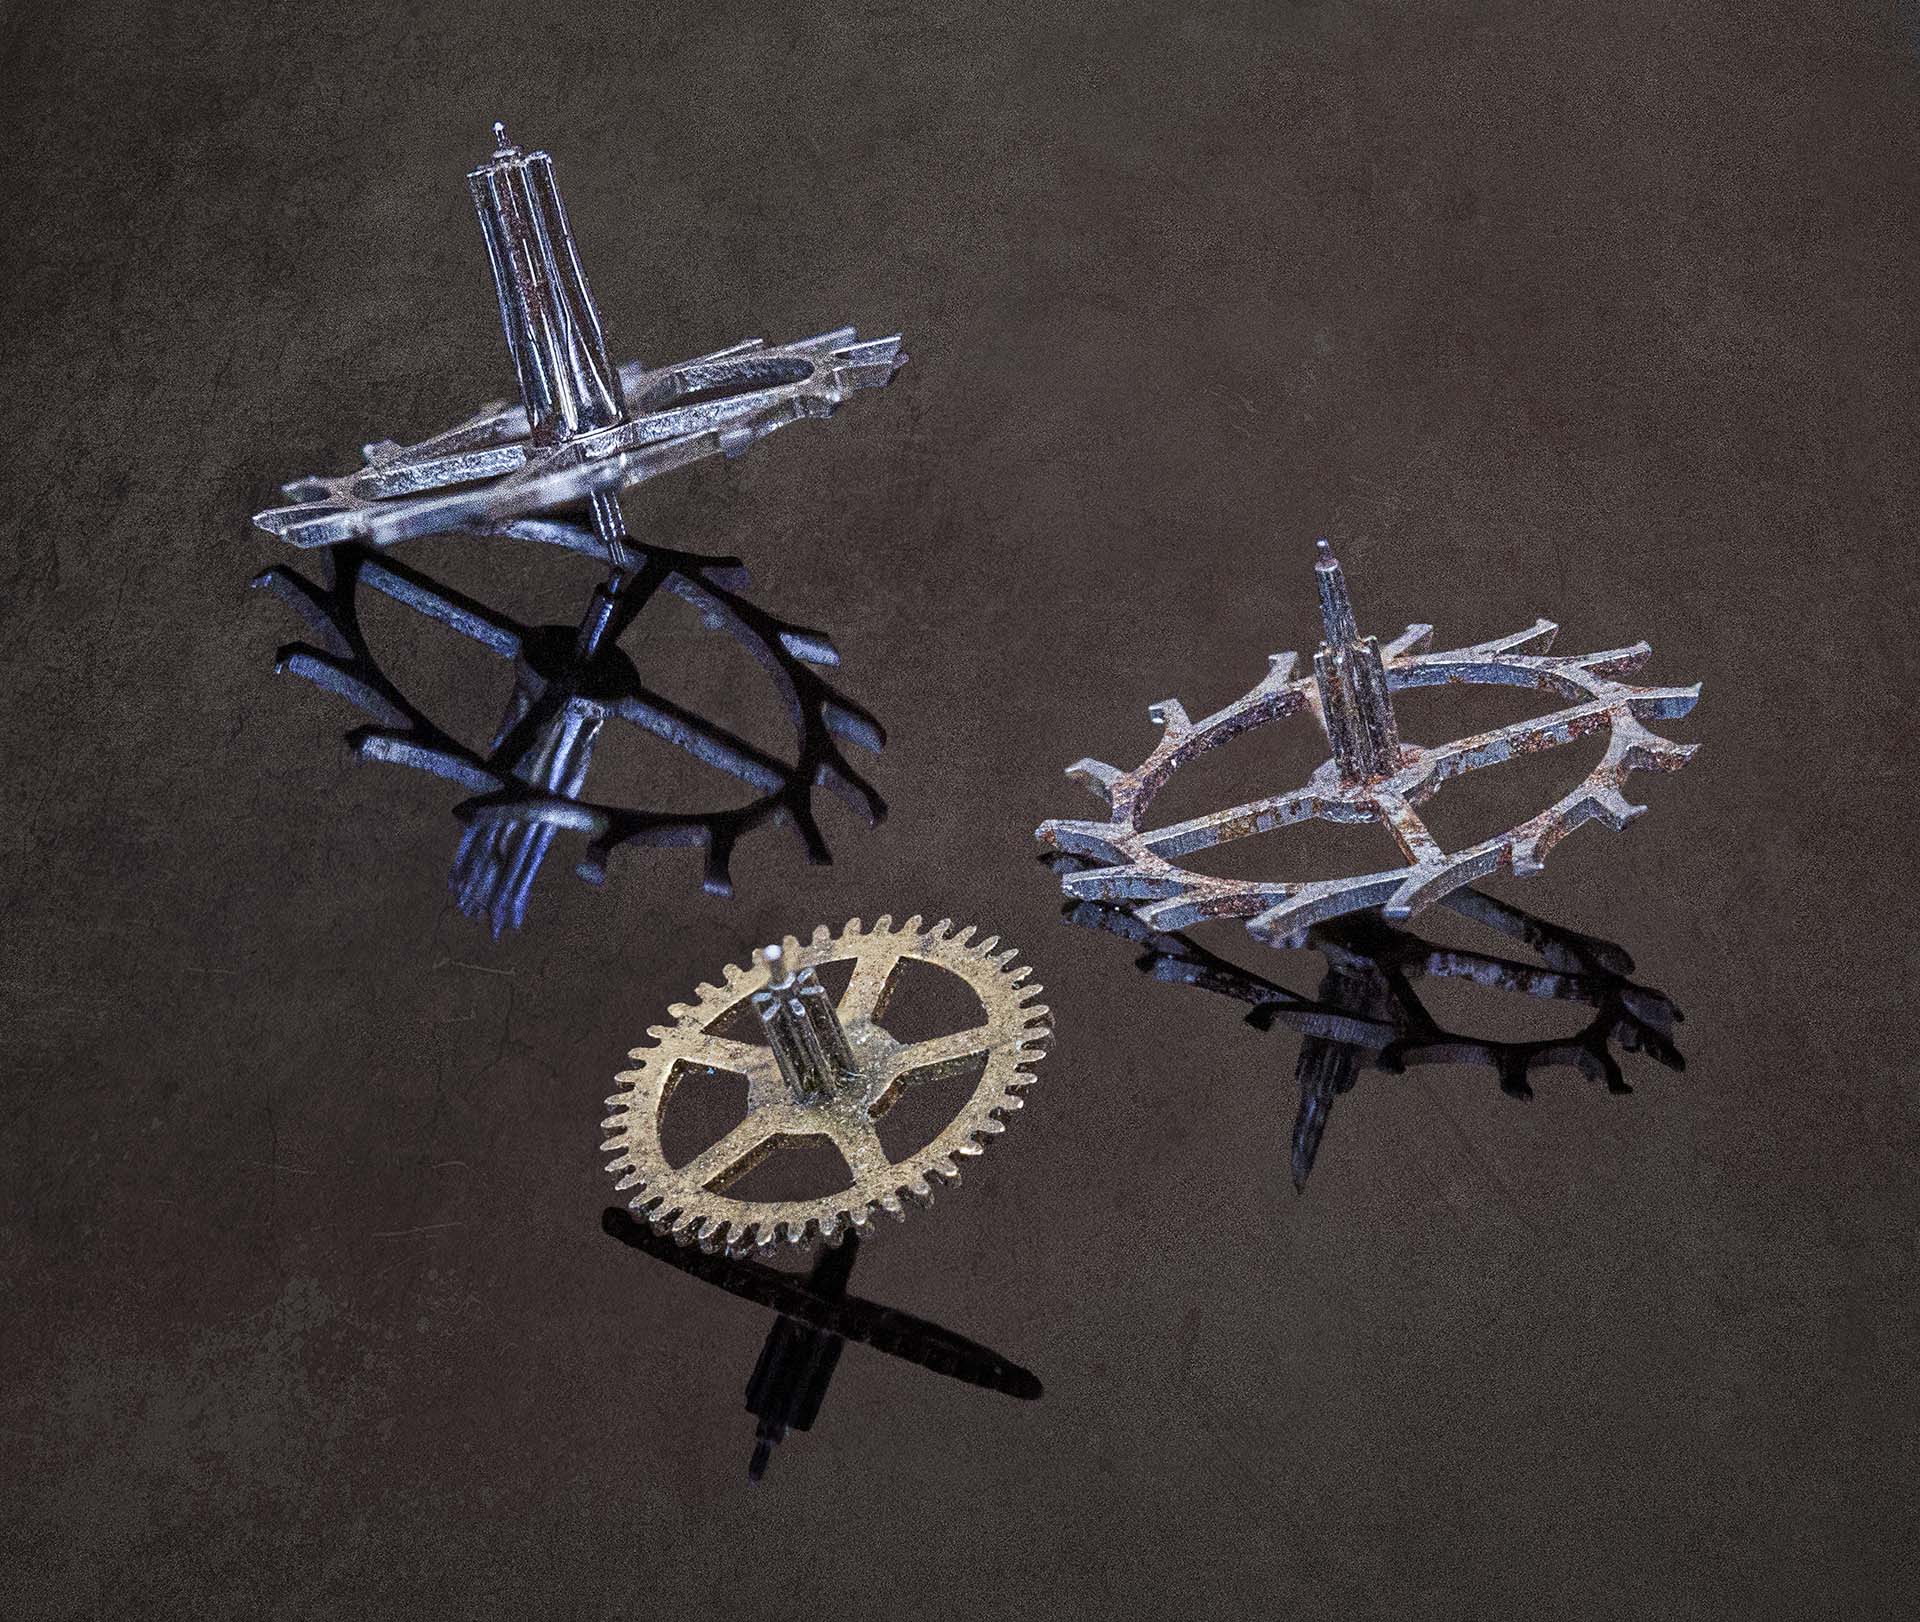
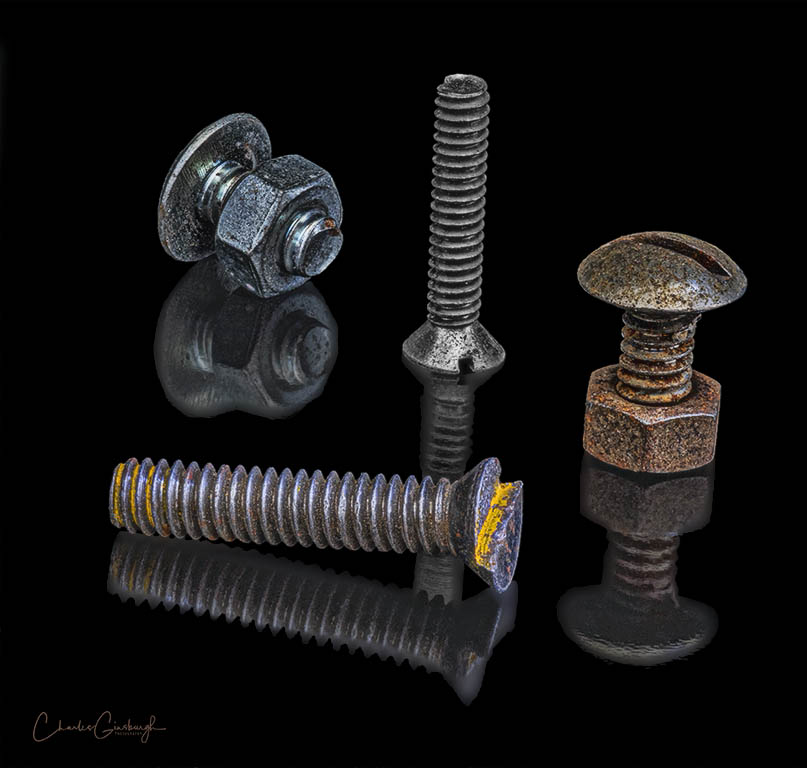
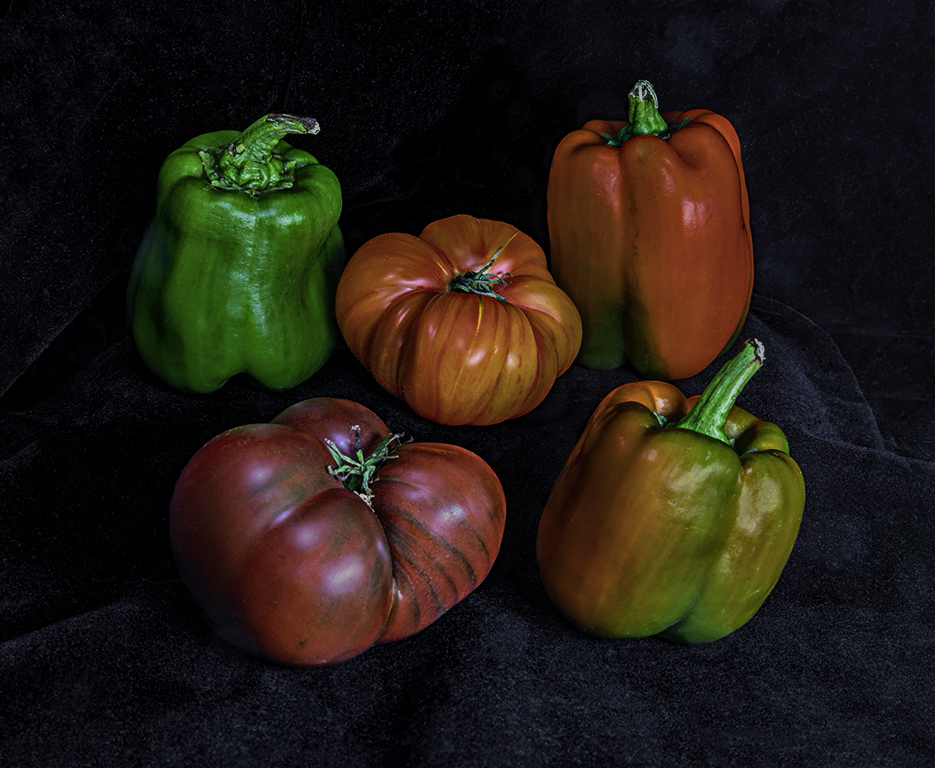
This image represents one of your best yet, and I applaud your first stacking attempt. This is a great subject, and you have successfully presented us with both the look and feel of the subject. I love the detail, color pallet and composition of the image. Your use of the vignette also effectively aids us in focusing on the subject's central element.
In focus stacking we often get a bit of differential softness at the edges. As we generate the slices we directly or indirectly magnify the subject. If you look though your slice-set you should see this. The stacking application knows this and scales each slice to account for this as it aligns the slices. One of the problems though is that there is a bit of the subject around the edge that is present in some of the slices that is absent in others. This can at times lead to issues during stacking and a bit of softness around the edges. The solution is to include more of your subject than you may wish to keep in each slice. That way any edge related softness can be cropped away. Easy to say but I find it's a bit harder to do in practice, and I still struggle with this effect from time to time as well.
Nice job !!!
|
Jul 22nd |
| 65 |
Jul 18 |
Comment |
You have provided us with an interesting view of this subject. I especially live how you have used the light to highlight the pedant. Unfortunately, to my eye the differing clarity of the background detracts from the image as a whole. The background is clear at the bottom of the image but soft (blurry) toward the top with a gradient of clarity in between. The sharpness of the pendant wire (or is it fish line) is also caught up in this clarity gradient so we lose some of the detail associated with is unifying element. Finally the black triangle of black at the upper right is distracting and unnecessary, and there are distracting elements at both lower corners as well. All in all, this image has a rushed and unfinished feel to it. |
Jul 22nd |
| 65 |
Jul 18 |
Comment |
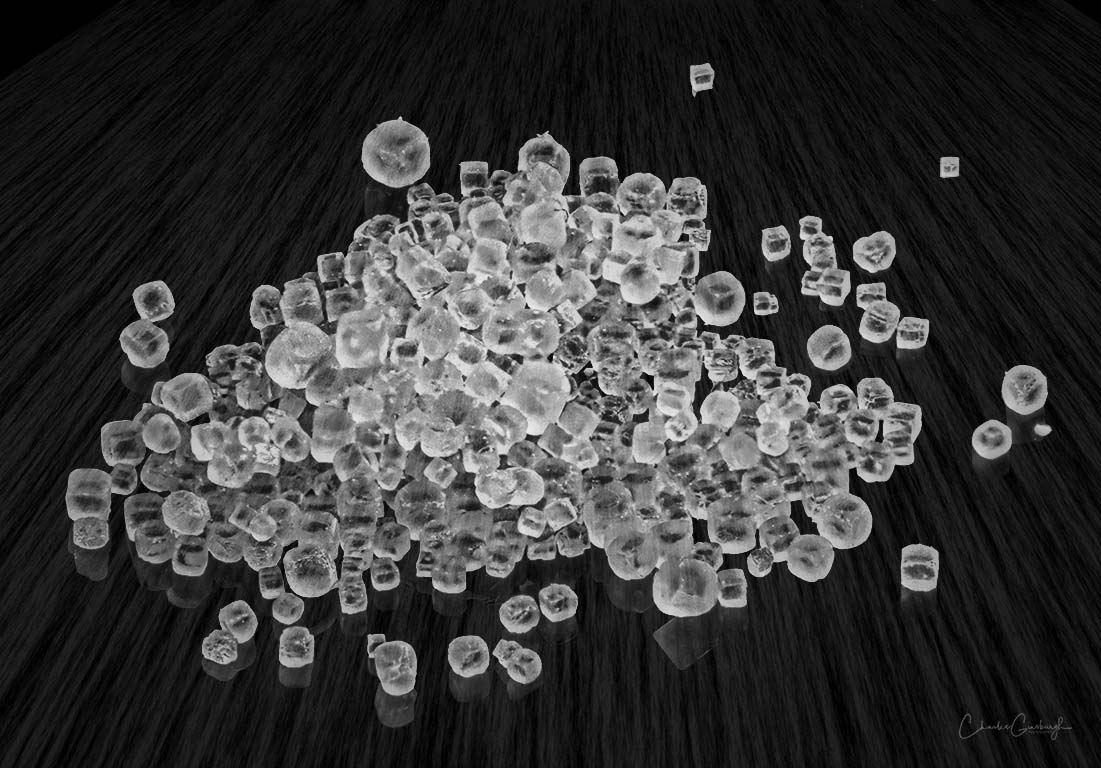
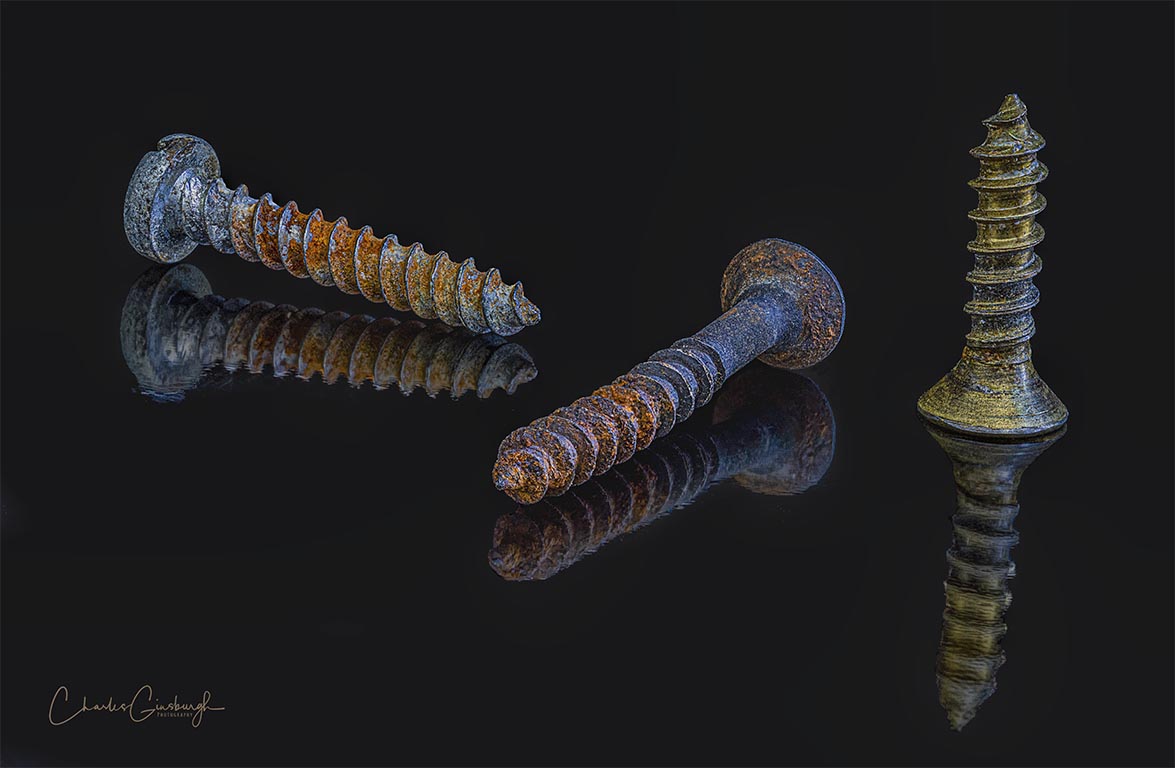
I love the subject and composition and thought behind this image. However, this image remains a bit soft, even with your application of the focus stacking technique. I know that we discussed this at length offline, but for the benefit of the others I will summarize my observations here.
I think the main issue here was in the collection of the slices. In each slice, the main subject comprised only 10 % of the total slice image, so there were not a lot of pixels associated with your subject. So when you copped the image to focus upon the subjects, there we less pixels in the final image. In addition, each slice was over exposed such that you were losing some detail in the subject. Finally each slice was captured and used as a JPEG file rather than as a RAW file. I know that some of the stacking applications can't read and use a RAW file, but in using the JPEG file you loose too much vital information, and retain too little information (in this case) to counteract the over exposure (in editing). I collect and edit my slices as RAW files, and then save them as TIFF files before I use them in the stacking applications. That way I do not loose critical information that the stacking applications chew on.
I think that the culmination of all of these issues resulted in a set of slices what lacked some of the detail you were trying to capture, so the stacking application did not have enough information relating to this detail. Don't despair though. These are common mistakes that stacking beginners often make, and are part of the normal learning curve. I am looking forward to your next image.
|
Jul 22nd |
| 65 |
Jul 18 |
Comment |
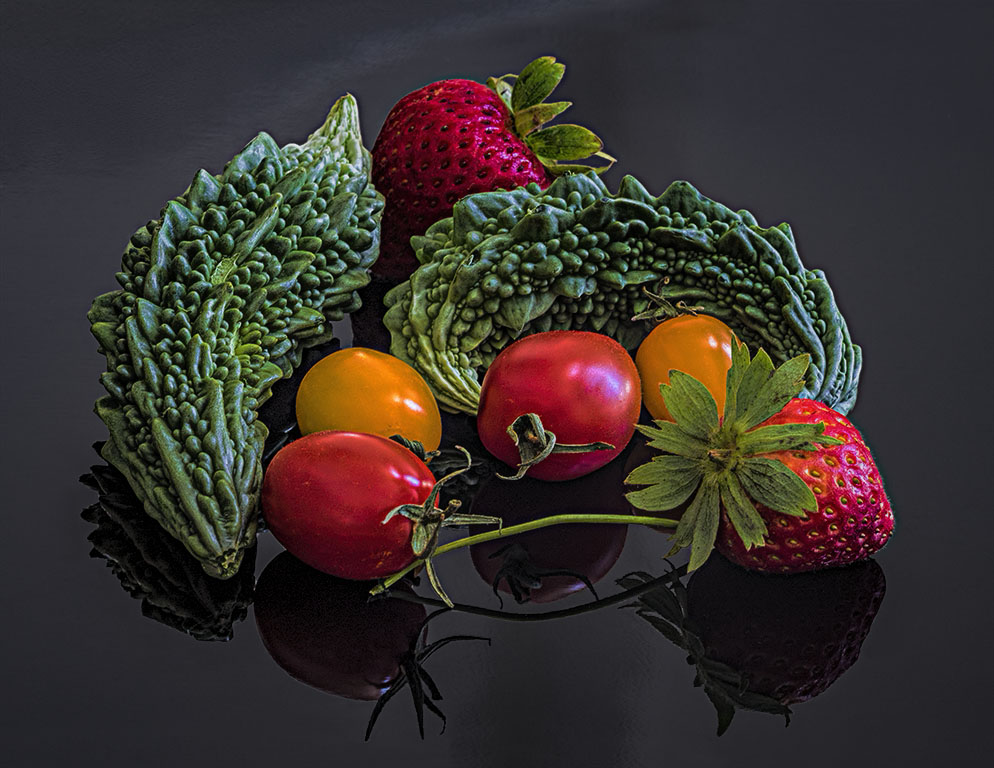
What an interesting image, giving us something that we don't normally see (which is my objective in macrophotography). The colors and clarity of the slug are quite good, and I am enjoying the slightly blurred background. This feature really aids in setting your subject apart in the image. I would have darkened the background a bit more to further aid in highlighting your subject. The orange color (similar to the slug) and the specular highlights in the background unnecessarily compete with and pull my eye away from the subject. Darkening these elements would go a long way in minimizing this effect. |
Jul 22nd |
| 65 |
Jul 18 |
Comment |
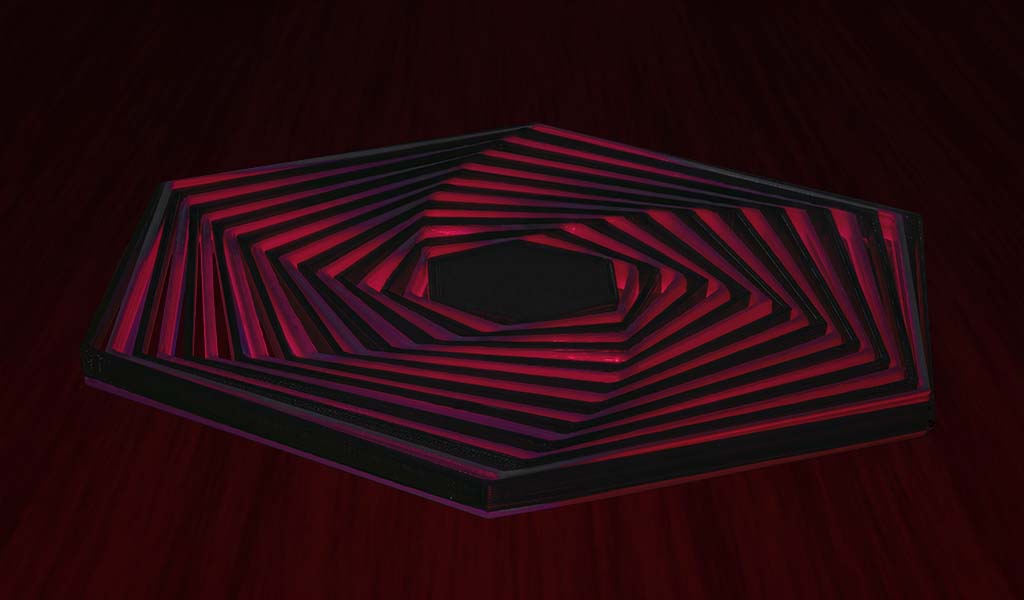
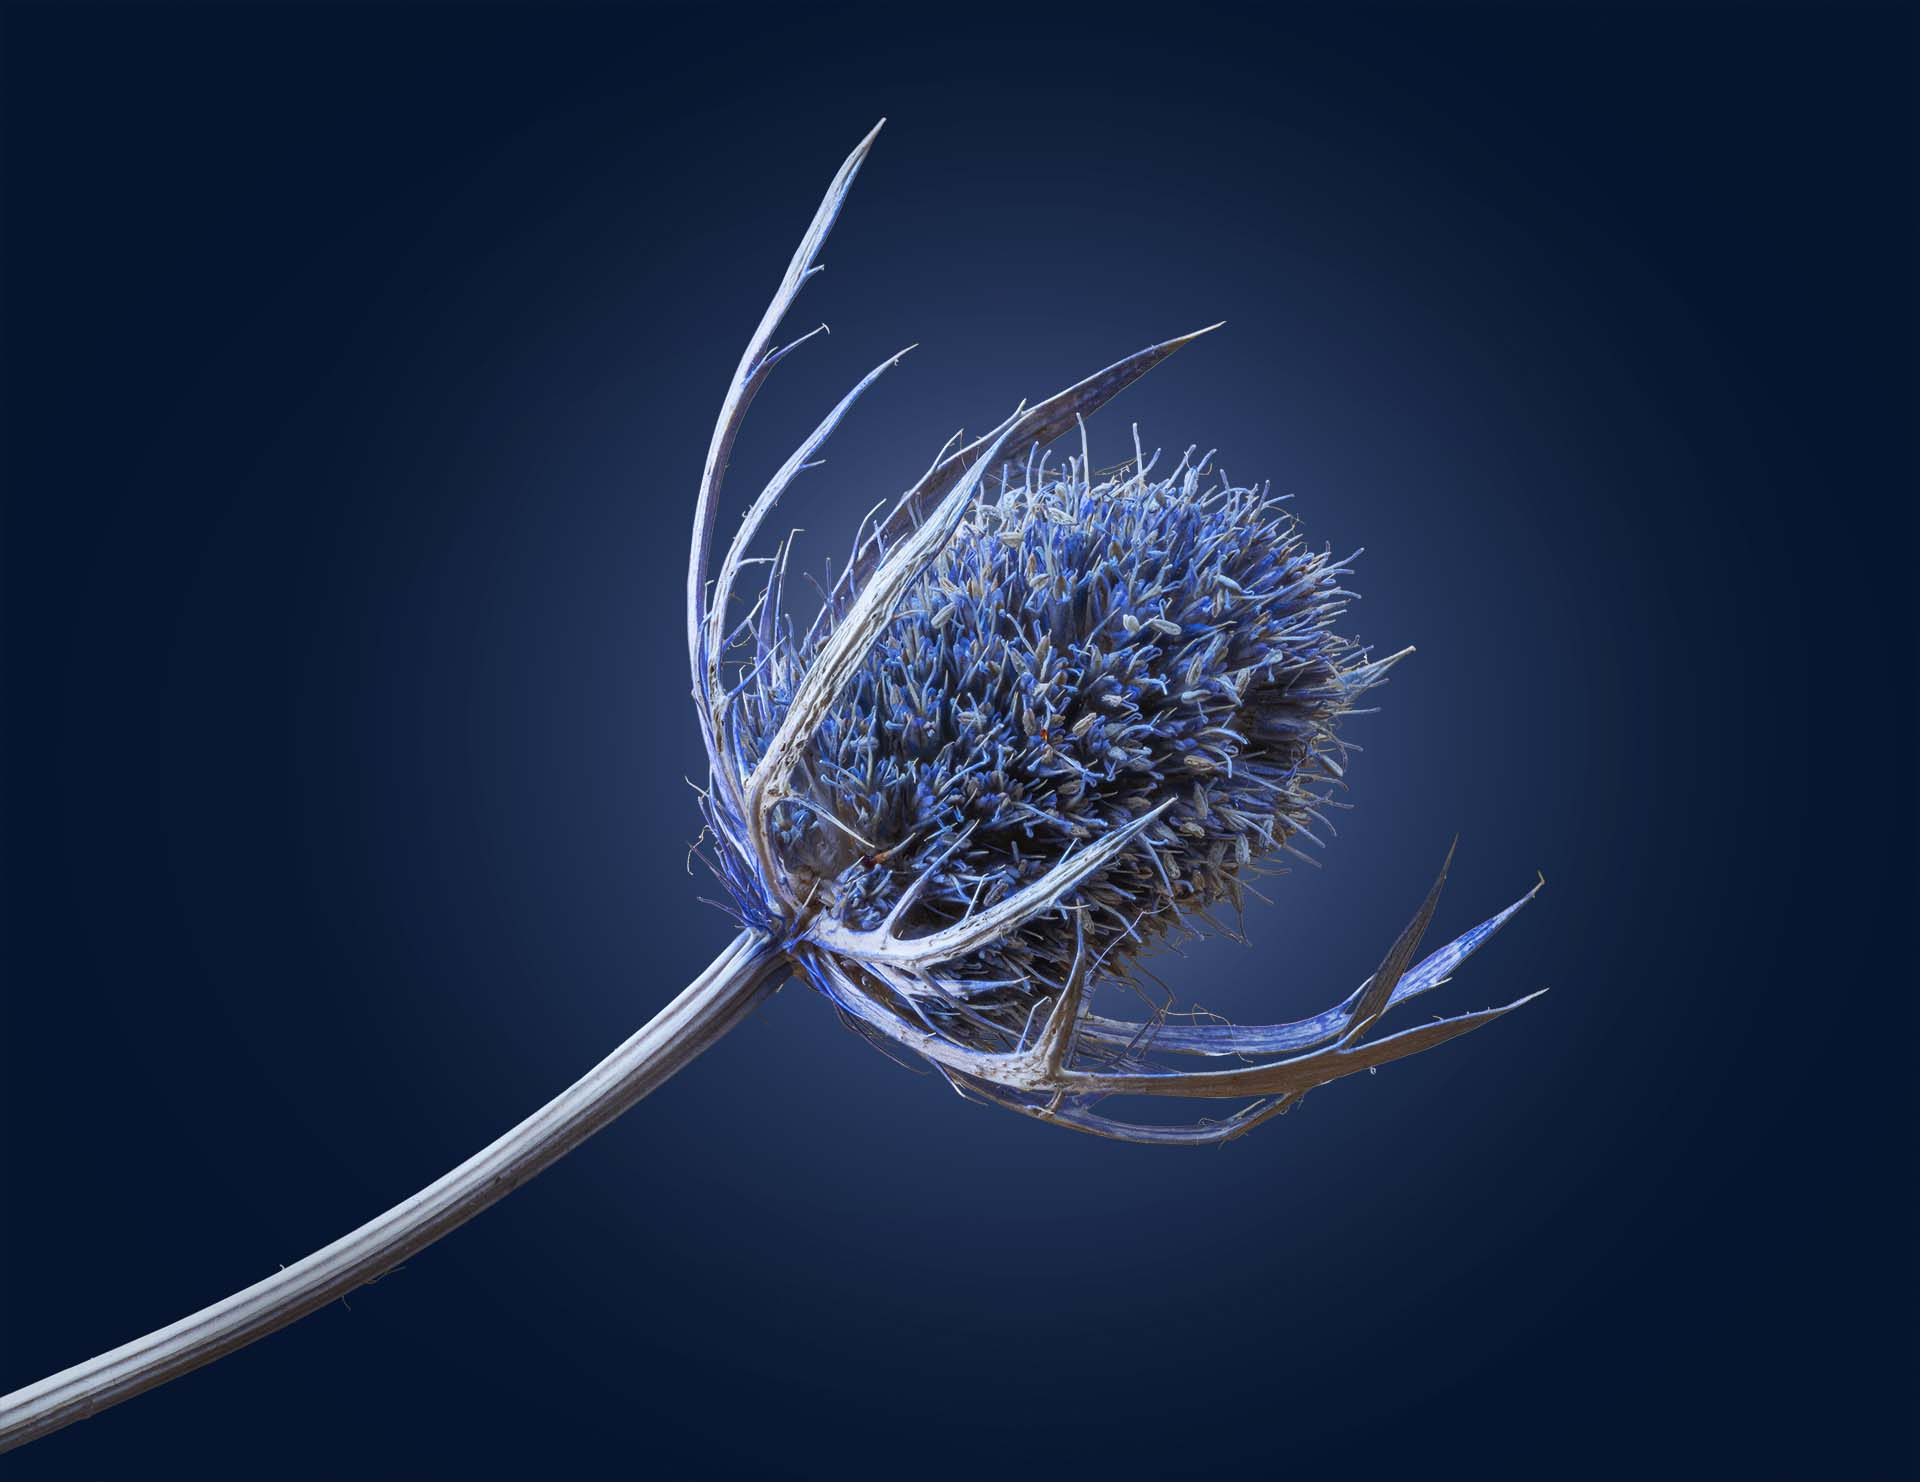
This is quite an interesting shot, and a challenge to get just right. I love the colors and definition you achieved with most of the facets. I would have liked to see a bit more of the dark facets though. The dark facets through the middle of the gem are obscured some, and seeing a bit more of the detail within these elements would have added more to the shot. I think the composition is a bit tight. By this I mean that there is insufficient space around the gem, especially at the top and bottom. There is not enough space for your main subject to exist in and this adds a bit of unnecessary tension to the shot. All in all though, a good image and a nice challenge to give yourself. |
Jul 22nd |
5 comments - 4 replies for Group 65
|
5 comments - 4 replies Total
|