|
| Group |
Round |
C/R |
Comment |
Date |
Image |
| 68 |
Apr 20 |
Reply |
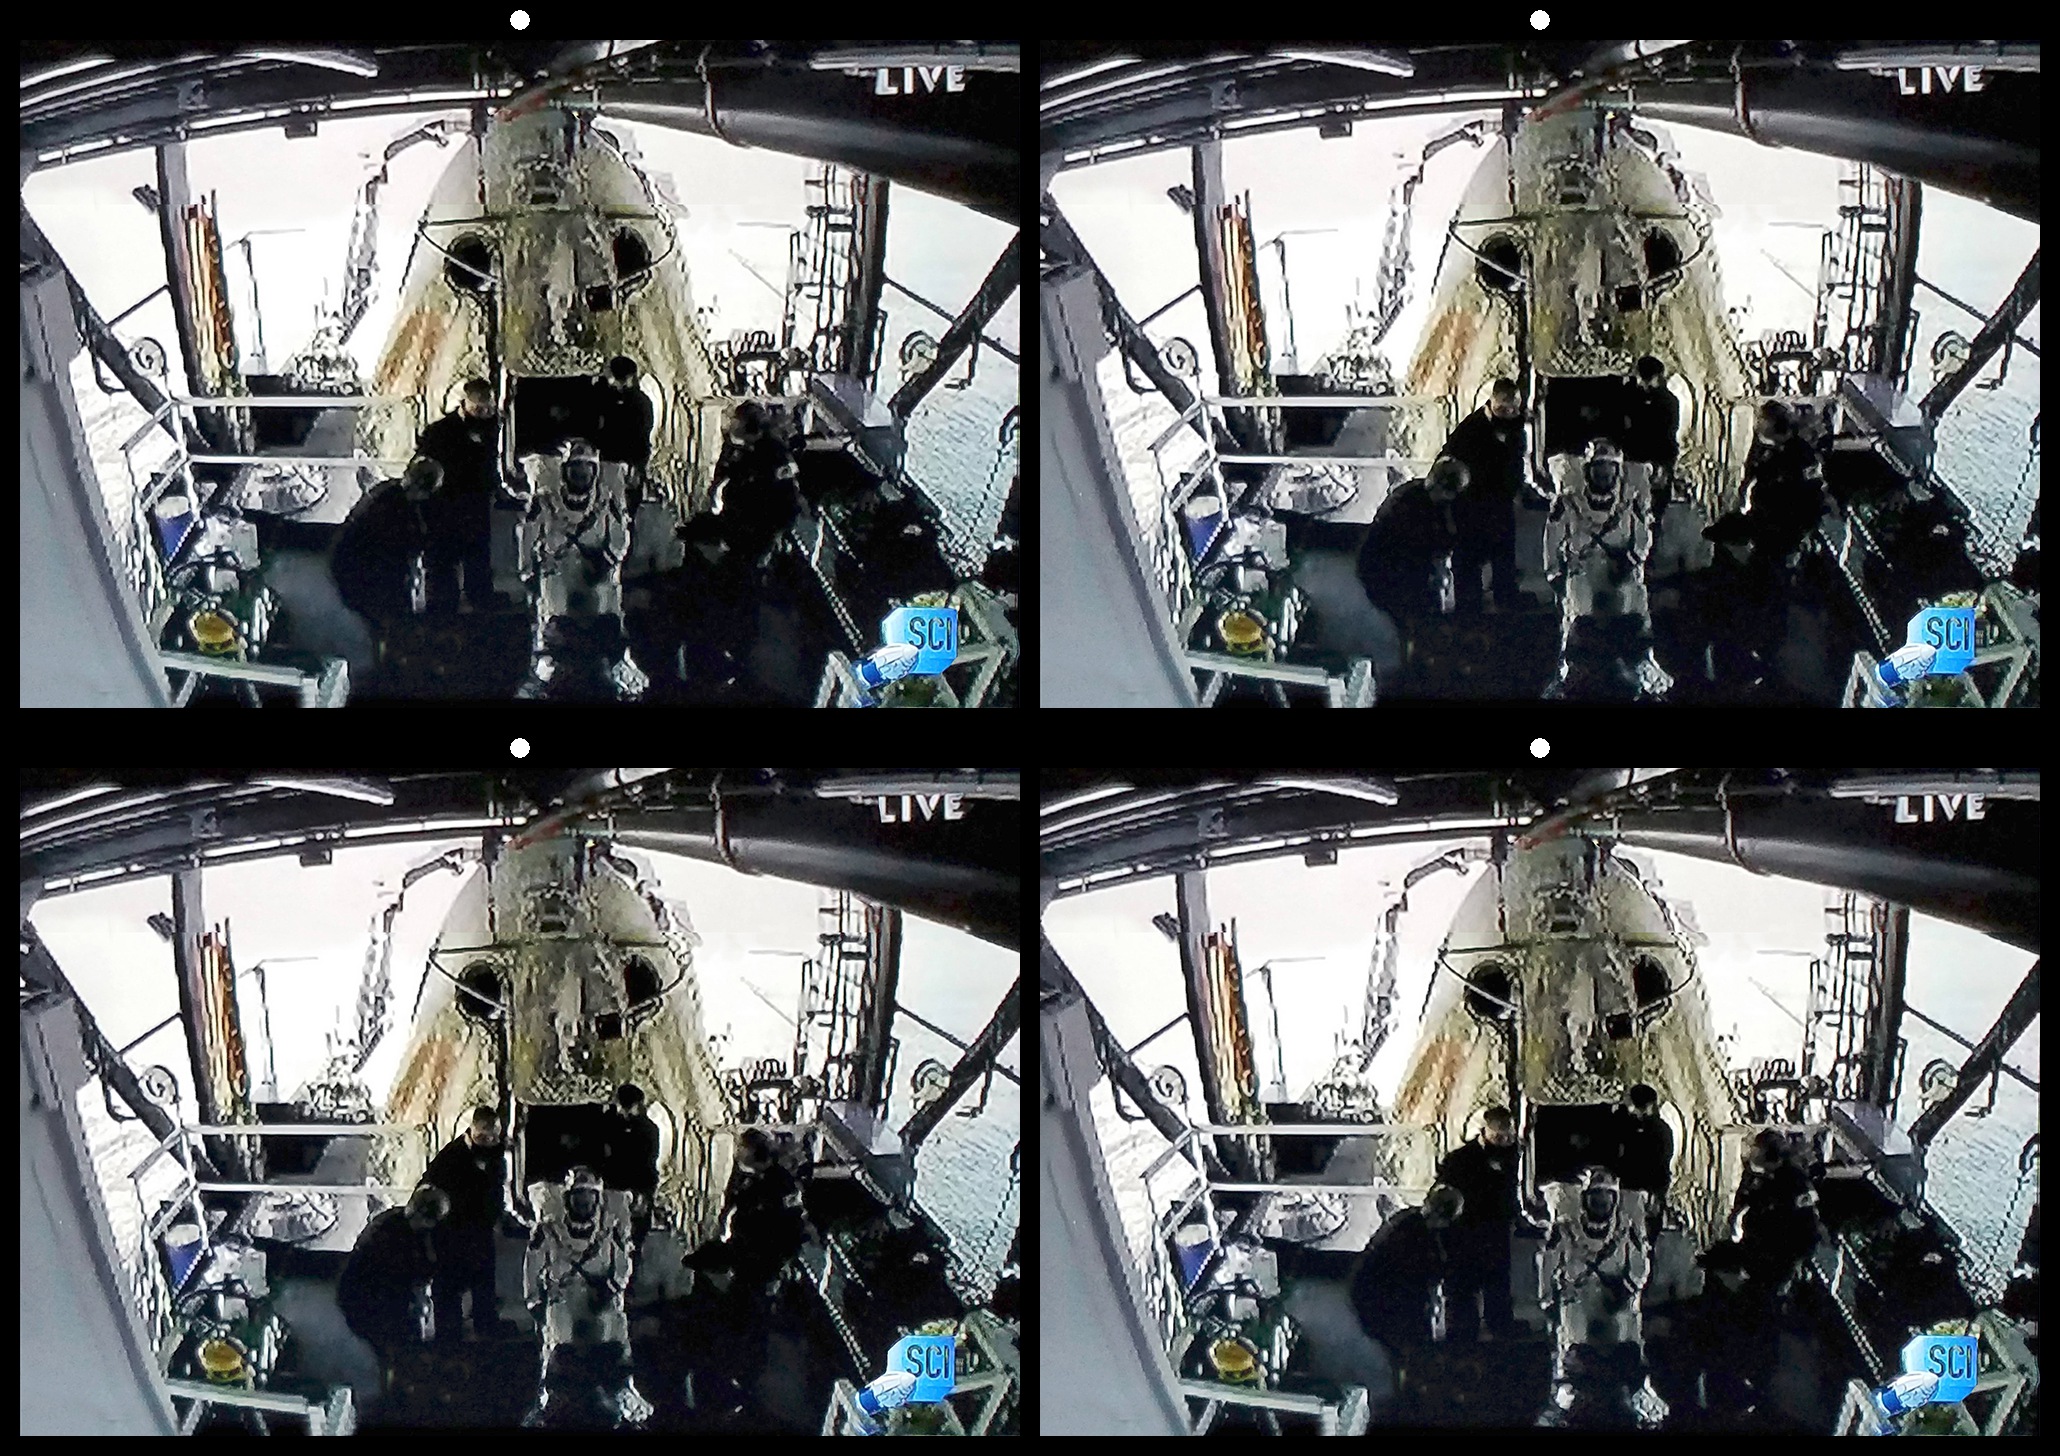
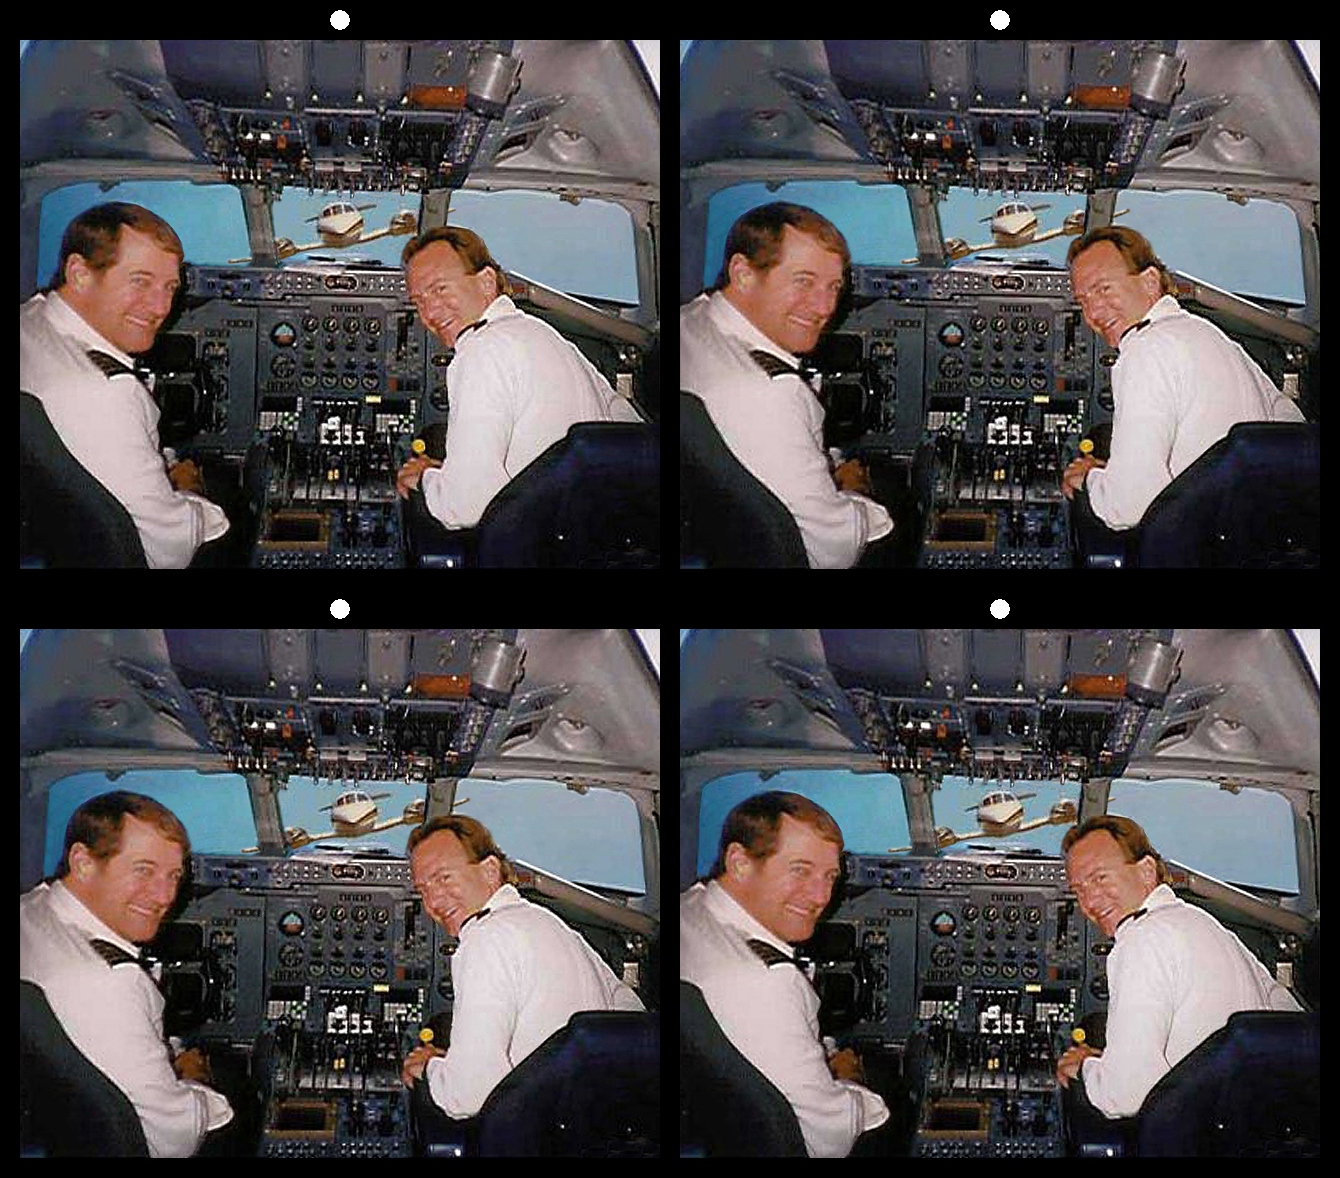
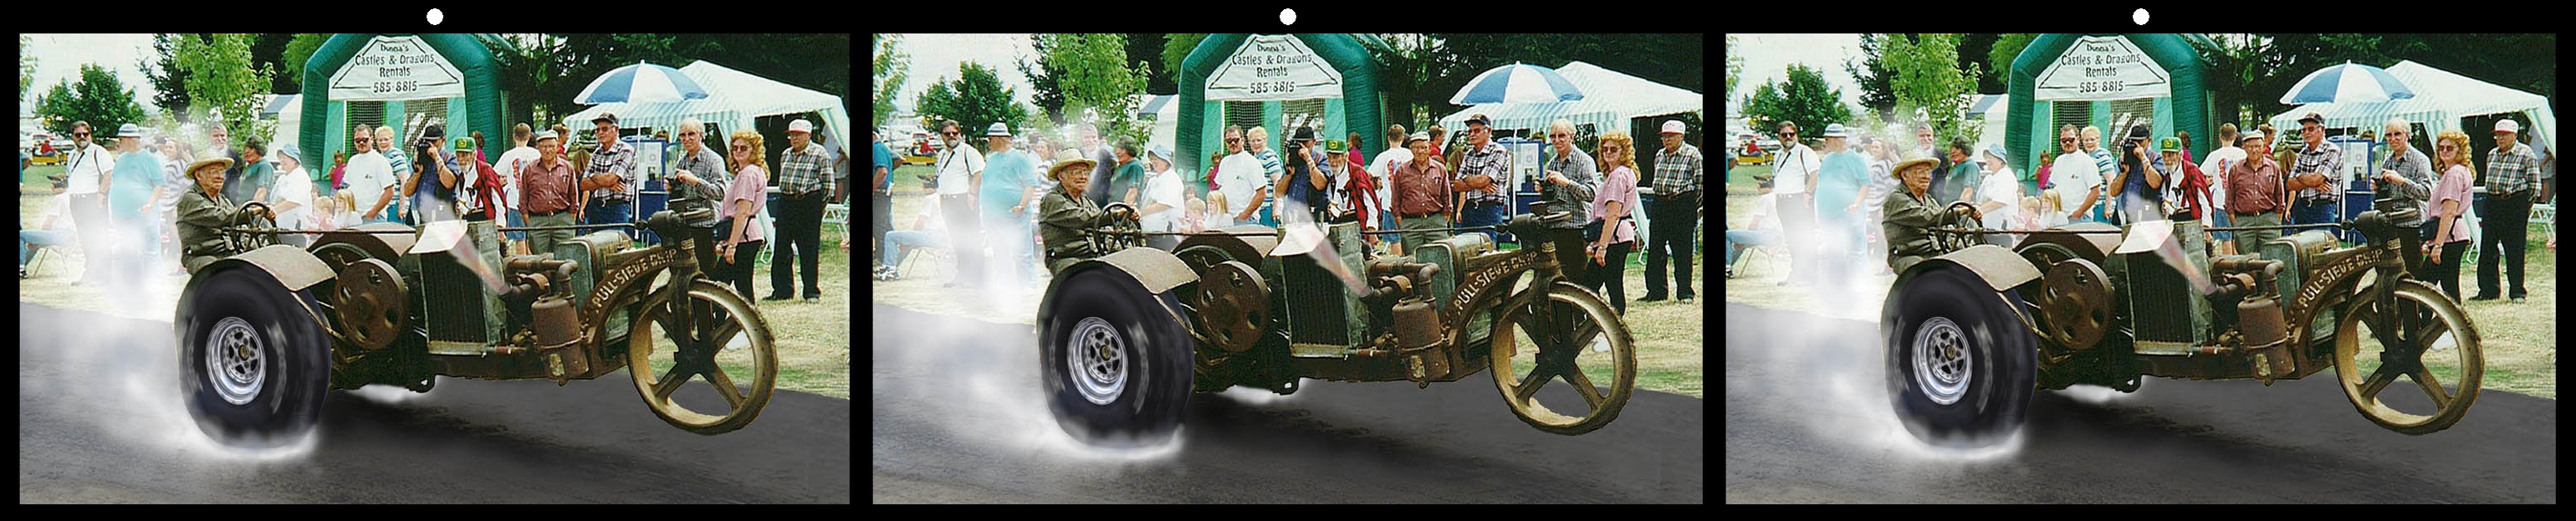
Nick, if you mean is there any 3D in the bubble of your image (the image at the top of your section) - I don't see that much (if any) 3D in those images now. |
Apr 30th |
| 68 |
Apr 20 |
Reply |
Sorry to not have answered previously but my computer crashed about 1.5 weeks ago and I am just getting it up and running again (almost). There sure is depth in the bubble now but parts of the car don't exactly fit with other parts of the car. One needs an image of the outside of the bubble to round the reflections on the bubble and a separate image of the car to add depth to the car and put that inside the bubble. |
Apr 30th |
| 68 |
Apr 20 |
Comment |
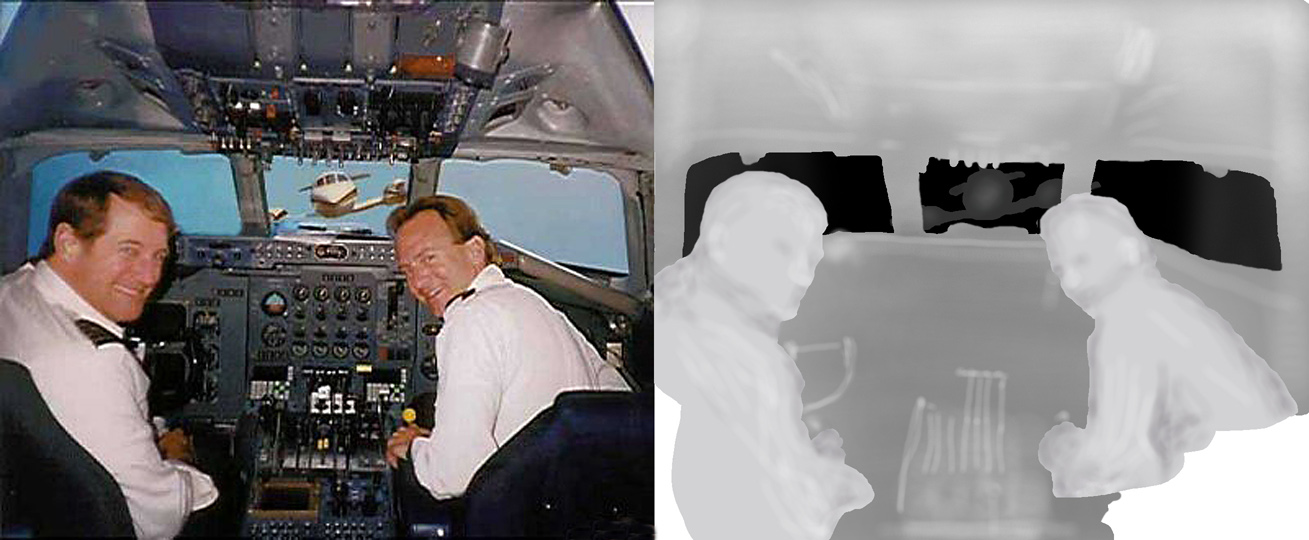
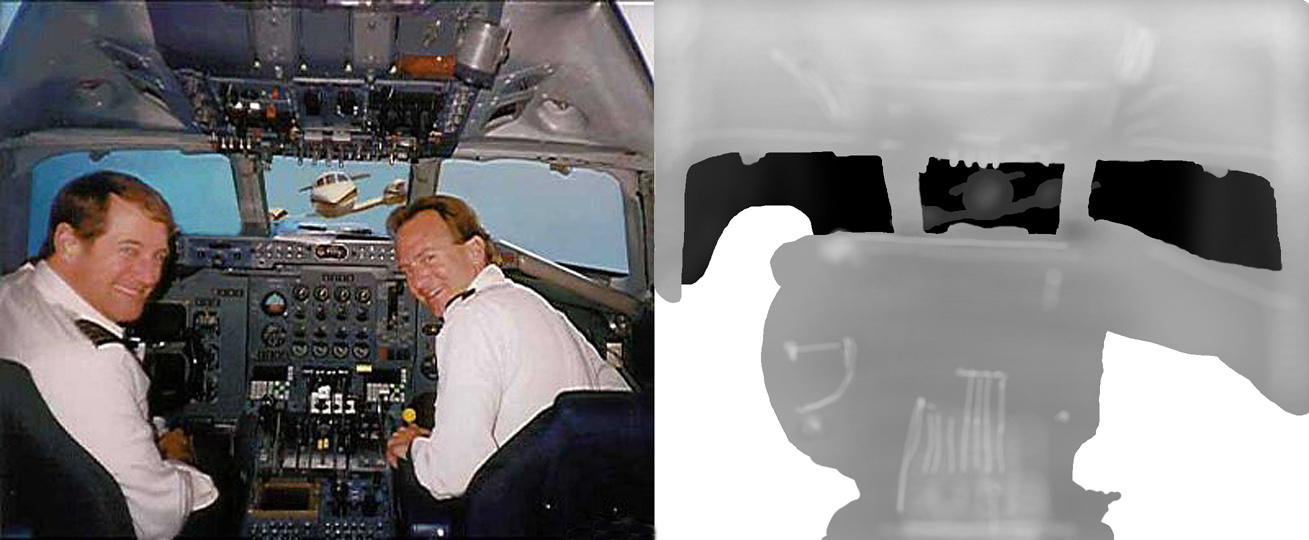
5th image-- the 6th should be obvious |
Apr 15th |
 |
| 68 |
Apr 20 |
Comment |
4th image |
Apr 15th |
 |
| 68 |
Apr 20 |
Comment |
3rd image |
Apr 15th |
 |
| 68 |
Apr 20 |
Comment |
second image |
Apr 15th |
 |
| 68 |
Apr 20 |
Comment |
|
Apr 15th |
 |
| 68 |
Apr 20 |
Comment |
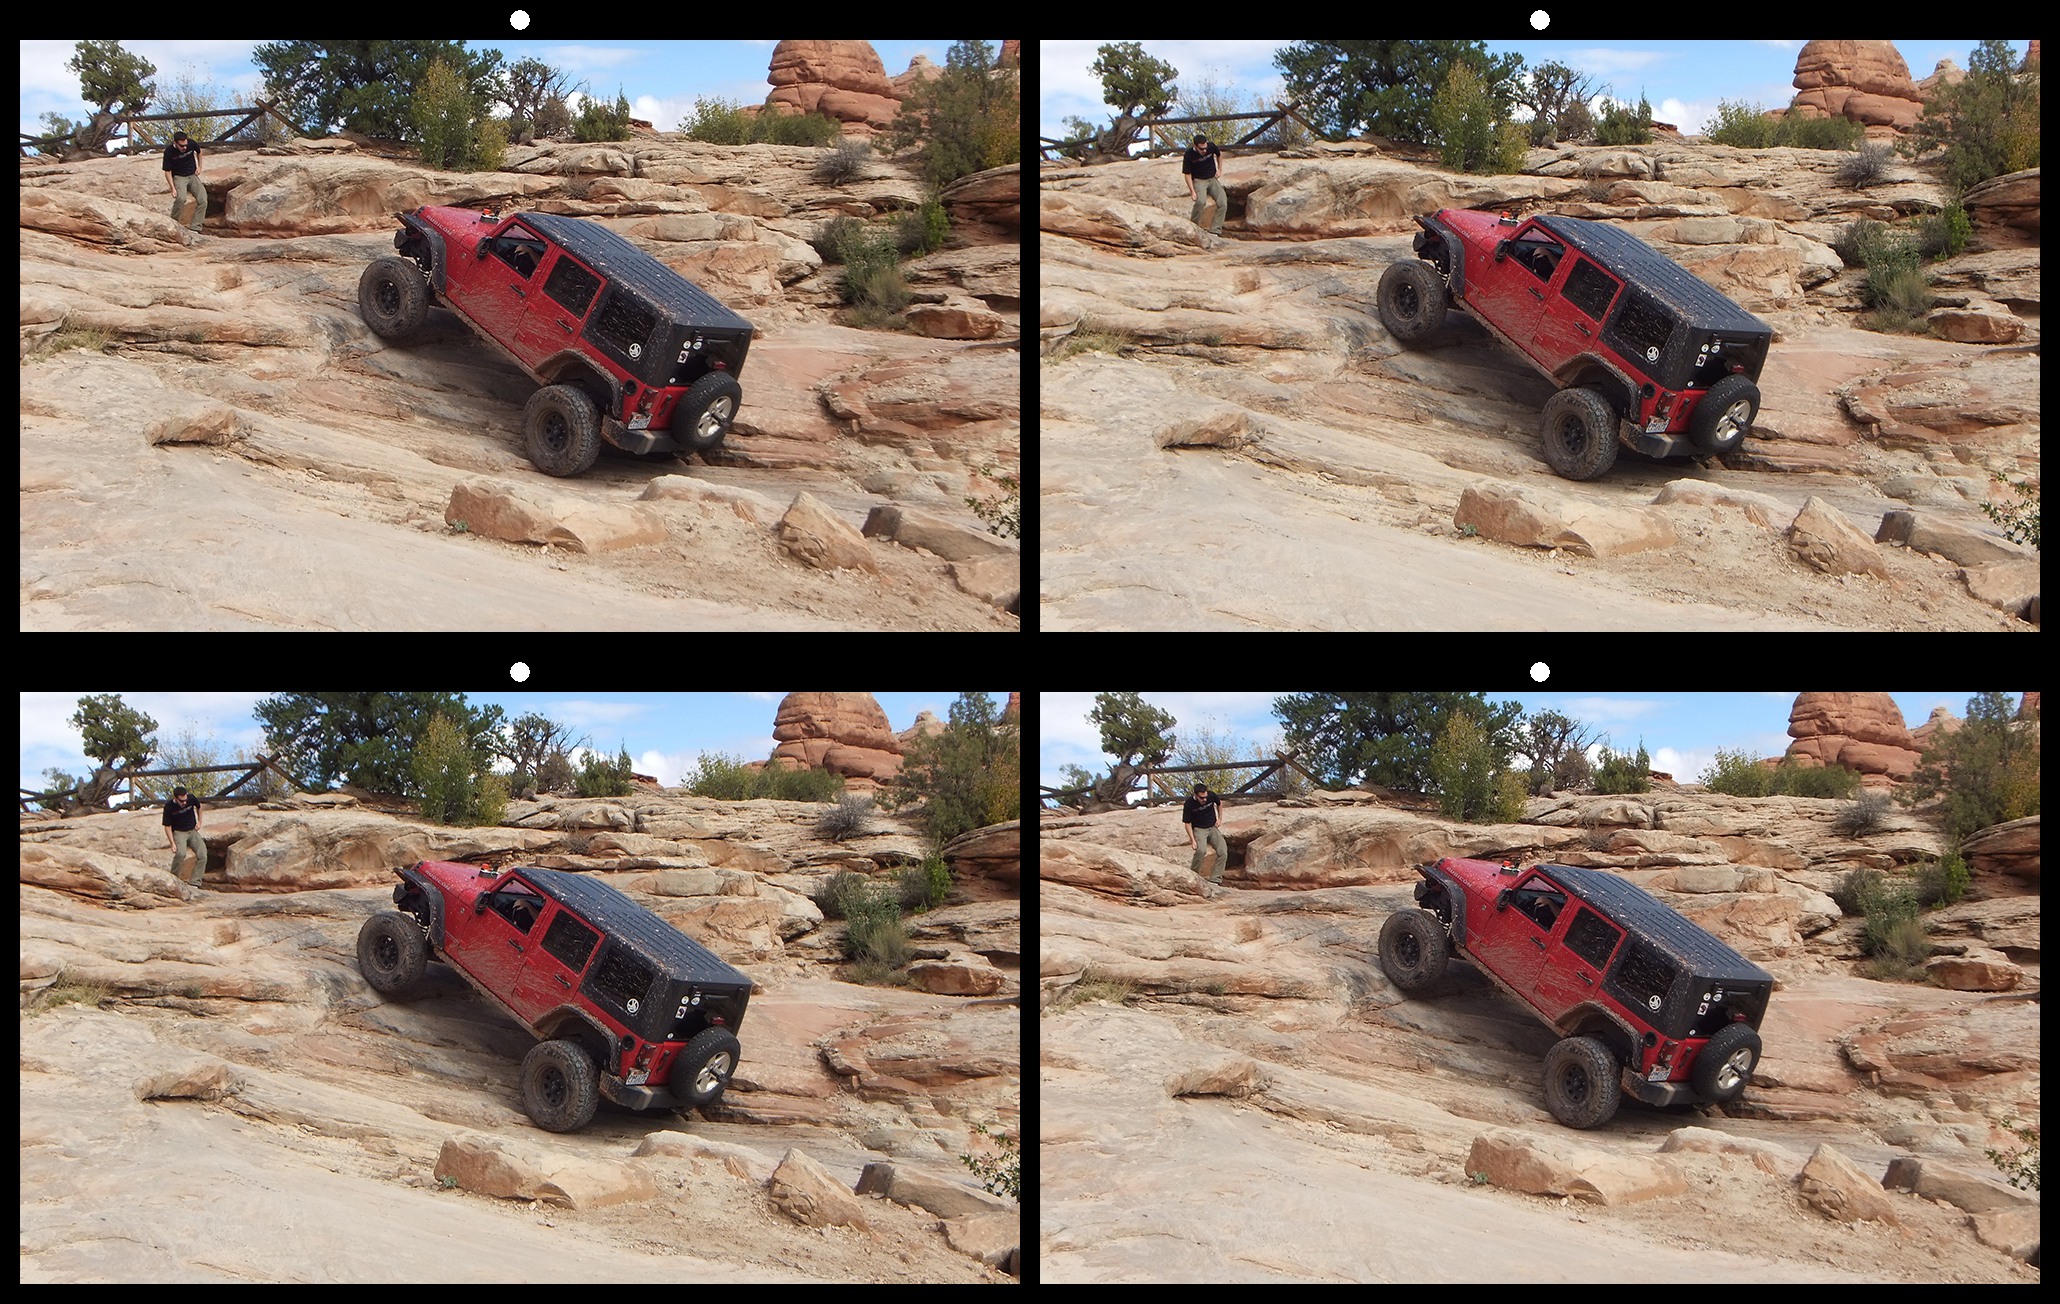
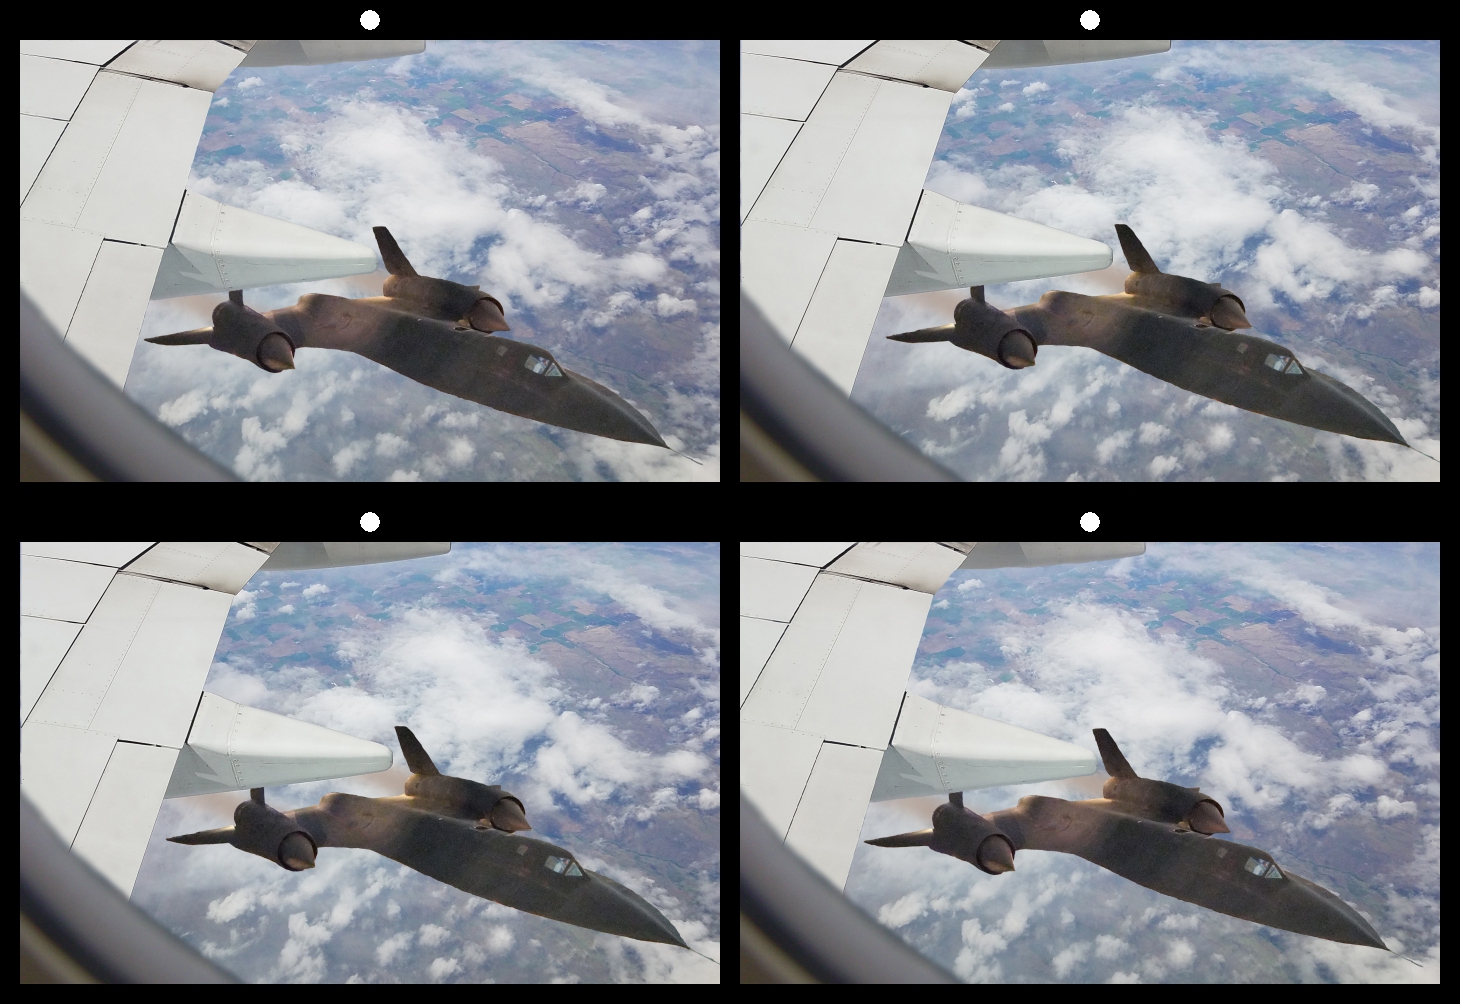
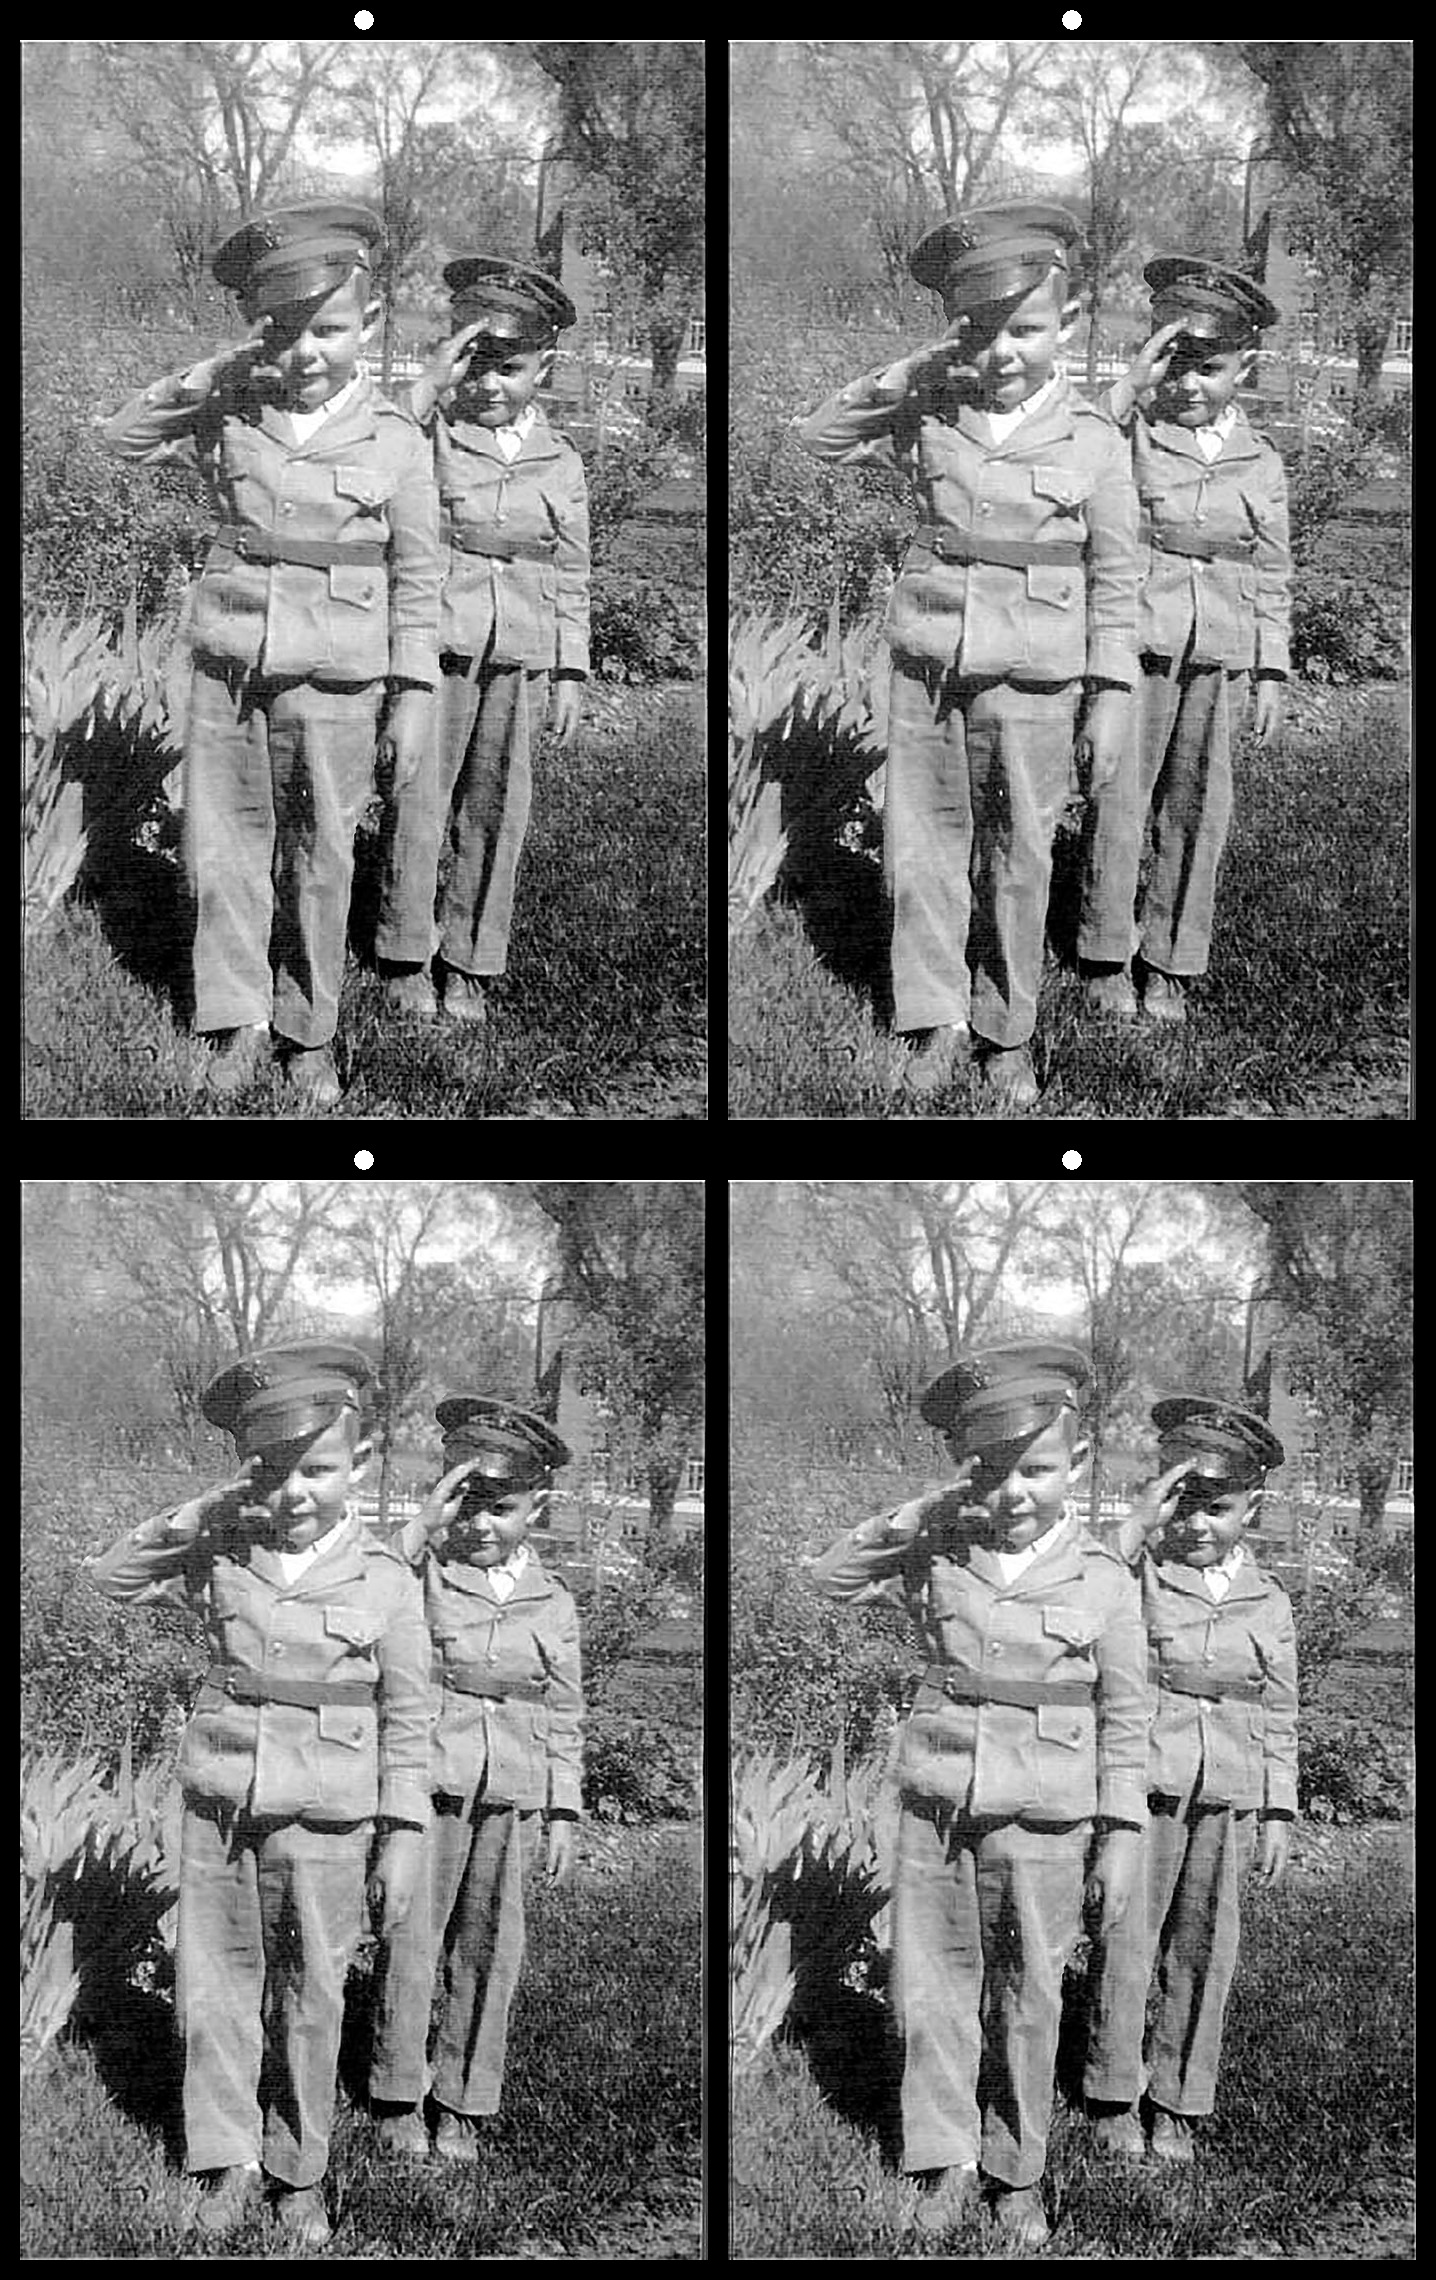
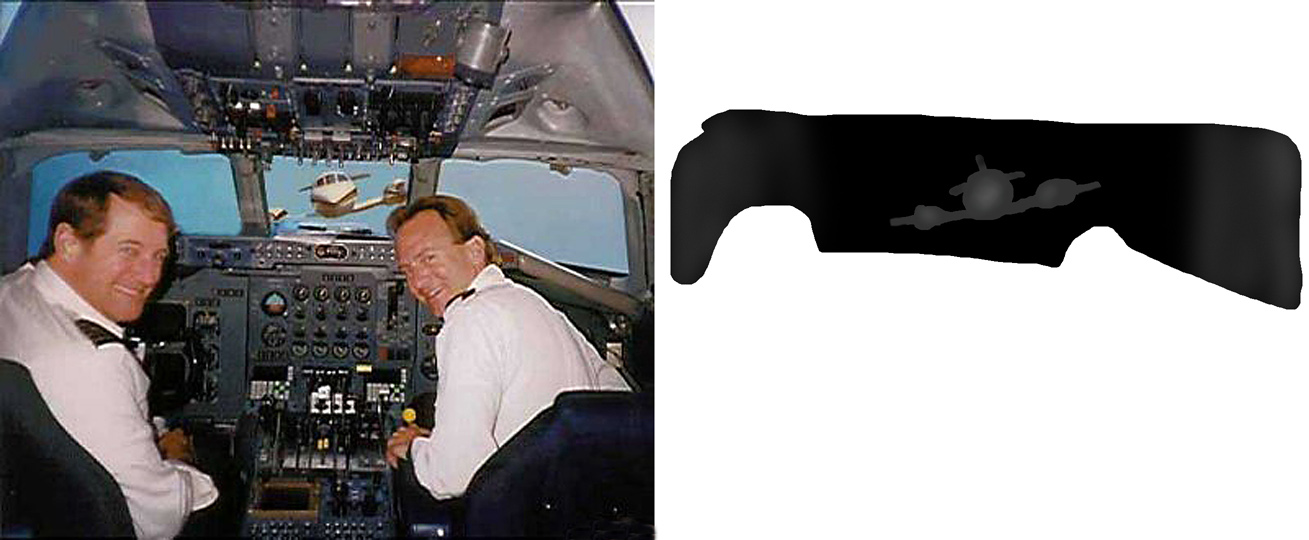
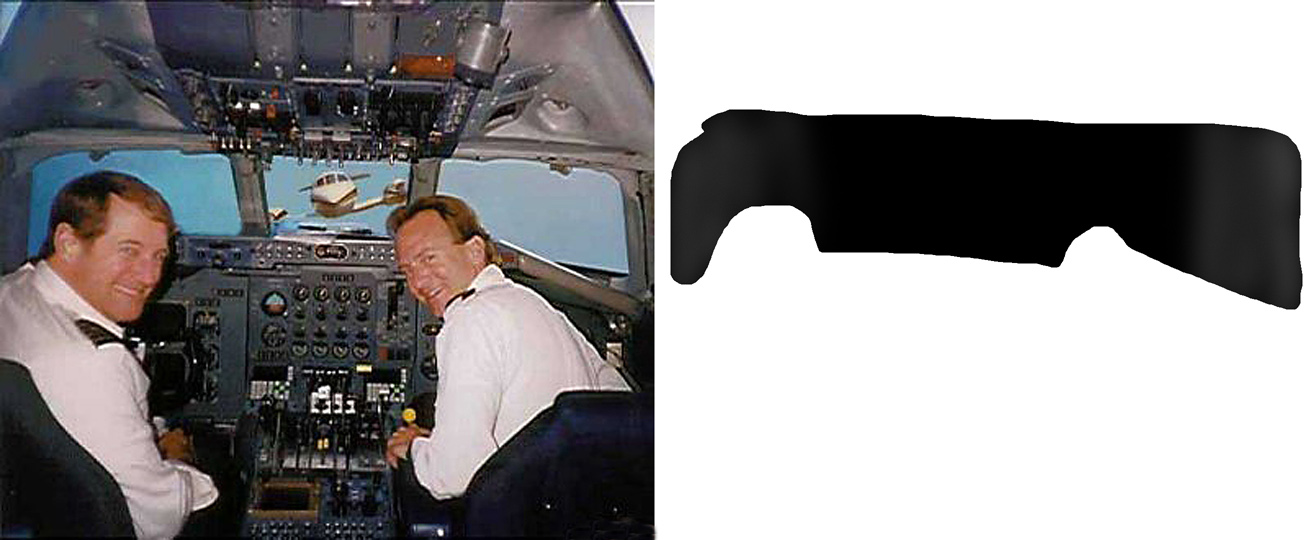
Here are 6 small images in my process. 1st, I made a double size image with the right side all white. 2nd, I made a layer in PS of the back of the window and poured it black and then moved that layer over on the right in the correct place. 3rd, I made a layer in PS of the oncoming plane, poured it in less black and moved it to the correct place. 4th, I made a layer of all the inside of the cockpit and poured it in gray and moved it to the right in the correct place. I added some whiter places to bring those things a little forward. 5th I made a layer of the piolets and poured it in almost white and moved them over to correct place. 6th I made layers of the seat backs and made them white and moved them over to the right side. In order to know where each of these moved layers needed to be I made a layer of the right side and made it about 20% opaque and moved that opaque layer over to the right to show where each of the new layers needed to be. I modified many of the layers, like the piolets faces ETC to give them contours. It took some time, but what else do I do when I have to stay home all day. |
Apr 15th |
| 68 |
Apr 20 |
Comment |
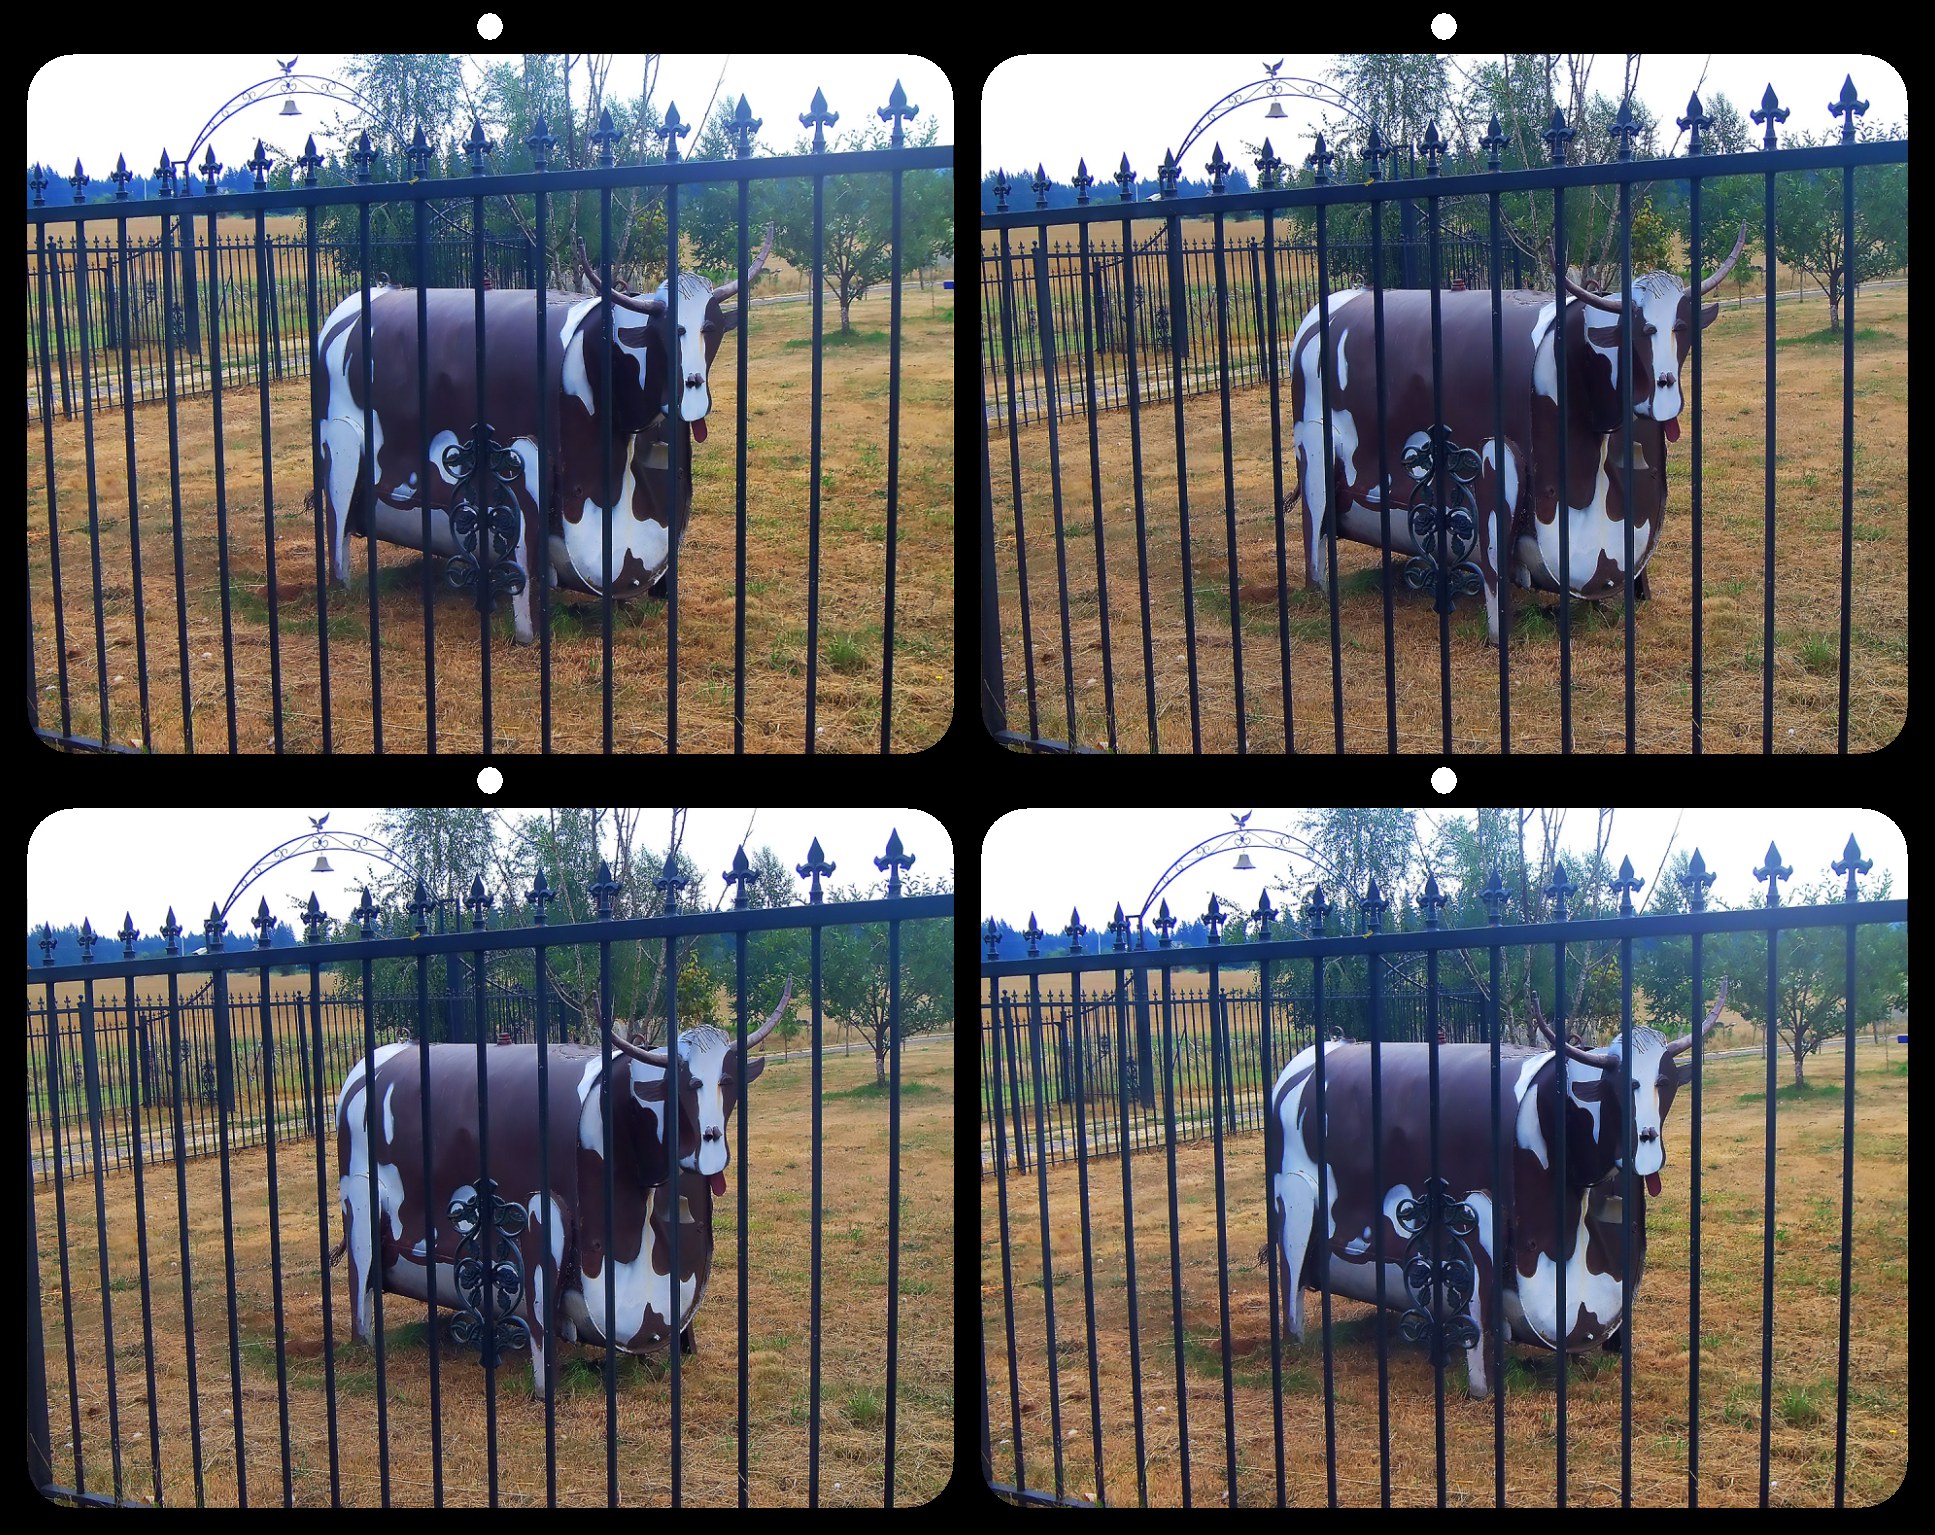
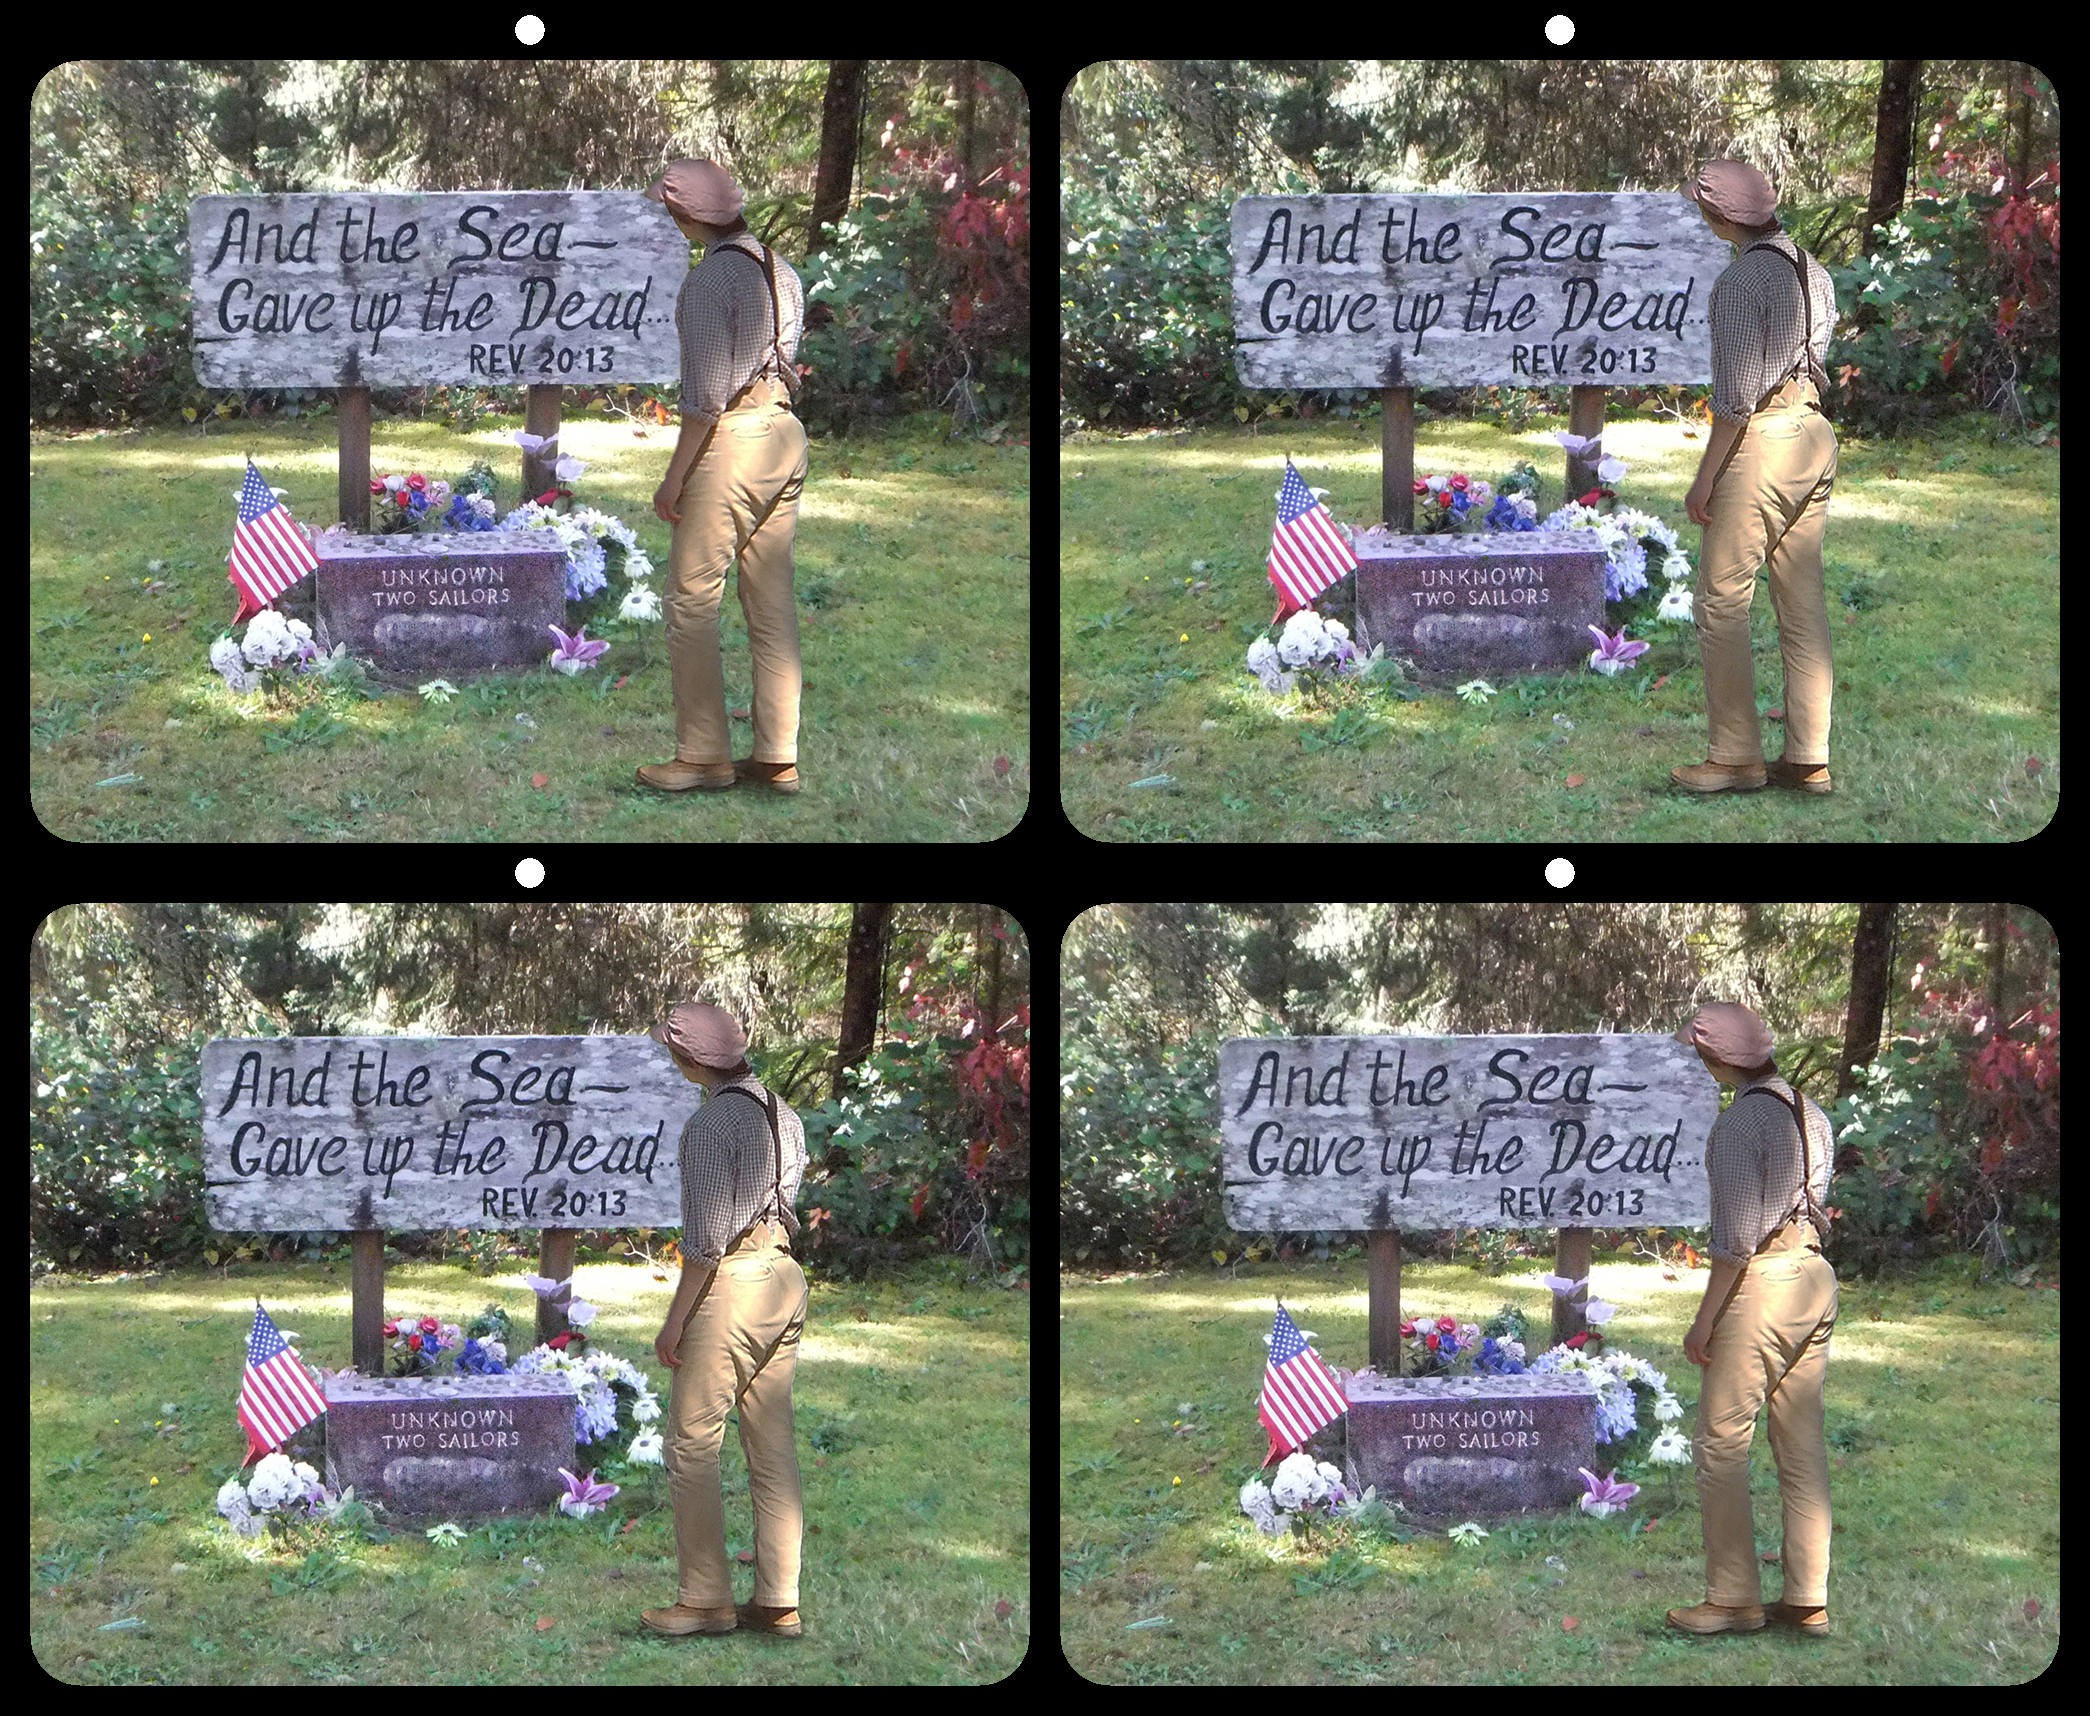
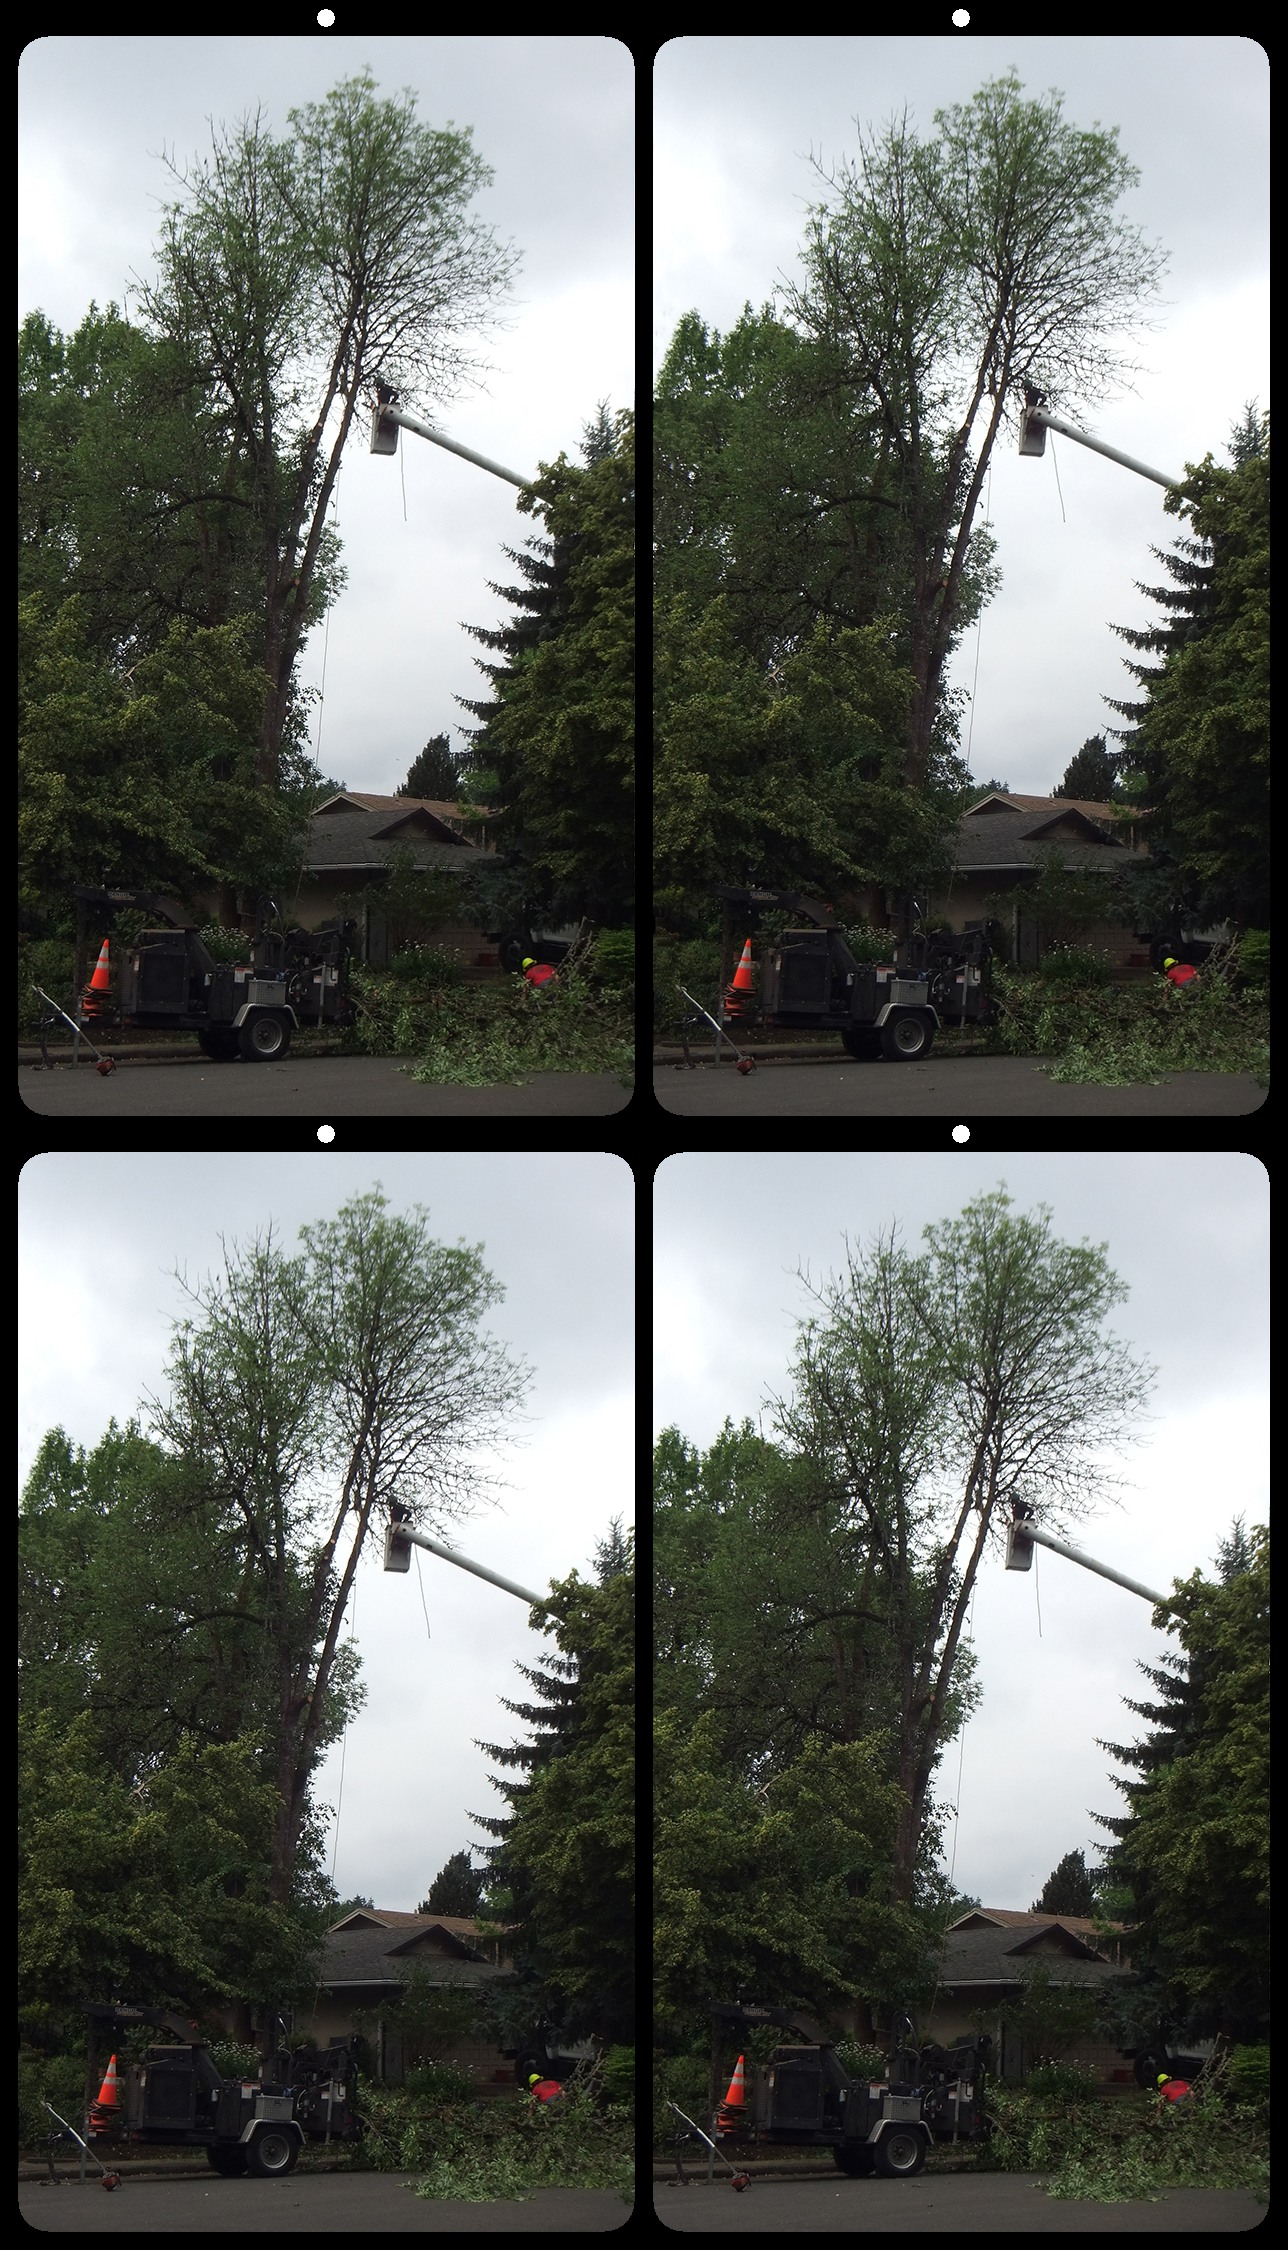
Nice view of the graveyard and coast. They really packed them in with little space between each plot. The image is a little far back and would be hard to see on a large screen. It gives one a good view of the British landscape. I'd like to go there some day as my ancestors came form England and Wales. |
Apr 12th |
| 68 |
Apr 20 |
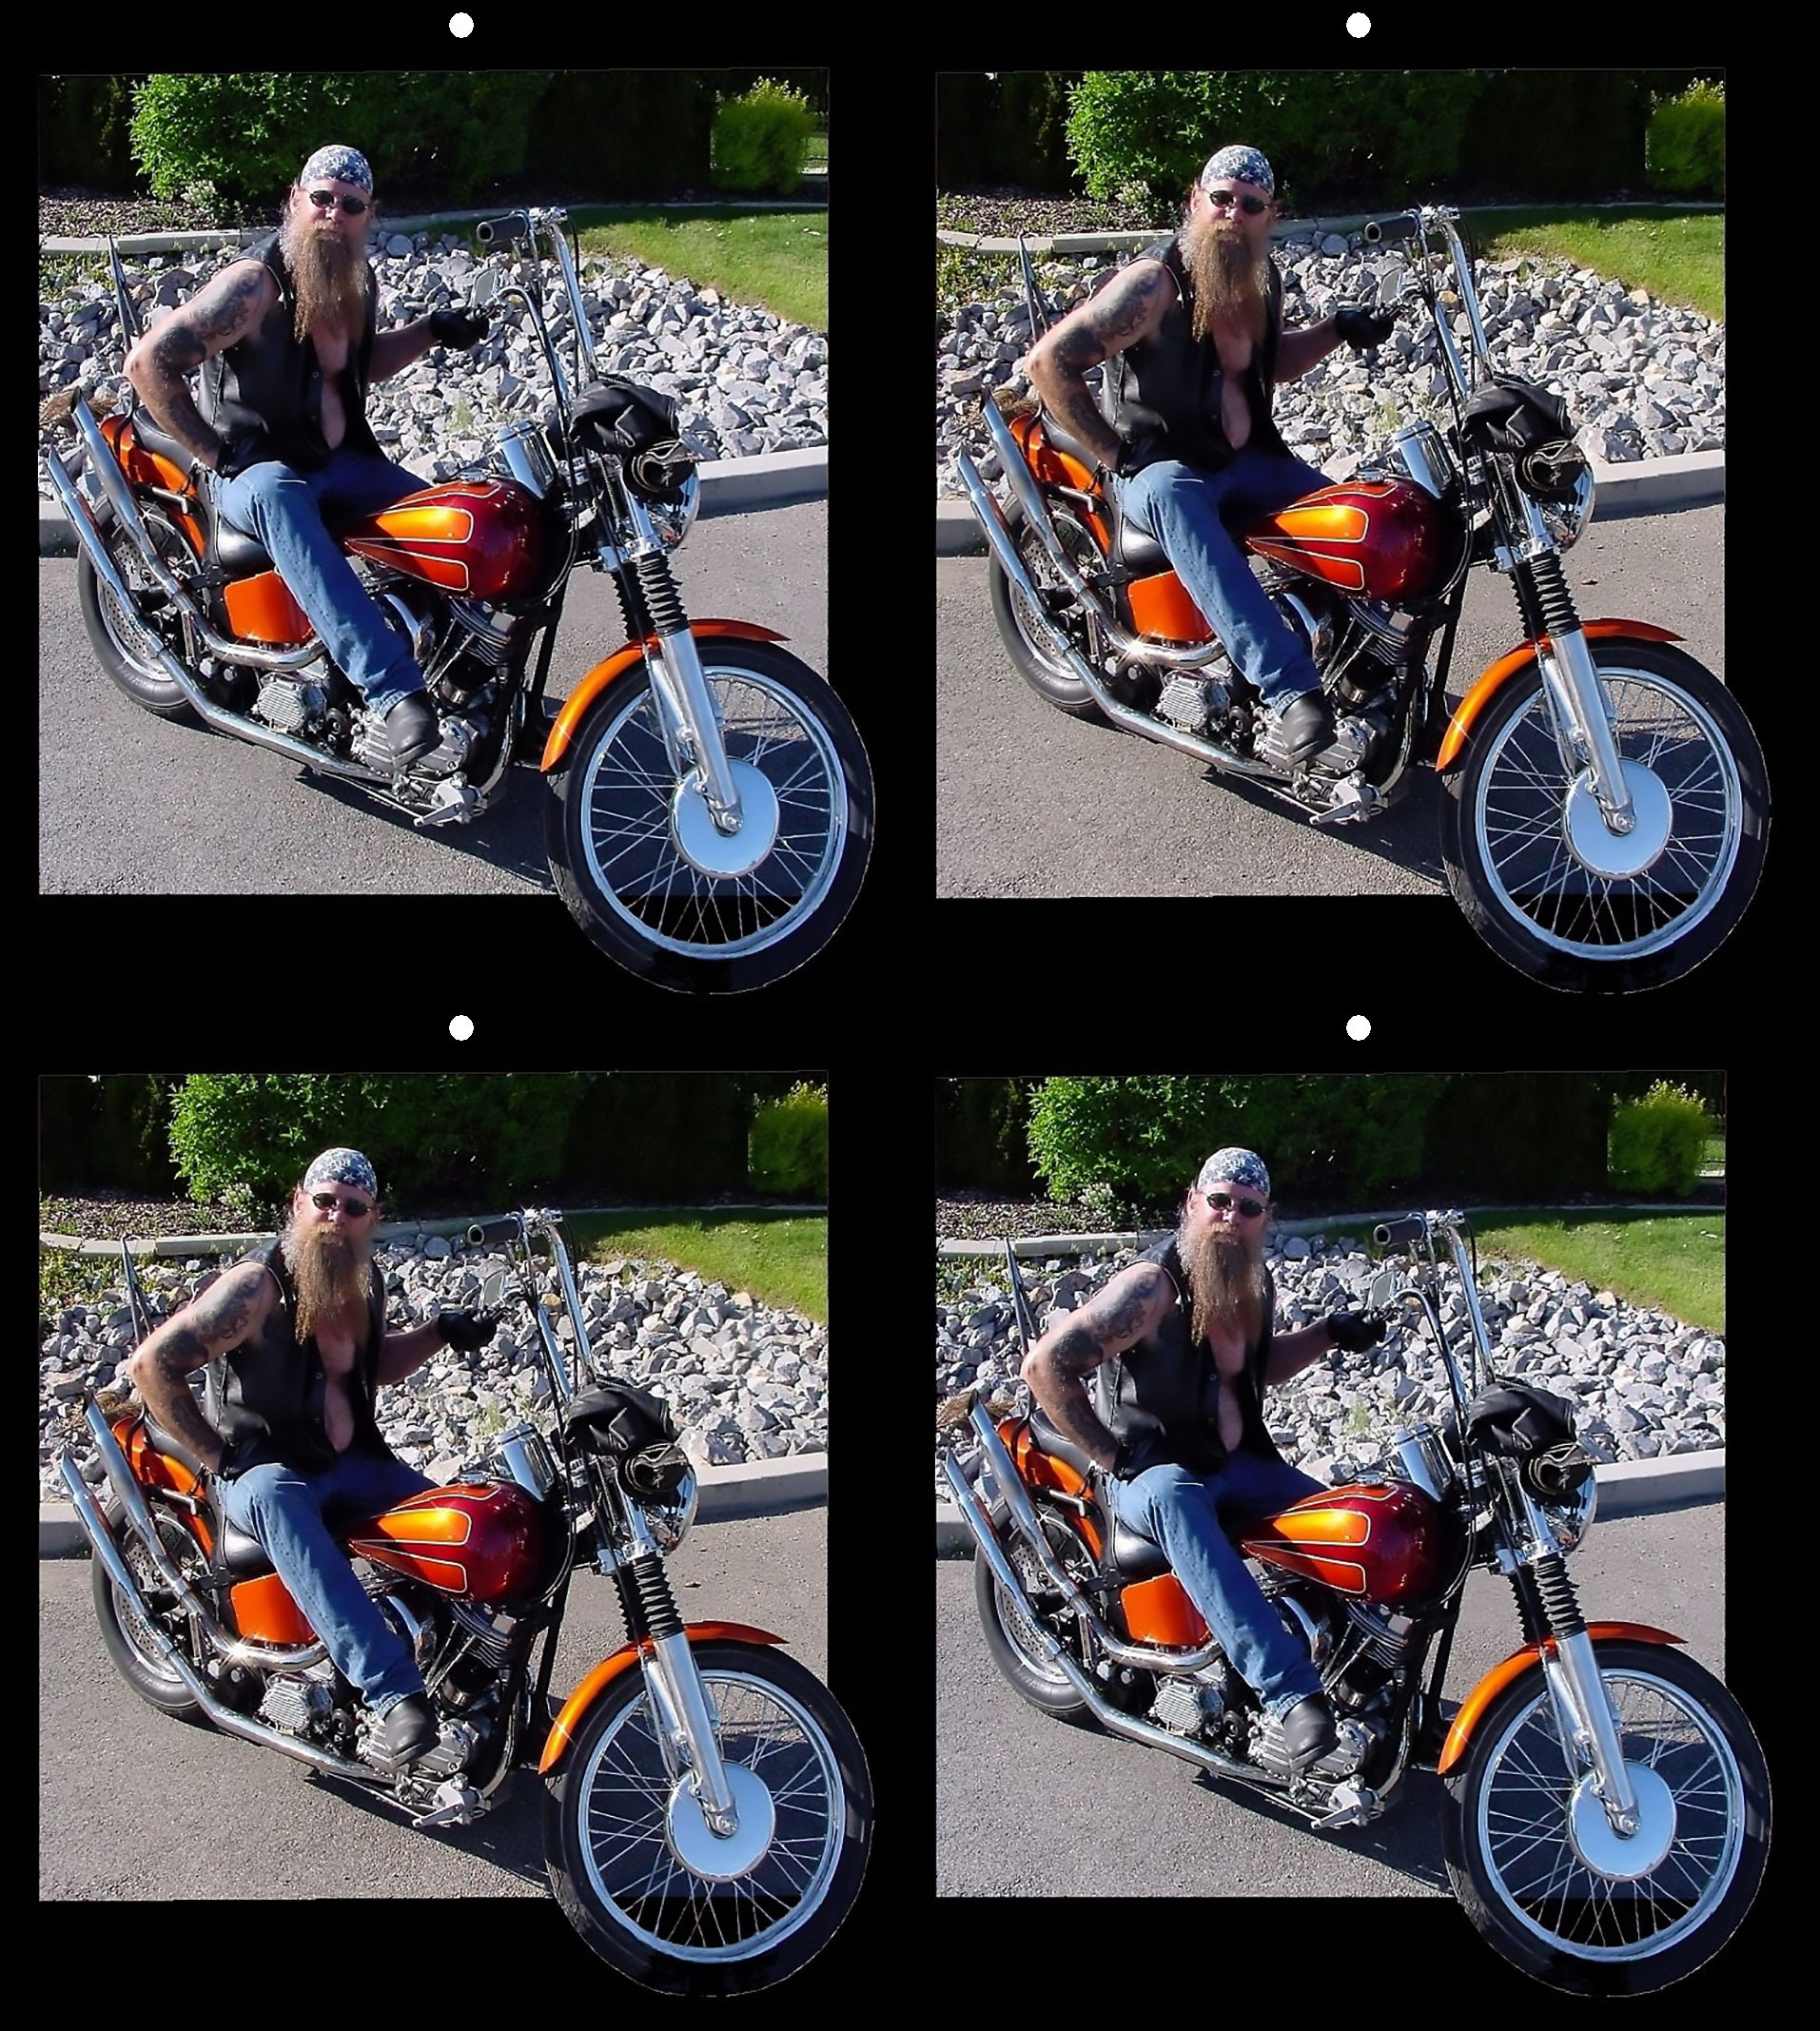
Comment |
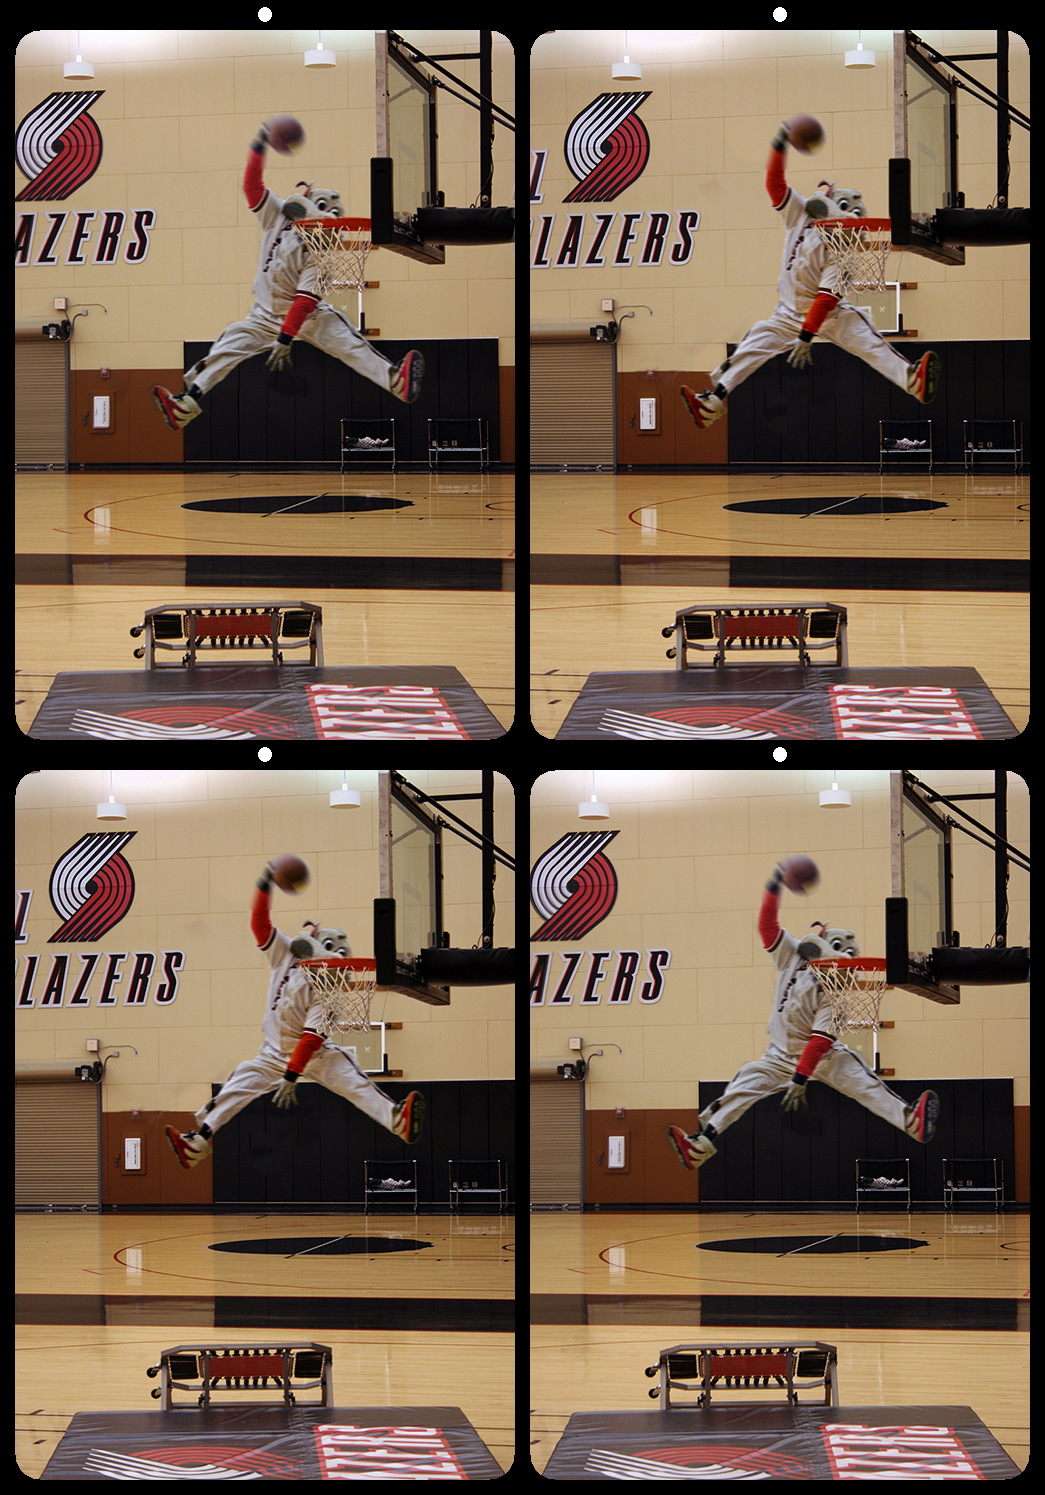
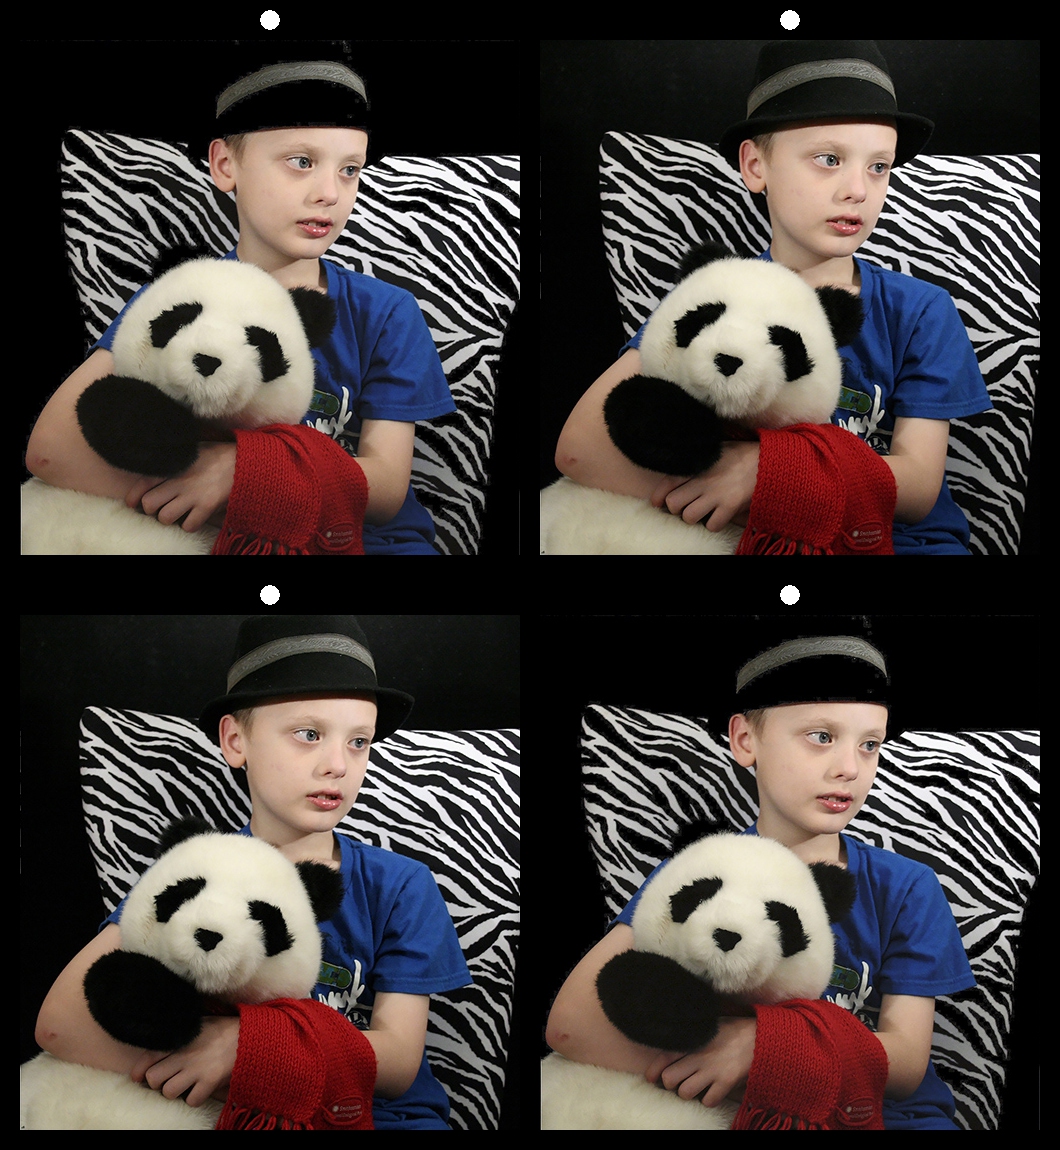
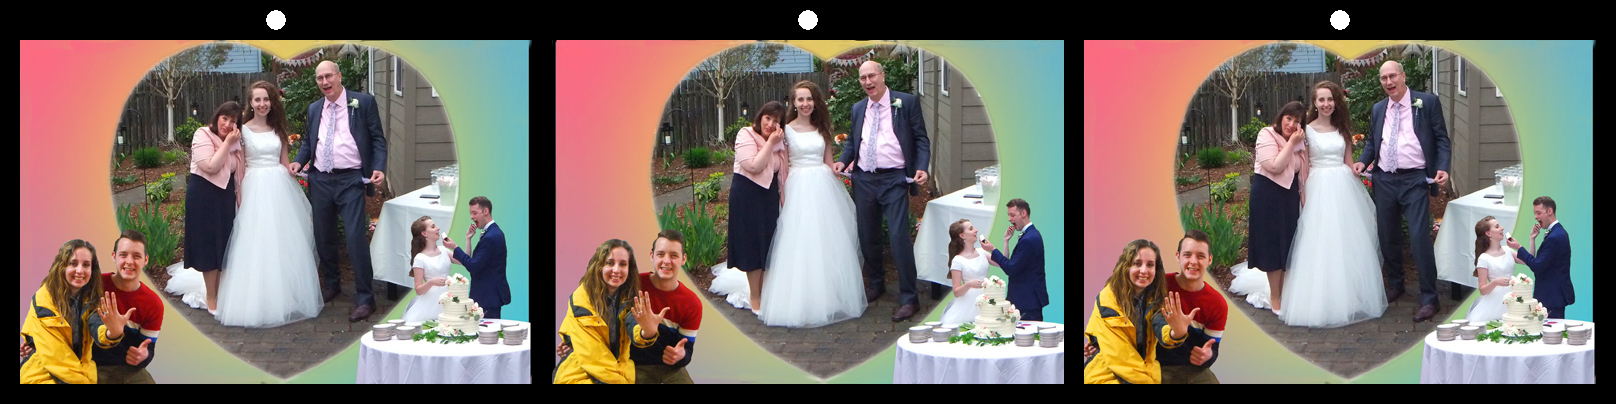
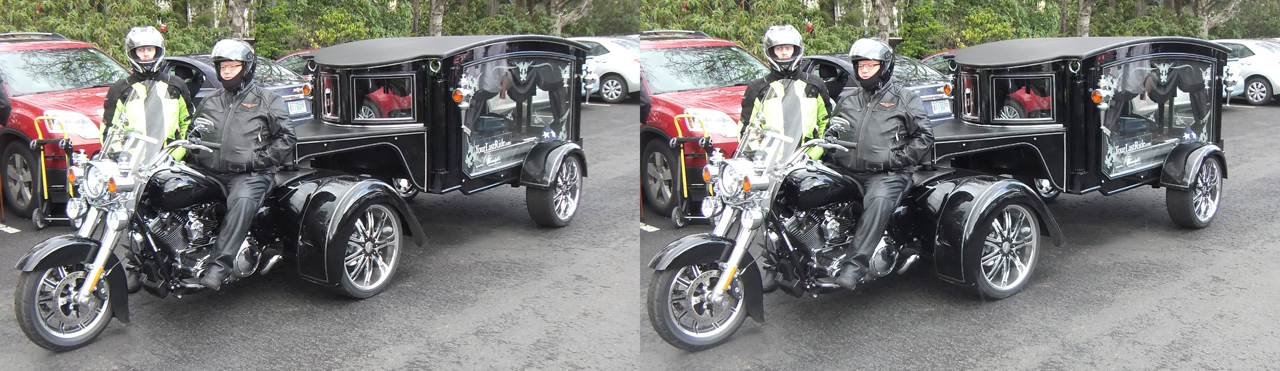
Nice chicken. Got any eggs? I agree with Mick, but the background does show the backyard location. |
Apr 12th |
| 68 |
Apr 20 |
Comment |
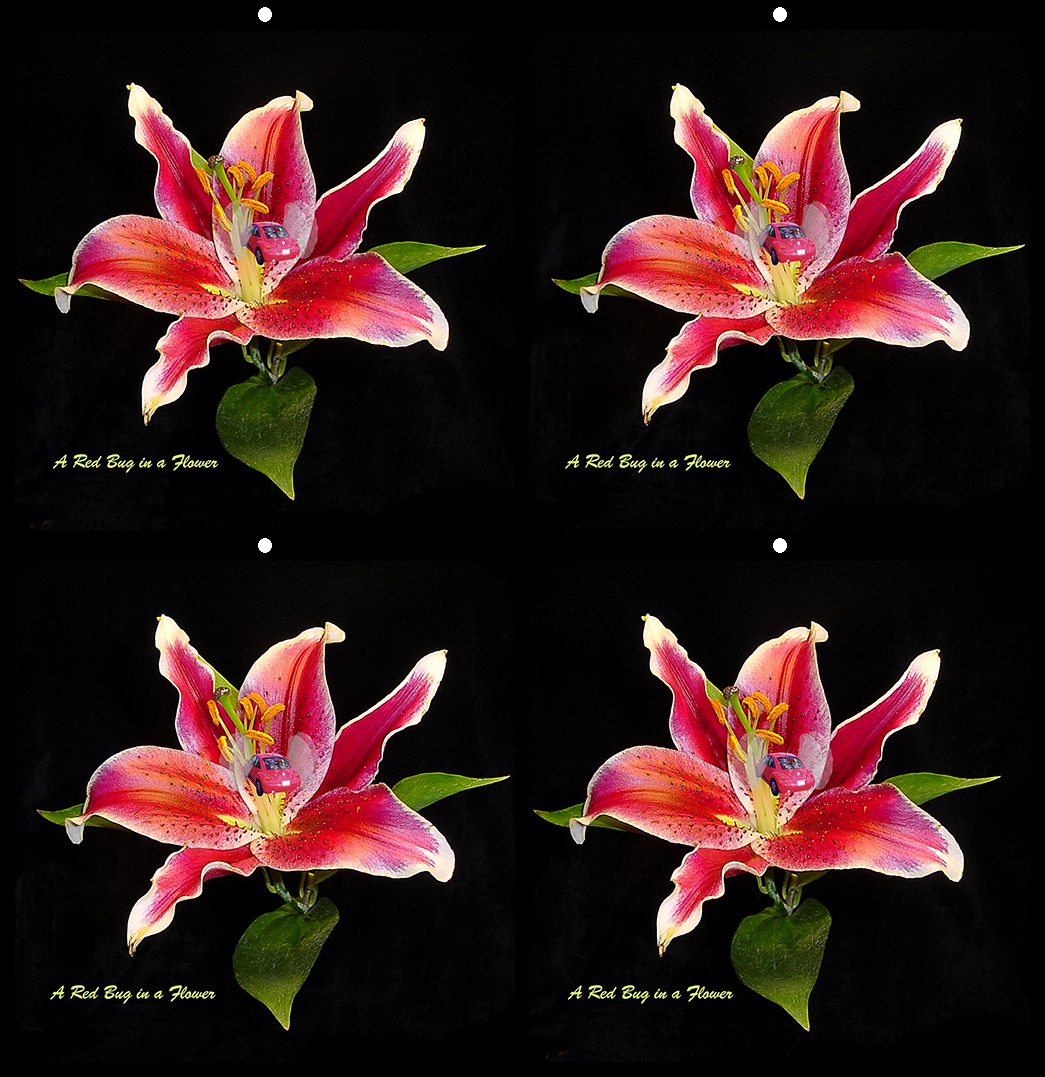
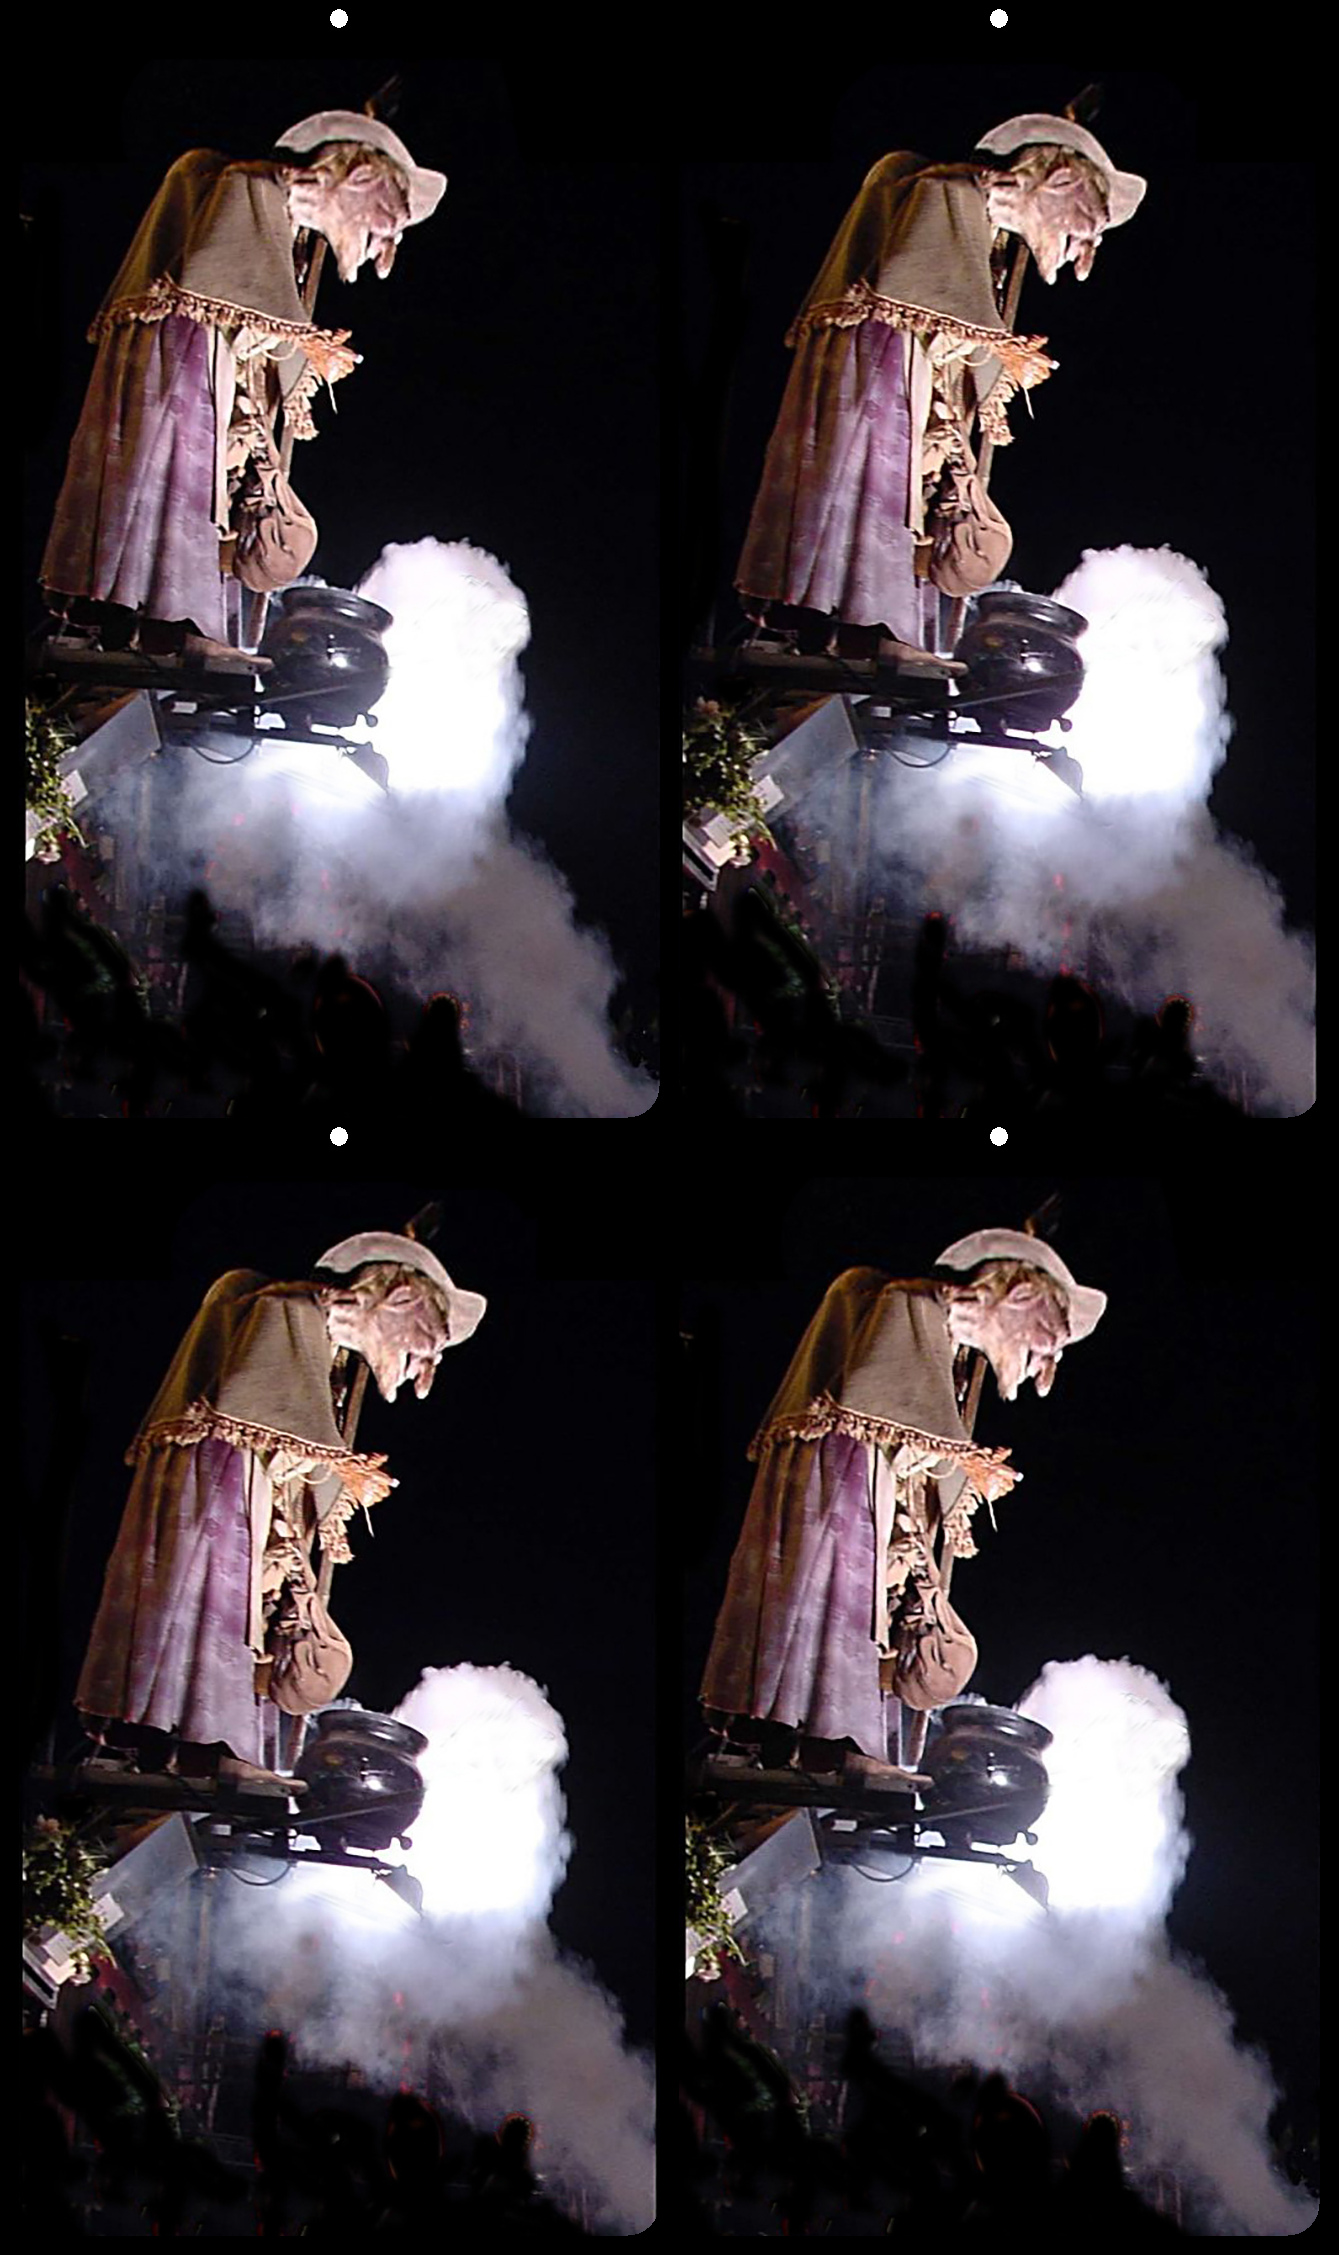
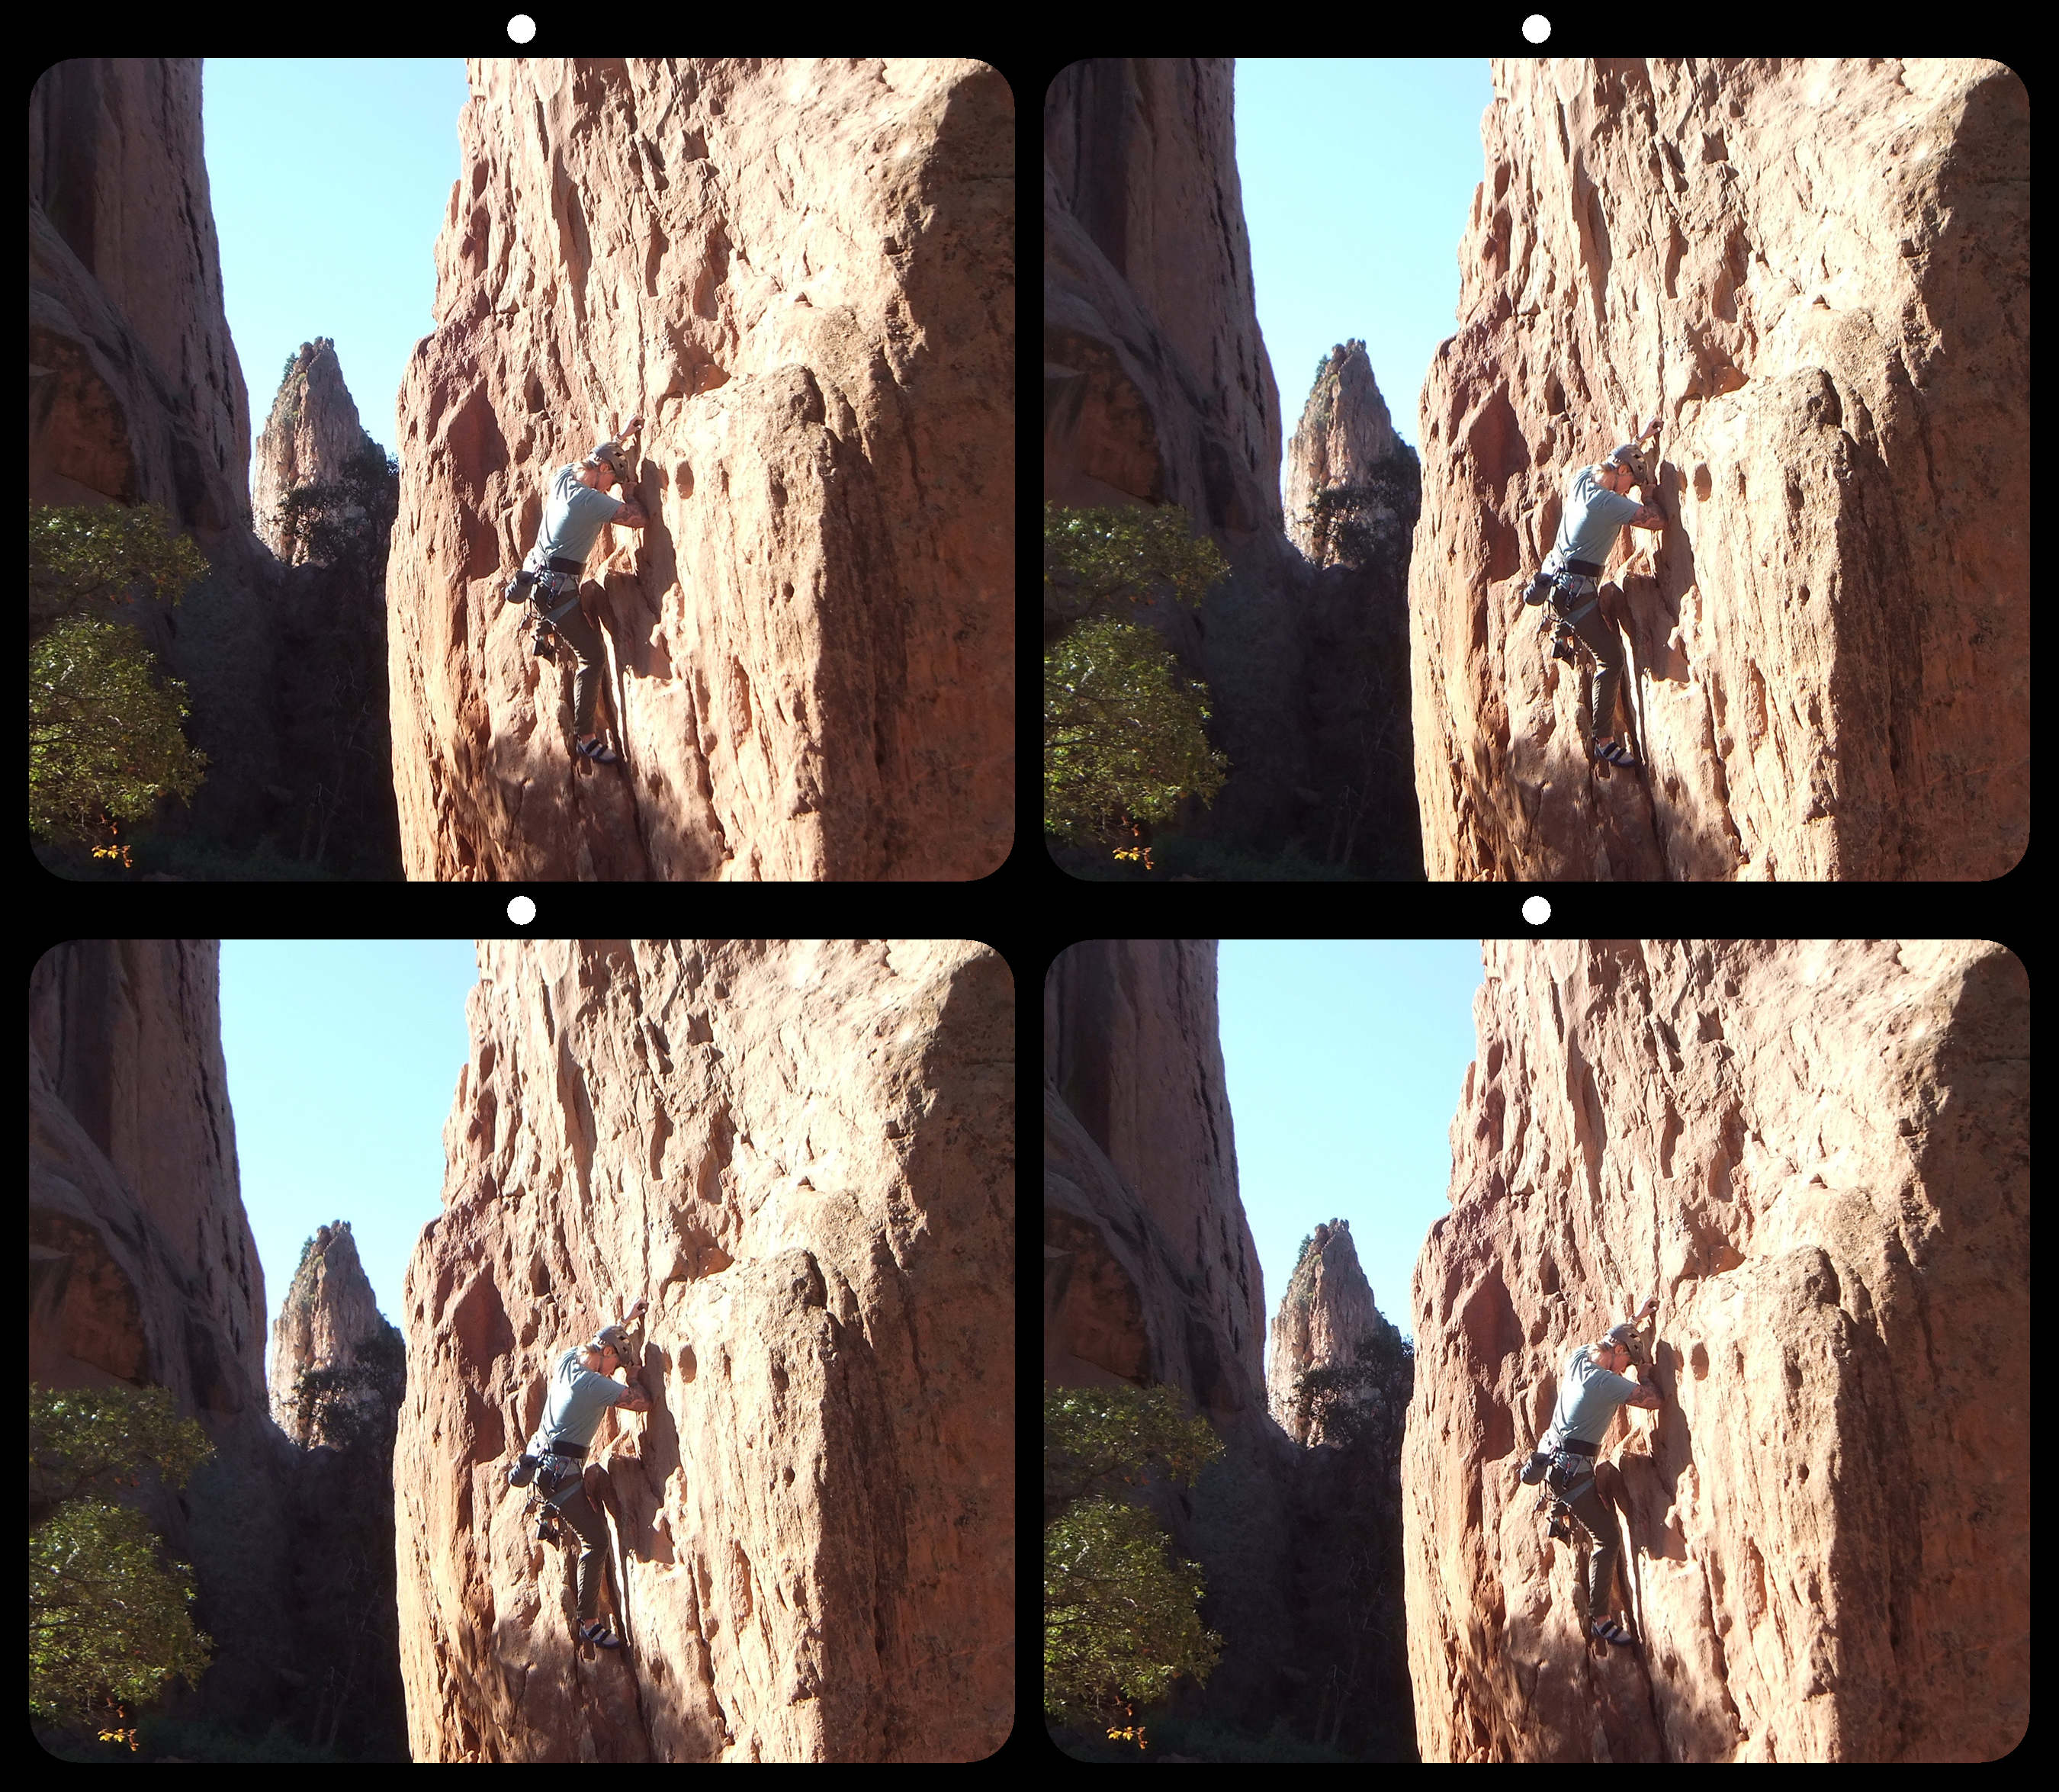
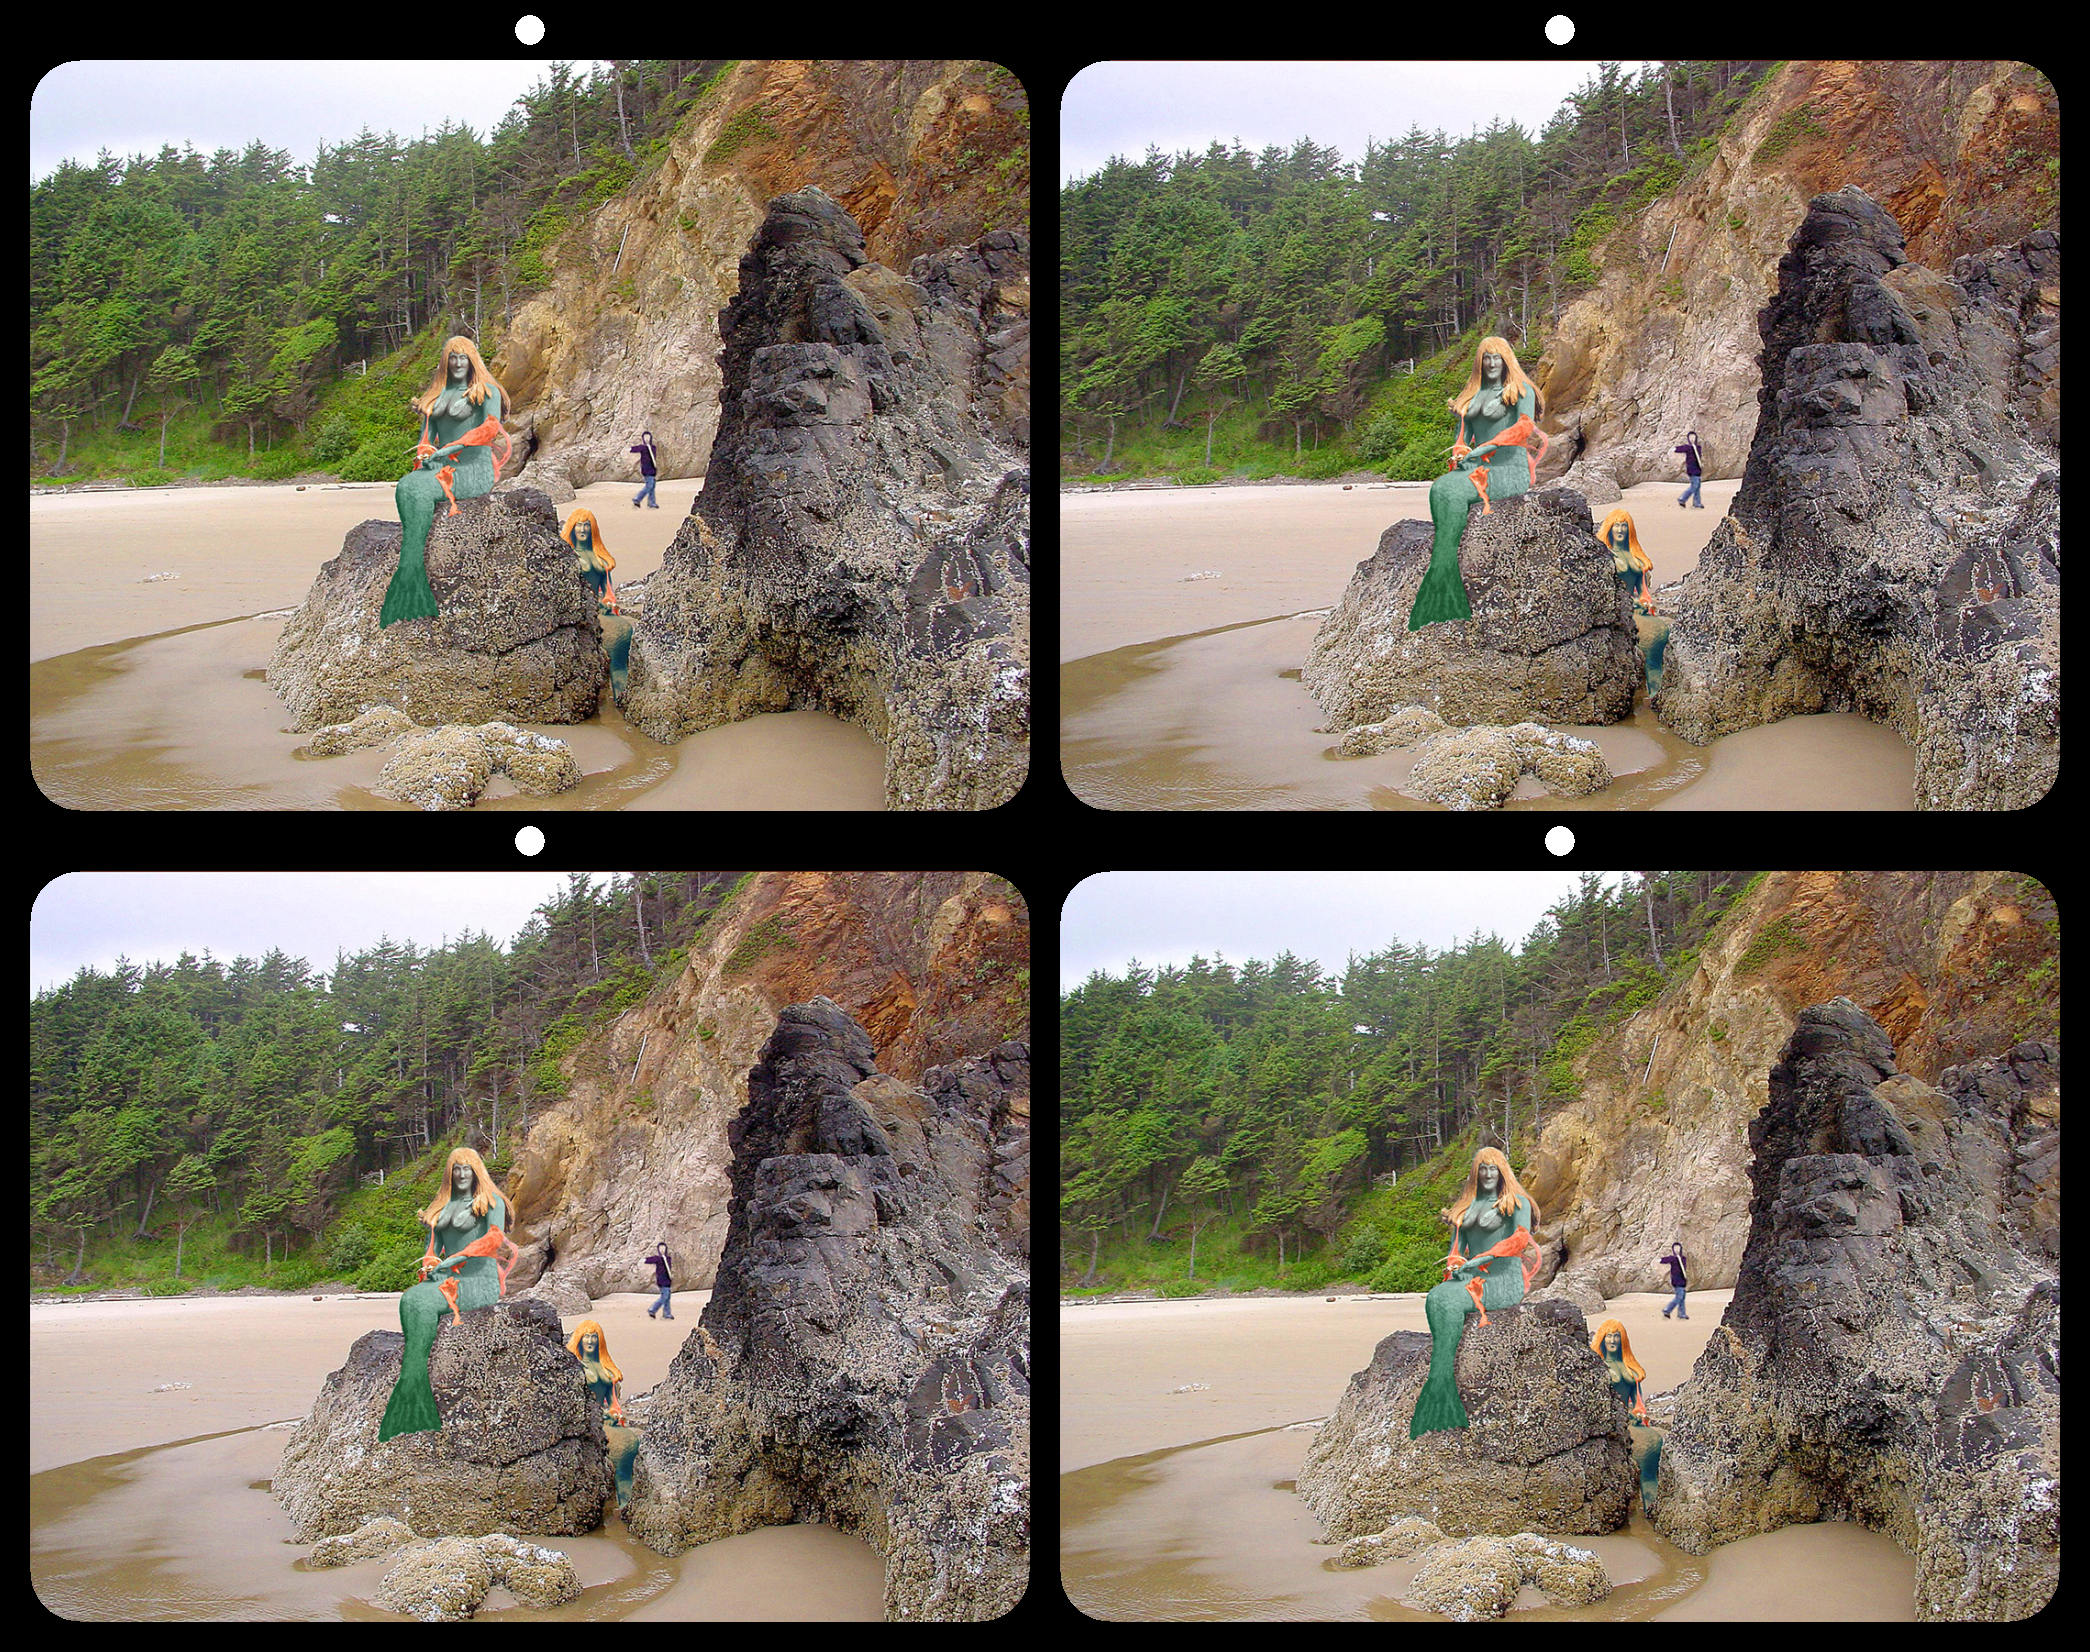
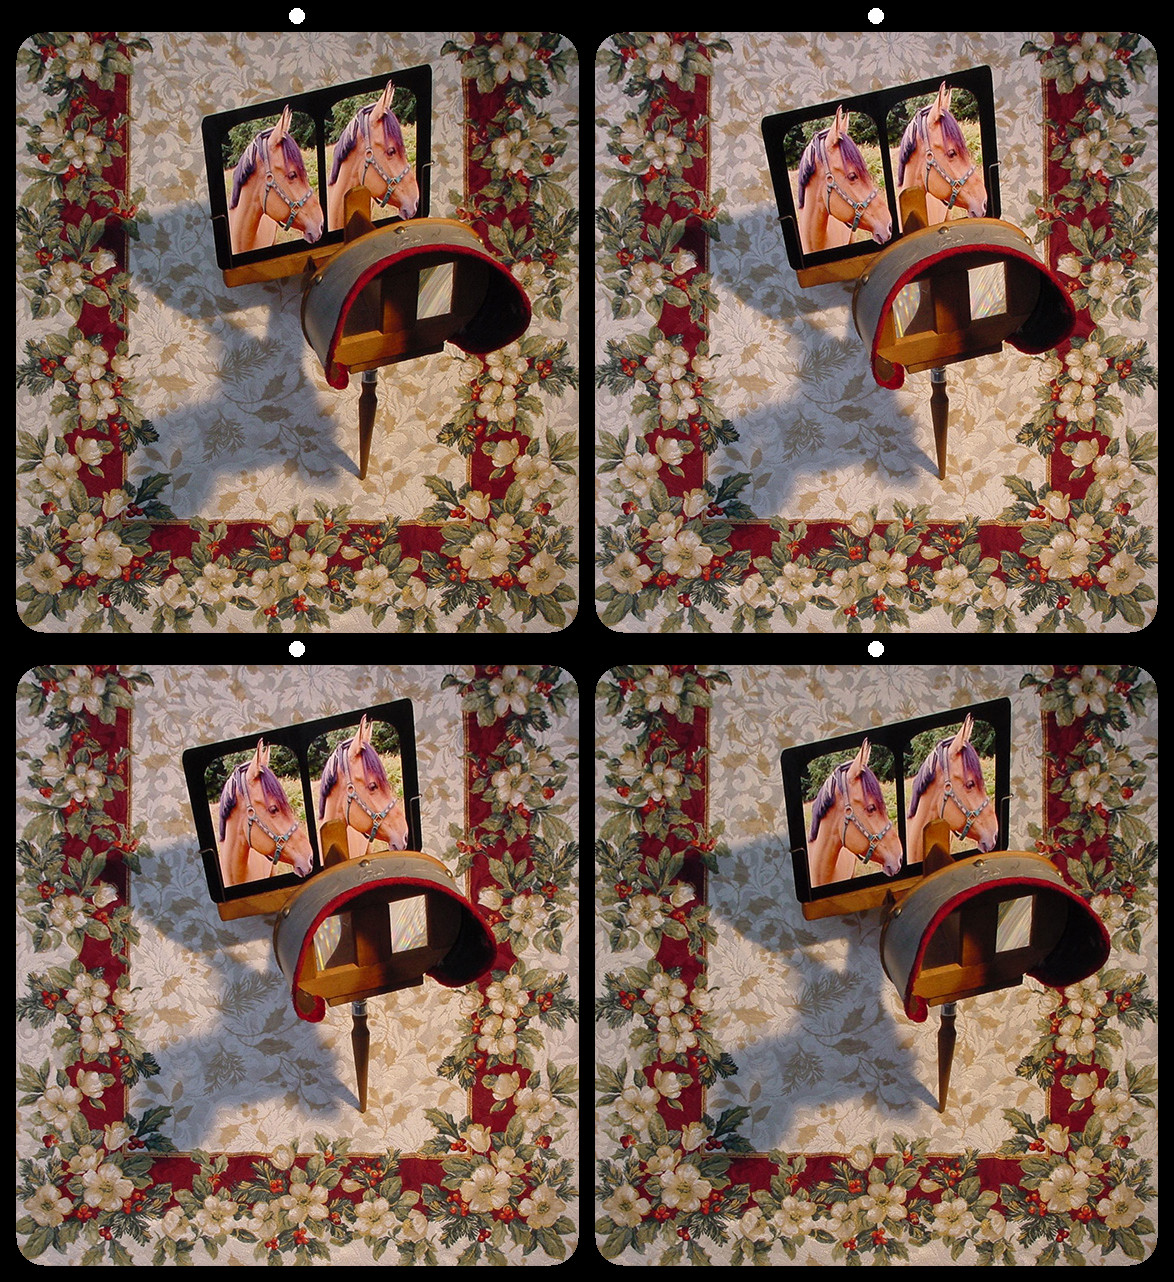
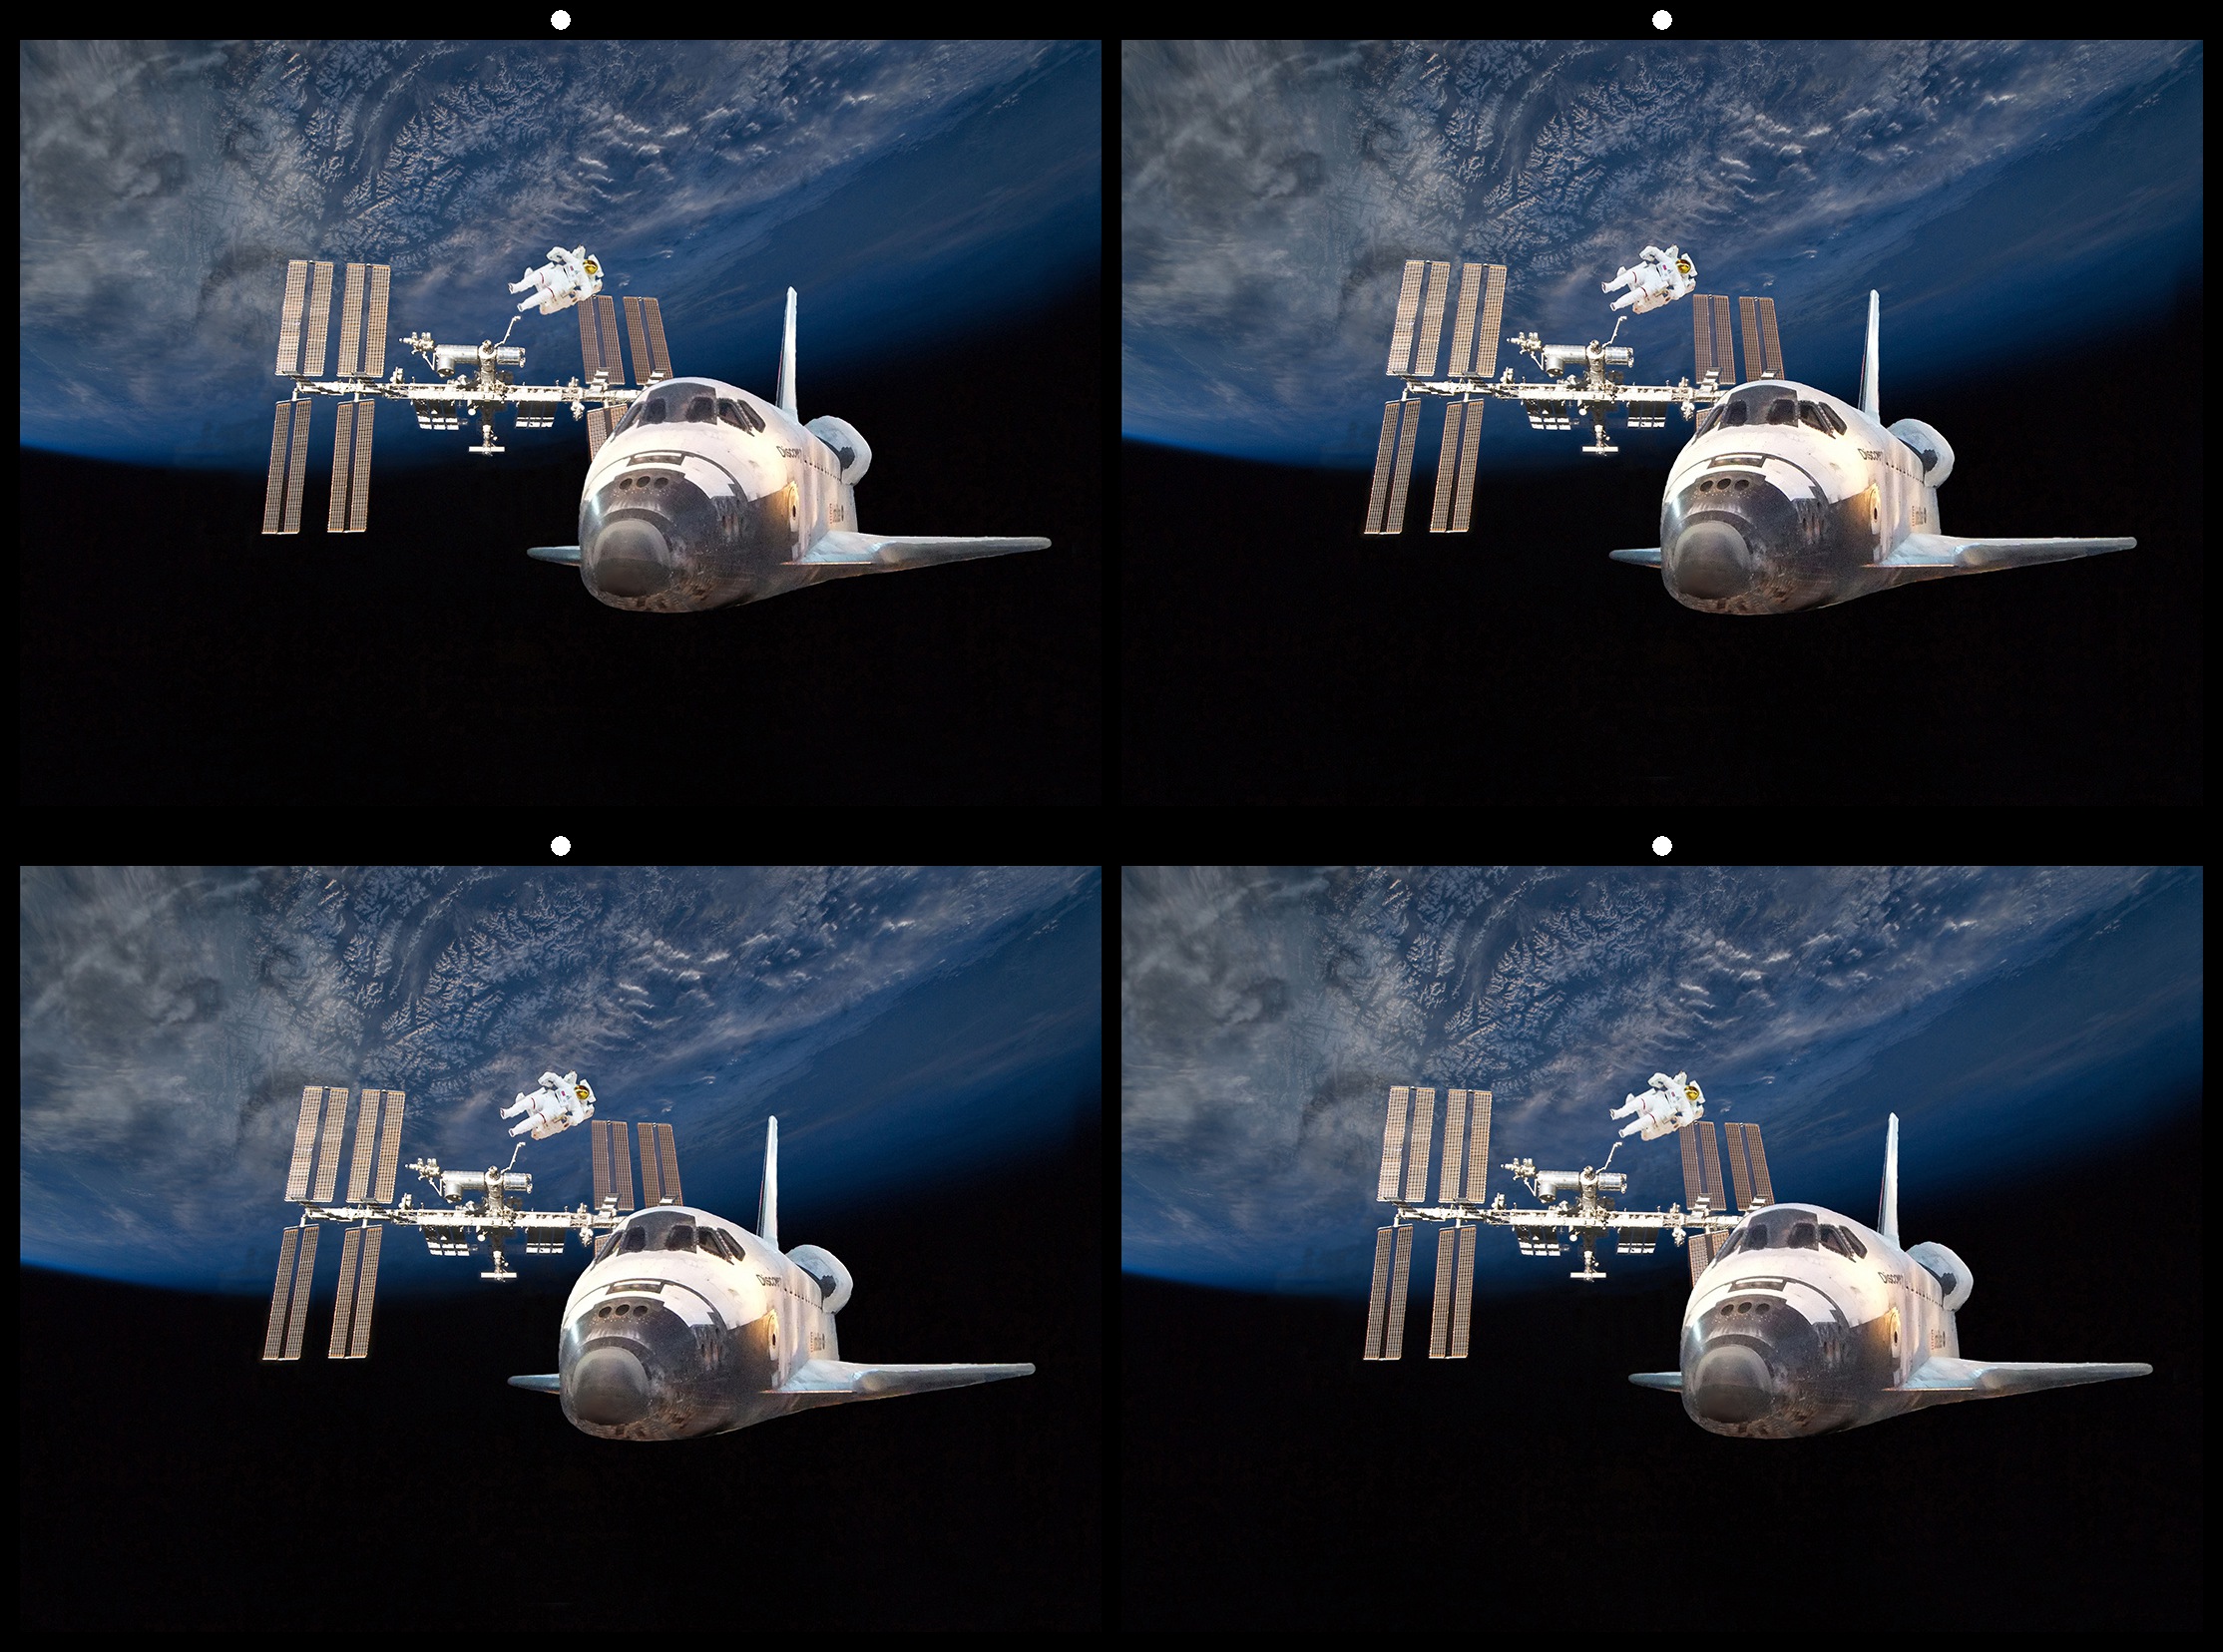
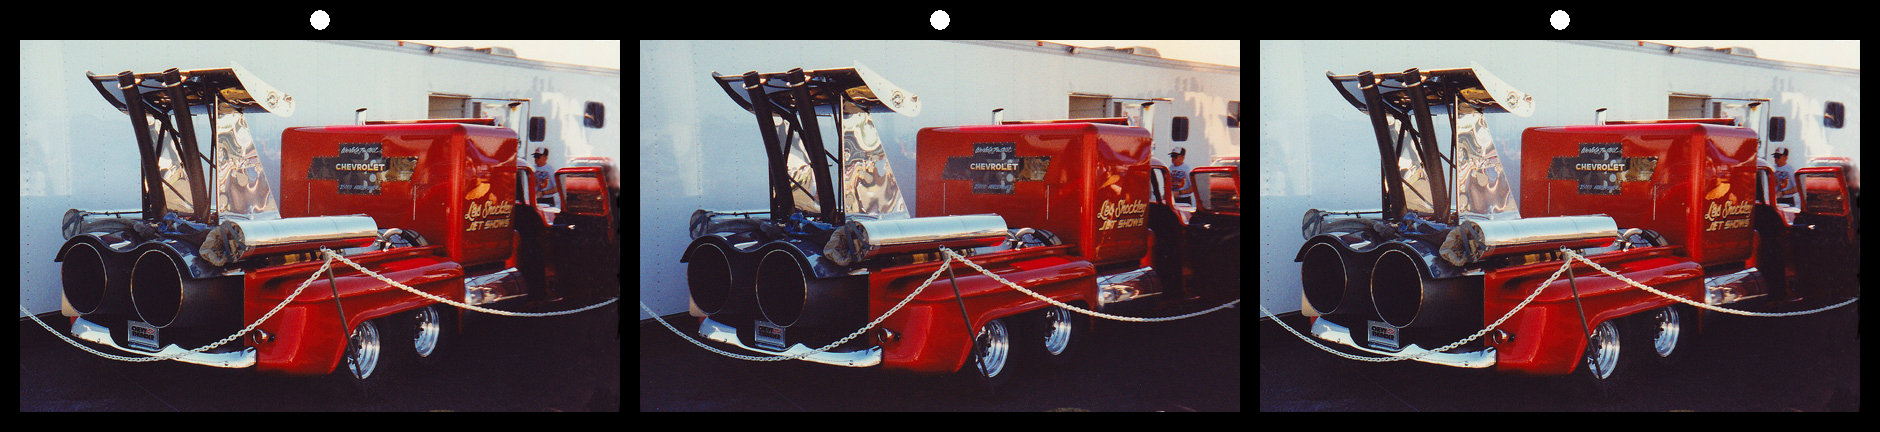
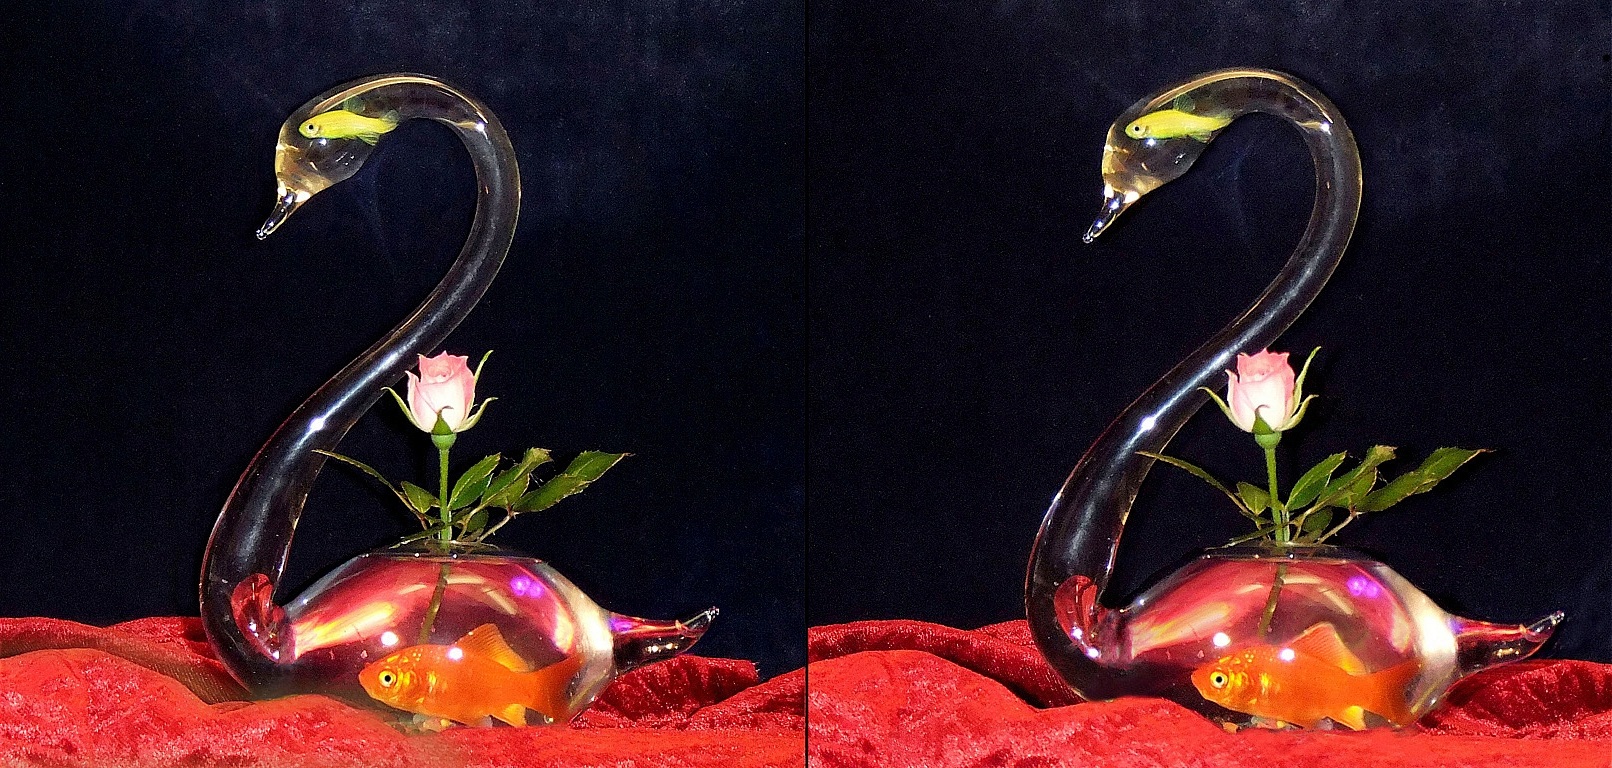
I see the flat bubble in front of the clouds back in the distance, but I don't see any 3D in the bubble. When looking at the bubble, I see a car and what appears as the reflection of the ceiling lights and walls of the room. The lights and wall really distract from the nice Chev car. I don't know how to do it but it would be nice to have the room lights in 3D as a reflection on the outside of the ball and the car inside the ball in 3D as well. Great idea. |
Apr 12th |
| 68 |
Apr 20 |
Comment |
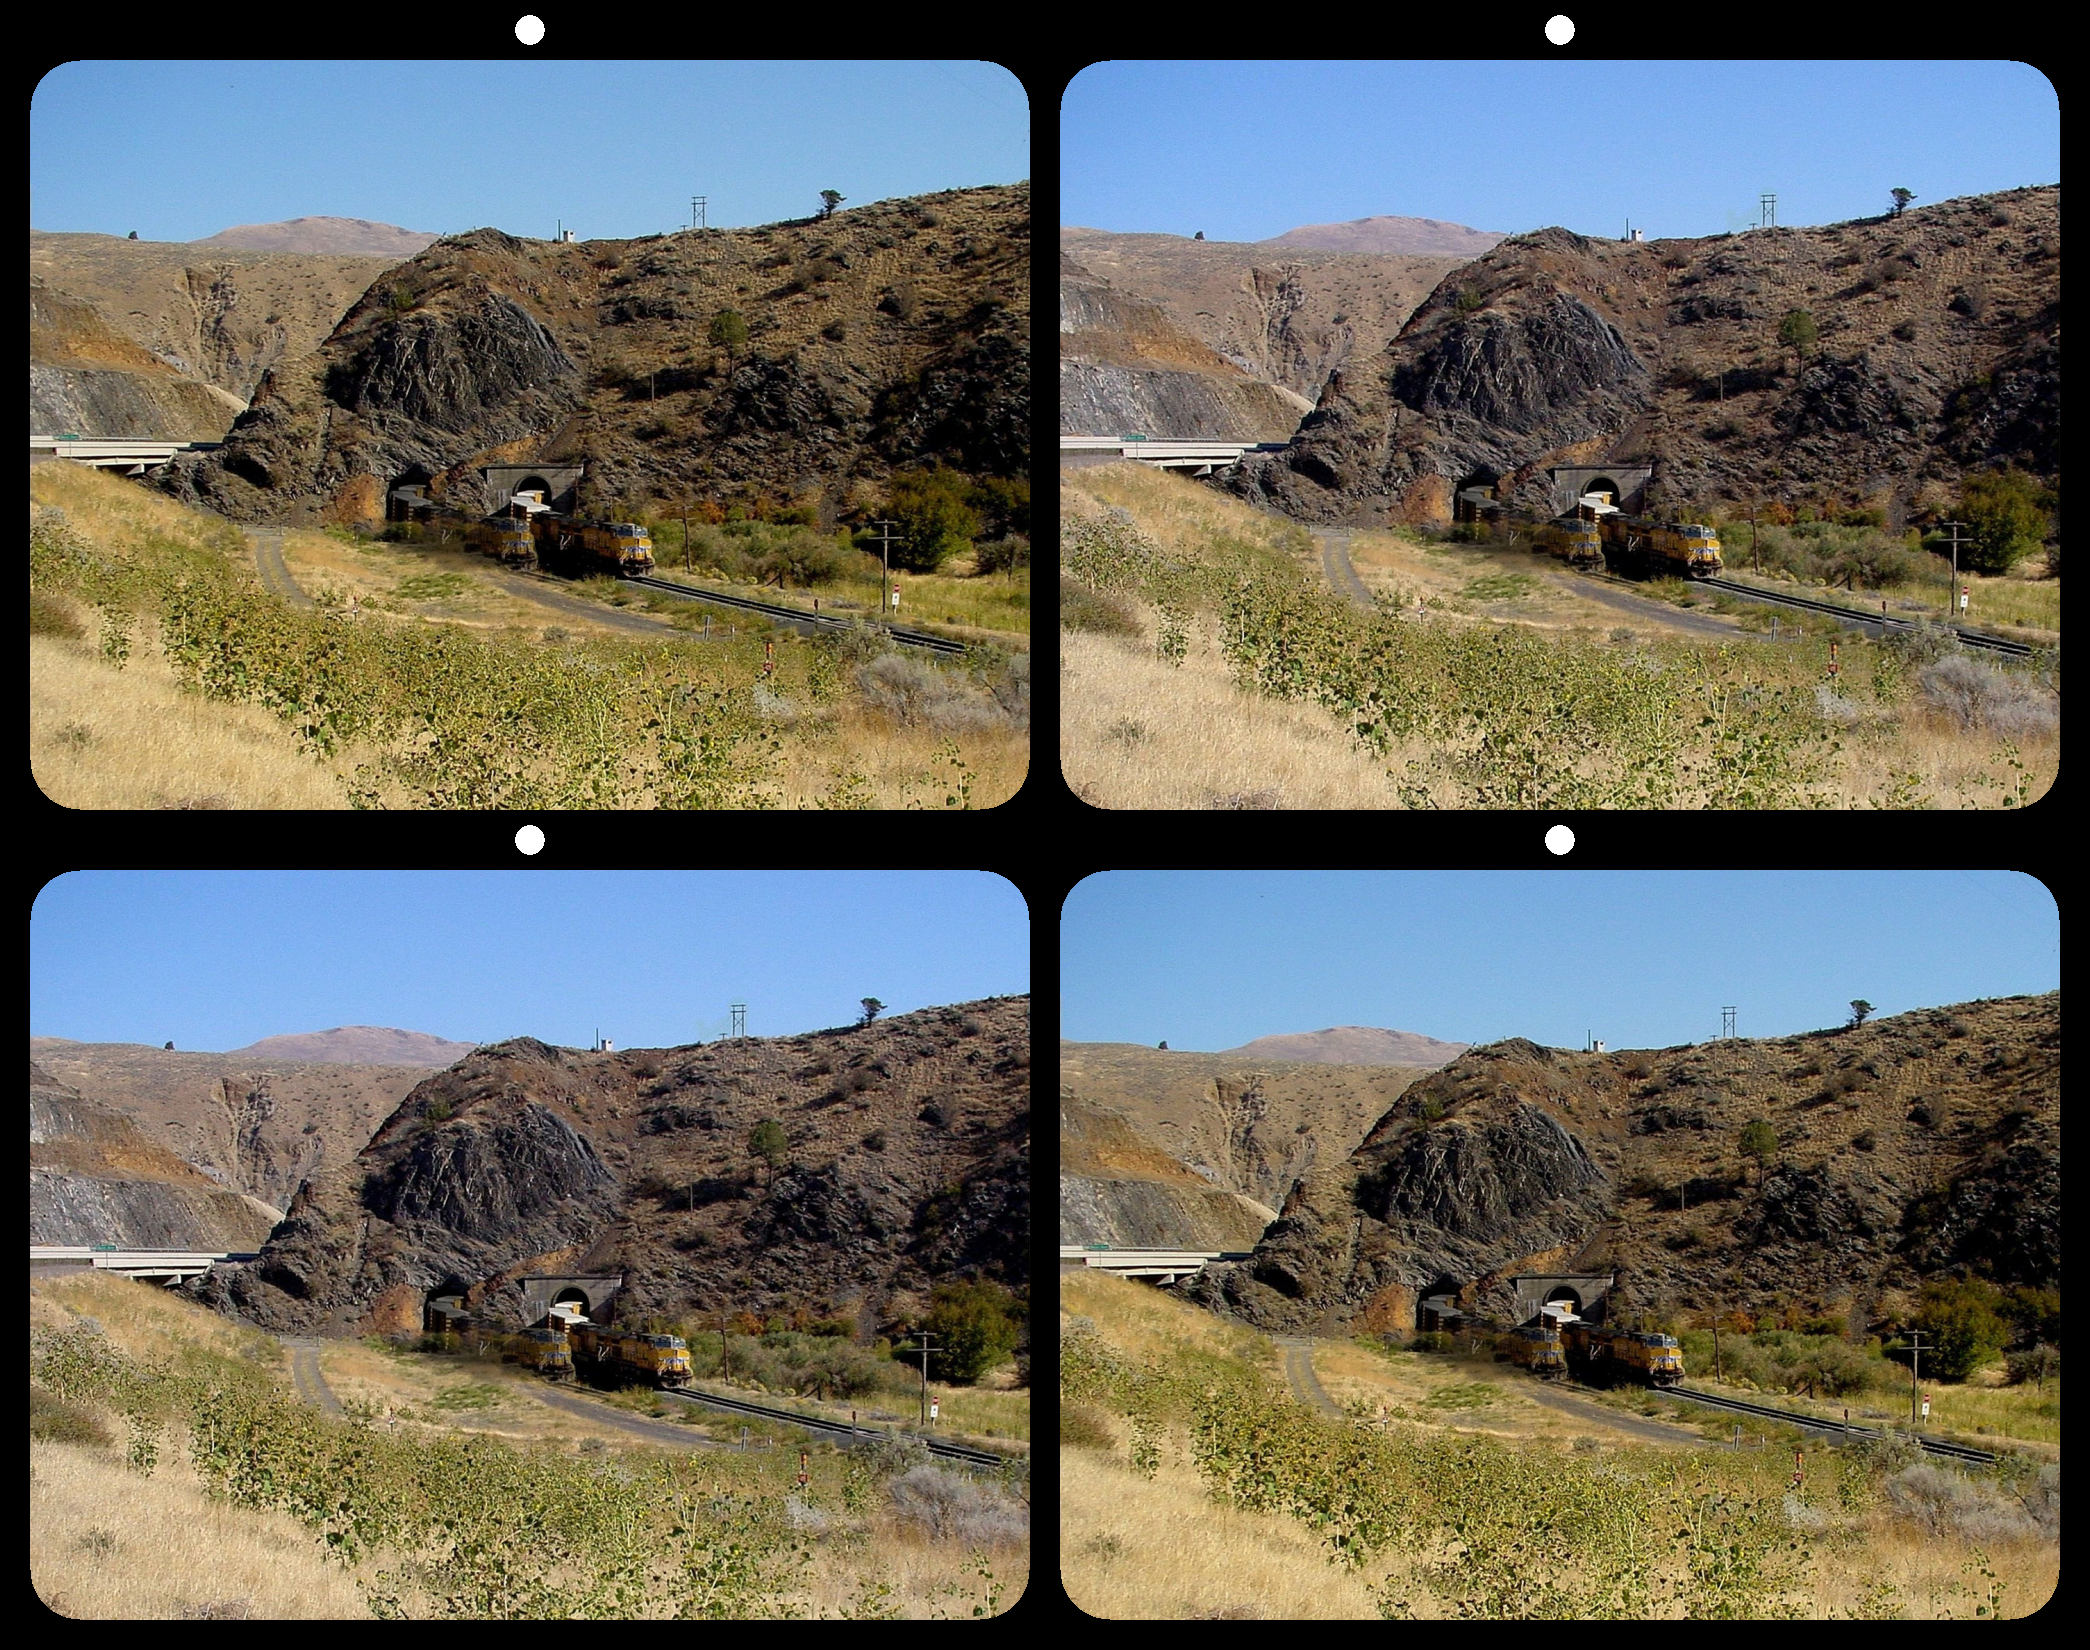
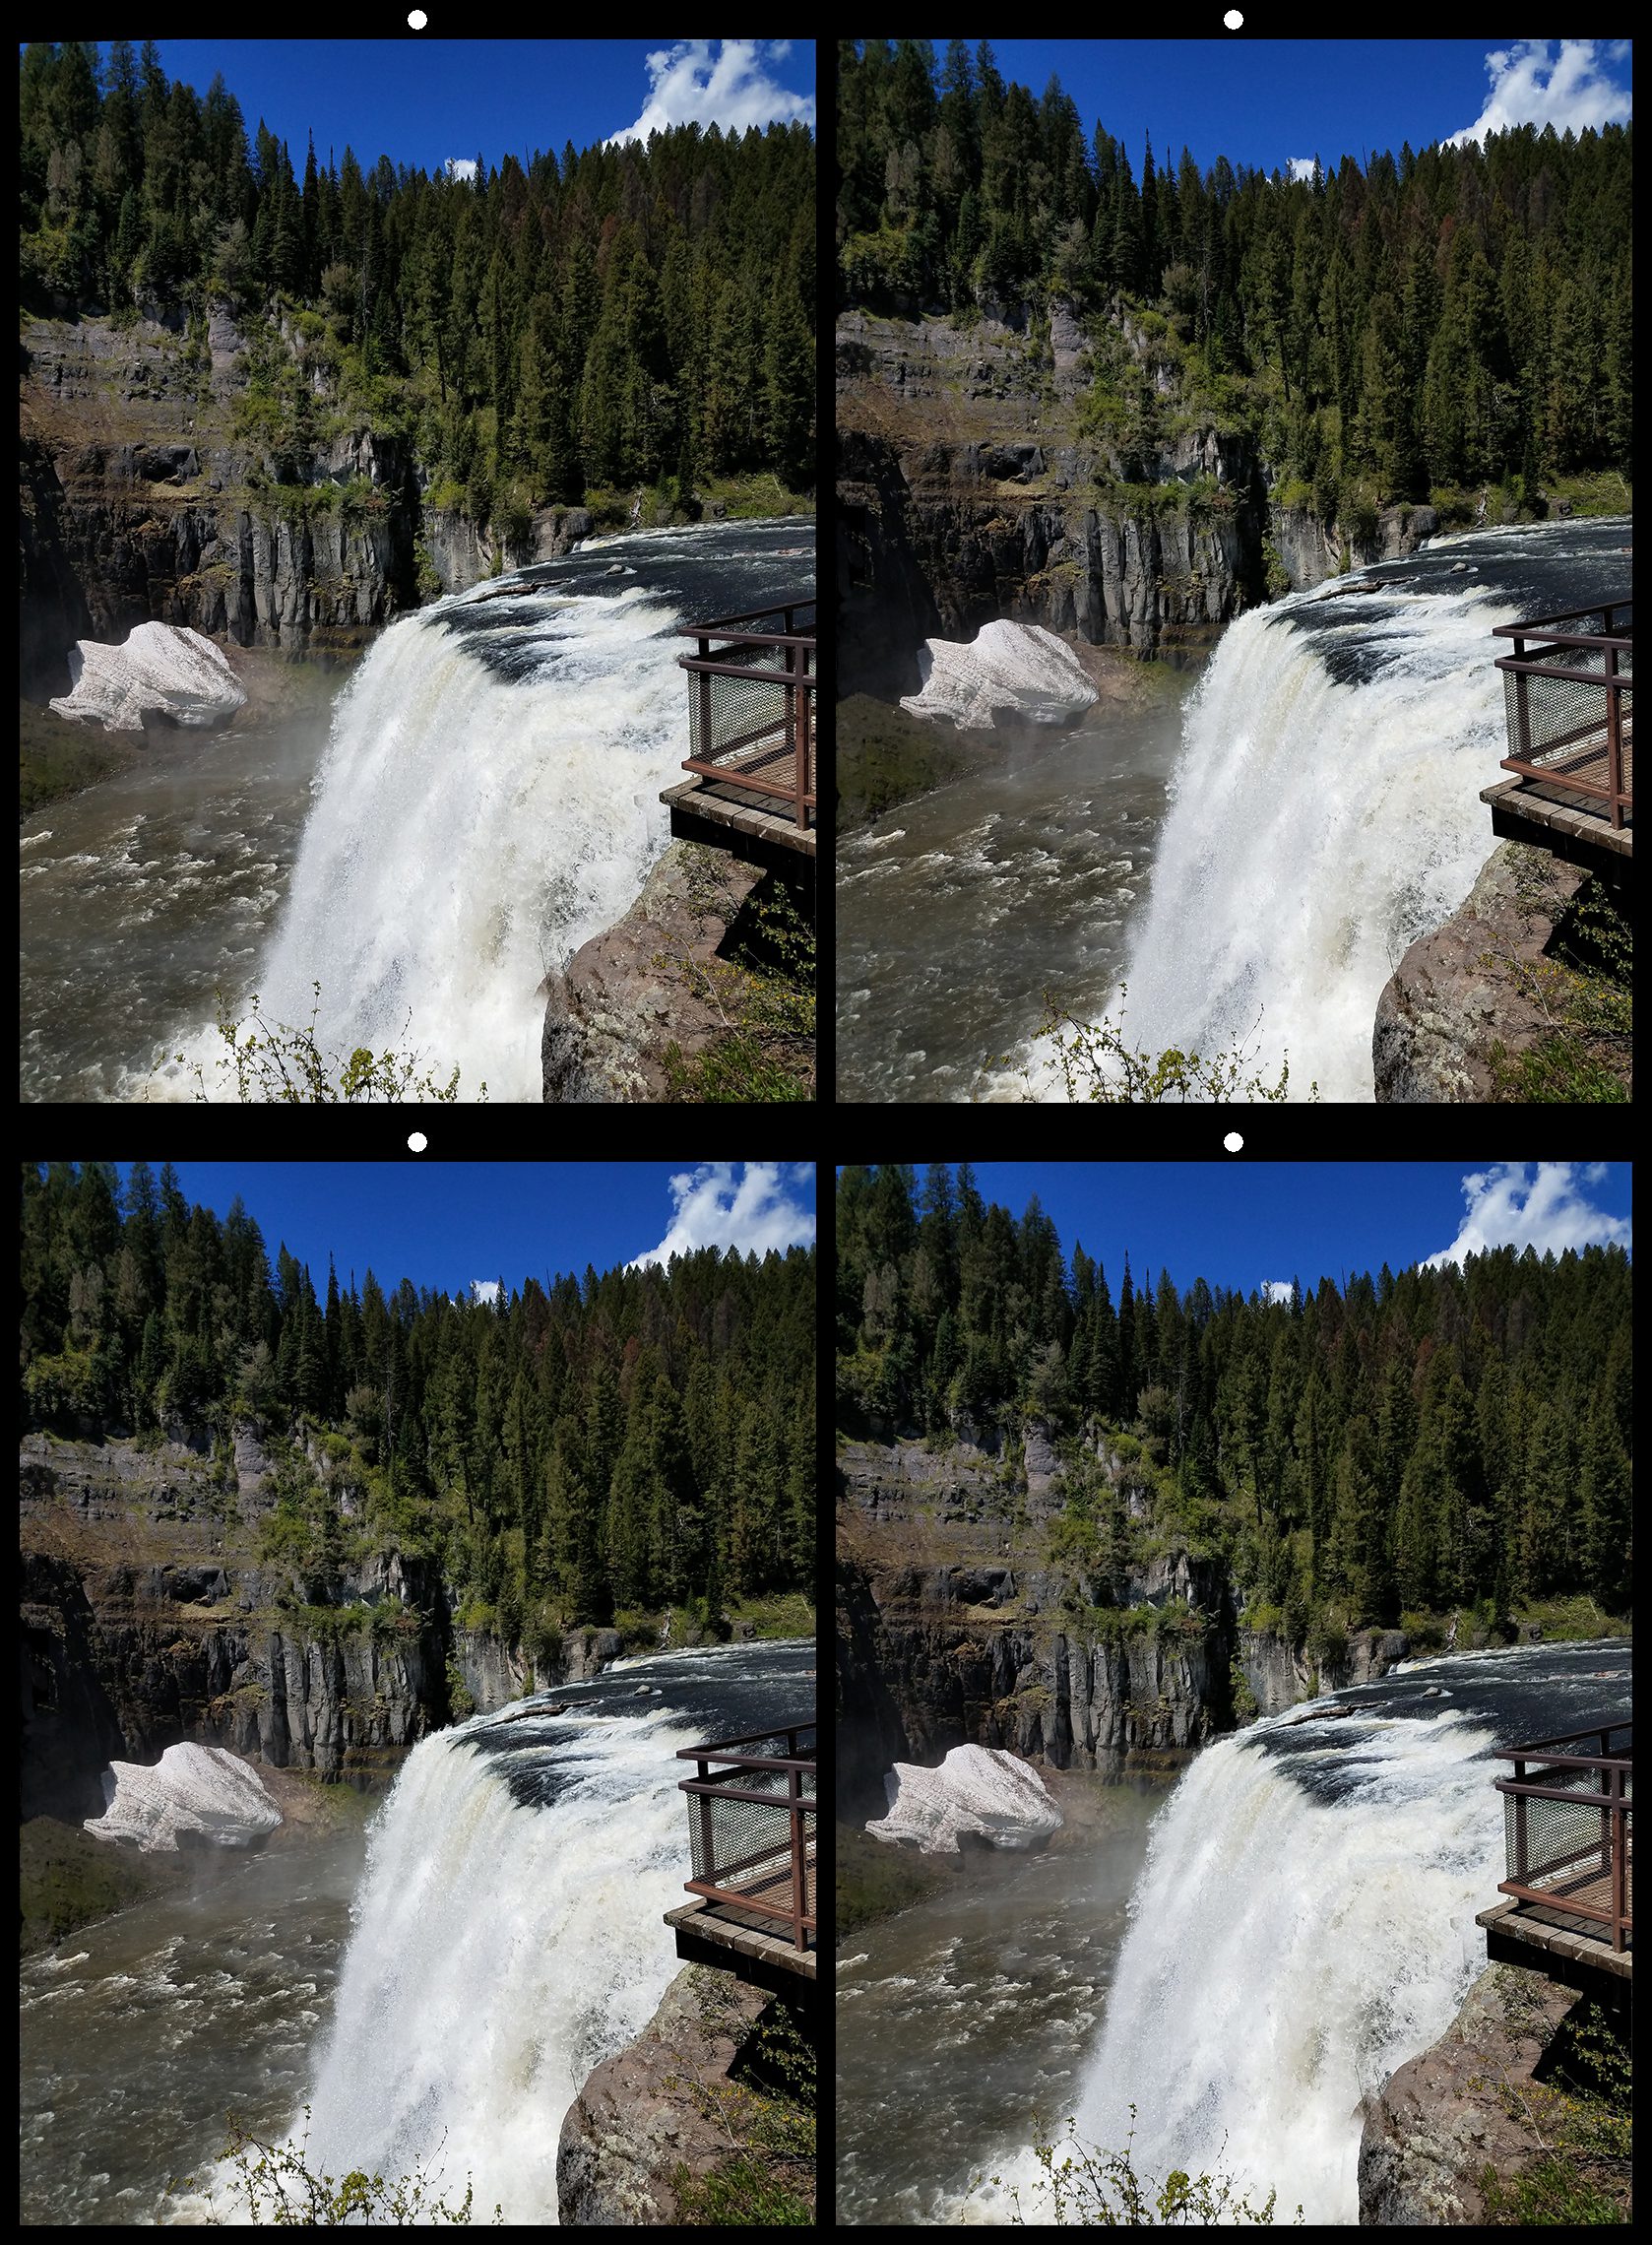
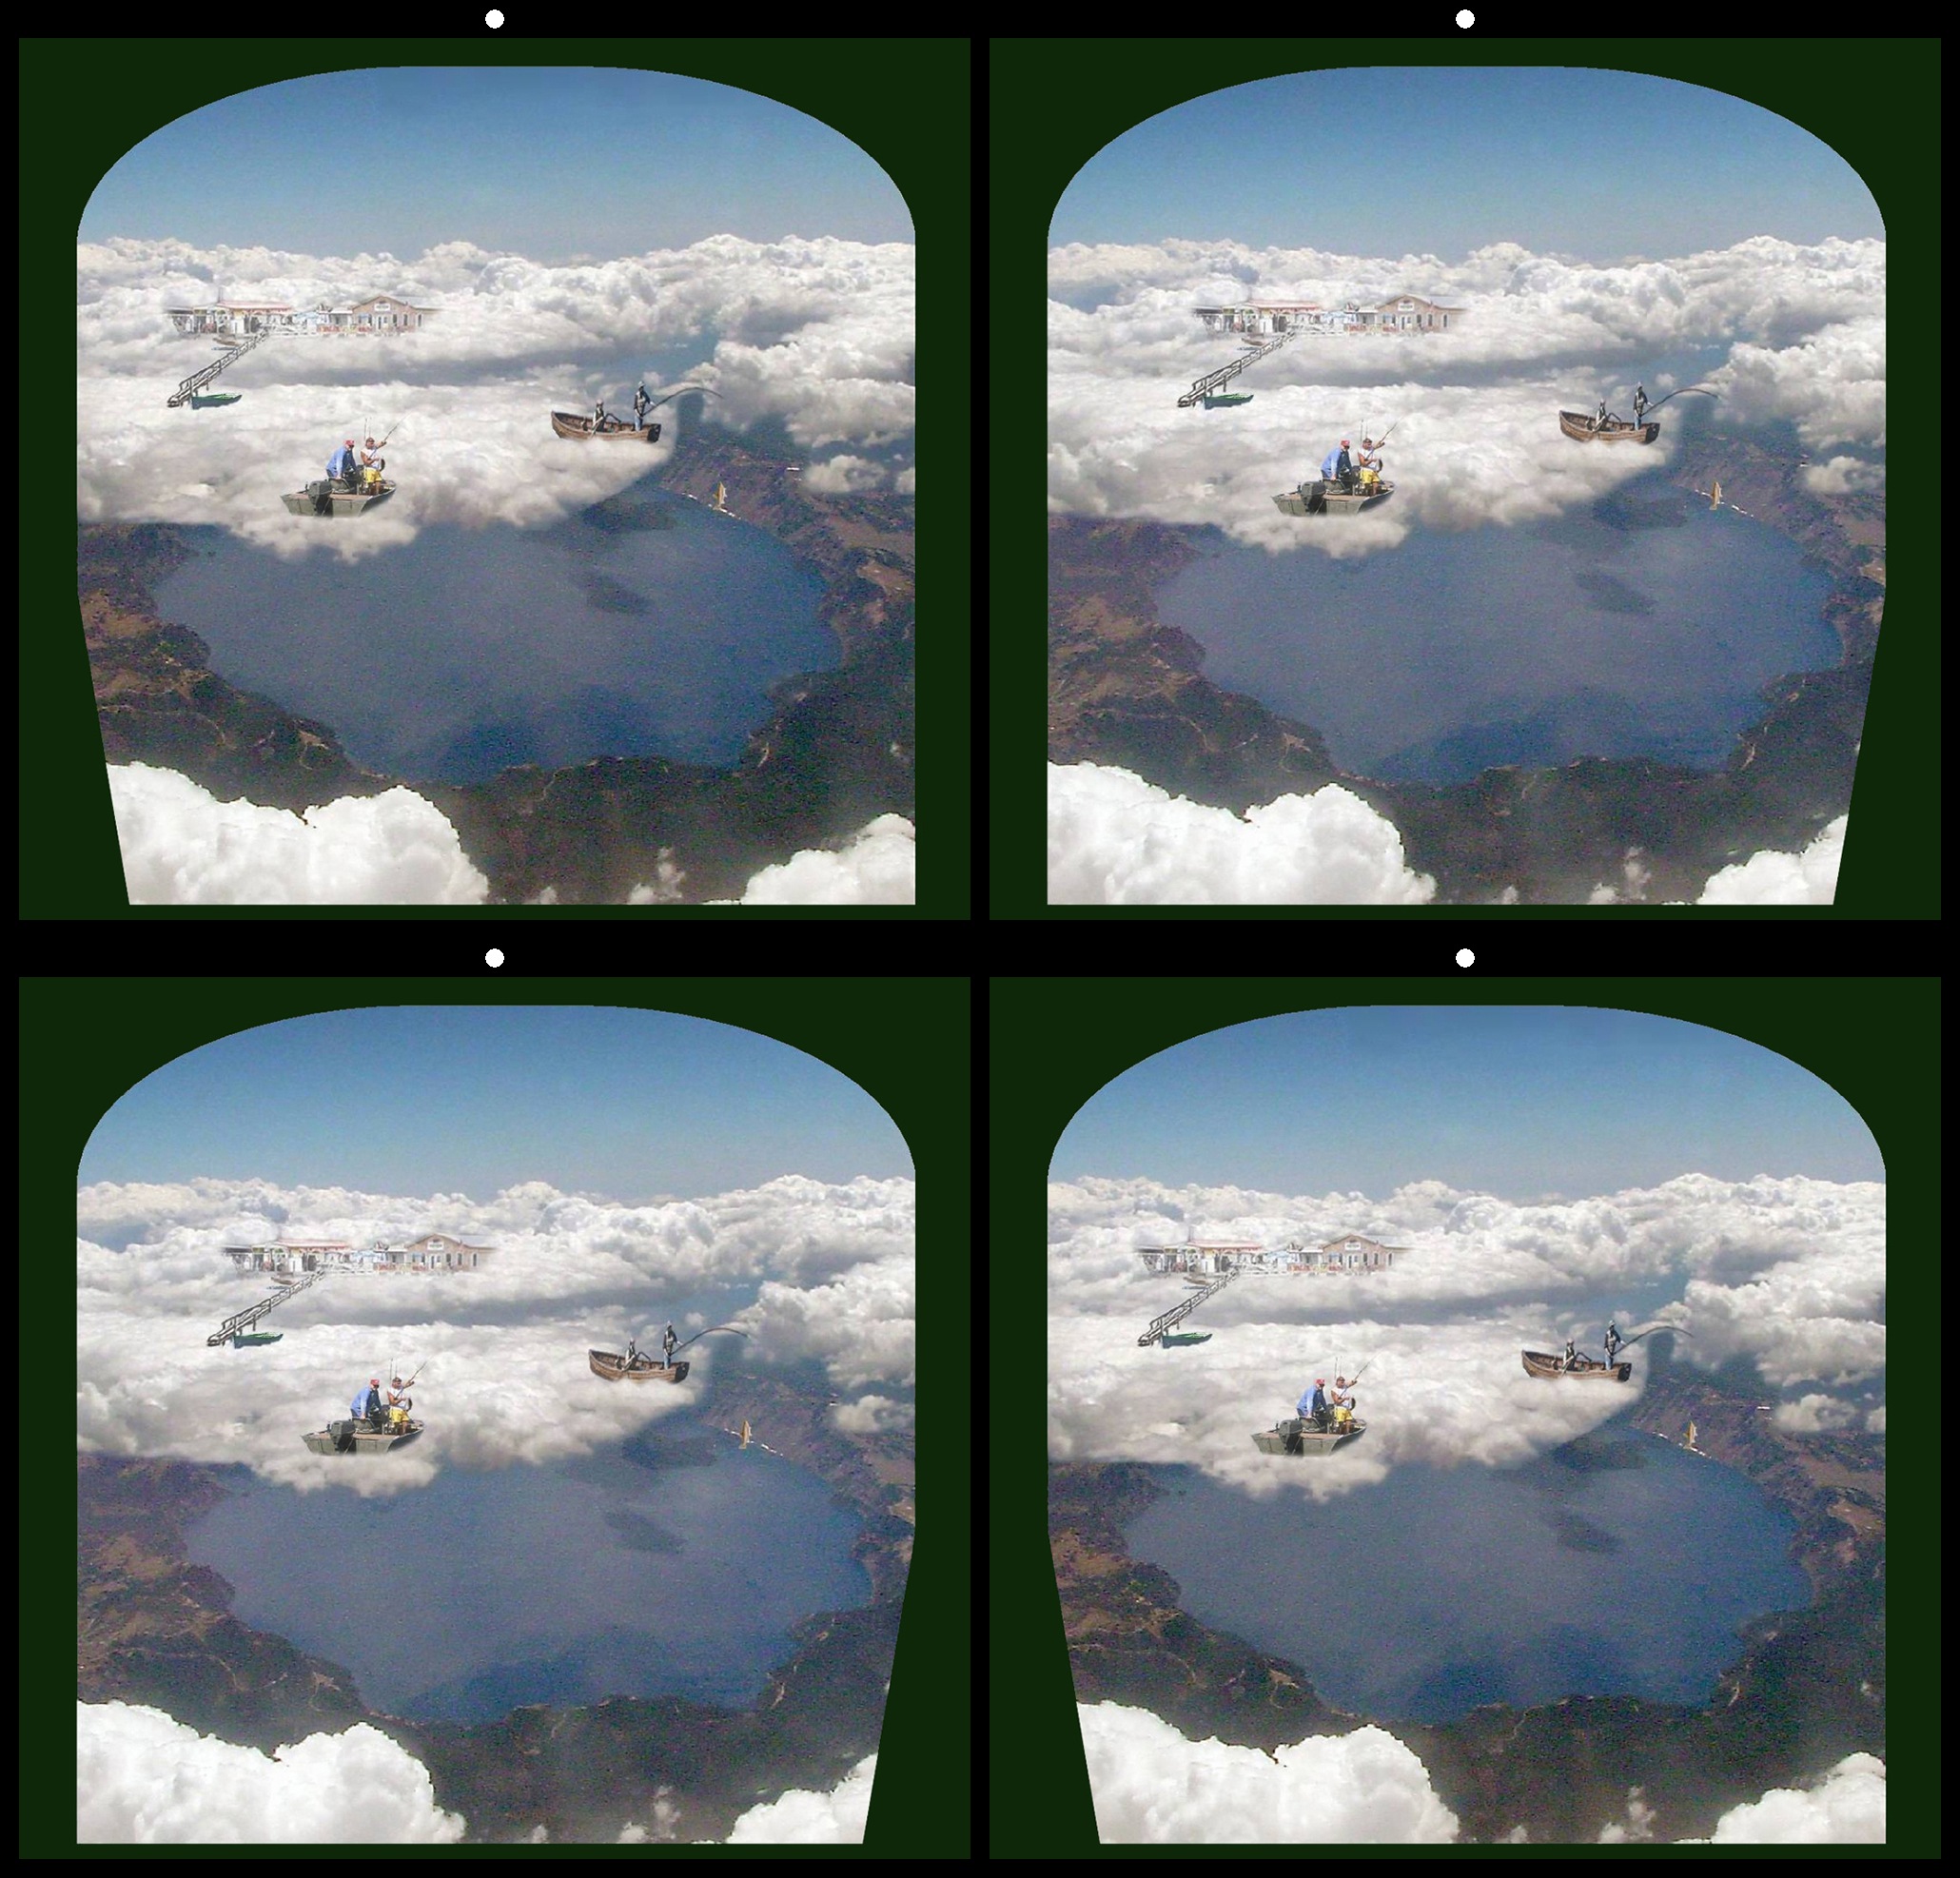
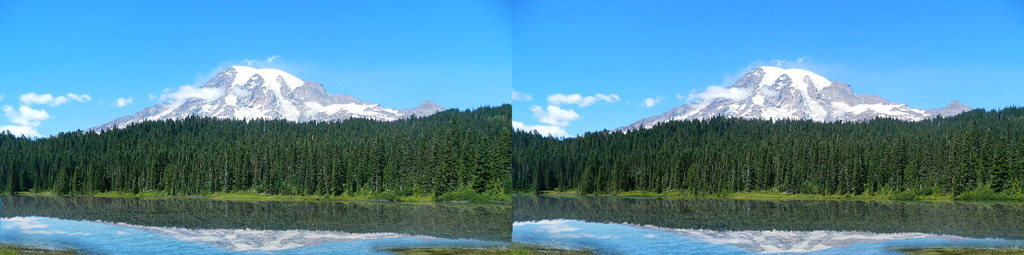
You're right, I would like to see the whole bridge as well -- green water and all. Great image though. |
Apr 12th |
| 68 |
Apr 20 |
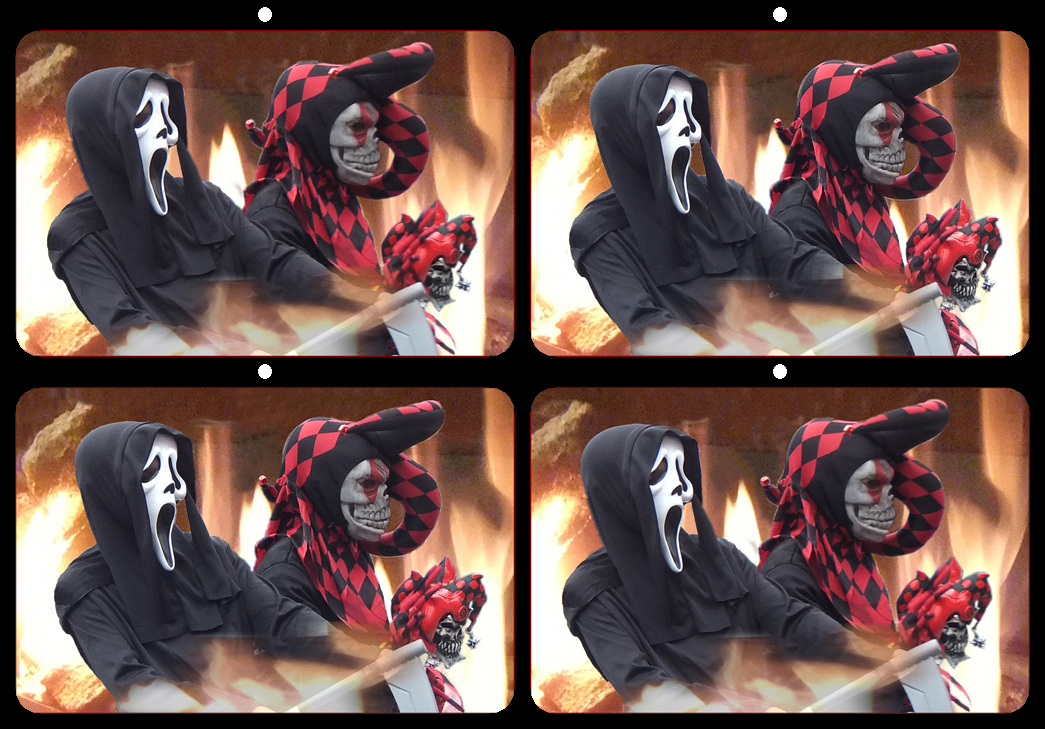
Comment |
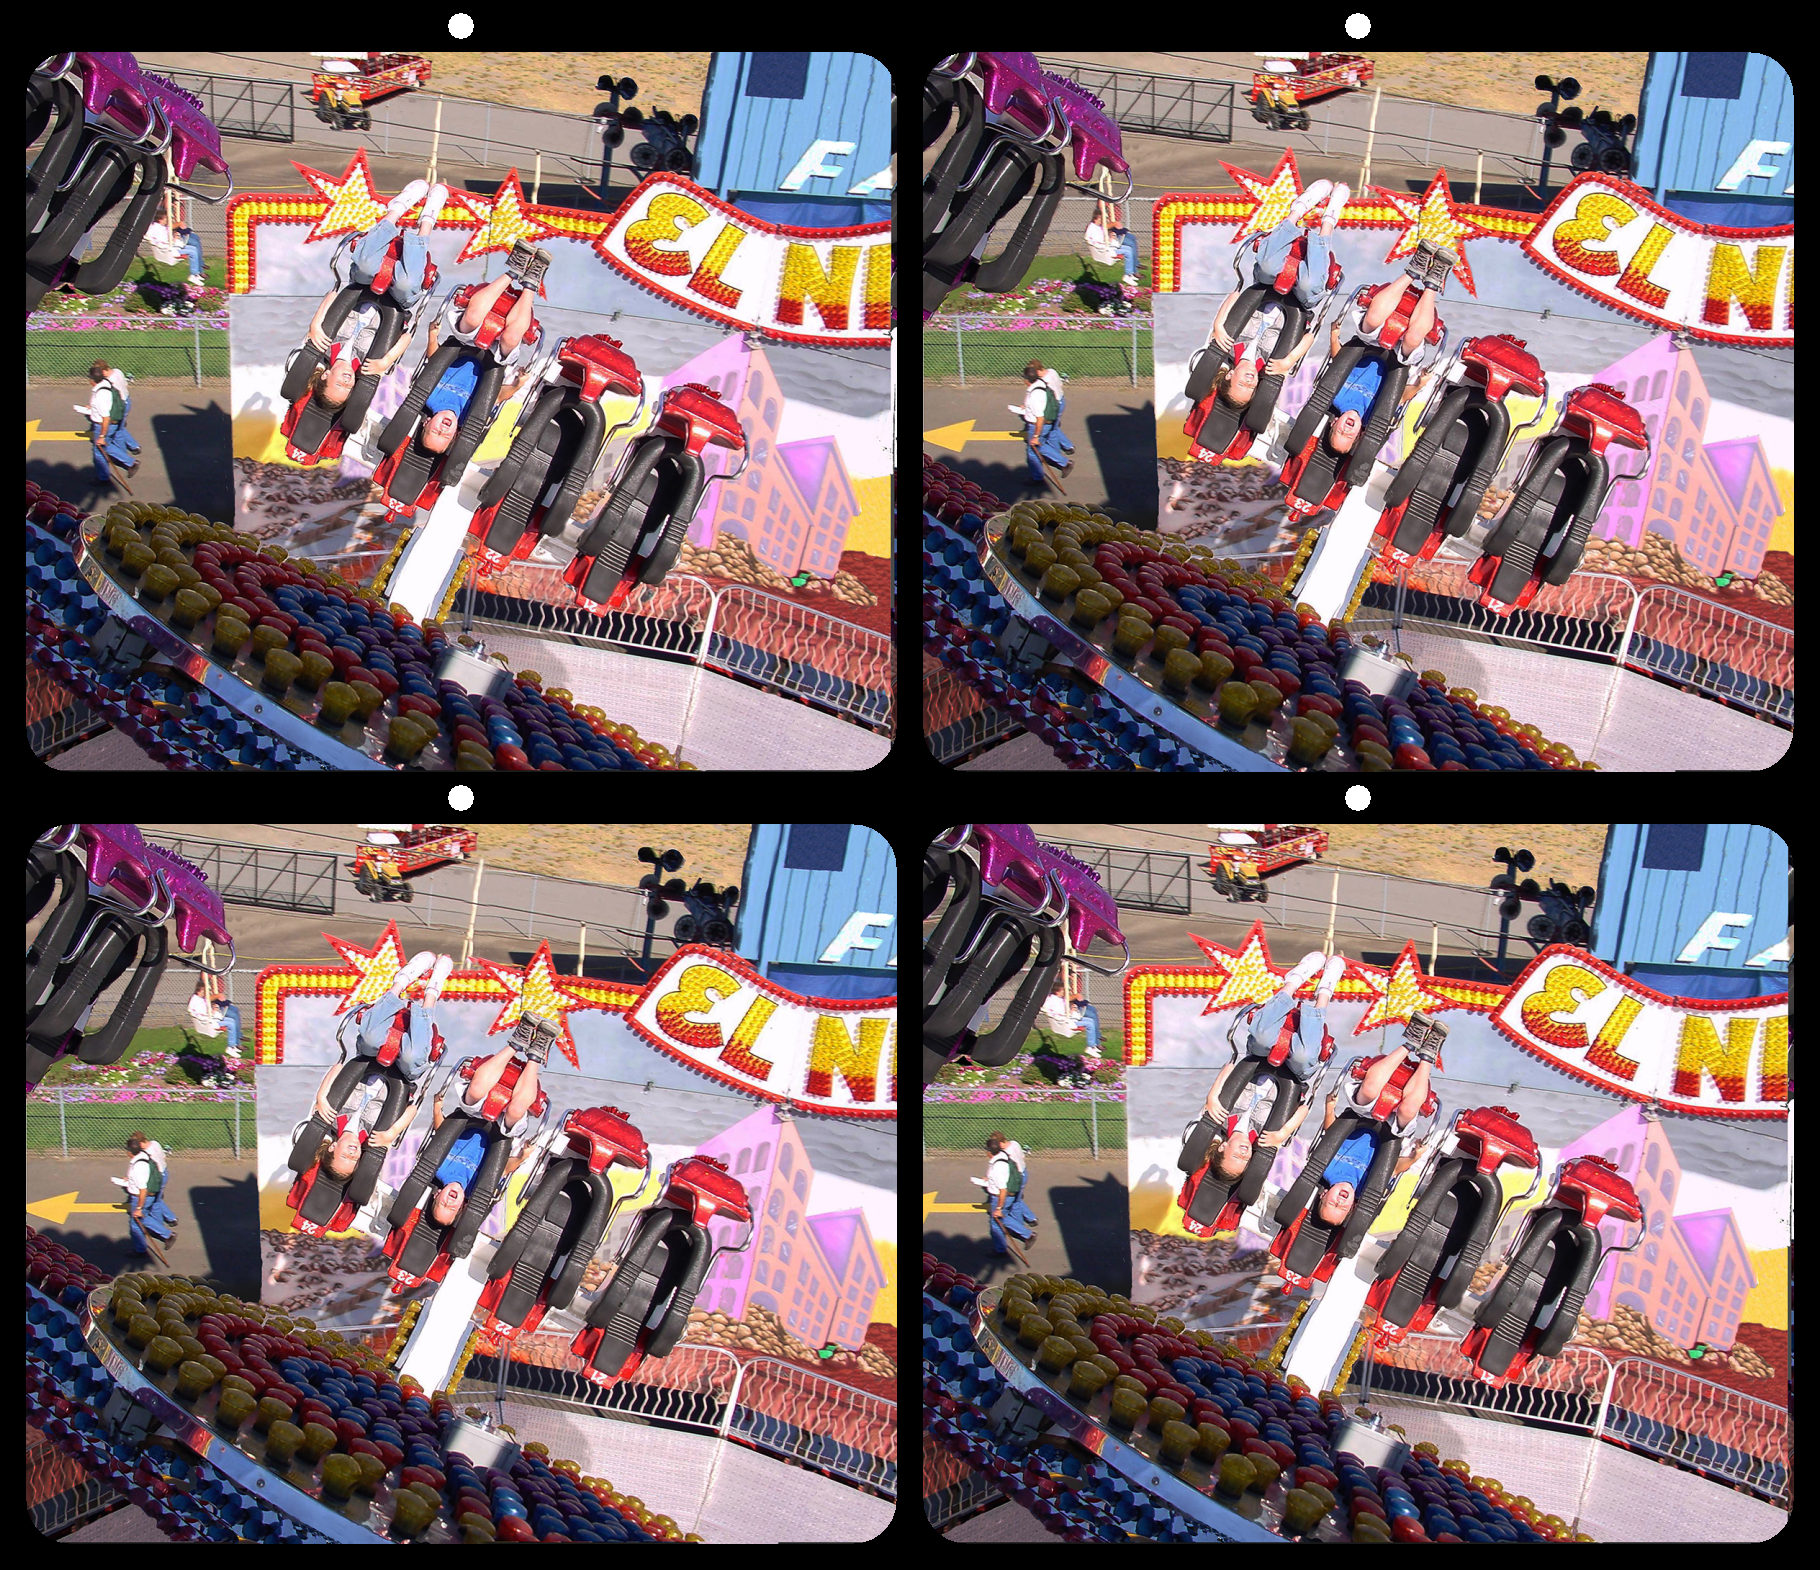
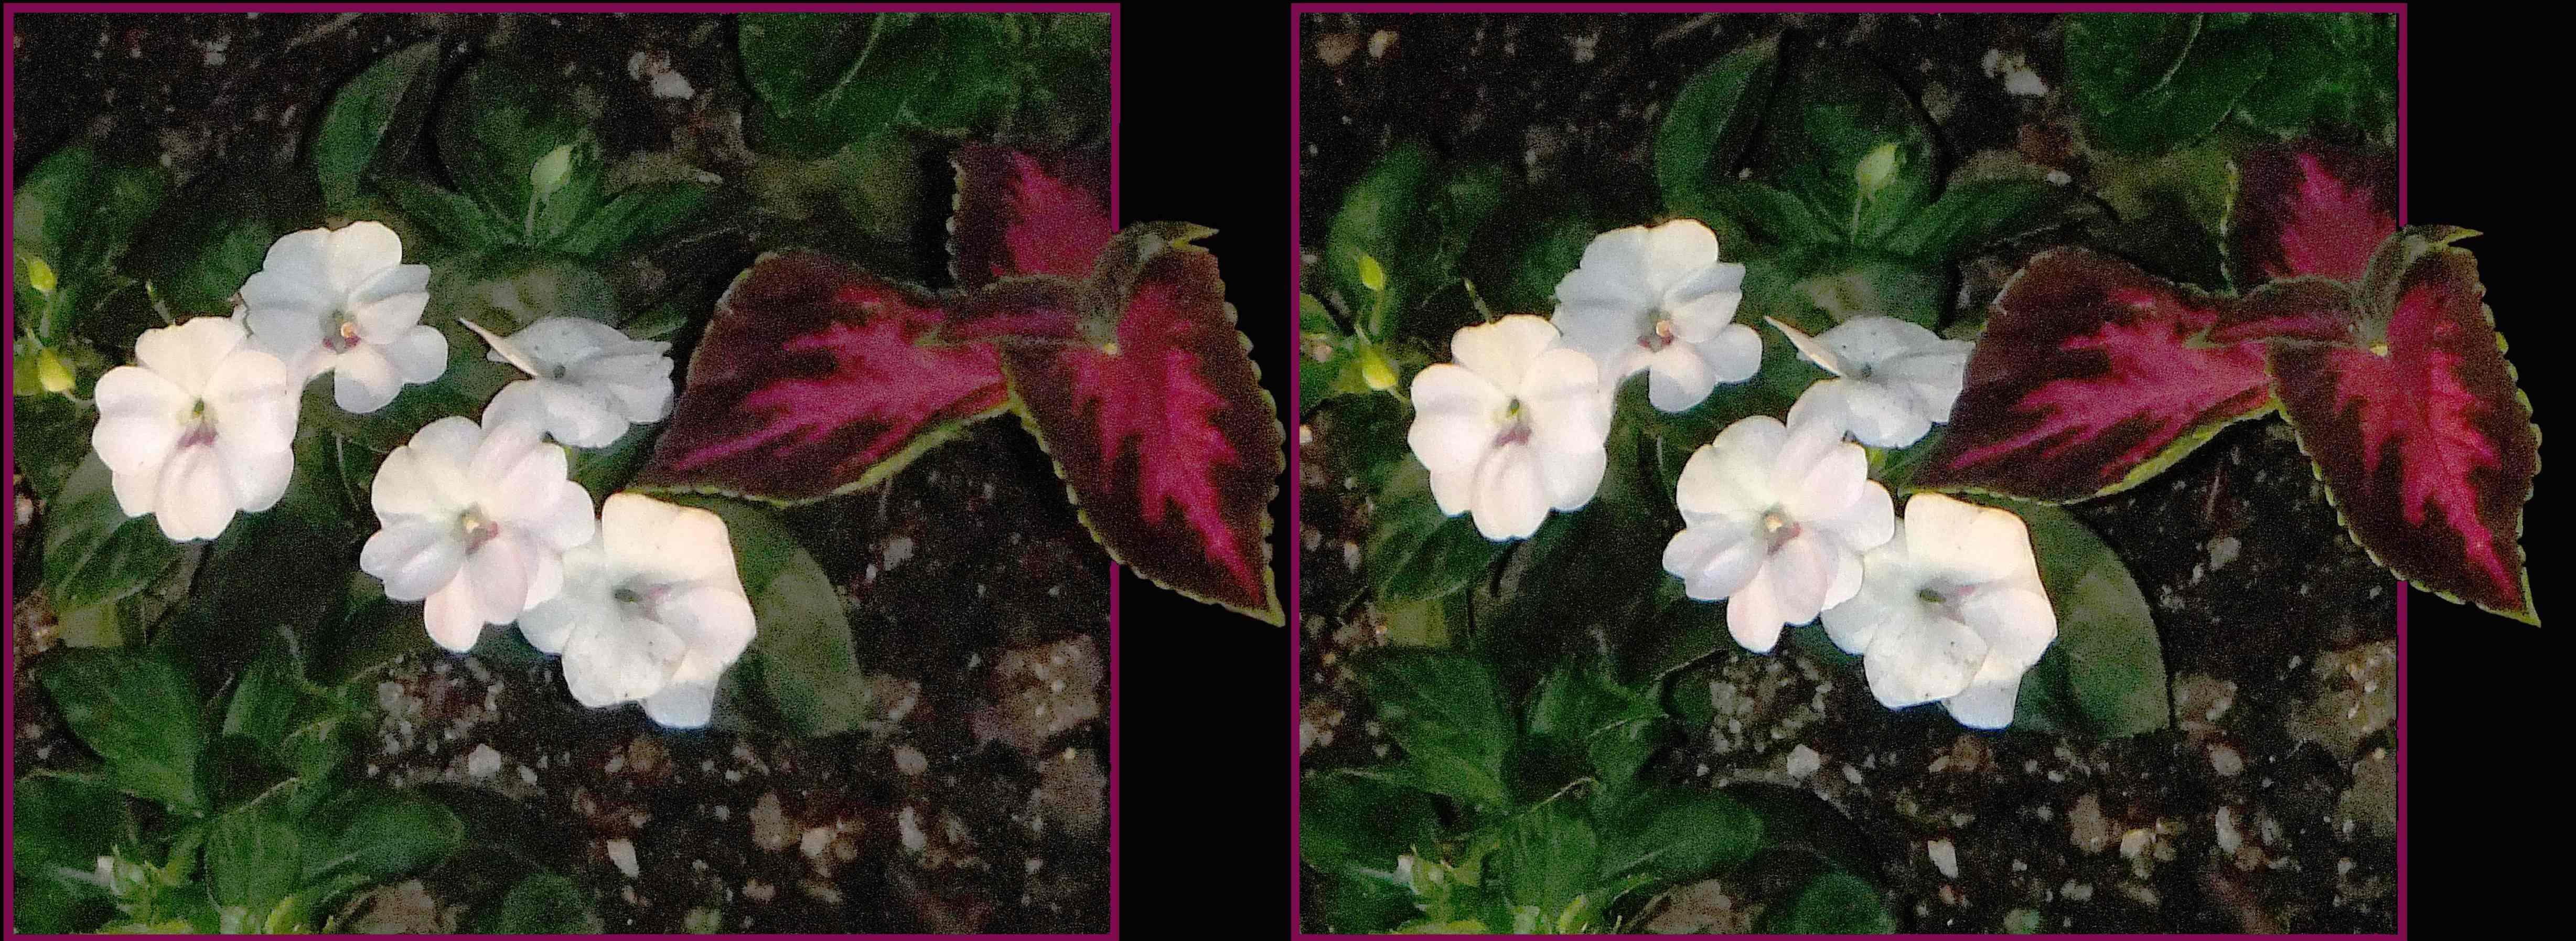
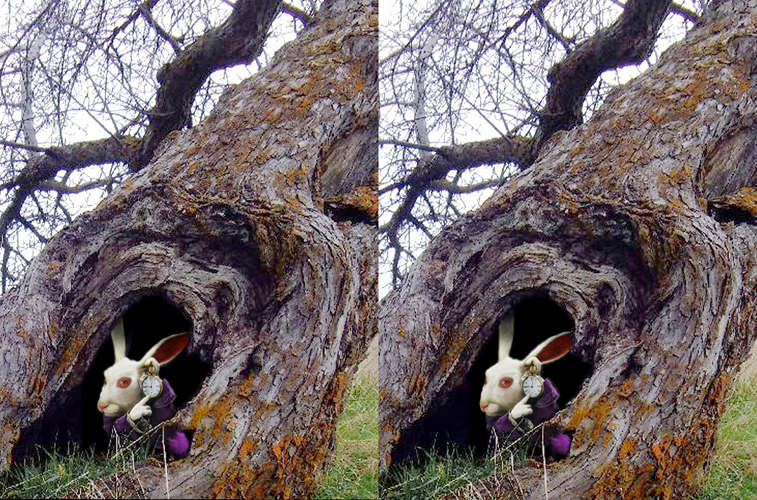
Lots of shinny Easter bunnies. Too bad we can't see more of the green on the right and less (or none) of the pink partial bunny on the left. My kids, when I had little kits, would have enjoyed the view. Like Nick said the things in the background (what ever they are) are a little distracting. |
Apr 12th |
| 68 |
Apr 20 |
Comment |
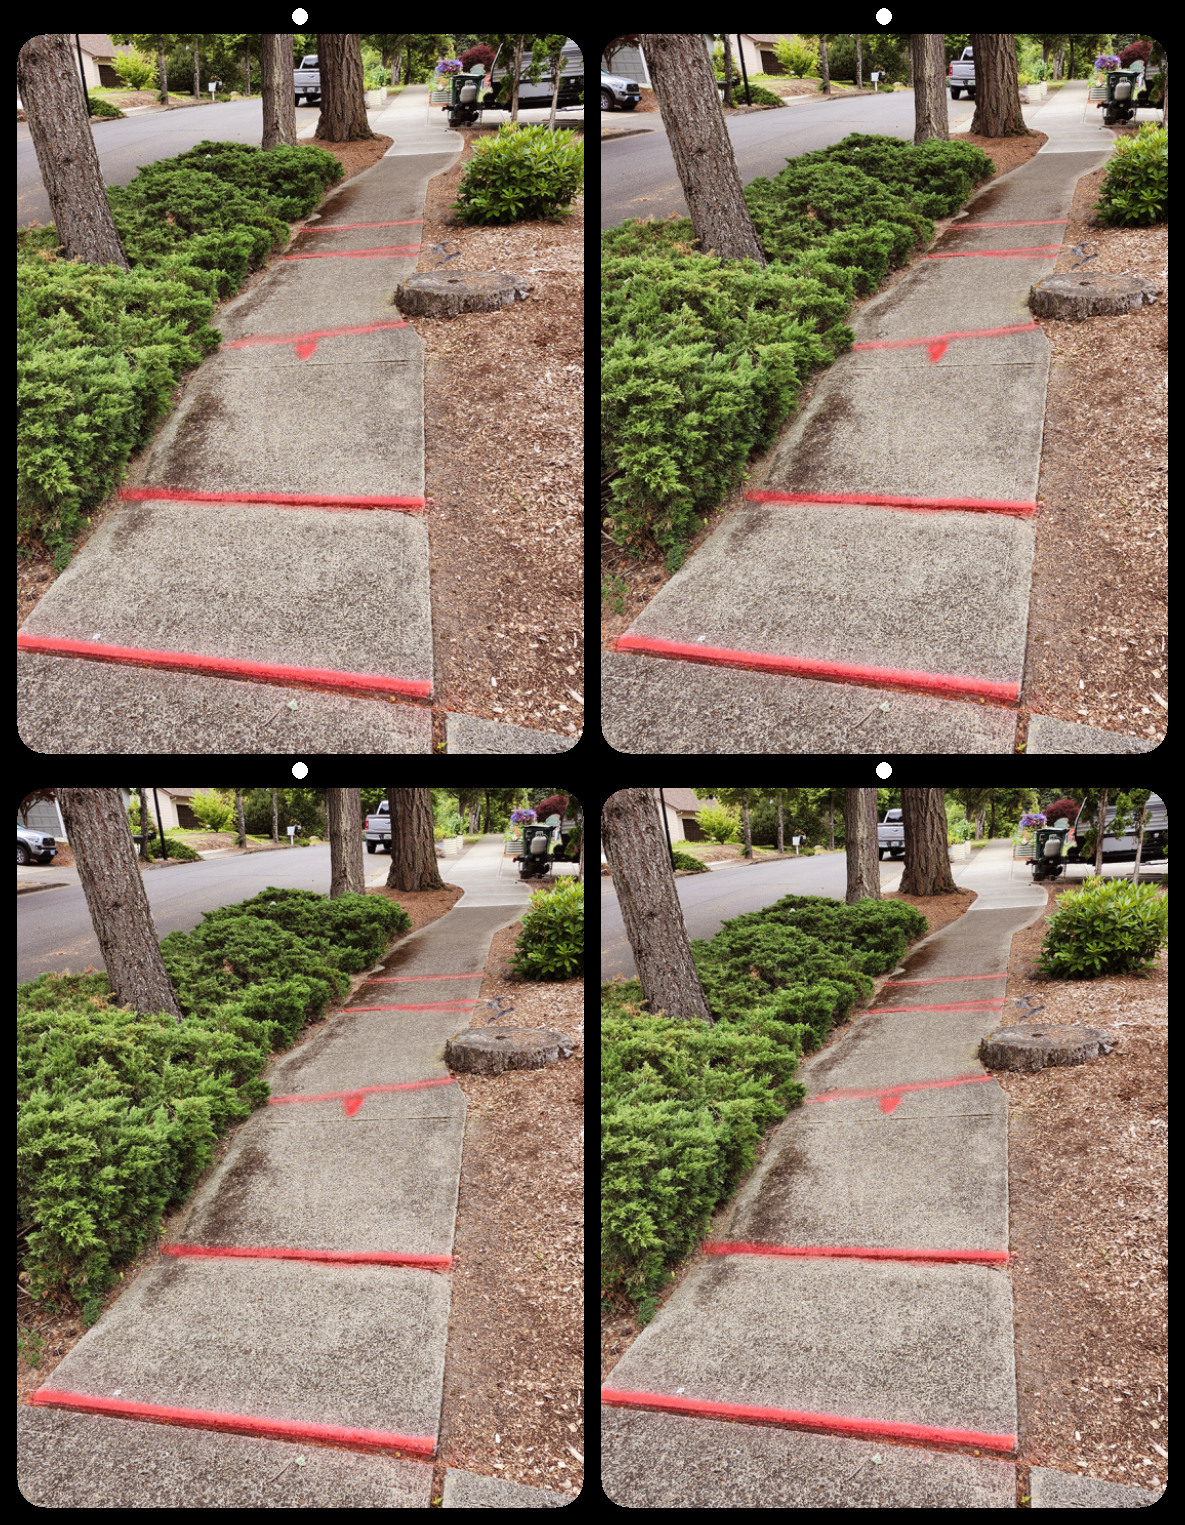
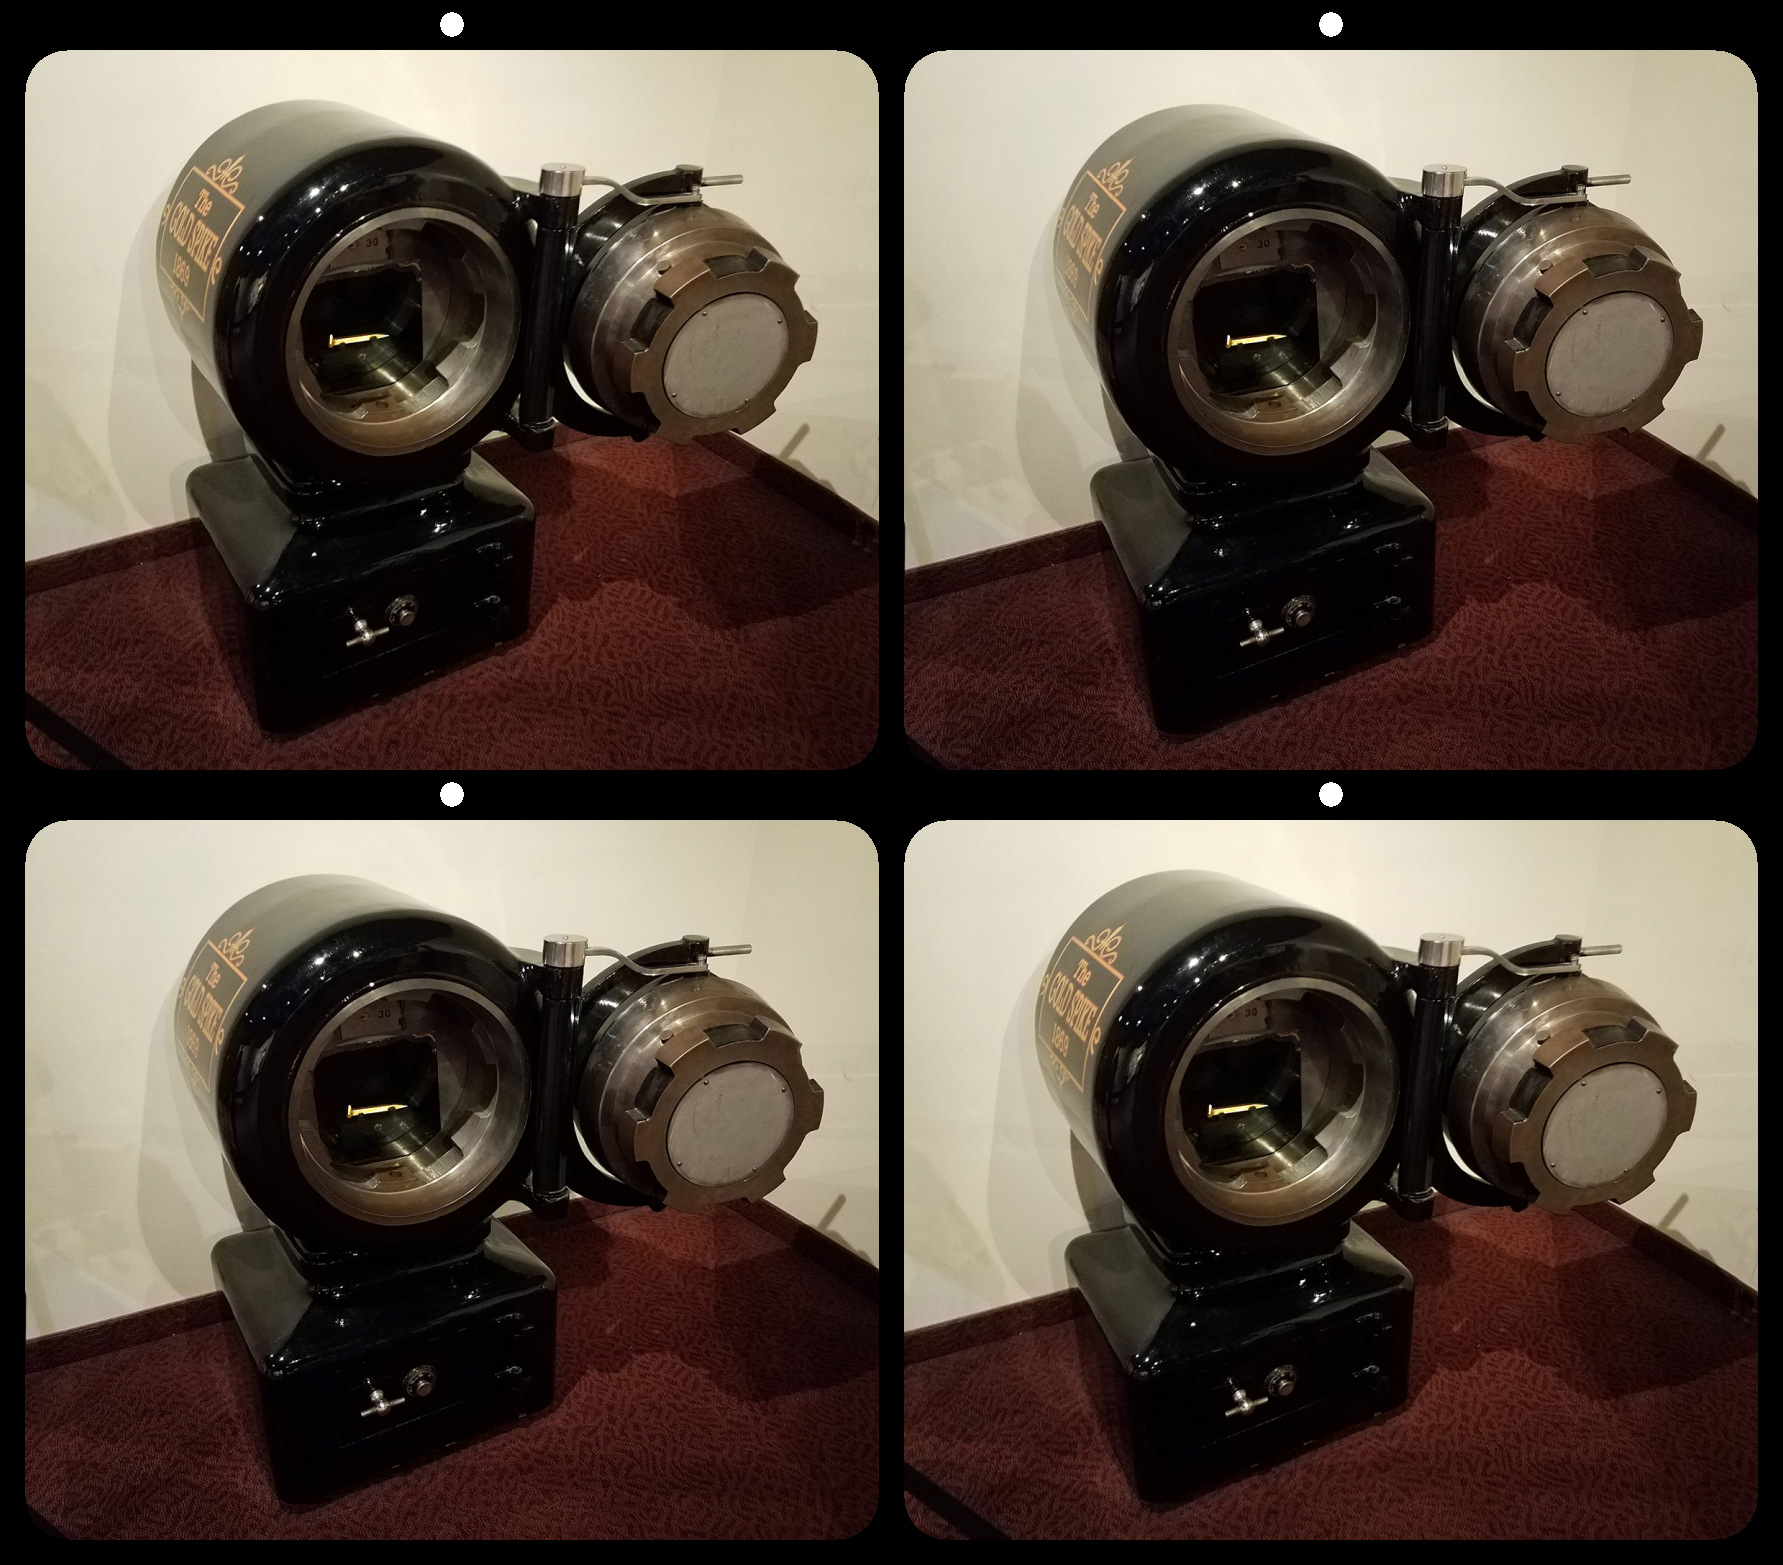
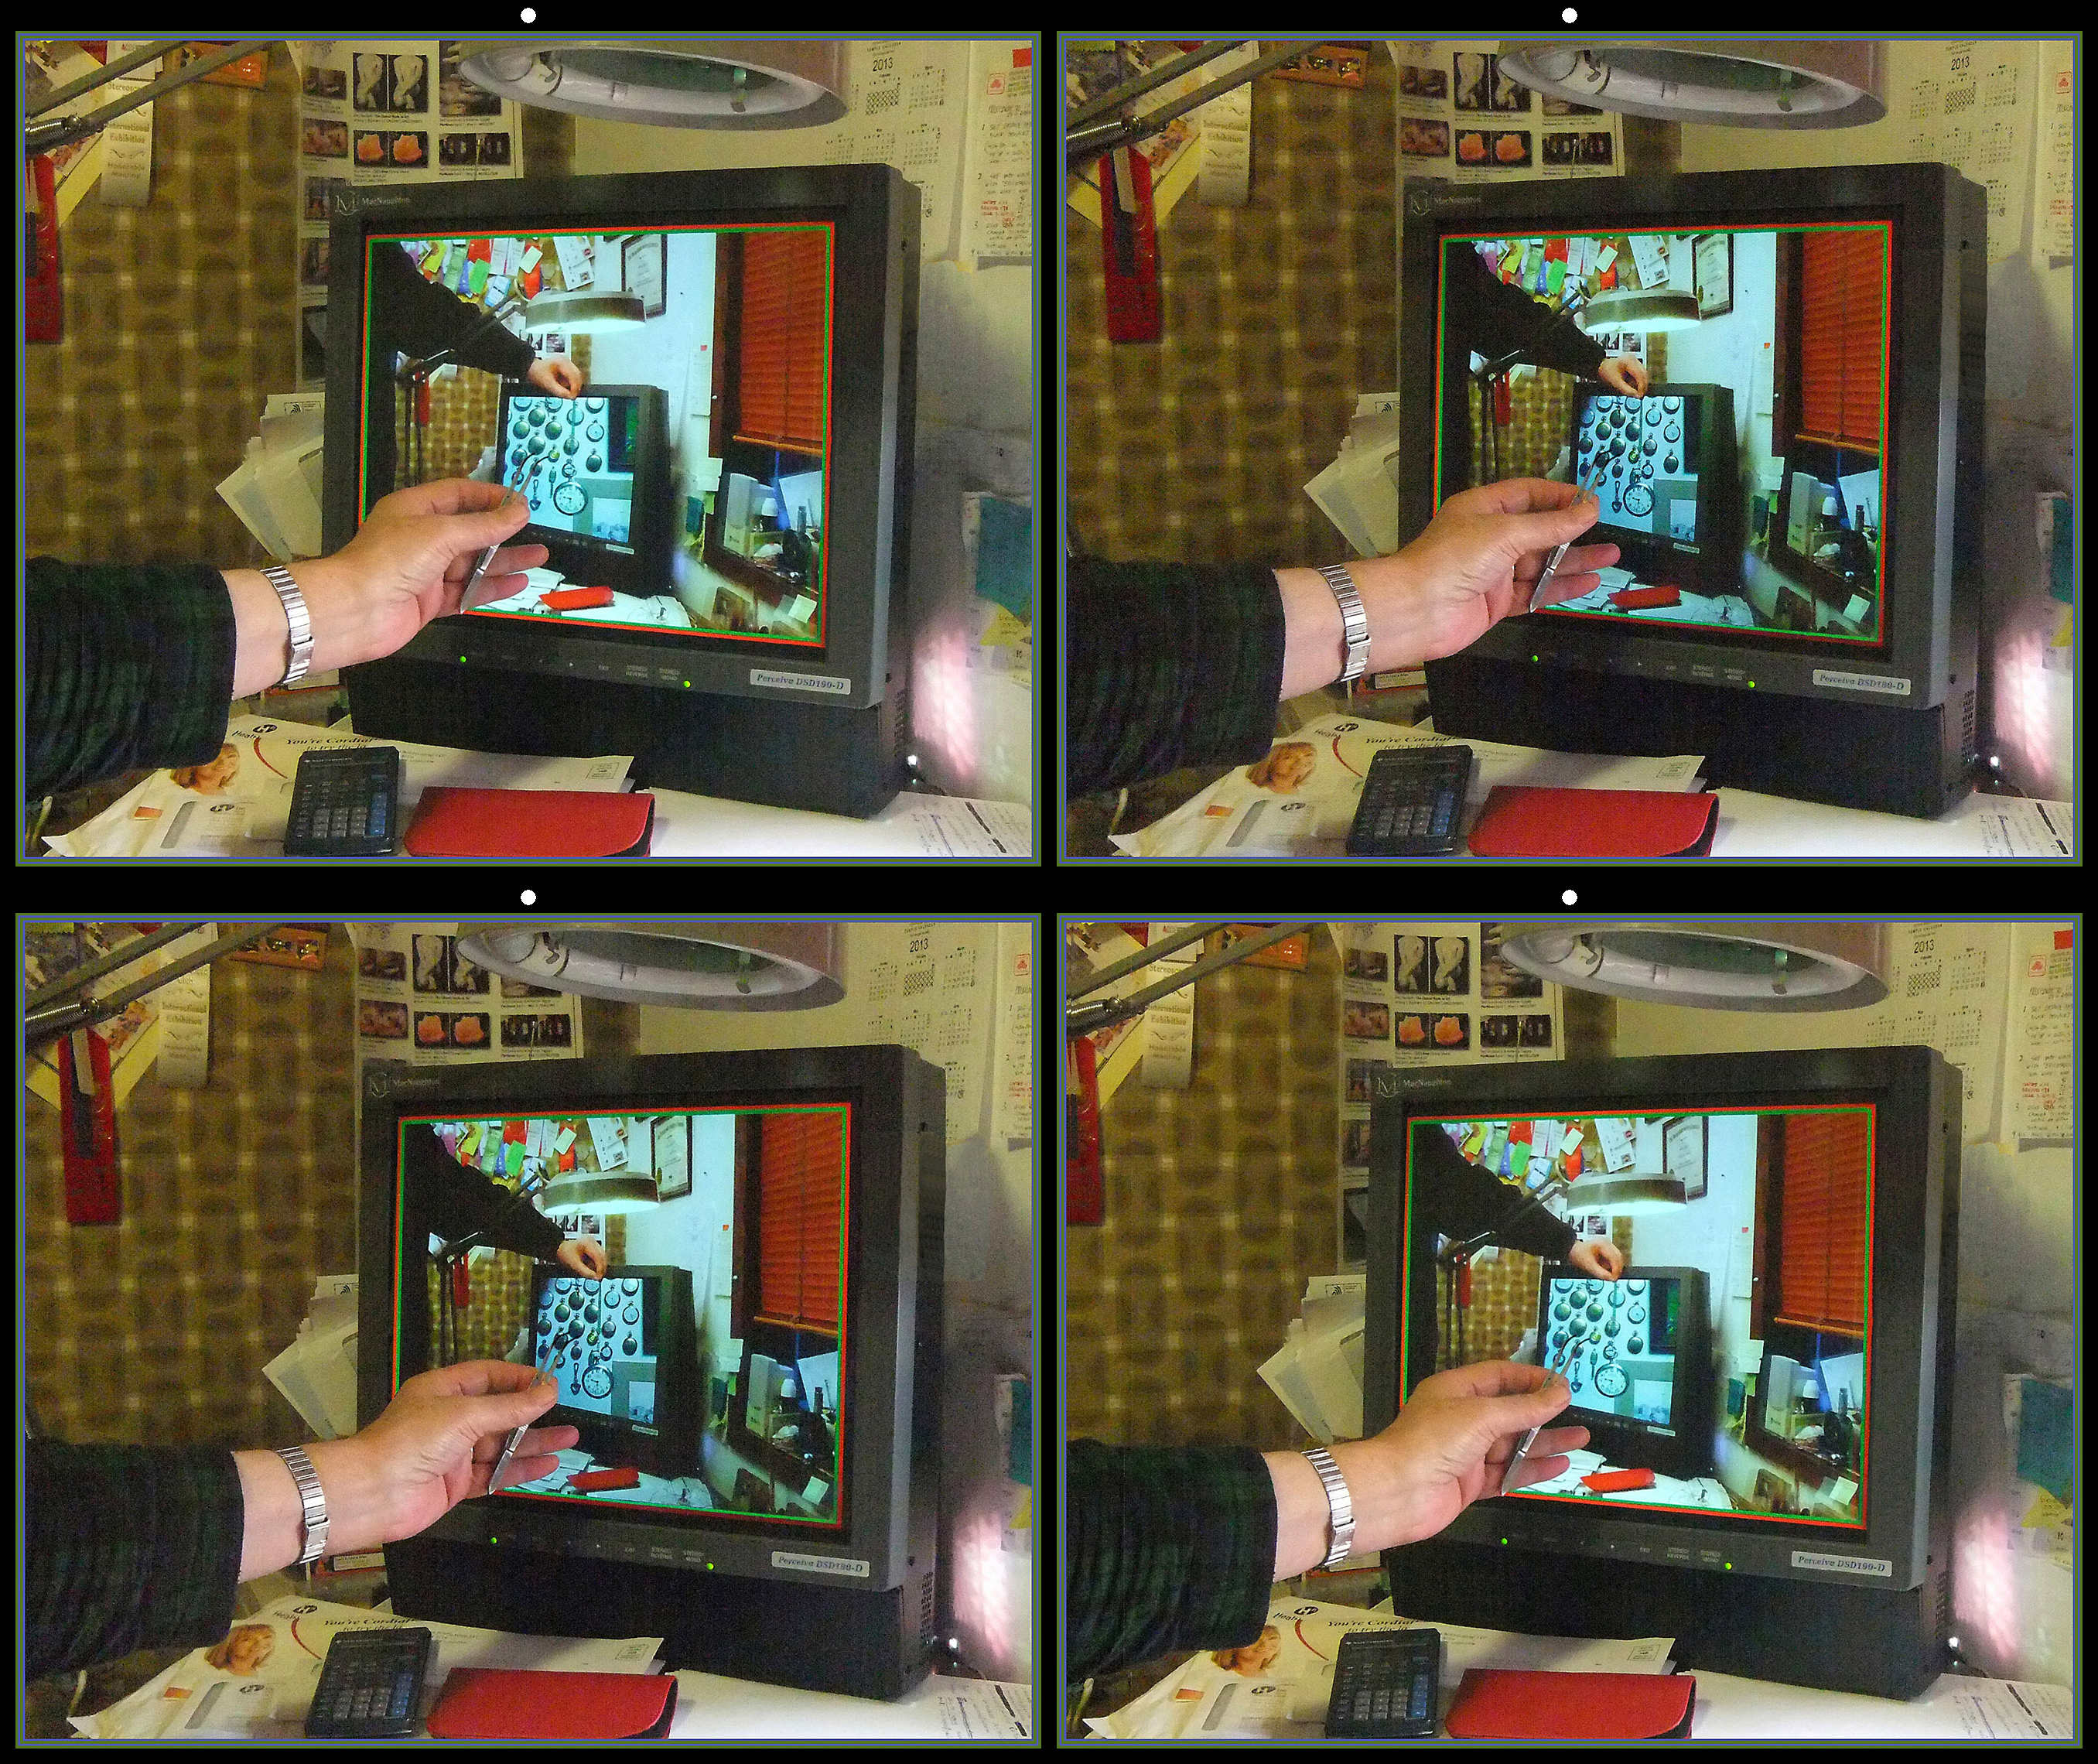
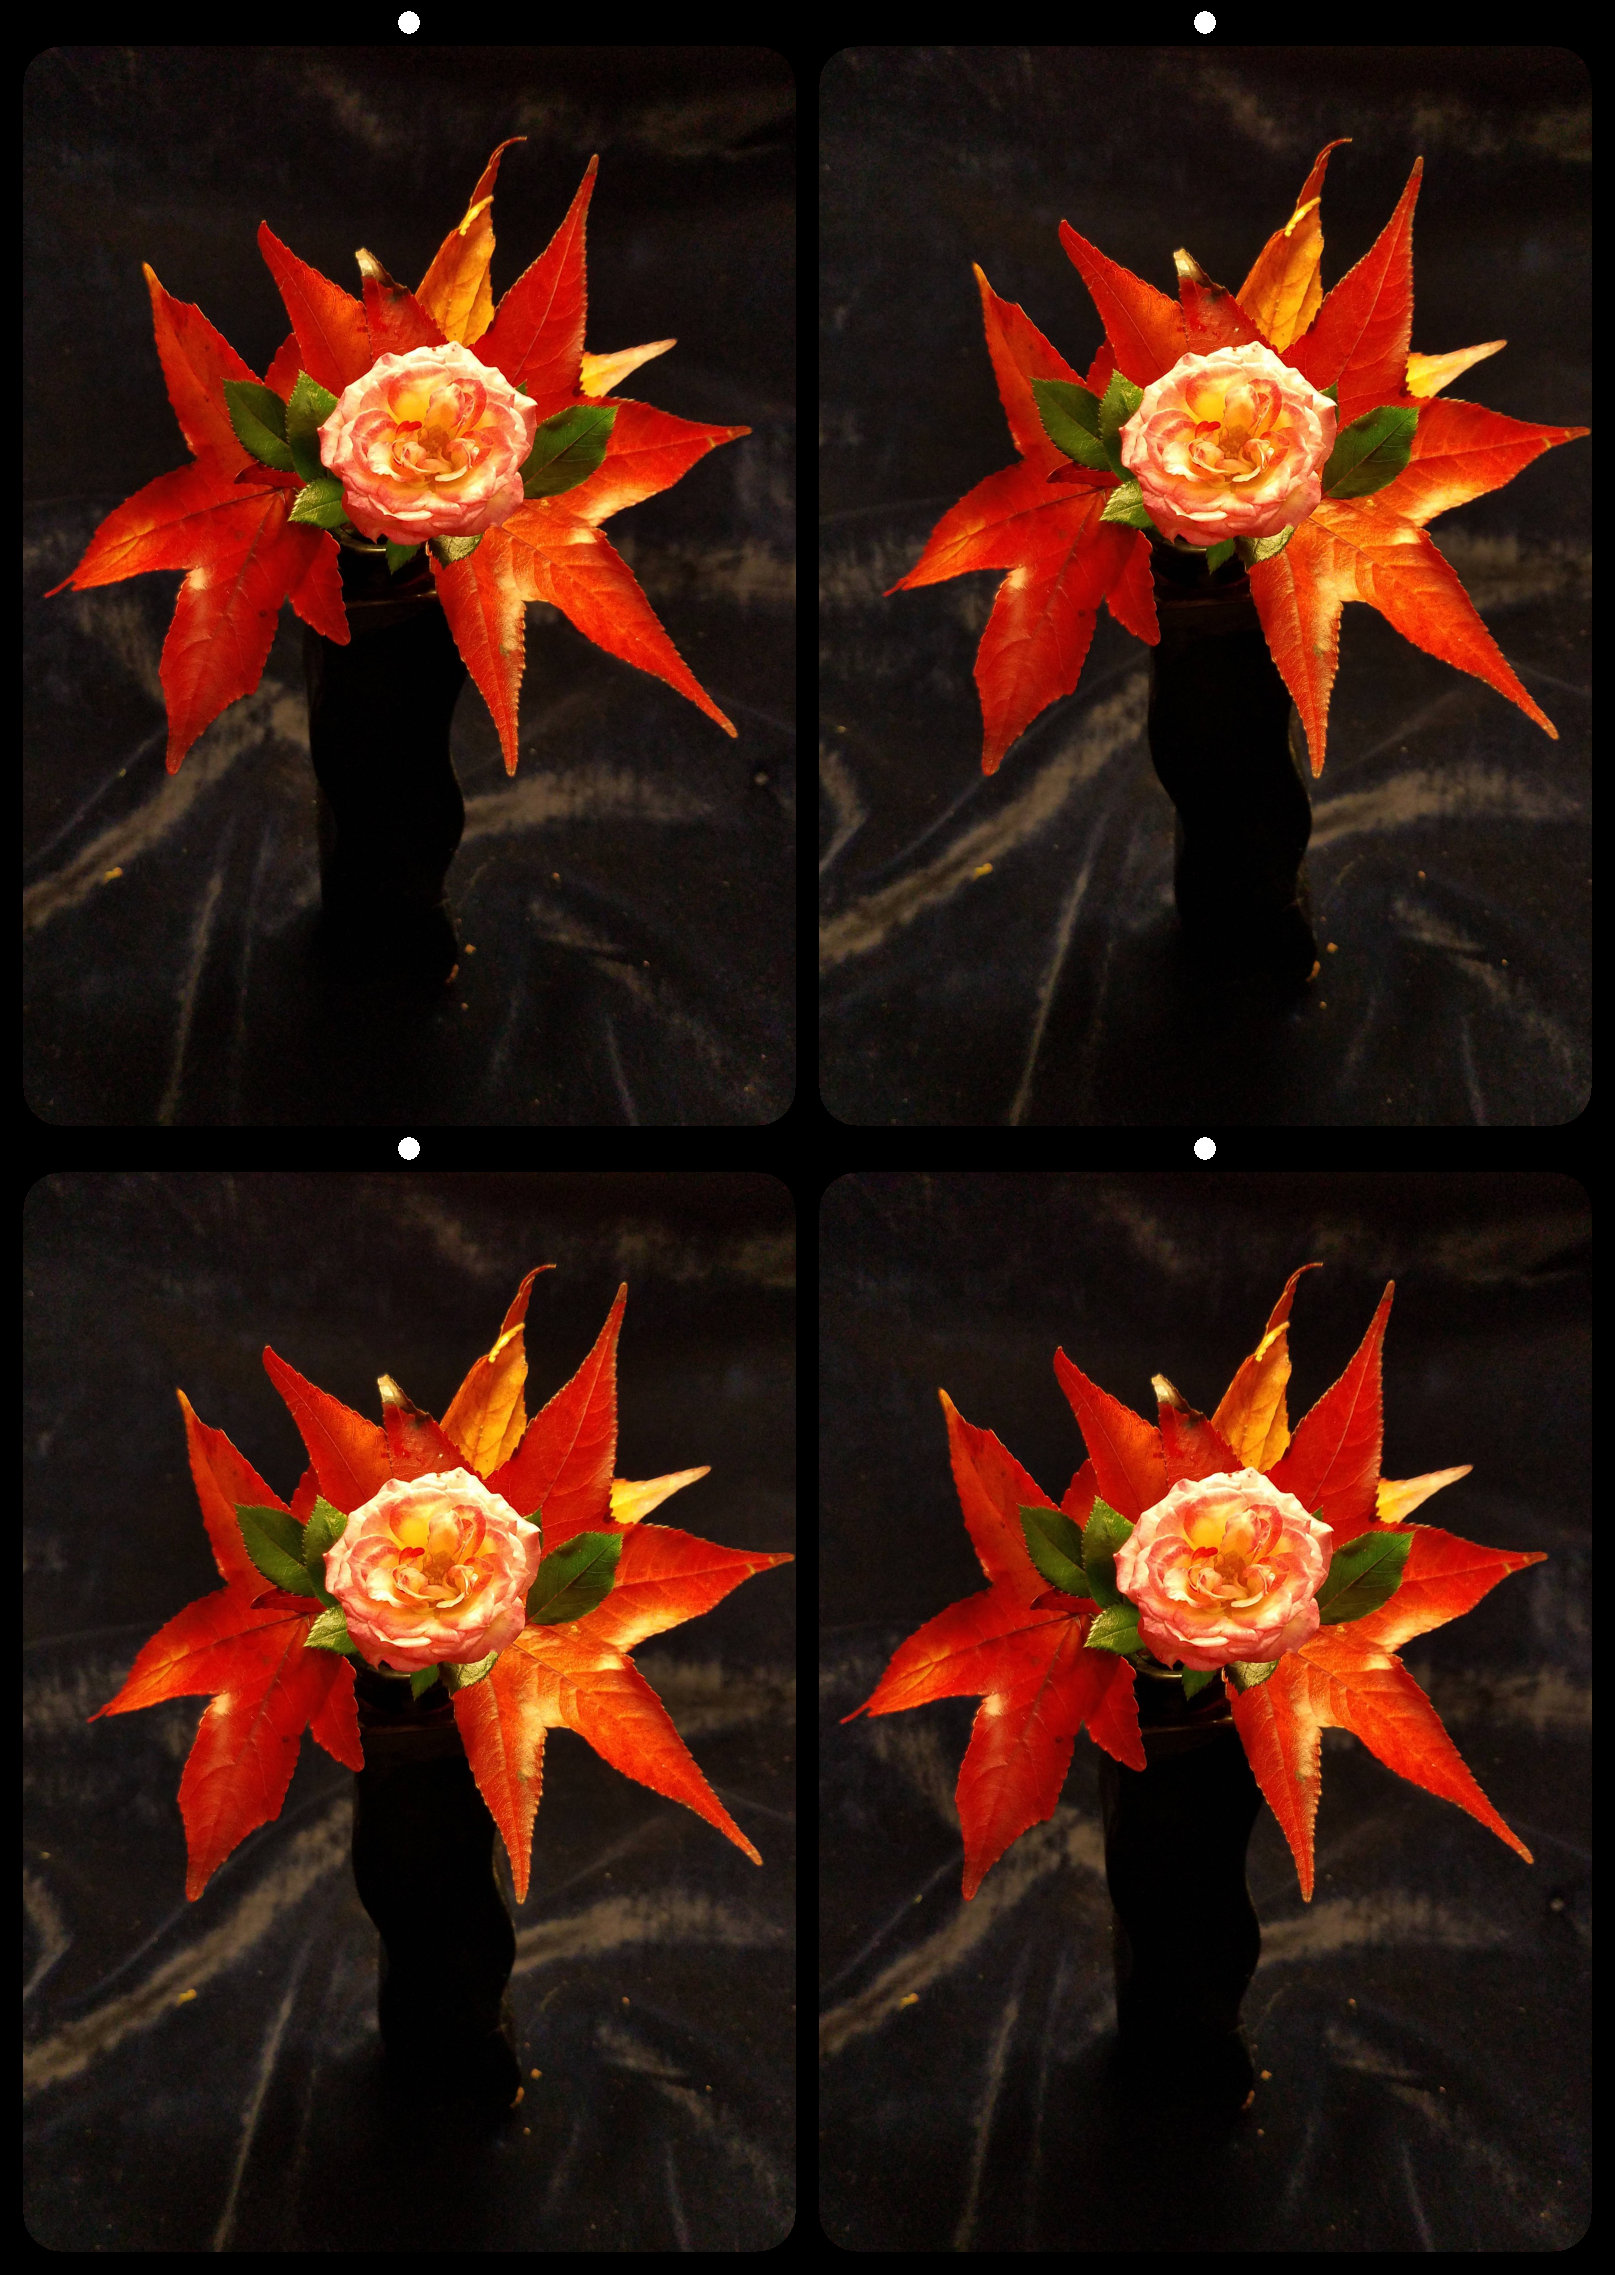
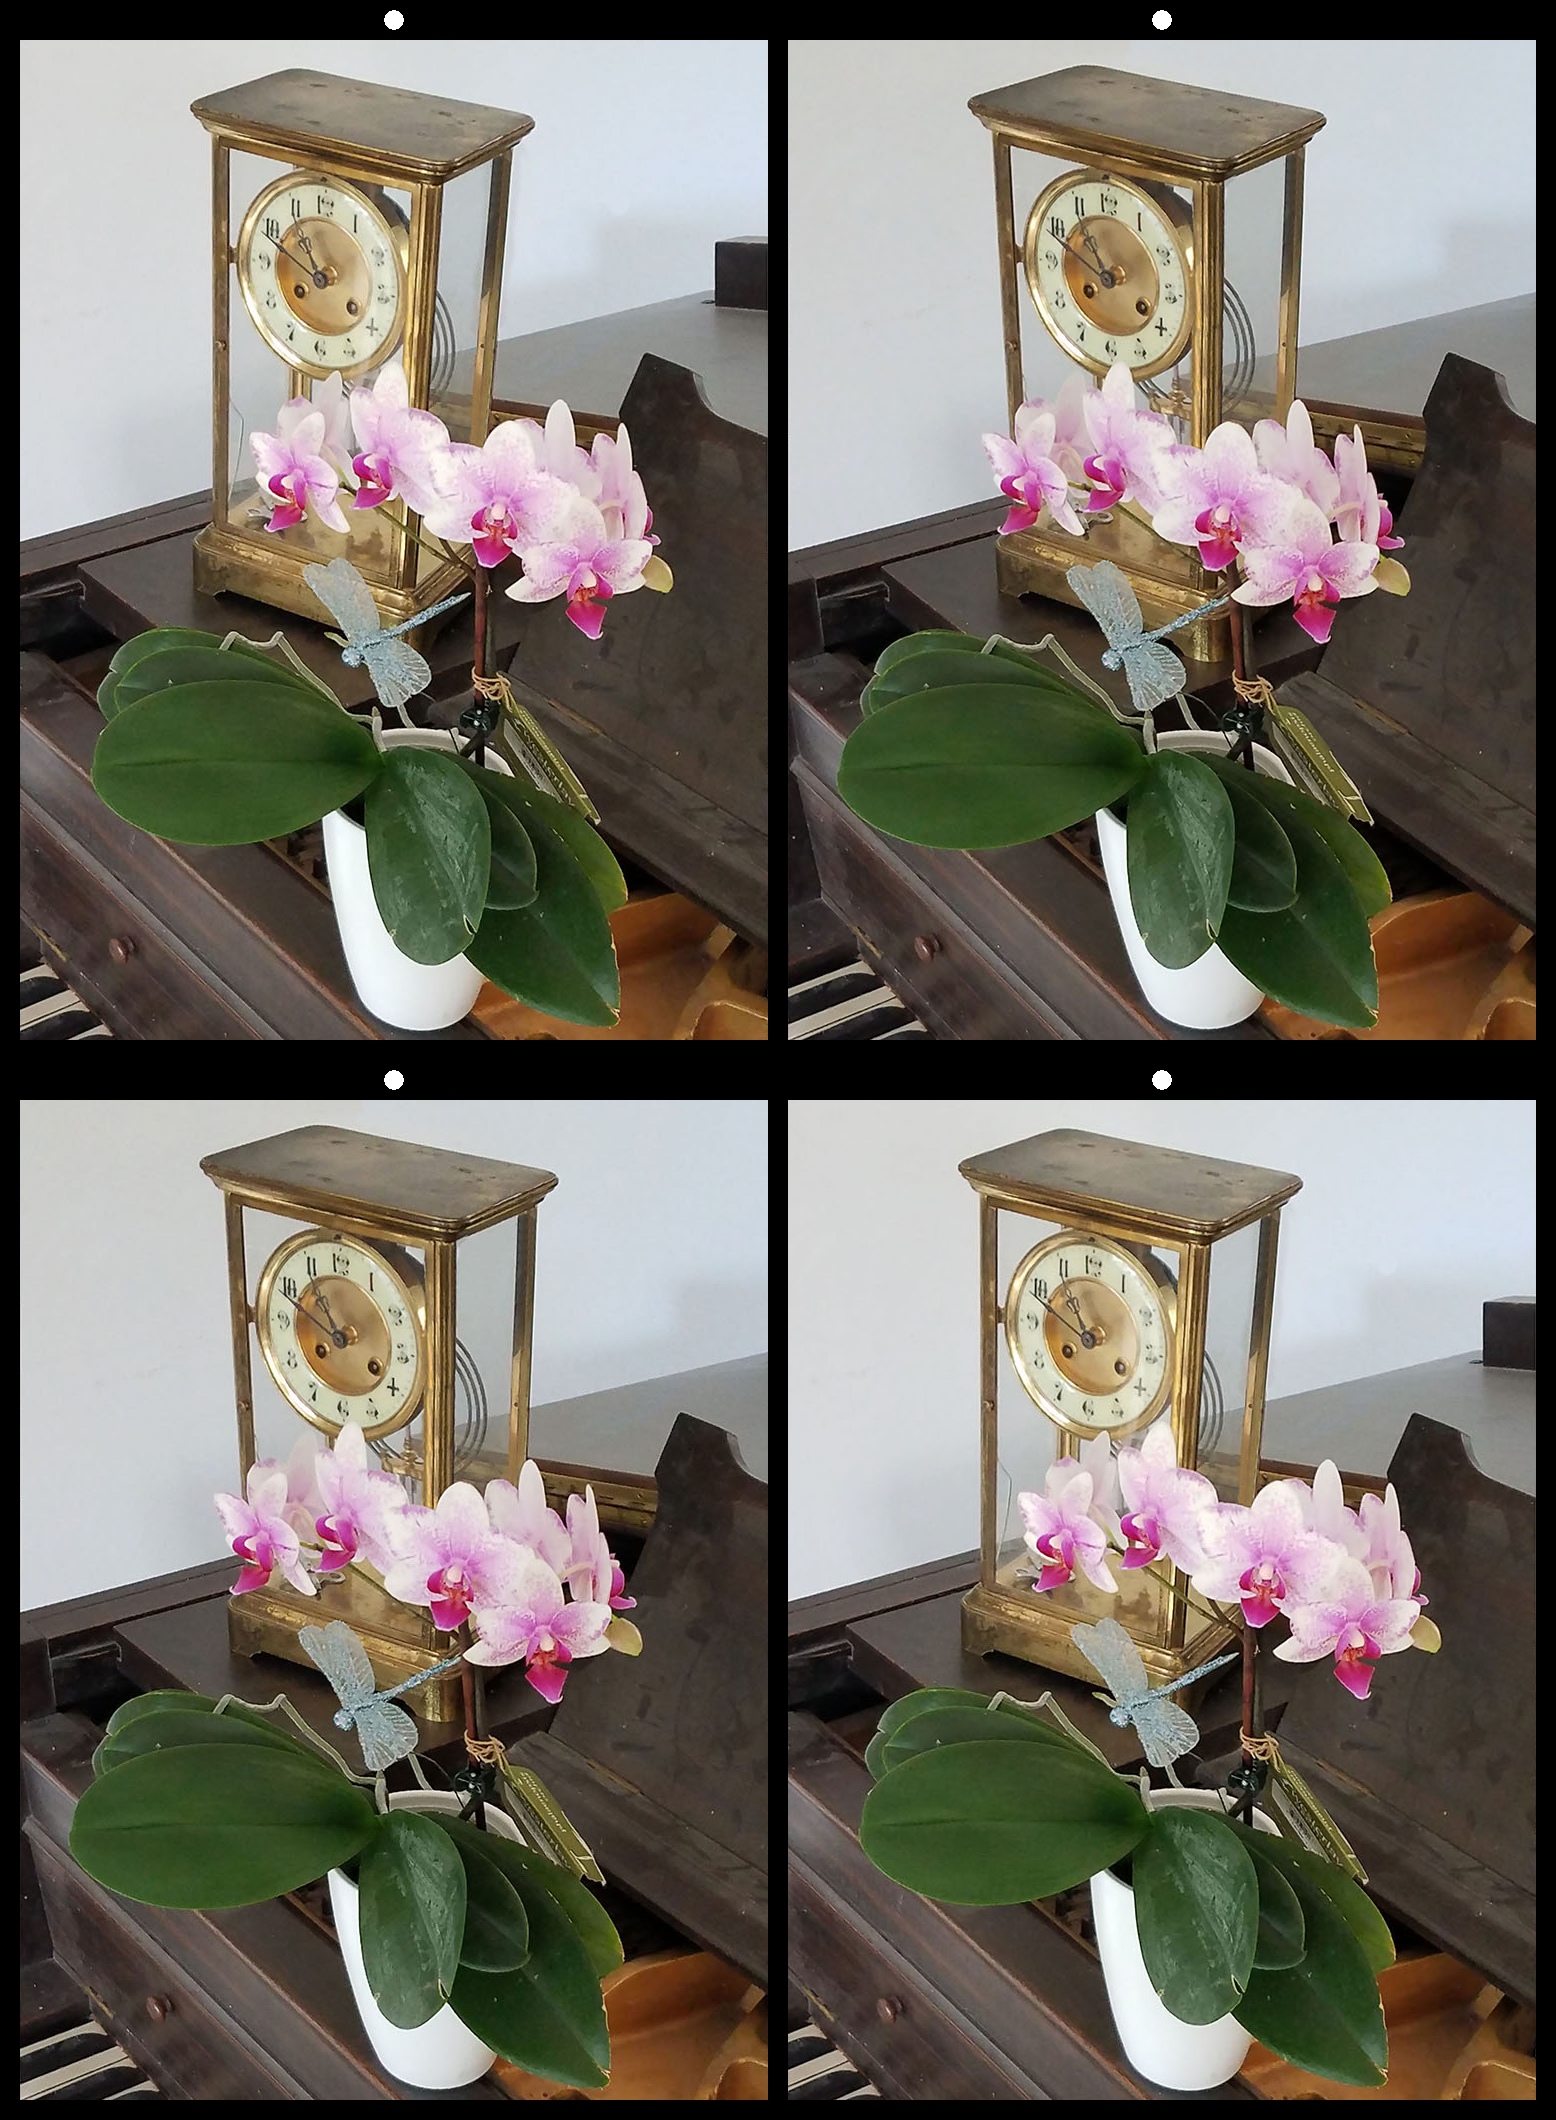
Interesting still life image. The only thing that needs fixed it the cable on the left that's to far back. It looks good when up real close but form a distance it's hard to focus on. |
Apr 12th |
| 68 |
Apr 20 |
Comment |
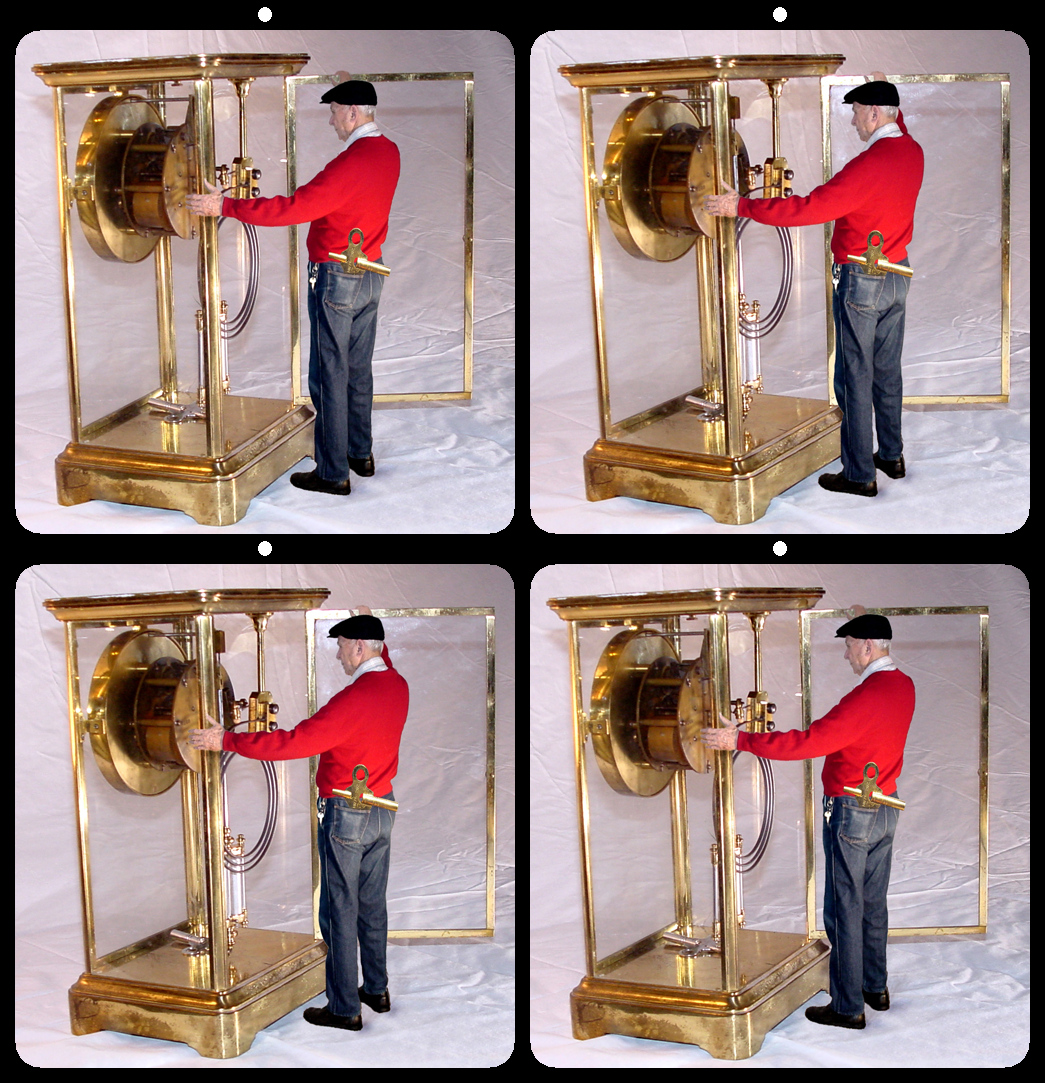
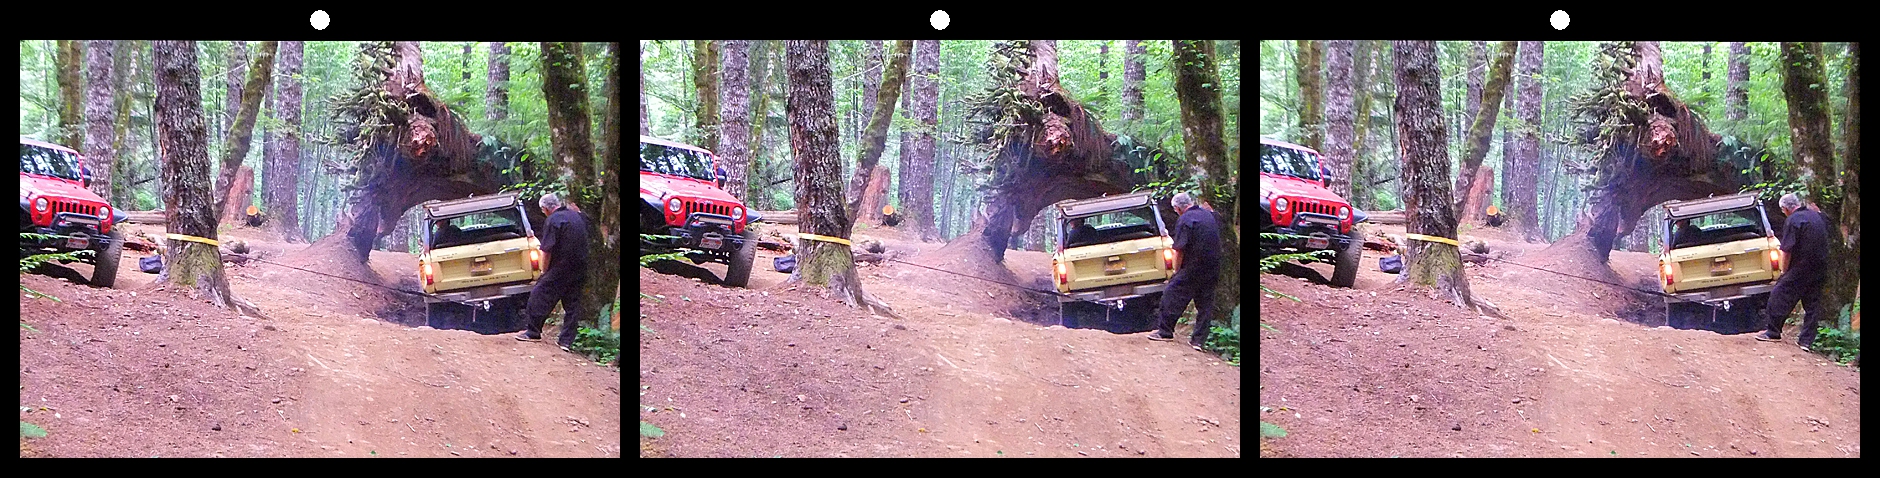
Just a comment, I sent you the image with my depth map that I used to make the 3D pair so you can play with it in SPM to see how the depth map works. You can copy my "original 2" pair to your computer and load it in SPM and run the depth map feature by selecting "Edit; Depth map: Create 3D image from 2D + depth map". You need to check the box for "white = front side, black = backside" and set "deviation and F/R Position" to different numbers and see what you get. If you have Photo Shop or another image editor you could modify my depth map to see what it does. Lots of luck and have some fun. |
Apr 4th |
13 comments - 2 replies for Group 68
|
13 comments - 2 replies Total
|