|
| Group |
Round |
C/R |
Comment |
Date |
Image |
| 31 |
Sep 19 |
Comment |
Thanks Paul - the colours are divine! |
Sep 14th |
| 31 |
Sep 19 |
Comment |
Ella - an excellent portrait of Heather and well worthy of a BOS award - congratulations. I too like Paul's version, but would not be overly concerned re. the hair on the chin - as entrants in Exhibitions are well aware the selectors only see the image initially for about 5 seconds - no time for nit picking! |
Sep 13th |
| 31 |
Sep 19 |
Comment |
Paul- super image with good balance and depth. Would love to see the colour version following your comment above.
I'm hopeful of capturing similar images next month, albeit in the Italian Dolomites. |
Sep 13th |
| 31 |
Sep 19 |
Comment |
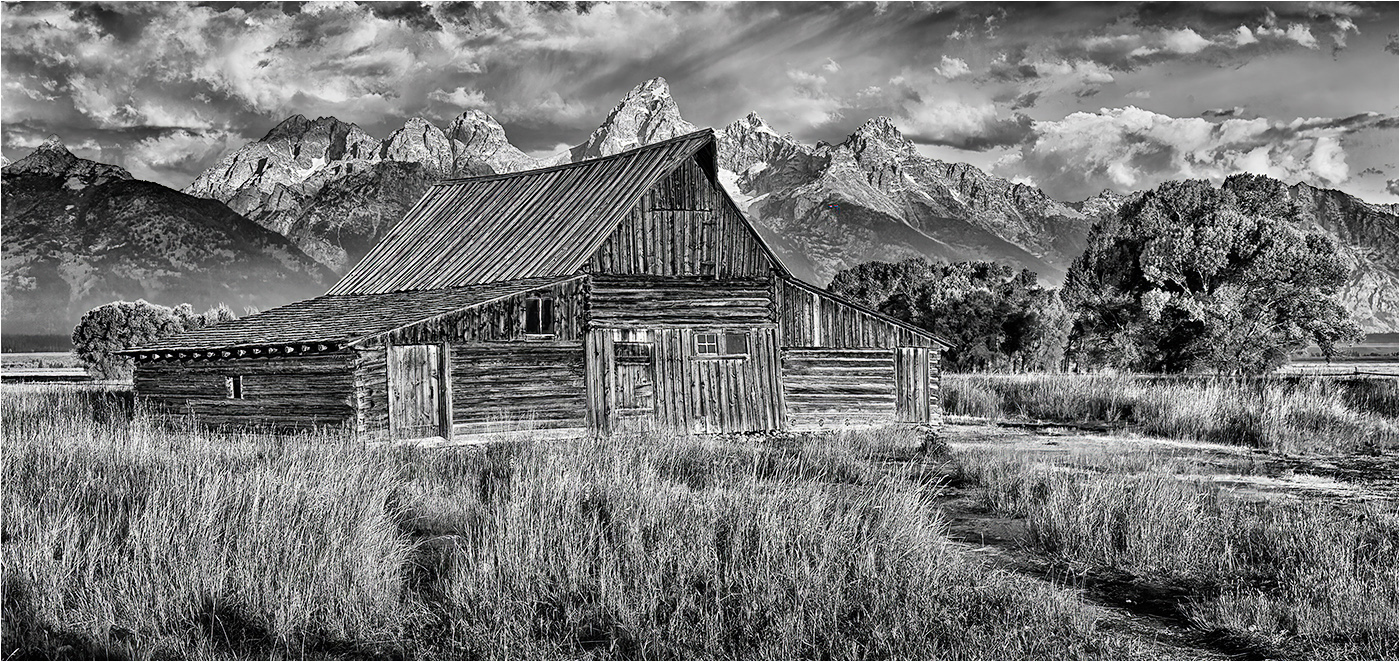
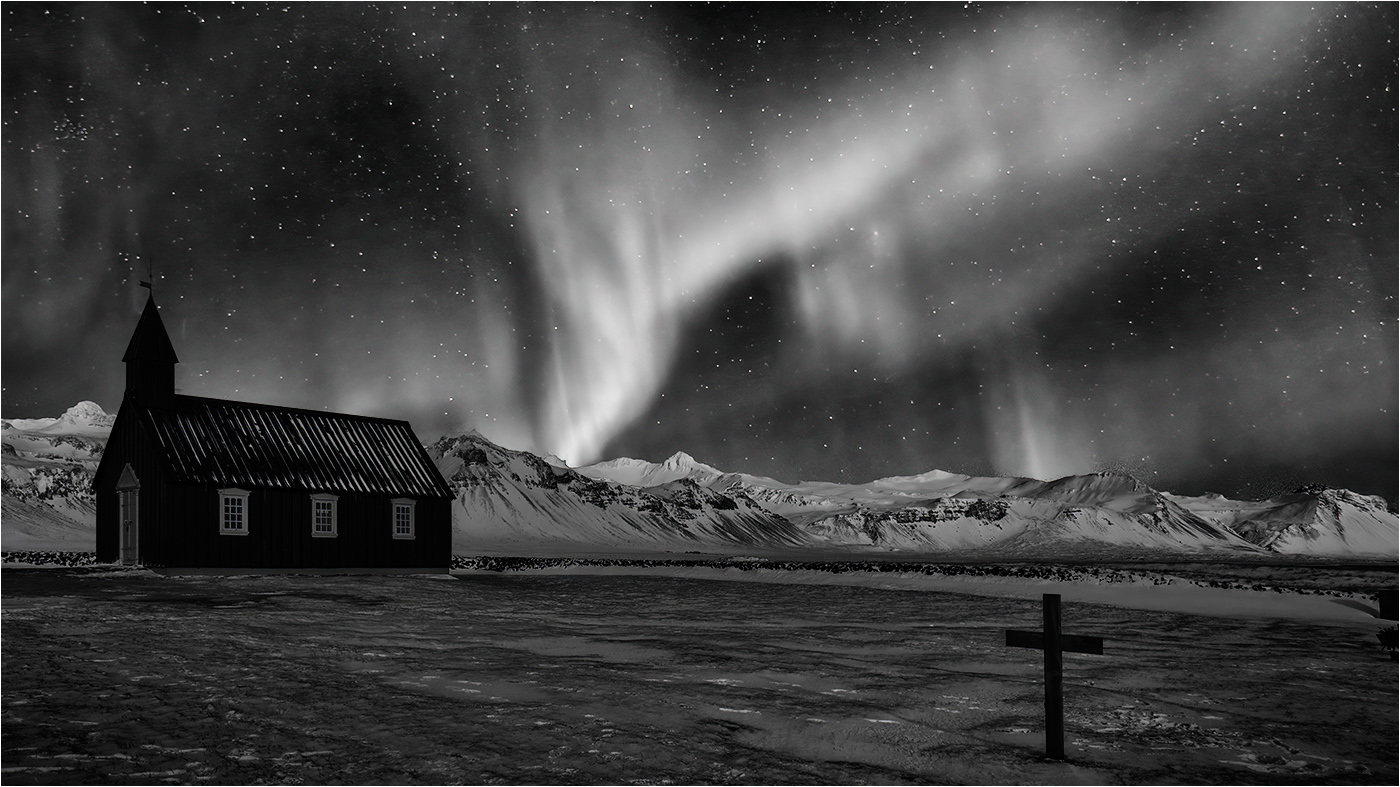
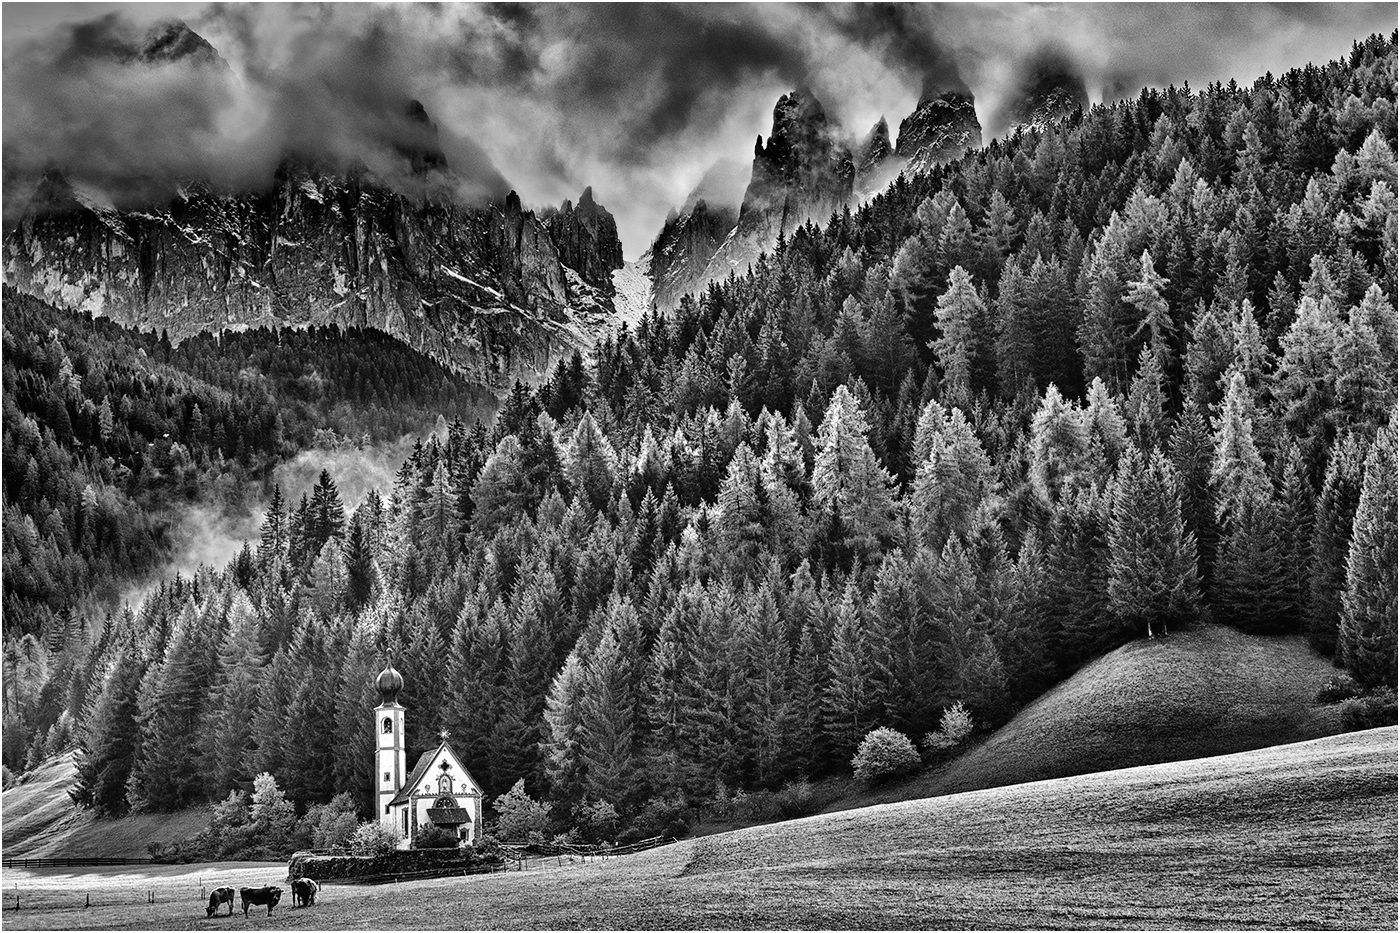
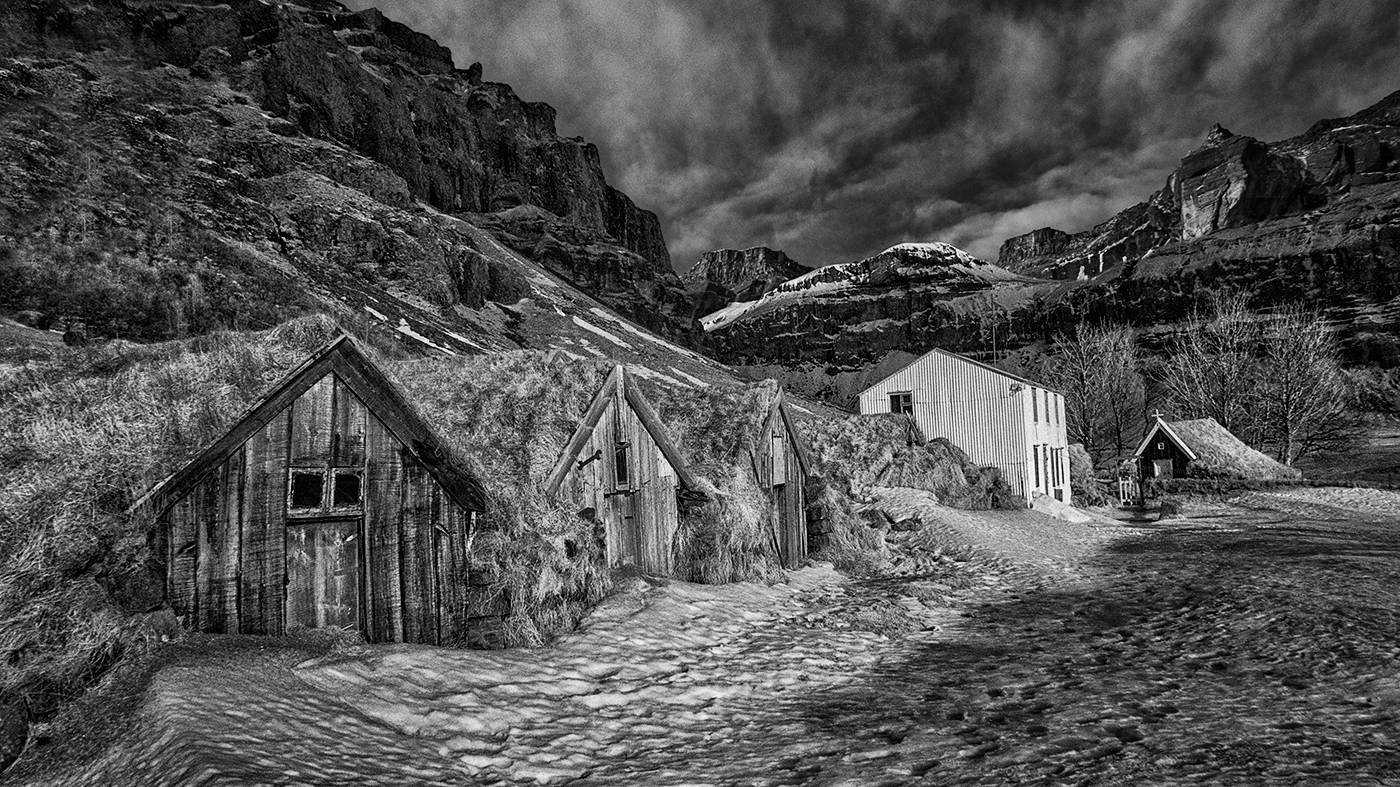
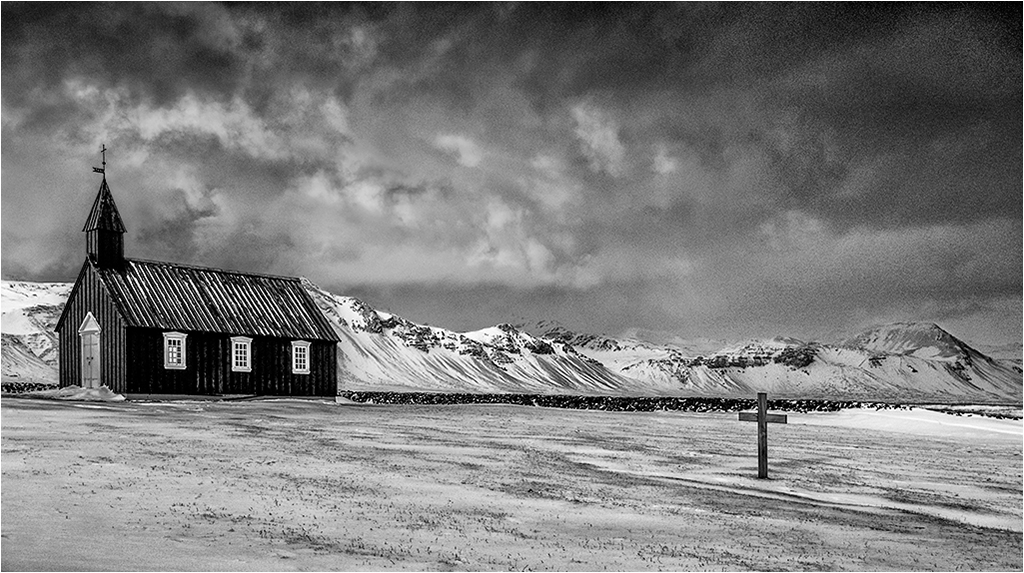
Ed - A well seen image! Old buildings in the landscape are a magnet to me and I love the shape, form and texture in your image. For my taste the crop is rather tight and I would prefer to see more of the surrounding landscape.
I think the image would benefit with a little more contrast - the Medium Contrast preset in Curves works quite well here.
As it stands the sky is pretty much OK, but for future reference the method I use to put detail into highlights in the sky where there is essentially no detail in the file is set out below -
This technique MUST be applied to an image layer ...
Merge Visible to the top of the stack of Adjustment layers.
Select the Clone tool and set it to Darken mode with an opacity of 5-10%
With the Merge Visible layer selected sample from a darker area of cloud and clone into the highlight area. Watch the positioning of the sample point while cloning and re sample if necessary. If the darkening effect is not enough just go over the highlight area again until the desired effect is achieved. Absolute accuracy is not required as the clone tool will only affect tones which are lighter than the sample point tone, darker tones are not affected.
If you make a mistake Ctrl+Z reverts back one step in the cloning action, Ctrl+Alt+Z steps back one step each time the key combination is pressed. Alternatively you can step back in History.
This technique can also be used for lightening a dark spot in the clouds with the Clone Tool in Lighten mode.
This technique could be used to put a little detail into the highlights in the tower if so desired, but they look OK to me.
|
Sep 13th |
| 31 |
Sep 19 |
Comment |
Raschid - I continue to be amazed at the ability of camera phones to capture detailed images under difficult lighting conditions. I think you have captured the essence of this scene and love the rim lighting on the people created by the bonfire. I don't have an issue with the person checking their phone - they are part of life these days, like them or not.
I would not agree with Ella's suggestion of cropping out the group on the left - IMO they add balance to the image. OTOH I might consider cropping out a substantial part of the dark area to the left of that group. |
Sep 13th |
| 31 |
Sep 19 |
Comment |
John - IMO this is the strongest of your Millennium Bridge series - I like the wider overall view and the positioning of the two foreground groups of people is just right. The diagonal flow of the bridge structure leads the eye nicely to the foreground interest. A little more work on the sky would be beneficial as Ella has suggested. |
Sep 13th |
| 31 |
Sep 19 |
Comment |
Ian - another great portrait! I would agree with the others re. the highlights on the face and turban and would go further in noting that the white of her left eye is a little over bright and draws the eye - so to speak. |
Sep 13th |
7 comments - 0 replies for Group 31
|
7 comments - 0 replies Total
|