|
| Group |
Round |
C/R |
Comment |
Date |
Image |
| 31 |
Jan 19 |
Reply |
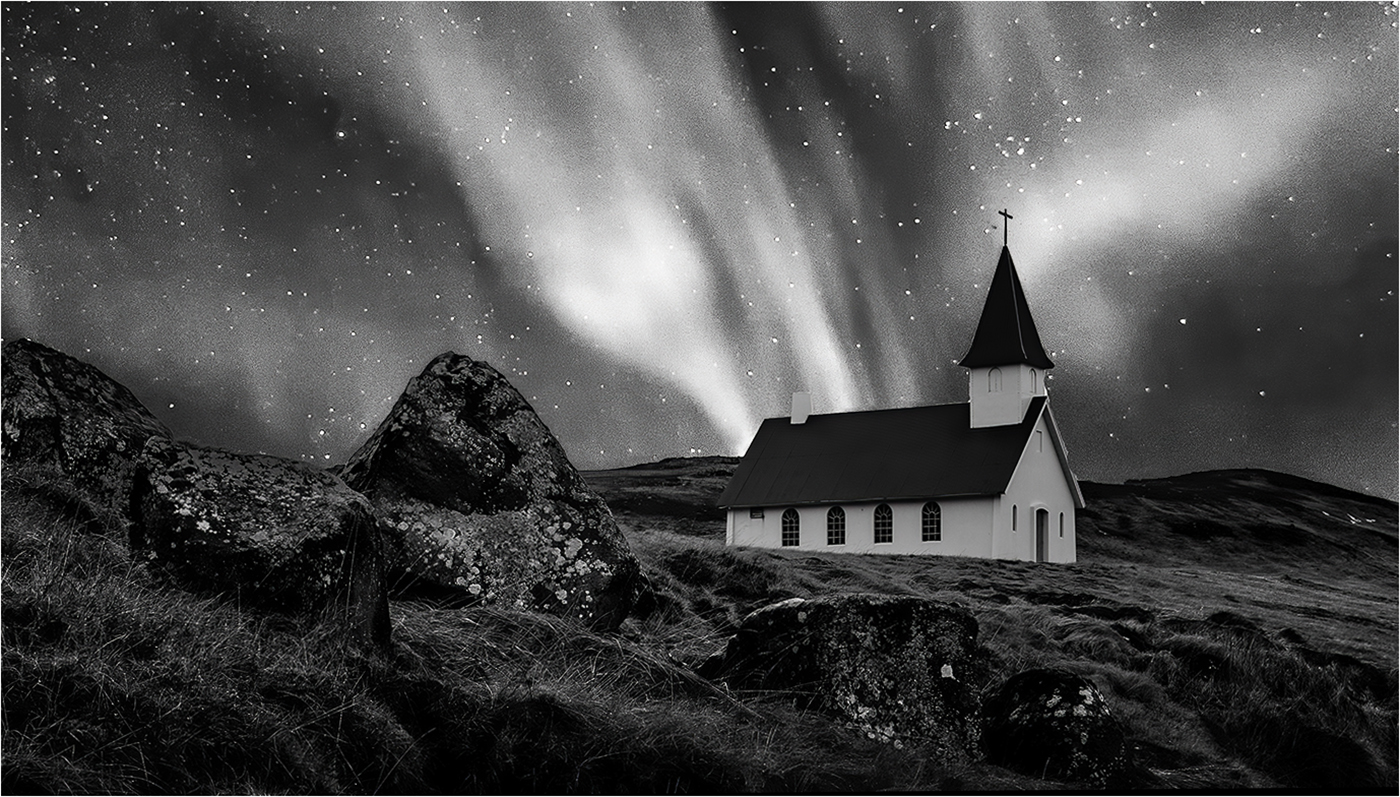
Certainly Paul - image below straight out of camera - no adjustment in RAW or PS .... |
Jan 23rd |
 |
| 31 |
Jan 19 |
Comment |
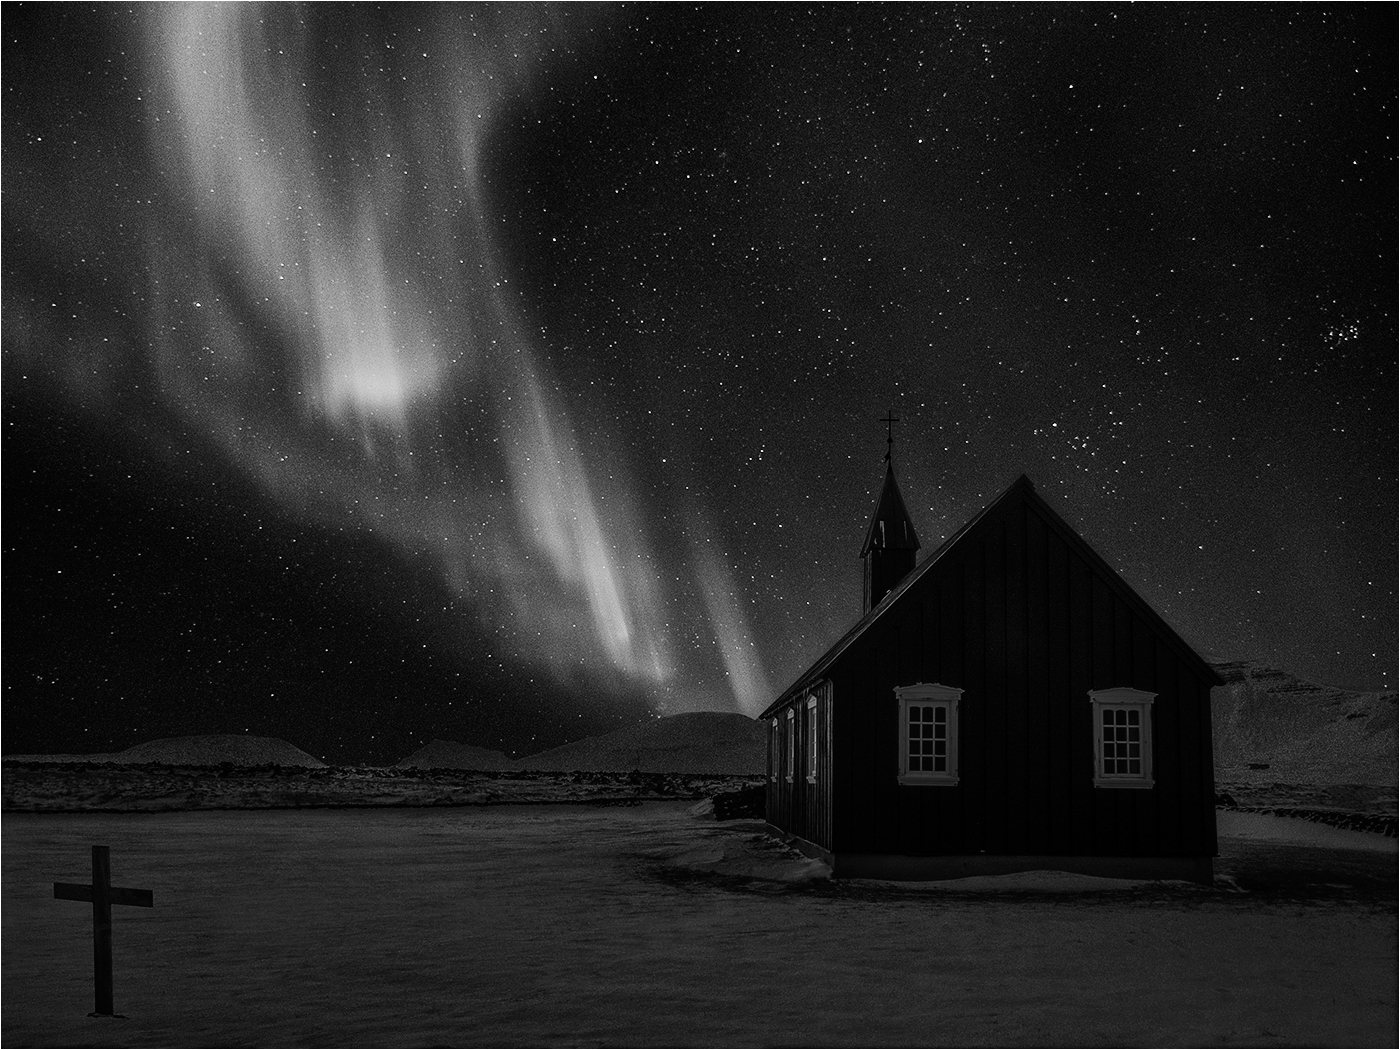
Paul - for me this is a strong image and I think the eyes of the second child, far from being a distraction add to the mood and the story. That said I feel that the image is a little on the dark side and maybe just lightening the face a little would add to the overall impact |
Jan 9th |
| 31 |
Jan 19 |
Reply |
Ed - your image is not showing - suspect it is too large. FYI the limit is 1MB |
Jan 9th |
| 31 |
Jan 19 |
Comment |
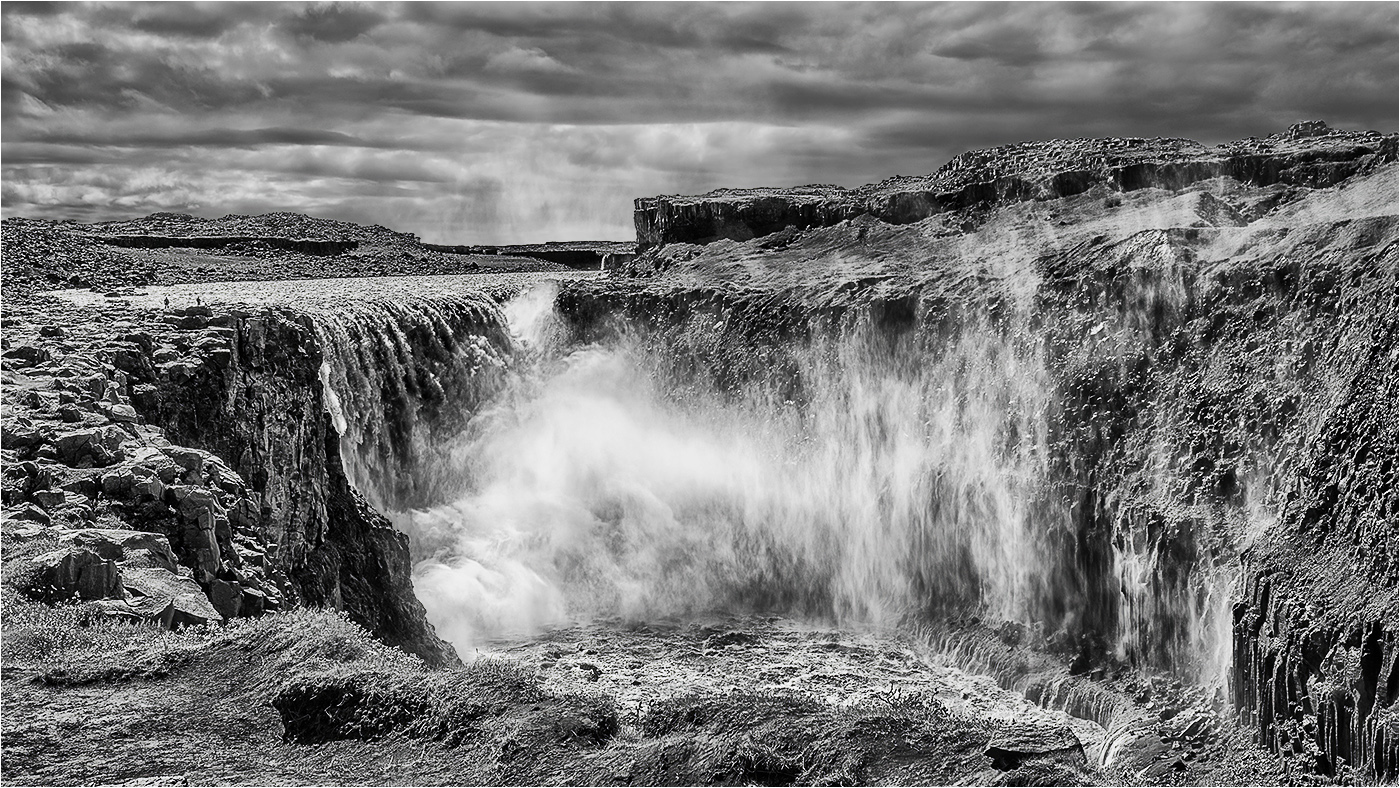
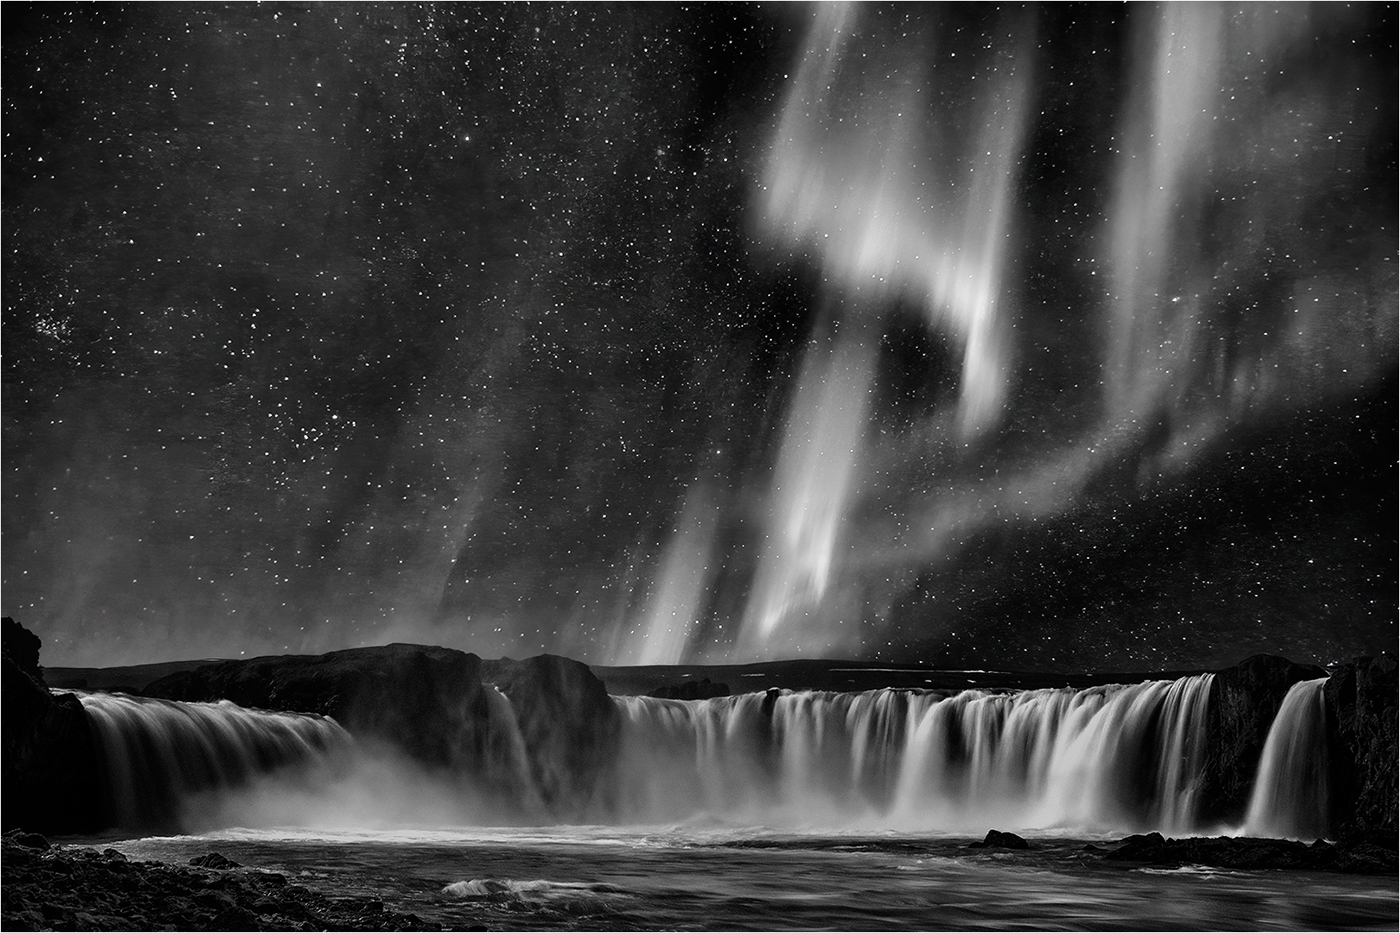
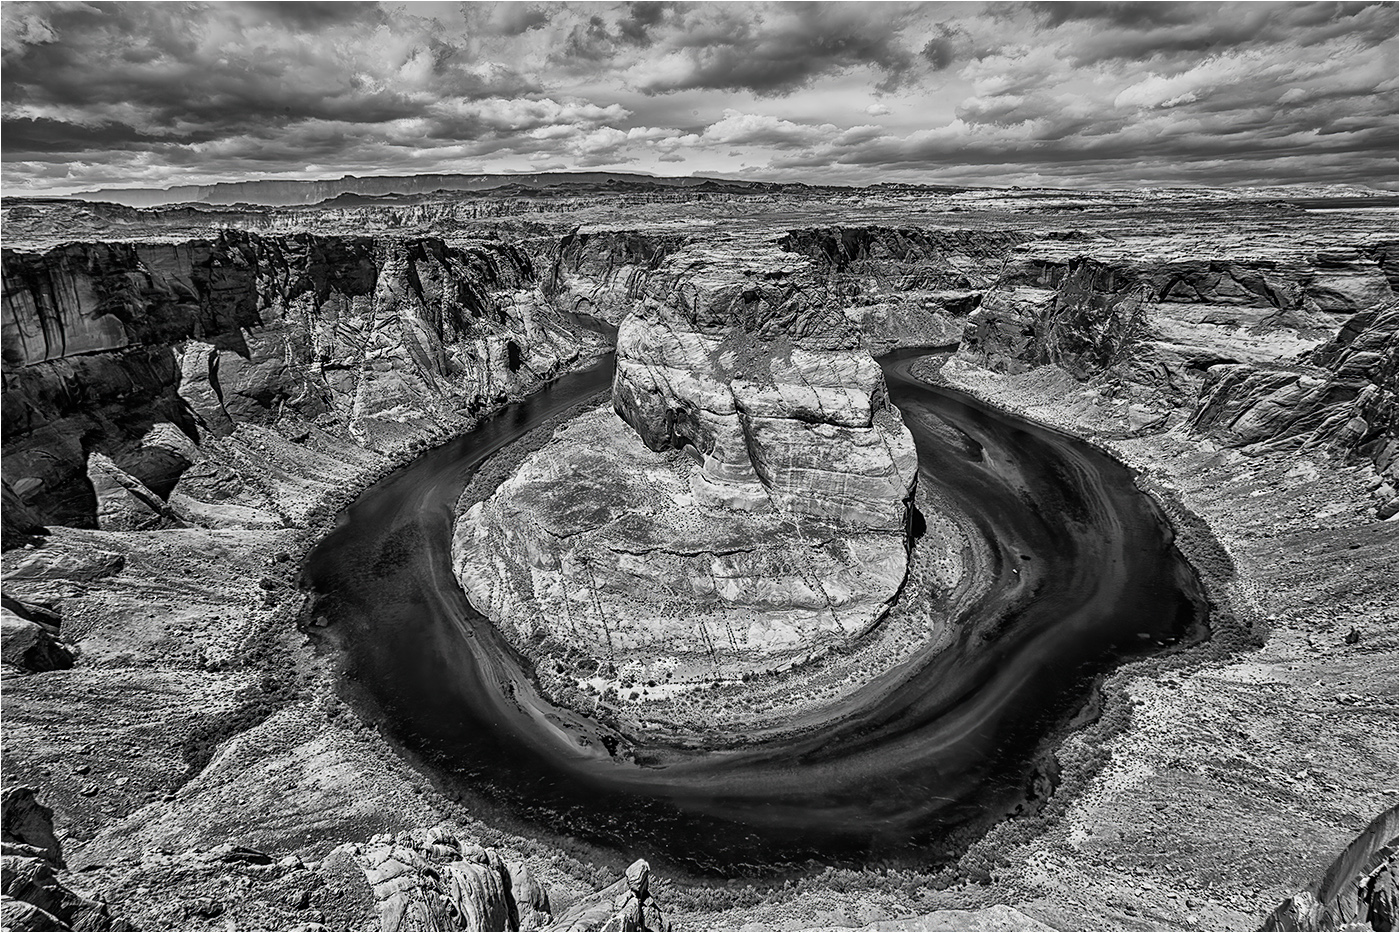
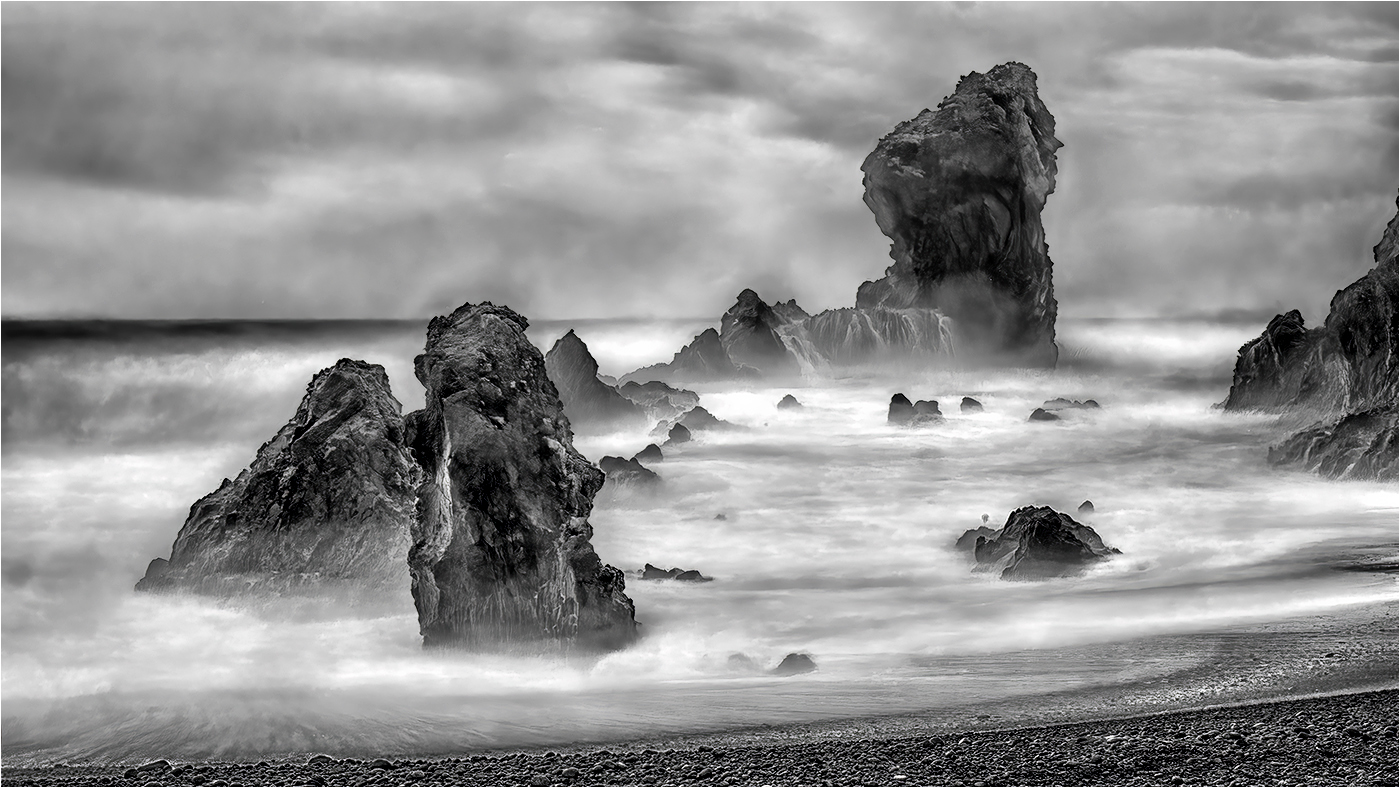
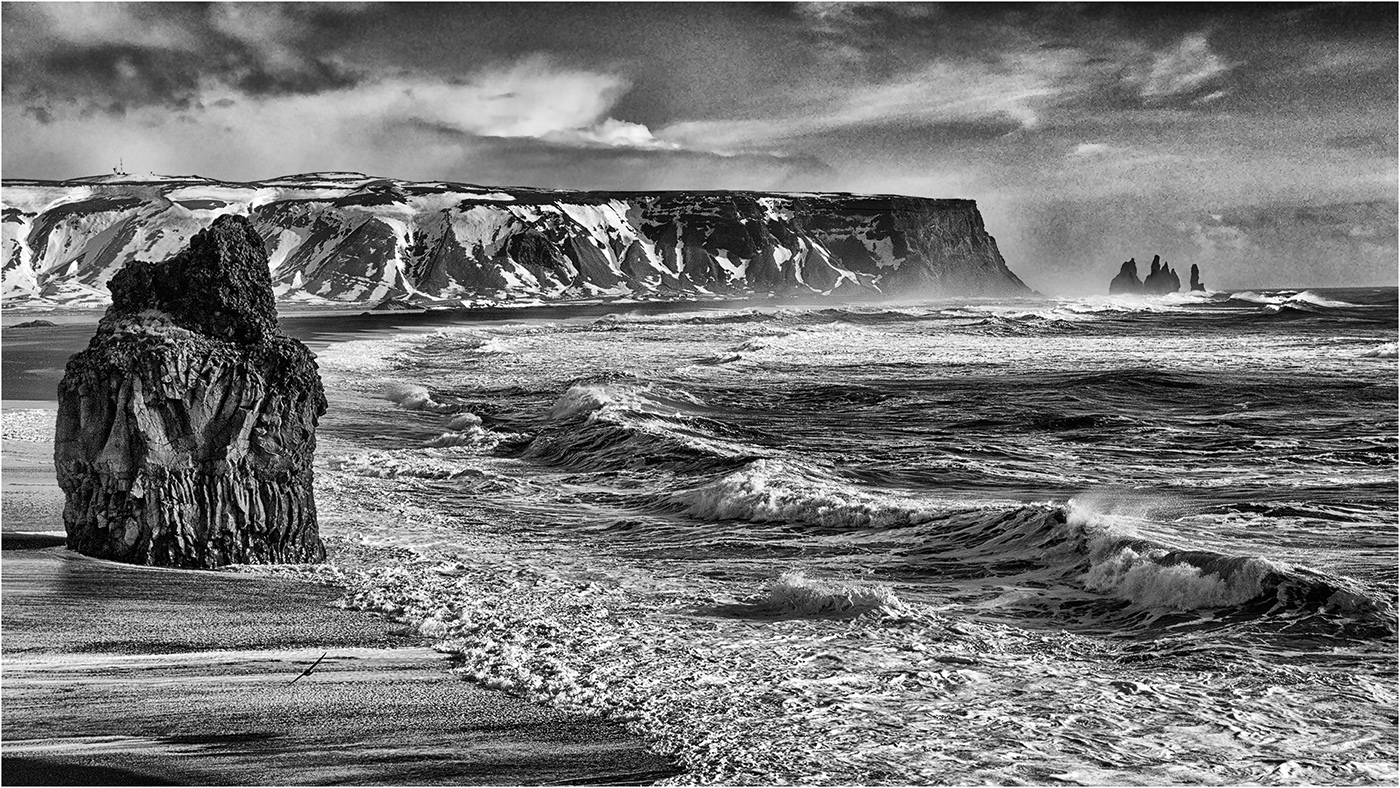
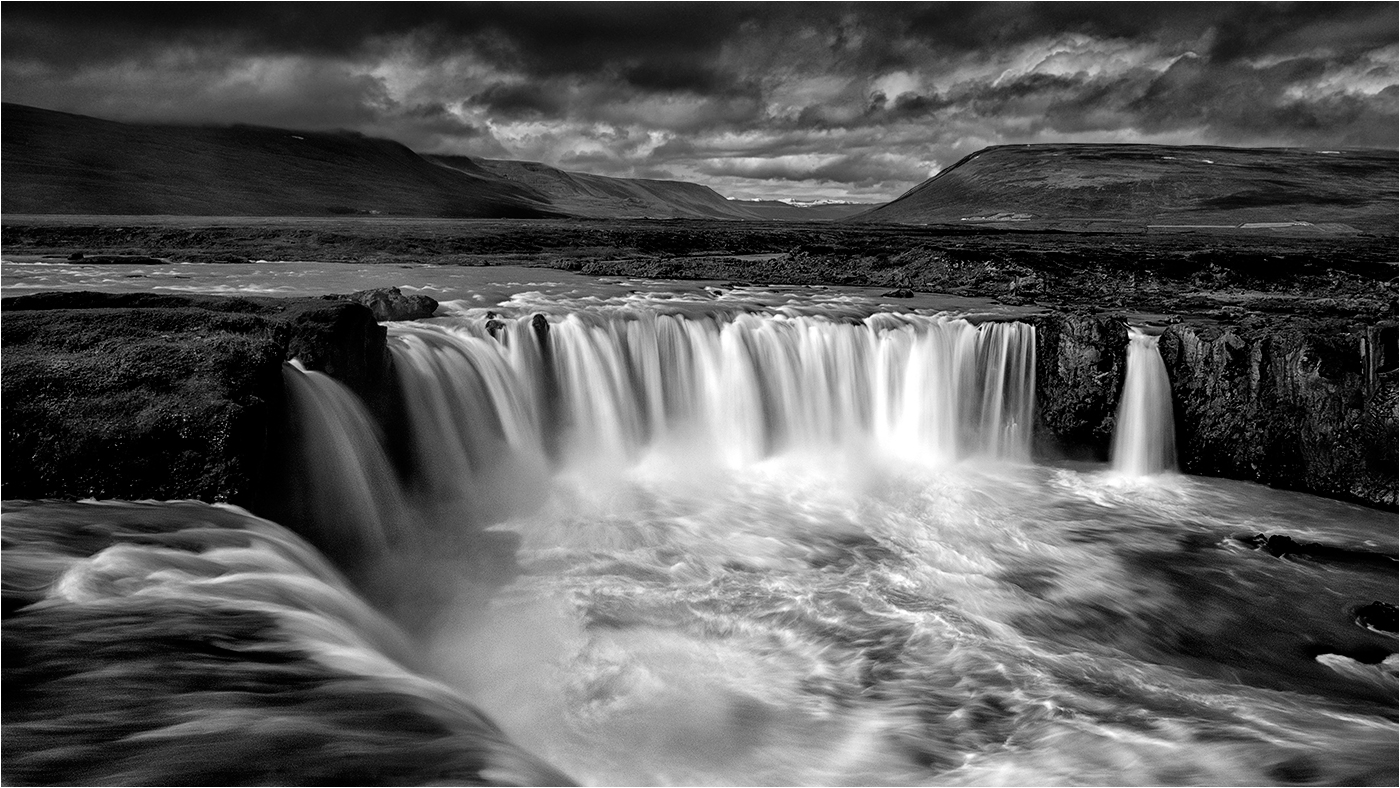
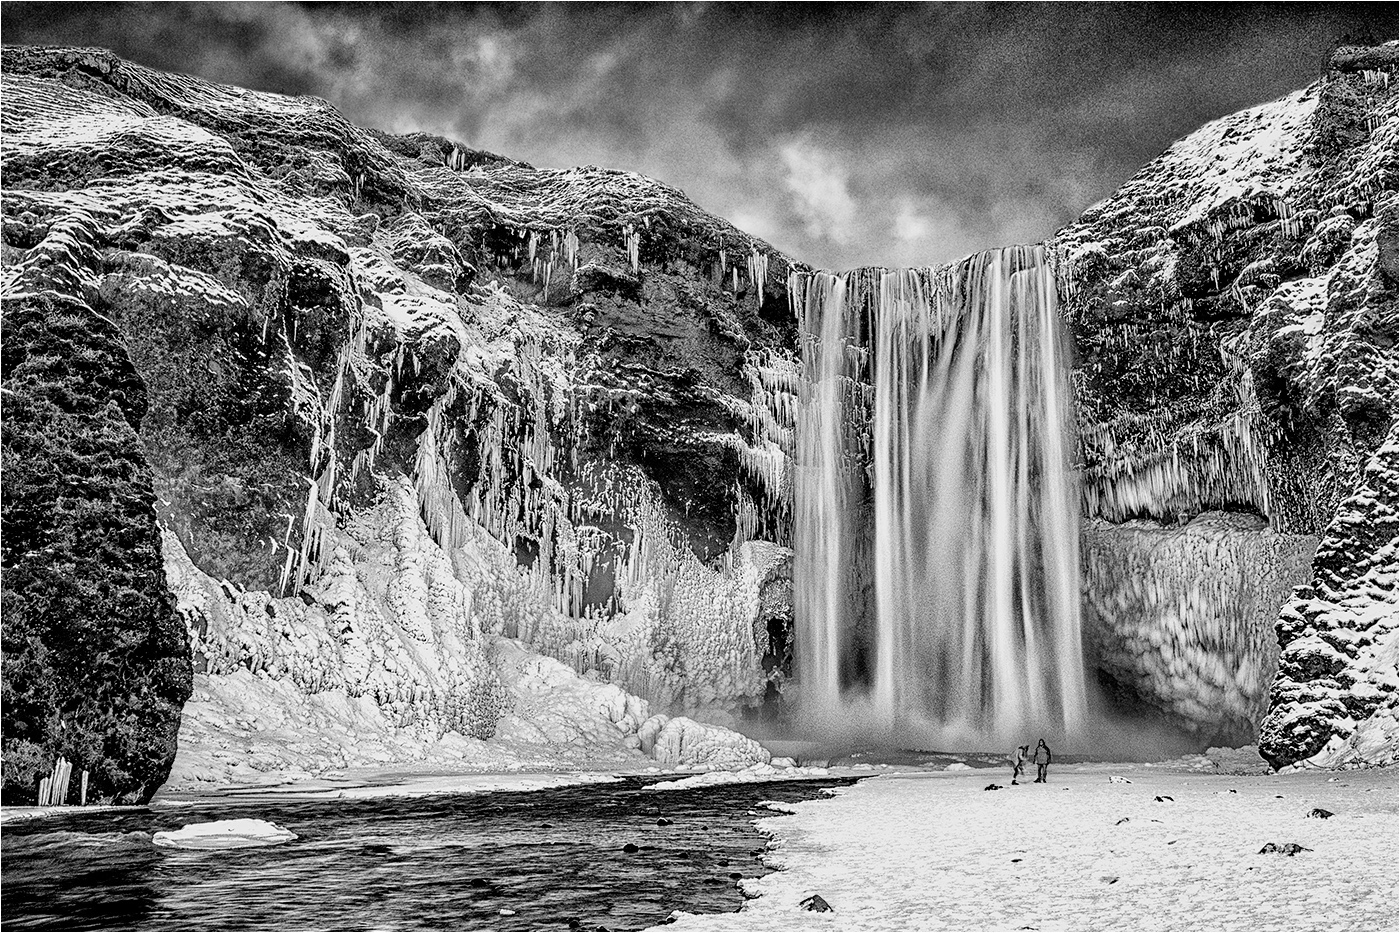
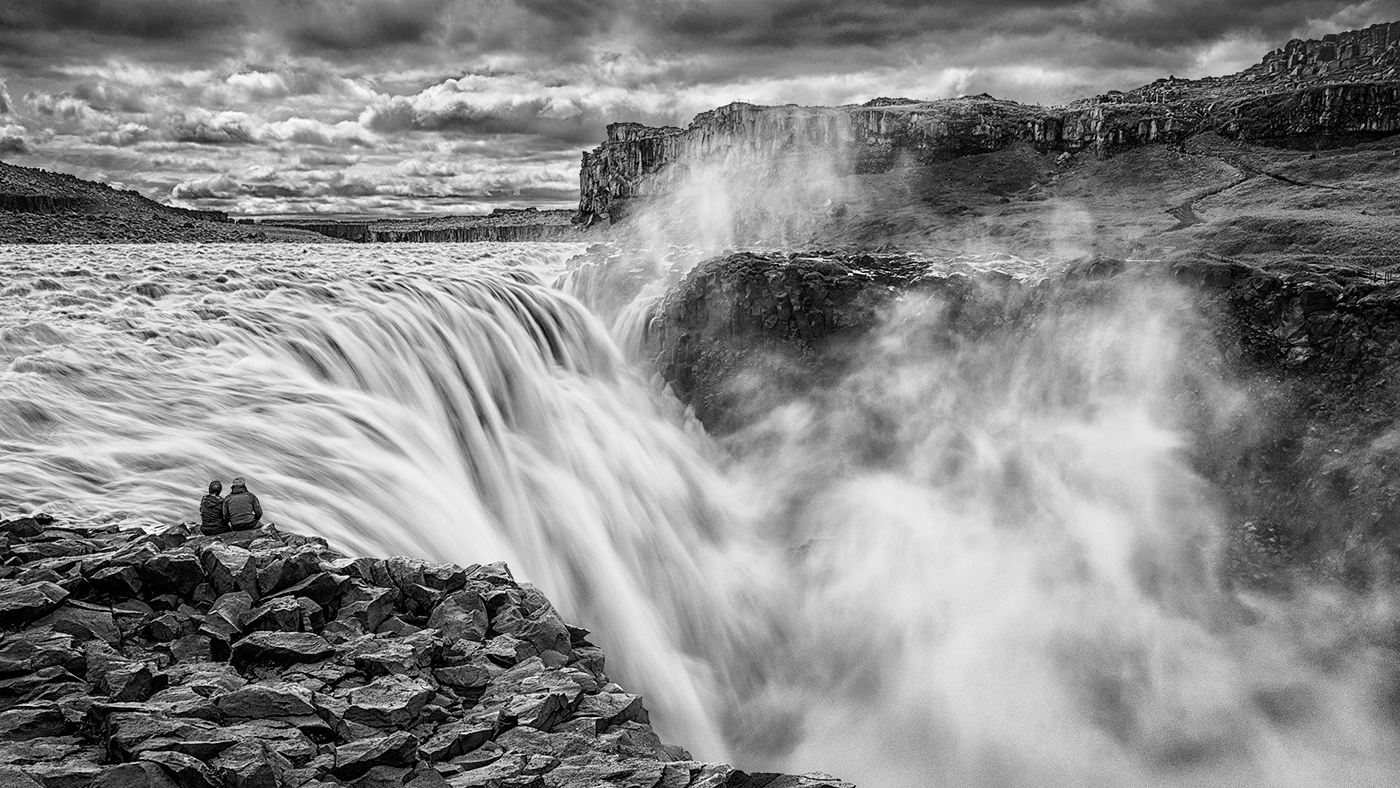
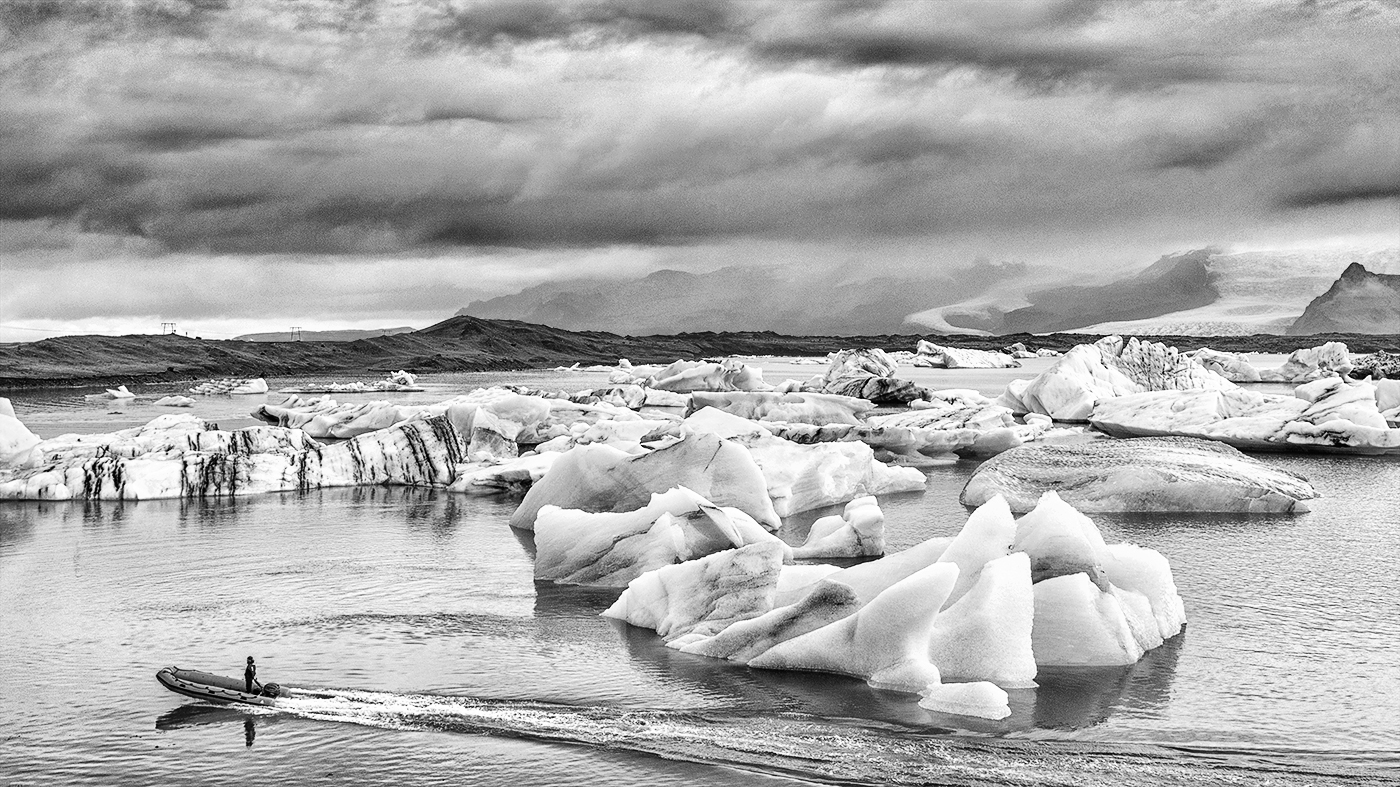
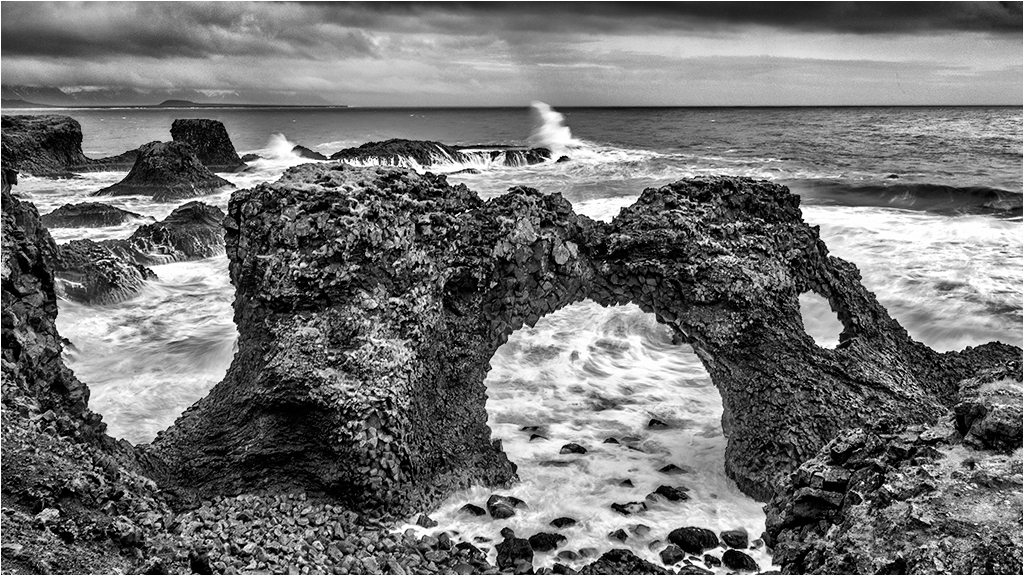
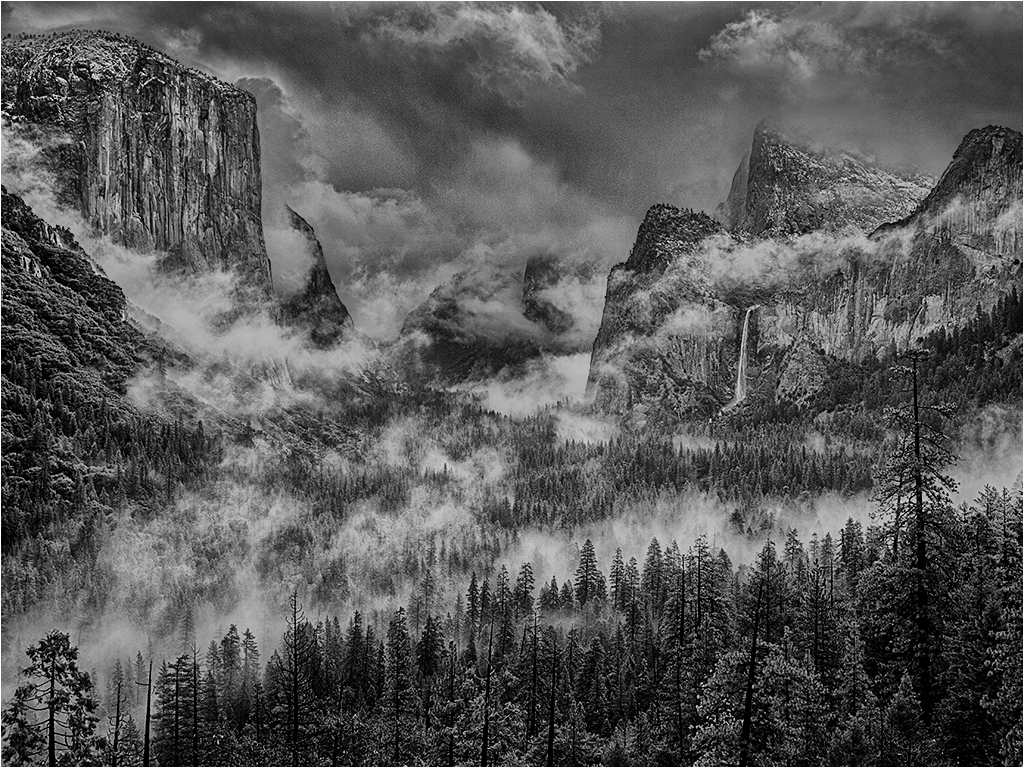
Ed - a good, crisp well composed image in which you have captured the movement in the water perfectly. My only gripe is the lack of detail in the white water - for some unknown reason I cannot open Nik on the image - is it locked in some way.
I have replied to your question re masks under my image here. |
Jan 9th |
| 31 |
Jan 19 |
Comment |
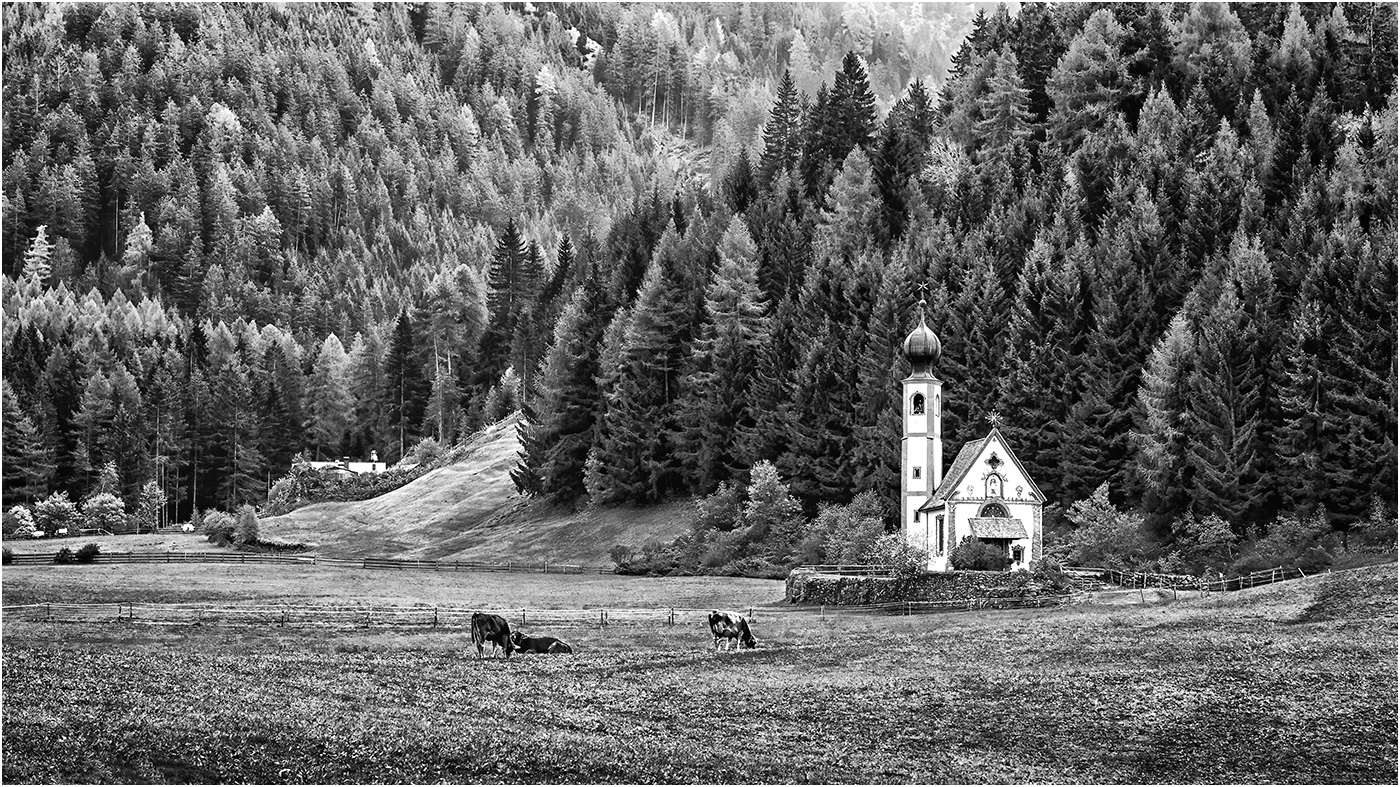
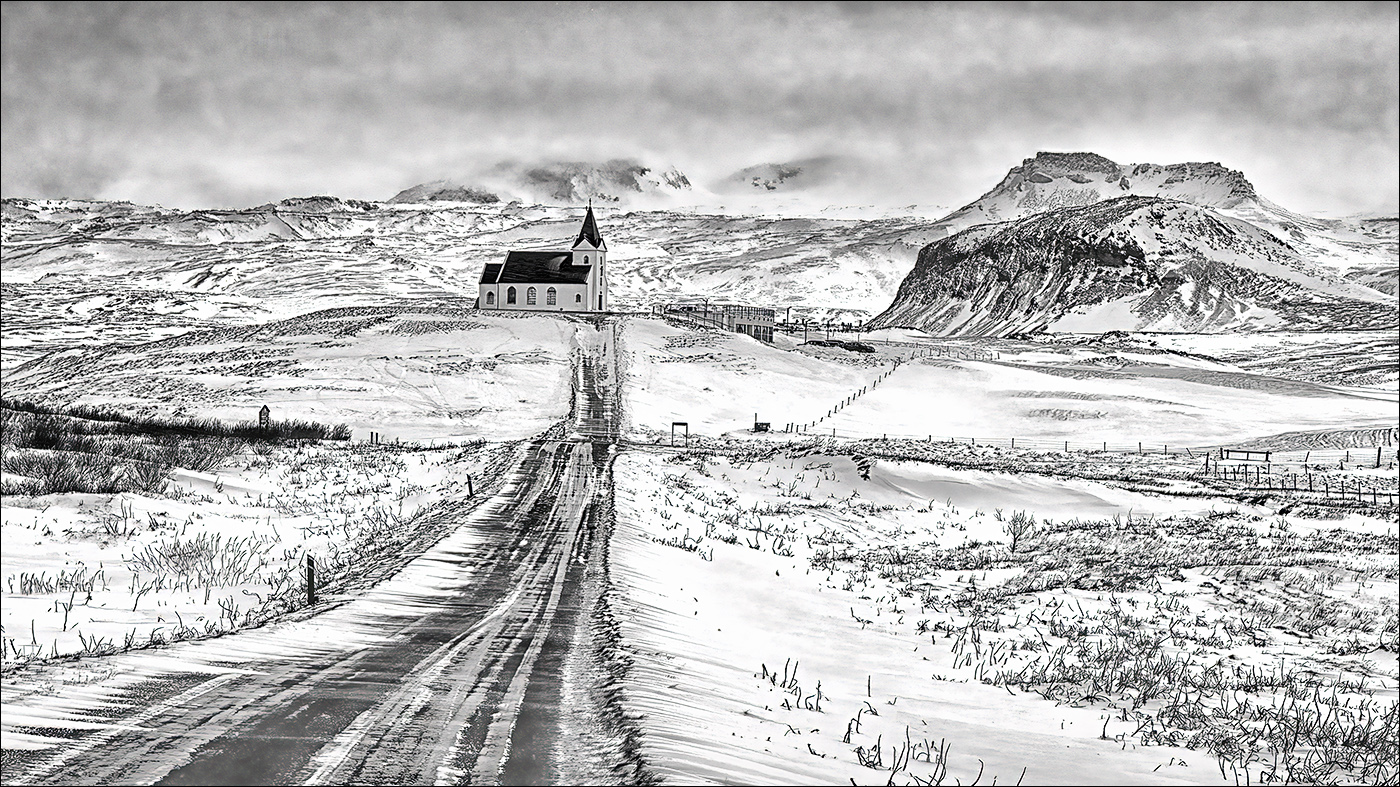
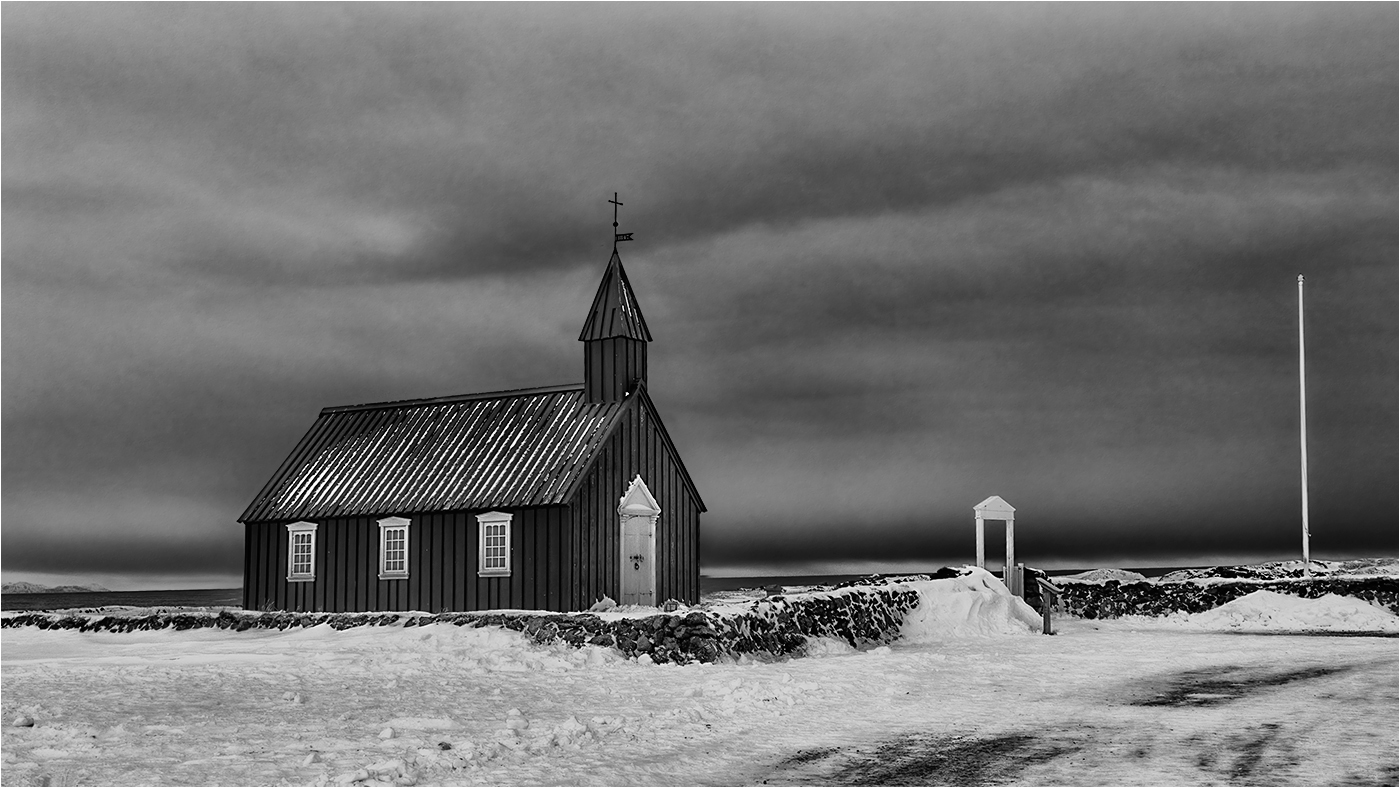
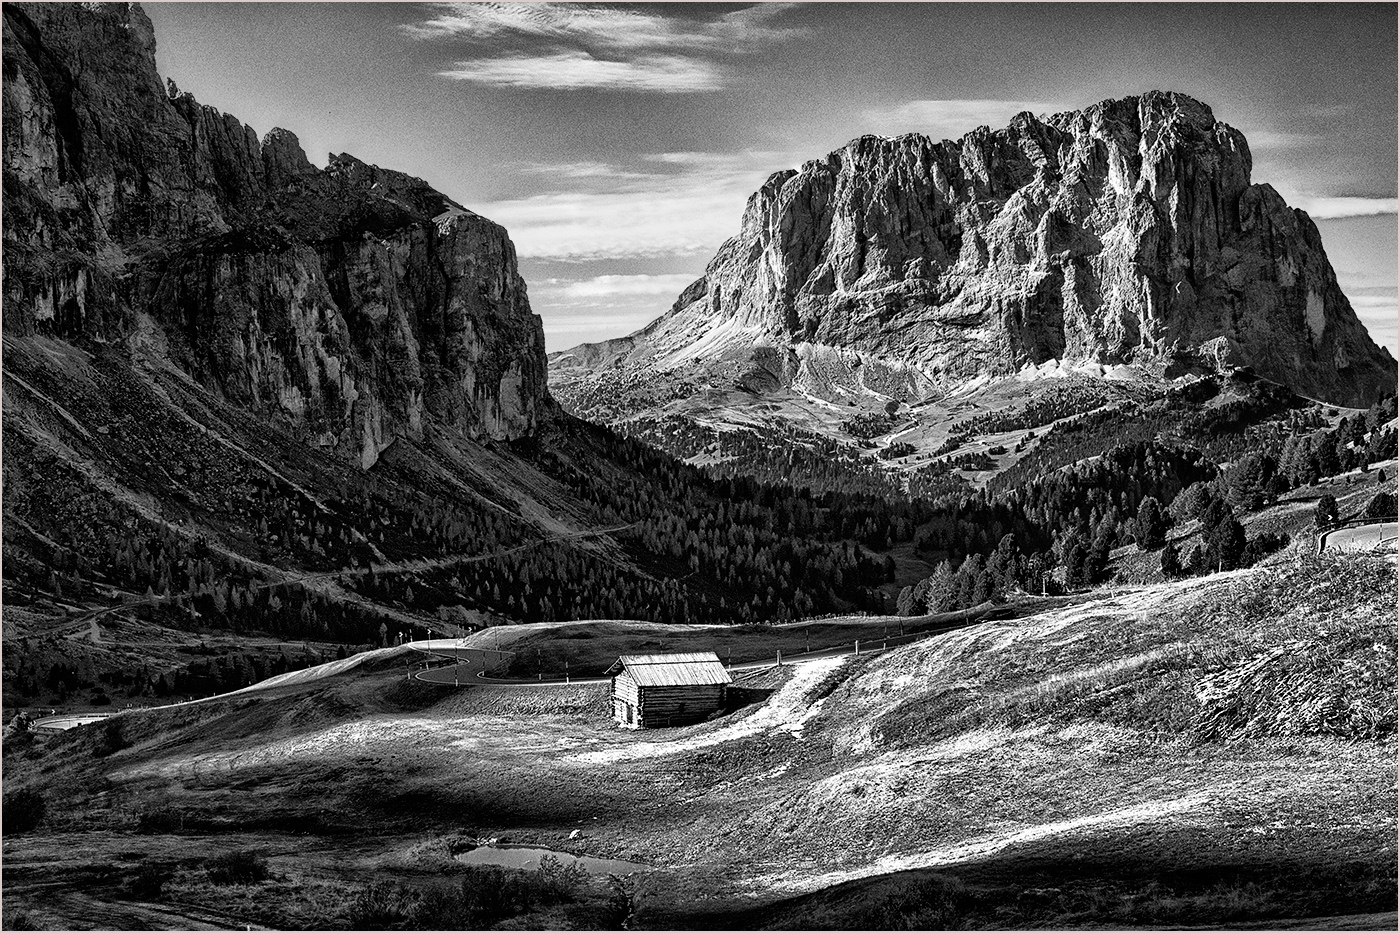
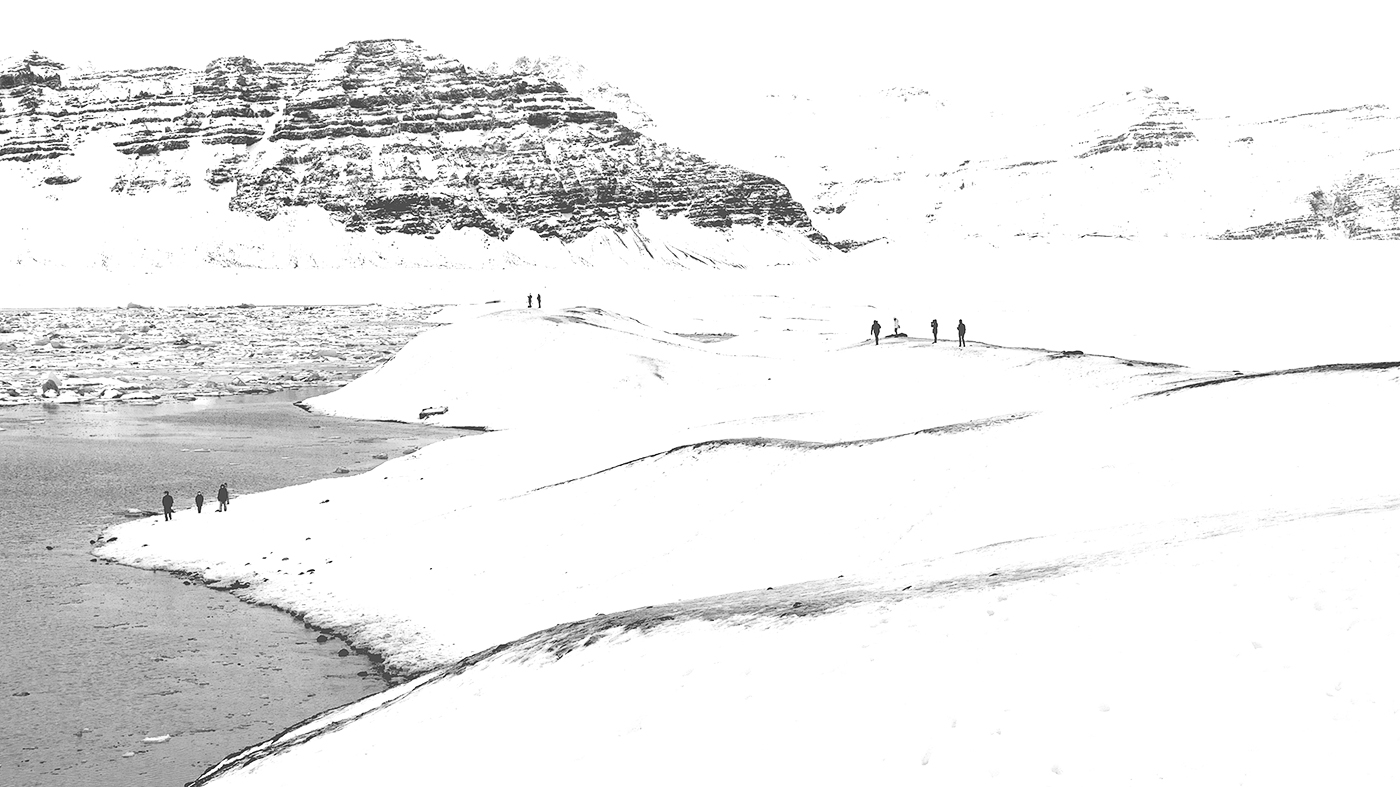
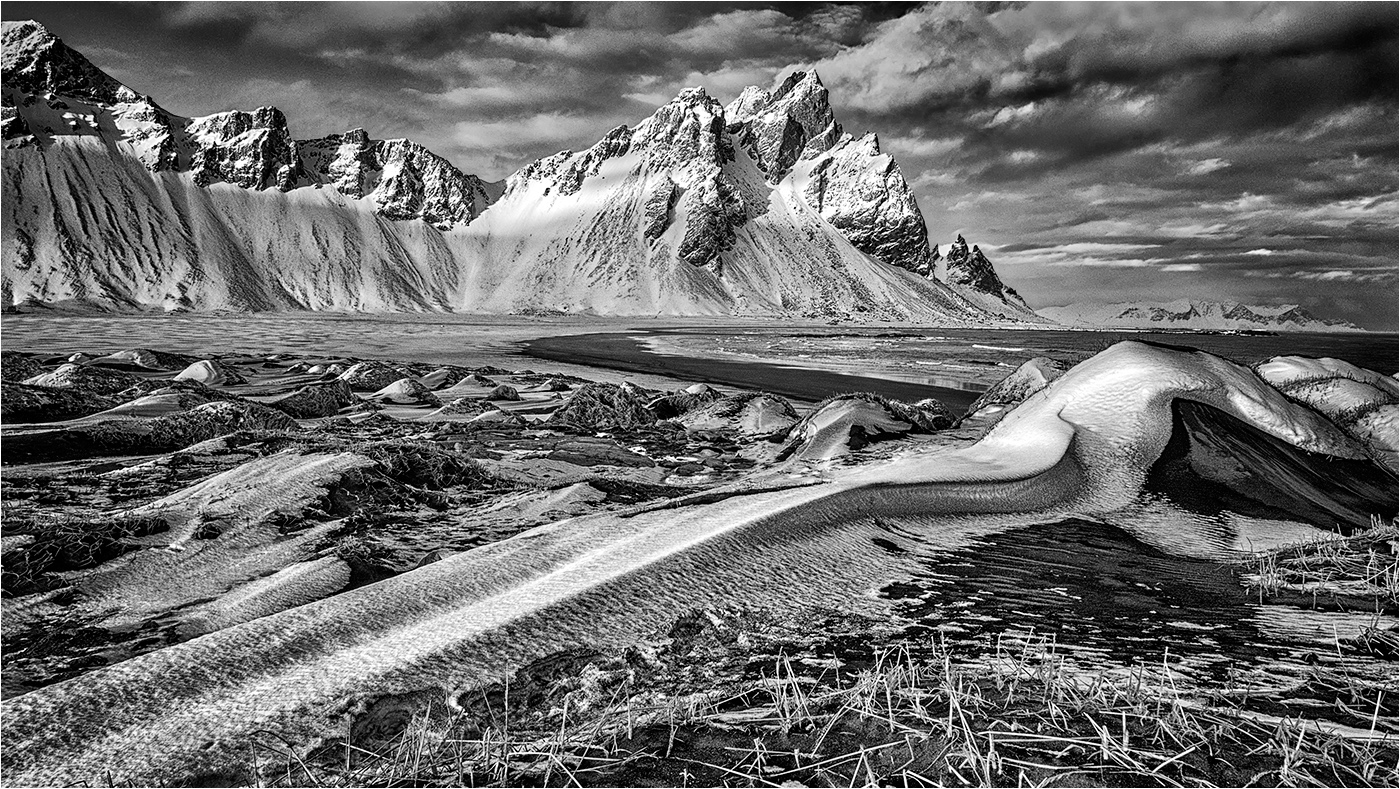
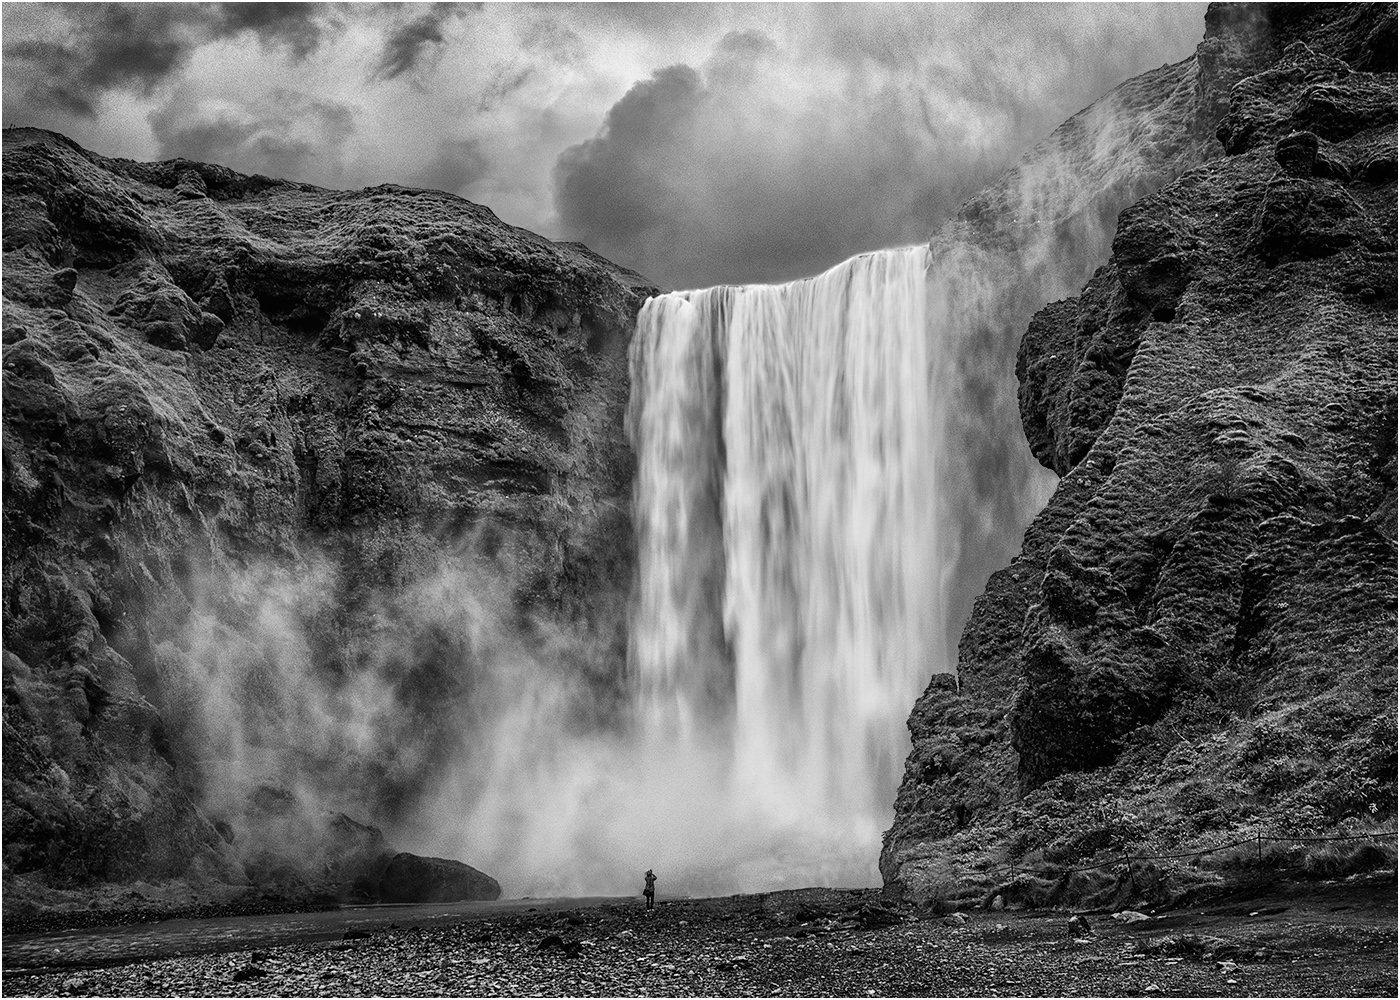
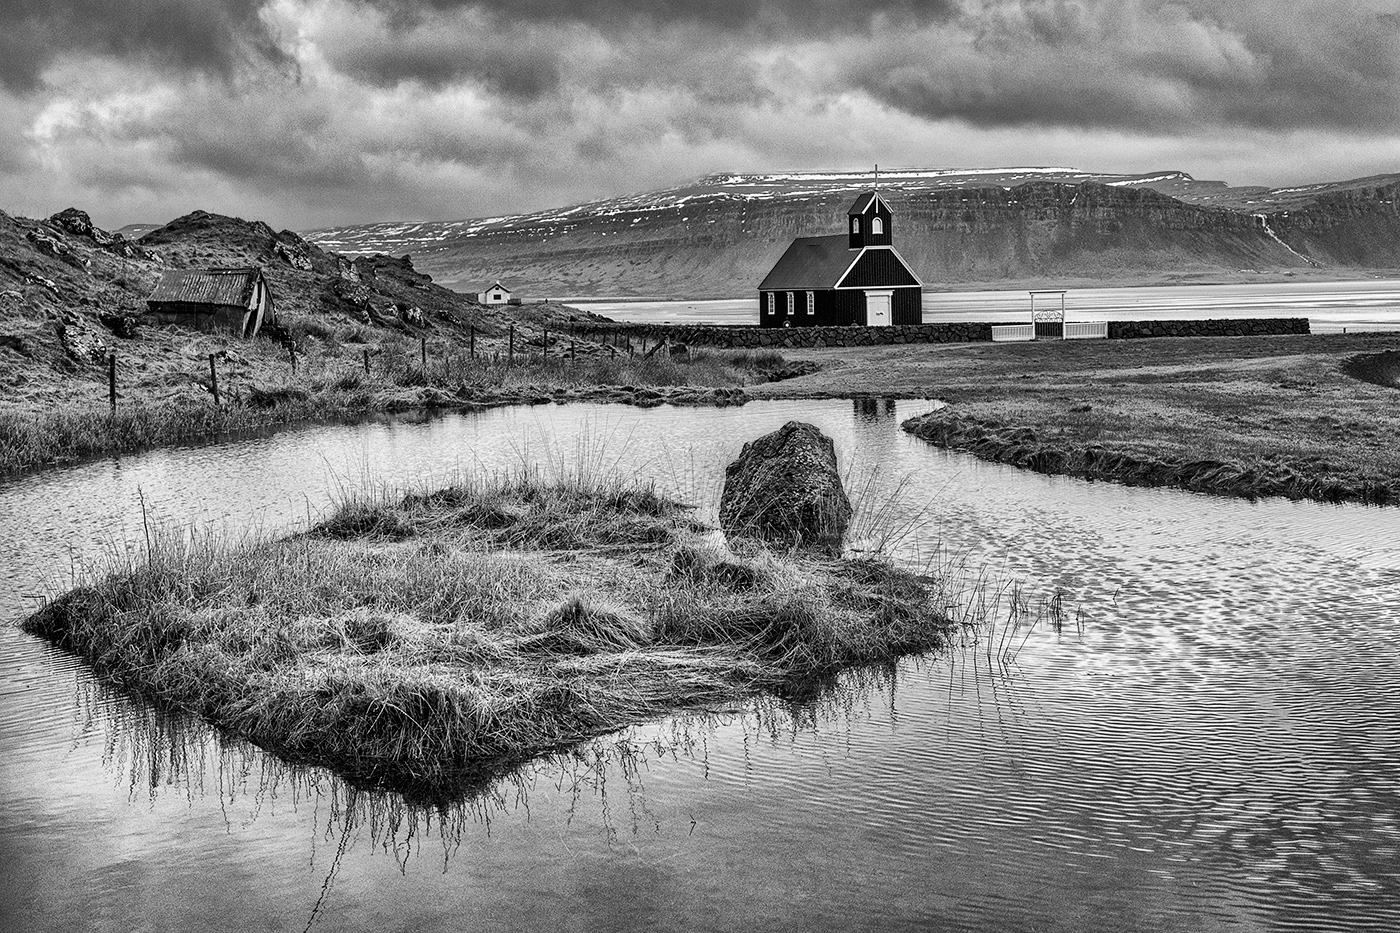
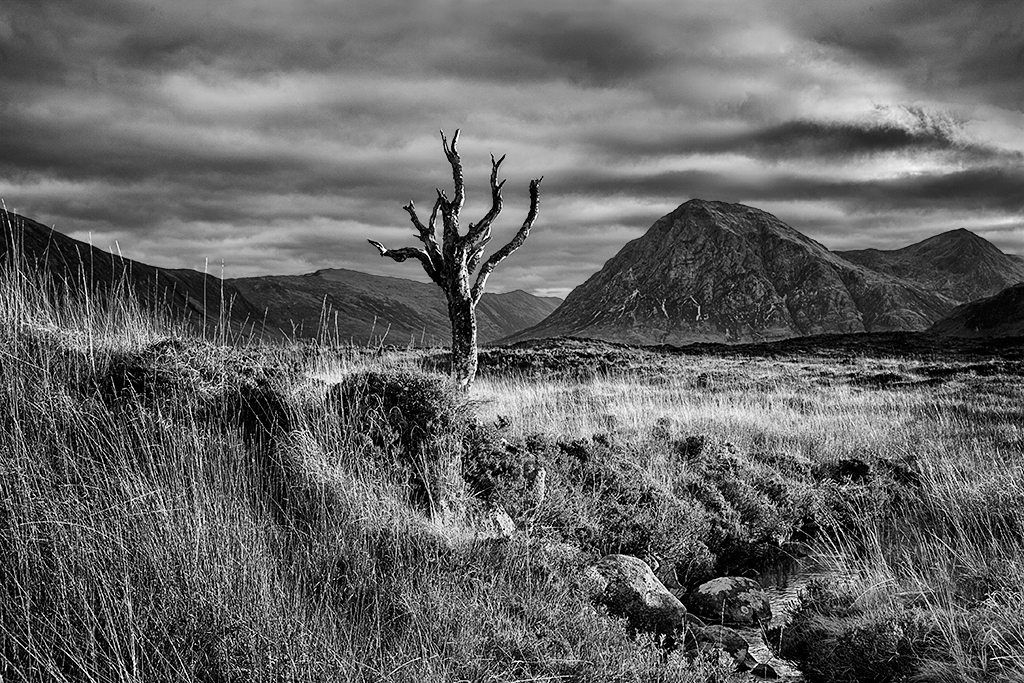
Rashid - I like your composition, but the light was not kind for you. Yet again your phone has produced a more than acceptable image quality.
The image is a little flat and detail and contrast would benefit from a boost. In the copy below I applied a Nik CEP4 Detail Extractor layer followed by a Nik CEP4 Pro Contrast layer with the Dynamic Contrast set at 40% - what do you think?
|
Jan 9th |
 |
| 31 |
Jan 19 |
Reply |
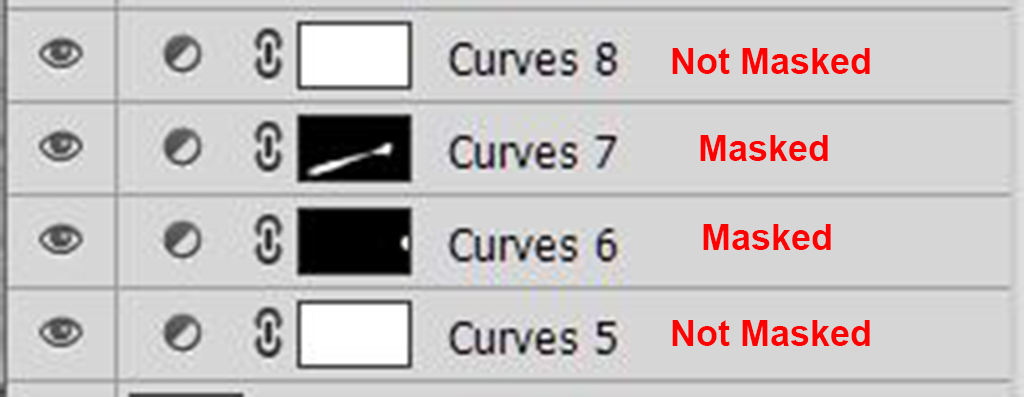
Ed - when an Adjustment Layer is applied to an image the effect is global, i.e. the entire image is affected and this may or may not yield the desired effect. The use of a Layer Mask is fundamental in applying the adjustment to selected areas only and is essentially the darkroom equivalent of Burning and Dodging under the enlarger. I am not familiar with the workings of Lightroom or PS Elements having used Photoshop exclusively since version 5.0 (that's PS 5 not PS CS5) and currently use CS6, thus my comments below refer specifically to Photoshop.
When an Adjustment Layer is applied to an image it is accompanied by a Layer Mask - the box to the right of the Adjustment Layer - which by default is transparent and shown filled with white. When the Layer Mask is activated by clicking on it painting on an area of the image using the Brush tool at 100% opacity with the Foreground colour set to black creates a mask which will be shown in the Layers Palette for that Adjustment Layer. The effect of the Adjustment Layer on the image will be masked out in the black (opaque) area(s).
The procedure for applying a mask to a Curves (or other) Adjustment Layer is outlined below:
Apply a Curves Adjustment layer above the Image layer and adjust to suit, looking only at the area that requires adjustment. Then either ��.
Activate the Layer Mask by clicking on it and fill with black (Edit > Fill > Use: Black) which completely masks the effect of the adjustment on the image and restore the adjustment in those areas in which it is required by painting on the image in white (Foreground Colour set to white) using a soft brush at 100% opacity to fully restore the adjustment or at <100% to restore the adjustment partially - see example below.
Note that when painting at <100% opacity if you release the mouse button or lift the pen off the tablet and then paint over an area for a second time the effect is multiplied. Therefore when painting white on a black mask it is often simpler to paint at 100% opacity and then reduce the opacity of the layer to suit.
Or ��.
Activate the Layer Mask by clicking on it and paint on the image in Black (Foreground Colour set to black) using a soft brush at 100% opacity to mask out the adjustment completely or at <100% to mask out the adjustment partially in those areas in which the adjustments made on the Curves layer are not required or are only partially required.
When the masking is complete go back to the Curves Adjustment Layer and tweak the curve to suit and/or vary the opacity of the Curves layer and/or Mask to modify the effect of the adjustment. If processing in Colour set the blending mode of the Curves layer to Luminosity Mode to prevent potentially unwanted colour changes.
Where very small areas require 'tweaking' it is often more convenient to fill the Layer mask with black and to paint over those areas with white to restore the adjustment locally.
To apply a mask to an Image Layer highlight the layer and click on the Add Vector Mask icon to be found at the bottom of the Layers Palette (third icon in from the left) and proceed as above.
I hope the above is clear - most of my adjustments are done on 'autopilot' after so many years using Photoshop!
|
Jan 9th |
 |
| 31 |
Jan 19 |
Comment |
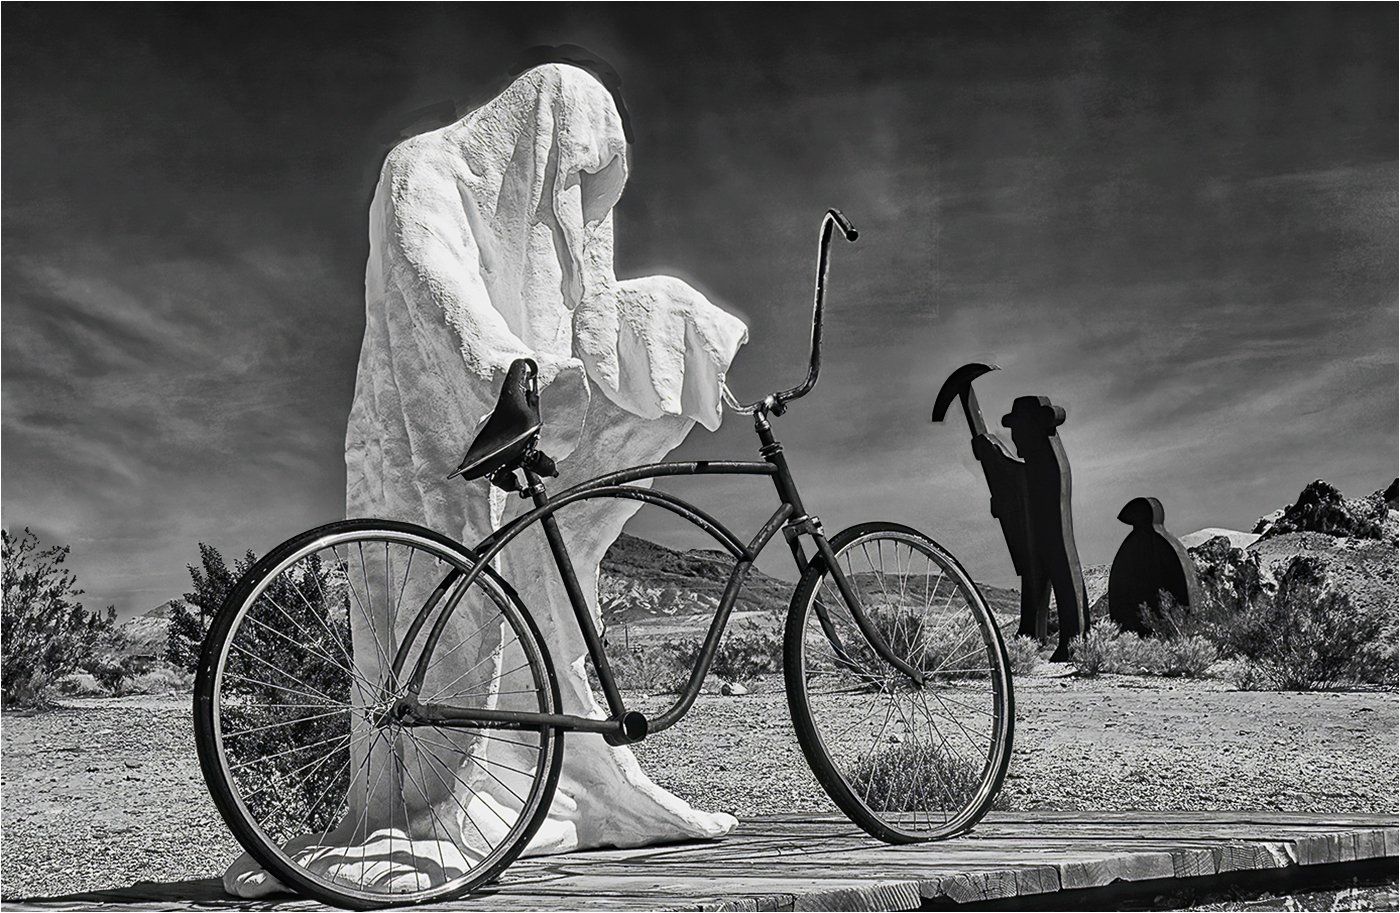
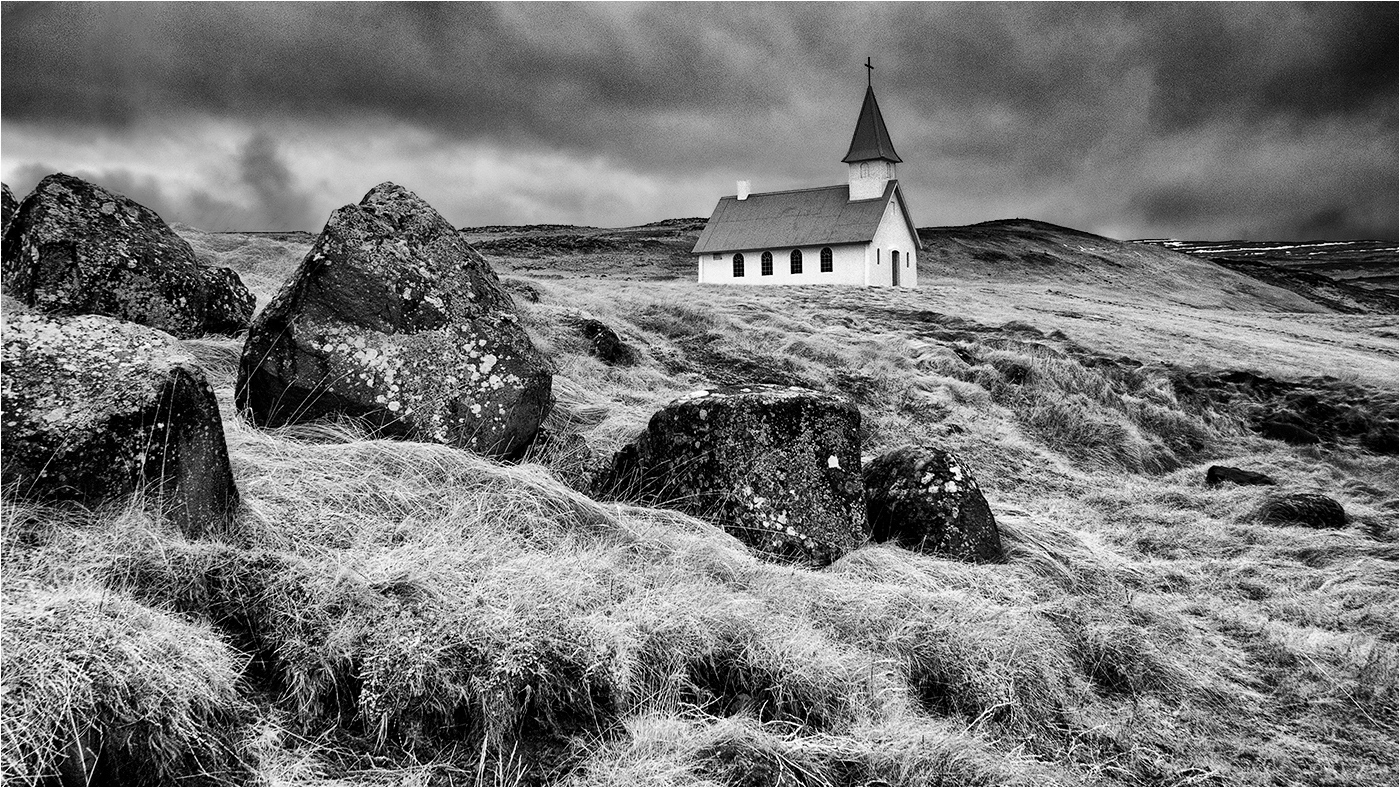
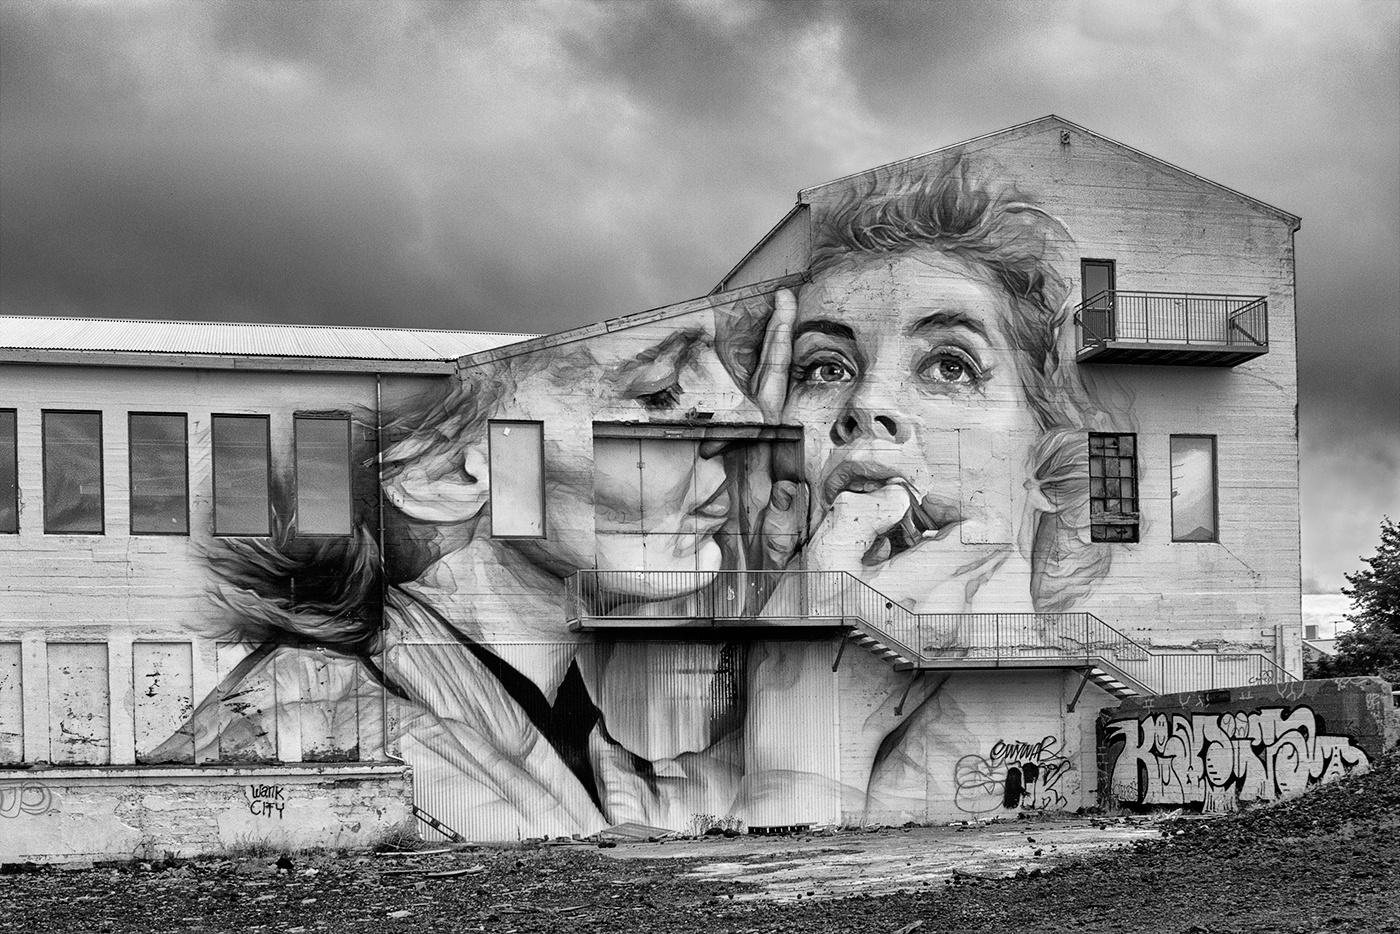
John - it's a cracker! This was your Cartier Bresson moment! How you managed to capture the couple walking behind the seat so centrally I will never know. I like the symmetry - the two guys on the seat both facing outwards and both engrossed in their reading matter. No real distractions in the image, but if it were mine and if it were permissible I would clone out the letters (T,S) behind the RH column and maybe slightly reduce the brightness of the column and maybe reduce the brightness of the lower part of the poster below the guy with the untied bow tie too.
A great capture! |
Jan 2nd |
| 31 |
Jan 19 |
Comment |
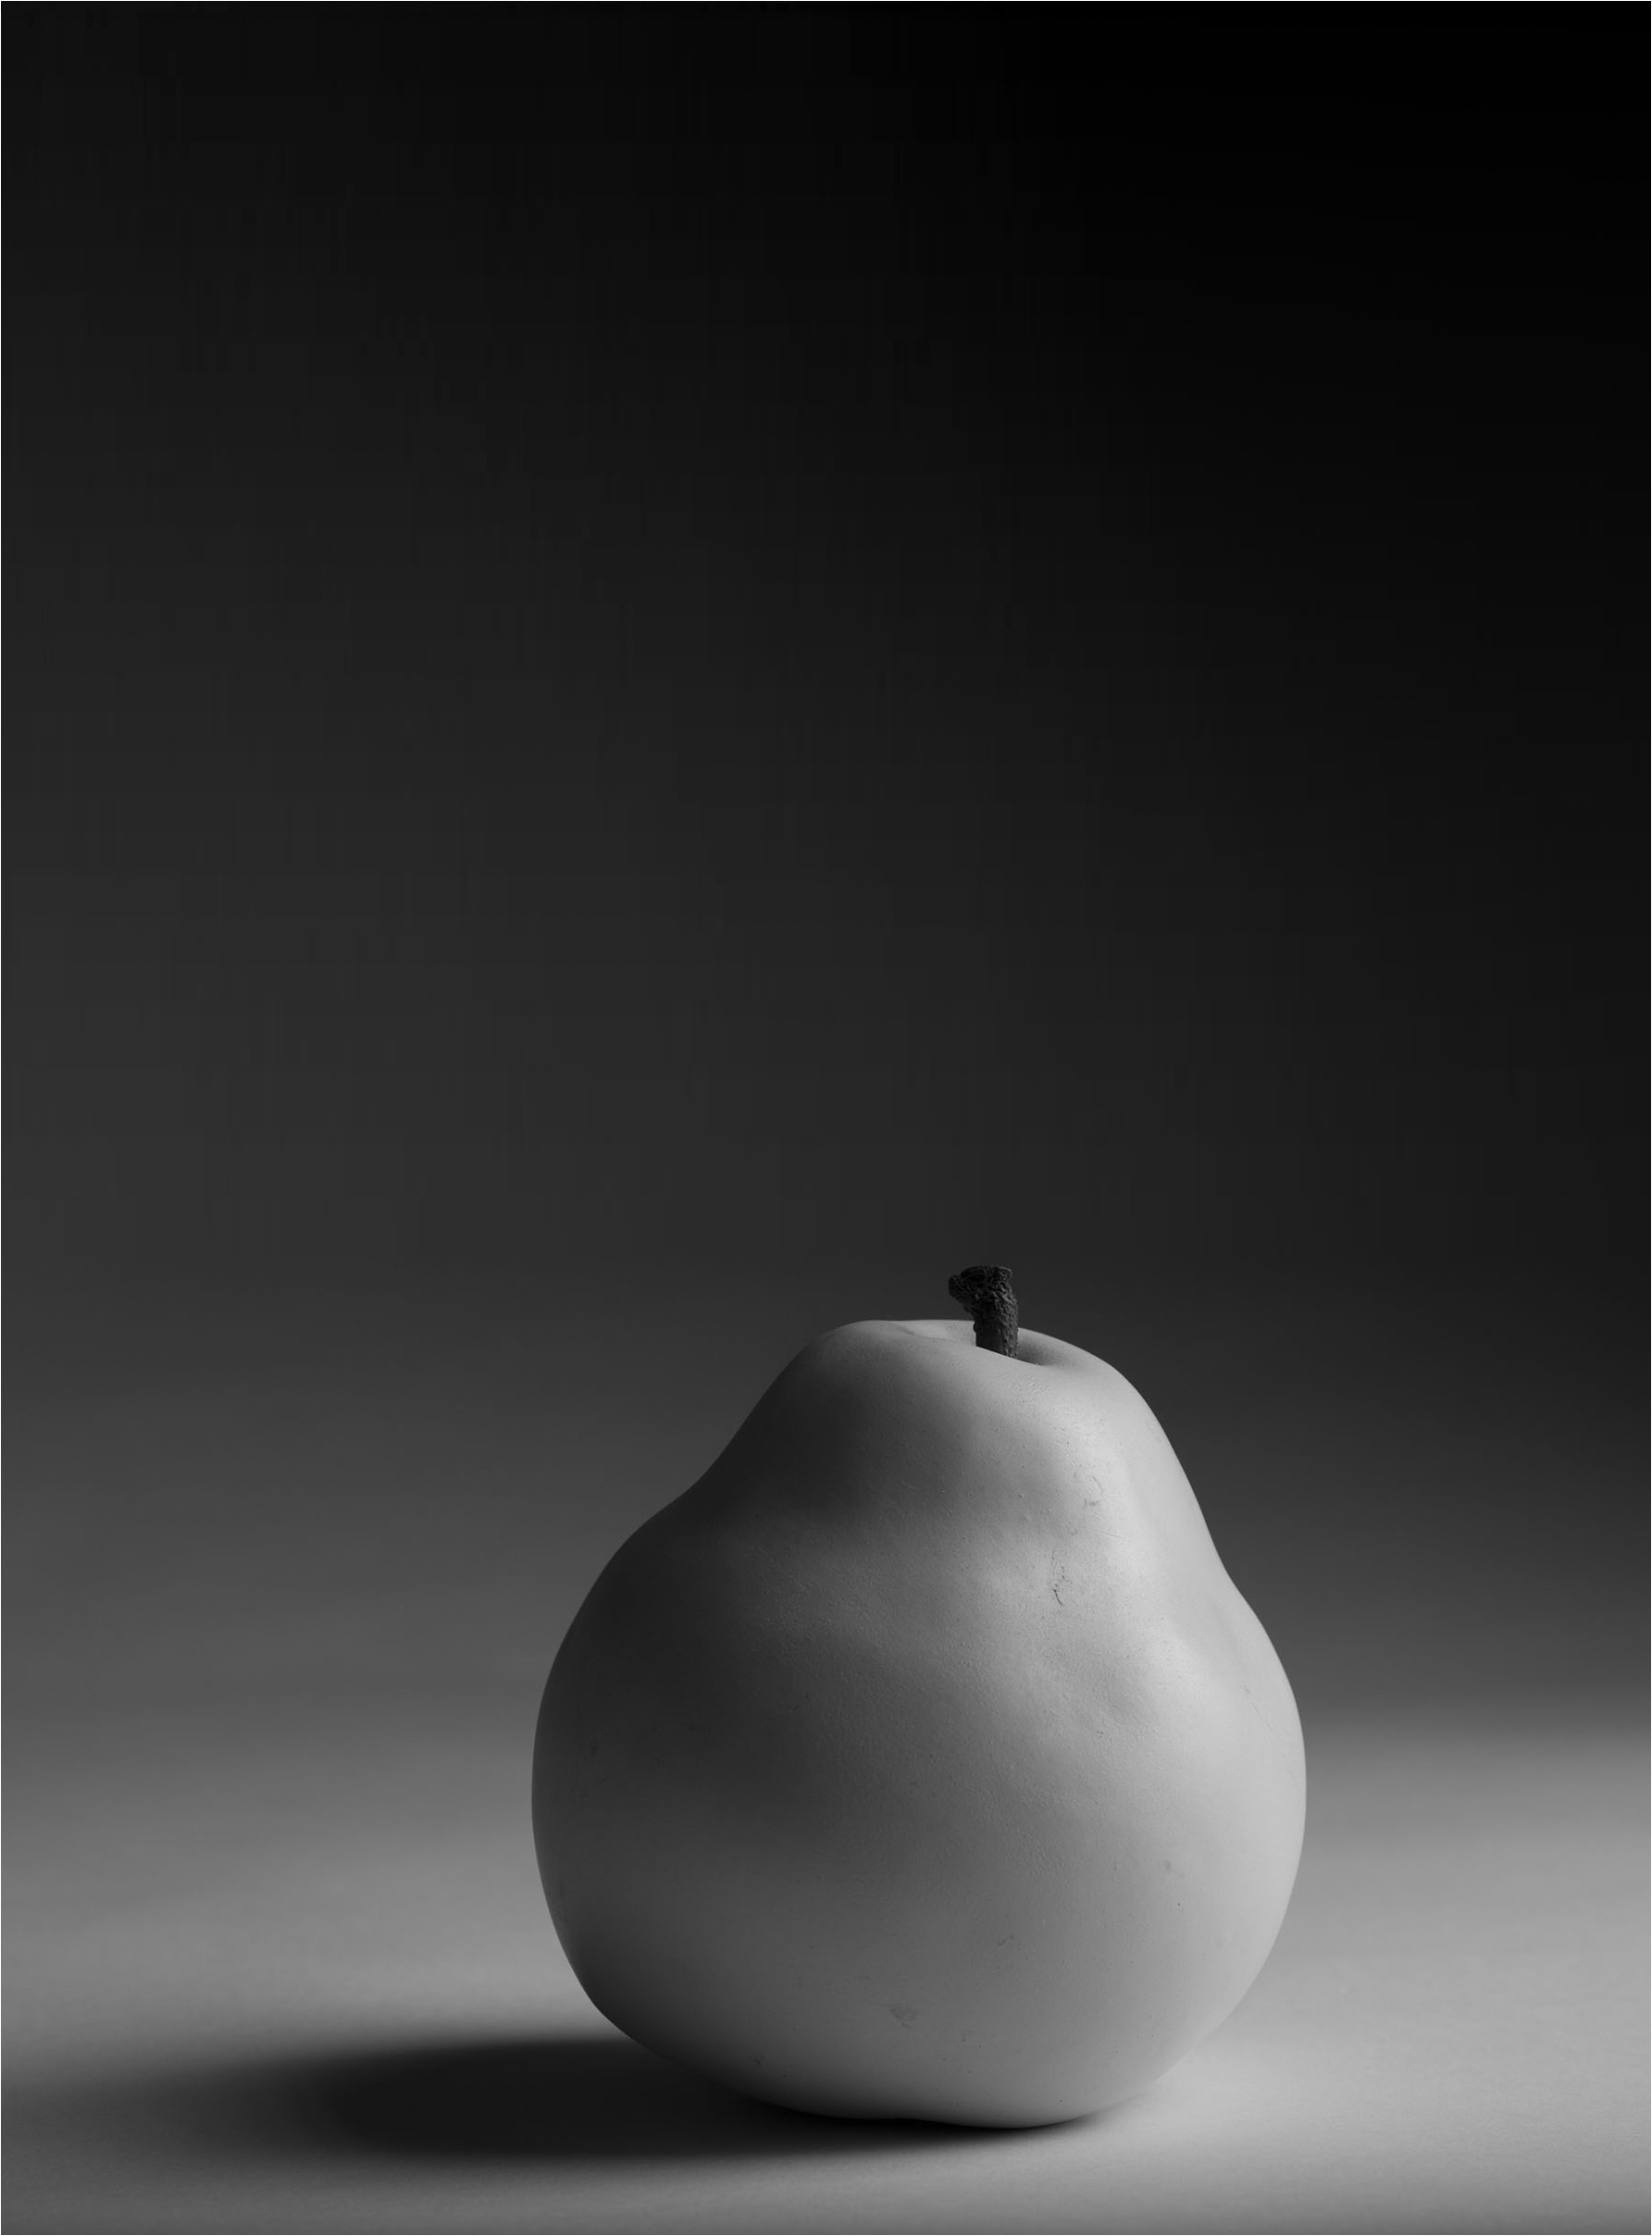
Ella - Beautifully lit and rendered - subtle detail everywhere and a sympathetic backdrop.
I wonder if the pear is a little large in the frame in landscape format and that portrait format would suit the image better. I know it's all subjective, but to my eye the portrait version (below) works better. |
Jan 2nd |
 |
5 comments - 3 replies for Group 31
|
5 comments - 3 replies Total
|