|
| Group |
Round |
C/R |
Comment |
Date |
Image |
| 49 |
Jan 22 |
Reply |
Thanks, Jo-Anne. I look forward to more creative opportunities with this group! |
Jan 30th |
| 49 |
Jan 22 |
Reply |
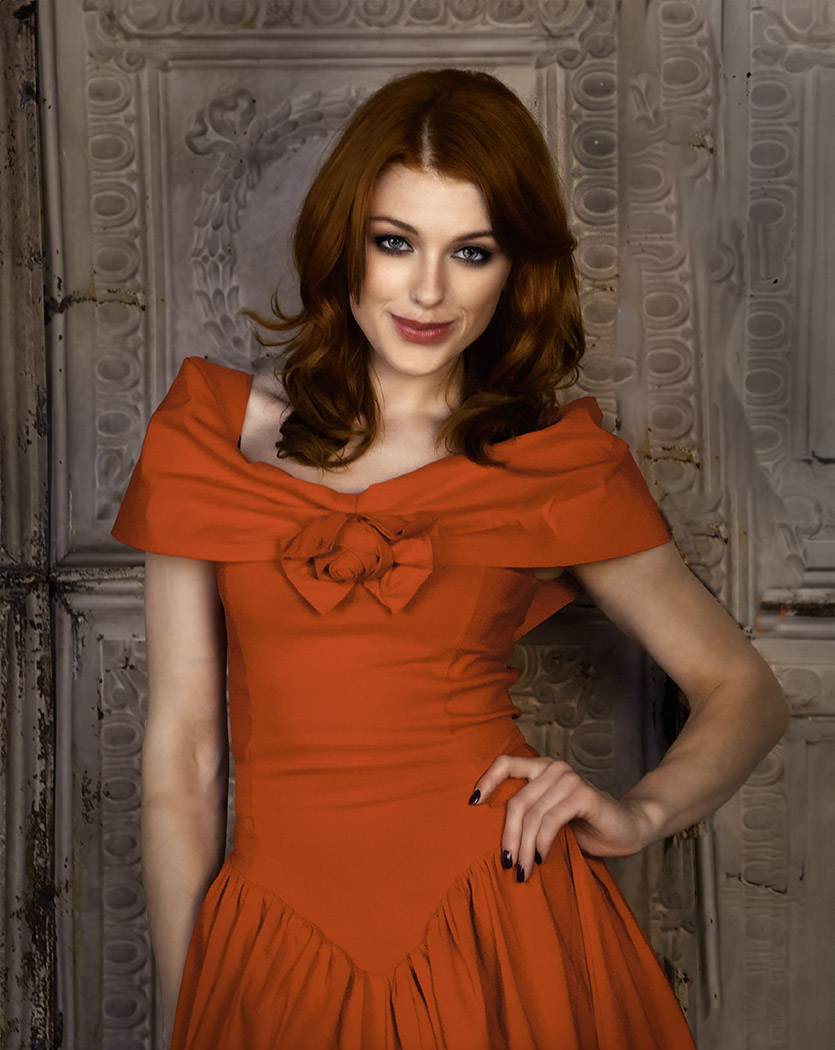
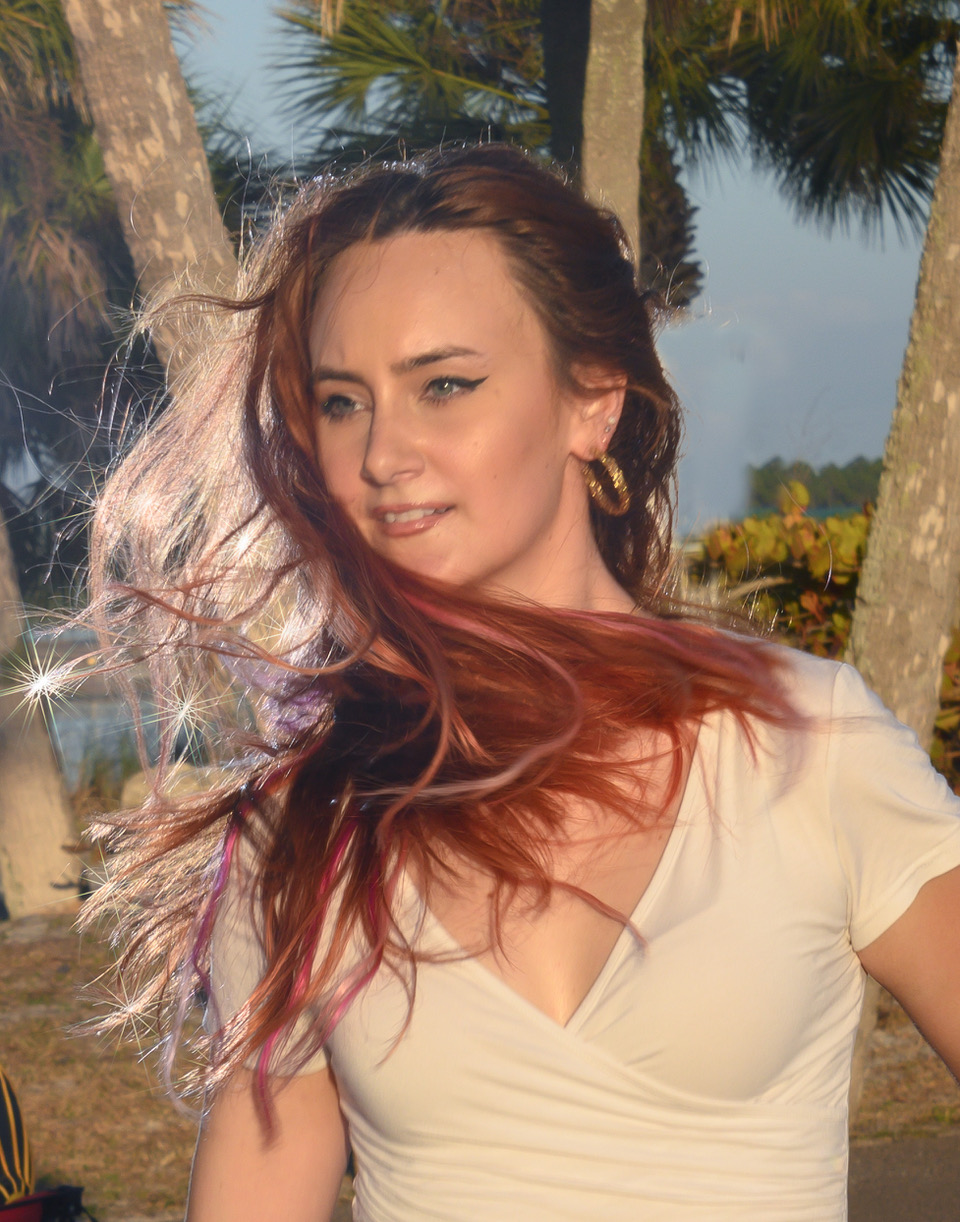
Dicky, think you're right here. In my unfamiliarity with the software, I may have overdone the "eye openness" control on the right eye. I will re-do it before I submit to a competition. |
Jan 17th |
| 49 |
Jan 22 |
Reply |
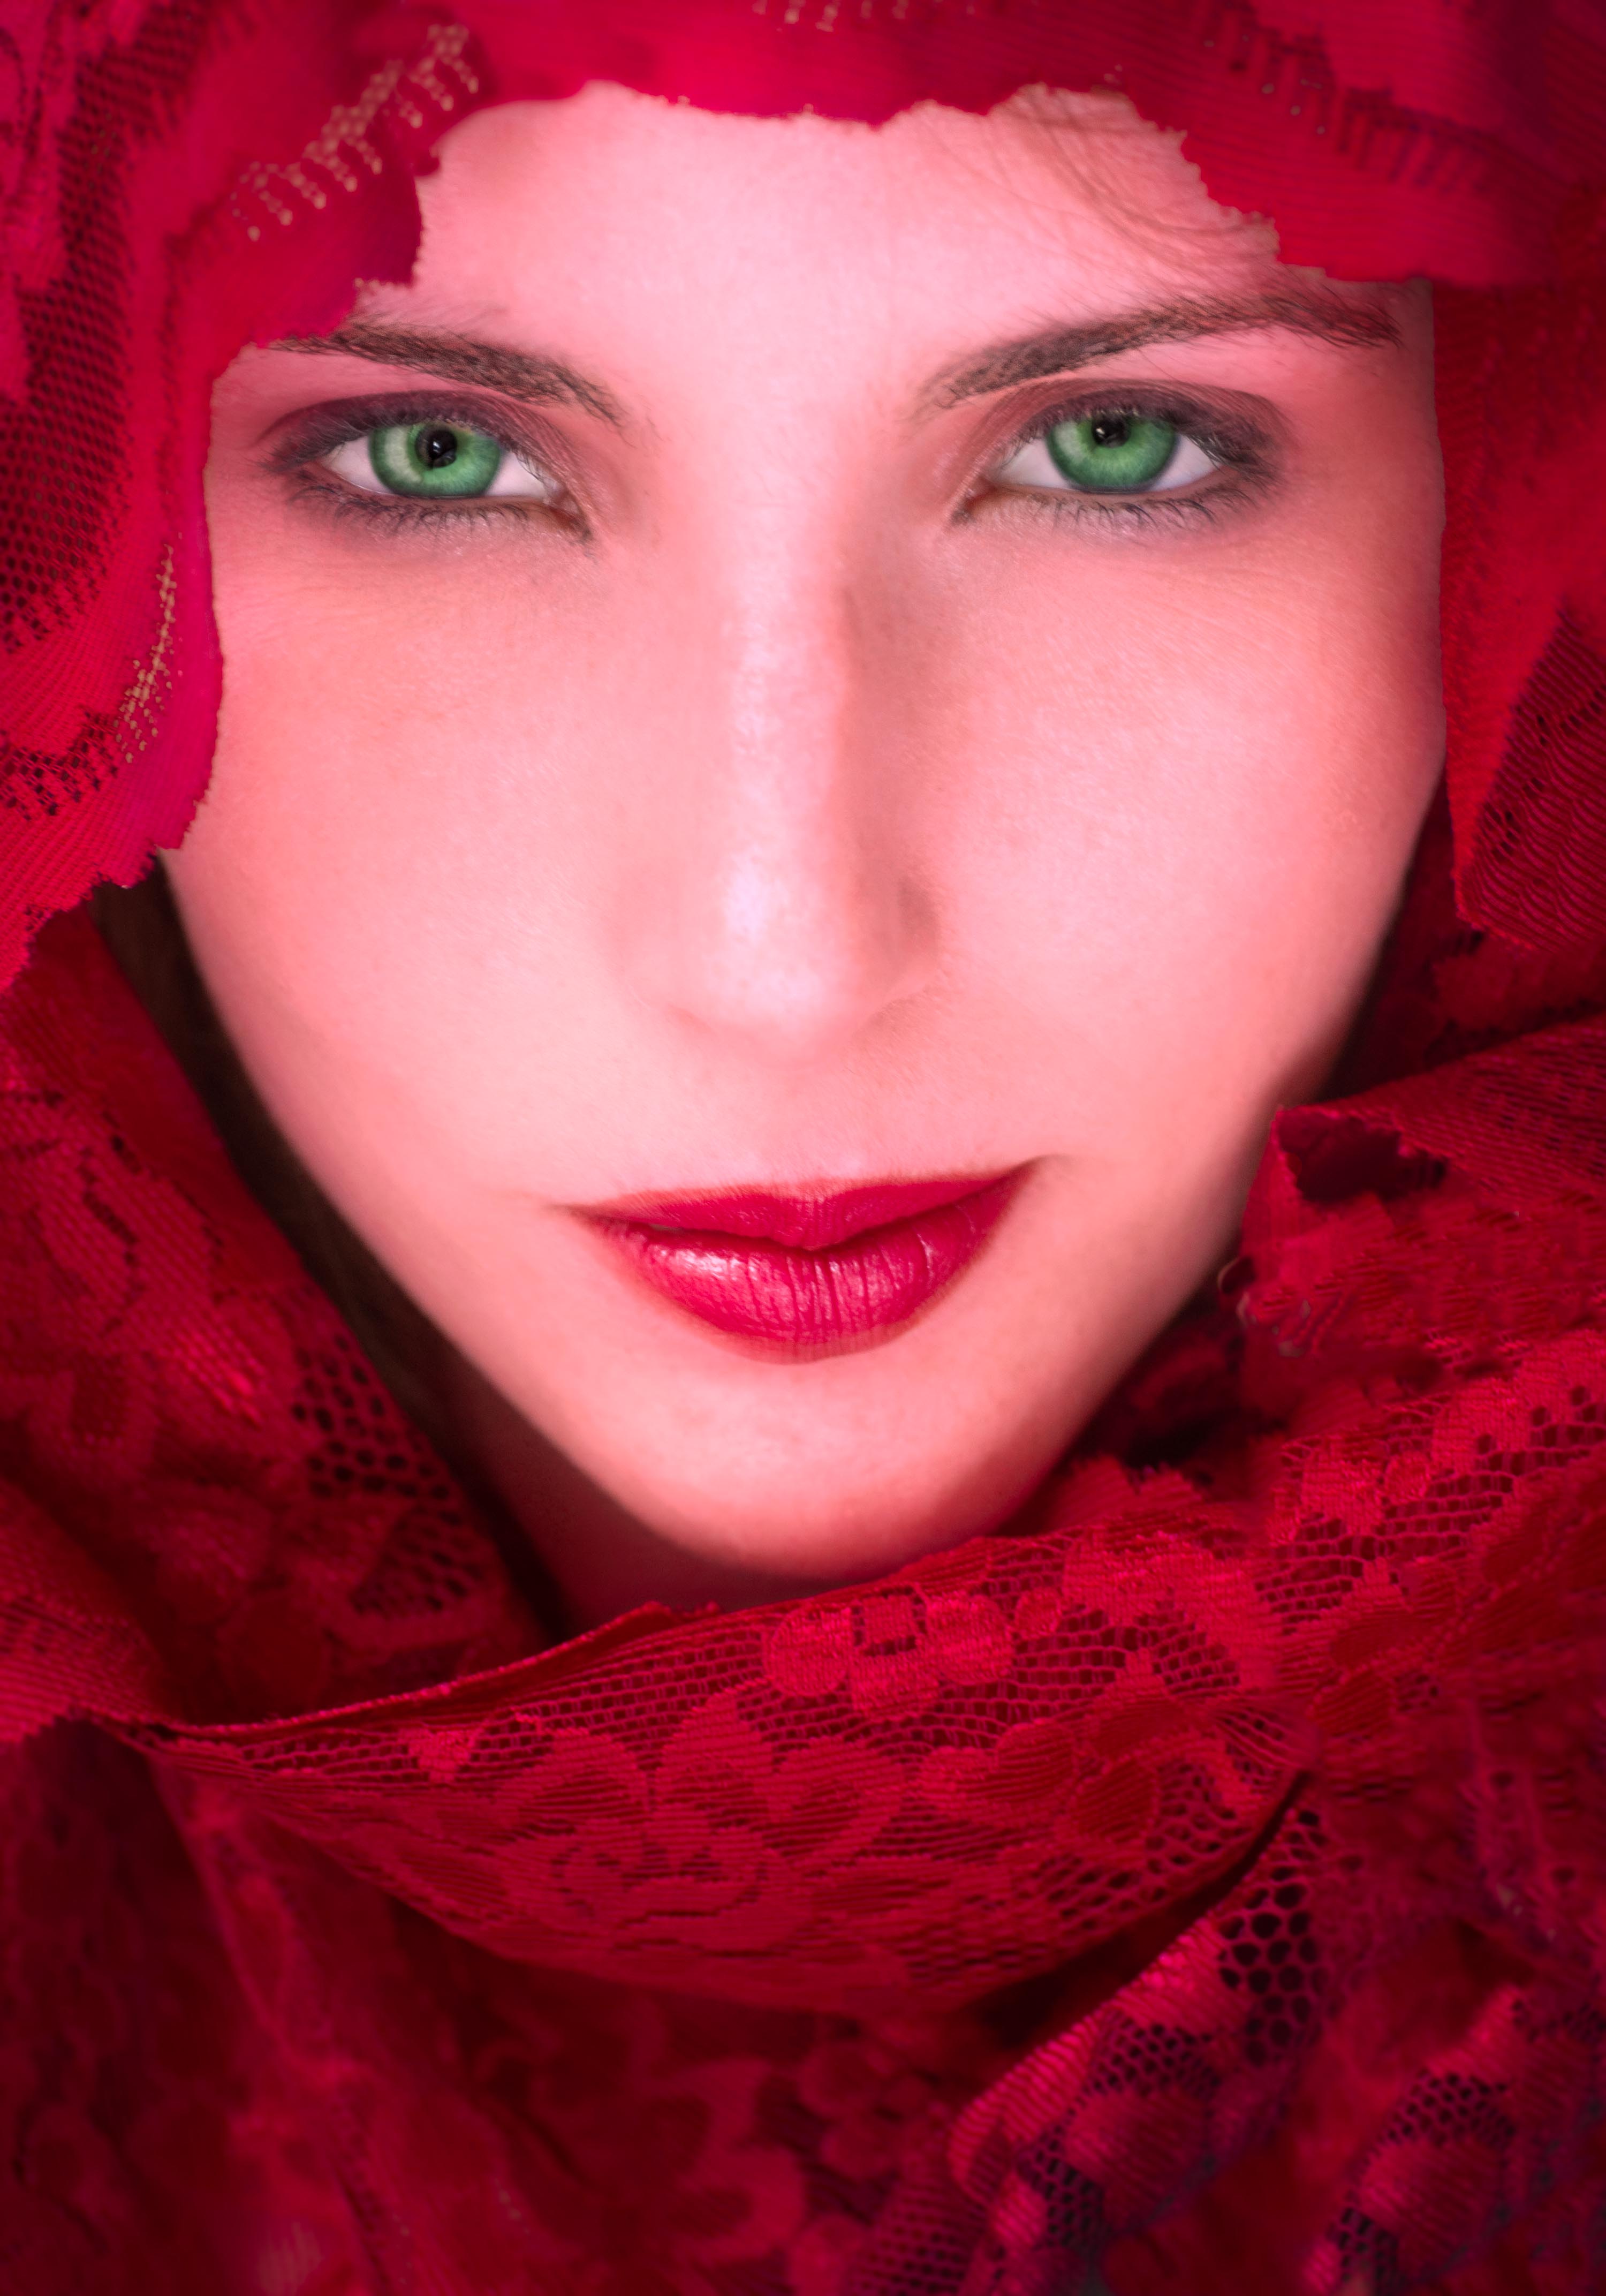
Looking closely, I think the left side of each eye is darker than the right. When the catchlight was added, a little bit of the darker side wasn't covered by the catchlight, so it appears as a line against the right side. It may offend some, but I'm satisfied with it.
Your personal feelings about the evenness of the lighting are noted, and for a standard non-glamor portrait I would agree. However, the standards for glamor are different. The goal here is to "flood" the model with light. A brief perusal of the various fashion magazine covers reveals a general preference for evenly lit head shots. |
Jan 17th |
| 49 |
Jan 22 |
Comment |
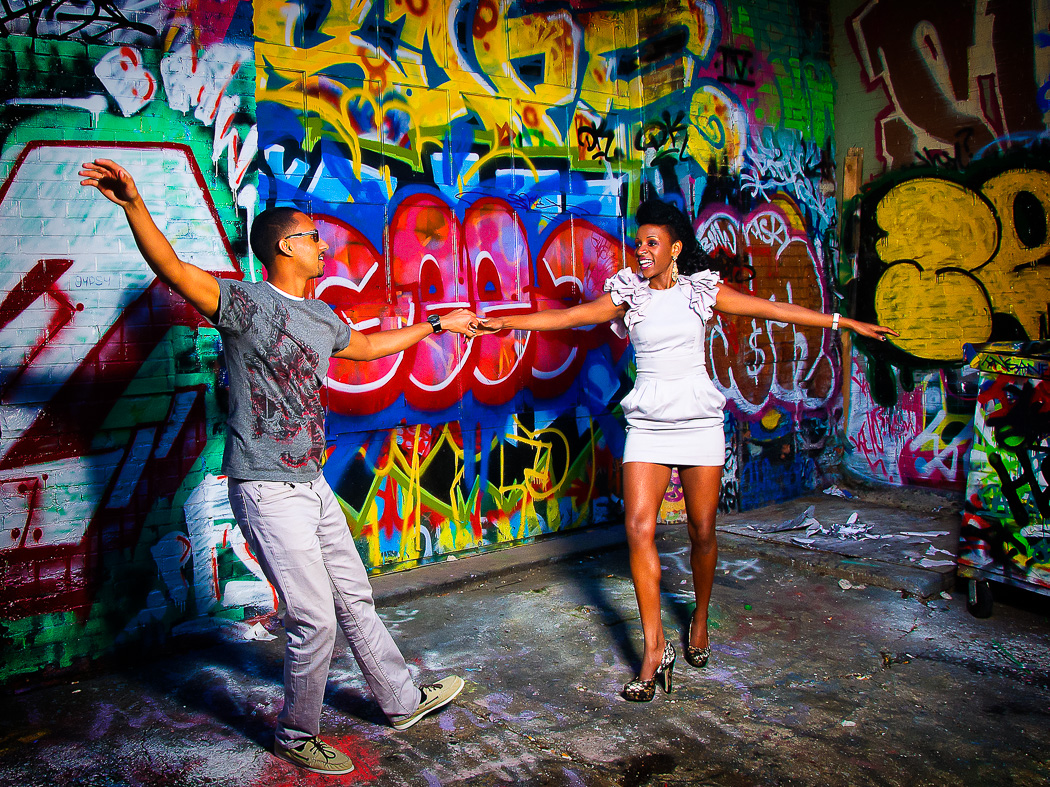
Nice action, and a great capture! Your decisions to crop and the lighten the subject were very wise and added a lot to the picture. In my try I took it a little farther, cropping more tightly, and darkening the corners.
In Photoshop, I did the following:
�� Cropped the image a little more
�� Used the Burn tool set to highlights to darken the two top fluorescents on the top left window, and the one in the central window.
�� Opened the Camera Raw filter and increased vibrance, then used the Color Mixer settings to increase saturation in the reds, yellows, blues, and magentas.
�� Used Quick Mask with a gradient to create a soft edged selection for the right side of the image, then used Unsharp Masking to sharpen the back of the group.
�� Used a wide brush with the burn tool to darken the top and bottom edges of the image, to draw the eye to the dancers.
�� Used Iris Blur set to 6 pixels with some Light Bokeh added to blur the edgees of the image and pull the viewer into the shot. The Light Bokeh makes the lamps glow a bit more. This last step is the the only one that couldn't be done in Lightroom.
|
Jan 9th |
 |
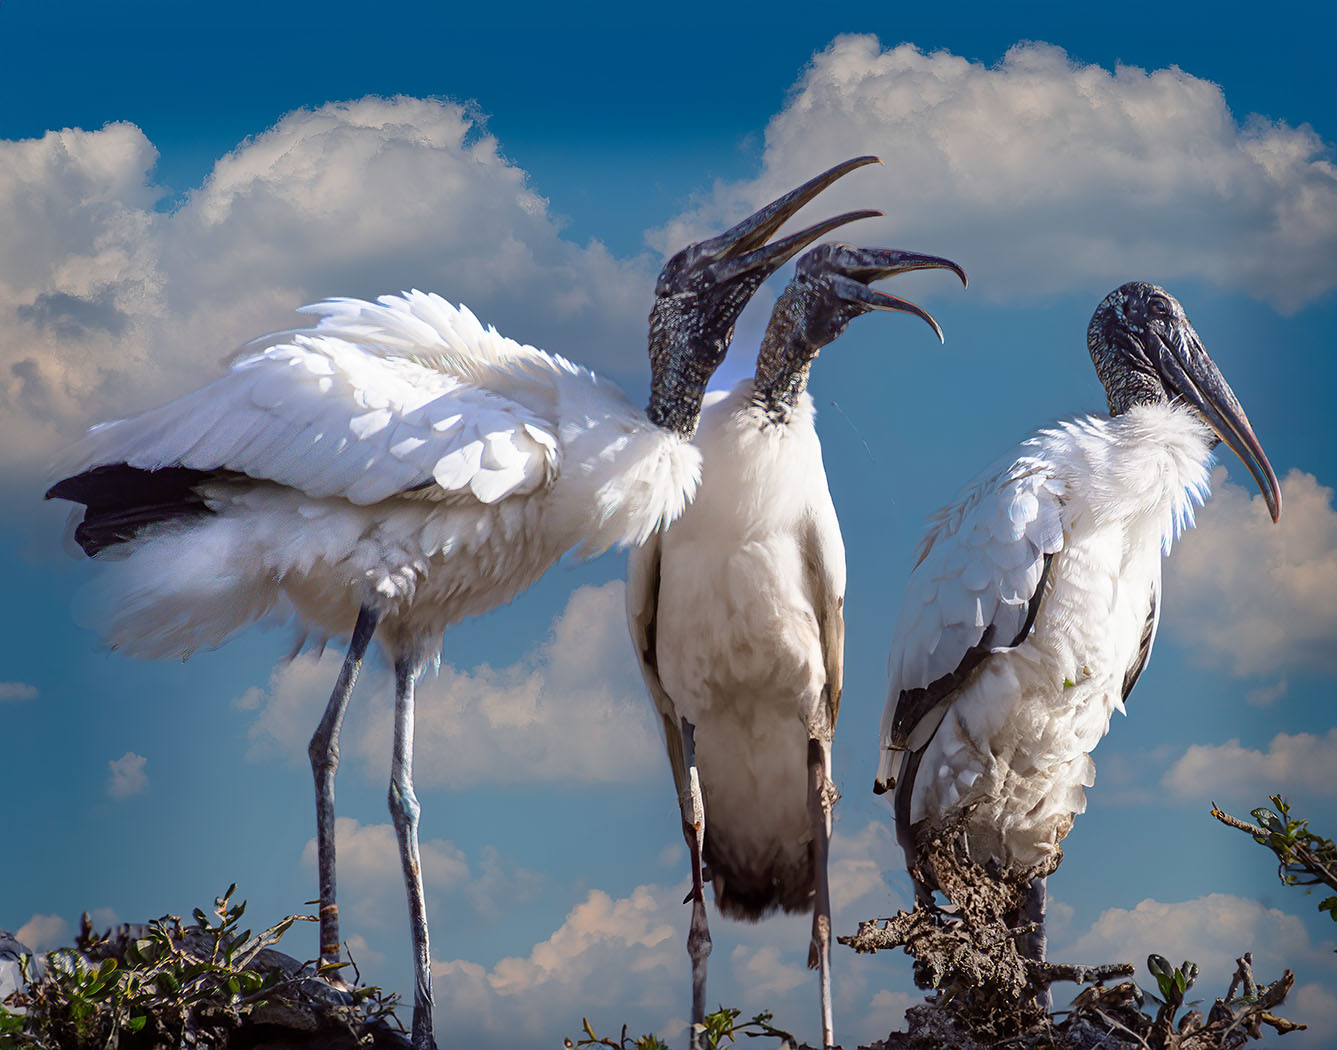
| 49 |
Jan 22 |
Comment |
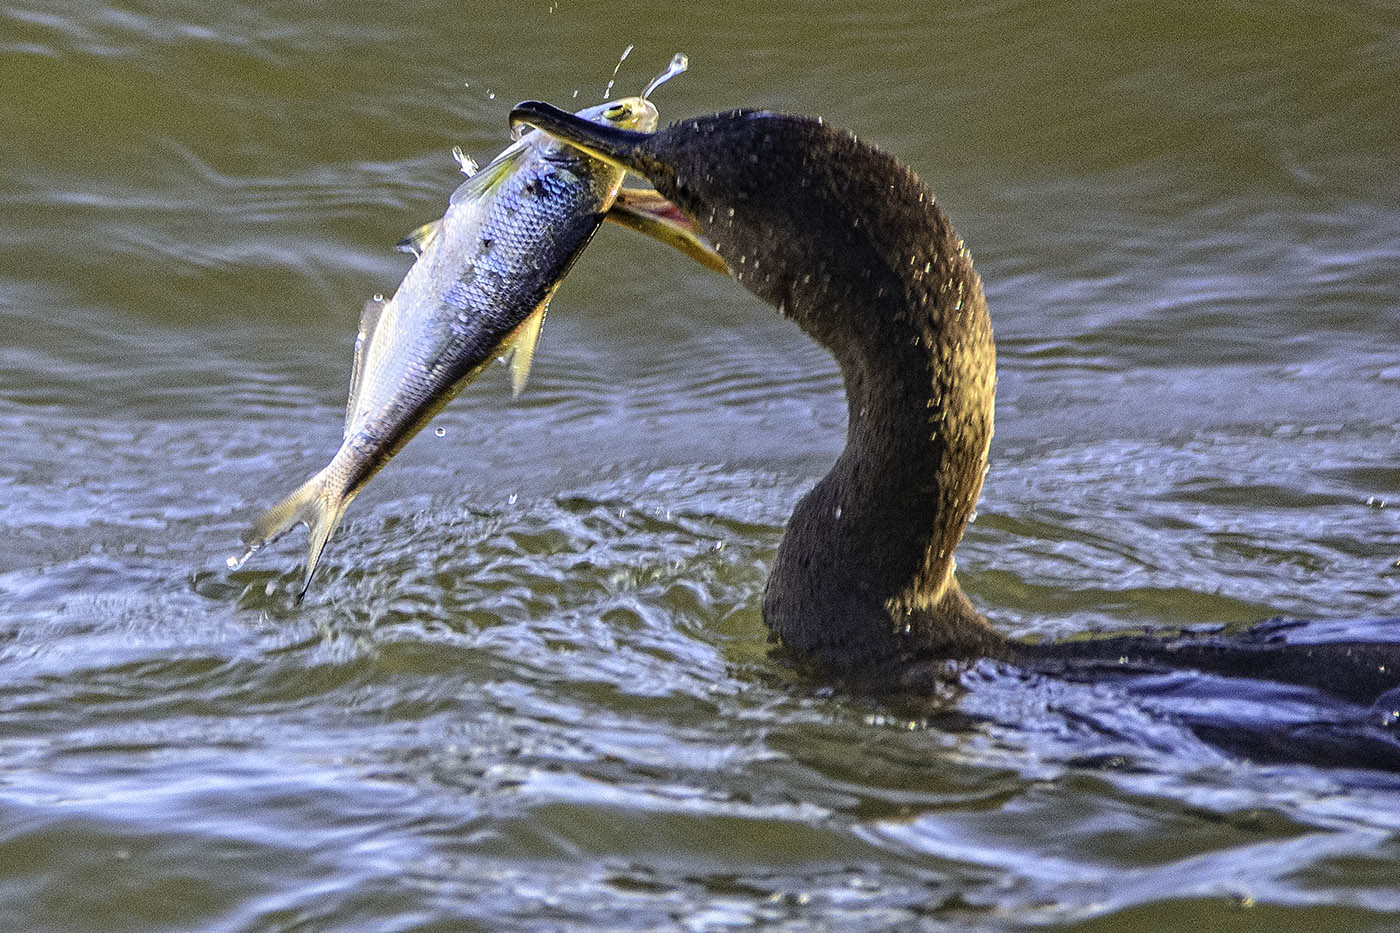
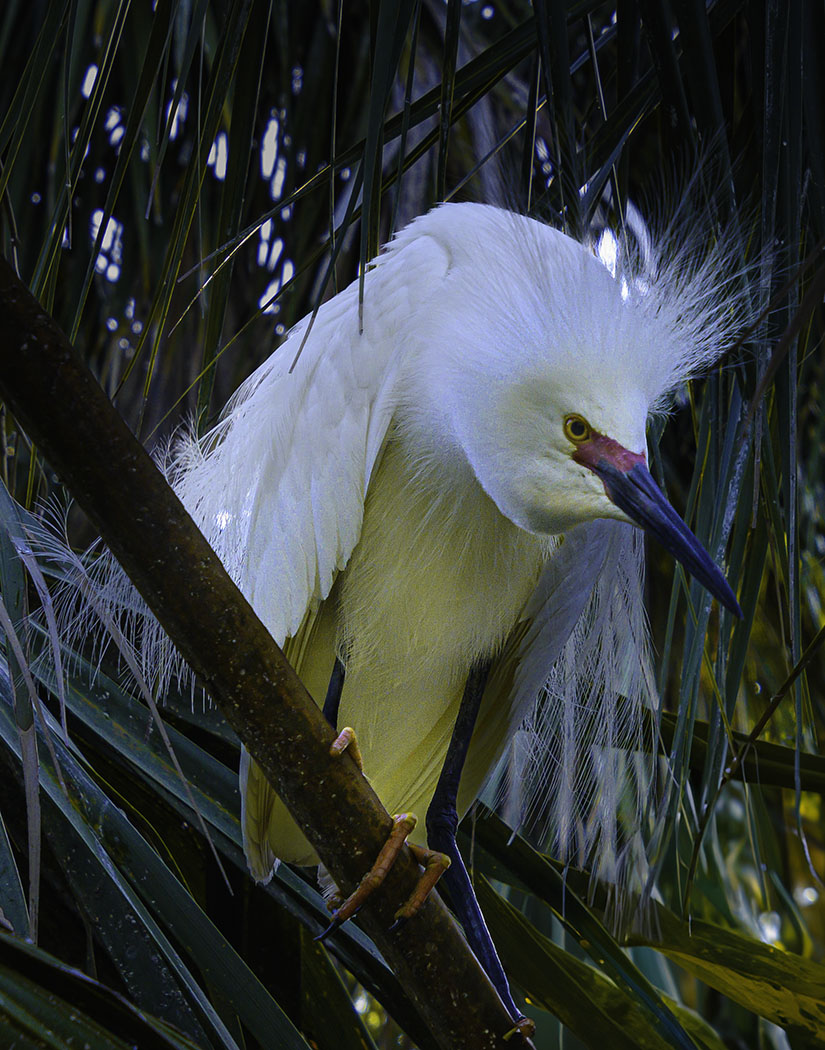
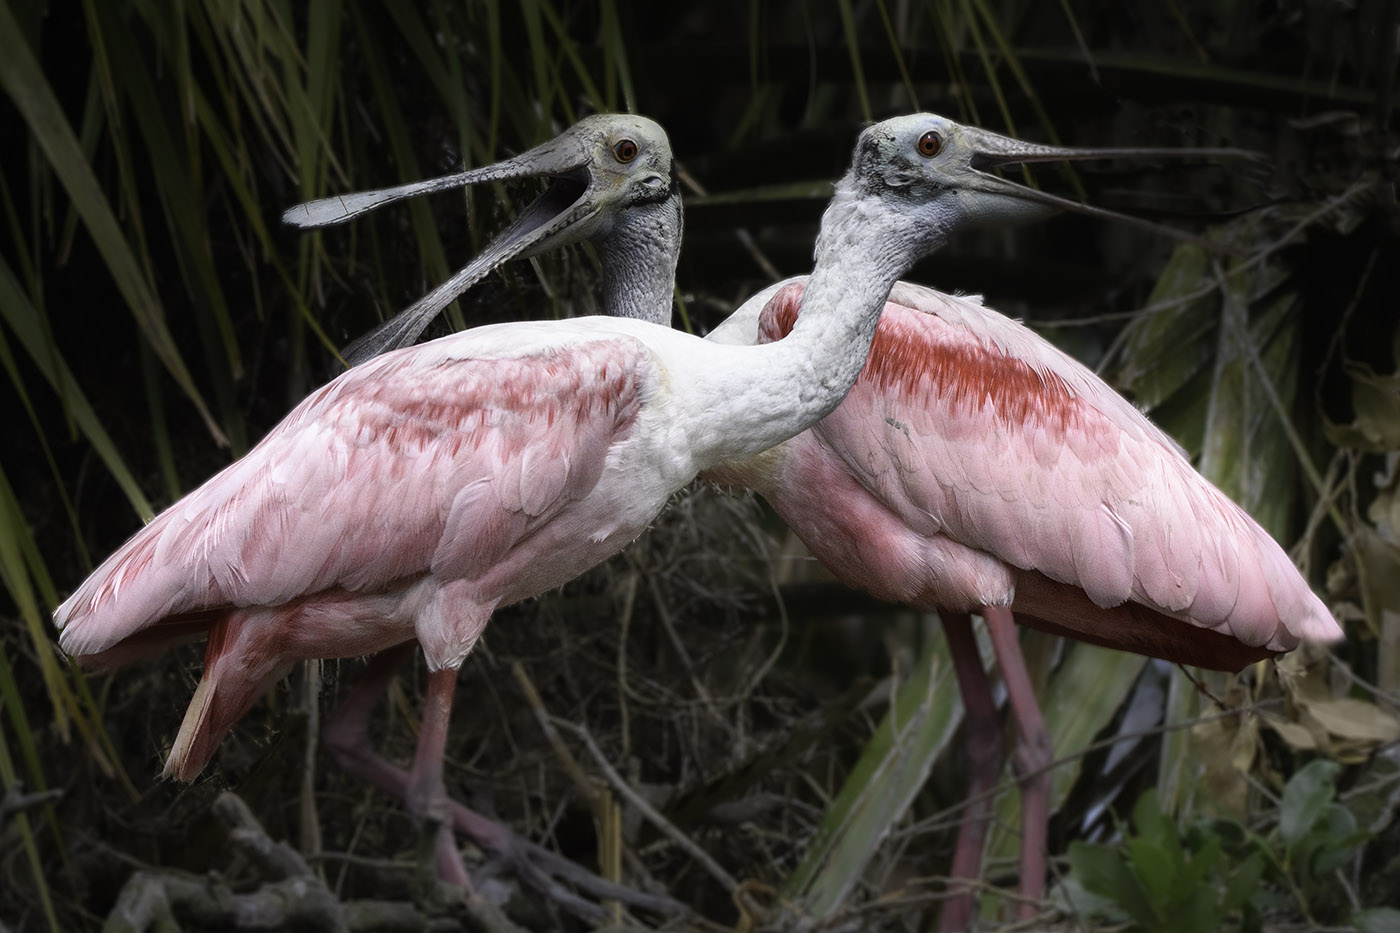
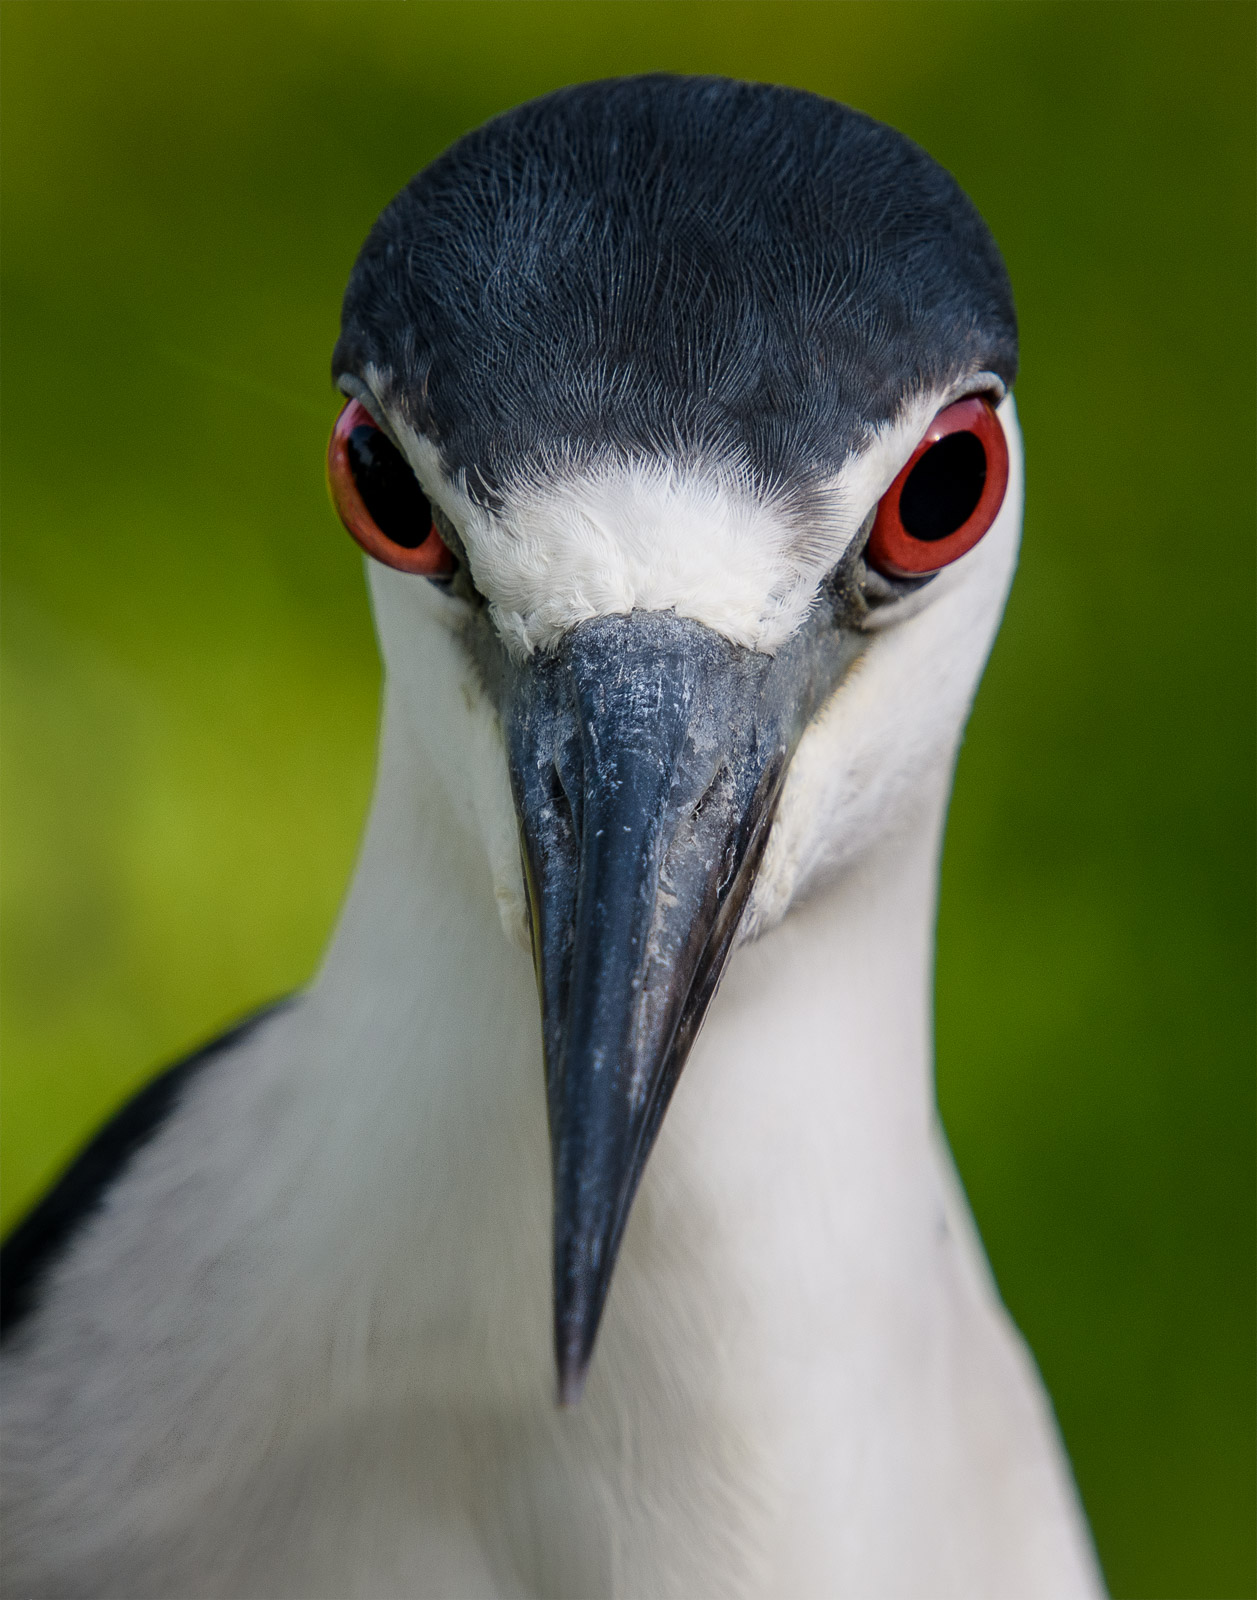
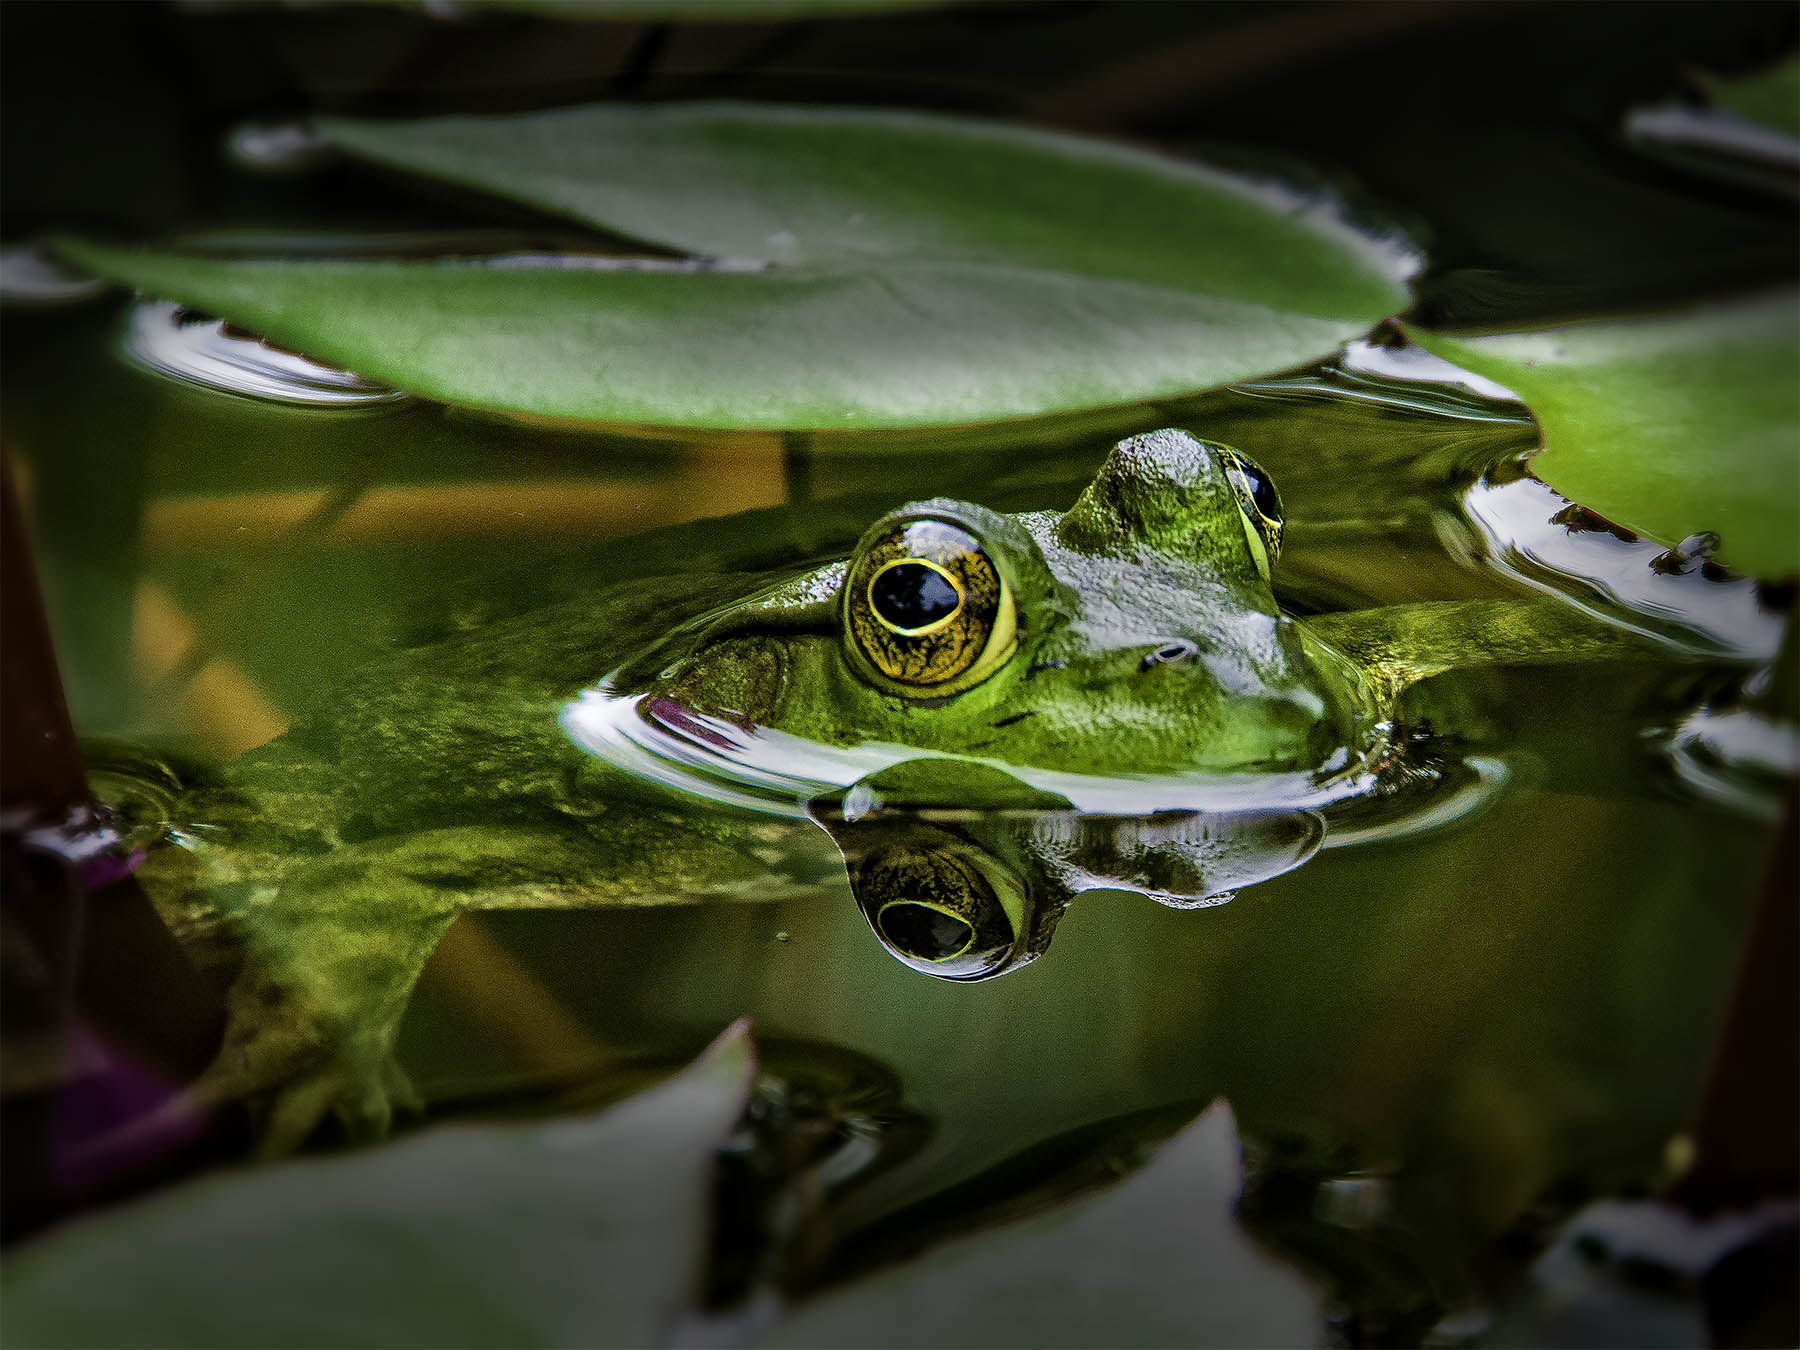
You were at the ready for this shot and I applaud you for your readiness and quick eye. Wild birds are so common here in Florida that we too often ignore them. We have a Black-Crested Night Heron that nests by our house. His neighborhood name is Fred. He comes and sits by the grill when I cook outside, and since herons are carnivores, I give him a little scrap of whatever I'm cooking. Since he usually sits about 7 feet from me, I'll remember to bring my camera out next time I grill!
It is so hard to get sharp shots of birds in flight. A lot depends on the focus mode you choose, so you you should check your camera's manuals to get ideas for the correct settings to use.
The highlights wt the top are a little distracting, so let's see what we can do in Photoshop (all the corrections I did in PS are also available in Lightroom.)
�� Cropped the image from the right top to better situate the subject by the Rule of Thirds.
�� Applied a gradient mask in quick select and then darkened the top of the image to keep the viewer's eye in the frame
�� With the gradient mask in place, selected the green from the bottom of the image and the set the brush to Color mode and 40% opacity to make the top color closer to the bottom.
�� Created a vignette mask by making an oval selection with 40 pixel feathering, and then inverting the selection. With vignette mask in place, I then added 15% extra density with the Curves tool to darken the background and make the bird pop.
�� Finally, I deselected the vignette mask, and used the Selet Object Tool to select the bird. I then opened the Camera Raw Filter in PS, and added Clarity, Dehaze, and Sharpening to add some sharpening to the image.
Total correction time: 4 minutes, 15 seconds. |
Jan 9th |
 |
| 49 |
Jan 22 |
Comment |
Beautiful moment, beautifully captured. You really caught the mood with your excellent control of a backlit situation. The only thing I think I would do is add about 1/2 stop dodging to the man's face to bring him out a bit more. The woman and the dog are perfect, probably due to fill light reflected off the water. |
Jan 9th |
| 49 |
Jan 22 |
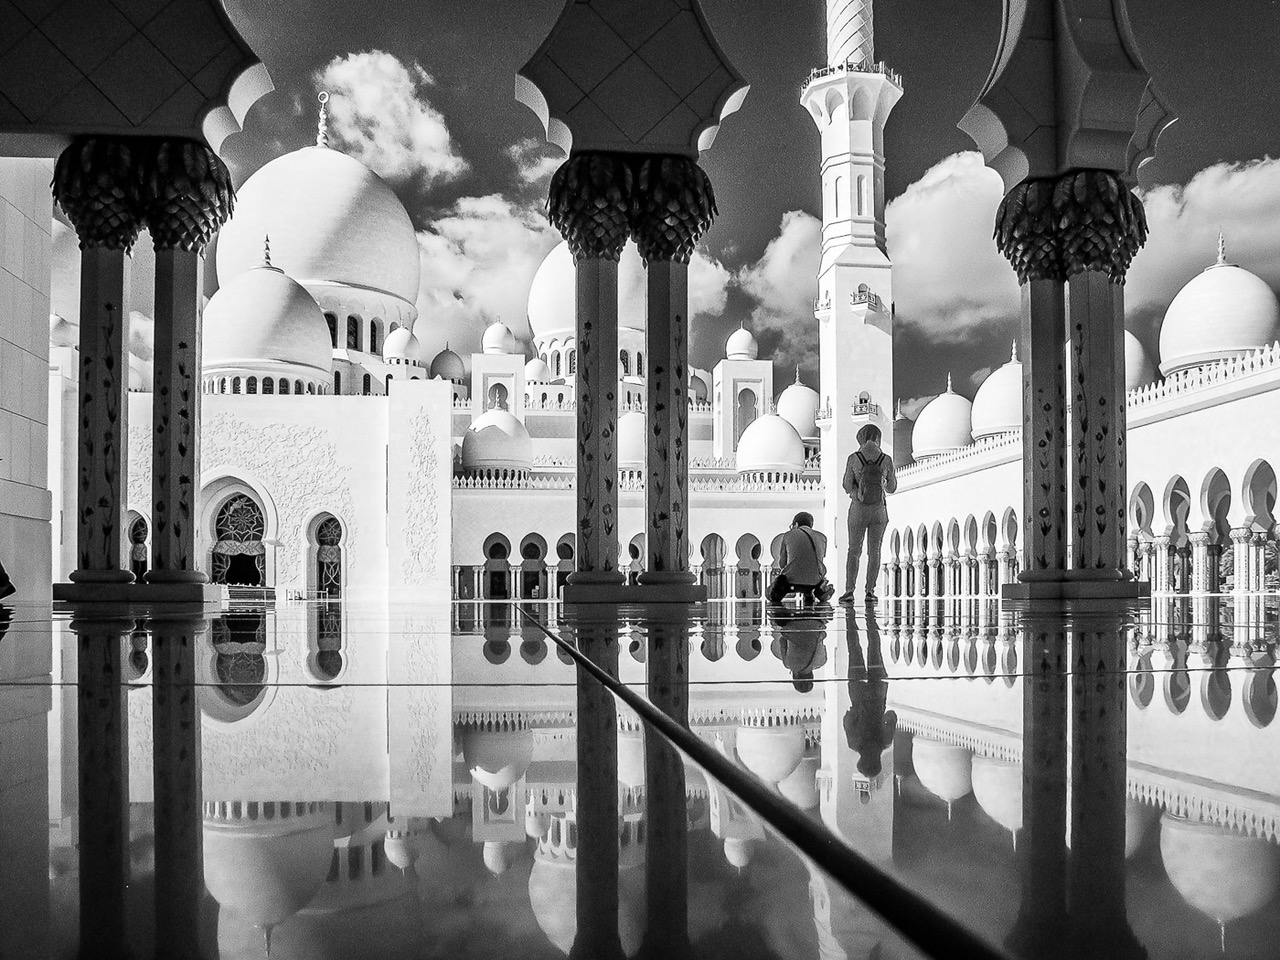
Comment |
Dang! You nailed it here!
�� Leading lines - check
�� Great curve leading us back to the subject - check
�� Beautiful control of exposures, even in an HDR - check
I especially like the shadows and the masterful revelation of the trees, as well as the very slight glare around the light. I think it helps us to realize that this is a light source. |
Jan 9th |
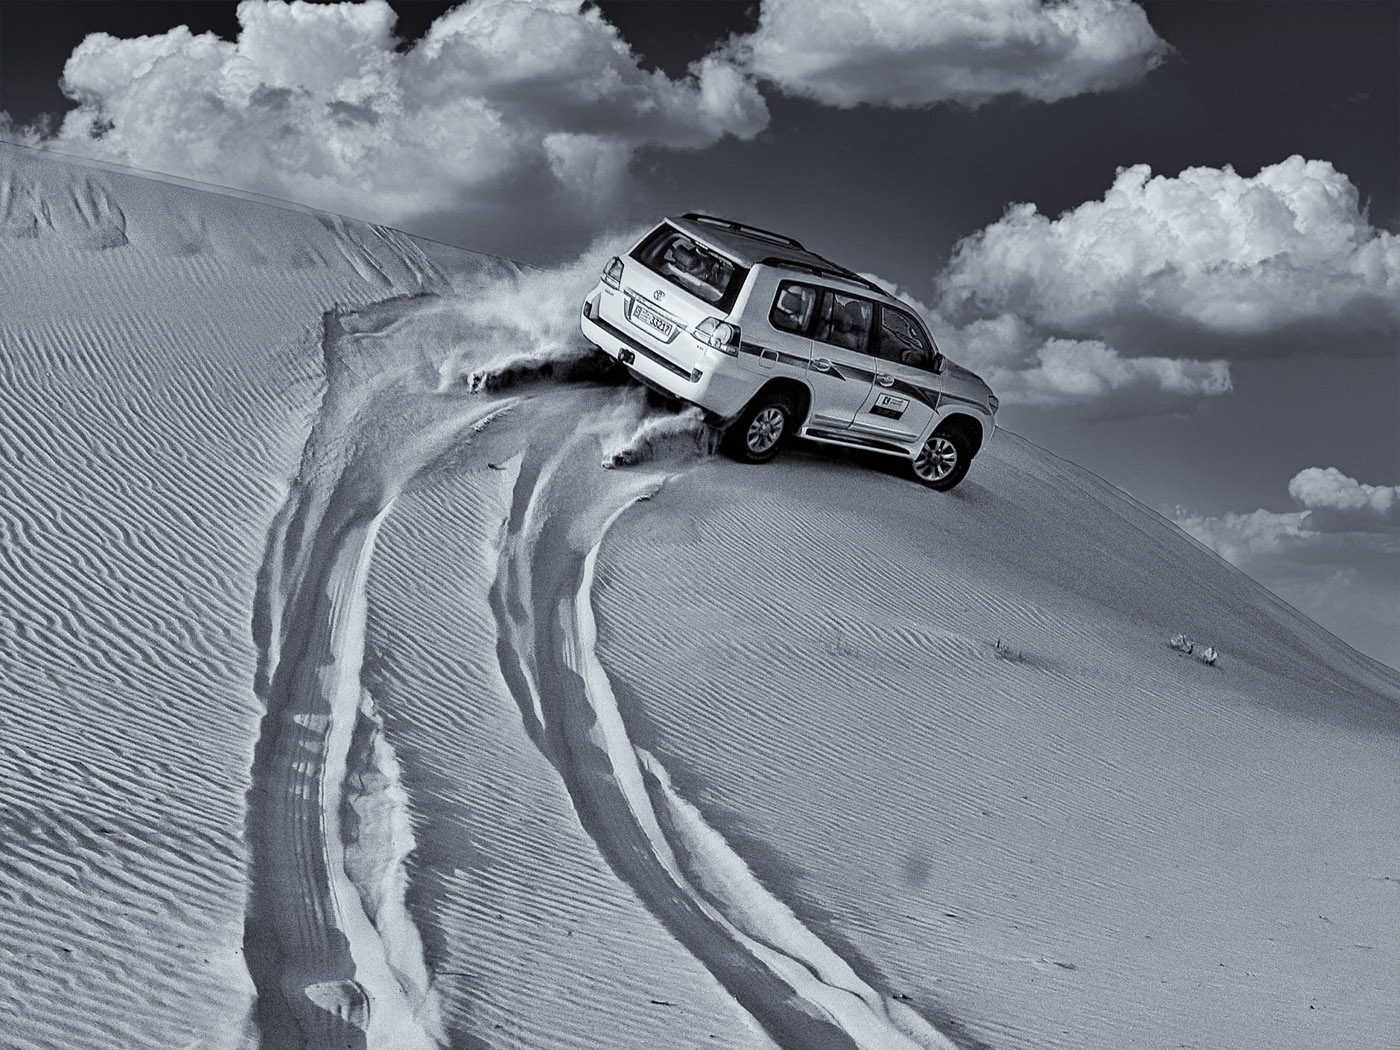
| 49 |
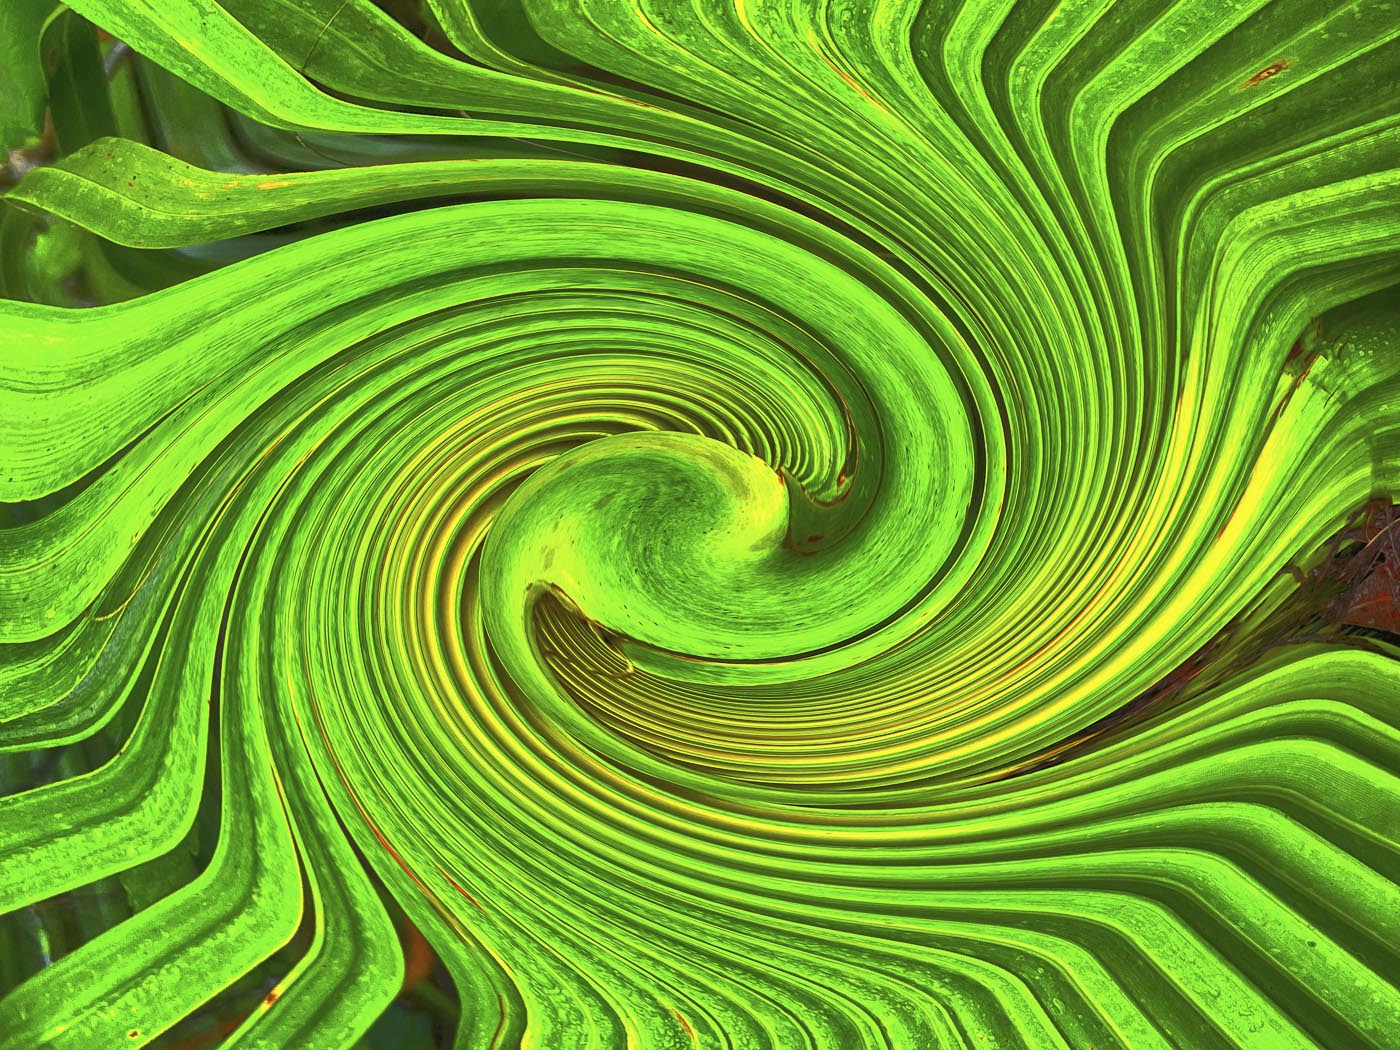
Jan 22 |
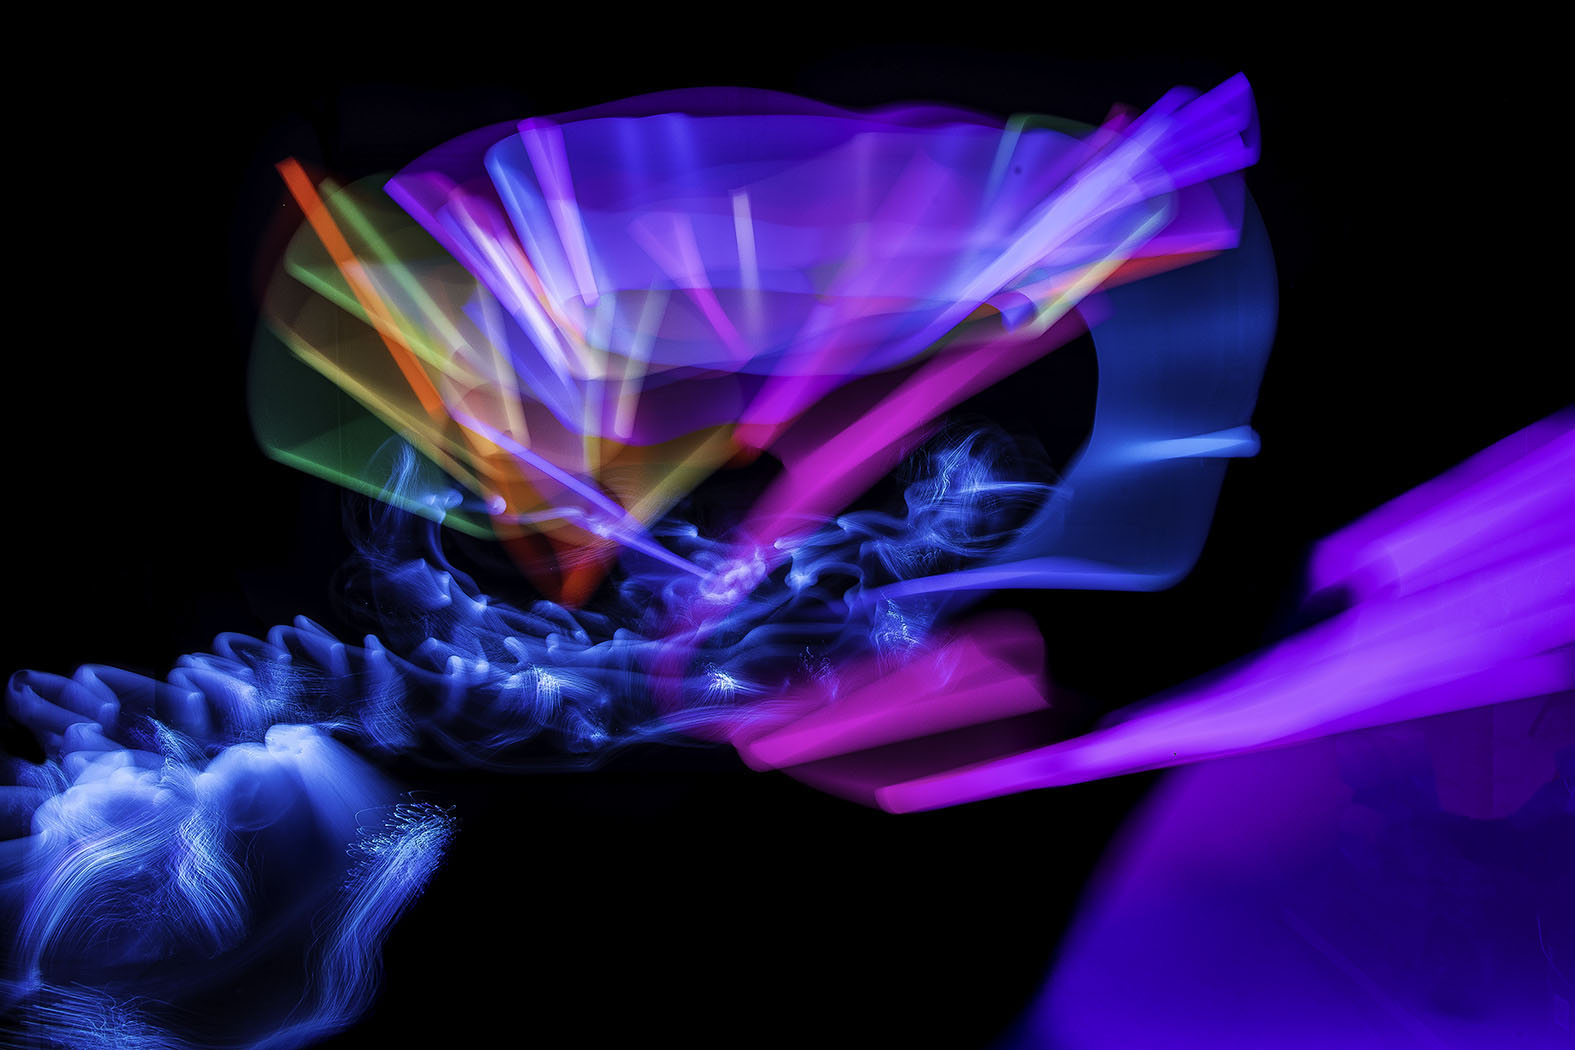
Comment |
Great abstract, but a couple of thoughts:
�� From the technical side, you most likely didn't need f 18 for so shallow a subject. Would it have been easier for you to shoot hand-held at 1/60th at f9?, or set your ISO to 200, and used 1/125 at f9? I don't think you would have any substantial loss of quality either way, and you would have had an opportunity to try slightly different angles. I myself often find I'm subject to "tripoditis", having used 4 x5 view cameras in my film days, but I'm breaking myself of the habit. It's often freeing to try to shoot high, shoot low, or from either side to see the effects.
�� From the artistic side, I think the viewer needs a clue here. Maybe waiting for a bird to fly by, or a pedestrian, would help give us some context. |
Jan 9th |
5 comments - 3 replies for Group 49
|
5 comments - 3 replies Total
|