|
| Group |
Round |
C/R |
Comment |
Date |
Image |
| 32 |
Feb 26 |
Reply |
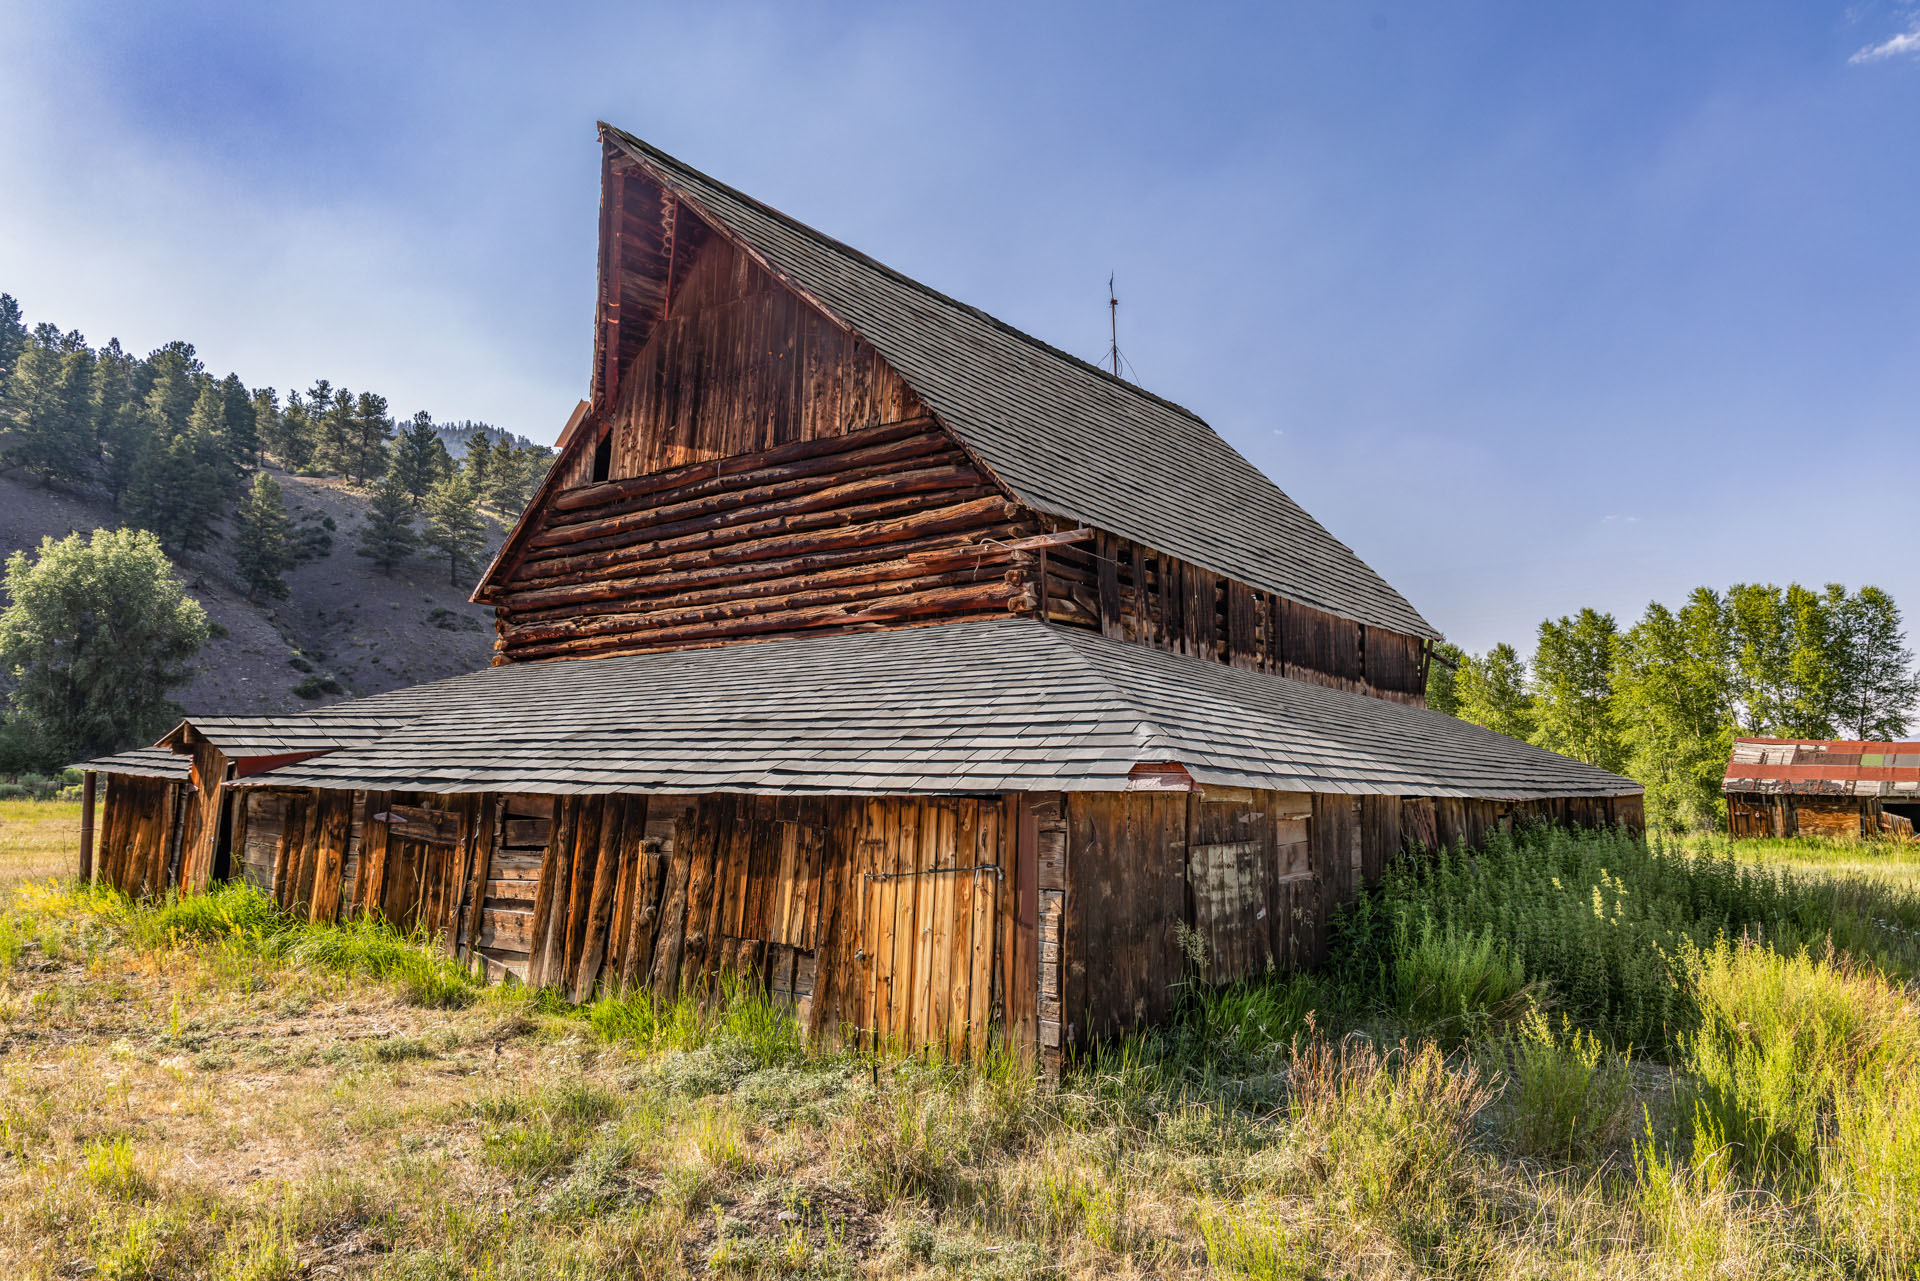
I think the version looks a little "over cooked" |
Feb 25th |
| 32 |
Feb 26 |
Comment |
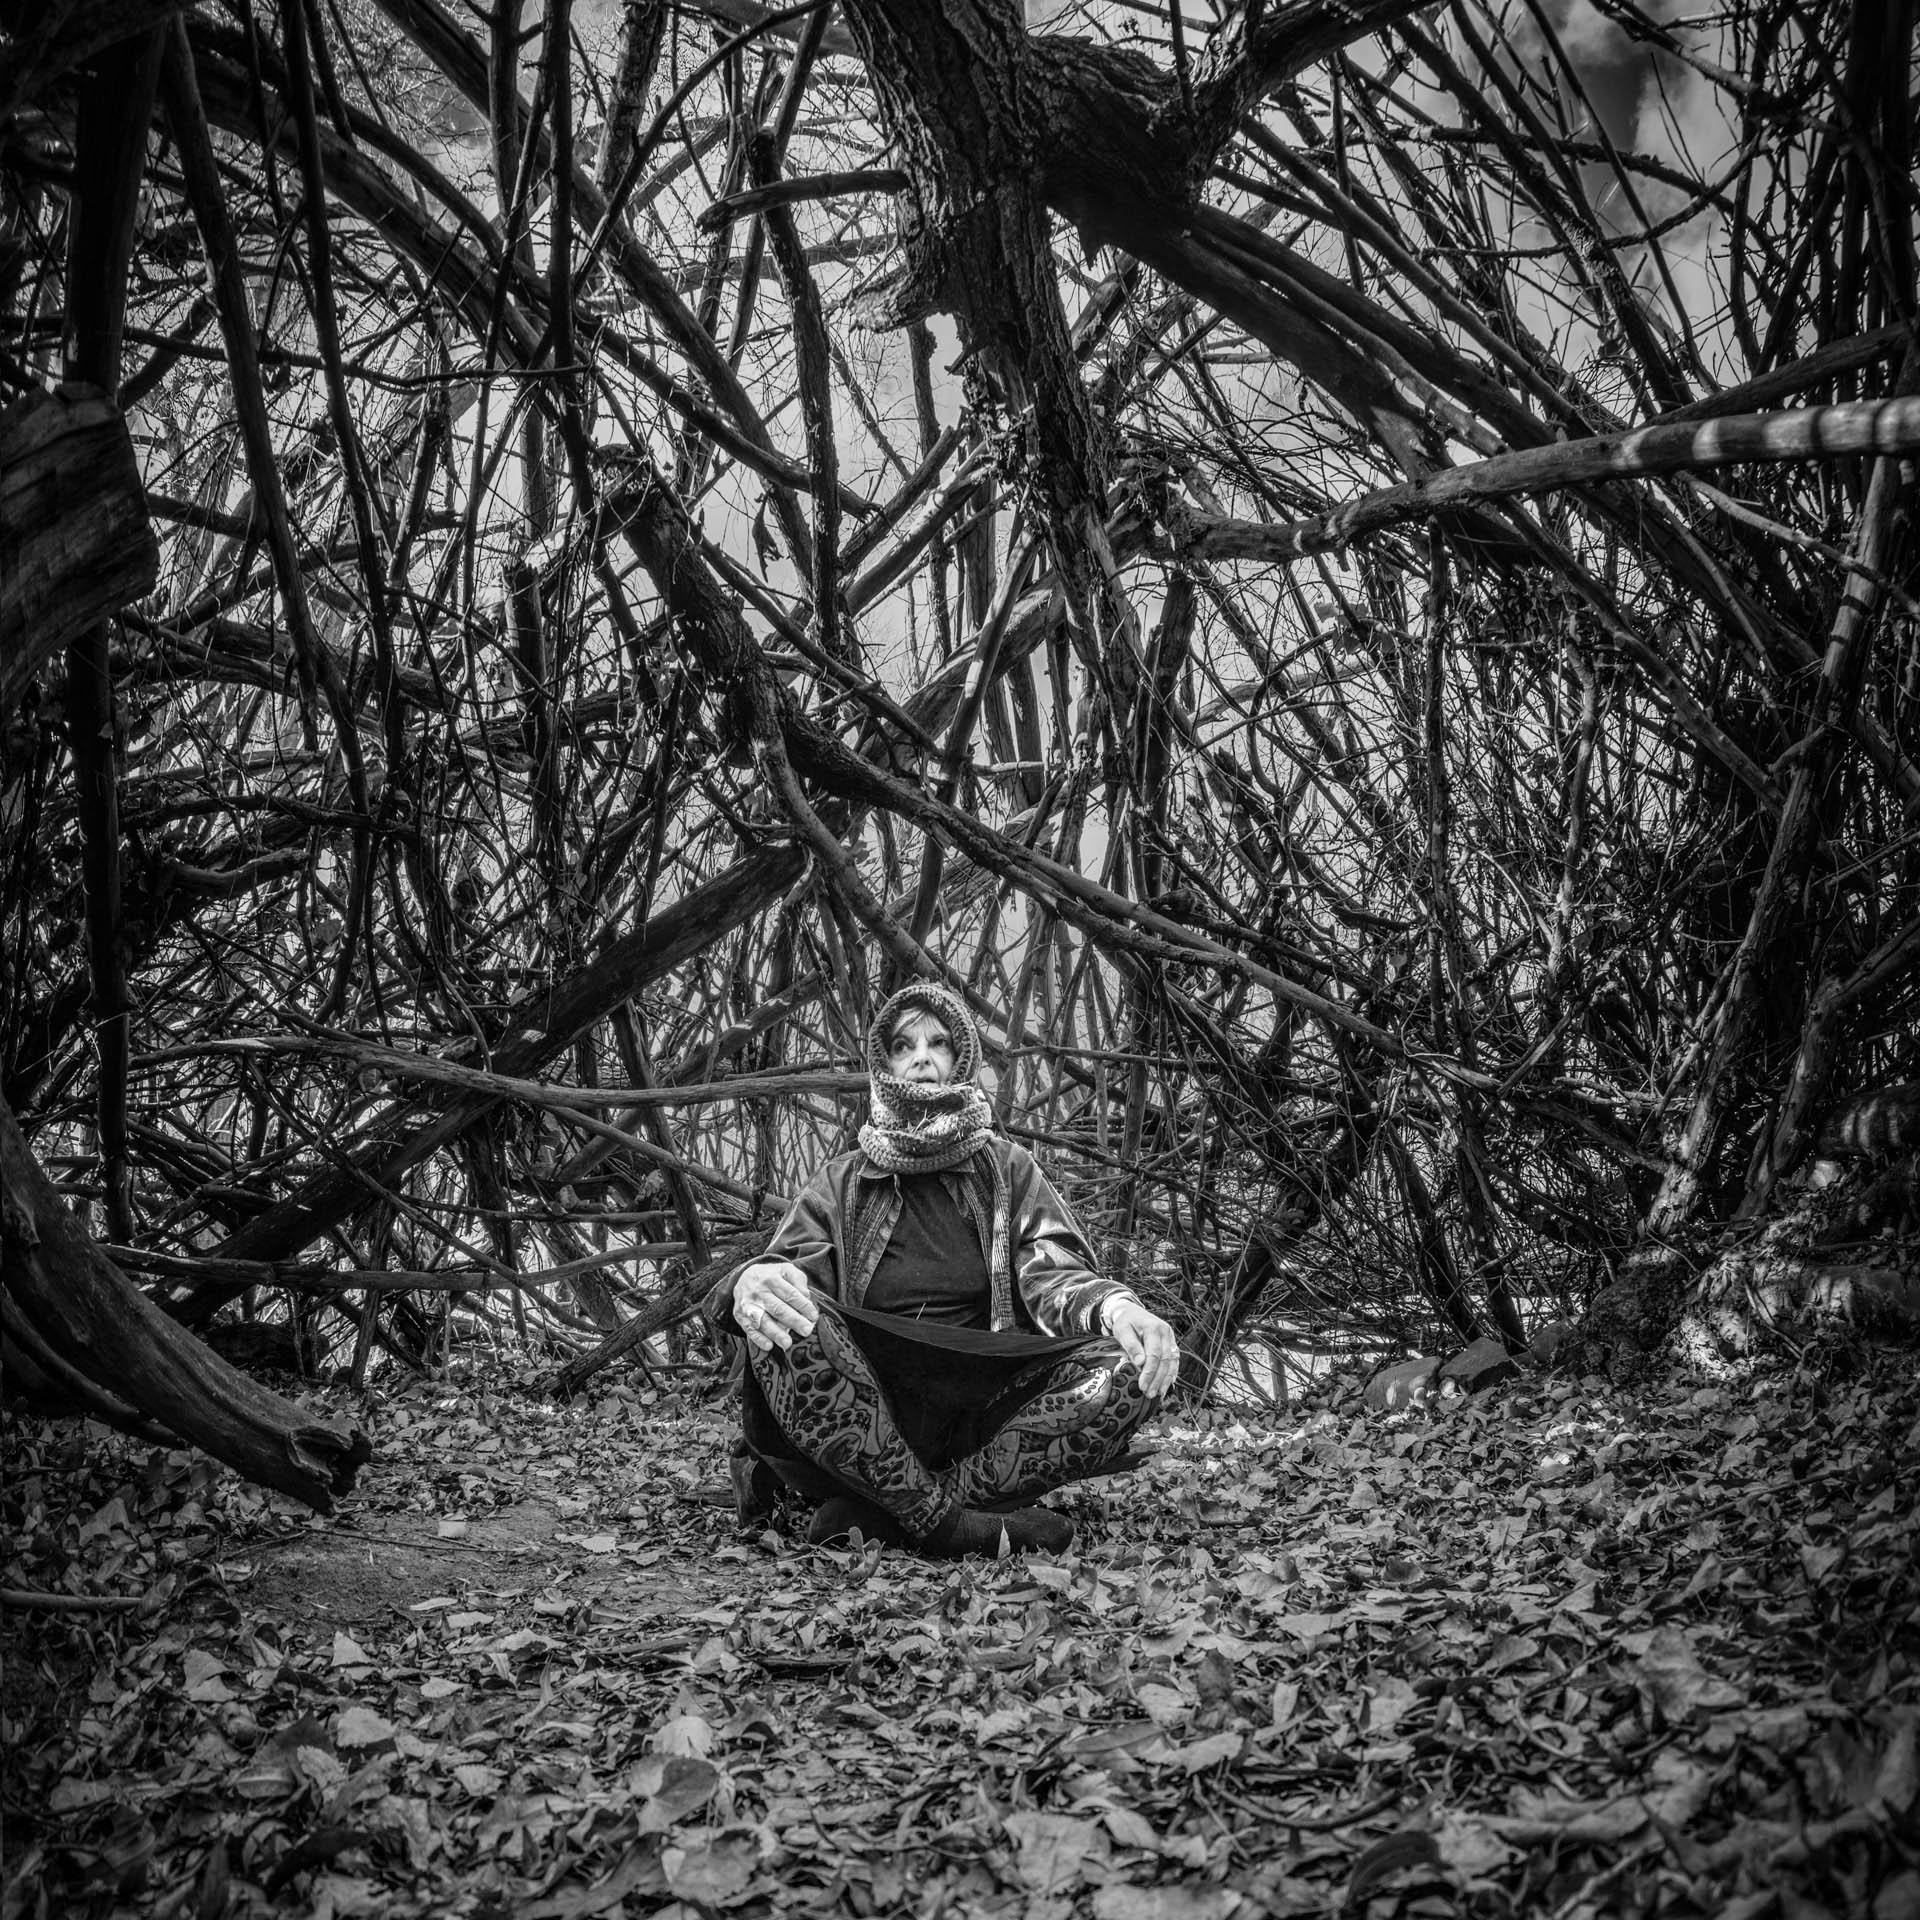
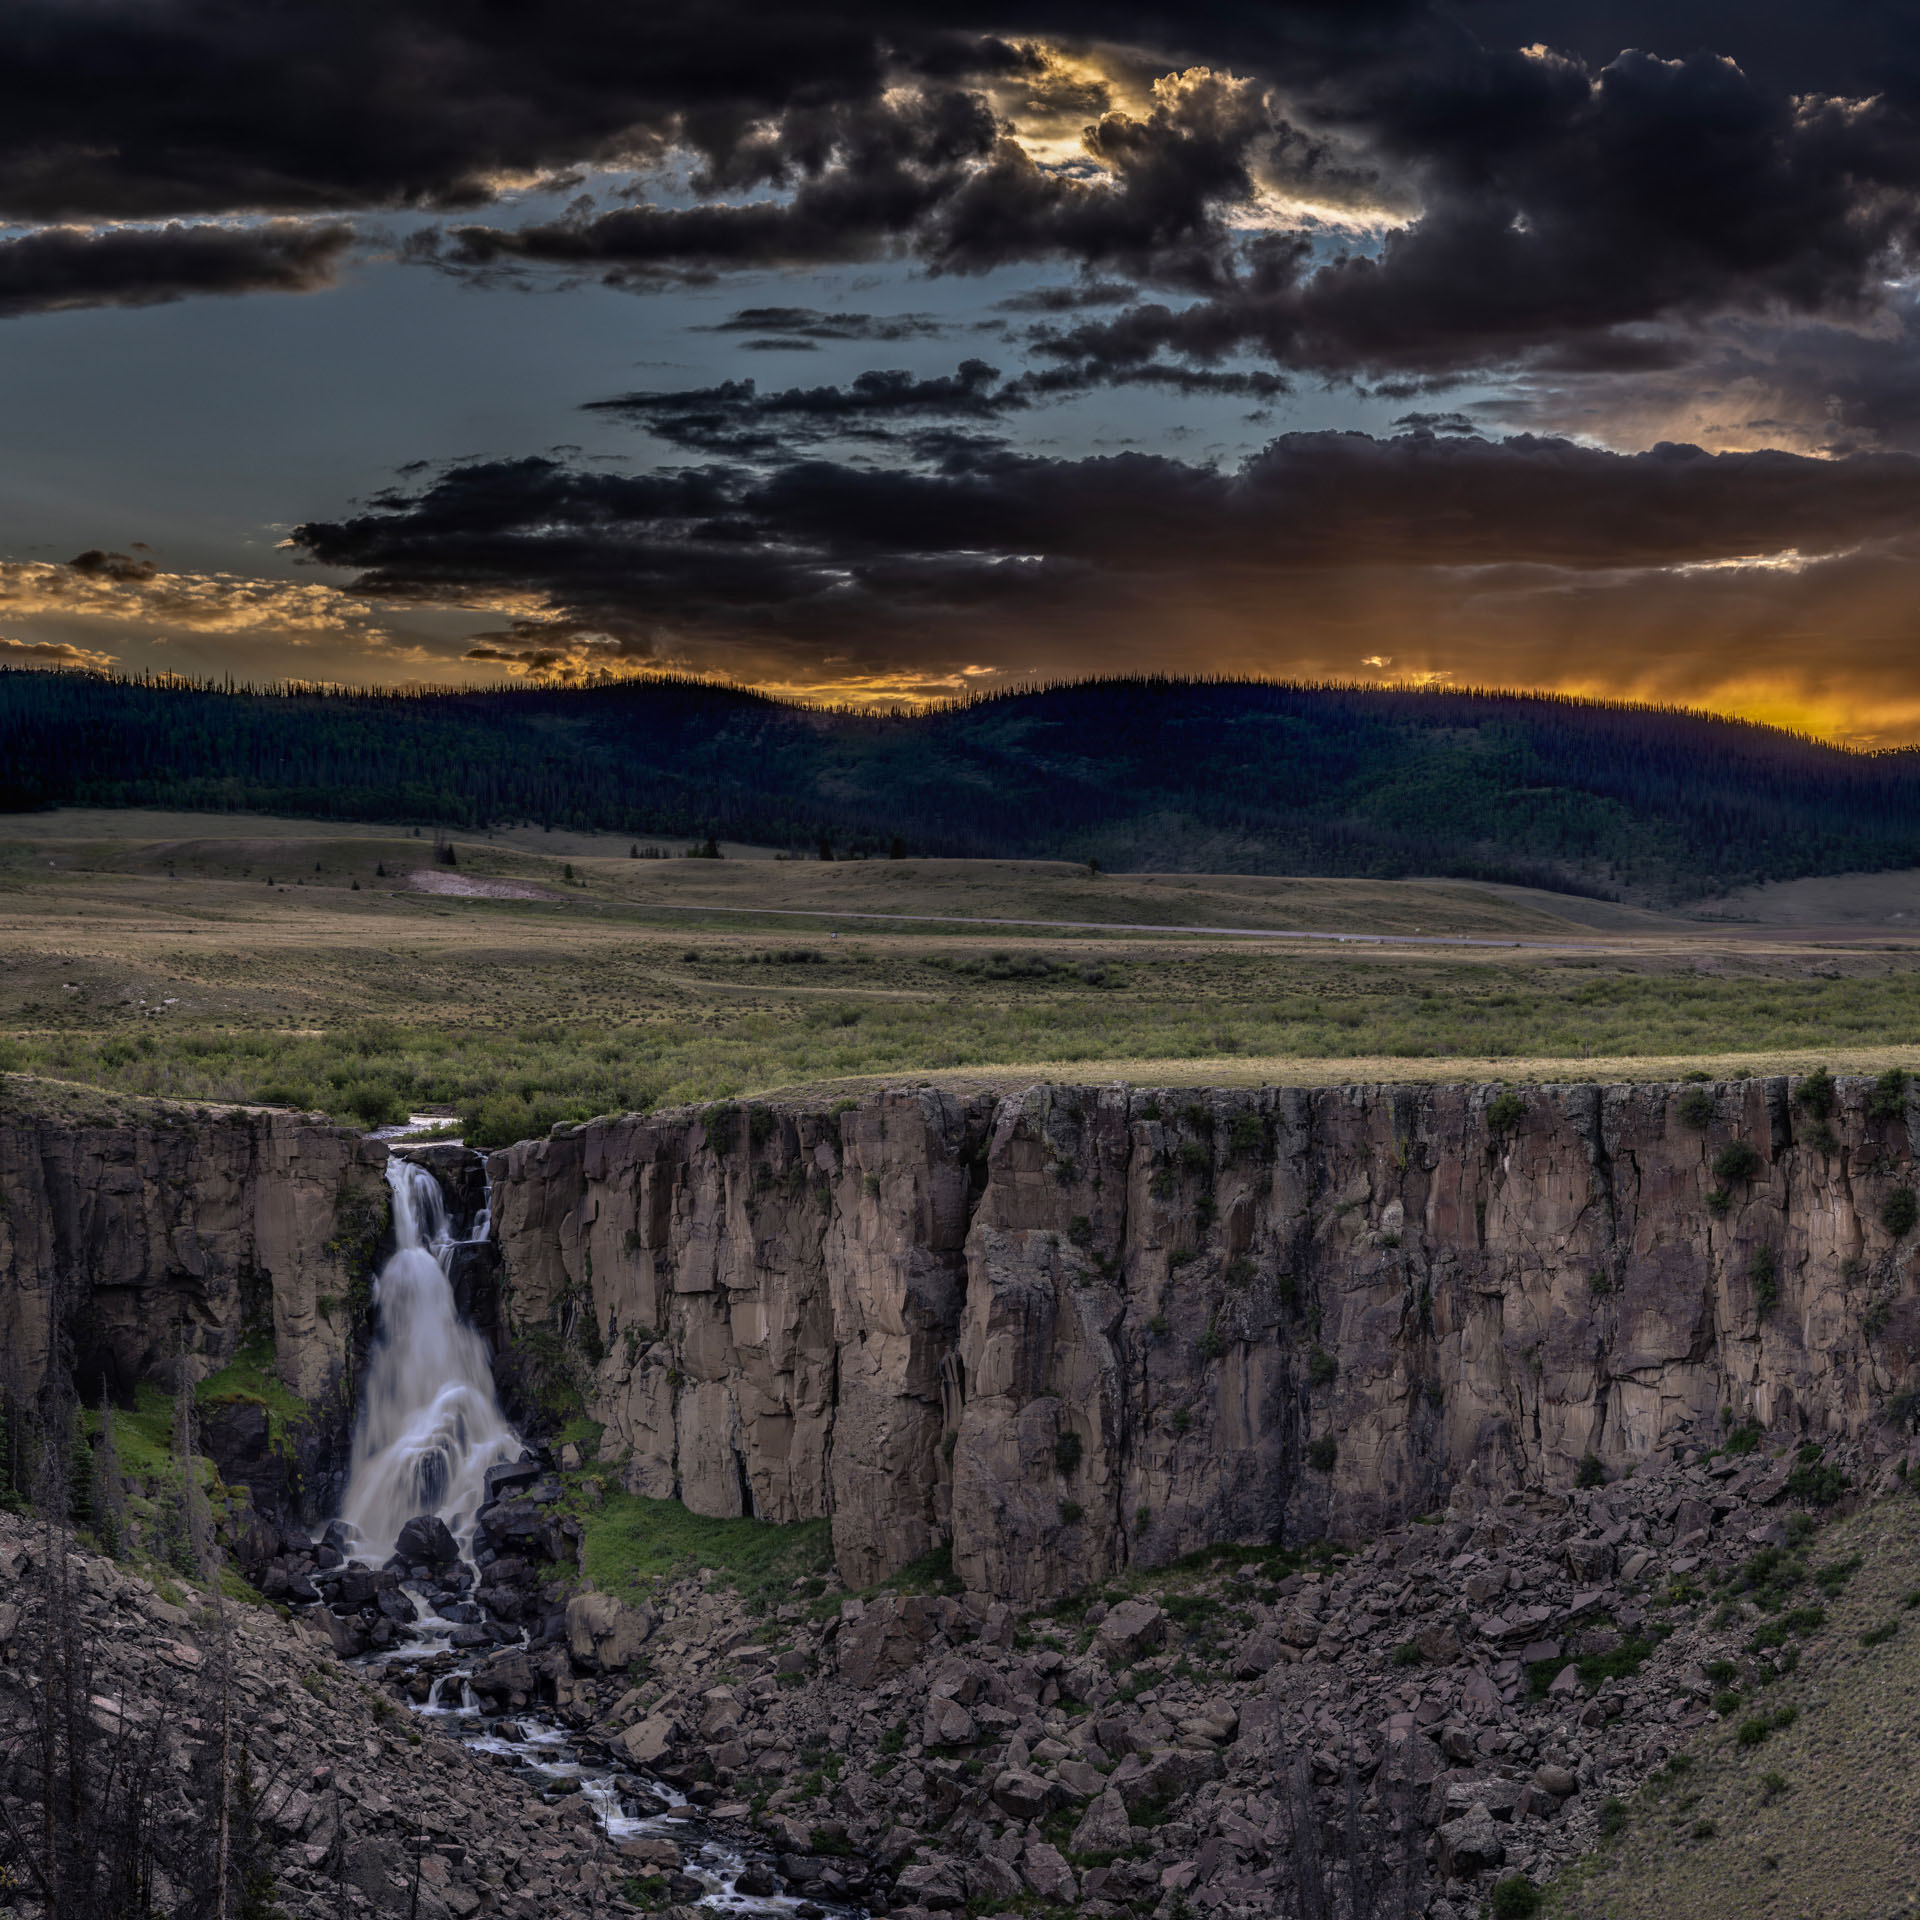
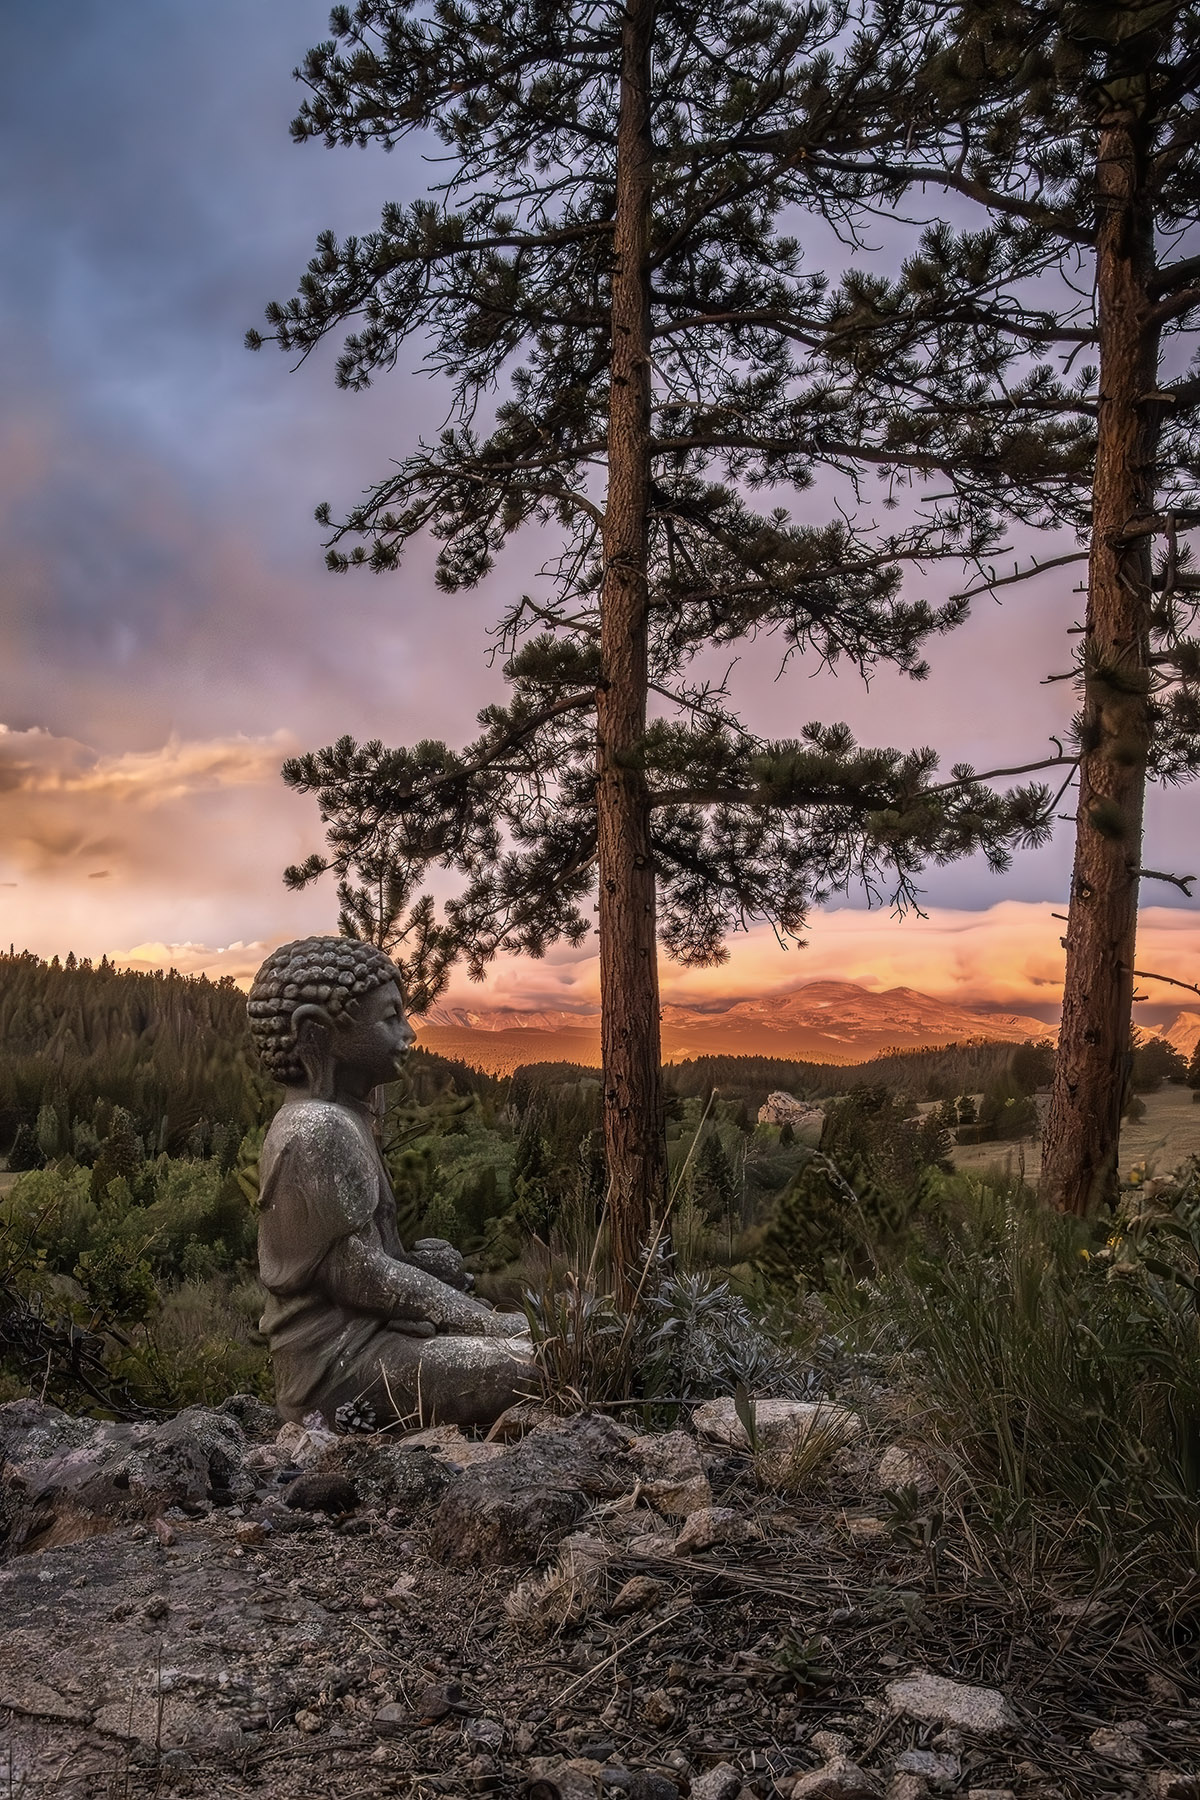
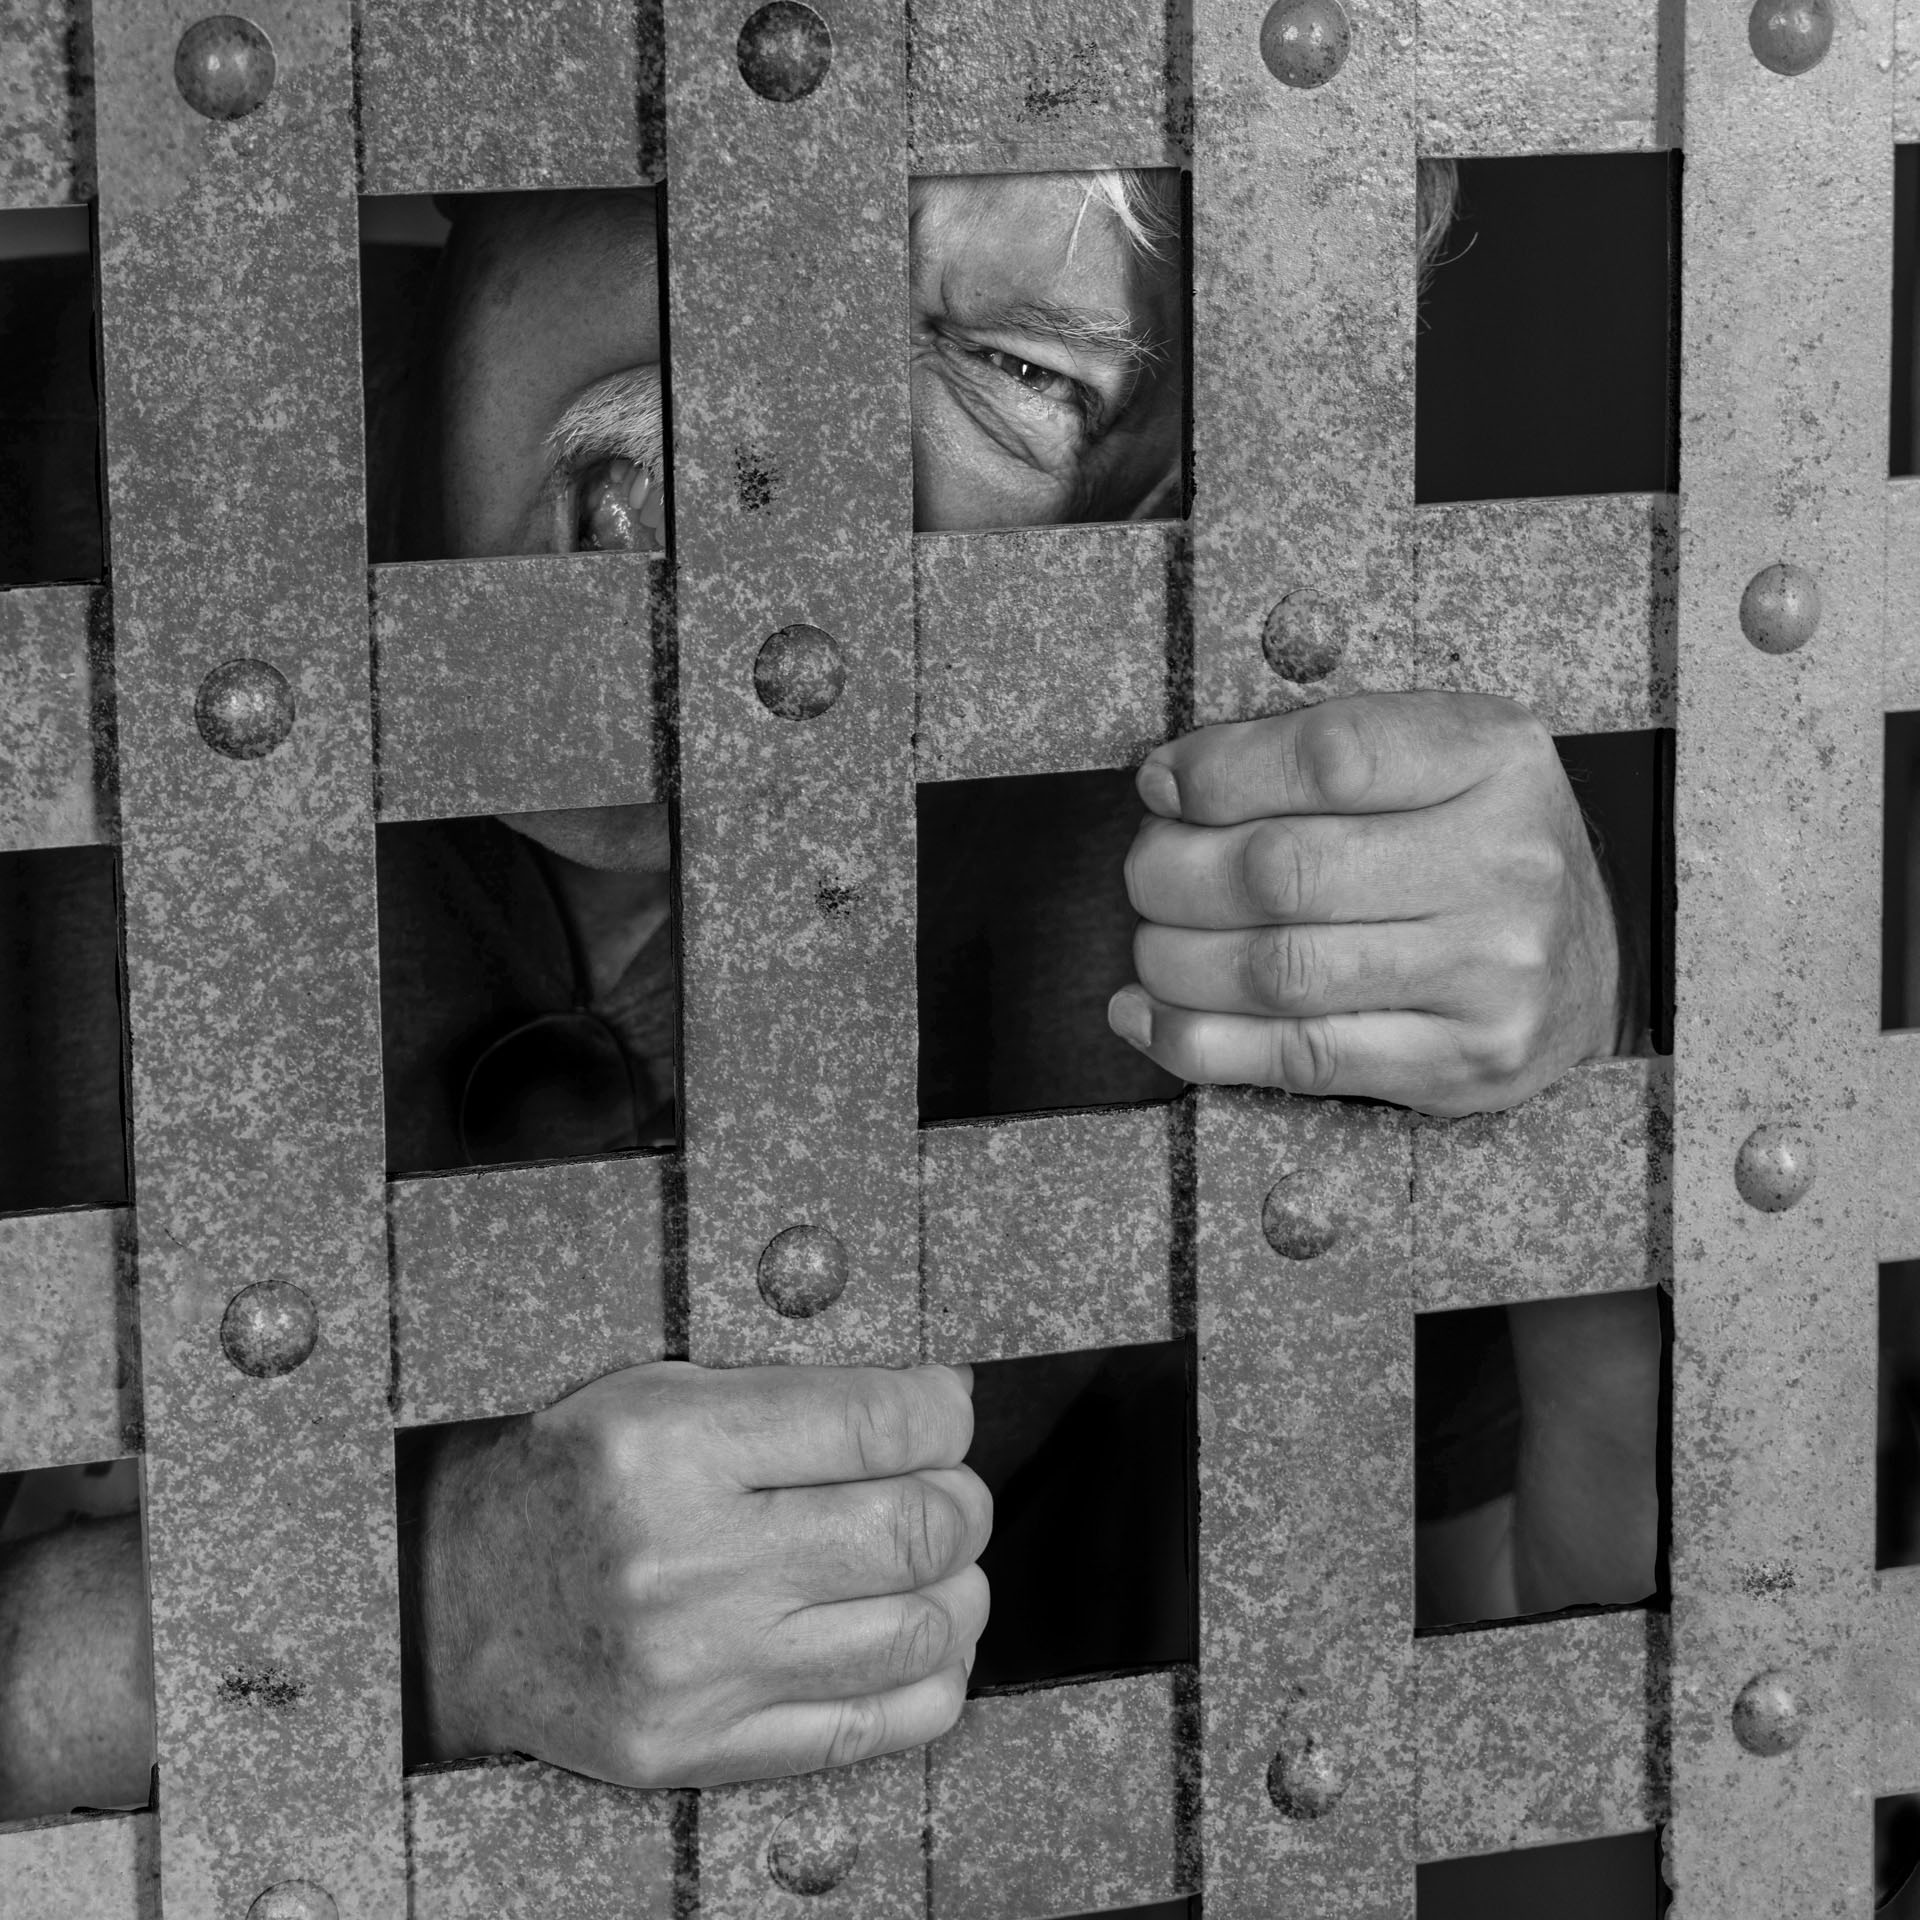
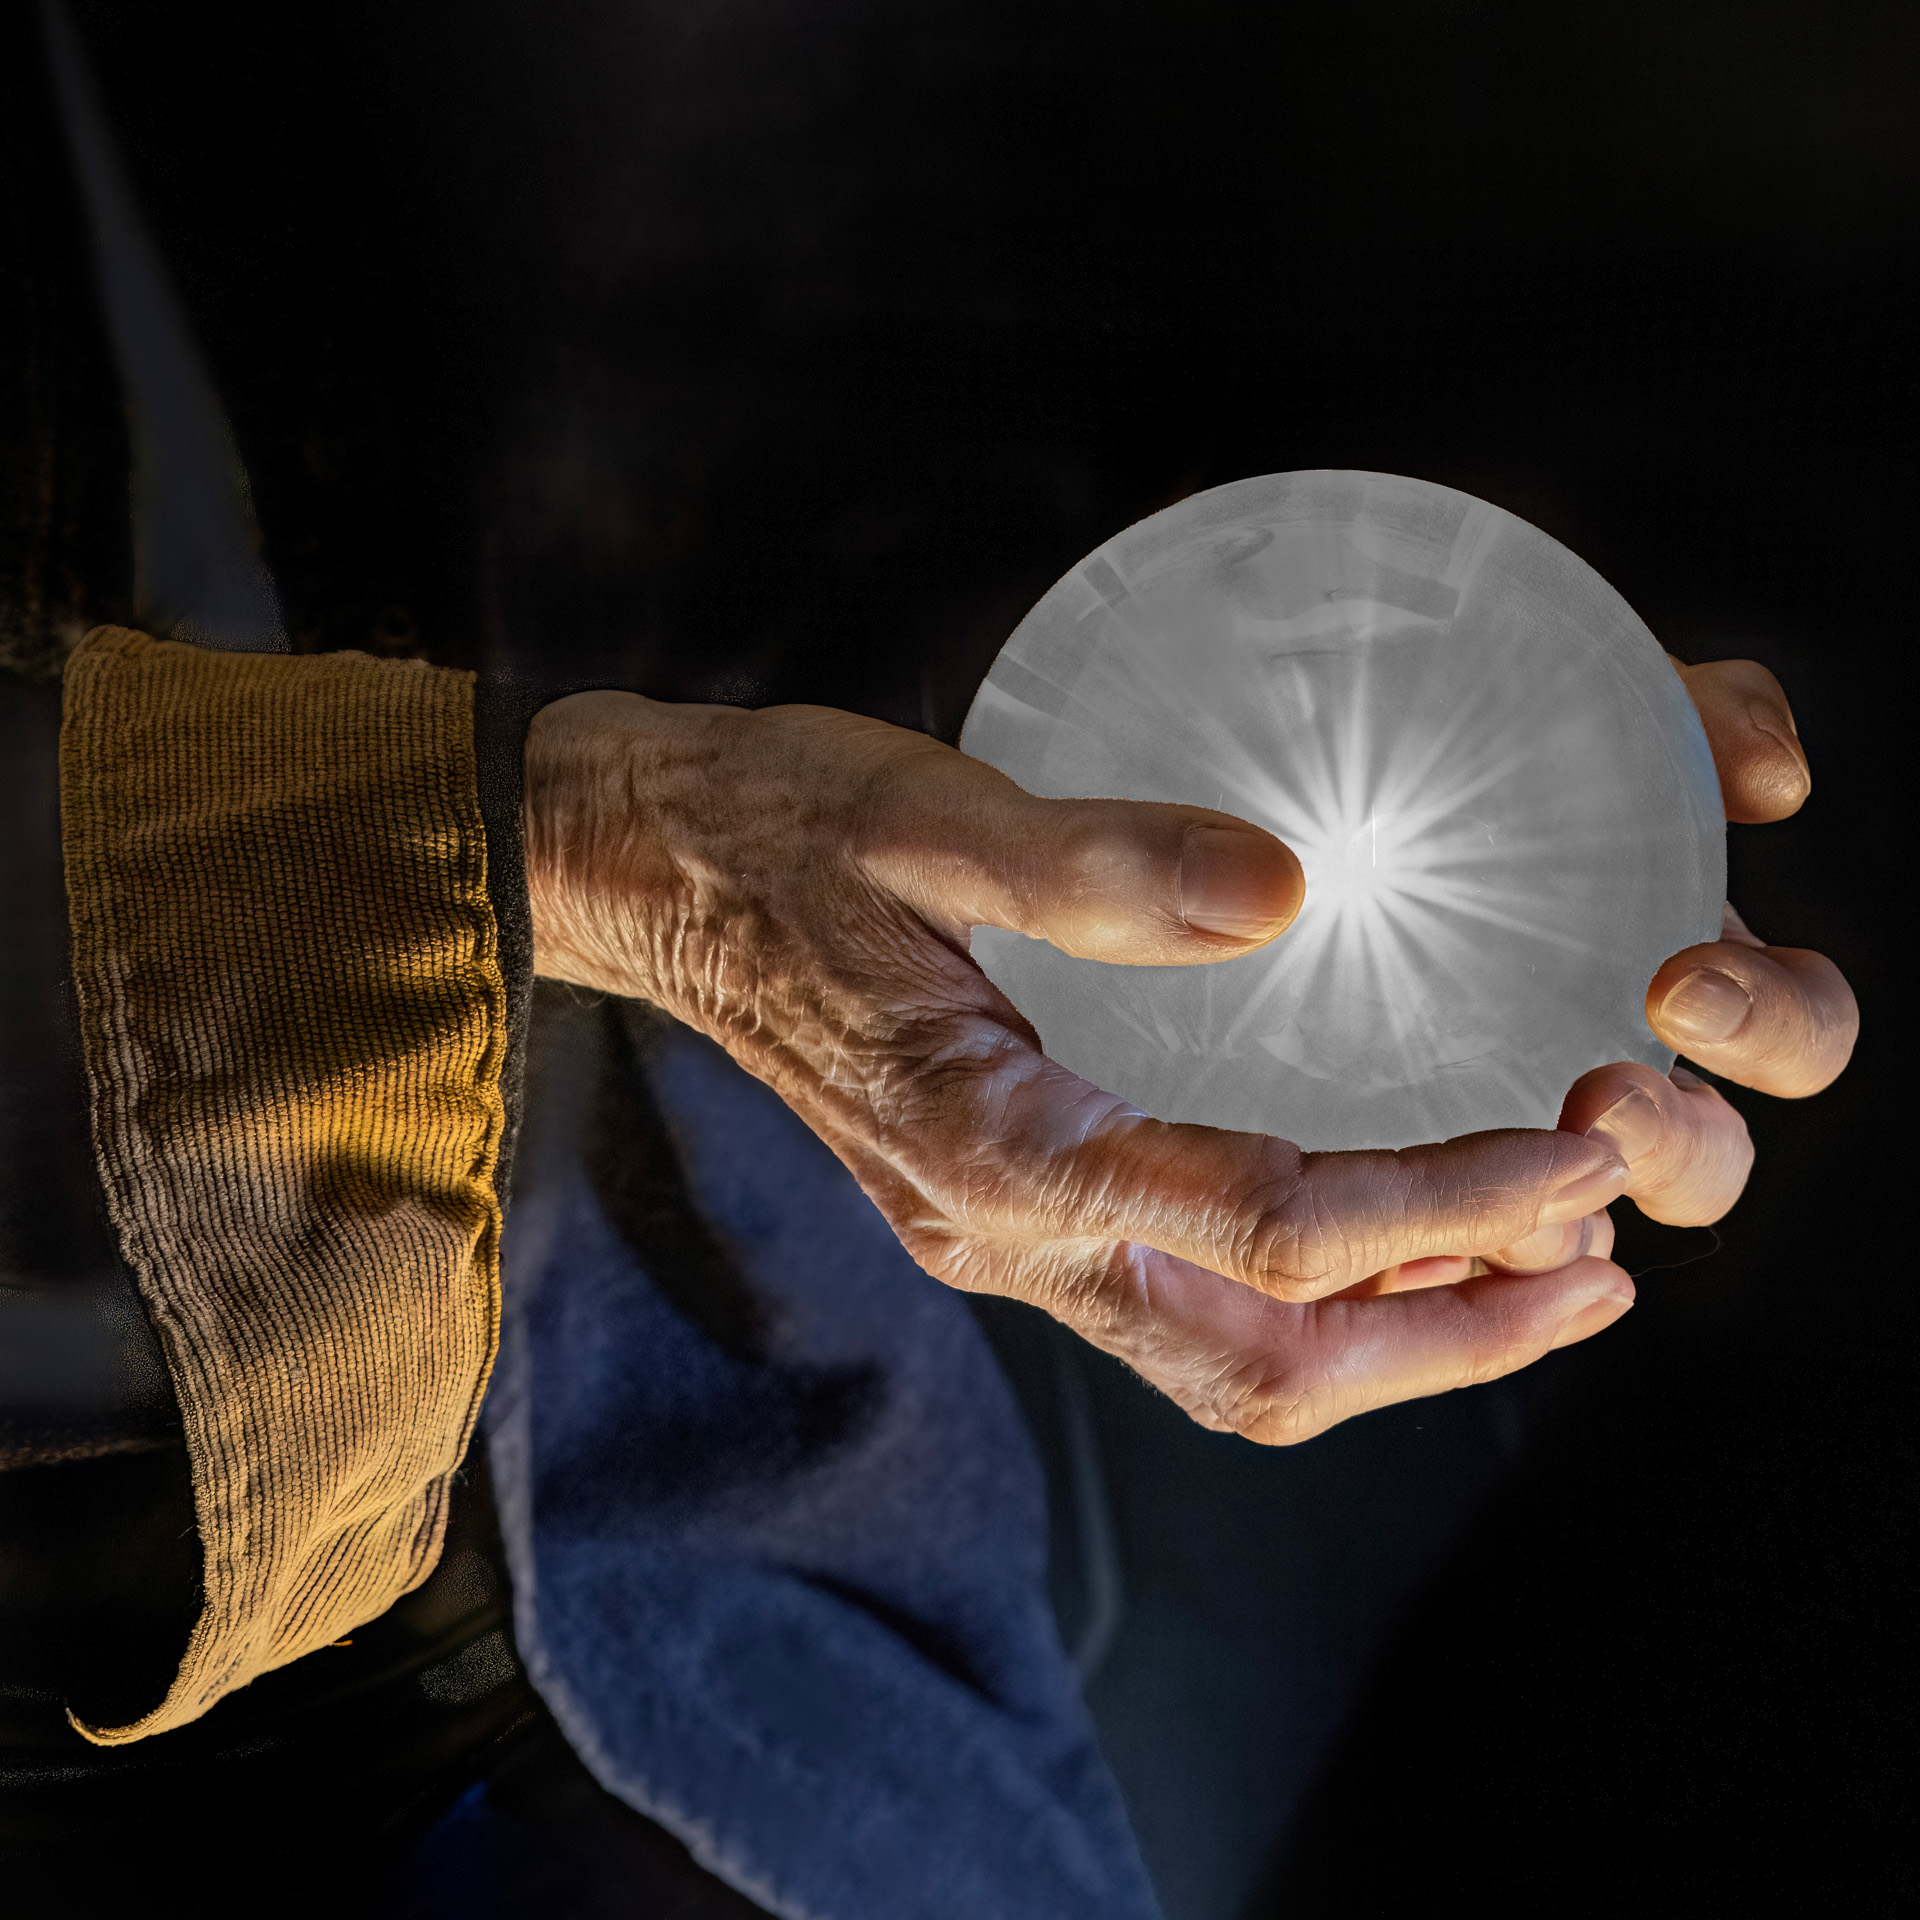
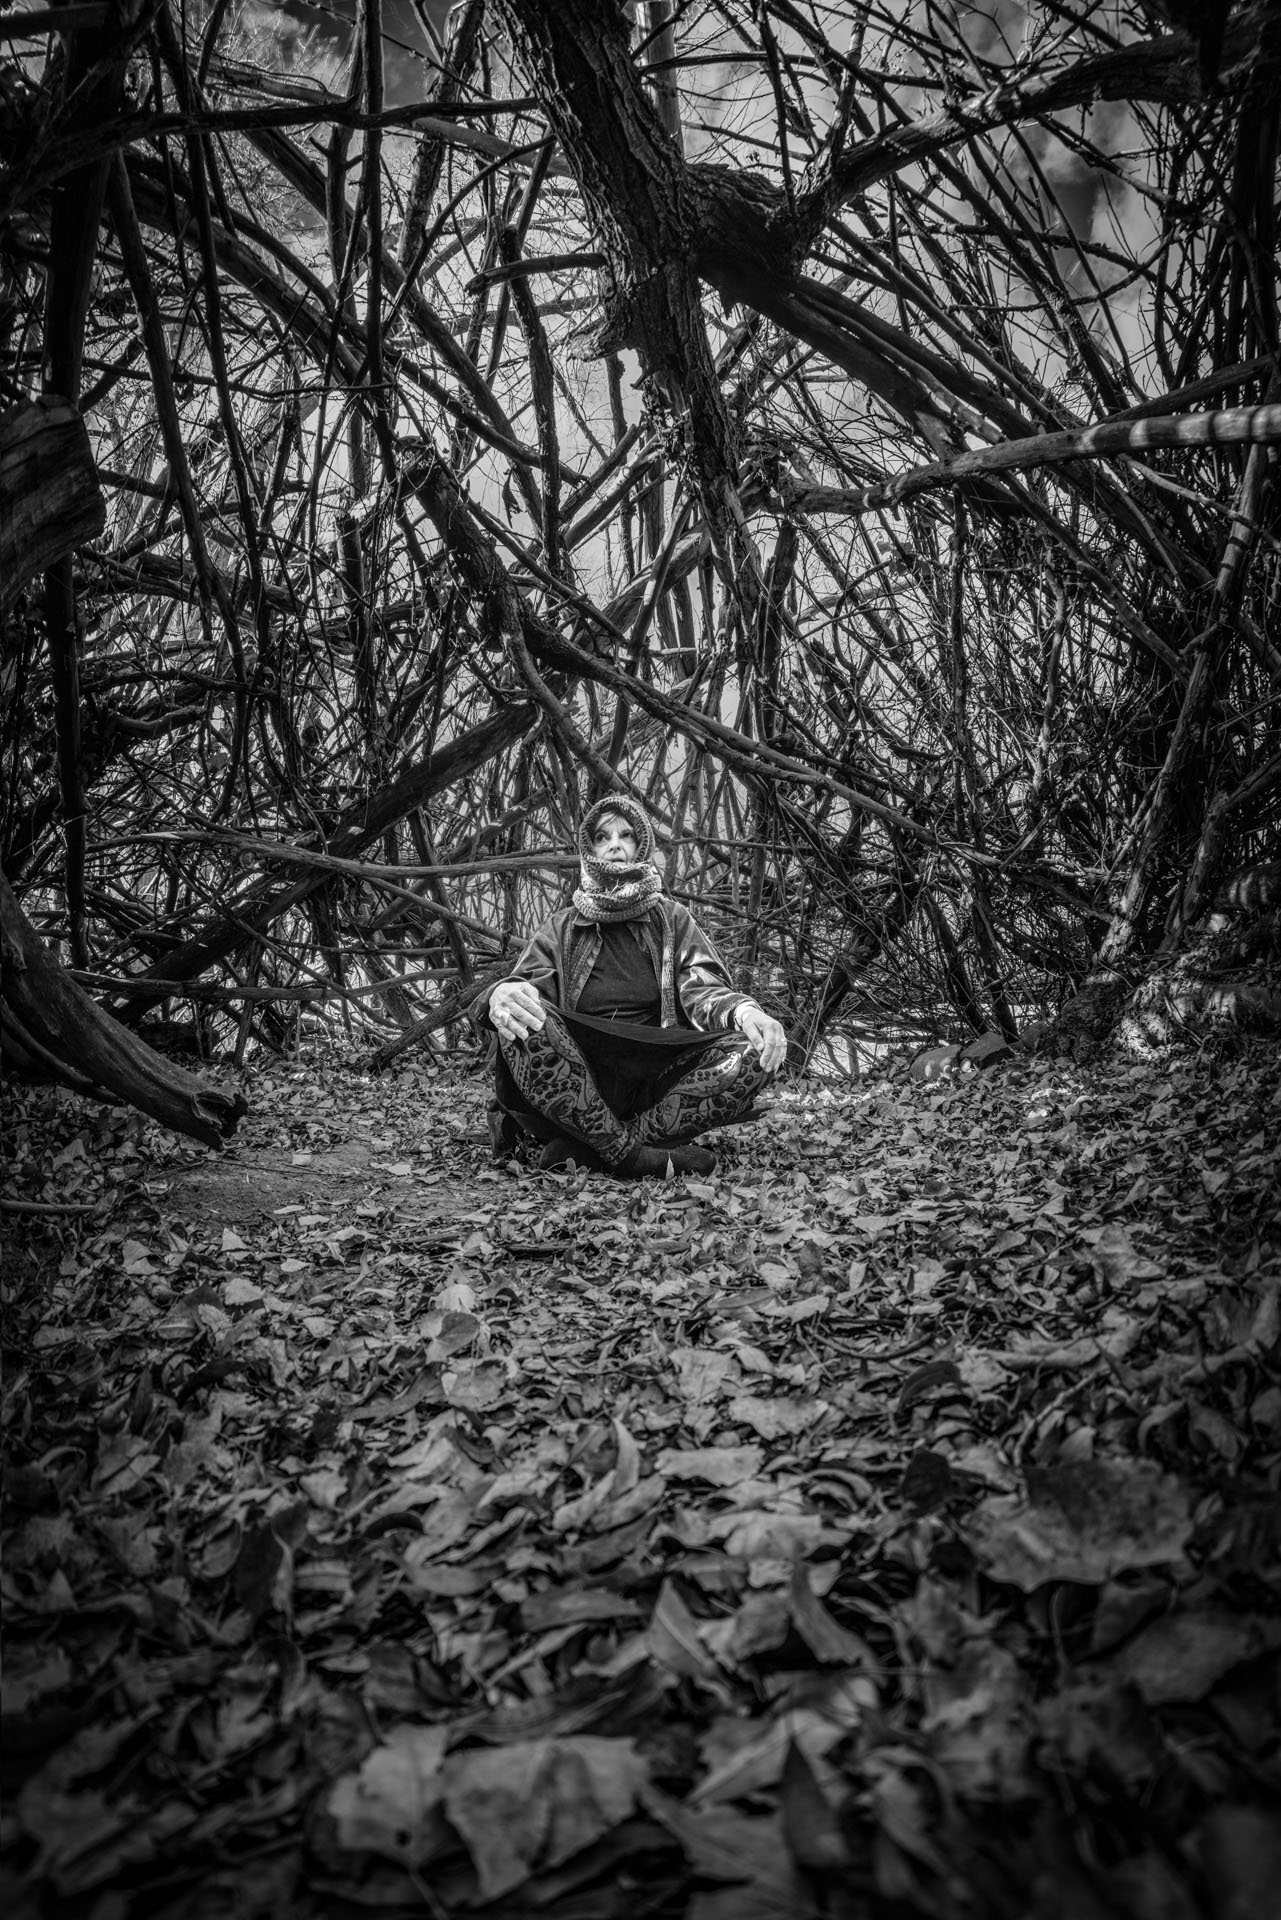
A great photo! The instant I saw it I though it needed a luminosity mask (like I talked about in response to Diana's comment on my post) so I added one applied to a brightness/contrast adjustment layer in Photoshop. What do you think? |
Feb 11th |
 |
| 32 |
Feb 26 |
Comment |
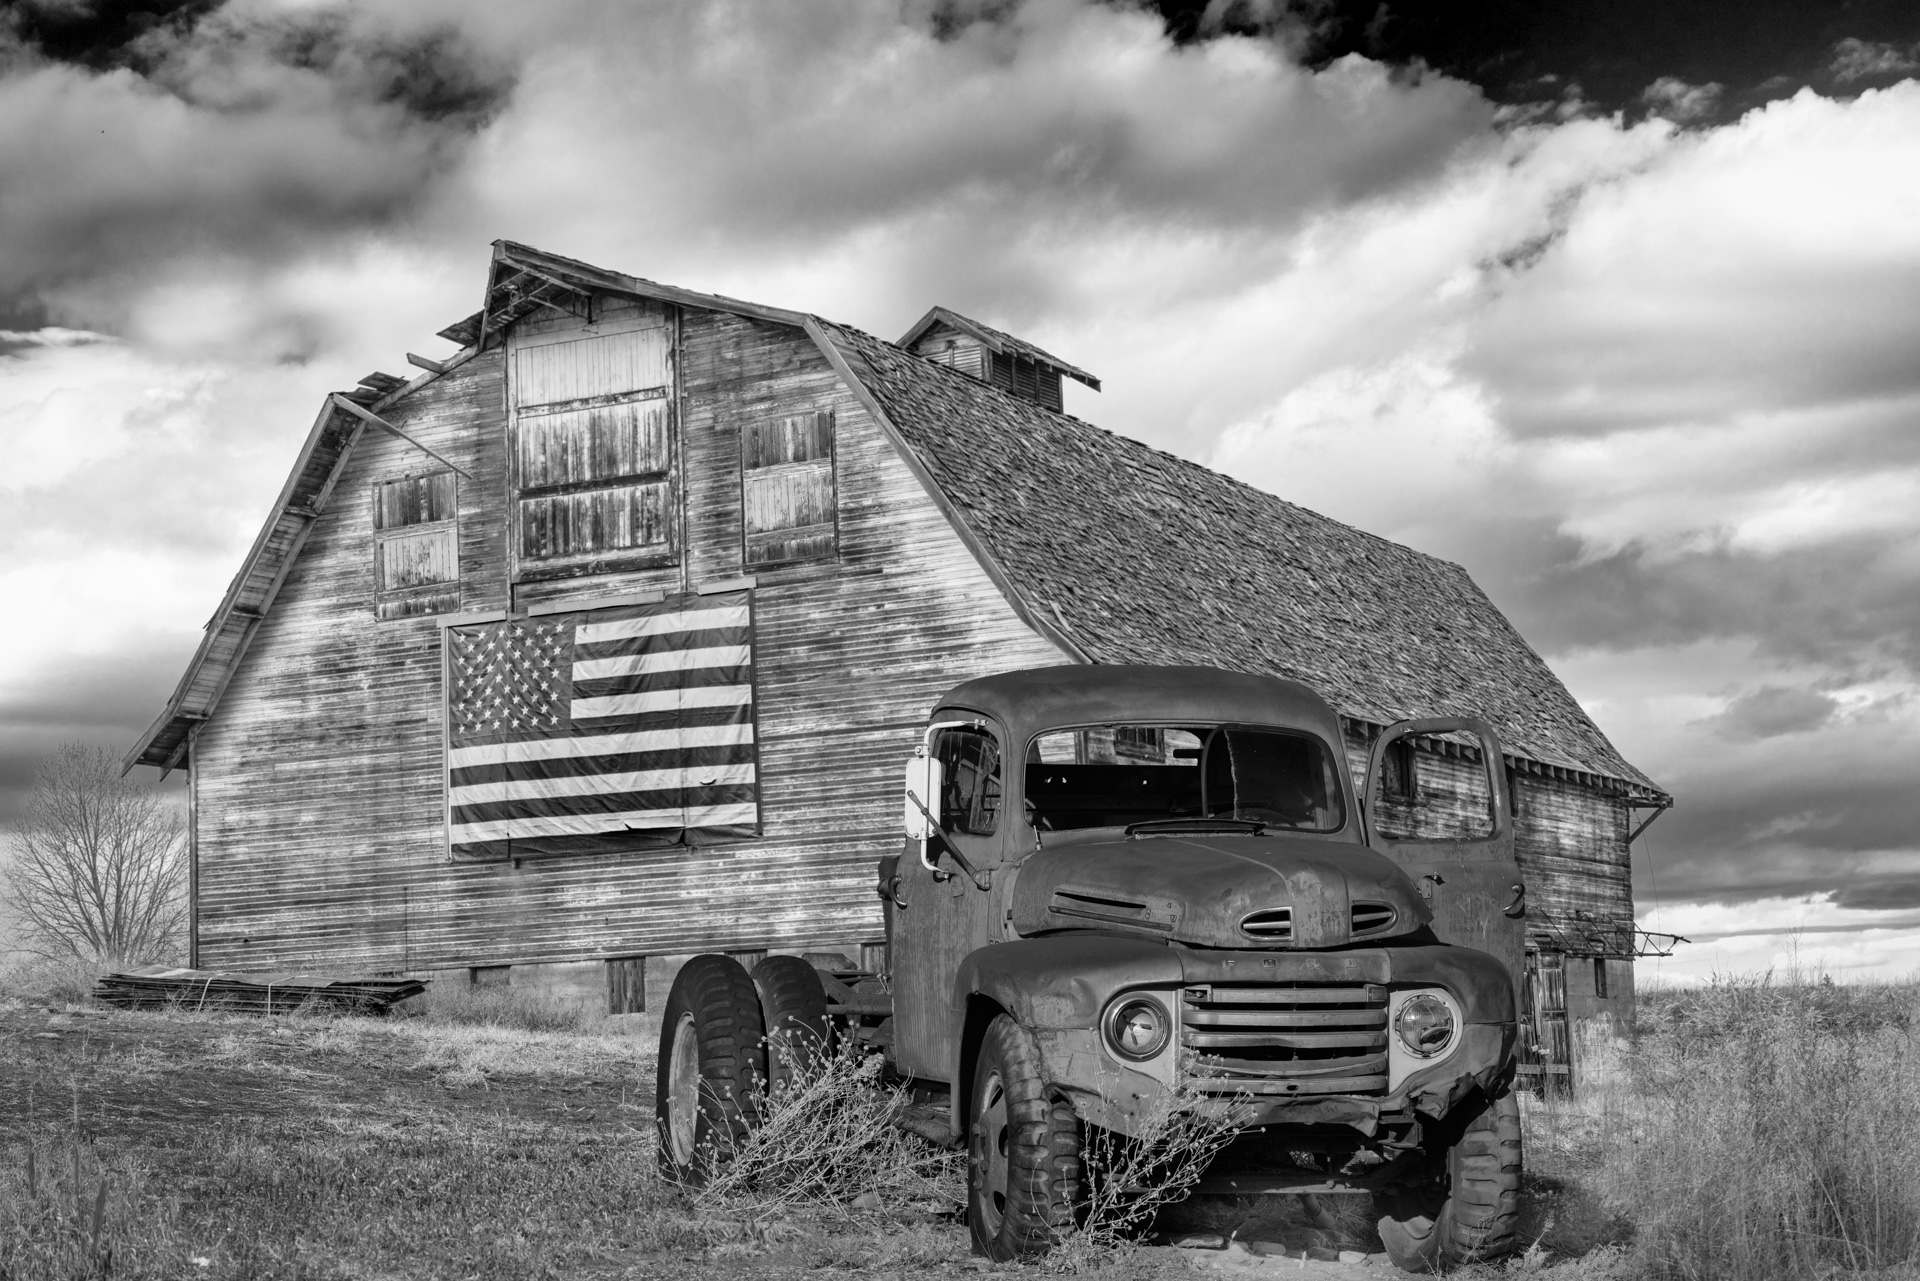
This is really nice. The antique look is great. The only thing I would suggest is to darken the gloves a bit as I find them distracting. |
Feb 11th |
| 32 |
Feb 26 |
Comment |
I my thoughts are in line with Diana's so: what she said. |
Feb 11th |
| 32 |
Feb 26 |
Comment |
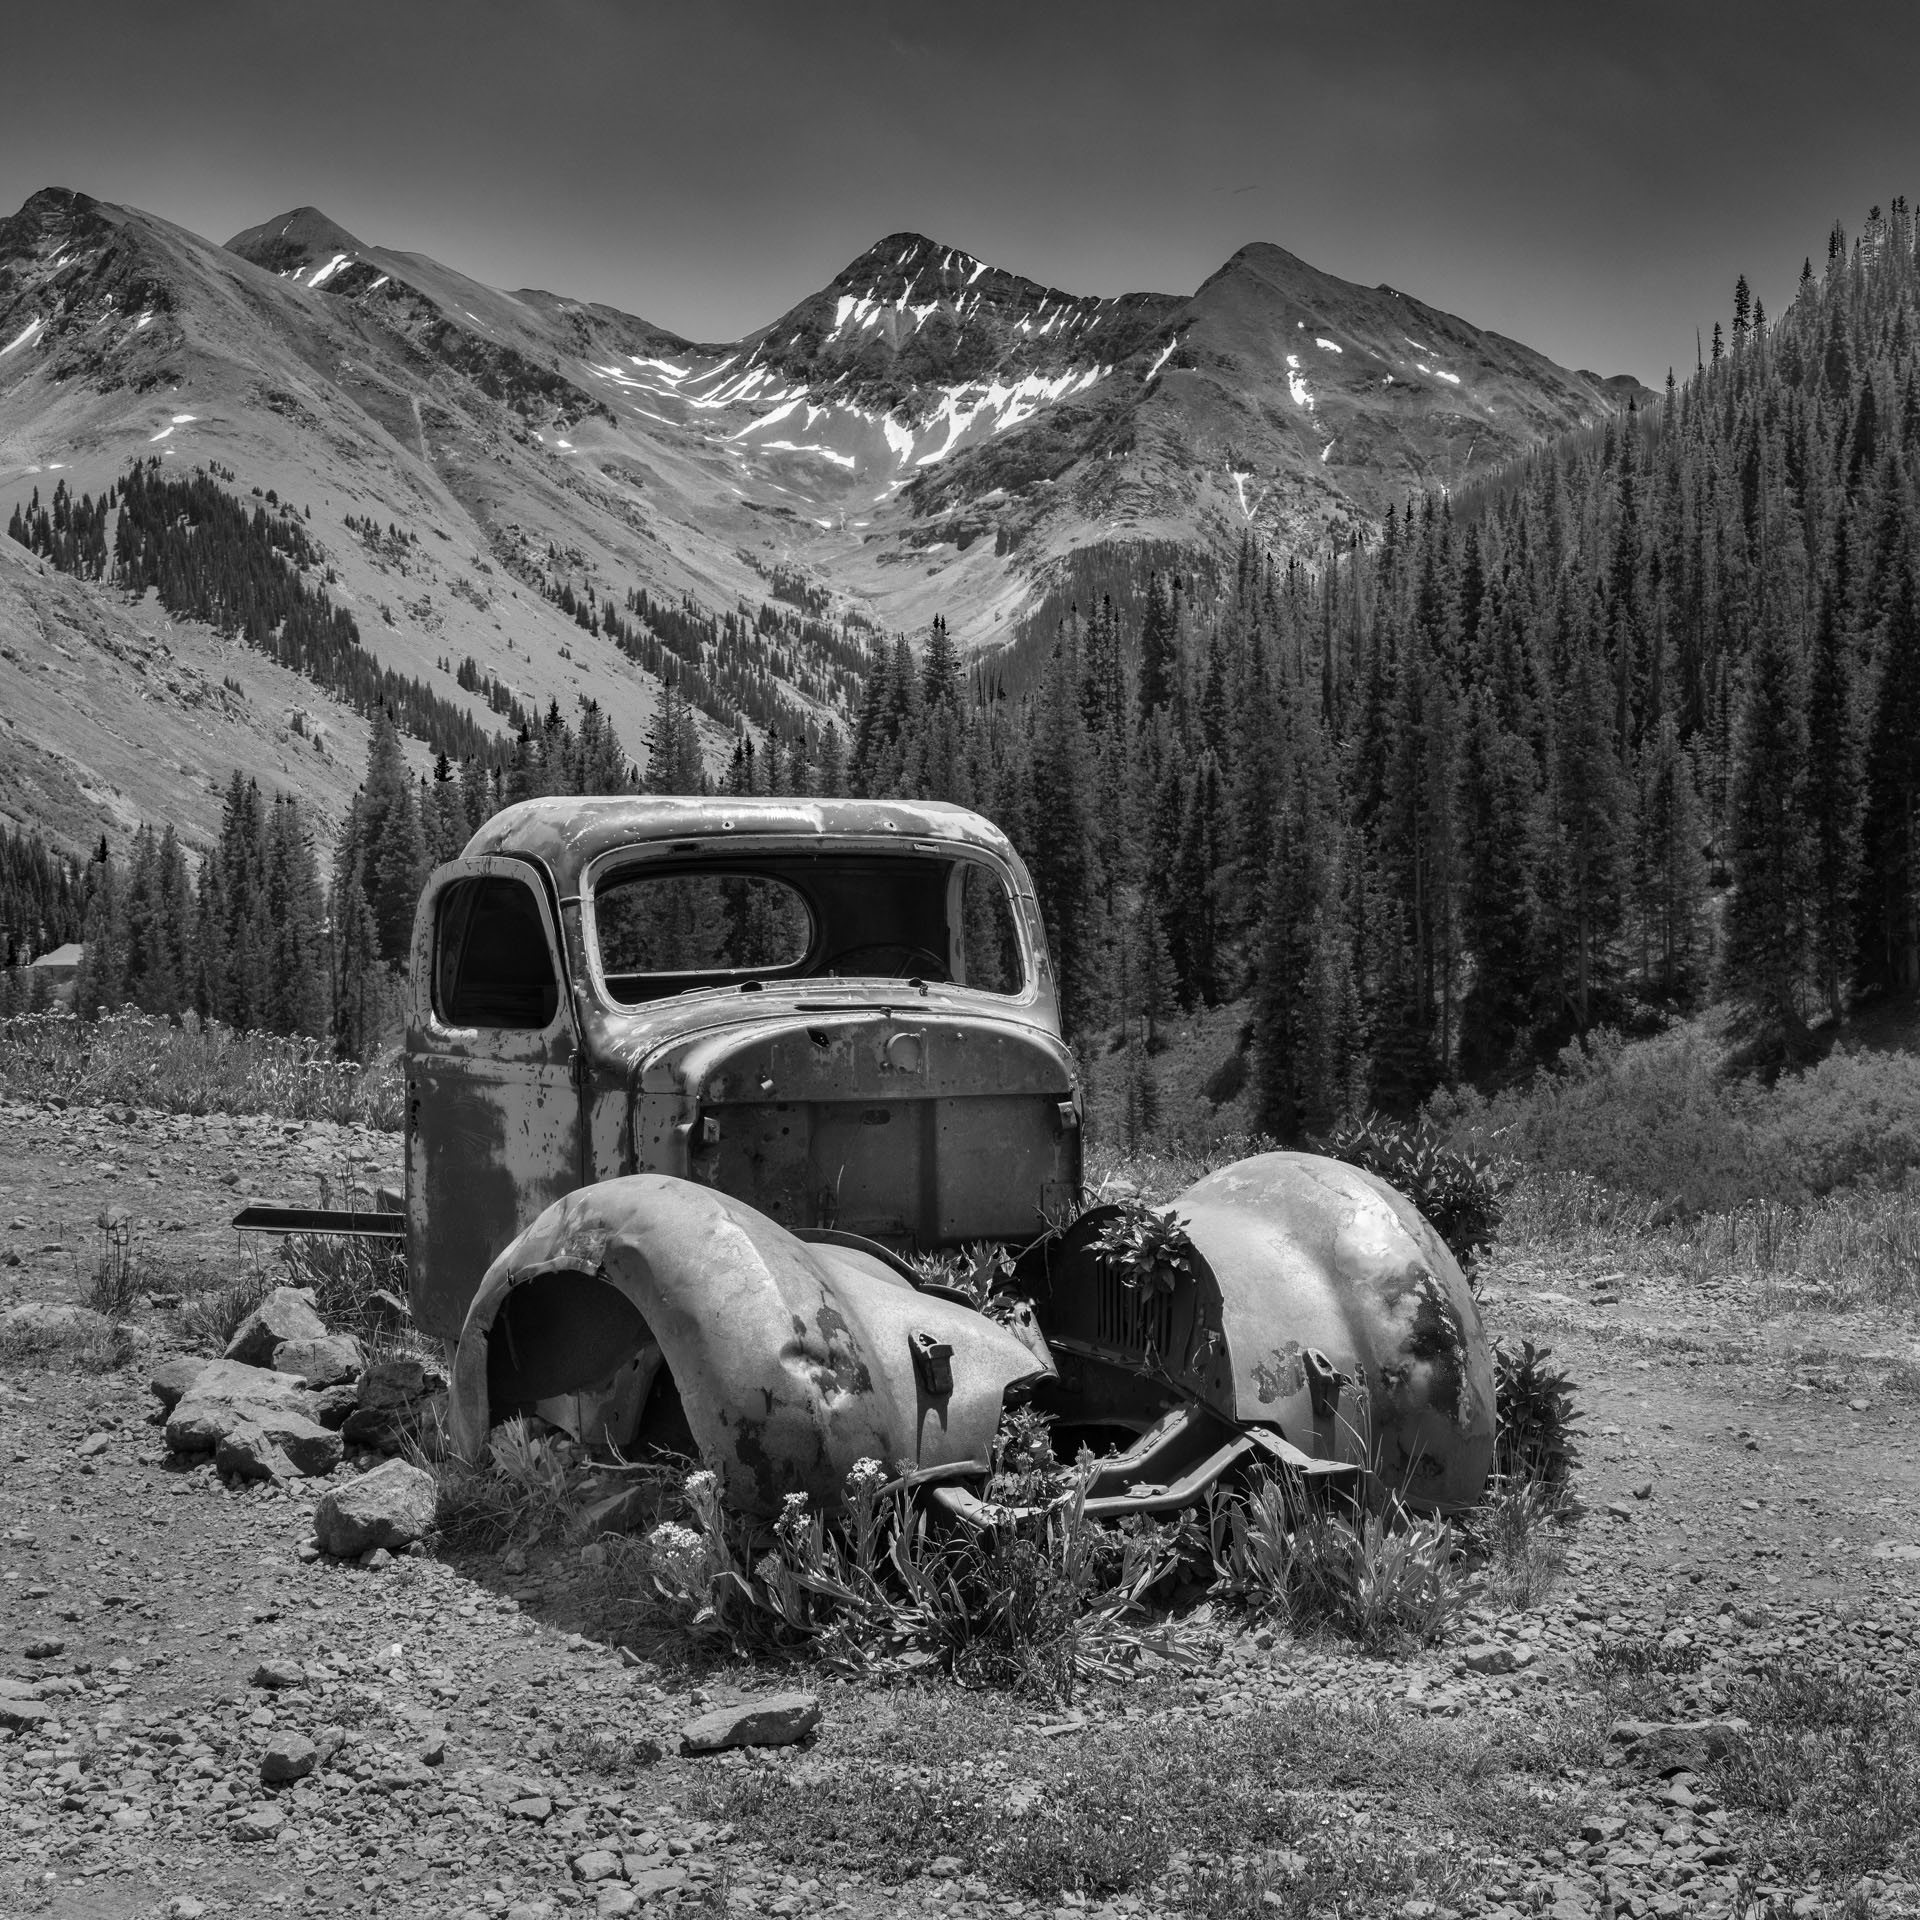
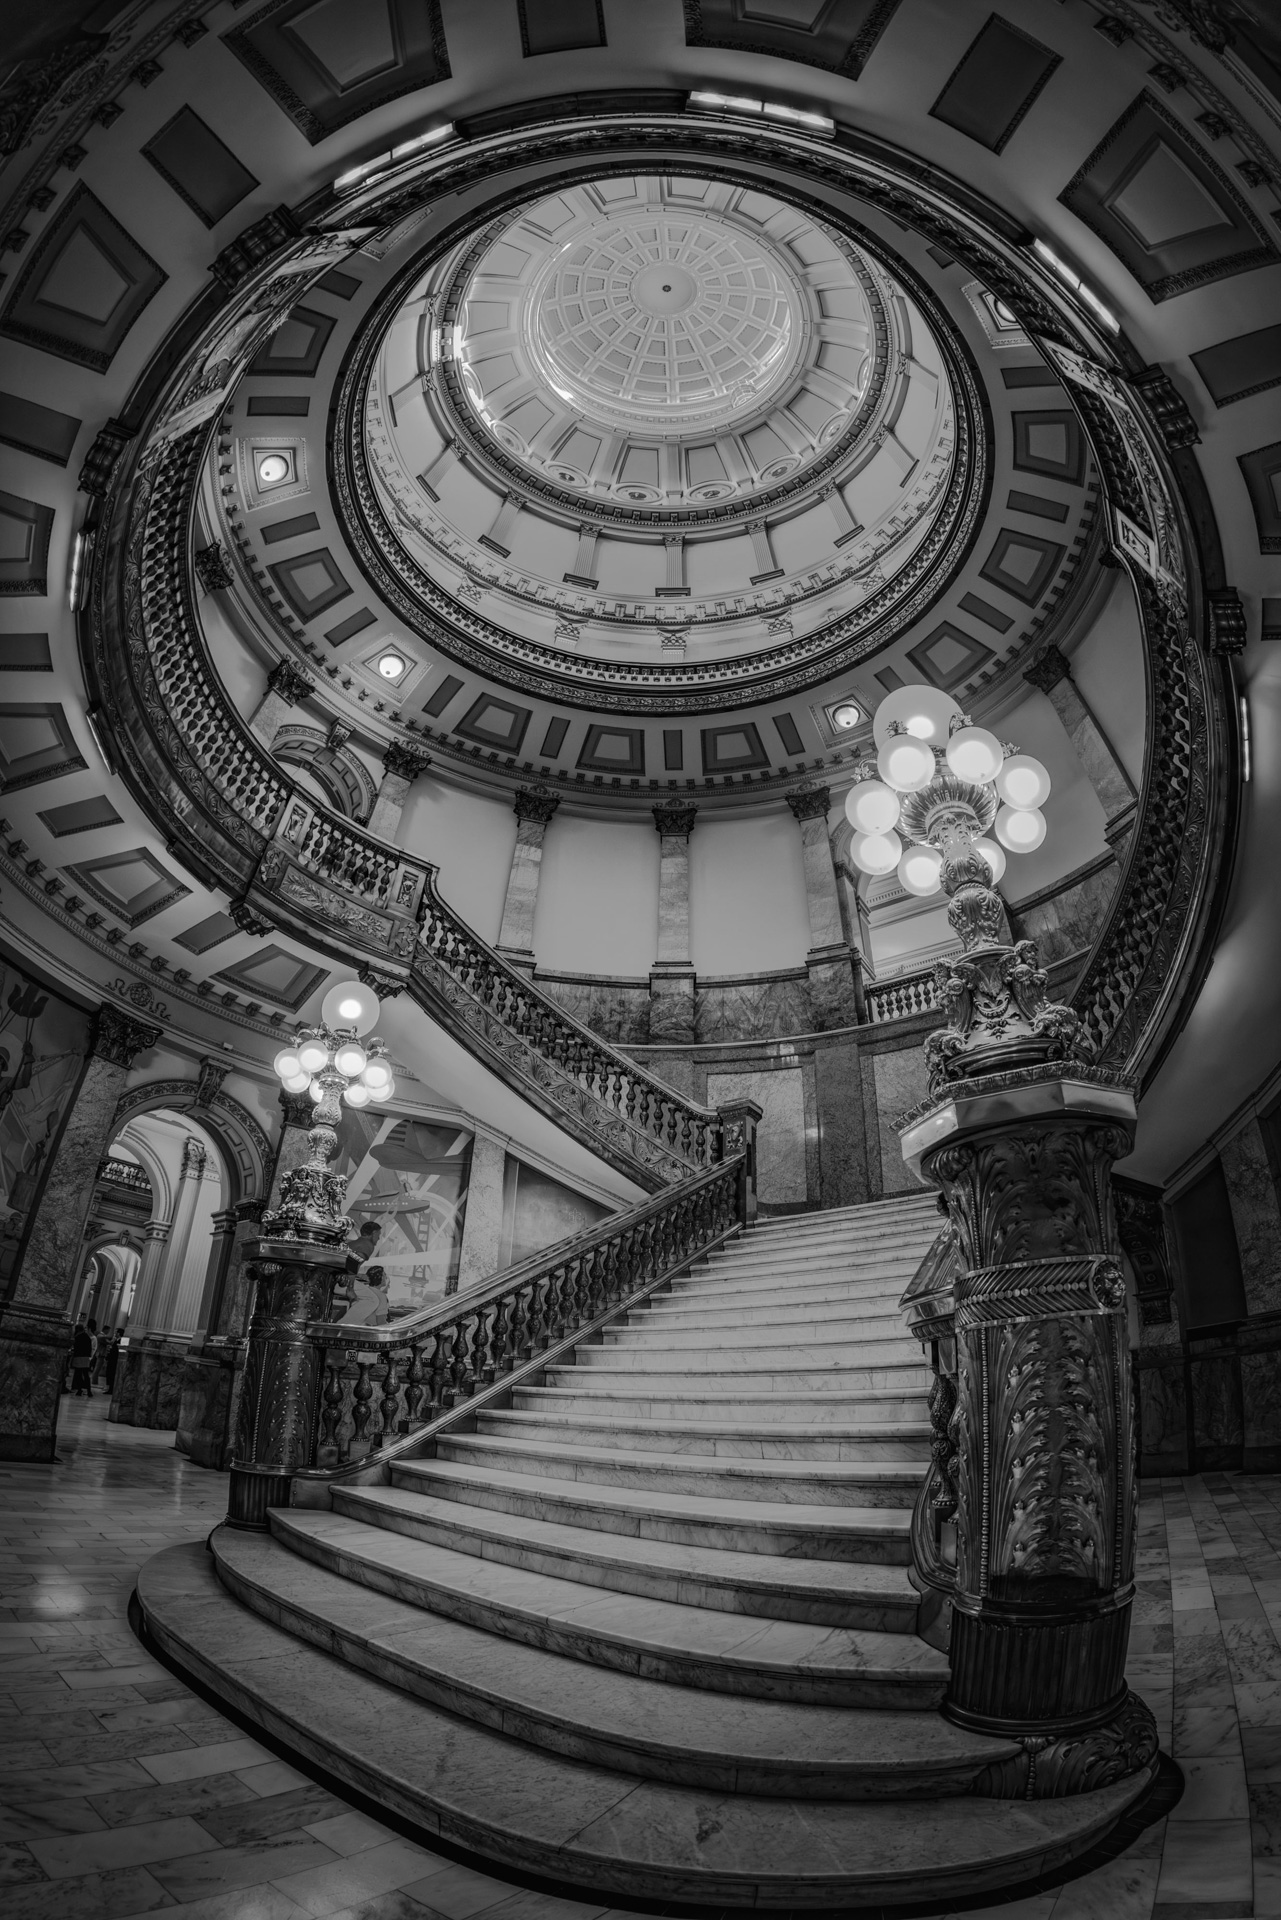
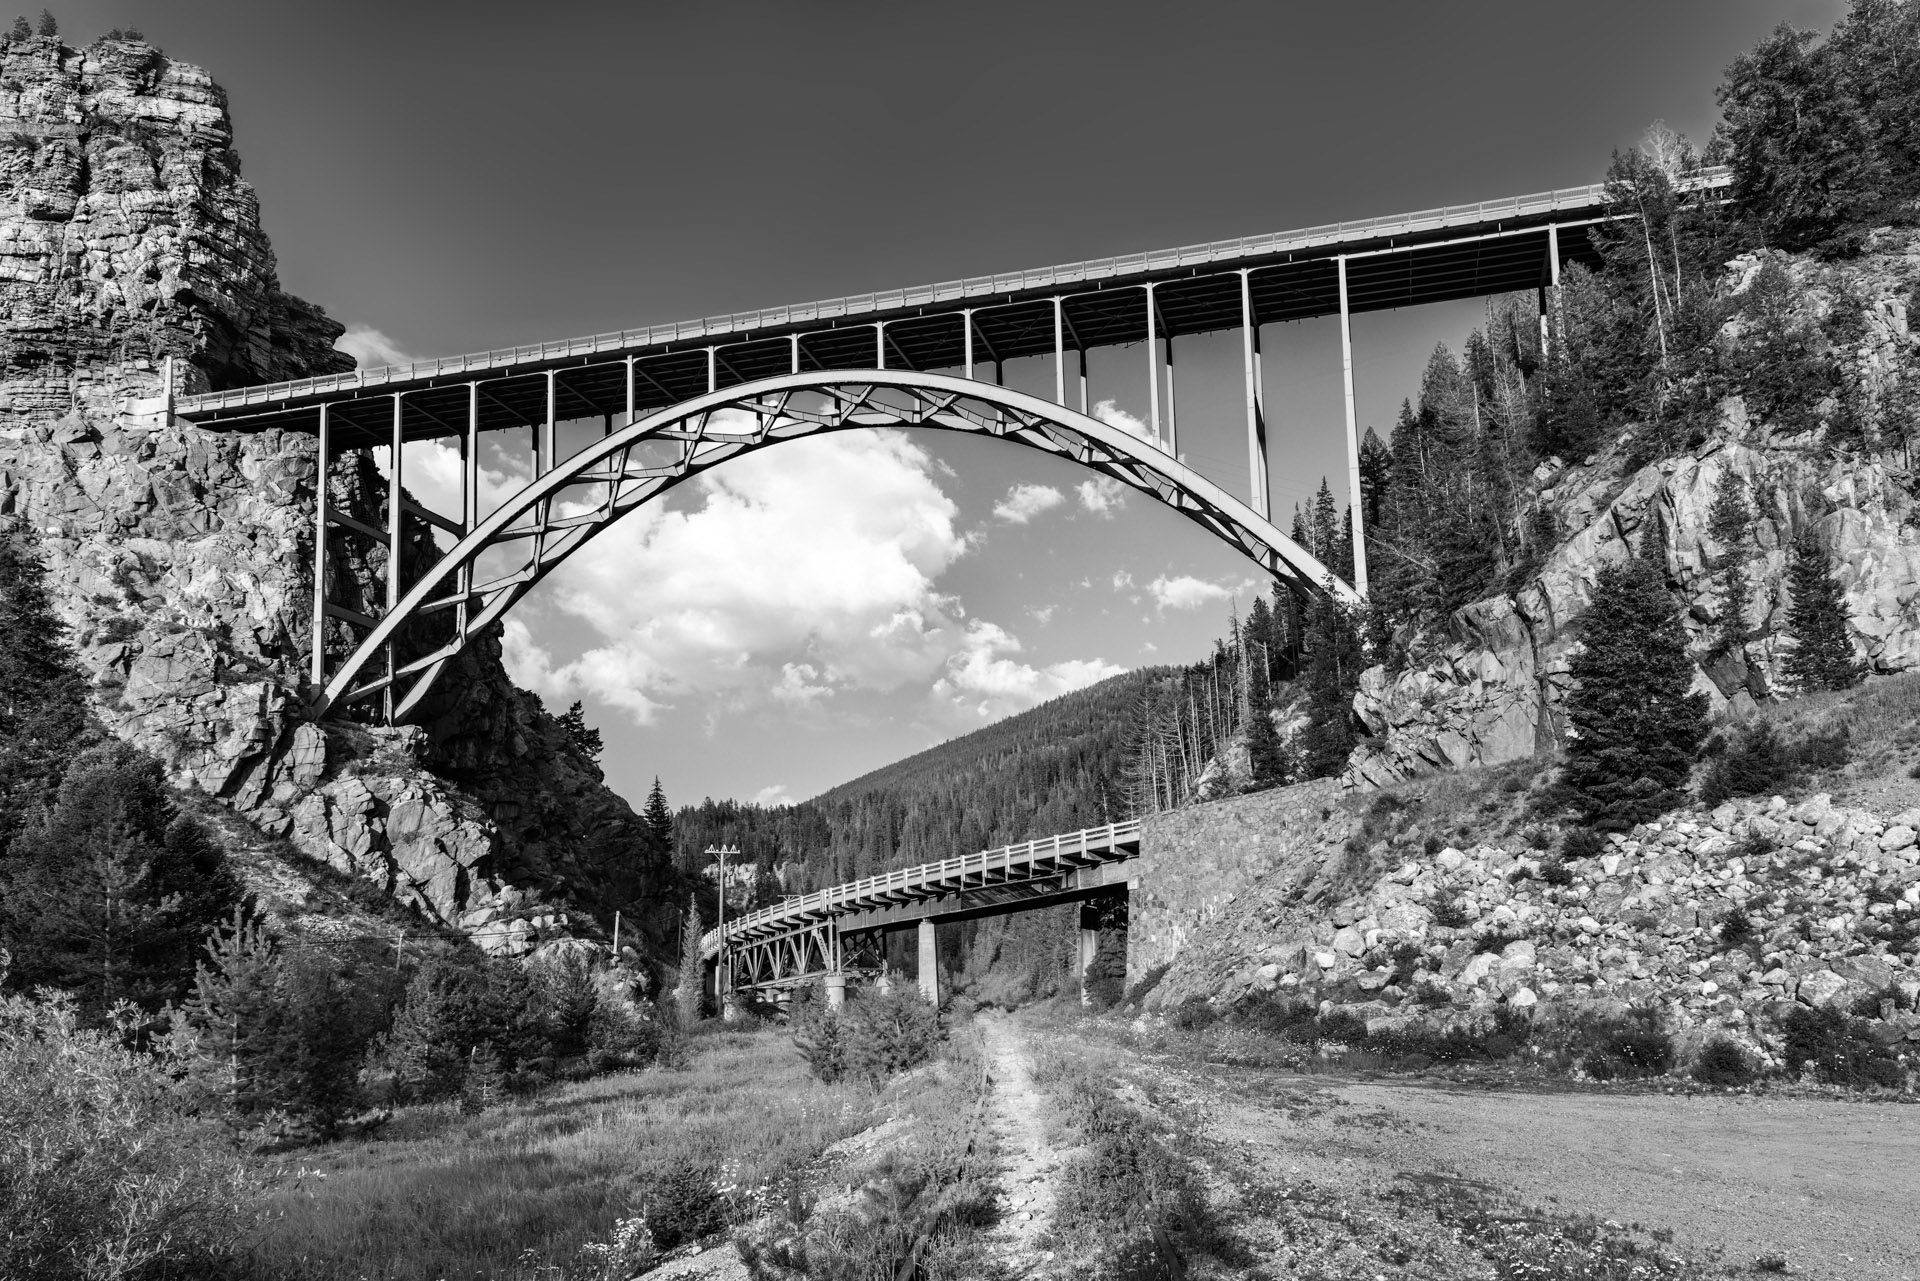
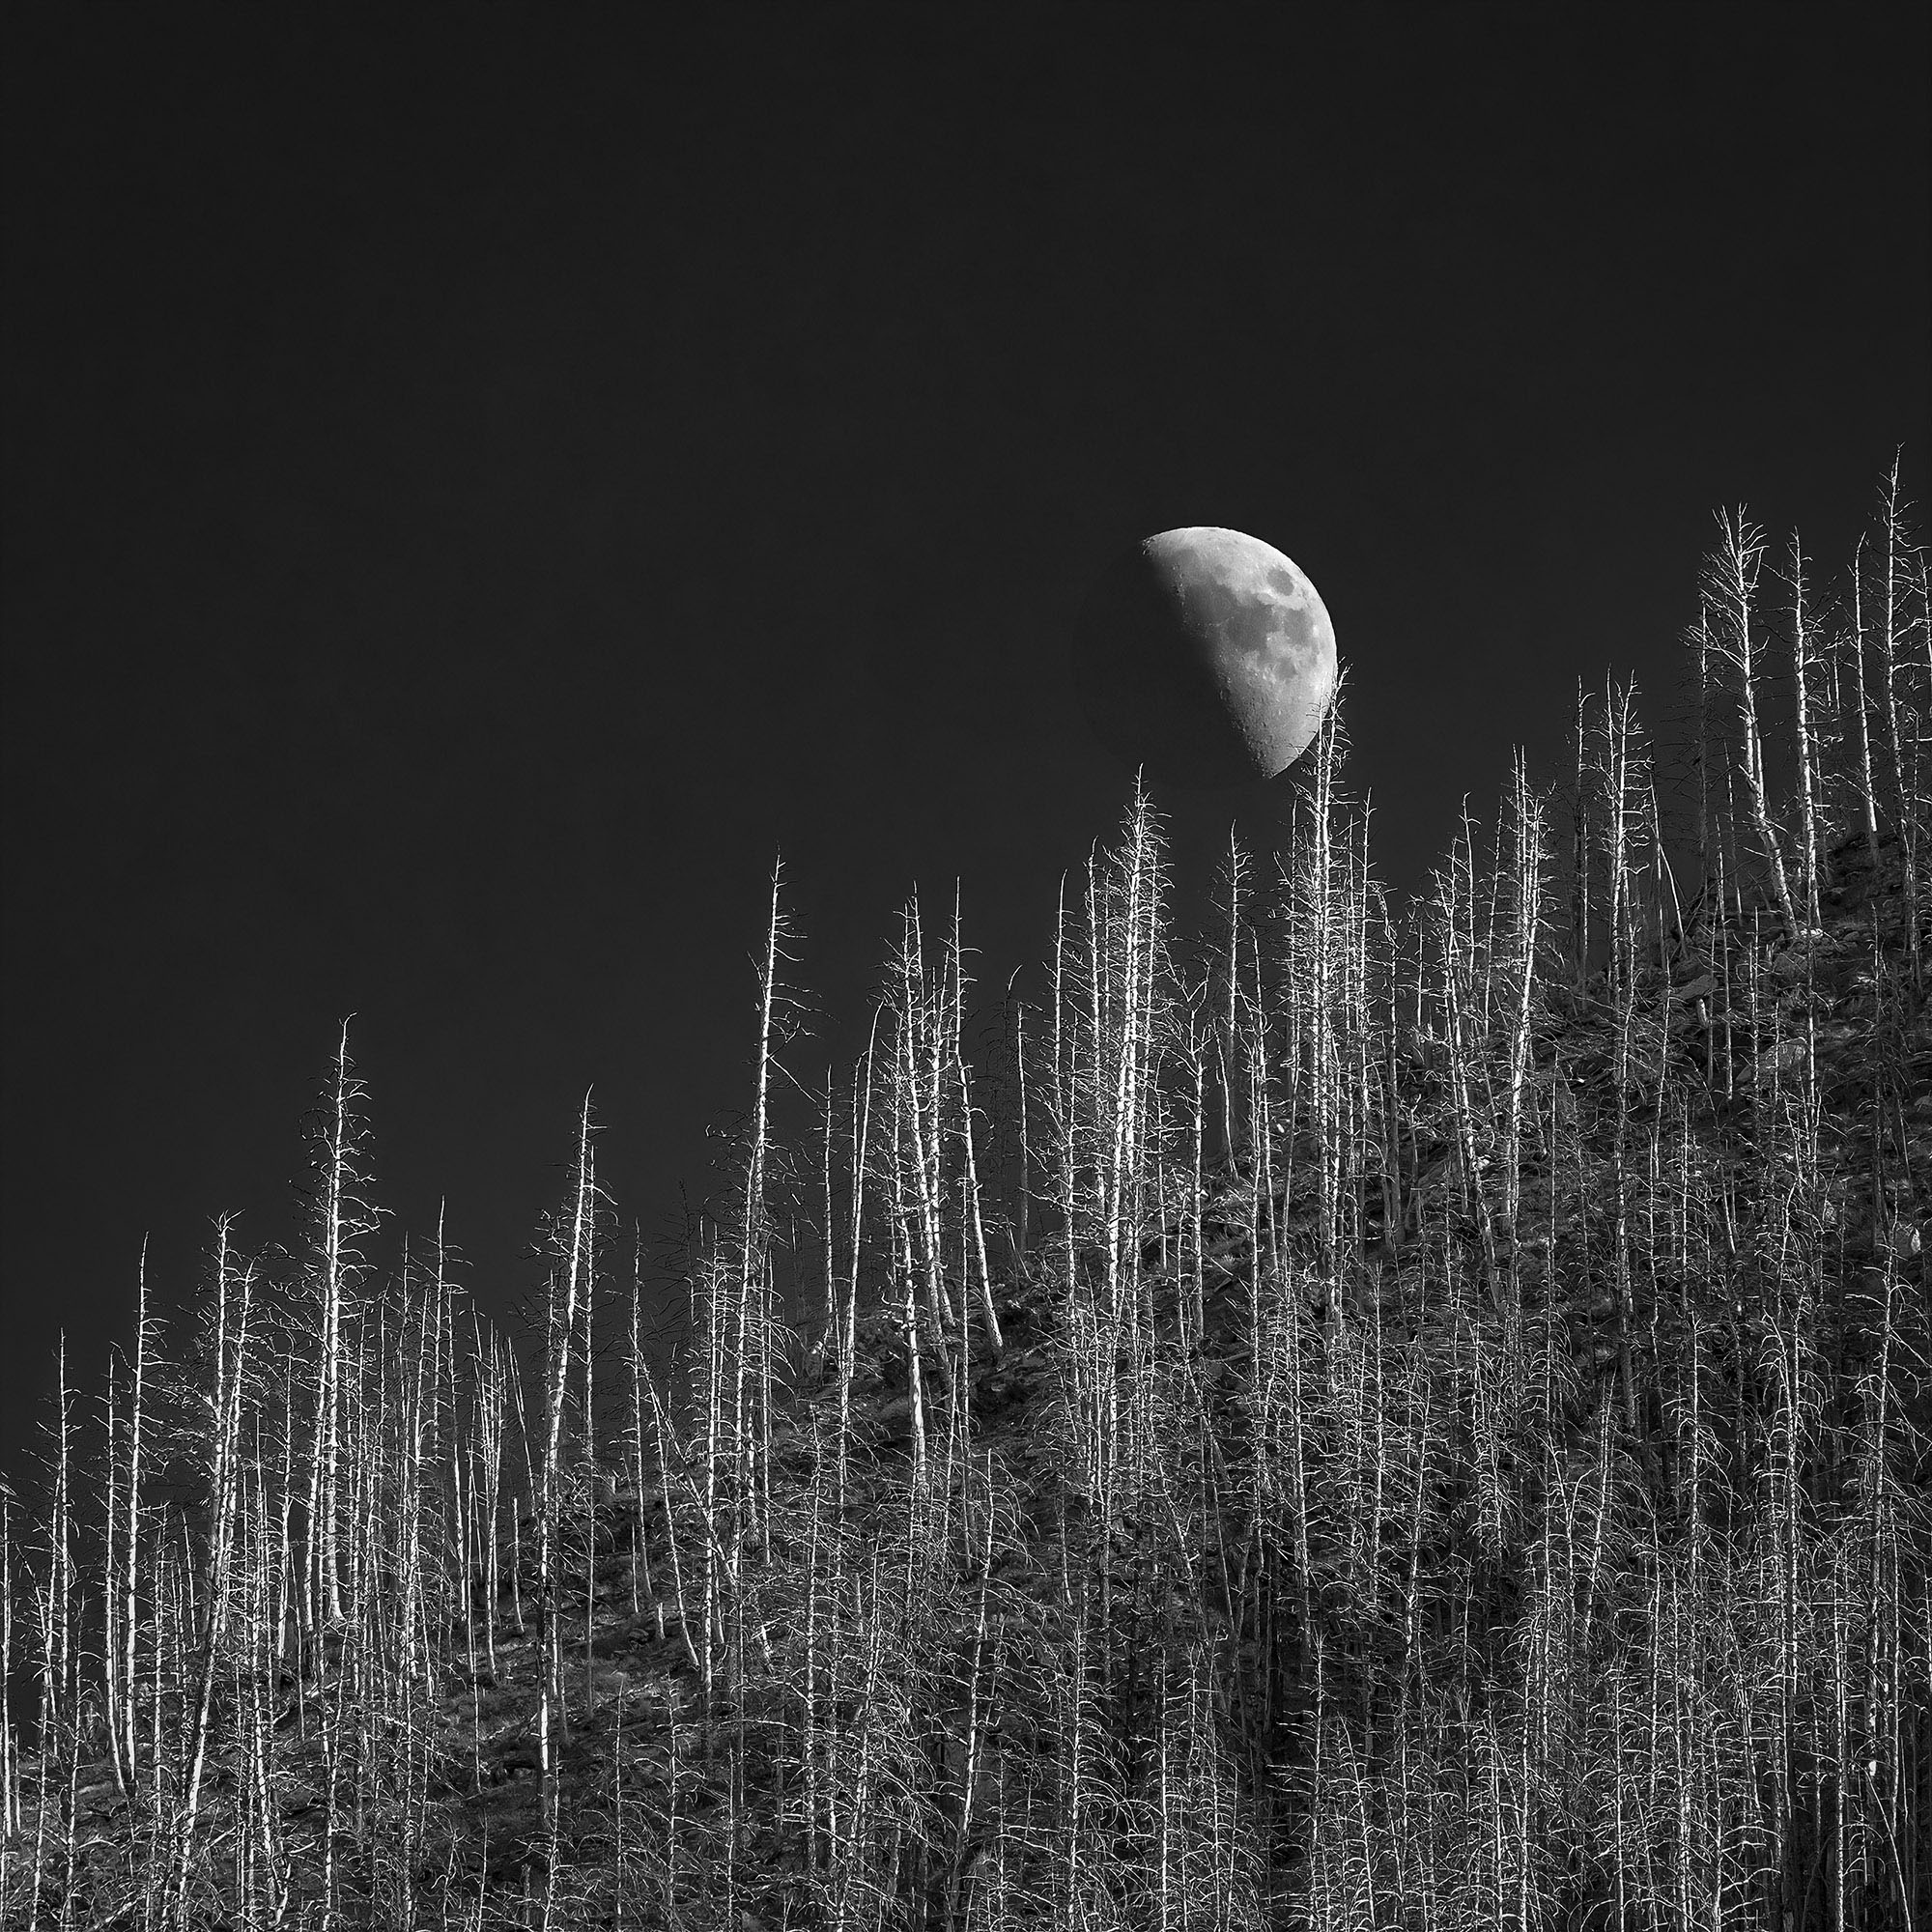
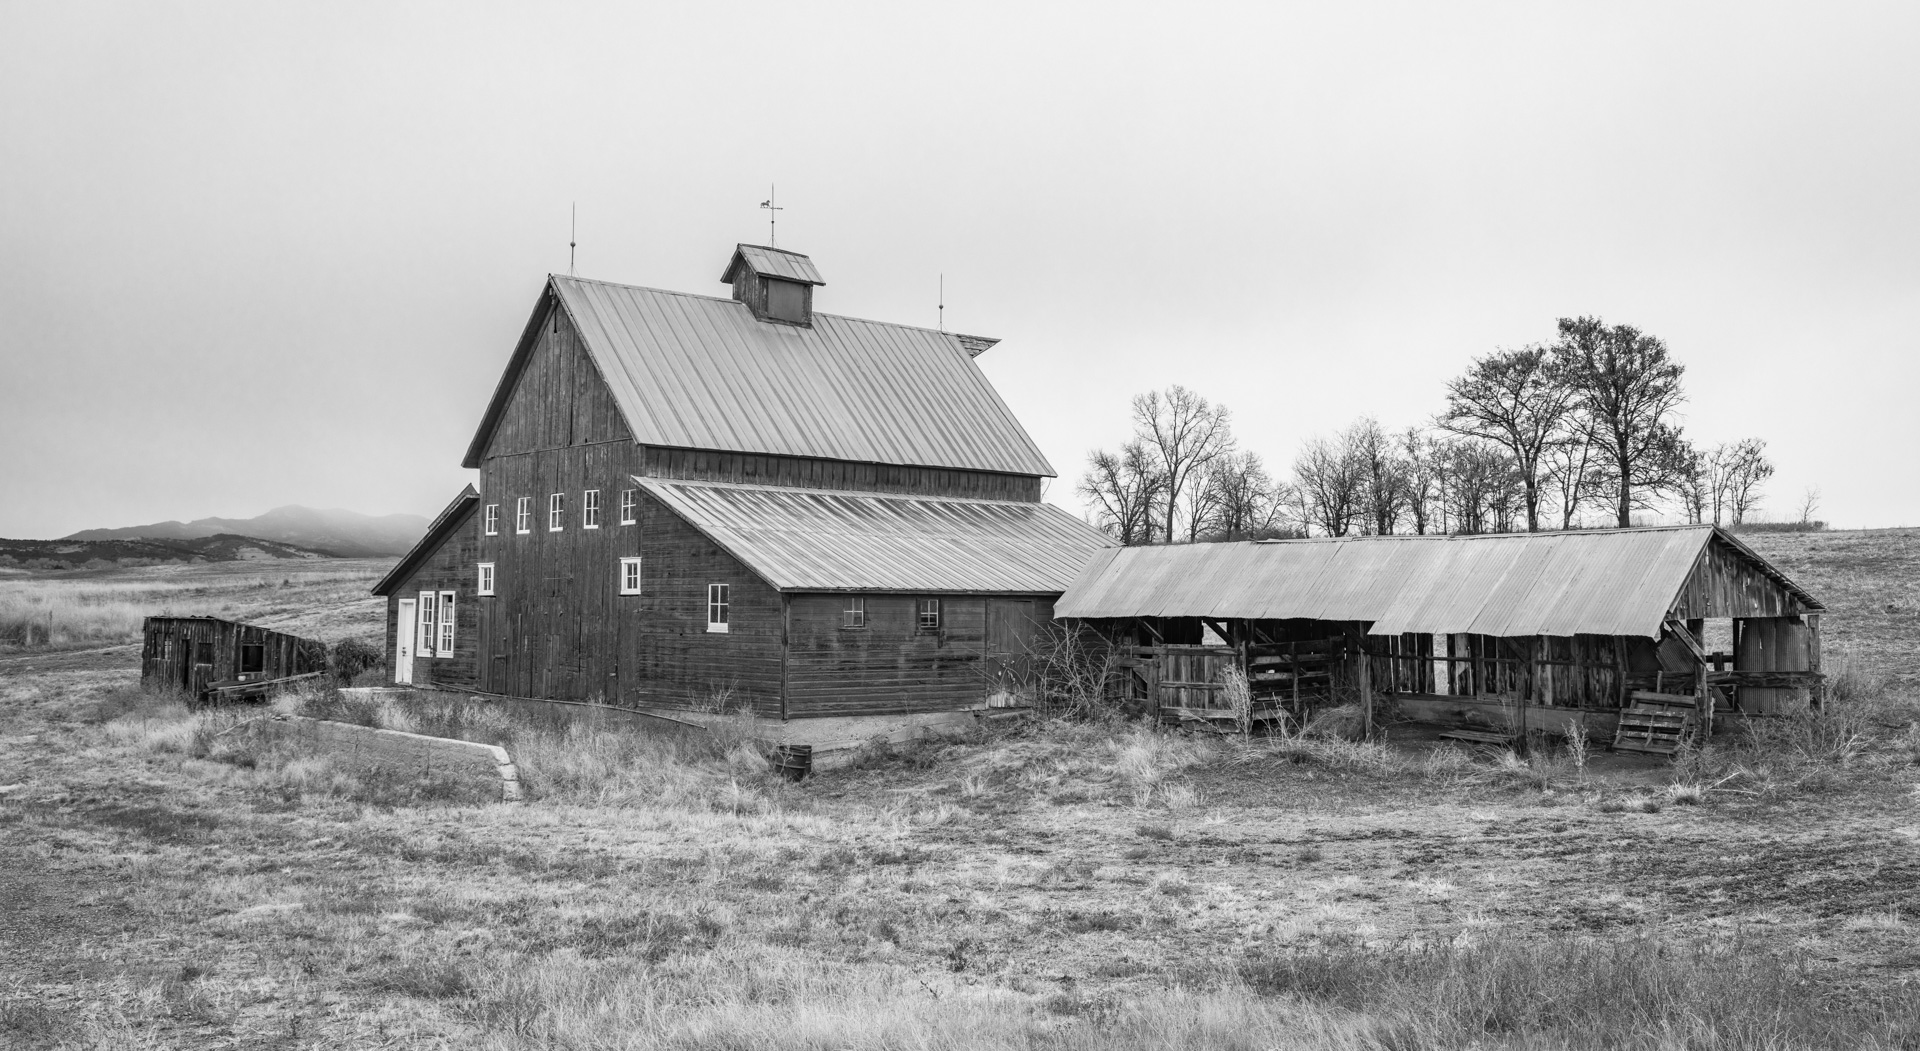
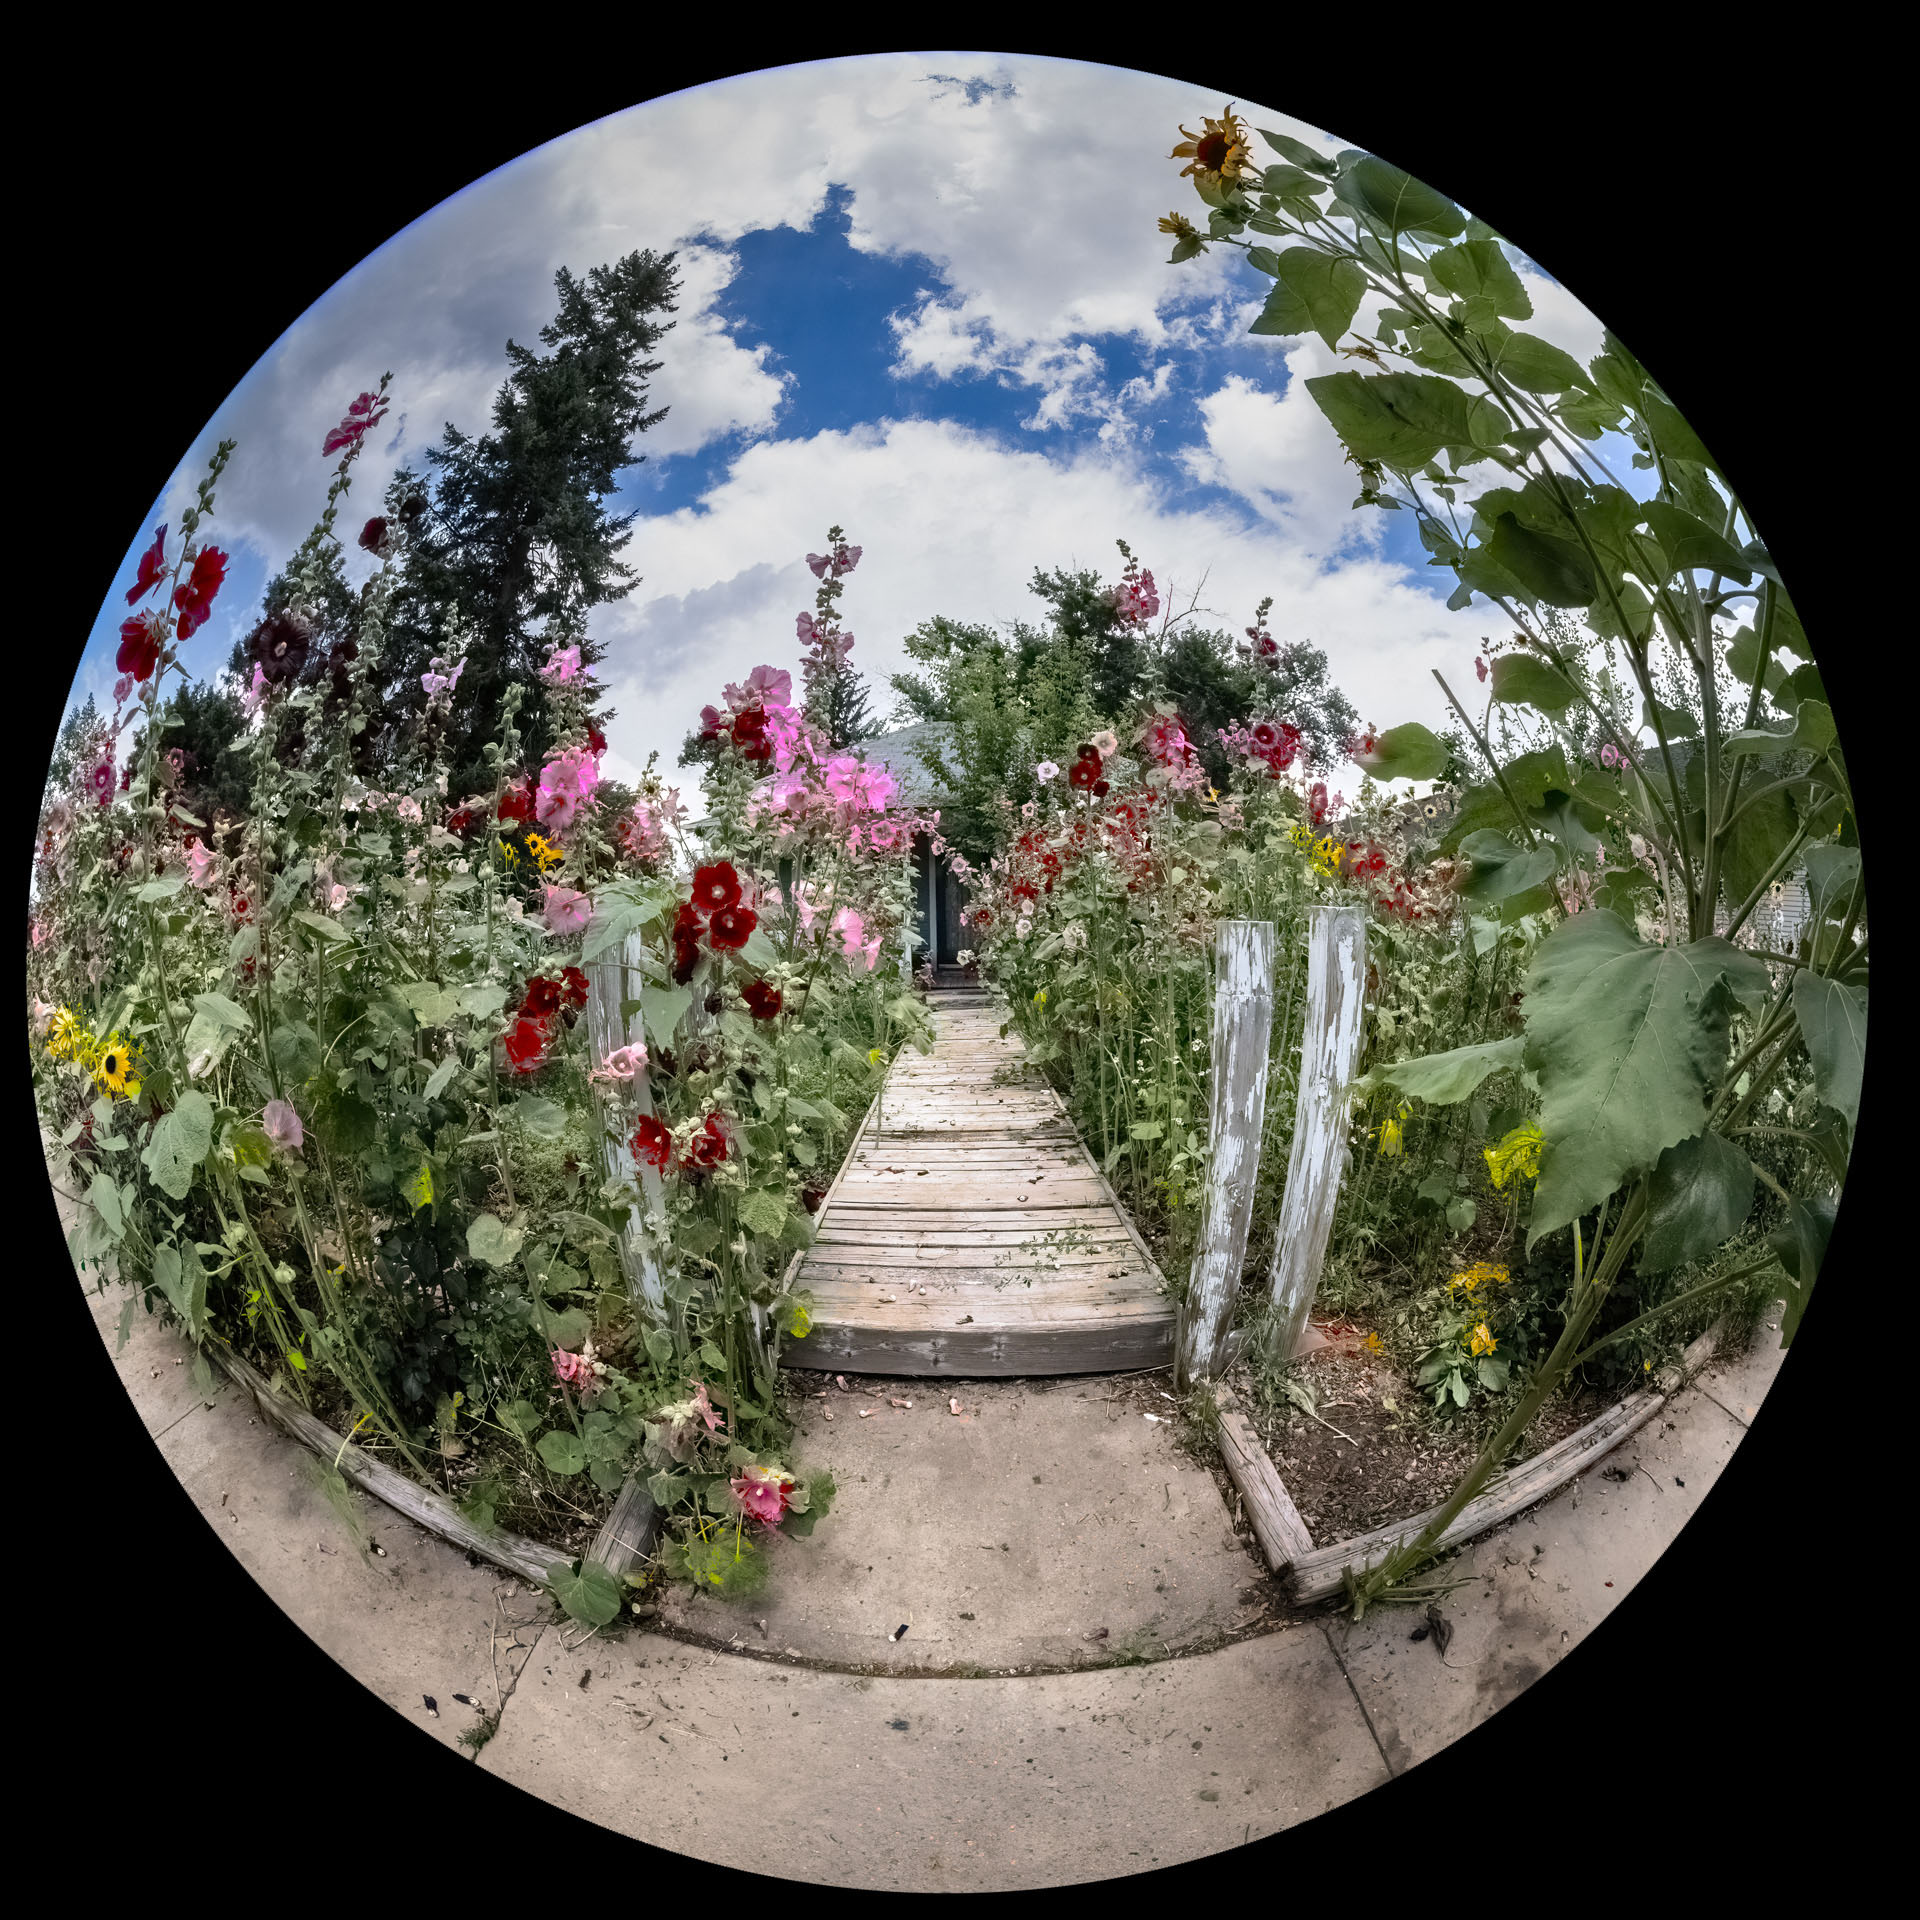
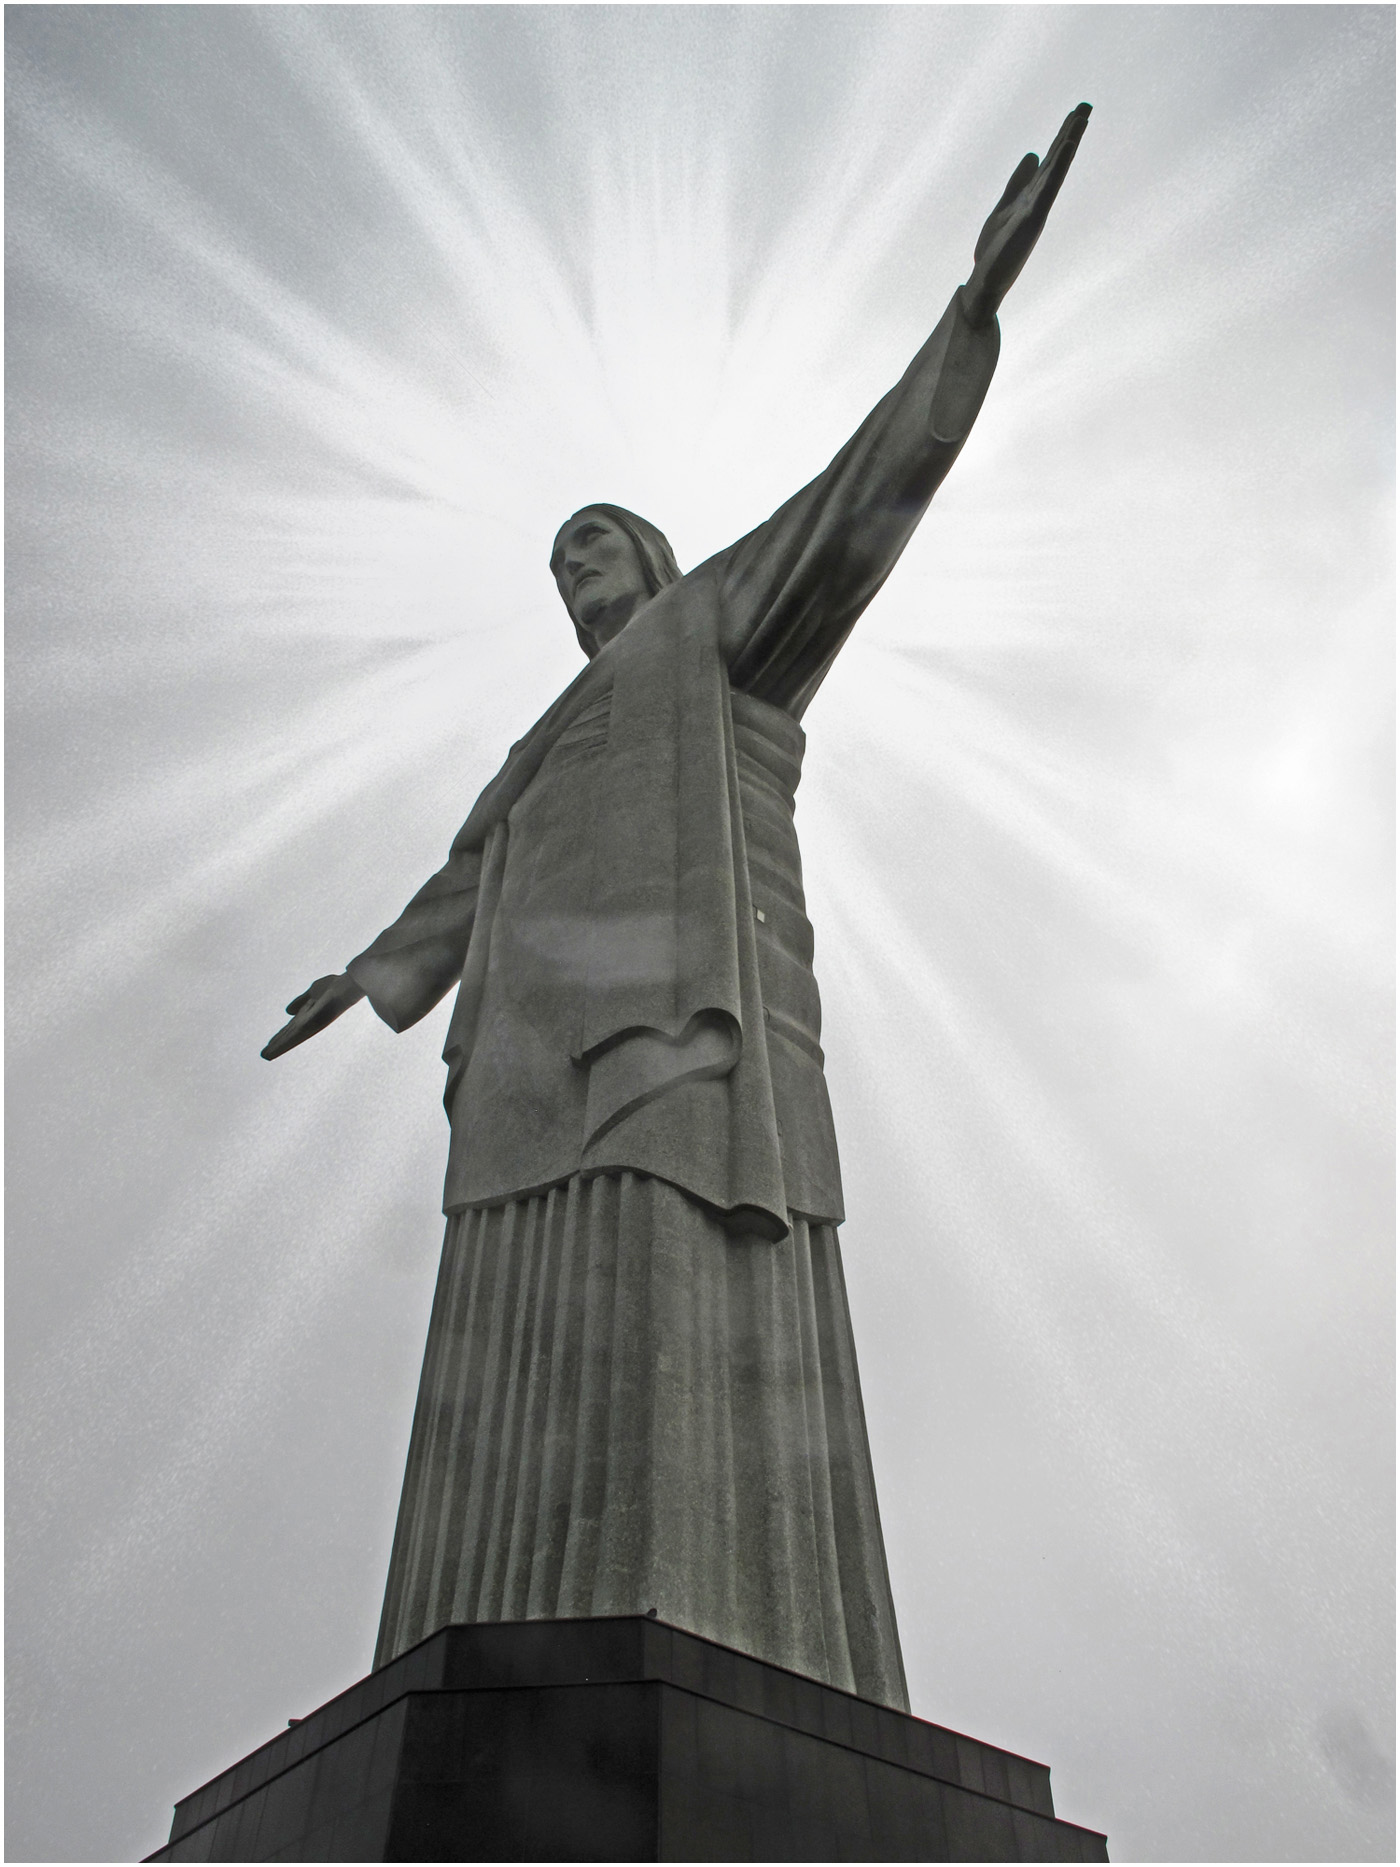
Great leading lines. You might consider adding a bit more dehaze to the sky to make it more dramatic. |
Feb 11th |
| 32 |
Feb 26 |
Comment |
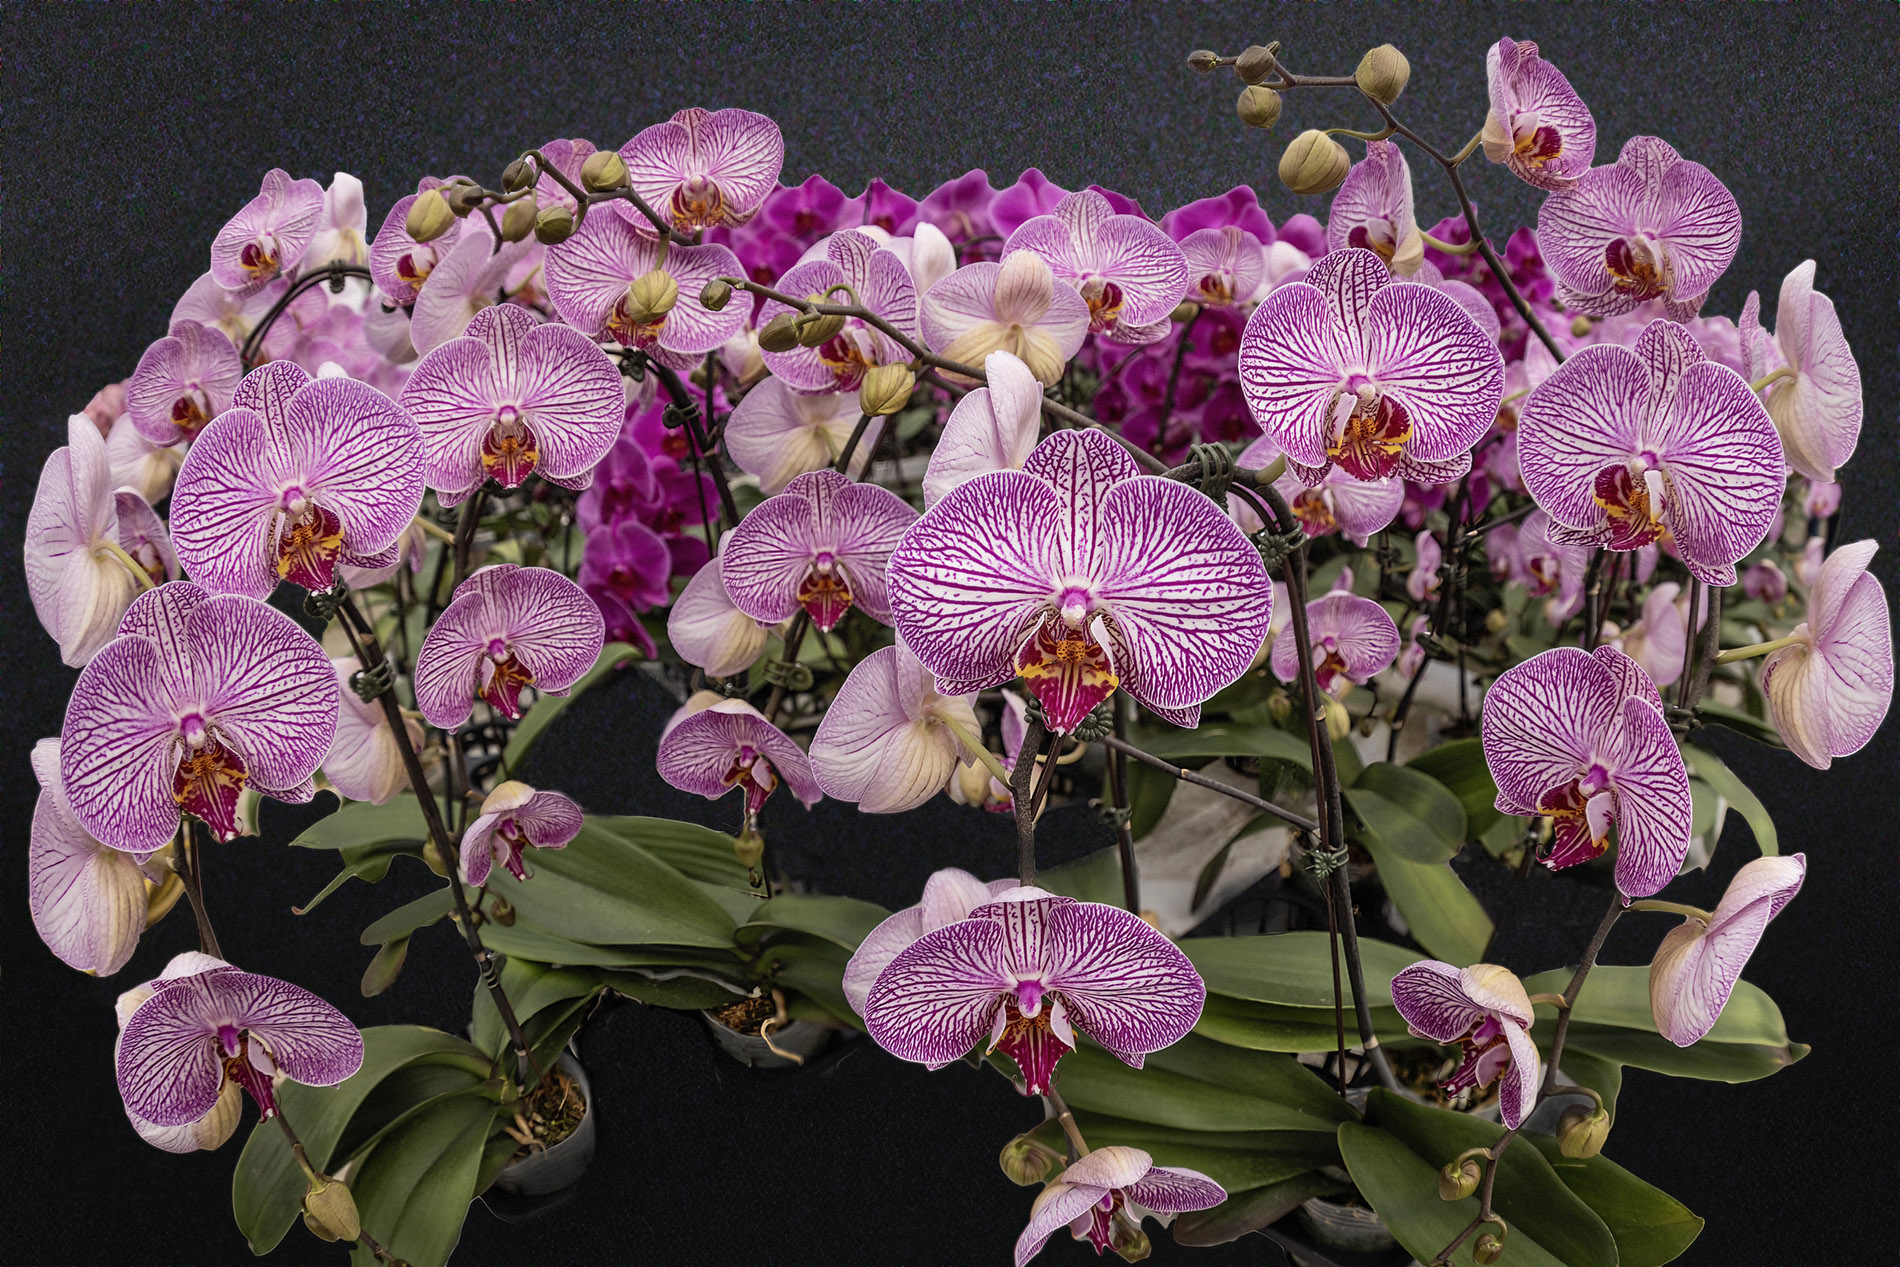
I like your image. I would have considered taking out the red pod and just have the 2 light colored ones. There's something magical about 3s in photography and art. I don't mind the patterns in the bowl so much. |
Feb 11th |
| 32 |
Feb 26 |
Reply |
I used Google's AI chatbot to generate a definition of luminosity mask. This sums it up fairly well, but it doesn't completely explore the extent to which these mask can be used. They have limited value for editing black and white images. This image was just an experiment. I can write up a description of how to create one if you like.
Here's the Google description:
--------------------------
Luminosity masks in Photoshop are tools that allow you to make targeted adjustments to specific tonal ranges in an image, such as highlights, midtones, and shadows. They are created by mapping the brightness values of each pixel, enabling precise editing without affecting the entire image.
What are Luminosity Masks?
Luminosity masks are advanced selection tools in Photoshop that allow you to make precise adjustments to specific tonal ranges in an image. They are created based on the brightness values of each pixel, resulting in a grayscale mask that represents the luminance of the image. This technique enables you to target highlights, midtones, and shadows without affecting other areas.
How to Create Luminosity Masks
Creating luminosity masks involves several steps:
Generate the Initial Mask: Use Photoshop to calculate the luminance of each pixel, creating a grayscale version of the image.
Refine the Masks: From the initial mask, you can create additional masks that focus on specific tonal ranges, such as bright highlights or dark shadows.
Apply Adjustments: Once the masks are created, you can use them to apply targeted adjustments like brightness, contrast, or color corrections to specific areas of the image.
|
Feb 11th |
| 32 |
Feb 26 |
Comment |
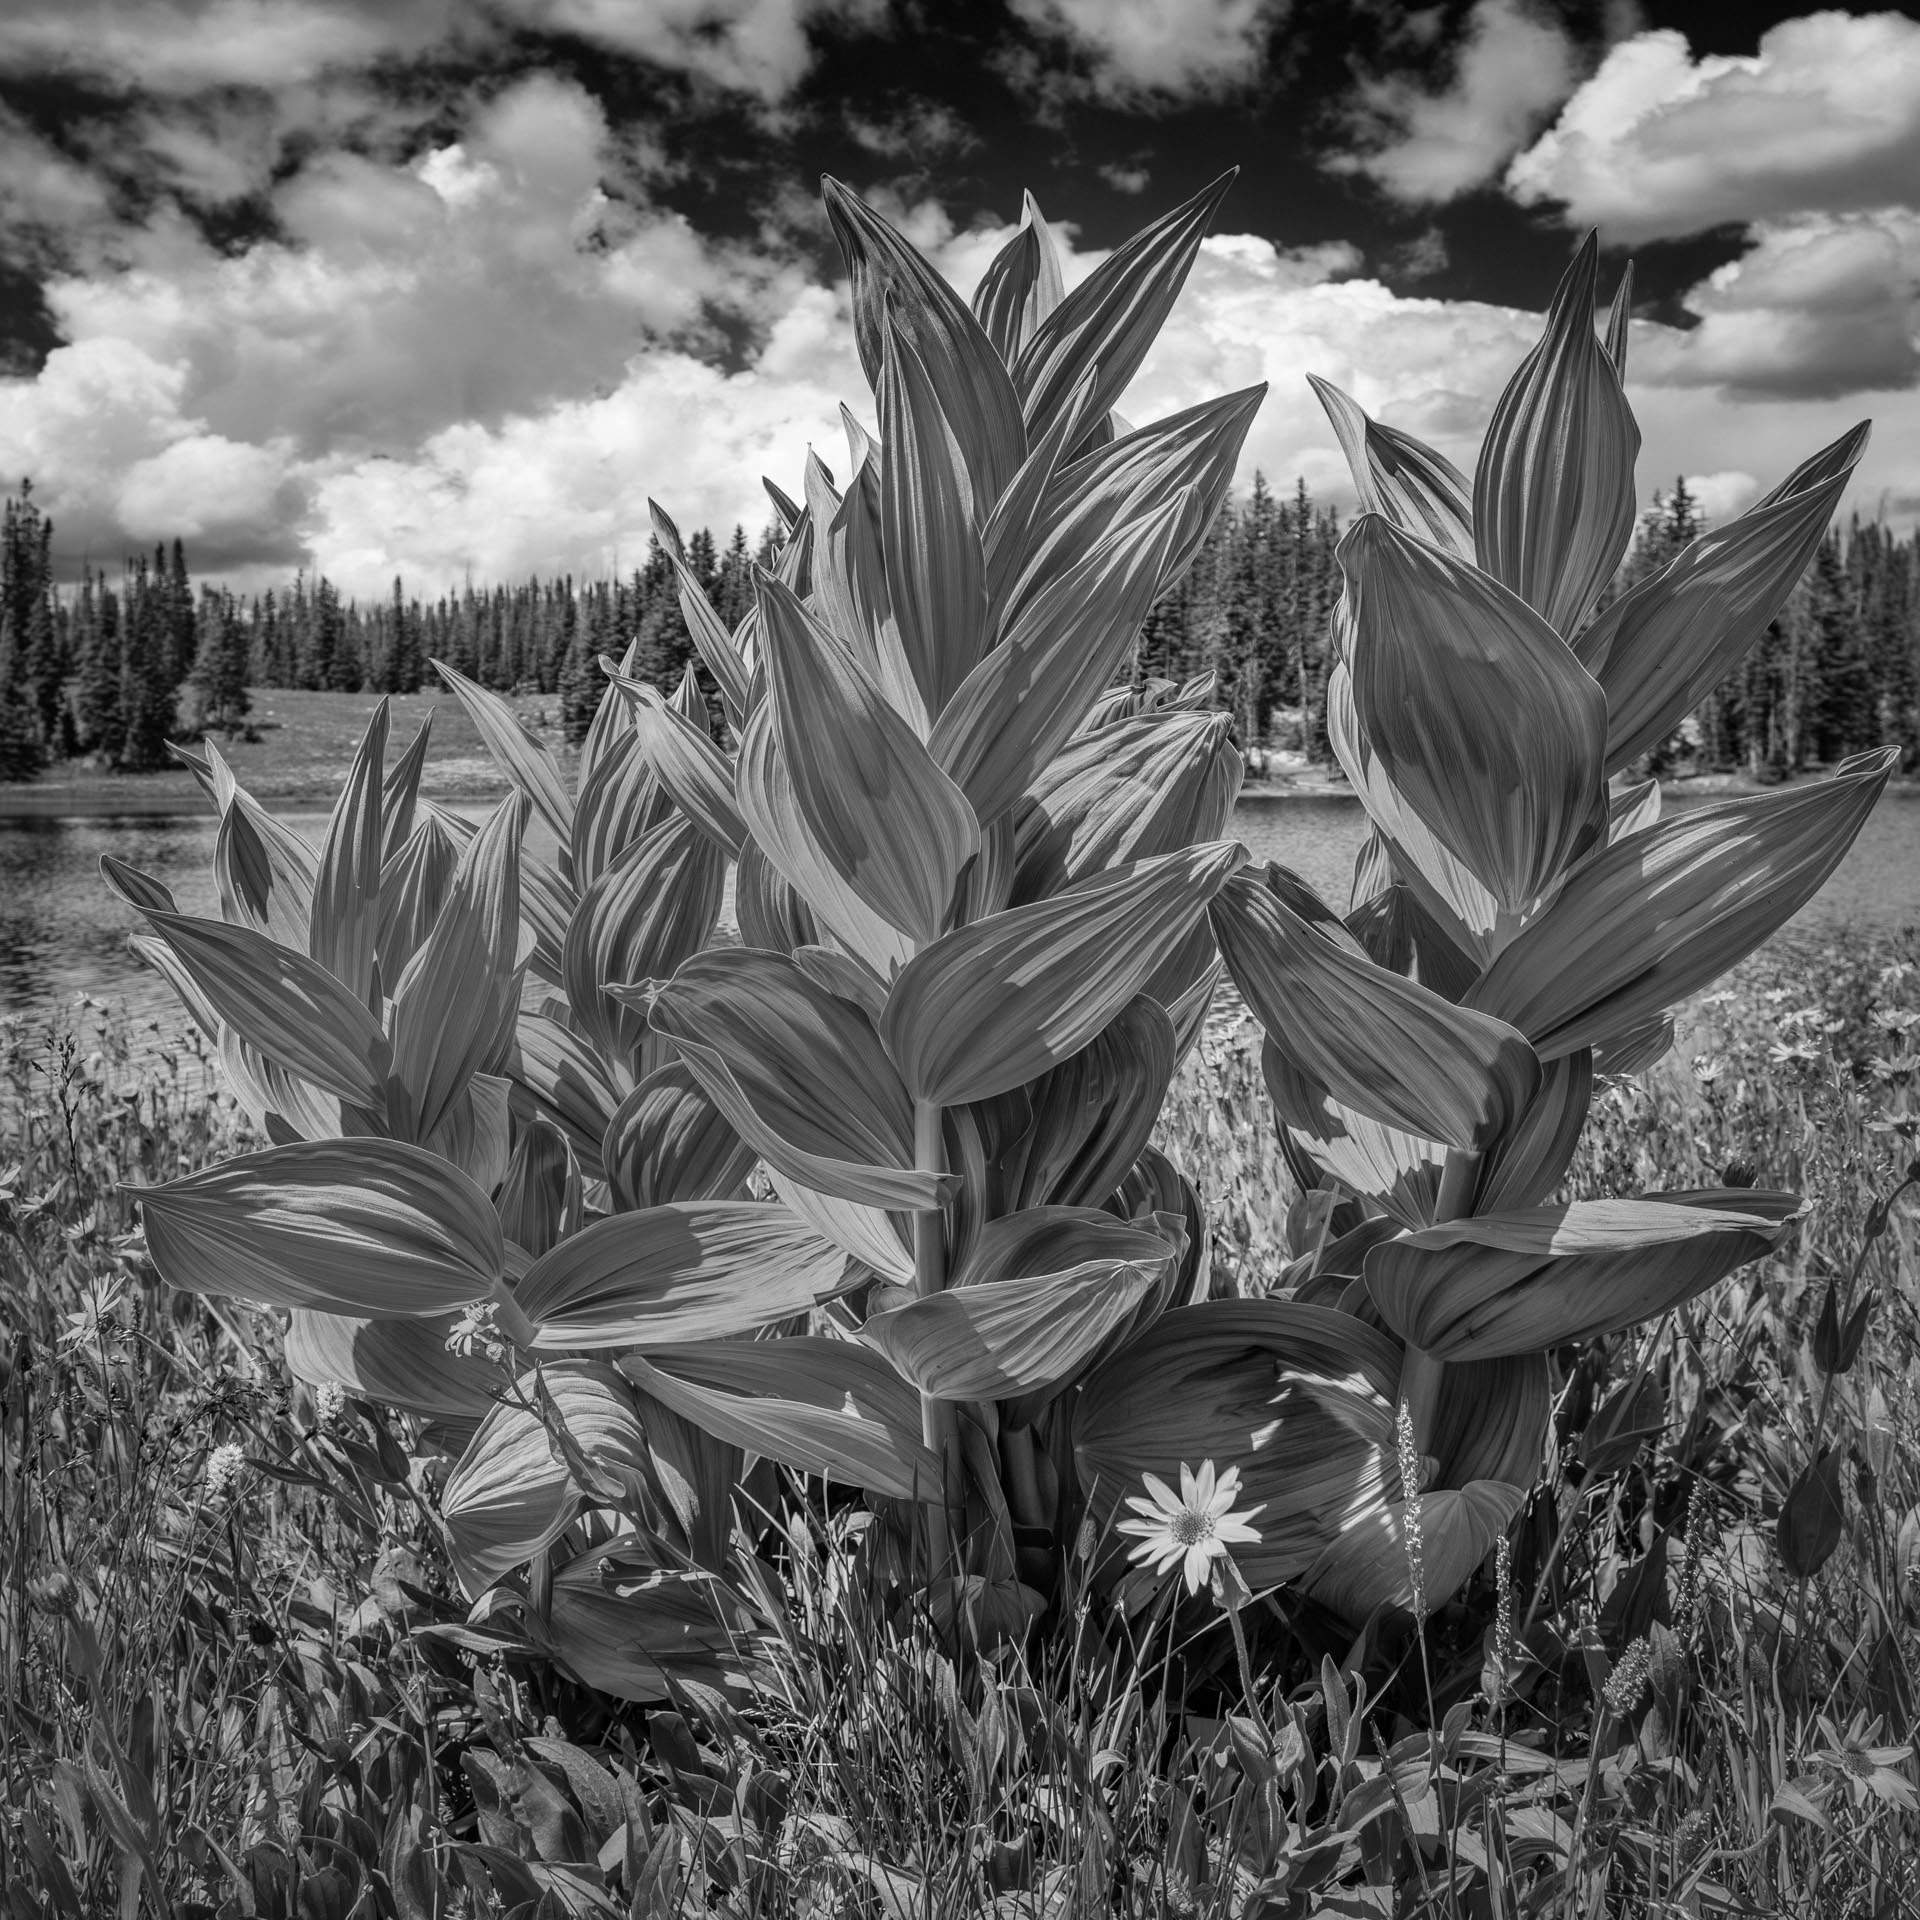
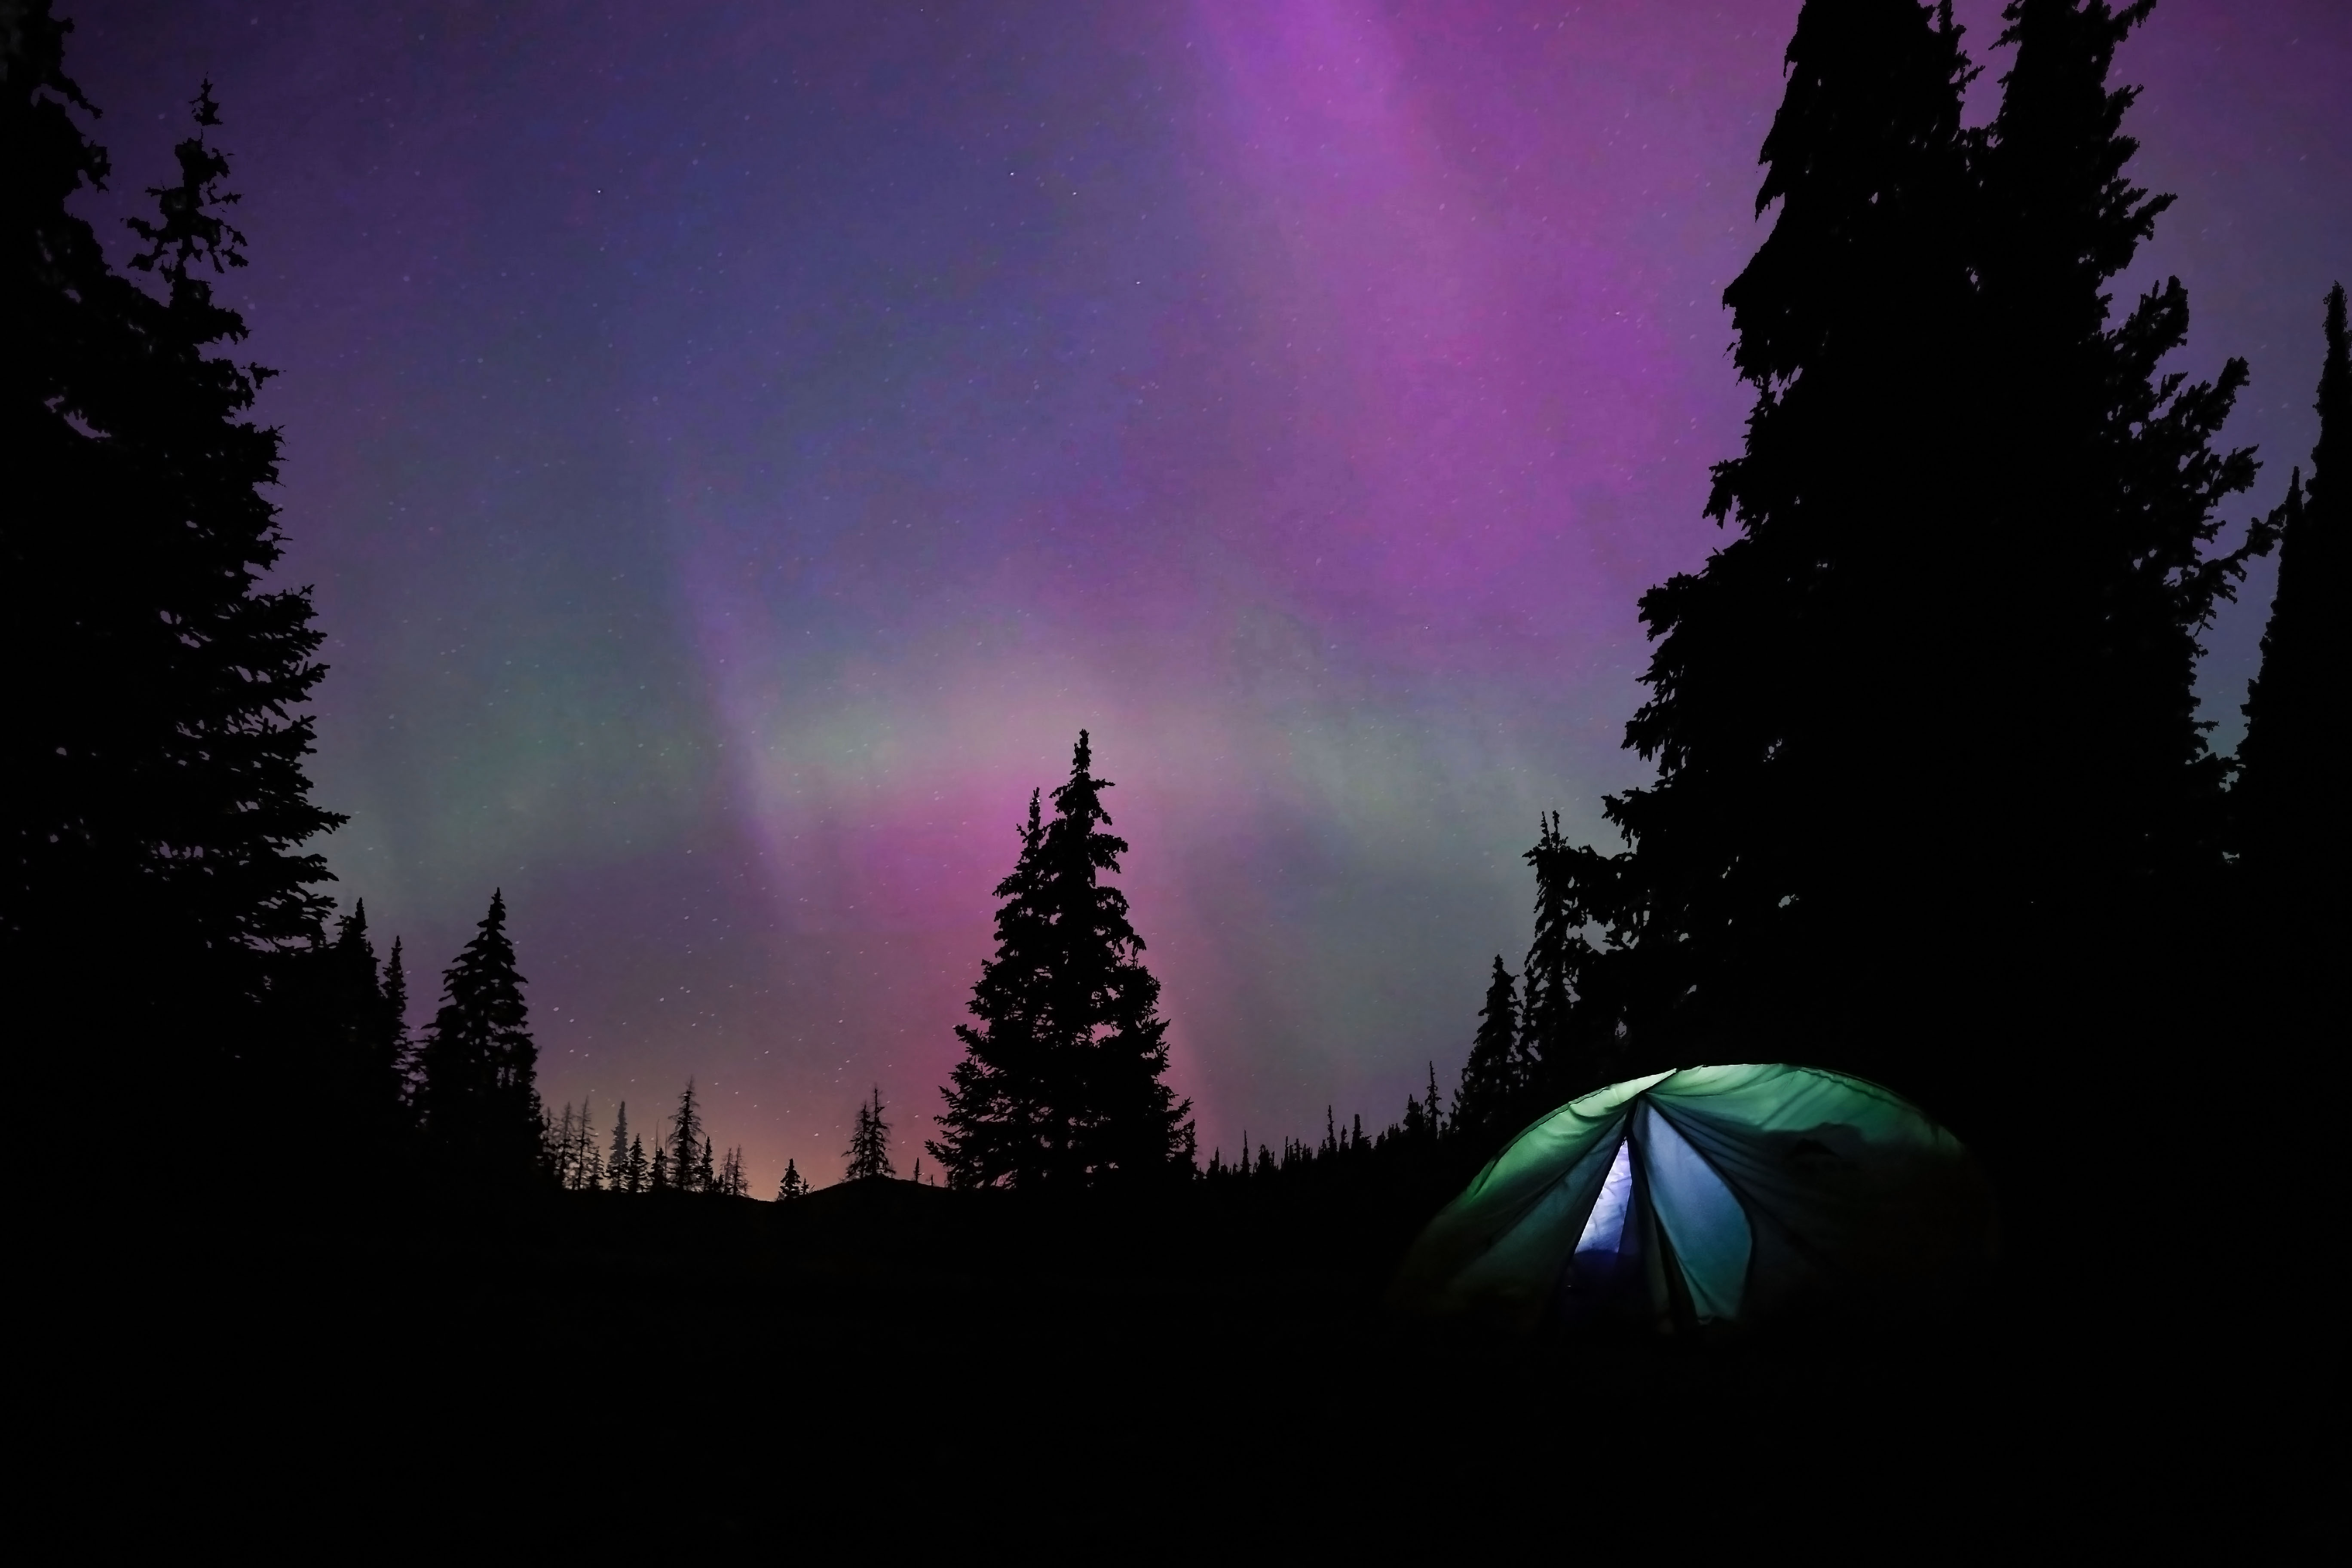
The sky it too black for my liking but the tree looks really nice. |
Feb 9th |
6 comments - 2 replies for Group 32
|
| 78 |
Feb 26 |
Comment |
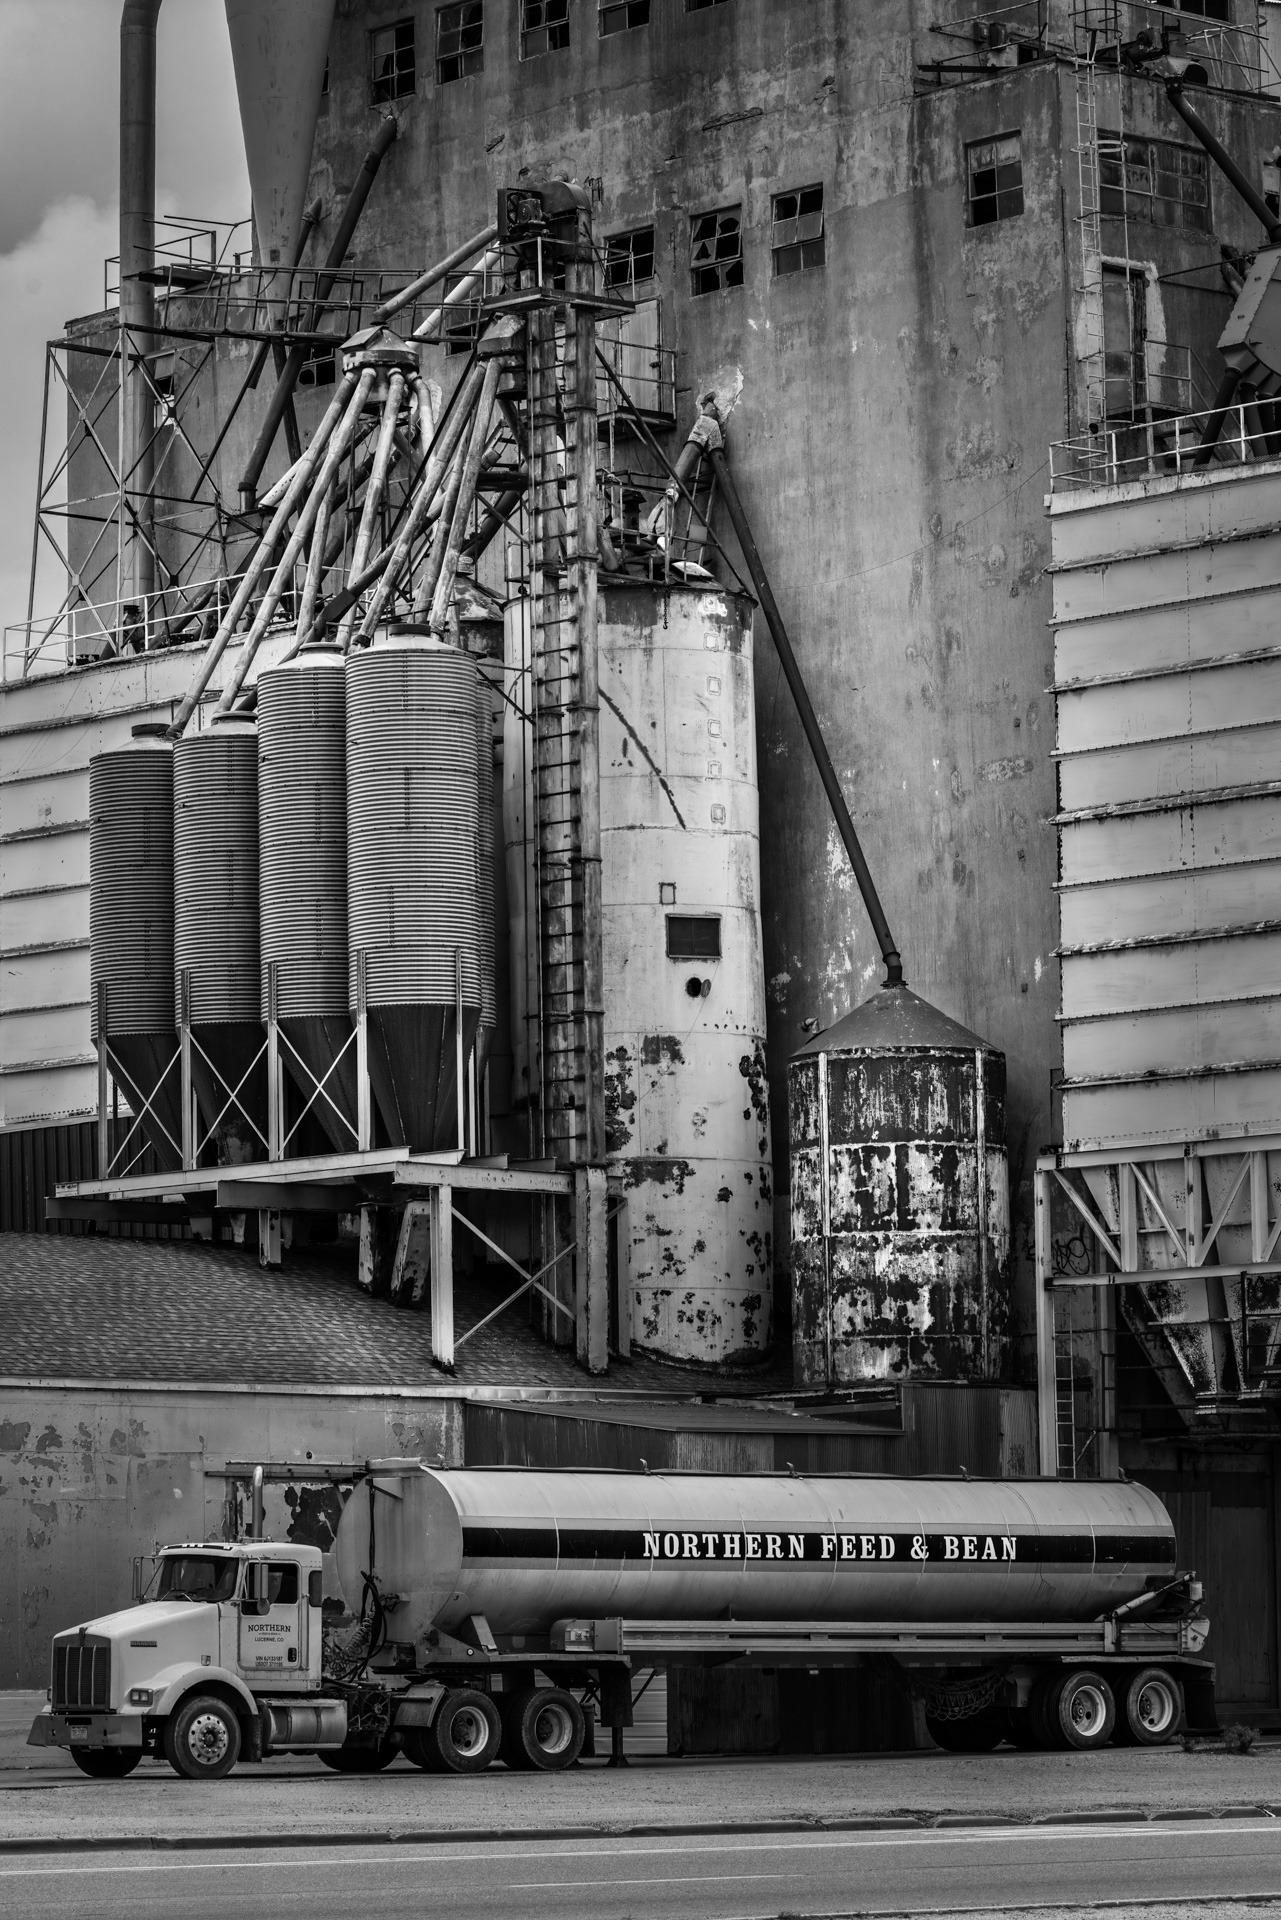
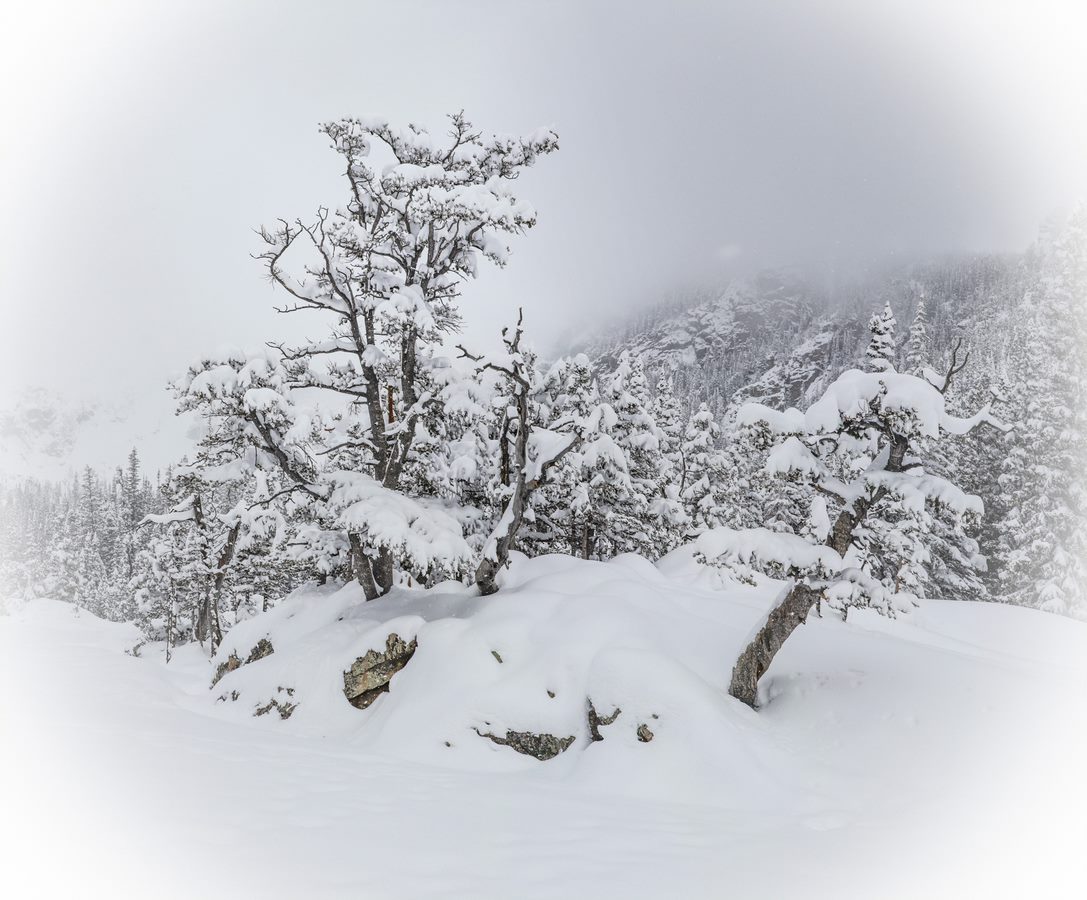
I think all of you are correct. The bottom area doesn't add to the image. |
Feb 9th |
| 78 |
Feb 26 |
Comment |
Very nice. Why don't you send some snow to Colorado. This is a great minimalist image - very Zen like. |
Feb 9th |
| 78 |
Feb 26 |
Comment |
I love Triptychs. I think your rendition is just perfect. |
Feb 9th |
| 78 |
Feb 26 |
Comment |
I like the silhouette. I think the left to right orientation works best. |
Feb 9th |
| 78 |
Feb 26 |
Comment |
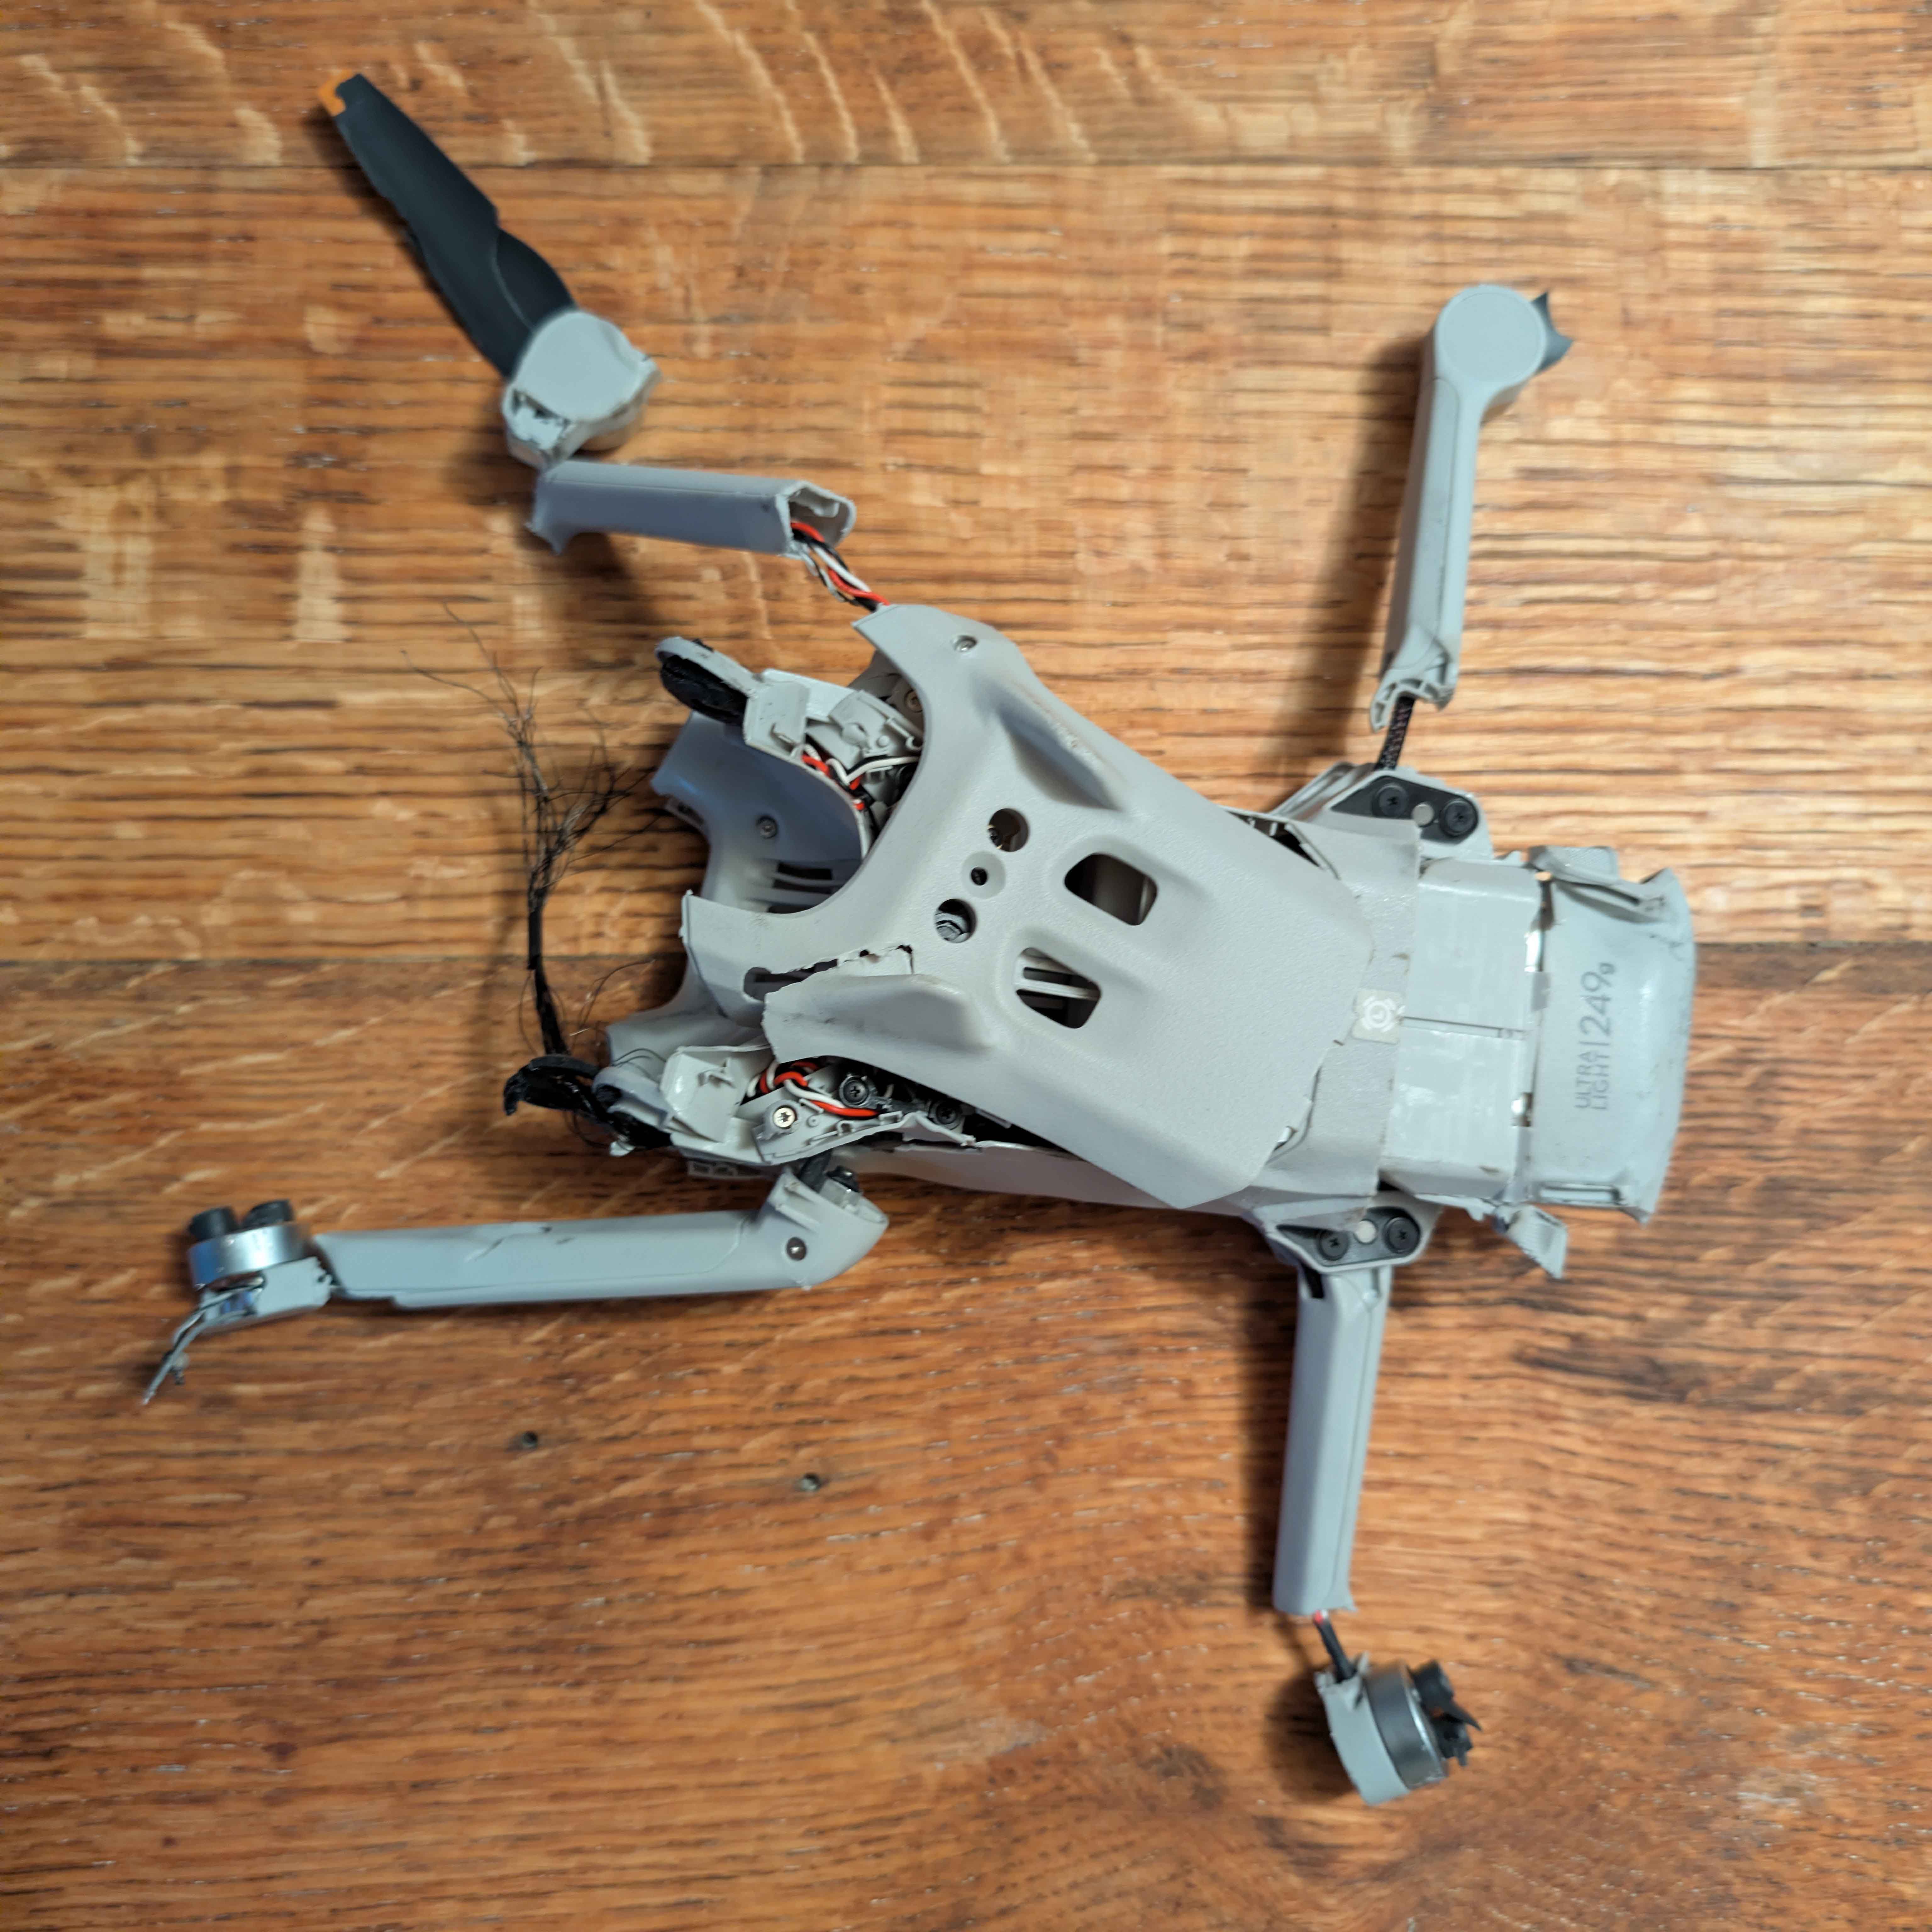
Very nice! I just got a drone myself so stay tuned. Actually I am on my second drone so far because the first one I had landed in the middle of a highway and got run over. I haven't really flown it anywhere interesting yet because I'm still learning. |
Feb 9th |
 |
| 78 |
Feb 26 |
Comment |
I really like the combination of cool colors. Maybe a bit of vignette would be a nice addition. |
Feb 9th |
| 78 |
Feb 26 |
Comment |
Nice image! Having just returned from the Sonoran Desert myself, I don't think the colors are over saturated. It really does look like this. Also note the the original has only slightly lower saturation. |
Feb 9th |
| 78 |
Feb 26 |
Comment |
This is the black and white version. |
Feb 1st |
 |
8 comments - 0 replies for Group 78
|
14 comments - 2 replies Total
|