|
| Group |
Round |
C/R |
Comment |
Date |
Image |
| 54 |
Apr 23 |
Reply |
Last try. No planet and brighter. |
Apr 27th |
 |
| 54 |
Apr 23 |
Reply |
That's good advice. Much appreciated. I will think to blur/blend the borders of my May project. In further iterations of this month's image I painted 2% black around the edges of the ship. |
Apr 23rd |
| 54 |
Apr 23 |
Reply |
She's from around my part of the country. I'll give that a try tonight. Thanks much. |
Apr 22nd |
| 54 |
Apr 23 |
Reply |
Yes, you are right about the exposure. Also not needing the planet. |
Apr 21st |
| 54 |
Apr 23 |
Reply |
That's a can of crawly worms!
Half way through Unmesh Dinda's video about using dodge and burn on Grey vs Transparent layers I realized I needed to first understand how the dodge and burn tools are actually intended to be used on a separate layer, for non destructive editing.
I watched a short, 11 minute video by Sean Bagshaw "Dodging and Burning In Photoshop" https://www.youtube.com/watch?v=BRnUdVCwbW8.
As you mentioned, the reason to use the Photoshop Dodge and Burn tools rather than just a paint brush is because of the range options to impact only highlights, mid-tones or shadows.
For separate layers he explains that you need to use the menu option to create the layer so it opens a layer creation dialogue box that let's you specify OVERLAY blend mode (OK, you don't really need the dialogue to do that) and then, more efficiently, check a box to add a solid 50% gray layer.
You all knew that already.
I didn't know I needed to have a gray overlay when using the PS Dodge and Burn tools on a separate layer.
Even so, he admits that there is no noticeable difference between using a brush on a transparent layer or using dodge and burn tools on the gray overlay layer. The dodge and burn tools don't take into account the highlight, mid-tone or shadow settings on the gray overlay layer!
That is around the 5 minute mark.
He says there are other means to edit selective tones on a separate layer, notably using channels. He also refers to Tony Kuyper and his coined term "Luminosity Painting" (cf https://goodlight.us/ ). I will check it out eventually. Down the rabbit hole...
Back to Unmesh' video, I did try alternately a 50% Gray Overlay layer and a Transparent Overlay layer. And only the 50% gray overlay layer worked with the dodge tool - just not with the highlight-midtone-shadow settings. It made sense to me based on the definition of how overlay blend mode functions. I'm going to leave this video alone for now. although I do watch Unmesh's videos, notably the one about the 27 plus 3 blending modes.
It all reminds me why I could never get into Photoshop before. |
Apr 21st |
| 54 |
Apr 23 |
Reply |
Thanks so much. Checking it out. |
Apr 21st |
| 54 |
Apr 23 |
Comment |
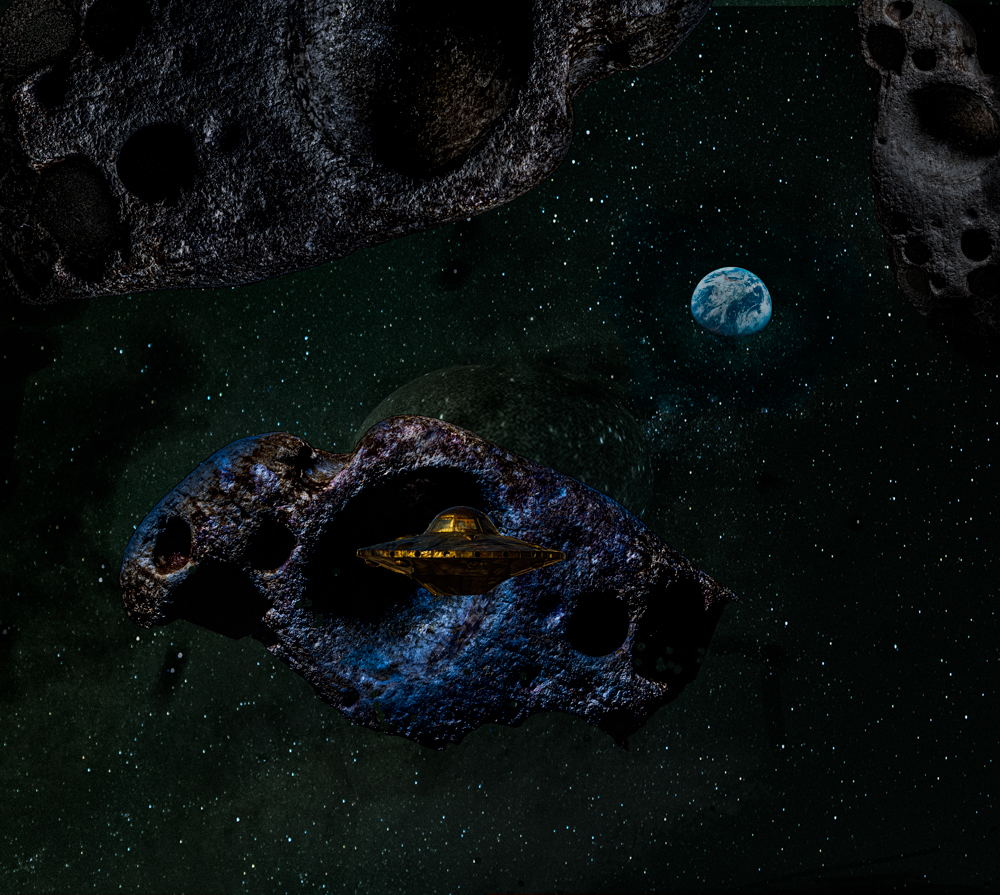
Here's an alternate take. I used a wiki commons image of the Earth from Apollo 8. The idea is that the space ship is hidden from earth behind the asteroid in the asteroid belt.
|
Apr 20th |
 |
| 54 |
Apr 23 |
Comment |
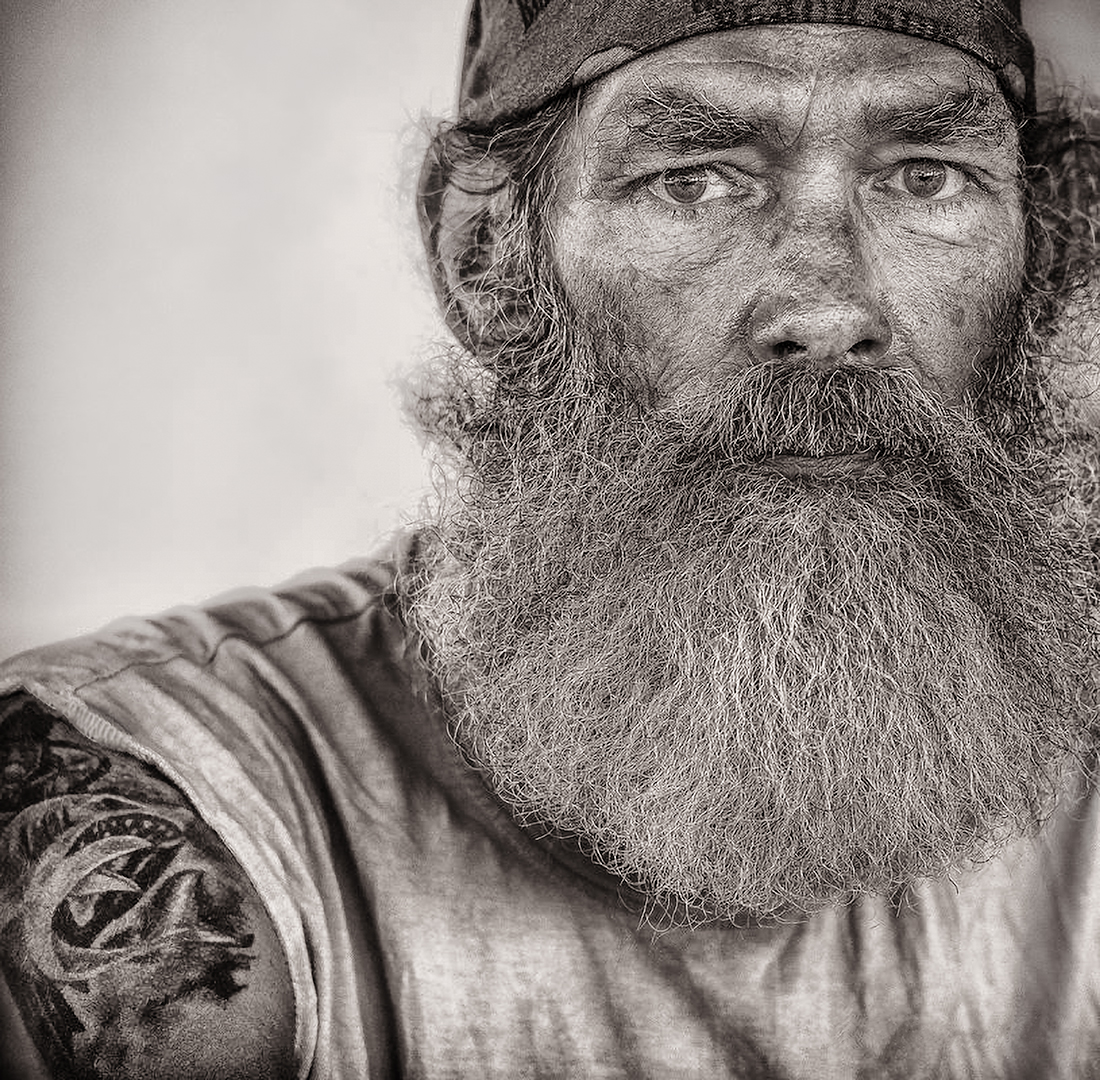
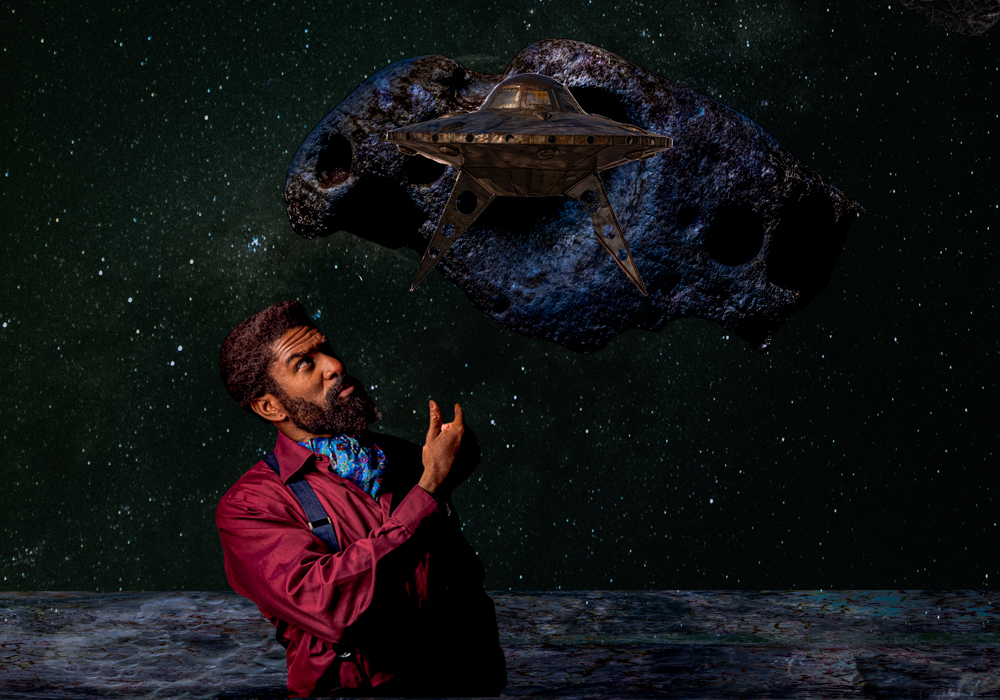
I partly agree with Maria's comment. In respect to Kirsti I perceive however this character as being more a Big Bad Giant since you wrote that you "lived to tell the tale" and I think his squinting eye is fierce rather than benevolent. And maybe that's the reason the little girl is running away. I was wondering whether having his head poised mostly horizontally, and scaled so that it fills the entry and we essentially only see his right eye squinting at the little girl, as if to "get her"(!), could work. I don't feel that the white area to his left is effective. Without the white you might still be able to dodge and burn to obtain any desired contrast. |
Apr 17th |
| 54 |
Apr 23 |
Reply |
I like the premise. I would like to do similar juxtapositions. |
Apr 17th |
| 54 |
Apr 23 |
Comment |
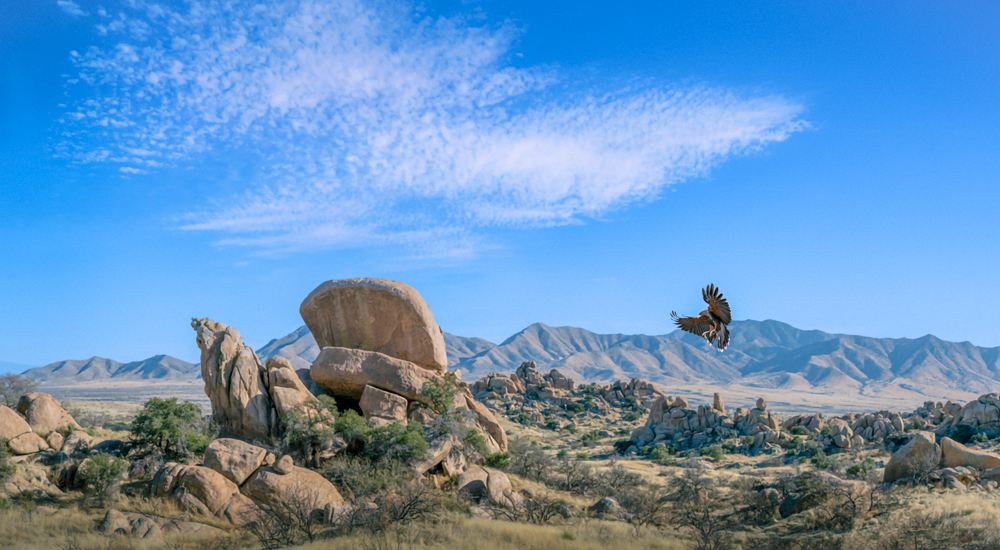
I like how the rust and grass colors complement each other, the dynamic postures of the children and dog, with the perspective you created. The shadows look natural. To Aavo's point, if there were to be a shadow correction I would slightly modify that of the first post rather than the one the girl is standing on. Very nice. |
Apr 17th |
| 54 |
Apr 23 |
Comment |
And this is the previous image cropped down. I can imagine other modifications, for example a banner with text like "Asteroid City" in a futurist style to mimic a movie poster or a forties Sci-Fi- magazine cover. |
Apr 17th |
 |
| 54 |
Apr 23 |
Comment |
|
Apr 17th |
 |
| 54 |
Apr 23 |
Comment |
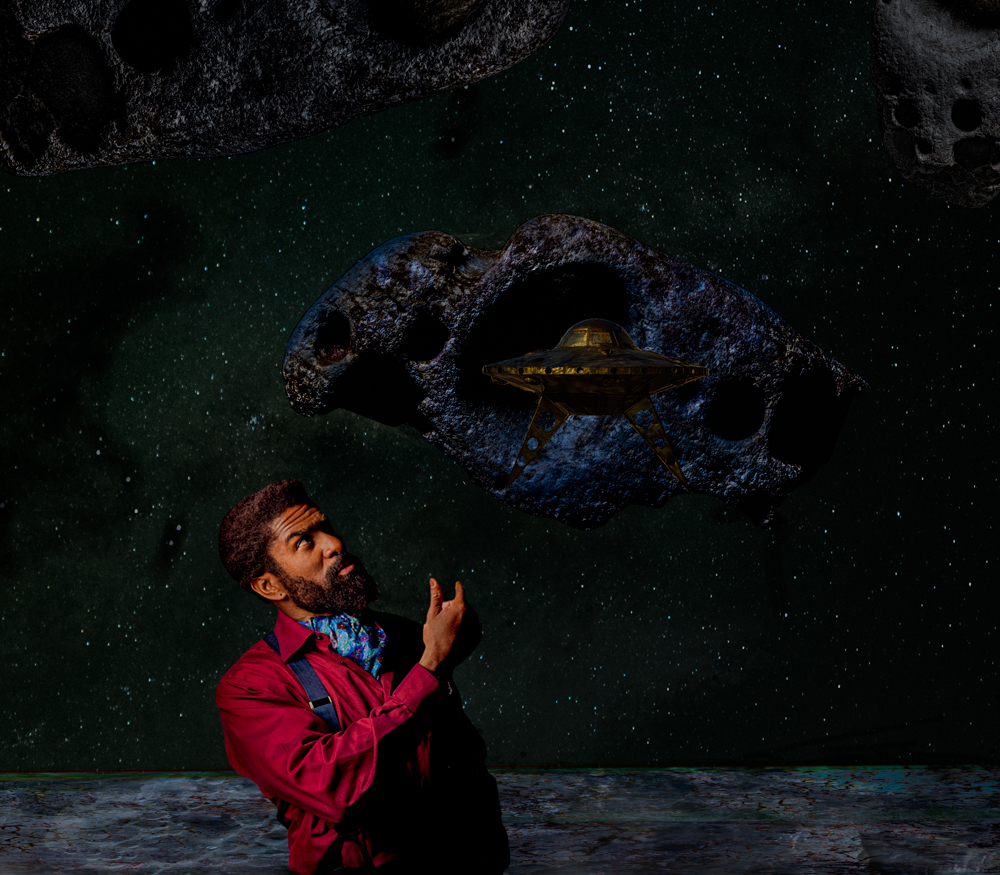
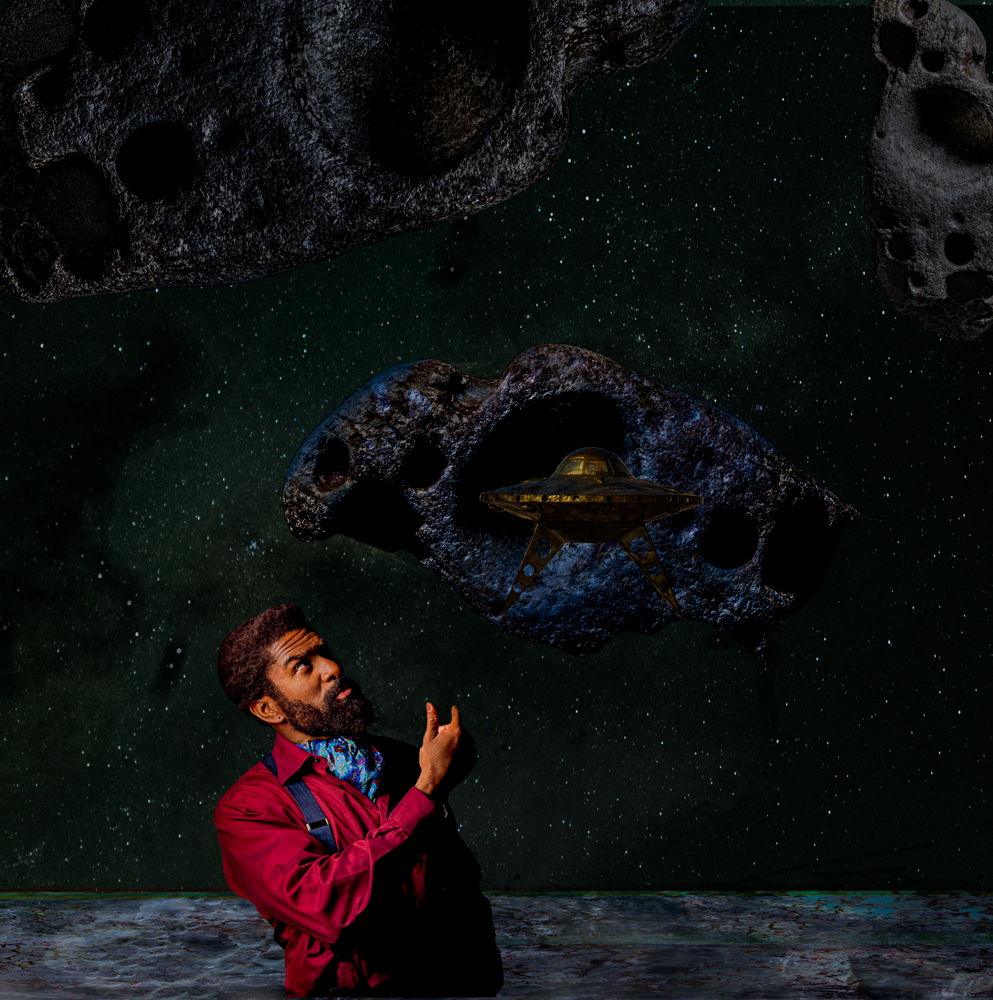
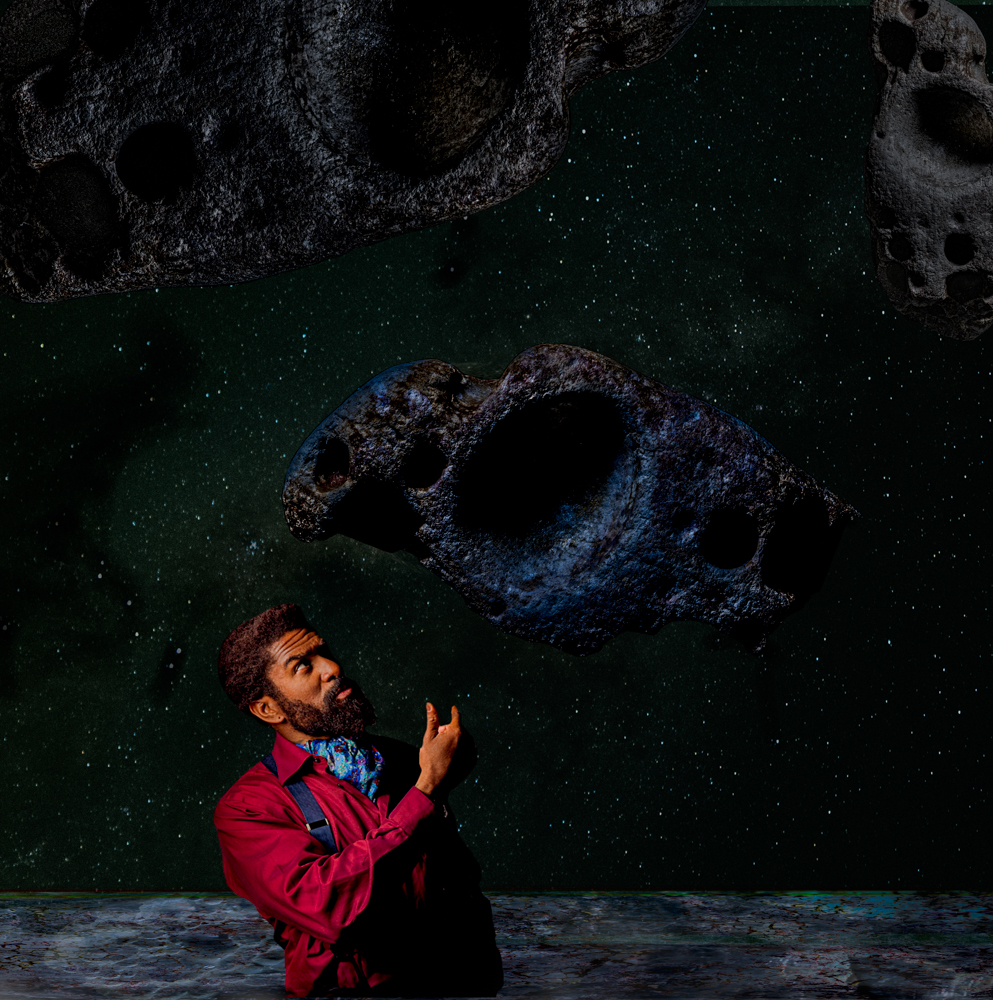
Here are a few variants that address comments and try to improve. Blending and masking with multiple layers is still novel for me. I cleaned up stars that were blending through the planet and the asteroid, and I toned down some highlights with a 2% black brush, either on a top layer for the image as a whole, or on masks for individual components, notably for the aggressive highlight around the edge of the crater on the big asteroid. I first tried the dodge and burn tools. Since I was only burning to tone down the highlights I didn't understand the advantage of the burn tool over using a black brush but I admit to not really grasping how to use dodge and burn. I'm guessing that the dodge tool does work a lot better than a white brush. If someone would enlighten me on why the burn tool is better than a black brush I would be grateful.
I added a very modest gradient just above the surface of the planet just to get an introductory feel for them, using Photoshop's explanations and examples. The original image had more space above the subject. Here are versions of that concept with and without the spaceship.
|
Apr 17th |
 |
| 54 |
Apr 23 |
Comment |
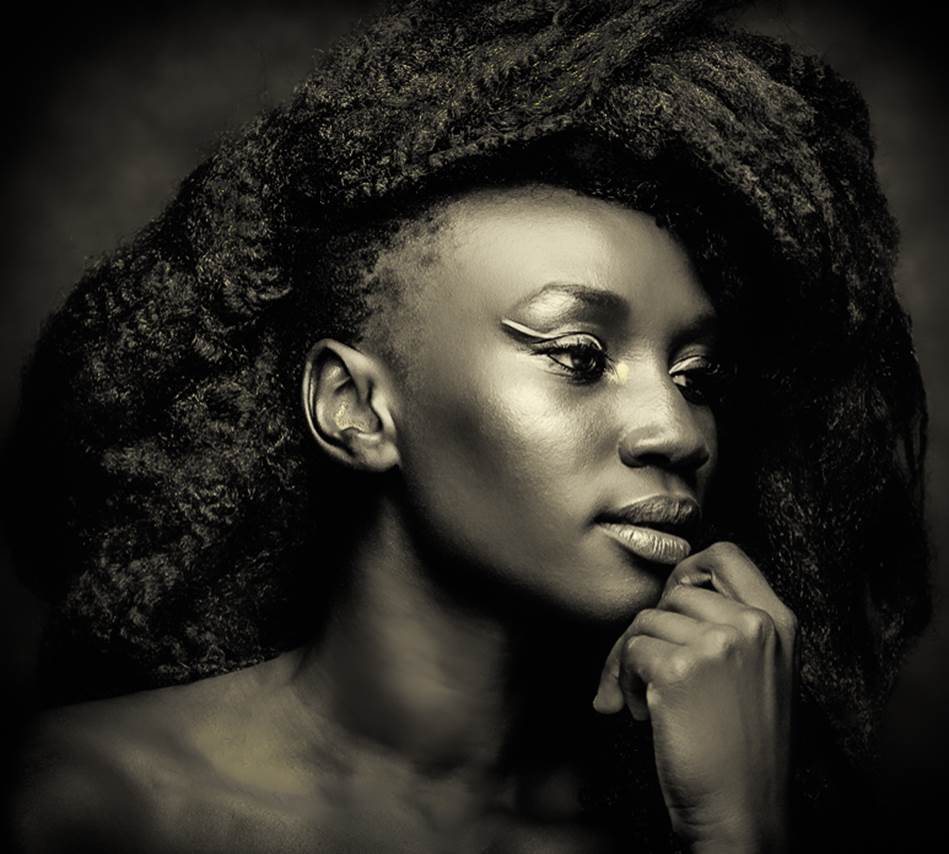
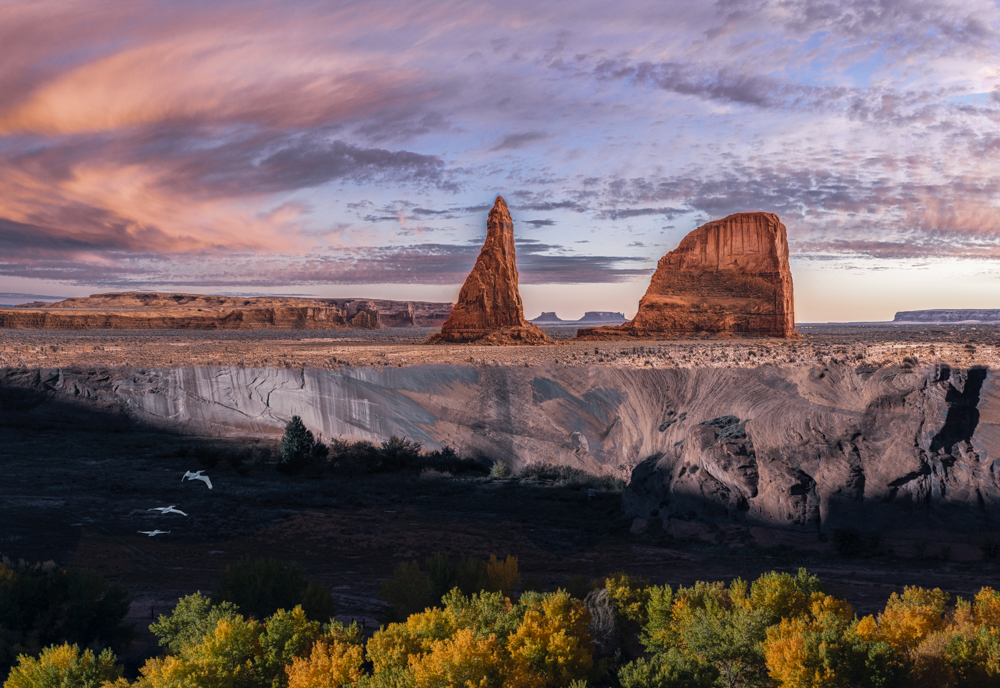
I'm not seeing the mist and the fog but I thought that it might be a good background for your grand daughter. |
Apr 7th |
| 54 |
Apr 23 |
Reply |
Got it |
Apr 7th |
| 54 |
Apr 23 |
Comment |
I'm not the police, as the French like to say.
"If the statue is in public view with photography permitted, is using its picture any different from using a picture of a building or a garden landscape, both of which are designed and created by other people?"
Sure. |
Apr 7th |
| 54 |
Apr 23 |
Comment |
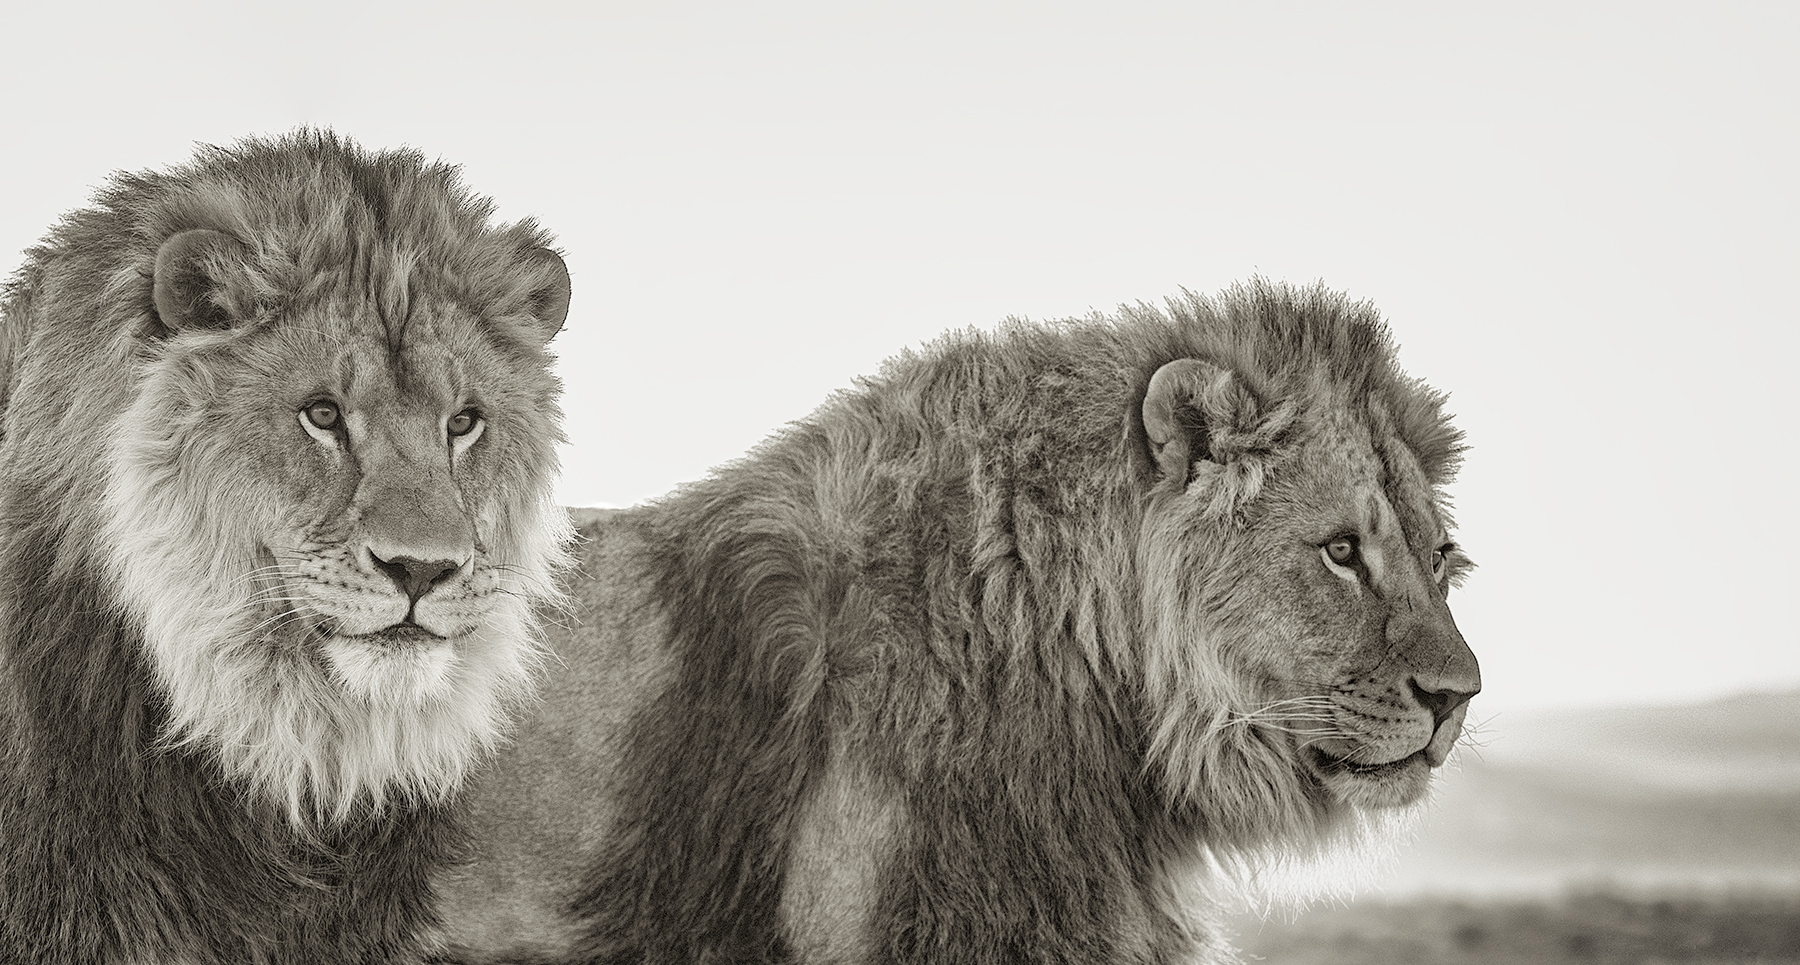
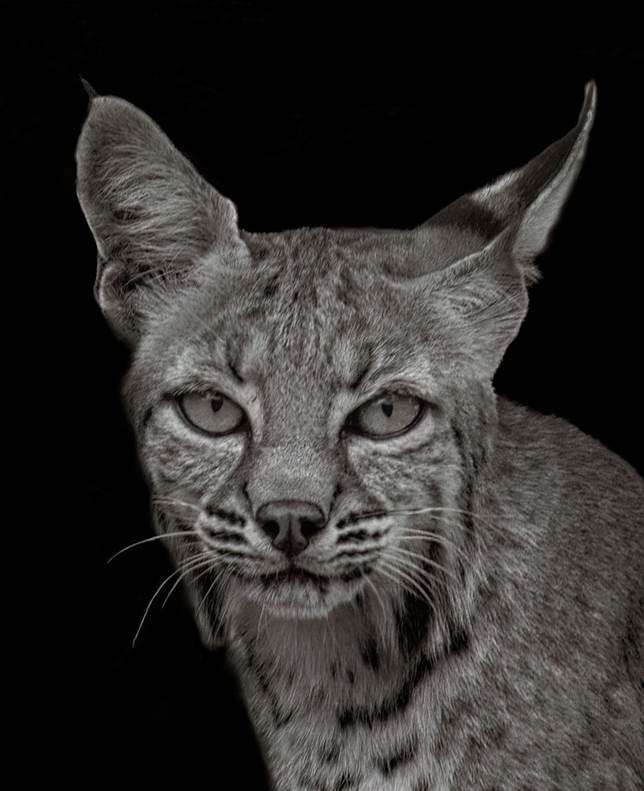
Aavo, As a concept it's interesting that it's not the hypothetical woman but her provocative red embellishments that are highlighted as the subject, with the feline as a complement. You achieved unity by extracting the red from the femme fatale and making it what binds the composition. The next order of importance is to make the picture pop more, by creating further contrast between its respective elements. The lipstick has its own thinner frame to distinguish it, but it is still timid. You could try different effects; make that frame bold, for example, or add drop shadow etc. while paying attention to not defeat the impact of your minimalist thesis. |
Apr 7th |
| 54 |
Apr 23 |
Comment |
Looks good to me! You let it decant. Where are the roses and smell, though? |
Apr 7th |
| 54 |
Apr 23 |
Comment |
I'm a sucker for natural textures. It's not surprising I find pleasing the texture of the petals in the second version. Both versions have their merits. We can do whatever we want as long as there are no "cease and desist" orders or restraints. I often wonder about taking pictures of artefacts, i.e. man-made objects==other peoples work, and how that is potentially stealing someone else's work unless it's a stock photo intended for that purpose or something that is generic, a meme (eg the icon of an Oscar statue, a can of Campbell Soup). I'm more comfortable with the first picture than the second, therefore. I like it's fluorescent quality. I see no problem using a Giacometti statue just to establish a general form. I didn't see anything in the guidelines (http://psadigital.org/resources/guidelines.php ) about copying other people's work. |
Apr 6th |
11 comments - 8 replies for Group 54
|
11 comments - 8 replies Total
|