|
| Group |
Round |
C/R |
Comment |
Date |
Image |
| 25 |
Sep 22 |
Comment |
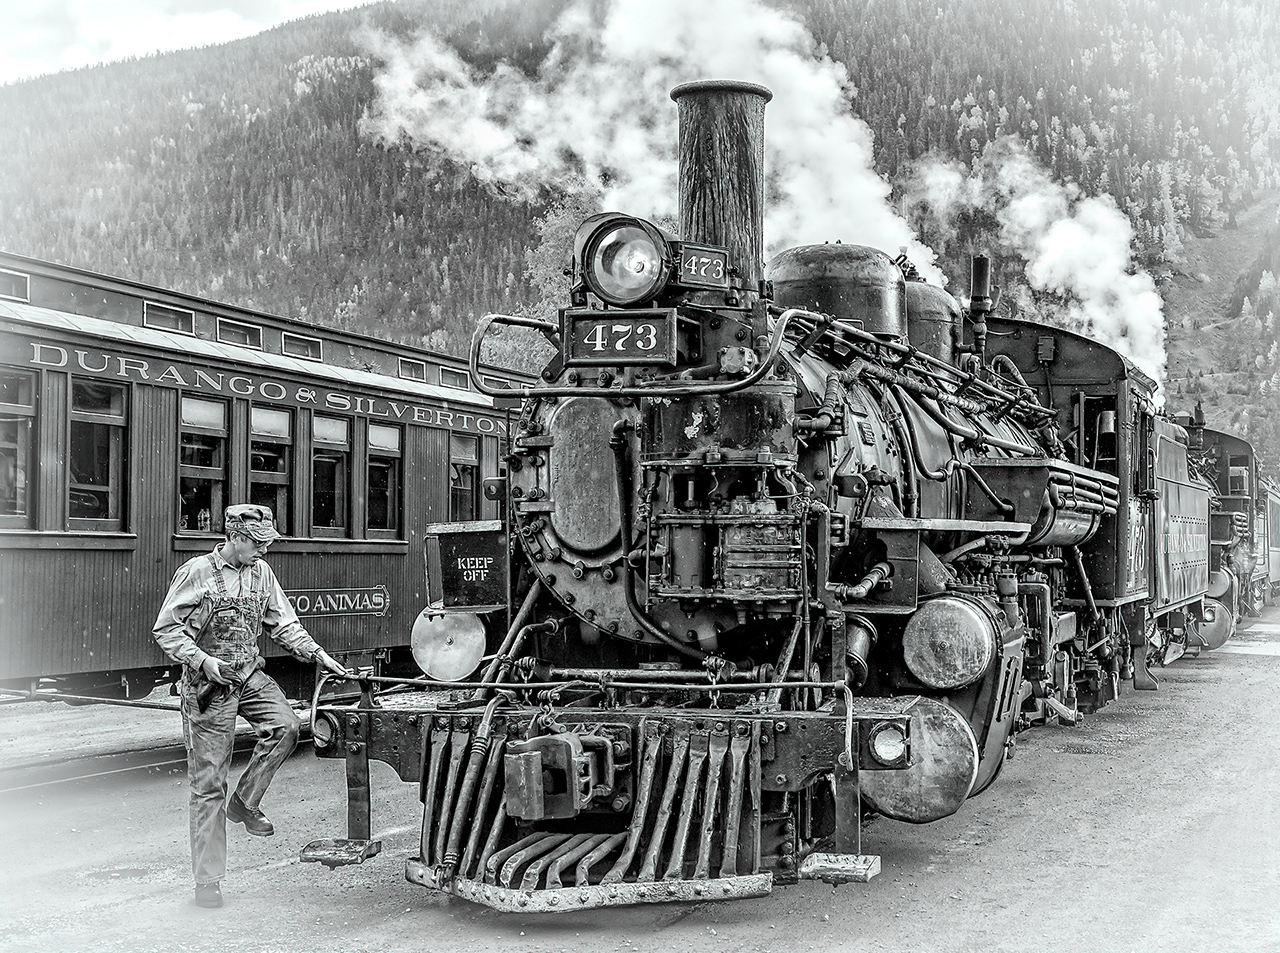
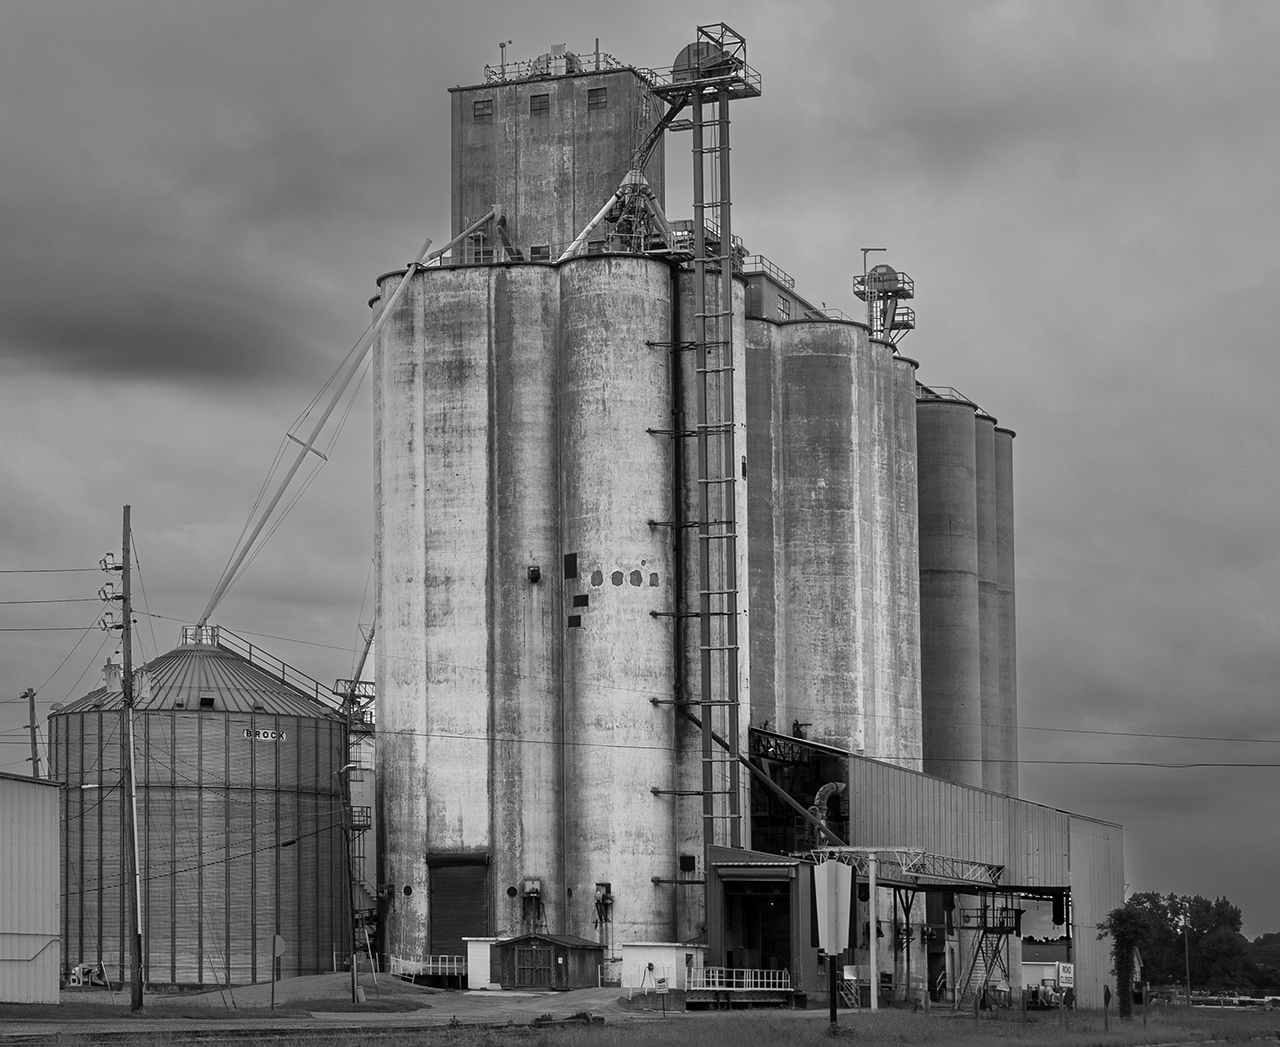
Hi Bollin, Thanks for sharing such a memory for me. I grew up around grain elevators in North Dakota, although when I was there in the 70's they weren't that big. Brought back memories. Thanks for presenting in BW, as it works well.
I too had the impression that there was a lean to the right, and checked to see that the right half of the image is vertical. The left side, particularly the smaller bin and power pole was leaning. I wondered also if the road was also contributing to that perspective.
I actually played a bit and cropped out the road, which seemed to be a bit distracting. That helped. I also opened in PS, using the "skew" tool and adjusted the perspective on the left. See what you think on the attached image.
Good job on processing the sky separately. This definitely brought out more drama to the sky. When you zoom in on the metal frames around the tower and in the trees, one can see the lighter sky was not included in the mask within a few areas. It is difficult for some software to get everything. Did you mask when it was in color or after converting to BW? |
Sep 12th |
 |
| 25 |
Sep 22 |
Comment |
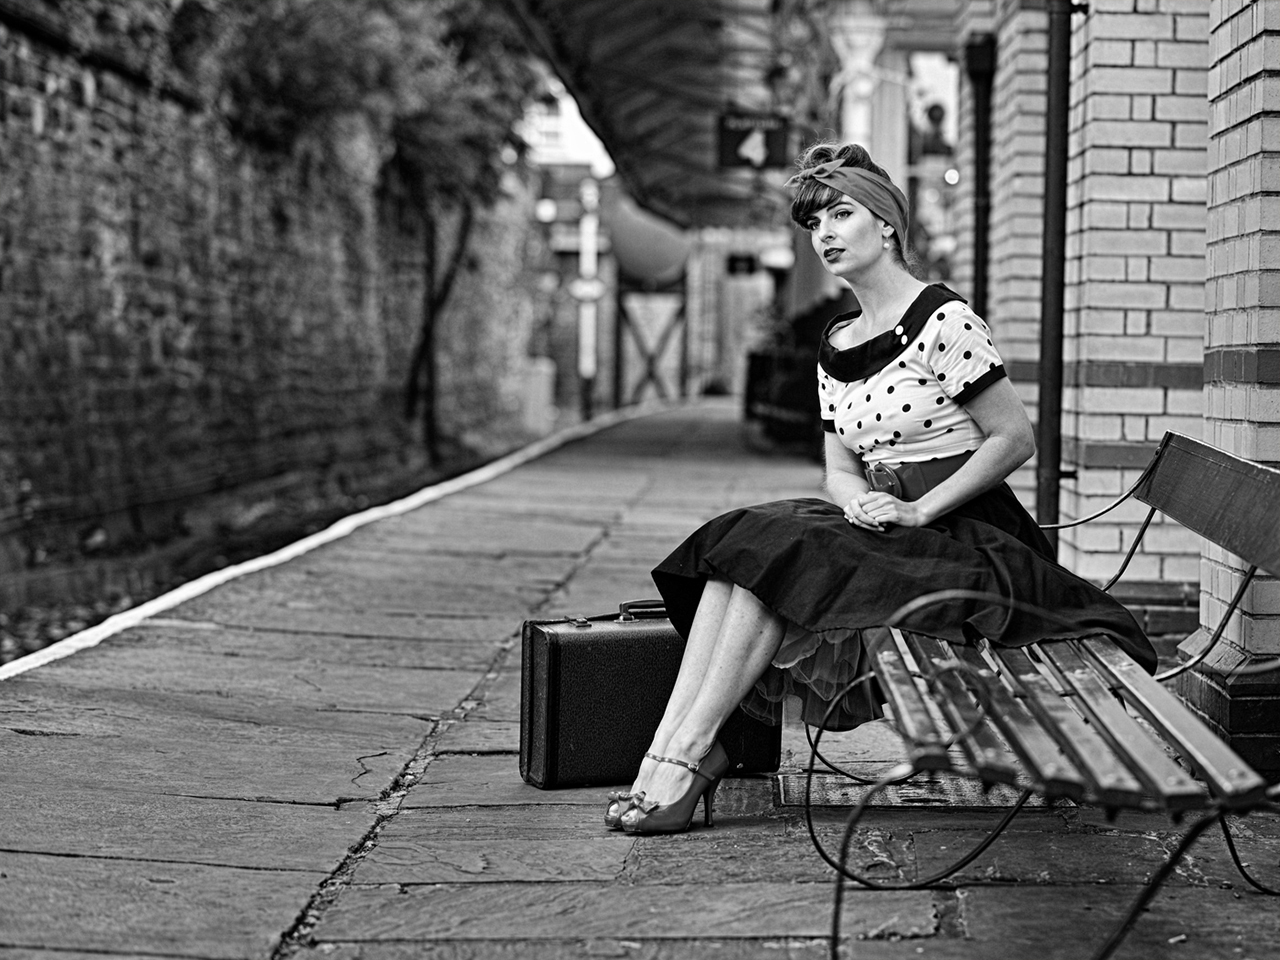
What a great opportunity, Brian! Wonderful snapshot of a time when outfits were really cool. Love the red! The "Platform 4" sign is nicely separated from her head which definitely enhances the concept of the train platform.
I was thinking about photos from the 50's and recognized we would not have had the vibrant colors of today's sensors, so I wanted to look at it as a BW, which also works very nicely. Do miss the red though! |
Sep 12th |
 |
| 25 |
Sep 22 |
Comment |
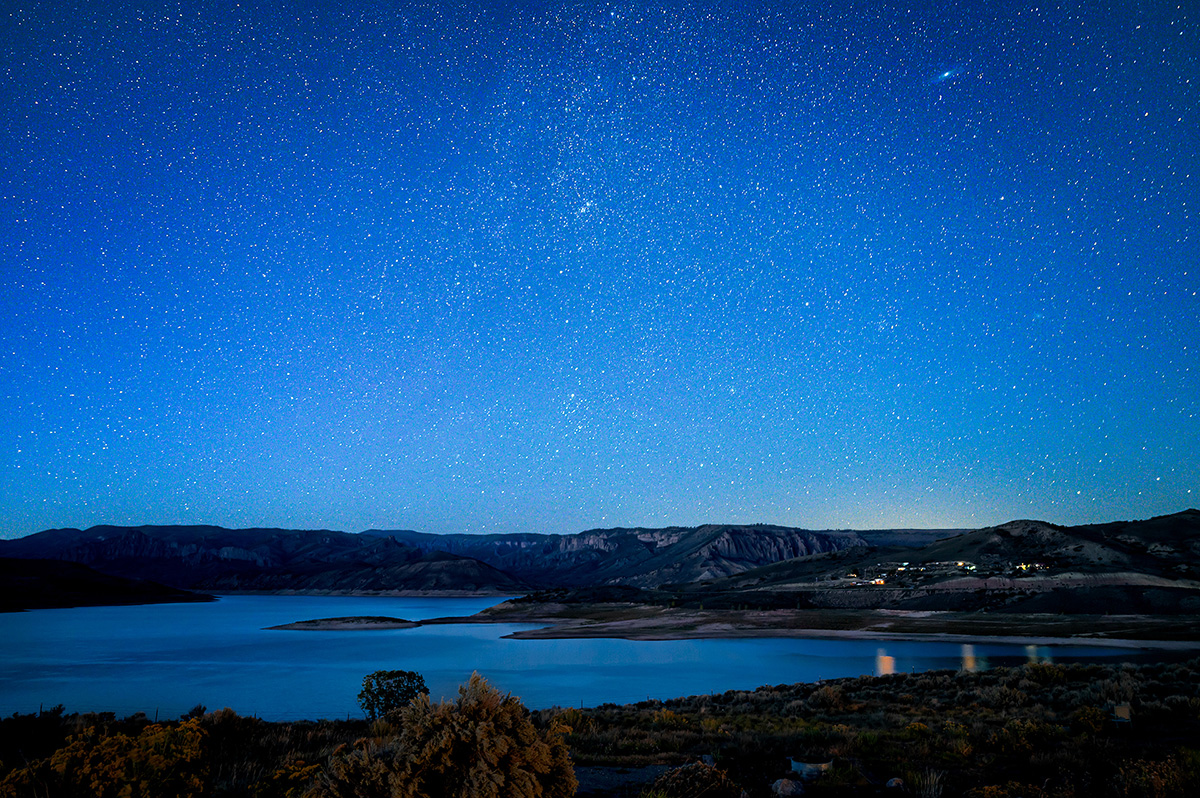
Thanks, Bollin & Ruth. Civil twilight period is about 20-40 minutes after sunset allowing that light to darkness transition of Blue Hour with the edge of the sun's rays along the horizon. The color was actually enhanced by smoke in the atmosphere. I always shoot on a tripod, allowing for alignment of images in post processing.
For processing, I used the 3-second image as a base image as there was no drift in the moon or star. I then added another layer on top of the first base layer in PS with the 13-second image, which had the softer water. The top layer is the only one visible at that point.
After both layers are in the document, I select the top layer, then put a black mask to hide the entire layer. This can be done by selecting the mask icon at the bottom of the layer panel to apply a white mask, then invert the mask (Alt or Command then the "i" key) to convert to a black mask, which will hide all the pixels on the top layer. Alternatively, with the top layer selected, you can also go to the Layer menu, and on the dropdown menu, select "Layer Mask > Hide All", which will apply a black mask to the entire layer.
All I wanted to do was allow the water to show through on the top layer. With this image it was simply easy as the water was very distinguishable at the dark area on the water horizon. How I accomplished this was to make sure I had the black mask selected on the top layer, then select the brush tool with a 100% brush with partial soft edge. Chose a white color for the brush and just paint over the water area with the brush. Just make sure you are painting white on the black layer mask, which will allow all the pixel on the top layer to show through, exposing the soft water only. Hope this helps! |
Sep 12th |
| 25 |
Sep 22 |
Comment |
Nicely composed and great job on getting the Stingray sharp. It is good that they move slow! It is amazing that one can reduce the noise now at ISO 12800. One can see a little noise in the black areas, which is not much of a distraction, but the ray is sharp. |
Sep 12th |
| 25 |
Sep 22 |
Comment |
Very nice moment and congratulations on being a grand-parent! Although the white border may be a bit dramatic, you might be able to soften the transition when using the lasso tool. While you have your selection, use the "Select and Mask" function under the select tool (top bar) to soften and feather your selection, making the transition softer. |
Sep 12th |
| 25 |
Sep 22 |
Comment |
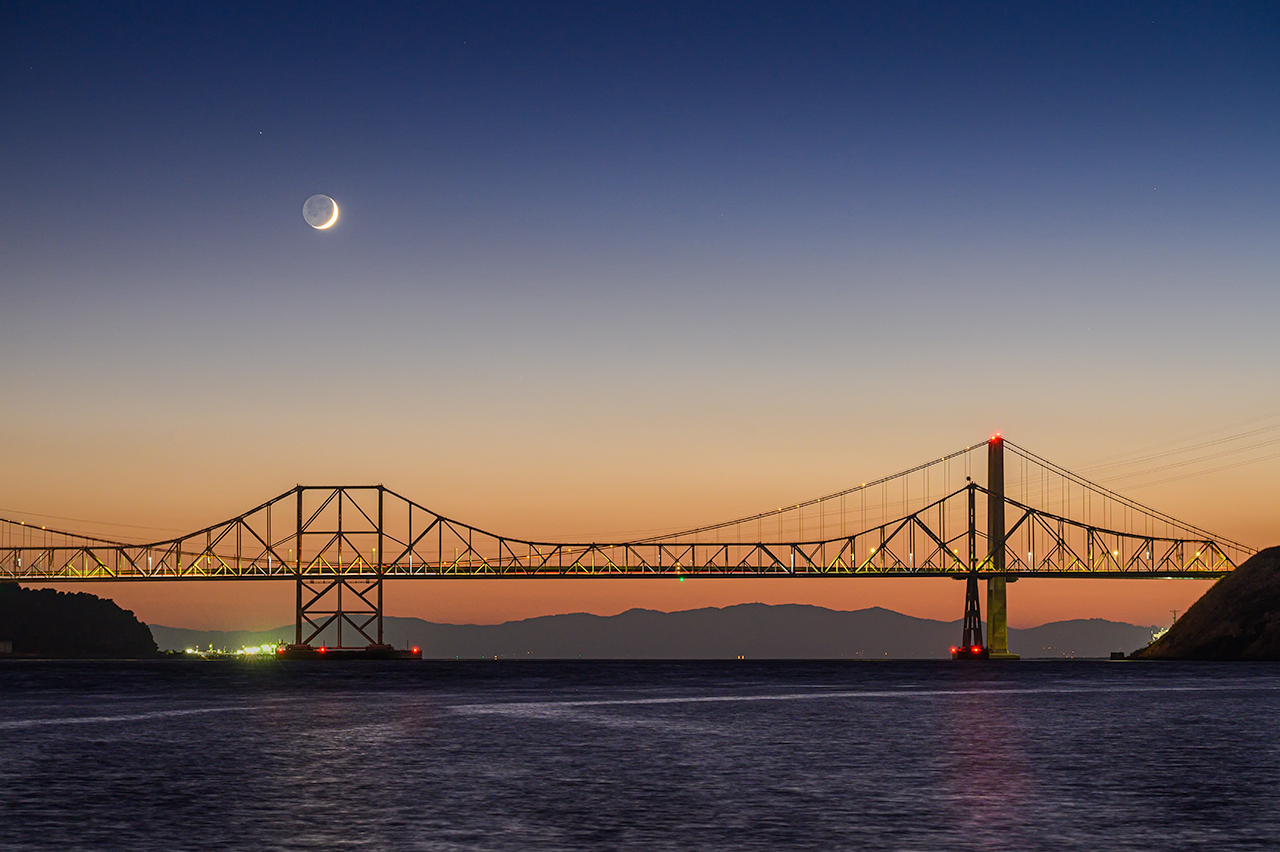
Amazing what can be done with smart phones today! I like the triangles, arches and circles...enhanced by the soft reflections. Nice architectural photo and BW is the perfect rendition. I wonder though, if you could go back and study this just a little bit more, lowering yourself down slightly to get the first ball centered between the angled supports. You might also consider trying to keep the left white bar on the edge out of the frame. Just a thought. |
Sep 12th |
| 25 |
Sep 22 |
Comment |
Thanks for showing what the whole group of hostas looks like. Great subject to work with, as nice contrast and similarity between the lines in the leaves and flower petals. I wonder though if you might be able to find a composition where the flower is surrounded by the leaves behind the flower head, eliminating the background siding, which detracts a bit. Even if the leaves behind were out of focus, they would softly be cradling the blossom. |
Sep 12th |
7 comments - 0 replies for Group 25
|
7 comments - 0 replies Total
|