|
| Group |
Round |
C/R |
Comment |
Date |
Image |
| 41 |
Nov 25 |
Comment |
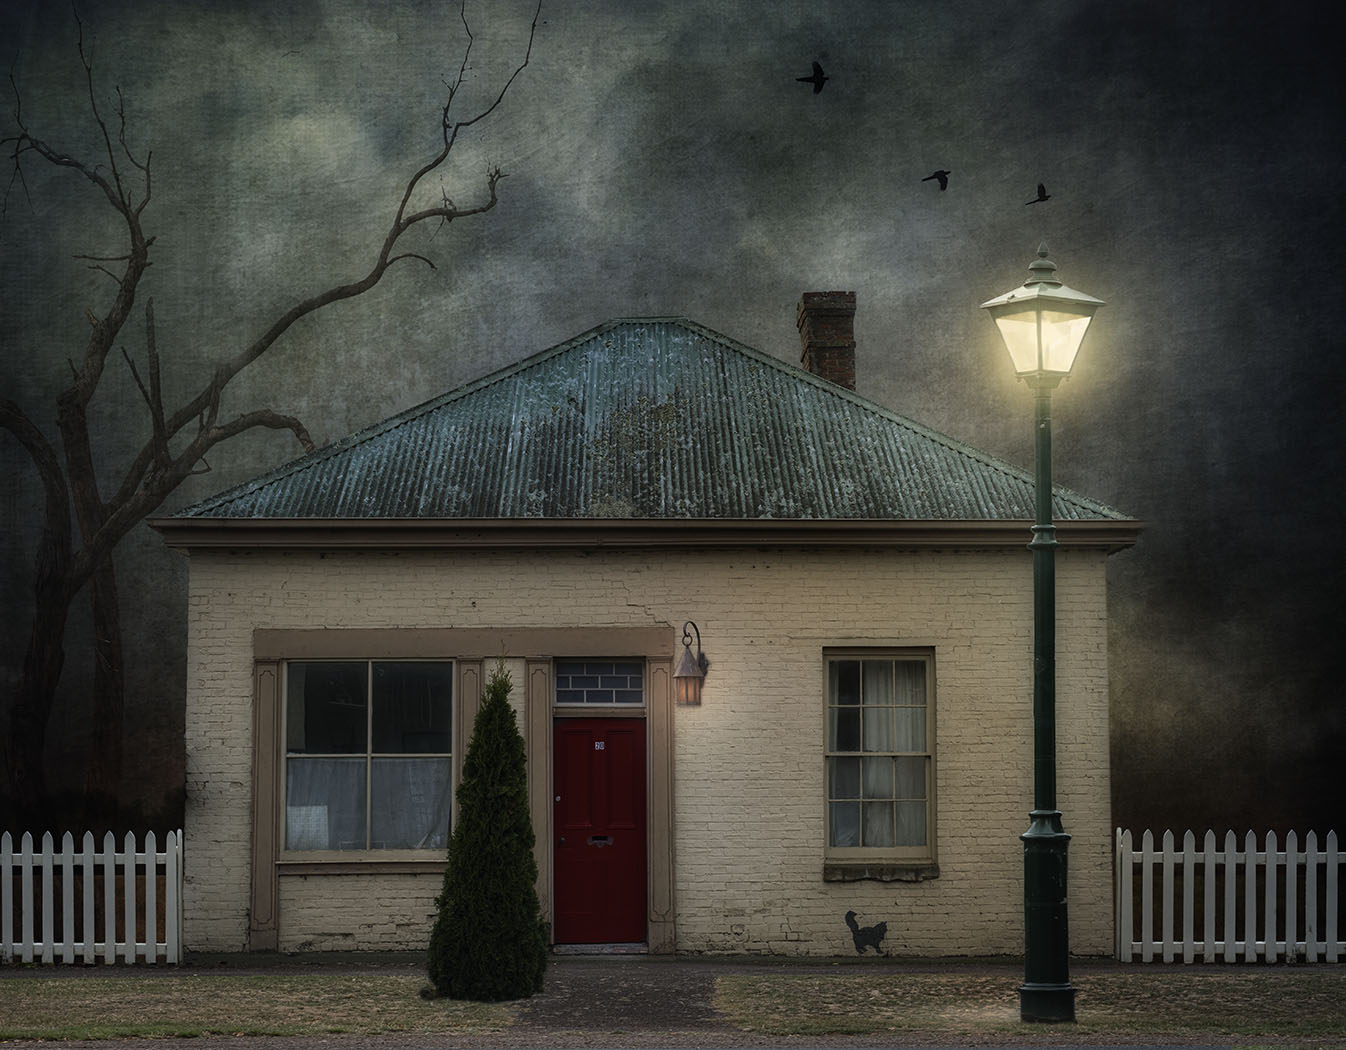
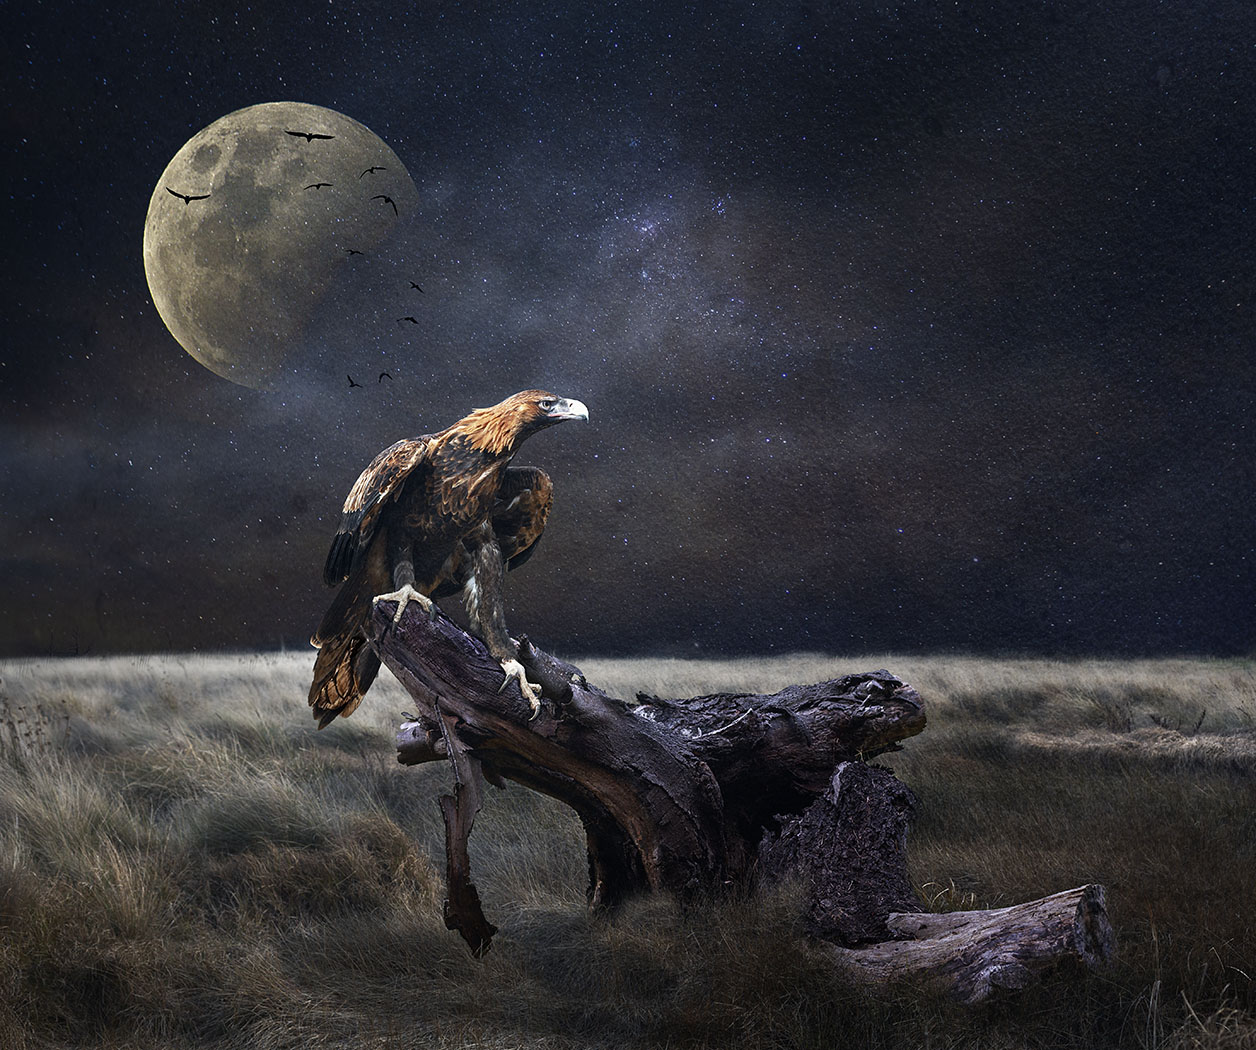
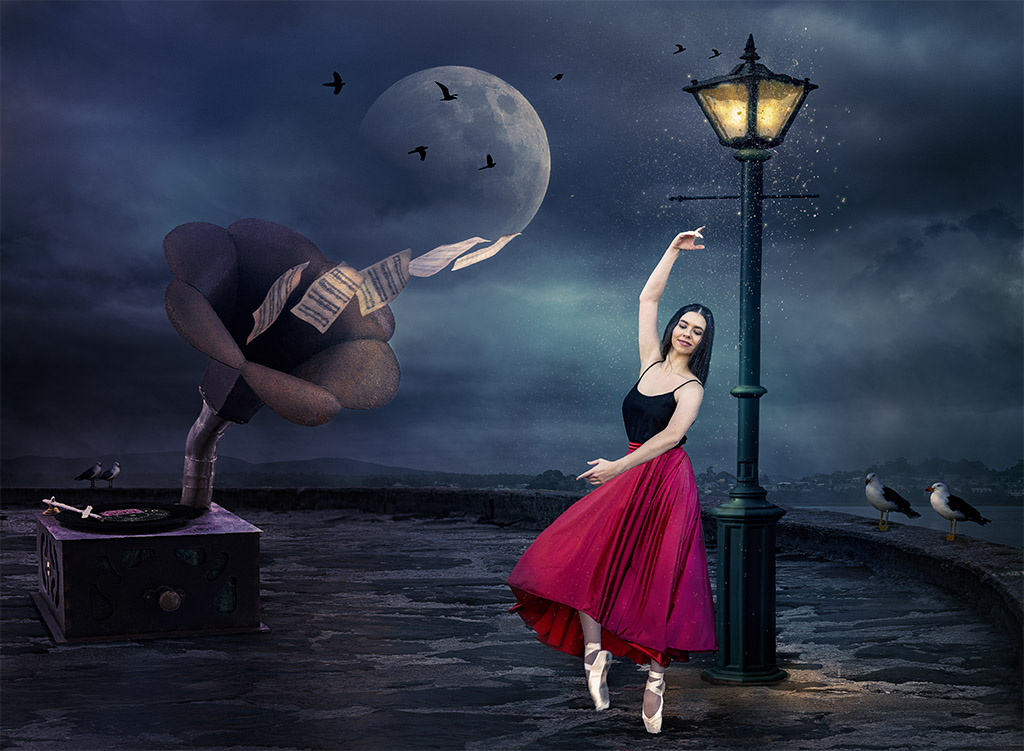
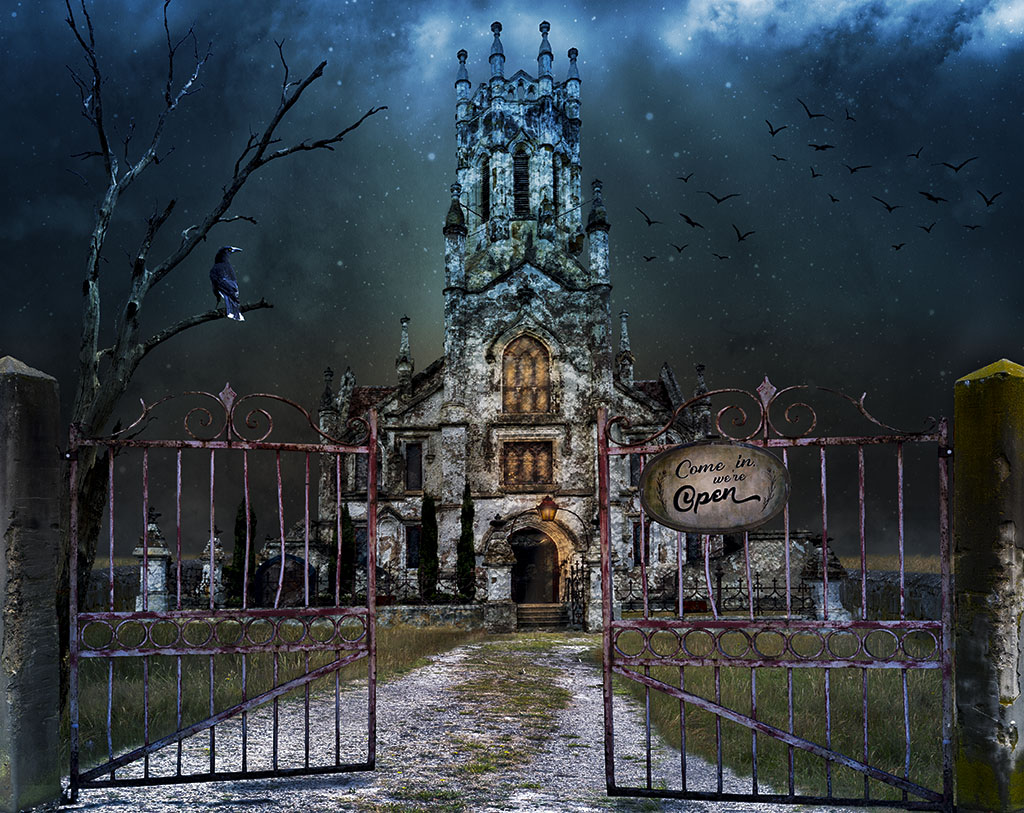
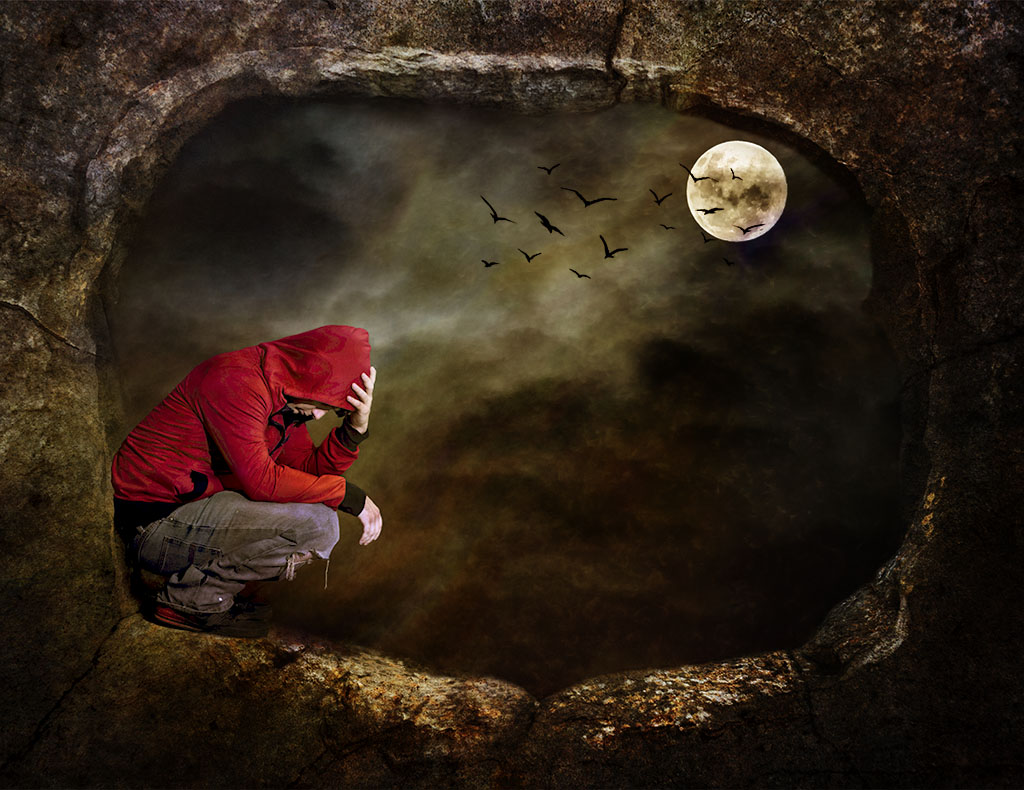
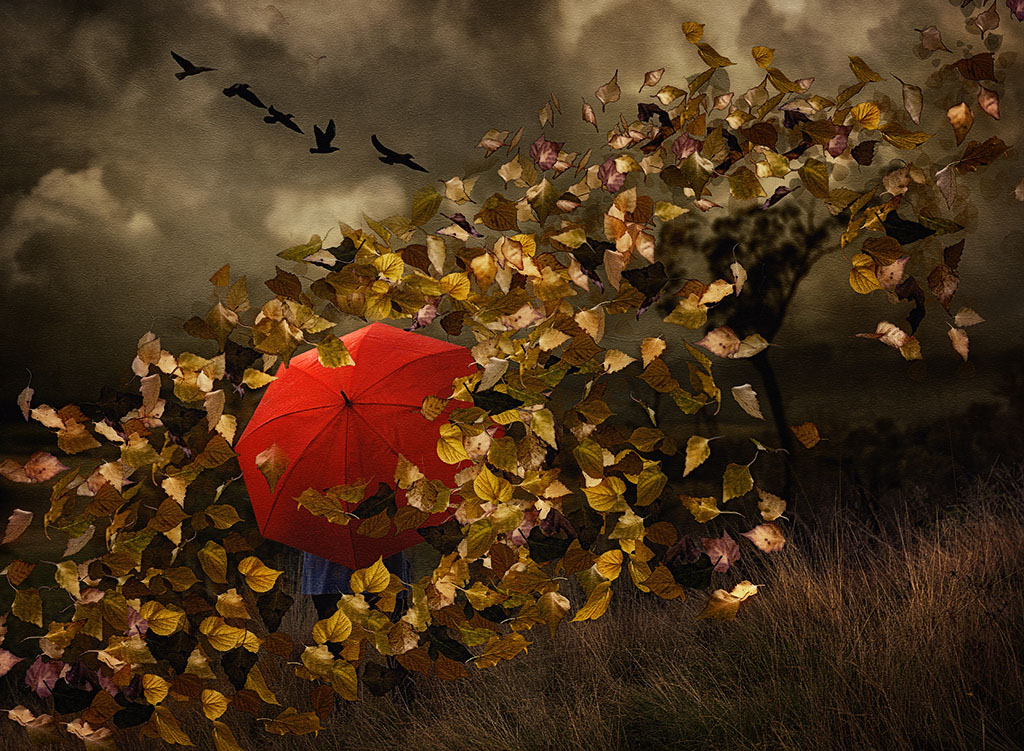
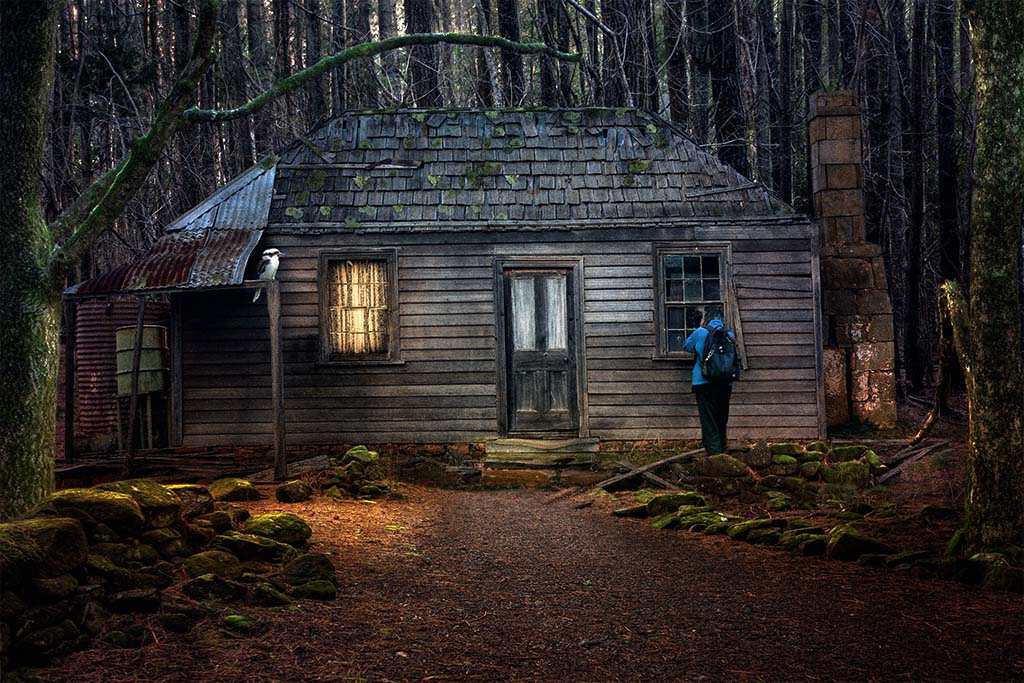
Hi Tom, nice work, I don't think I could suggest any improvement. I don't mind the bird, most scary type scenes have birds shown as flying when the moon is out. I think it adds to the scene. A raven would be good. |
Nov 20th |
| 41 |
Nov 25 |
Reply |
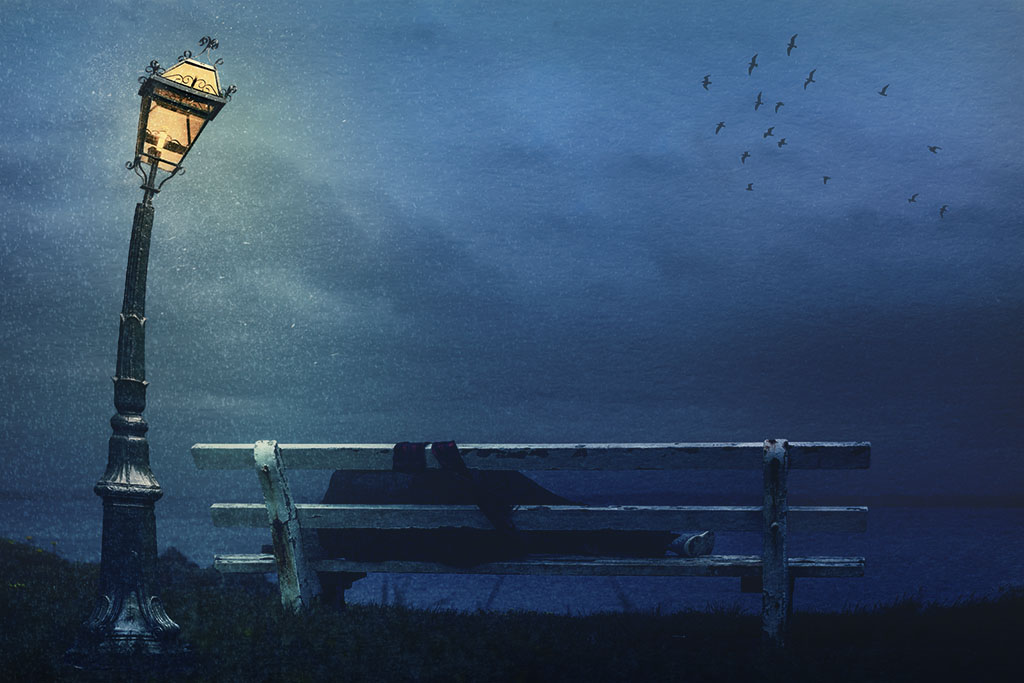
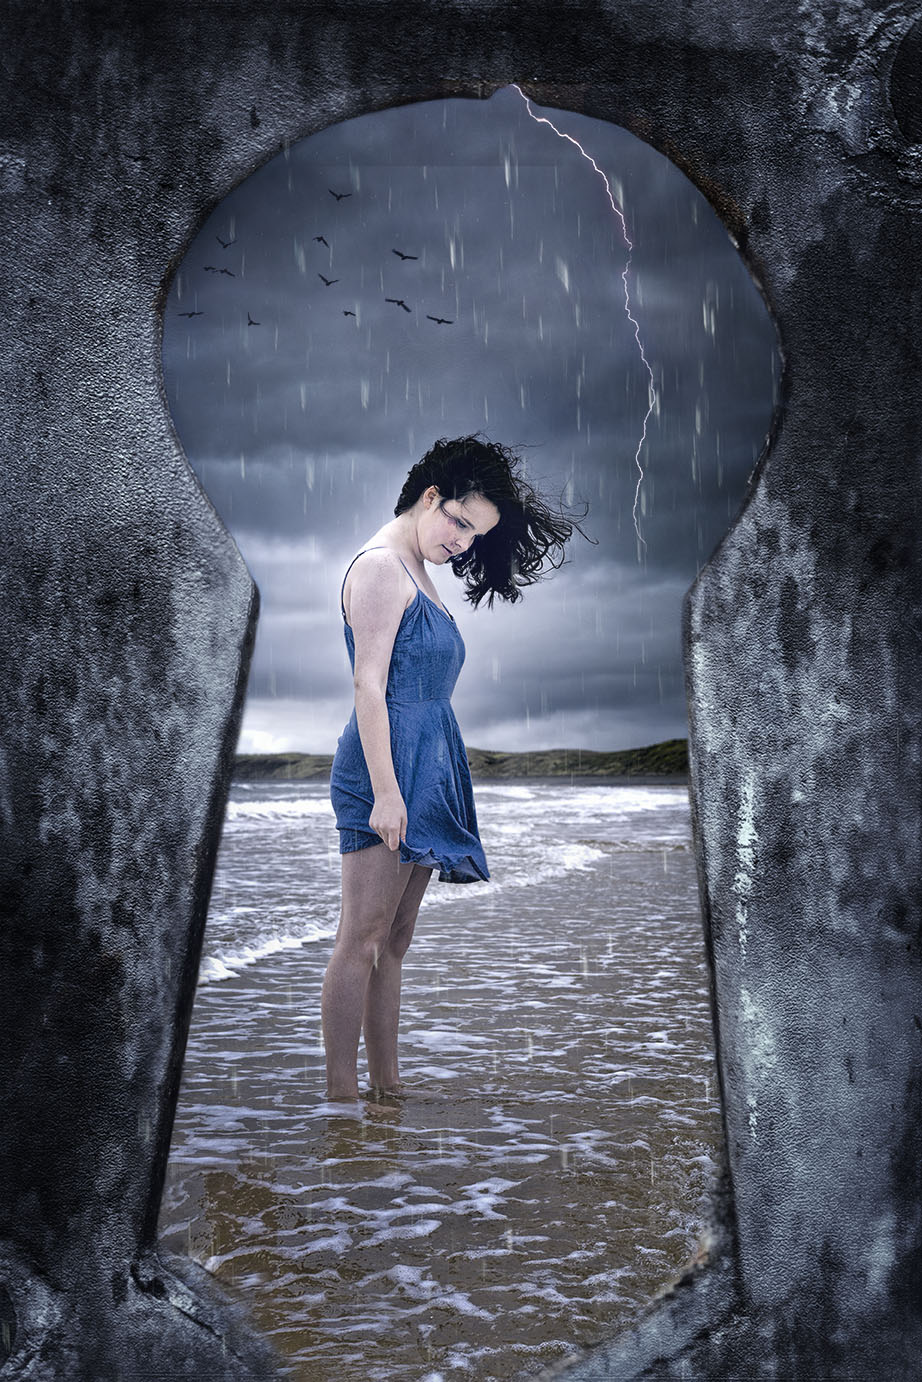
That's a nice job Hazel, the building closer to the frame works well and you still have a good portion of the sea. |
Nov 20th |
| 41 |
Nov 25 |
Comment |
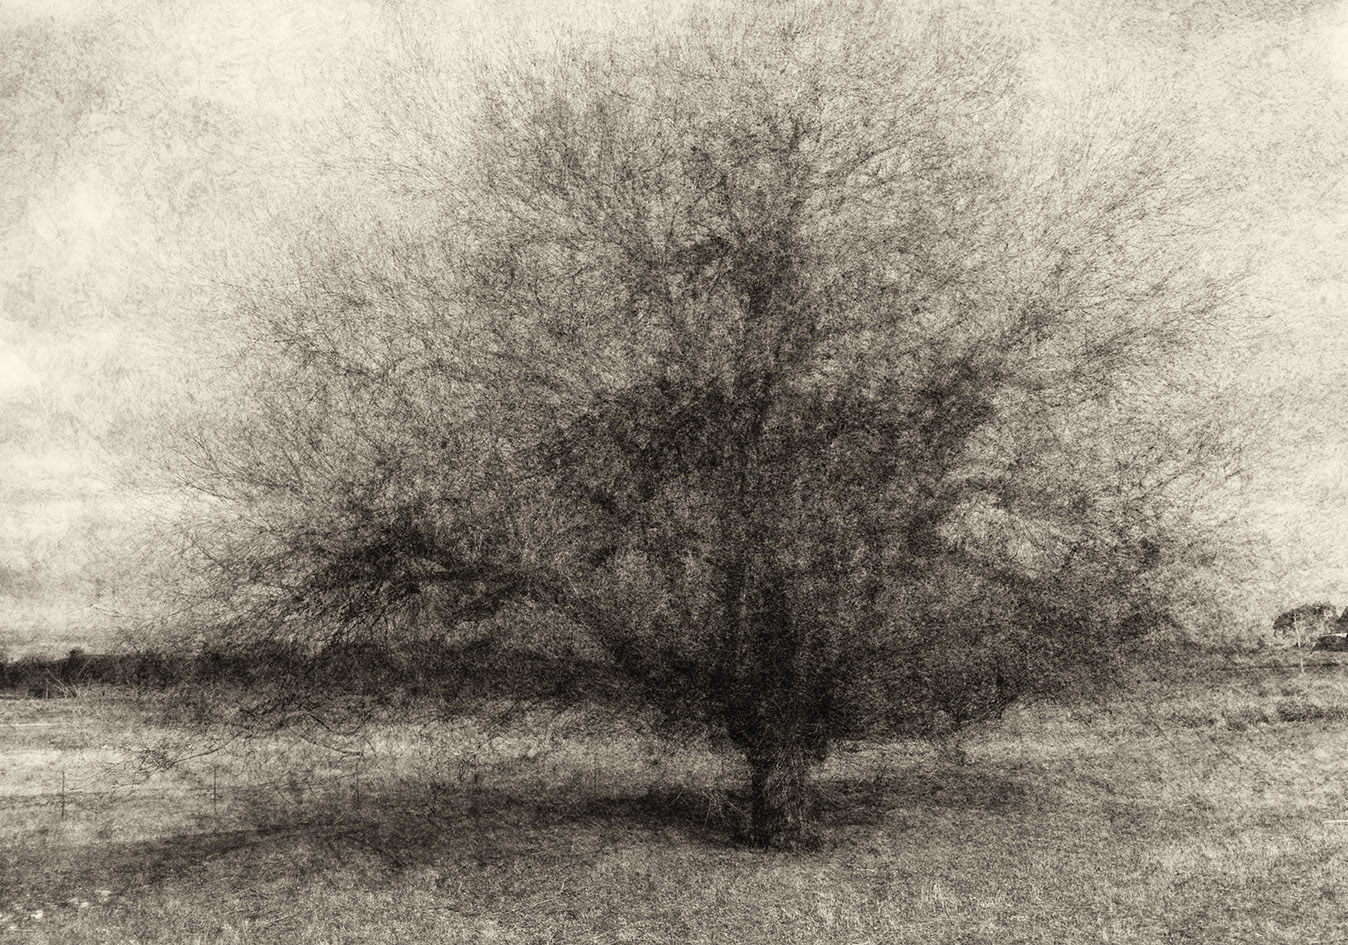
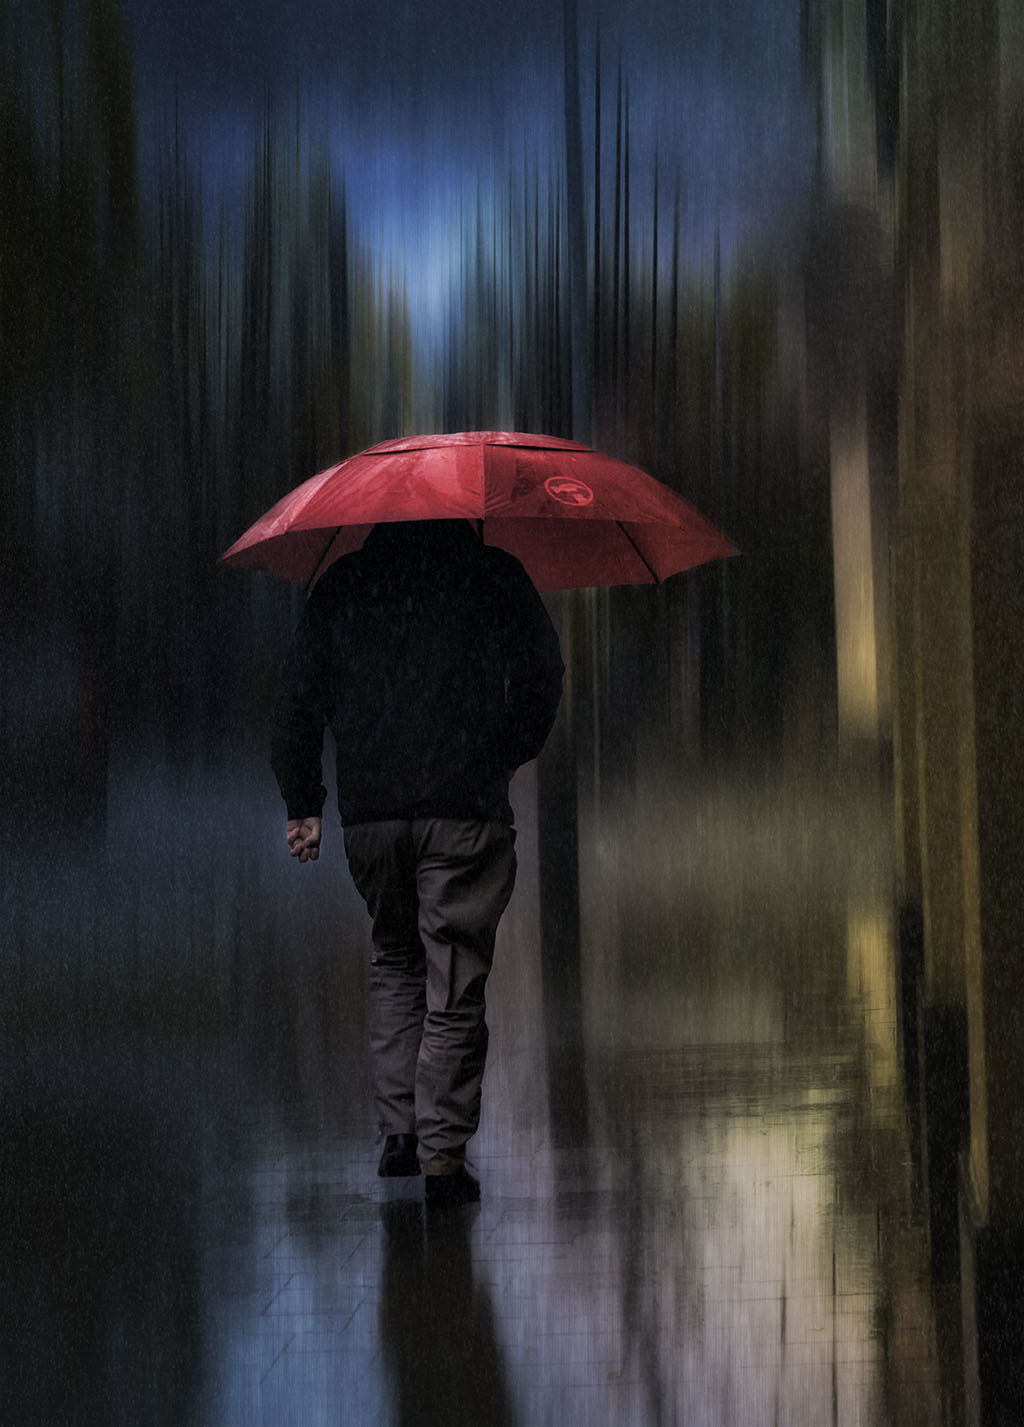
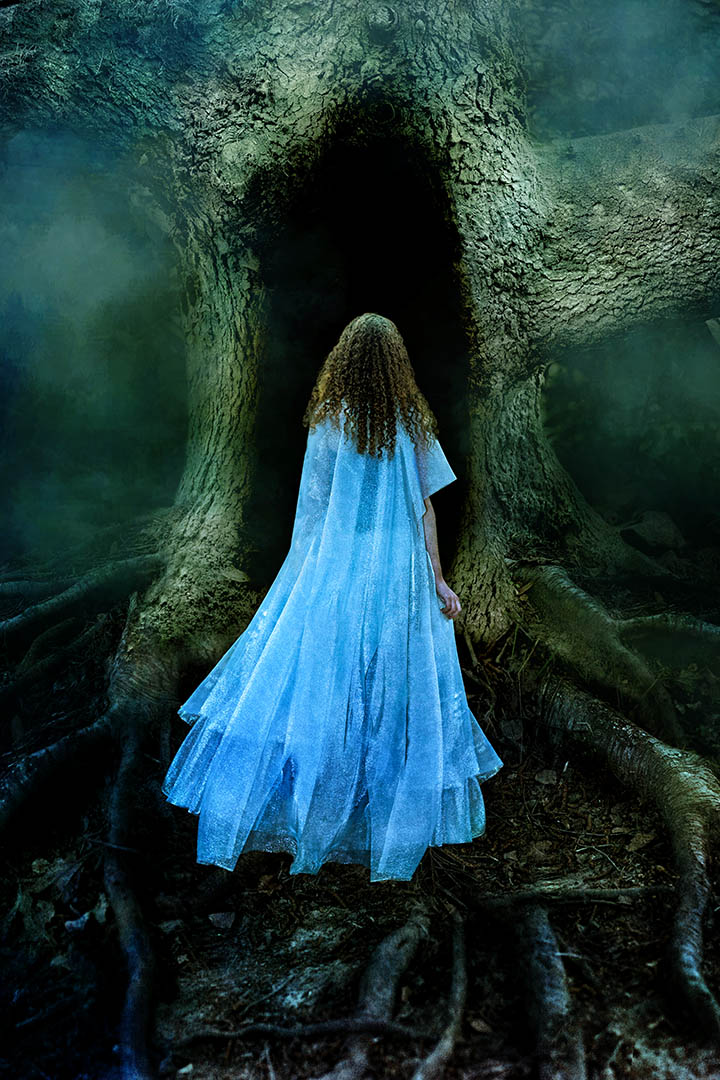
Hi Hazel, I like long exposures more on windy days when the trees are swaying. You get a nice blur. I do agree with both Brad and Tom that the horizon need straightening and a contrast boost would do wonders to your image. |
Nov 20th |
| 41 |
Nov 25 |
Comment |
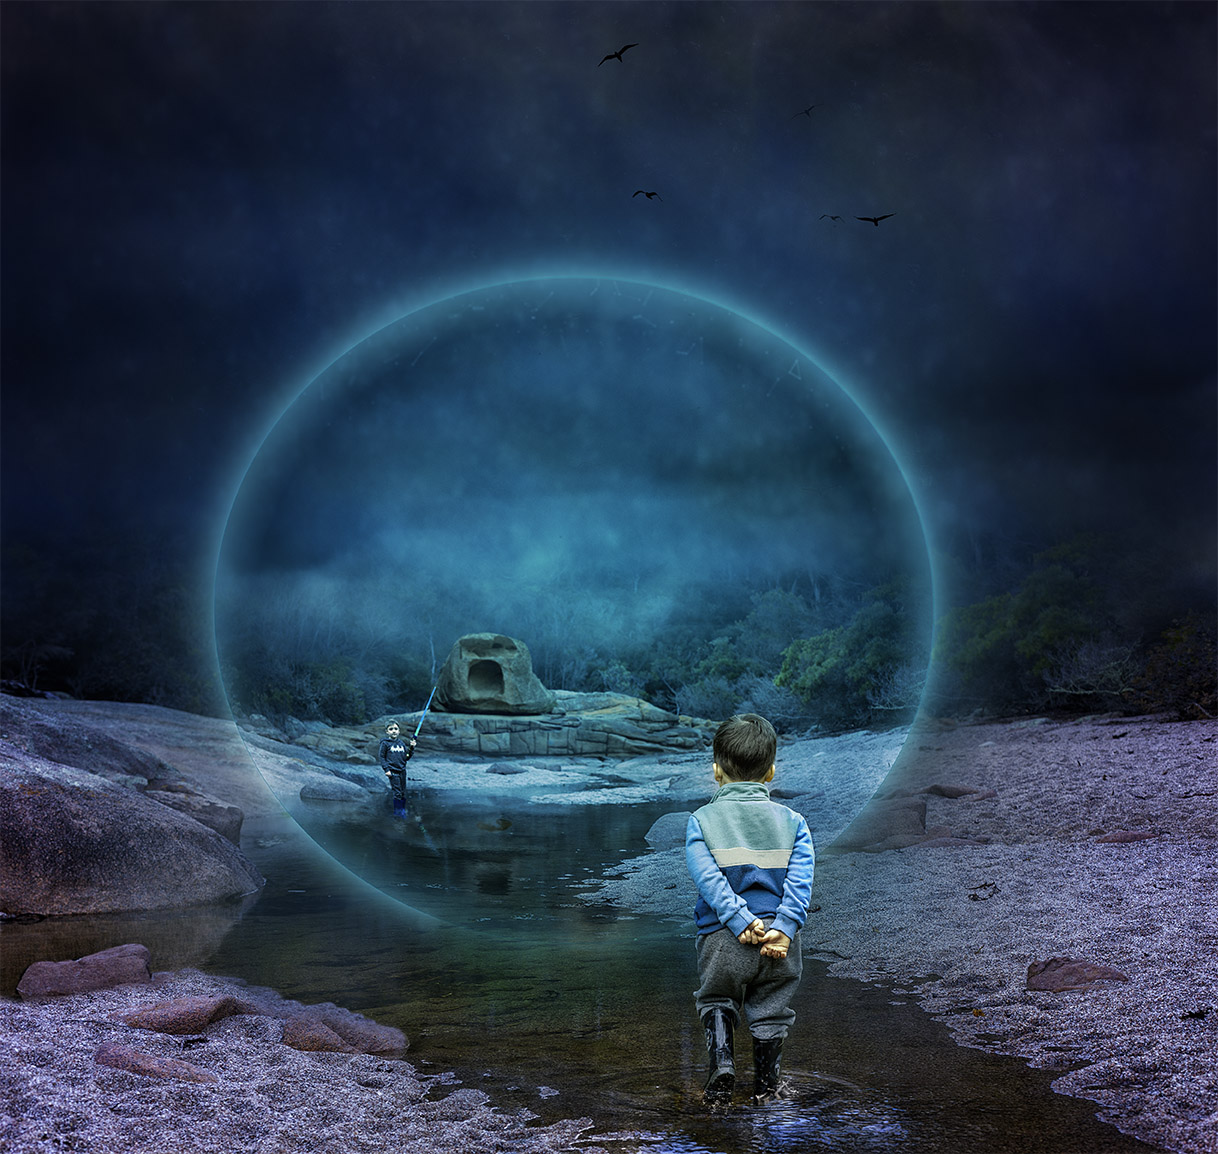
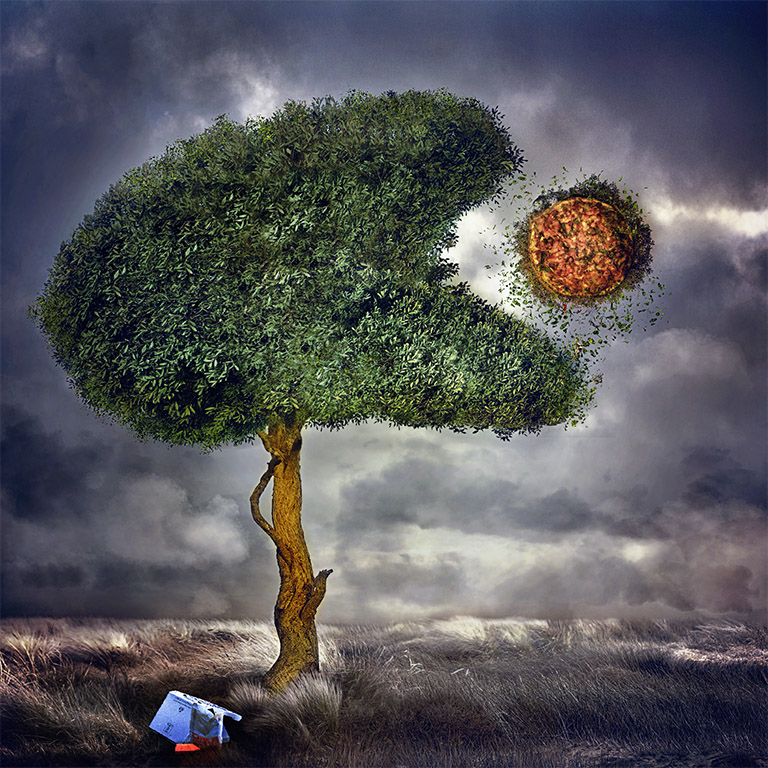
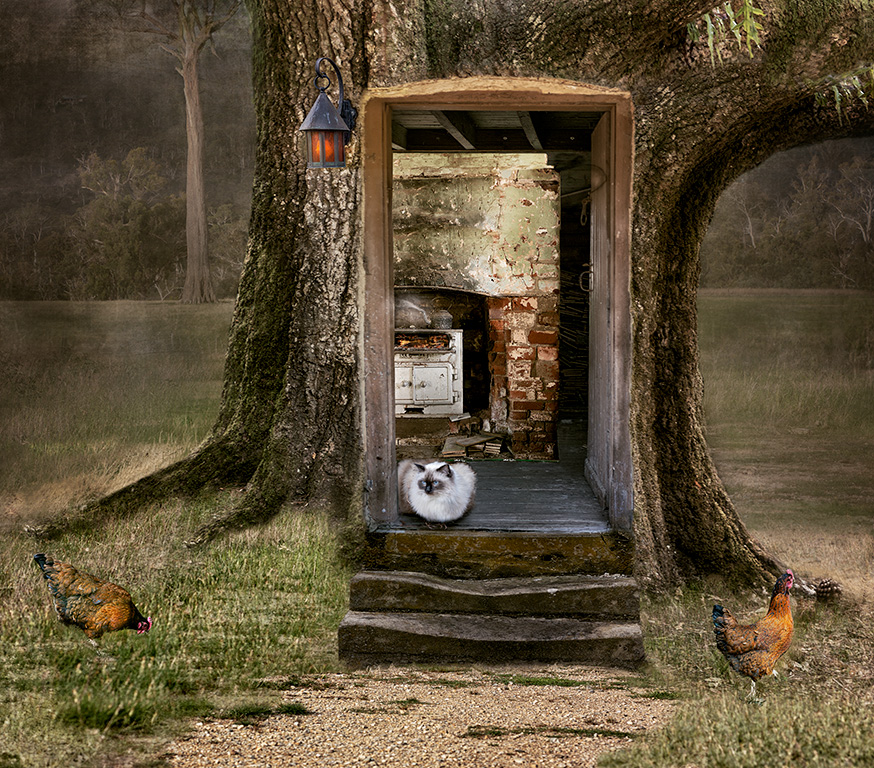
Hi Brad, cool idea and well executed. The eye is certainly the point of interest and fits in very nicely into the rock, suggesting that there might have been an eye there at some point in the past.
I like the foliage in the foreground, nice contrast to the toning of the rocks. You might consider placing a water fall to indicate a "flow of tears" coming from the eye suggesting that the rock is sad that it's so dry and that is crying so as to vegetate the landscape. A square crop would be good as well. Well done. |
Nov 20th |
3 comments - 1 reply for Group 41
|
| 80 |
Nov 25 |
Reply |
Bob, you're not late. I'm a bit late as I had to make a note to myself to check in. I really hope PSA fixes the notification soon. Thanks for your feedback, much appreciated. |
Nov 19th |
| 80 |
Nov 25 |
Reply |
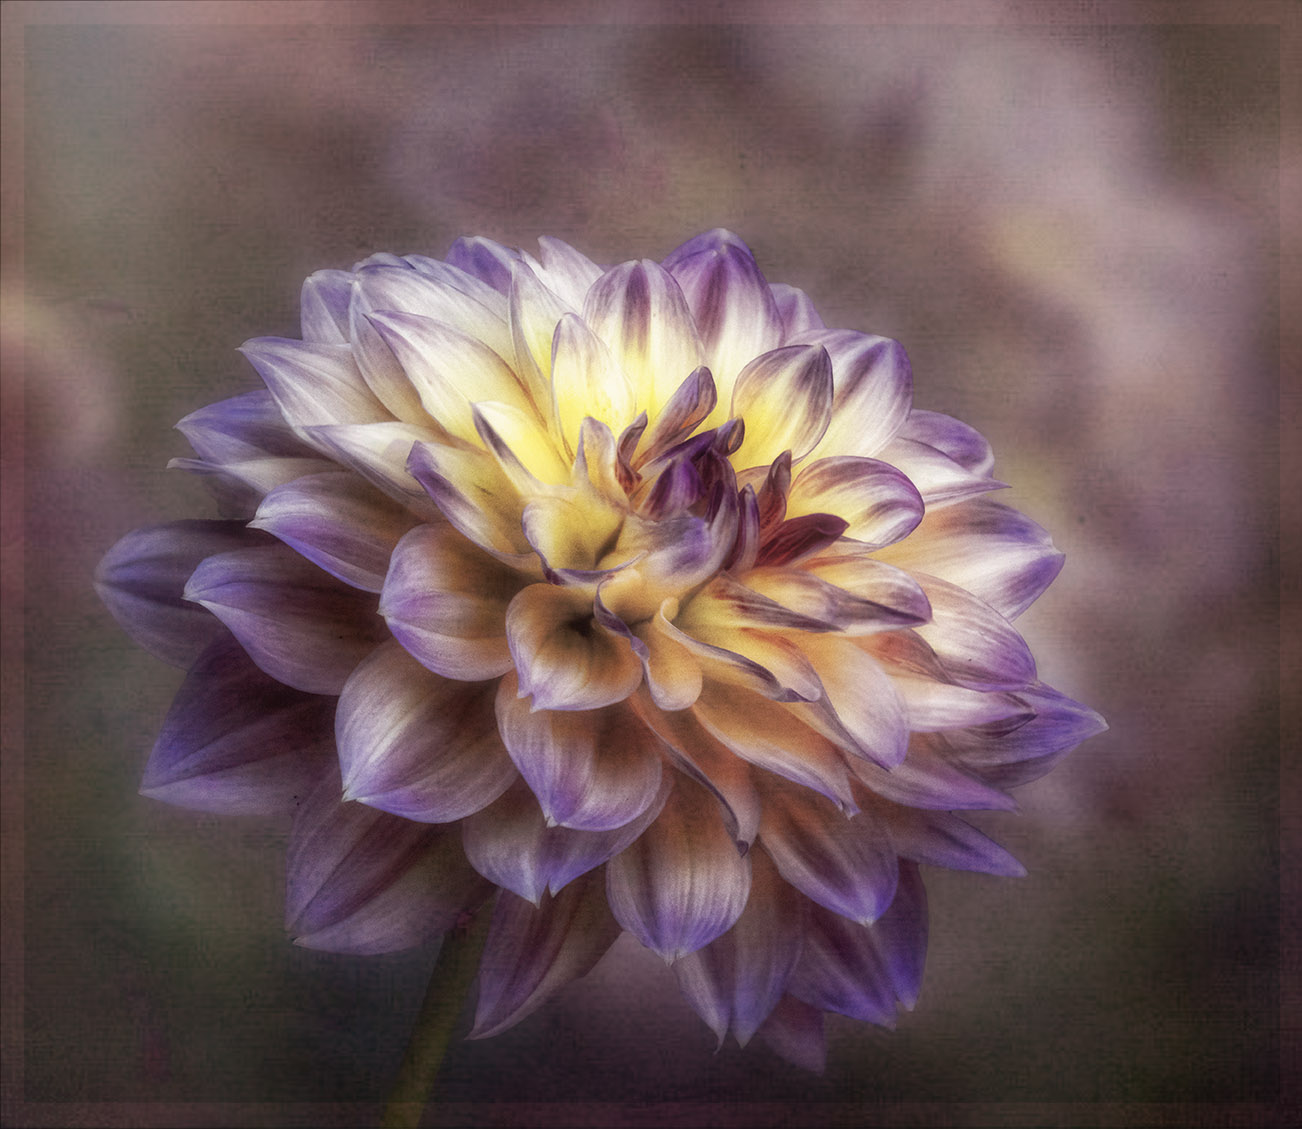
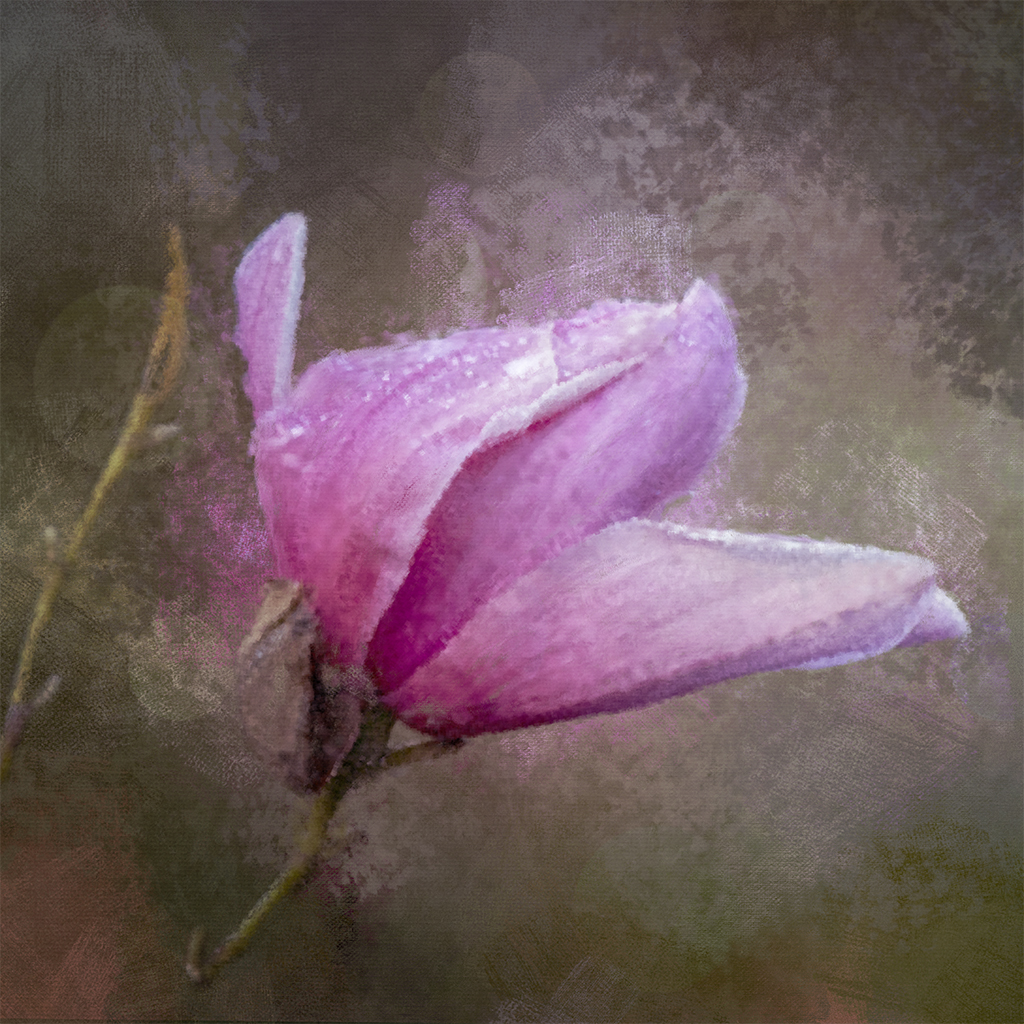
Hi Kamal, thank you for you kind and thoughtful feedback. Every flower I do is very different and very often I'm not happy with the outcome. Basically, what I do is do some basic adjustments in Camera Raw and then in photoshop I cut the flower from its background using the selection tool. I'm sure you have this in PS6, it is in the tool bar on the side. You have to be very careful how you cut out because sometimes you can pick up parts of the background, so cleaning and paying attention to detail is important. The new versions of PS makes it easier. When you make the selection and you're happy with it you can either make a copy of it by pressing CTRL J or add a mask. This allows you to place a texture behind it.
Next I pick up a "texture" which are photographs of concrete, old walls with cracks, rust or wood or anything that I think would make a good background texture. I then colour it with various adjustment layers such as gradients, curves, levels, hue/saturation or colour balance anything that I think would fit. I then place a number textures in the background and blend them with "blend modes" to get the look that I like. Sometimes it takes me a while to achieve what I want. Then I will place one of the texture over the flower and again use blend mode to make the flower "stick" to the background otherwise it looks like a "float" - anyway I hope this get you started but at the end of the day is very different each time and very experimental. I sincerely hope I haven't confused you as you really need to know how to use the tools in PS.
You can start your journey by putting a texture over the flower without cutting it out and use "blend modes" to blend the texture on to the flower. That's how I started about 10 years ago.
I've selected this tutorial if you want to explore it more. There are many tutorial on this subject if you want to learn how to use it. https://www.youtube.com/watch?v=w4SkLfrwT98
|
Nov 19th |
| 80 |
Nov 25 |
Comment |
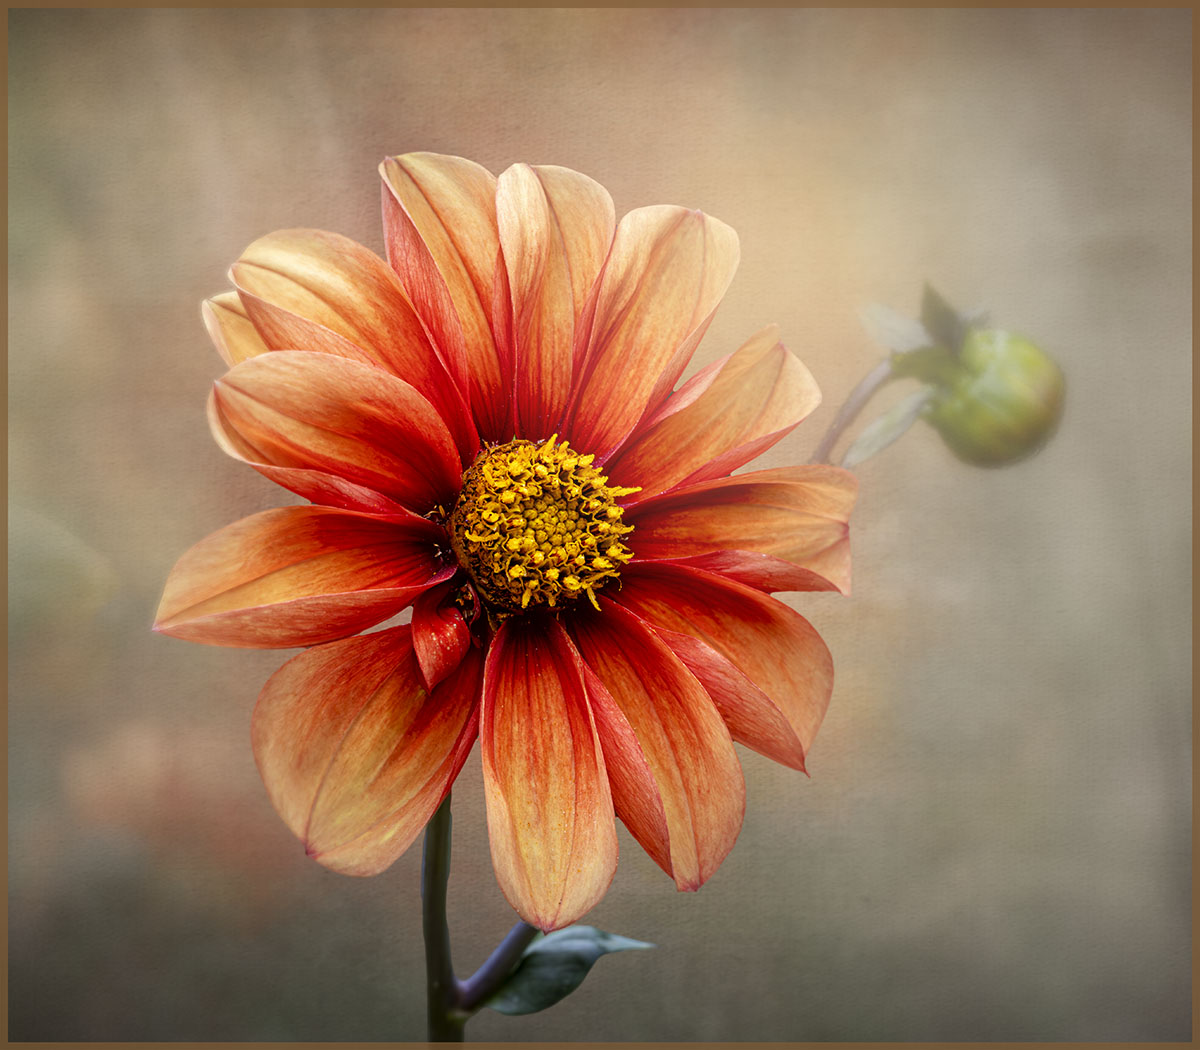
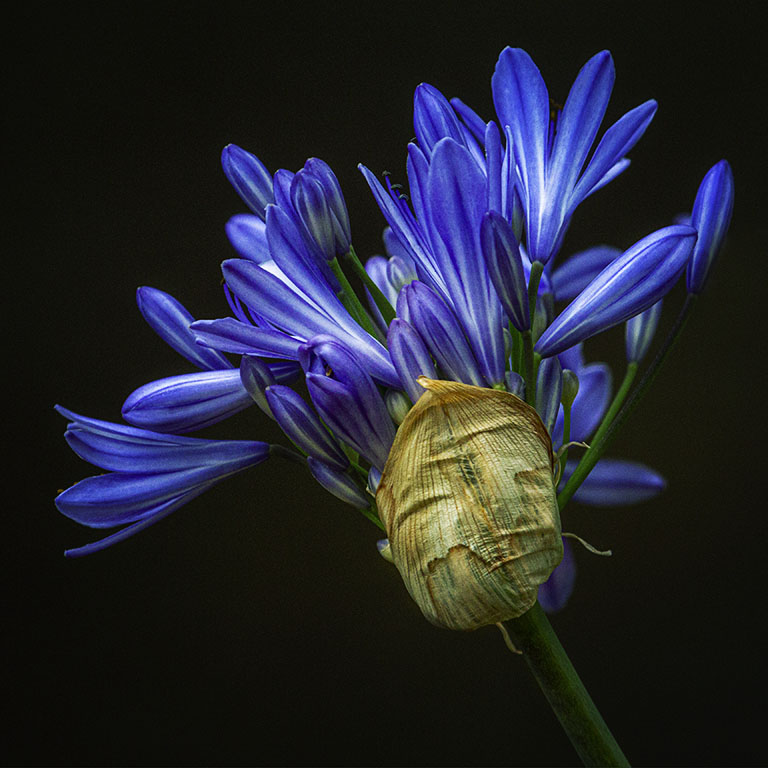
Hi Rich, for me the the "hero" of this lovely image is the details in the center, especially the yellow florets, they stand out really well, they are eye catching and well matched against the yellow background. Very creative crop. |
Nov 19th |
| 80 |
Nov 25 |
Reply |
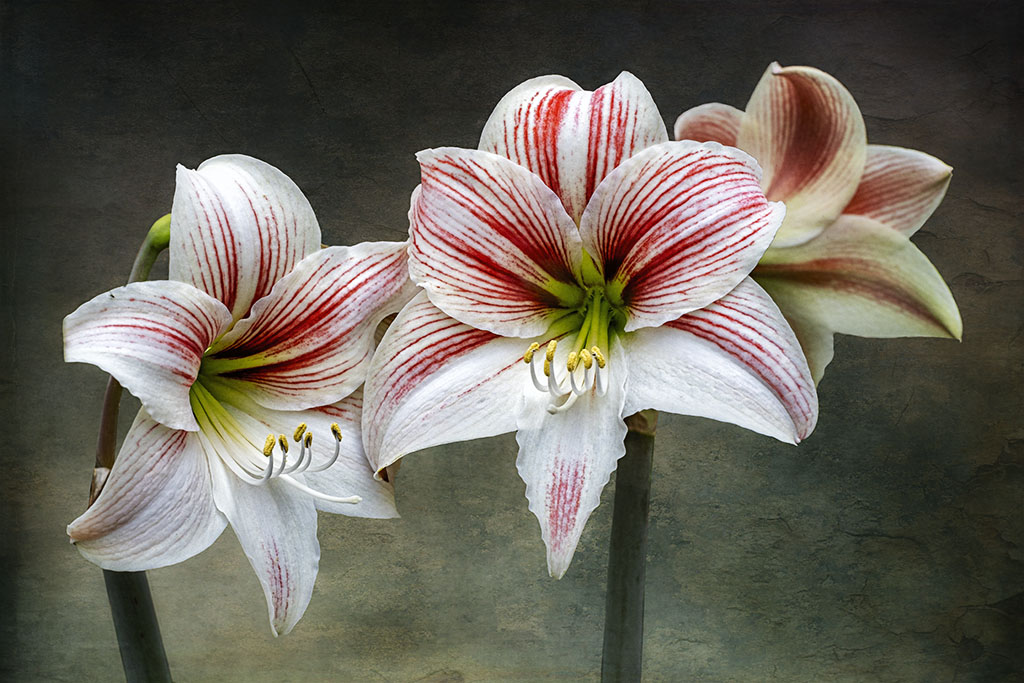
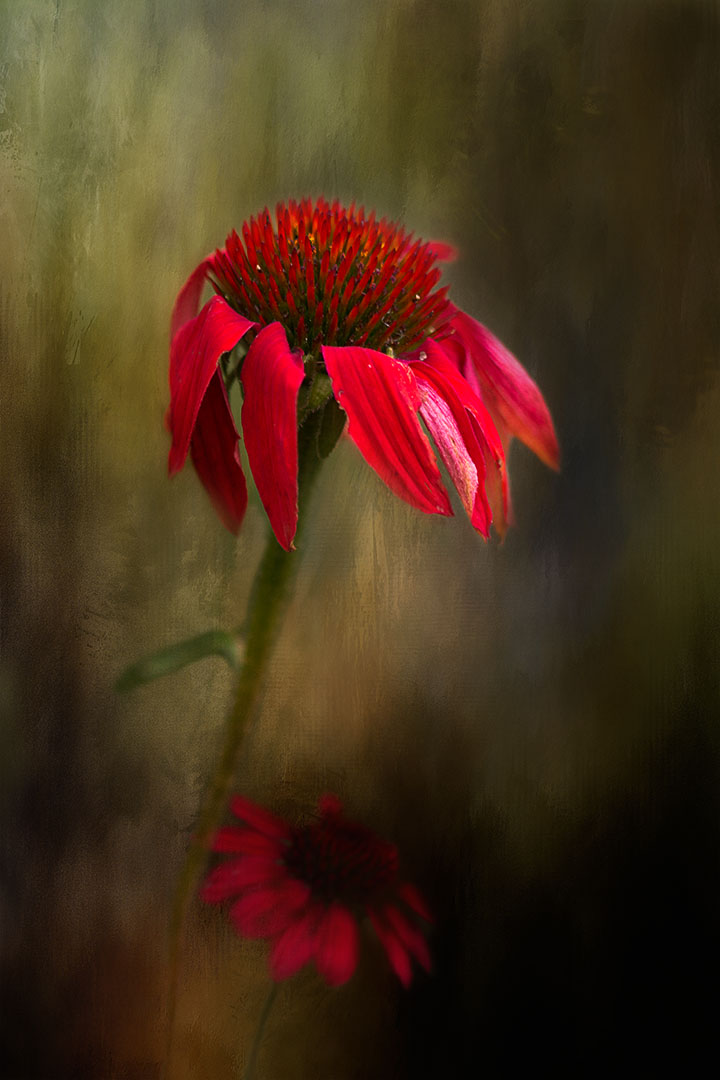
Thanks for you comments Ingrid, after finishing the process, I didn't like the two flowers and so quickly placed a copy of the main one.
Changing the shape of the flower is not difficult but I would need to go back to the layer where I added it in and then work to blend in all in. |
Nov 18th |
| 80 |
Nov 25 |
Reply |
Thanks Marti, I can see some difference but to change it, I would need to go back to the layer I place the flower in and change it there to make sure it all blends in. I'll see what I can do and re-post it. Thanks for your effort and feedback.
Even though it's a "clone" I still prefer the three instead of two. |
Nov 18th |
| 80 |
Nov 25 |
Reply |
Thanks Doug for your feedback and totally agree about the identical flower on the left. |
Nov 18th |
| 80 |
Nov 25 |
Reply |
Thanks Rich, it was a last minute idea as I didn't like the two. Changing the shape of the "clone" one is not difficult in PS. |
Nov 18th |
| 80 |
Nov 25 |
Reply |
Hi Marti, it was a last minute thing as the two flowers look a bit odd. I can easily change it by using the 'warp' tool in PS to make it look different. |
Nov 18th |
| 80 |
Nov 25 |
Comment |
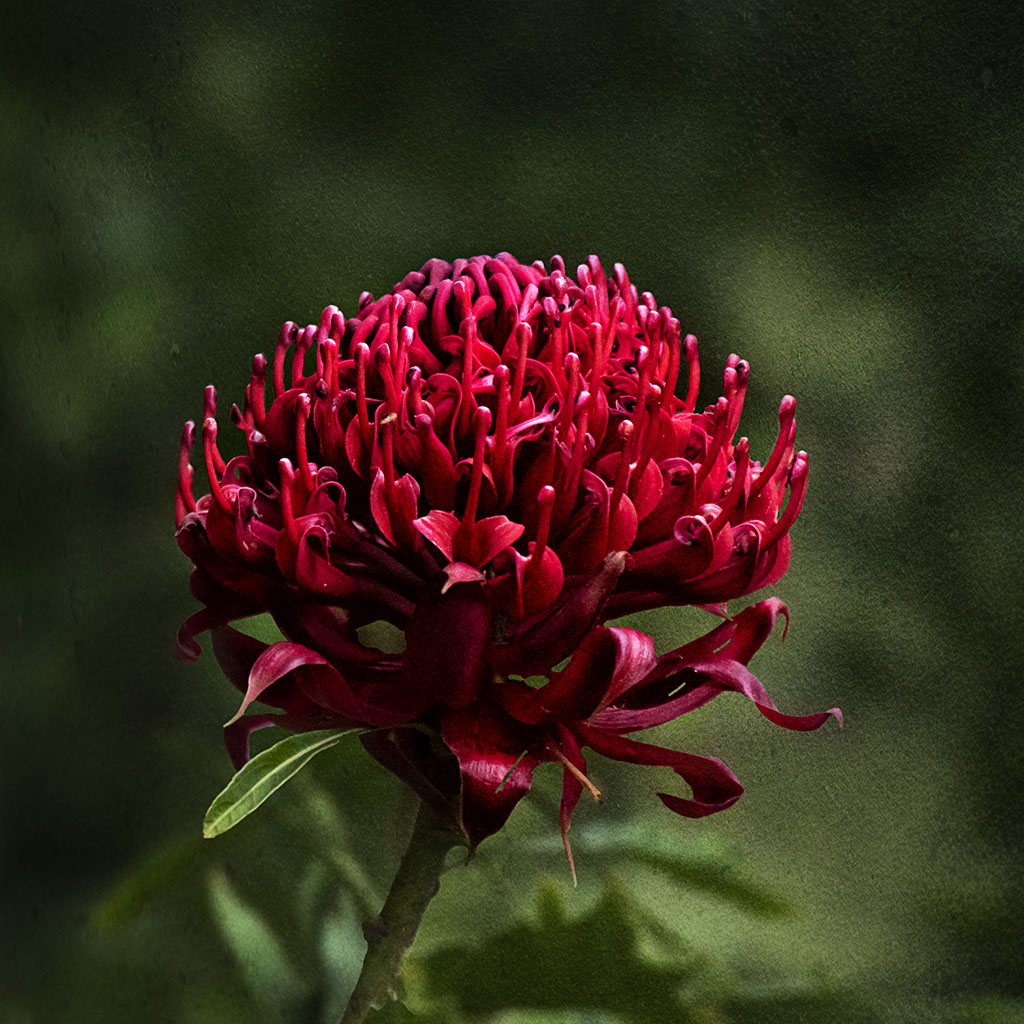
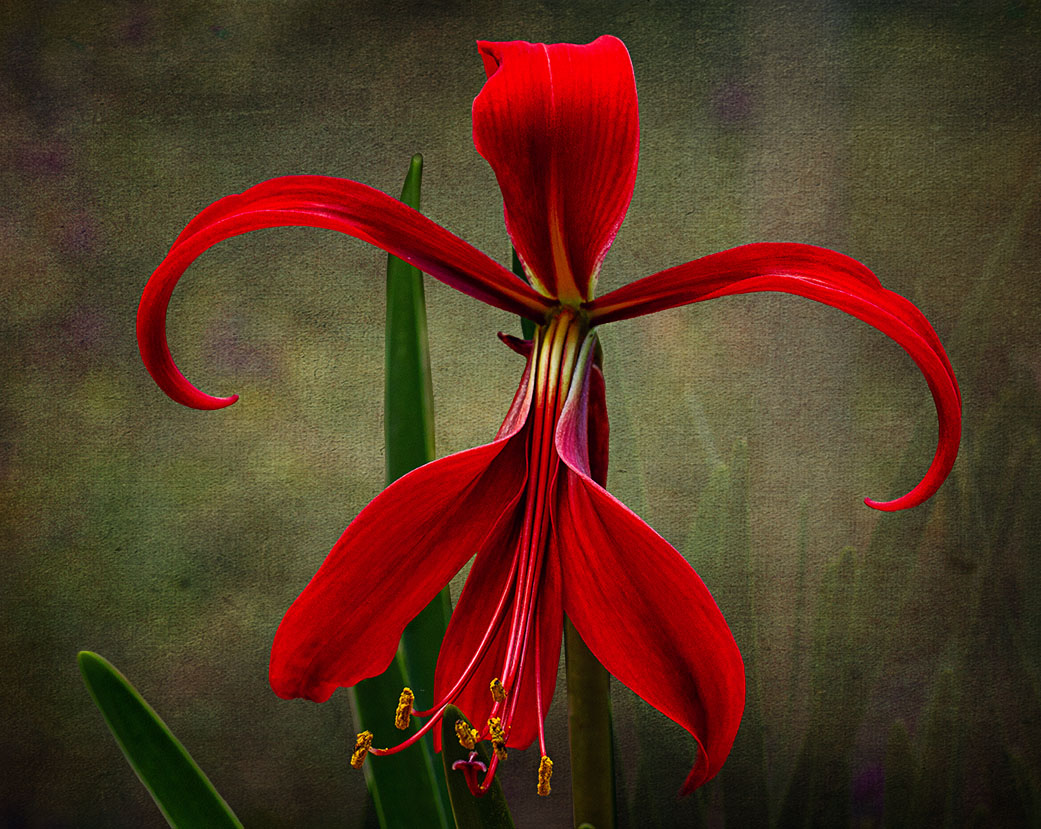
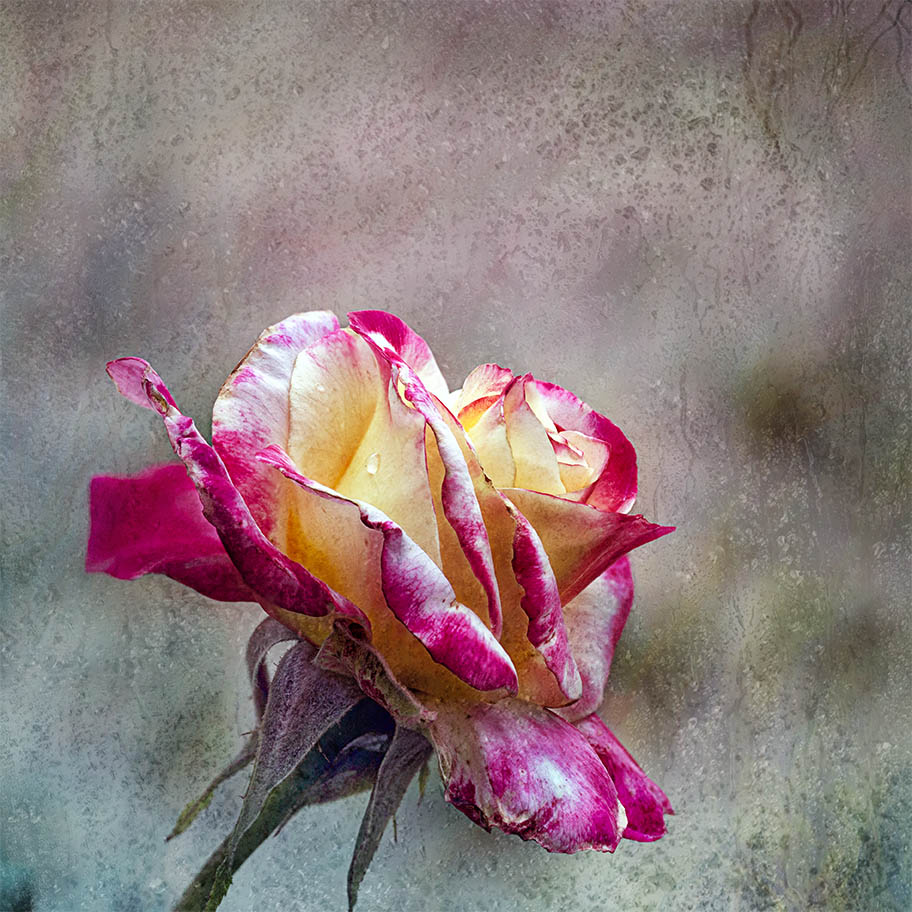
Another of your stunning images Ingrid. Just love the deep red and the detail of the center. The fact that the colours are so dominant, great detail and attention "grabbing" that the petals so close to the bottom edge is ignored. |
Nov 18th |
| 80 |
Nov 25 |
Comment |
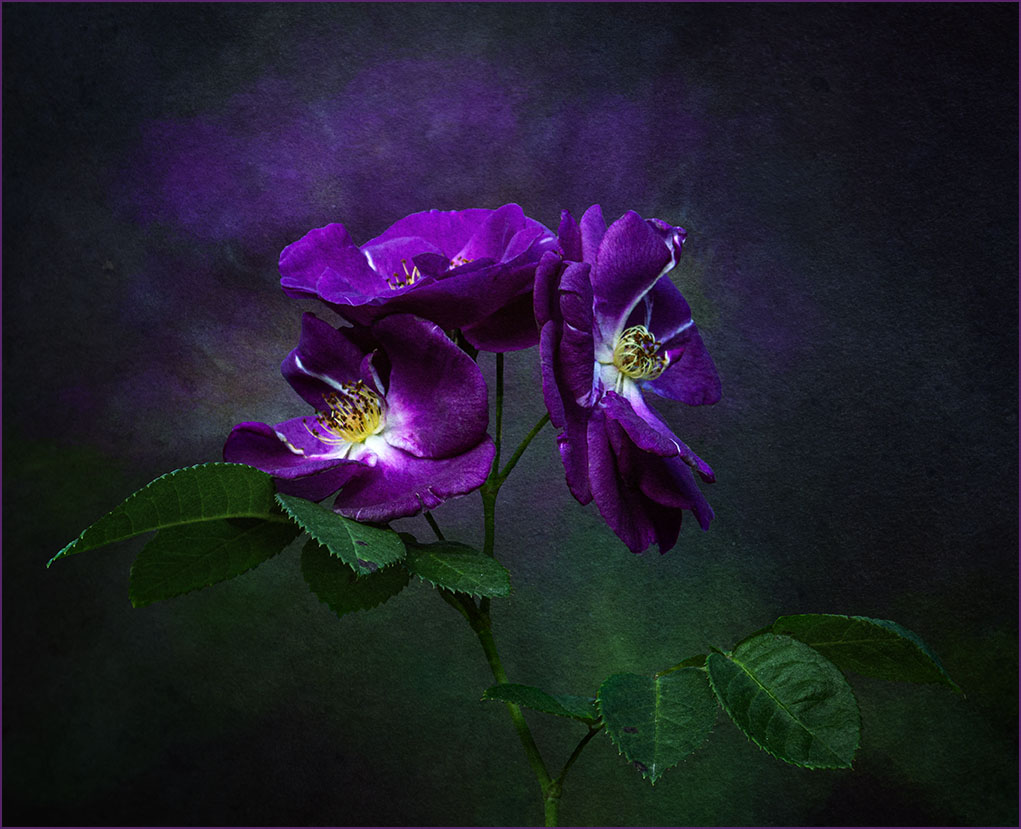
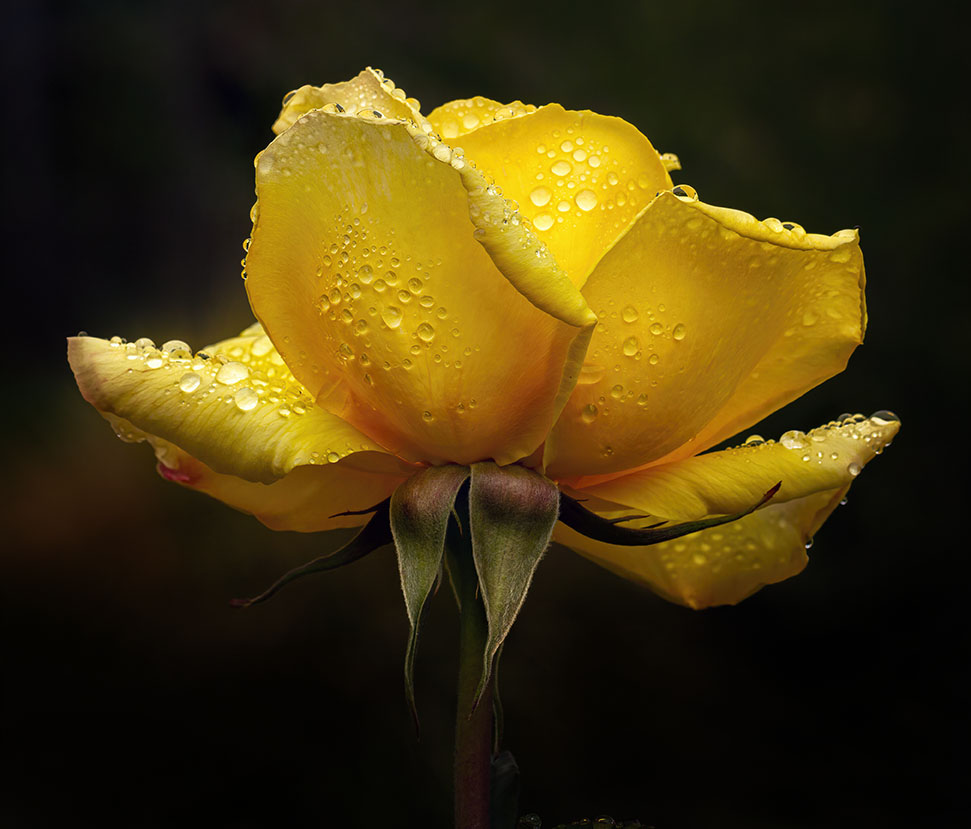
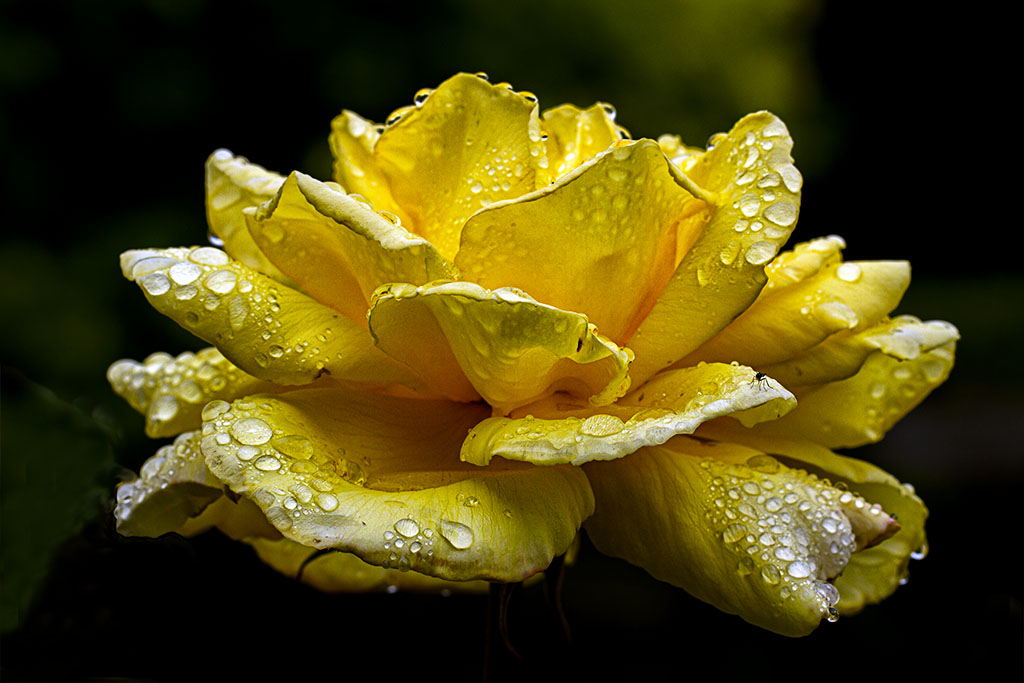
Hi Kamal, beautiful rose and am very impressed on what you are able to achieve with your phone camera, not only capturing a well focused image but also the ability to use presets to change the background.
I also agree on a tighter crop and flipping the canvas.
You might consider doing something similar in PS6 which will give you the ability to include part of the stem of the rose so that it doesn't look like it's floating.
Well done.
|
Nov 18th |
| 80 |
Nov 25 |
Comment |
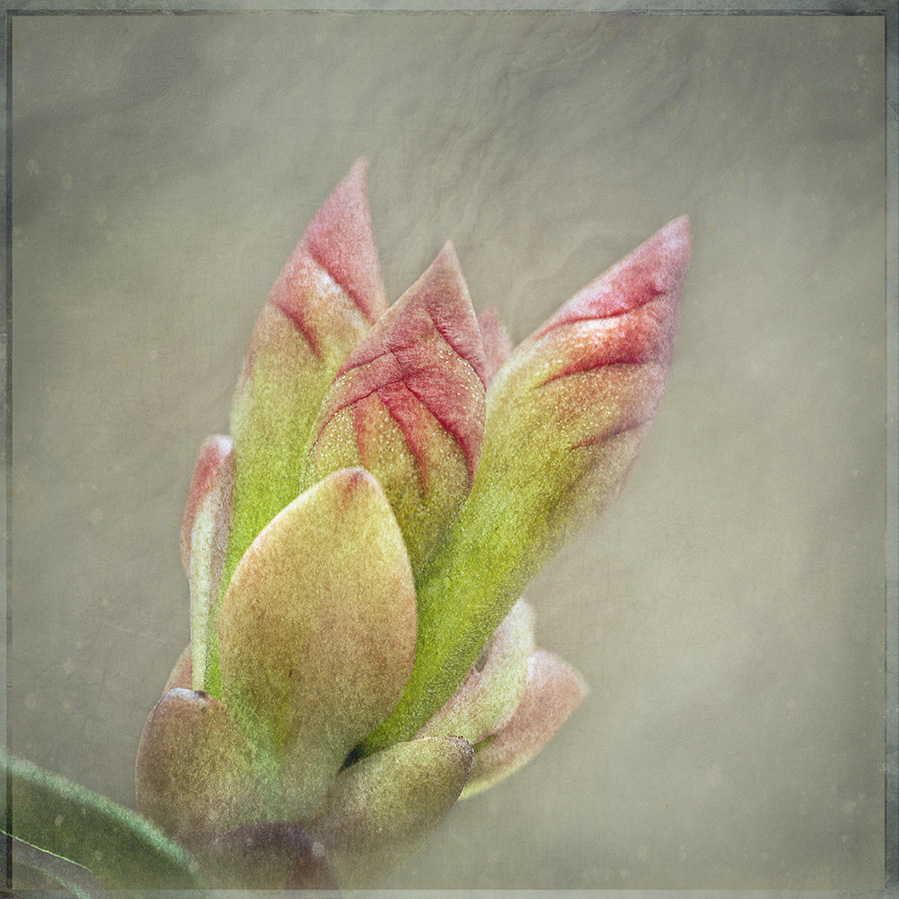
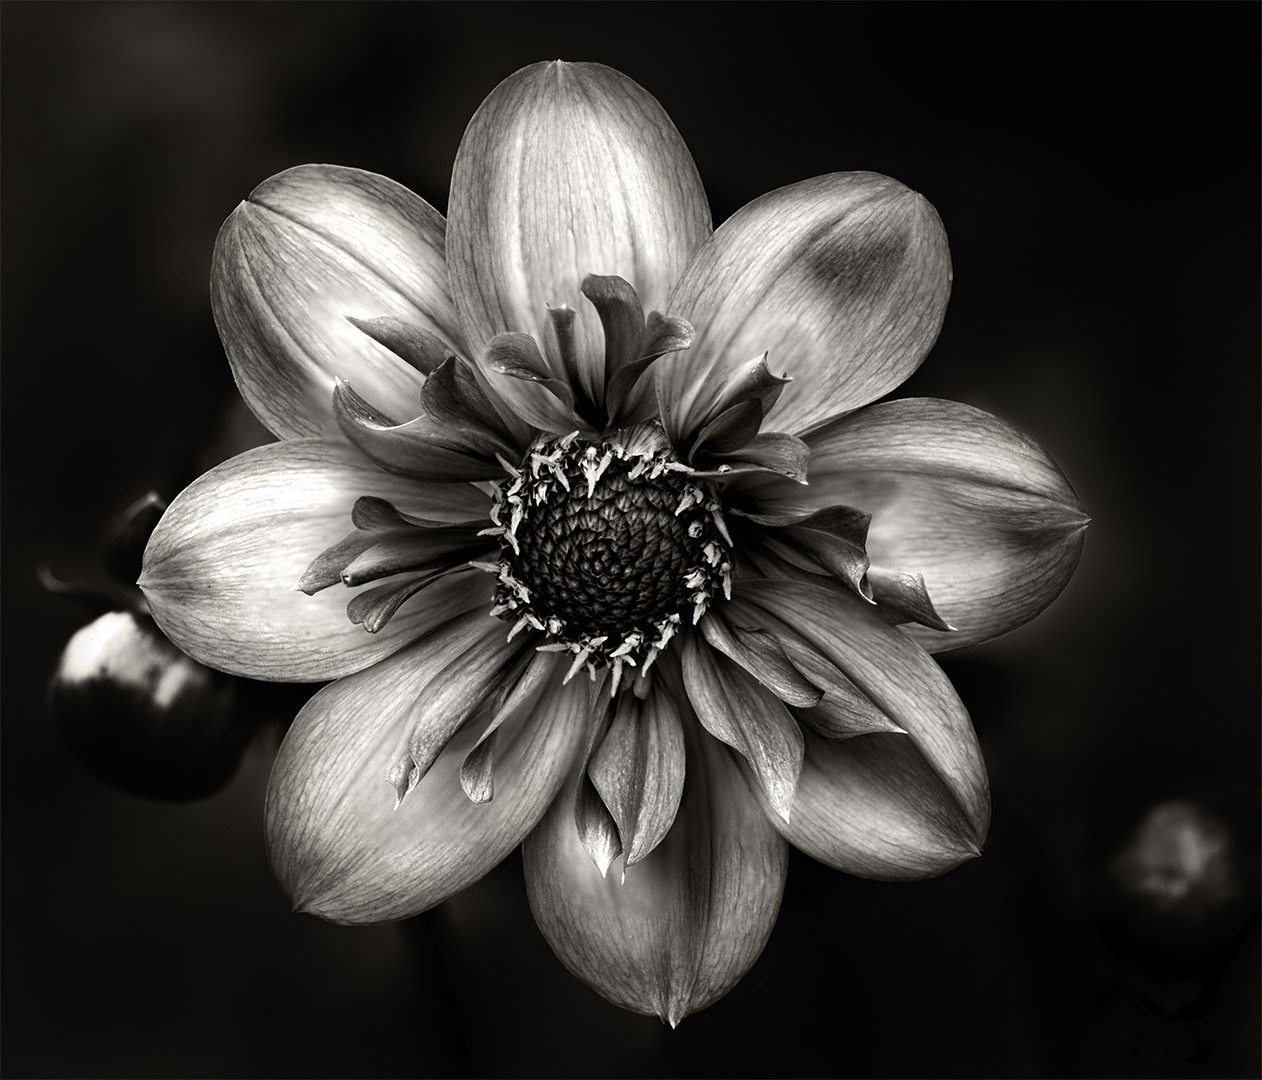
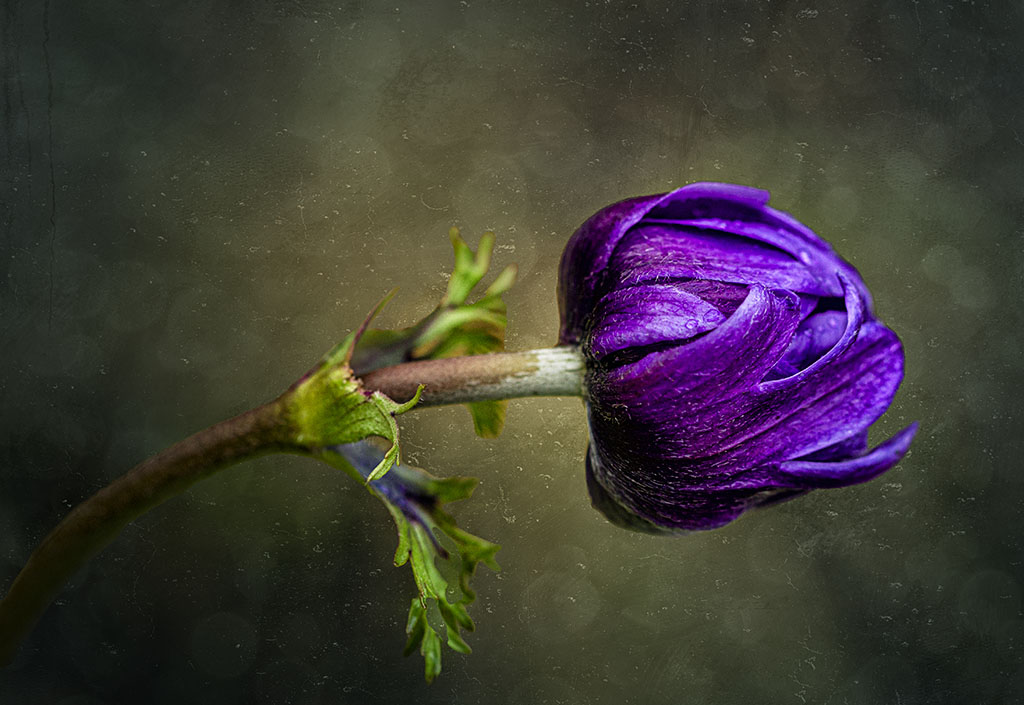
Hi Doug, another of your "dying hosta leaves" images. You do these so well, love the detail and the black background. |
Nov 18th |
| 80 |
Nov 25 |
Reply |
I've not used the polar co-ordinates so I'm just curious. Is this a function in PS? If so, after you've completed the polar co-ordinates, can you use an adjustment layer like Curves or Levels to then darken the the image and then use a brush to mask out the center and leave the outer dark? |
Nov 18th |
| 80 |
Nov 25 |
Reply |
Thanks for letting me know Marti. I'll make a note of checking in. |
Nov 18th |
| 80 |
Nov 25 |
Comment |
Totally agree with the others, the choice of flowers seems like the perfect choice. Can you darken the outer part of the orb so that the flowers inside it stand out more? The outer part appears to be the same colour, is that the outcome of the polar co-ordinates? |
Nov 17th |
| 80 |
Nov 25 |
Comment |
Hi Bob,
First let me say that I'm not receiving any notifications when someone has commented on my post or reply to a comment I've made.
Glad that you're experimenting with different backgrounds to add to your flower images. As the rose is the main focus, I find the "sea foam" especially the lighter parts mainly in the top part of the image competing for attention with the rose. The lower darker part is in my opinion the better section to place the rose as the darker area enhances the rose and it makes it look as if it's its natural environment.
Would you consider blurring the background so that the foam is more subdued? The rose is beautiful, I especially like the rain drops on it.
|
Nov 17th |
6 comments - 9 replies for Group 80
|
9 comments - 10 replies Total
|