|
| Group |
Round |
C/R |
Comment |
Date |
Image |
| 41 |
Apr 25 |
Reply |
Hi Melissa, thanks for your kind feedback, it's appreciated. I take bird images mainly at areas near the water, either river, beach or close to the ocean. All the birds I use are of seagulls, as there are many of them and they tend to fly together. I often see them on the ground and then very carefully with camera in hand walk close and as soon as they spot me, they take off and that's when I take lots of shots in continuous mode from the ground up. I don't mind if they are blurred as I make then into a silhouette. I might make a flock from two sets. It's fun taking pictures of birds. |
Apr 28th |
| 41 |
Apr 25 |
Comment |
Hazel, I think you've done a great job in removing the smudge marks, I can't see them. Also the way you have placed the sun setting in the horizon and seen through the wine glass is just lovely and does tell a story of a person watching the sun go down, relaxing and enjoying a nice glass of wine. Well done. |
Apr 19th |
| 41 |
Apr 25 |
Comment |
Agree Tom, clever concept and well executed. |
Apr 19th |
| 41 |
Apr 25 |
Comment |
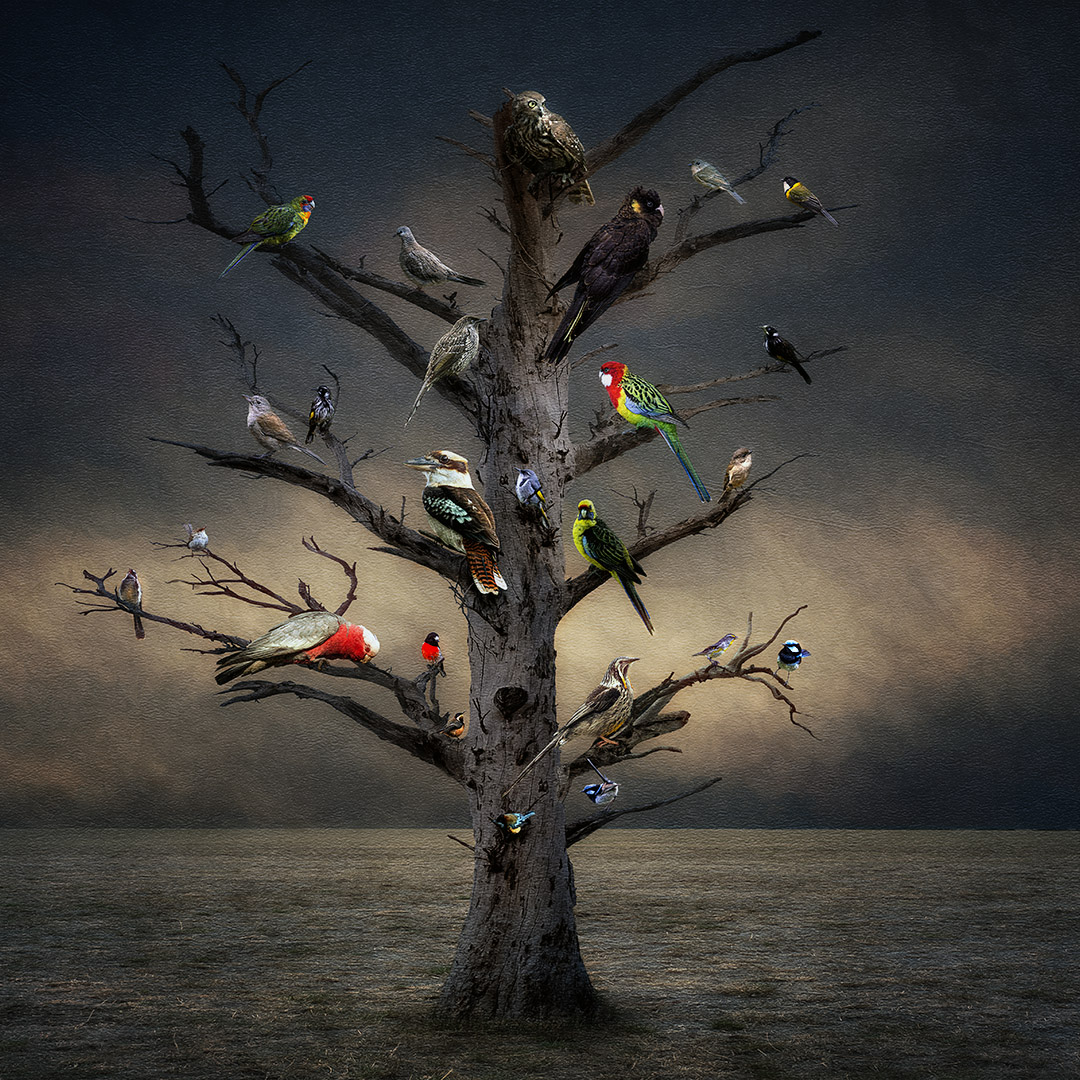
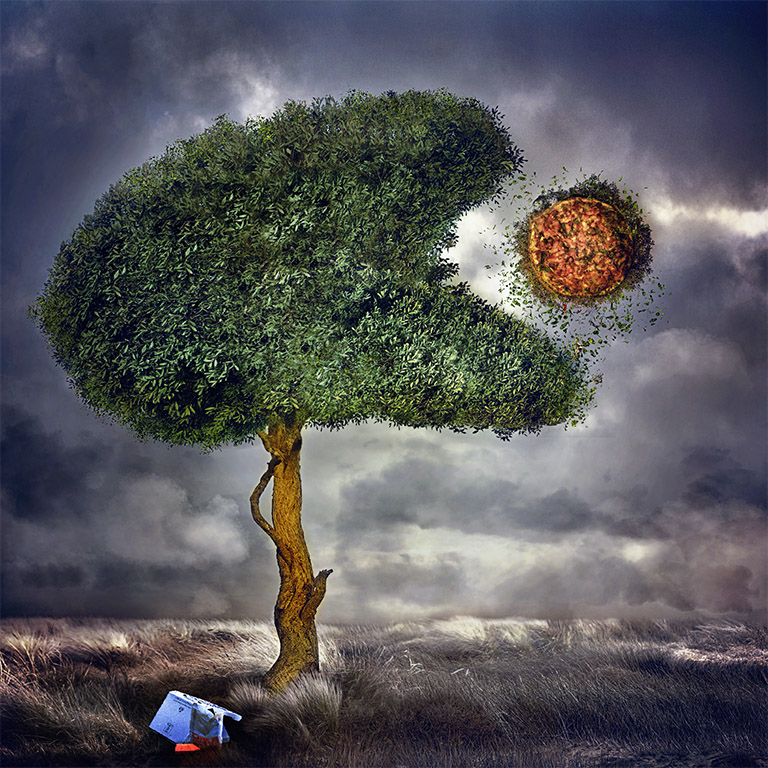
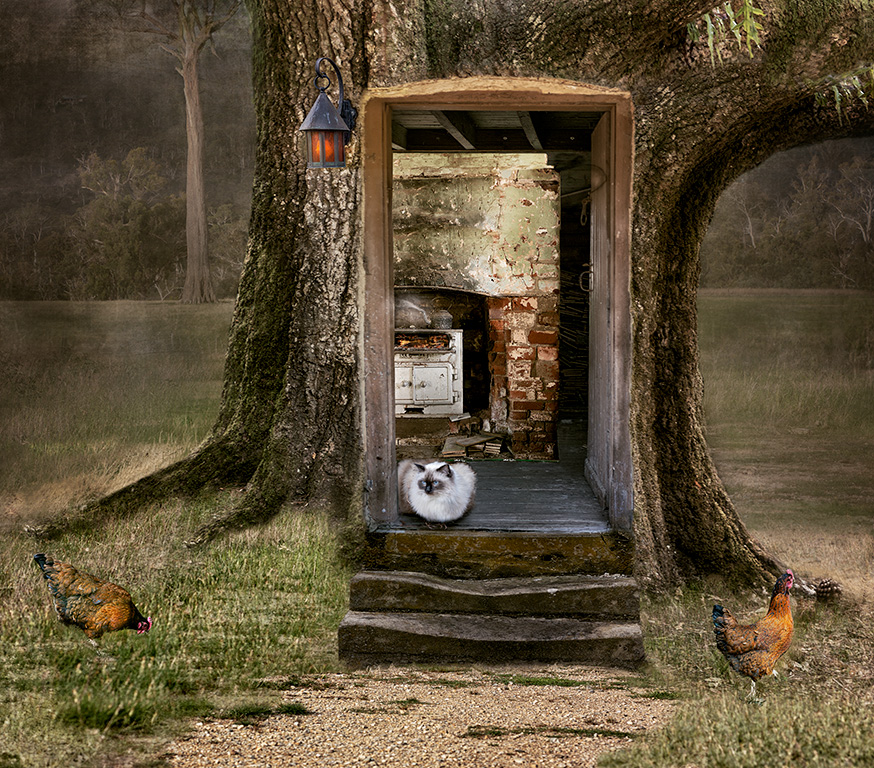
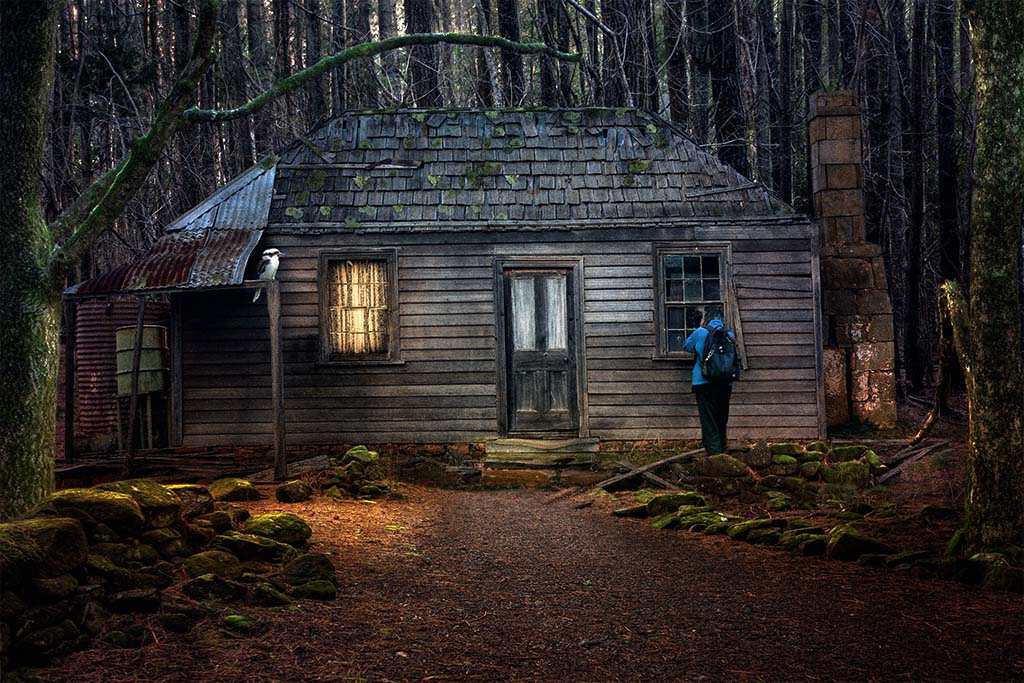
Brad, I agree with Tom and Hazel nice handling of blending two very different images. It looks like you have placed some filter over the trees but not to the lower part of the images where the birds are. You might consider placing the same filer throughout the image to make it more cohesive. |
Apr 19th |
| 41 |
Apr 25 |
Reply |
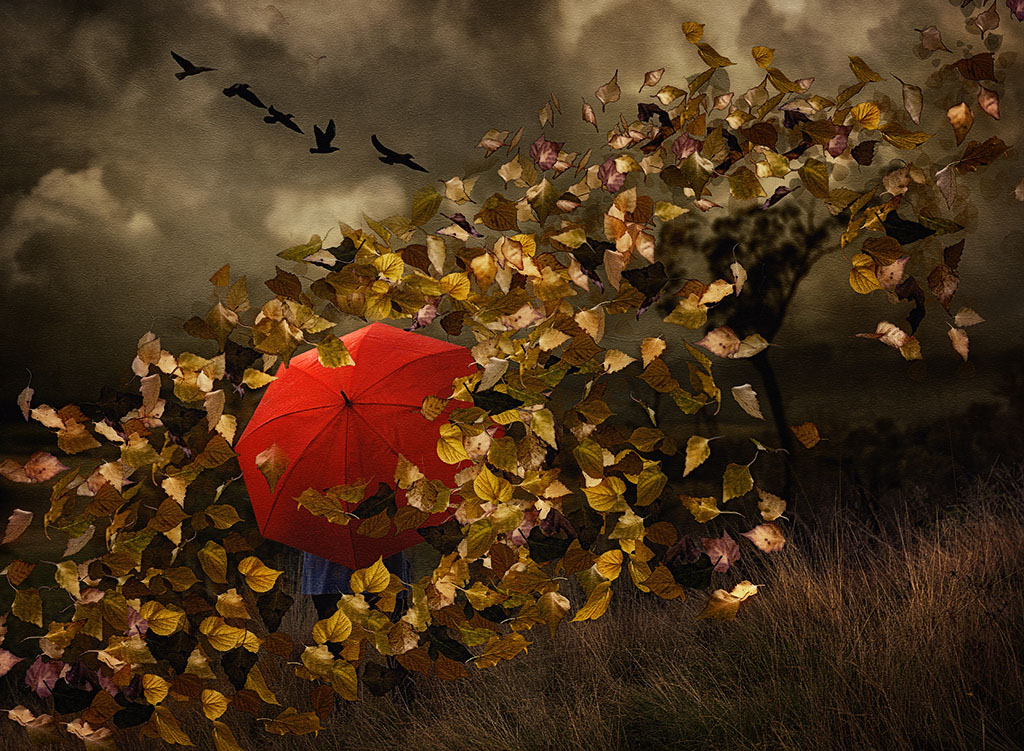
Thanks for your feedback Hazel. I have removed the smaller birds and placed some clouds there which is what I originally had intended but somehow I must have toned it down. The idea was to make the tree look like it's a giant and reaching into the clouds. |
Apr 19th |
| 41 |
Apr 25 |
Reply |
Hi Brad, thanks for your feedback. I have removed those birds and placed some clouds over that area as it was my original intention to have clouds cover part of the tree to indicate height with the birds, so birds that are relatively same size makes sense. Thanks. |
Apr 19th |
| 41 |
Apr 25 |
Reply |
Tom thanks for your comments. I see what you mean. What is there is supposed to be clouds to indicate that the tree is "way up" in the sky with the birds. A quick revision indicates what my idea was originally. I did have it there but somehow I must have toned it down. |
Apr 19th |
 |
3 comments - 4 replies for Group 41
|
| 80 |
Apr 25 |
Reply |
Hi Kamal, thank you for your kind words. |
Apr 28th |
| 80 |
Apr 25 |
Reply |
Hi Bob, thank you for your response and fully respect your creative journey, we all have different paths and I enjoy each person's creativity output regardless of how they got there. I don't use Lightroom and didn't realise that it's similar to photoshop. My path started in photoshop many years ago and like you had to write down all these steps to remember what they do. Thank you for your kind words. |
Apr 24th |
| 80 |
Apr 25 |
Reply |
Doug, please see my reply to Marti about the tutorial. Hope you find it useful. |
Apr 21st |
| 80 |
Apr 25 |
Reply |
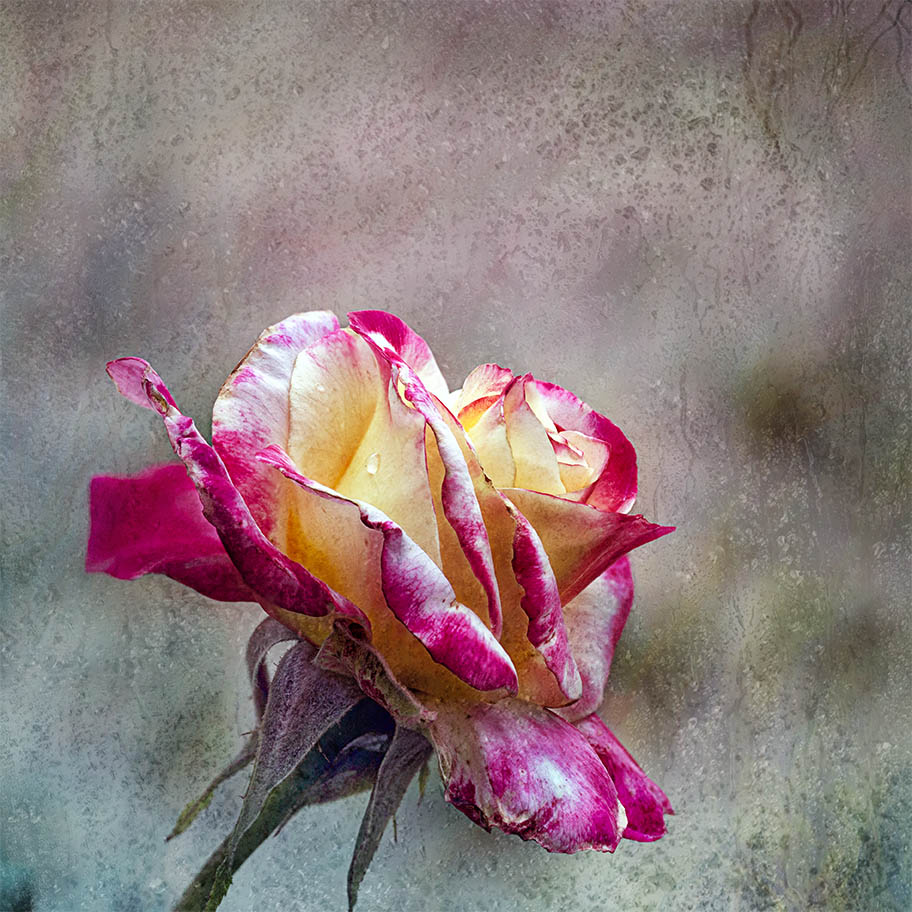
Marti, I mean remove the tiny craquelure effect that's in the texture that I used, one that is more obvious on the right hand side; not the stroke. Thanks for your feedback
|
Apr 20th |
| 80 |
Apr 25 |
Reply |
Marti, not sure how familiar you are with Photoshop, but just to let you know about what I do. Once she's cut out the subject you will notice that she creates a separate layer for the subject. At this point you can now place a texture below the subject. You can blur that texture using the Adamski technique, I always tone it down though as I find it too much. |
Apr 20th |
| 80 |
Apr 25 |
Reply |
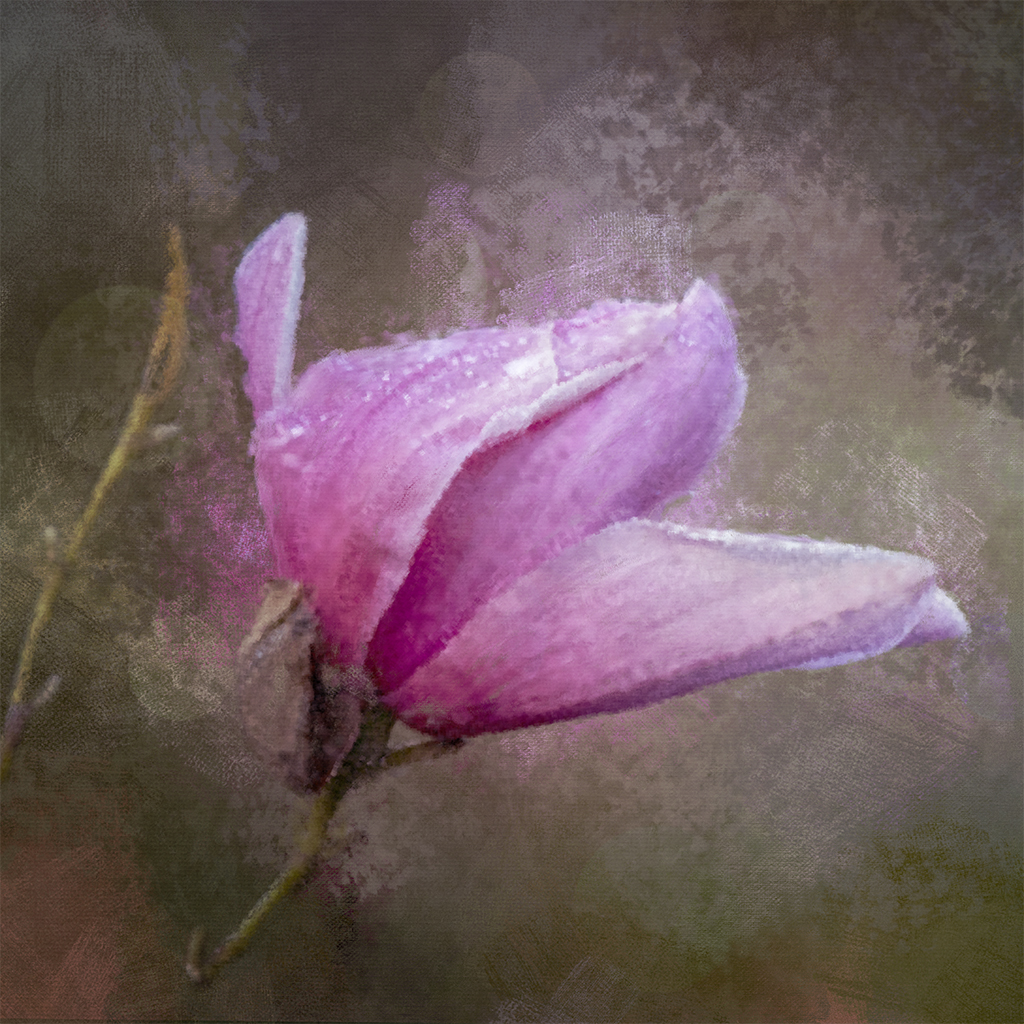
Hi Doug, totally agree with you about the front blue petal. It was a sunny day and to be able to photograph the flower, I used my body to give some shade. I've used different methods to darken it but the output was not to my liking, I "burned" it a little and left it.
No, I don't give lessons, I think I would be hopeless at it as I get nervous and always miss steps because of my self consciousness. I use Bridge and then all my work is done in photoshop.
Doug, have a look at this YouTube tutorial. Although it talks about the Adamski effect, the first part of it is on how to cut a subject out from its background and in my view is the most simplest and effective way. Hope you find it useful. https://www.youtube.com/watch?v=zuVibZdLoIM
I use this method.
|
Apr 20th |
| 80 |
Apr 25 |
Reply |
Thanks for your kind comments Ingrid. |
Apr 20th |
| 80 |
Apr 25 |
Reply |
Hi Bob, thanks for your feedback, always appreciated. I've tried to photography as many flowers as I can. Heading into the Winter months, there won't be much around my garden to photograph. |
Apr 20th |
| 80 |
Apr 25 |
Reply |
Thank you Rich for your kind comments. |
Apr 20th |
| 80 |
Apr 25 |
Reply |
Thanks Marti for your input, always appreciated. I did pull the image up and can now see what you mean, it's the texture that I used and the stroke can easily removed. |
Apr 20th |
| 80 |
Apr 25 |
Comment |
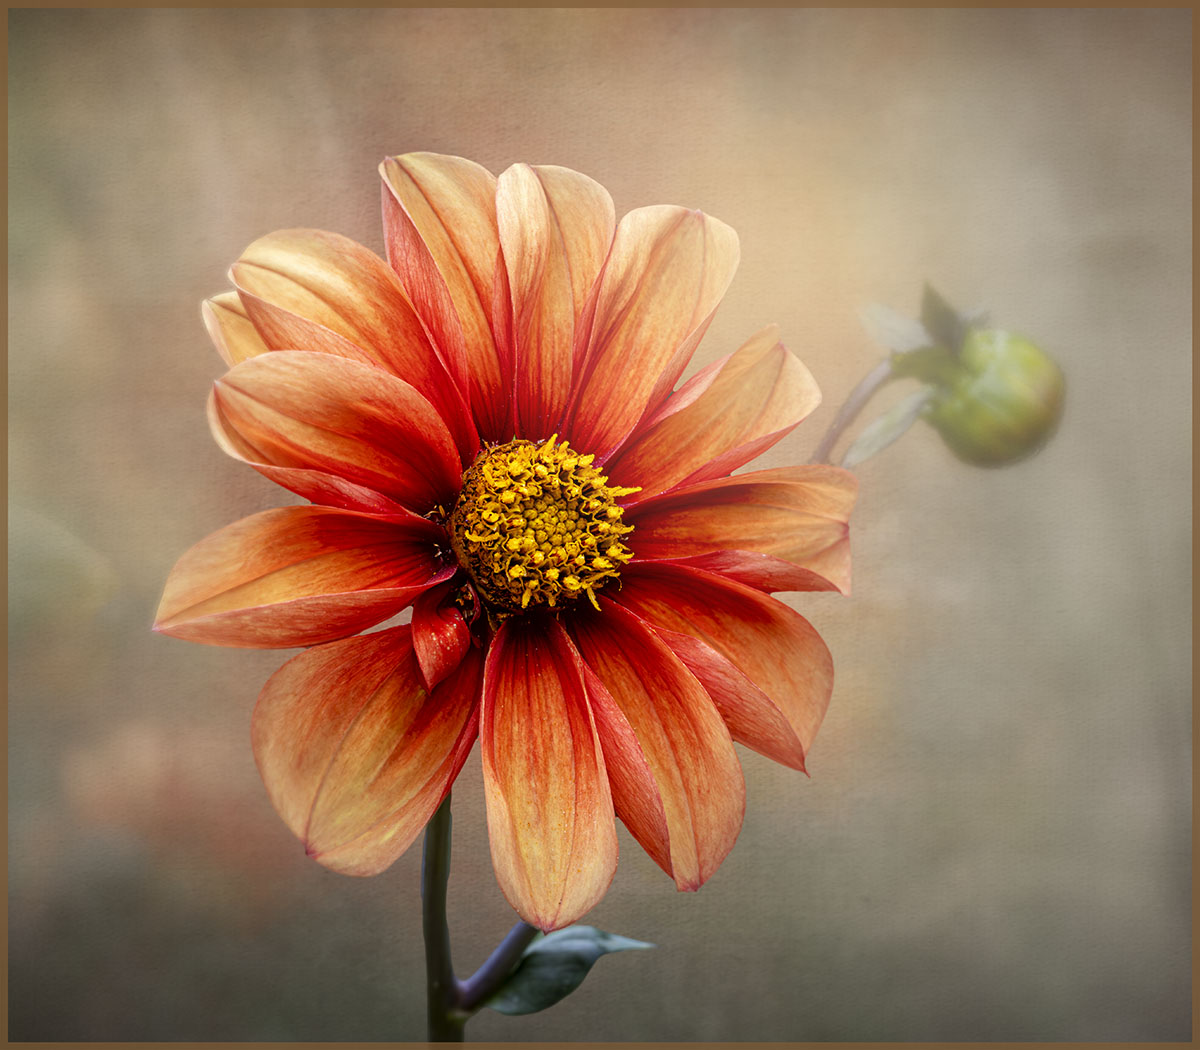
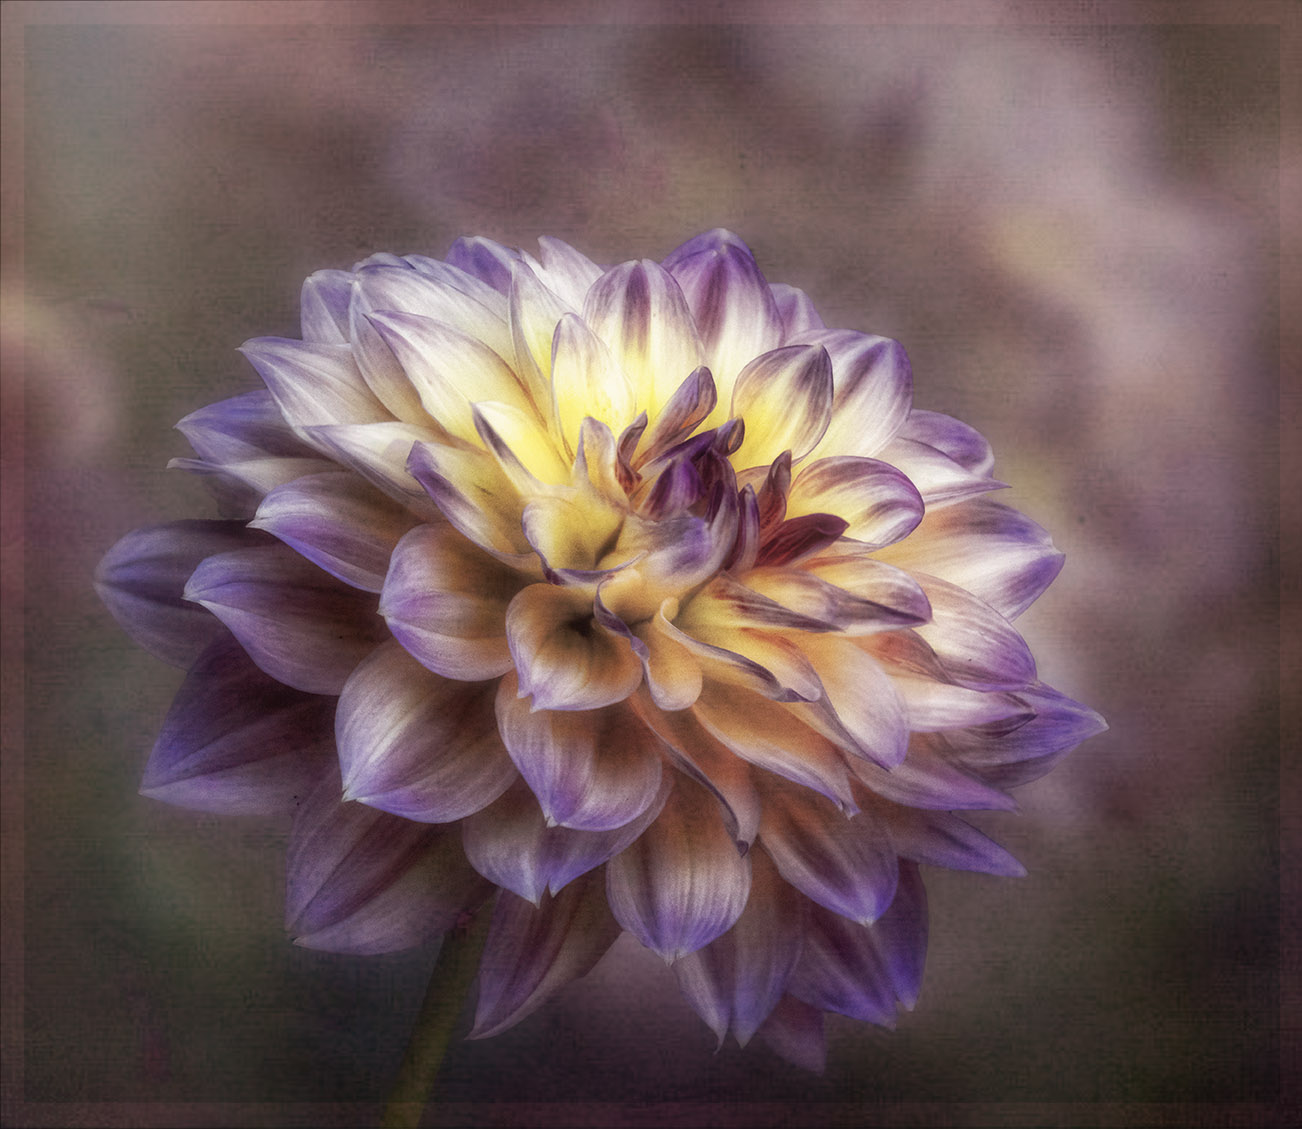
Hi Rich, what patience you must have to shoot through leaves like that and what reward for your efforts. What a dreamy and creative output. The light in the center of the flower sets if off as does the purple colour against the leaves.
I do agree with Ingrid that reducing or darkening the background to reduce the distraction would set the flower off really well. Well done. |
Apr 20th |
| 80 |
Apr 25 |
Comment |
Not sure what to say about this Ingrid except to say I love it. I do compositing and thought this is just gorgeous and why didn't I think of something like this. Perhaps you might think of having very faint daffodils in the background to highlight the fairy in the garden or the garden guardian. |
Apr 20th |
| 80 |
Apr 25 |
Comment |
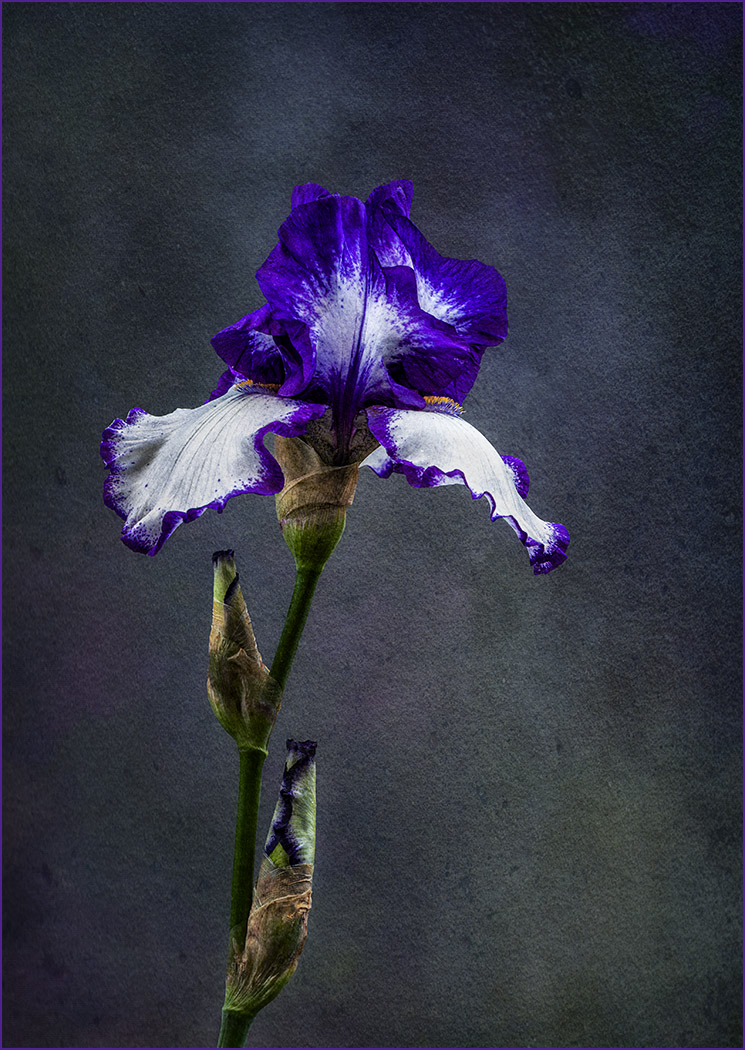
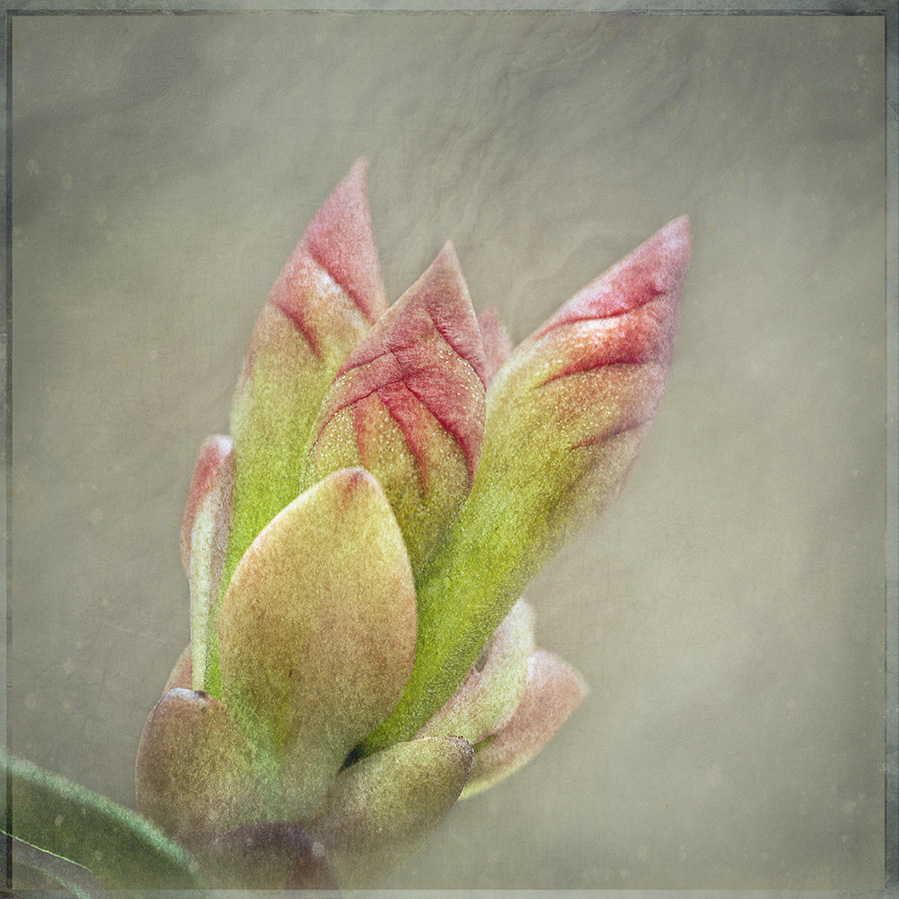
Doug what a beautiful tulip. I was on the verge of buying some of the white with red stripes but missed out due to its popular demand. Maybe next year.
The point of interest for this tulip is the one yellow petal with green stripes and you've captured that beautifully. It's sharp and stands out. You'll find that the green background has created what appears to be green chromatic aberration around the flower. It's even more highlighted in your revision. Very creative in selecting just the one petal.
I'm not sure if you use Lightroom or Photoshop and in any of those programs, CA can be easily removed. I do agree with Bob that you can tone down the green background to make the petal with the green strips stand out more. Very creative in selecting the one petal. |
Apr 20th |
| 80 |
Apr 25 |
Comment |
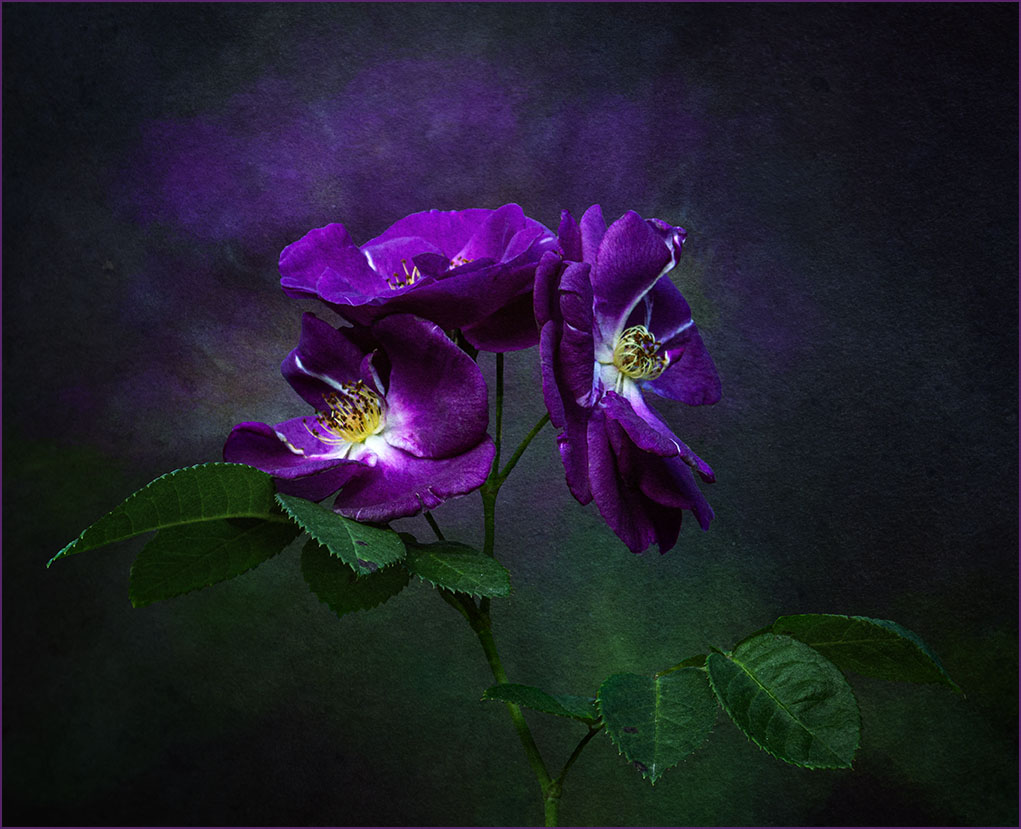
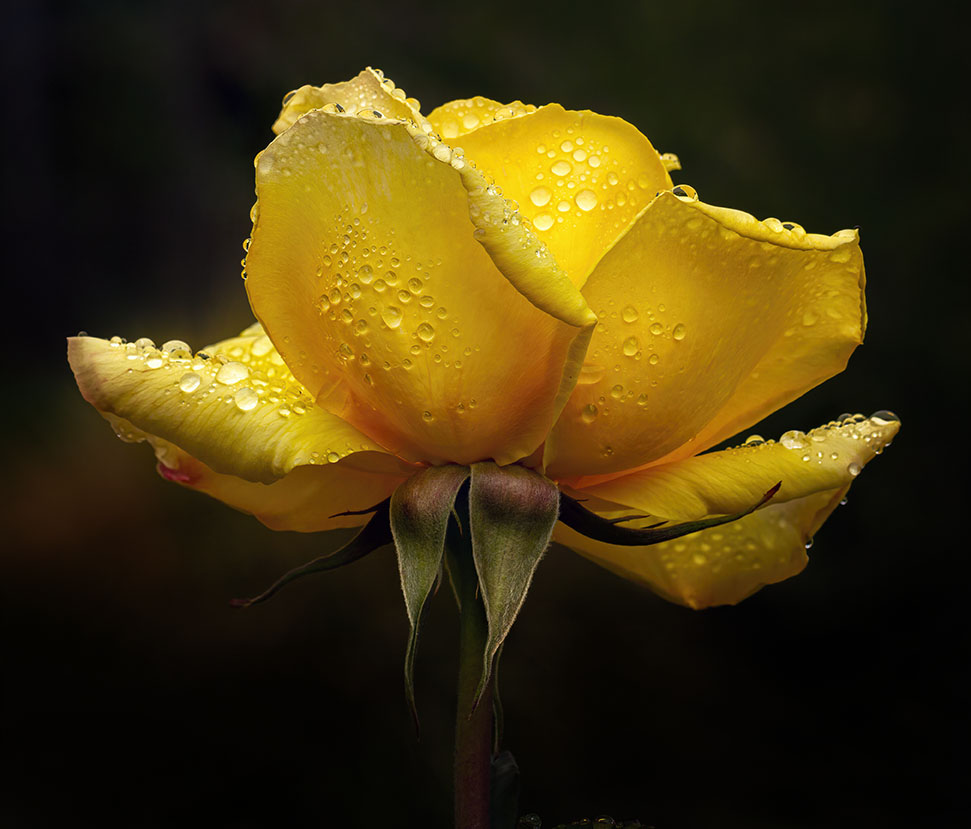
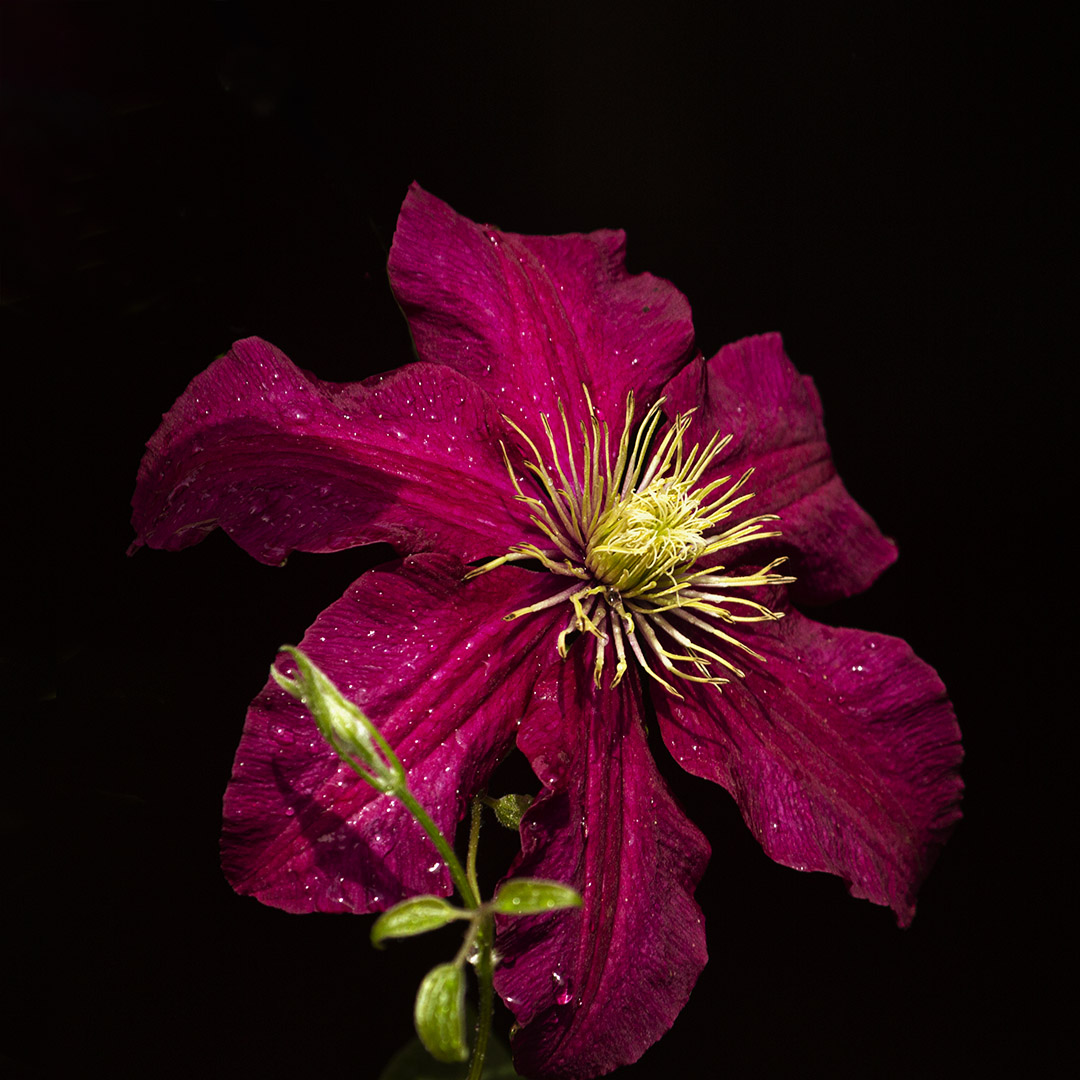
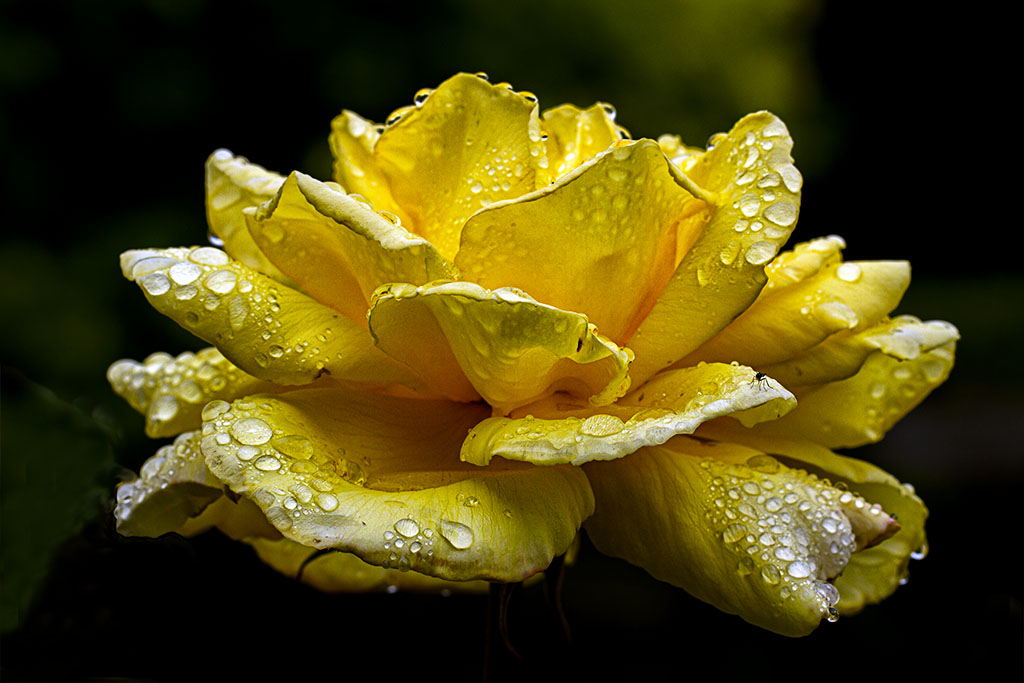
Hi Marti, that rose is the focal point for that floral display and I can see how you were drawn to it. I'm wondering how they managed to push the outer petals down without any damage.
Beautiful job in separating the rose and giving it a black background to make it pop like that. To be honest, the shadow doesn't bother me as all I can see is the beauty of this rose. Beautifully done. |
Apr 20th |
| 80 |
Apr 25 |
Comment |
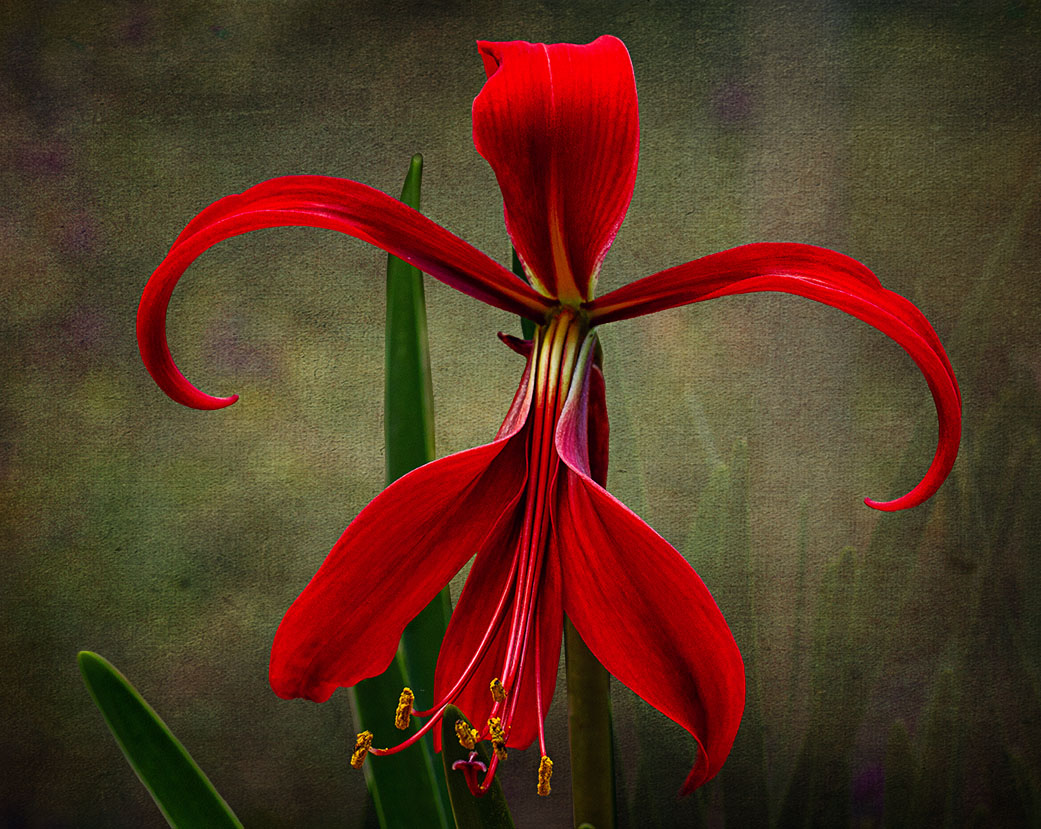
Hi Bob, this is a beautiful lily and agree with the others on how the stamen stands out beautifully against the yellow and red background.
Also the current comments about the red petal on the right "bleeding" into the red motion in the background and having read your comments regarding about your workflow to rectify the problem. As a suggestion, if you take this image into photoshop you can easily use the Curves adjustment with the blending mode Multiply and reduce the opacity to 50%. This will darken the whole image and then using a normal brush, you can easily mask out the flower to its original light and keep the background darker at about 50% opacity. This simple task will separate the petal from its background and give it more "pop".
I have no suggestion for Lightroom as I don't use it.
|
Apr 20th |
5 comments - 10 replies for Group 80
|
8 comments - 14 replies Total
|