|
| Group |
Round |
C/R |
Comment |
Date |
Image |
| 41 |
Mar 22 |
Comment |
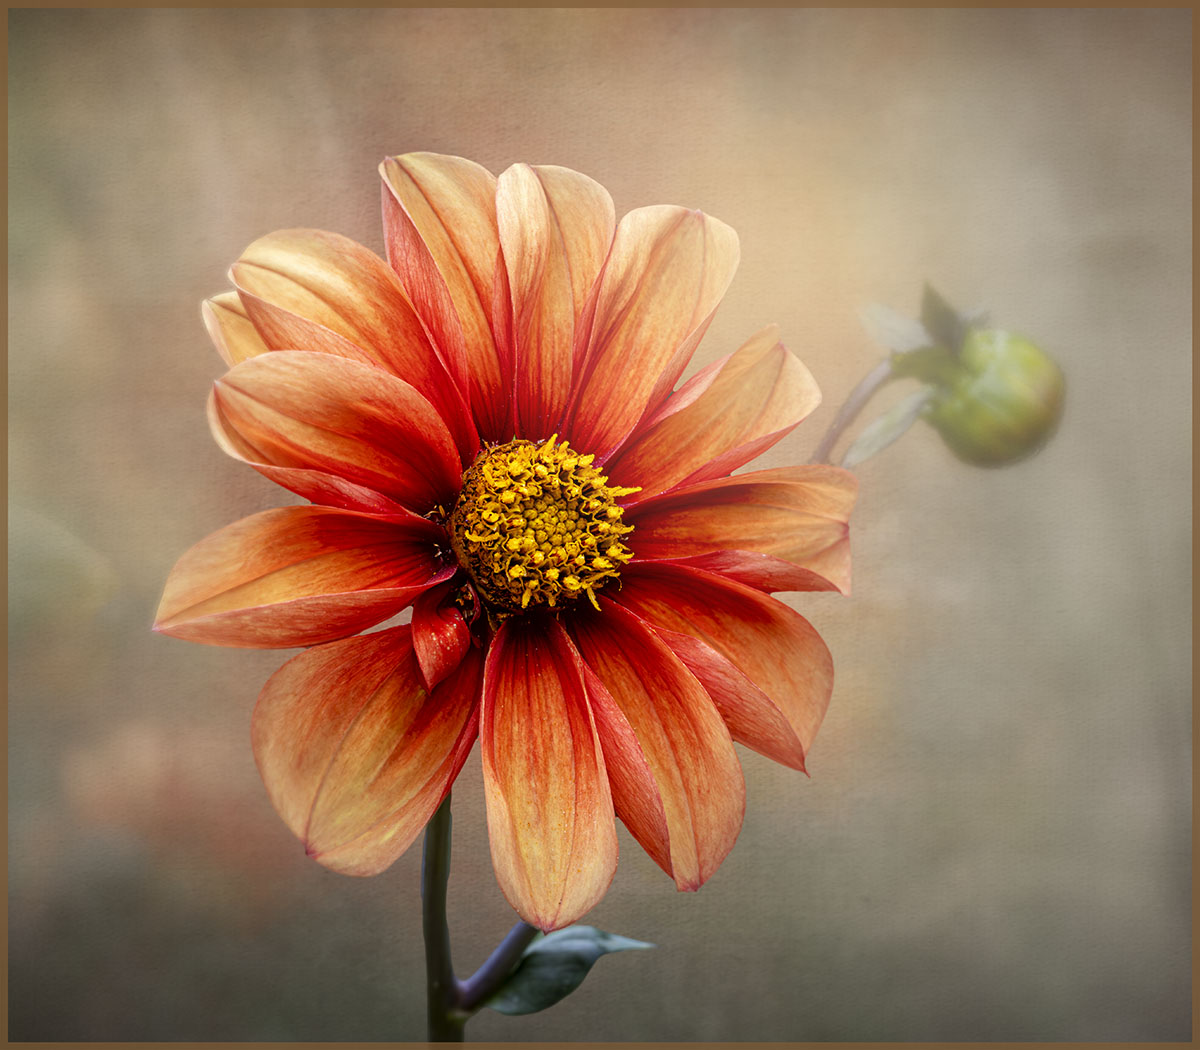
Hi Brad,
I do agree with Tom, the image would have more impact if the man's torso was not masked out. I would have applied the Topaz filter to the flower as well as it would give consistency to the whole image. |
Mar 17th |
| 41 |
Mar 22 |
Comment |
Hi Lisa, I agree with Tom, Ansel and the steering wheel look out of proportion. I would use the transform tool to make him fit more into the scene. The colours are just great. |
Mar 17th |
| 41 |
Mar 22 |
Reply |
Hi Susan, I'll try the selective colour adjustment layer, it may take me down a different path. Thanks for your suggestion. |
Mar 16th |
| 41 |
Mar 22 |
Comment |
Hi Susan, I agree with what has been said. I don't mind the text so much as that does make the viewer stay and try to figure what it's all about. I would use both the perspective transform tool and then the wrap tool to give the skull a better fit to the car. The colours are great cyan and orange. Is there some connection or meaning with the "So True Tattoo?" |
Mar 16th |
| 41 |
Mar 22 |
Comment |
Hi Henry, Agree with what has been so far discussed about your composition and the complementary colours. I find the background distracting as it's as sharp as the two tuplips images. I would blur the background with Gaussian blur at low pixel value say about about 6px or lower to your taste and then leave the tuplips as sharp as they are. Nice concept where the larger tulip flowers can be seen as a shadow of the smaller ones. |
Mar 16th |
| 41 |
Mar 22 |
Comment |
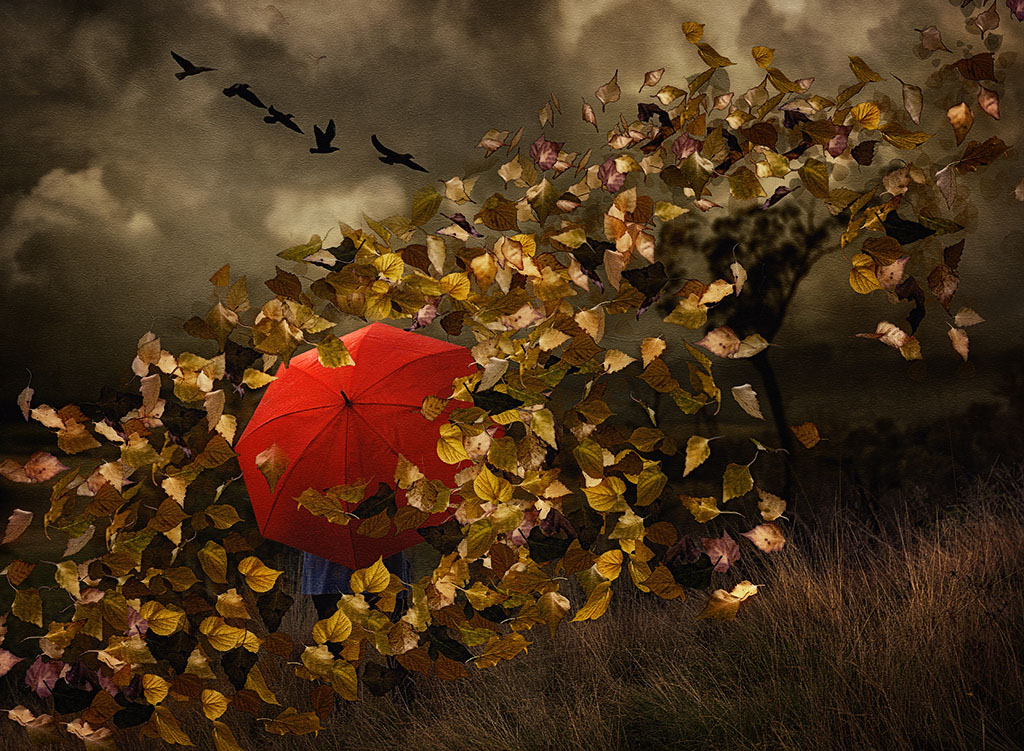
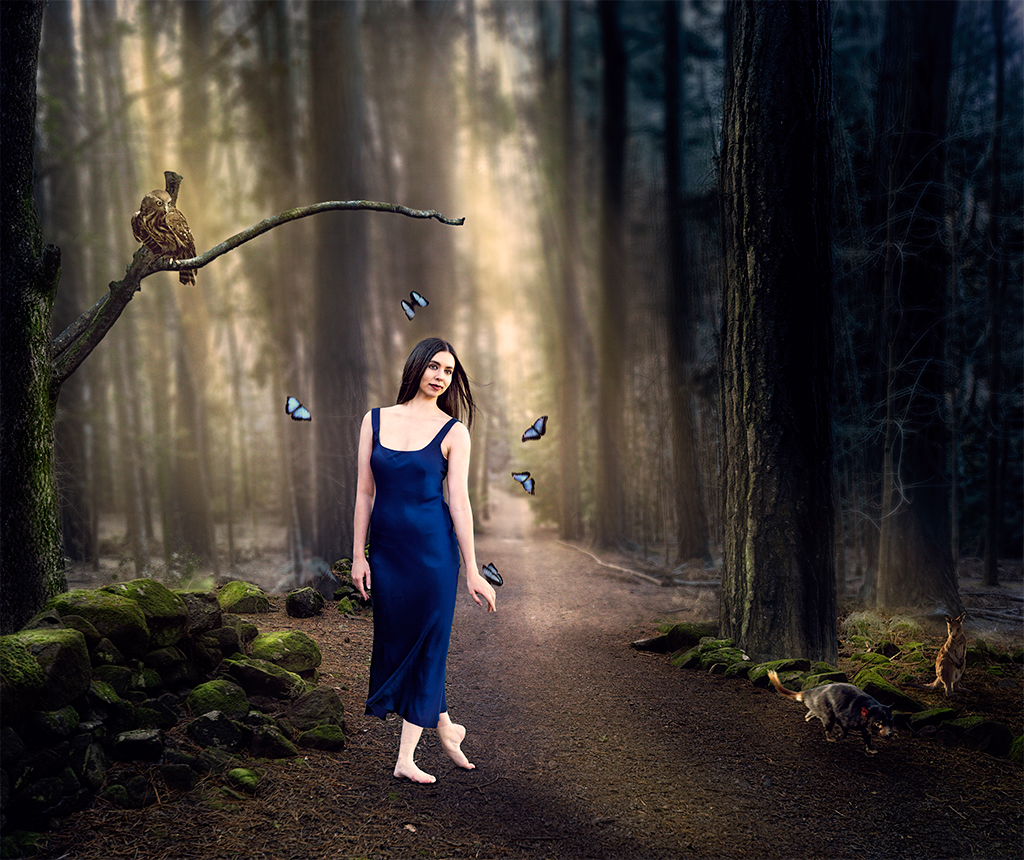
Thank you both Brad and Henry, I appreciate your feedback and will take your comments on board. You will see that the woman, the green rocks, the tree on the left, the owl and the two little animals are all on the same "plane" and so all are in focus. The intention was to create a shallow DOF - the butterfies have motion blur. If I soften the woman, I'll have to soften all of those elements. It wouldn't look right. Maybe an applied texture over the image might blend her more into the scene. I'll investiage that. Cheers. |
Mar 15th |
| 41 |
Mar 22 |
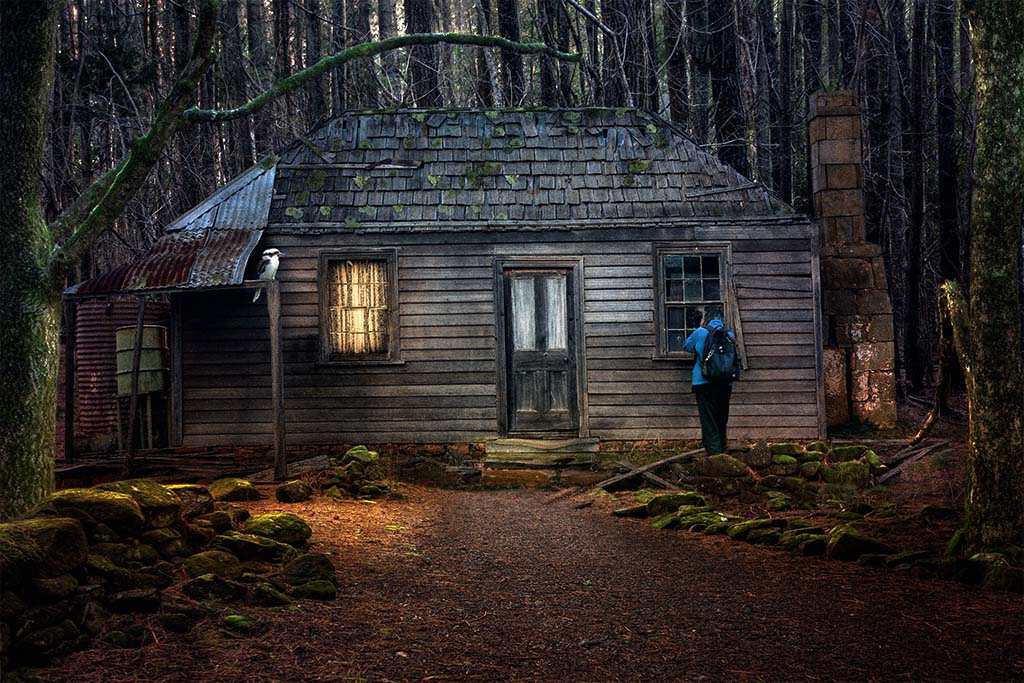
Comment |
I've been asked to share my technique in adding light to my composites. I try to photograph with some natural light and build on that. As you can see, the image has natural light coming through the trees. First blur the background with Gaussian blur at around 19 px (or your choice). Using the brush tool at 100% opacity bring back the sharp parts in the foreground. Then create an empty layer with the blend mode in Overlay, Soft Light or Hard Light. Set the layer opacity at around 80% and Fill at around 30-40% (depends on image). Select the foreground colour to warm and start painting with a soft brush at opacity of 30% and flow at 30%. And just build on the layers until you get the density that you want. I sometimes have three or four layers. Best to build it bit by bit. Finish with Photo Filter Adjustment Layer or Colour Look Up Table and adjust to suit your image. |
Mar 8th |
6 comments - 1 reply for Group 41
|
6 comments - 1 reply Total
|