|
| Group |
Round |
C/R |
Comment |
Date |
Image |
| 93 |
Oct 22 |
Reply |
Thank you Kelly! |
Oct 25th |
| 93 |
Oct 22 |
Reply |
Thanks Ed! it was a great sunrise! |
Oct 25th |
| 93 |
Oct 22 |
Reply |
Glad you like it! it is a fun shot! |
Oct 25th |
| 93 |
Oct 22 |
Reply |
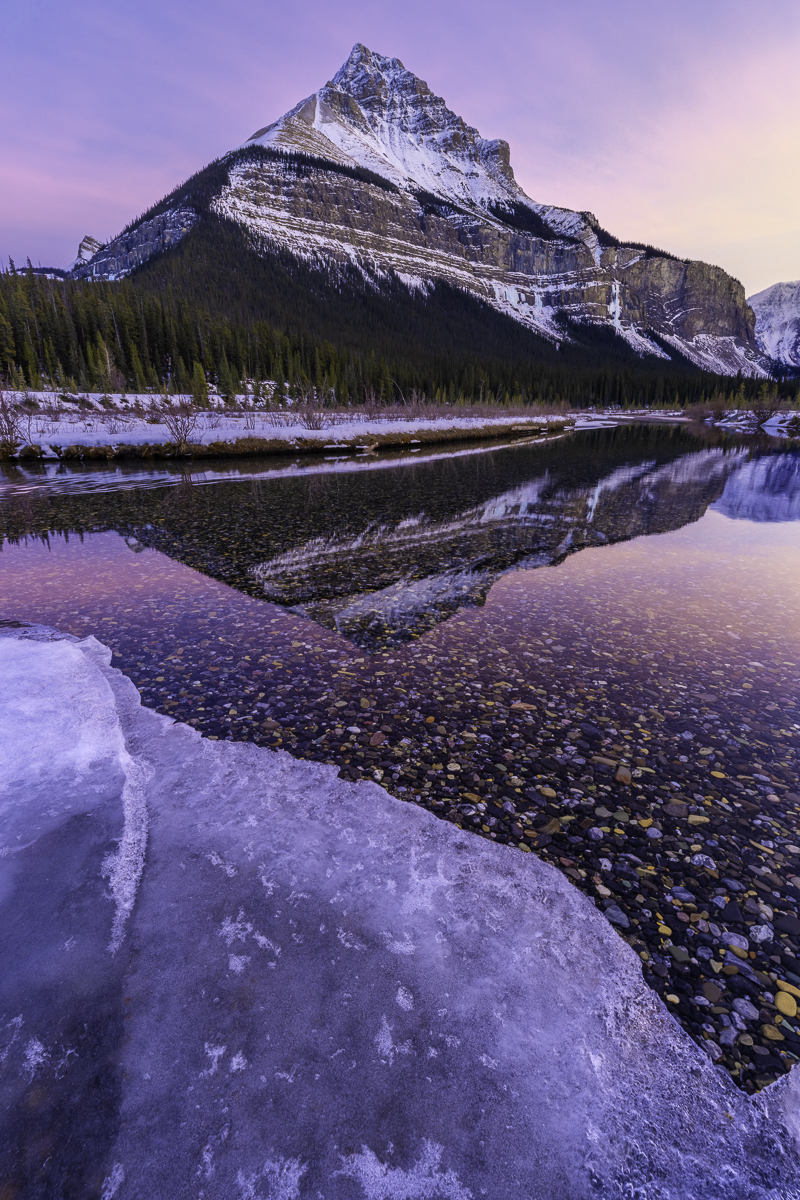
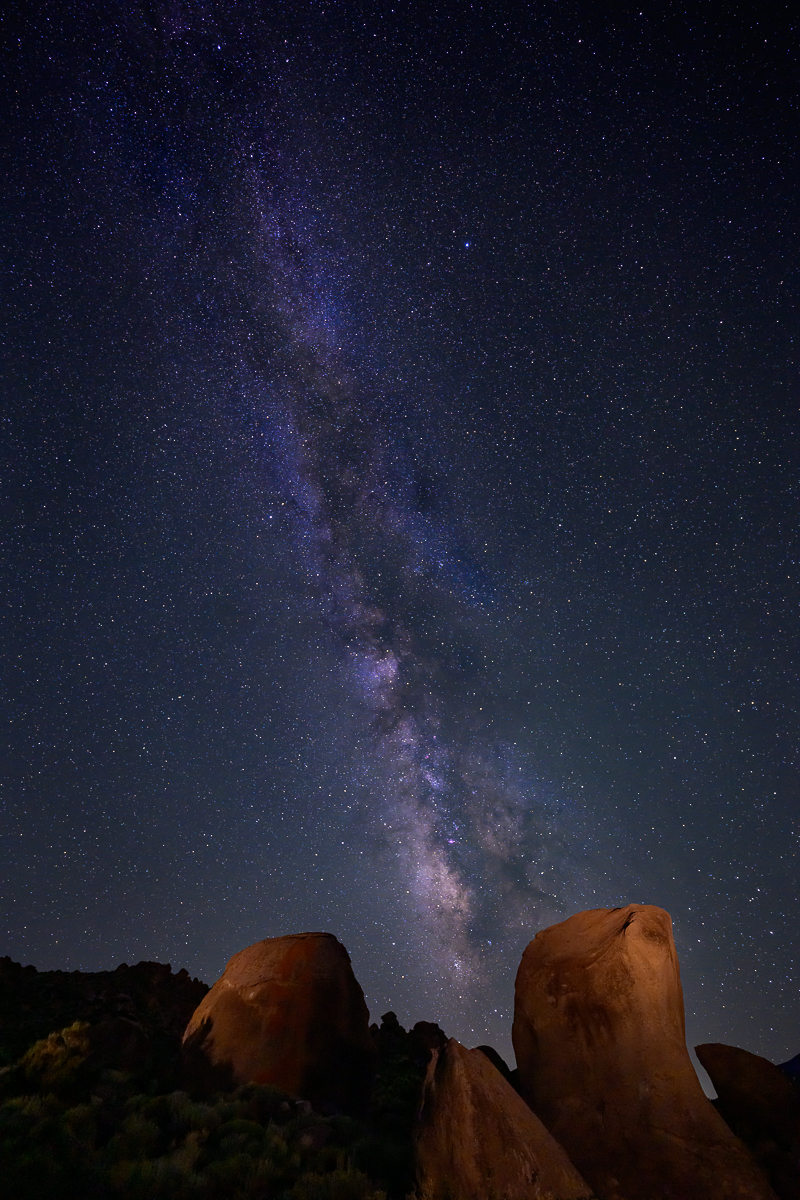
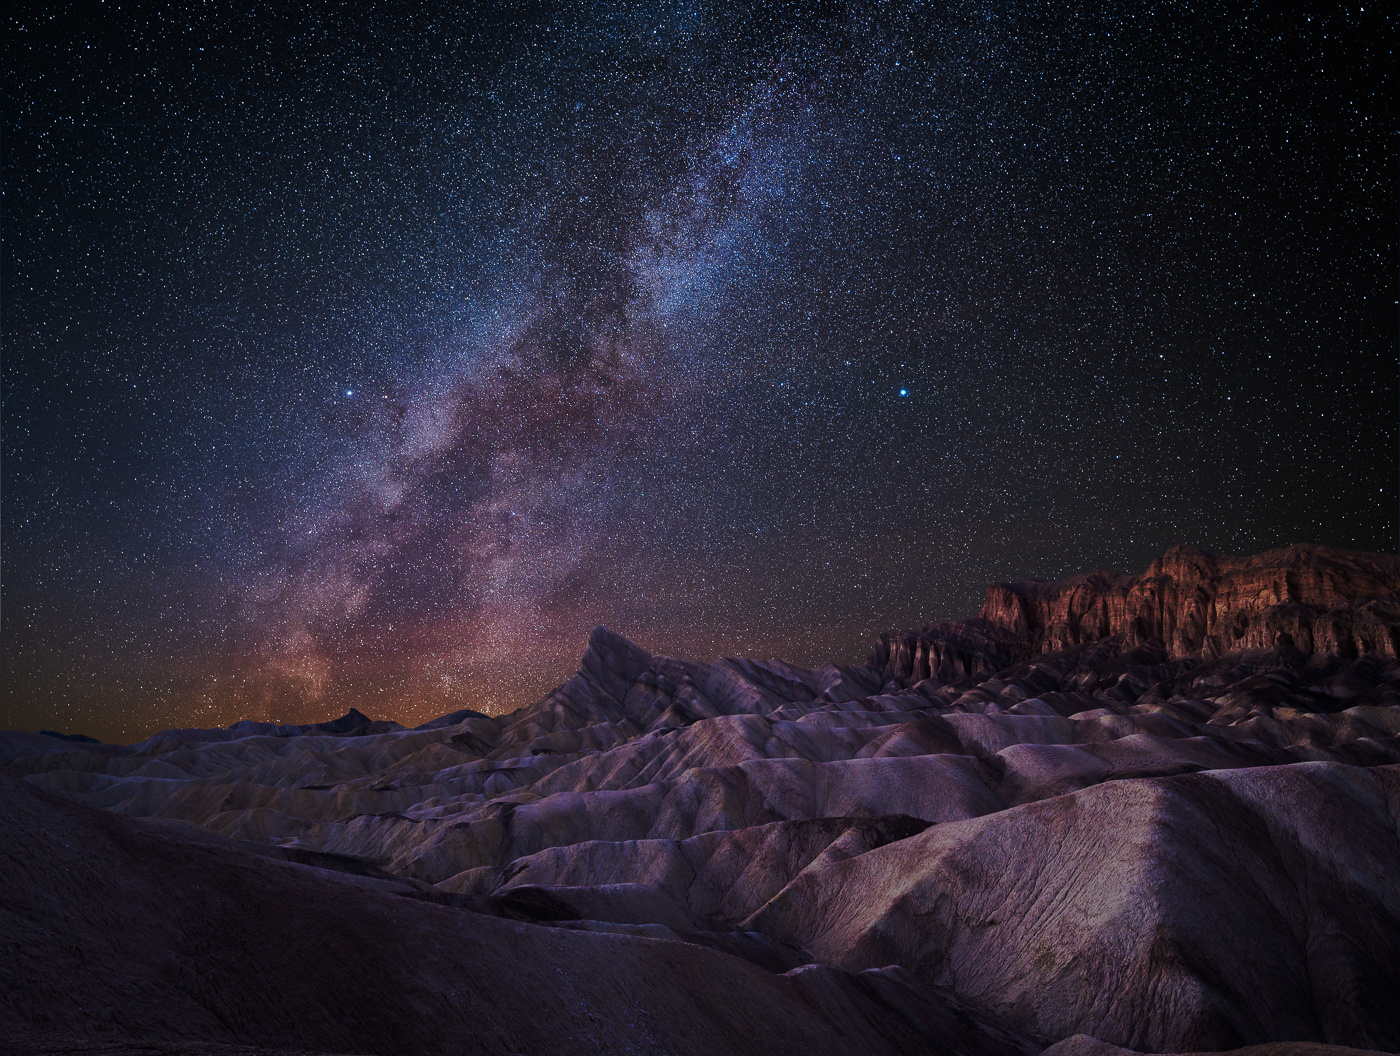
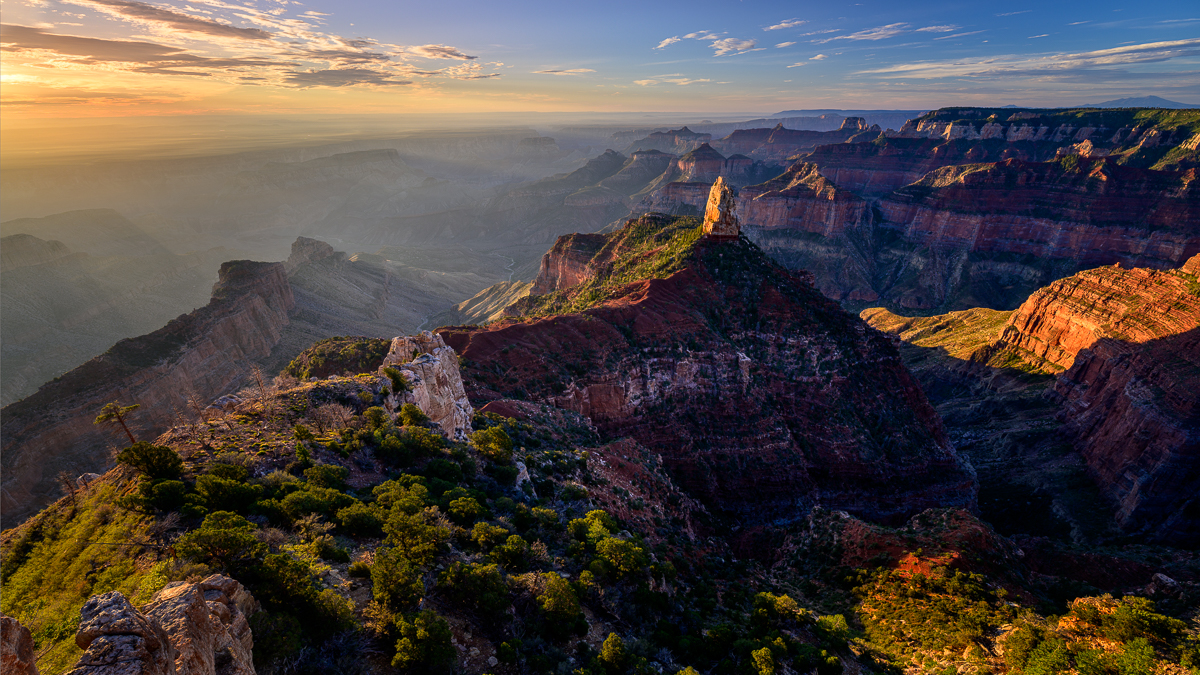
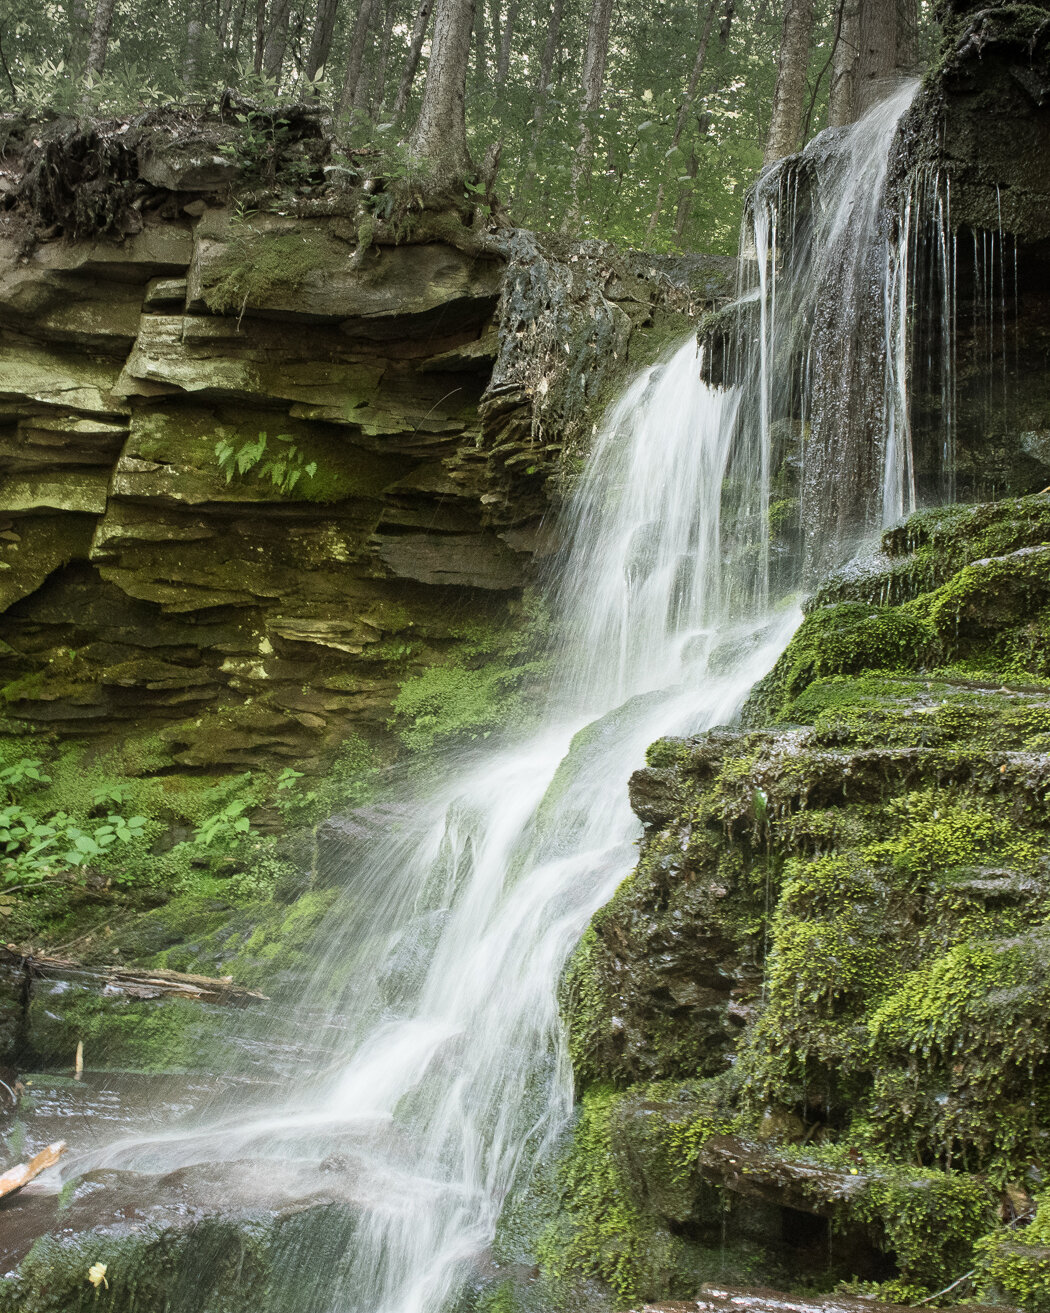
Thank you Neil! it was quite the view, that's for sure. I have a few more edits I'd like to make on this (darken the right cliff and highlight the standing rock in the middle more) and will then print her for my wall! |
Oct 18th |
| 93 |
Oct 22 |
Reply |
Makes sense Darcy. I think there are lots of ways you can make this one work. Nice capture! |
Oct 17th |
| 93 |
Oct 22 |
Comment |
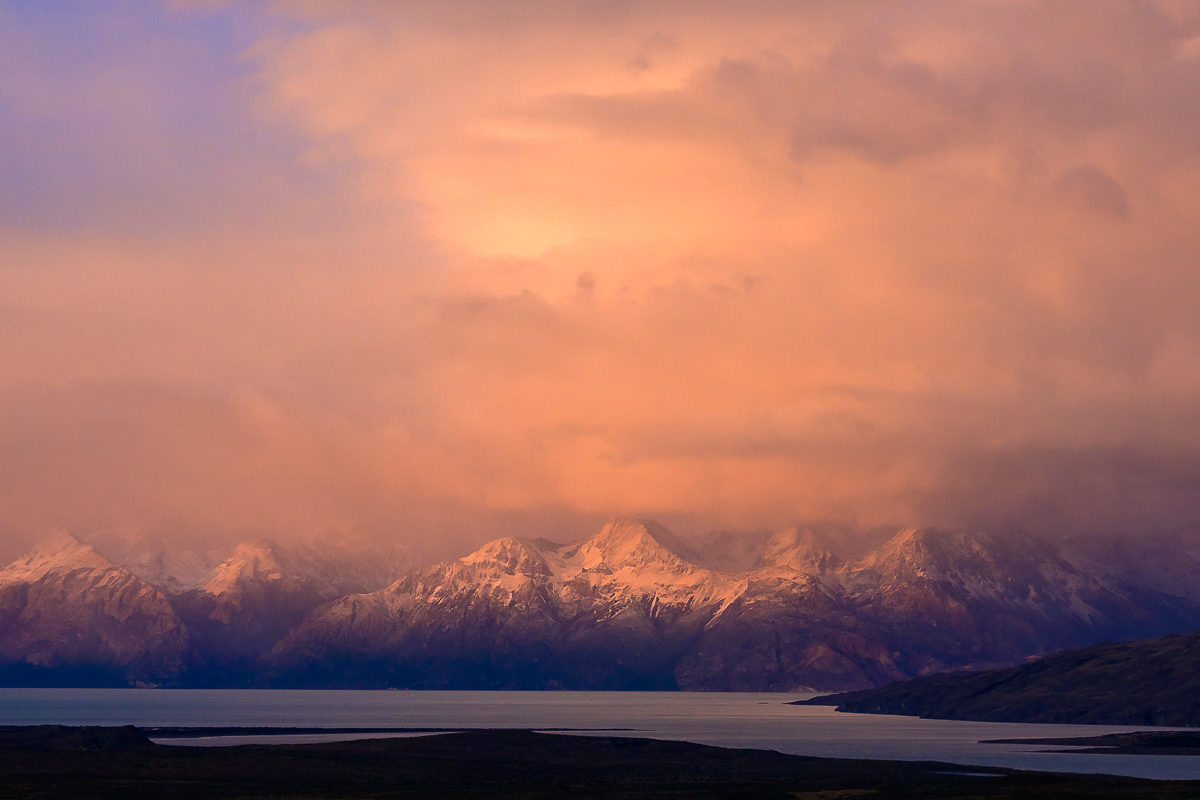
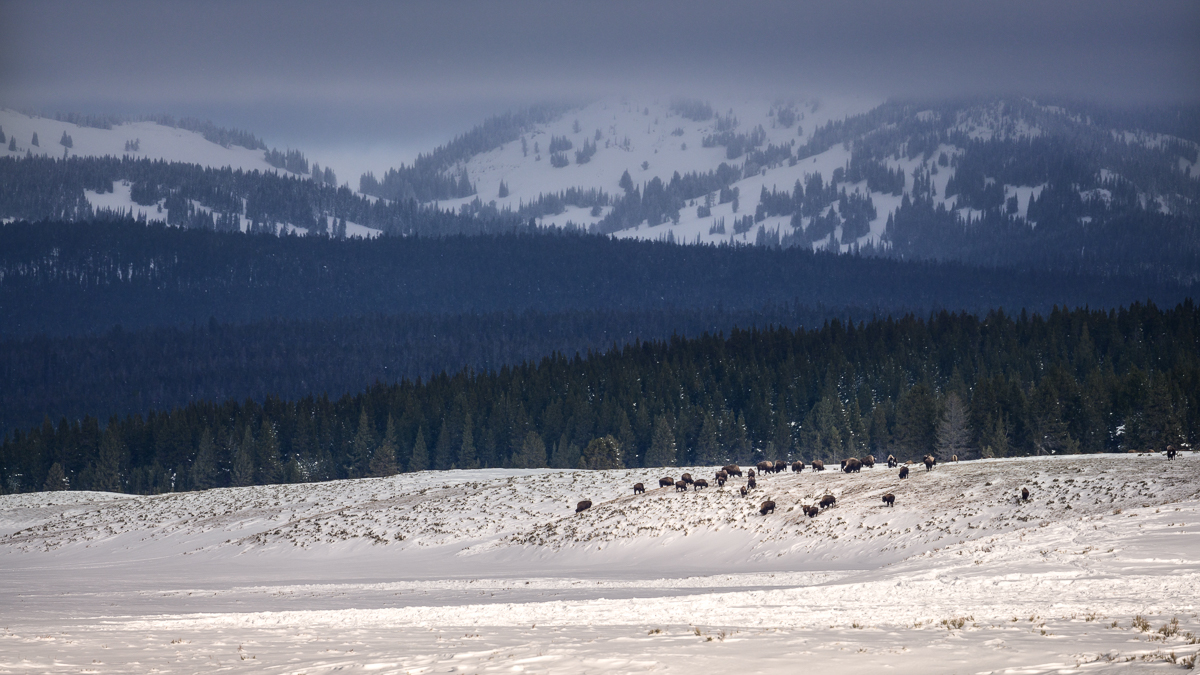
That storm is approaching! Nice capture Neil. The clouds and rain look great! I like how you framed it with the rain in the middle, it provides balance.
I agree with Paul and Ed in regards to the mountains. The image has great depth in the mountains and by tweaking a few things in processing,I think that depth would pop a bit more.
|
Oct 16th |
| 93 |
Oct 22 |
Comment |
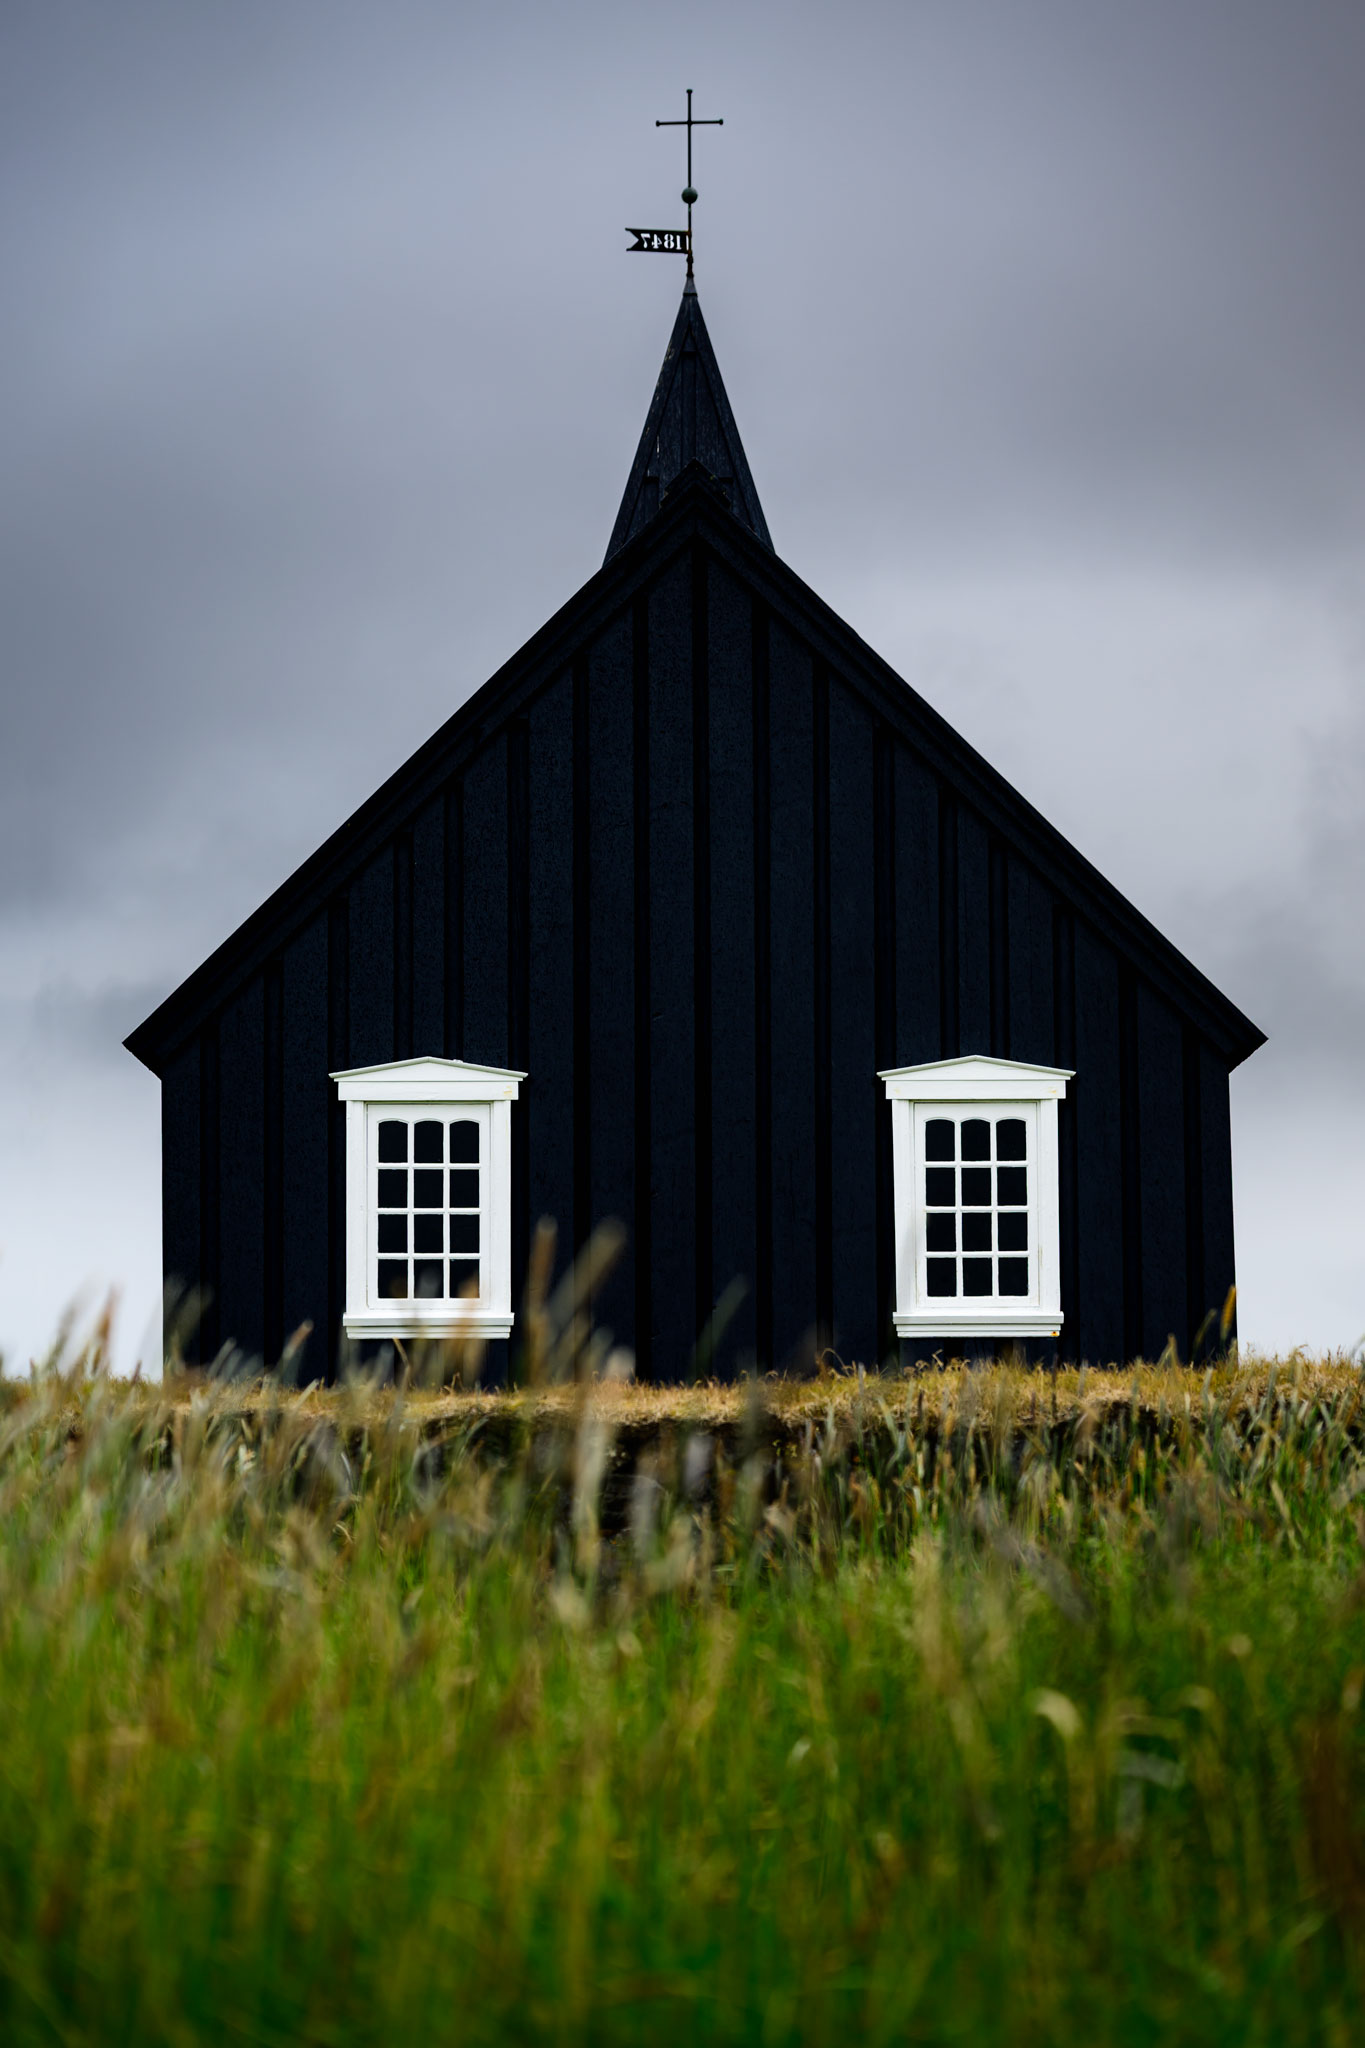
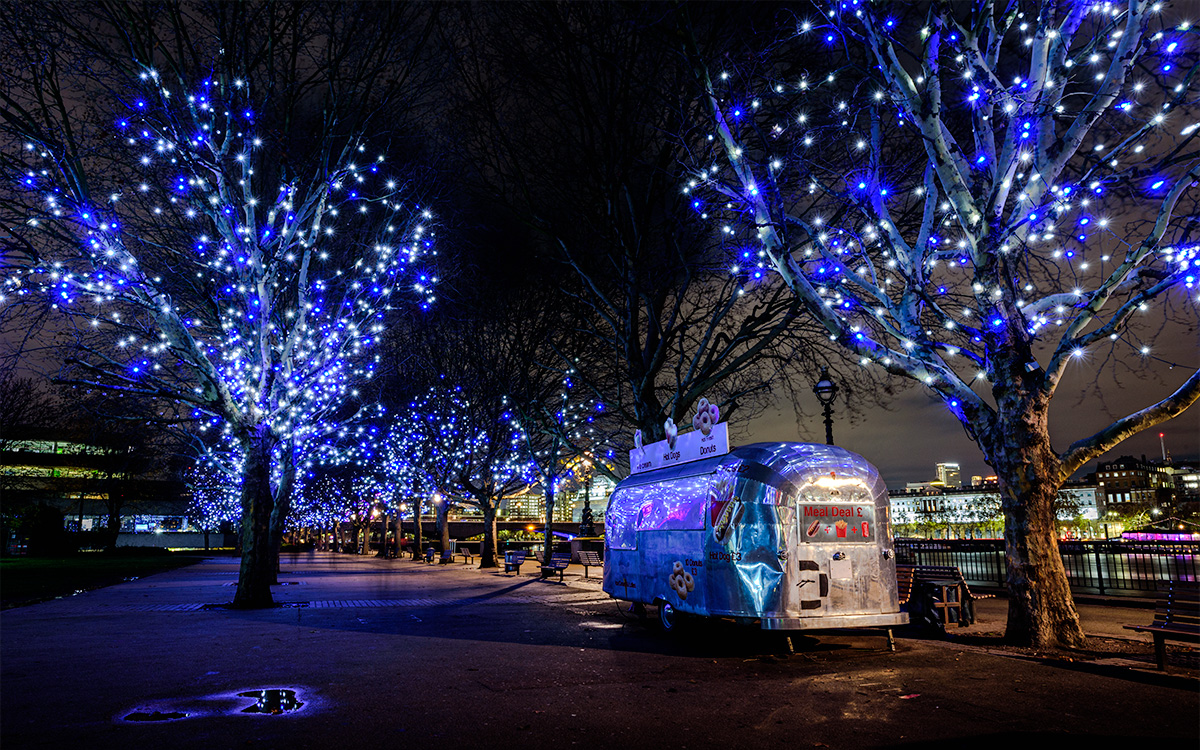
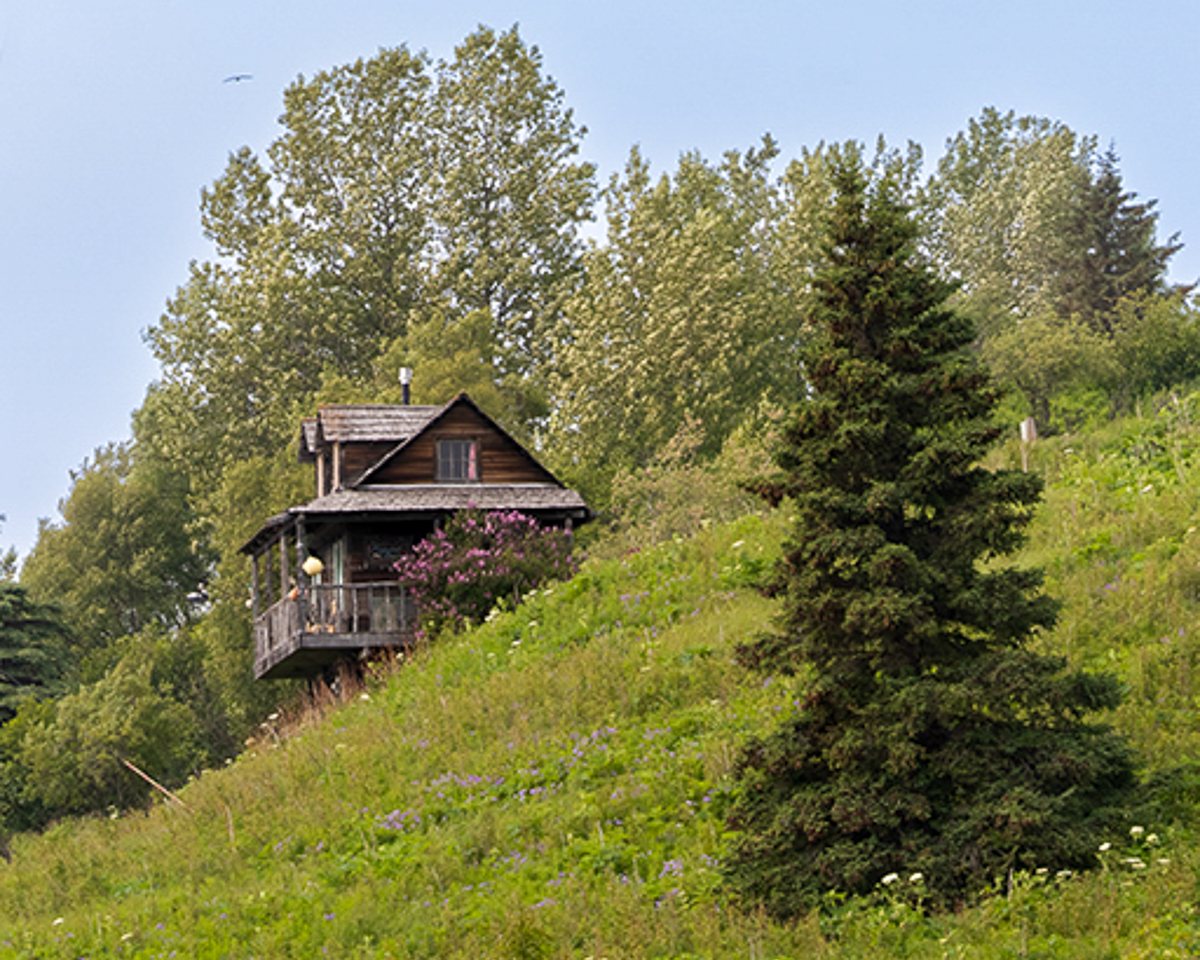
This image certainly reminds me of images shot decades ago. The architecture, lighting, and pier posts all work well together. Nice job waiting for a cloudy day, it certainly helps keep an even exposure.
Just a thought. Have you tried it to process it as a B&W, sepia or perhaps silver print? To me, this feels like it should be B&W to show off the details in the bridge and possibly make the green on the bridge more prominent as well. |
Oct 16th |
| 93 |
Oct 22 |
Comment |
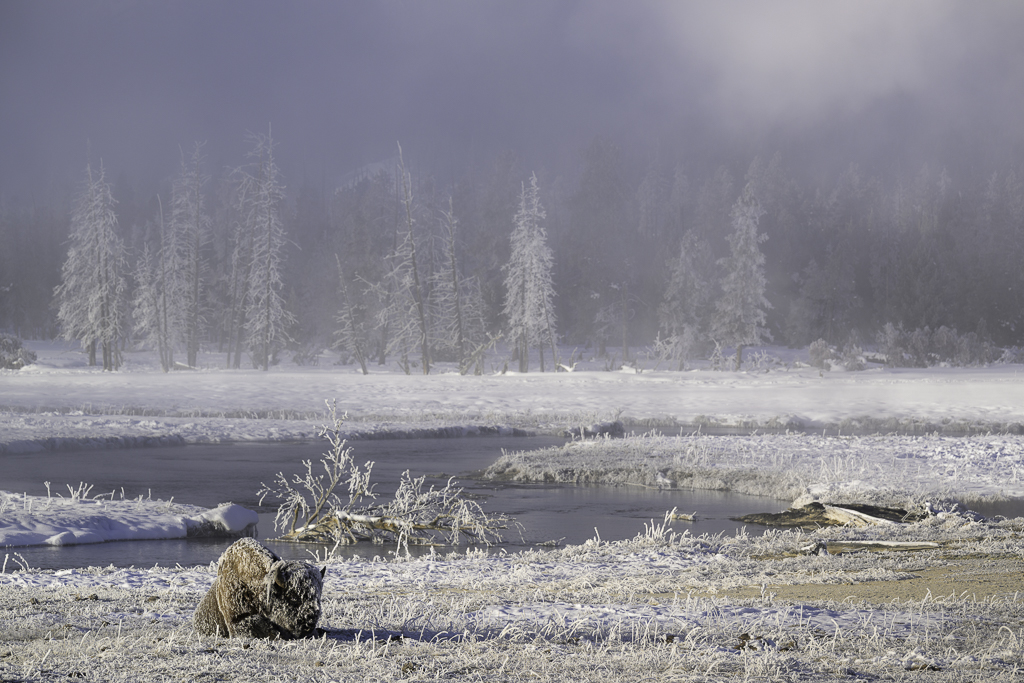
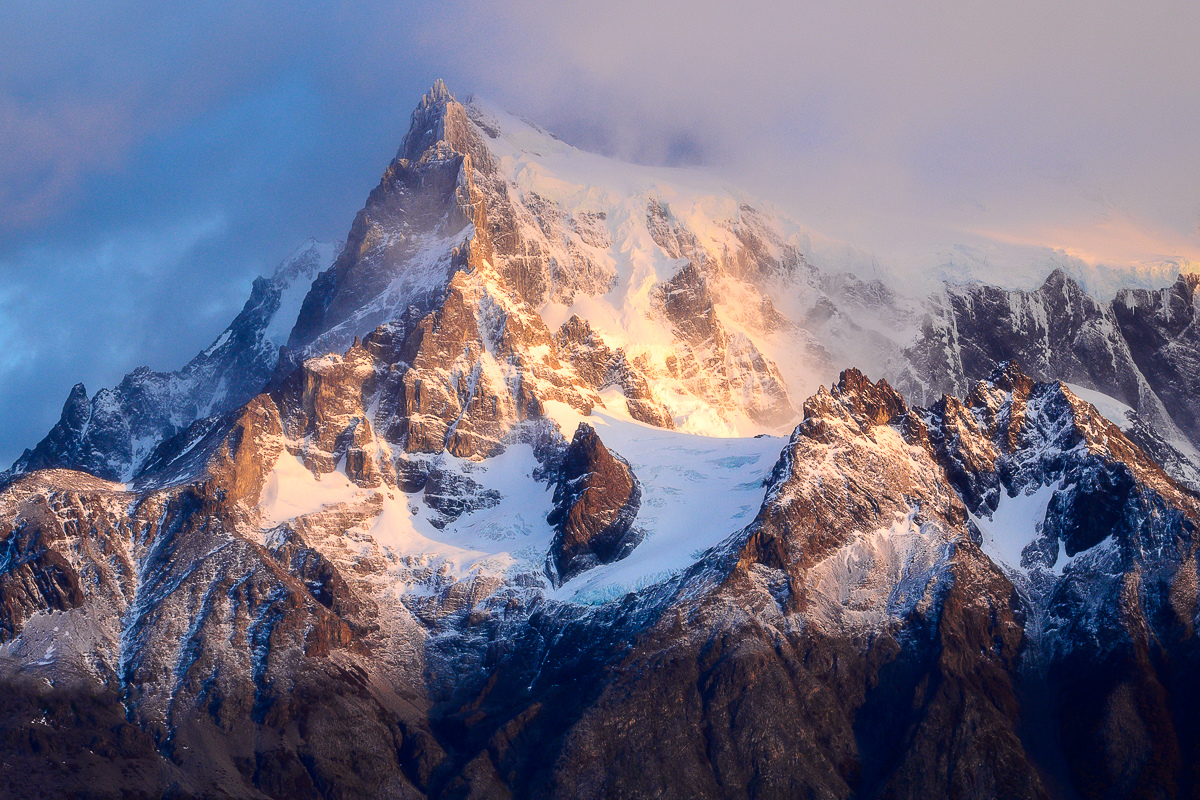
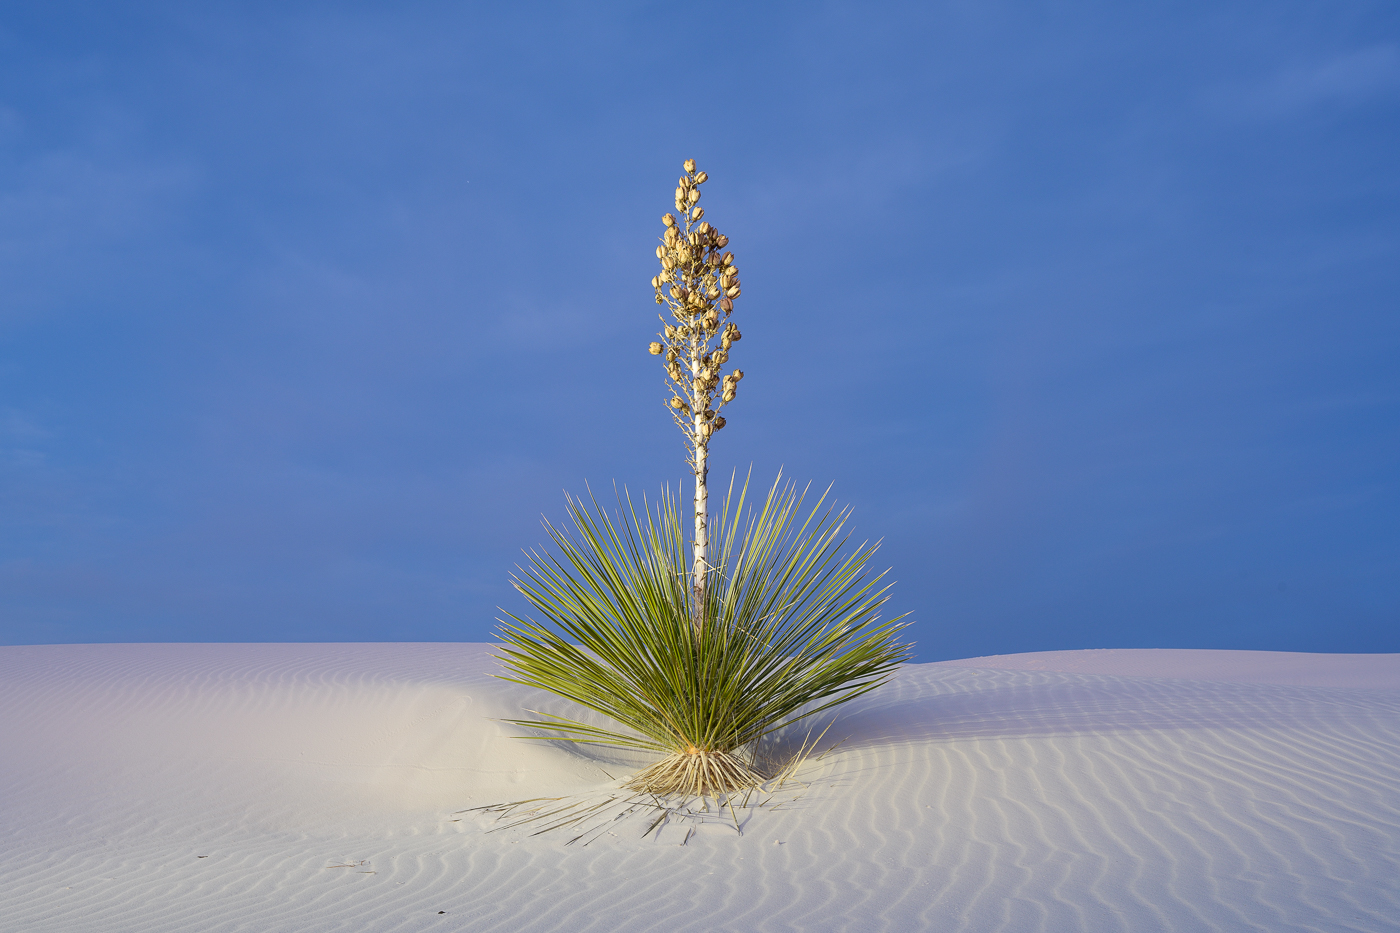
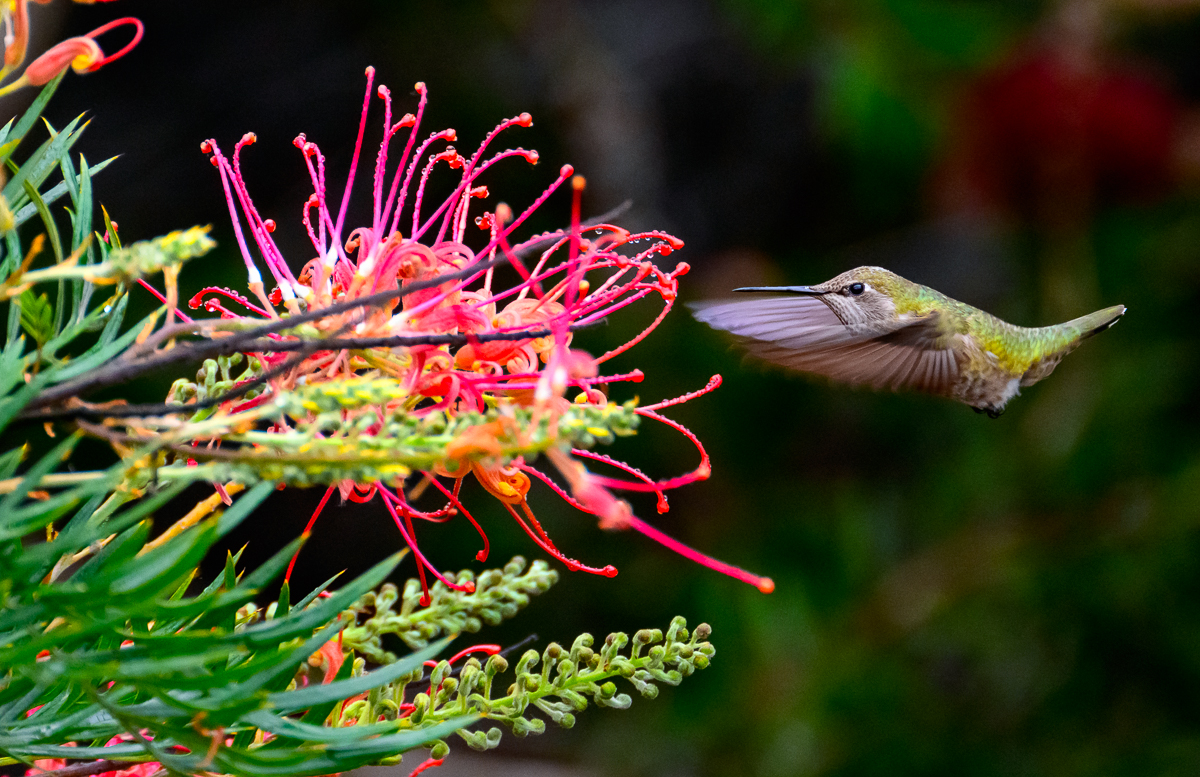
The light on this beauty is lovely. The shadow side is just enough shadow and the light side keeps all details.
While completely in focus, it portrays a "soft" feeling with the wind on the mane, the smoothness of the nose, and the hair on the bridge of the nose. Great capture! |
Oct 8th |
| 93 |
Oct 22 |
Comment |
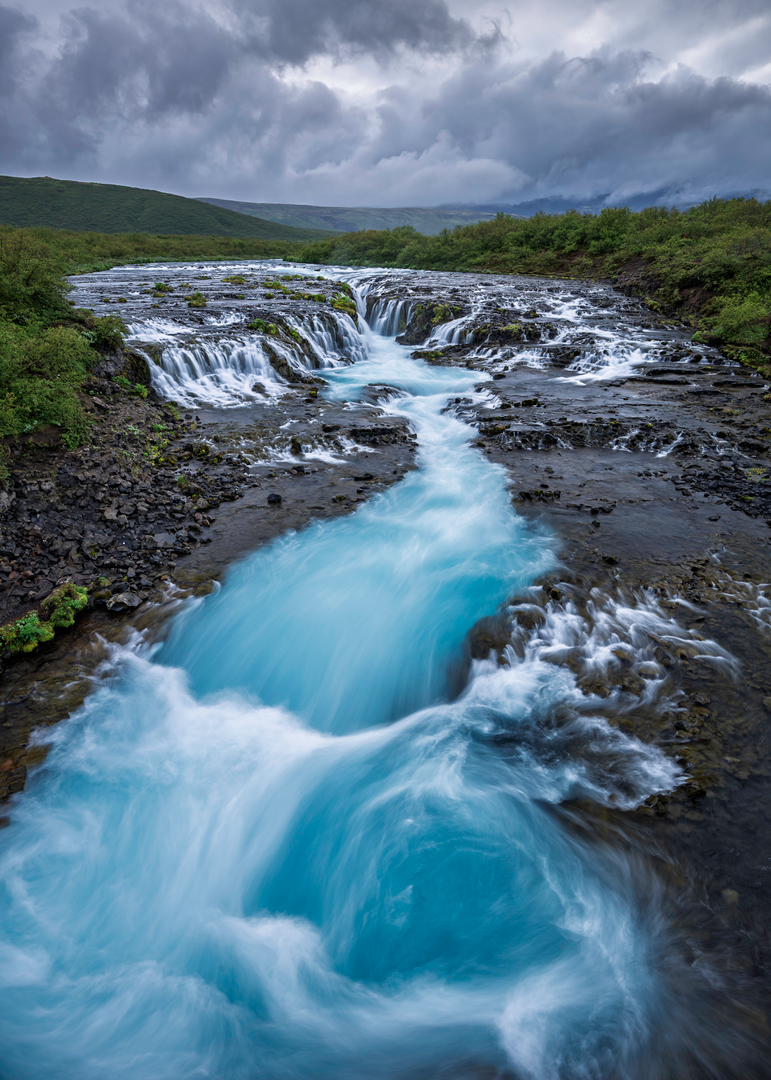
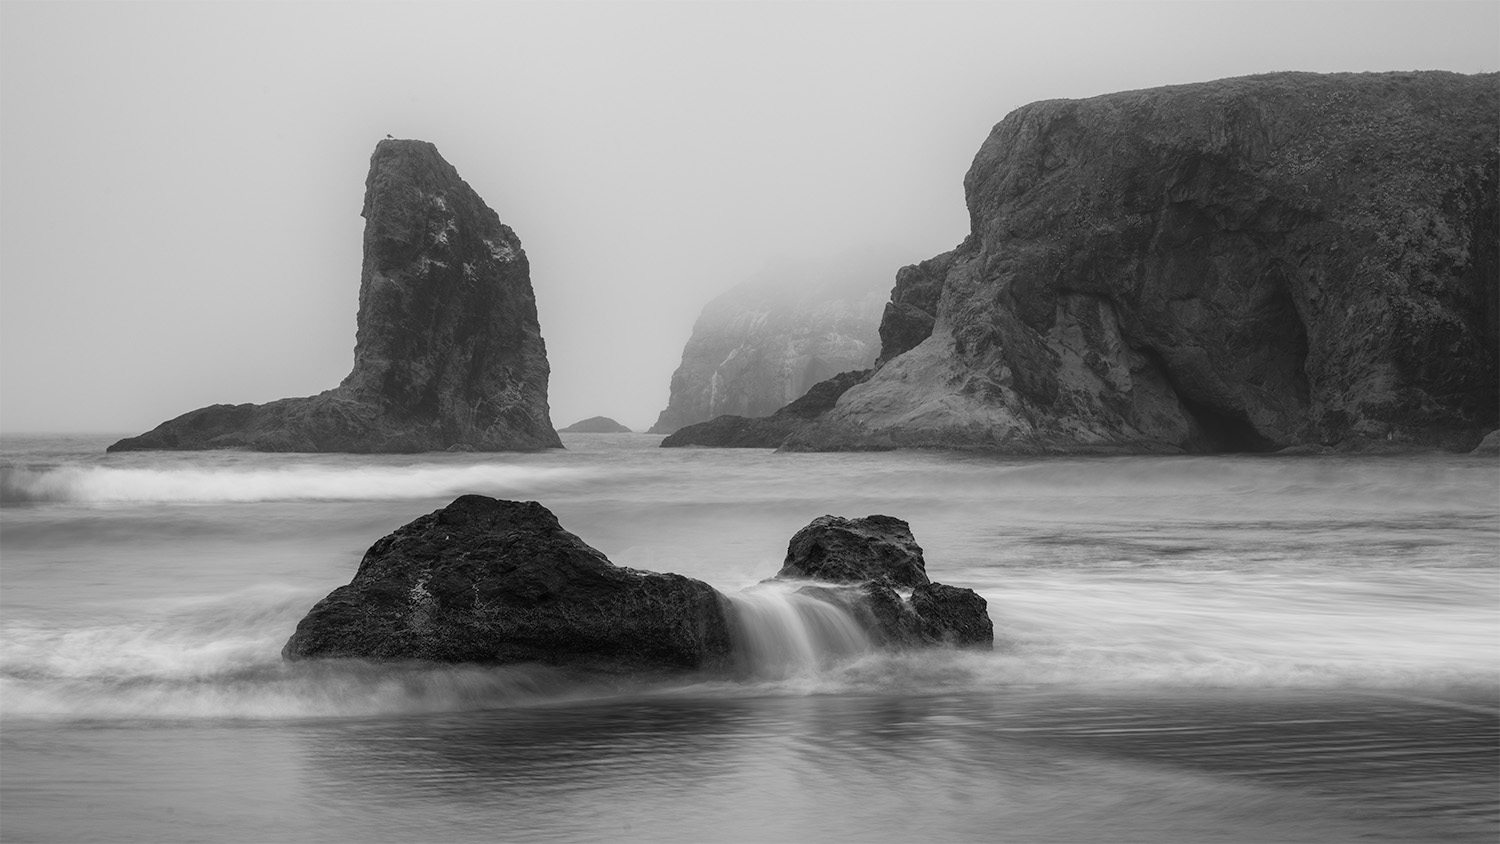
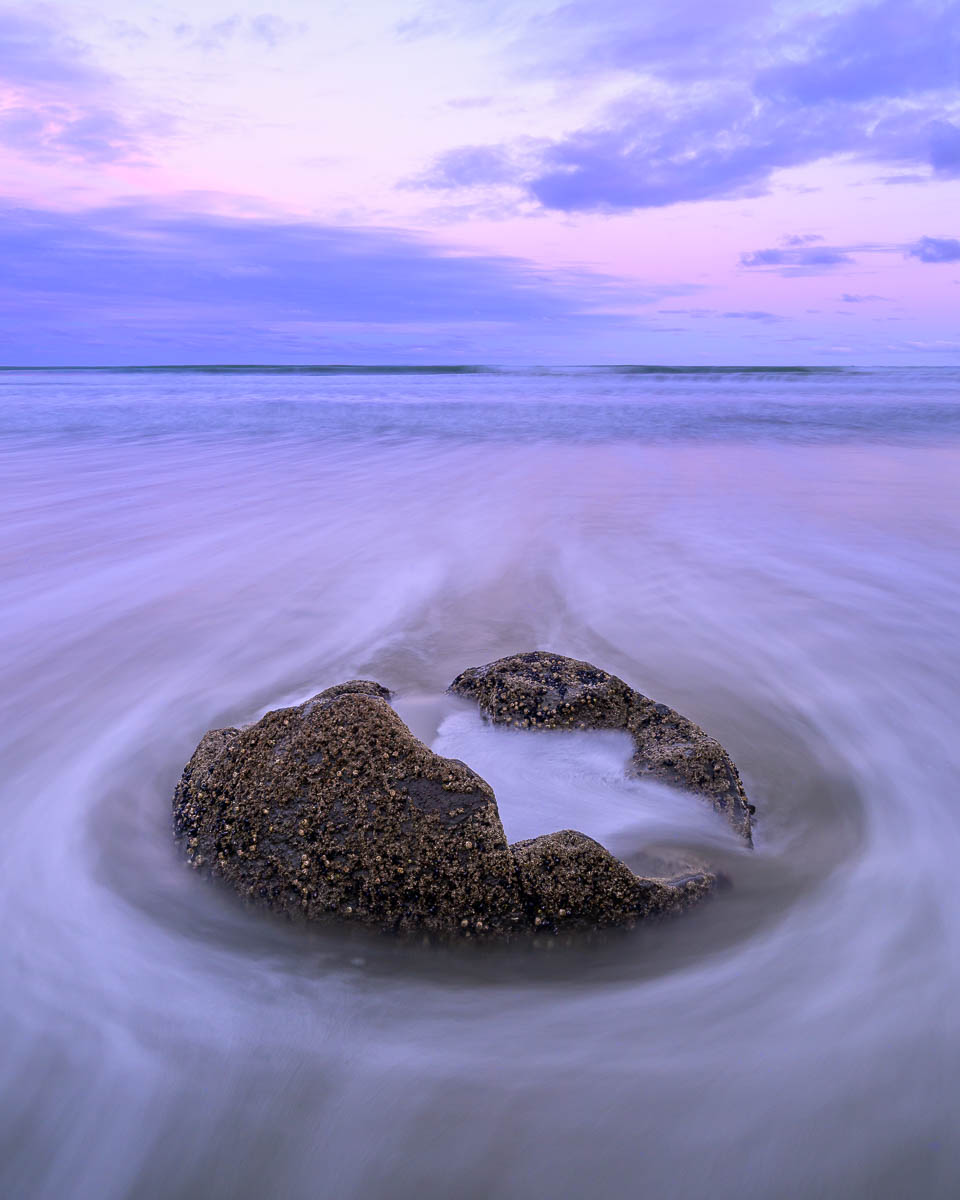
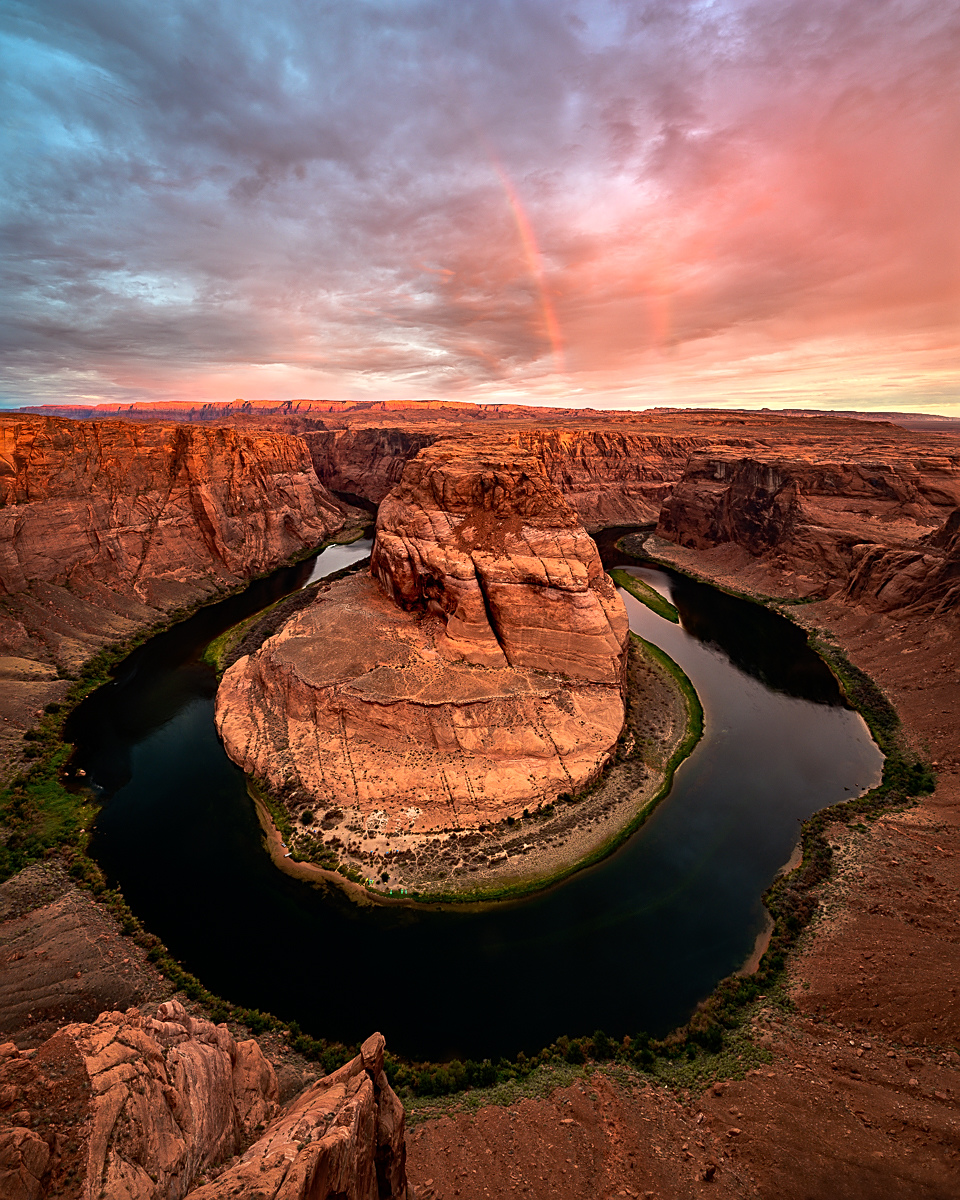
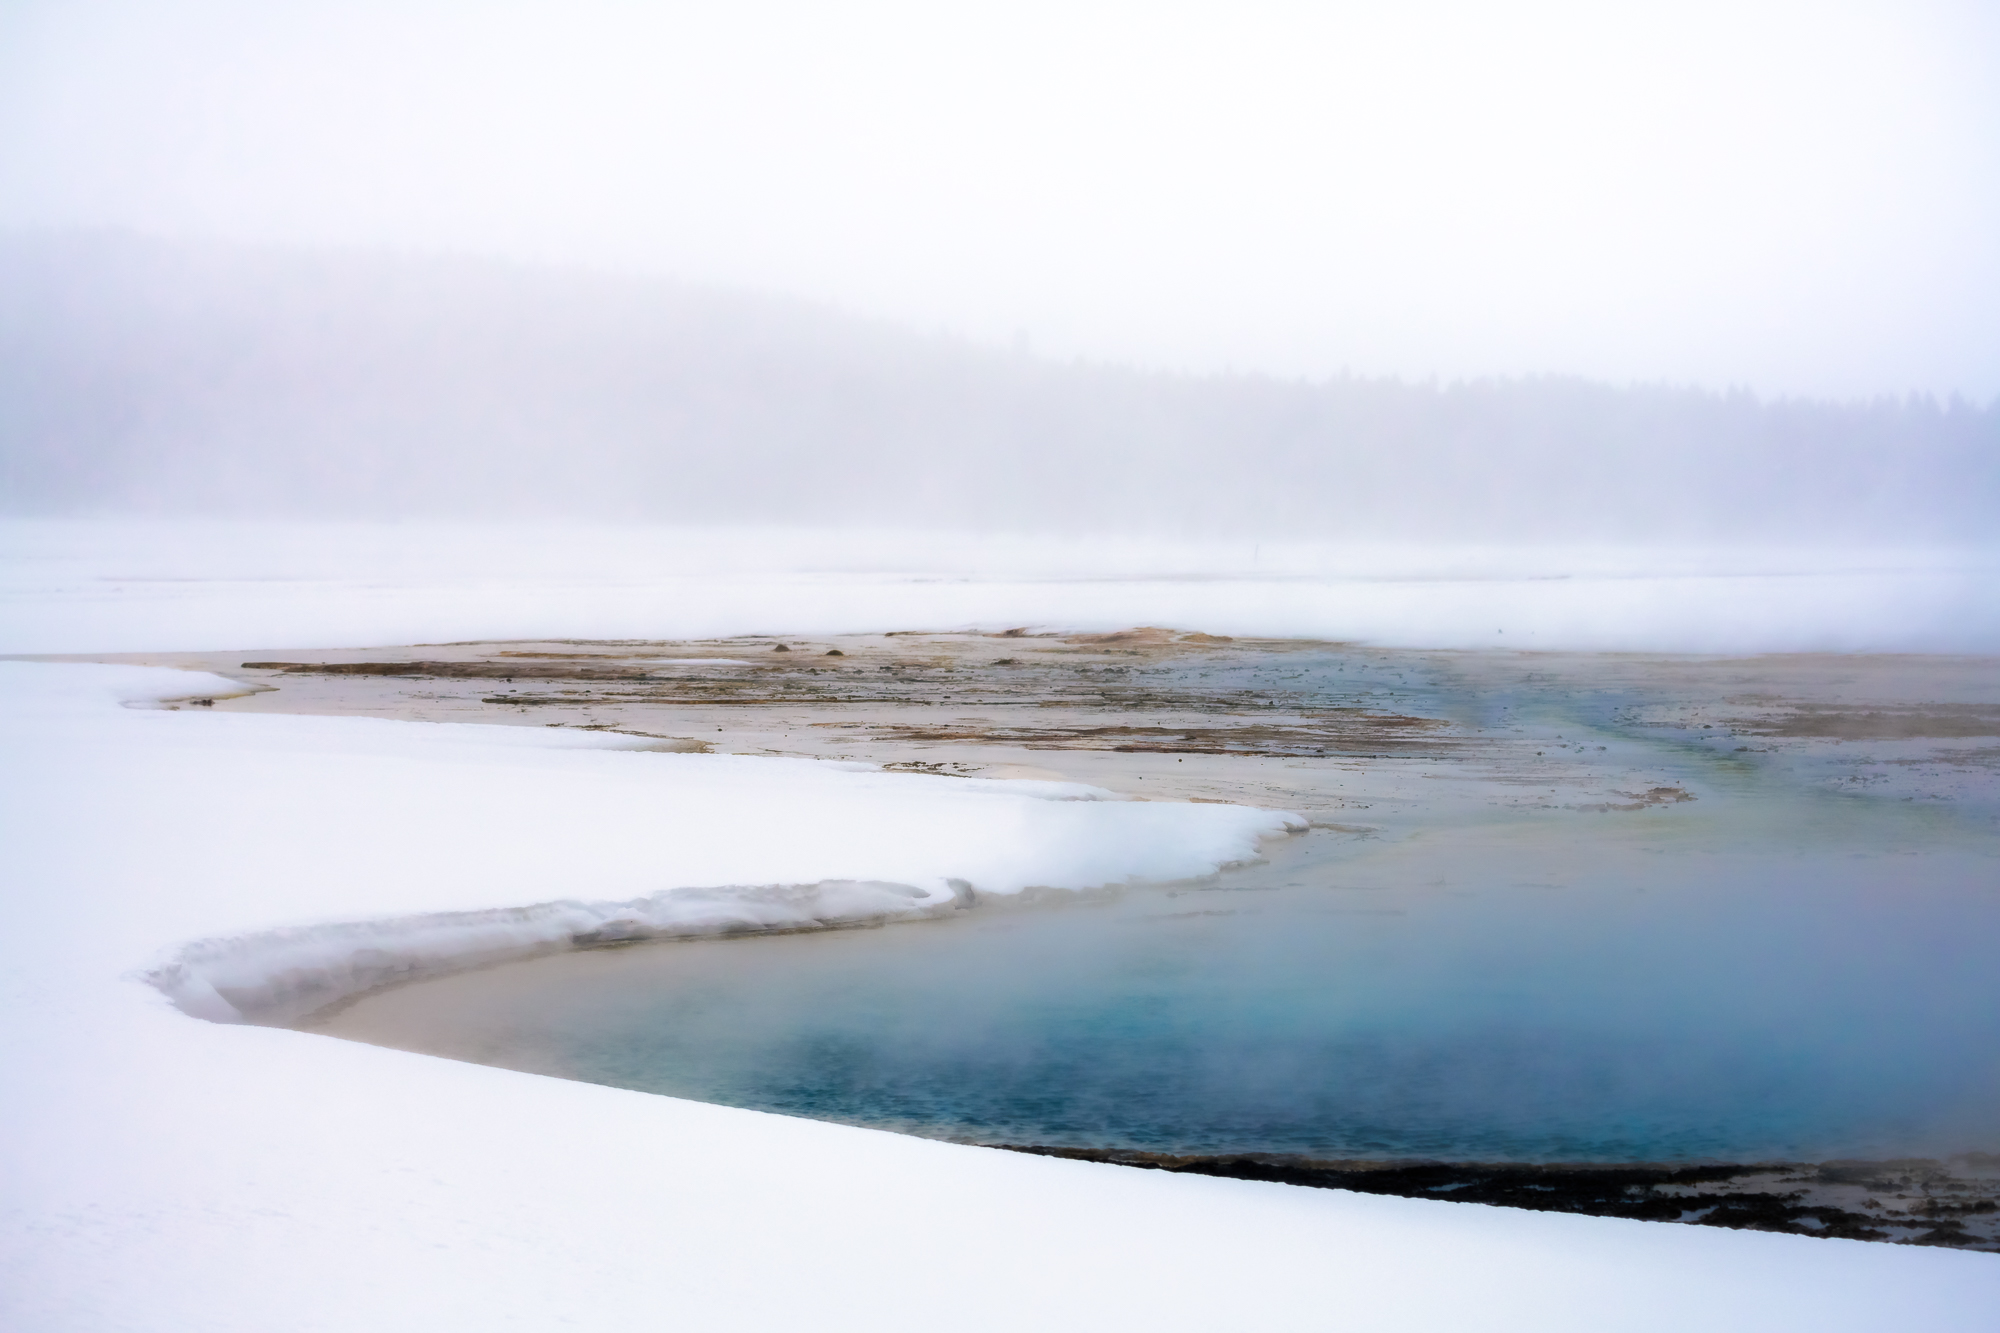
To me, this image brings me a sense of calm instead of dangerous surf that is there. The cool colors also add a foreboding feeling to the scene.
Great trick of doing the multiple shots with a faster shutter speed to smooth out the tide. Can you tell me what you mean by "I doubled the size of the canvas for the stack"? |
Oct 8th |
| 93 |
Oct 22 |
Comment |
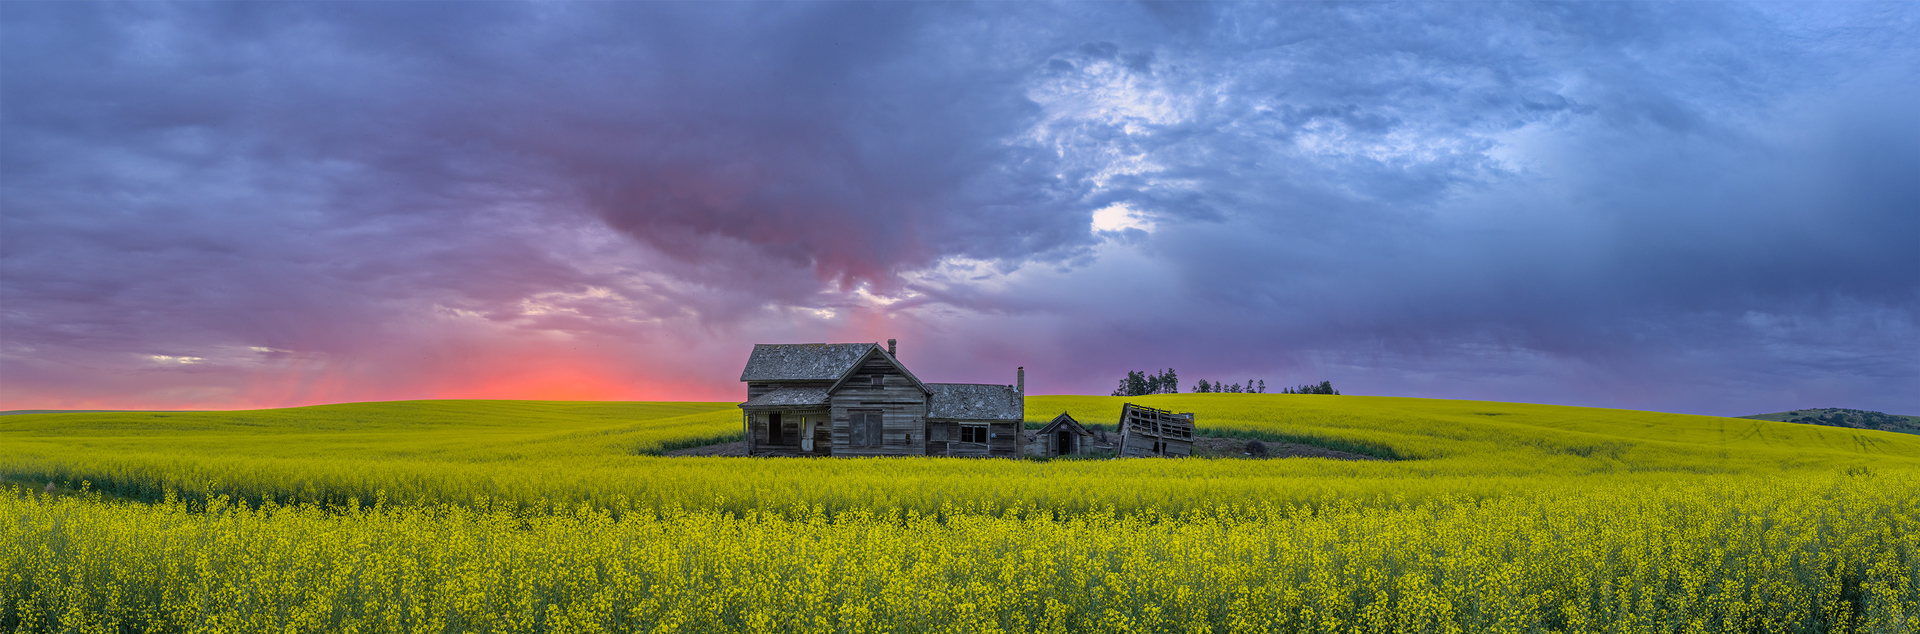
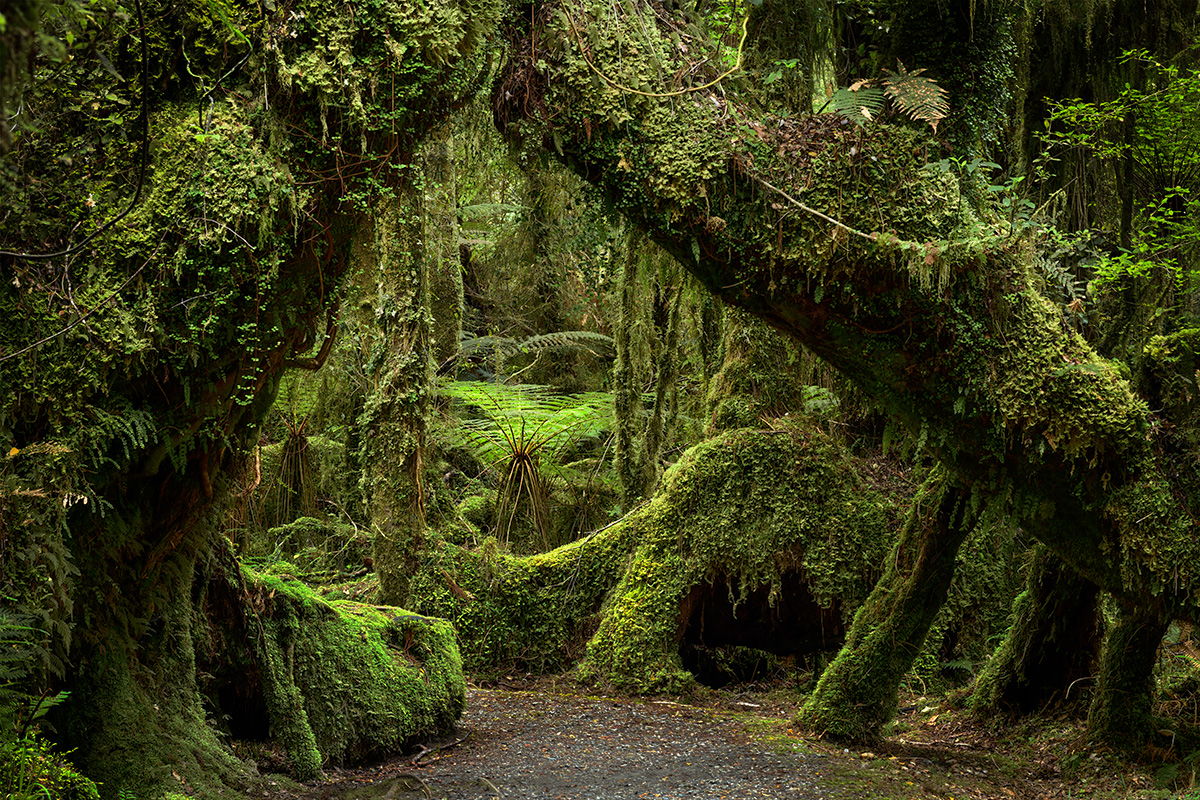
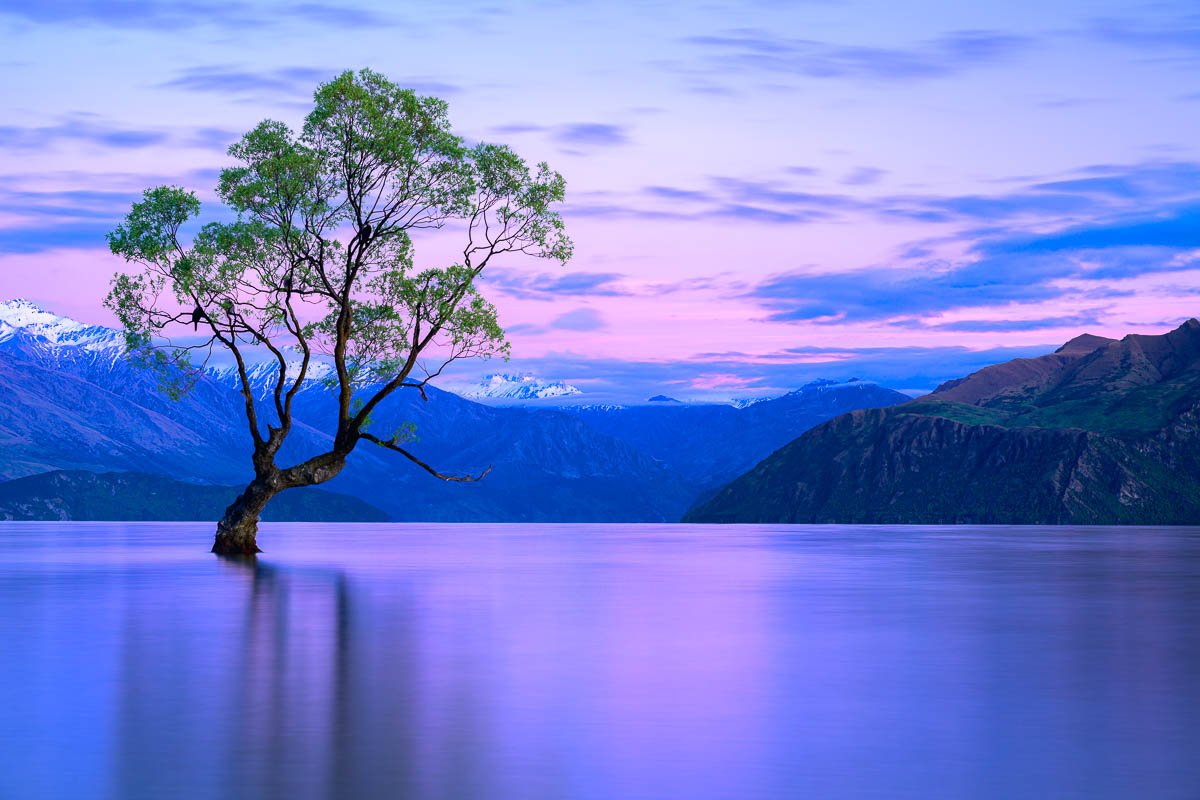
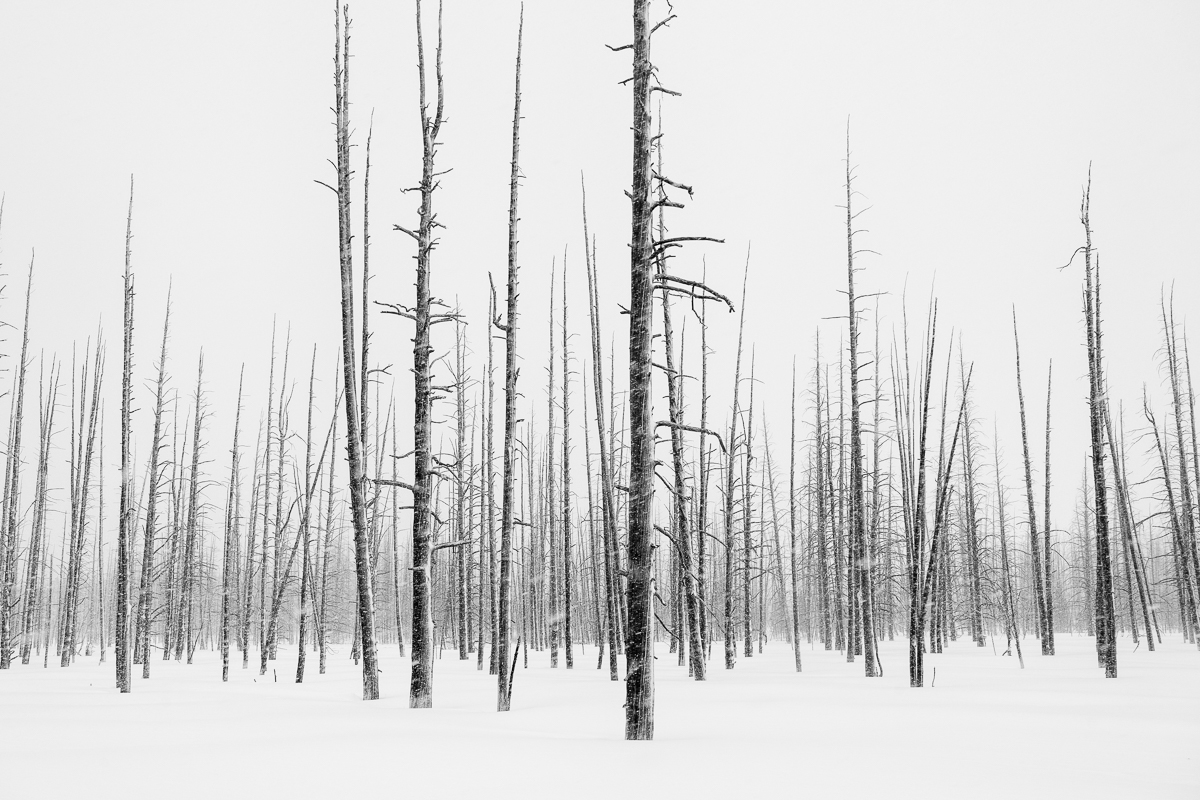
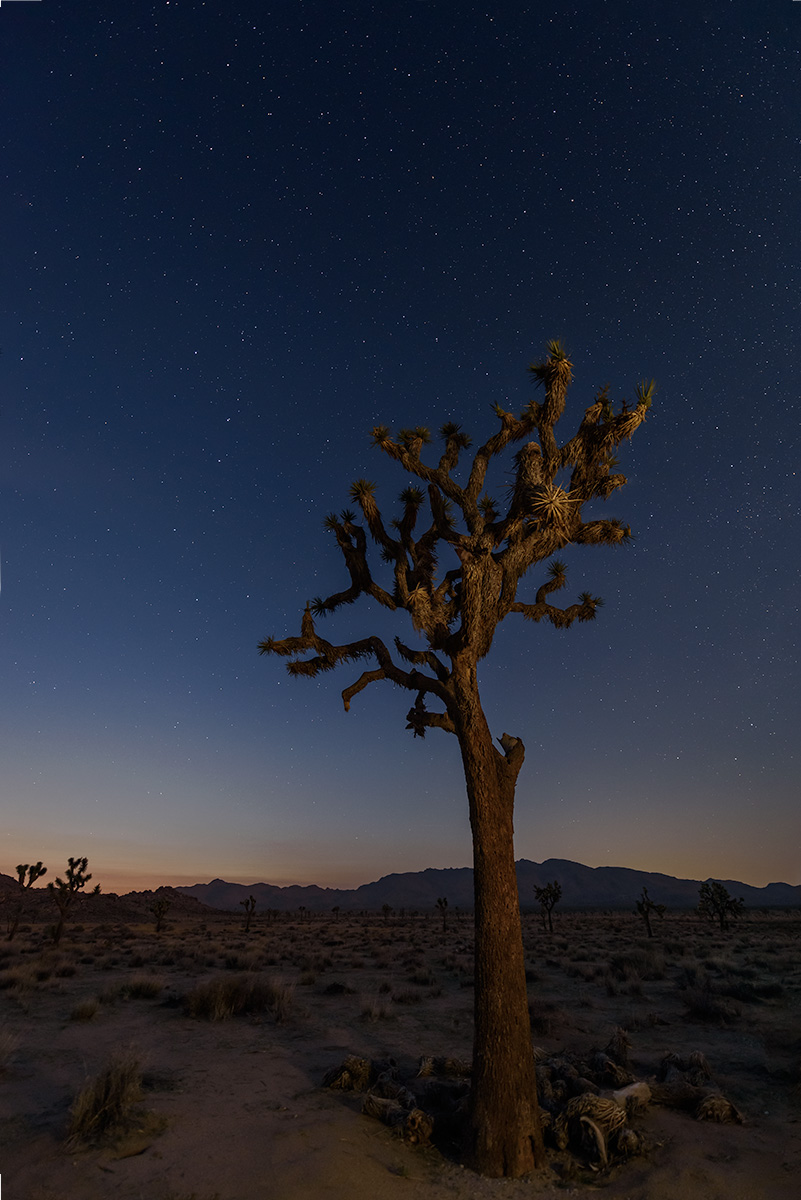
I agree with Paul, there's lots of potential with this image and feel it needs a small boost with the color. I like how you've cropped, but can also see how it can be cropped to include the full tree on the right, crop to the top of the tree in the sky and remove some of the foreground. I downloaded your original and made some quick changes to the tonal controls, boosted the vibrance a tiny bit, and then went to calibration and adjusted the red and blue saturation.
Looking at your image again after making the above edits, I get a feeling it was a misty morning, again, lots of different ways this can be edited! |
Oct 8th |
 |
| 93 |
Oct 22 |
Comment |
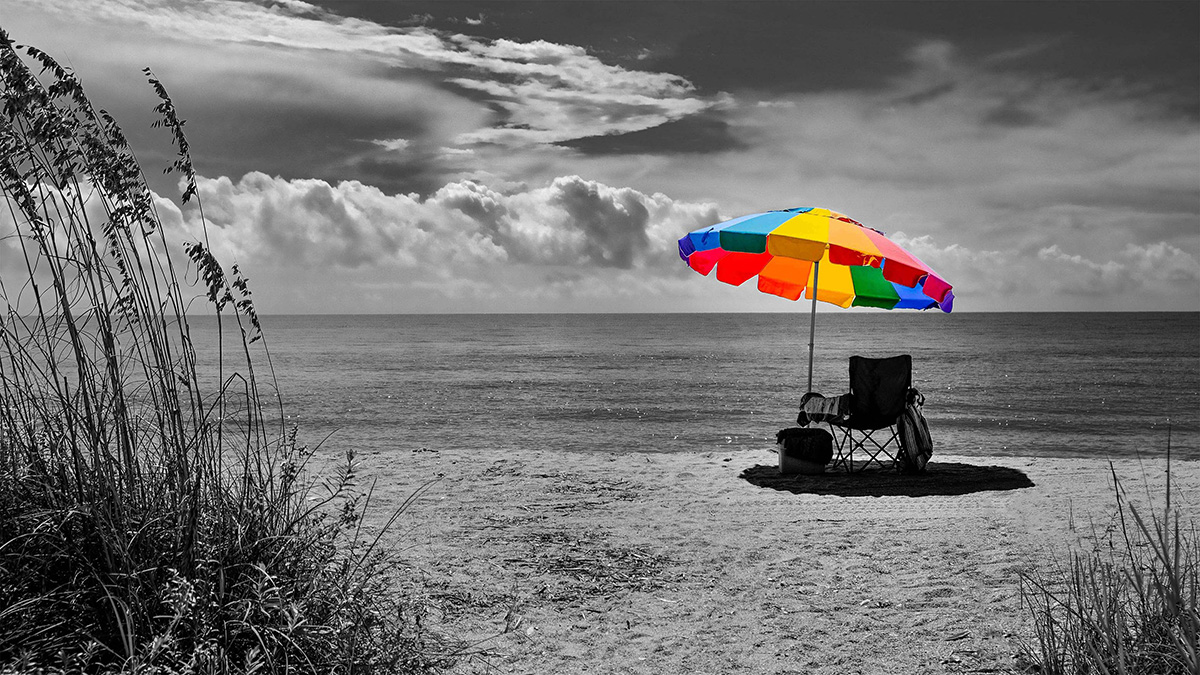
I like what t you did with keeping the umbrella in color and making the rest of the image B&W - very cool!
In the processing side of things, I'd like to se a bit more separation of the water and sand that is visible in the color version, especially on the left side as it's a close tonal range with the sand and water.
I do like the bushes on each side and how it frames the umbrella and ocean. The one thing that my eye kept going back to was the post though. Given that, I wanted to see what it would be like without it and did a quick removal of it (rudimentary removal at that). To my eye, removing it makes it a stronger image. |
Oct 8th |
 |
| 93 |
Oct 22 |
Reply |
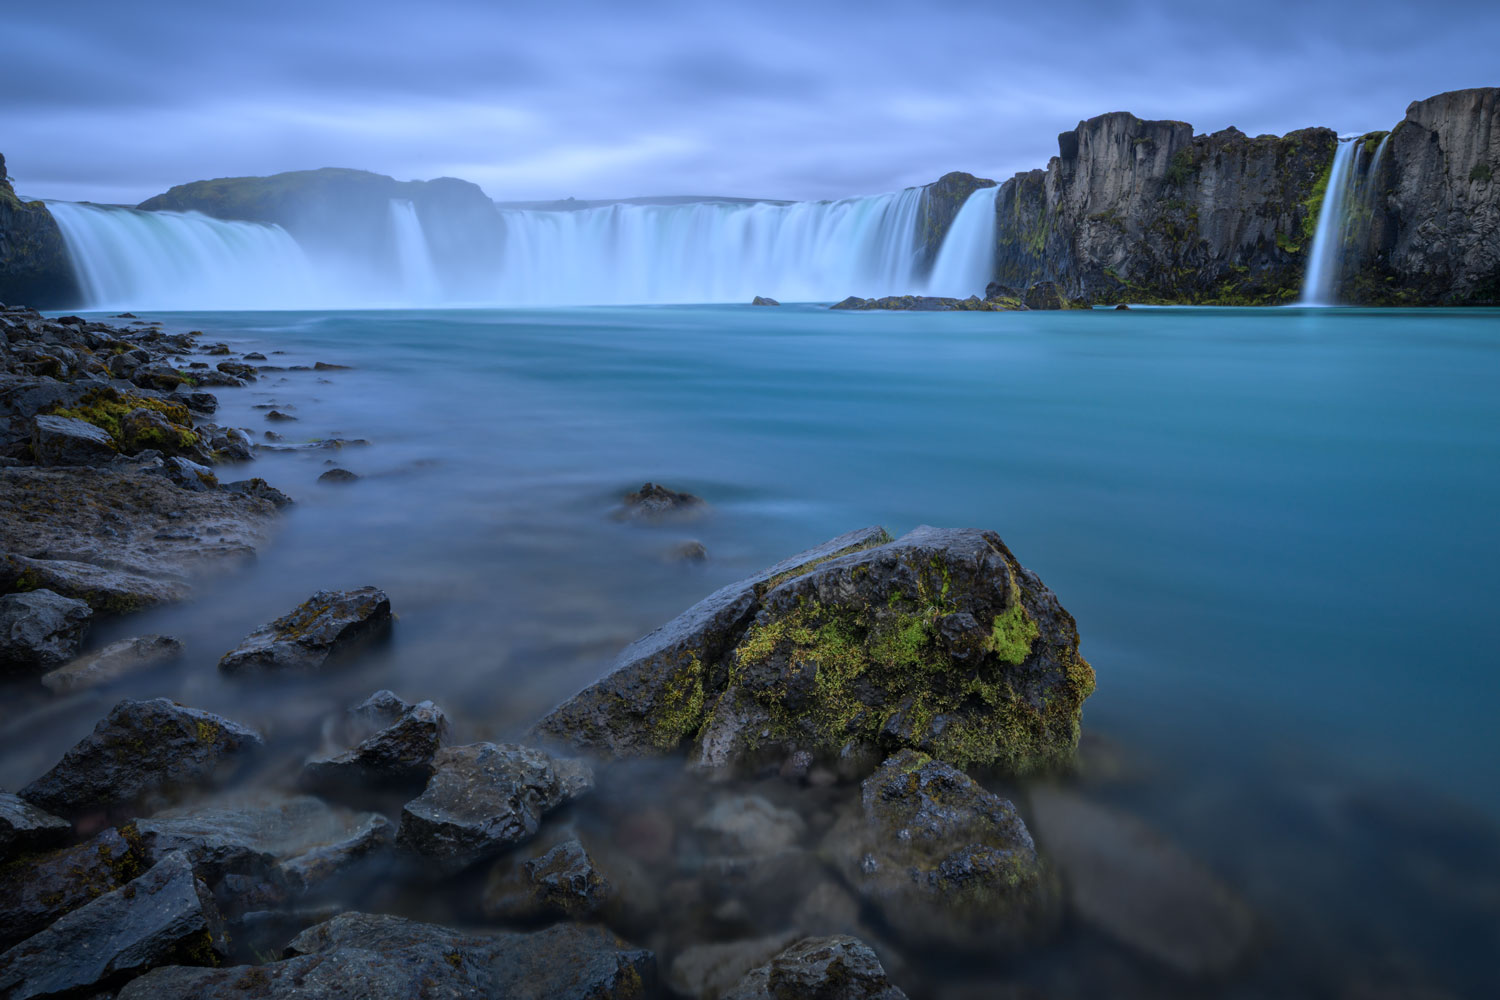
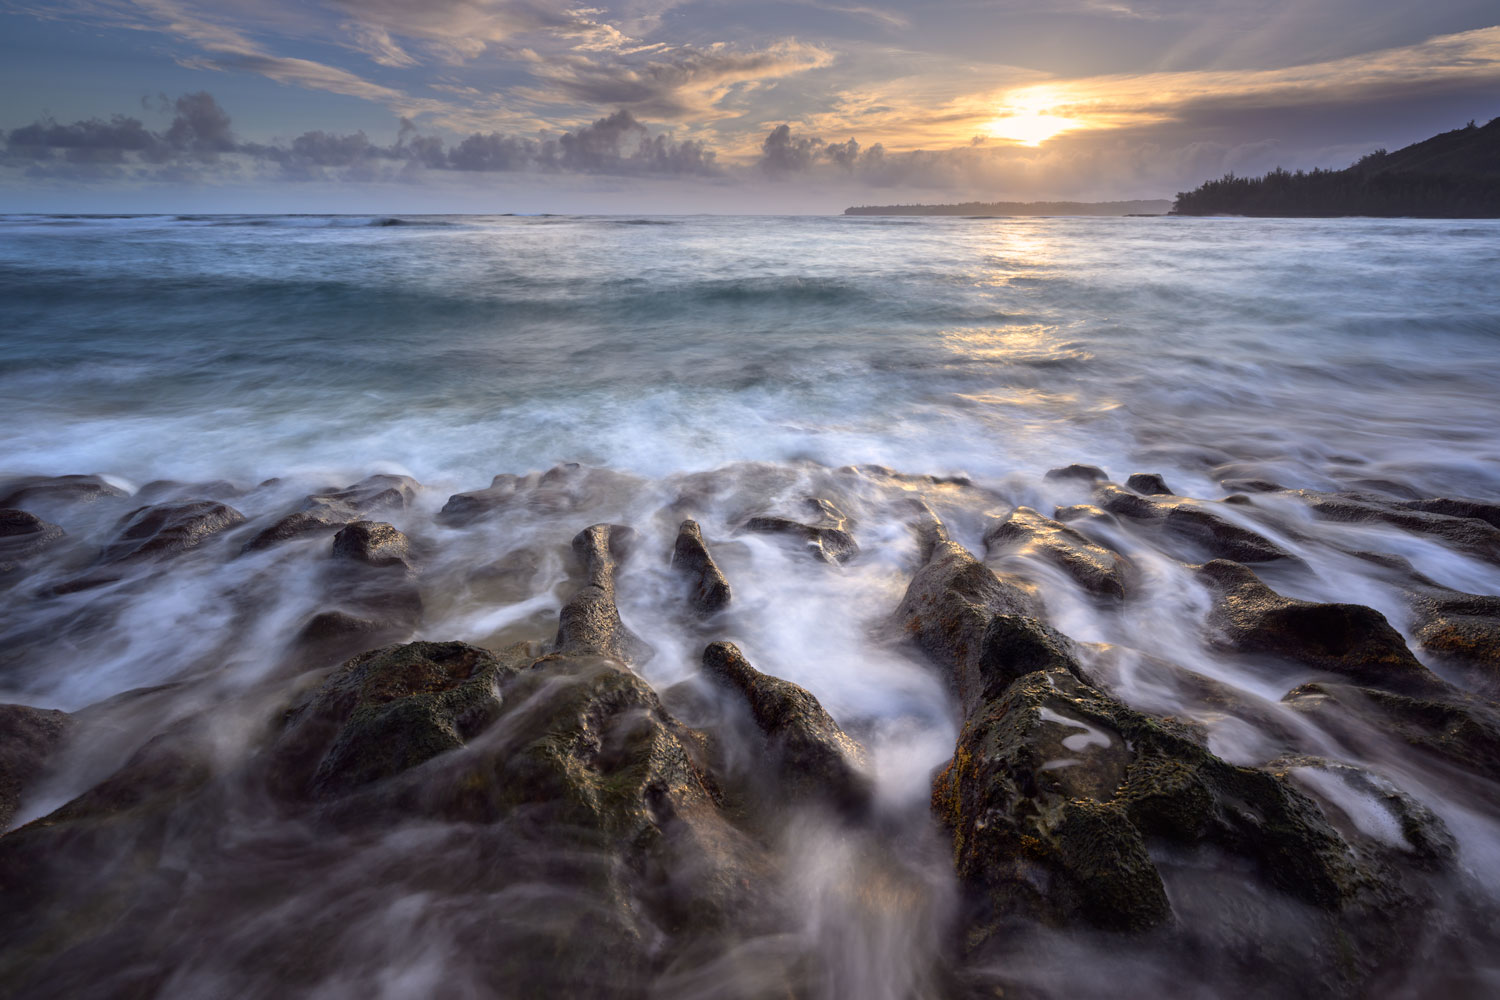
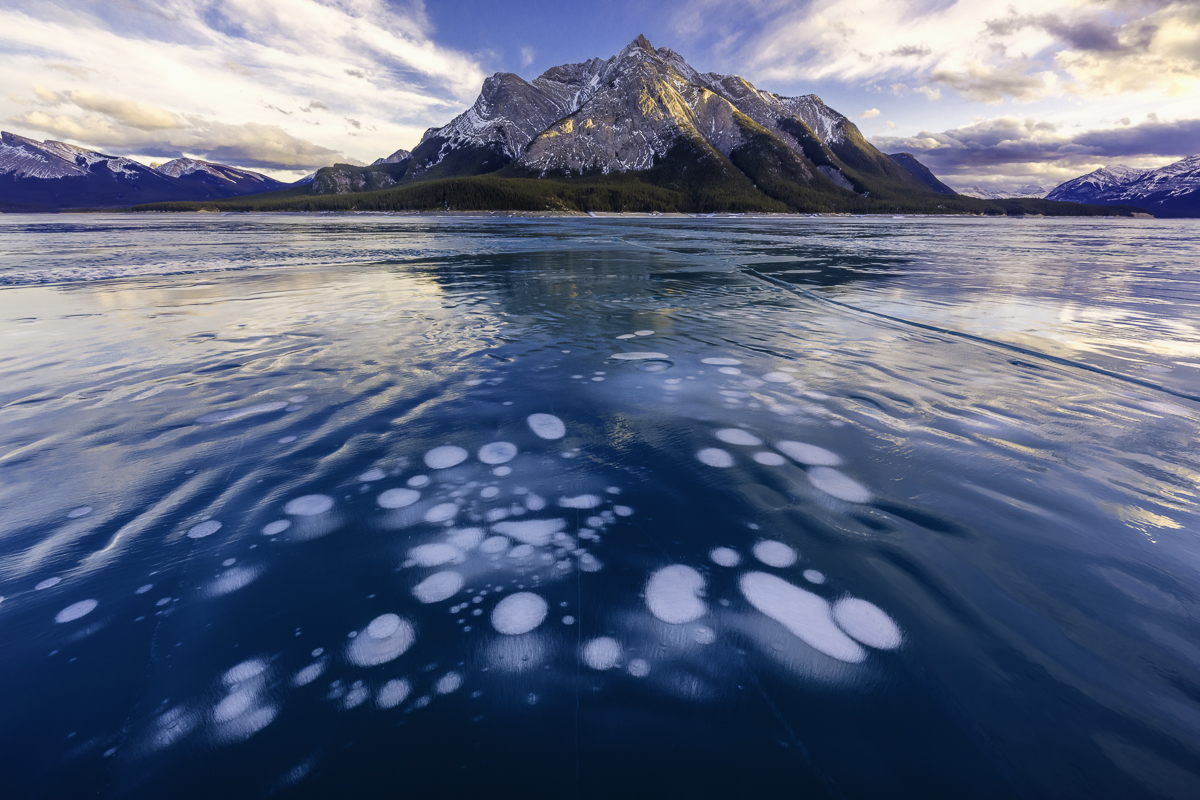
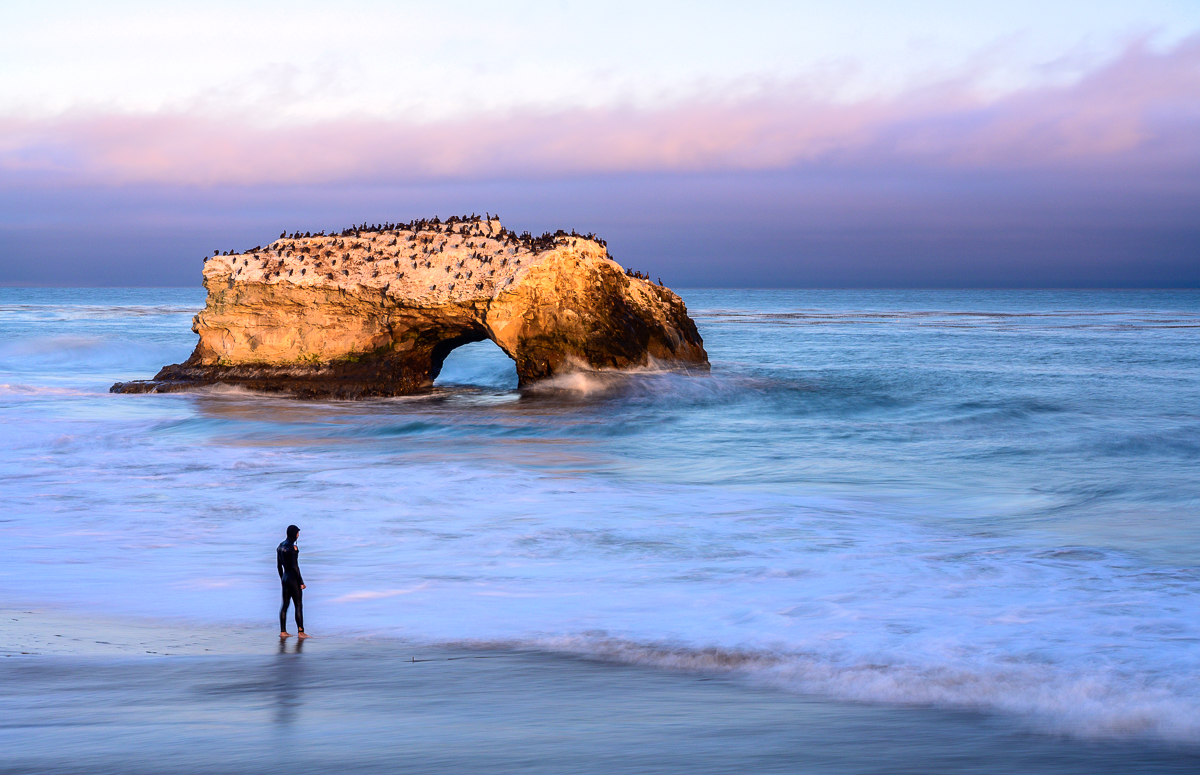
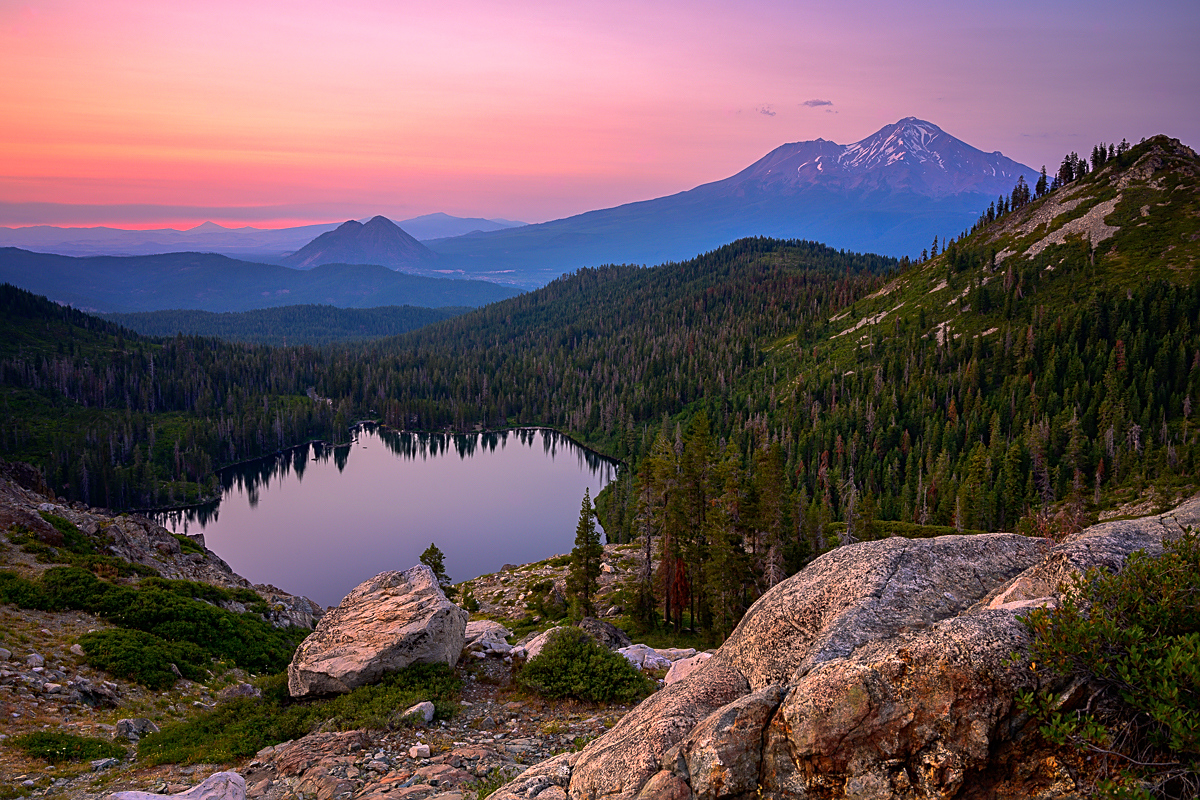
Thank you Paul! This and last months images were from the same trip in August and I was able to capture quite a few images that I loved.
No, I didn't use any Sharpen or Denoise filters. I did use Color Efex Pro though.
Here's the process that I used. First I merged three images into a HDR in LightRoom. Once the merge completed, I increased the exposure and contrast a small bit. I Adjusted both highlight (decreased) and shadows (increased) and adjusted blacks down.
I then opened the image up as a smart object in PhotoShop, then duplicated it and opened the duplicated layer in Camera Raw and increased the exposure.
Once I increased the exposure, I put a black mask on it and then used a white brush to bring out parts of the image that I wanted to lighten a bit more.
I also did a quick dodge and burn on the top left for the sun, and the lower part of the image to darken some parts that I wanted to darken a bit and further lighten a few sections of it.
For some final adjustments, I brought it over to Color Efex Pro, added a skylight, brilliance / warmth, polarization, and detail extractor adjustment globally.
I then finished with a vignette to bring the focus to the center a bit more, duplicated that layer and inverted it and lightened the center a tiny bit to bring even more focus on the center. |
Oct 2nd |
6 comments - 6 replies for Group 93
|
6 comments - 6 replies Total
|