|
| Group |
Round |
C/R |
Comment |
Date |
Image |
| 12 |
Jun 23 |
Reply |
You're right...the blurry background doesn't look real, probably because we know the leaves are sitting so close on top of it. |
Jun 28th |
| 12 |
Jun 23 |
Reply |
I like this version the best so far, because the biggest water drop attracts my eye immediately, and I get the feeling of an image trying to show off water drops on a leaf. Now, I'm looking at water drops instead of a big (but pretty) leaf. |
Jun 28th |
| 12 |
Jun 23 |
Reply |
That is definitely a "what is that" image! I could see the distortion. And I immediately thought of all the photos I have transformed using Photoshop's various transform tools (under the Edit window on a PC). I myself might have stretched the leaves out rather than squishing them. Or even use the Liquify filter, either a little bit or a lot. |
Jun 22nd |
| 12 |
Jun 23 |
Comment |
Here I have cropped off the bright area on the left side. I did that because a very bright area near the edge of an image attracts the eye as it competes with the main point of the picture. I also added a black vignette all around to help accomplish the same purpose. What do you think? |
Jun 22nd |
 |
| 12 |
Jun 23 |
Reply |
I hadn't ever thought of getting a starburst with a macro lens. You've given me a new challenge! |
Jun 22nd |
| 12 |
Jun 23 |
Comment |
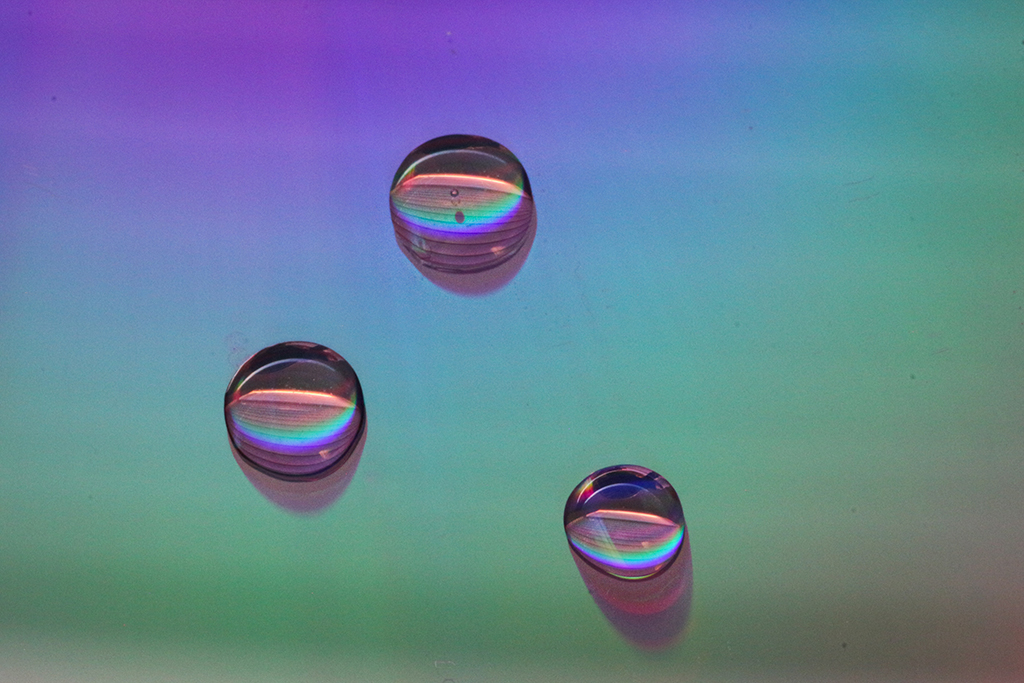
You don't need water to take interesting images off the back of a CD/DVD. Just put the disc upside down anywhere and look at it through your camera (even phone camera). You'll see these same colors. When you move yourself around or move the disc, you'll see how the color patterns change. Remember, it's partly a mirror-like surface. What it is reflecting affects what you see. Much fun and lots of variations on the theme of colors, not just "drops" of anything. Try milk? OJ? Pencil? |
Jun 22nd |
| 12 |
Jun 23 |
Reply |
The background no longer looks like a solid background base that the drops are sitting on. They look as if they're floating in nowhere space and doesn't make sense to me. Of course, I know the reality and so I can't view the image without bias. |
Jun 22nd |
| 12 |
Jun 23 |
Reply |
Yes, I really like your crop the best! |
Jun 13th |
| 12 |
Jun 23 |
Reply |
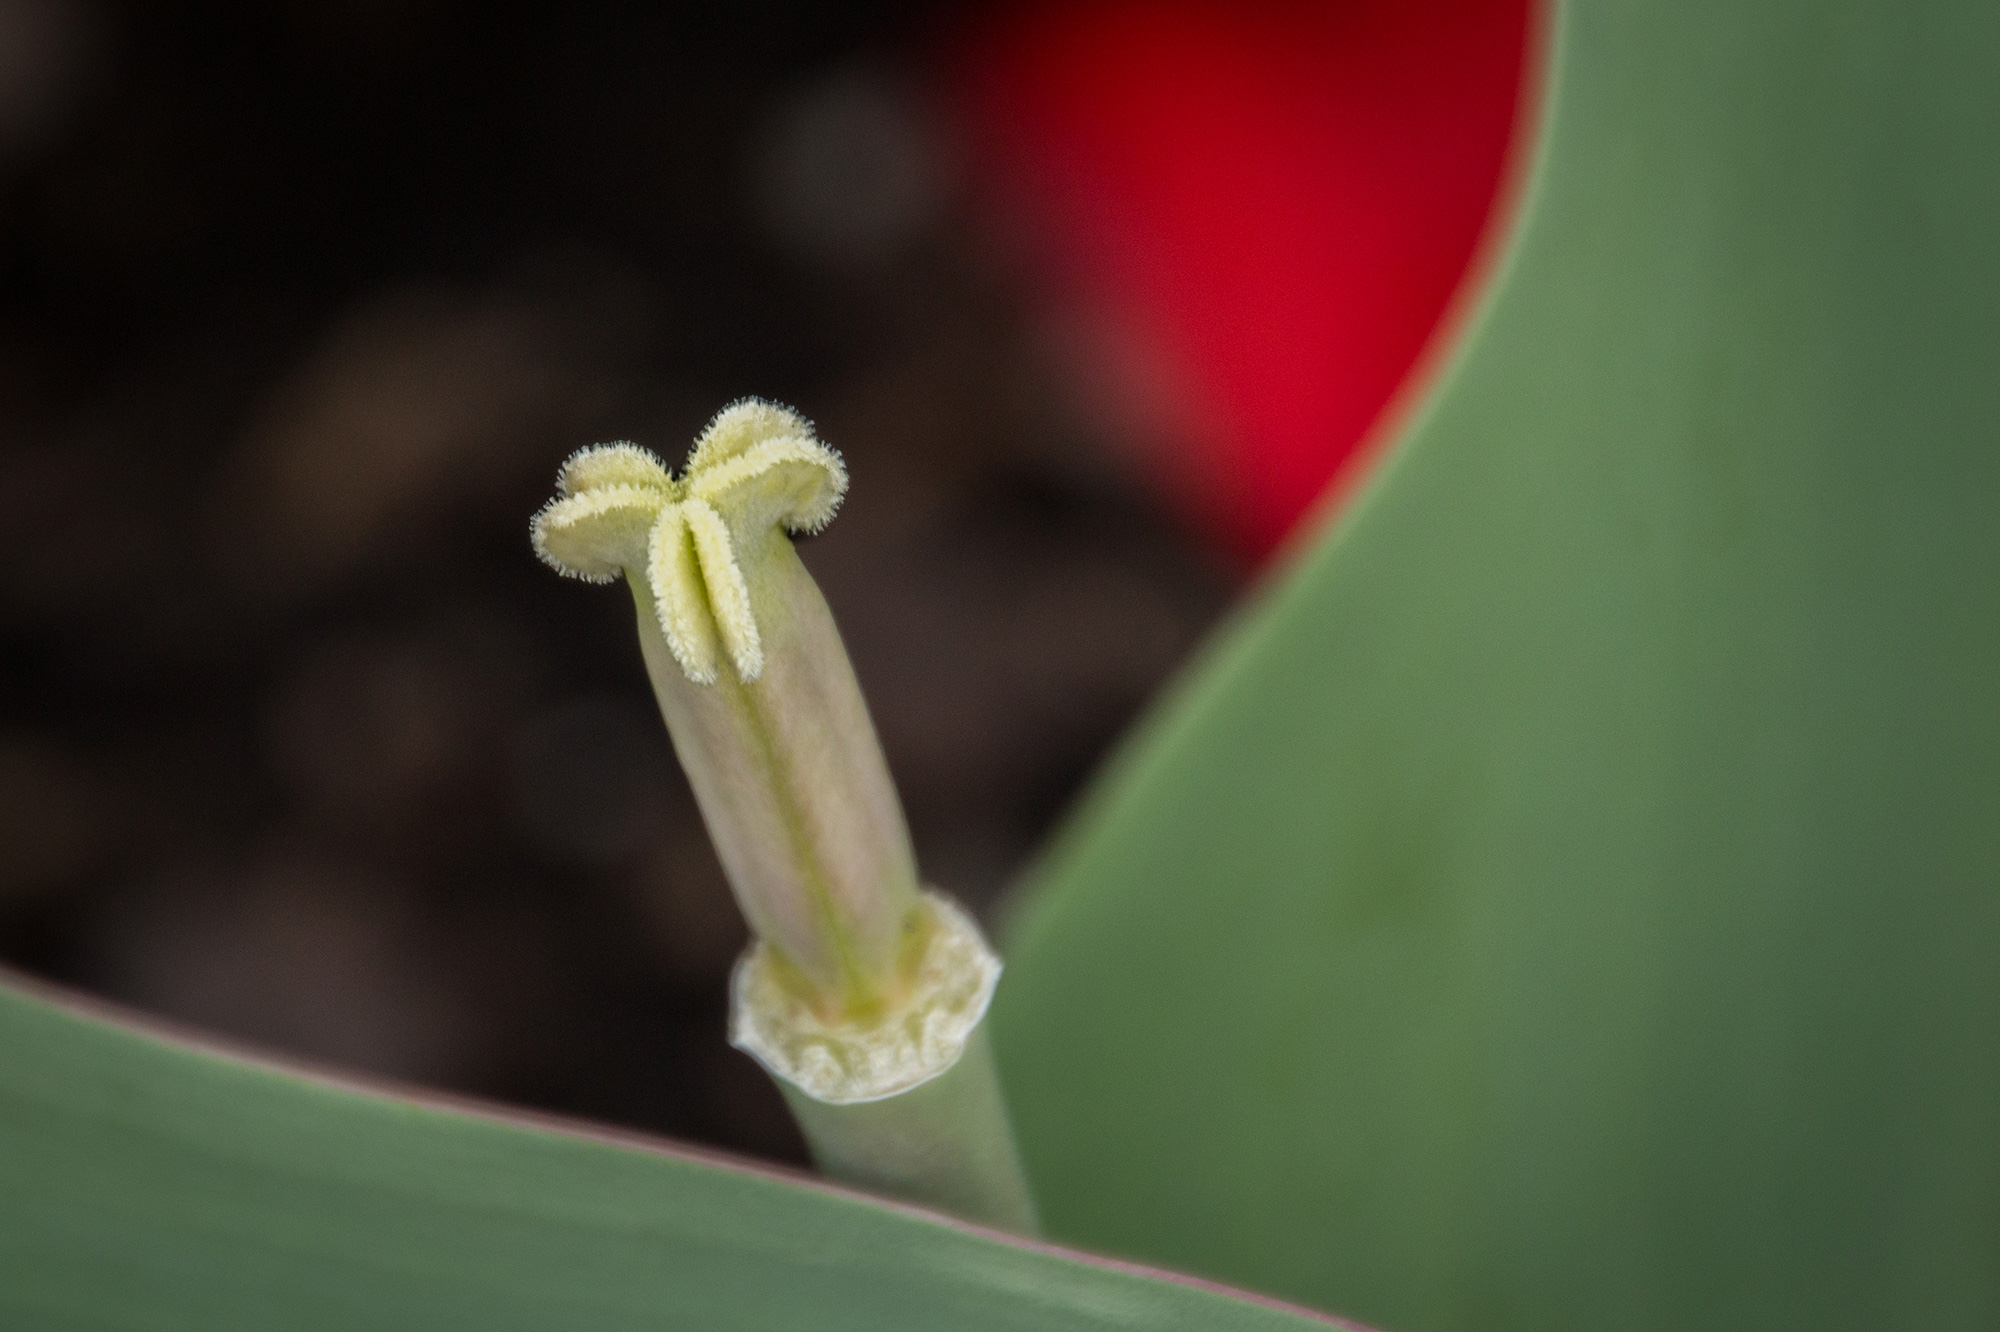
You might like it even better without that bright line at the left edge. It draws my eye every time I look at the photo. And the best part of the photo is the flower's center. It is fantastic. It actually bothers me when my eye takes time out and leaves there involuntarily to go glance at that inconsequential horizontal lavender line. |
Jun 13th |
 |
| 12 |
Jun 23 |
Reply |
Thank you. I also made drops with glycerin, which I bought for this purpose. That is a popular liquid to use for this and other photo reflection purposes. |
Jun 13th |
| 12 |
Jun 23 |
Reply |
Some of my images looked like photos of opals. I love opals. This technique is easy to do, as compared to taking photos of falling or splashing water drops. No need for something special like a super fast flash. Two factors determine what you see. What is in the room that gets reflected. And the angle at which you are looking at the drops. |
Jun 13th |
| 12 |
Jun 23 |
Comment |
This is spectacular! Great impact on me with the image inside the water drop! The bright colors look so happy. And the multi-pointed starburst is always an element that I find exciting. The rest of the image is muted so well that it makes for a lovely supporting background without being distracting at all. It was worth going photographing in the morning to find such wonderful dew. Did you create the starburst with a filter or a tiny f stop? |
Jun 8th |
| 12 |
Jun 23 |
Reply |
You'll see all sorts of crazy things in the water drops because they reflect what's above them. And each drop is in a slightly different location. After taking a lot of shots, I didn't know whether to remove those spots or not. It's more obvious when I see just this one photo! |
Jun 7th |
| 12 |
Jun 23 |
Reply |
Yes, if the photographer doesn't clean off the disc's surface, you'll see all sorts of spots that aren't visible until you photograph it! This kind of photography would be hard for a clean freak! Or just do a lot of rubber stamping! |
Jun 7th |
| 12 |
Jun 23 |
Comment |
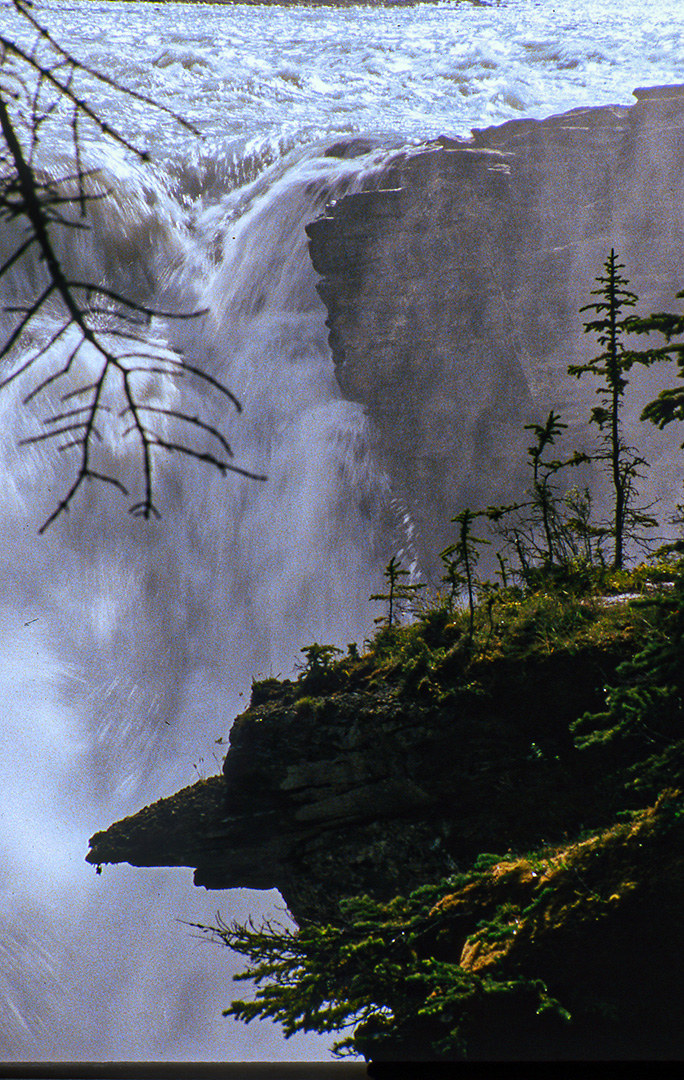
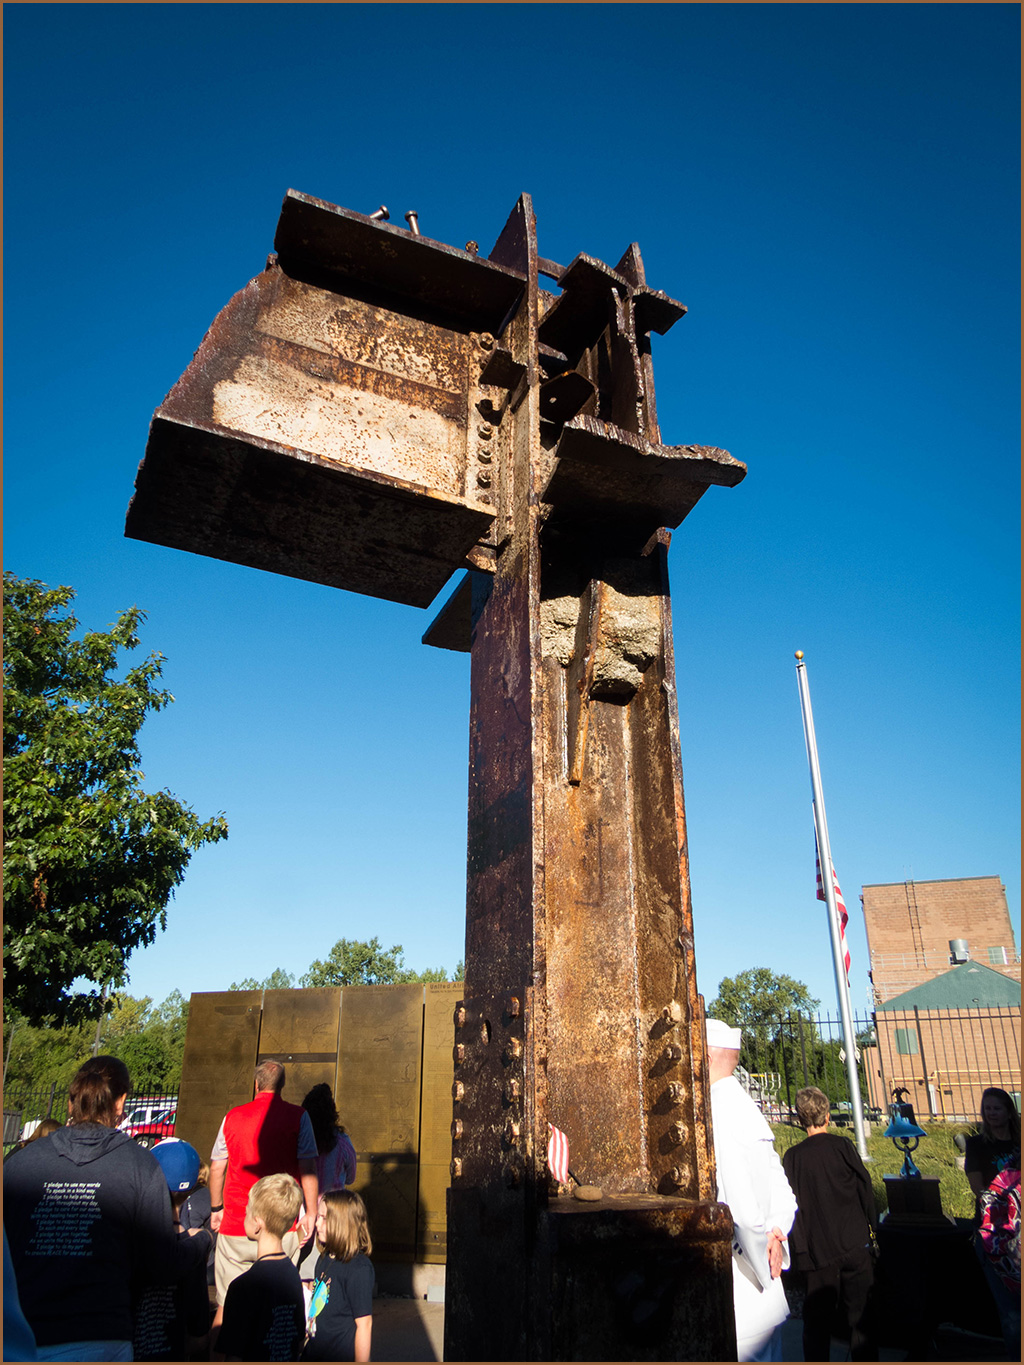
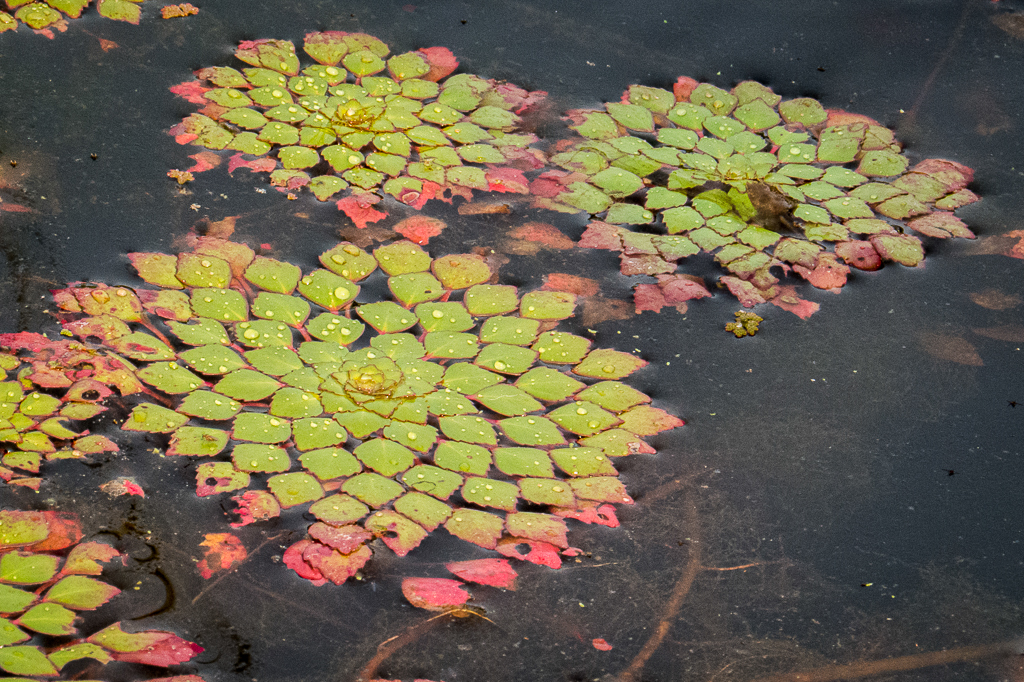
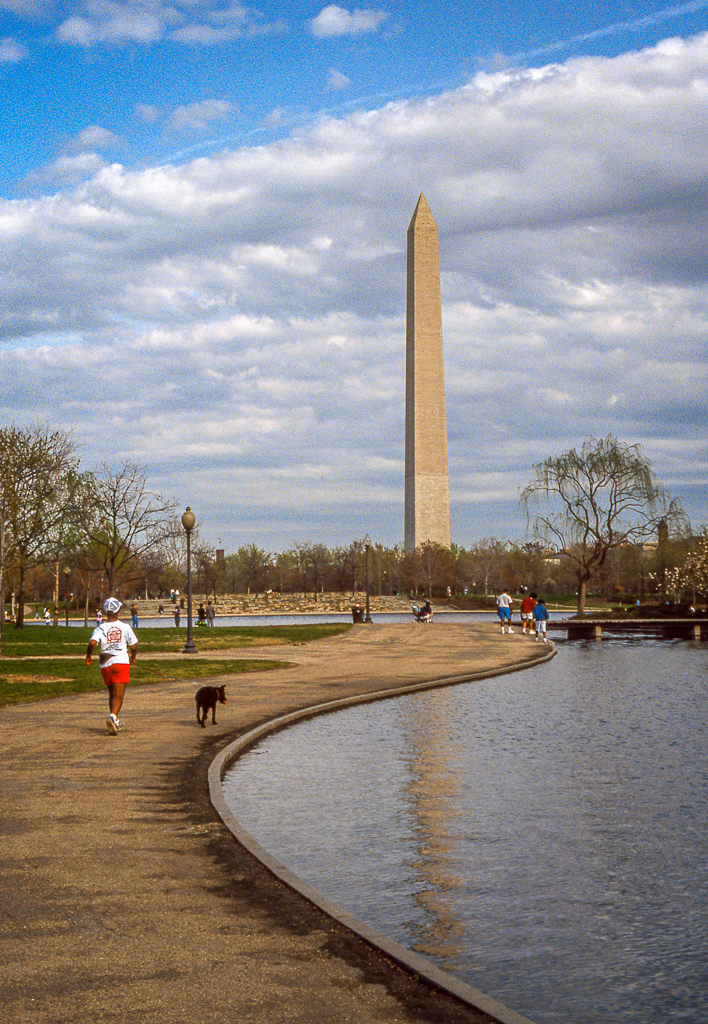
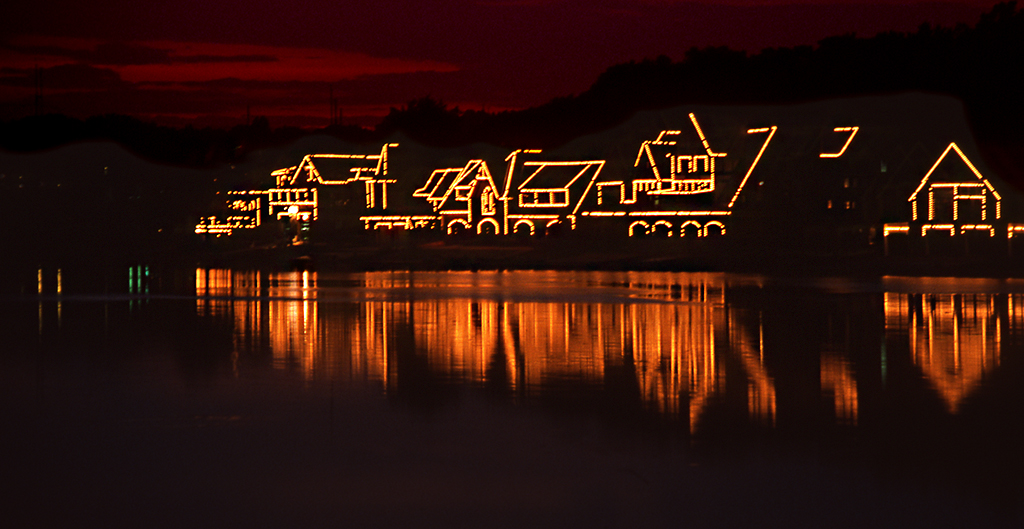
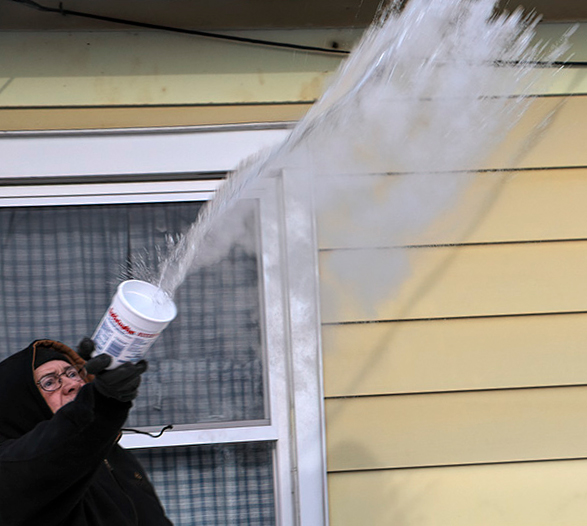
You started with the idea of drops of water and found a lot of frozen ones playing together! Your description is going to make me try to make ice crystals next winter! Thank you for finding an image that involved water. I'm suggesting a different crop so that your goal of emphasizing the water is more apparent. That yellow house area is almost half of the image, so I thought I'd see what a tighter crop would look like. As I was trying to emphasize the water, I found the lower part of the photo could also be chopped off. I like your post editing to iprove the sharpness and the lighting. |
Jun 6th |
 |
| 12 |
Jun 23 |
Comment |
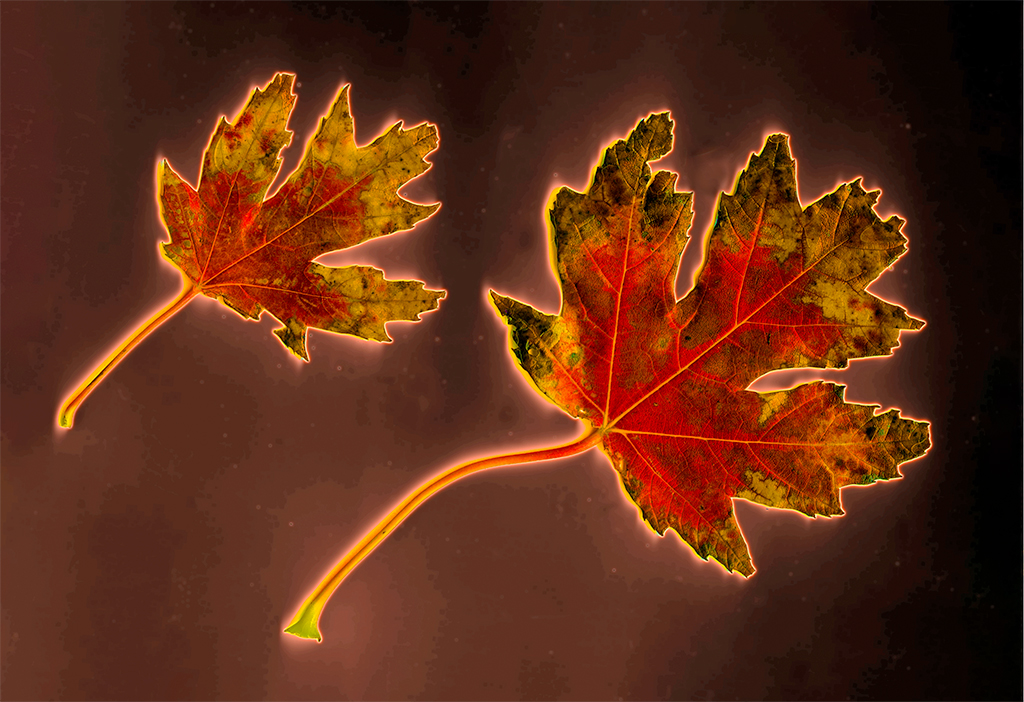
The reason you took the picture is clearly depicted. There is nice autumn impact from the colors of the leaves. The raindrops on the bright yellow leaf attract my eye the most. If all of the background were as blurry as the top quarter of the image, I think I'd find that more distracting than the overall sharpness. Instead of blurring the background, you could try another tactic and sharpen only the leaves instead of the entire image. And/or, you could slightly darken the background so the leaves pop out more but retain their environment.
Regarding composition ideas that could emphasize the water drops or even the coloring impact. The overall even lighting and the straight-on view give this image a fairly ordinary look and a snapshot appearance to me. It would be a good challenge to try to make this kind of documentary shot look more unique. This is the exact kind of photo I would take, and I'm trying to add more impact to my own static style. If it were me, I'd try various different camera angles. Looking at an angle rather than straight on, for example. And I'd make a variety of compositions in addition to this static one. Here I see equal amount of space from subject to the edge of the frame, which produces that static look. Often I take the image farther away and then do my composition-ing by experimenting with a wide range of cropping (including rotating the crop). |
Jun 3rd |
| 12 |
Jun 23 |
Comment |
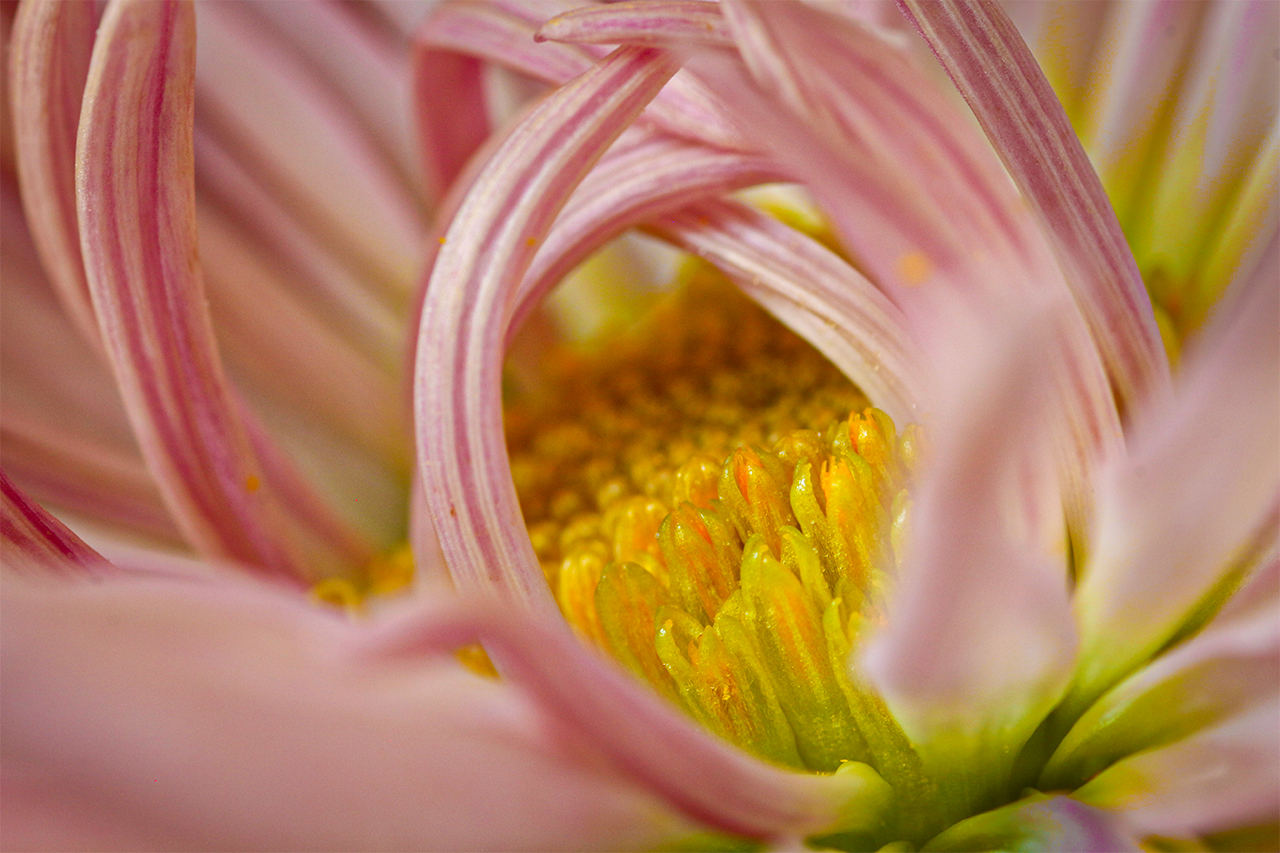
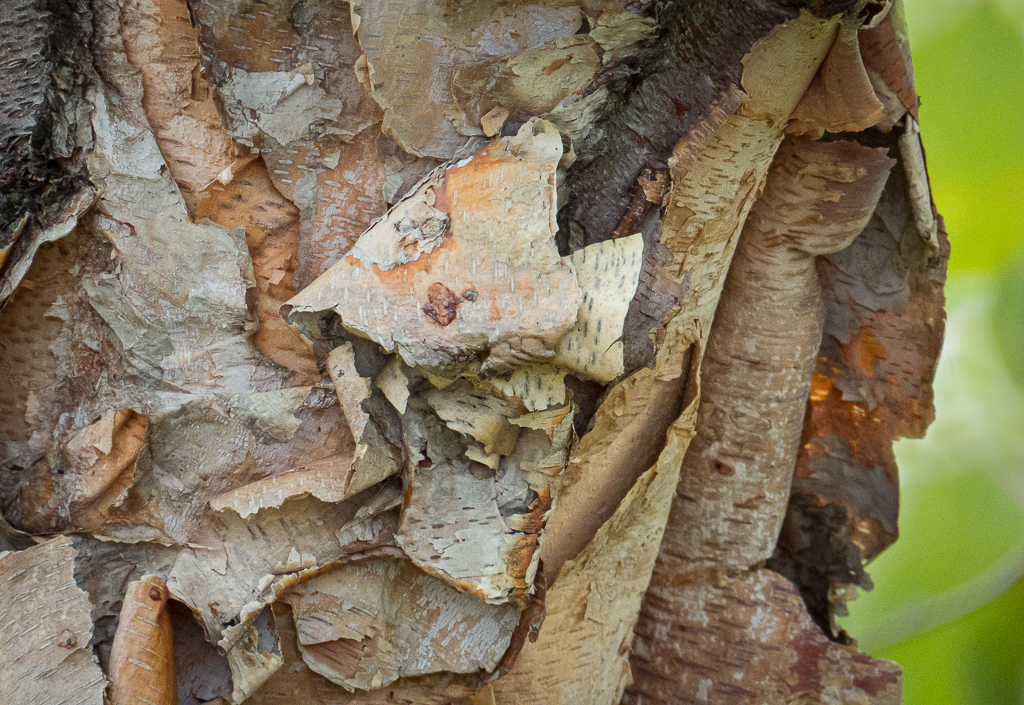
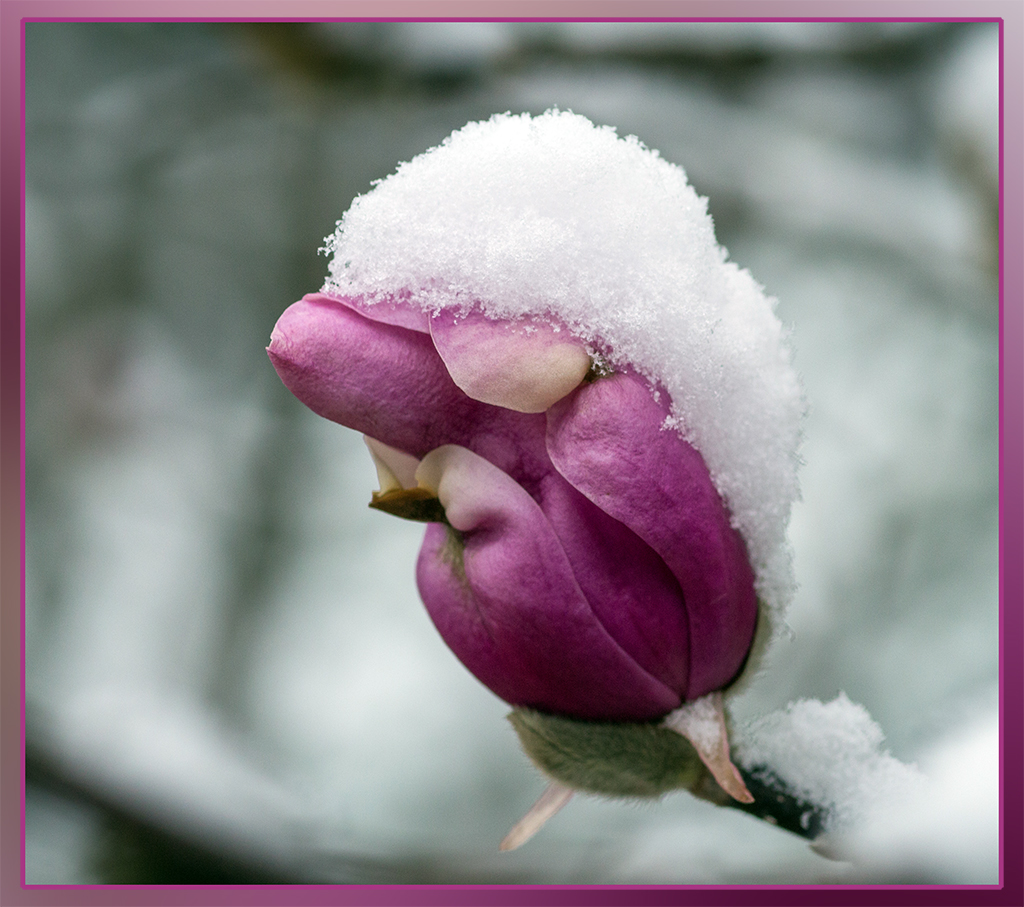
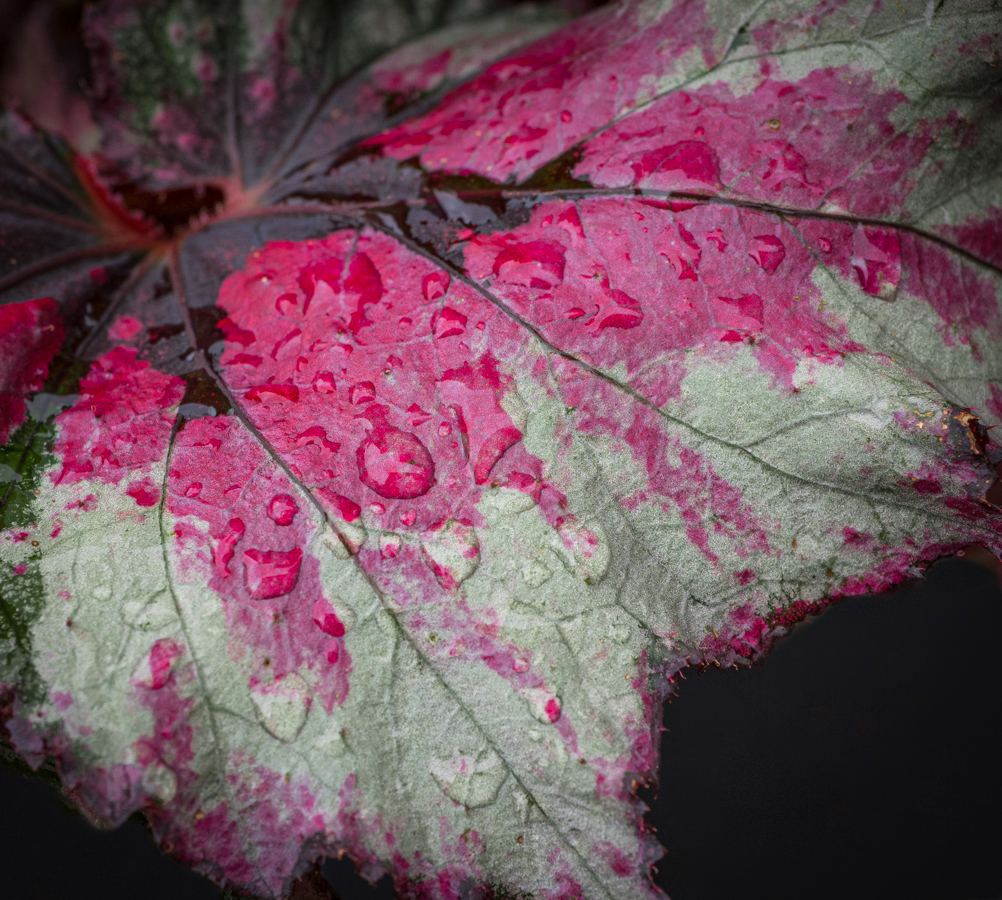
You chose a lovely-looking plant to photograph. Its coloring and designs make the image interesting and unique. I'm thinking if all the drops were equally sharp, you might be happier with the image. One way to get a larger depth of field is to shoot farther away and crop to this area. Extension tubes and such are better when you want just one little thing in focus. I like your edited photo where you removed the distractions of the extra white areas at the bottom and right edges. If it were my photo, I'd also remove the small white circular area at the upper left corner. |
Jun 2nd |
| 12 |
Jun 23 |
Comment |
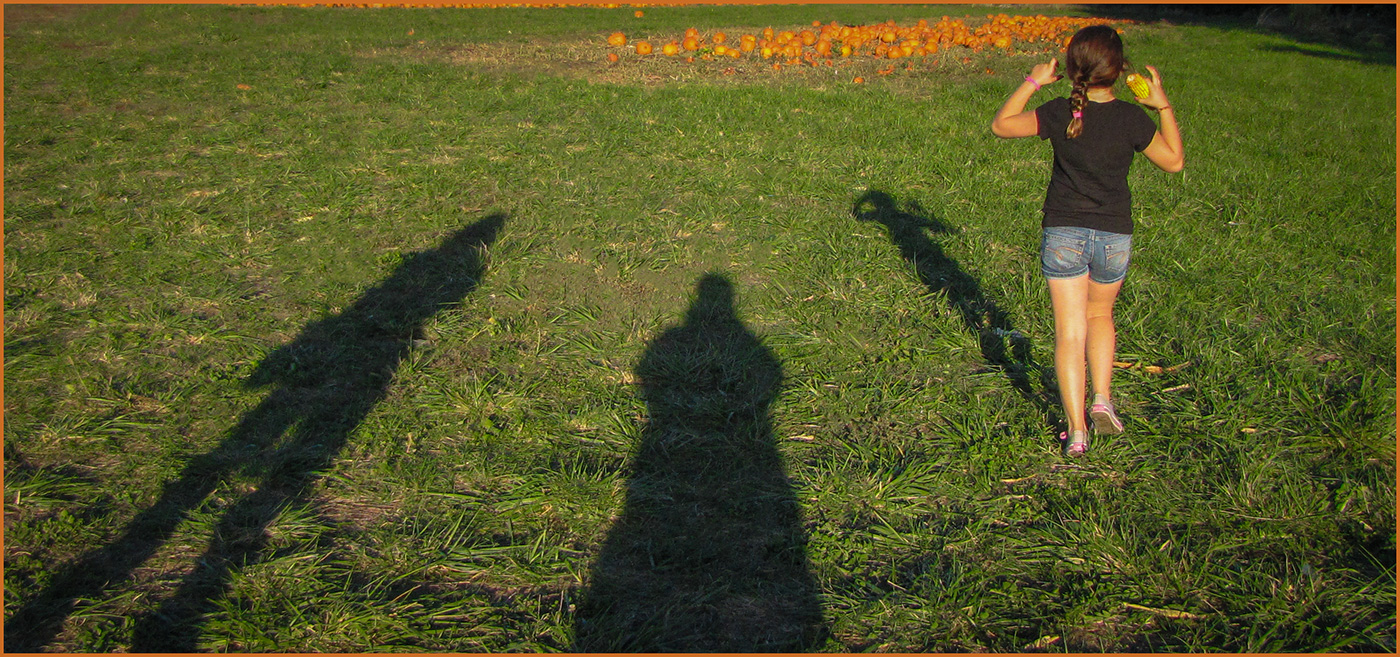
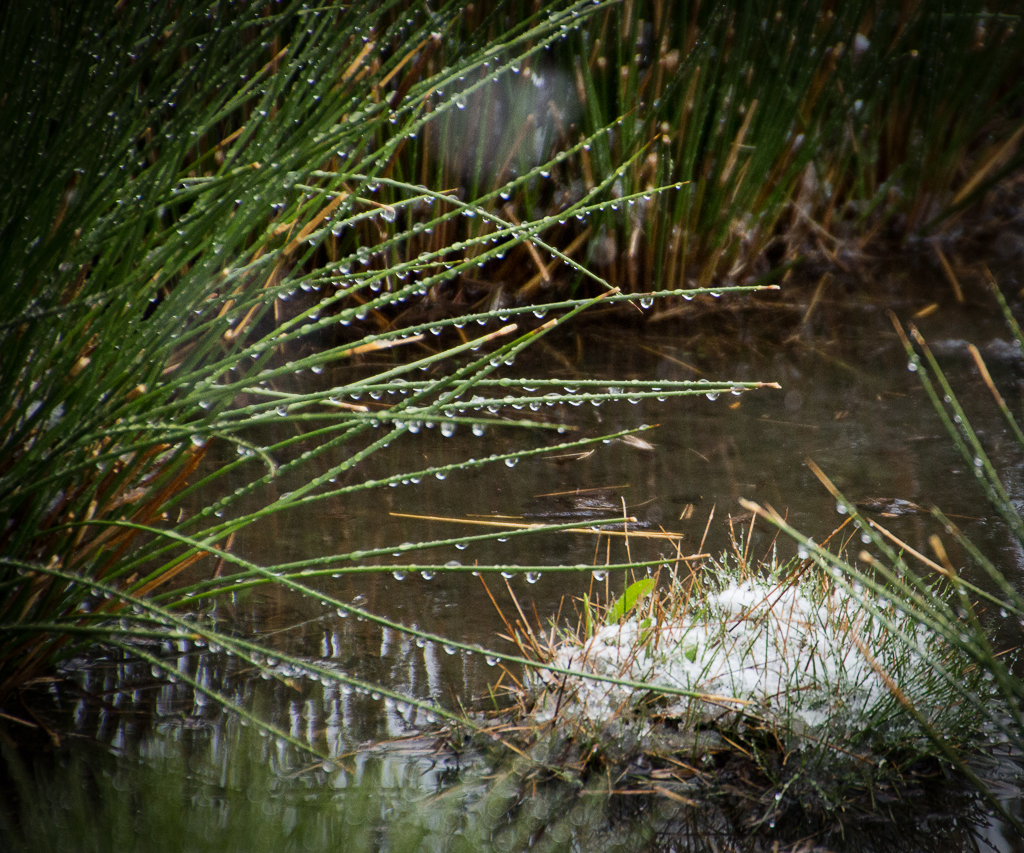
What I admire about this image is the impact created by that one big water drop. No matter where else I look, my eye snaps back to it. It probably helps that there are those 2 lighter-colored horizontal grasses in that same area. And my curiosity makes me wonder if I might see you, the photographer, reflected in that drop! Oh, well, you're not there. But it was fun to think that. I love these tall grasses we have here in this area. I have taken water drop photos of them, too. I agree it is difficult to find a good image that doesn't look too busy. I think your cropping down to the 5 drops (odd number) is making the most of your shot. |
Jun 2nd |
| 12 |
Jun 23 |
Comment |
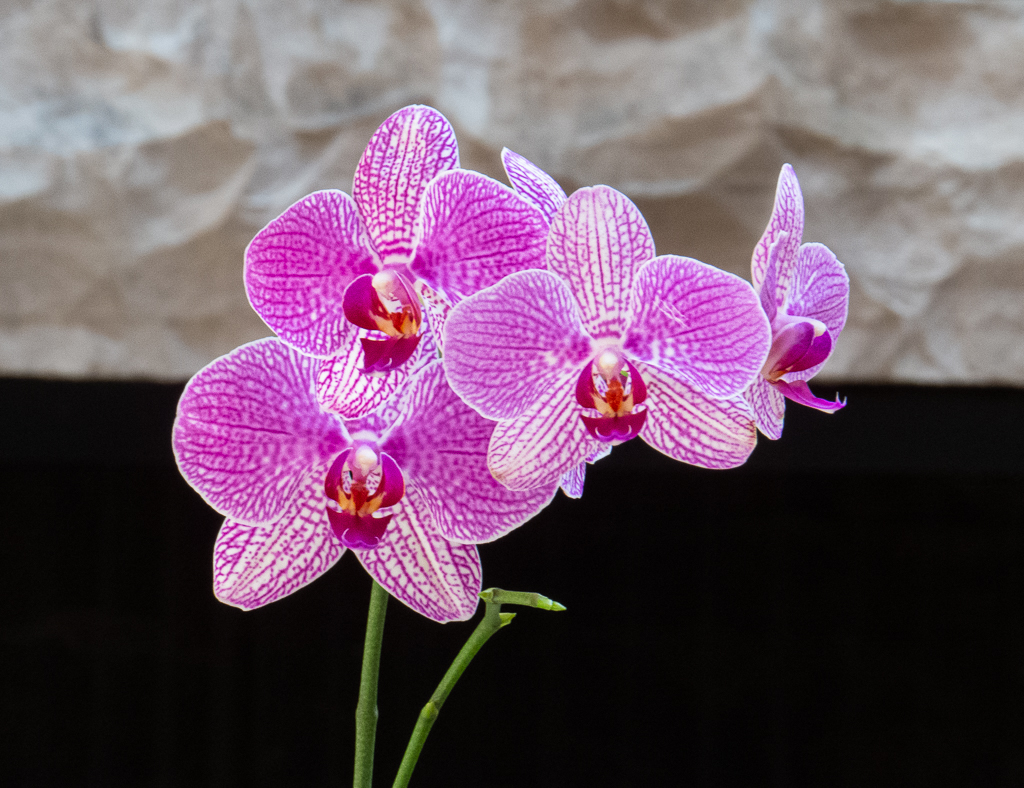
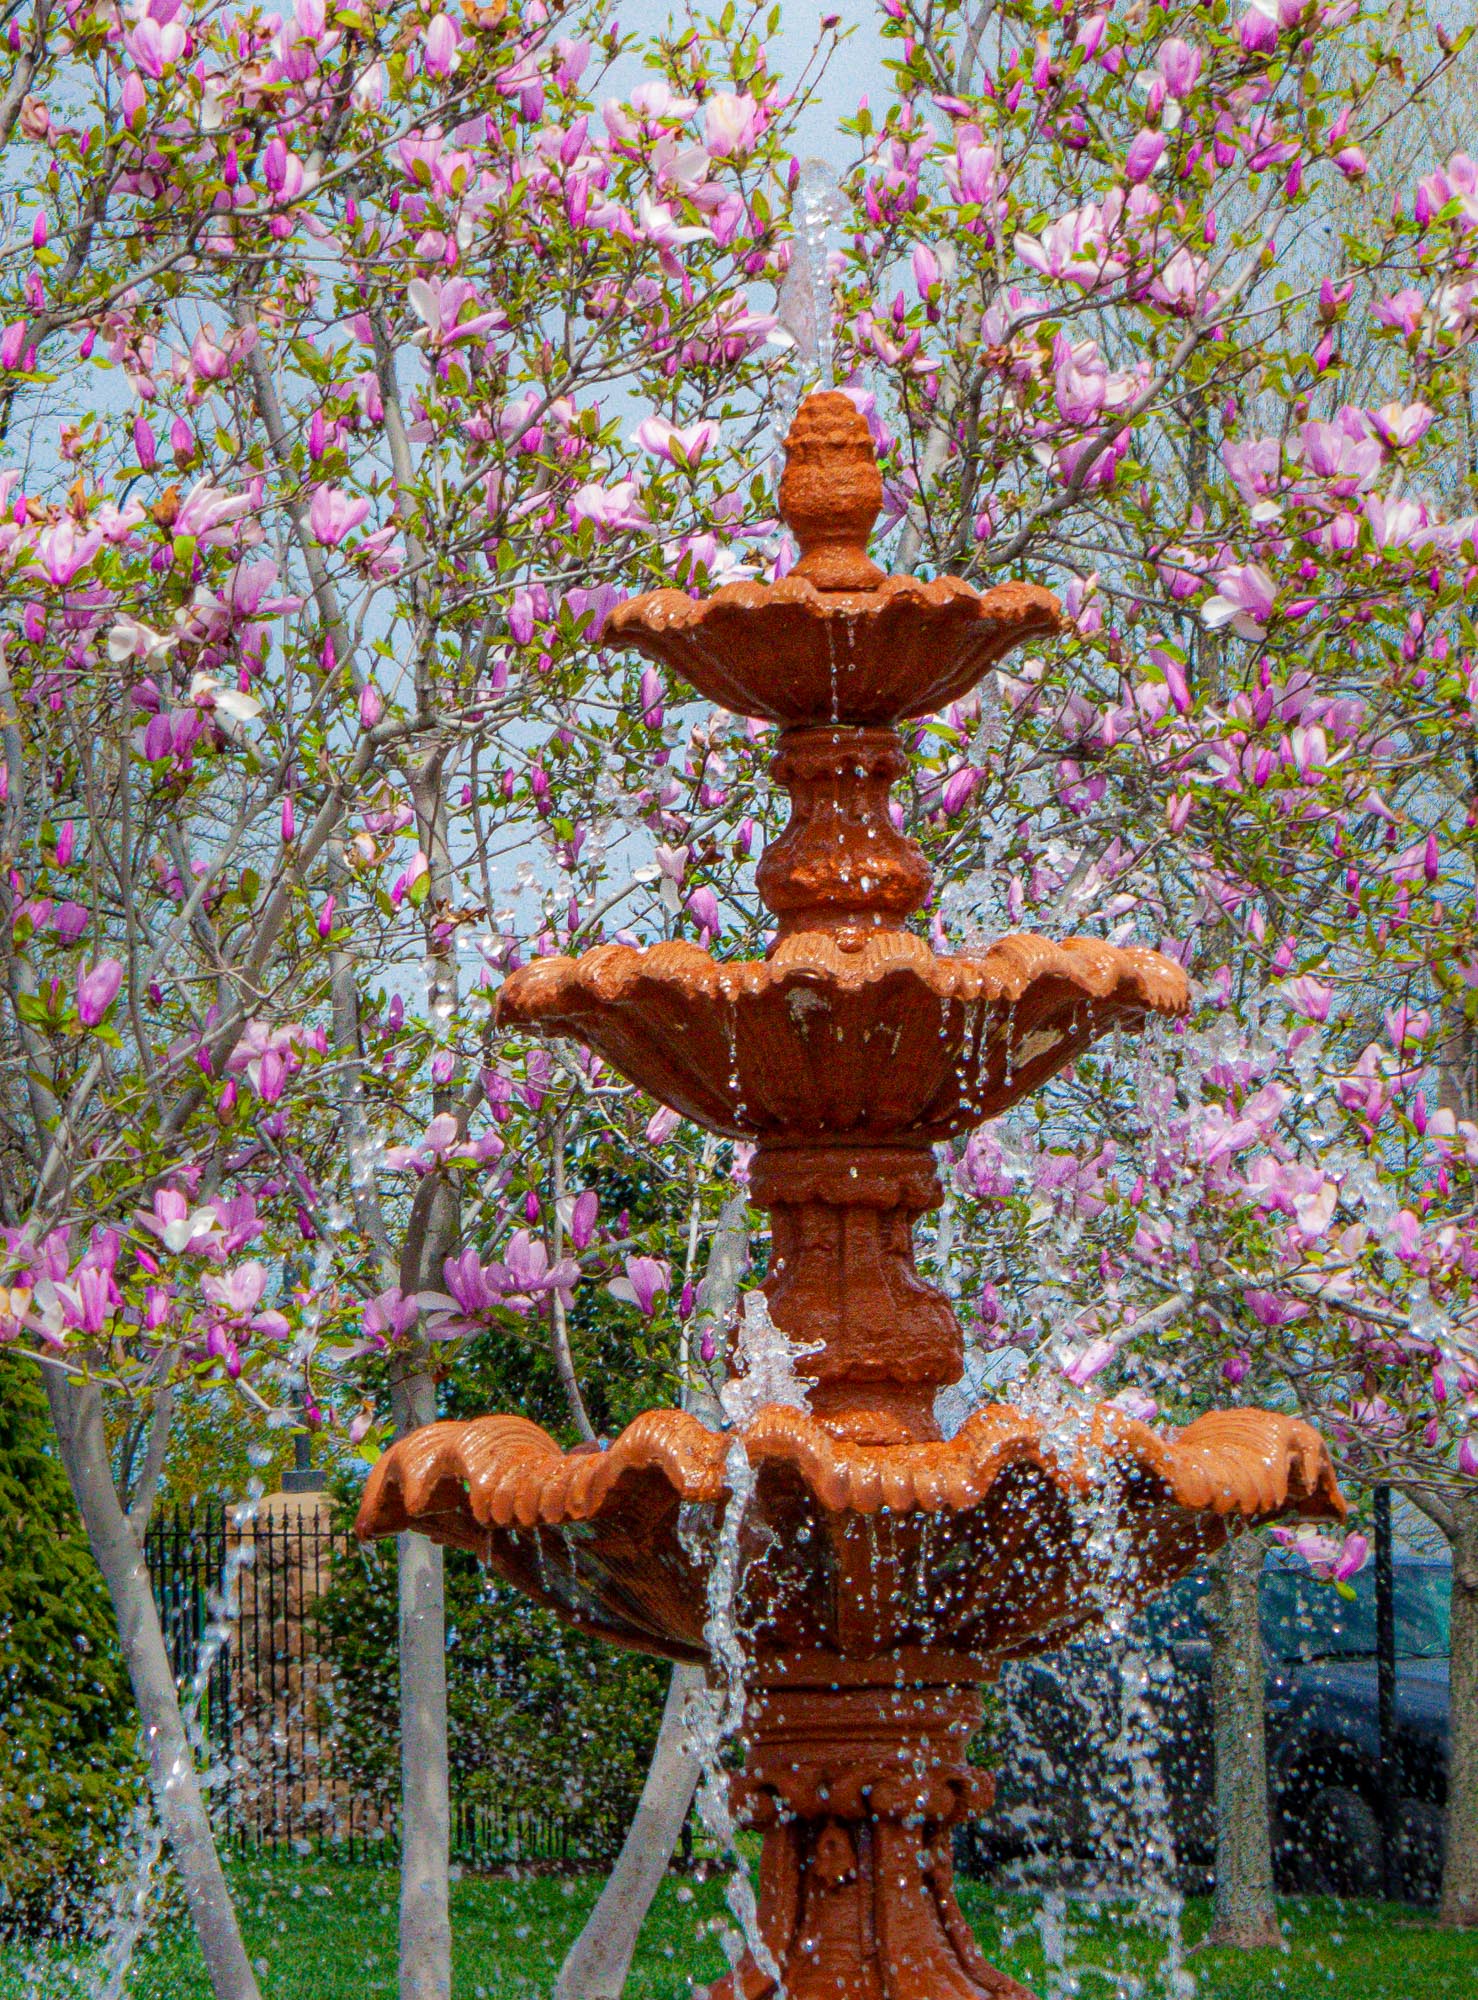
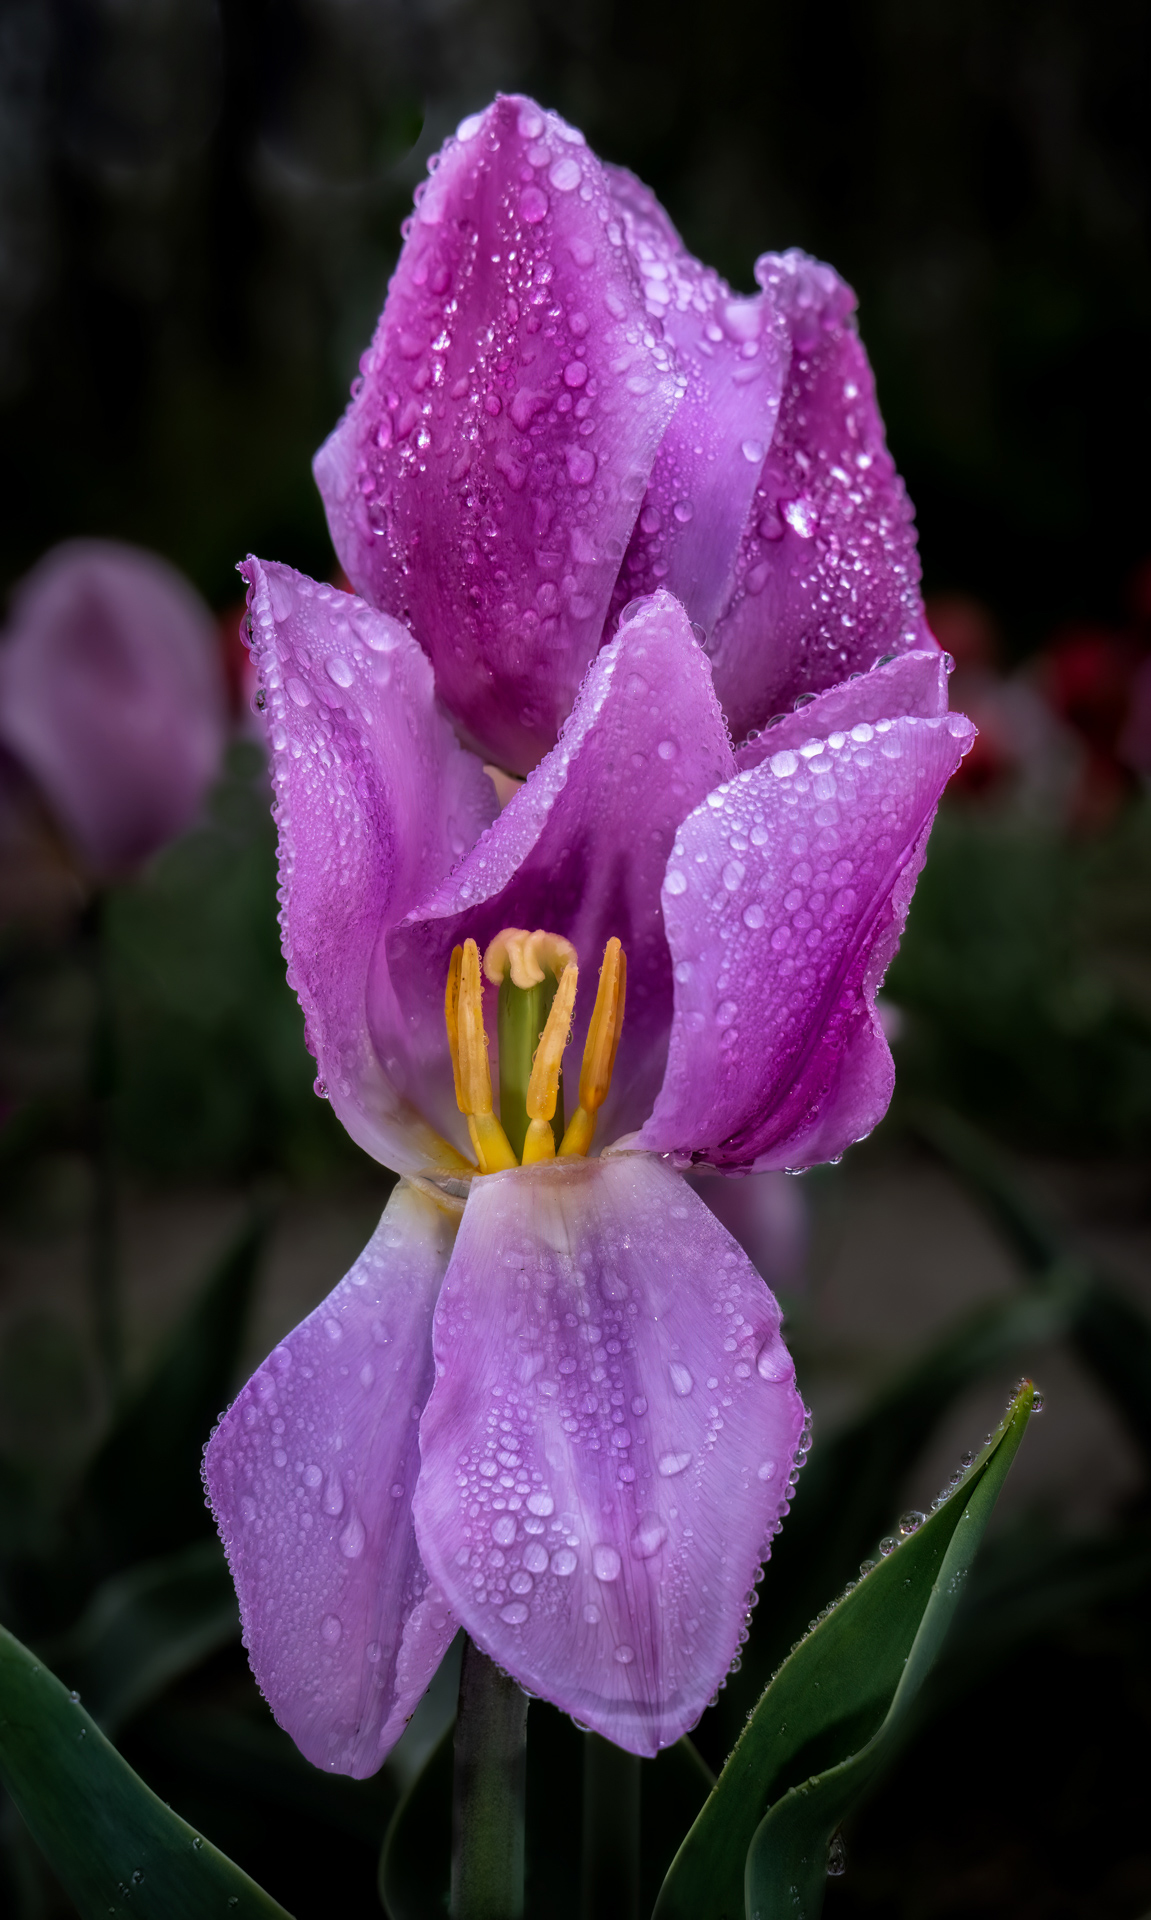
This turned into a great big WOW when I clicked on your finished image and saw the water drops enlarged! What a spectacular catch of water drops! I highly appreciate your efforts to take this picture after reading your explanation of how you dealt with the rainy weather. Now I know for sure you didn't take an easy way out and simply spray water on the flower on a sunny day! When I see flowers with the darkened, out-of-focus background, I think I can see them that way in real life, and I go looking in vain for that look. But your editing description reminds me that we can create this kind of image with good post-editing. My only suggestion would be to remove the light-colored horizontal petal that seems to be pointing to the center of the main amazing flower. |
Jun 2nd |
8 comments - 11 replies for Group 12
|
8 comments - 11 replies Total
|