|
| Group |
Round |
C/R |
Comment |
Date |
Image |
| 12 |
Dec 17 |
Reply |
Congratulations on becoming the SMD for my home state of Michigan! I grew up in Jackson. |
Dec 17th |
| 12 |
Dec 17 |
Reply |
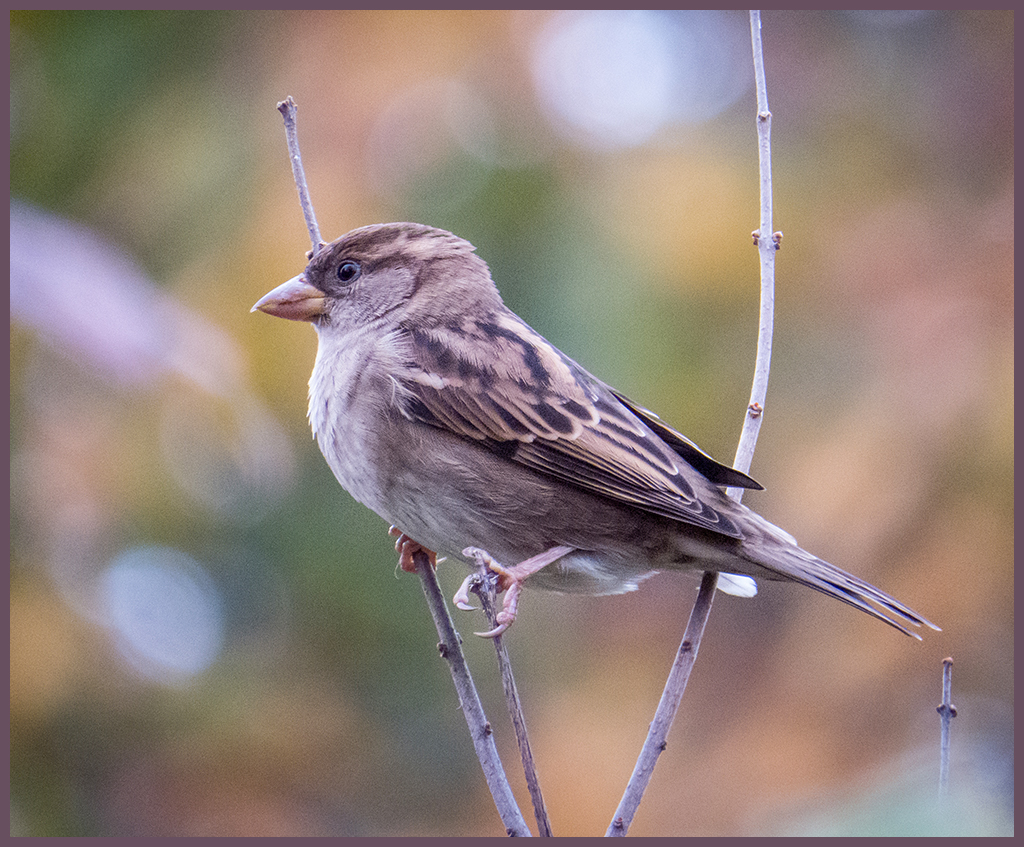
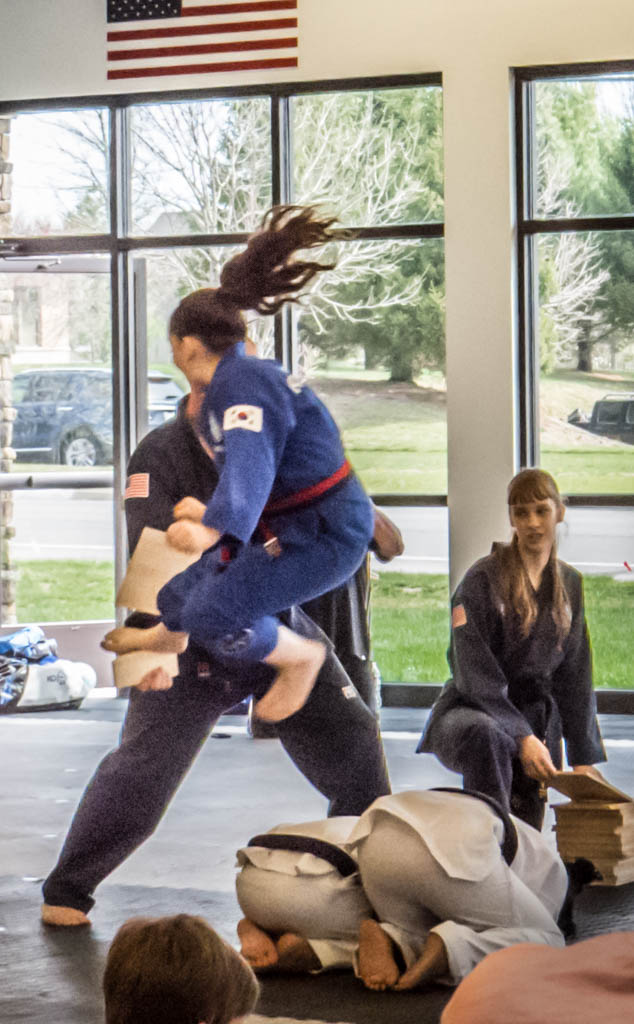
I second that - kudos for a sharp photo taken on a moving boat! |
Dec 17th |
| 12 |
Dec 17 |
Reply |
The sizing for photos we add to our comments is something I need to check on. However, I think that the website automatically displays them smaller in the Comment section. Then if we click once on that photo, we get to see it as large as the maker made it.
In fact, I believe that all our "main" photos are displayed at the same size, too. And if you want to see the photo in the size the person made it, you click on the photo.
So if you download a person's image to work on it, keep it that size or smaller. Let me know if you or anyone has a problem uploading their "edited" photo. |
Dec 17th |
| 12 |
Dec 17 |
Reply |
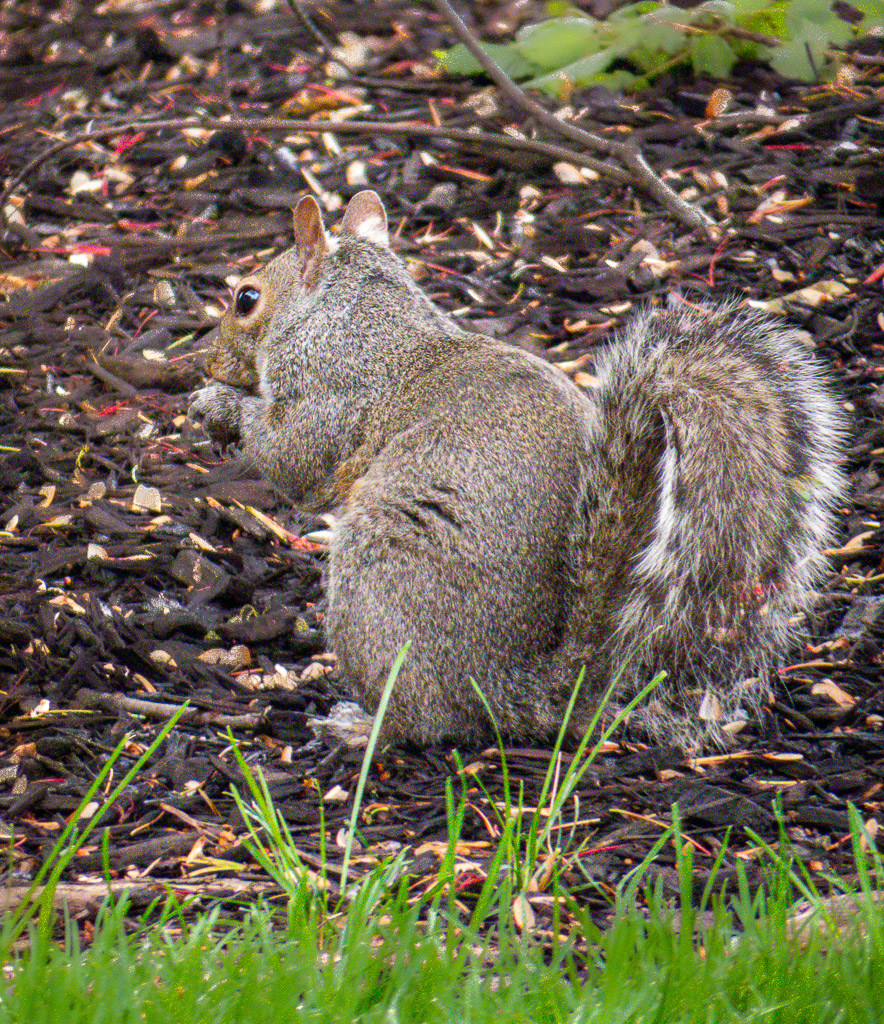
I join Walter in the hunt for ways to avoid lugging that tripod everywhere! I usually start with a high shutter speed of at least 1/250 sec. Then adjust the ISO and aperture as needed.
And even if I had a really light tripod, they are awkward to carry. However, I love it when I did make the effort to take it with me! |
Dec 17th |
| 12 |
Dec 17 |
Reply |
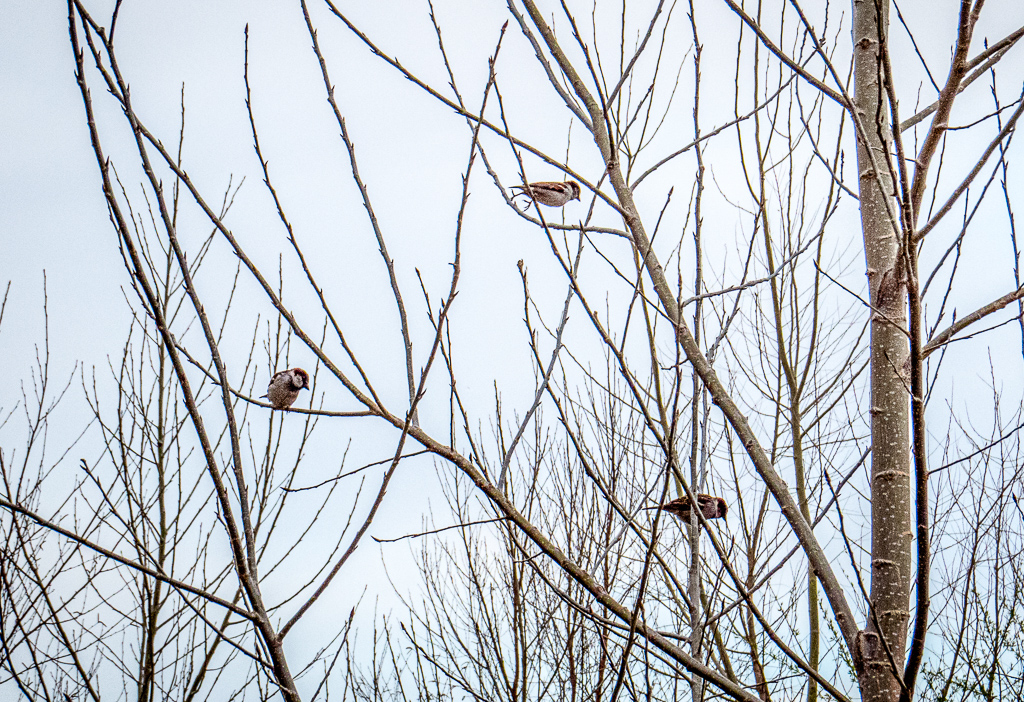
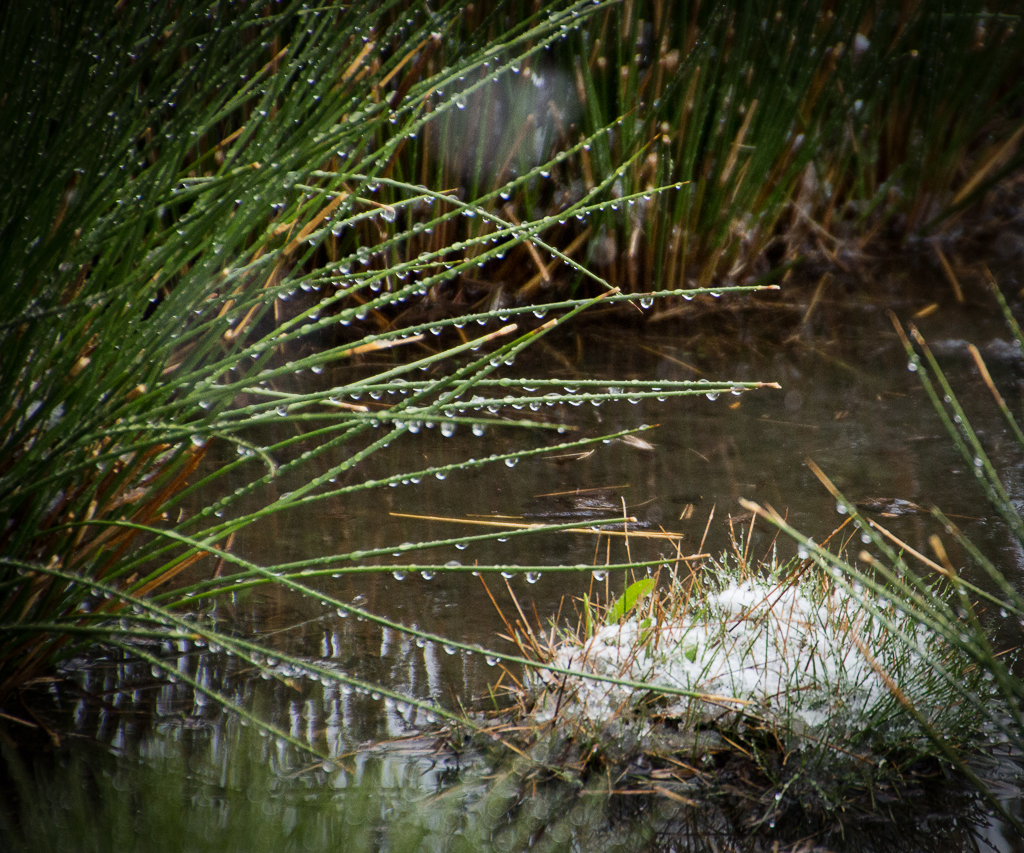
My camera couldn't focus on the spider webs when handholding the camera. I'd love to carry my tripod all the time, but it's too awkward to do it when I'm out for my walk. I should've paid attention to the 3.5 aperture and switched it to more depth of field. A lesson learned, again, because I know that 3.5 is too shallow for most every subject I photograph! |
Dec 17th |
| 12 |
Dec 17 |
Reply |
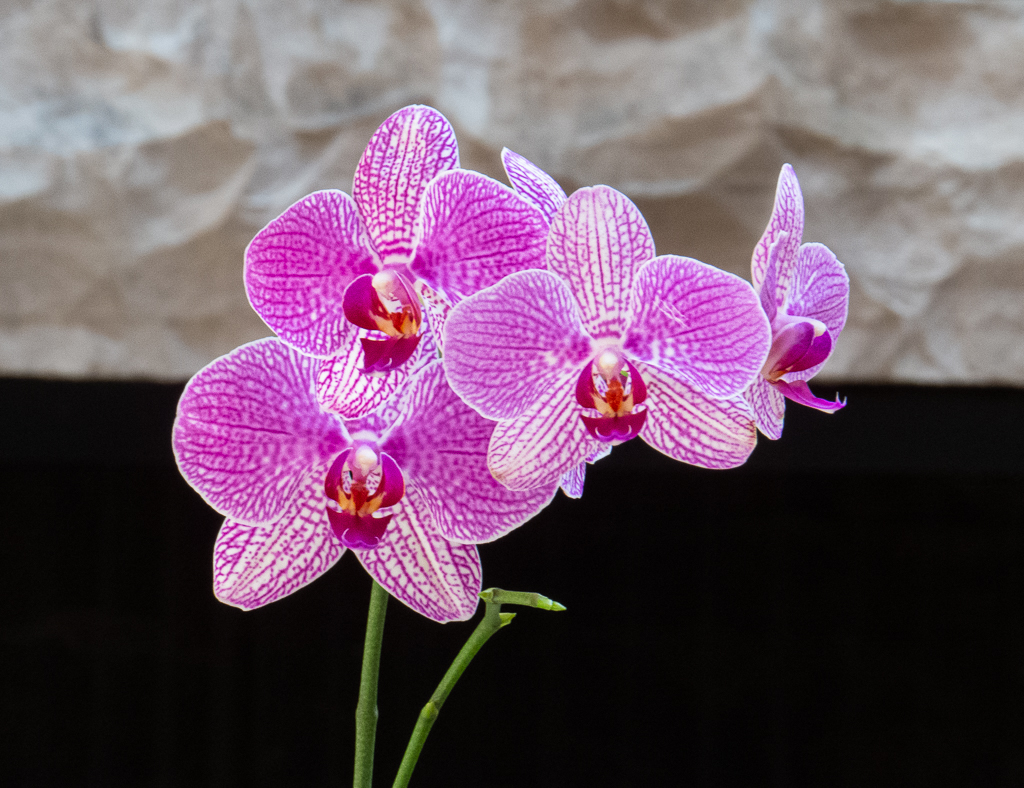
Here's the quick way to get rid of any color lighter than the black background. If your background was truly black, you can paint over the black area with the brush tool set with black color but with the Darken Mode. And all the white dust spots will turn black. You don't bother with painting individual dust specks. Instead, use a big brush and paint liberally over the black area that has those white specks on them. In 5-10 seconds the white will disappear, because it has been turned into black. Of course, so will any other area you paint over that is a light color than black. I use this technique, although with colors other than black, when restoring old photos with bits of speckled lighter colors on solid darker colors. You can perform the technique on the same layer or on a blank layer. (Sorry for so many words to describe something simpler than it looks!) |
Dec 5th |
| 12 |
Dec 17 |
Reply |
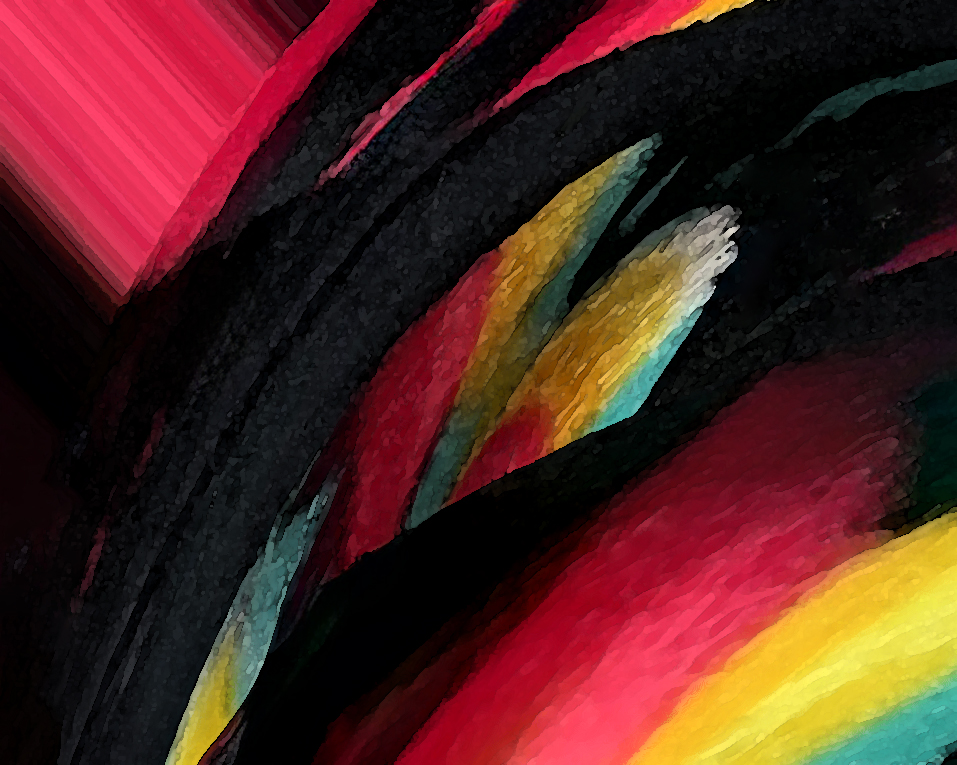
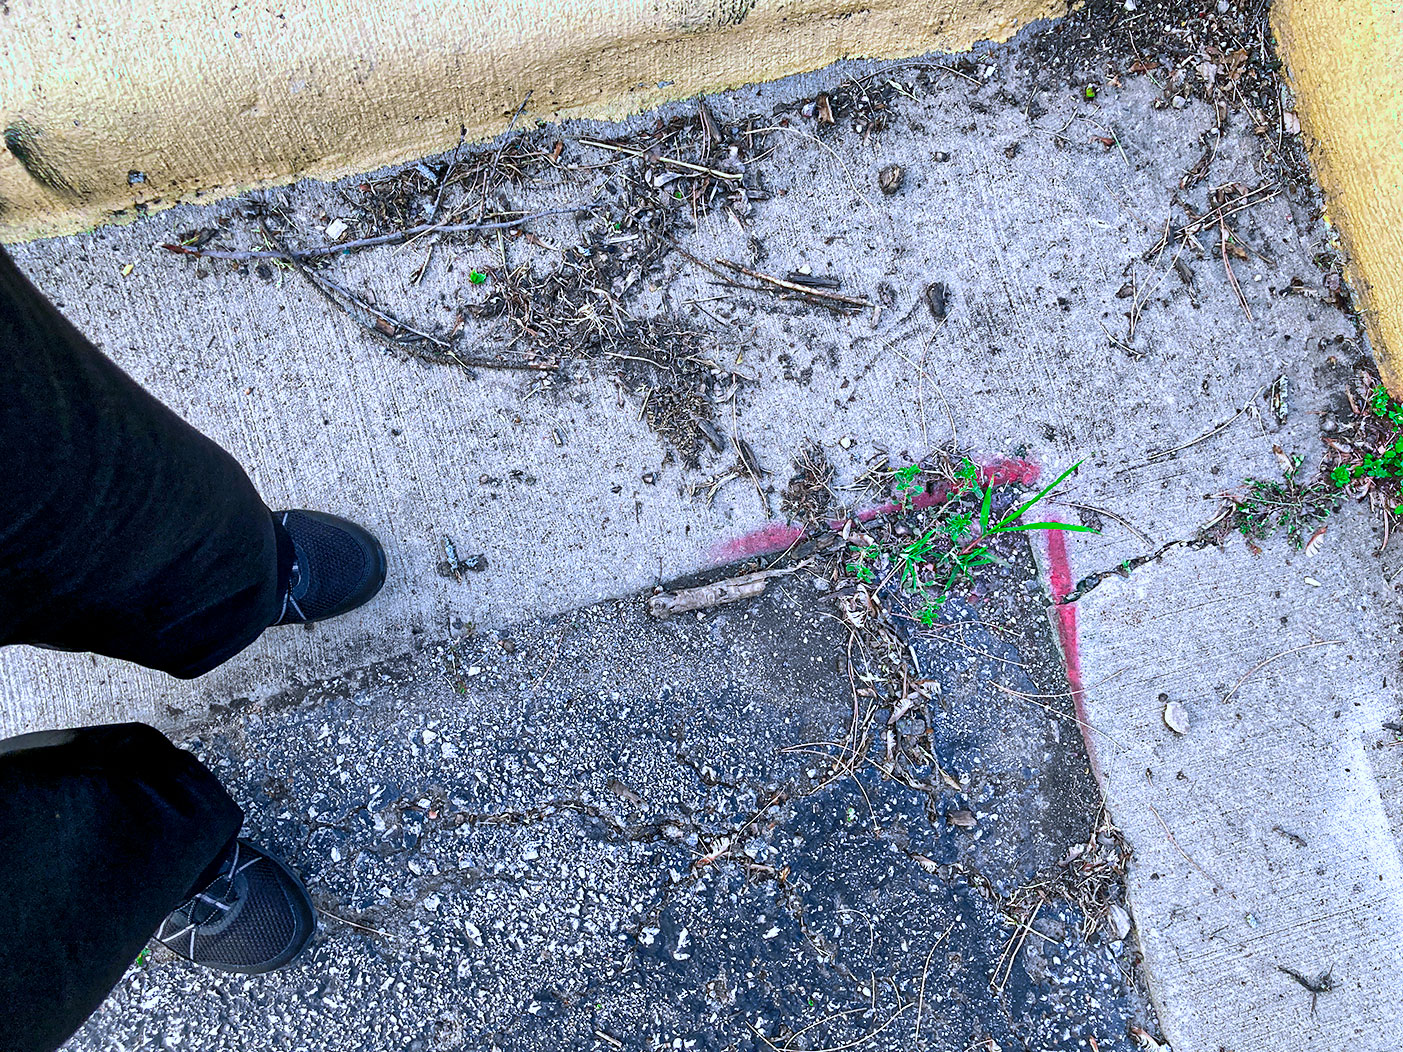
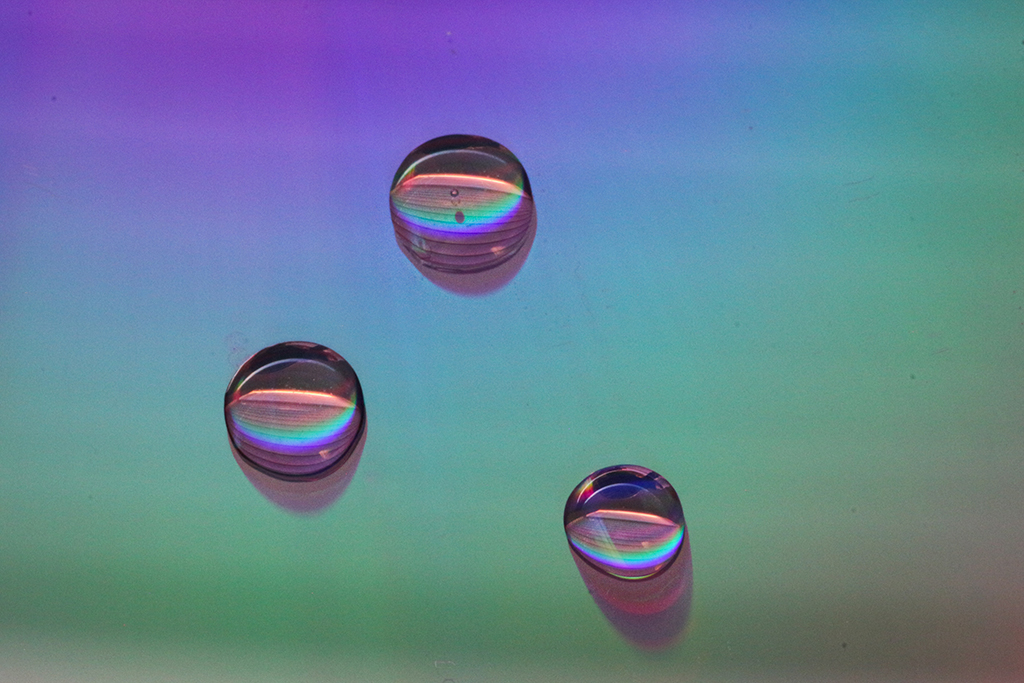
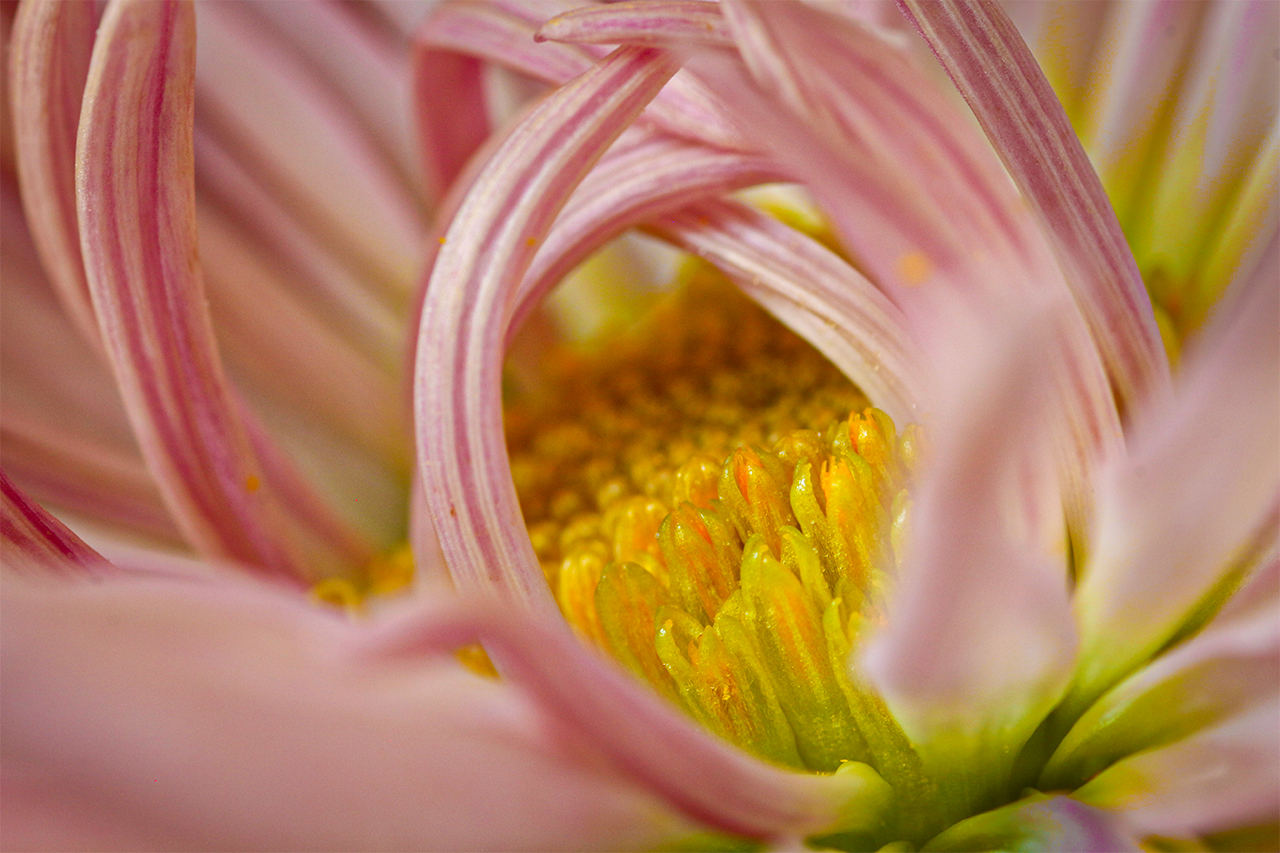
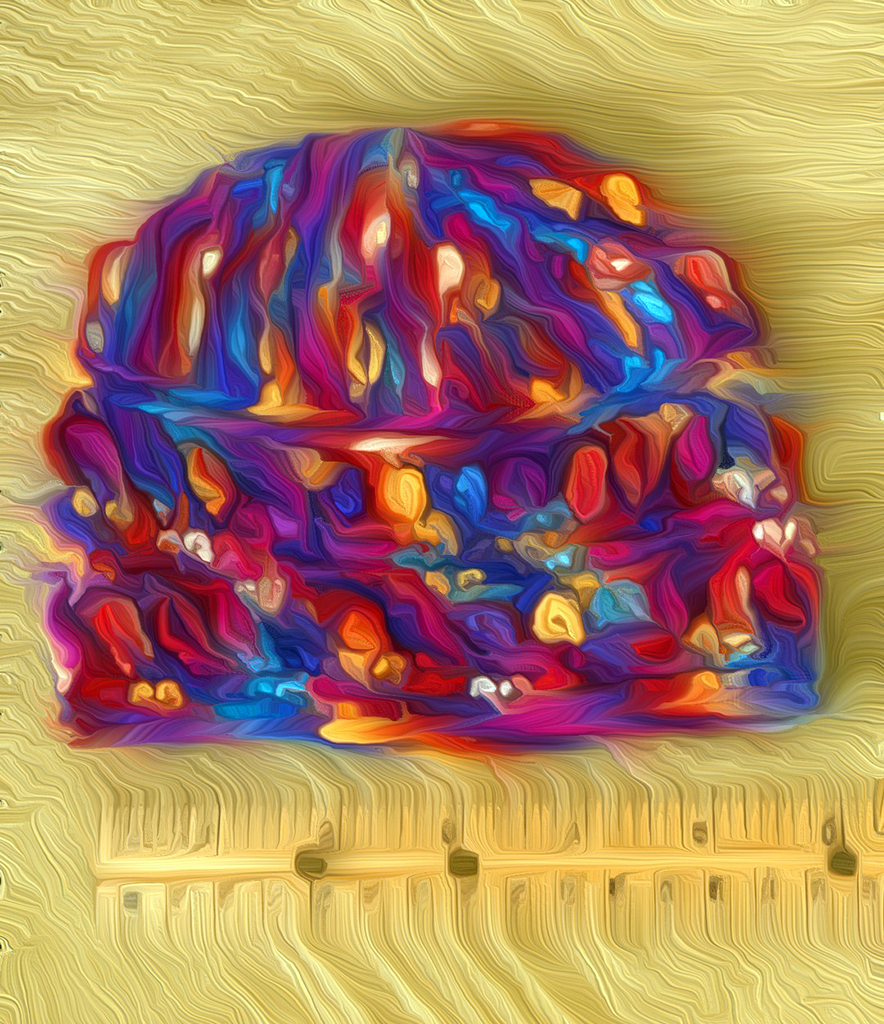
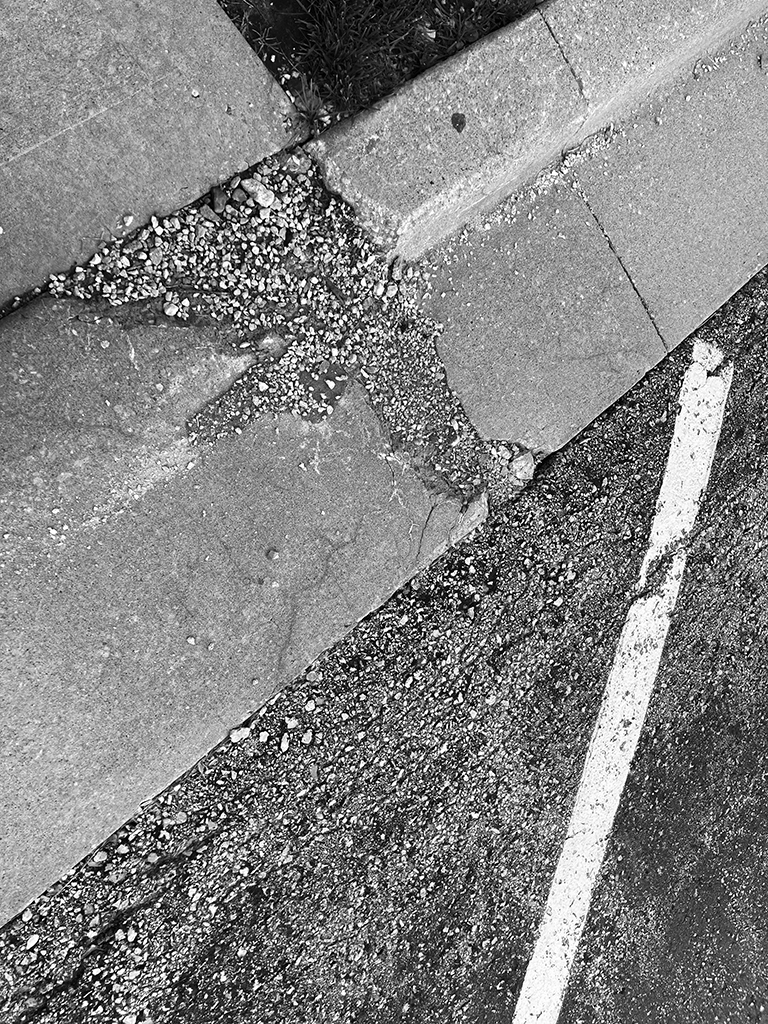
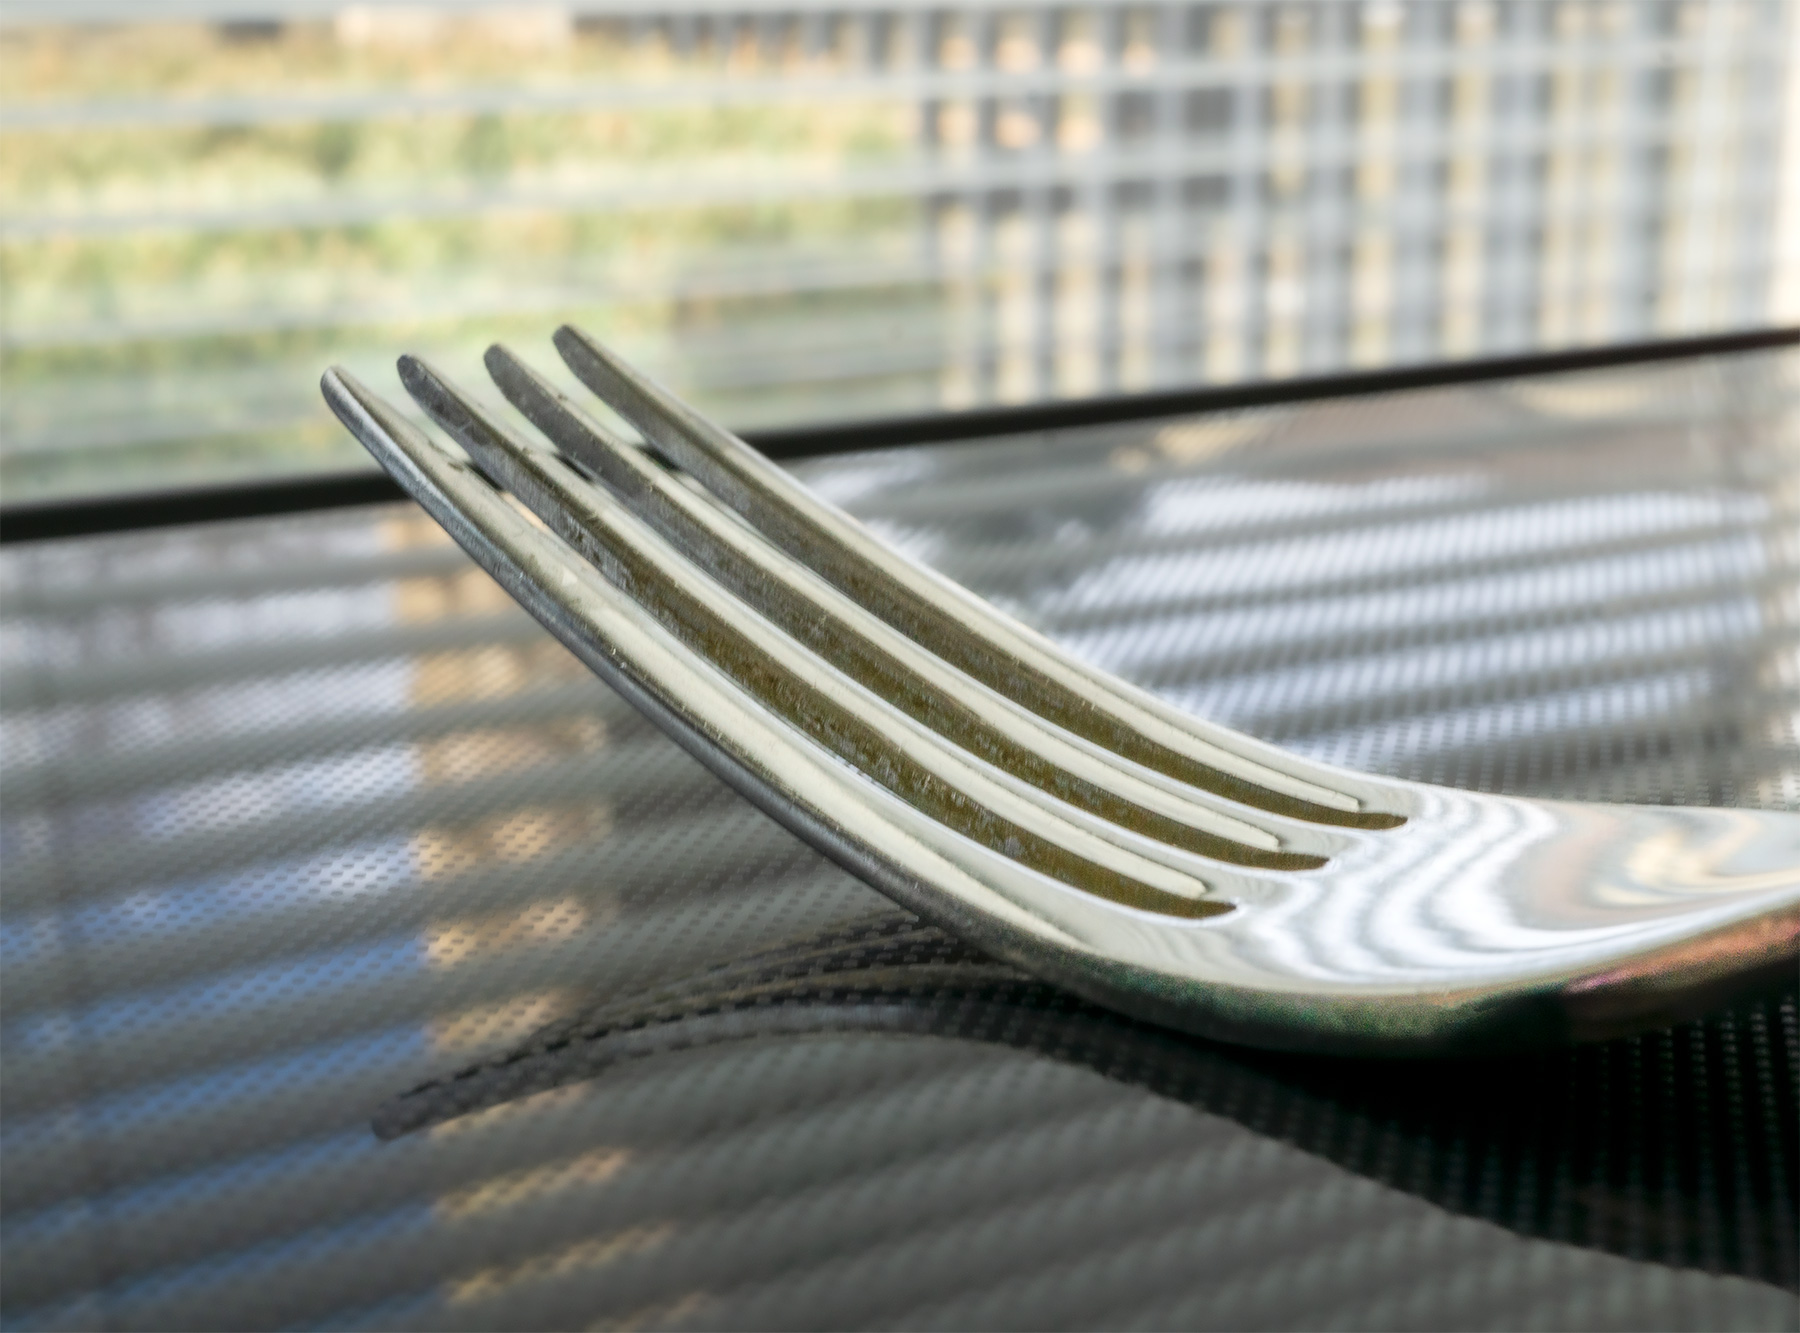
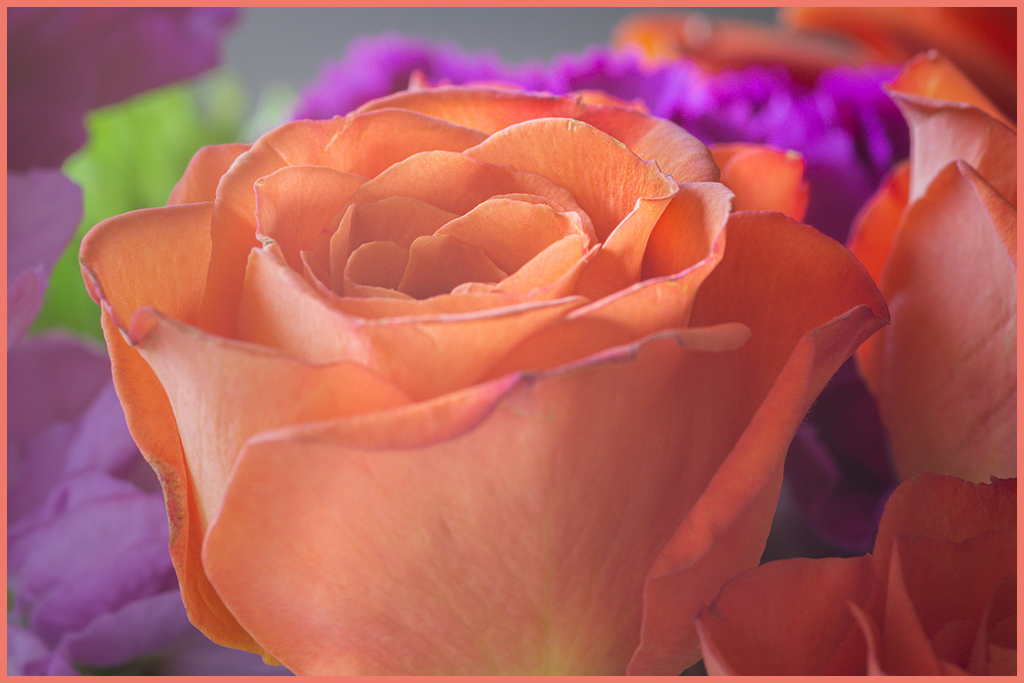
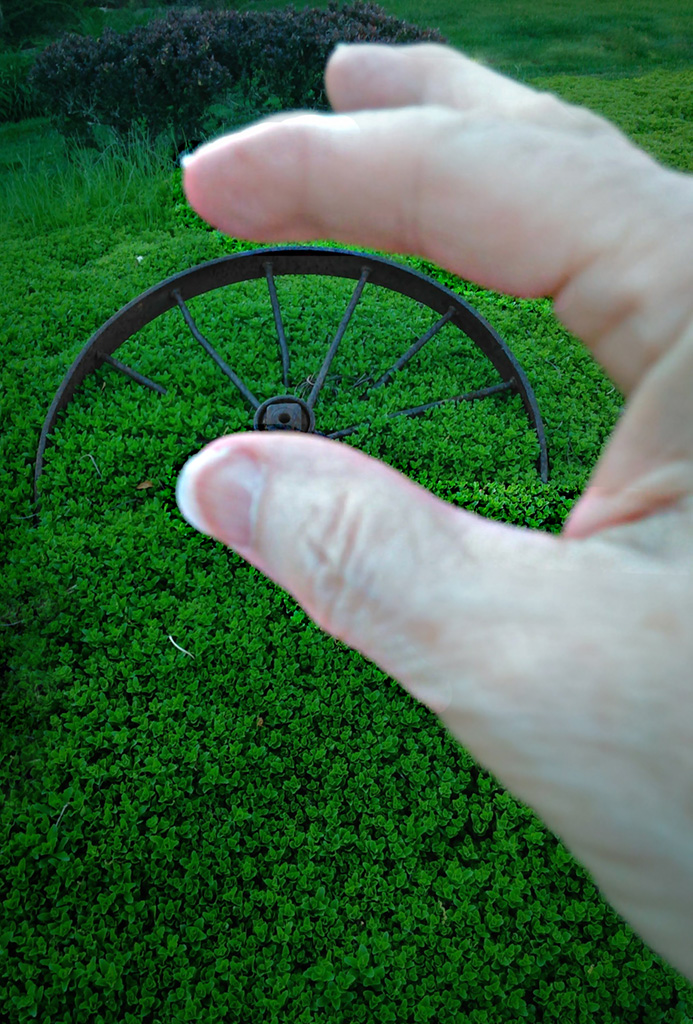
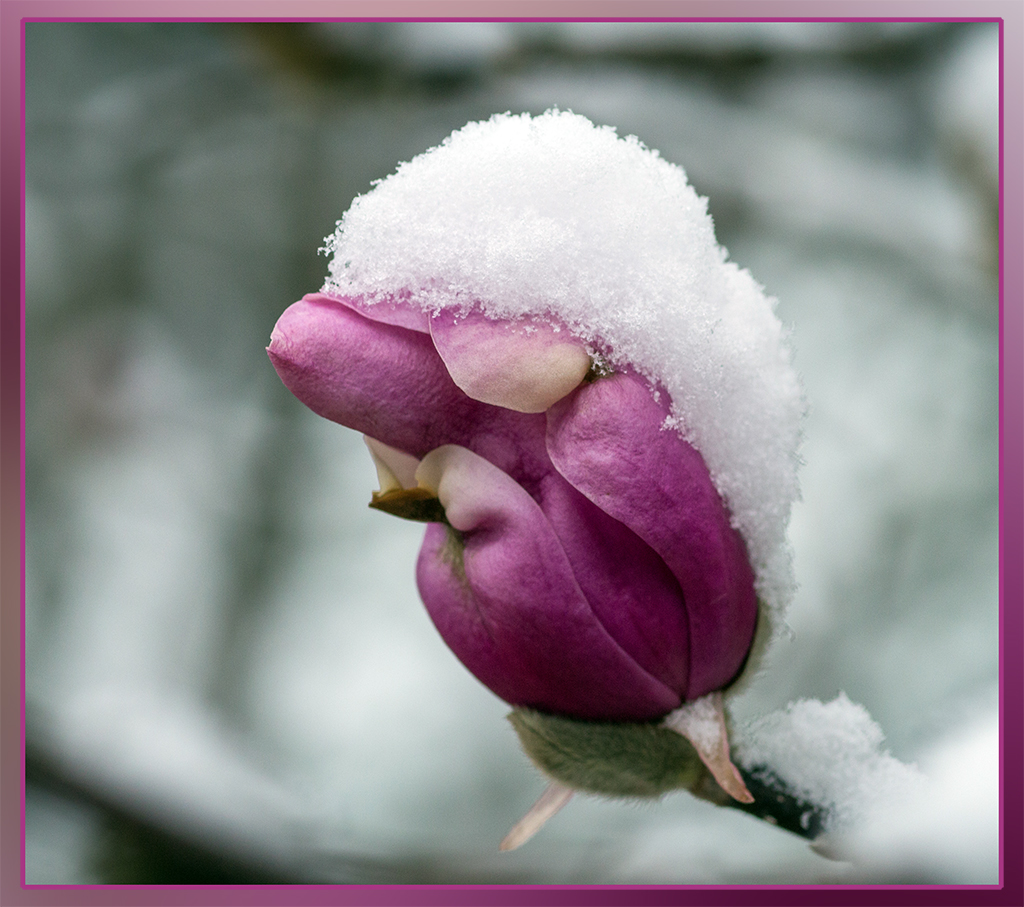
Thanks for the "red line" because now I can see how that right angle area. It is at the center of interest of this image. It is the fact that the little piece is suspended there that makes the photo so unique. (But I still love the soft focus background and the color scheme so very much!). |
Dec 5th |
| 12 |
Dec 17 |
Reply |
Everyone can see David's bordered photo by clicking on the photo itself, because that will result in another window showing his image much larger. In fact, everyone can click on any of our photos to see them displayed in their submitted size. The main window shrinks your larger photos into a same size image, to make the website look more coordinated and to be sure you don't have to scroll to see all of the image. That's why there's the extra feature of clicking on a photo to give you that original view. |
Dec 3rd |
| 12 |
Dec 17 |
Comment |
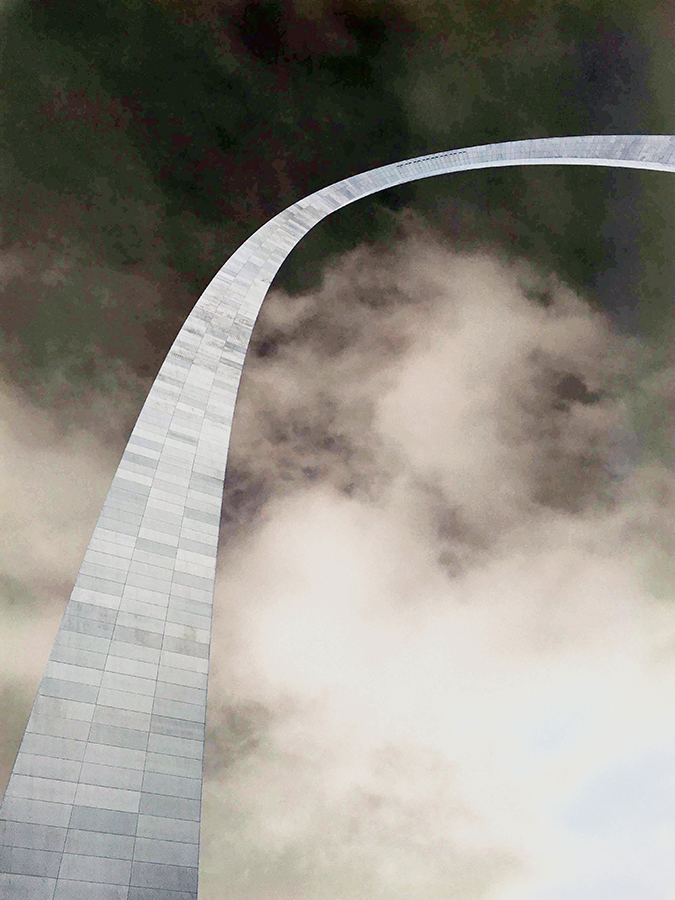
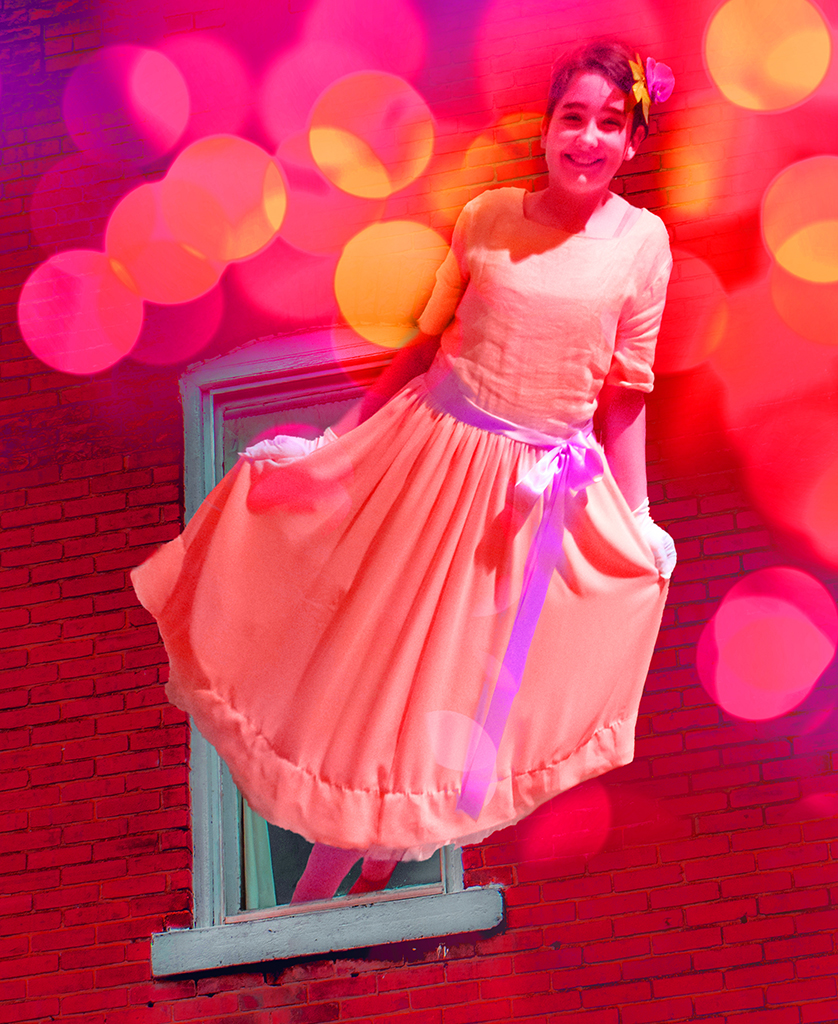
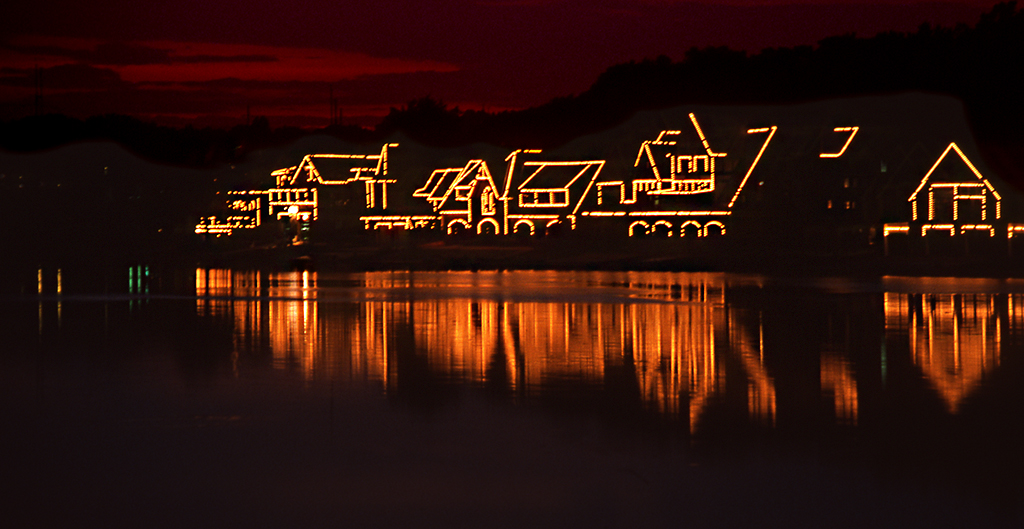
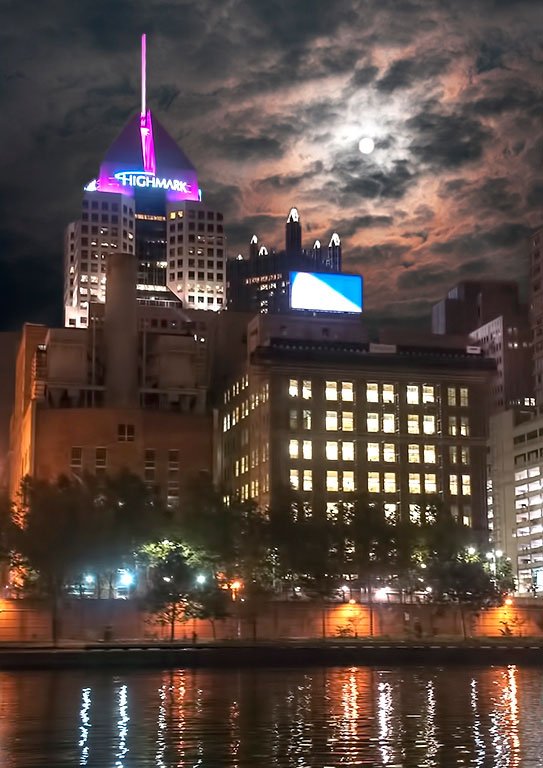
"Your" rectangles are emphasized so well by being lit-up windows. I think the reflection "makes" the photo. I had to take up the challenge of putting in a new sky! I tried just a full moon, but that didn't work for me. The cloudy sky I finally chose is probably too busy and therefore distracting from the many details of your image. But here it is, anyway! |
Dec 3rd |
 |
| 12 |
Dec 17 |
Comment |
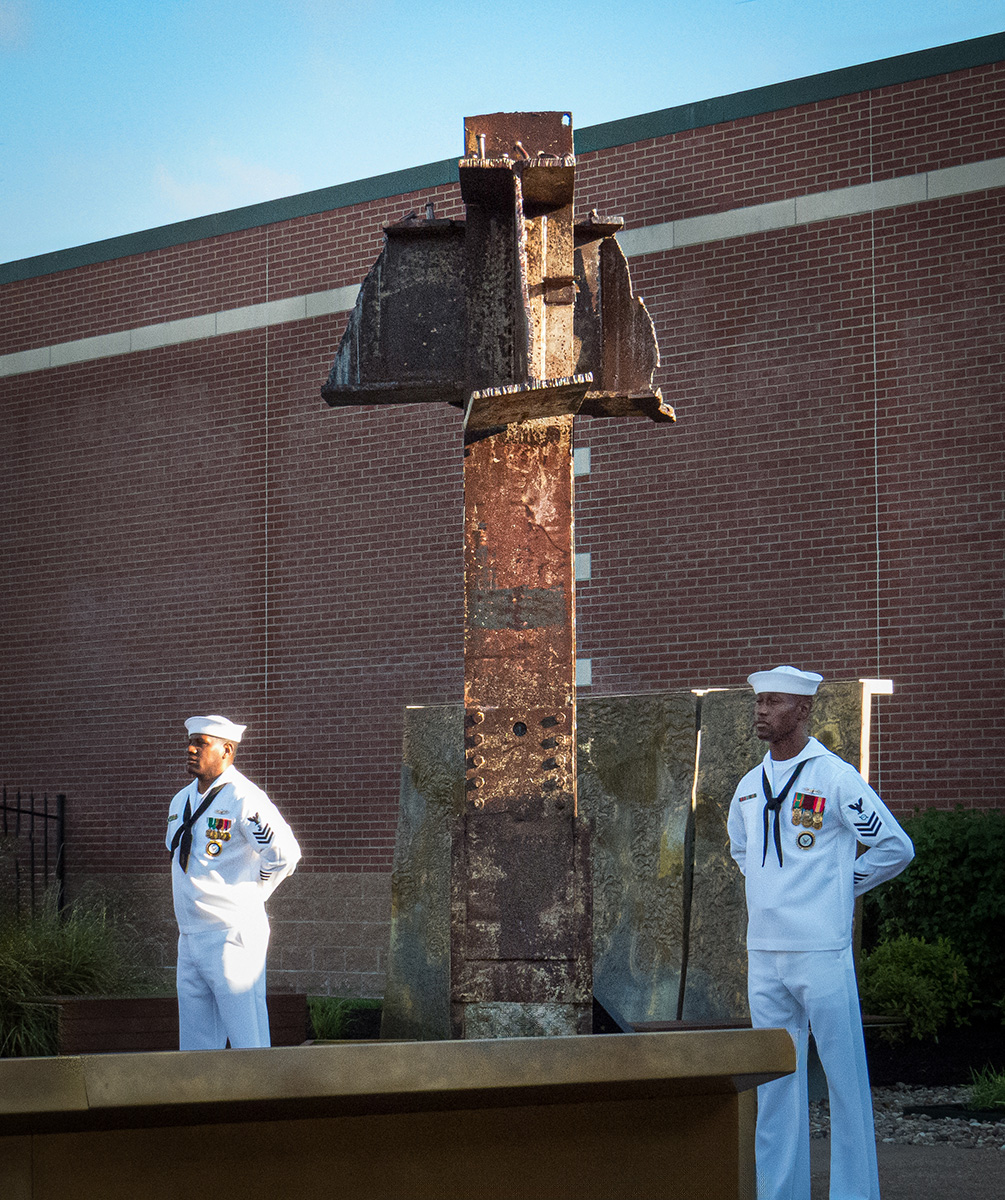
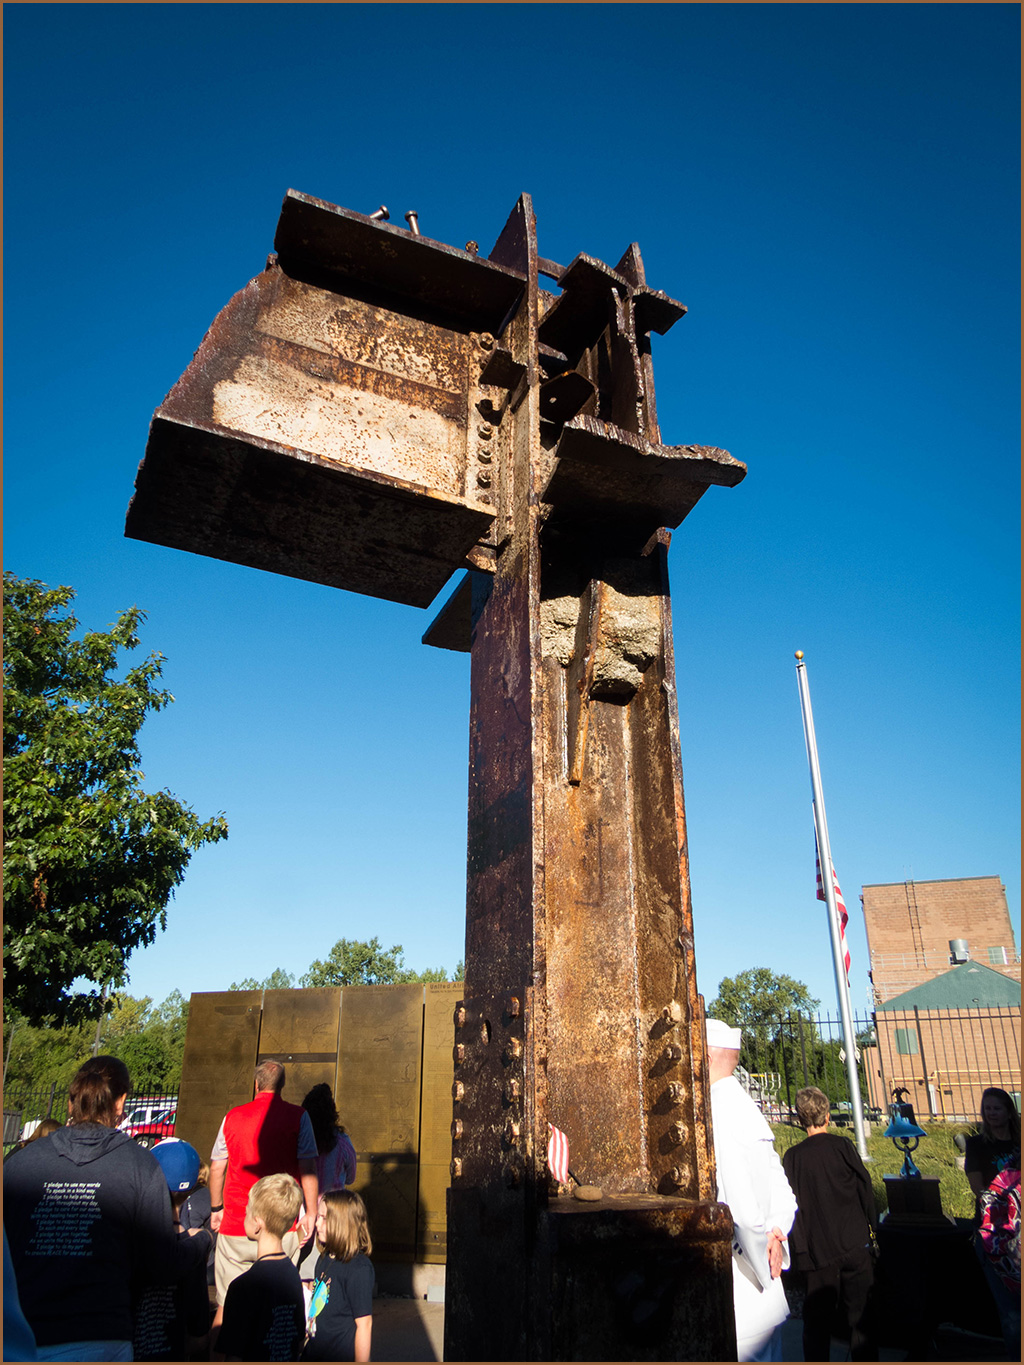
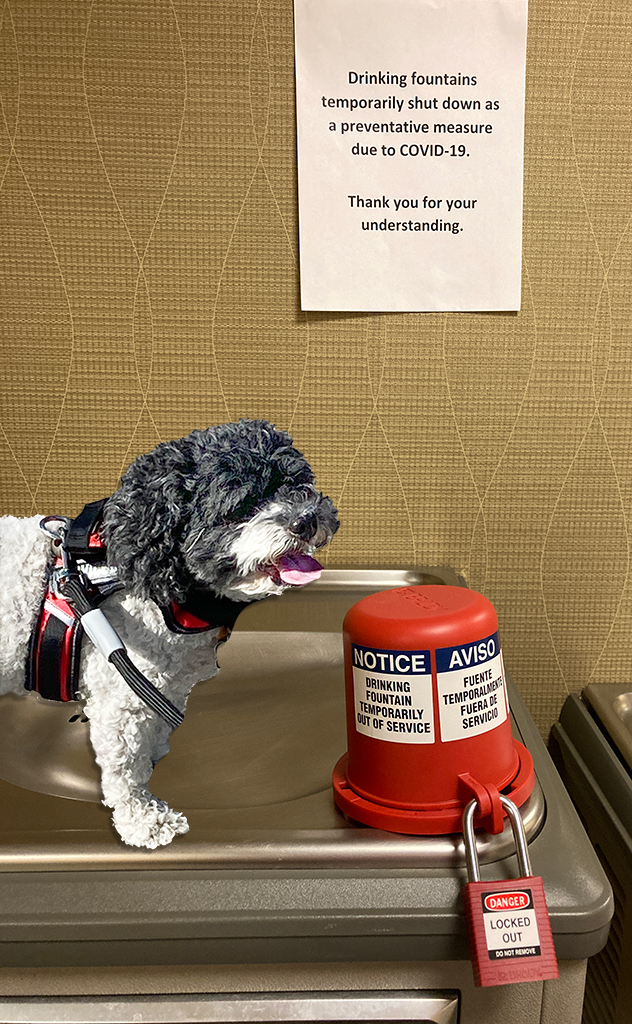
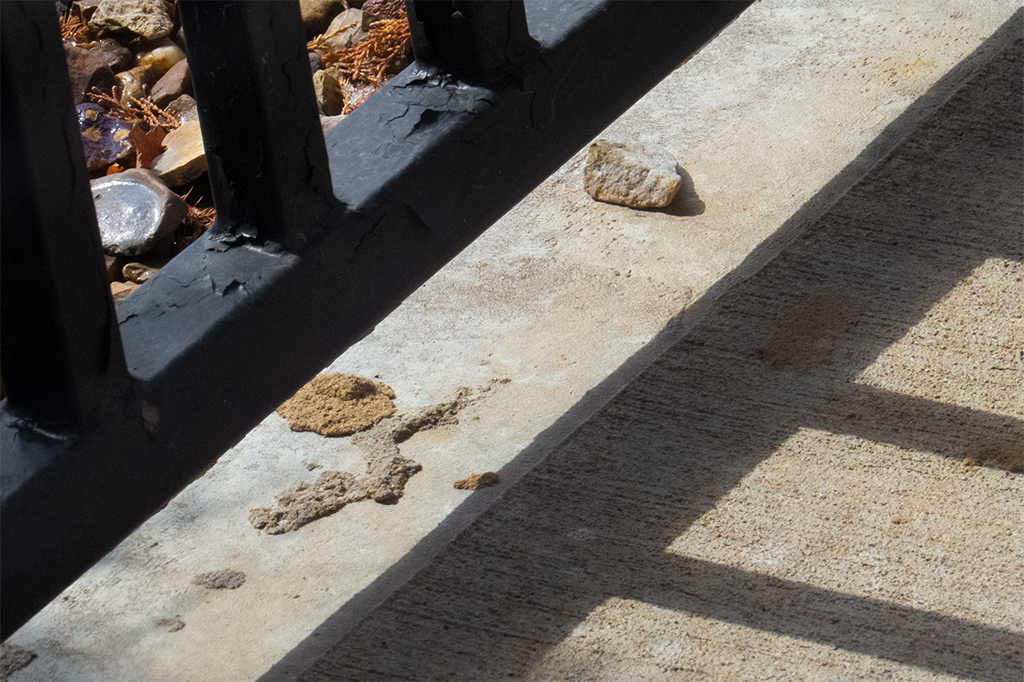
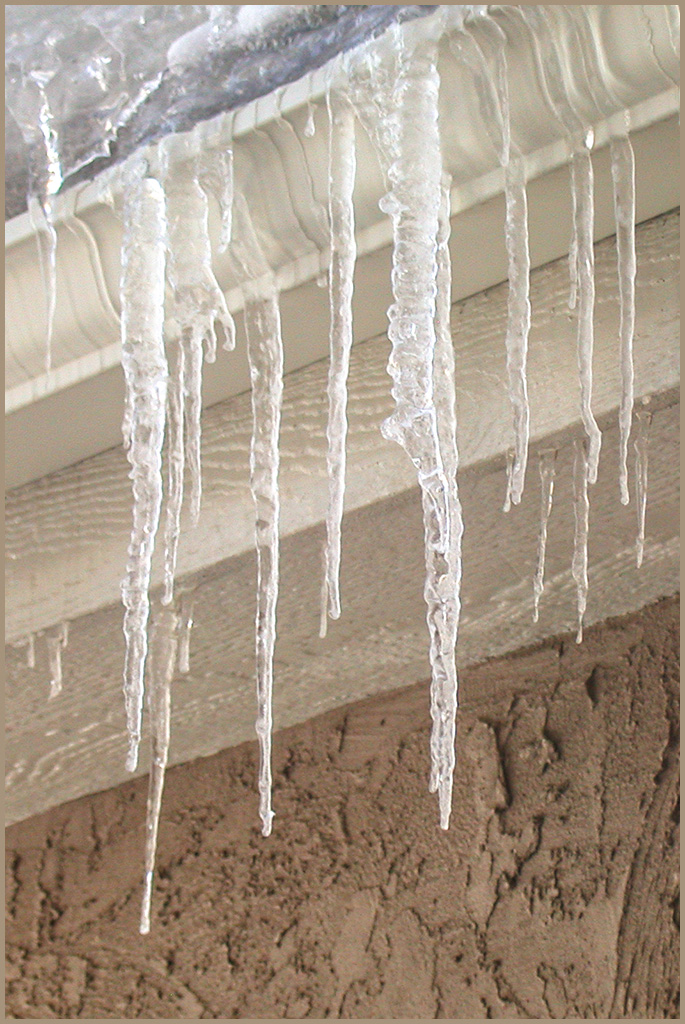
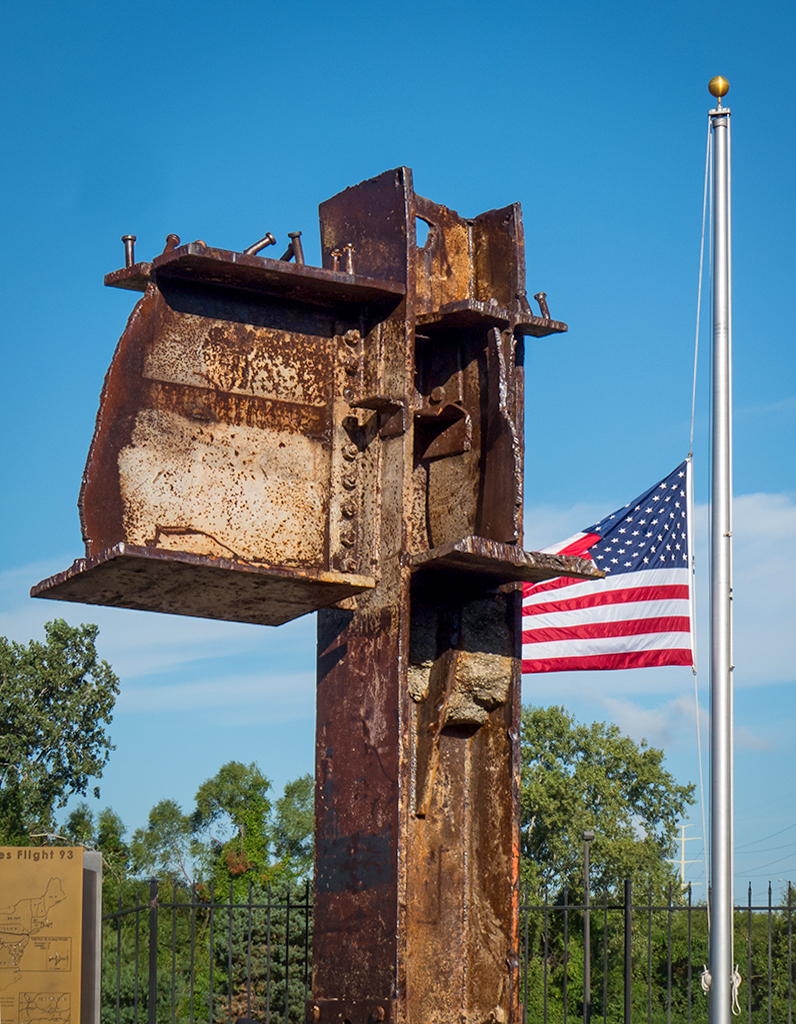
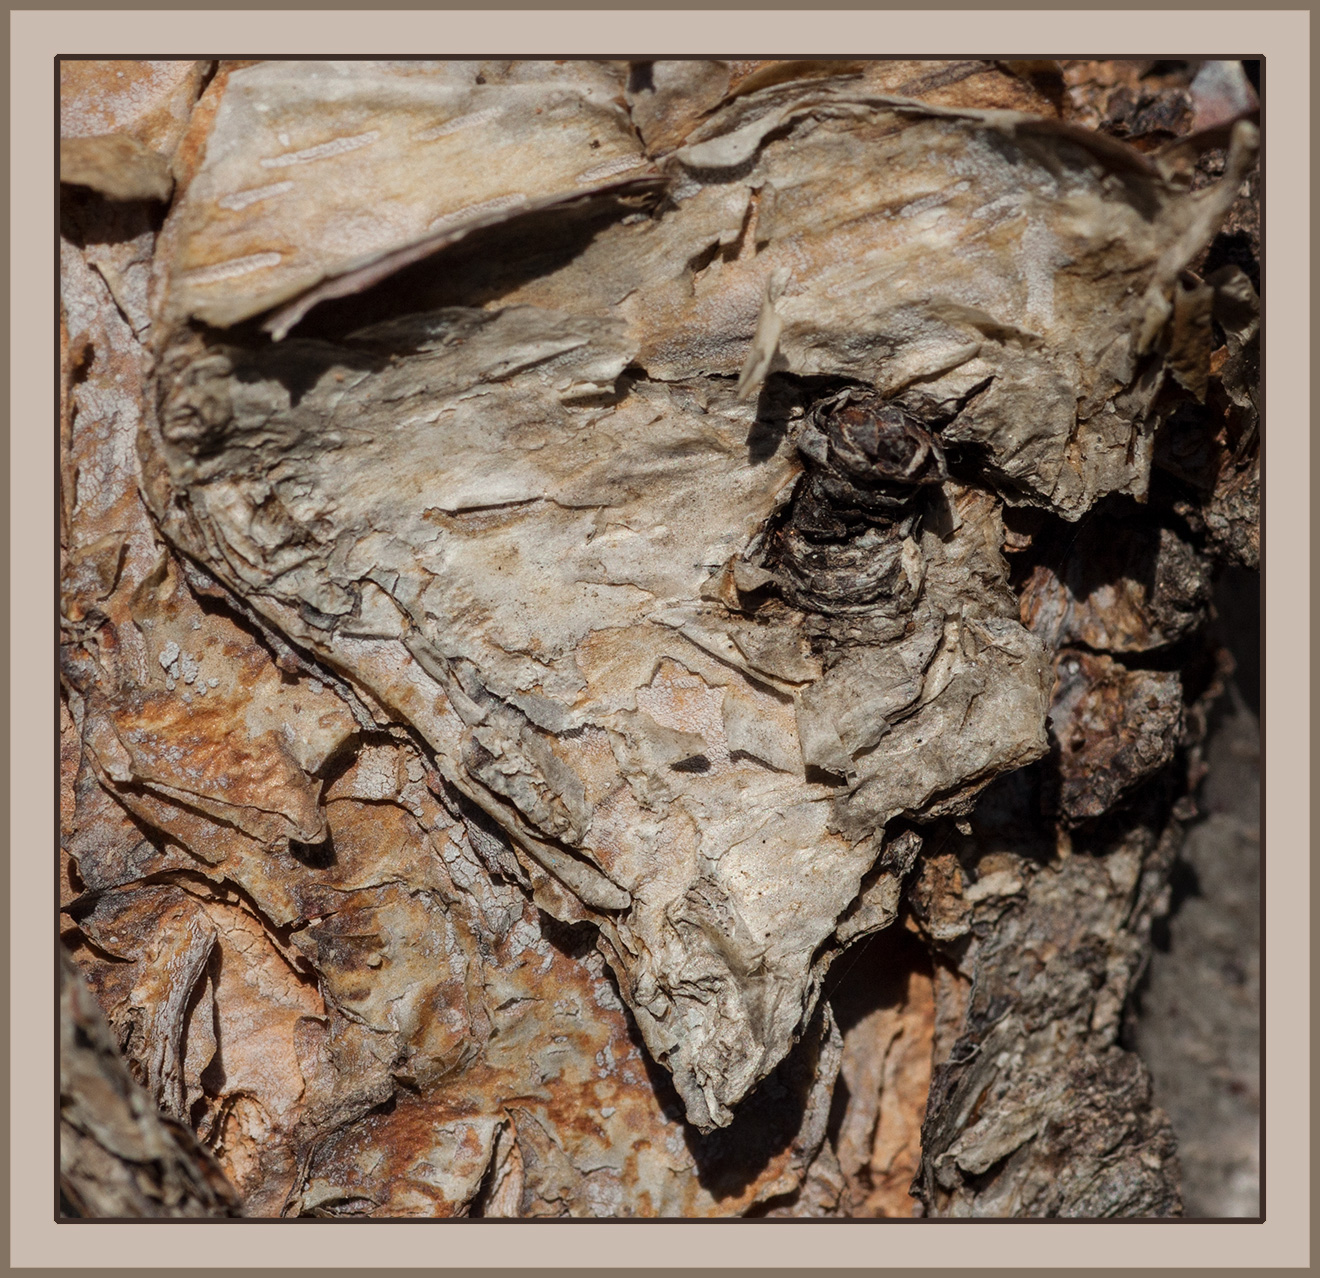
Through a paned window is a great way to show off right angles! I like the grungy look. I like the way the loopy rope on the left and the step ladder on the right form a frame through which we view the window and therefore the flag. I see the rag, which adds to the grungy mood. But I'm wondering if the blue color cast to the rag and windowsill were really there or resulted from your editing. I think I would've removed that blue cast. |
Dec 3rd |
| 12 |
Dec 17 |
Comment |
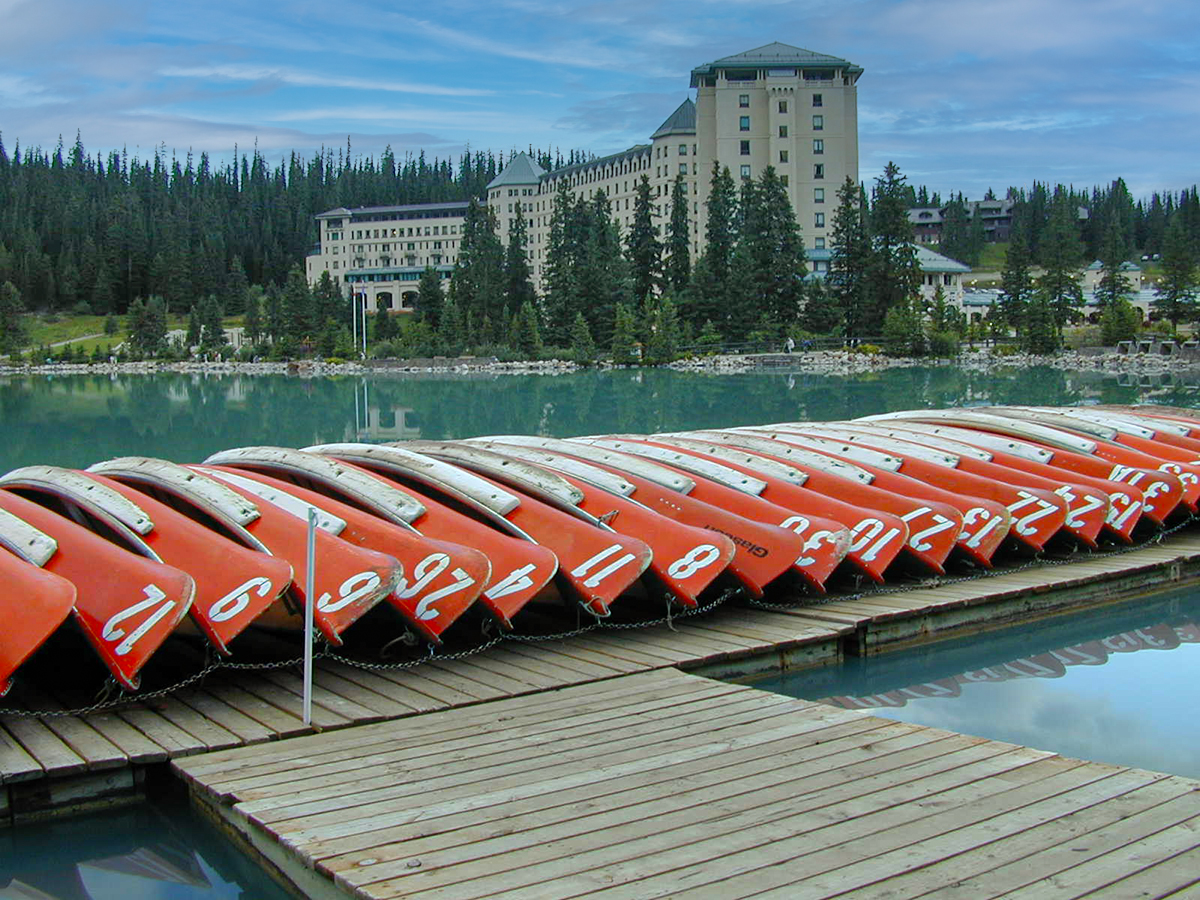
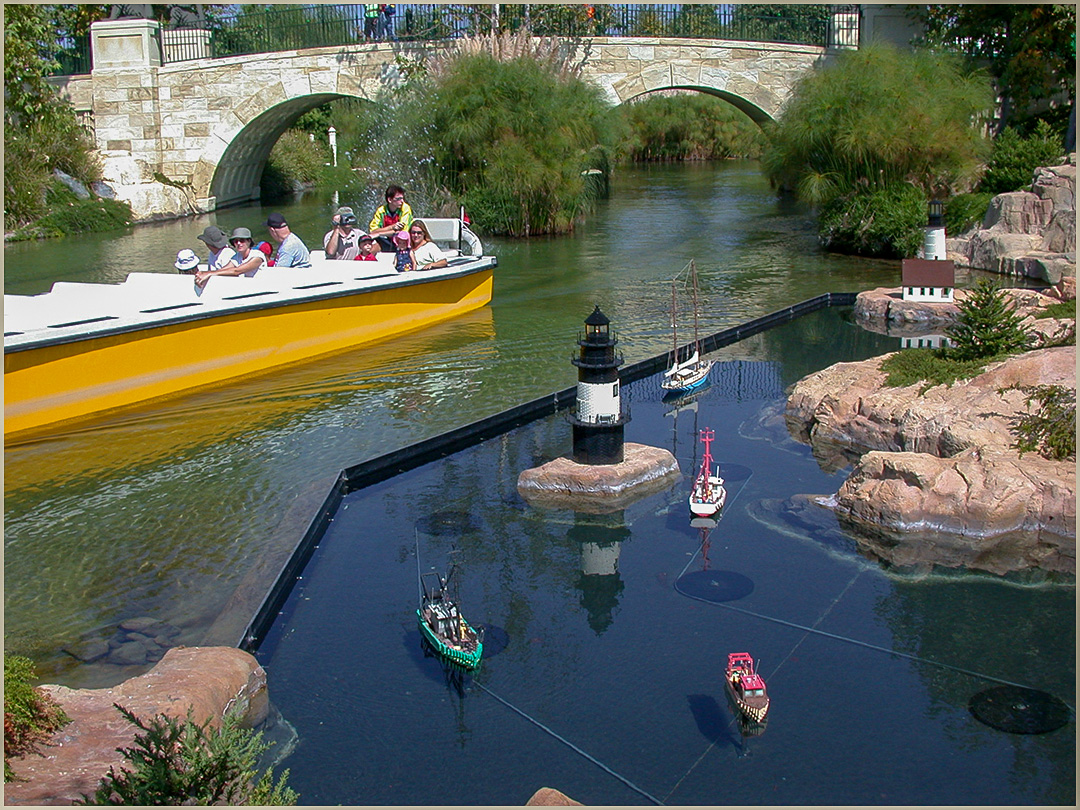
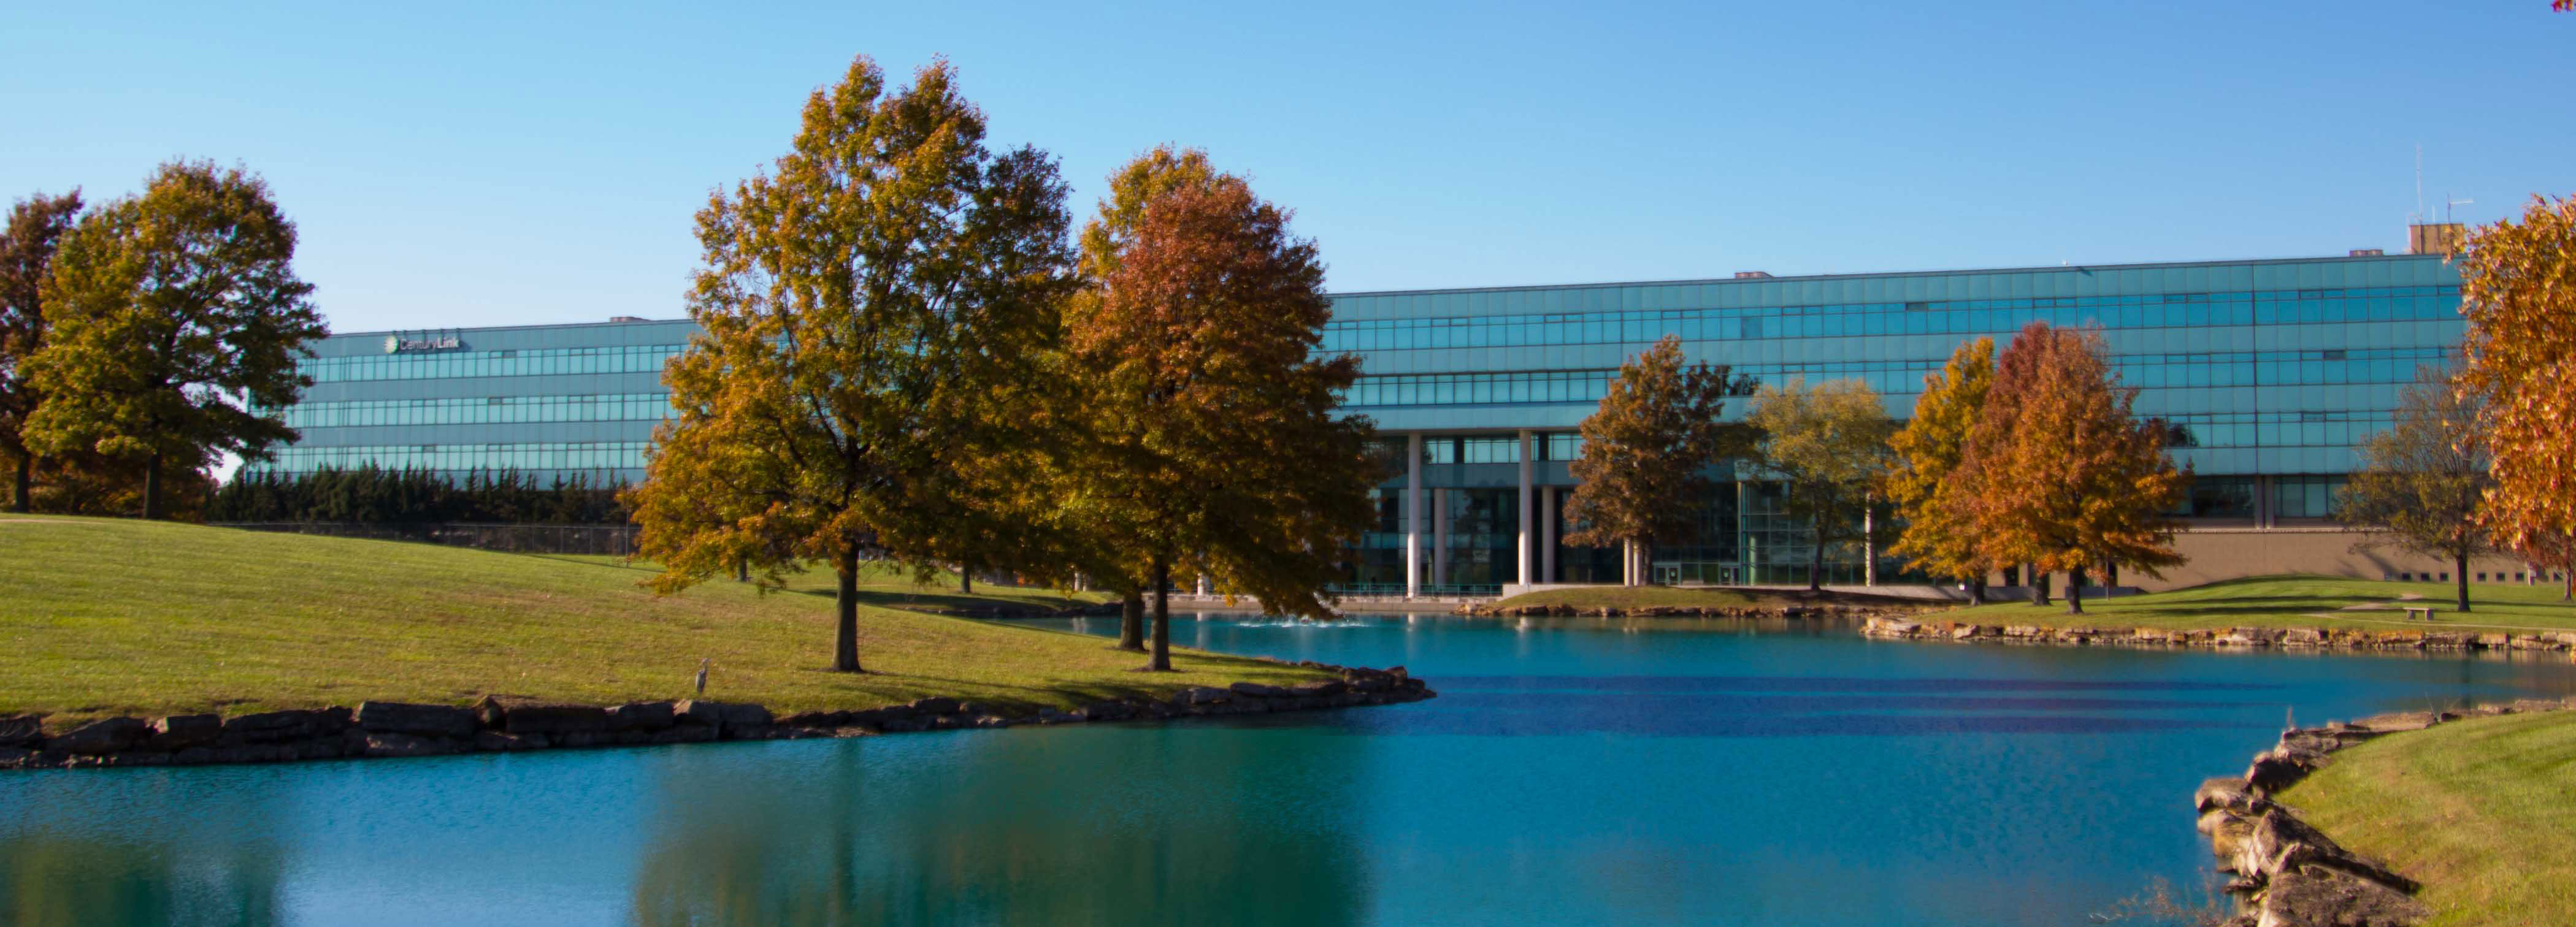
I see many right angles formed by the many windows of the building. It sure is a huge building! Nice pond with curvy lines. I'd love to have an 18mm lens, so I could get this perspective. Very pleasant exposure that makes the scene look like I could step into it. Here's my edited photo to show how the right angle aspect could be more prominent. |
Dec 3rd |
 |
| 12 |
Dec 17 |
Comment |
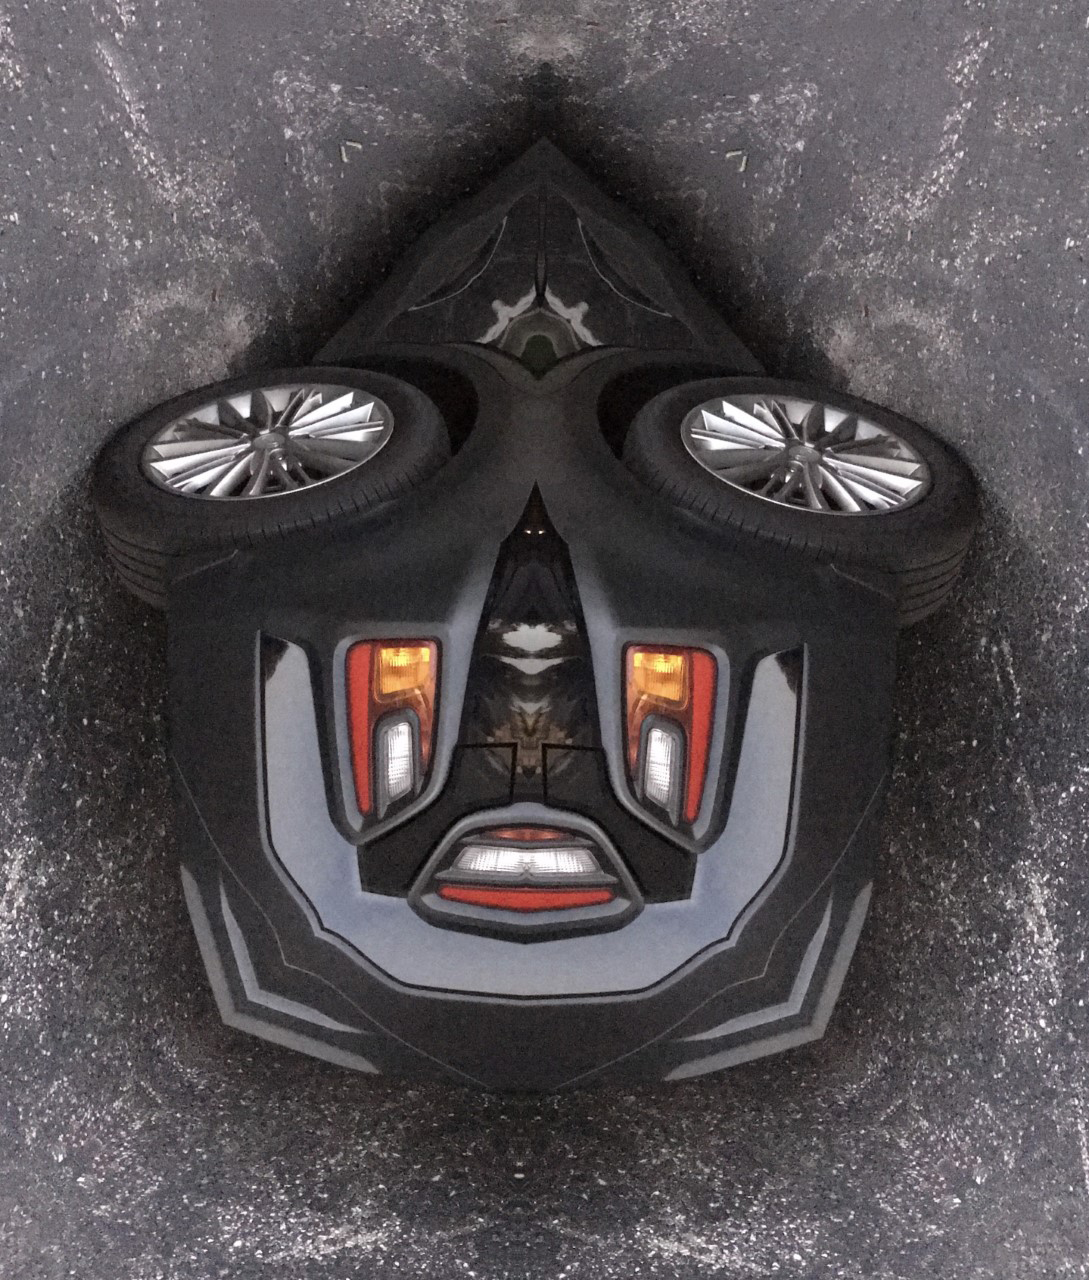
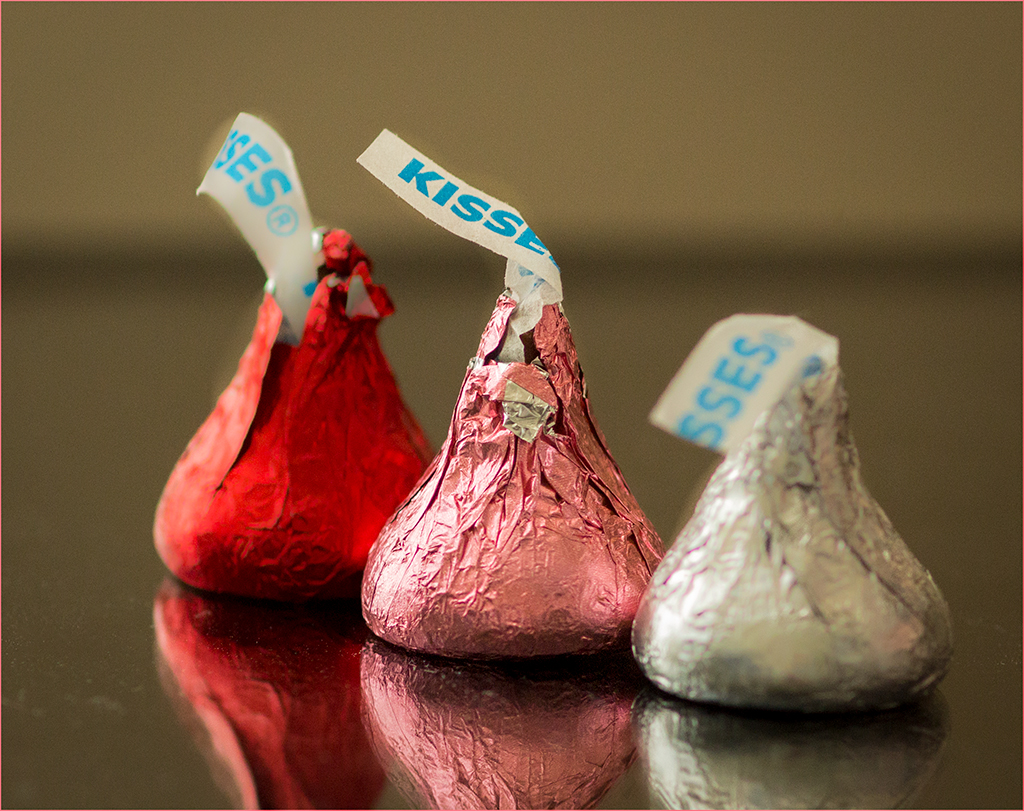
Welcome to our group, David! So happy you could join us this month. I see right angles everywhere! Great choice of subject matter! I wasn't familiar with making the background disappear. Sure makes the blocks stand out. This reflection idea on a glass table is something I'd like to try. I'd like to see the image with a border so that I could see where the photo ends. It's often helpful to put a border on your photo because of our black background.
Thanks for giving us the link to the tutorial. (BTW, everyone, we can't make URL links active on this website, so please copy and paste them into your browser.) |
Dec 3rd |
| 12 |
Dec 17 |
Comment |
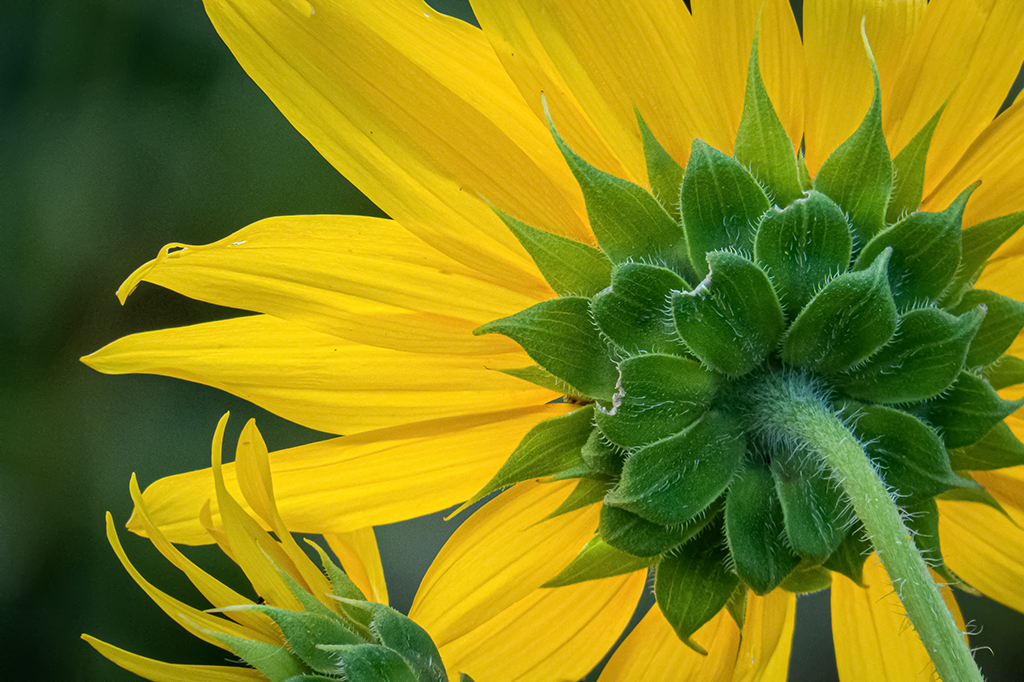
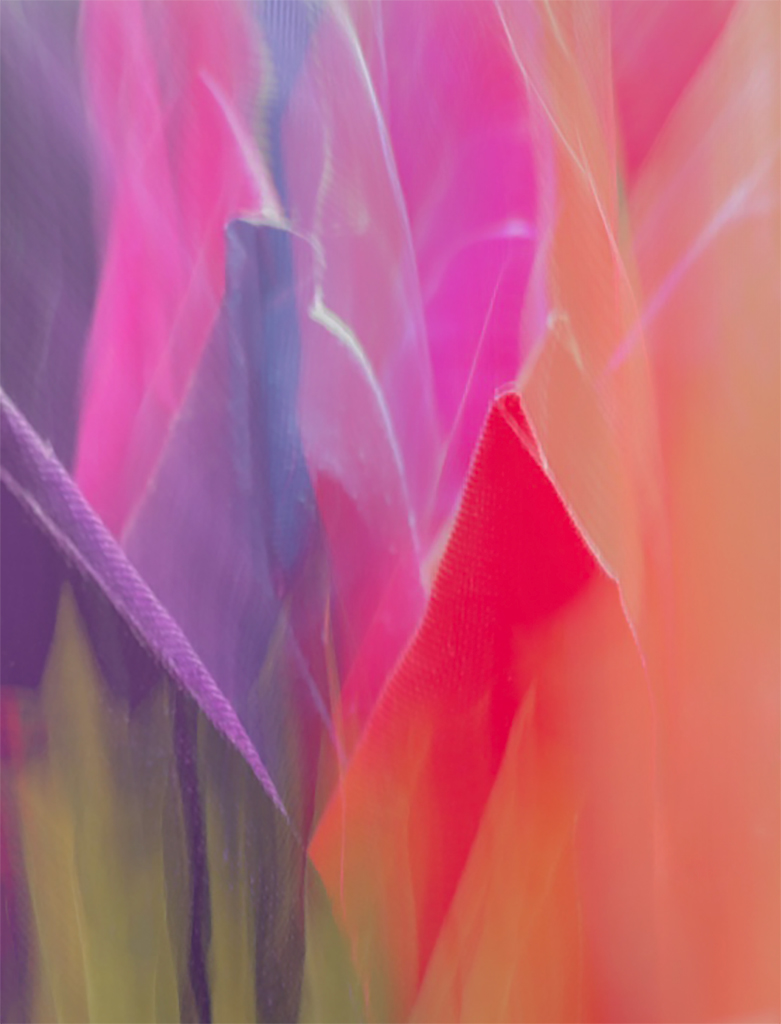
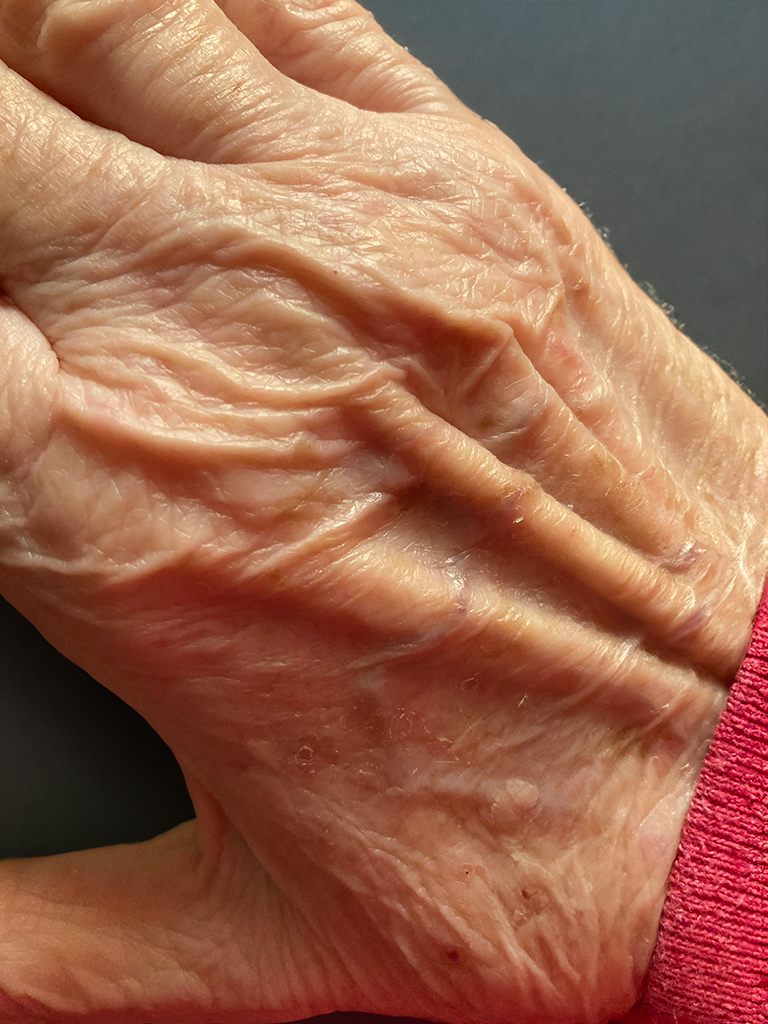
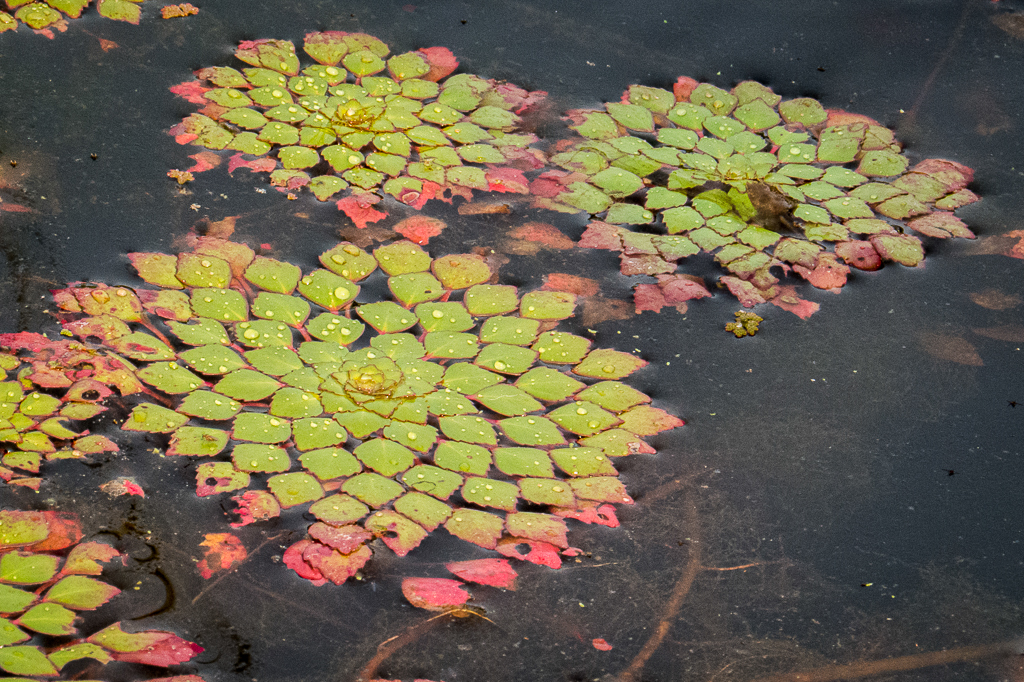
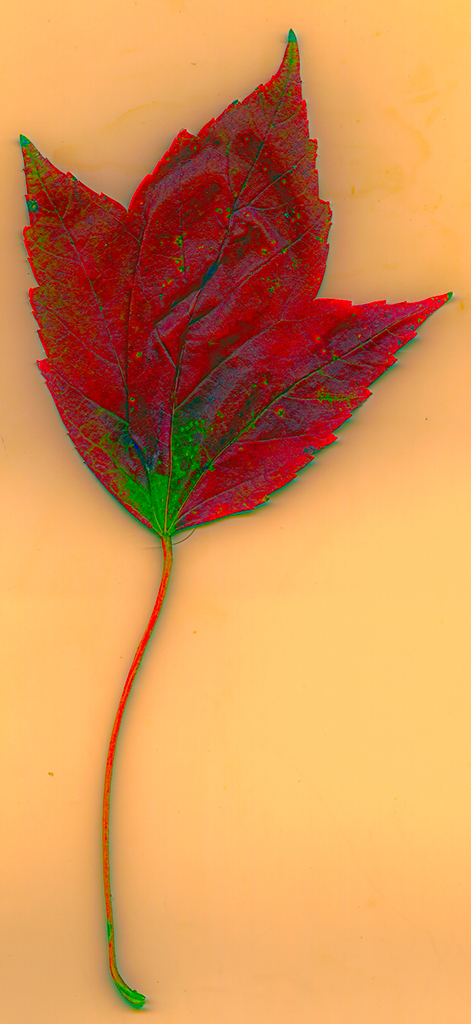
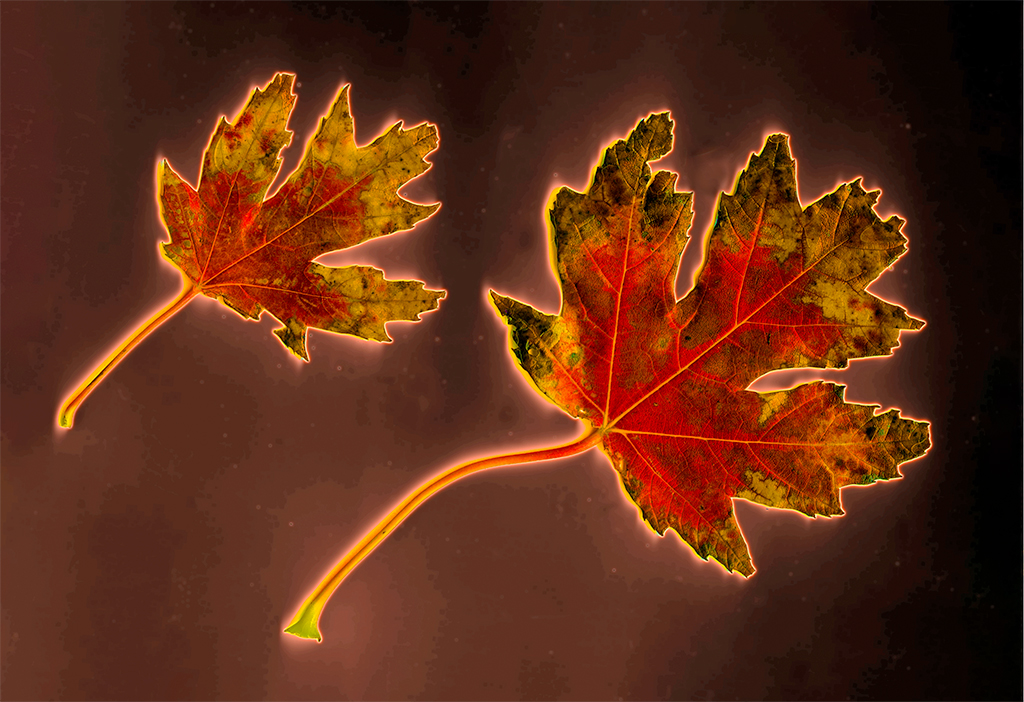
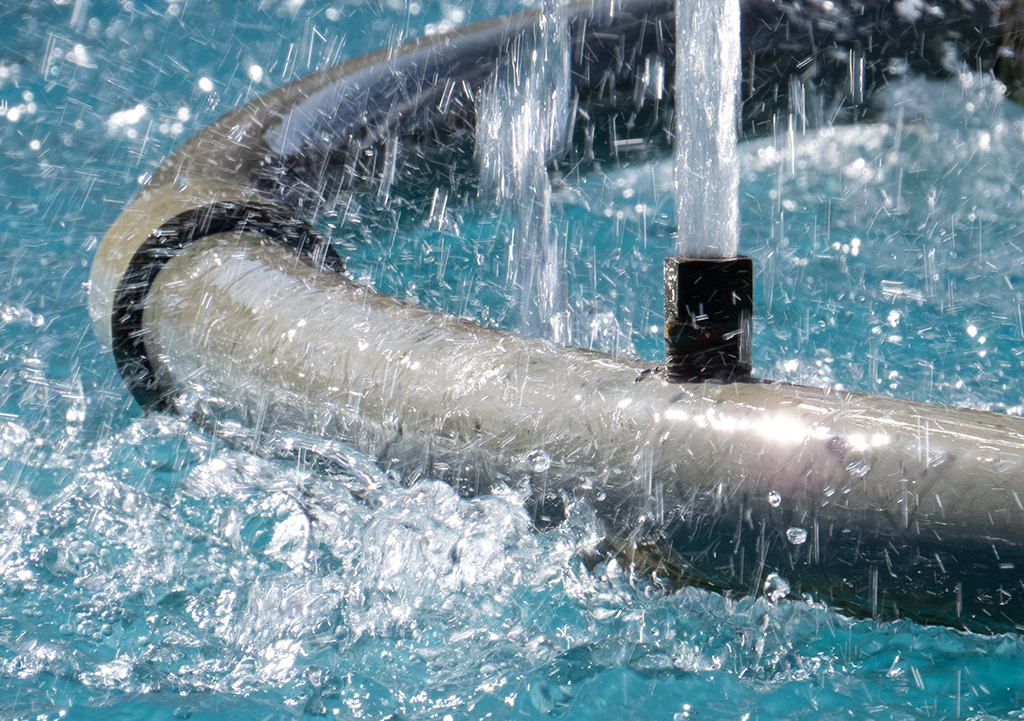
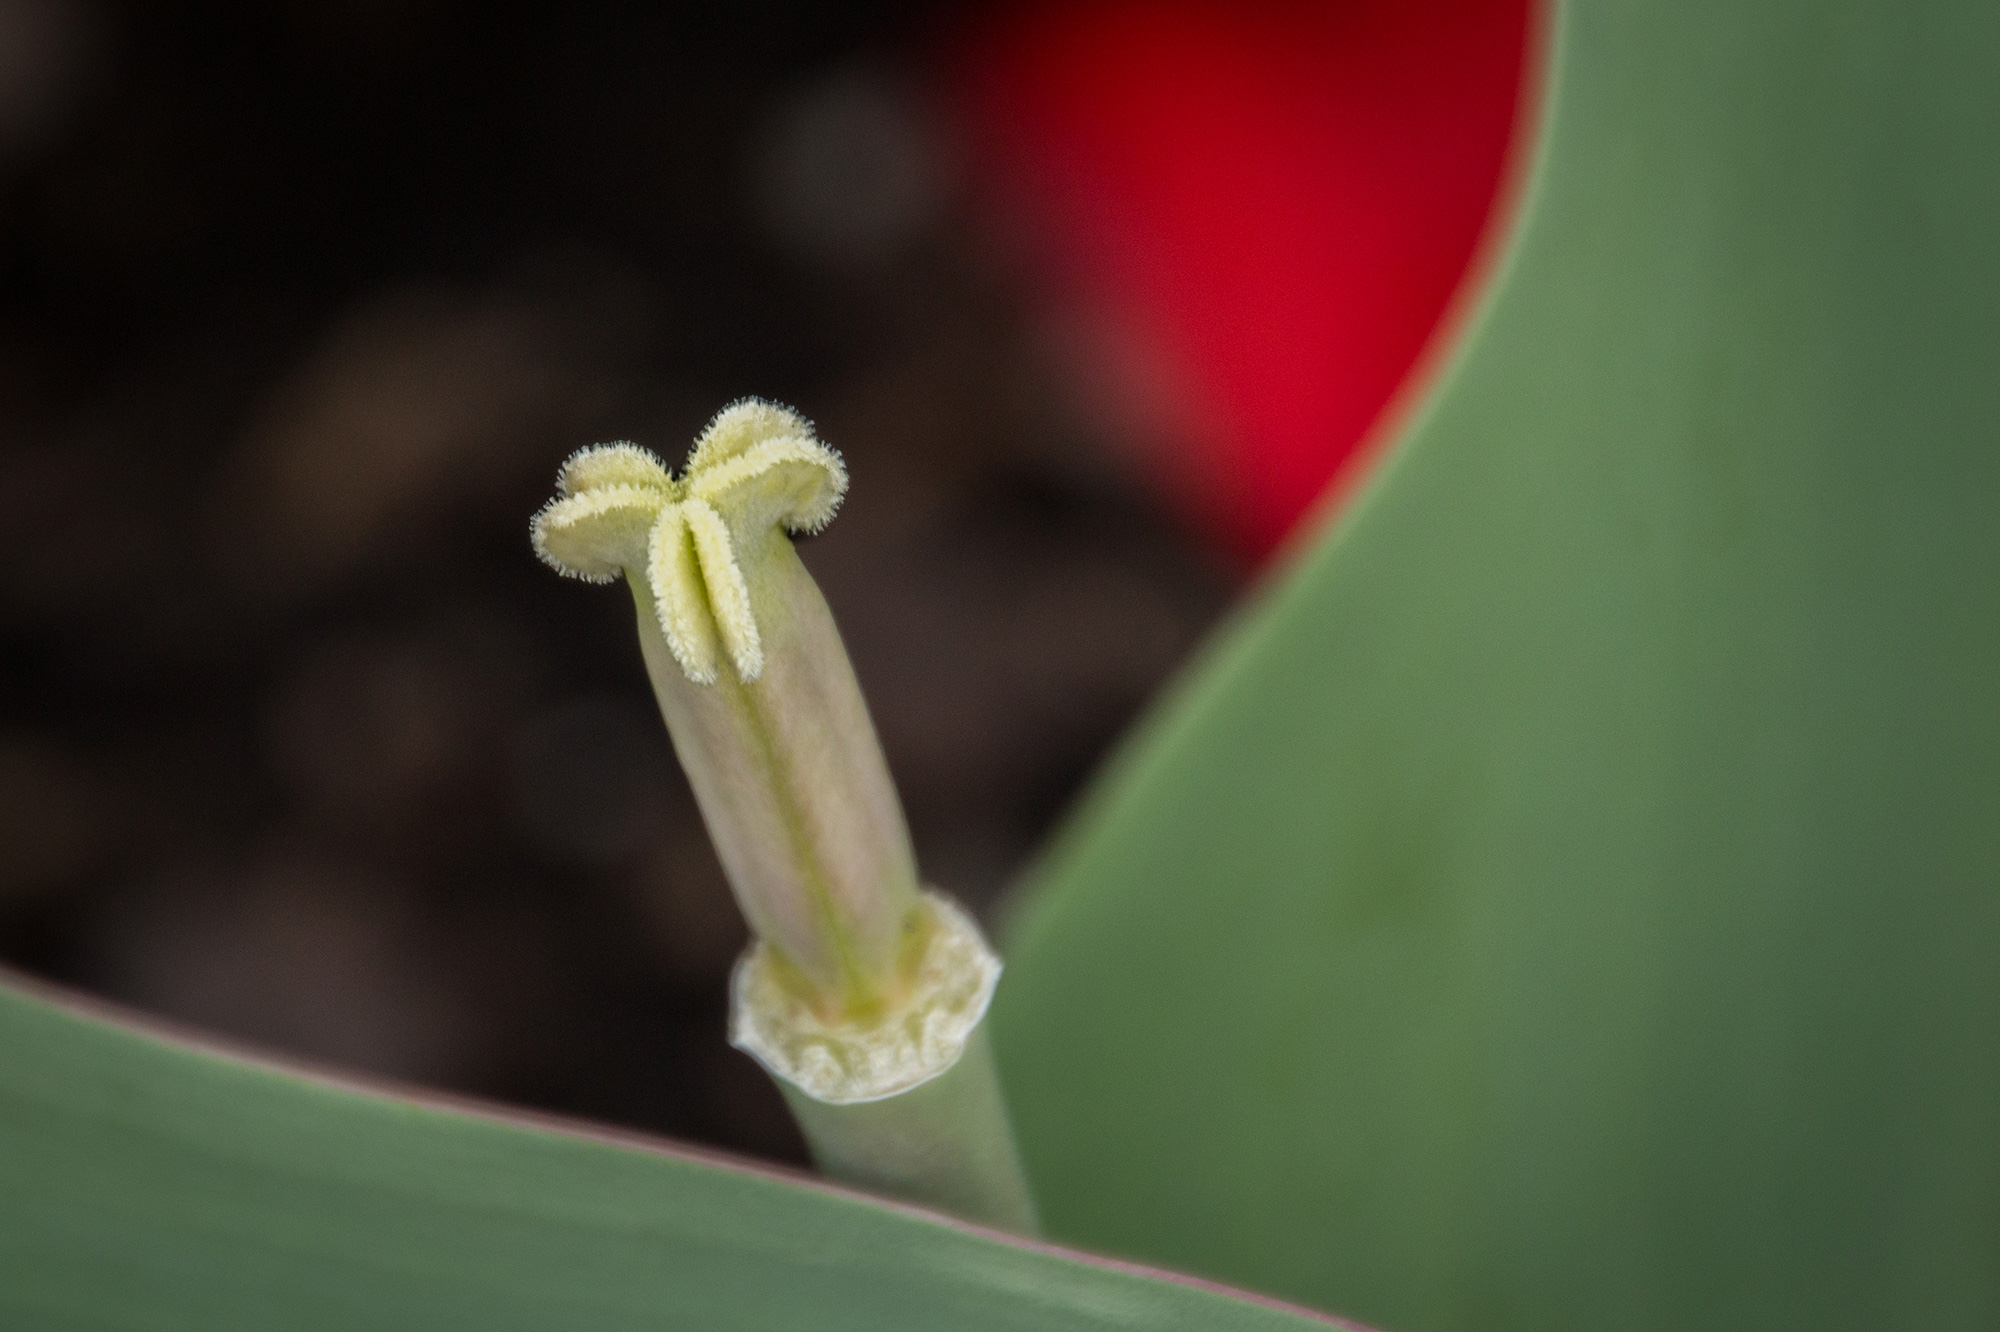
Gorgeous photo! Love the color palette. The depth of field is enchanting (zauberhaft). Did you combine 2 photos of dandelion parts? If not, how did you get that little piece on the bottom right?
I don't see any right angles in the photo, so I'm assuming you interpreted "right" to be "correct." I did an online translation search and found the German words of rechte Winkel. I interpreted the assigned subject to be a scene with right angles in it. |
Dec 3rd |
| 12 |
Dec 17 |
Comment |
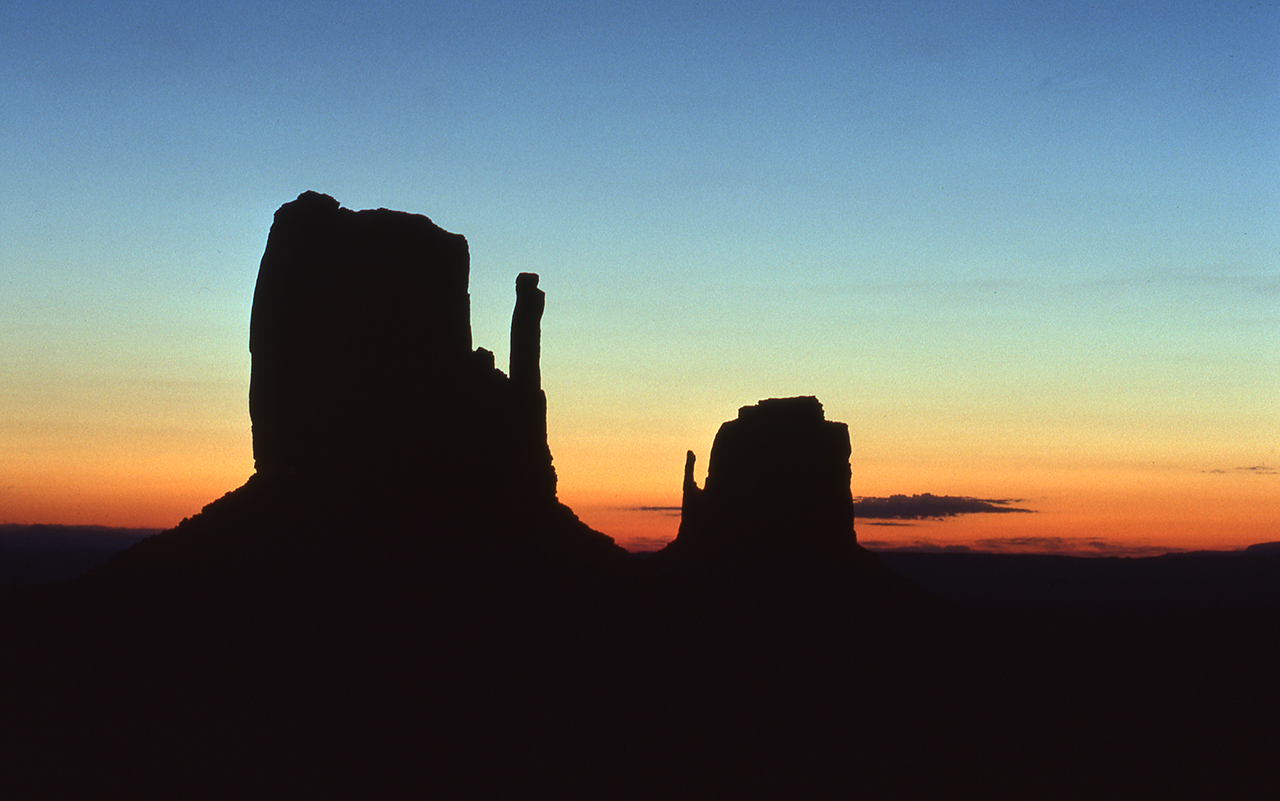
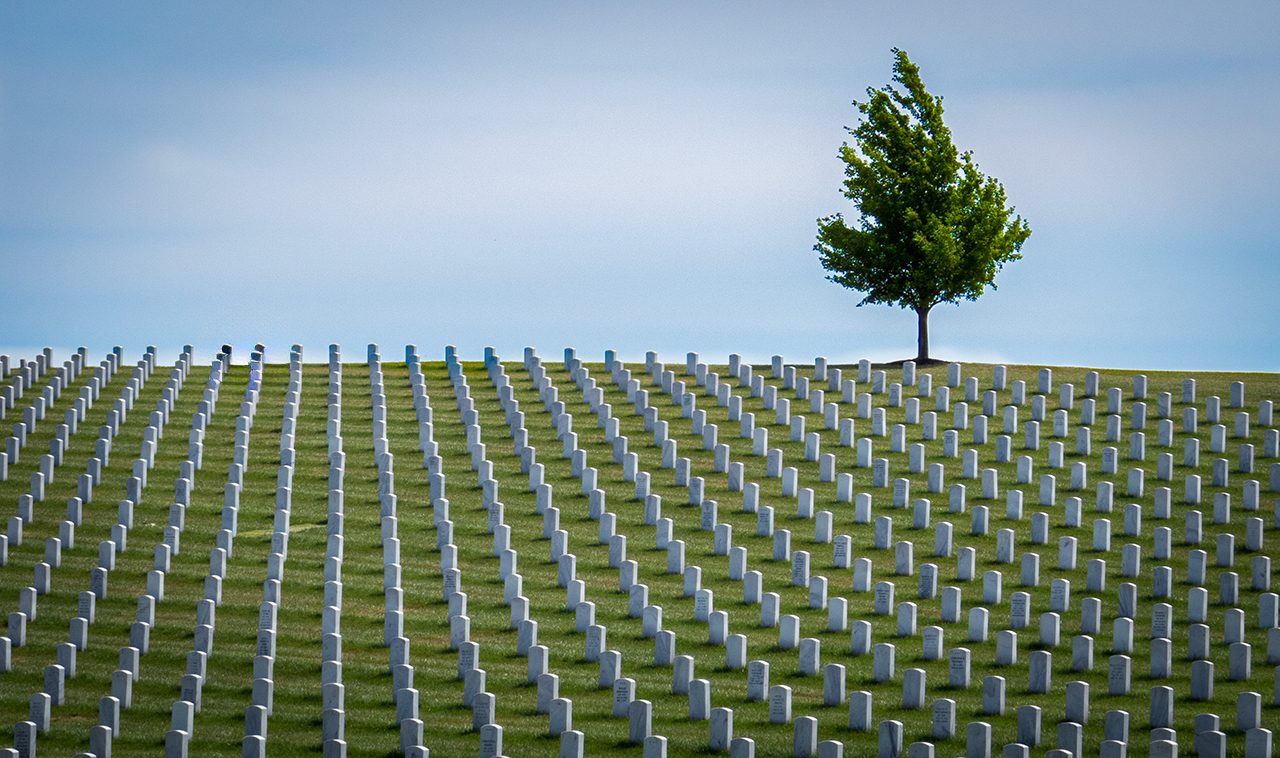
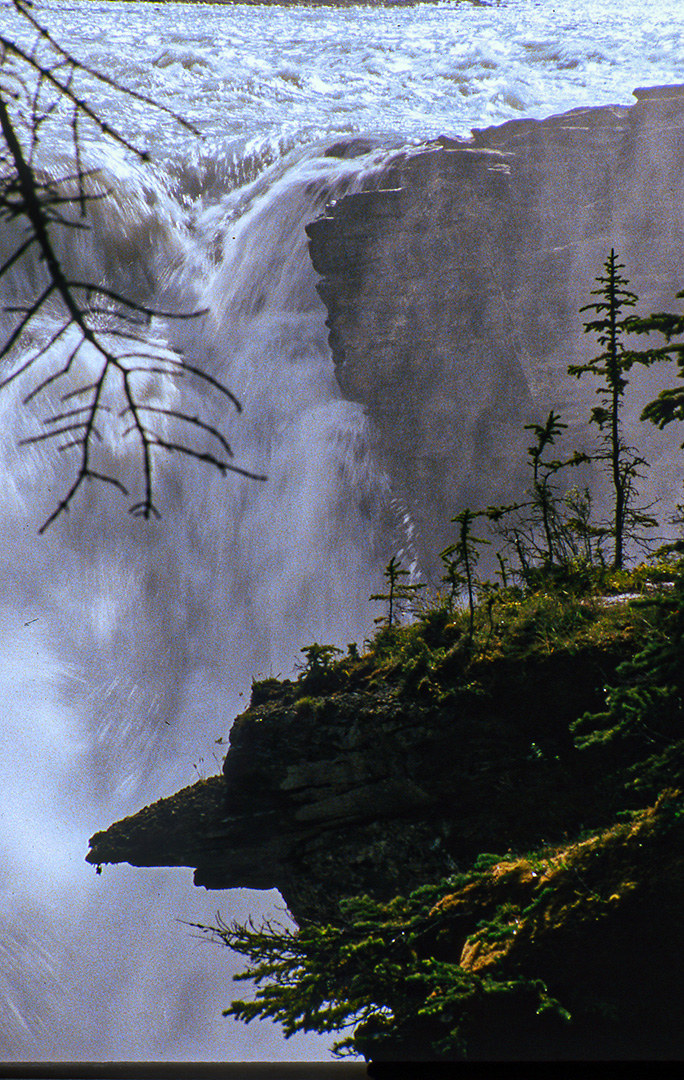
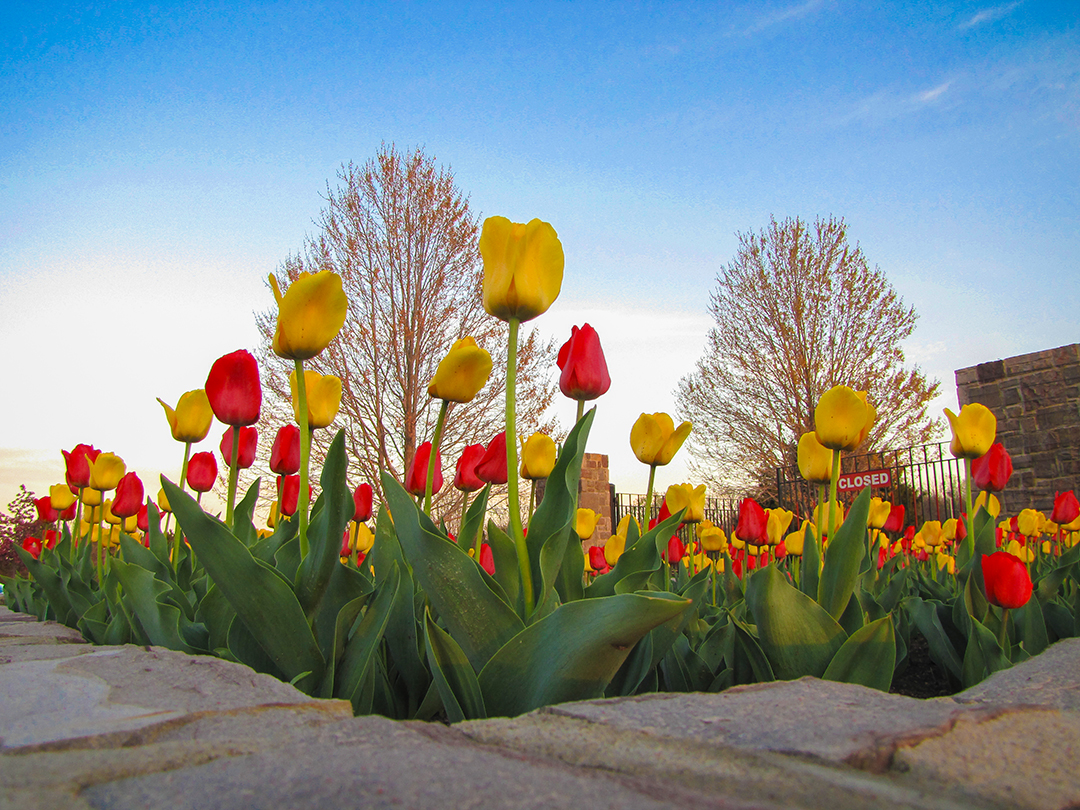
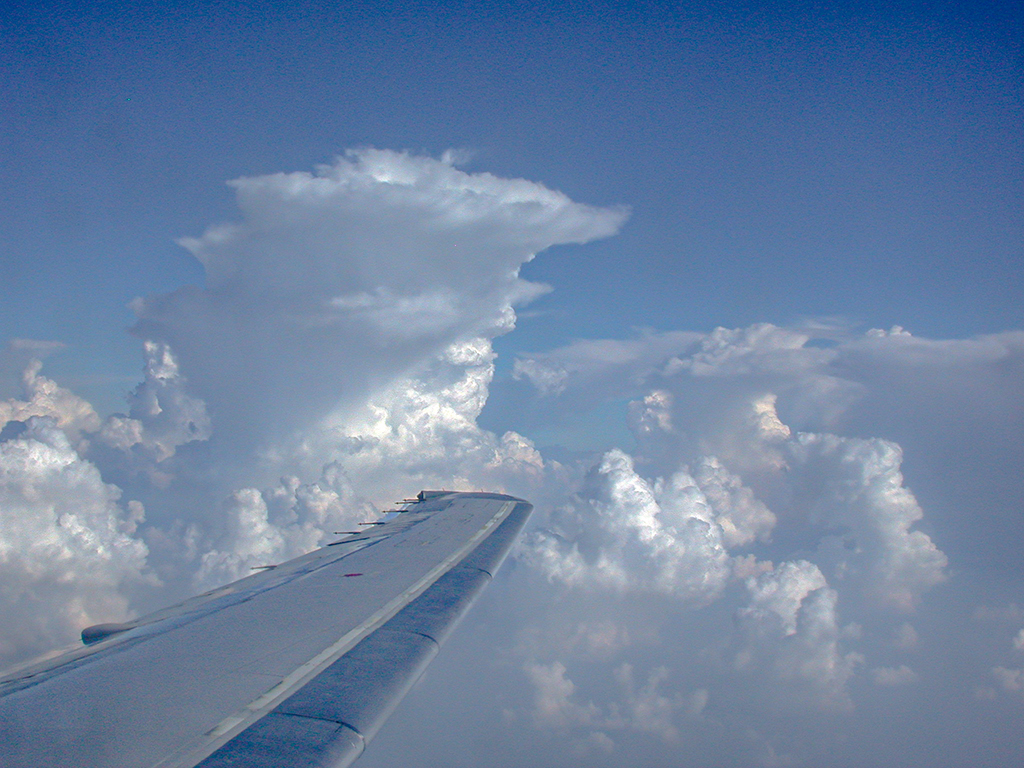
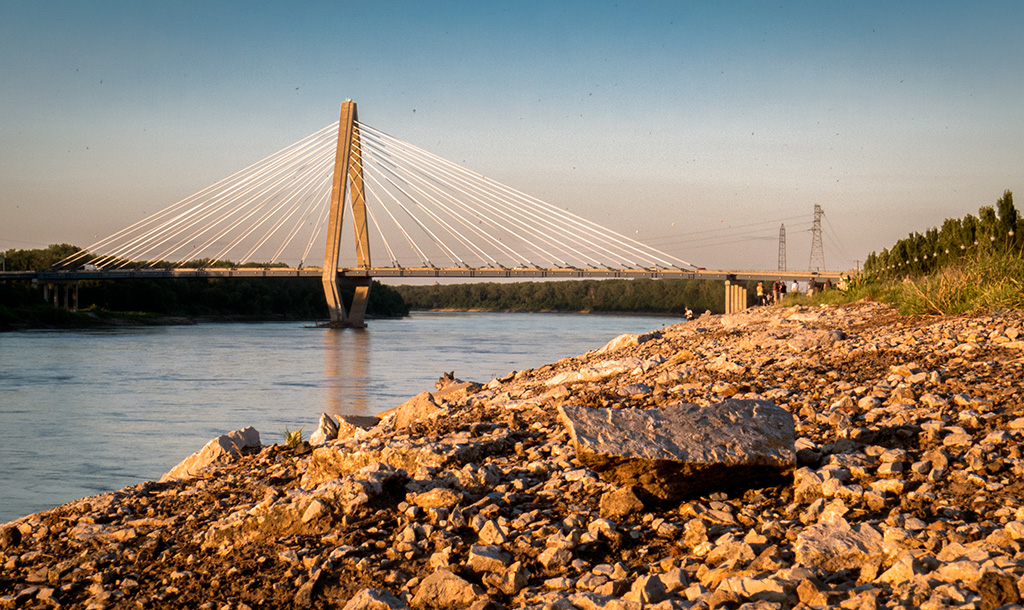
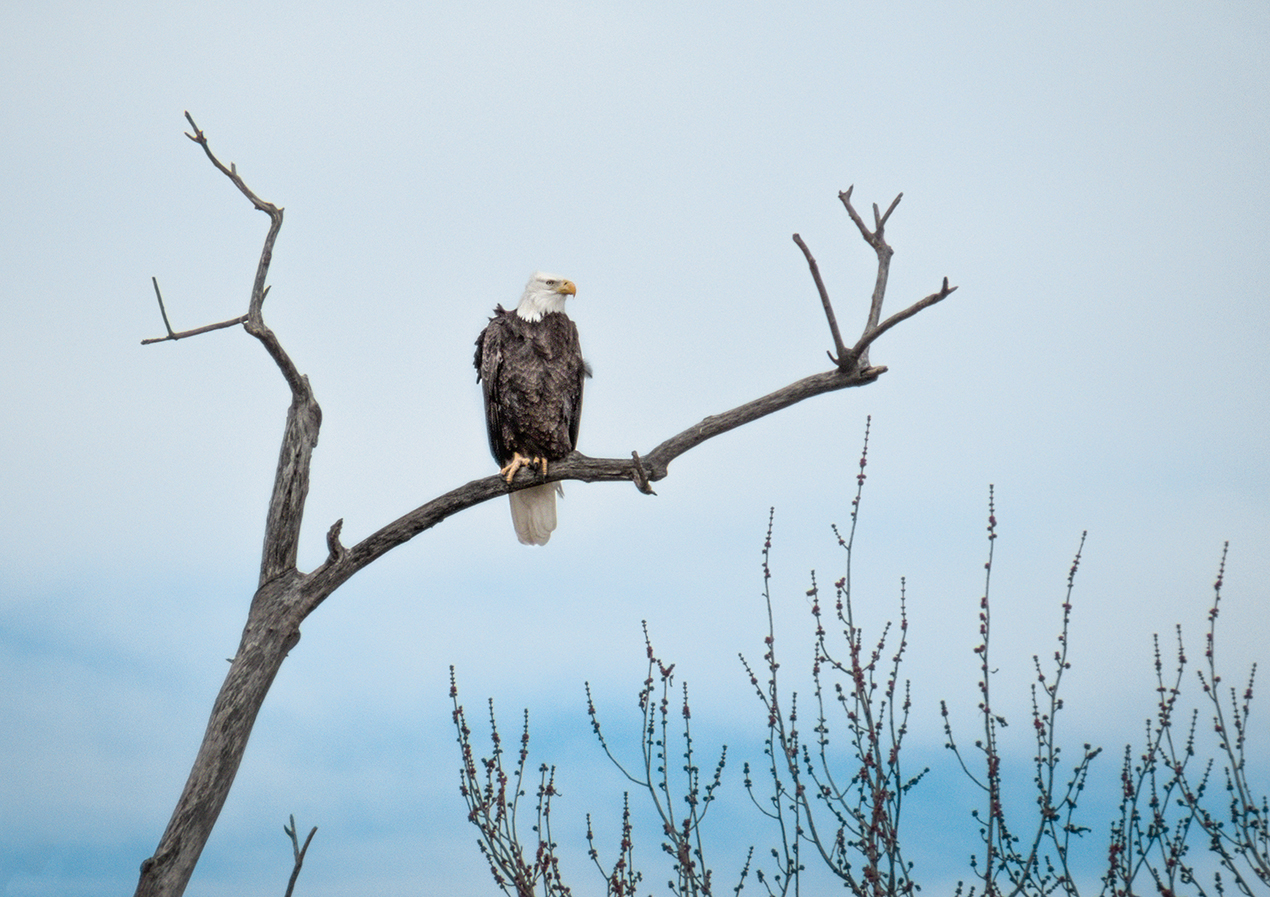
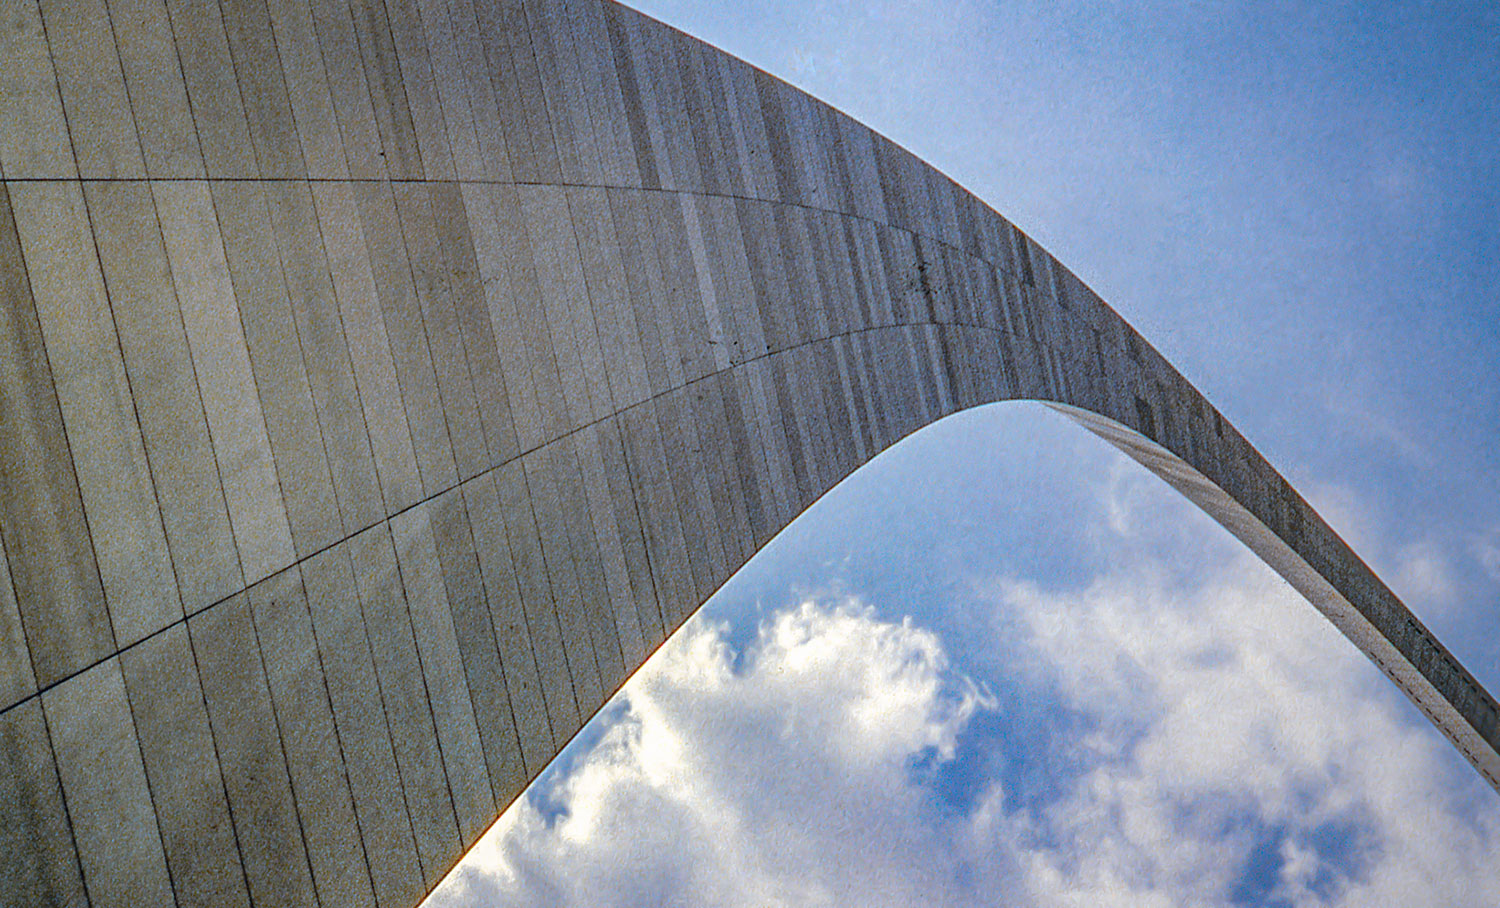
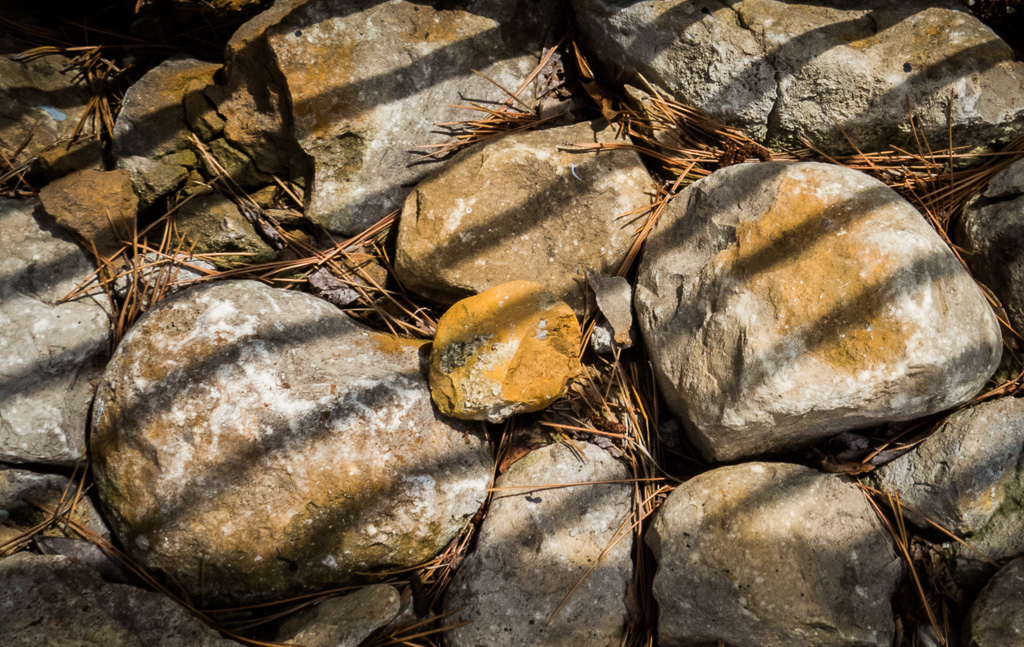
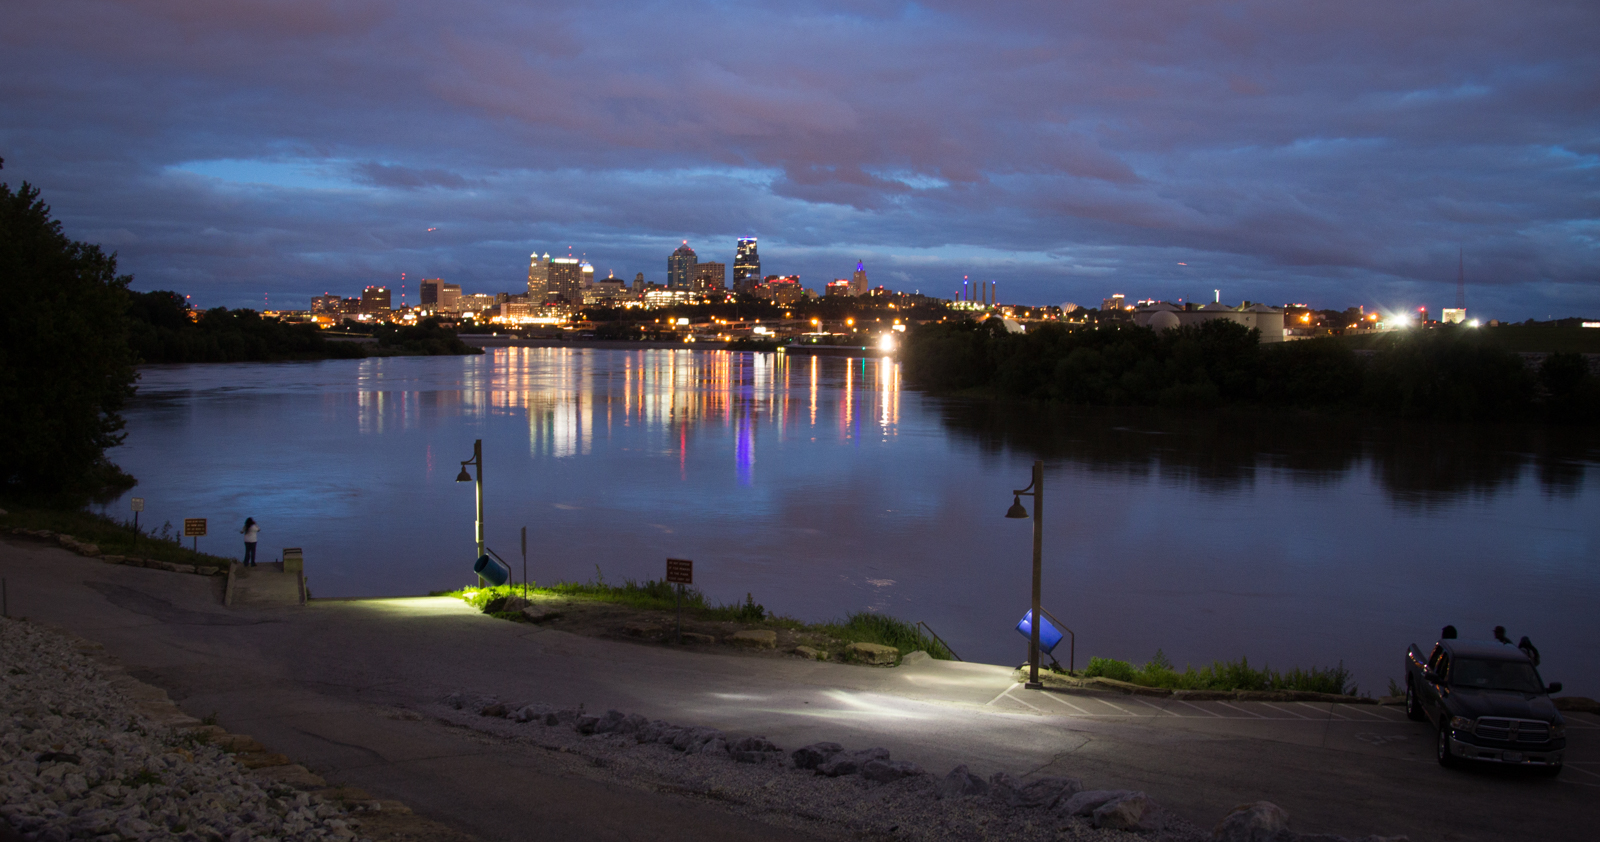
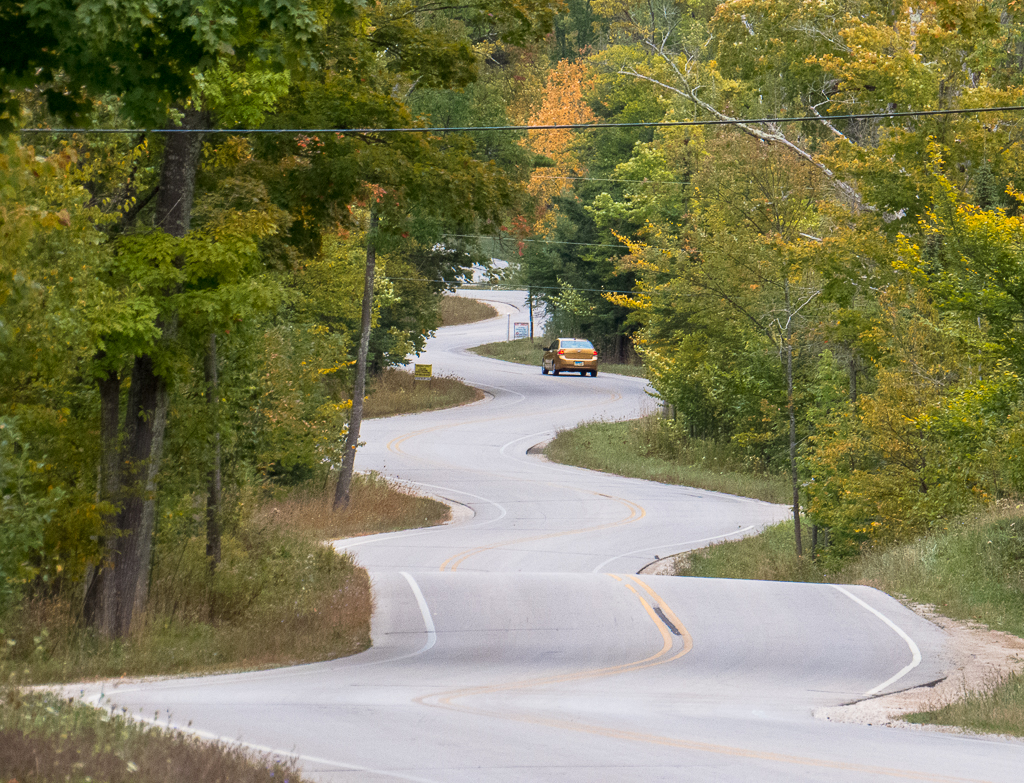
Beautiful scene! But I'm not sure how you interpreted the topic of "Right Angles." I don't see any right angles in your subject matter. Maybe you meant you took the photo at the "correct" angle? Or maybe you positioned yourself and camera at a right angle to the subject?
I see a white halo at the top of the rocks. Do you know at what point of your editing that it appeared? And then reducing that editing to the point where the halo doesn't appear. It happens to me when saturating one specific color.
I like the composition, with the smaller peaks on the left being balanced by the one large on the right. |
Dec 3rd |
6 comments - 8 replies for Group 12
|
6 comments - 8 replies Total
|