|
| Group |
Round |
C/R |
Comment |
Date |
Image |
| 96 |
Nov 25 |
Reply |
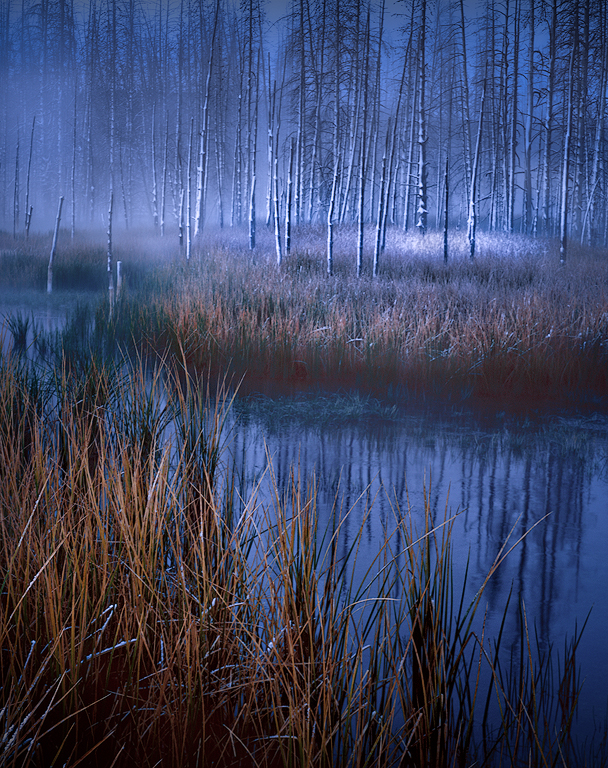
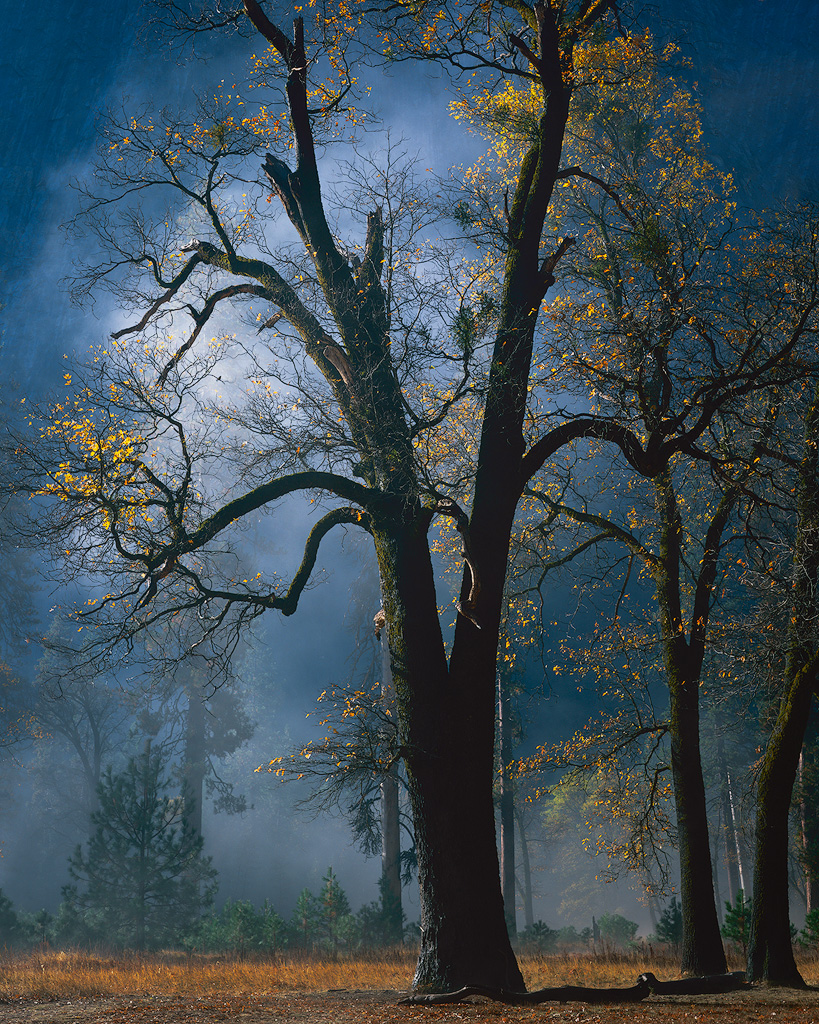
Thanks Viren. Good to know you see a blue cast. I think it is coming from my attempt to cool the background a bit to get it to separate from the trees in front. But I can try warming up a bit overall. |
Nov 28th |
| 96 |
Nov 25 |
Reply |
Thanks Kenneth. Yes, I have tried hard to get the trees to separate from the background. It is a busy background which makes that challenging. I will see if I have any more idea in quiver which I can try for that. |
Nov 28th |
| 96 |
Nov 25 |
Reply |
Thanks Rick. I appreciate the feedback. |
Nov 28th |
| 96 |
Nov 25 |
Comment |
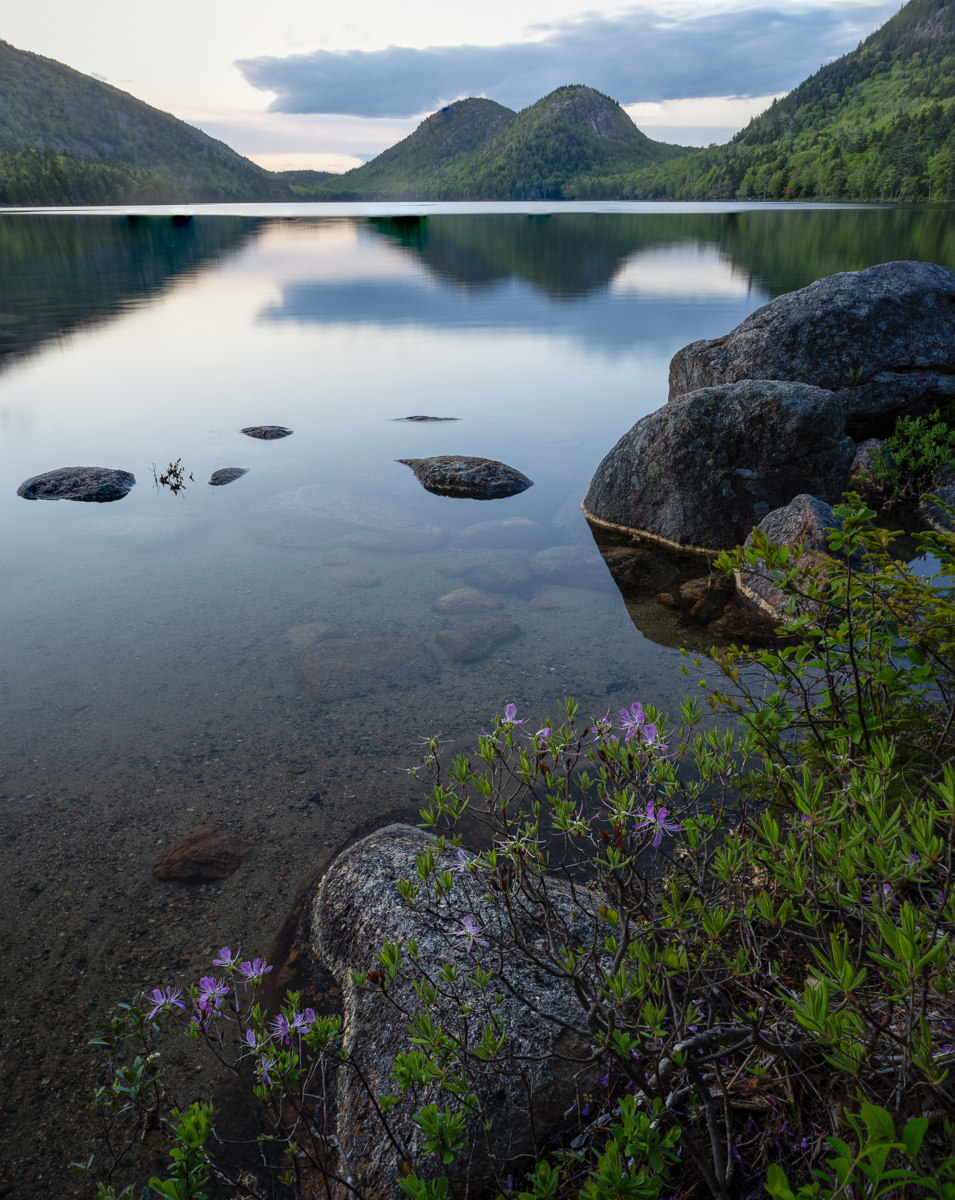
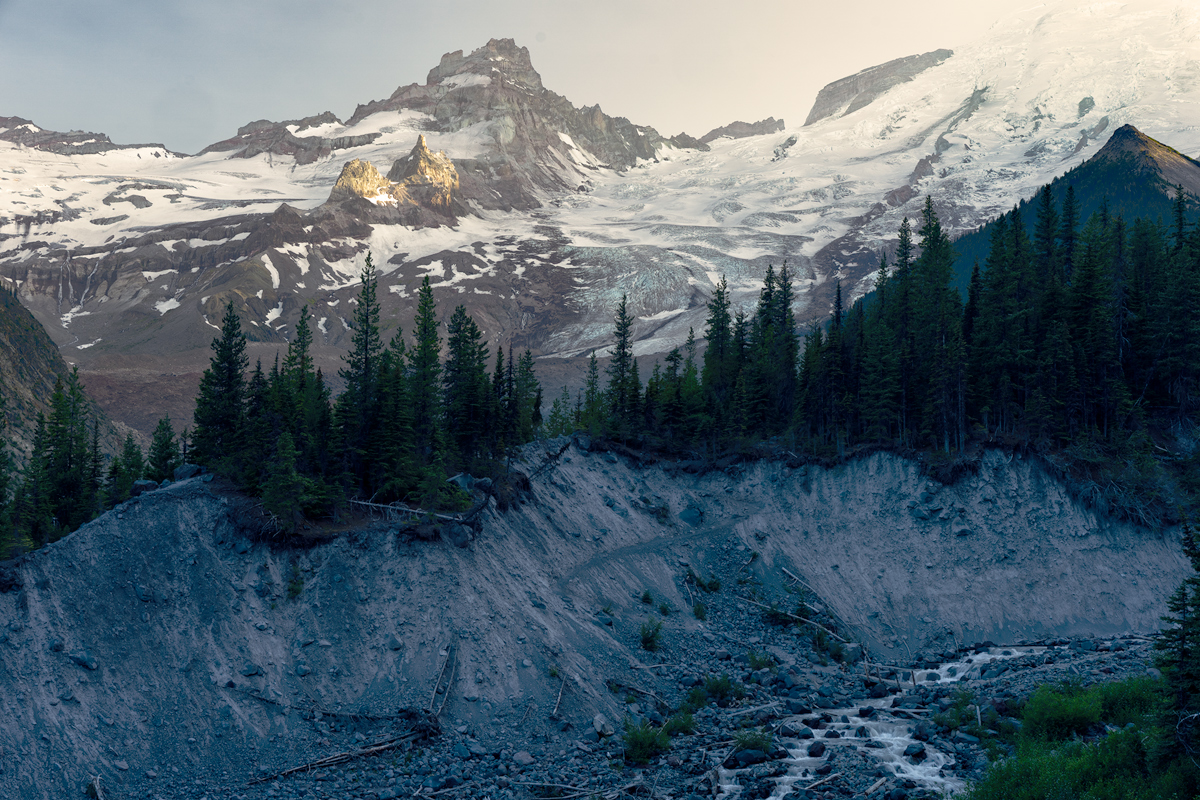
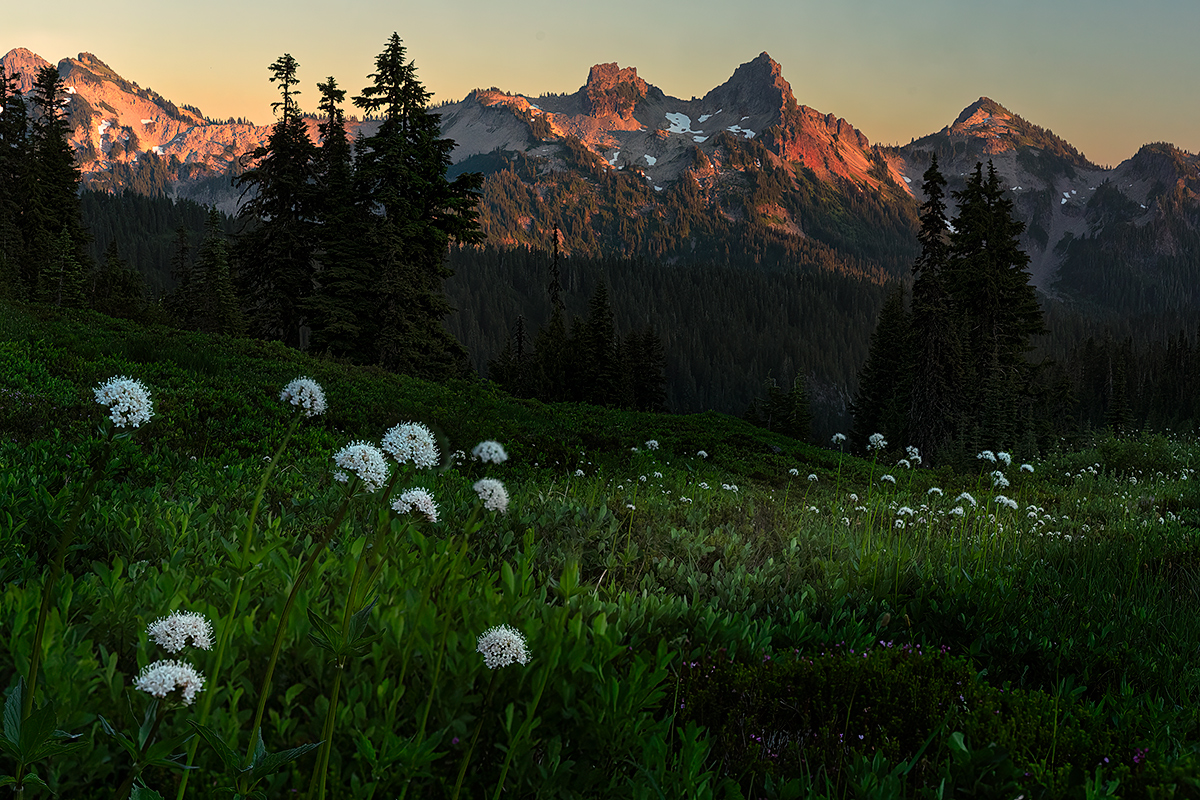
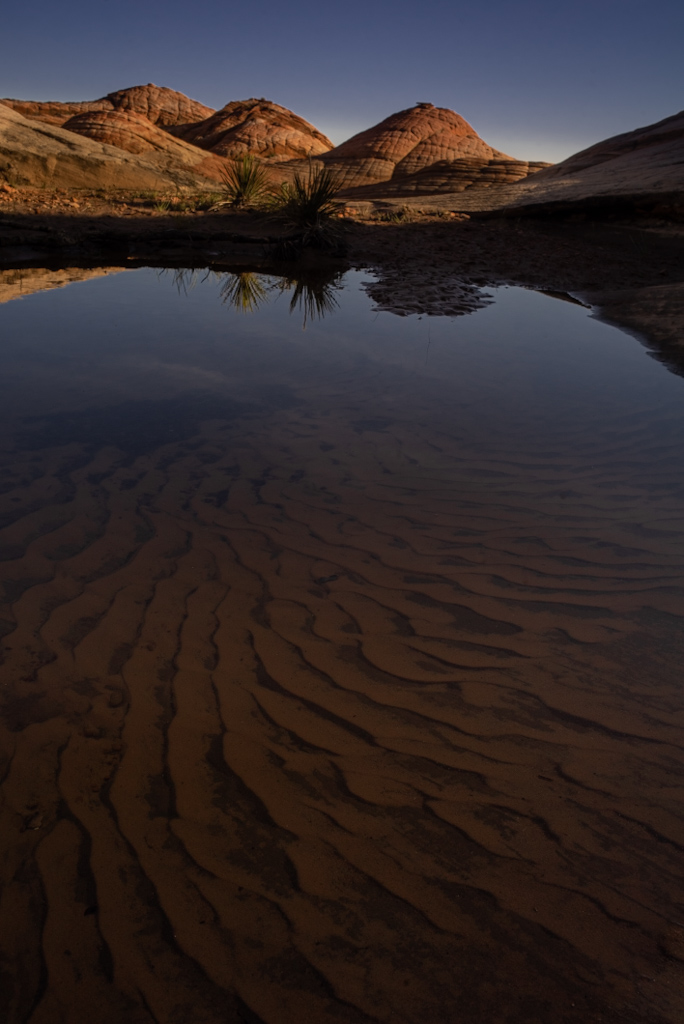
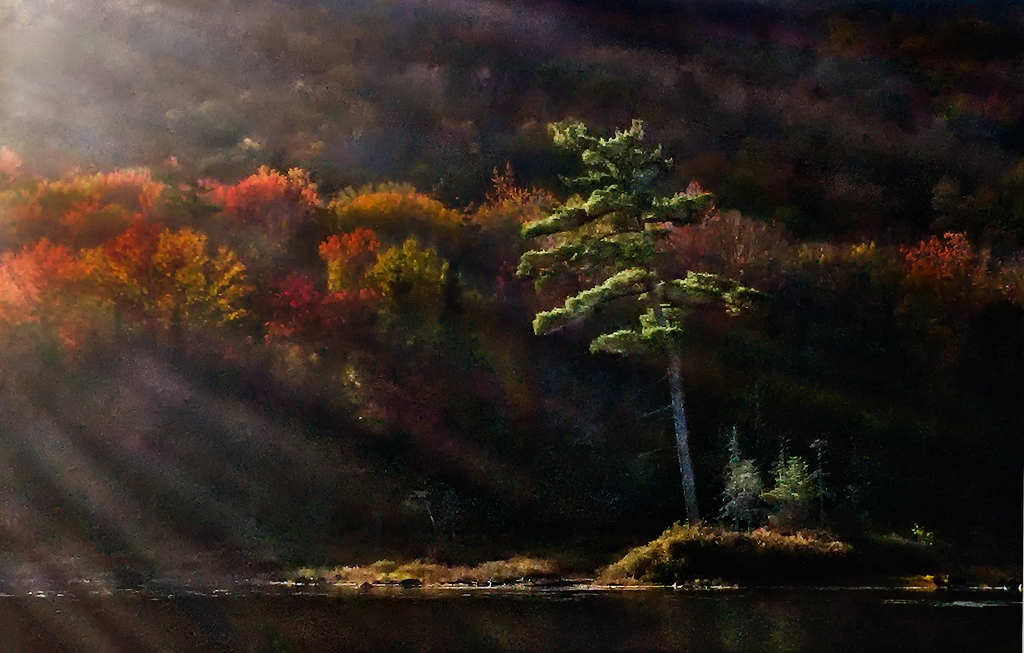
Hi Viren. This is a lovely scene. There is nothing wrong with the human element. To me the image is about the scene, not the person. The person is an important supporting element that helps provide a focus, allowing us a starting point to explore out from.
It seems like you are already a ways away at 190mm, so composing less of the scene might not have been possible. But were it so, I like the scene without the carts at the left, and with less sky. Limited to that, for me the image is simpler and seems to tell of the figure shown contemplating the wonderful start of the day surrounded by a warm lovely scene of nature. It is as if we are being invited to enjoy the morning and landscape along side the figure.
I might also clone the vegetation at the bottom right edge, although it took me quite some time before I saw it and thought about that, so perhaps not needed.
|
Nov 16th |
| 96 |
Nov 25 |
Comment |
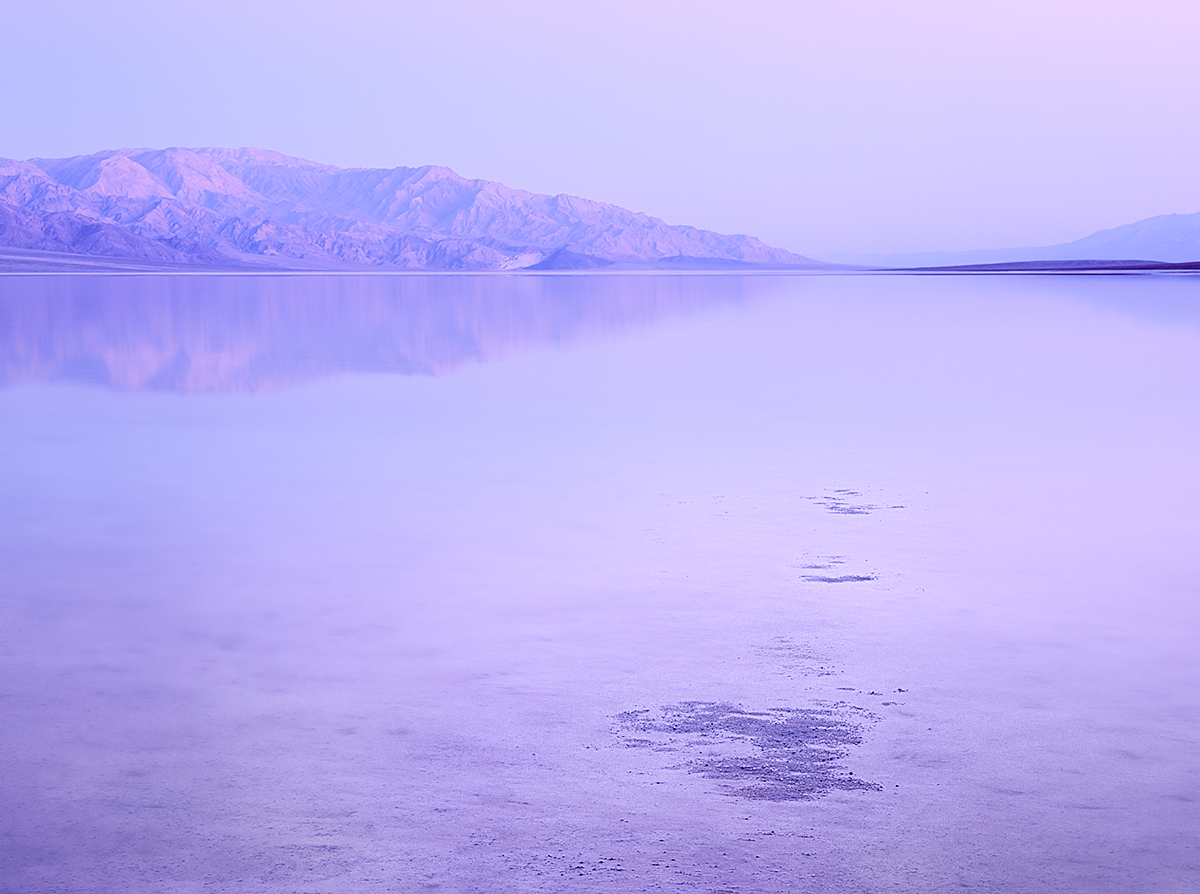
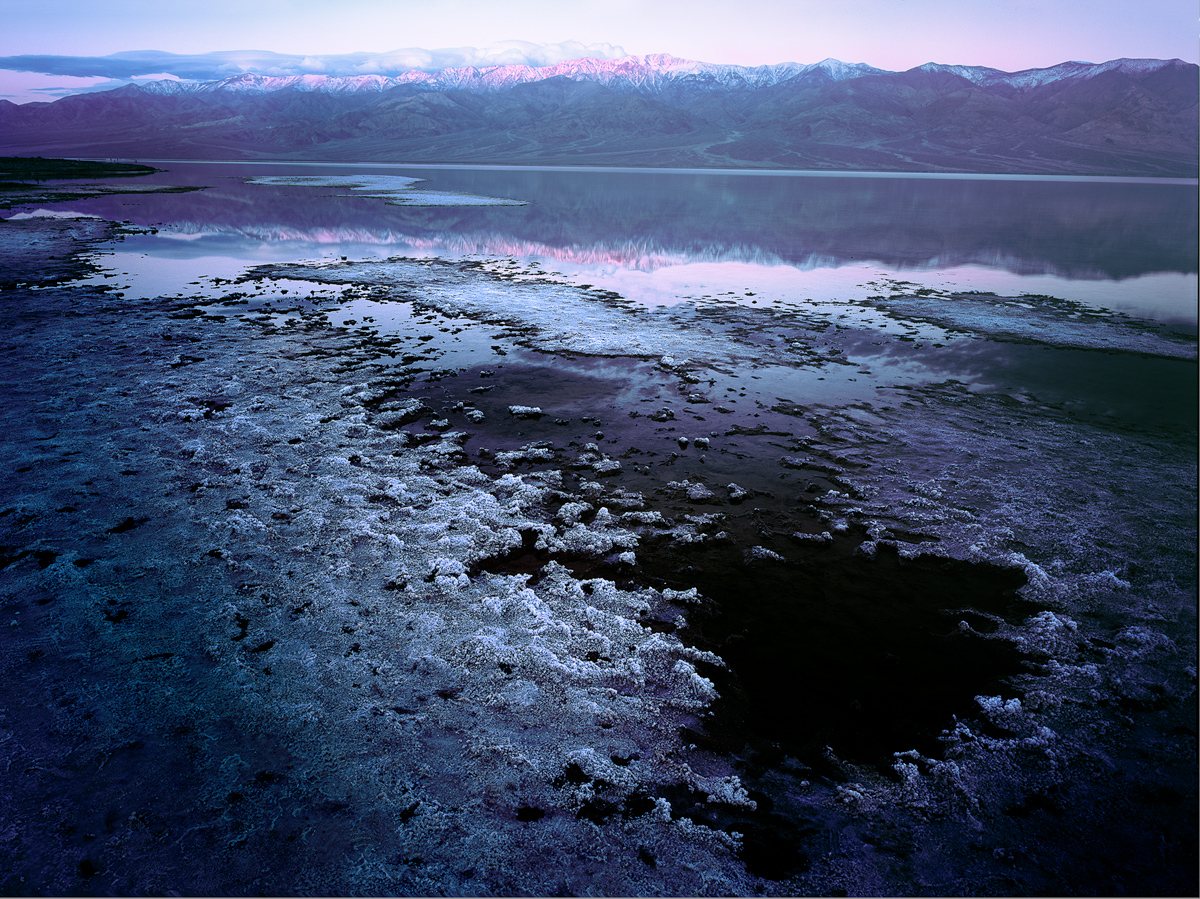
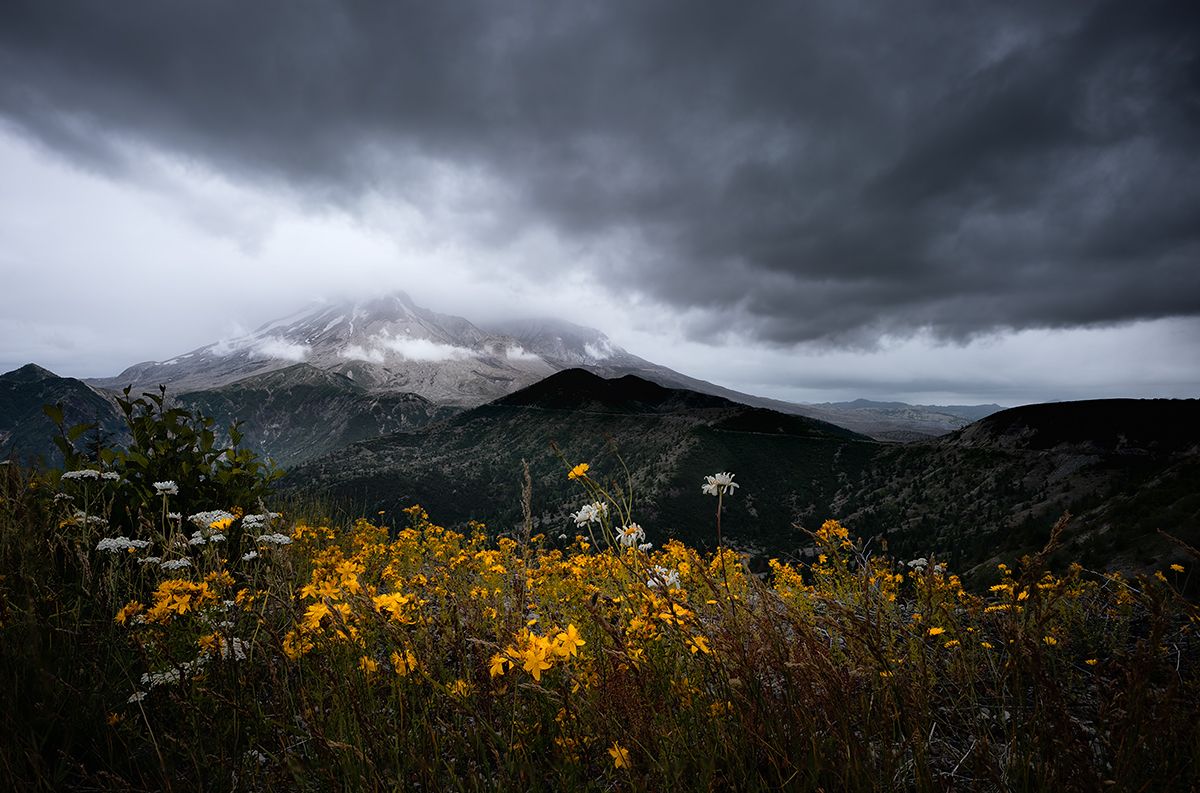
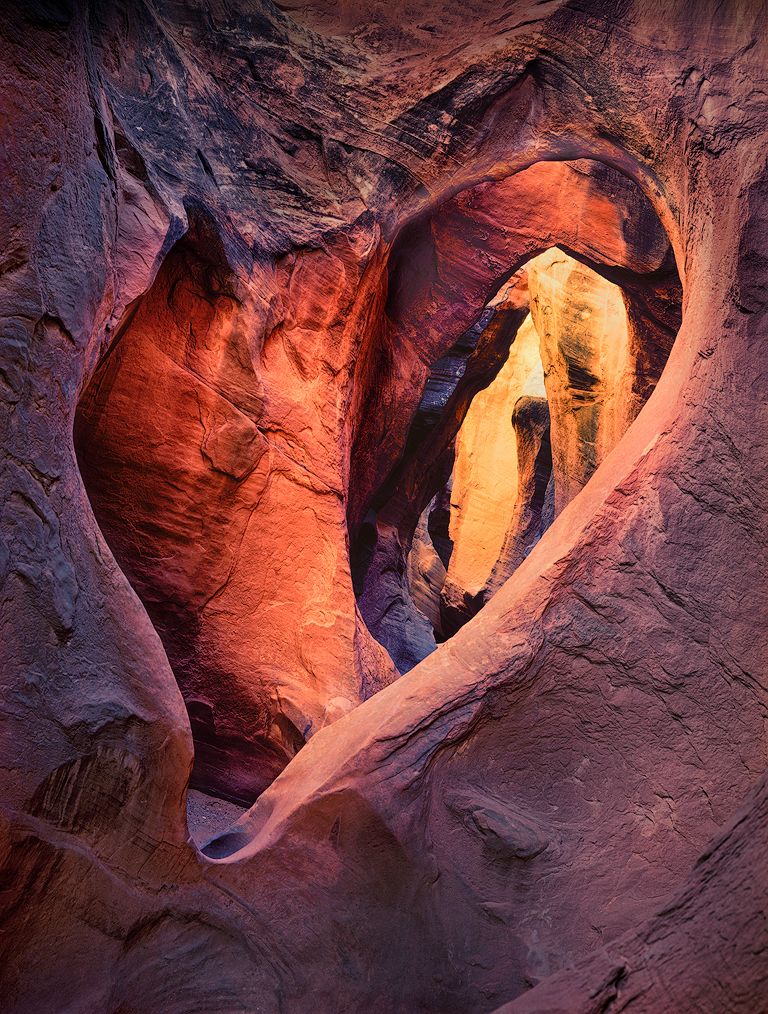
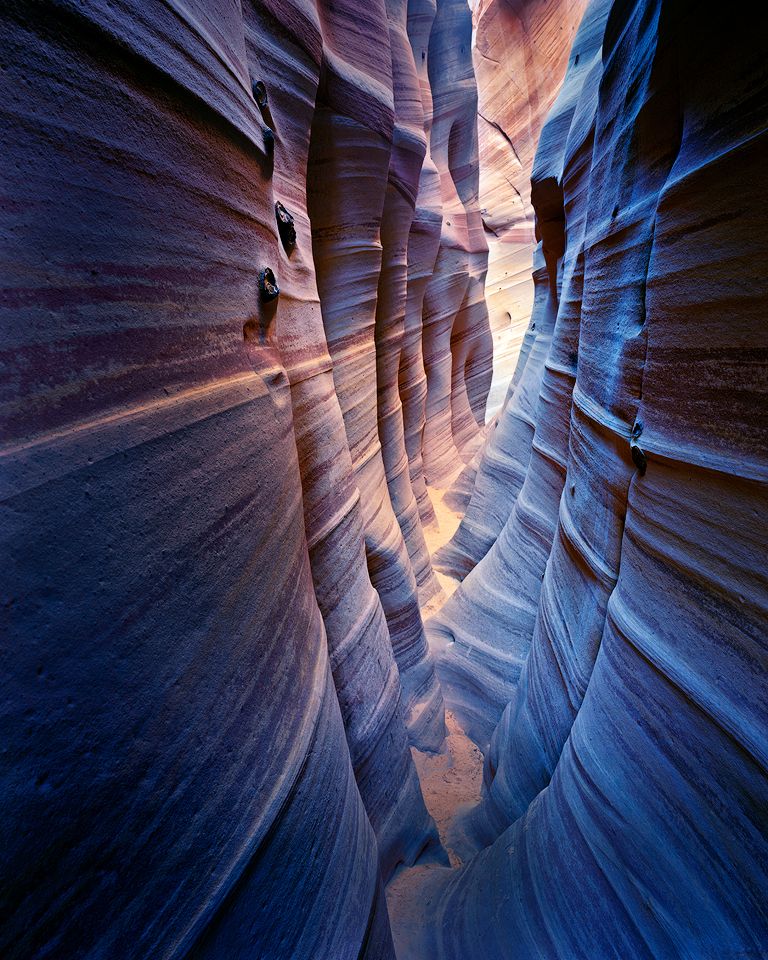
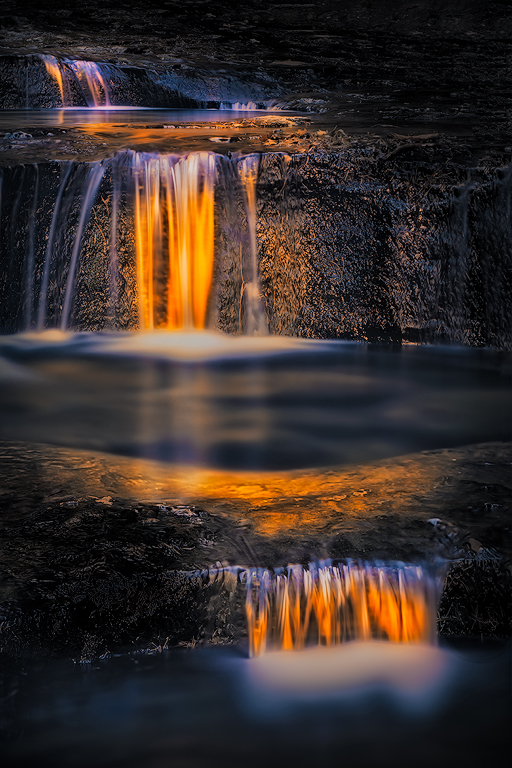
Hi Rick. It is a very peaceful image, very painterly. It's the sort of image that would look nice printed on a mat surface paper.
I am drawn to the warm reflected light at the distant end of the courtyard. It is reminiscent of the sort of reflected light one sees and appreciates in the canyons of the Southwest U.S. It makes me want to explore that end of the courtyard further. |
Nov 16th |
| 96 |
Nov 25 |
Comment |
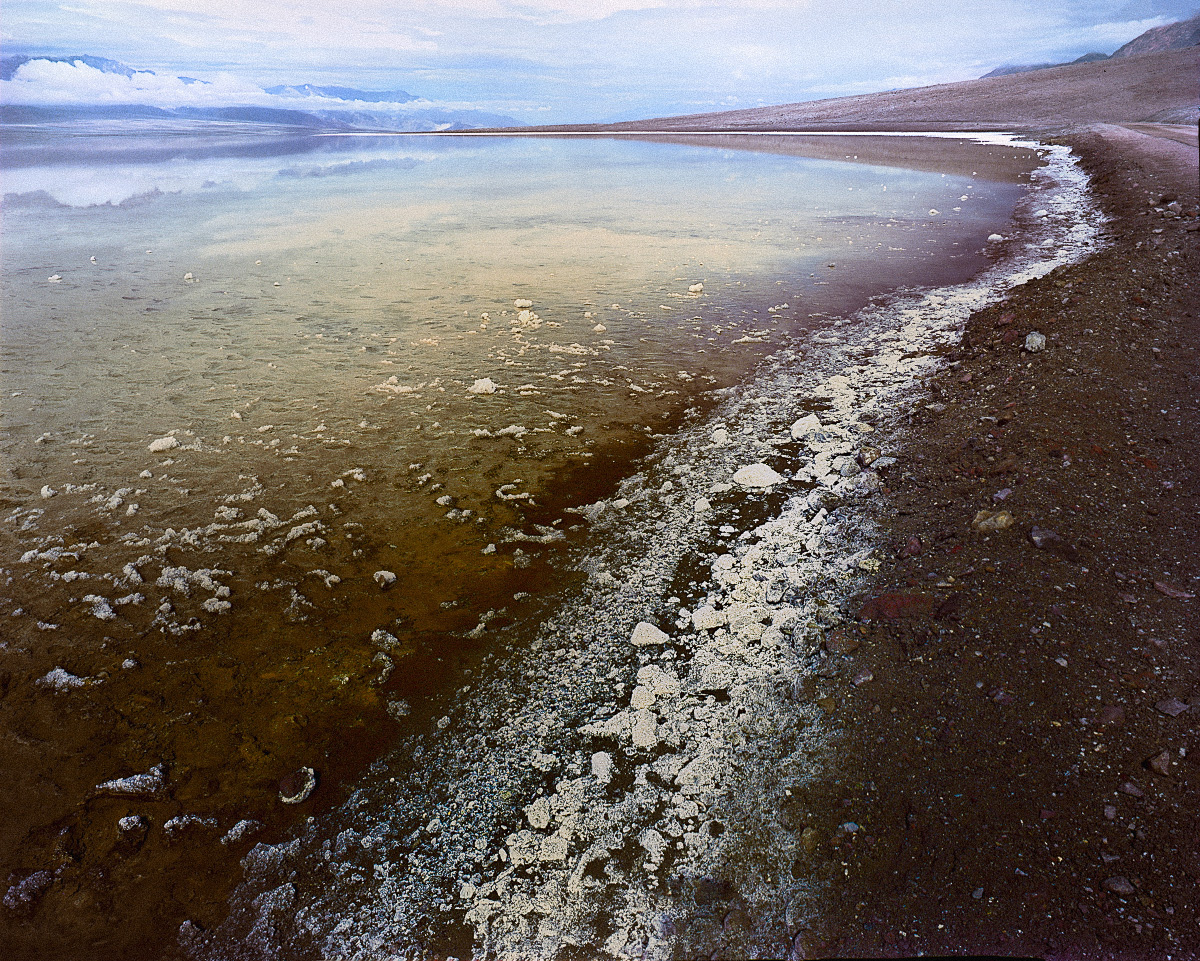
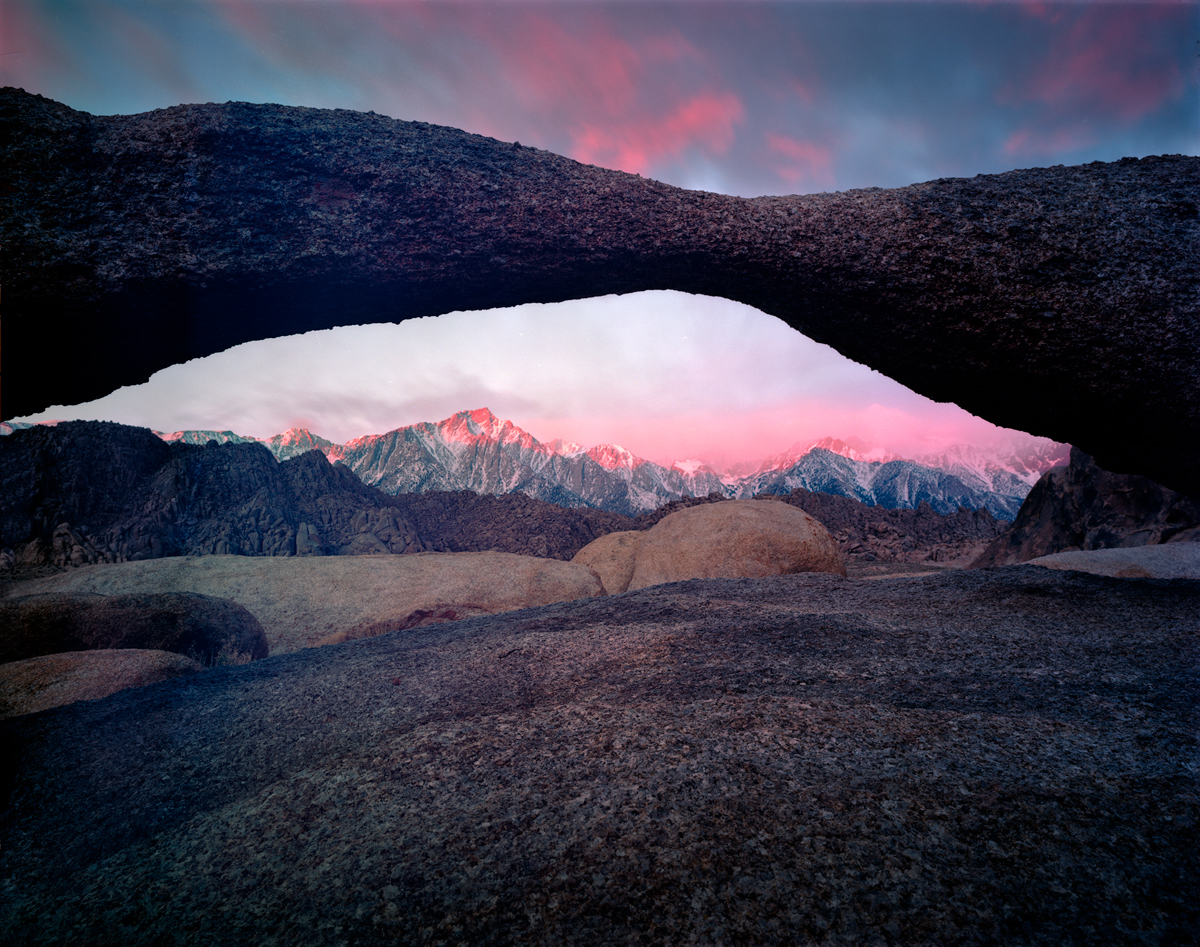
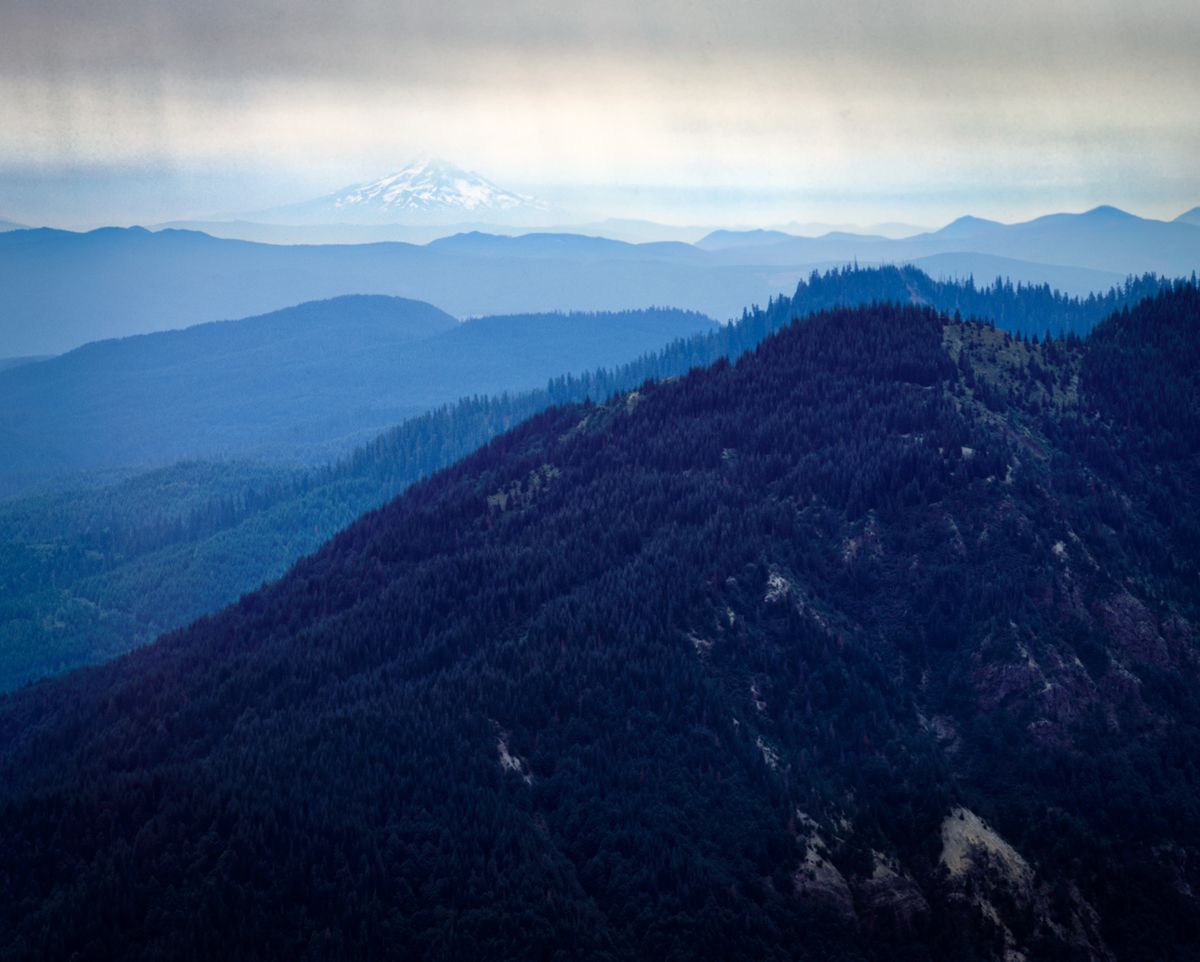
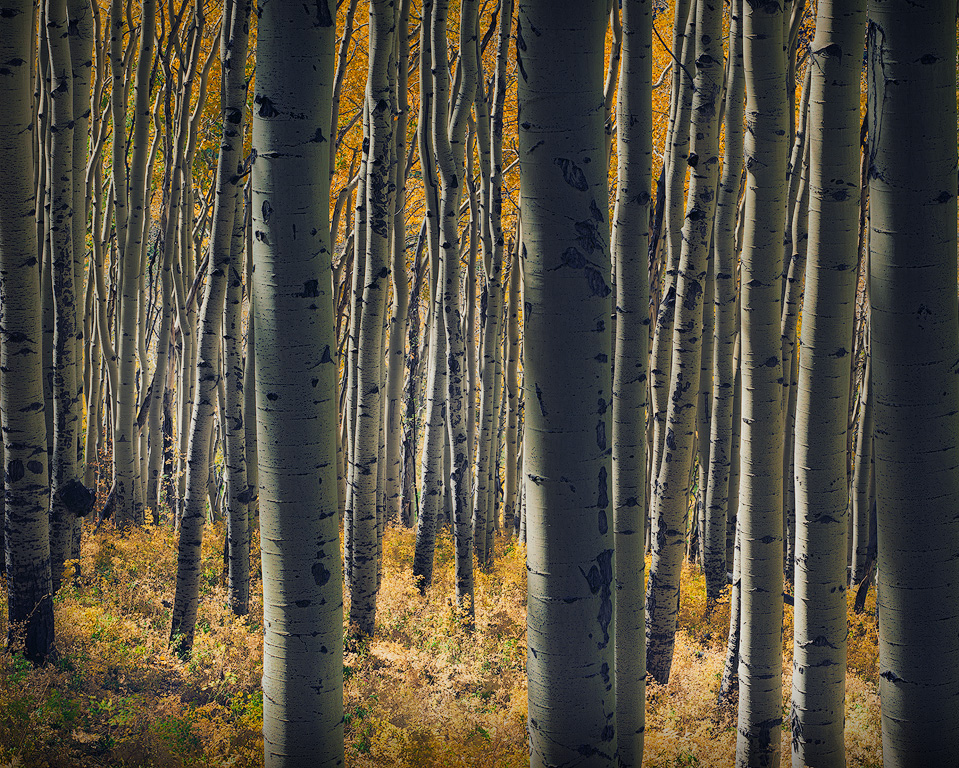
Hi Bruce. It is not often that we think about landscape images with a 900mm lens, but that brings a different perspective in picking out details. And I like the aspect at which it enabled you to compose here. It is a very stately posing of the subject.
If it were me, I might consider cropping out the "fenced area" at the top. I don't think it adds anything aesthetically and detracts from the otherwise natural look of the scene. I might also consider B&W. Weathered faces often look remarkable in B&W, and this is another sort of weathered face. |
Nov 16th |
| 96 |
Nov 25 |
Comment |
Hi Kenneth. I will try to suggest some things to bring out more color and detail in the building as you ask, but before that there is one other correction which I'd recommend. If you look in the sky, you will see a transition from white to gray part way down from the top (look near the left edge). I would guess this is the result of shooting through the train window (some sort of reflection, etc.). I think that will be hard to correct, so best to crop it out. You could leave the "gray region", but part of bringing more pop to the building is to eliminate other distracting things that compete for that pop - the sky is one because it is so bright. So I'd eliminate the sky all together - I don't think it's adding to your story.
To get more pop for the building, I would do a series of things. First, I would remove much of the color cast you have in the image. With a strong color cast everything is sort of the same color and it is very hard to get the color contrast you need to make anything pop. There are various approaches to removing the cast. I like doing it in Photoshop by duplicating the image, blur averaging the entire duplicate, and then using the gray dropper of a curves layer to neutralize the cast (and turning off the blurred duplicate layer once you've done that). I often back off on the opacity to leave a little of the color cast, but you want to take most of it out. If you do this one thing I think you will find that the building pops a great deal more.
Other things that you could then do are:
1. Selectively increase the saturation in the reds and blues of the building.
2. Decreasing the saturation of colors elsewhere in the image
3. Applying a curves layer to the building to increase the contrast (just for the building).
4. Slightly (1/2 stop at most) increasing the exposure in a radial area that includes the building an a little around it (or decreasing the exposure outside of that radius).
I did those things in the image below. I also cropped a little from the left side to get the building off center which I think helps with visual balance.
Hopefully some of these ideas are helpful.
|
Nov 12th |
 |
| 96 |
Nov 25 |
Reply |
Or just crop to remove the stump, which would be less controversial. |
Nov 12th |
| 96 |
Nov 25 |
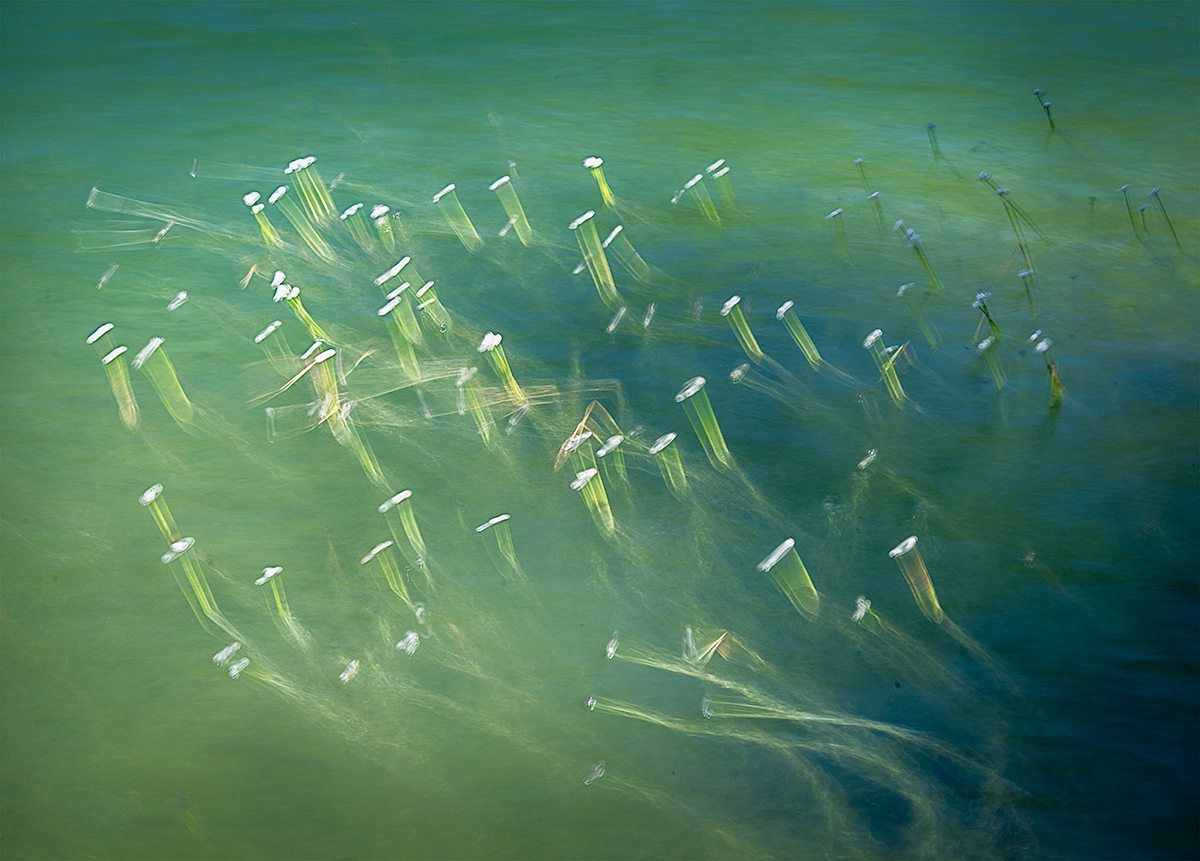
Comment |
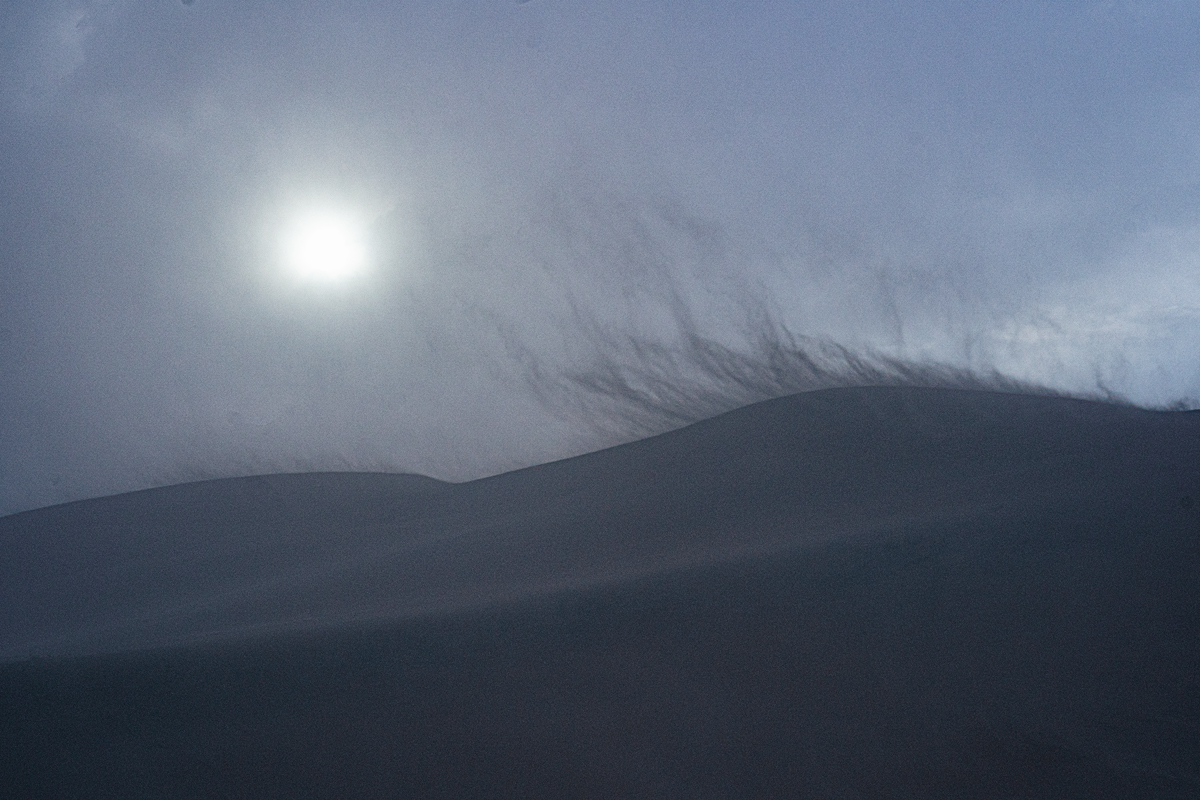
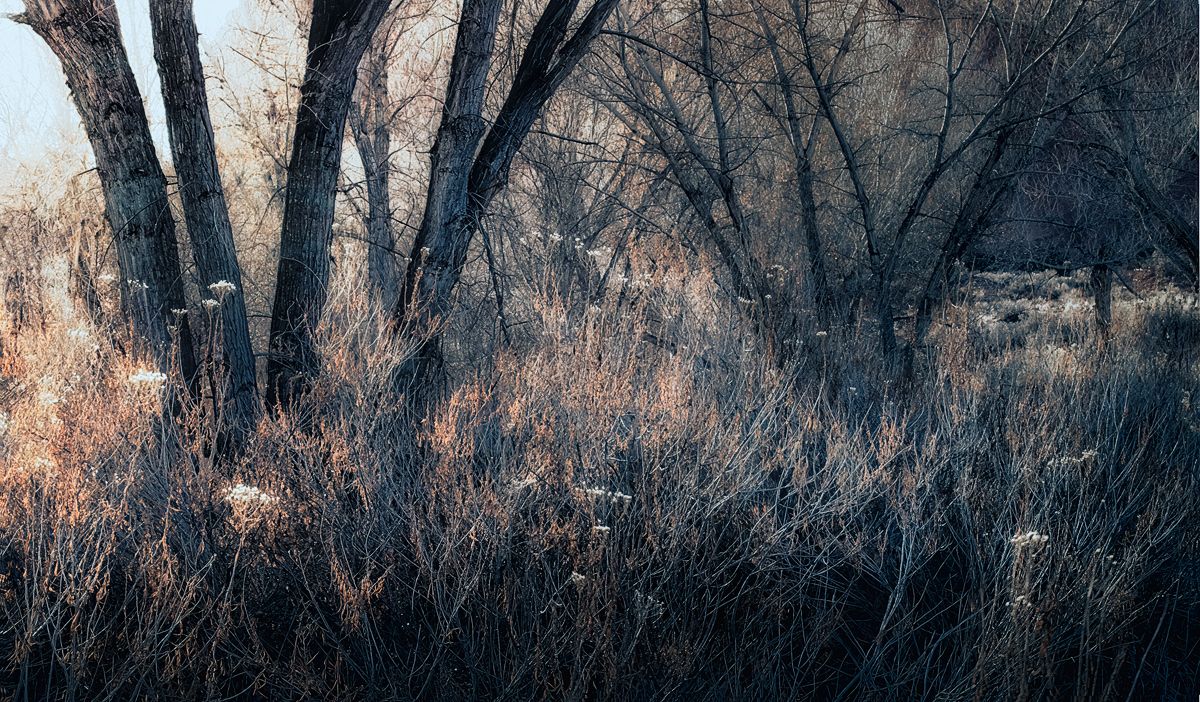
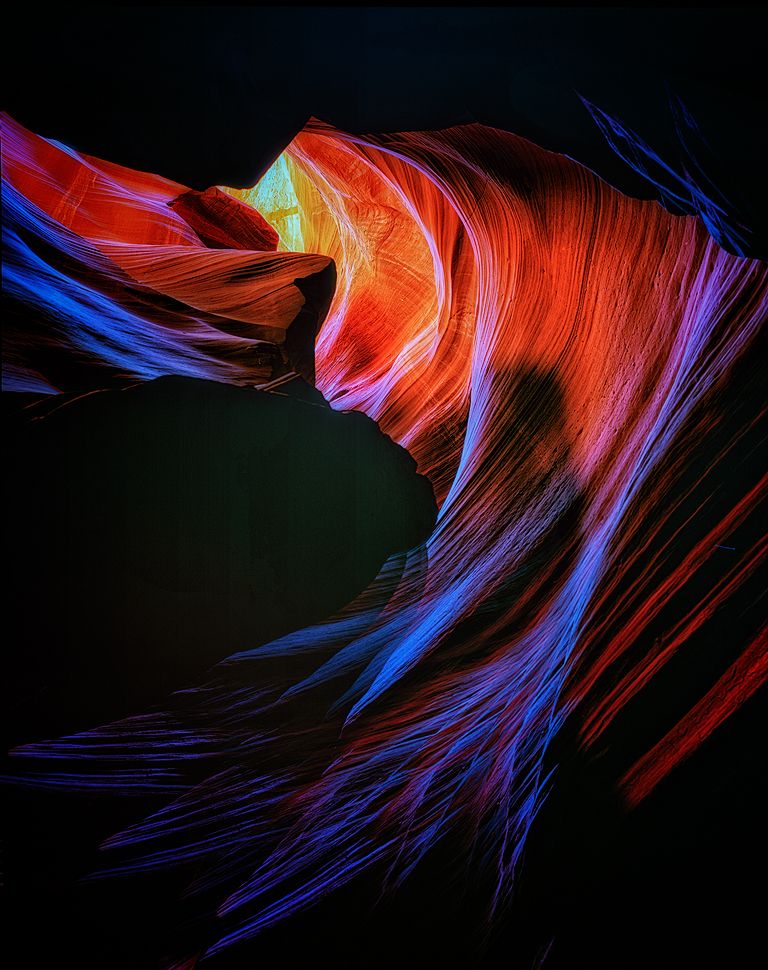
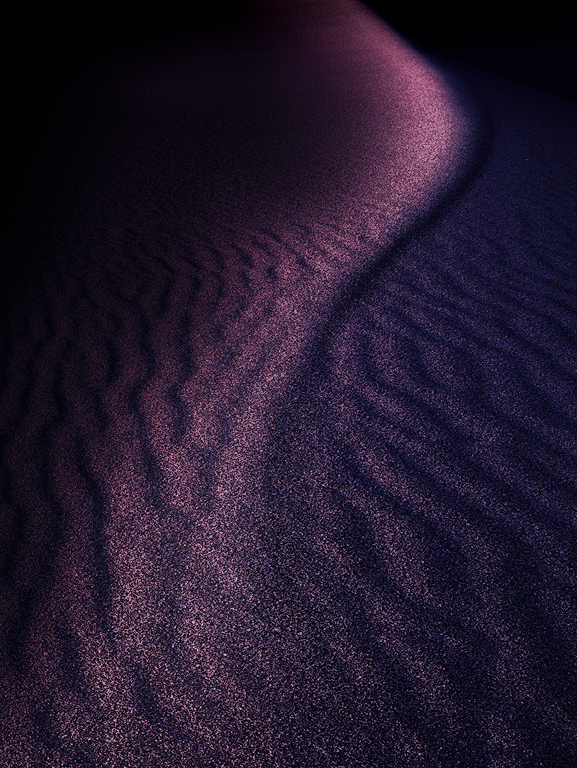
Hi Jim. I love how you've rotated the image, making it even more abstract via the non-literal result. It is a wonderful image. The only part I find distracting is the thin illuminated dune at the left. It is the only "disconnected" piece of light, it is bright, and its thin long shape gives it visual weight. So for me it competes too much for attention with the beautiful forms to the right. I would just crop it out. I did that below by rotating a little so as to preserve as much of the dark gap between the crop piece and the rest. I would desaturate a little too (which I did) but that is personal preference.
Hope you have even more Mequite Dunes to show us. This and last month's are great.
|
Nov 12th |
 |
5 comments - 4 replies for Group 96
|
5 comments - 4 replies Total
|