|
| Group |
Round |
C/R |
Comment |
Date |
Image |
| 32 |
Jul 20 |
Reply |
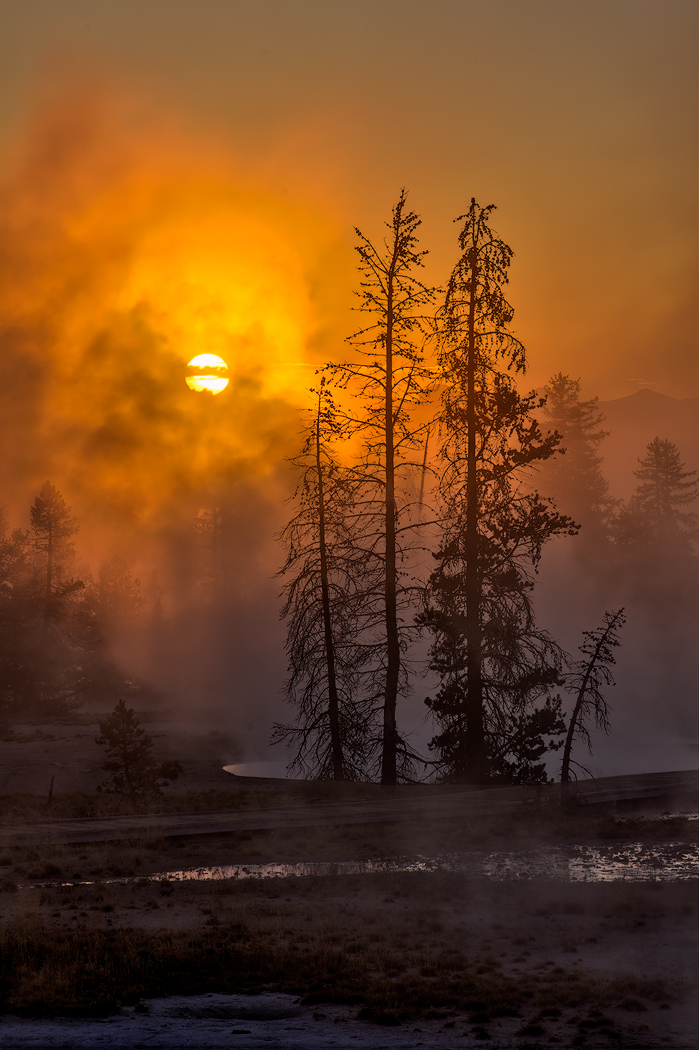
One thing I will do when I run into areas that need more noise reduction or more or less sharpening than others is to do it using multiple layers. For example, say the areas with blue in the sky are the ones where you want more noise reduction. Make a couple of copies of the layer that you will apply the noise reduction to. Apply the noise reduction more heavily looking only at what it does for that area. Add a black layer mask and then, using a brush with a lower flow setting or lower opacity, paint the reduction back in with white on the mask until it looks OK in that area. Use a different layer copy for the noise reduction in a different area and use a mask to control where that is seen. The use of multiple layers with masks takes a little longer but lets you apply the amount of noise reduction or sharpening you want or need without impacting other areas of the image. (I'll often mask sharpening out of smooth areas like open skies to keep it from looking like noise.) |
Jul 28th |
| 32 |
Jul 20 |
Comment |
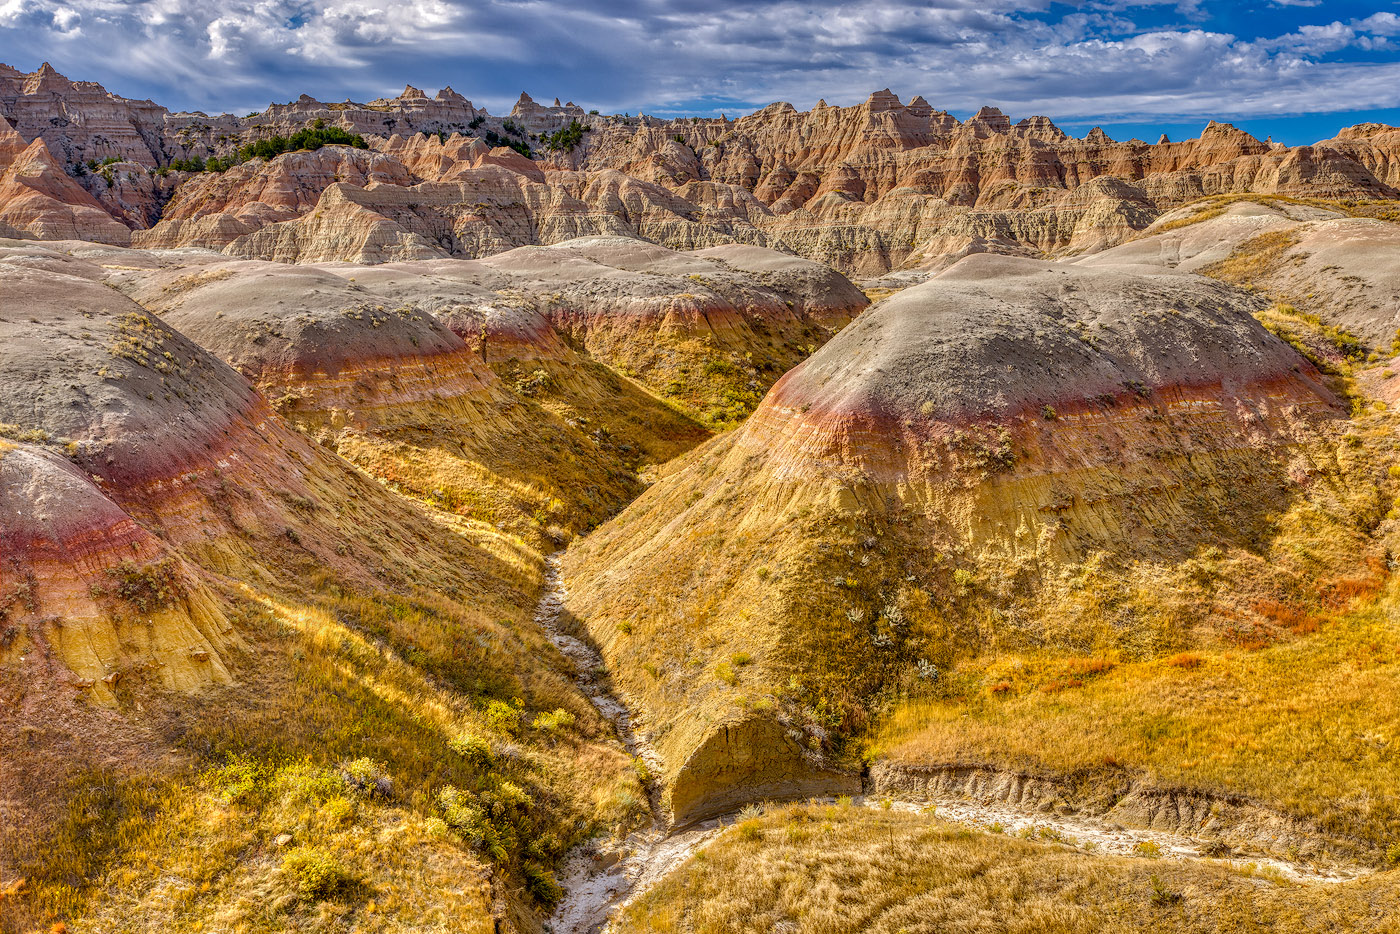
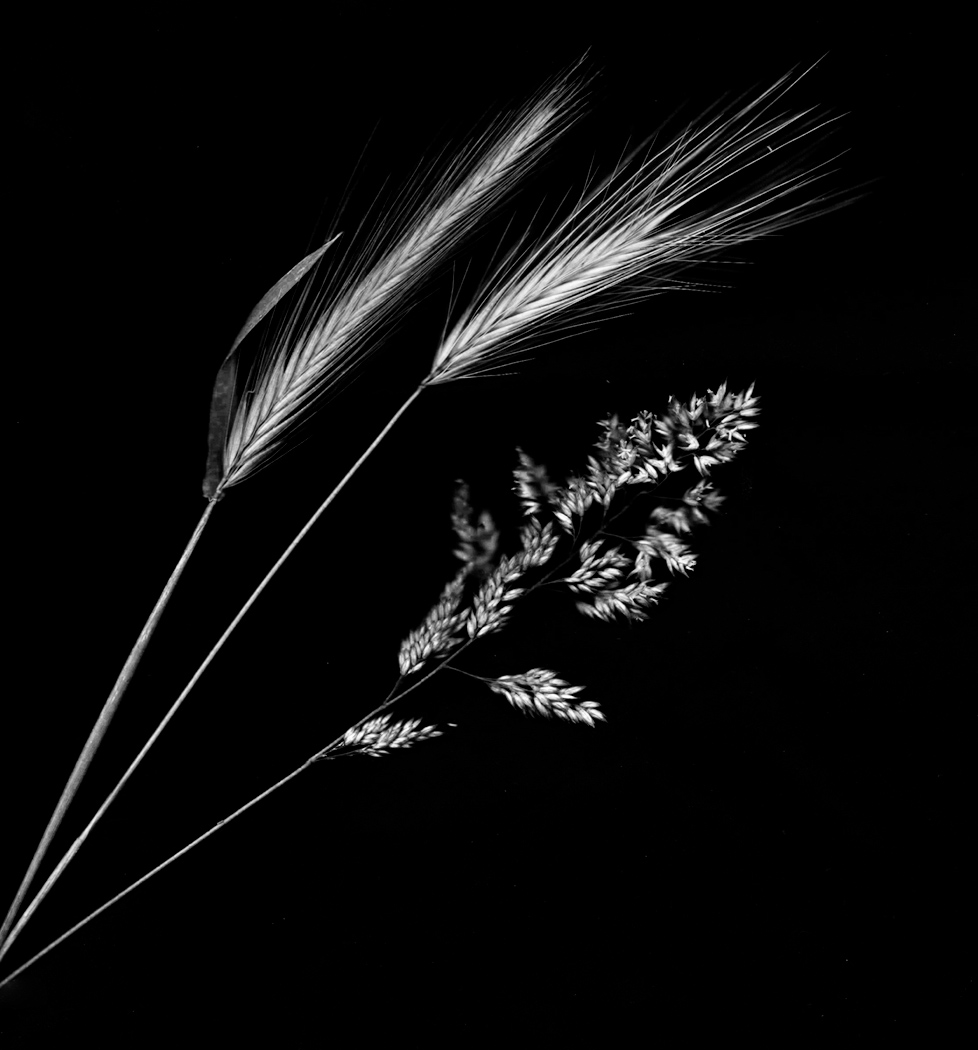
Hi Diana, Basically it is a process using a paired set of luminosity masks to control adjustment layers set to the Multiply and Screen blend modes to modify the effective contrast in an image. The enhancement in local contrast effectively improves the tonal difference between the dark and light elements while at the same time amplifying edge contrast to an extent so that the result is that the detail actually appears to be sharper. A full explanation would take too much room. You can find a reference page on Tony's website at
https://goodlight.us/writing/tripleplay/tripleplay-2.html
And you can find a YouTube video that shows how the actions work in his panel by putting TK7 Triple Play in the YouTube search field. Once upon a time I did them manually. His actions make it so much easier I just use the panel now. |
Jul 11th |
| 32 |
Jul 20 |
Comment |
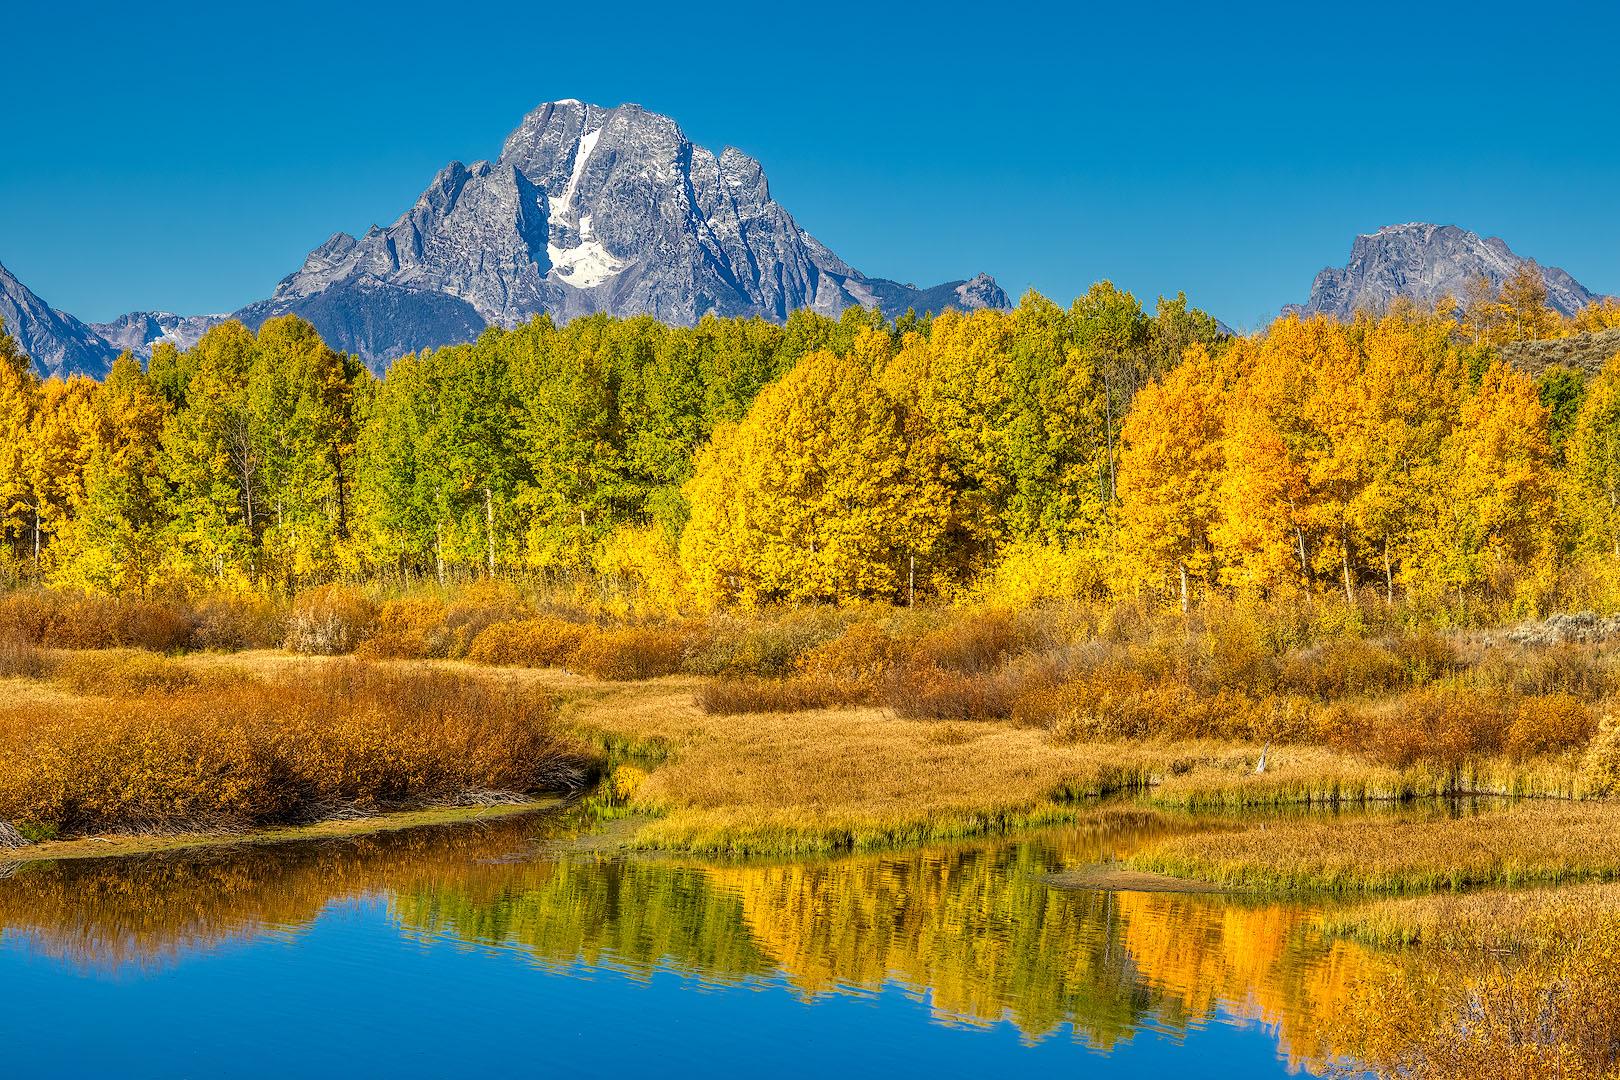
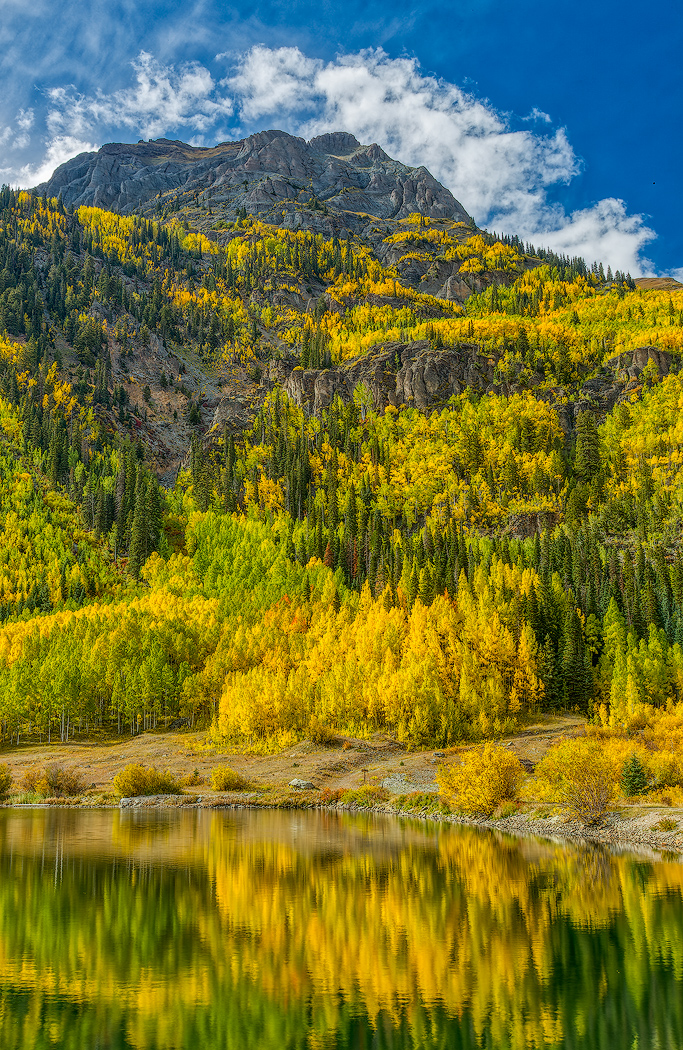
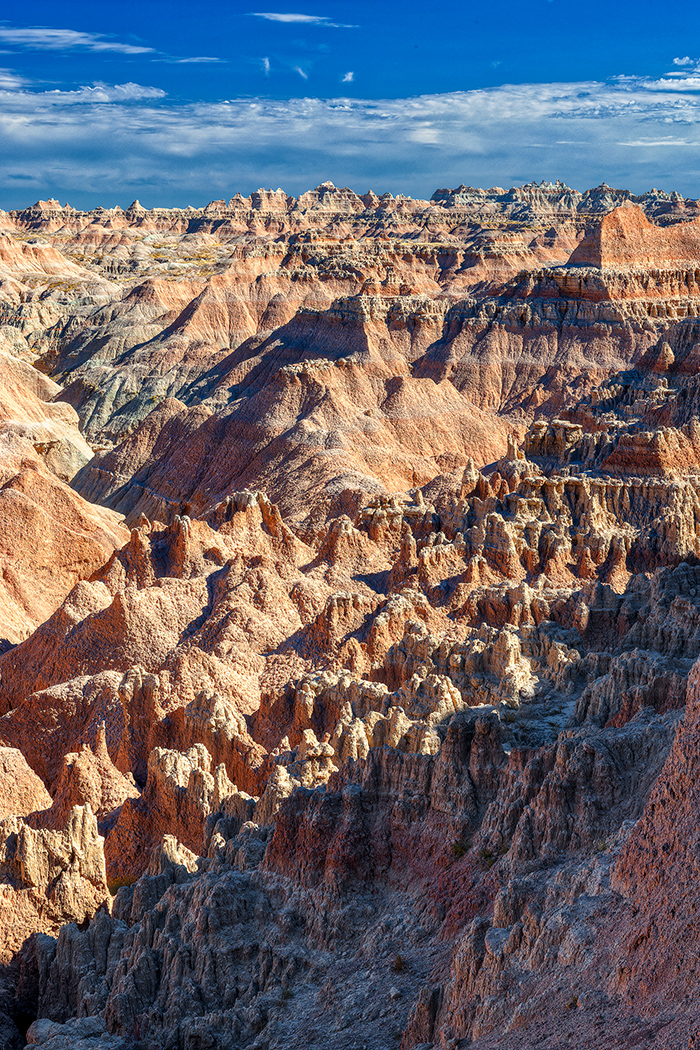
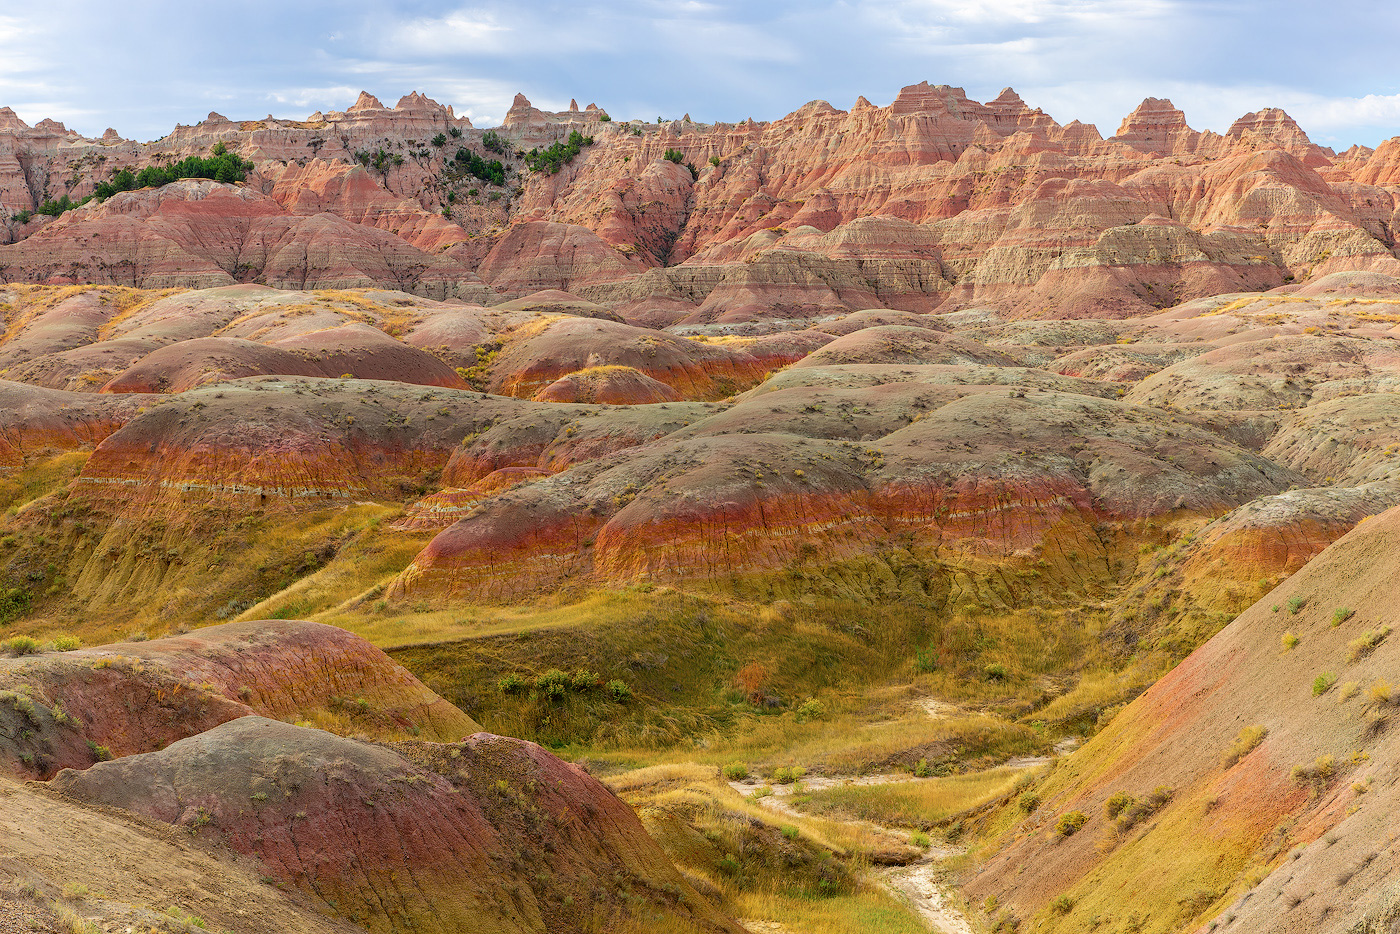
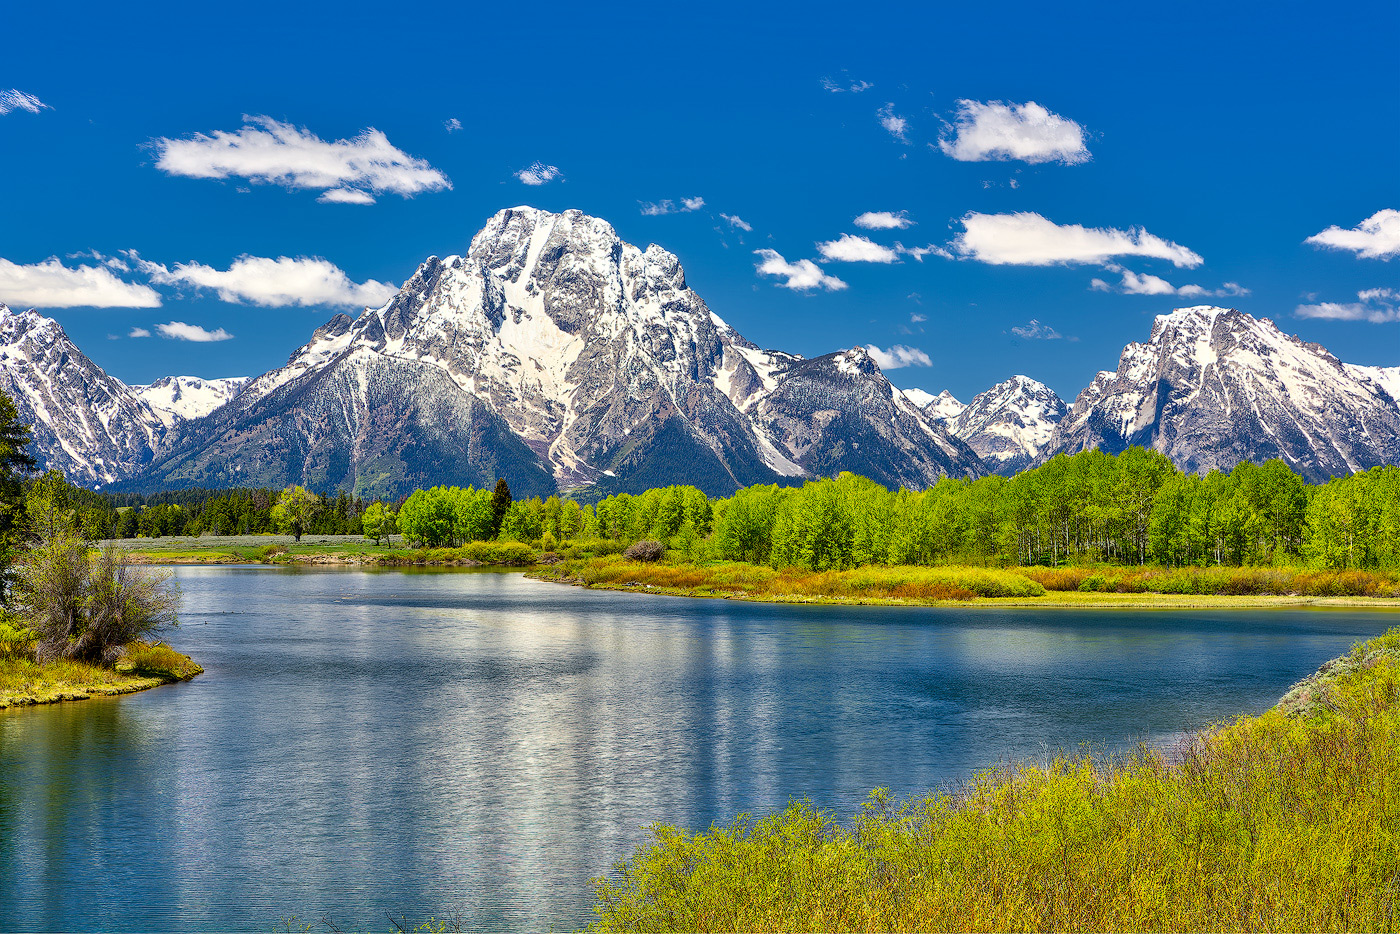
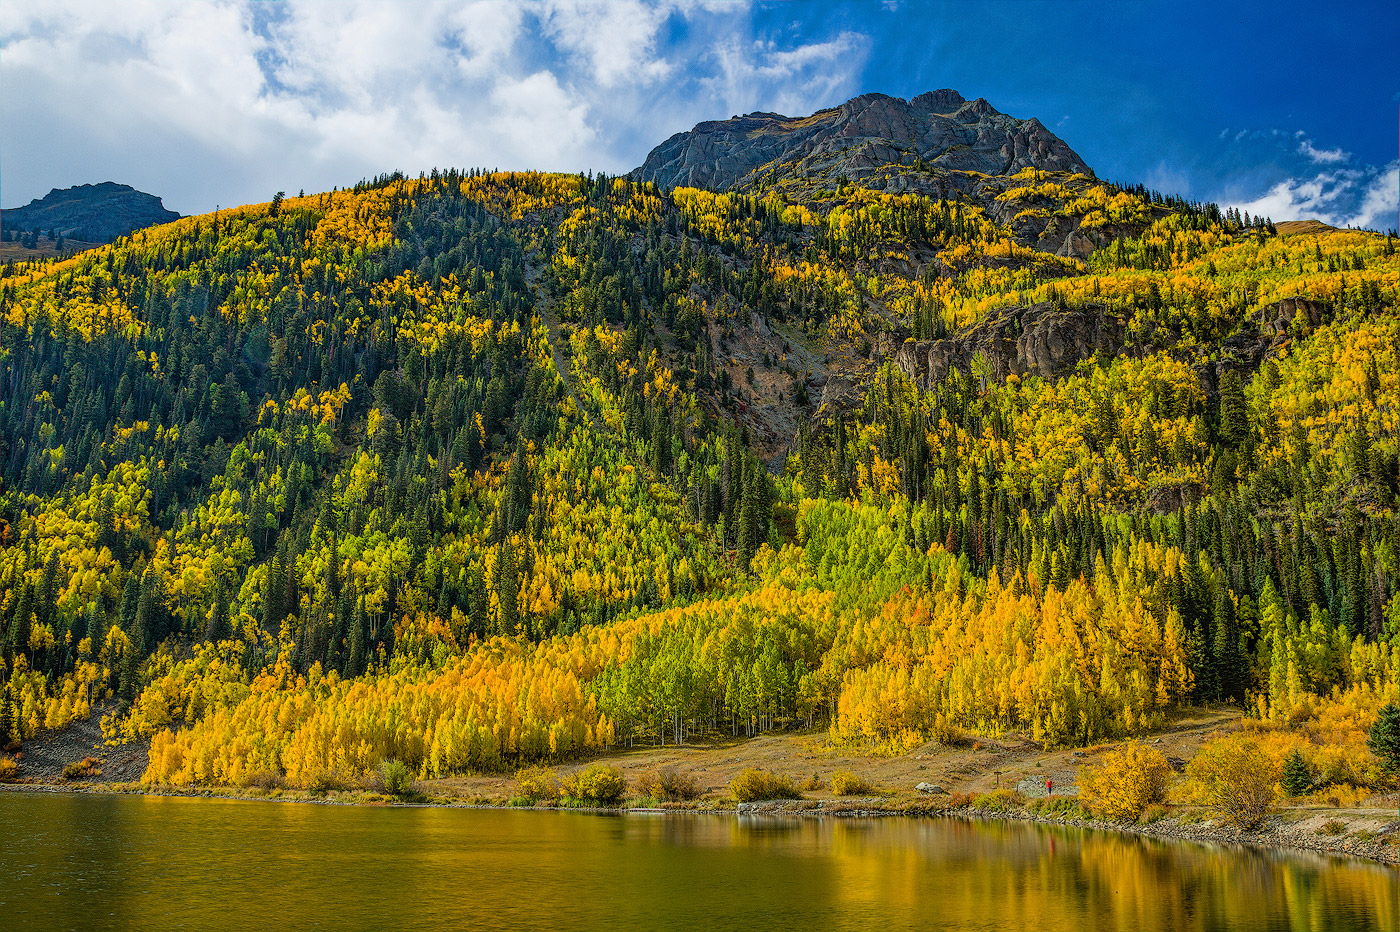
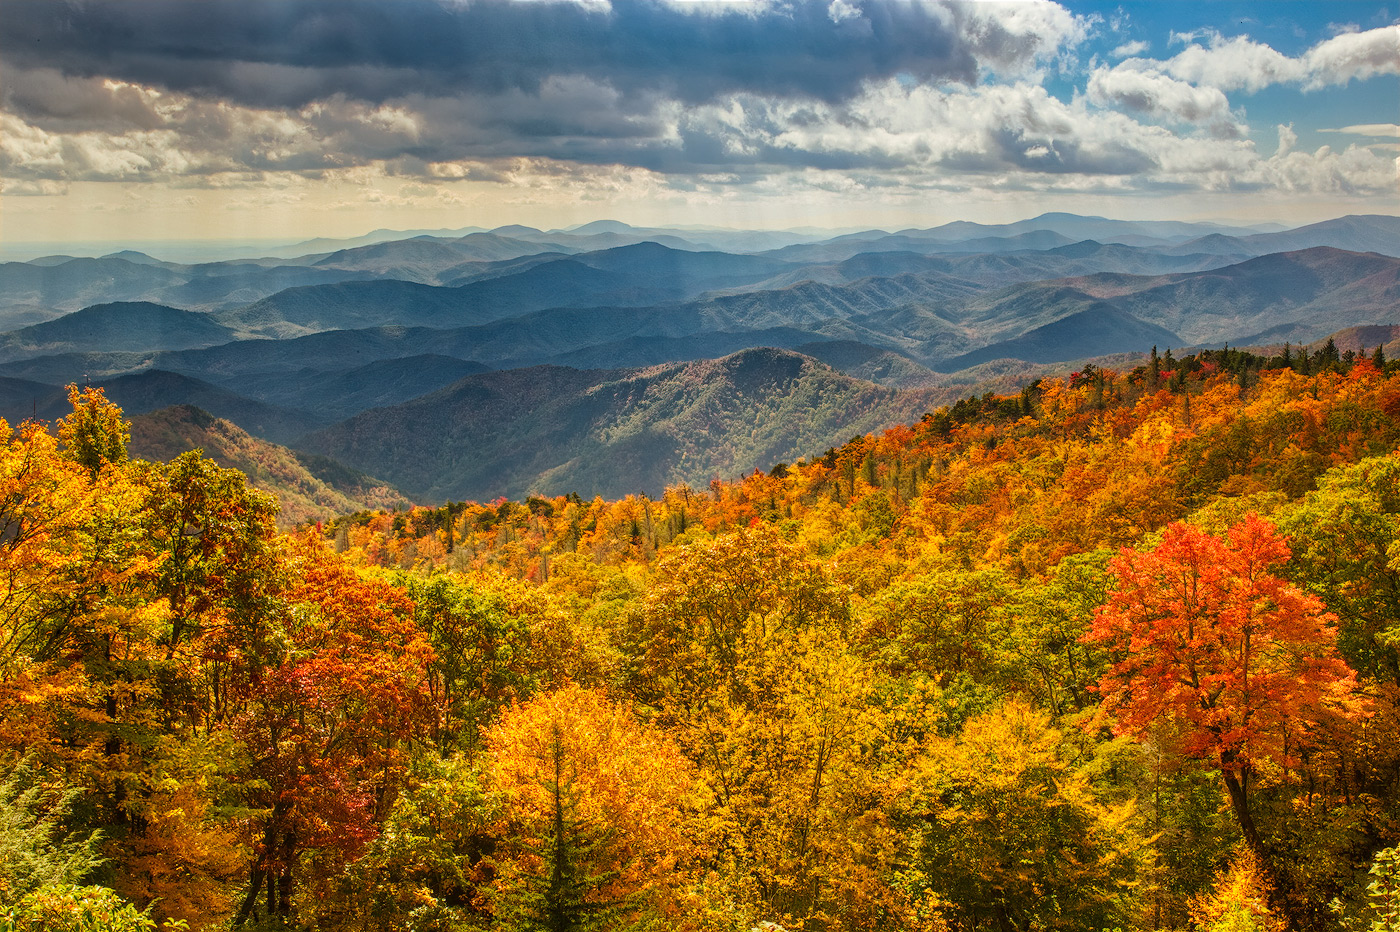
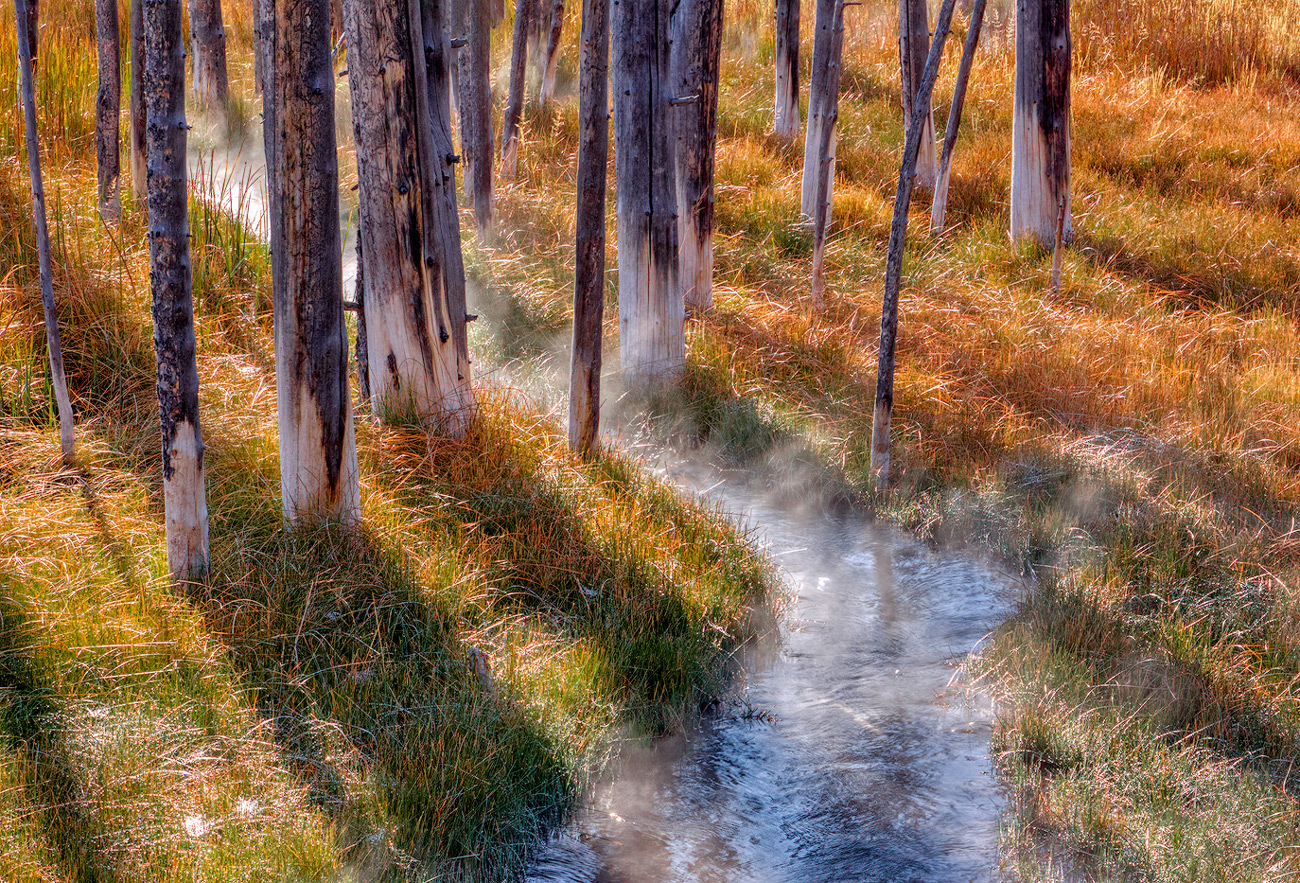
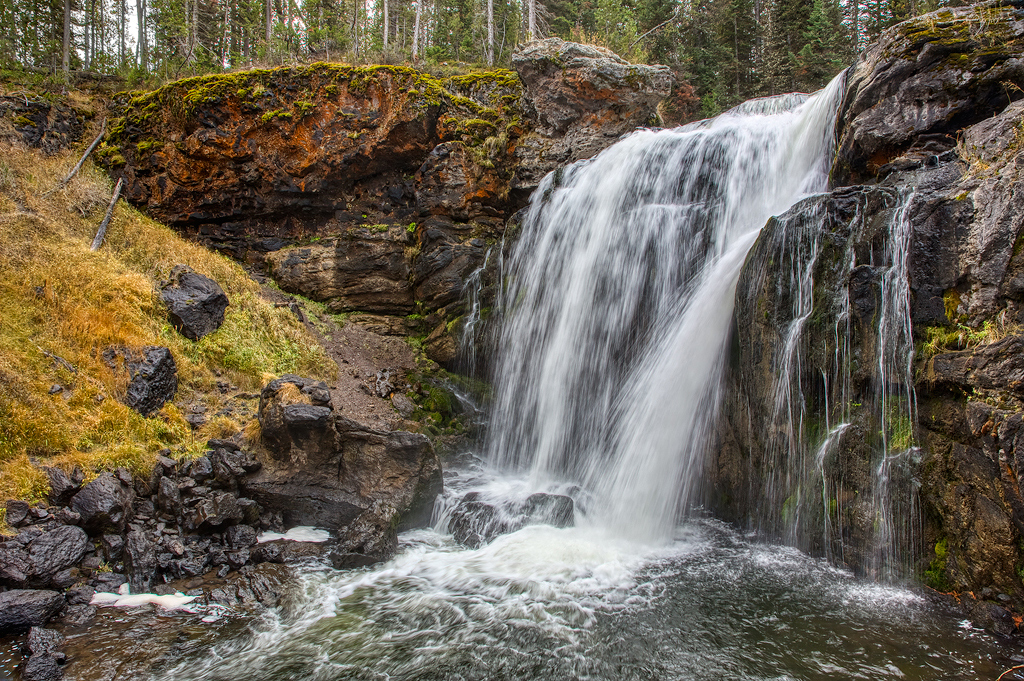
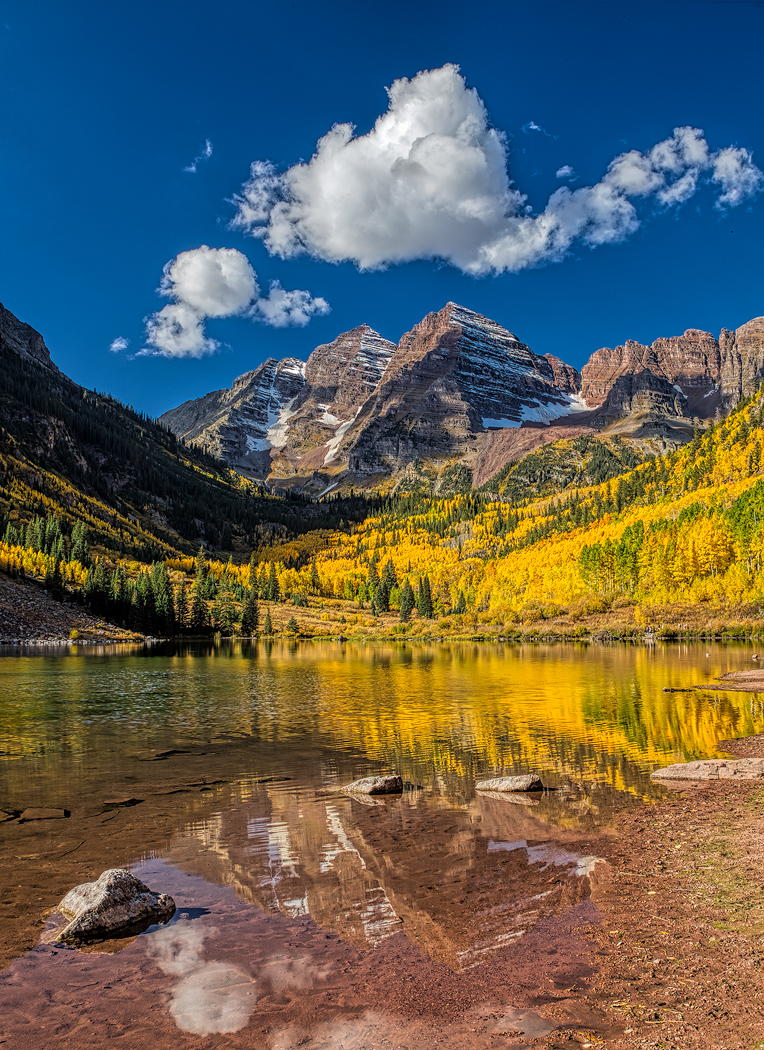
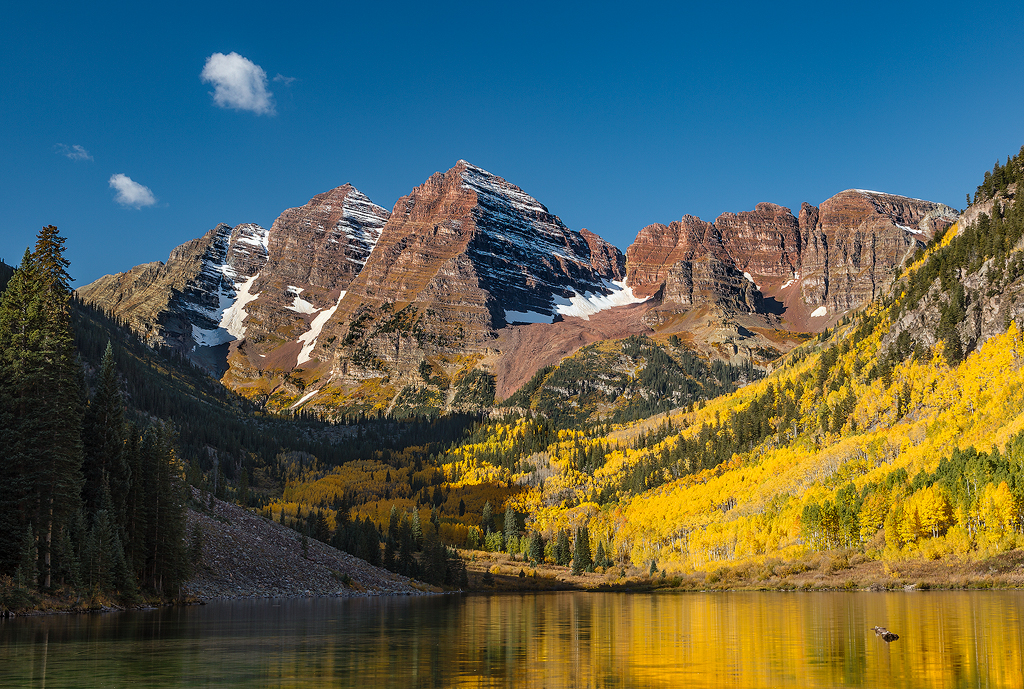
A very interesting experiment. Any interest in pushing the main tonalities even a bit further apart? This approach uses the Triple Play process promoted by Tony Kuyper. I think it actually helps to bring out the fine structure in the main grasses. |
Jul 10th |
 |
| 32 |
Jul 20 |
Comment |
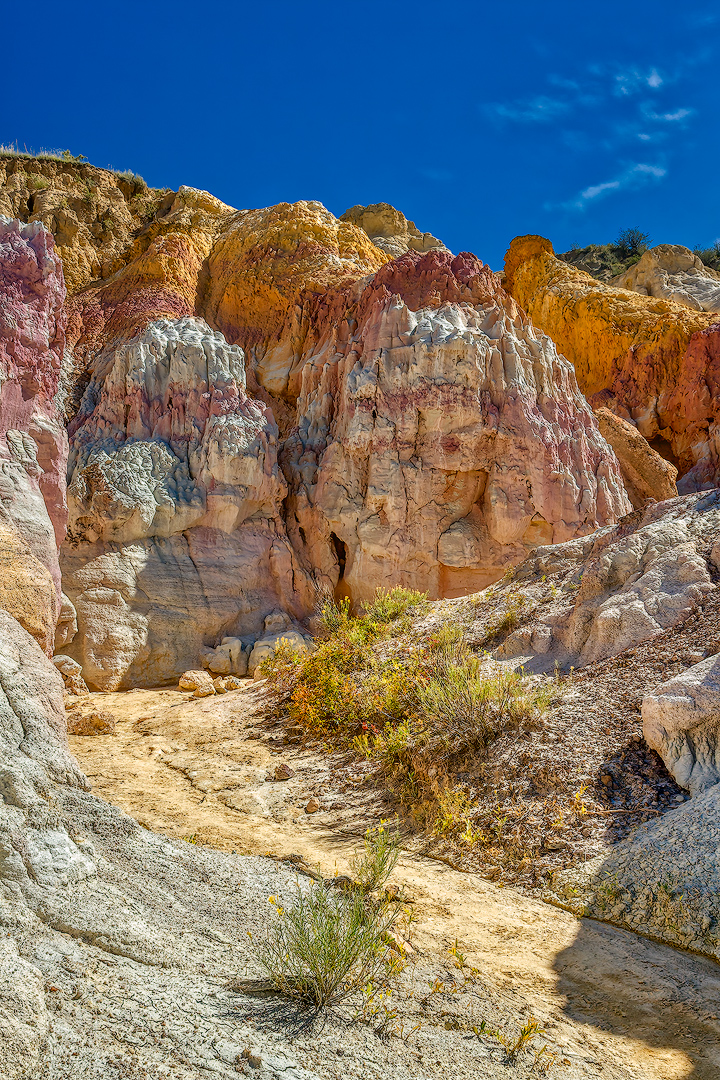
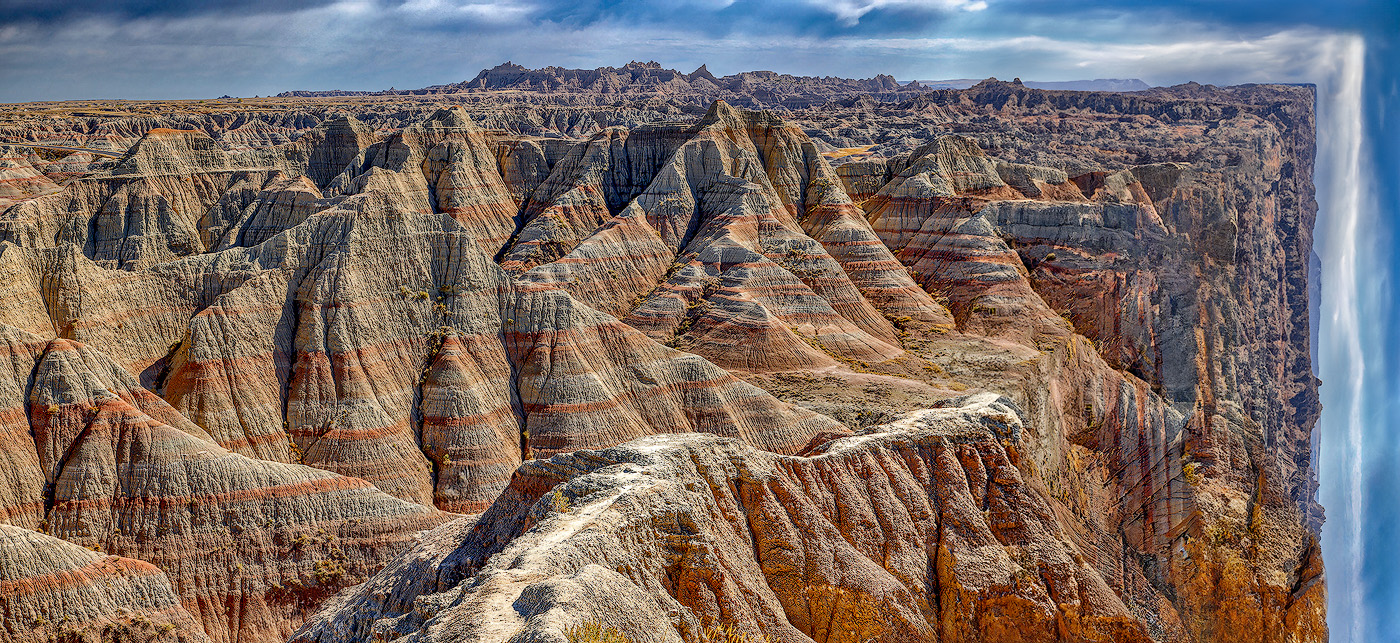
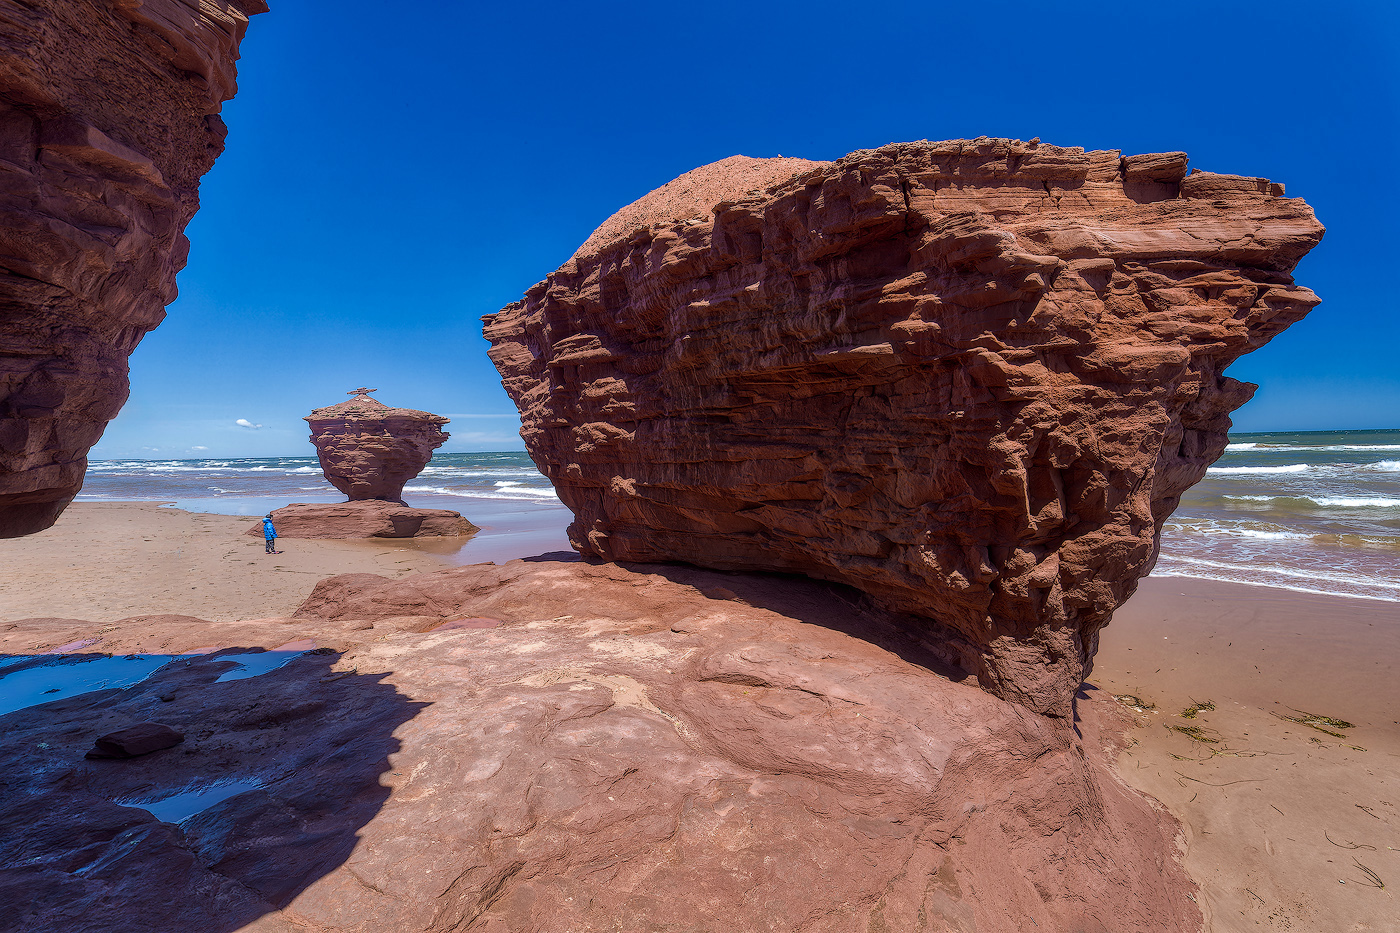
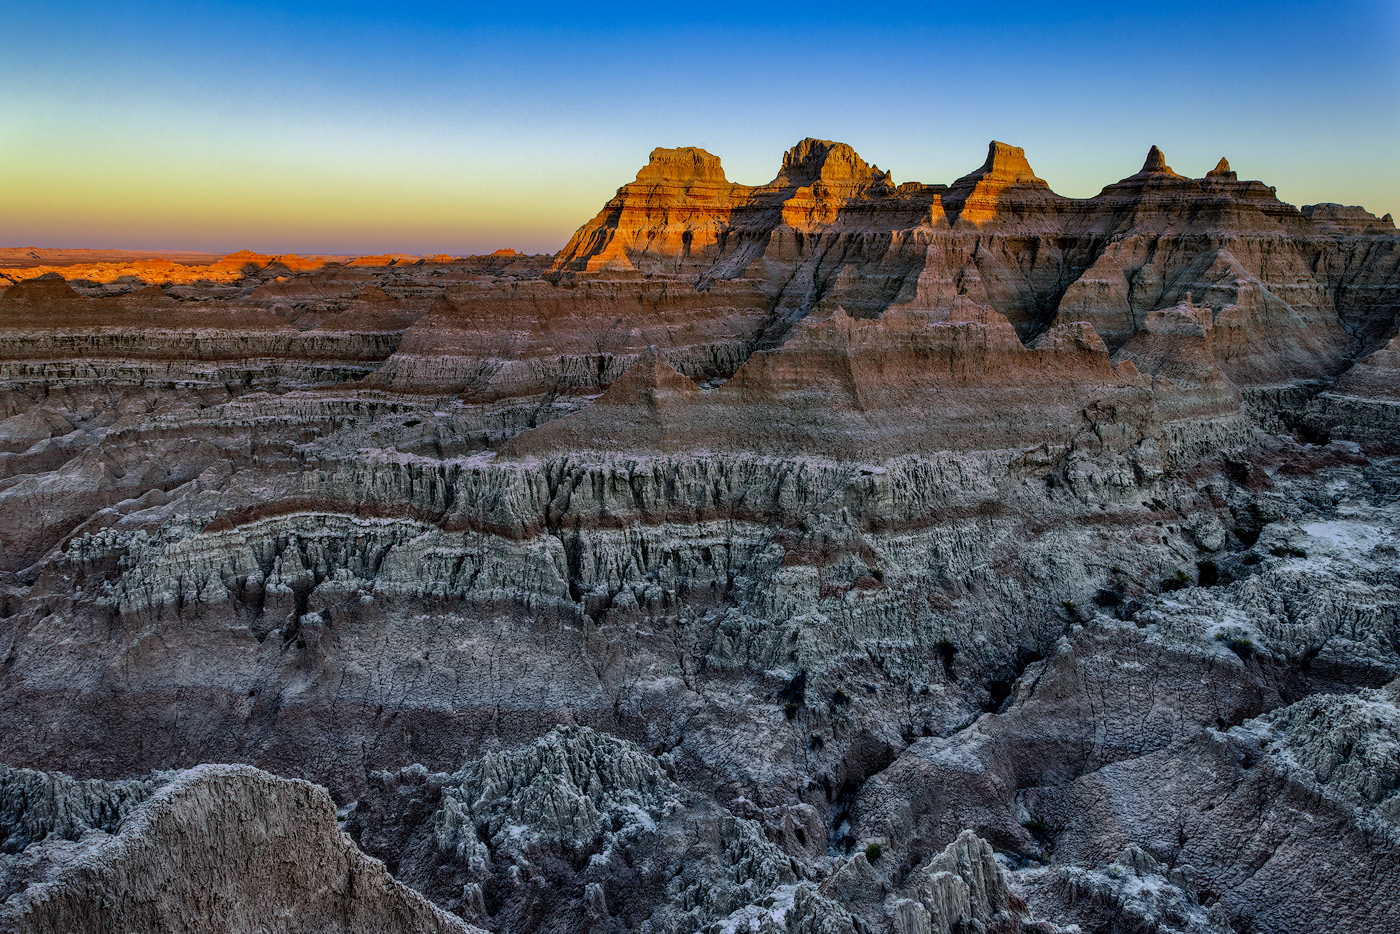
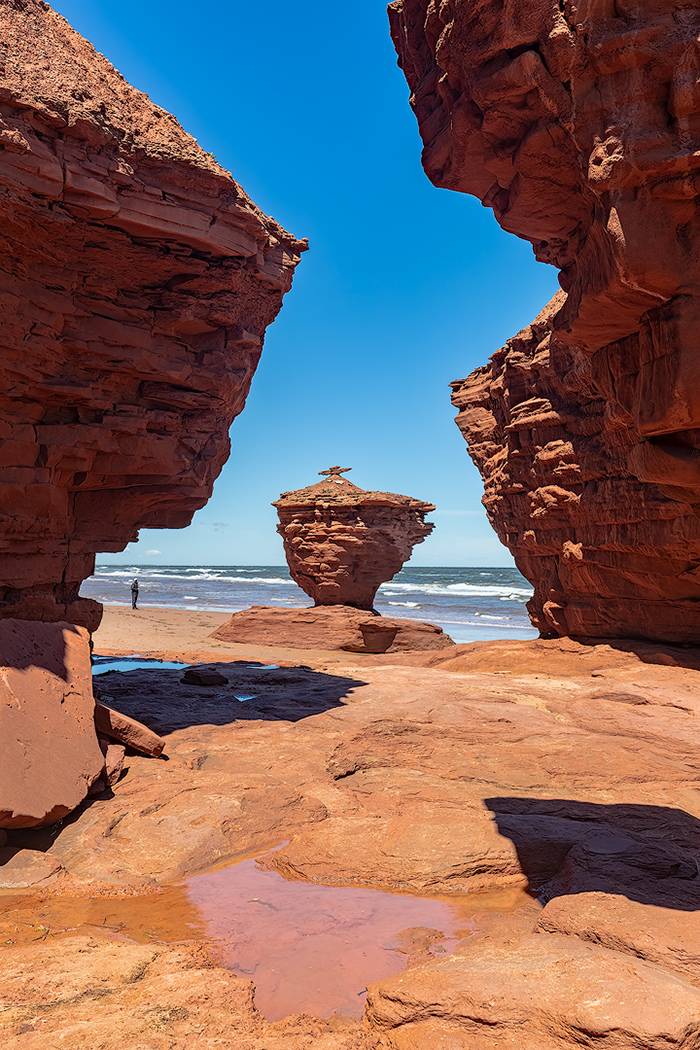
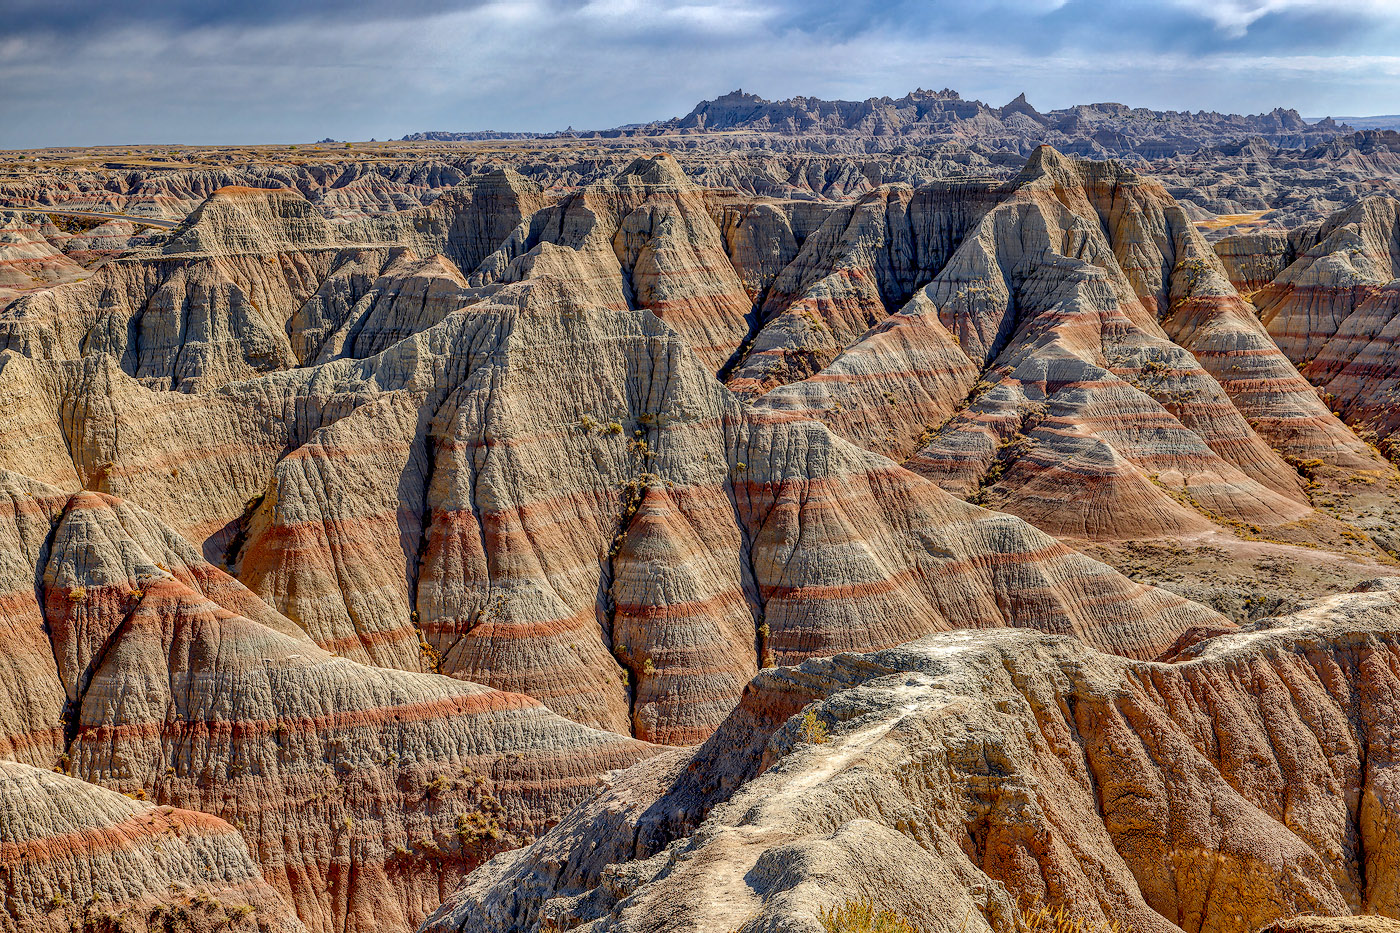
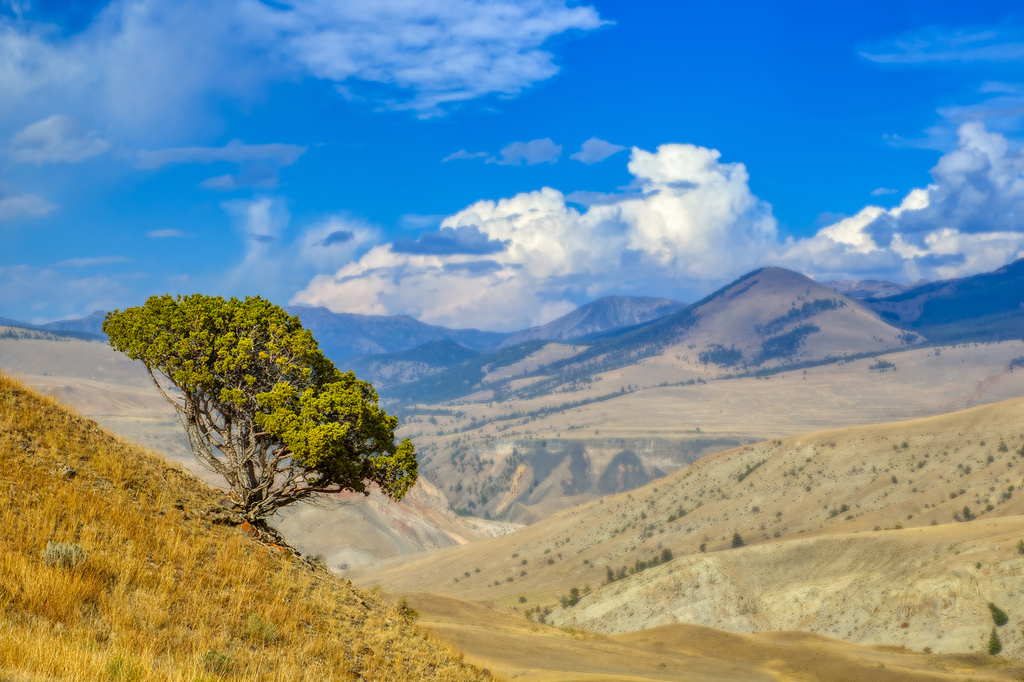
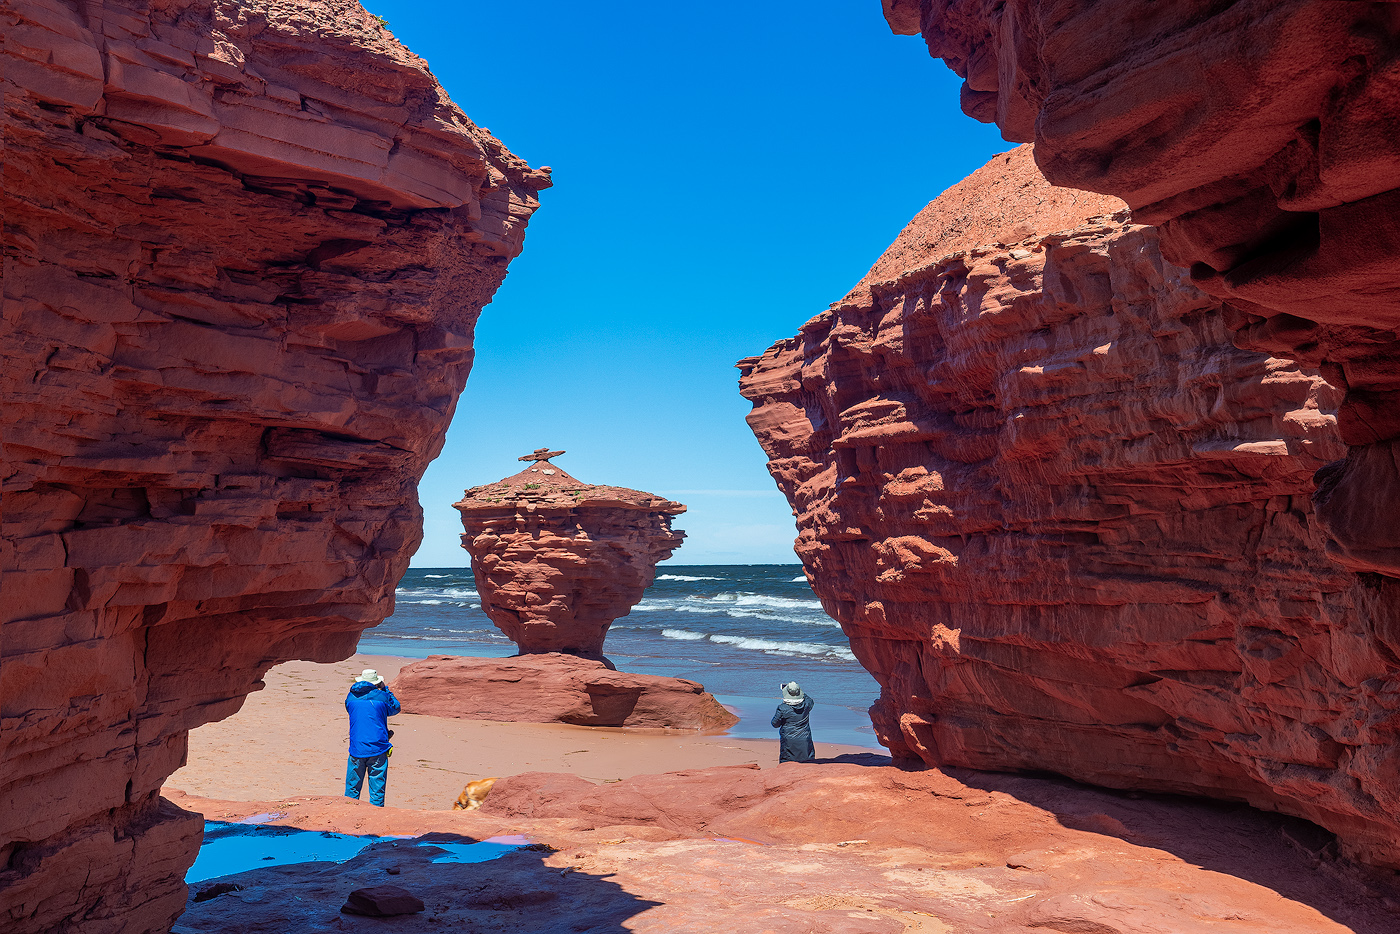
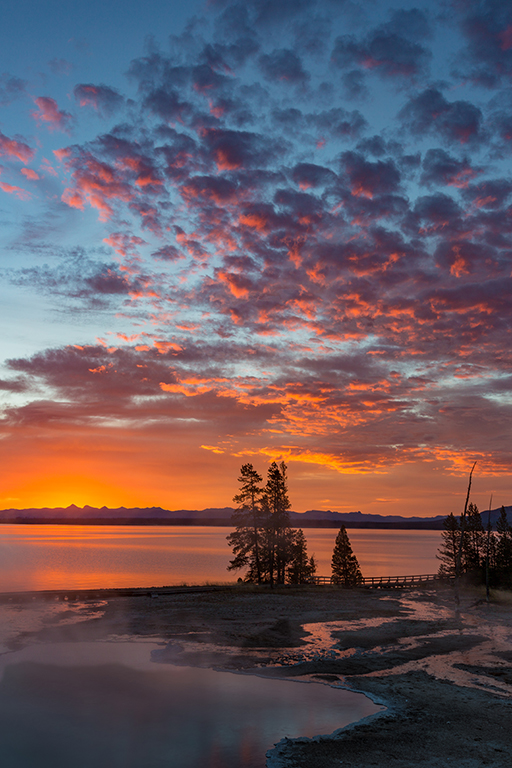
Because the blue in the storm clouds and red in the mesa actually convert to a similar tonality, perhaps altering the underlying color-tones to create a difference and then amplifying the sense of dimensionality by working the dark tones against the lighter tones might get back to the sense of depth and storm we get from the original color version. |
Jul 10th |
 |
3 comments - 1 reply for Group 32
|
| 44 |
Jul 20 |
Reply |
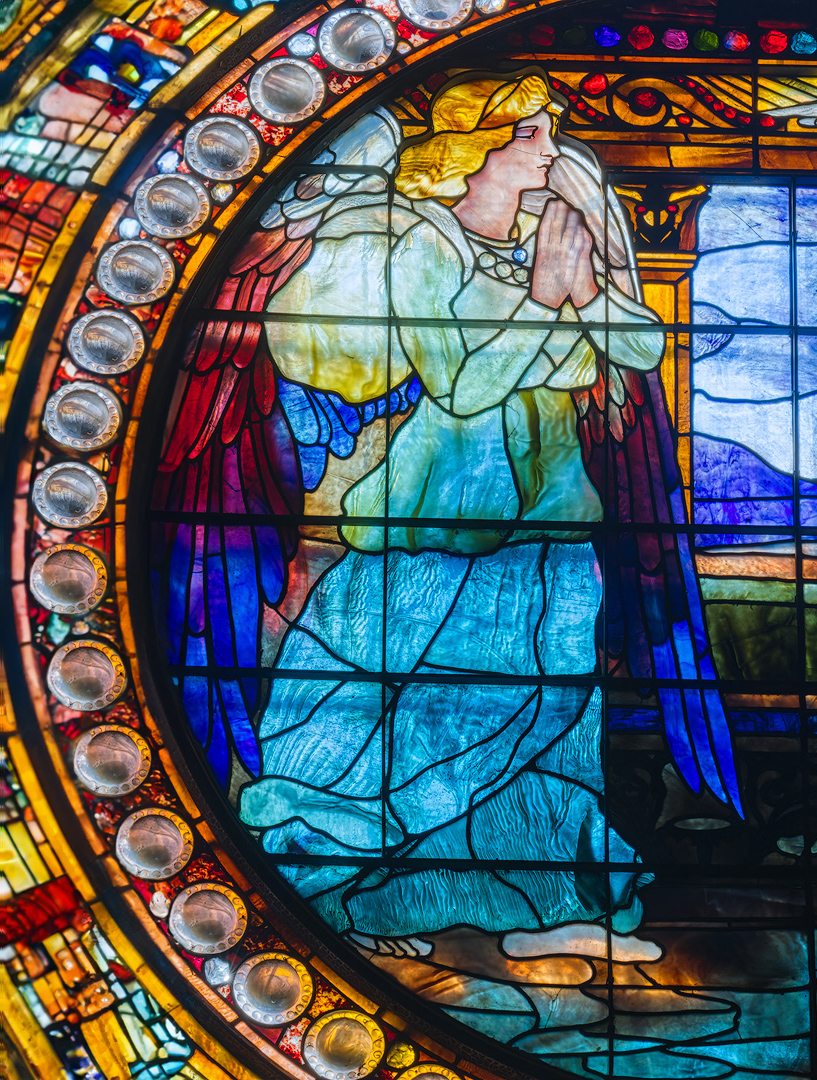
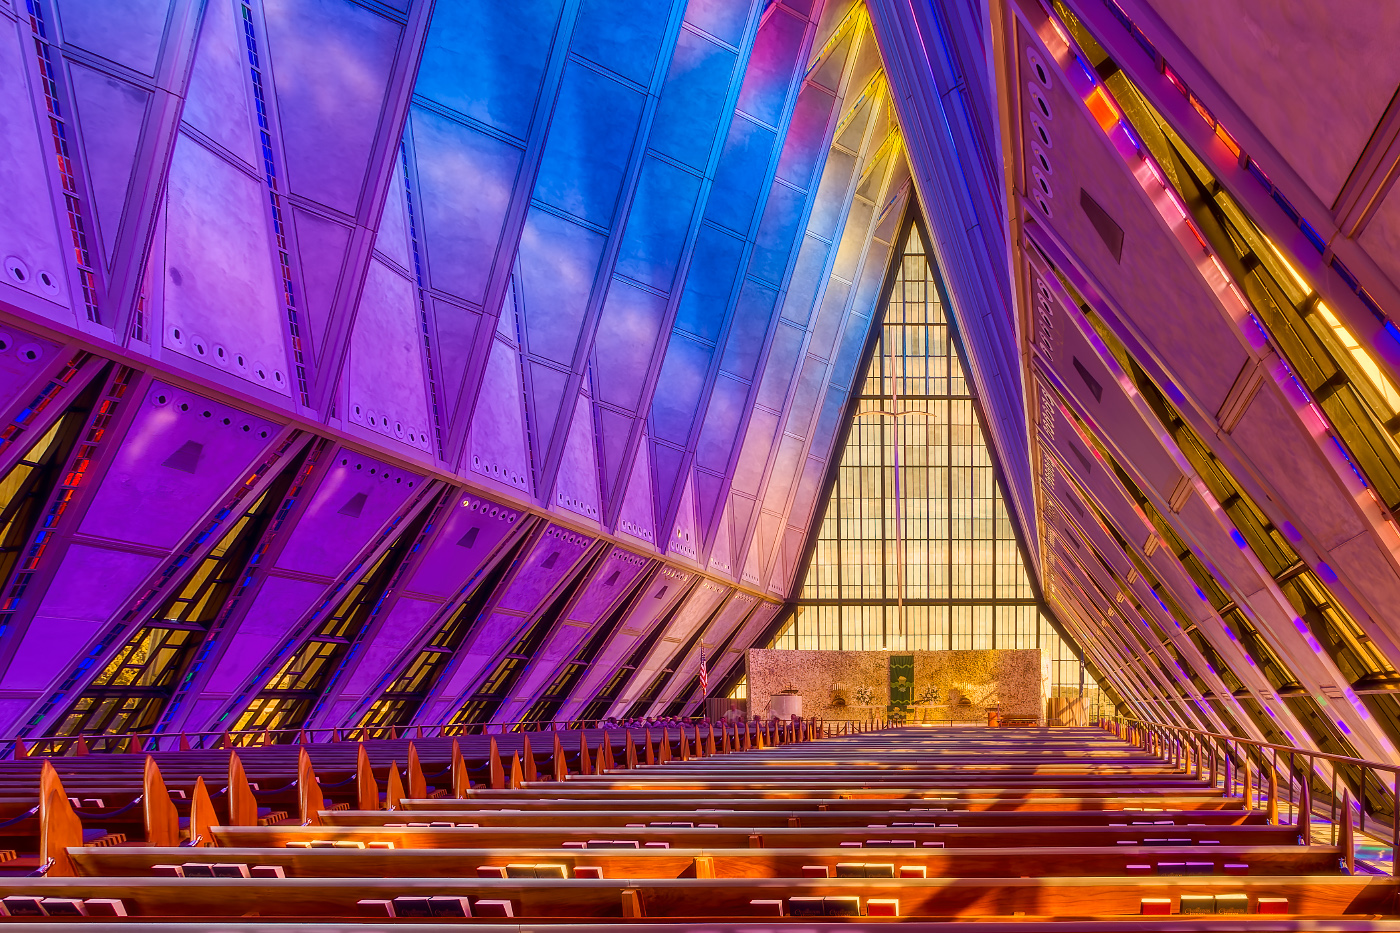
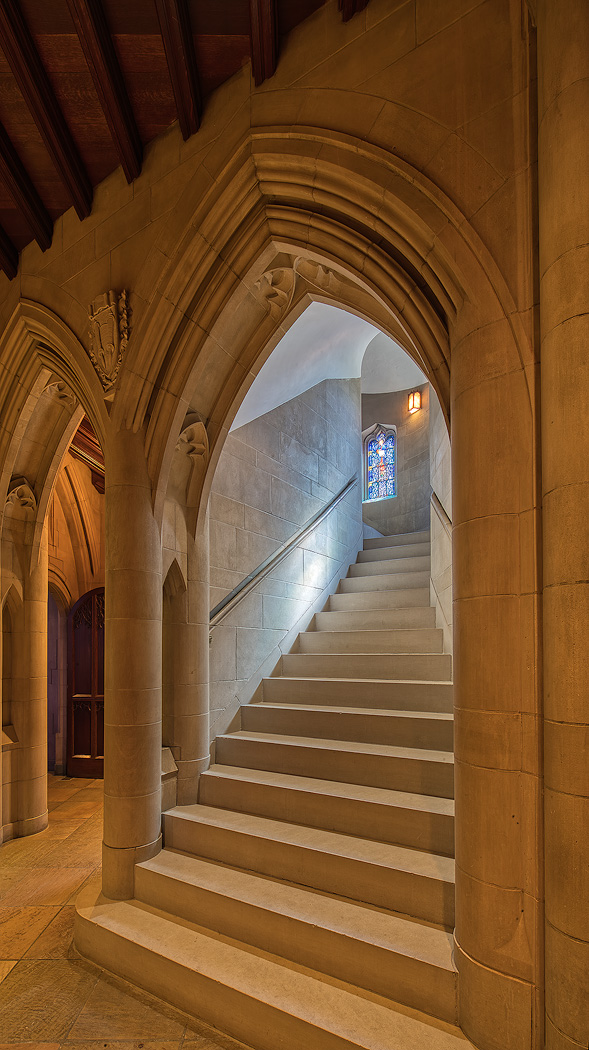
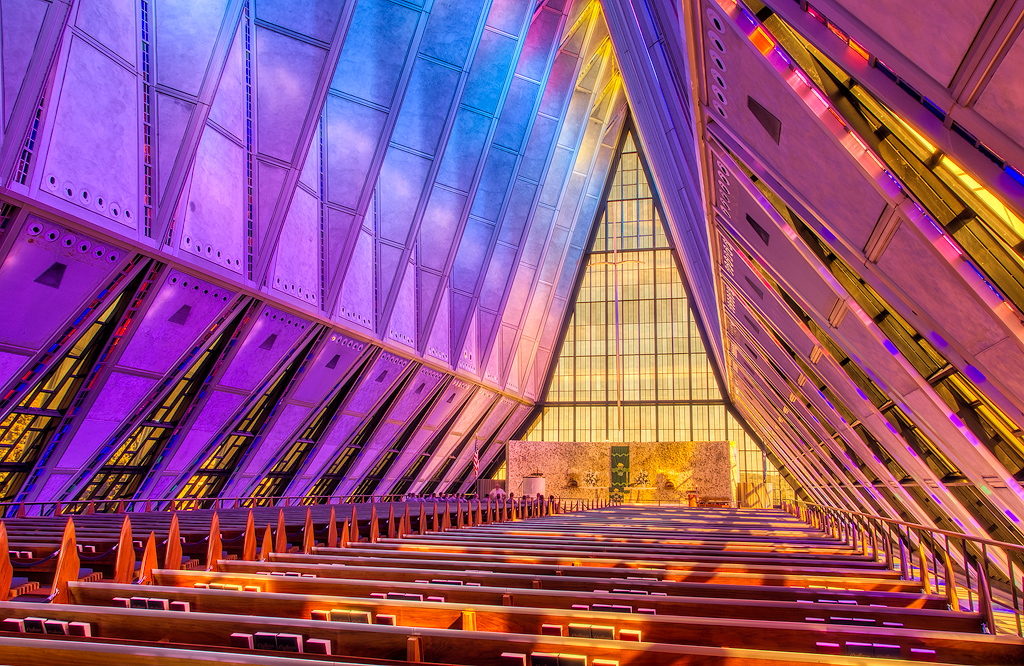
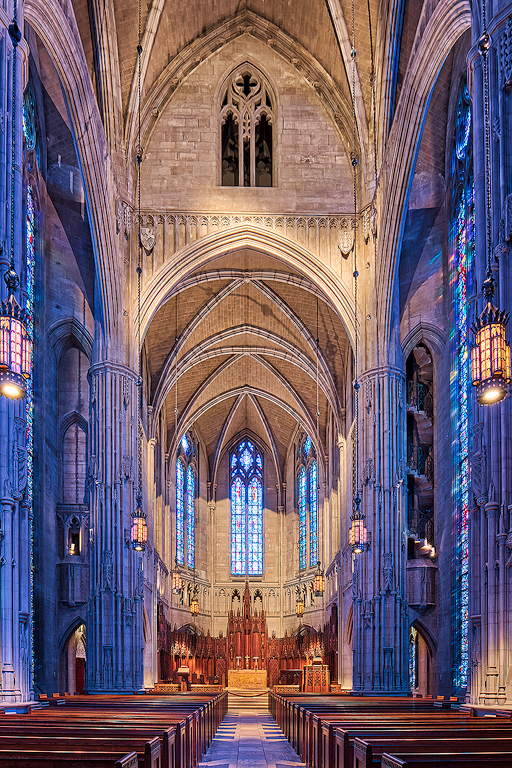
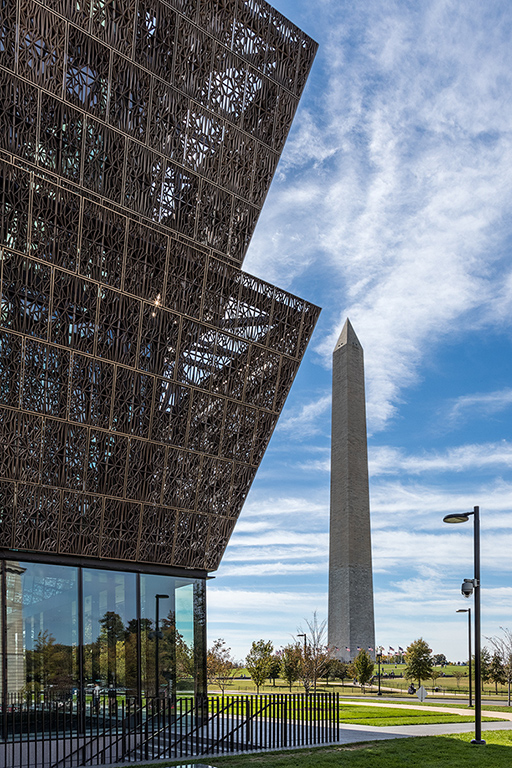
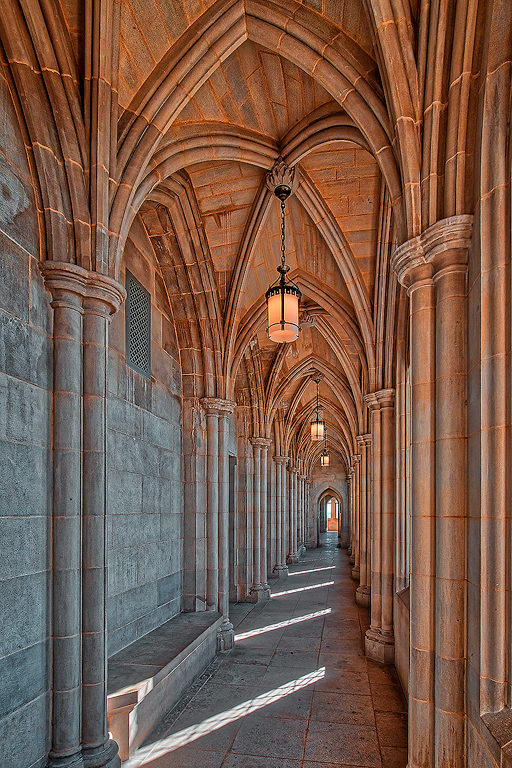
interesting take on getting rid of the stuff on that side of the chapel. |
Jul 21st |
| 44 |
Jul 20 |
Comment |
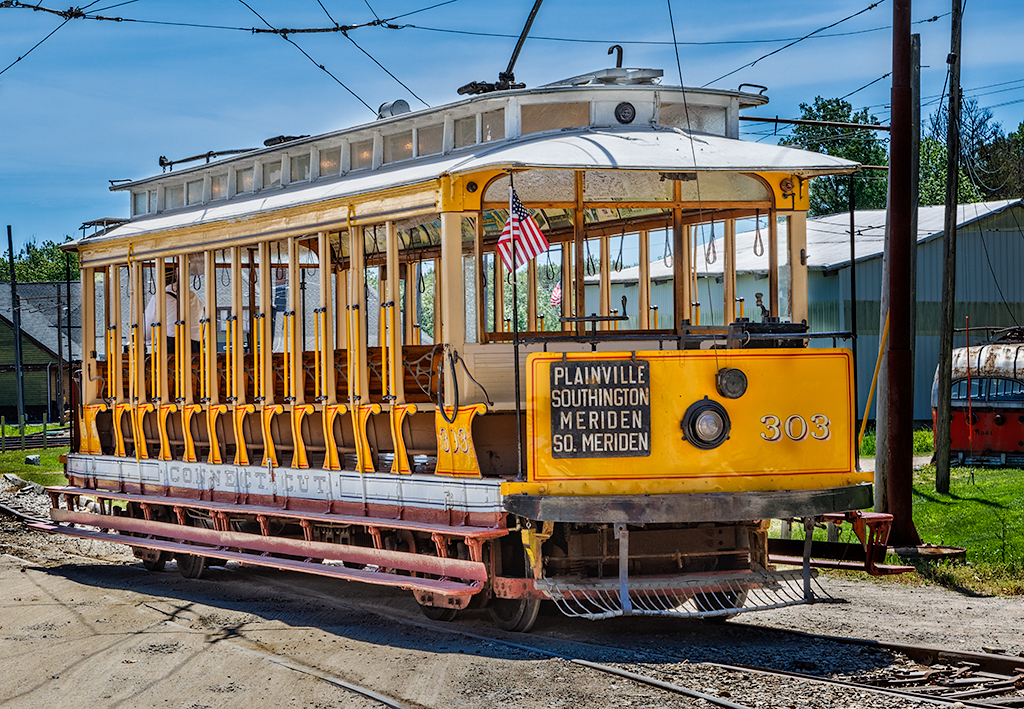
I like the strong colors on the truck cab. They feel right for the subject. The texture is excellent and the sign adds a nice touch of humor. Maybe pull back on the saturation in the grass and foliage greens just a bit, or use a mild vignette, to keep us focused (no pun intended) on the truck. |
Jul 11th |
| 44 |
Jul 20 |
Comment |
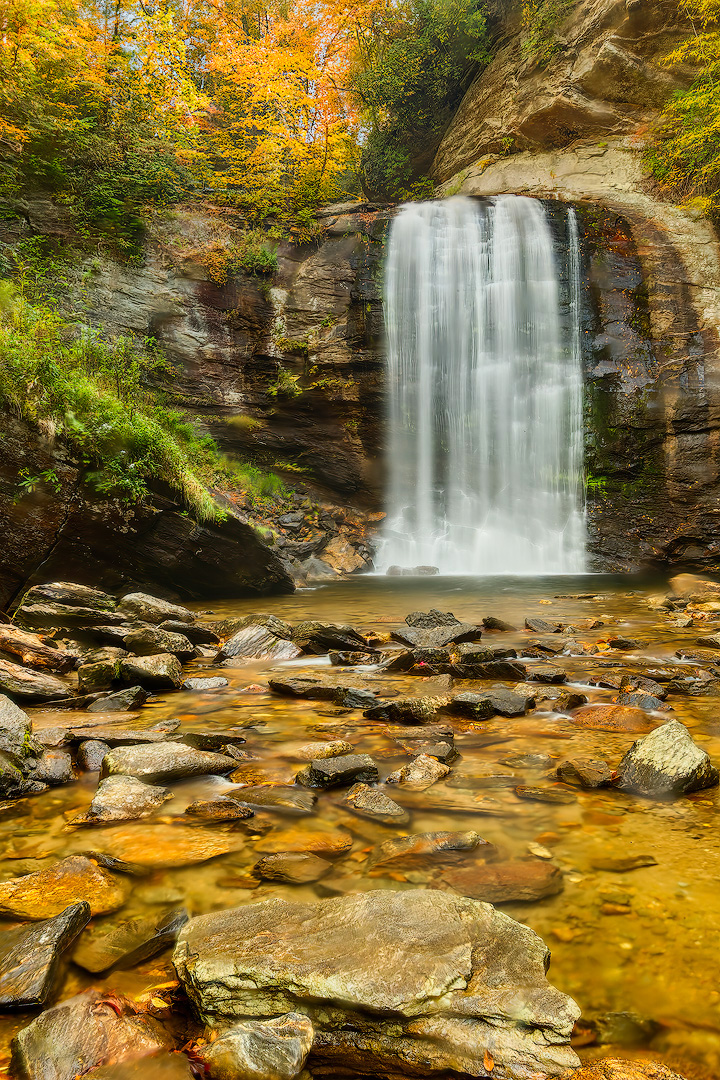
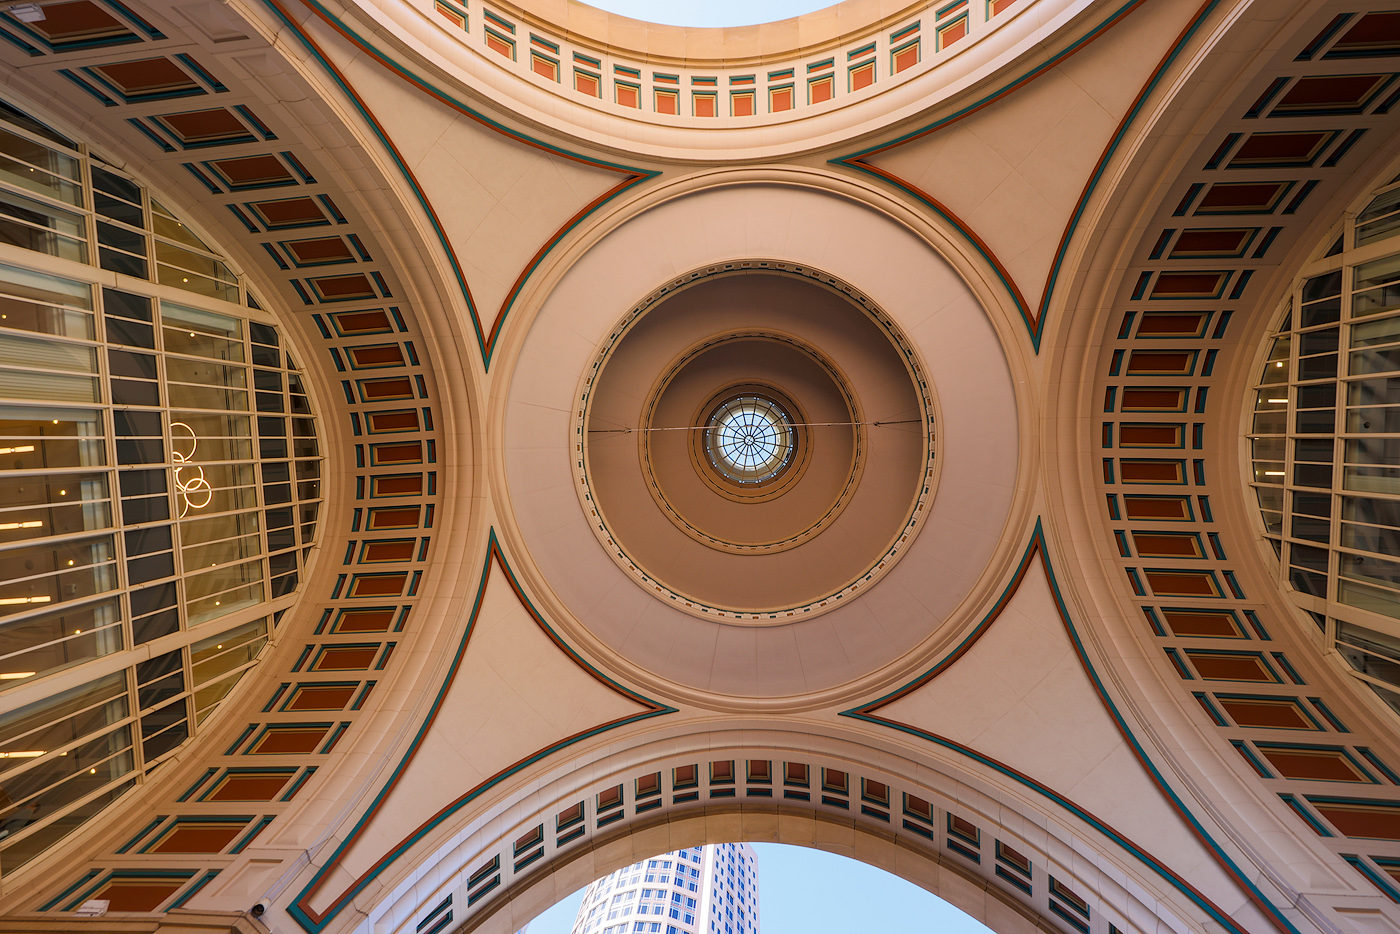
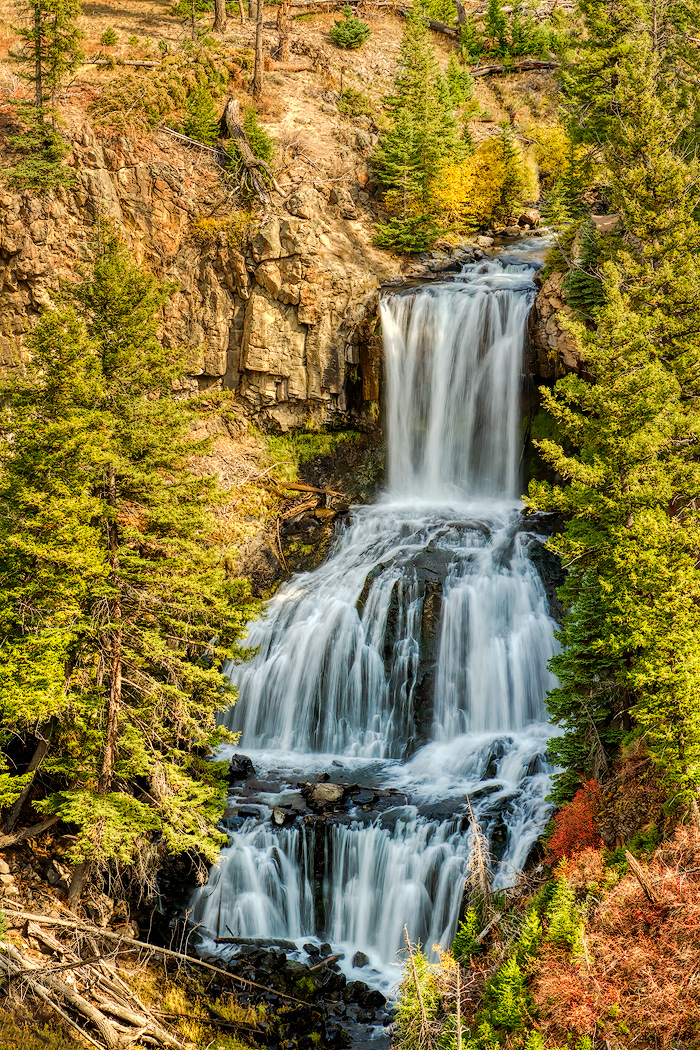
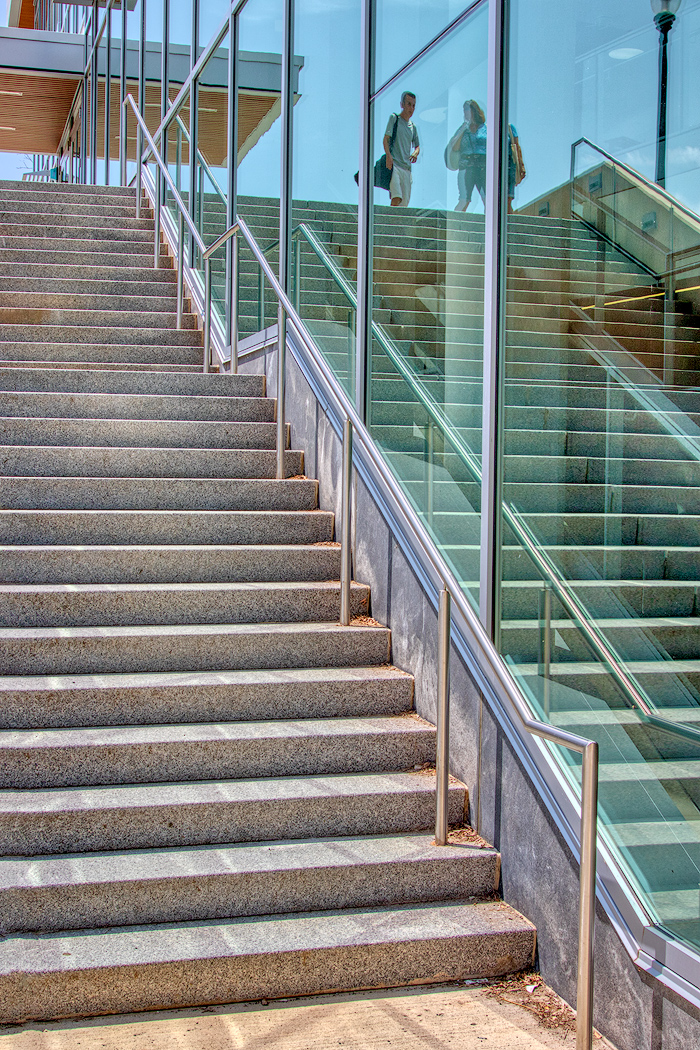
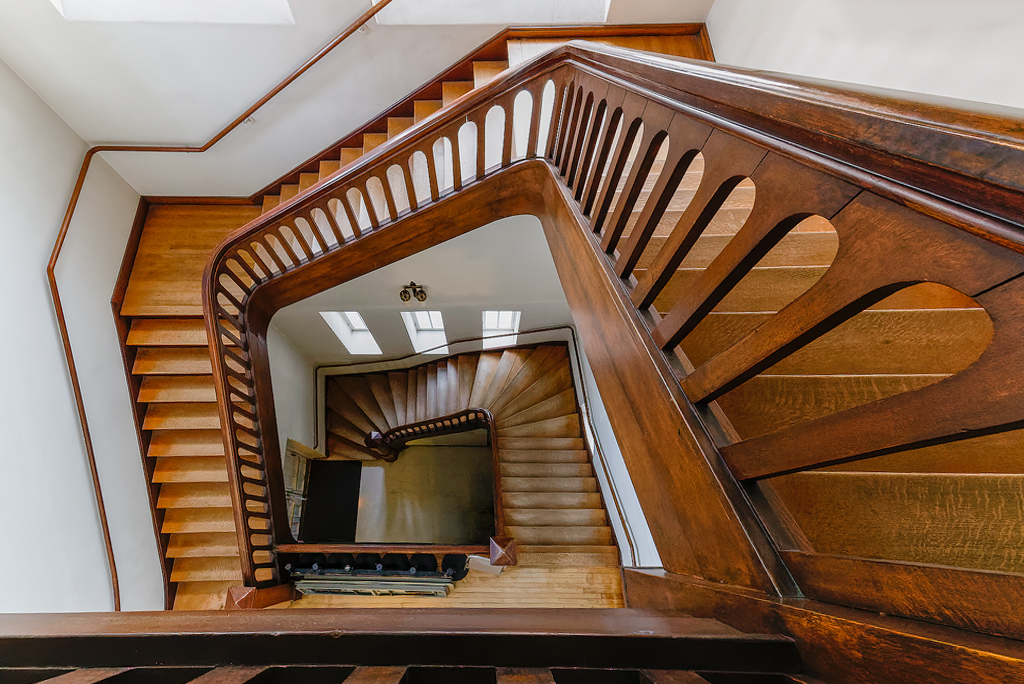
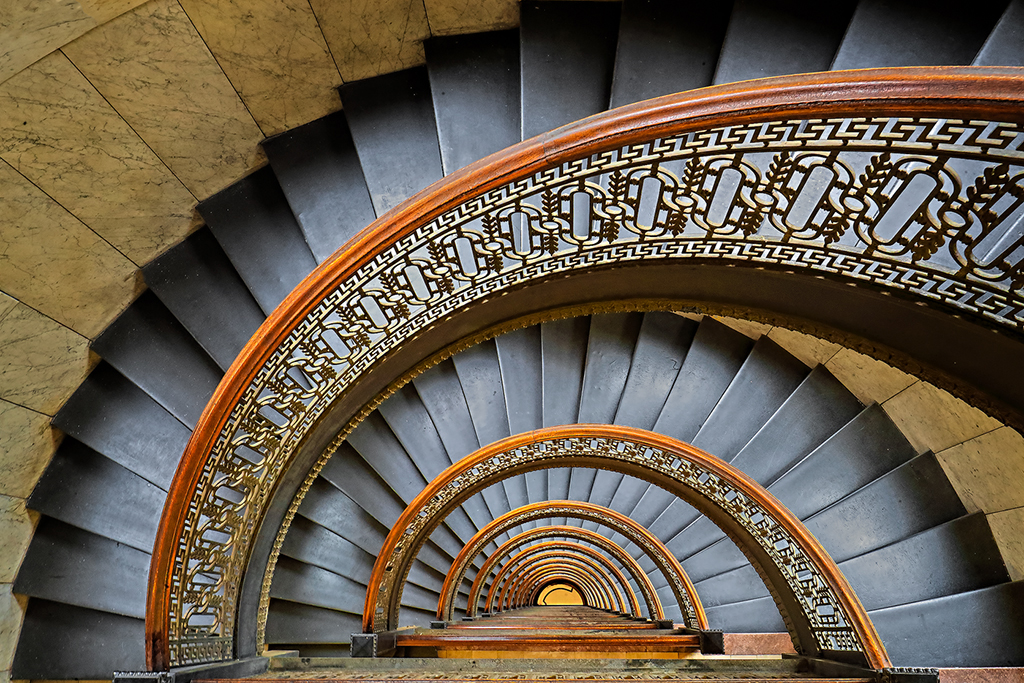
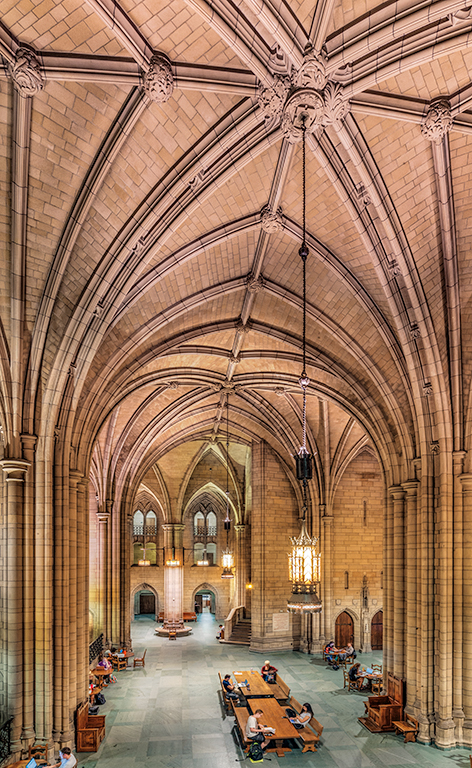
An appealing image. The blend is very nice and the lines lead me through the scene just the way I would hope they would. Max noted the one small item on the left edge. I might increase the sharpening just a bit on the two ladies and the carriages very slightly given their prominent placement. Well done. |
Jul 11th |
| 44 |
Jul 20 |
Comment |
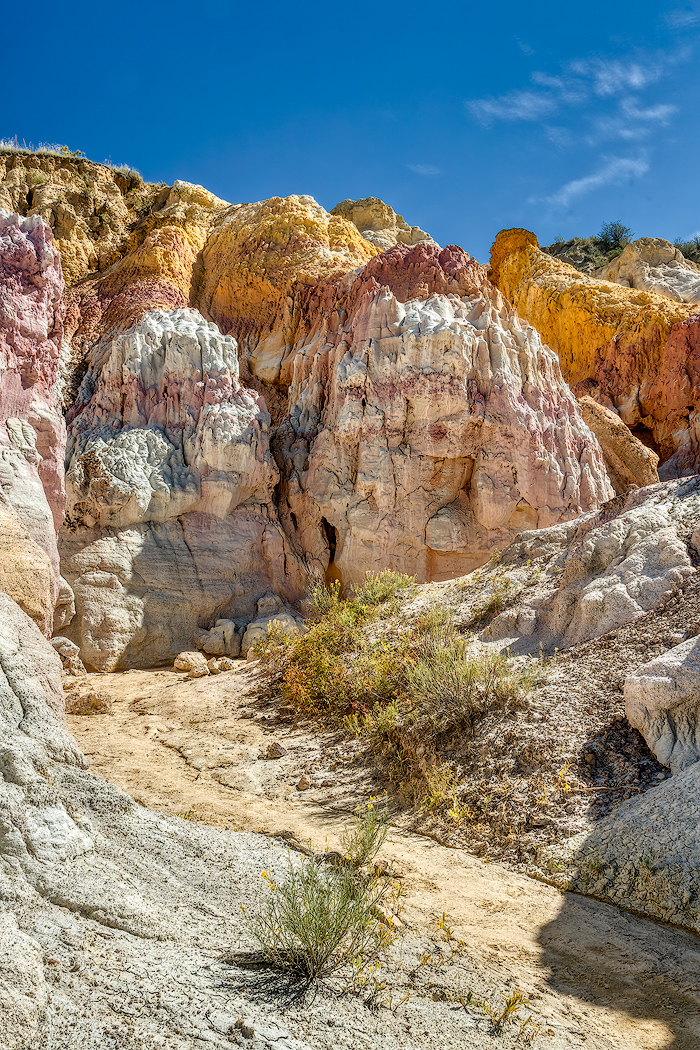
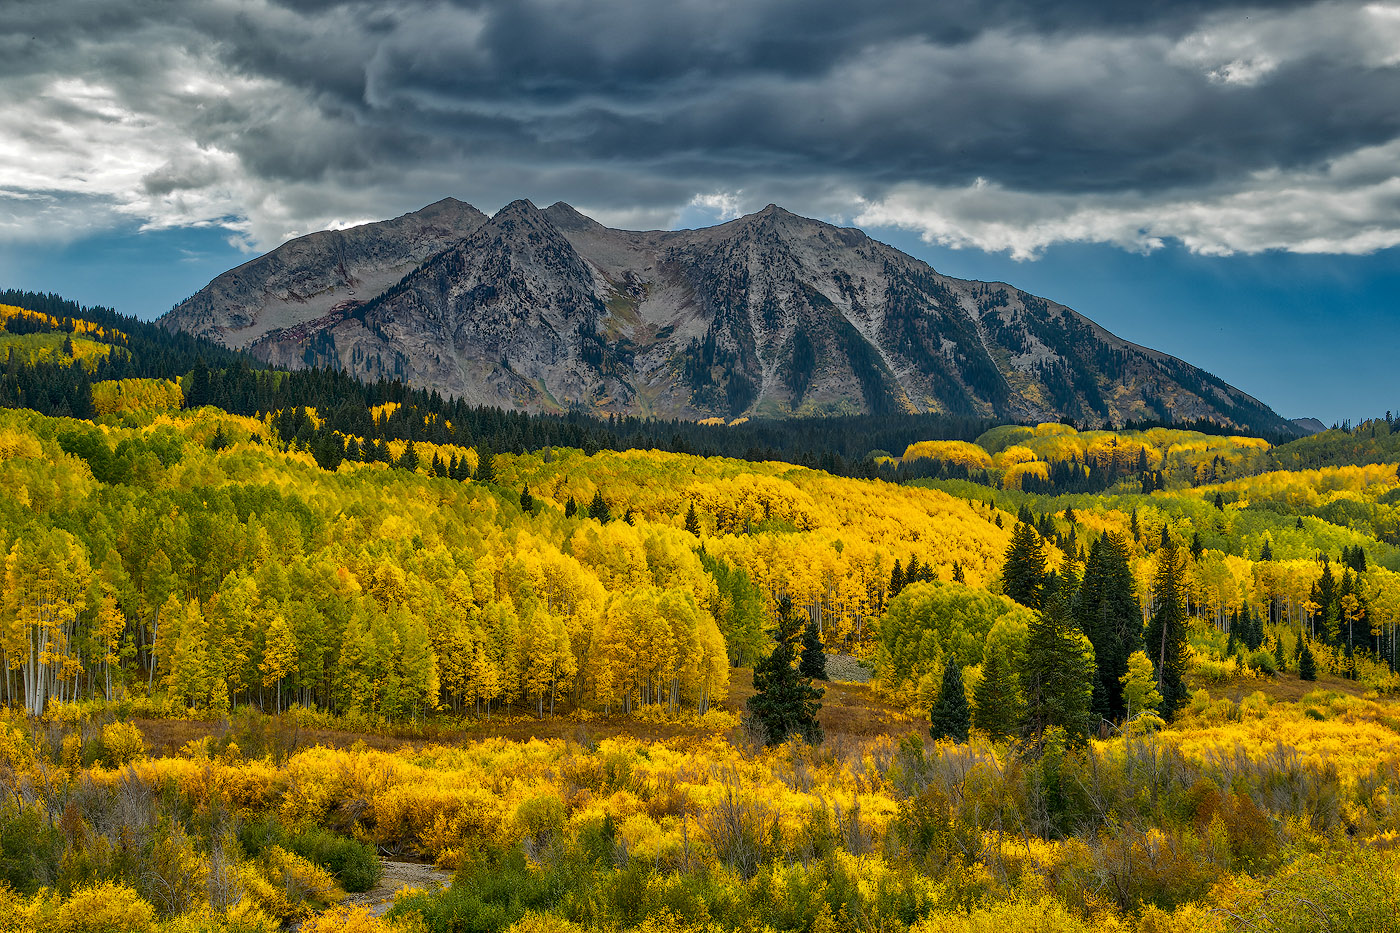
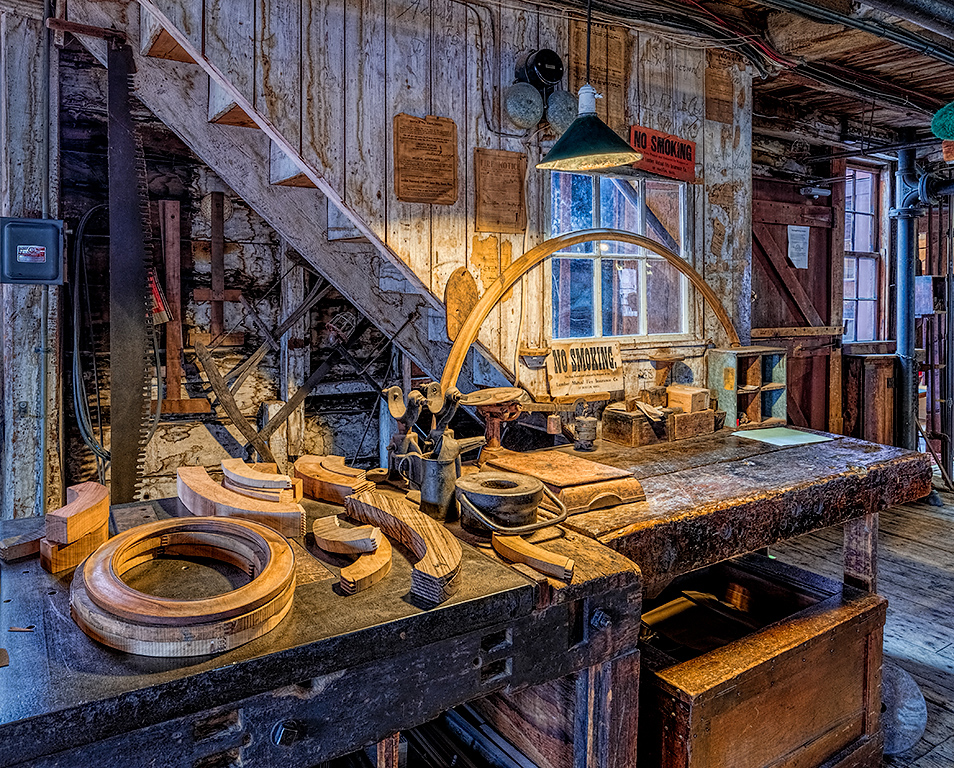
That preset definitely brought out a lot of the structure / texture in the scene. I feel the blend is uniform, but the overall result seems dark to me. Possibly pushing the mid tones lighter by about a stop would open it up without losing the feeling of the impending storm. The rain section coming out of the clouds really helps with that foreboding feeling. The blue-gray of the clouds on the left seems fine, but those on the right seem a bit too bluish, almost as if the present went into overdrive in that area. |
Jul 10th |
| 44 |
Jul 20 |
Comment |
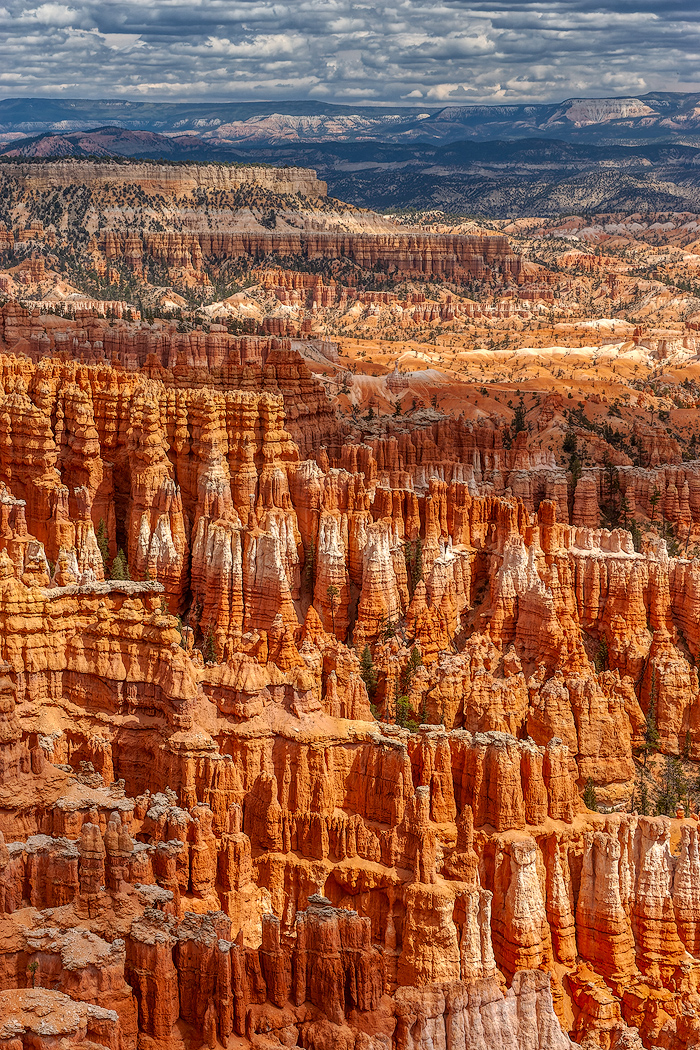
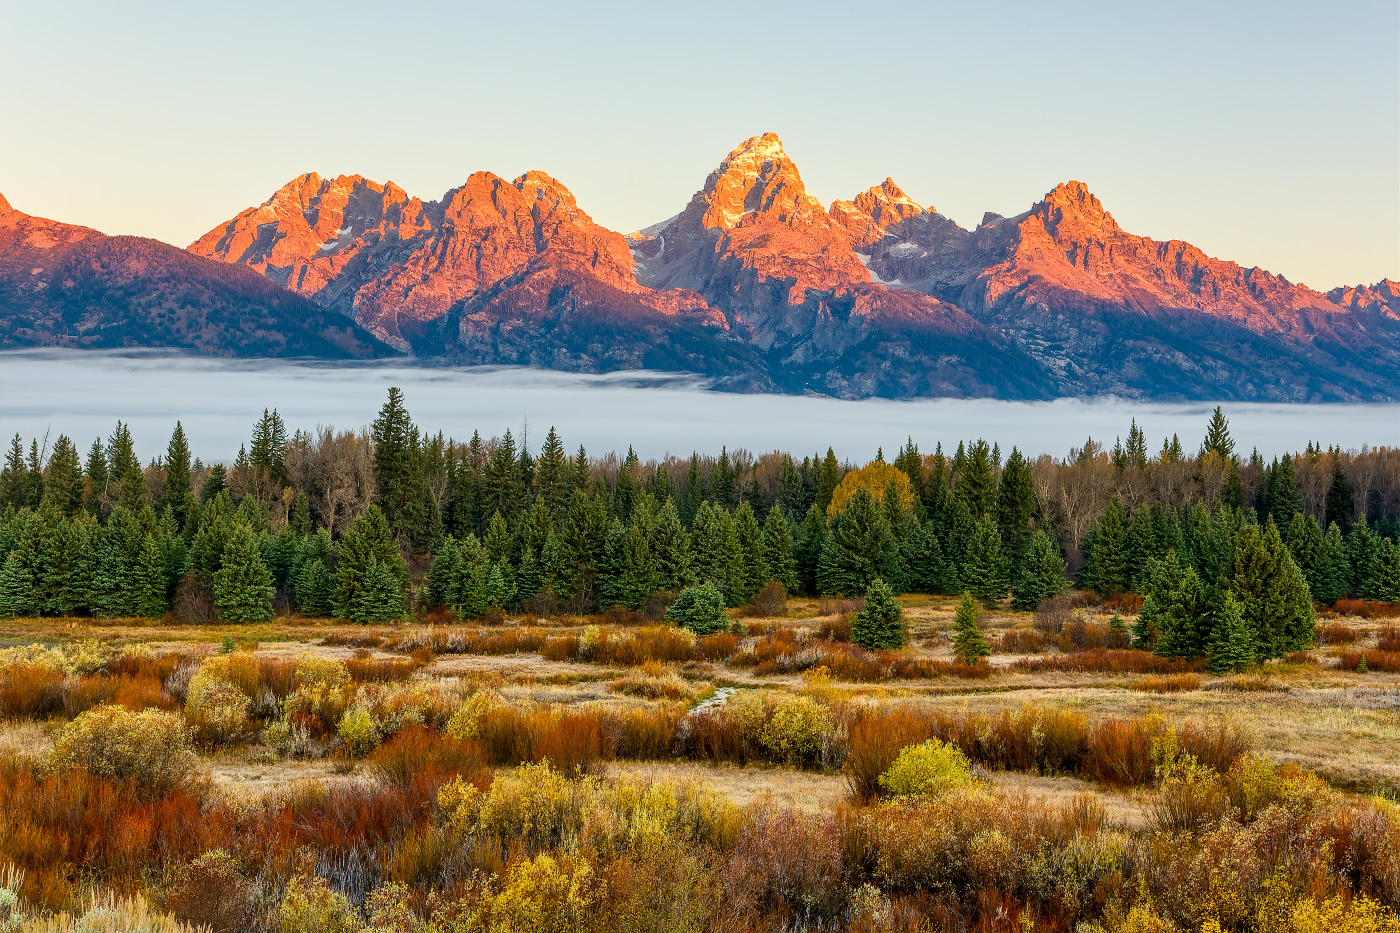
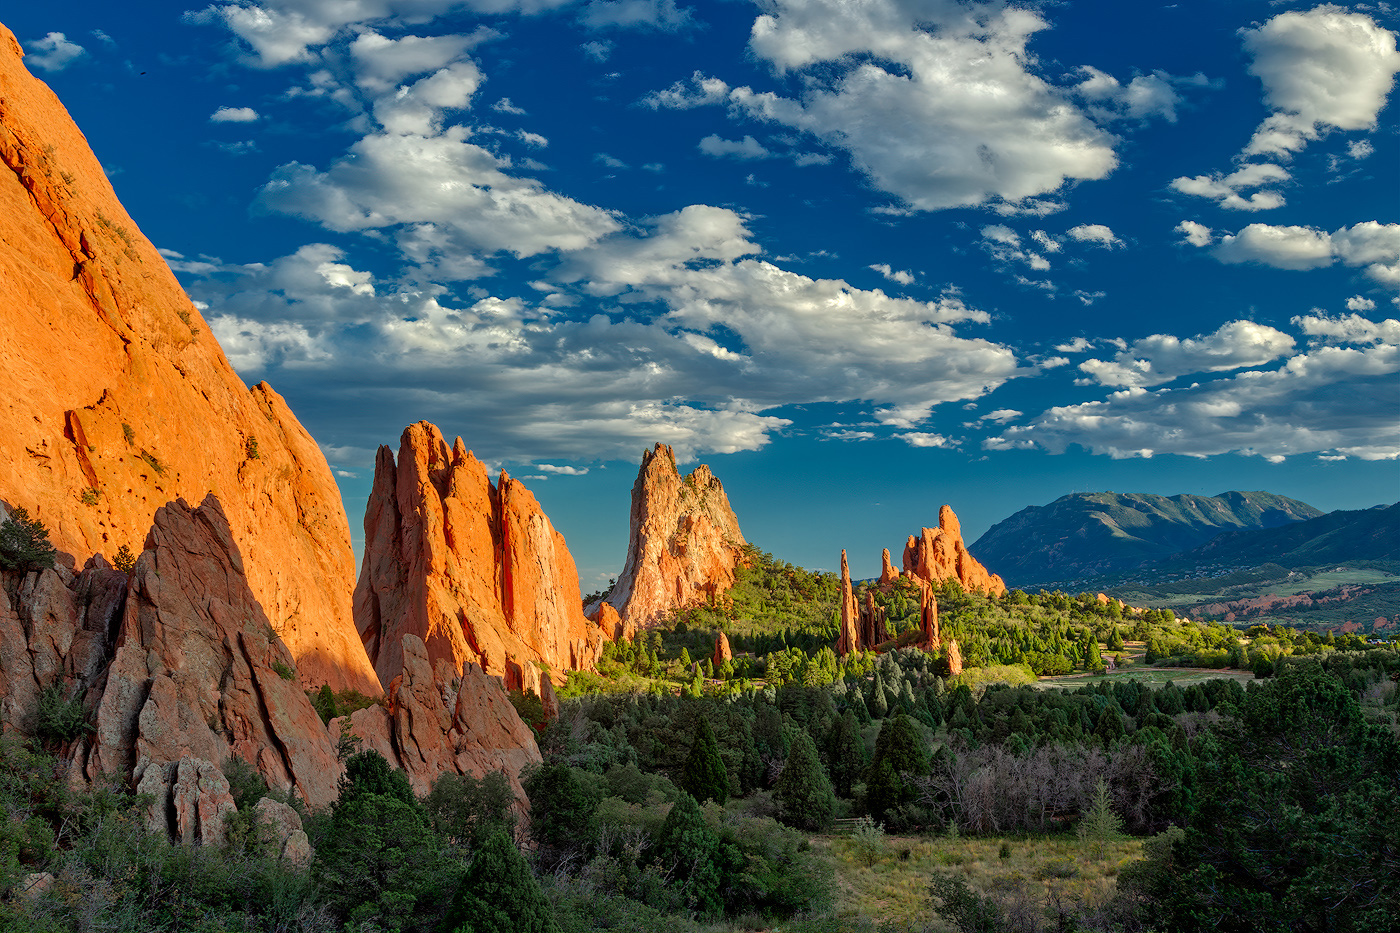
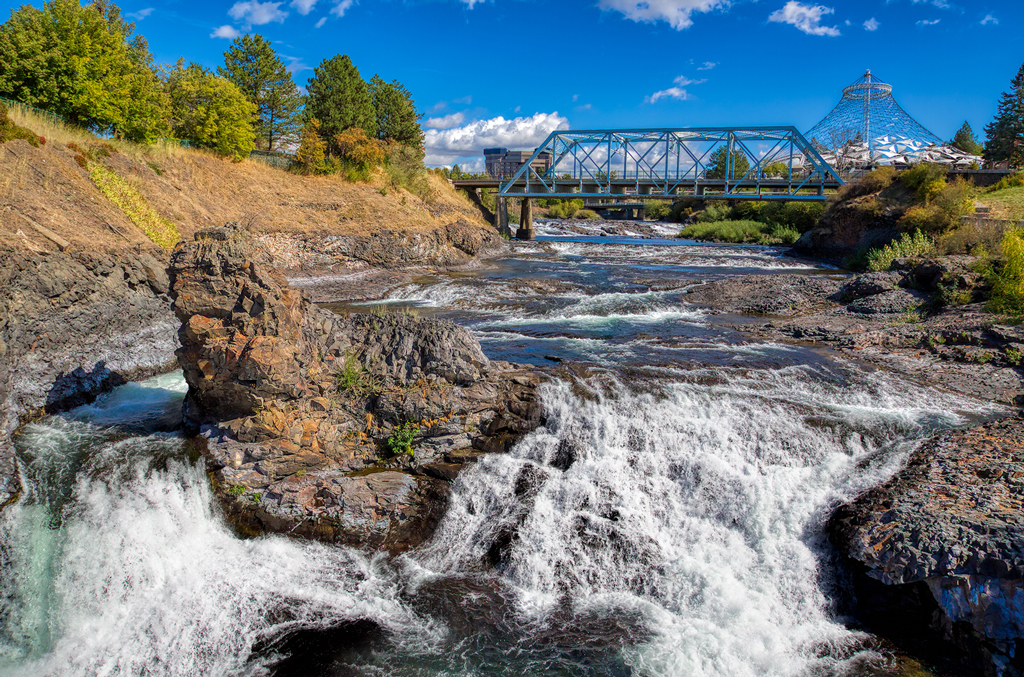
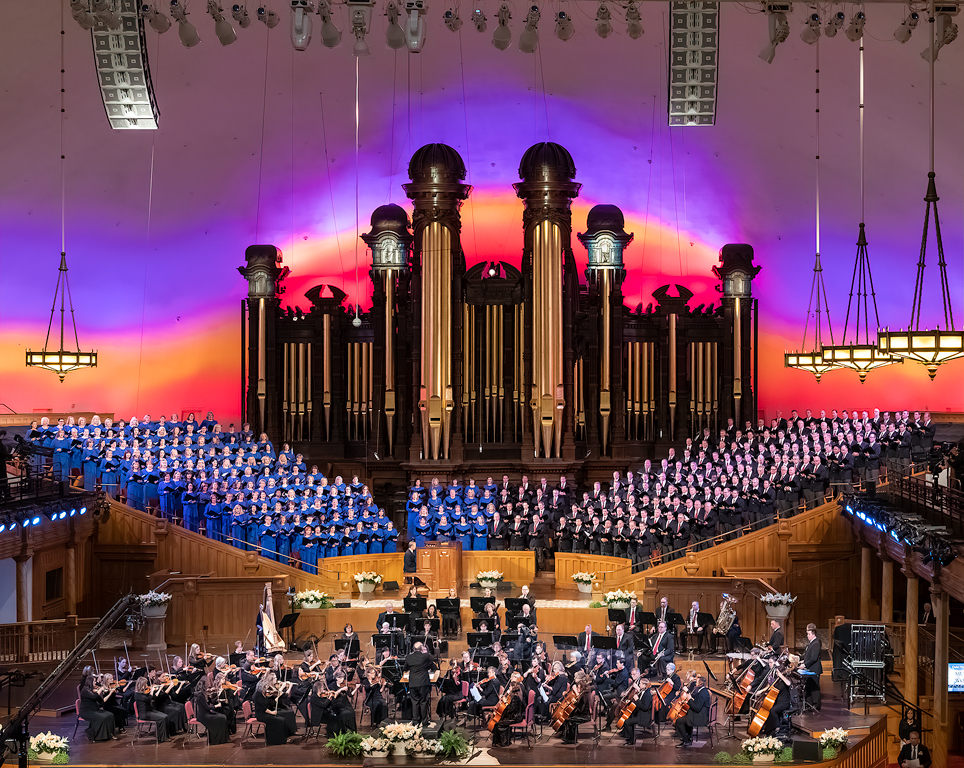
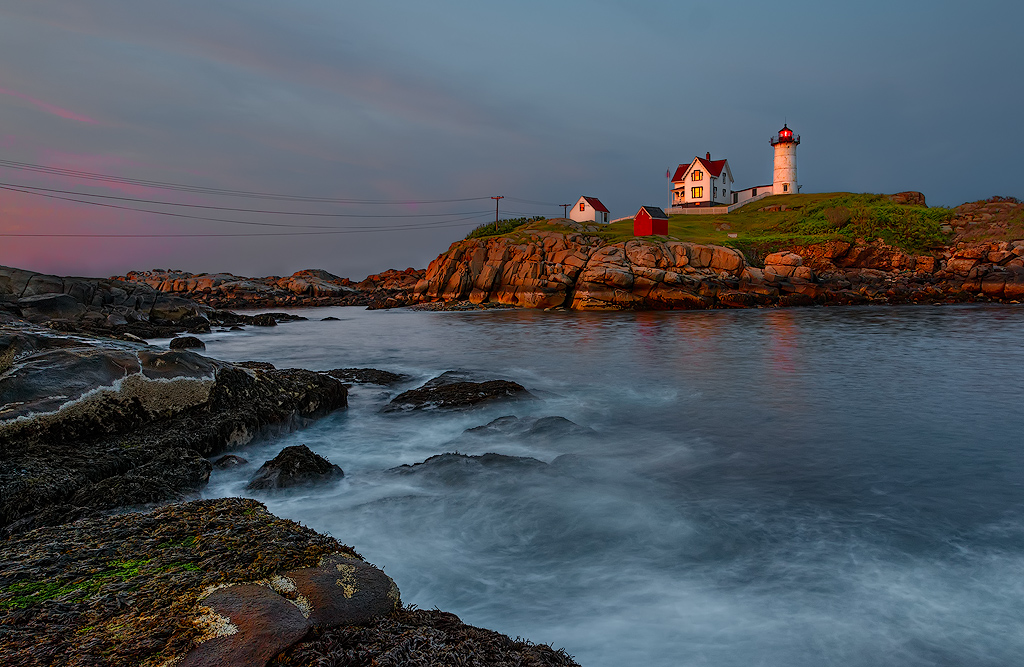
I like the tones and contrast in this version. We discussed the chromatic aberration and I'm wondering if In this case it might be necessary to use ACR / Lightroom to knock out the chromatic aberration and then feed Aurora (or one of the others) a set of Tiff files for the blend. I think the punch of having the rock group lit while the rest is still in shadow is a definite plus. |
Jul 10th |
| 44 |
Jul 20 |
Comment |
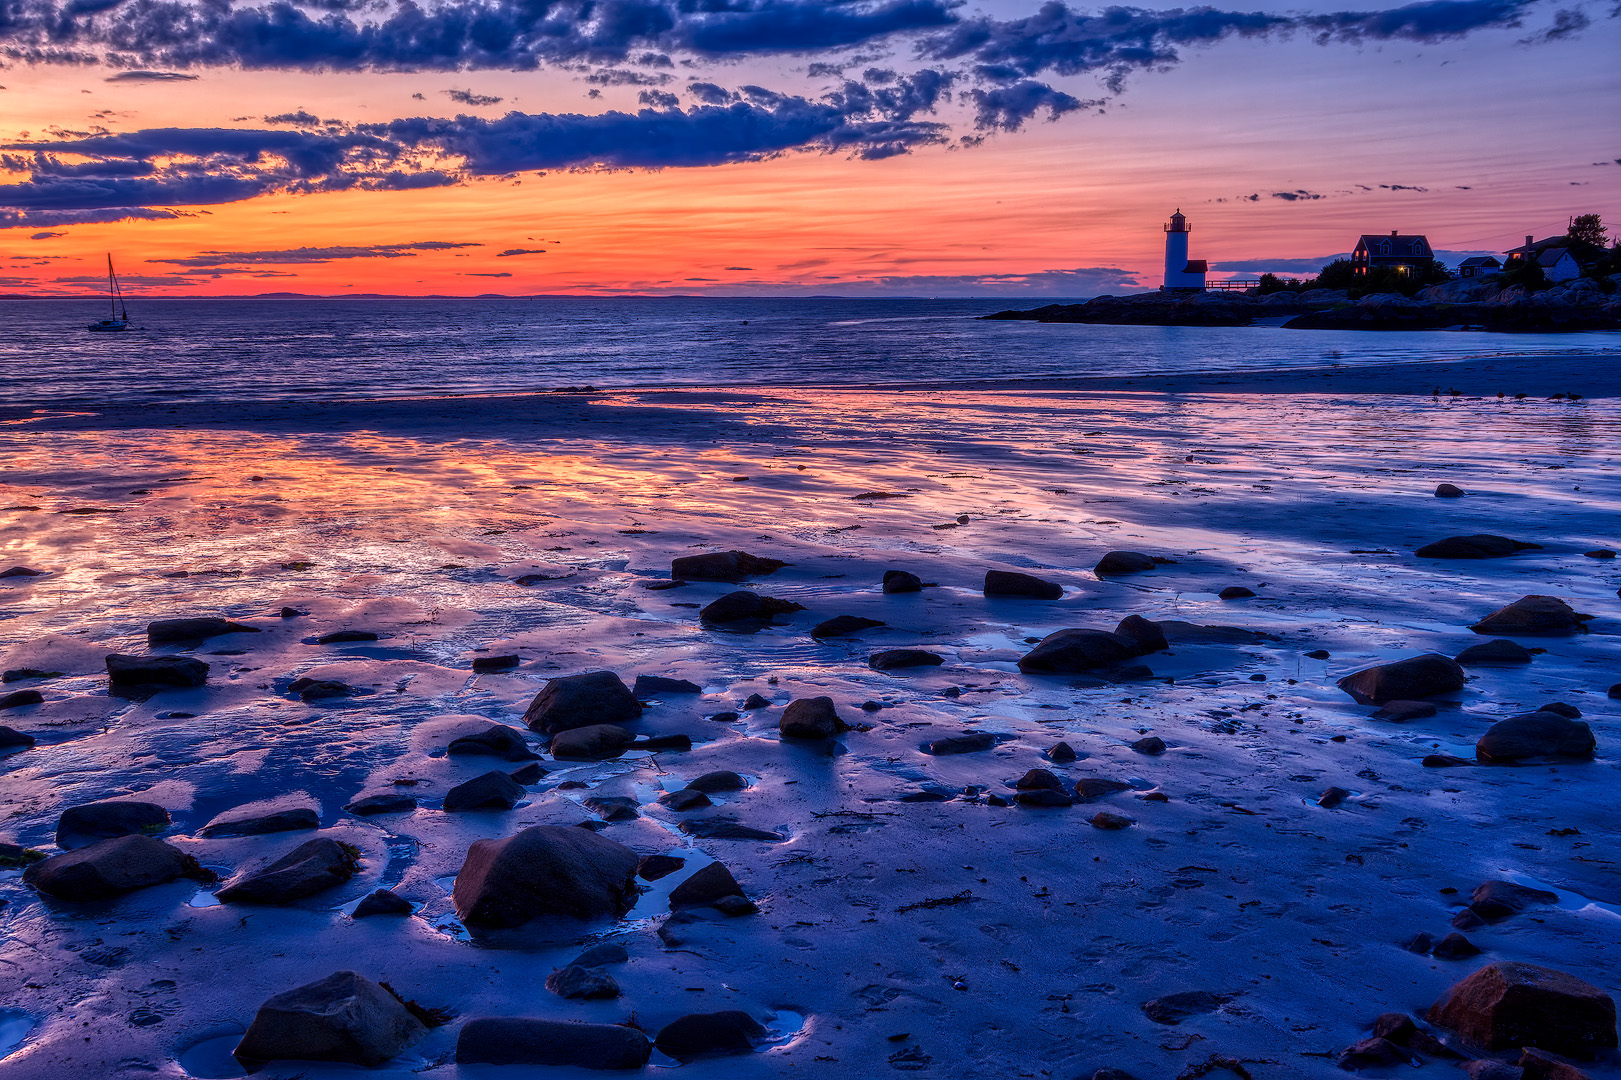
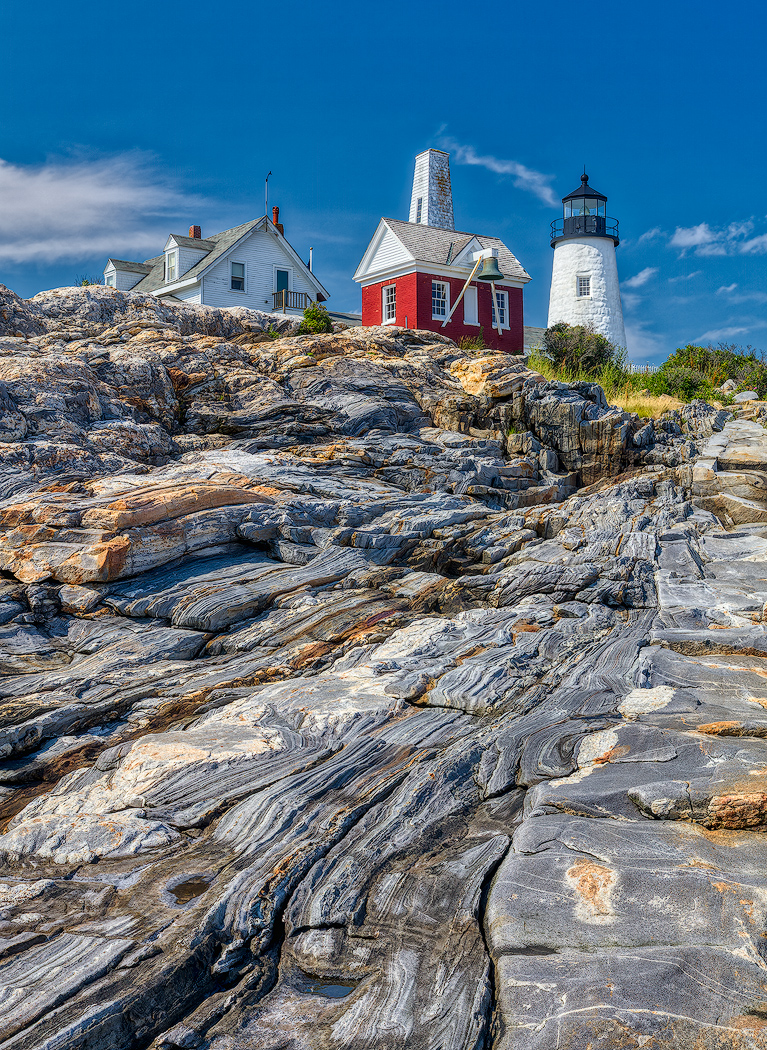
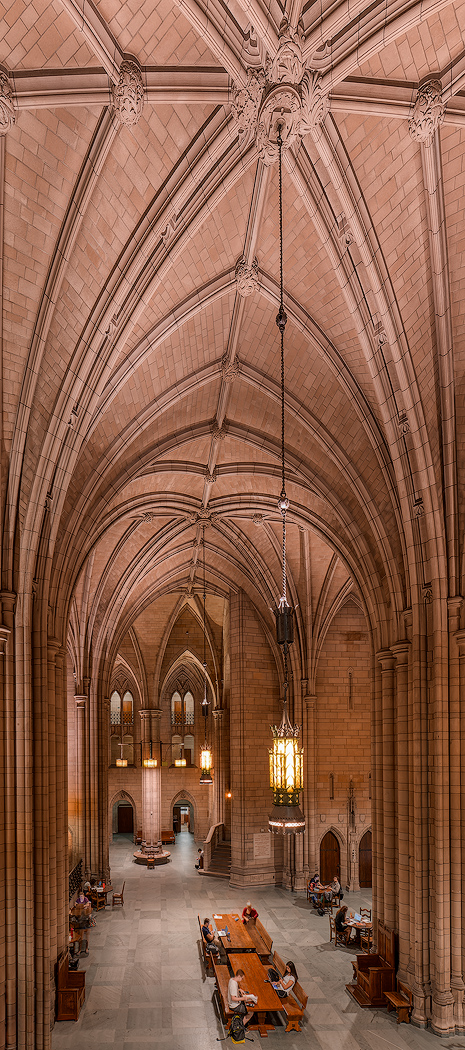
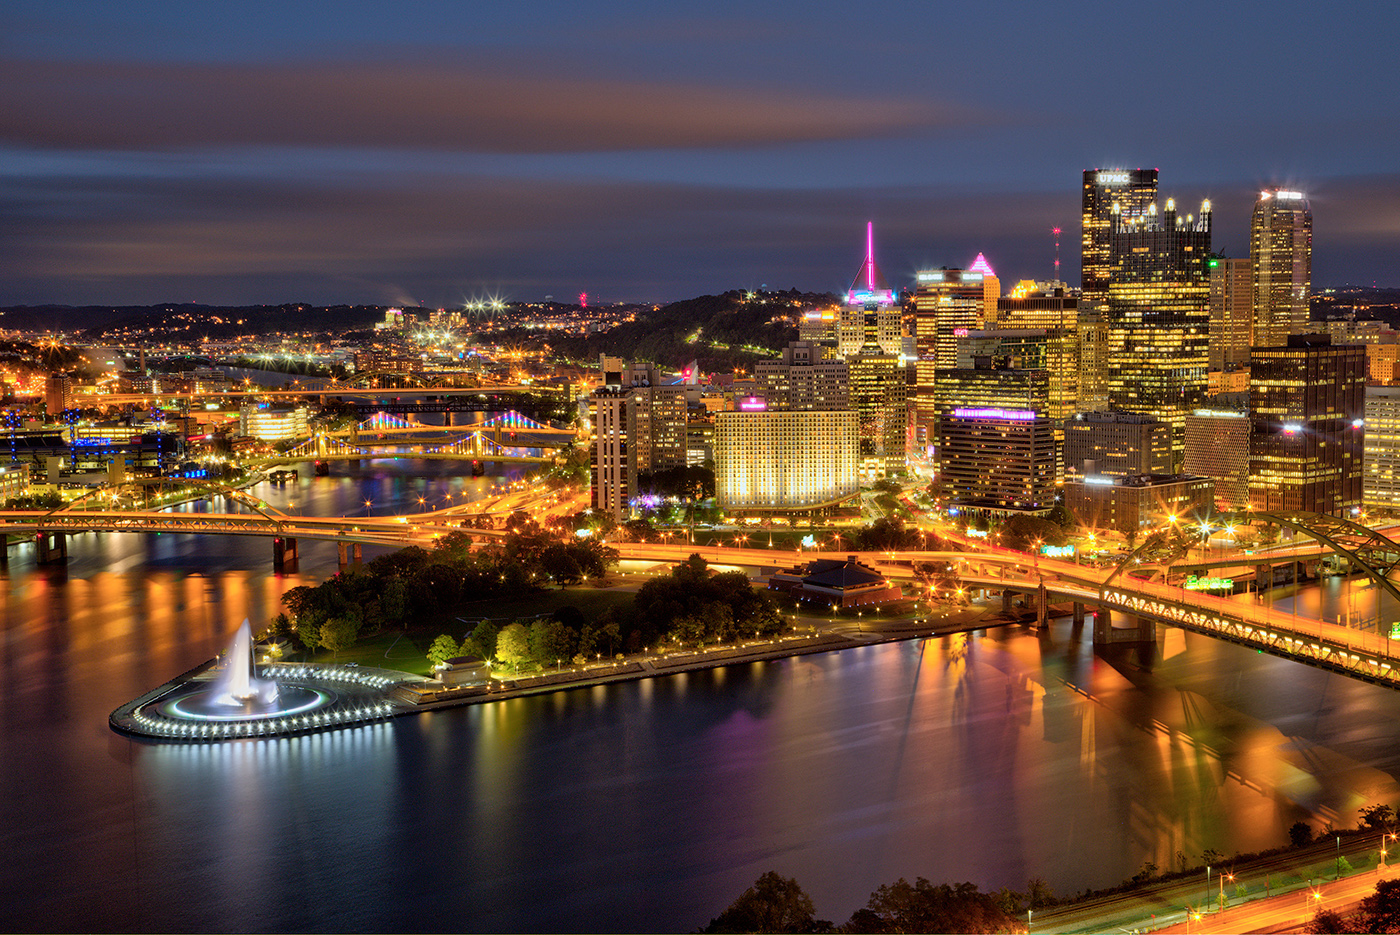
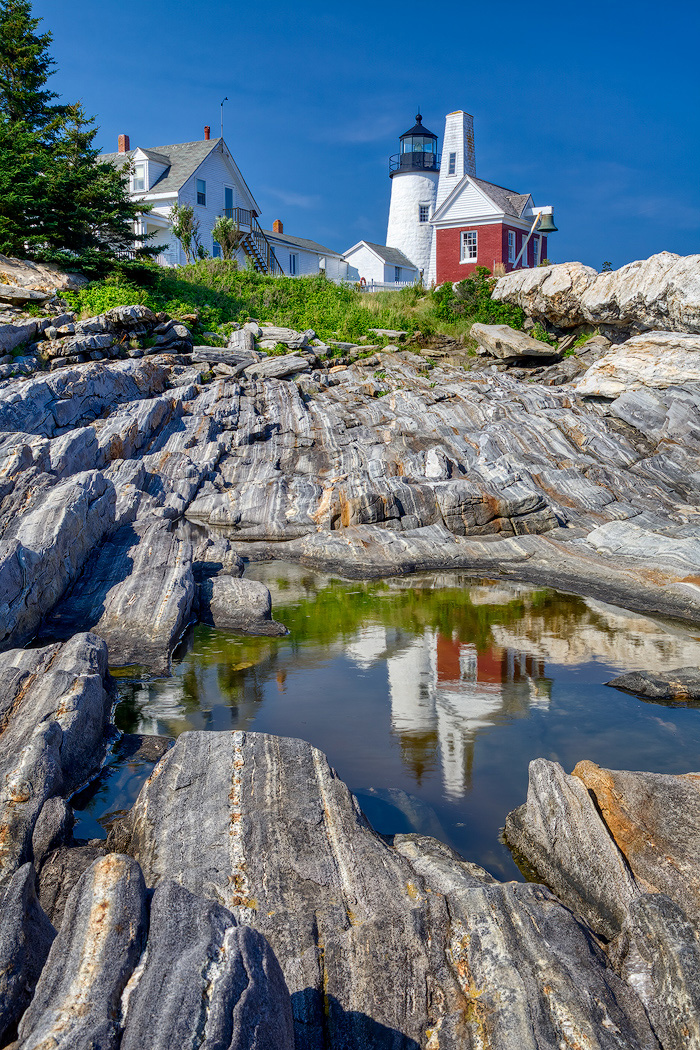
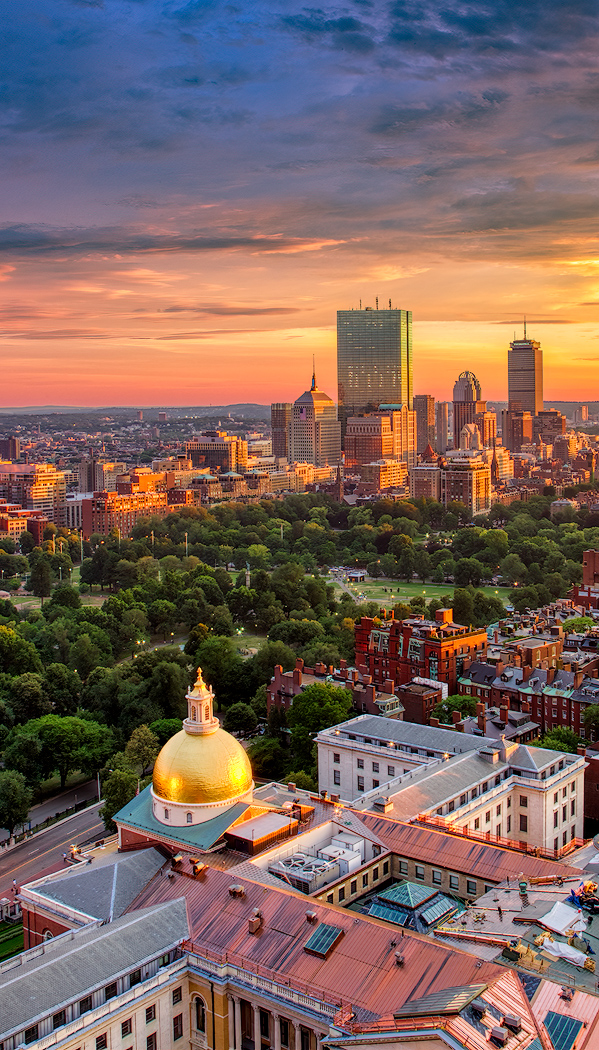
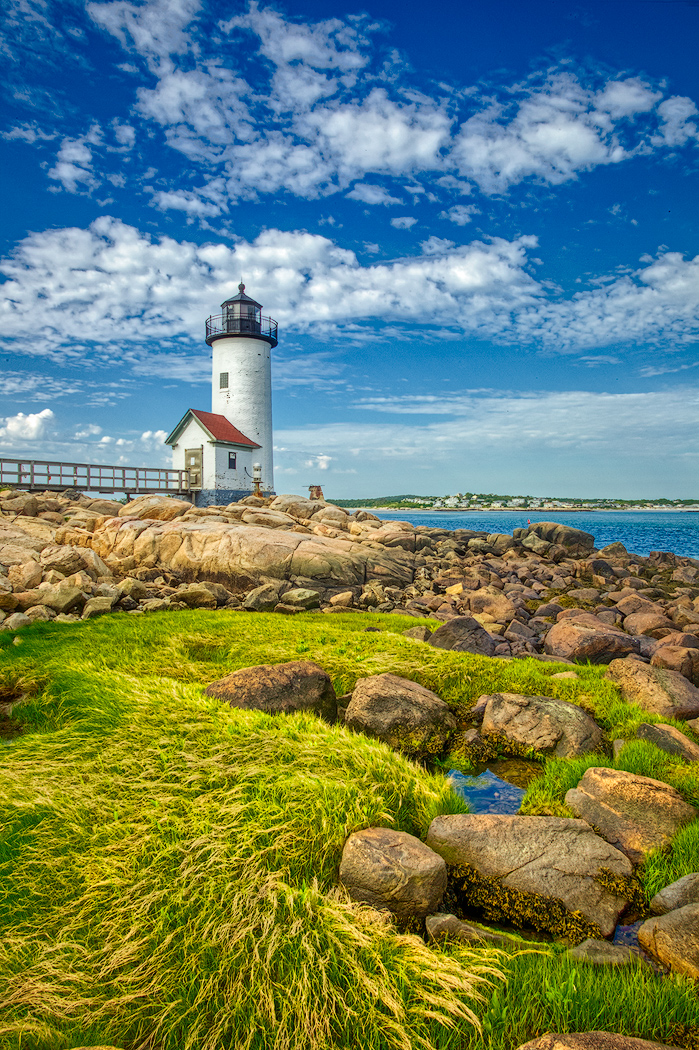
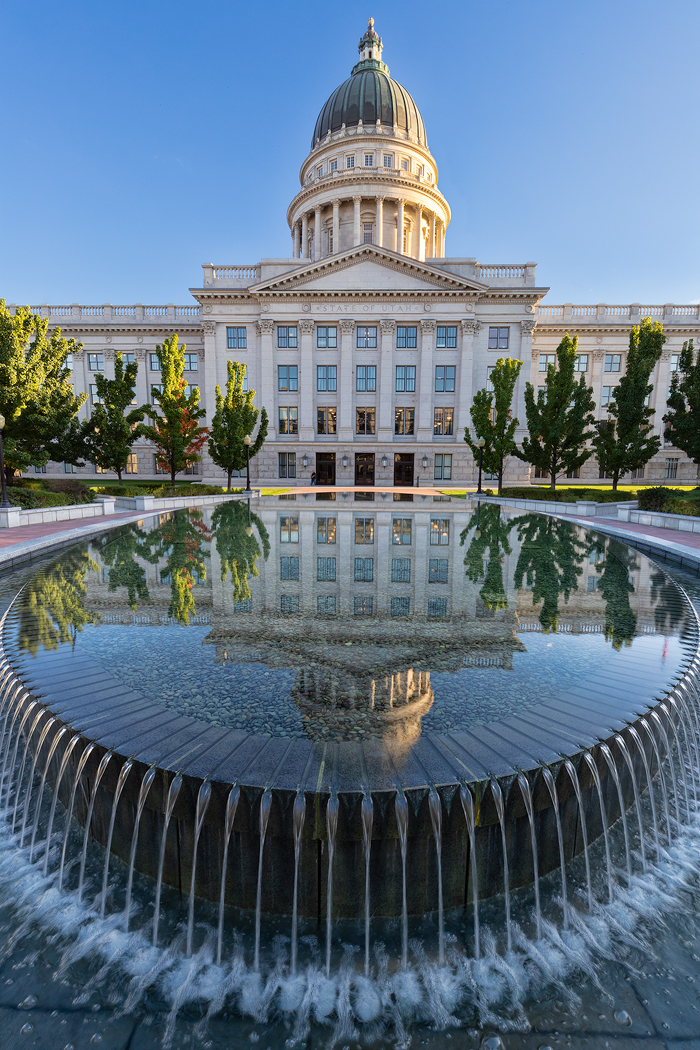
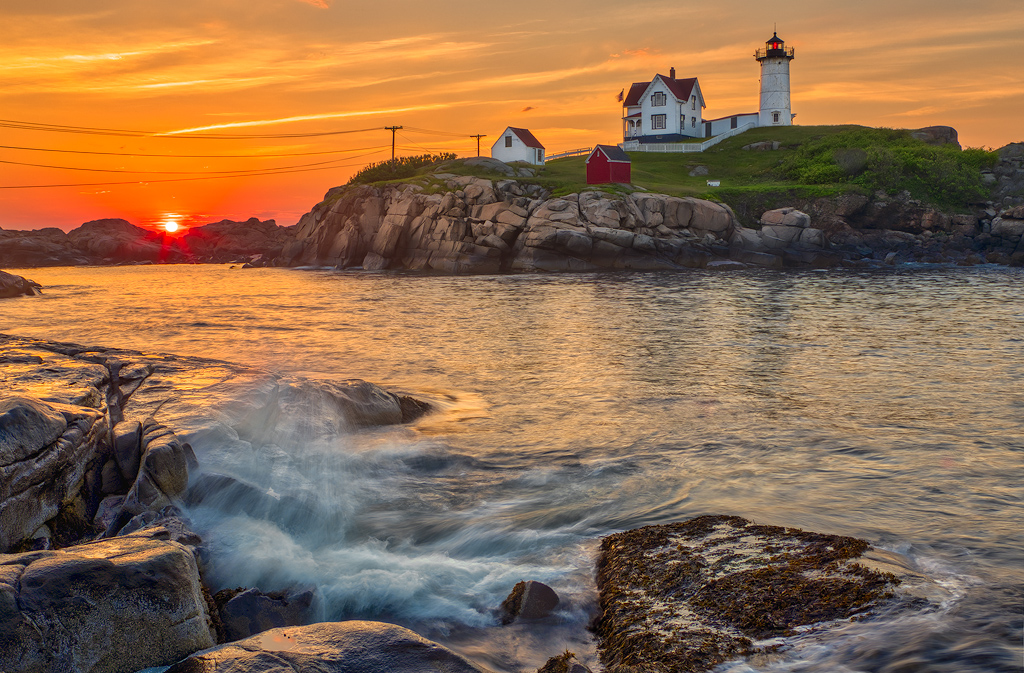
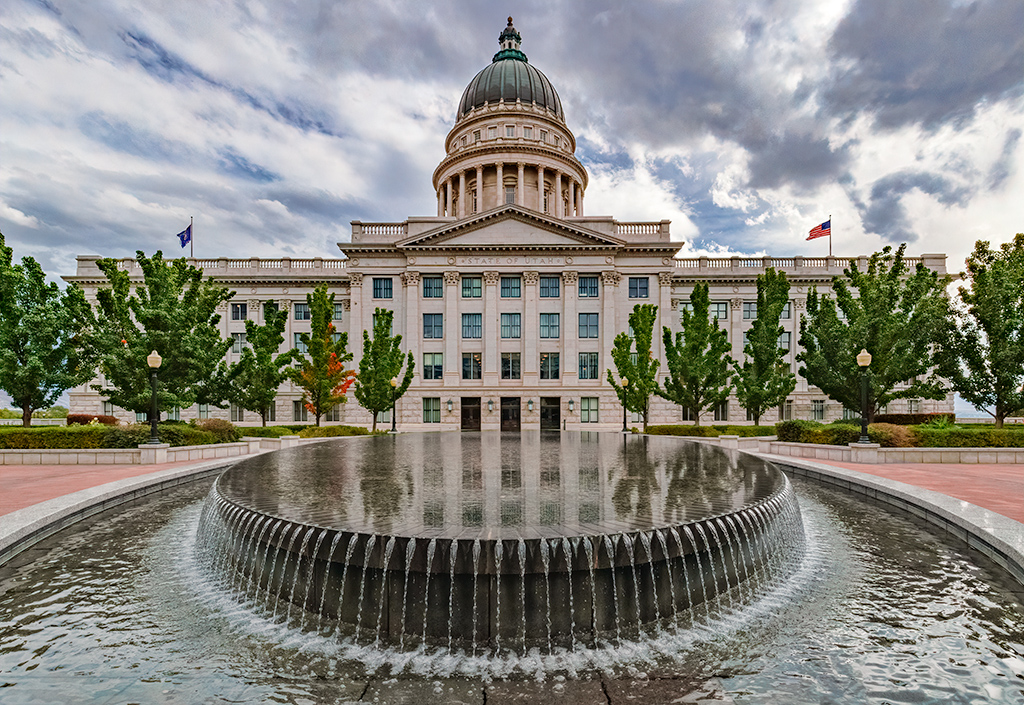
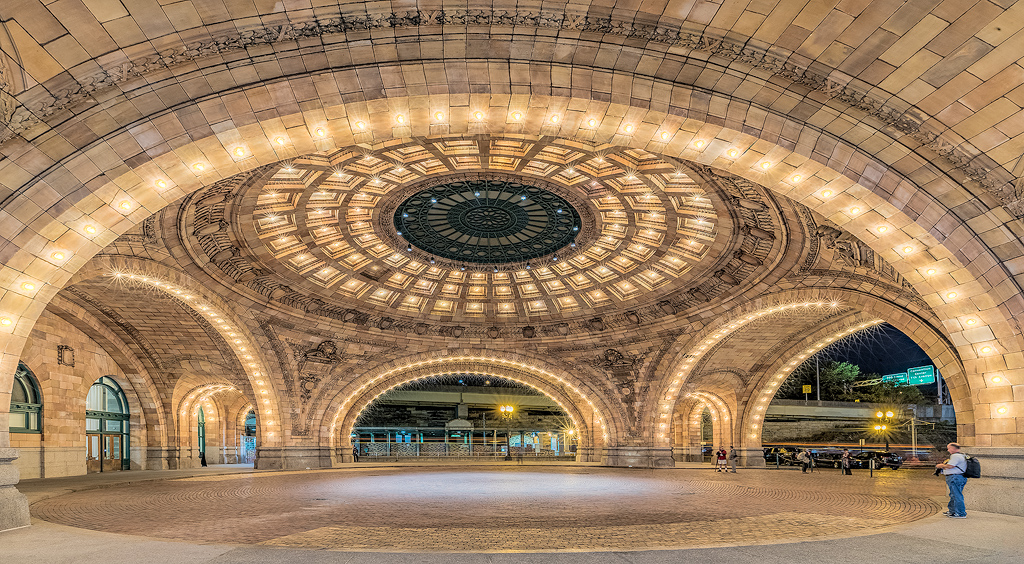
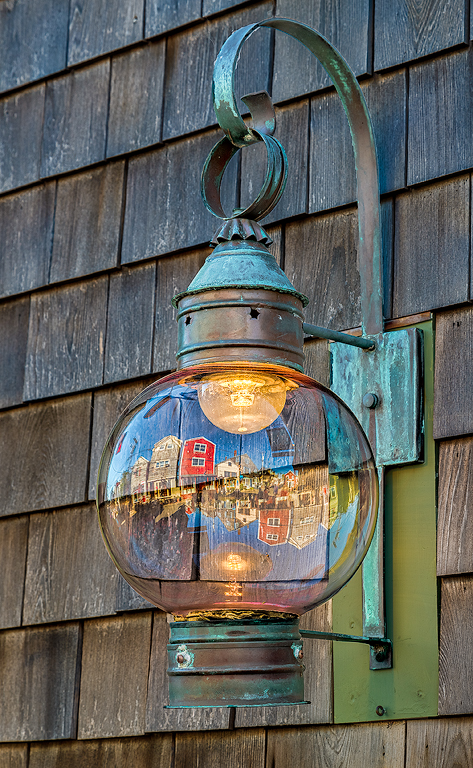
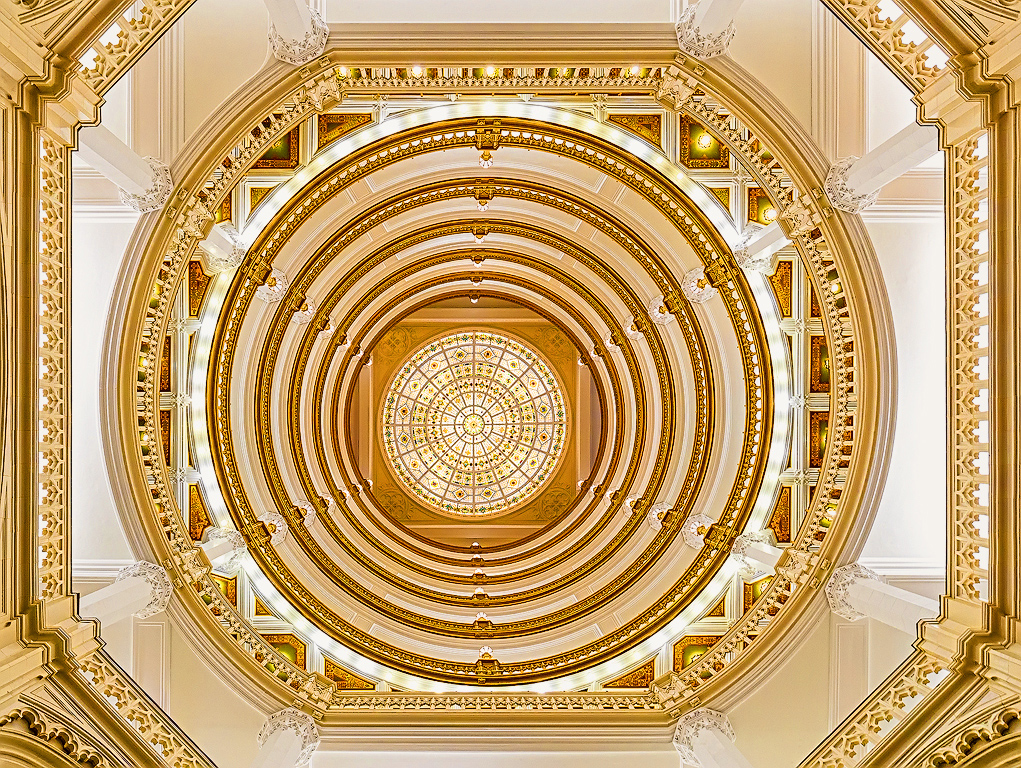
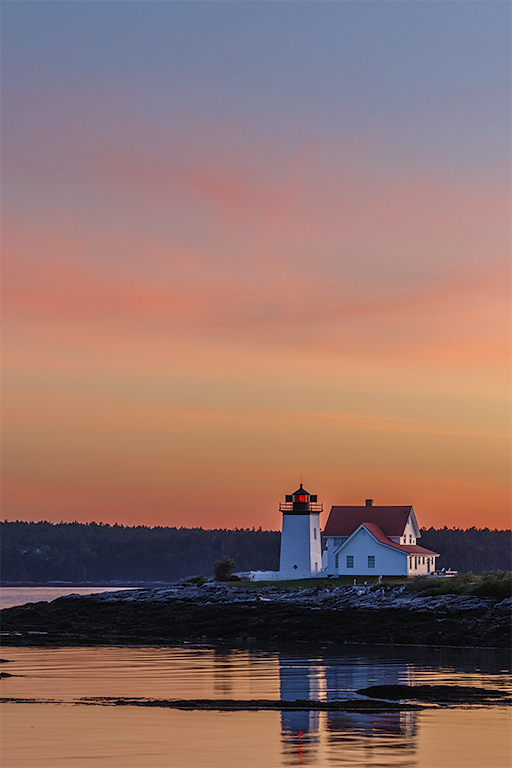
Classic all the way around. Maybe dodge the light tower just a bit, but that is optional. Which magazine are you planning on selling it to? It sets up perfectly for a cover with space for both the masthead and the content mini descriptions. The weight is even on the proper side to entice a prospective buyer to open the pages and browse. Nicely done. |
Jul 10th |
| 44 |
Jul 20 |
Comment |
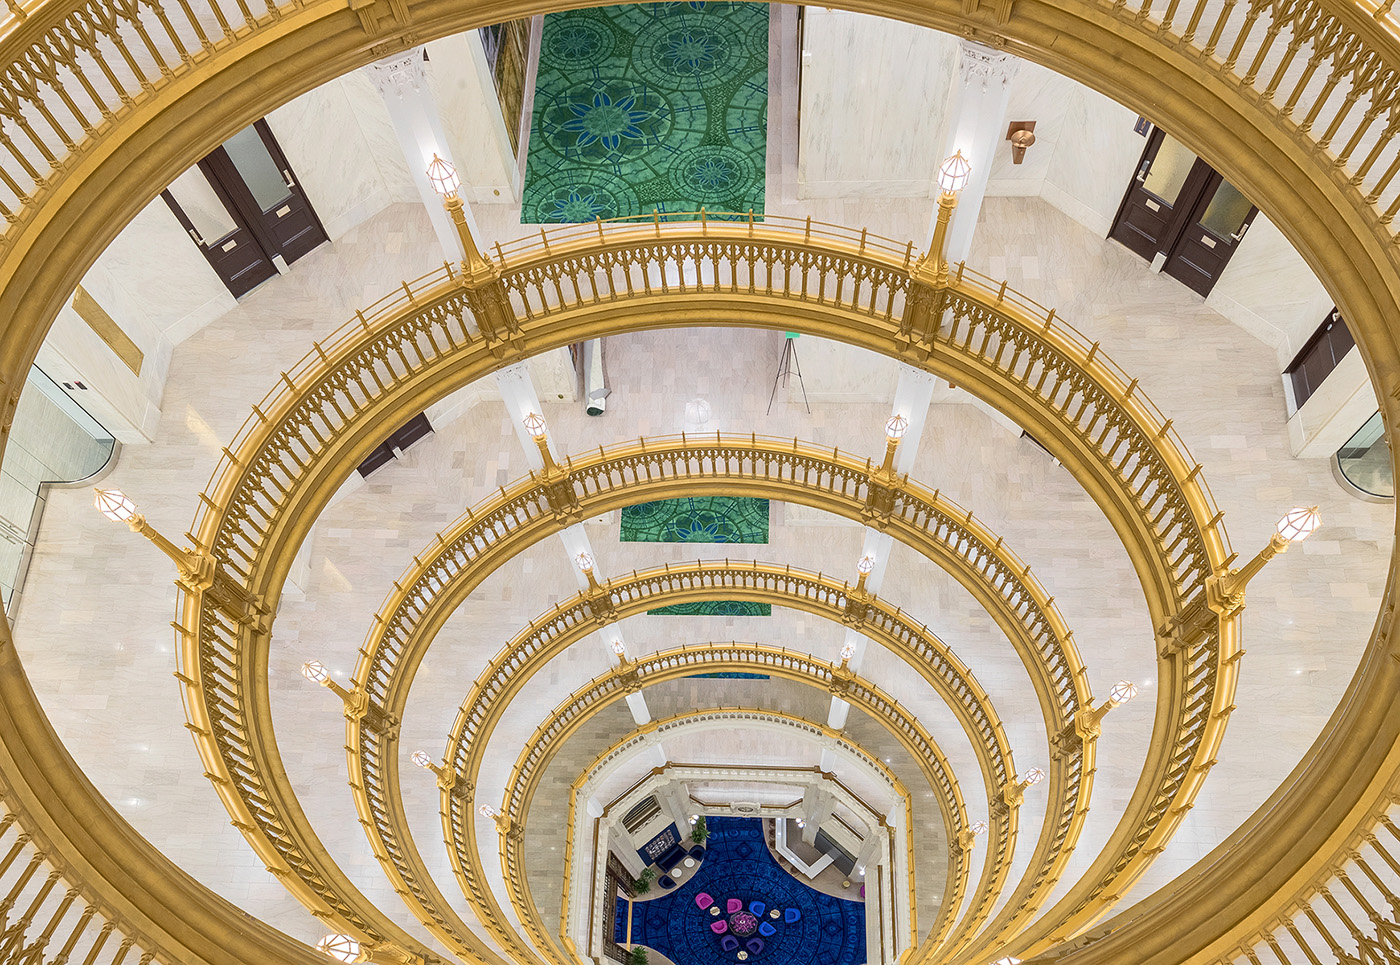
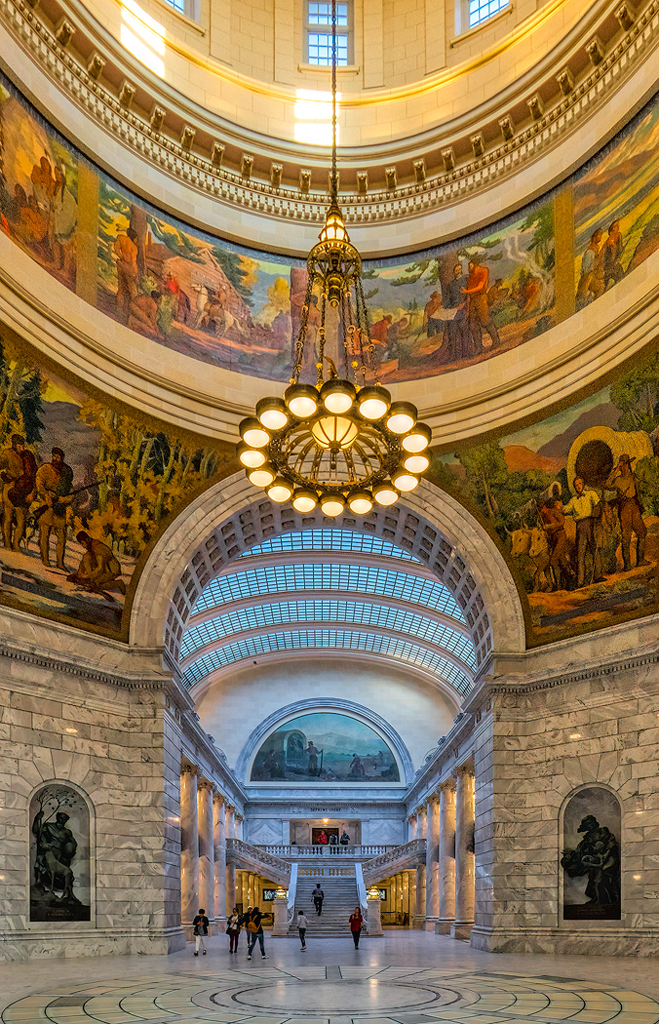
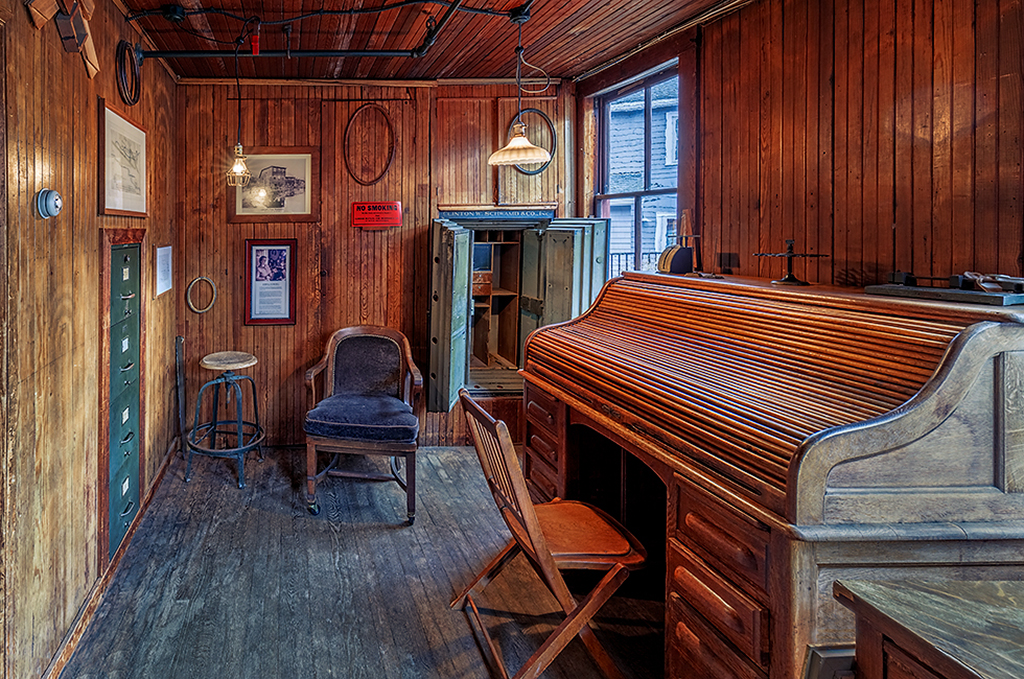
A little different indeed! The blend looks good to me. I don't see a practical way of overcoming the lights peeking out past the chandelier frame work. I think the perspective distortion is actually one of the more fascinating aspects of the image. Every time I get one line rationalized another seems to go counter to it. Almost a visual Rubik's Cube. |
Jul 10th |
6 comments - 1 reply for Group 44
|
9 comments - 2 replies Total
|