|
| Group |
Round |
C/R |
Comment |
Date |
Image |
| 78 |
Jul 20 |
Reply |
Thanks Jim, I'll do that when I get time :)
|
Jul 19th |
| 78 |
Jul 20 |
Reply |
Hi Helen,
if you set the computer file association for .cr2 to use Photoshop it will automatically open in the Raw converter, and in the default colour space you use (which should be SRGB for 99% of competitions, I say 99% but have never seen anything else but who knows).
For me I open bulk files in LR so I can select the images I want to process, plus the tools in there are very good too so sometimes that is all you need, but at least you know whether your first feeling is going to work.
If you are saving files in Photoshop then save them as full size images (I keep all layers too so I can go back if I want to, some people flatten the file to save space), and then you can resize to suit any competition size and then save as a jpg for that competition. DPI size is actually irrelevant (and yes I know they ask for it) but the actual dimensions of the file are what is projected so don't get too hung up on DPI.
As for copyright info that can be added in the 5d MK3 menu system so all files have it, not just those you process.
As for using Topaz I'm a huge fan, I have Denoise AI, Adjust AI, Sharpen AI and Remask, and one or more are used in almost everything I process.
Well after all that, each person's workflow is up to them and feeling comfortable with what they do, so go with whatever is best for you.
|
Jul 3rd |
| 78 |
Jul 20 |
Reply |
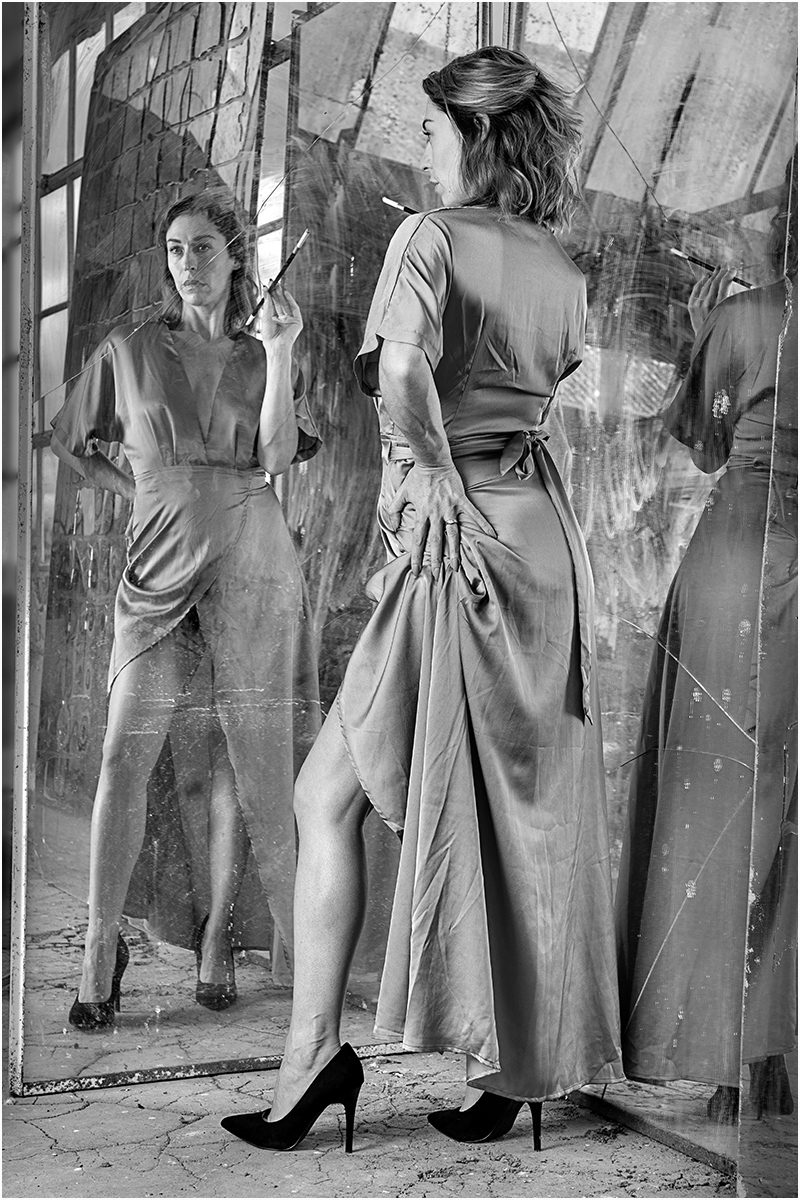
To Transform, copy the layer first as it is destructive. On the copy go to Edit, FreeTransform (or use shortcut Ctrl T), then right click on the image for the transform options. In this case I used distort, grab the top right corner and have a play. If you don't like where its going press Escape, if you do then press Enter. You can always go back to the original layer you copied from. Next, try the other options too, its a very powerful tool!
|
Jul 3rd |
| 78 |
Jul 20 |
Comment |
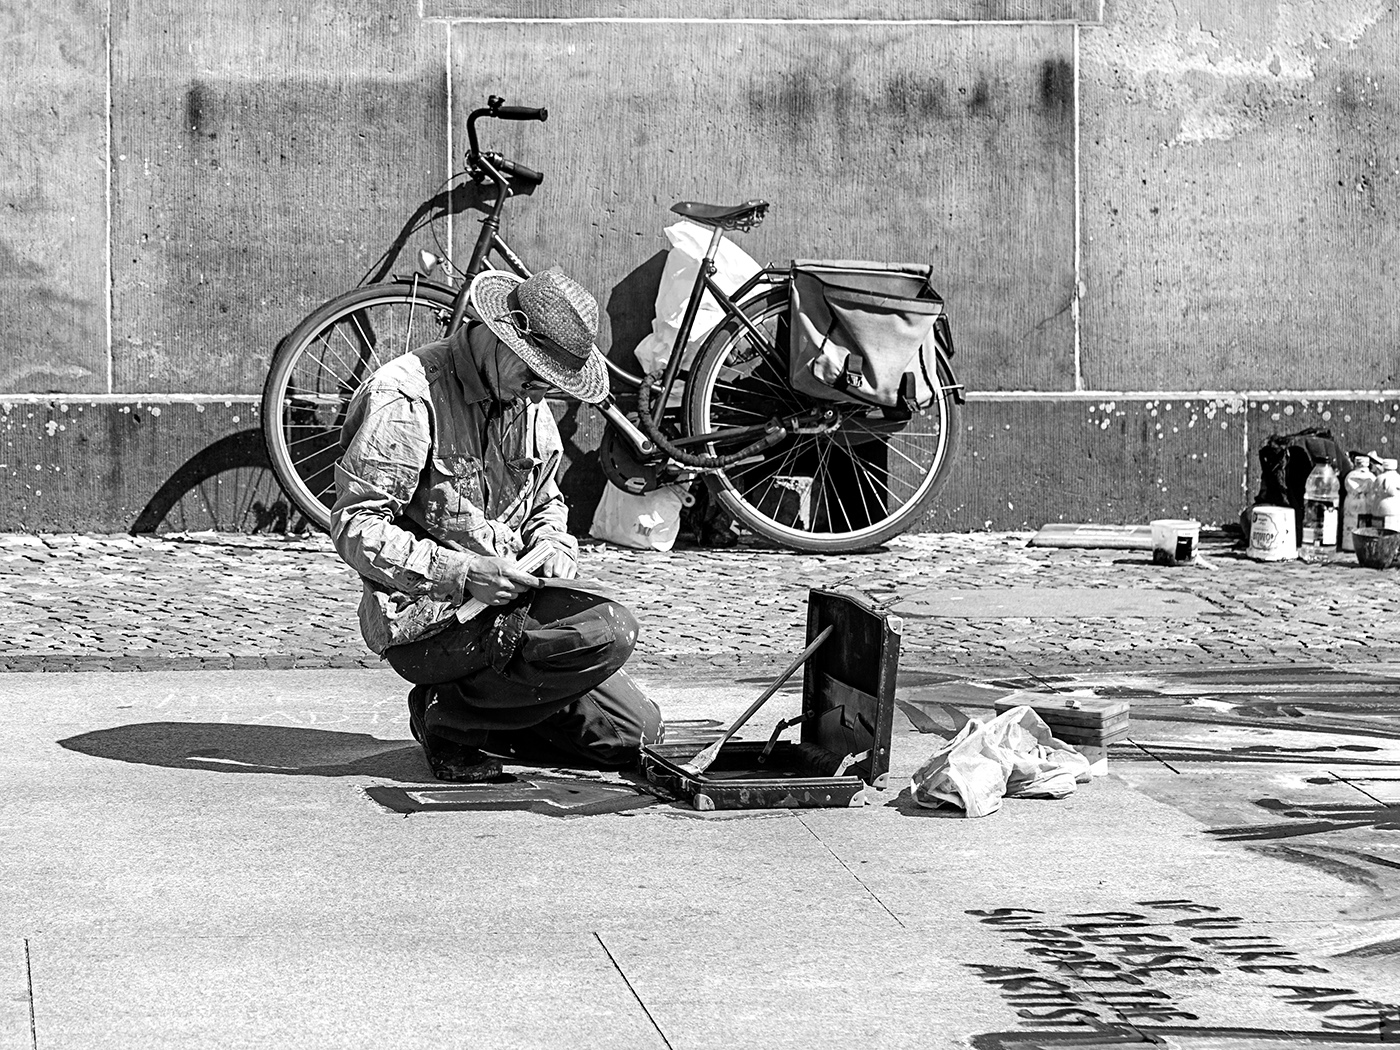
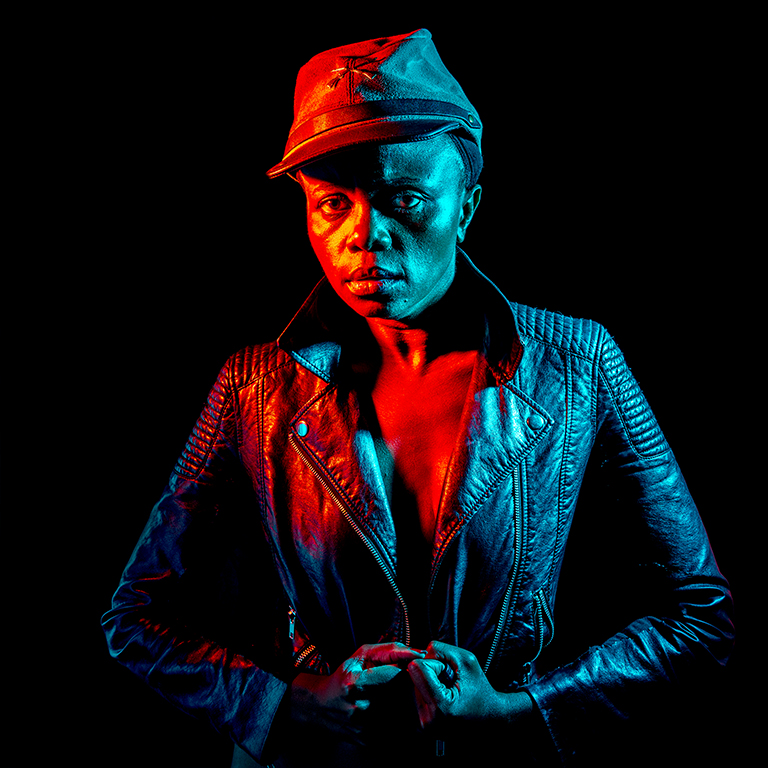
Super image, and a good job you know where they are with that camouflage. I love the expression on the face and that you caught it warming its wings in the morning sun.
You said its a wildlife image and therefore would not want to make any changes, but the rock at the bottom is a bit bright.
|
Jul 2nd |
| 78 |
Jul 20 |
Comment |
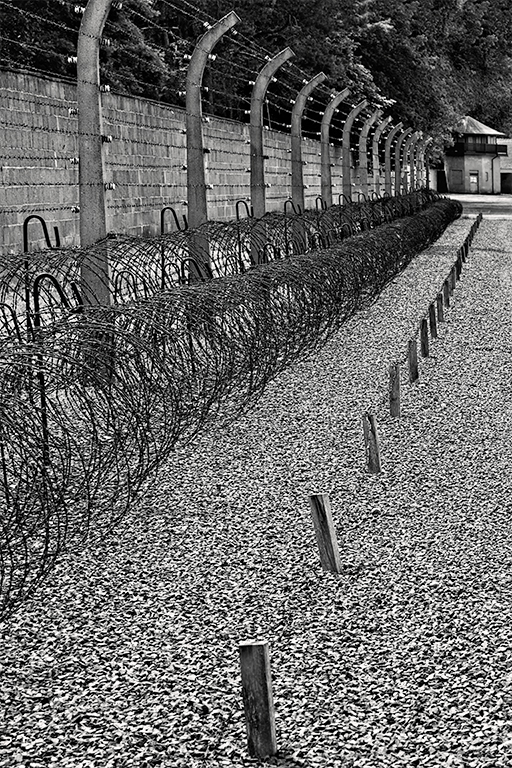
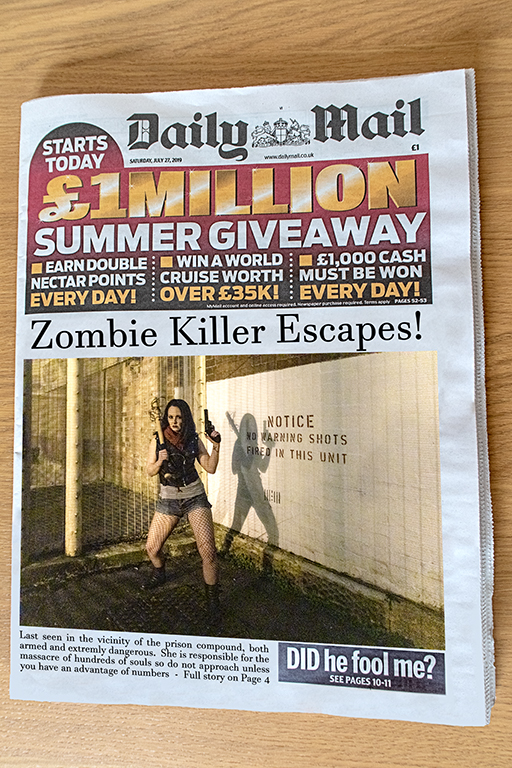
Interesting that you managed to recover something from the original, I would probably have deleted it without considering what could be done.
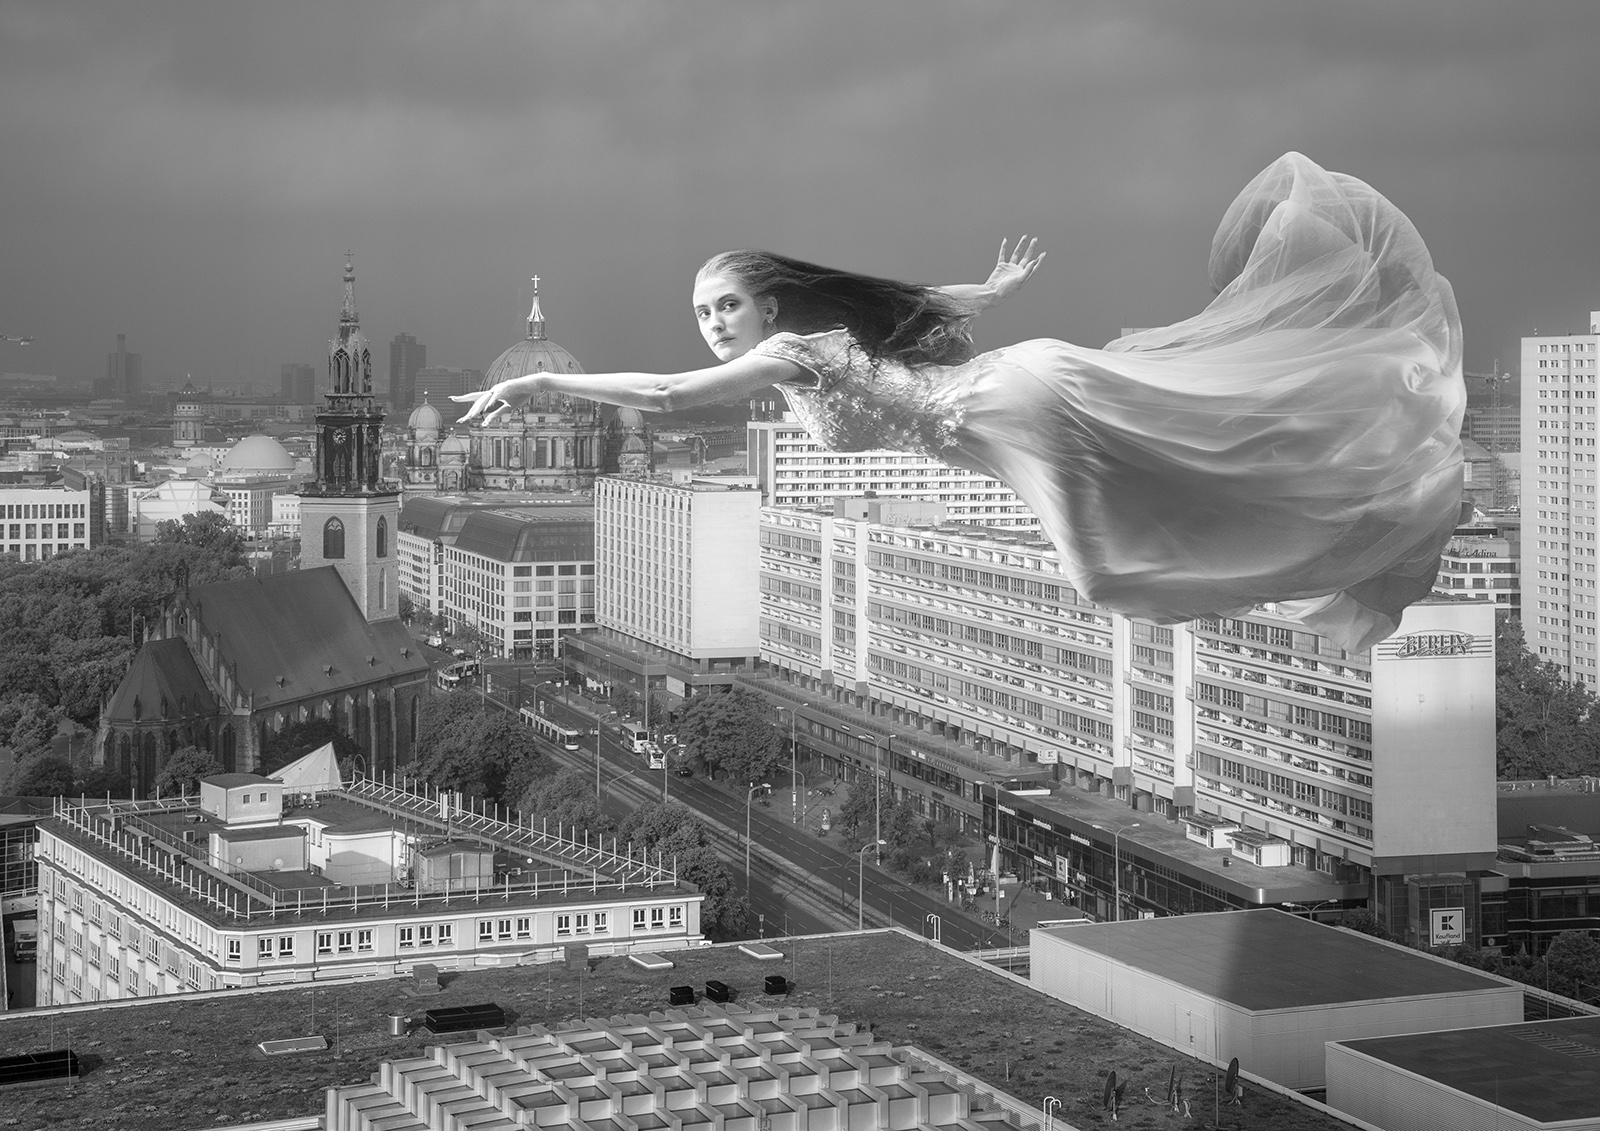
Excellent timing to catch the gap between the carriages between the barriers, and the streaks make a curious abstract image. If I had any changes it would be to lose the orange light to the right of the left barrier.
Also (and more obscure) I can see an alien creature between the train and the barriers, or maybe I just need to reduce the medication.
|
Jul 2nd |
| 78 |
Jul 20 |
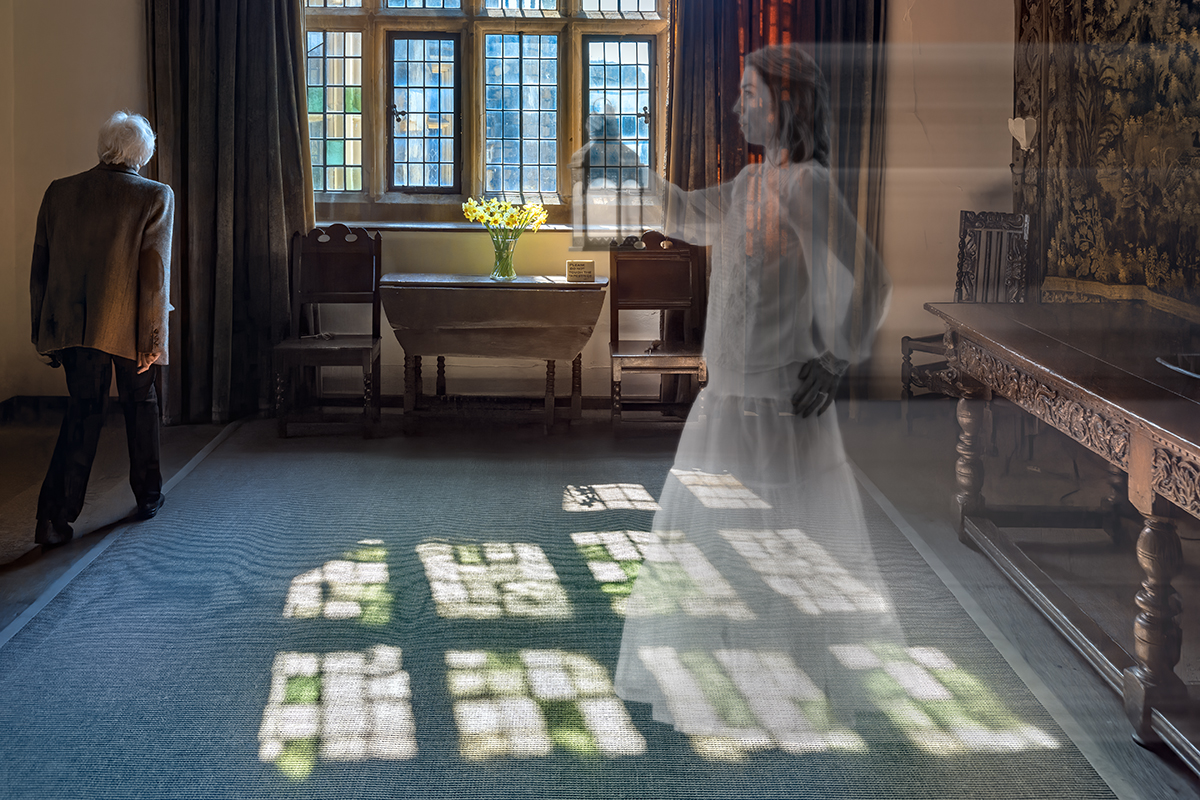
Comment |
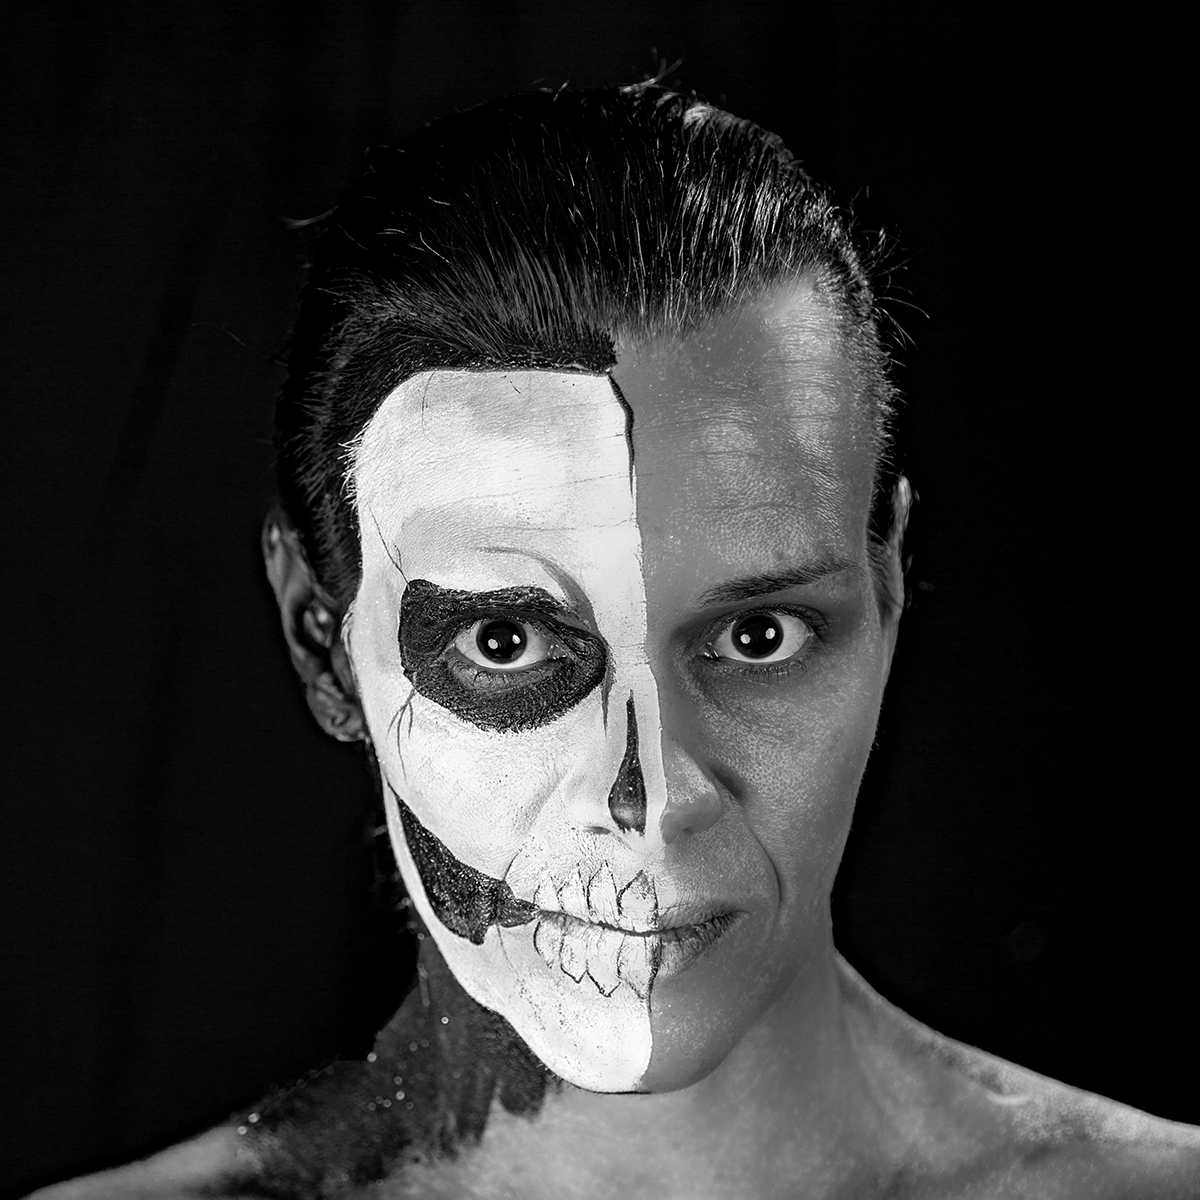
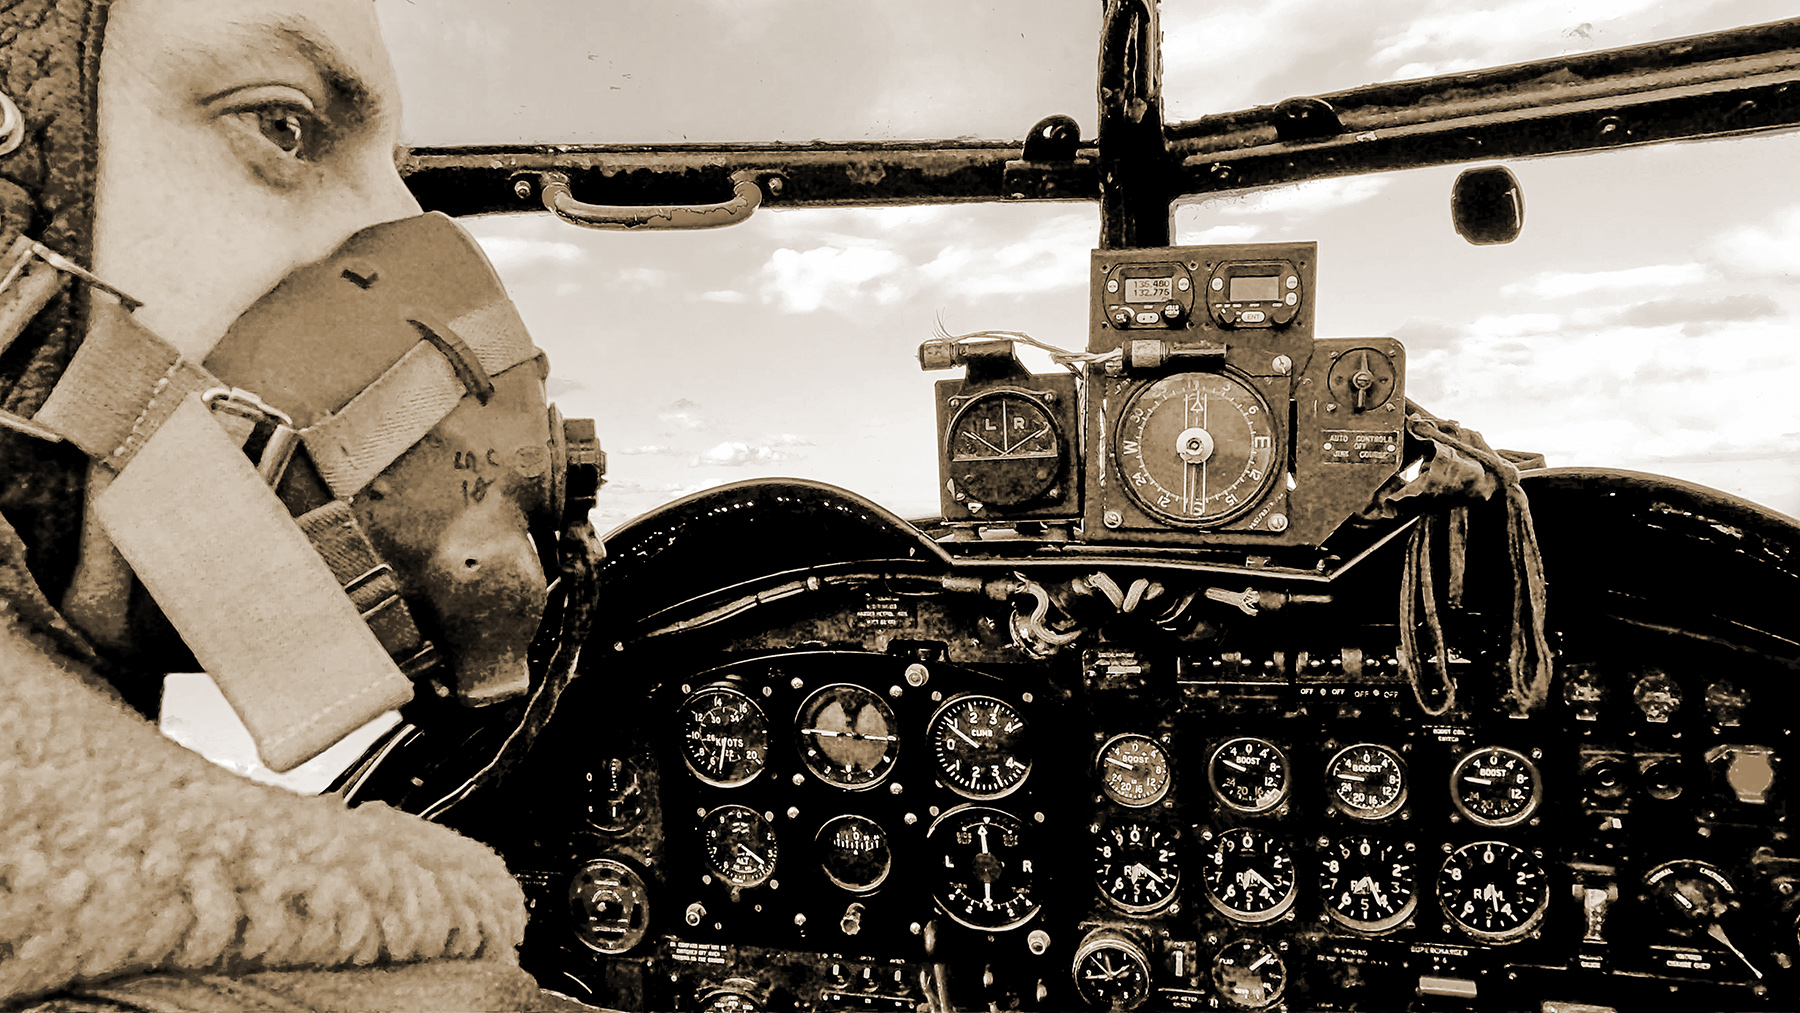
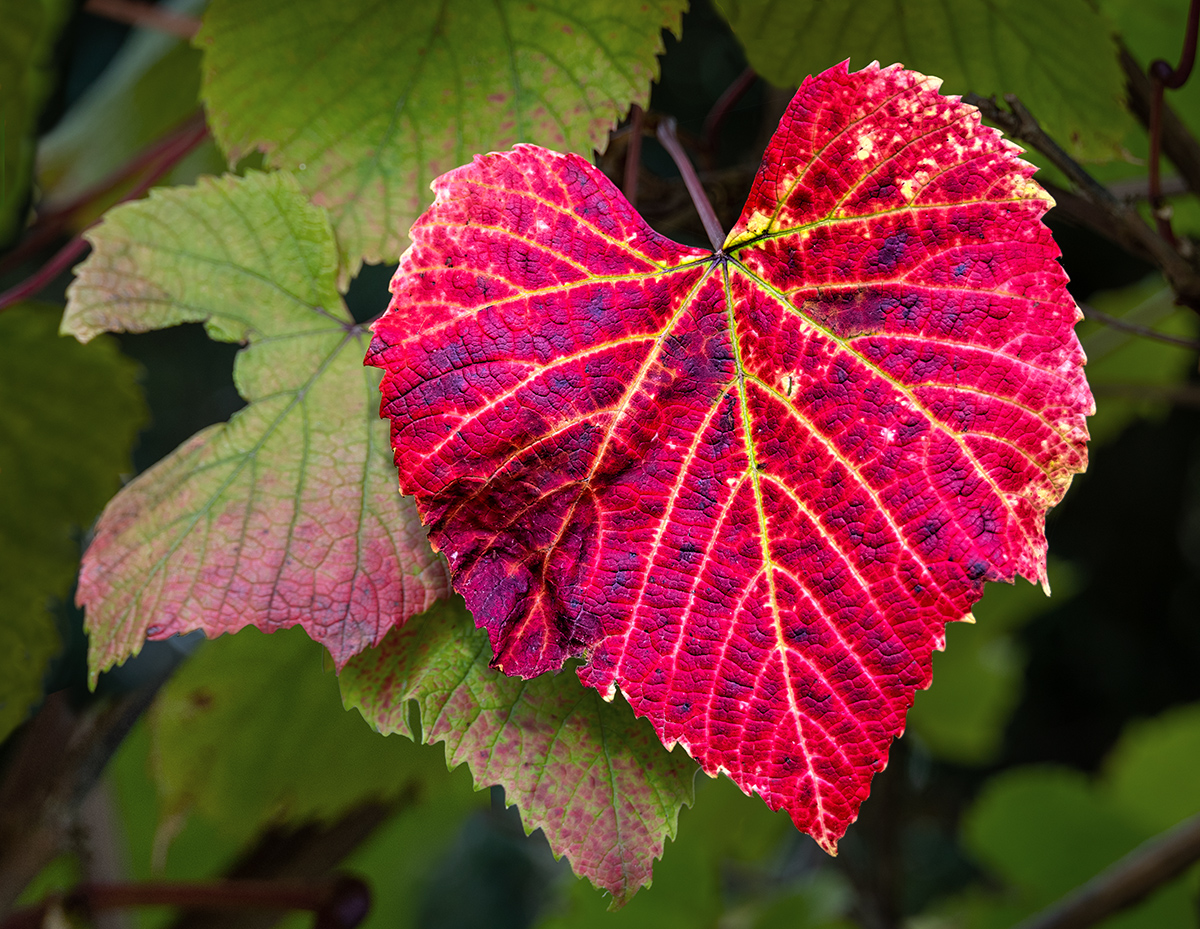
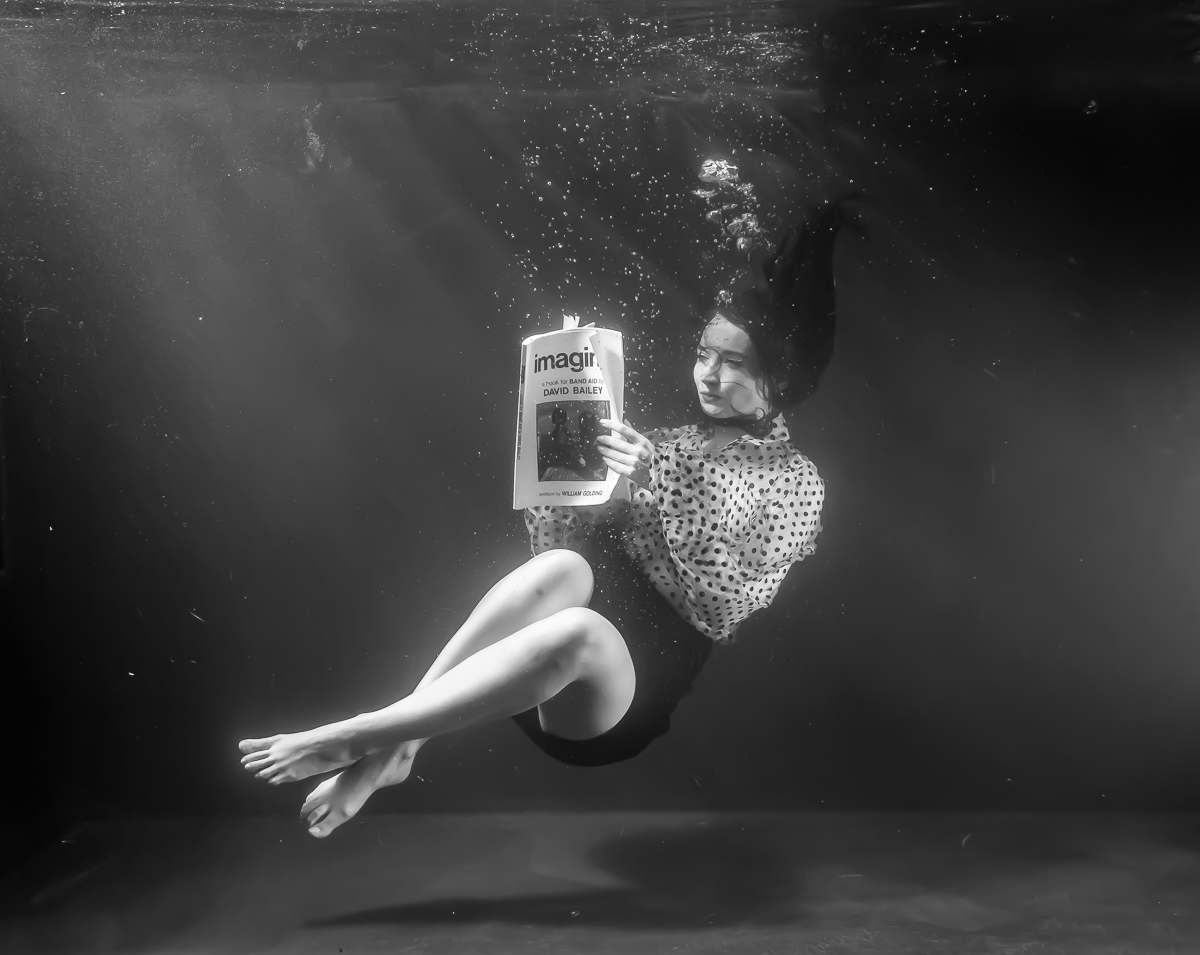
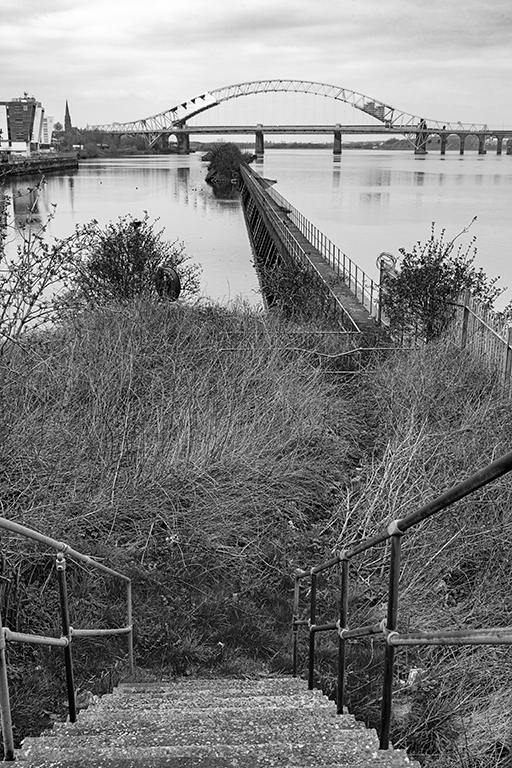
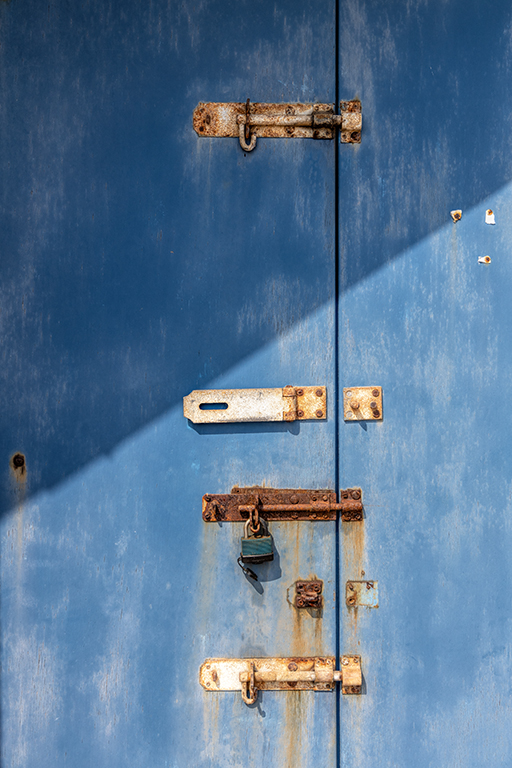
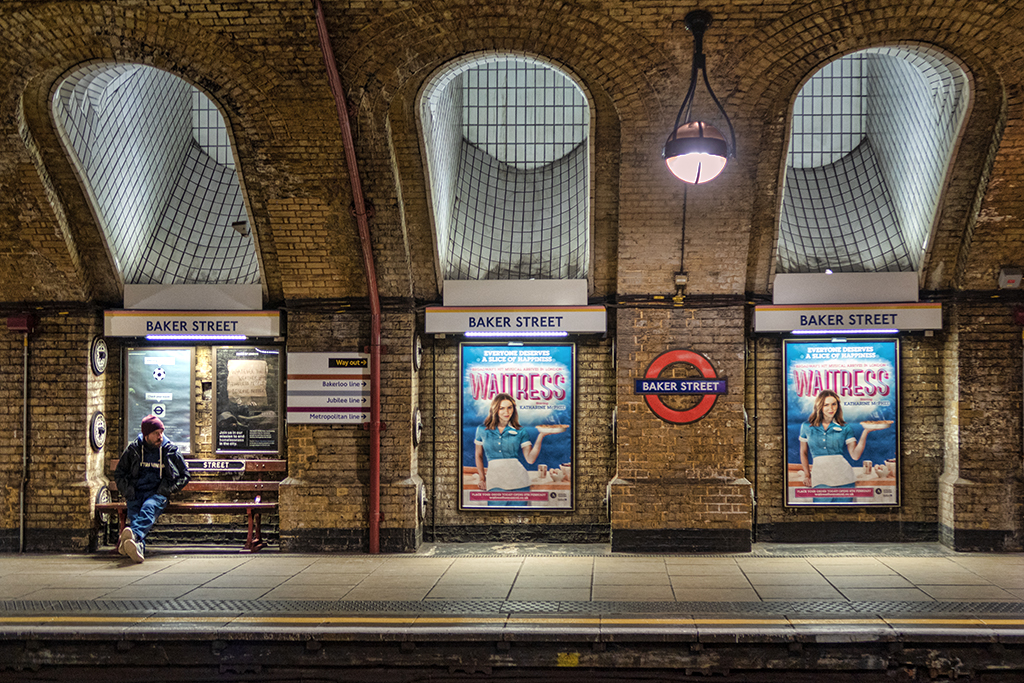
Welcome aboard Helen, and what a super image to start with.
You say you opened it in Bridge and then in Camera Raw, then Photoshop. What is your reason for this? Why not just open it in Camera Raw in Photoshop direct? Am I missing something in your flow?
I feel its a bit too Blue, so followed your RAW settings but brought up the shadows a bit more, and used dehaze too (I love dehaze), then in PS used high pass filter to bring up the detail.
|
Jul 2nd |
 |
| 78 |
Jul 20 |
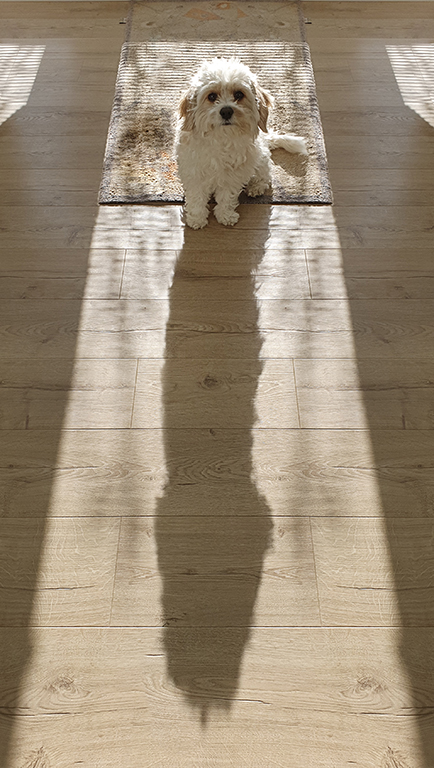
Comment |
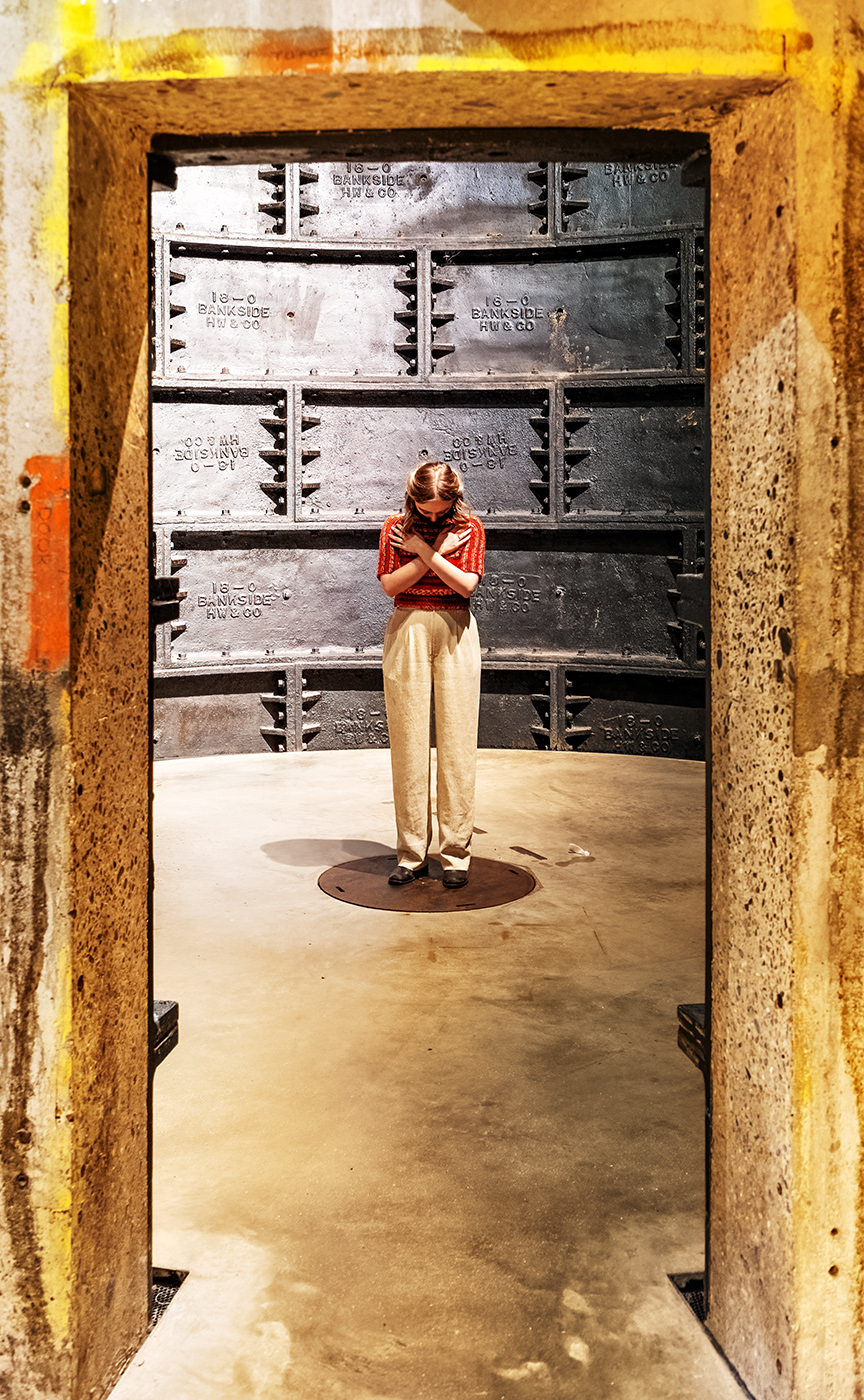
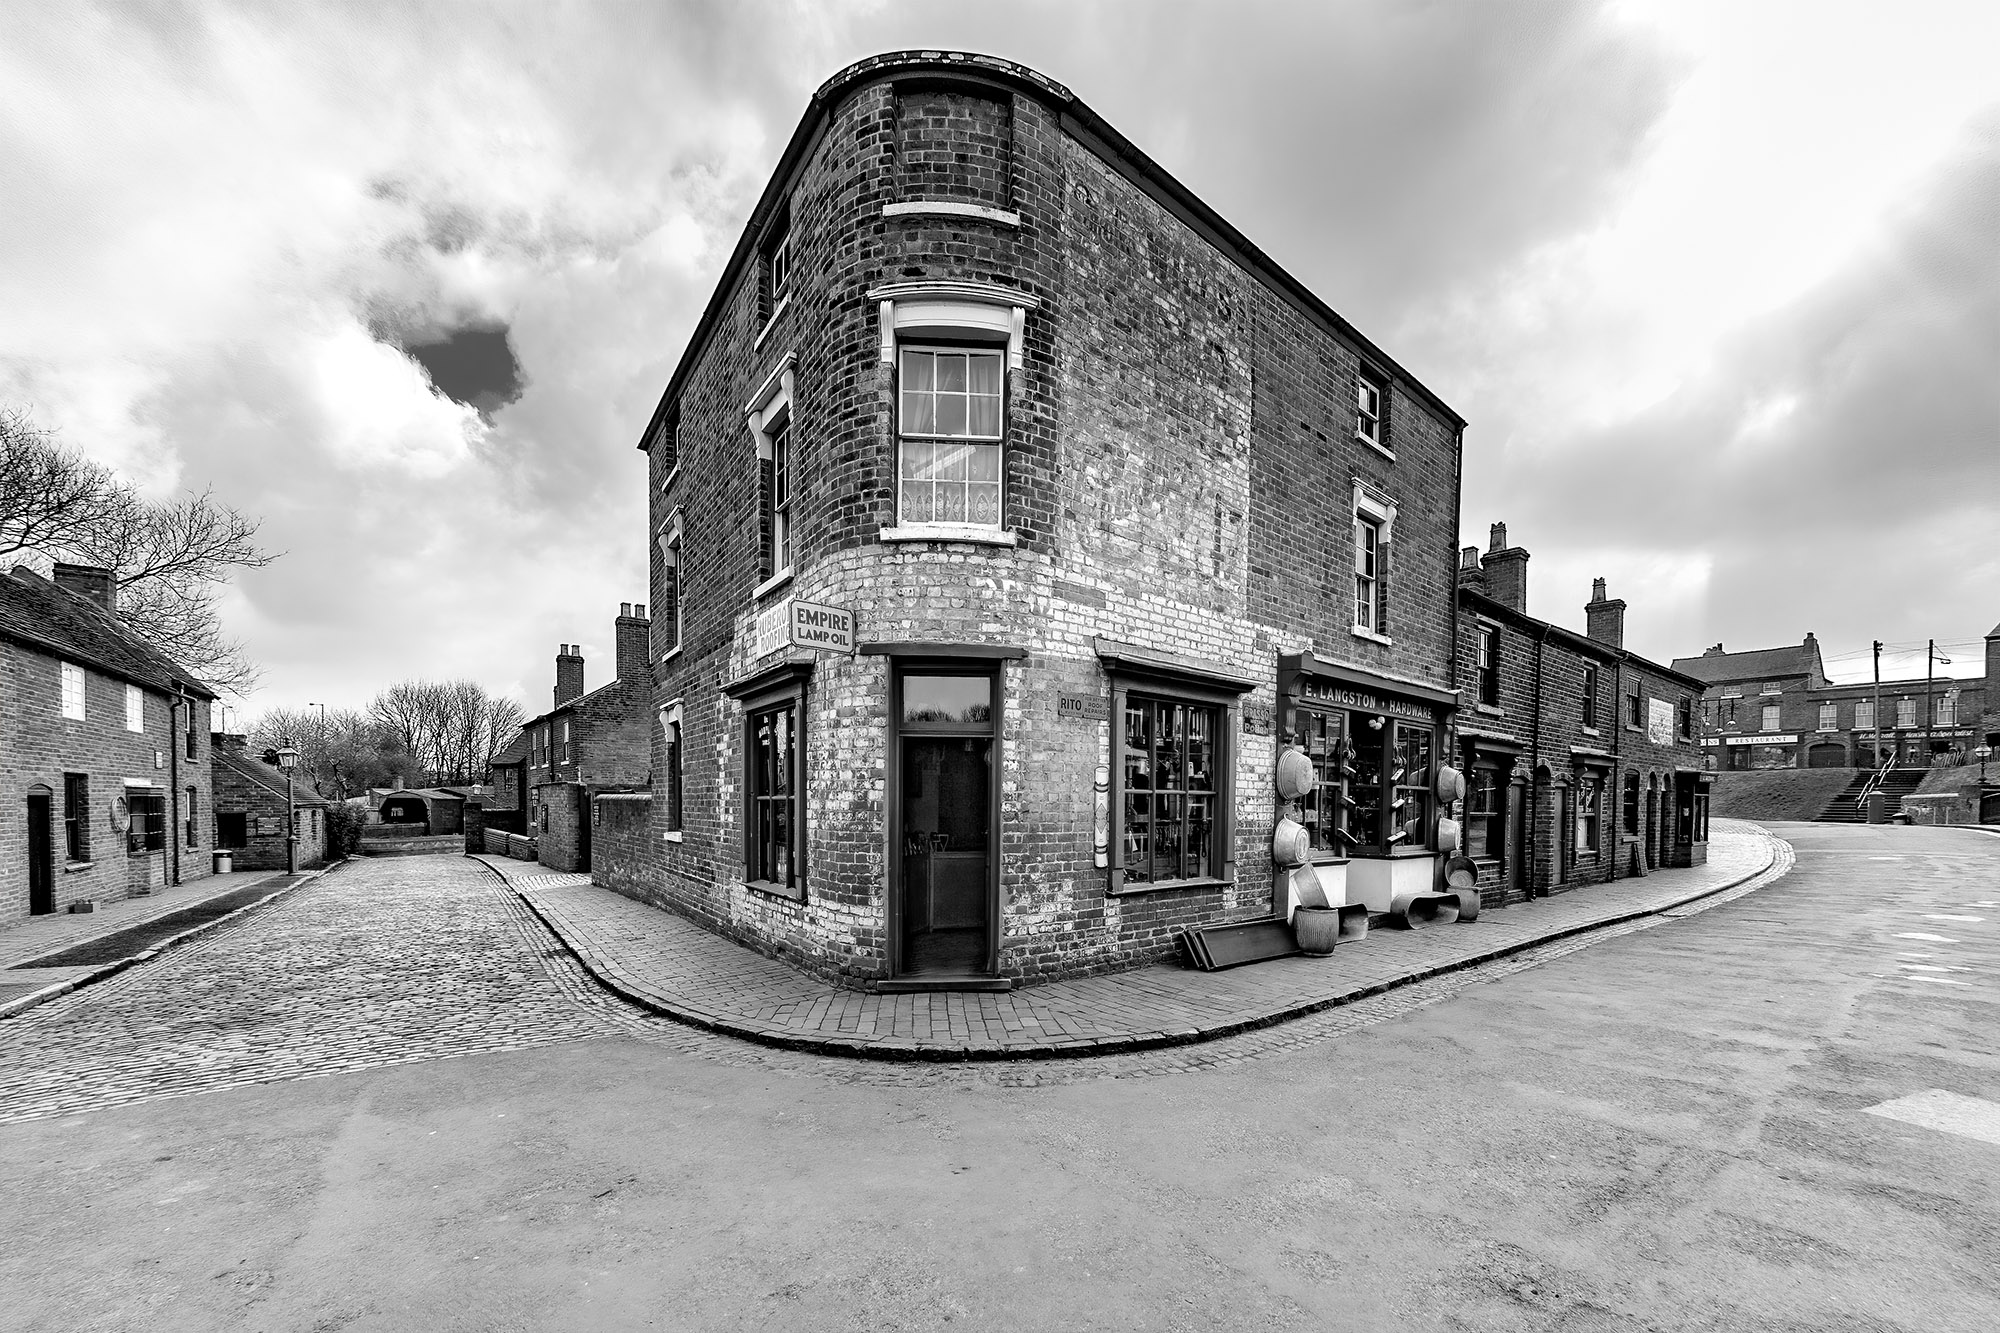
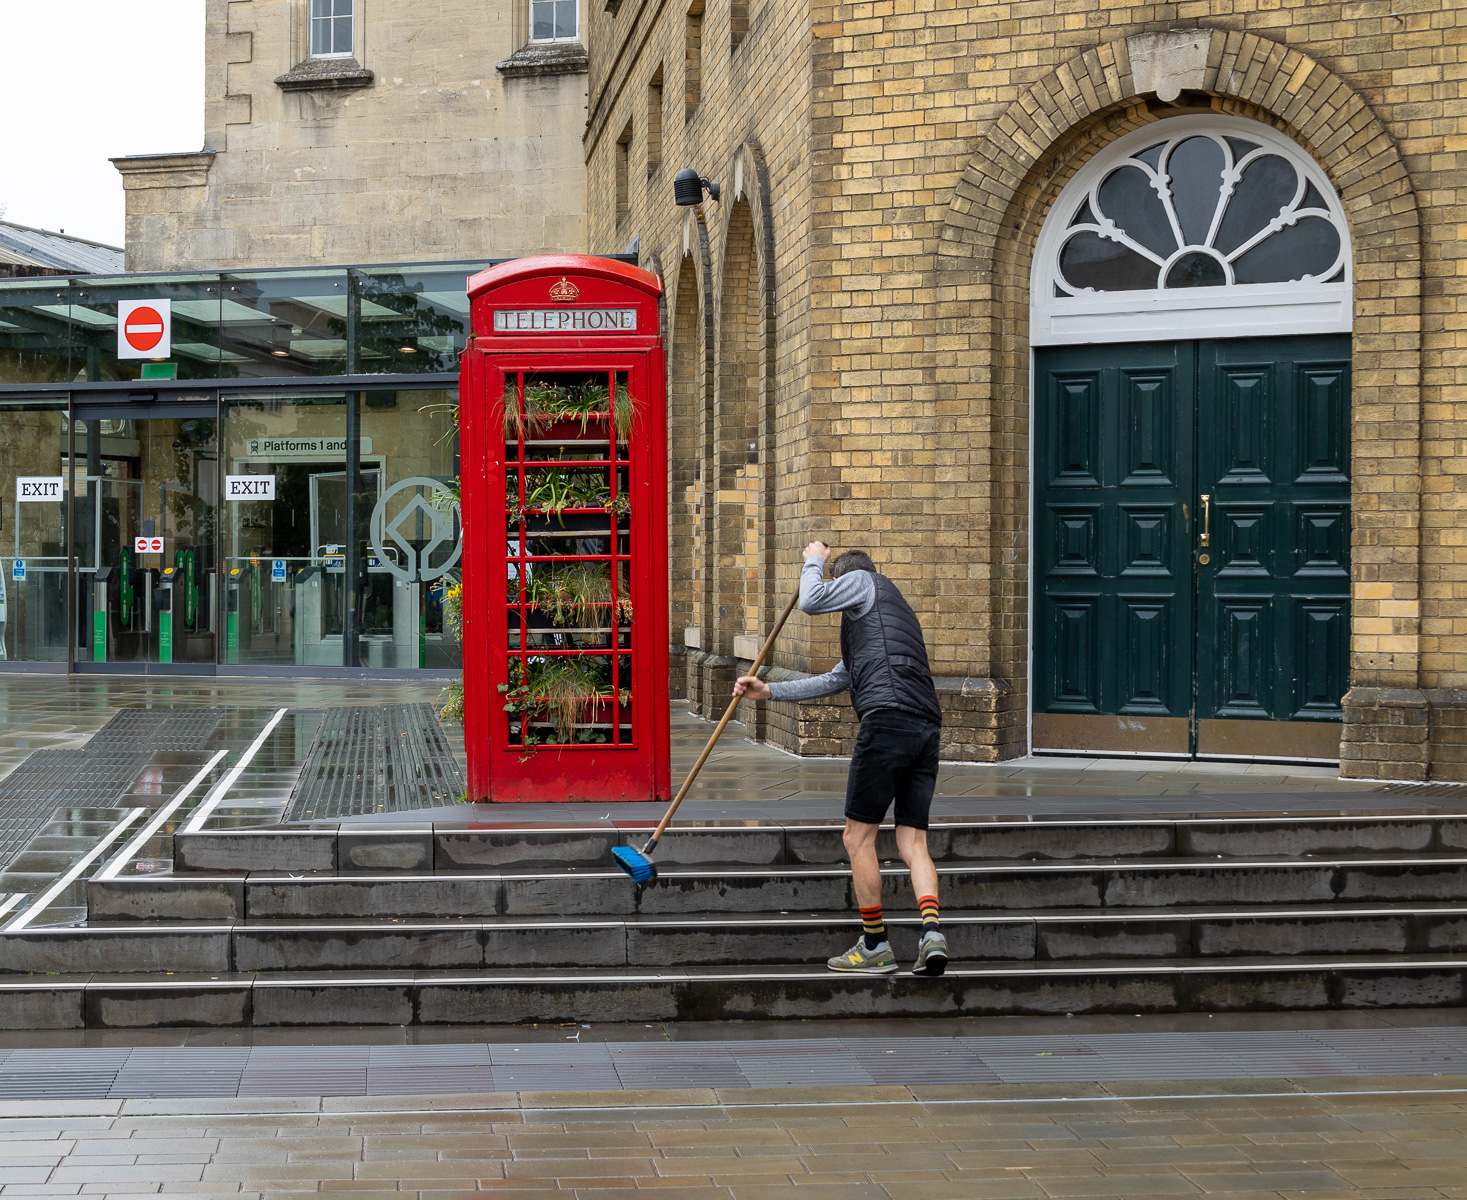
Lovely image Sunil, the change in perspective and change to monochrome just for the background really works. Have you considered cropping off the left of the door frame?
Using F2.8 worked for throwing the backgound out of focus, unfortunately the left hand side of the knocker is still very soft. |
Jul 2nd |
| 78 |
Jul 20 |
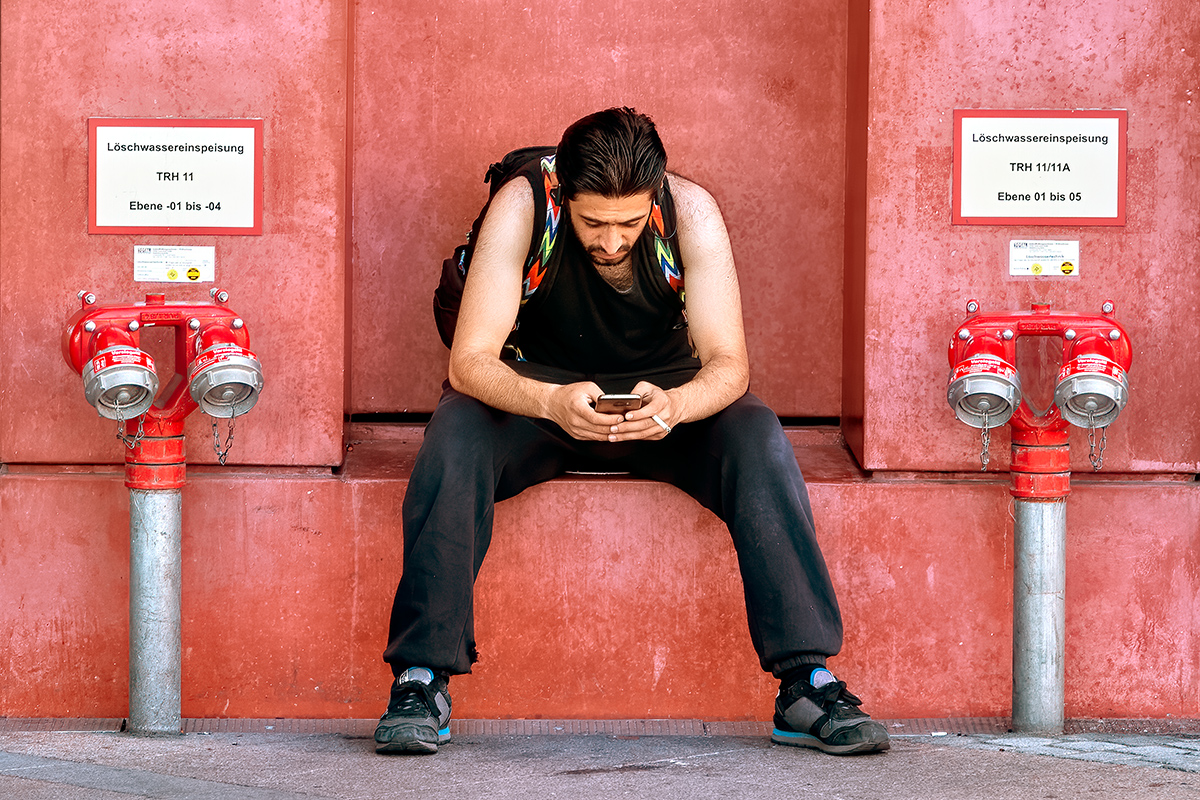
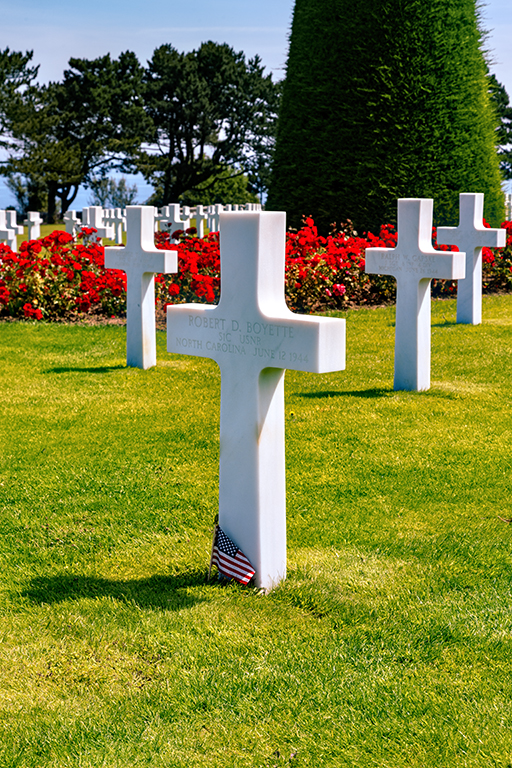
Comment |
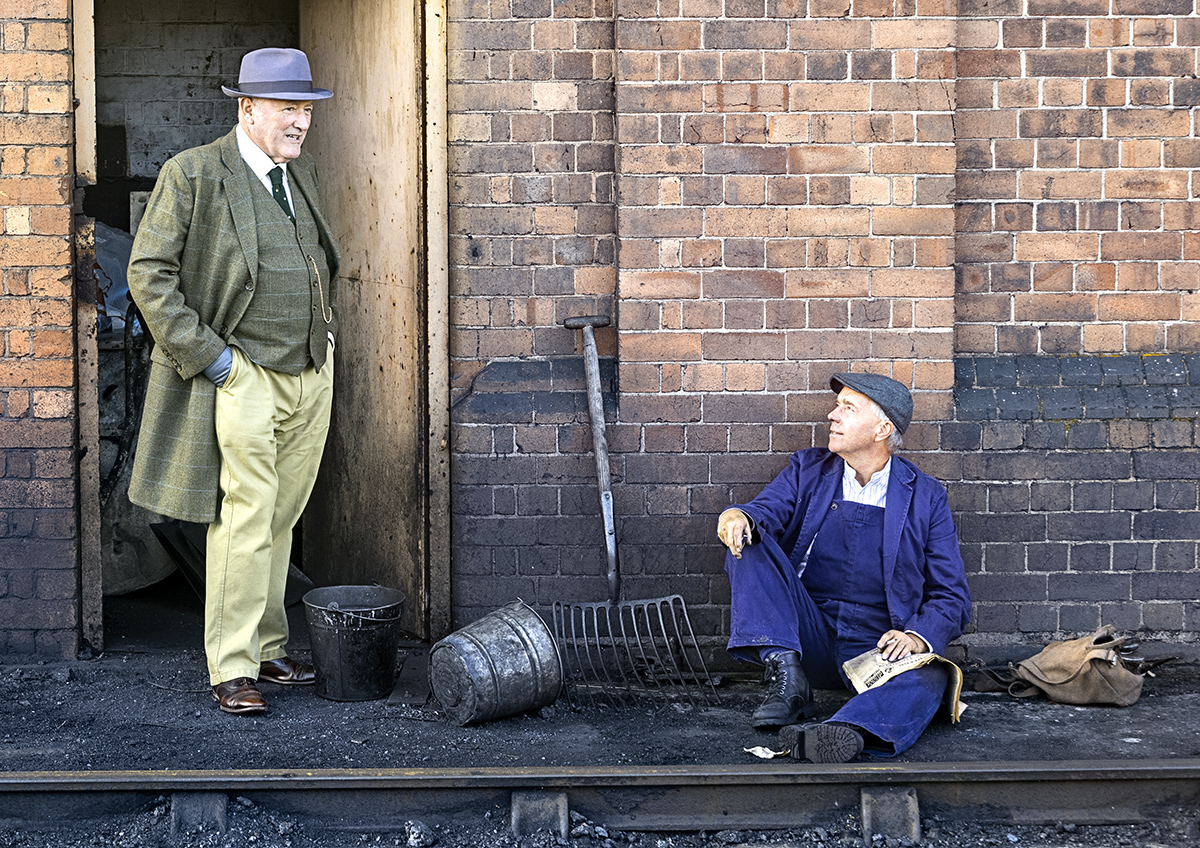
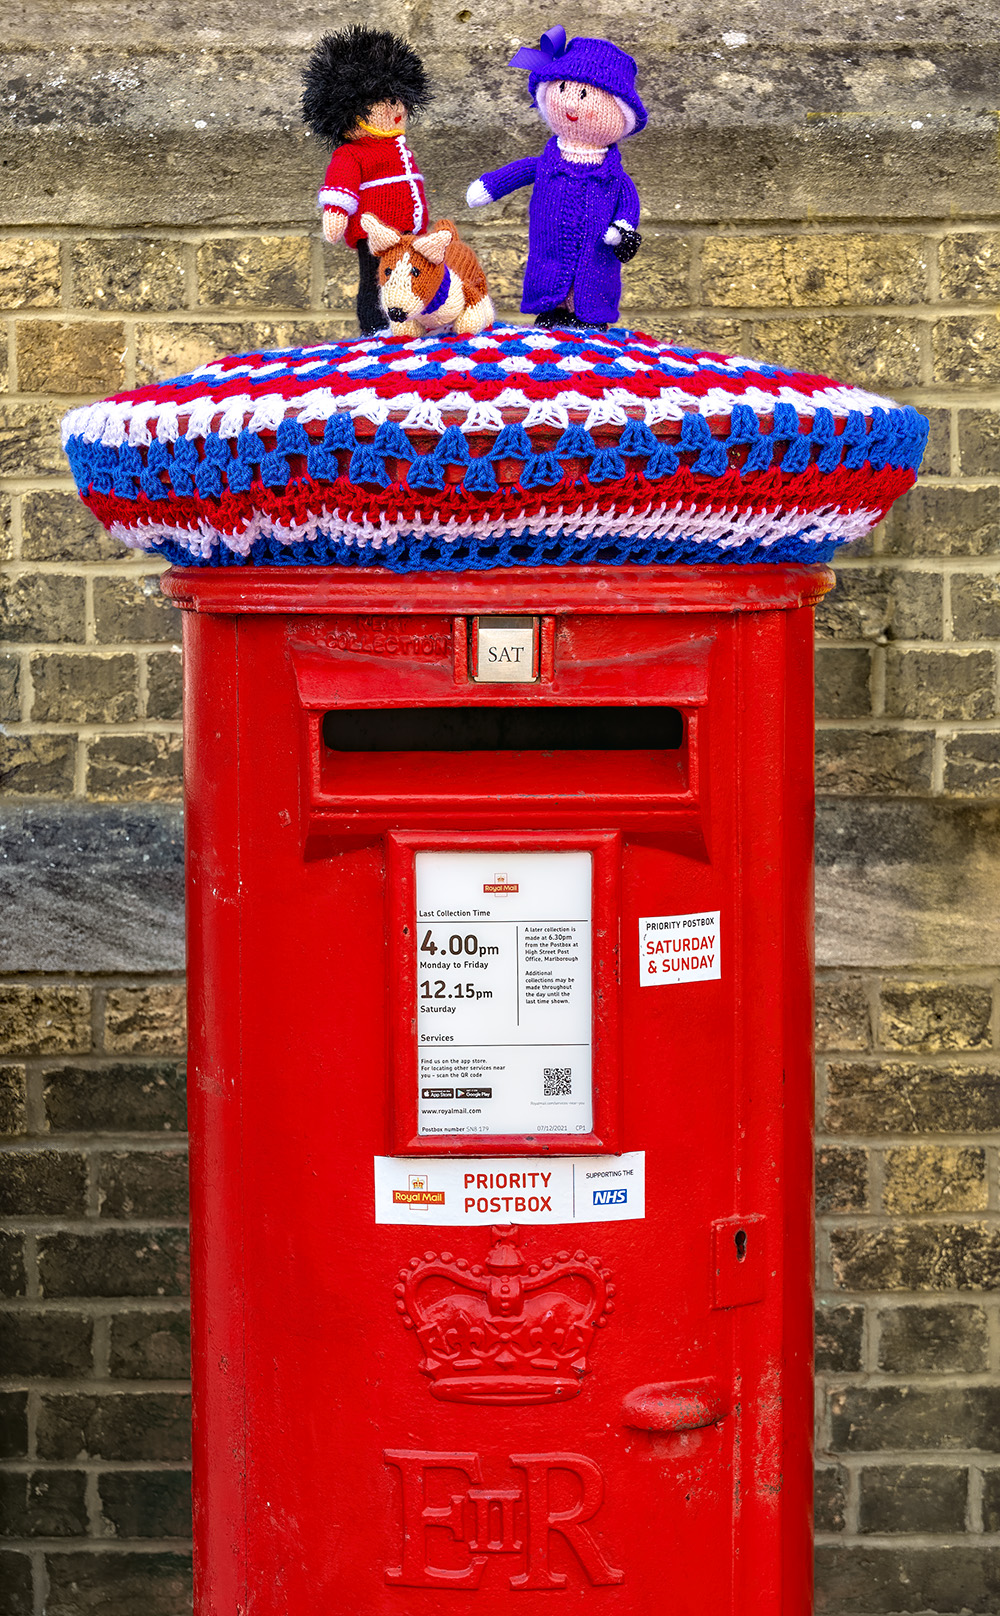
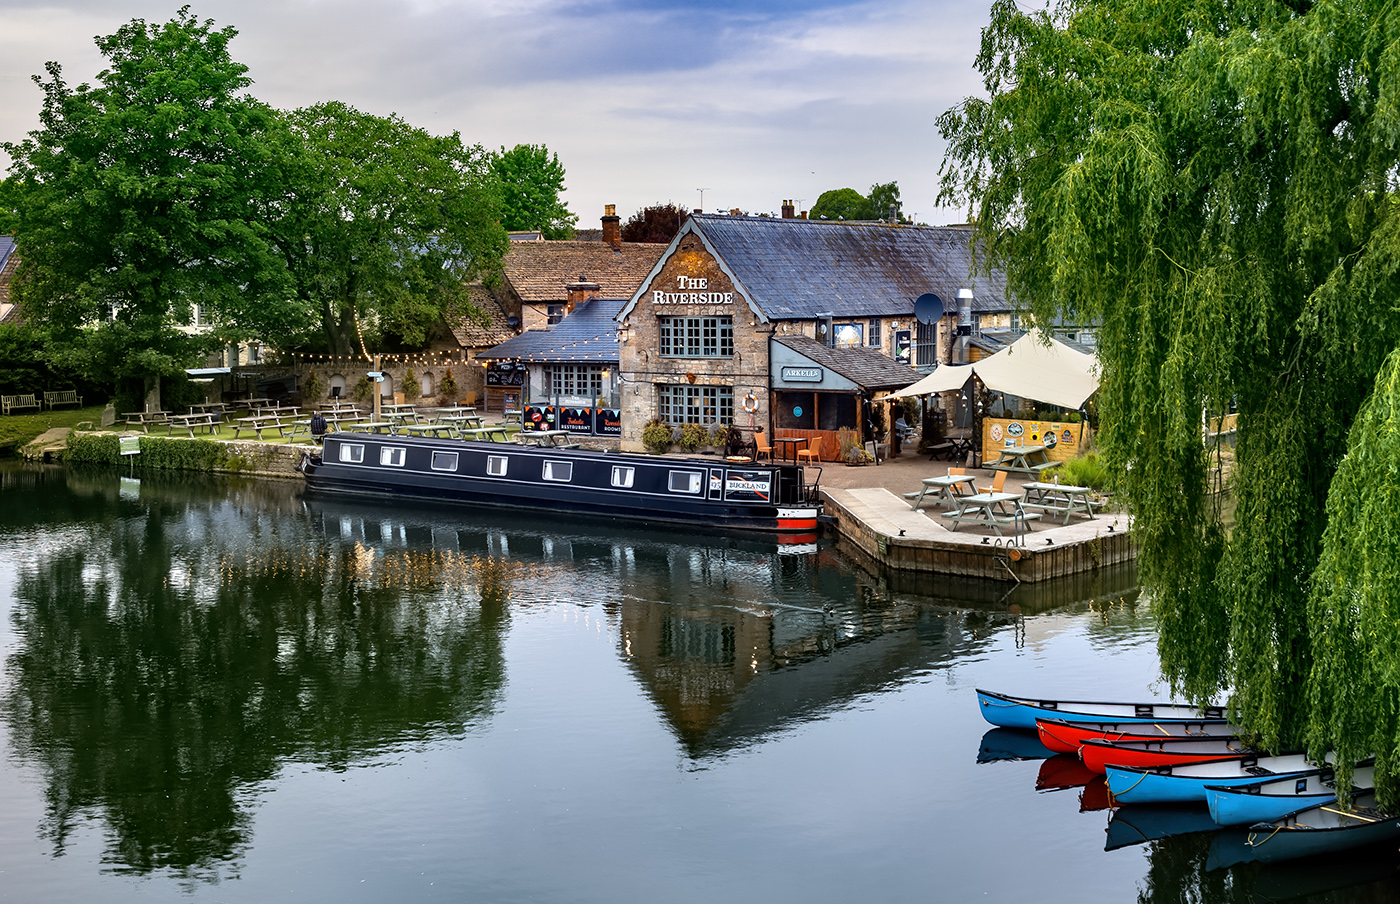
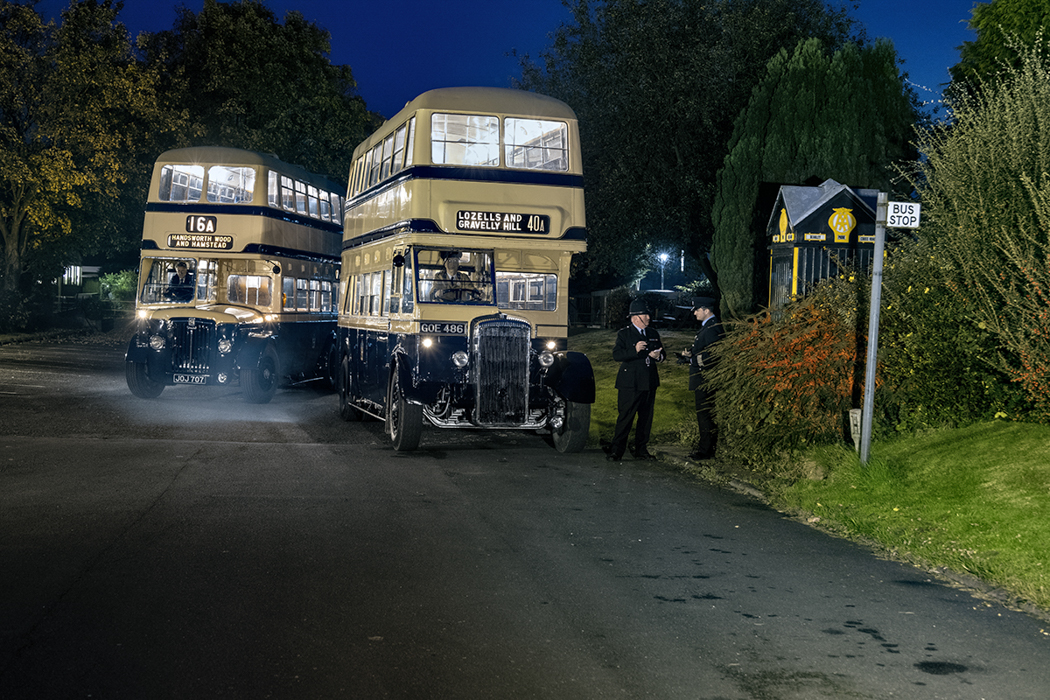
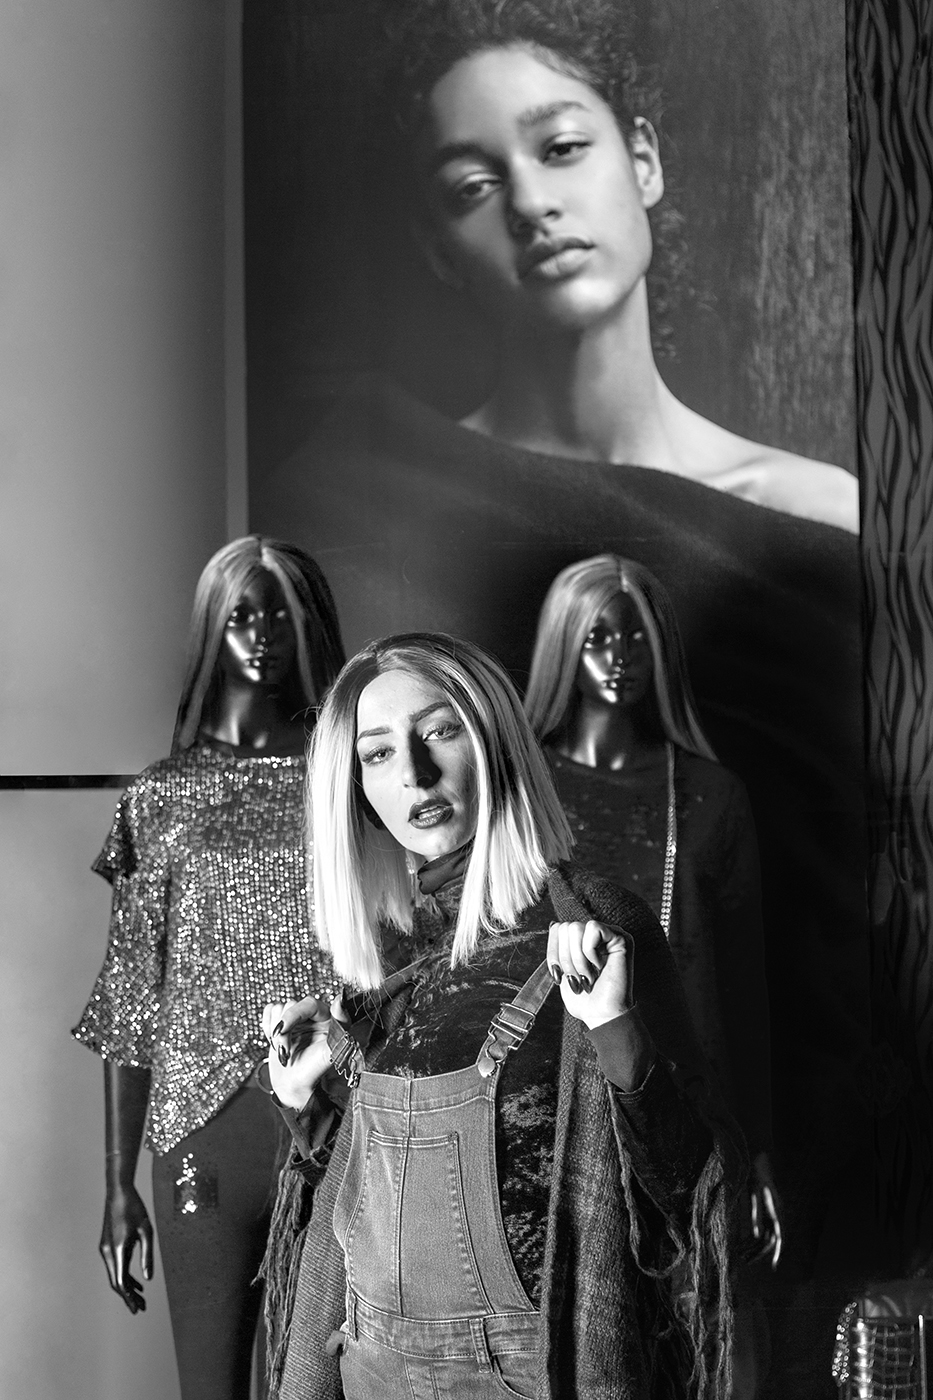
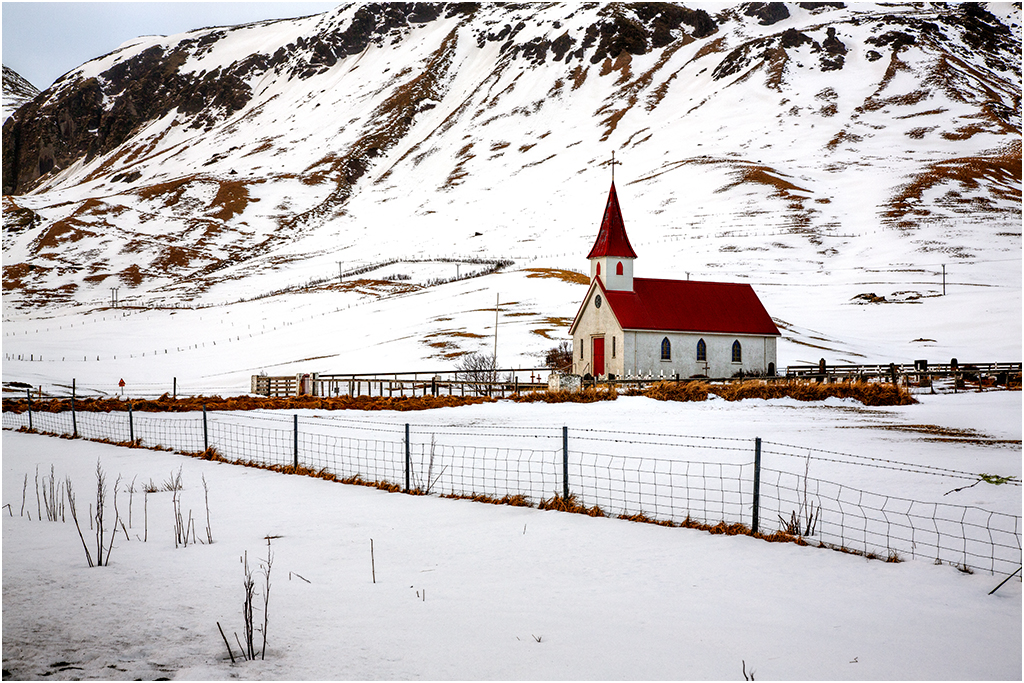
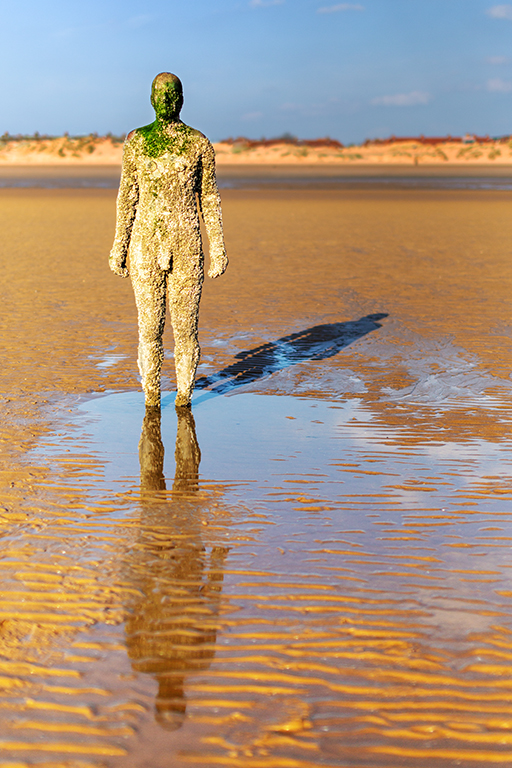
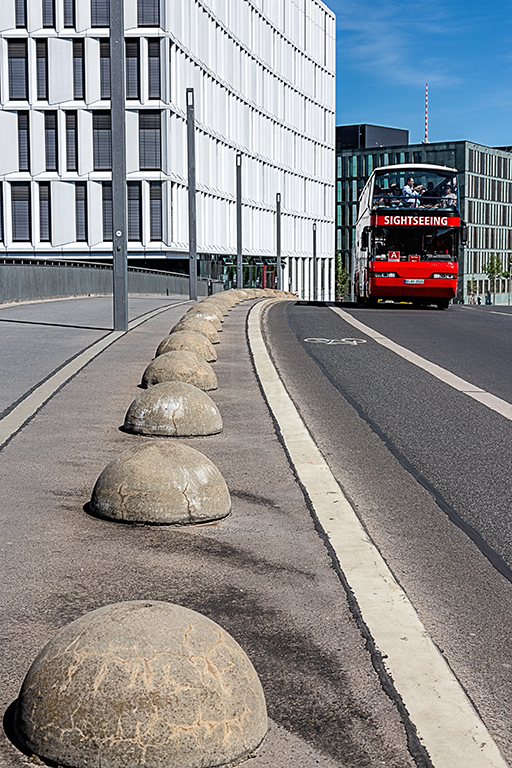
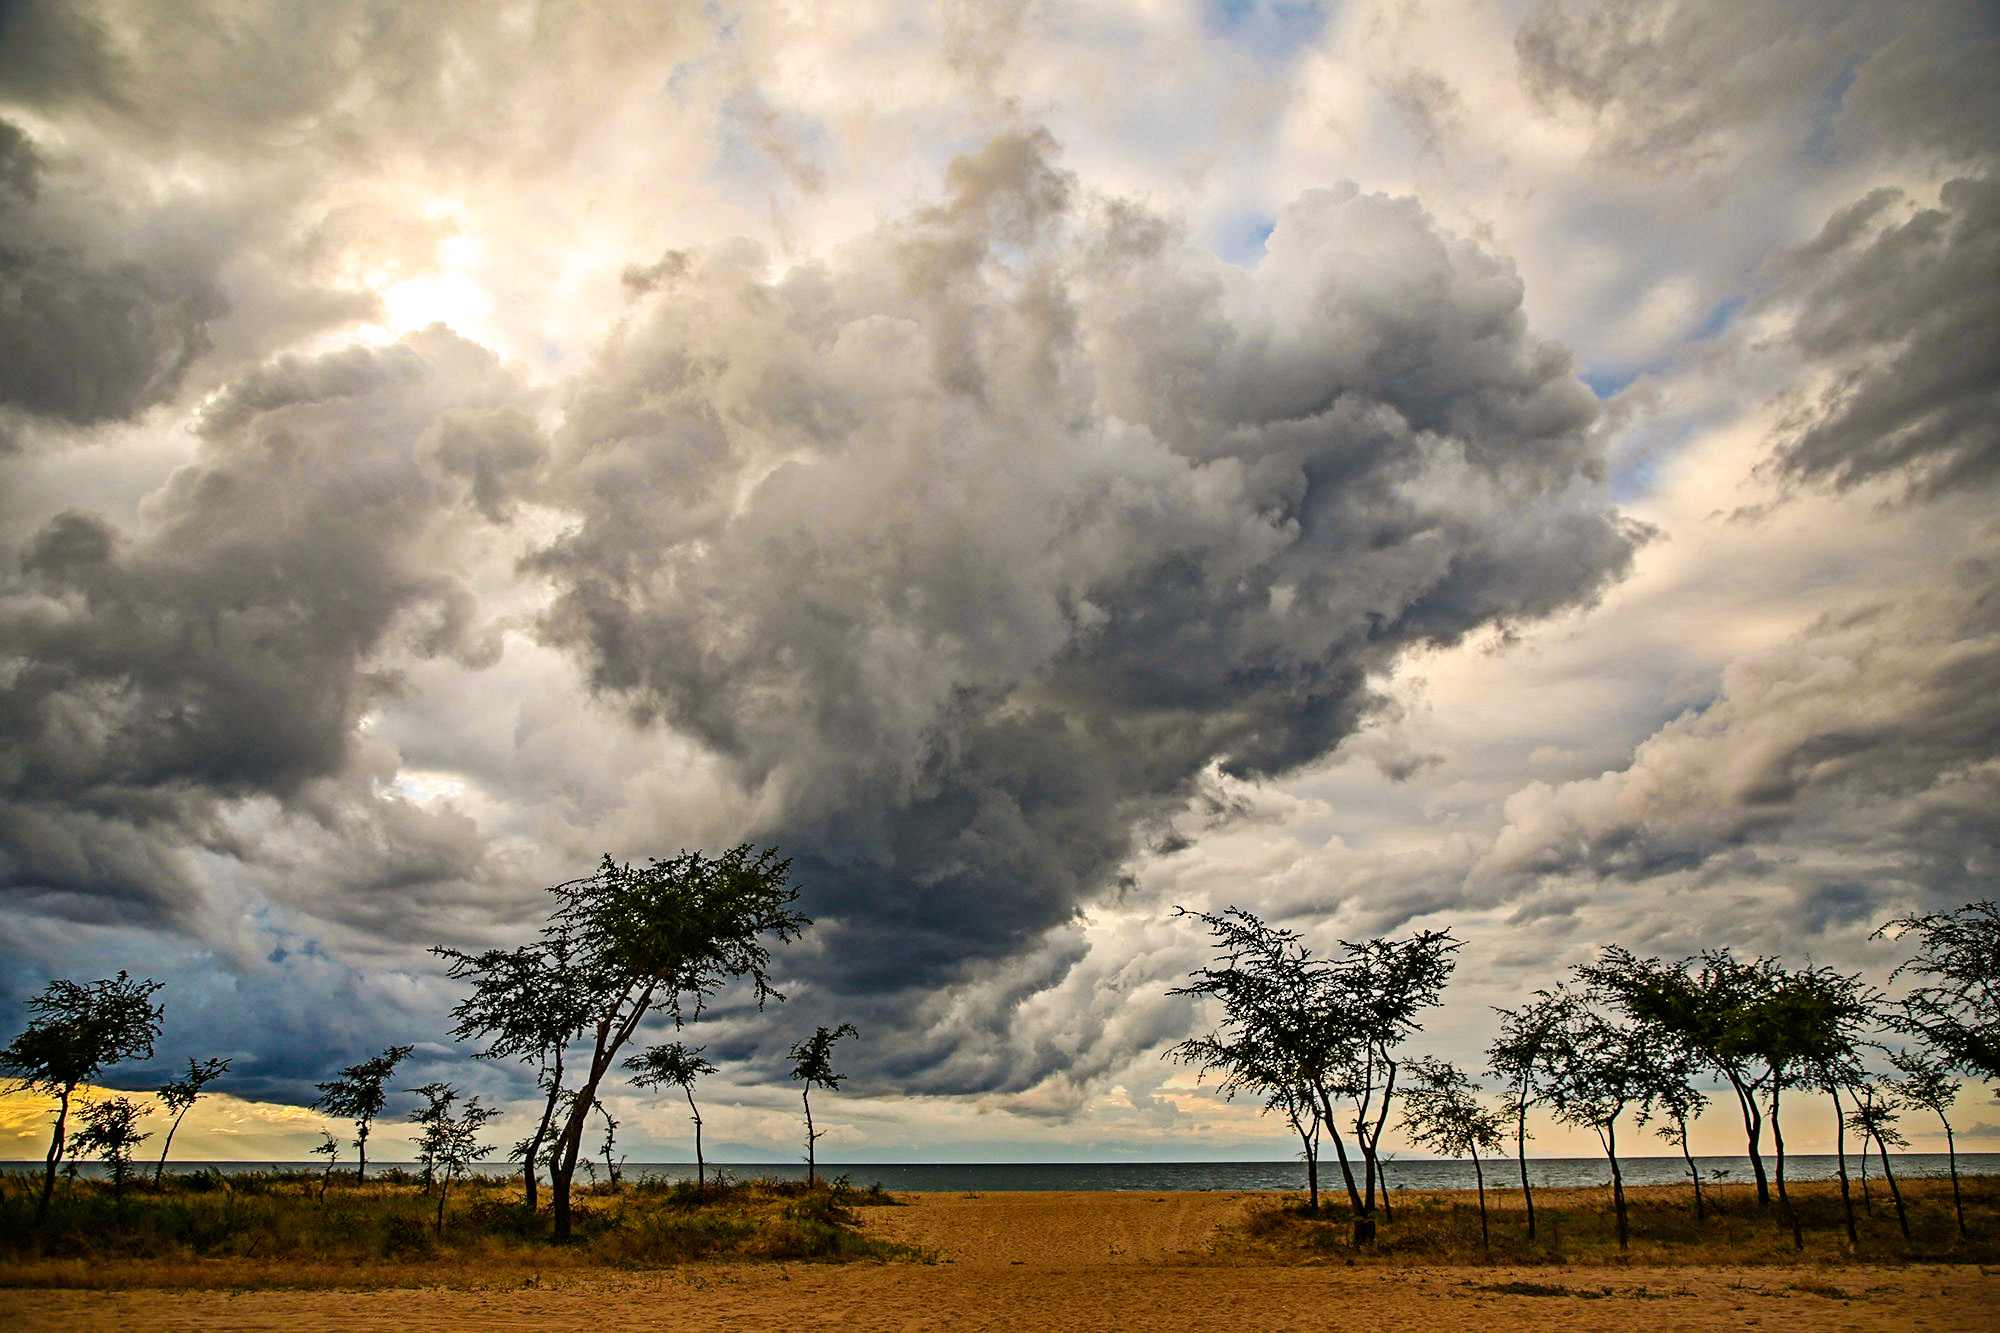
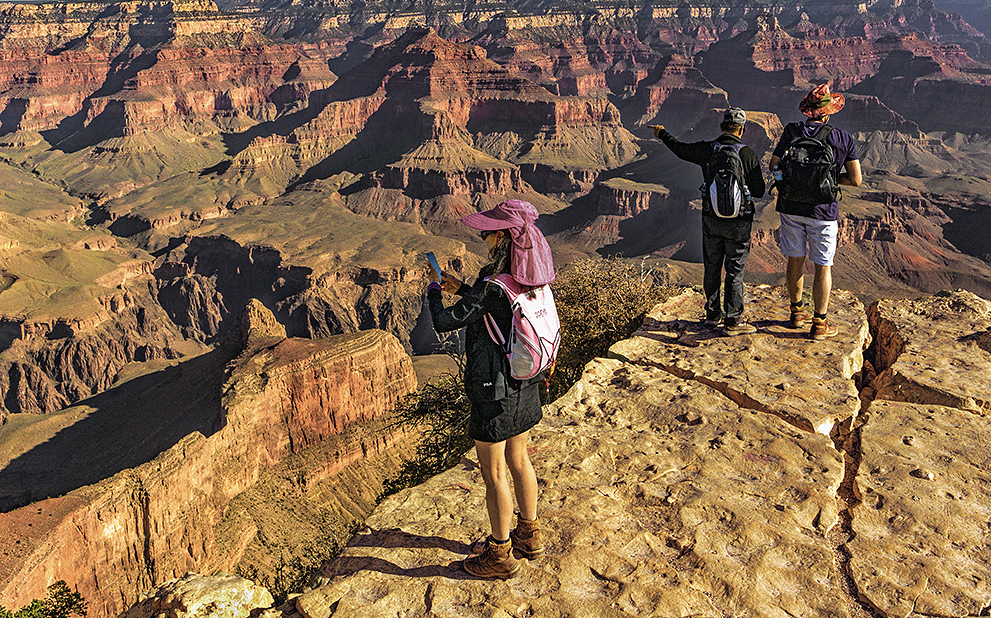
You wouldn't find me within 6 foot of that or any edge, I always feel drawn to go closer. In this image you were fortunate to get 3 subjects nicely spaced and split 1 and 2, and have chosen to make them the main subject.
The colours and warmth you have portrayed in the background work very well and enhance the feeling of depth. I cropped off the sky as its too plain, if you want to keep it then find some clouds to add something.
I don't like their hats but you had no control over what they wore (short of running over and stealing them!), but a bit of de-saturation on the red hat to match her backpack helps.
|
Jul 2nd |
 |
| 78 |
Jul 20 |
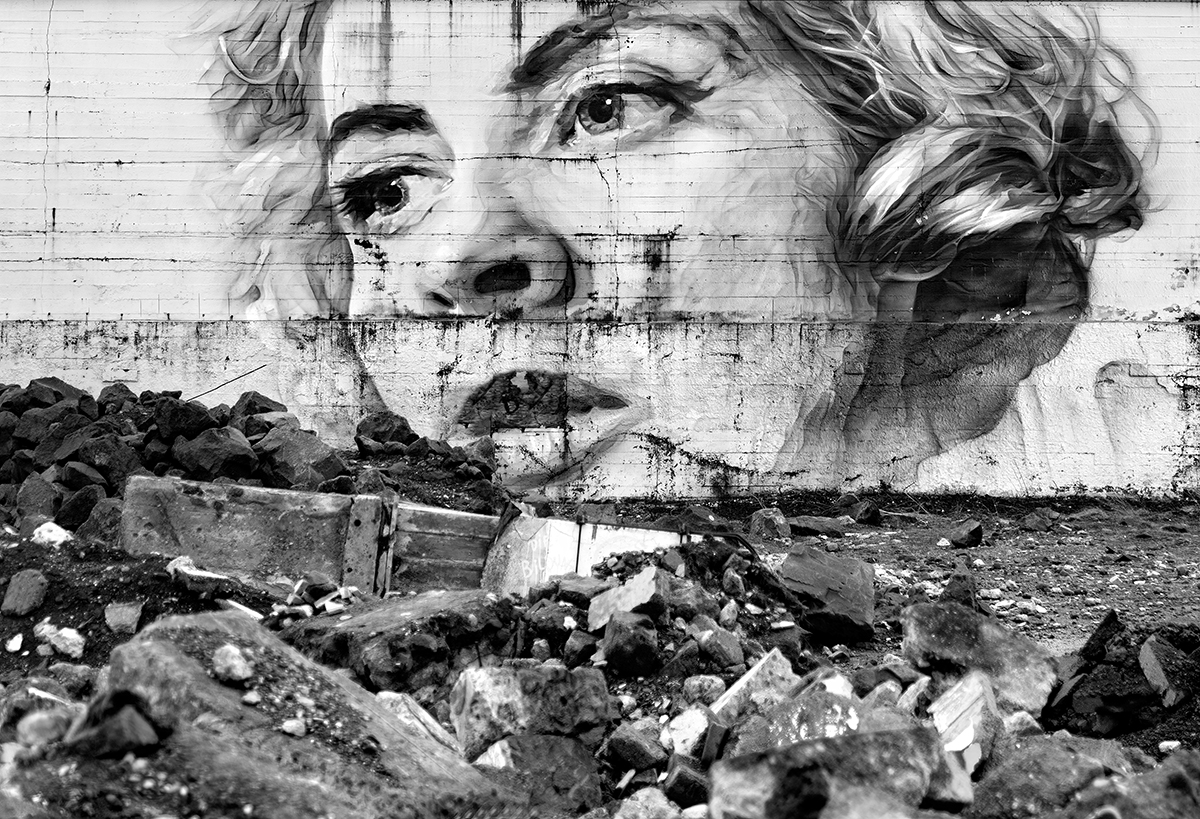
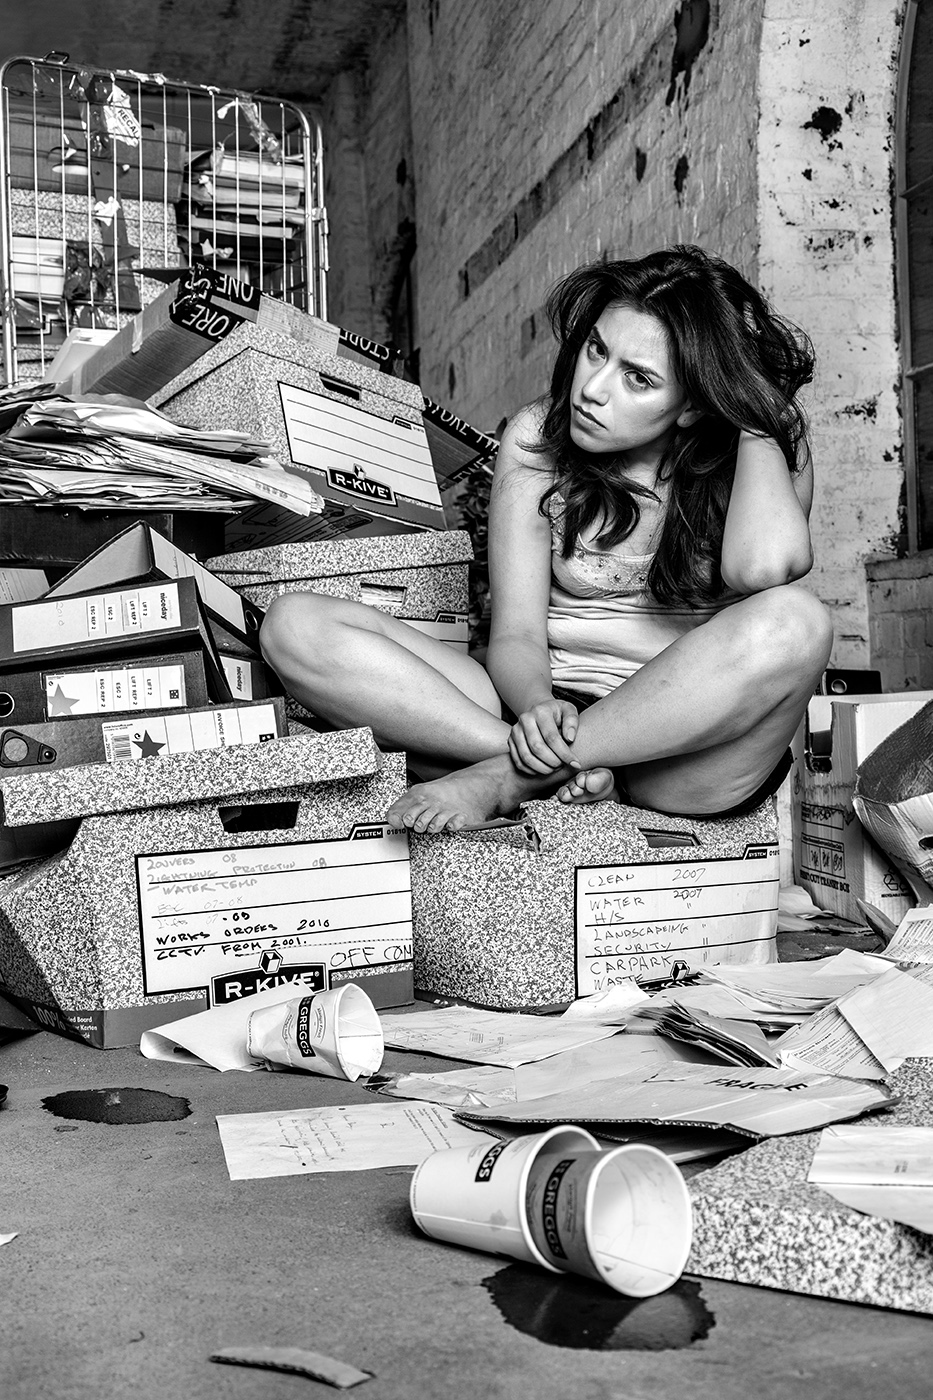
Comment |
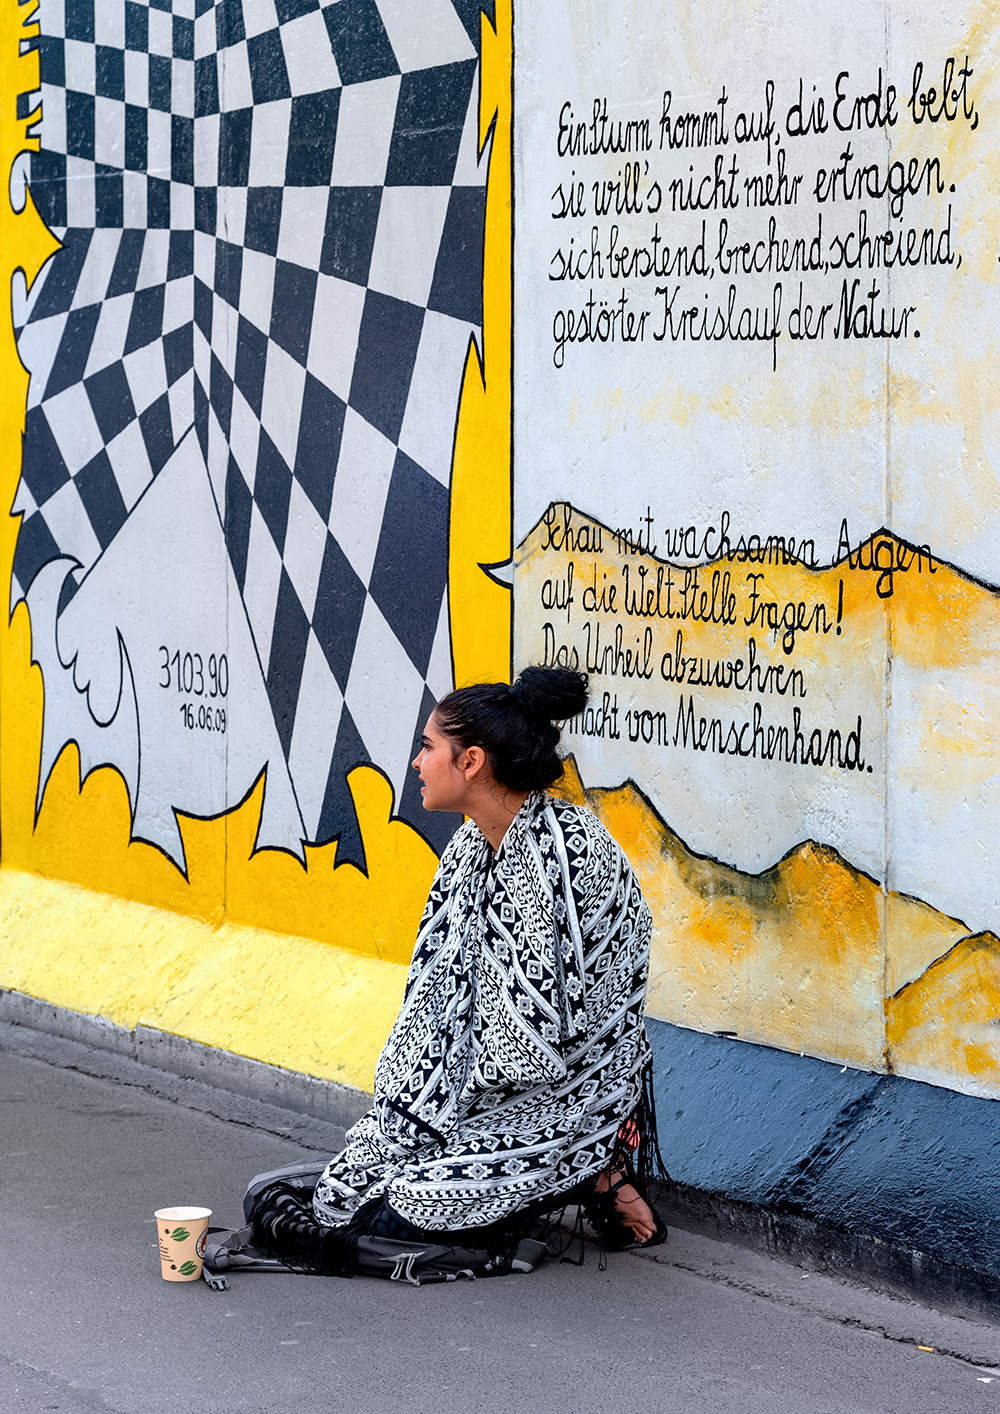
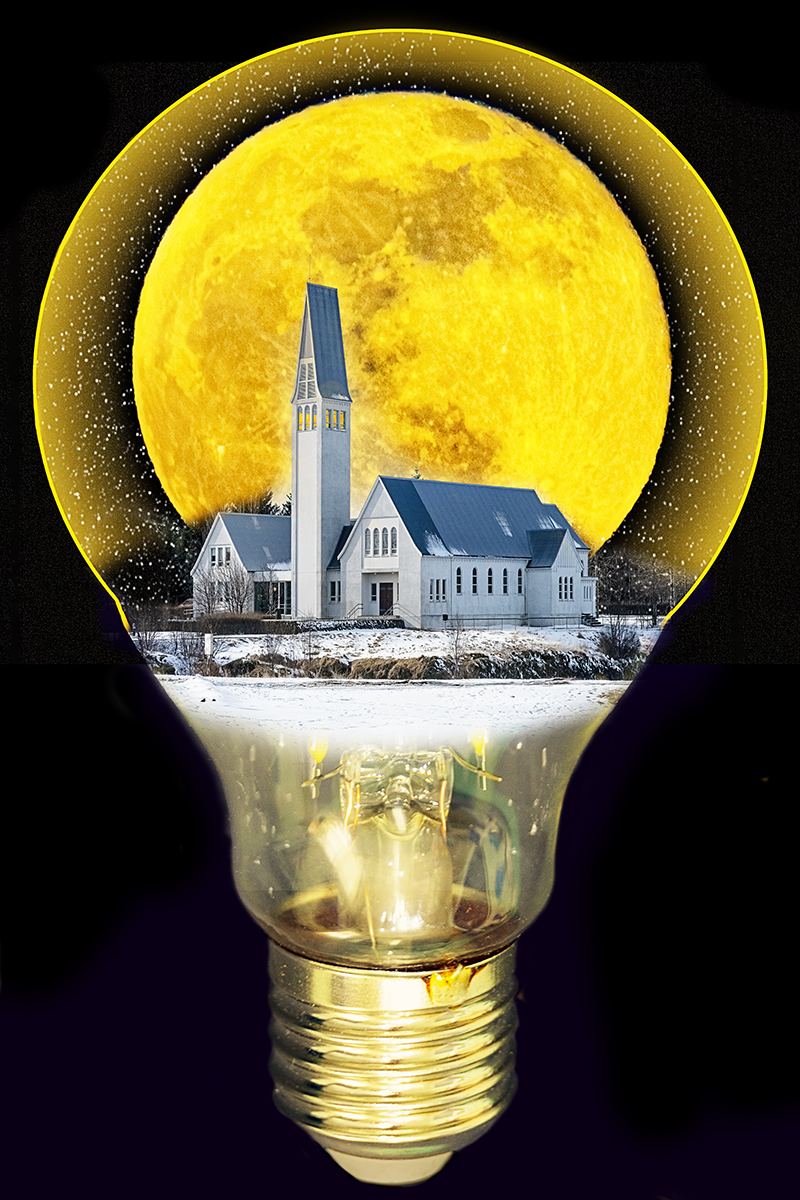
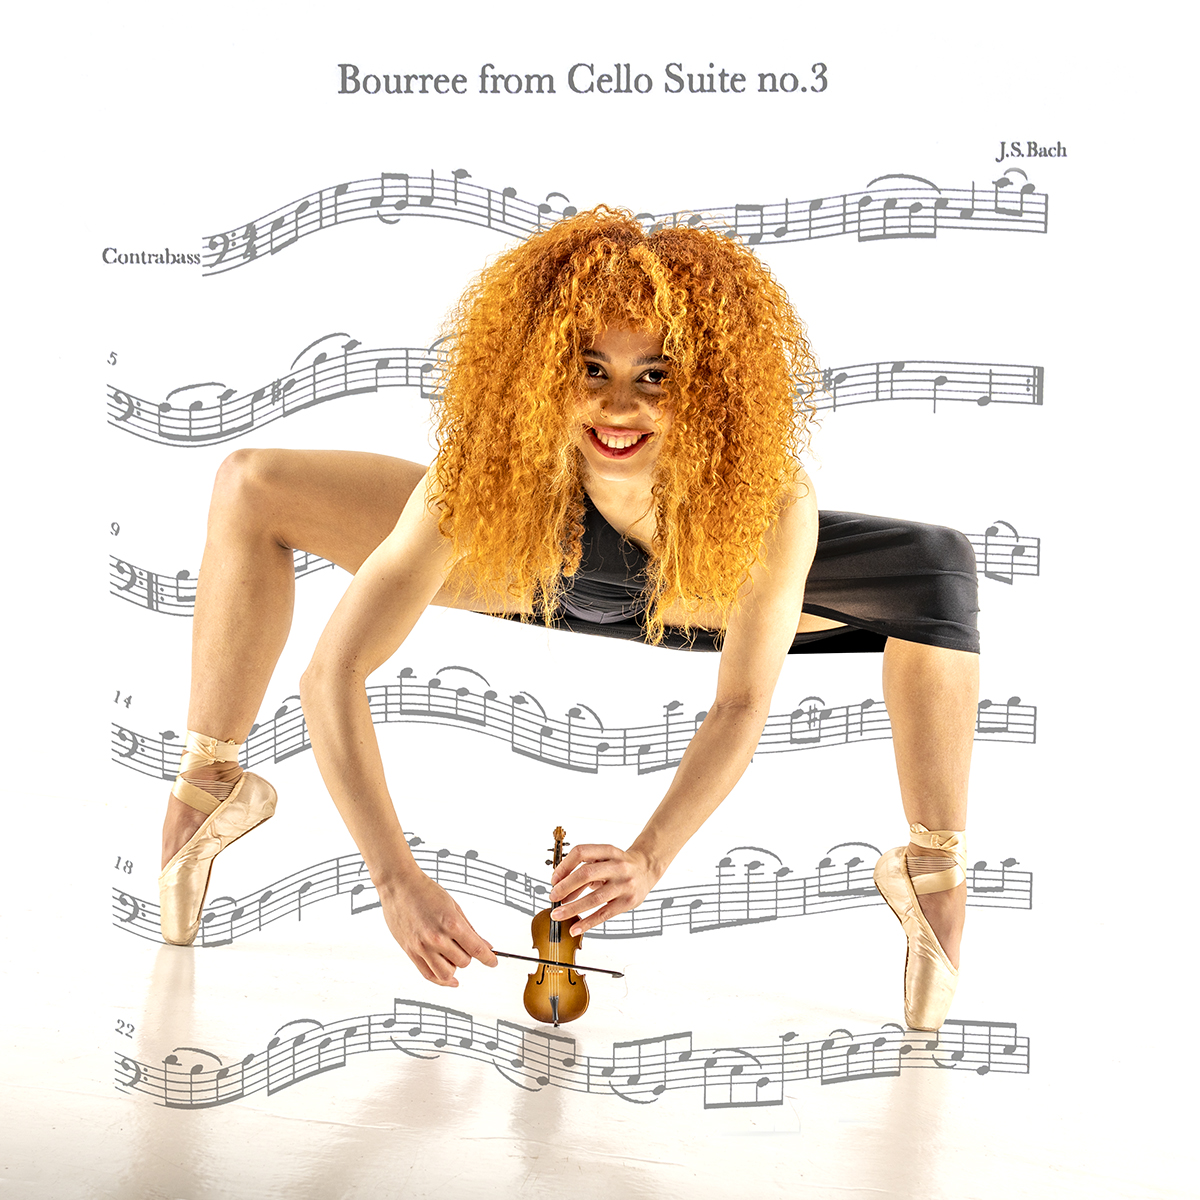
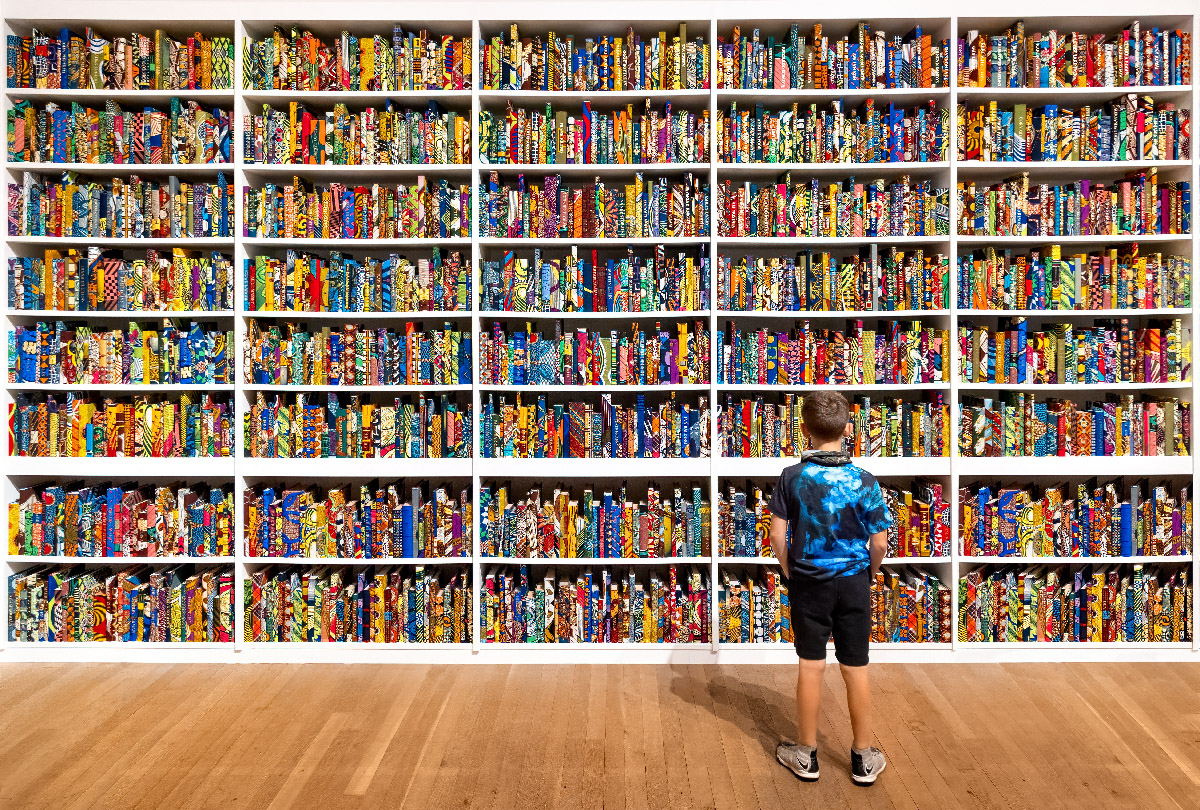
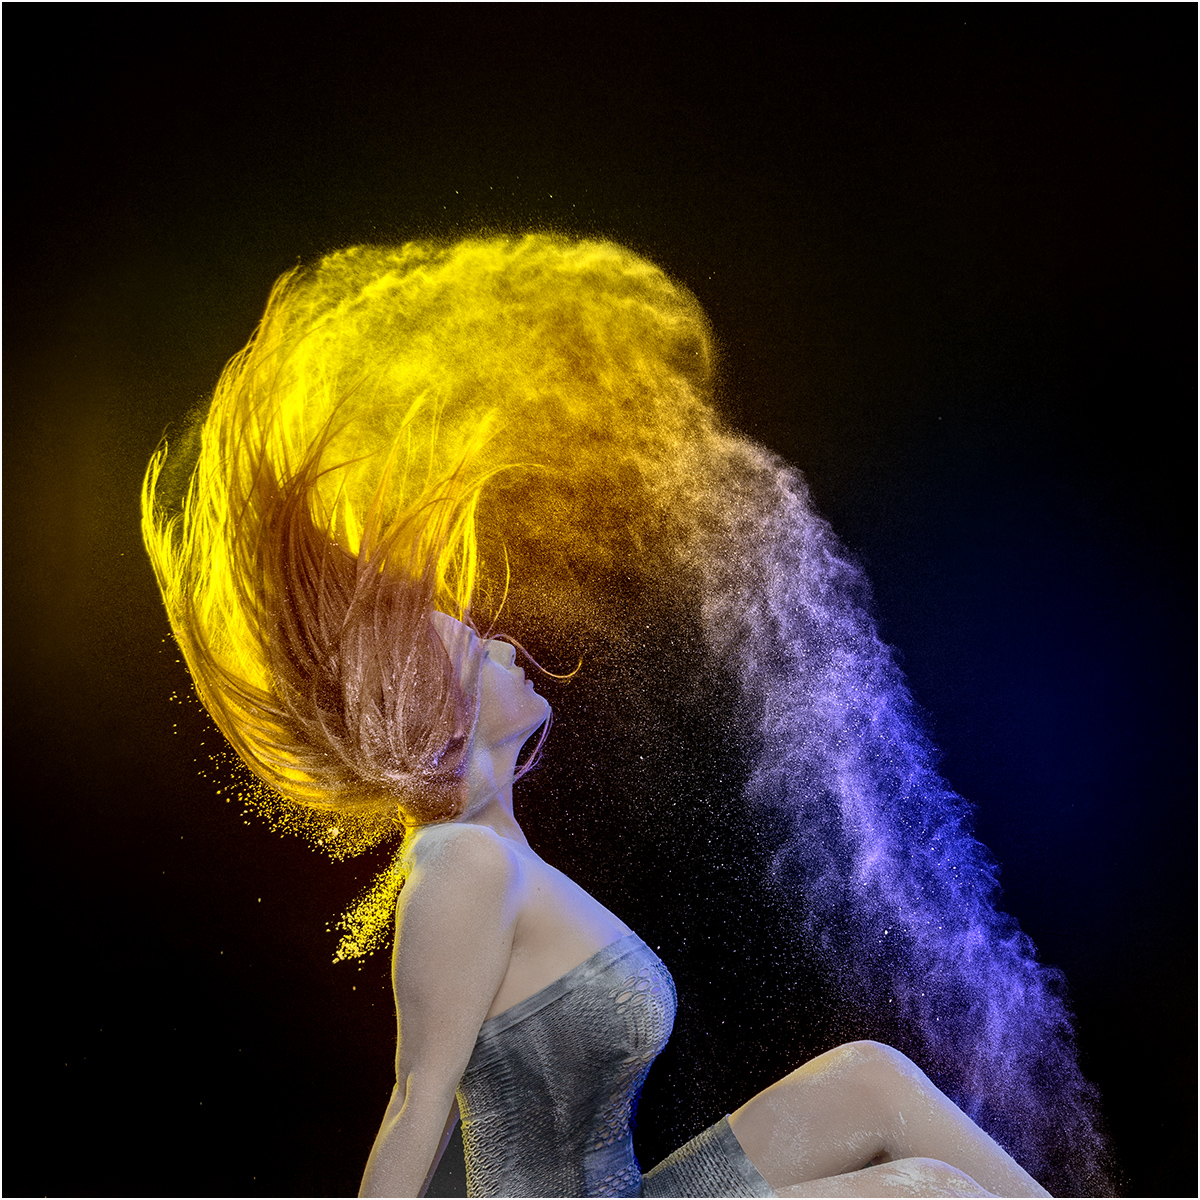
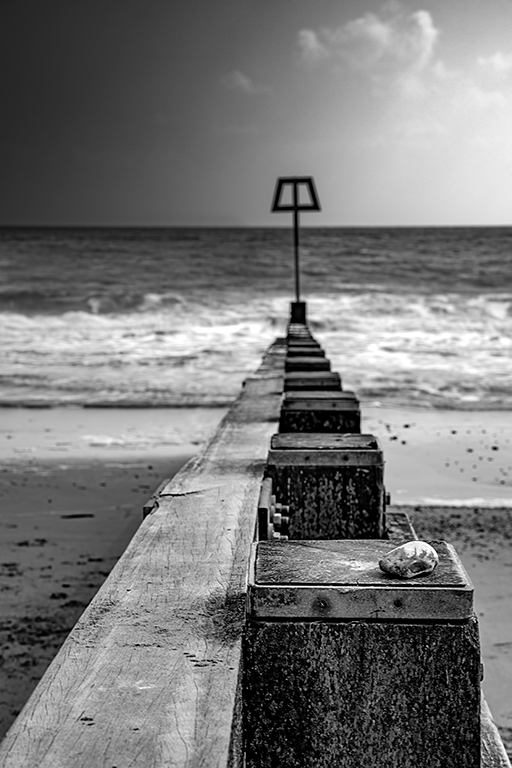
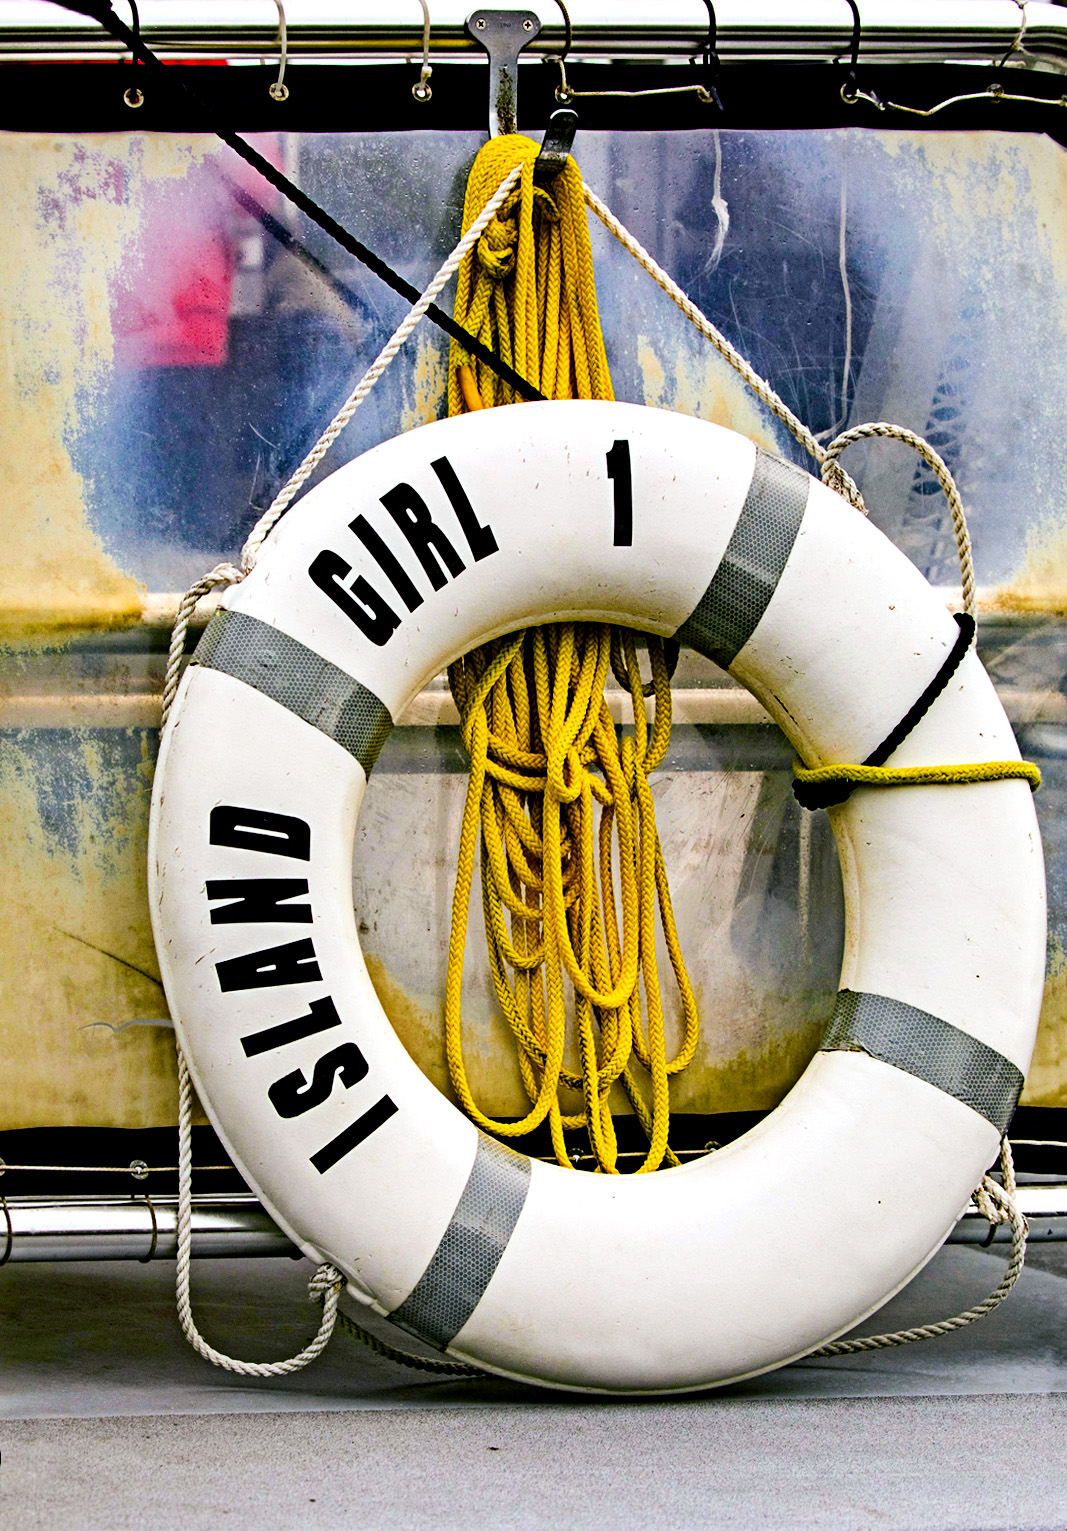
A very colourful image using colour and texture well, and a bit of fun too. I find the bottom right light patch a distraction, and the top above the rail doesn't add anything, so I cheated and distorted the image slightly and cropped off those bits.
I tried to reproduce your colours just using the RAW converter in PS using clarity, dehaze, vibrance and saturation. I then used the High Pass filter in PS to sharpen it, and then Levels as it looks to me like it has a slight Blue colour cast.
|
Jul 2nd |
 |
6 comments - 3 replies for Group 78
|
6 comments - 3 replies Total
|