|
| Group |
Round |
C/R |
Comment |
Date |
Image |
| 13 |
Nov 20 |
Reply |
Steve
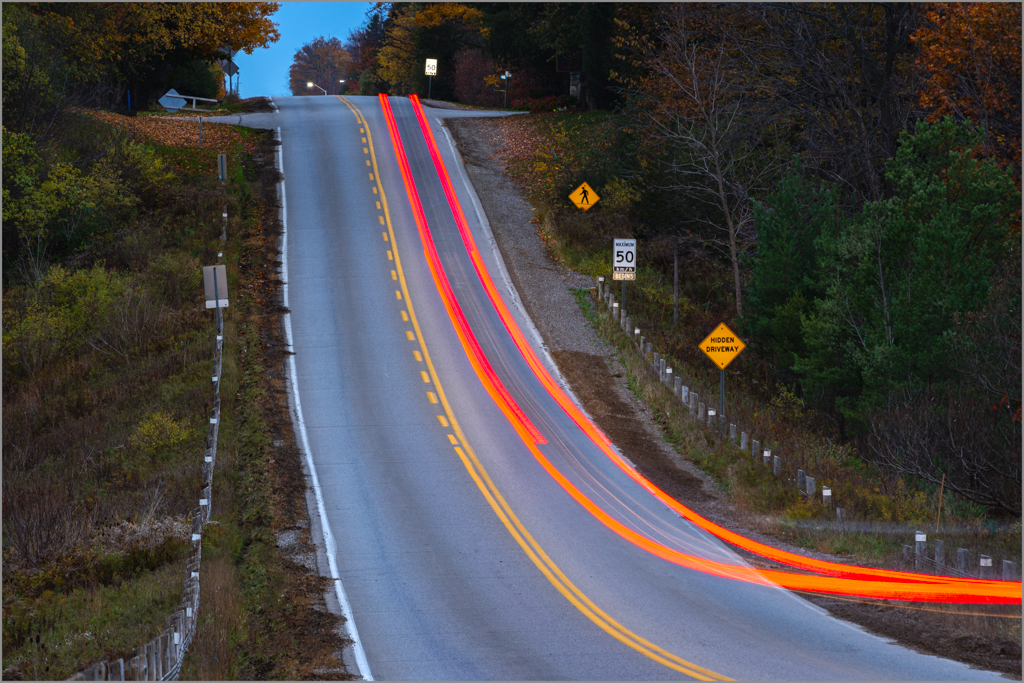
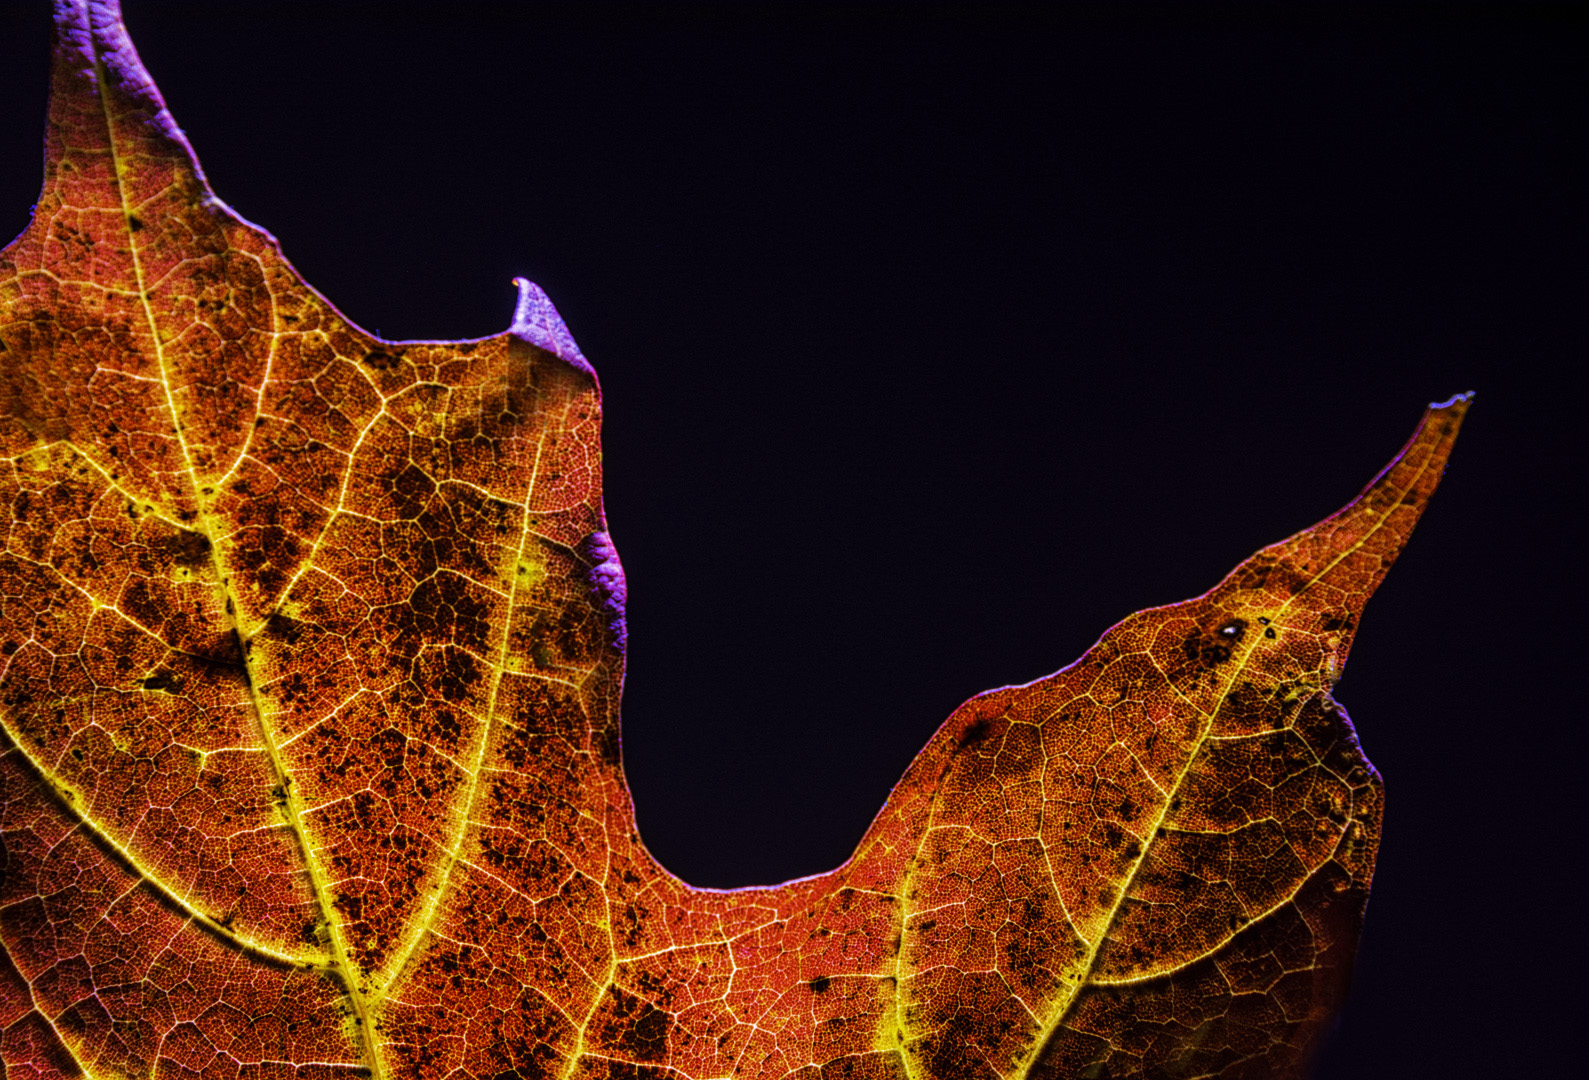
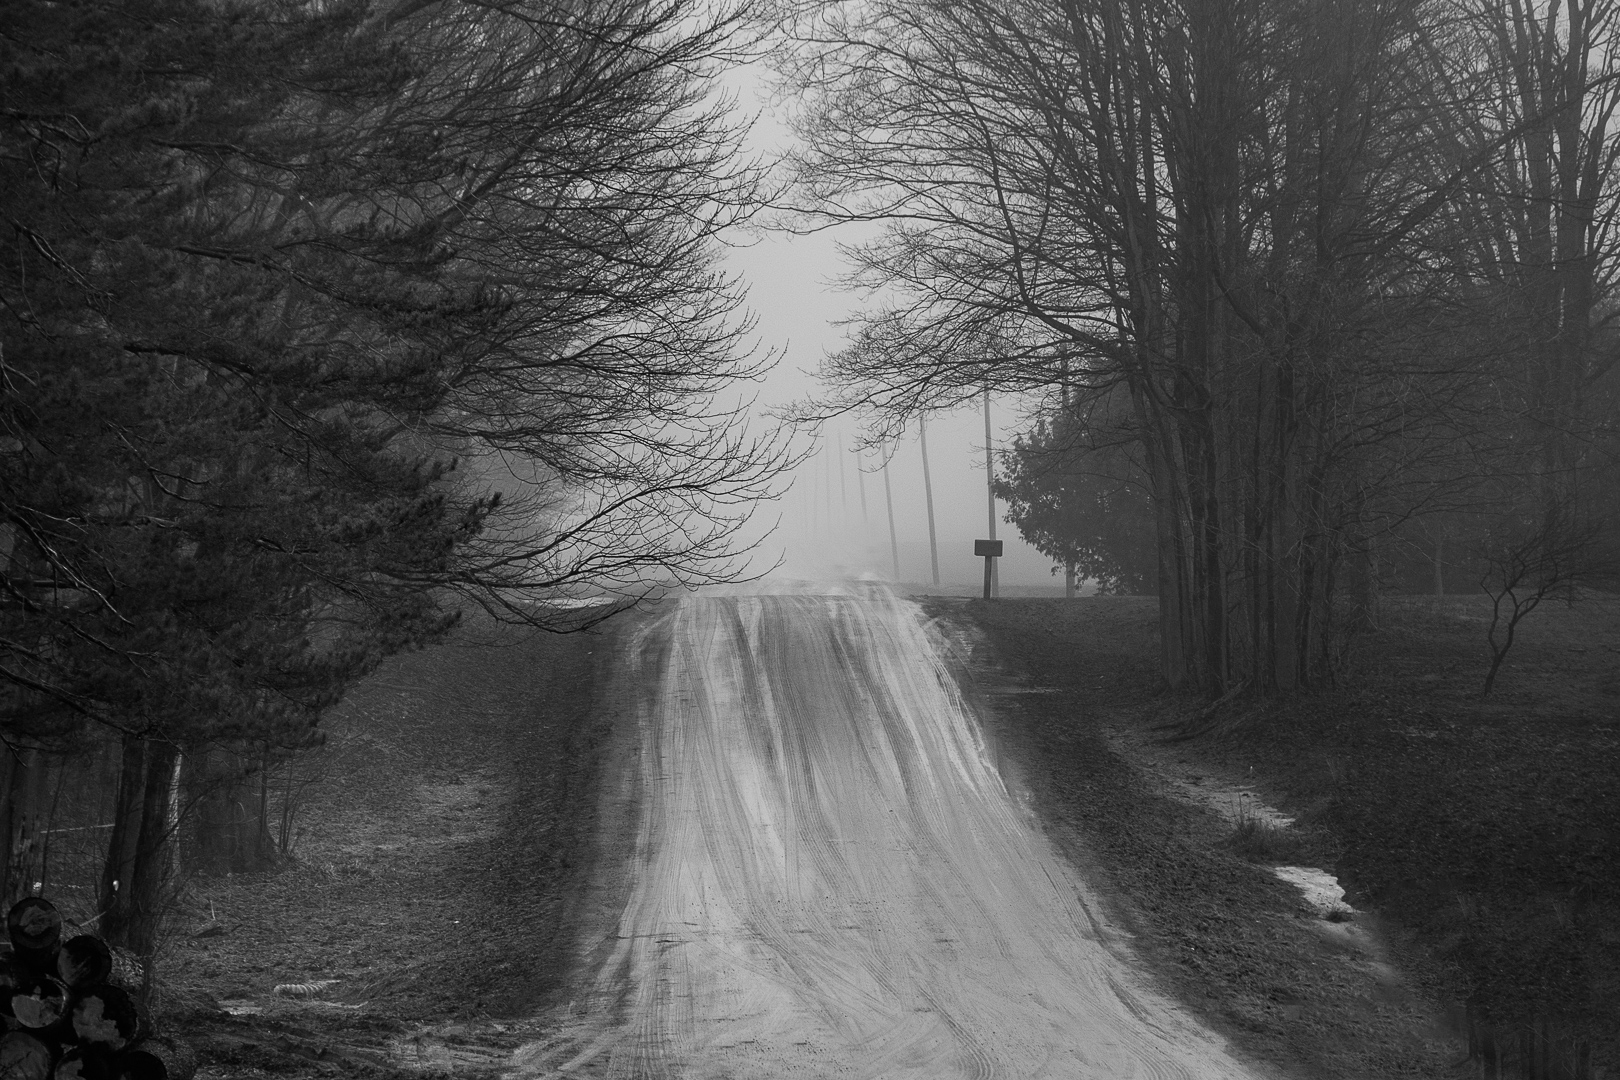
I was equally surpised to get the light trails. I did some images, then took took some images of fall leaves in the Medway Valley adjacent to this road. Then I thought why not try a couple more images just to compare how light trails look under different light conditions. I chose this image because red and cyan and blue and yellow are complementary colors and it was a simple but interesting curve. |
Nov 14th |
| 13 |
Nov 20 |
Comment |
Paul
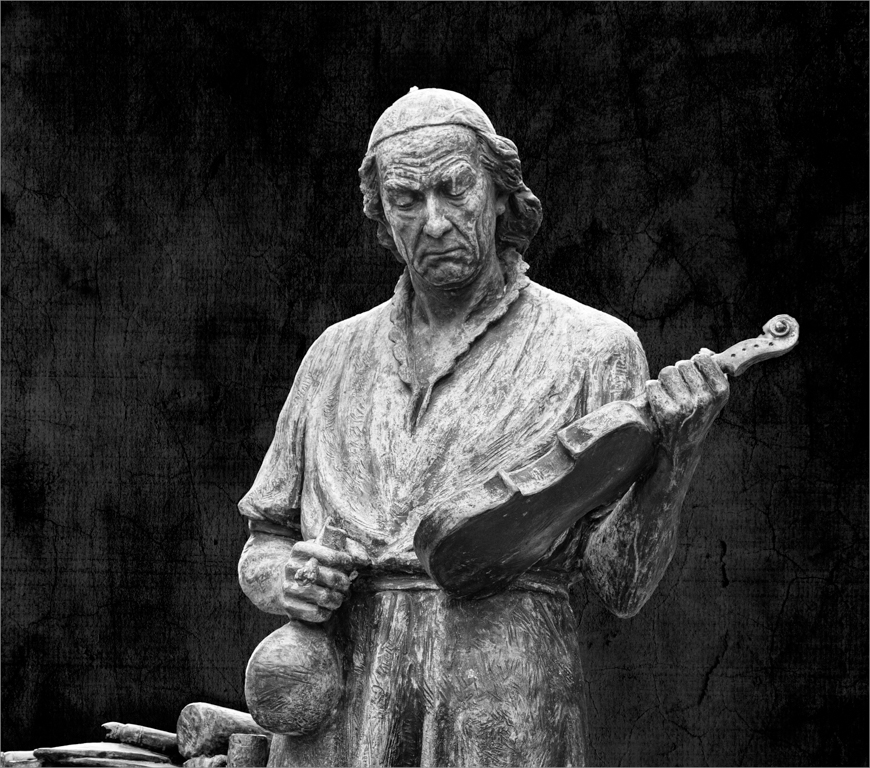
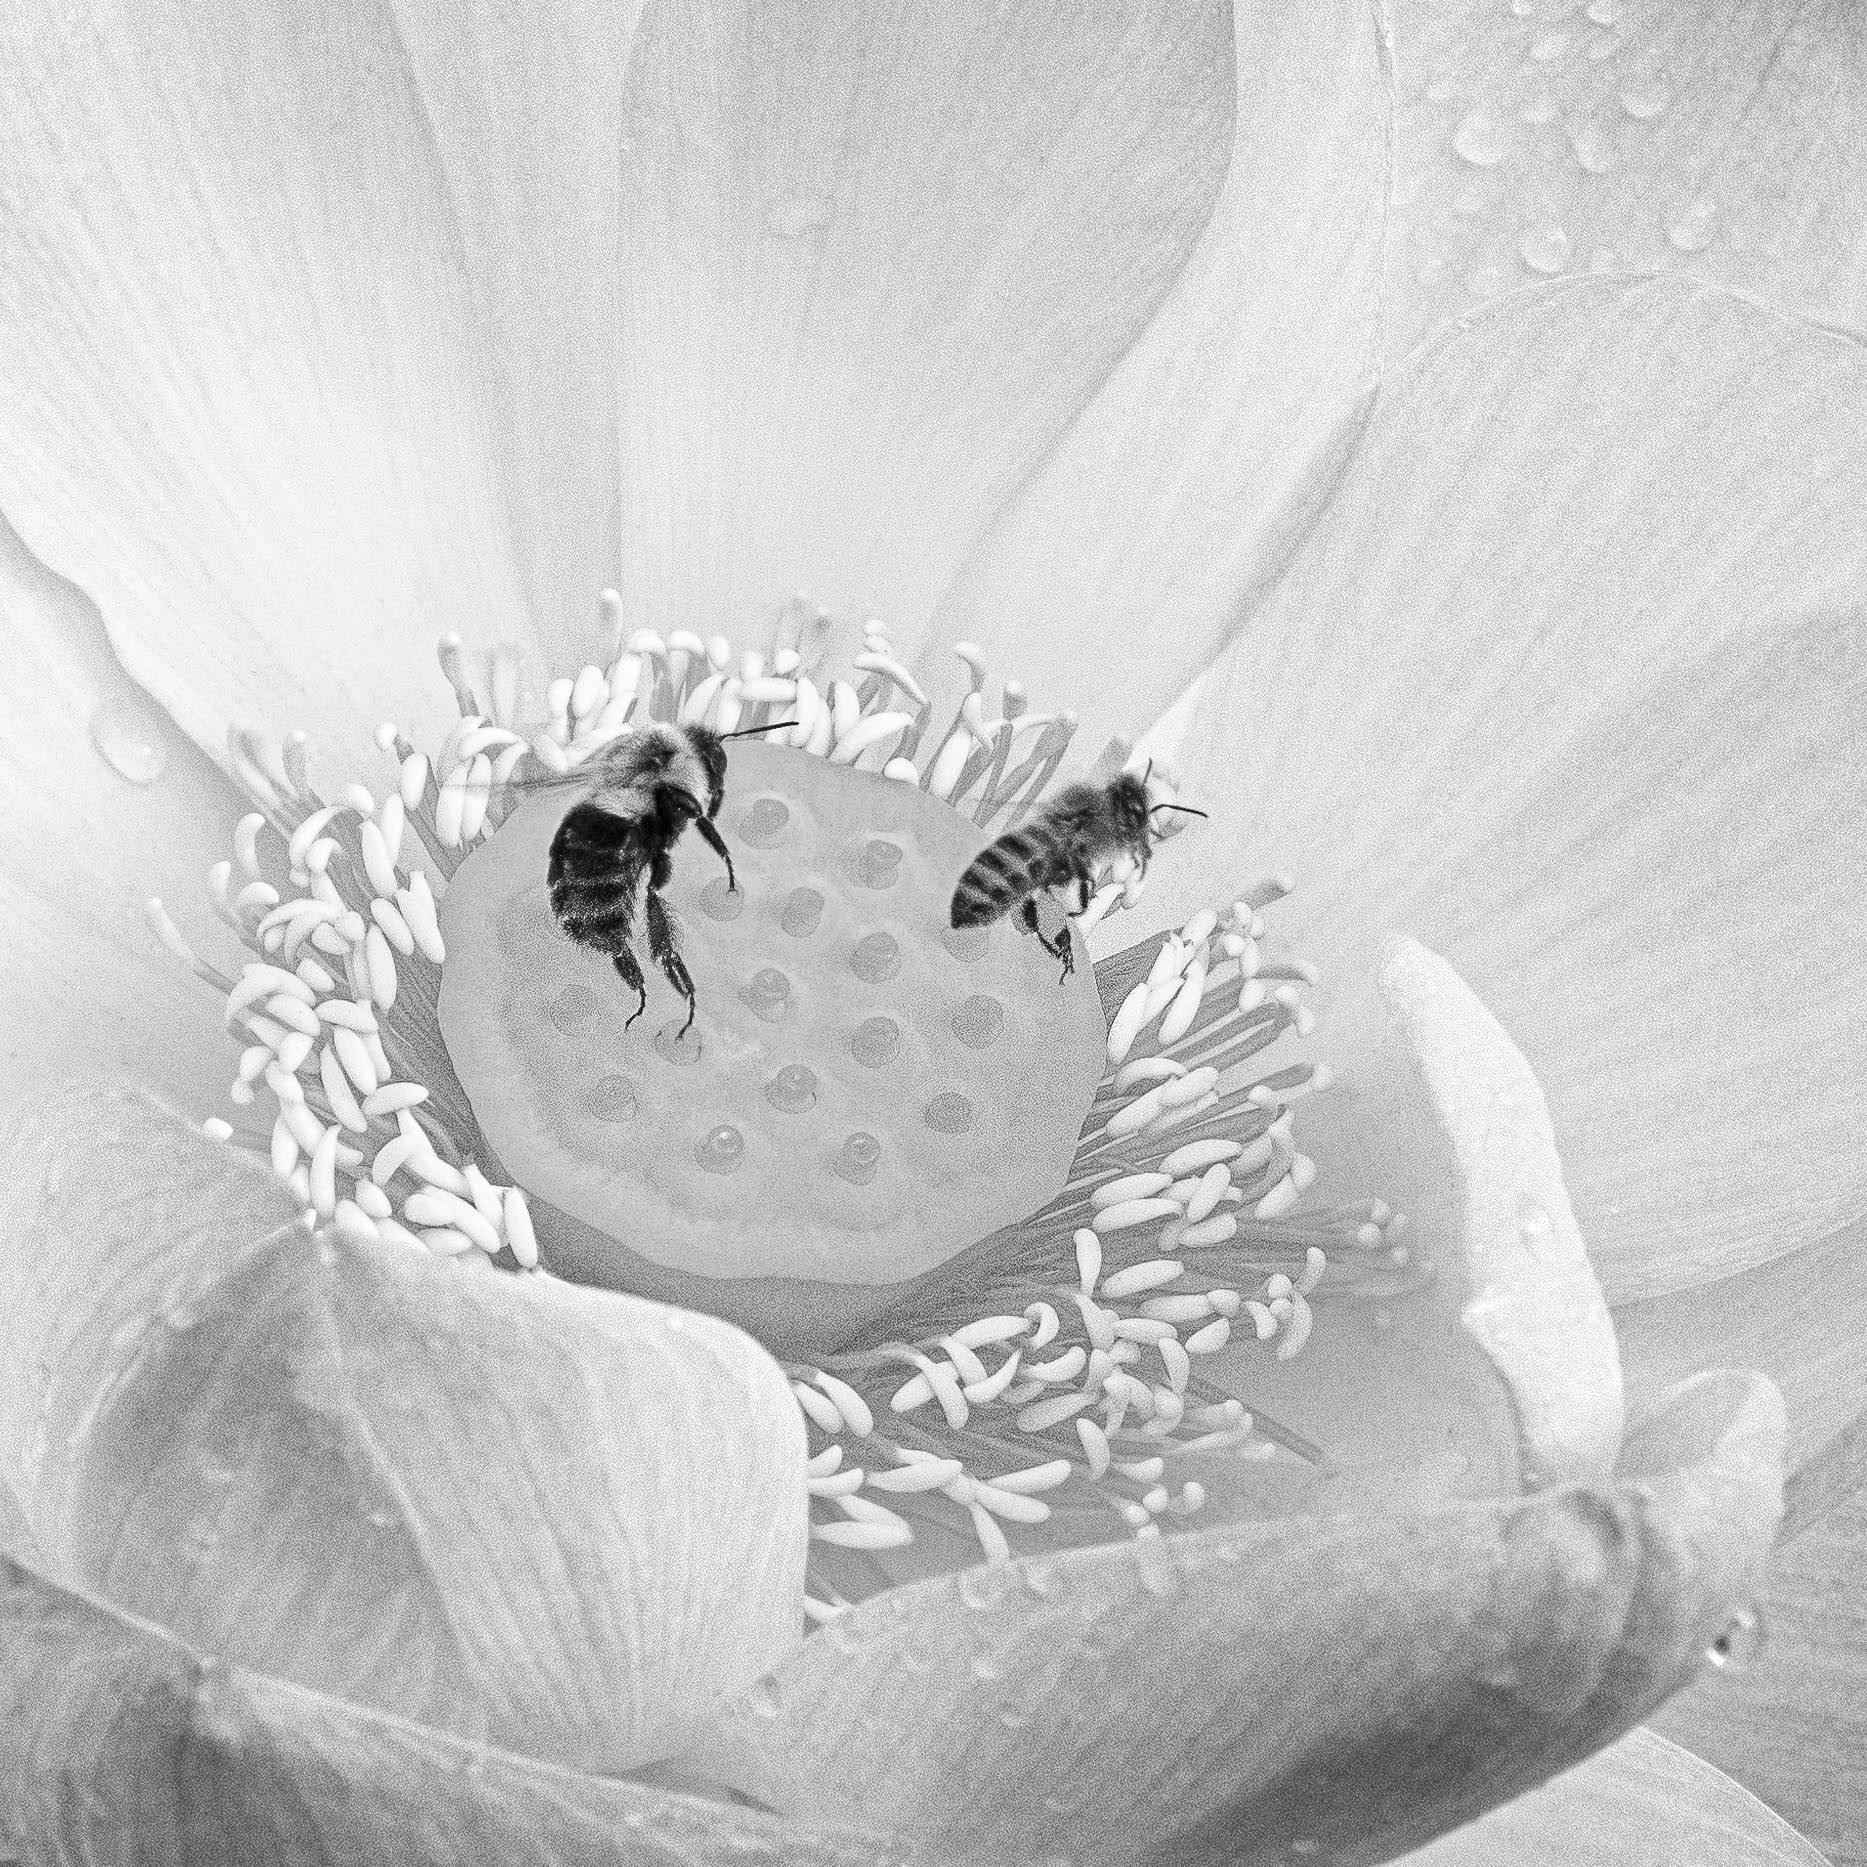
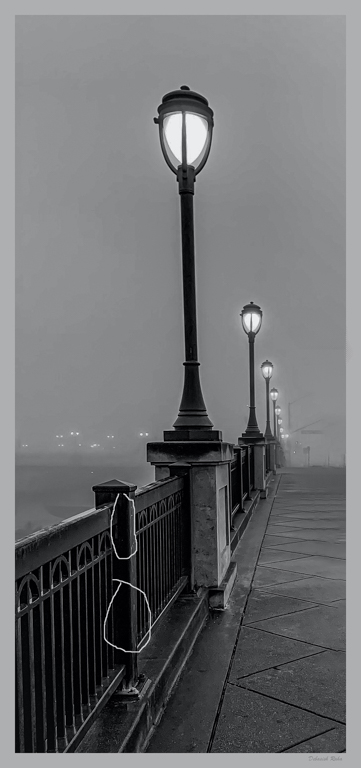
Your choice of monochrome for this image is excellent. The image has strong shapes, leading lines, texture, and contrast. Your eye is sharp capturing different lighting sources: motion lighttrails, under the bridge lighting and light bursts from street lamps. Well done. |
Nov 10th |
| 13 |
Nov 20 |
Comment |
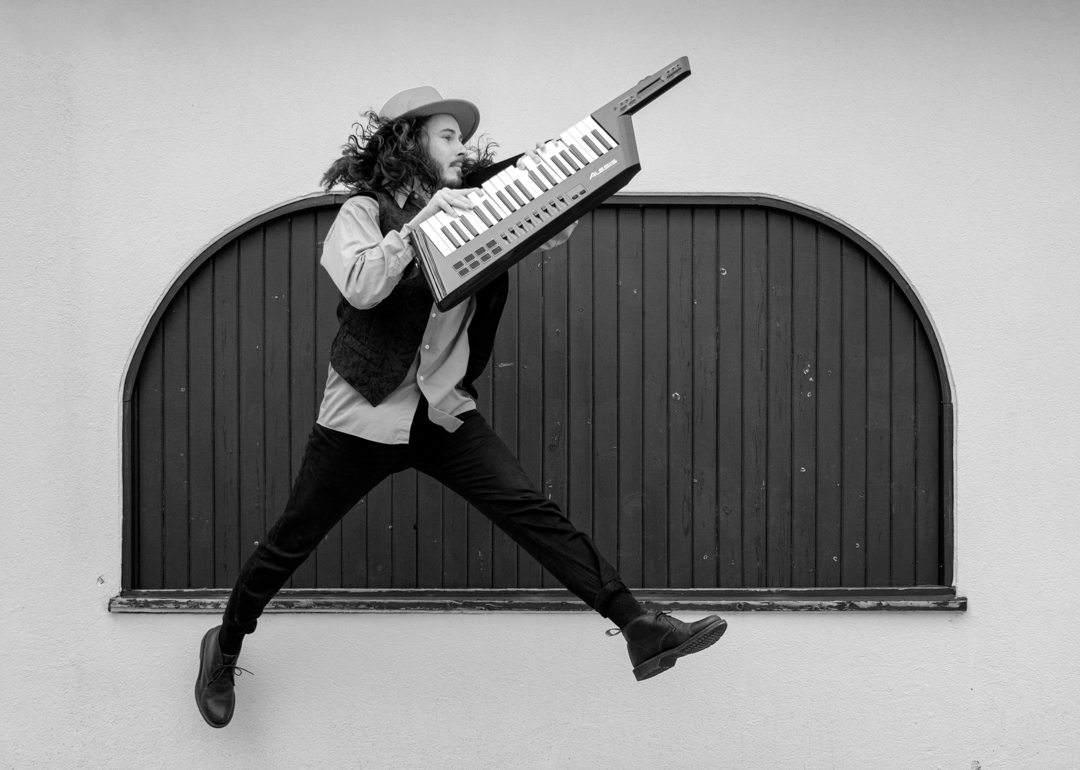
Fat
You certainly have challenged me to think outside the box with this creative image. |
Nov 5th |
| 13 |
Nov 20 |
Comment |
Barbara
This is a good use of the zoom technique to create light trails. The panorama crop works so well.
Do you have an image where you did not zoom. I am interested to see how different the image looks as a learning excercise. |
Nov 5th |
3 comments - 1 reply for Group 13
|
| 83 |
Nov 20 |
Reply |
Dianne
Thans for your comment.
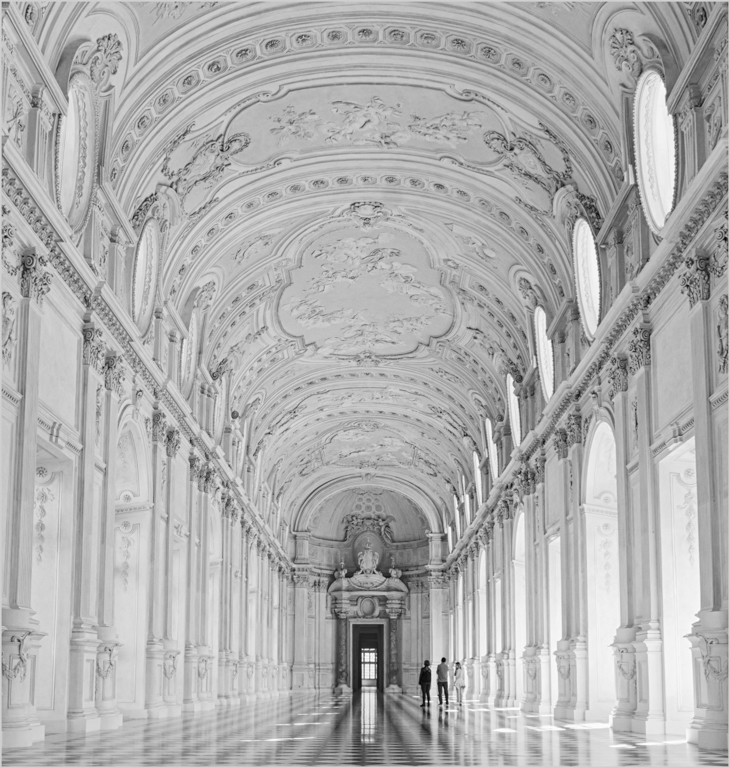
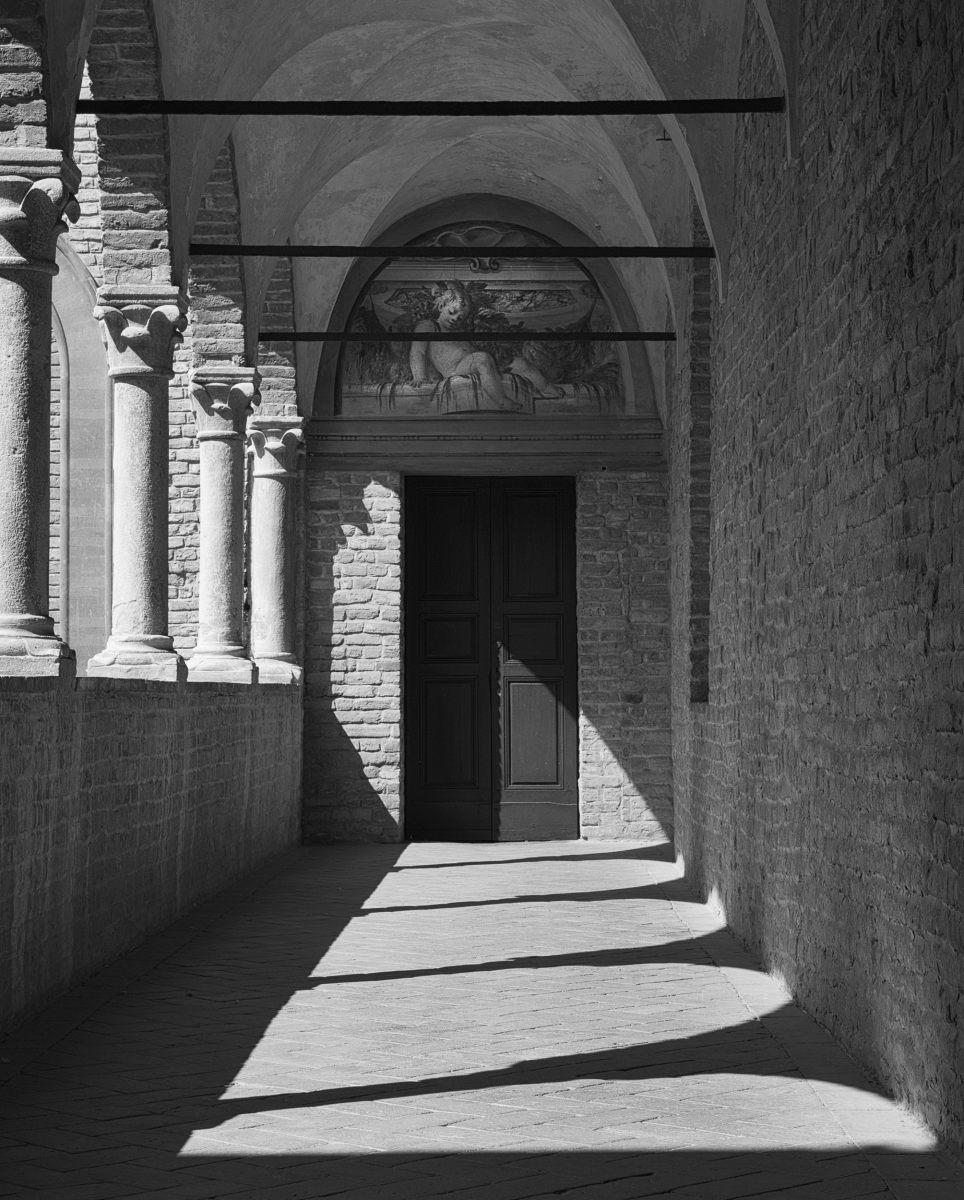
The palace hall is so elegant. My intention is to edit more images of the hall and see whether they would make a good background for a portrait image. It may be difficult to blend the lighting and colors.
My style is classic and I am a winter. My wish is to wear an elegant floor length italian dress and be photographed in that setting.
|
Nov 20th |
| 83 |
Nov 20 |
Reply |
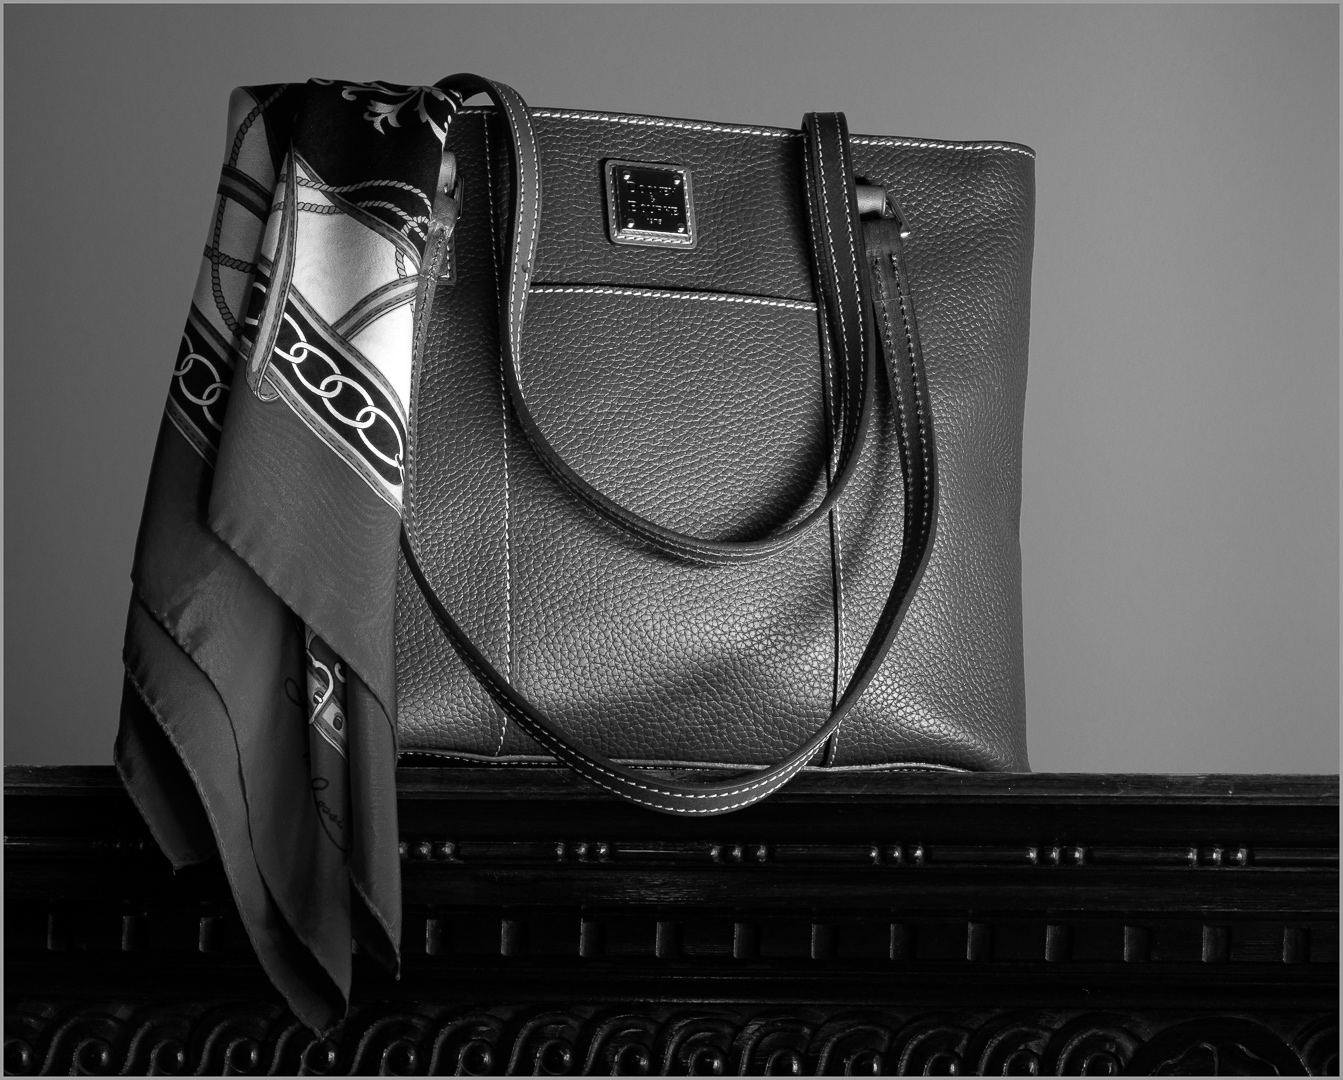
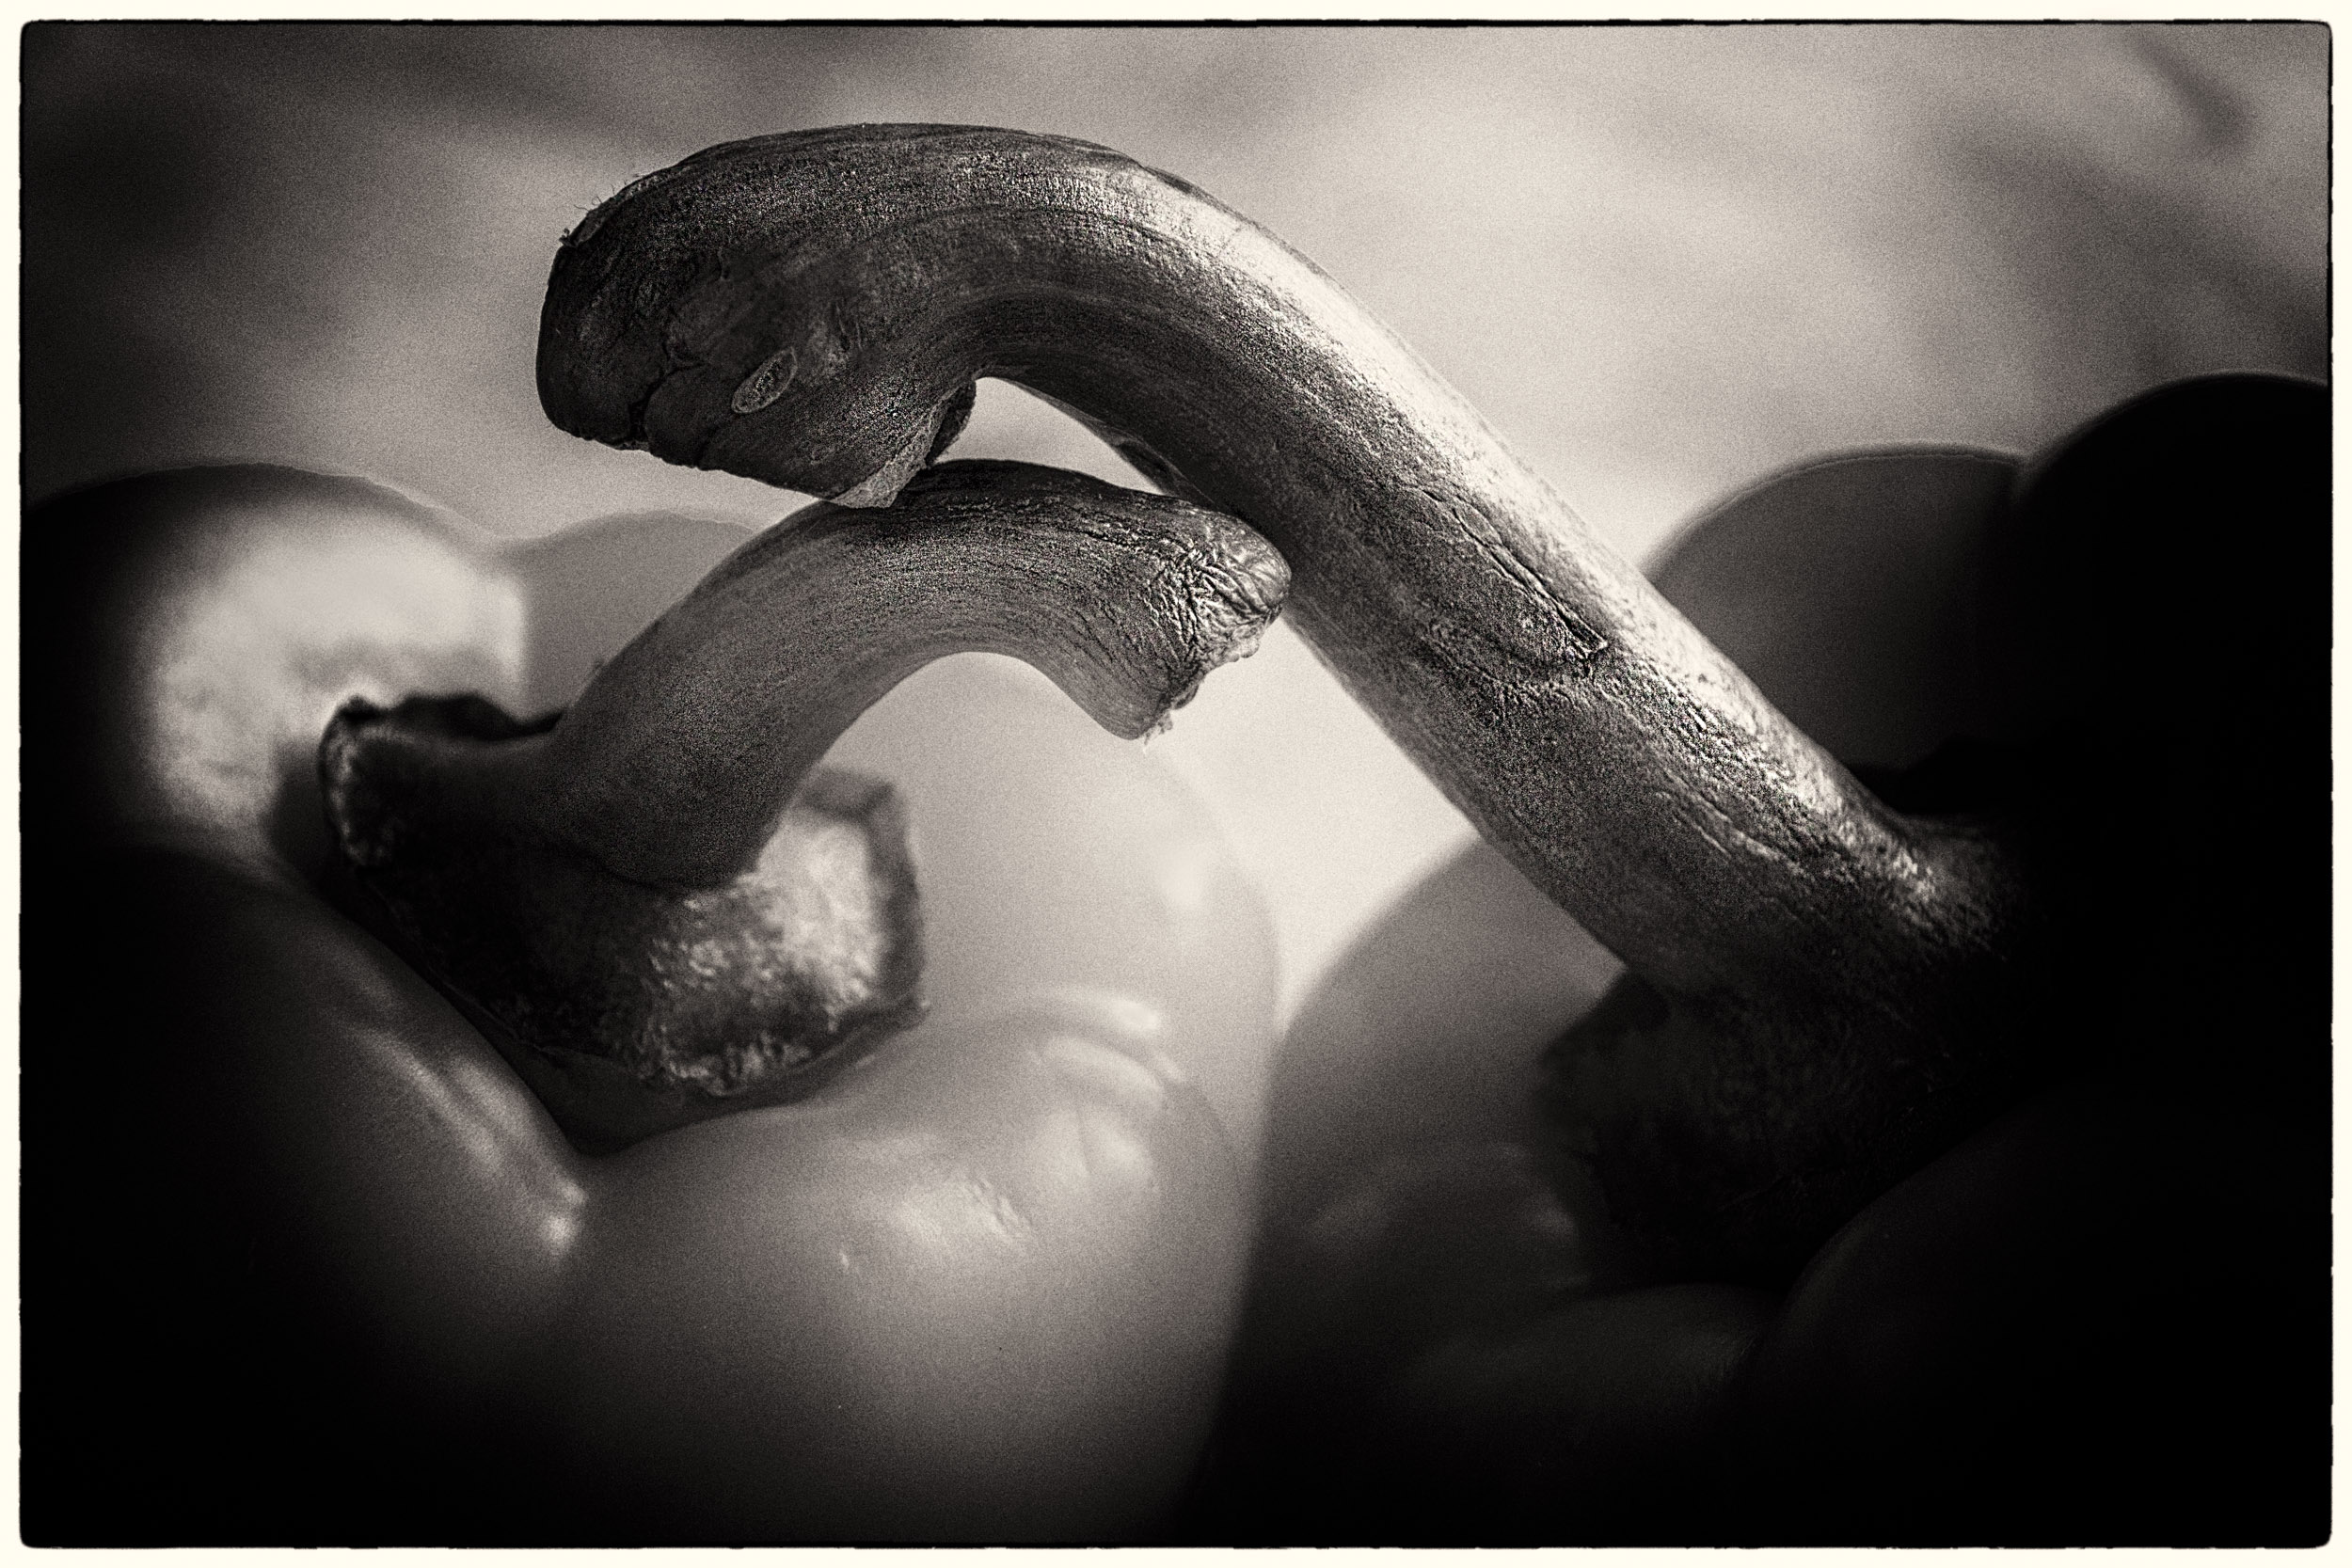
Lance
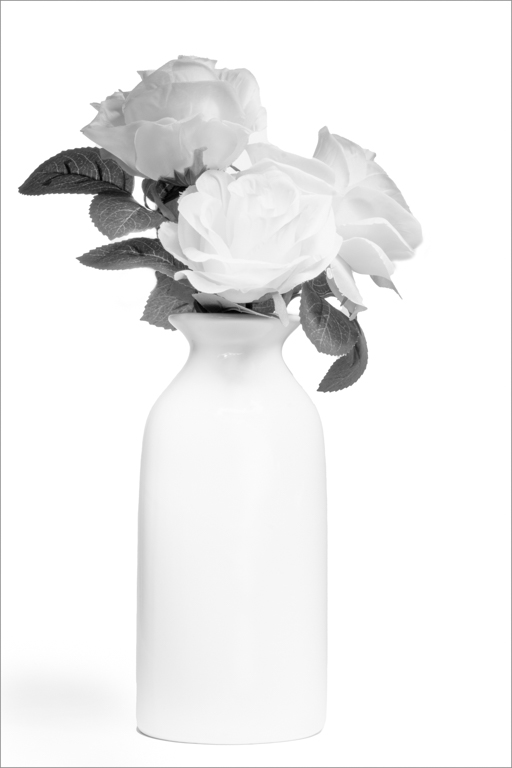
Here is another example of the high key impact that requires minimal contrast, just enough to bring out the slight shadow at the bottom of the vase and some detail in the artificial flowers. I used the PS BW adjustment layer with the yellow filter and then moved the green slider to soften the tones from the green leaves and the yellow slider to create just enough separation with the leave petals. Again color correcting with the curve to remove the blue color cast was important. Why? The blue cast is another color i.e. tone that one can accentuate by moving the blue slider. My goal was minimizing tonal contrast.
JPS |
Nov 19th |
 |
| 83 |
Nov 20 |
Reply |
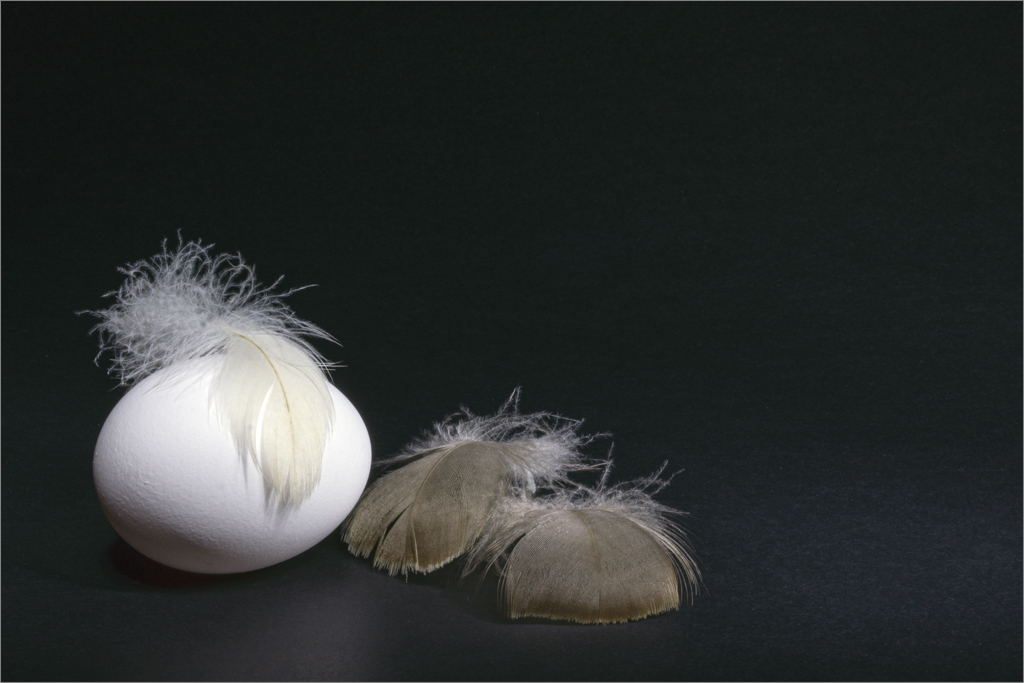
Lance
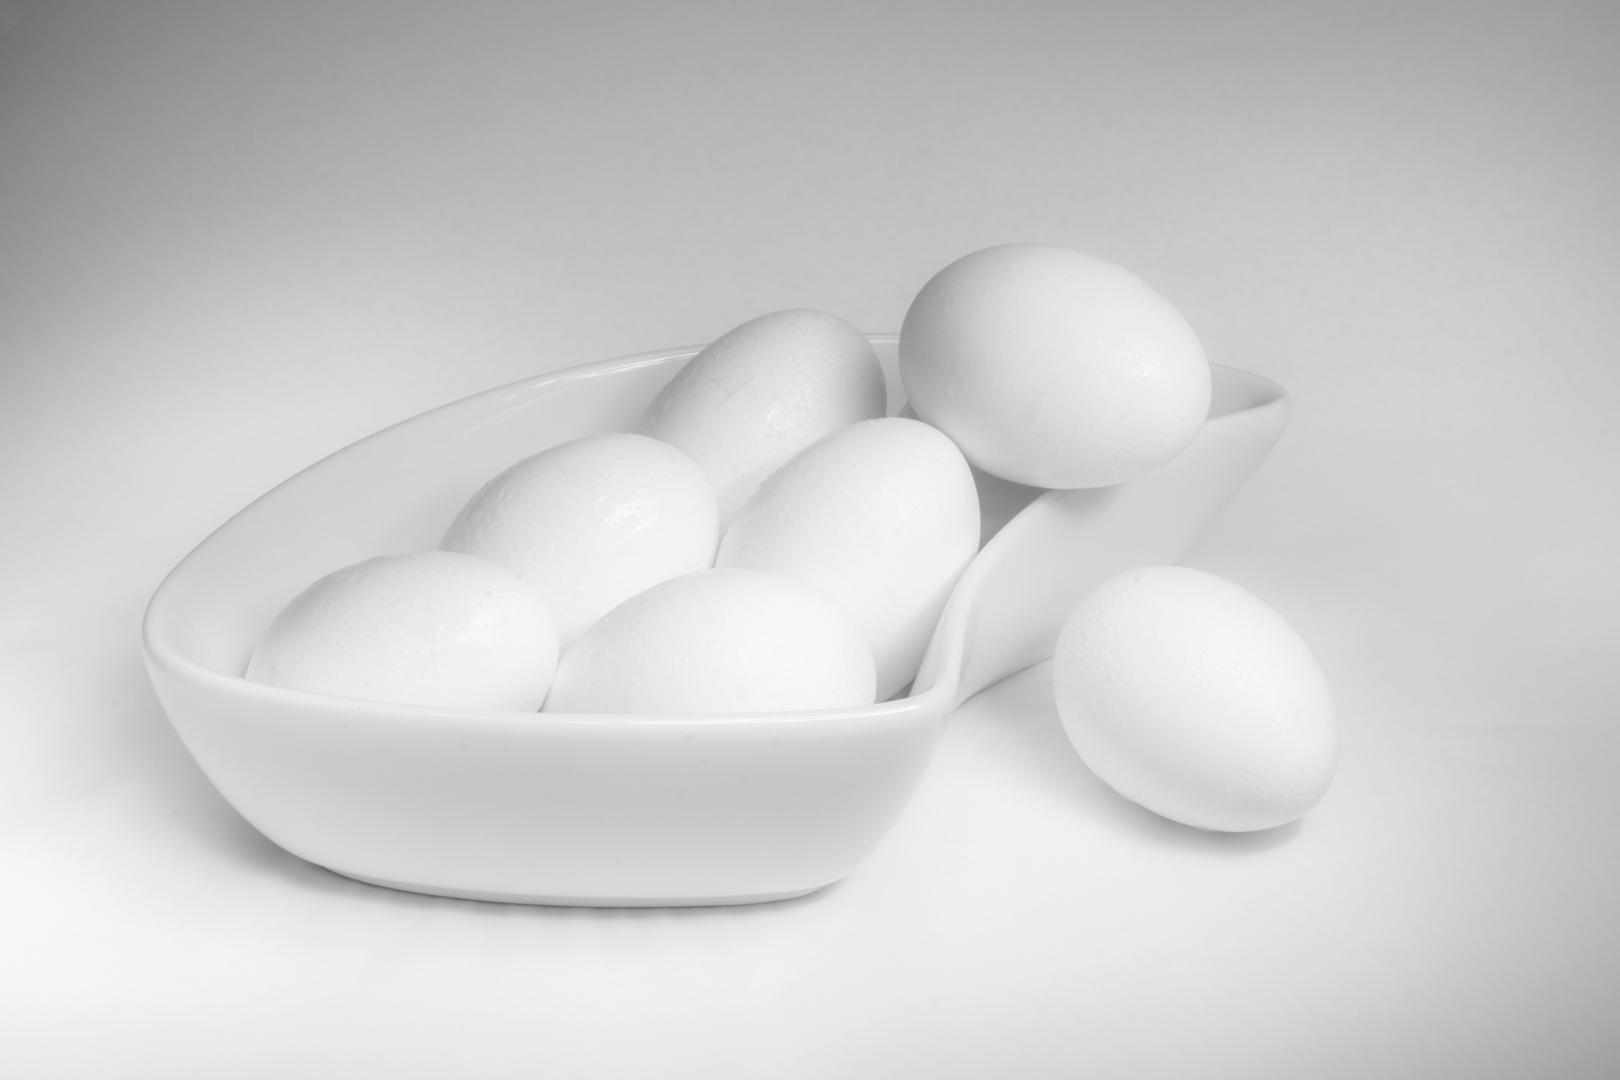
You have given us so much food for thought.
I have attached again an image I submitted two months ago of eggs light painted to create a high key image. After learning how to color correct, I reedited the image and used the curve and the blue color channel to remove the blue tonality fromthe LED flashlight. Then to further remove any suggestion of blue, I converted it to monochrome using the PS BW adjustment layer.
The key to this image is the subtelty in the soft tones and not the high contrast.
|
Nov 19th |
 |
| 83 |
Nov 20 |
Reply |
Joe
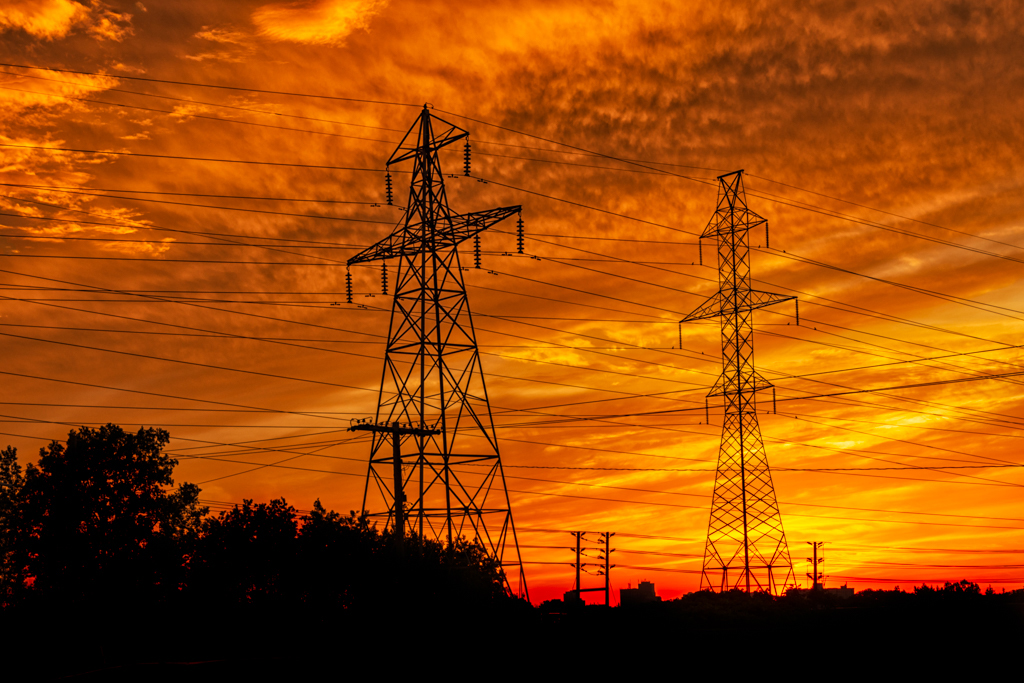
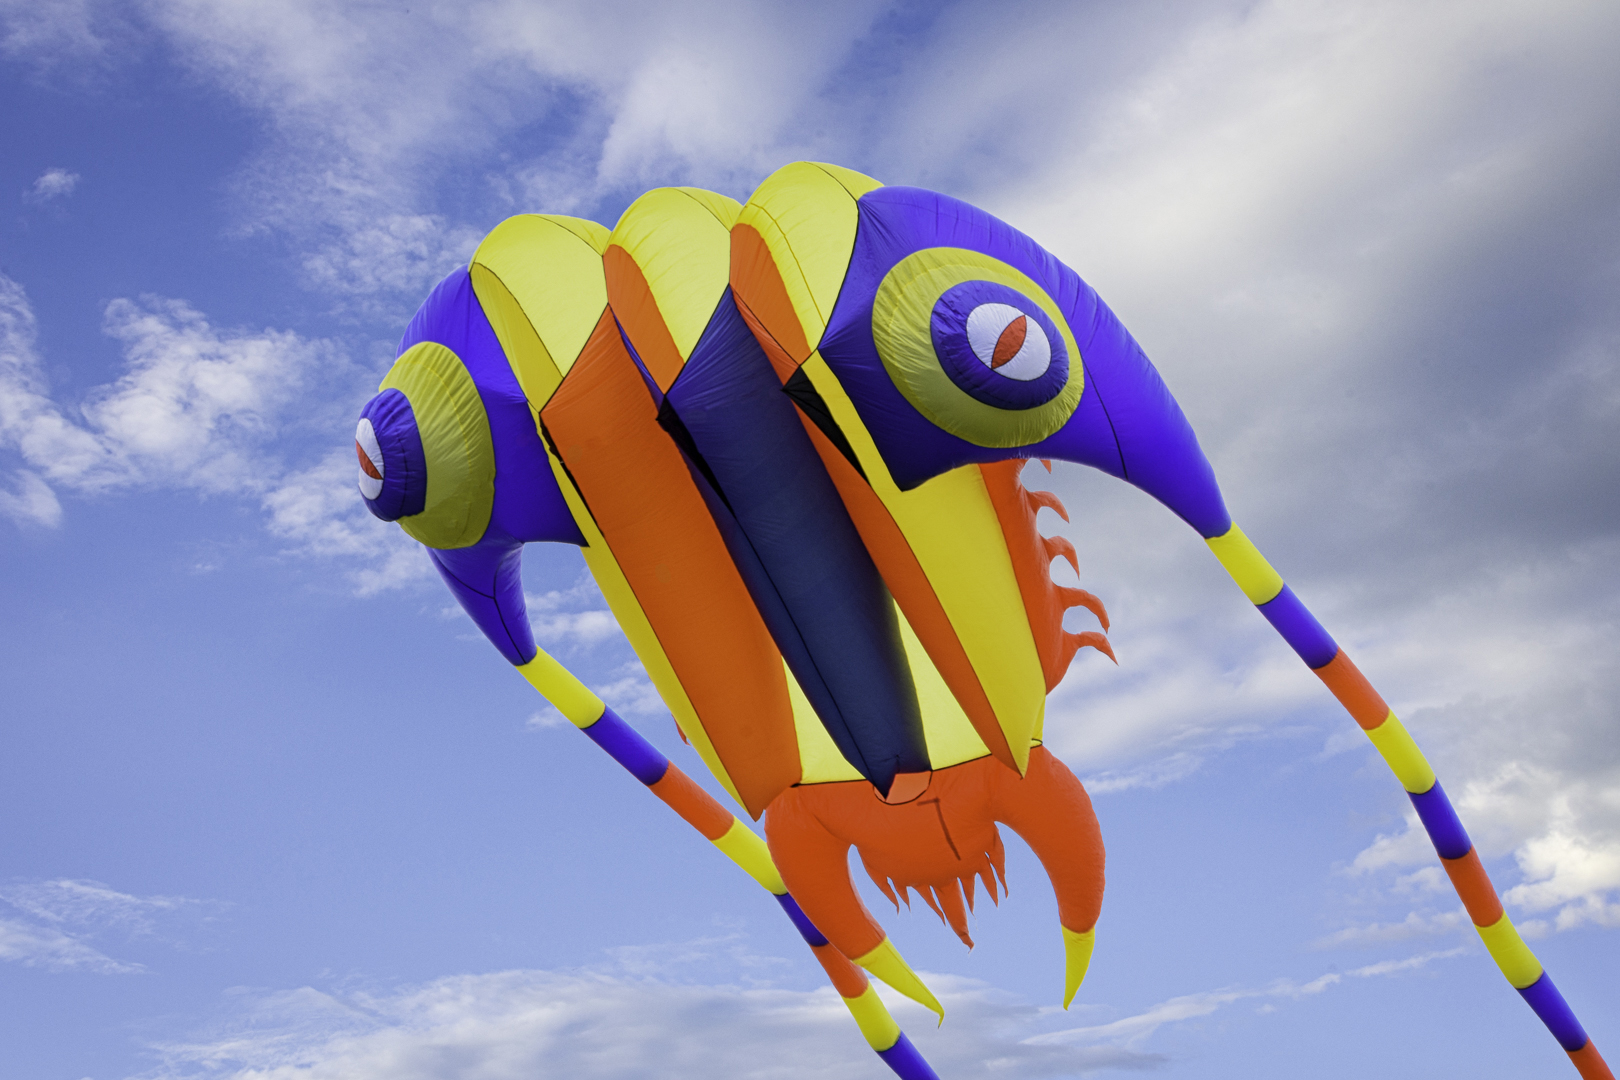
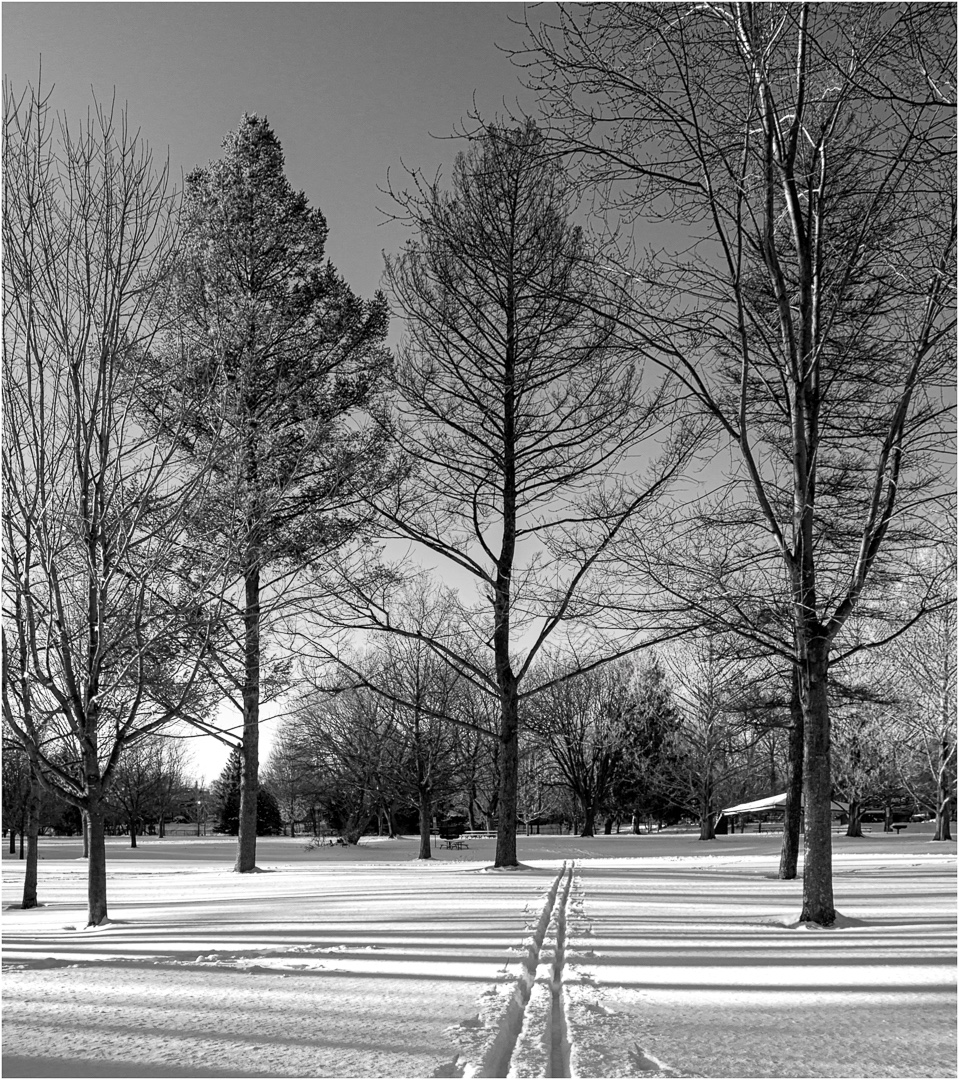
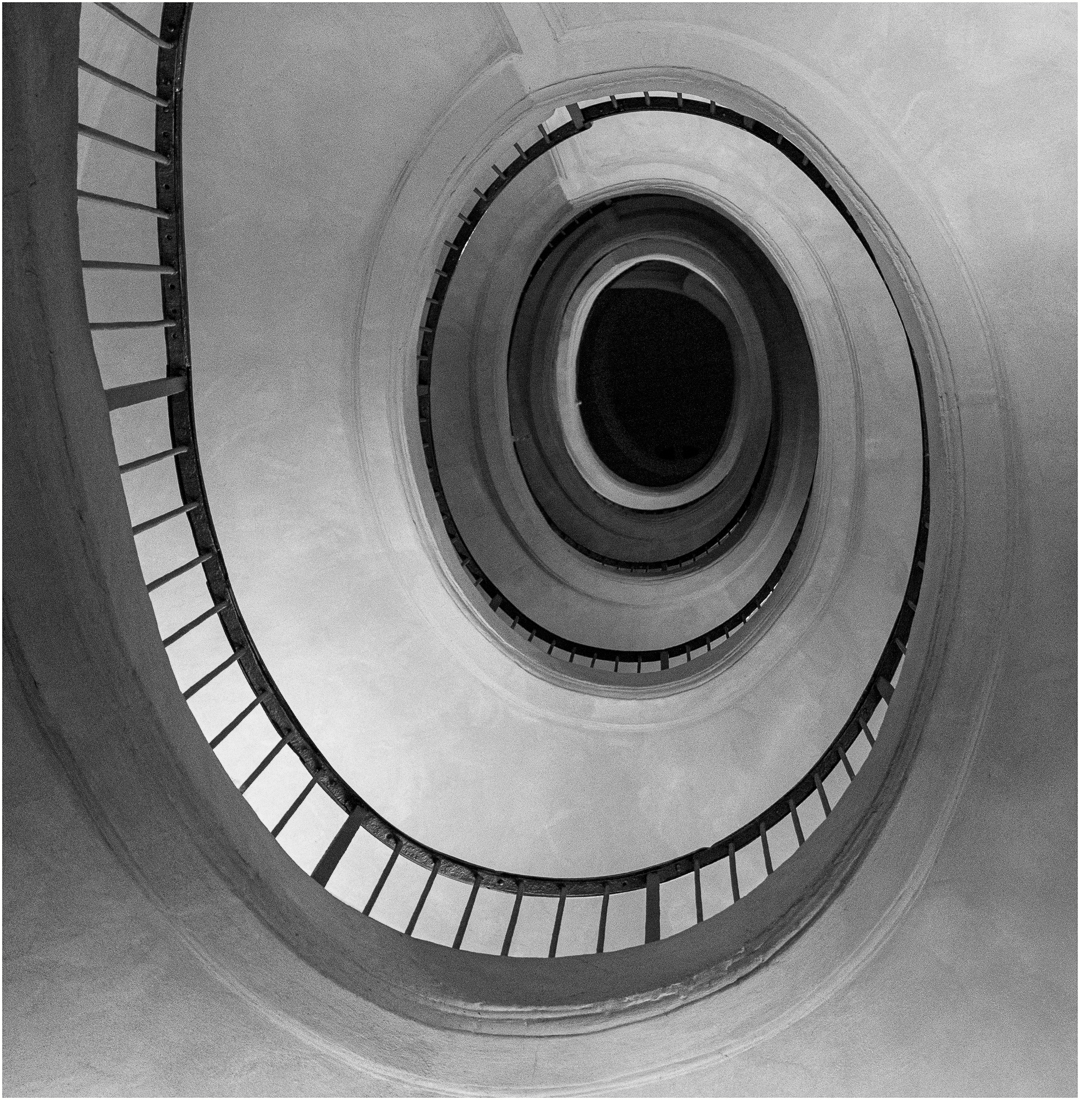
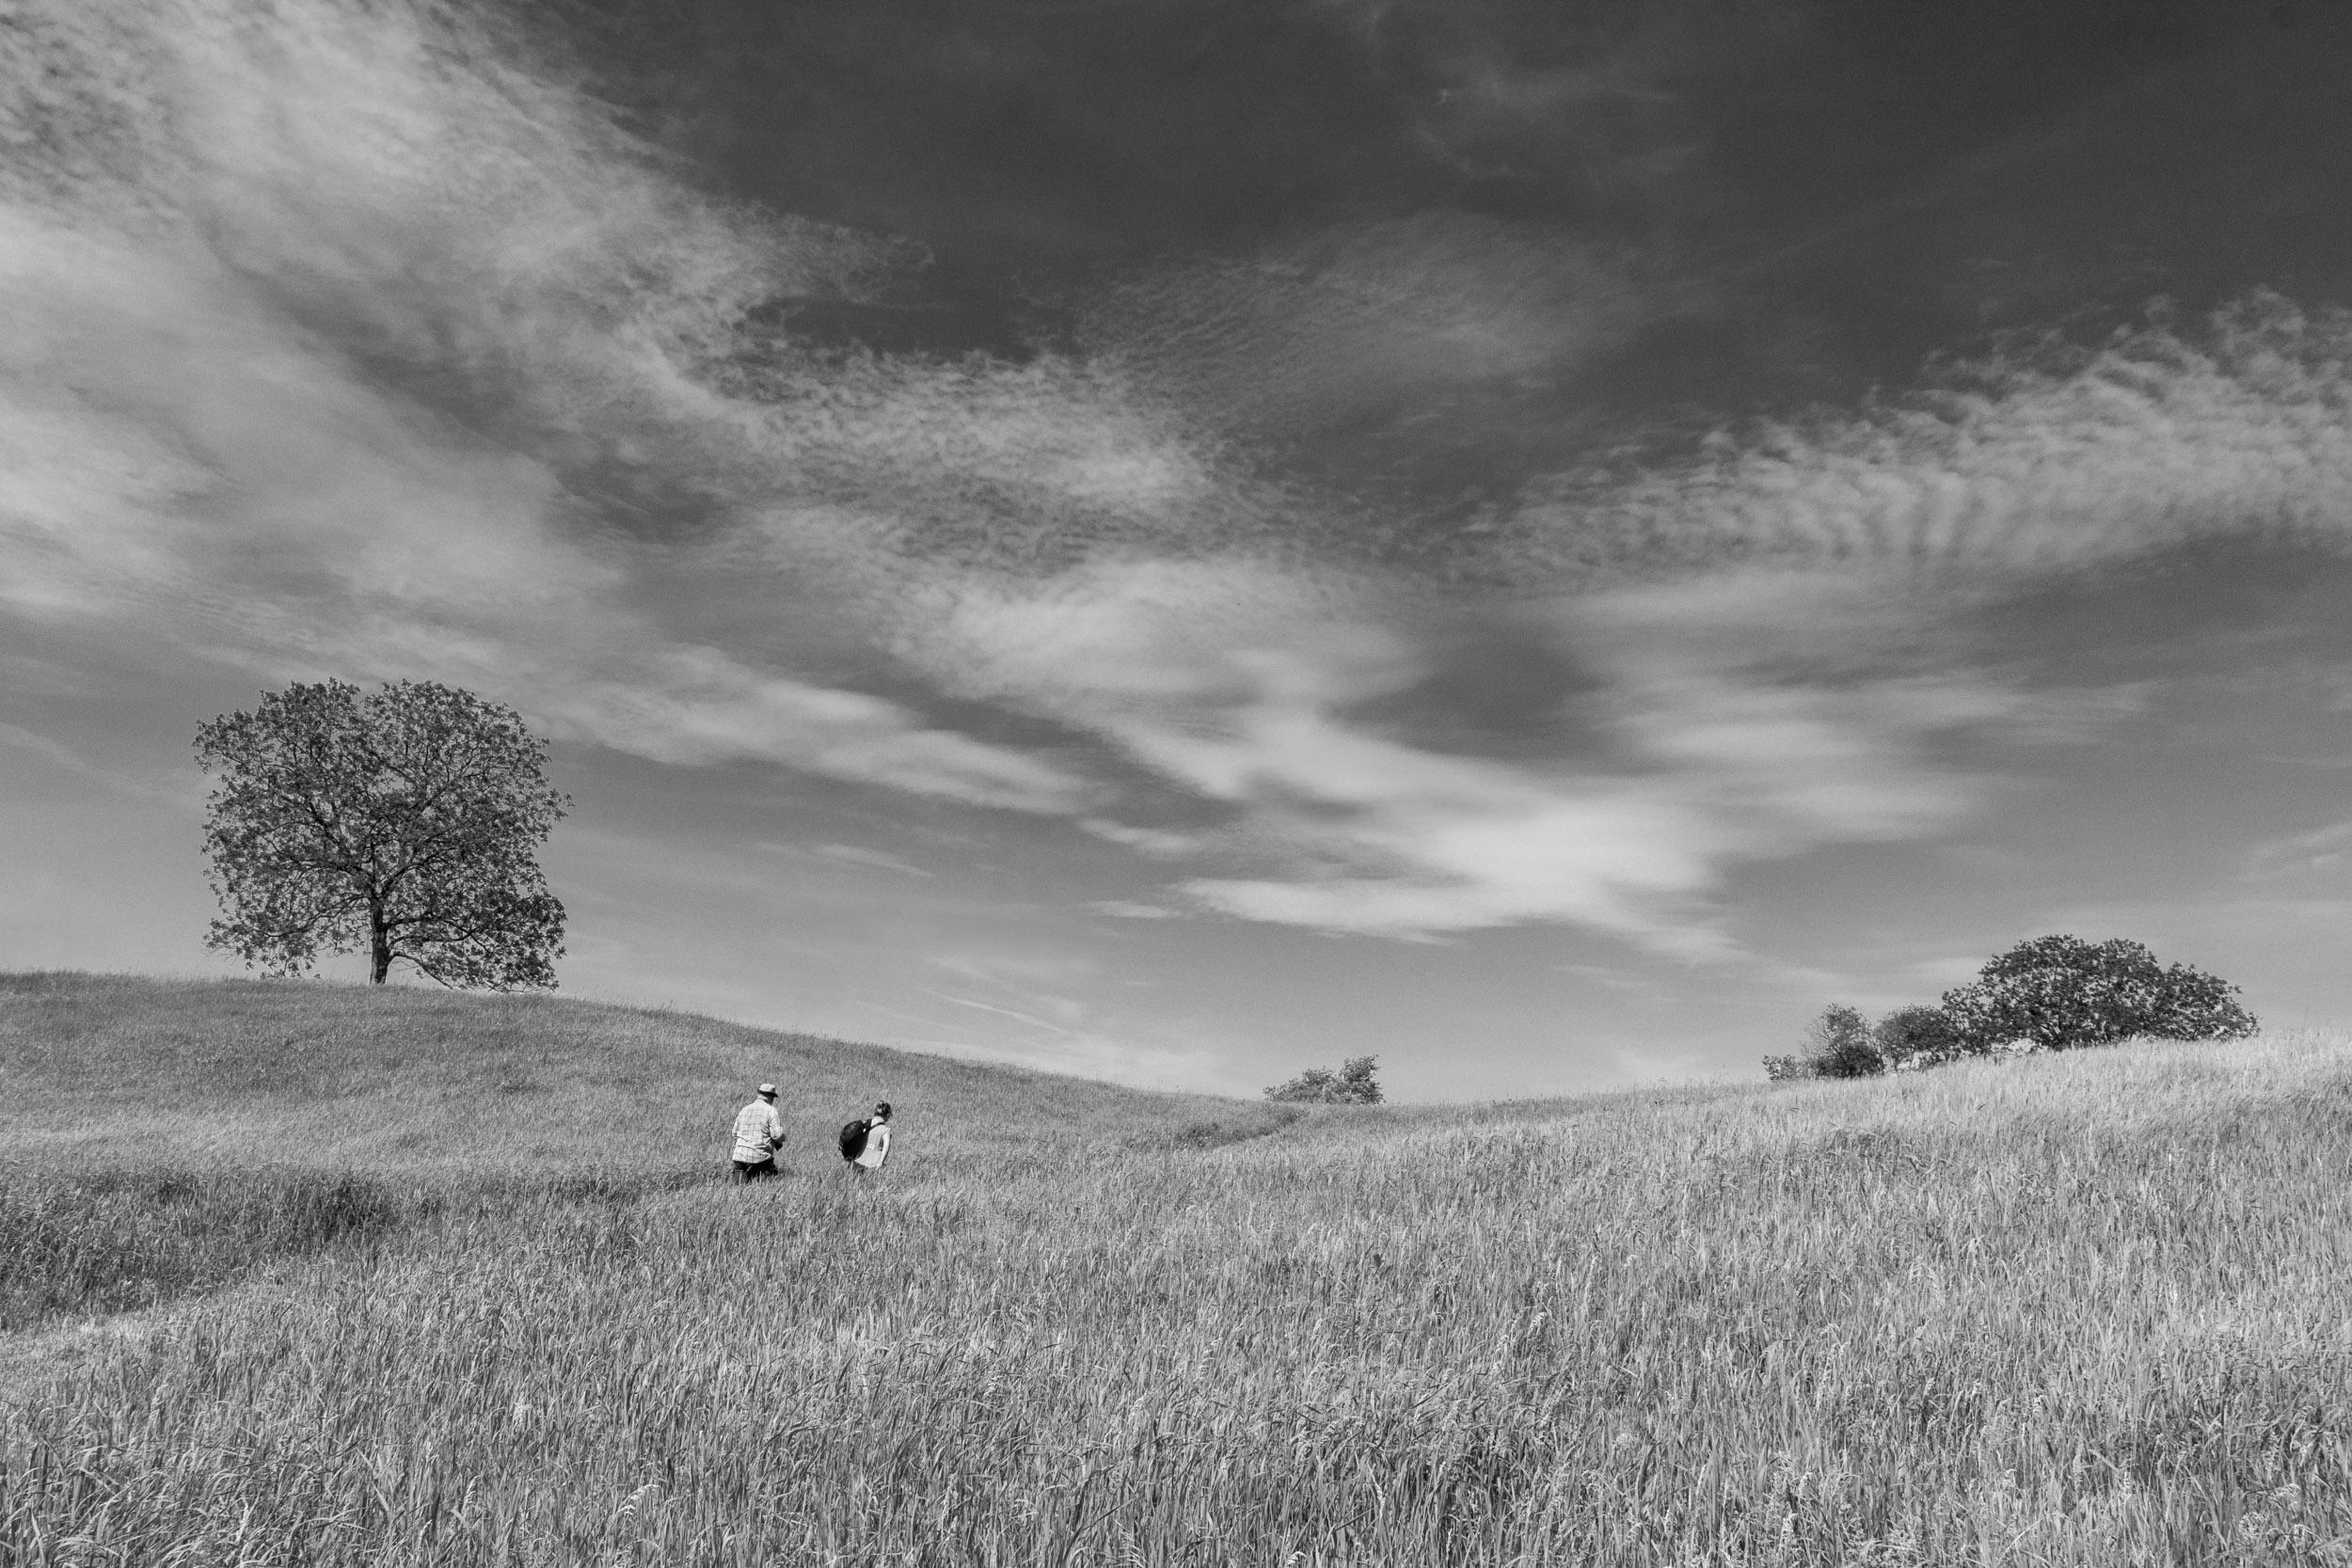
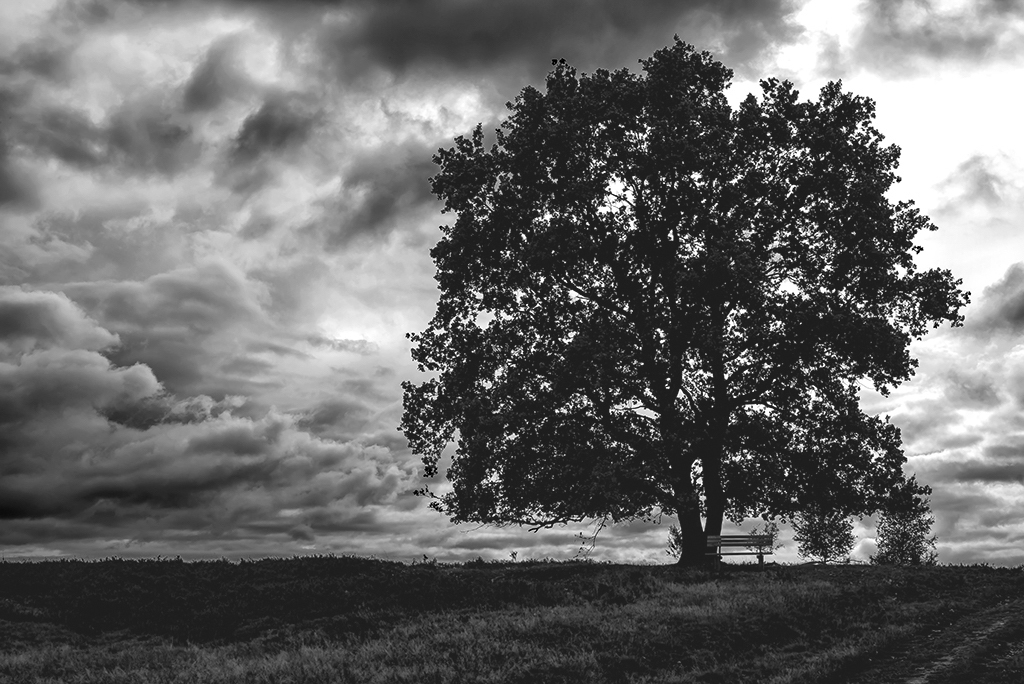
Monochrome certainly brings out the shape and lines in this image. Wires, which could be a distraction in color are a strong compositionall force. They and the clounds move my eye toward the subject.
On first looking at the image, I felt dizzy and wanted to straighten it. However, straighteneing did not work and it removed the effect of the leading lines. Finally I concluded, feeling dizzy looking at the composition indeed was what I was meant to feel and indeed all lines pointed to the ride (Rome).
|
Nov 19th |
| 83 |
Nov 20 |
Comment |
Dianne
This image is well seen.
I investigated Lance's comment on the vignette and whether brightening the midpoints would bring more detaill into this image
In PS, I applied a curve and adjusted the midpoint. The dark vignetting is still a distraction. This edit brings more detail into the image and brightens the sky consistent with a bright day.
|
Nov 19th |
 |
| 83 |
Nov 20 |
Comment |
Joe
Thank you for doing this and doing the print screen of the sliders. I shall reedit the image again using your, Deb and Lance's suggestions.
I prefer a detailed approach. I am in the group to learn as much as I can and to facilitate my learning curve. My husband not I am Italian and grew up in Faenze, Italy immigrating to Canada at 26. My mother was Columbian. So I understand the joys of lively passionate debates.
I have been learning how to set the black and white points in PS using the curve, color correct and then adjust overall contrast with the curve. From this, I have learned that my basic knowledge of how far to move the sliders in LR was off. Unfortunately, most videos and Lynda.com course deal with just what the slider does and do not take the student to the next level of creative choice.
Also, I have discovered this week that understanding how to move the sliders in LR, can eliminate so much unneccessary editing in PS. Then setting the white and black points, color correcting, and using the curve for contrast, further eliminates so much dodging and burning. This was particulary true for color correcting for skin tones.
When you say contrast is king, what I am not clear about is how much black is acceptable in an image. In color, one may wish to have some detail in the shadows. However, does this apply to monochrome. In both Deb's and Dirk's image this month, I commented about the complete black. Lance has kindly written a post about shadow on our bulletin board.
With the door in this image, I put a color sampler point on the door, and then adjusted to move the black point to 12-12-12. I also dodged the door with luminosity masking to bring in more detail.
Have you heard of Jim Welinski who uses the PS gradient map for his monochrome conversions? /f64academy.com/advanced-black-white-artistry/
I am interested in what your thoughts are. I have watched some of his videos and he approaches monochrome as an artist. I also looked at the work of Julia Anna Gospodarou
https://juliaannagospodarou.com concerning monochrome architecture. She relies heavily on selections and shadow drawing. I then followed up with Greg Benz asking if luminosity masking was a less time consuming alternative to laborious manual selections.
I am raising these questions because your last month image and this month's relate to architecture or structures. When I had commented on your last month's image, I was coming from the approach of learning luminosity masking.
|
Nov 19th |
| 83 |
Nov 20 |
Comment |
Debasish
You and Lance have made wonderful corrections. Could you tell me what you did.
I have some other images of this hall and would like to edit them.
|
Nov 12th |
| 83 |
Nov 20 |
Comment |
Jose
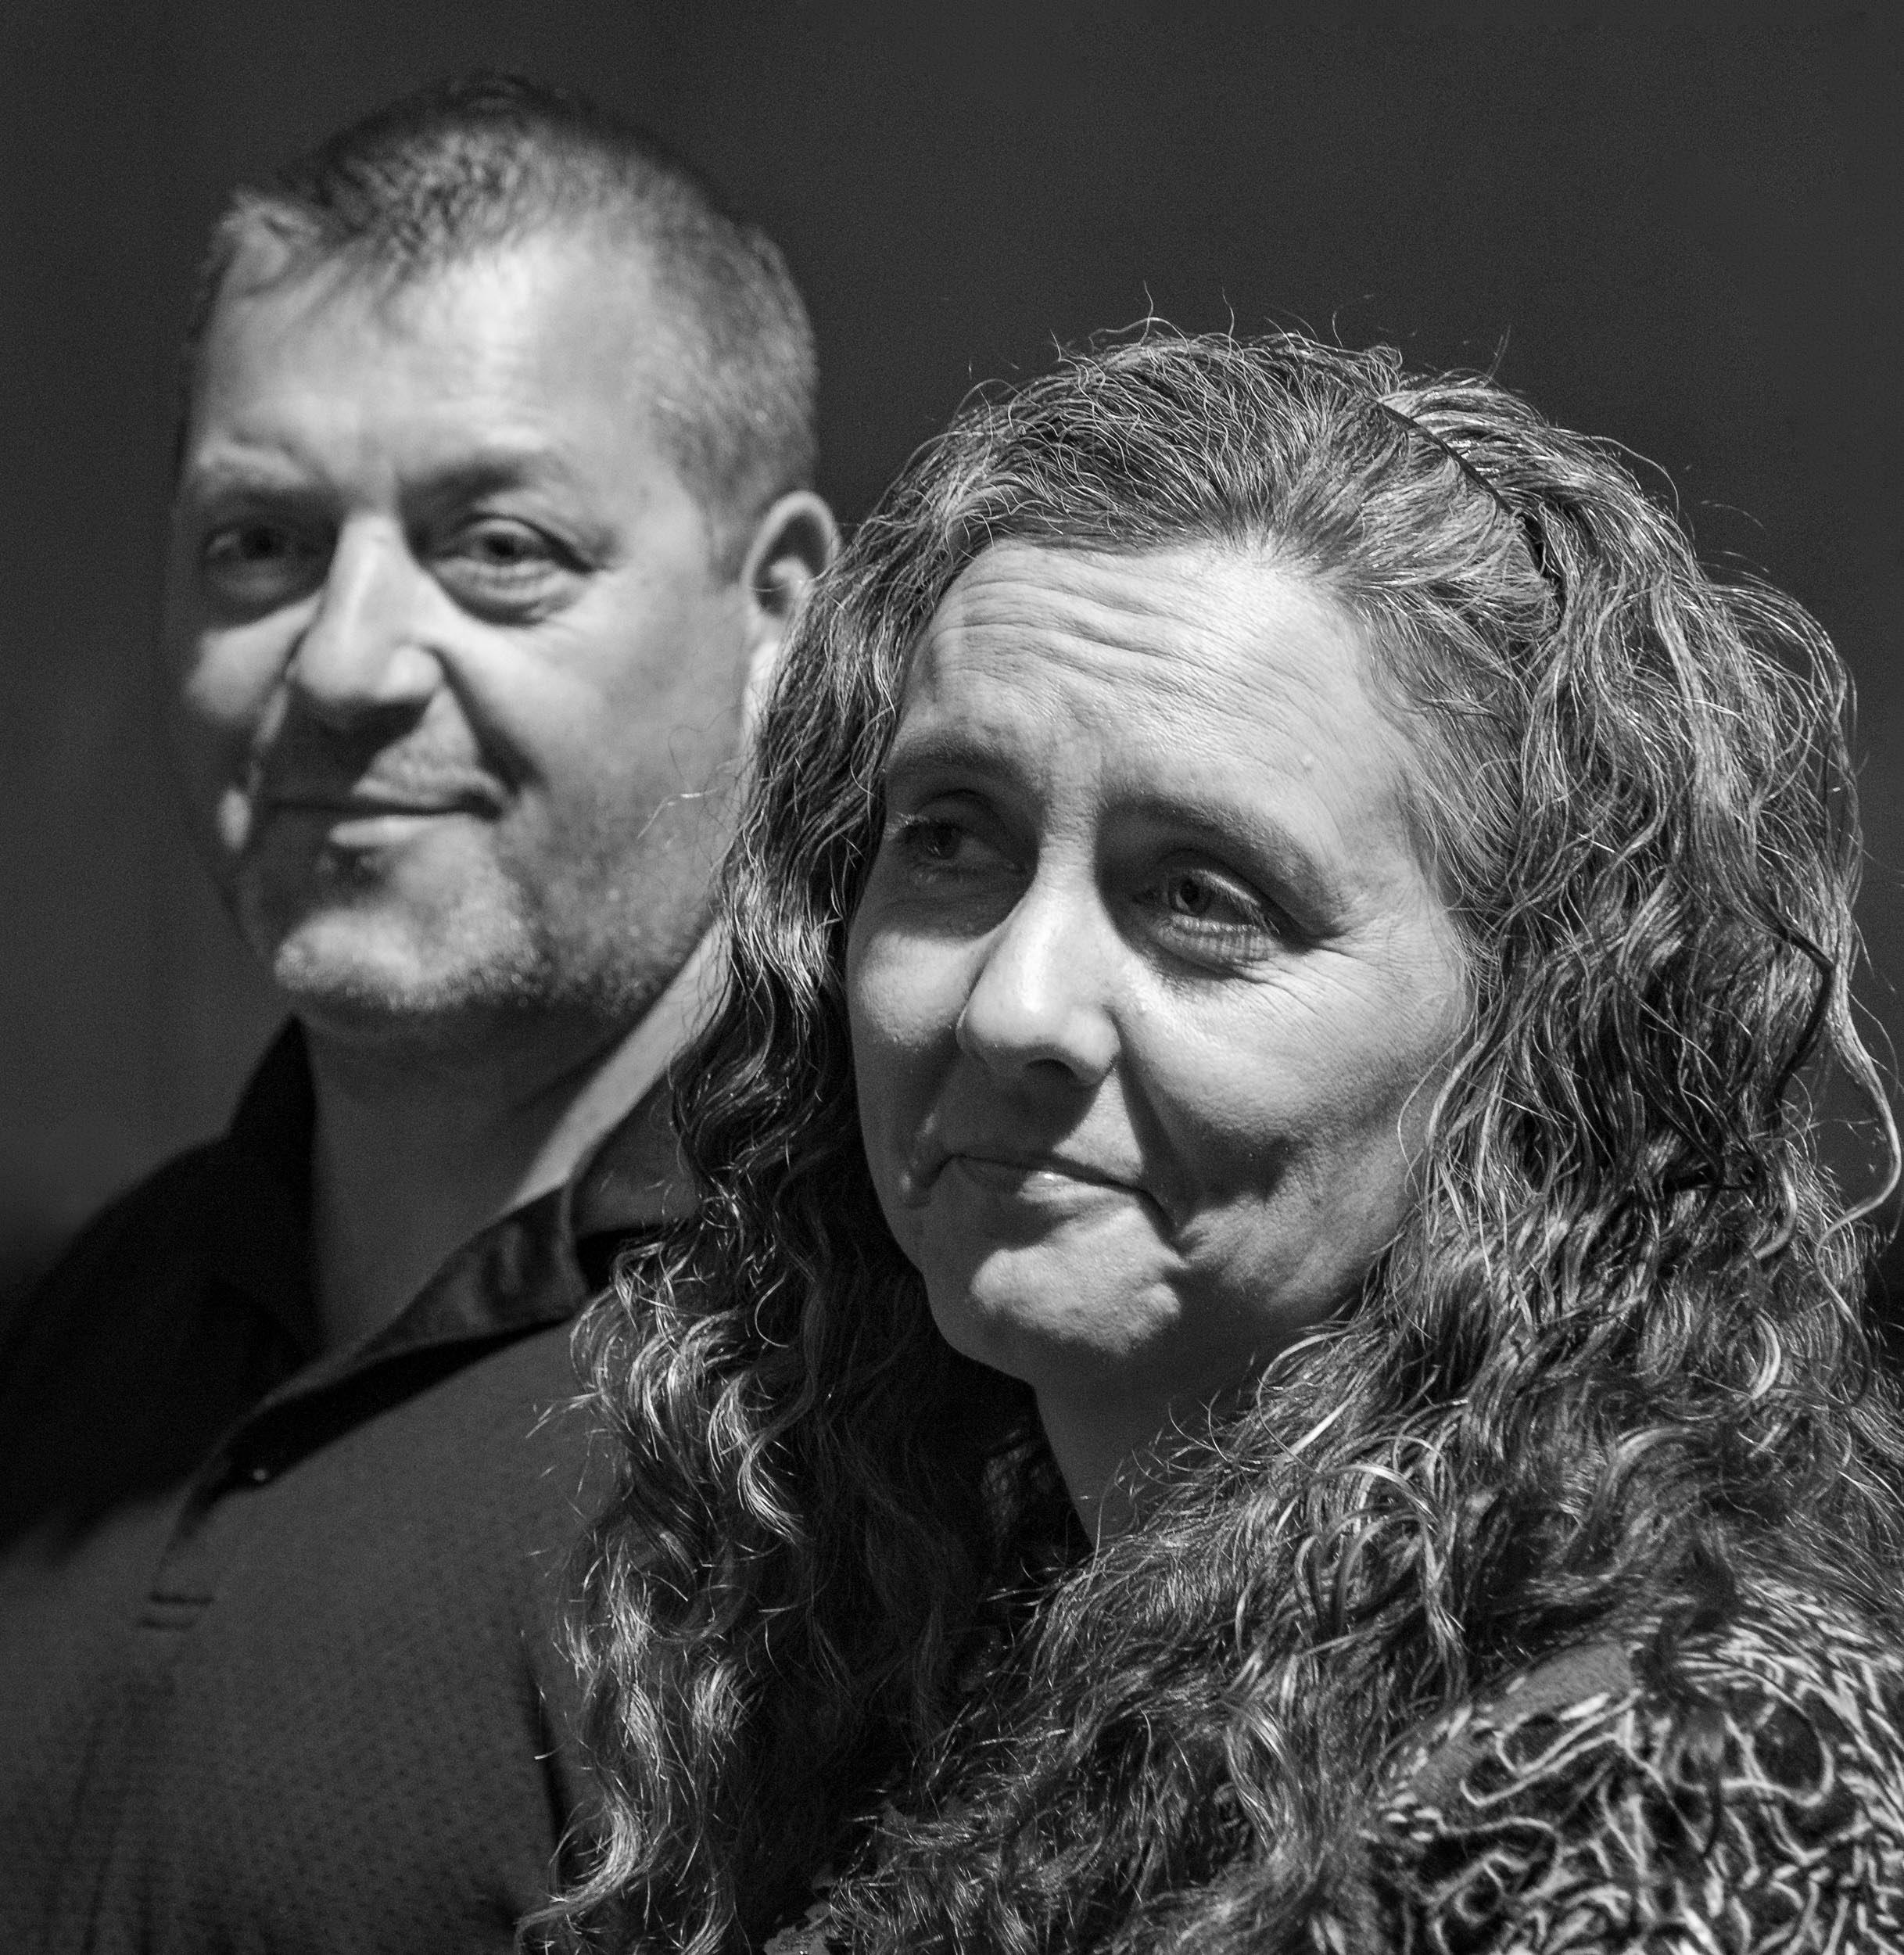
I like how you used the archway and the leading line of ight and shadow to point to your subject.
I tried croppoing some off the bottom off the image. This reduced the impact of using the shadow and highlight to lead the eye into the image.
You might want to straighten the archway if you have sufficient information on your original capture. |
Nov 7th |
| 83 |
Nov 20 |
Comment |
Lance
I replied on the bulletin board and said I hoped that others would read the thread. You have clarified a very important concept.
|
Nov 7th |
| 83 |
Nov 20 |
Comment |
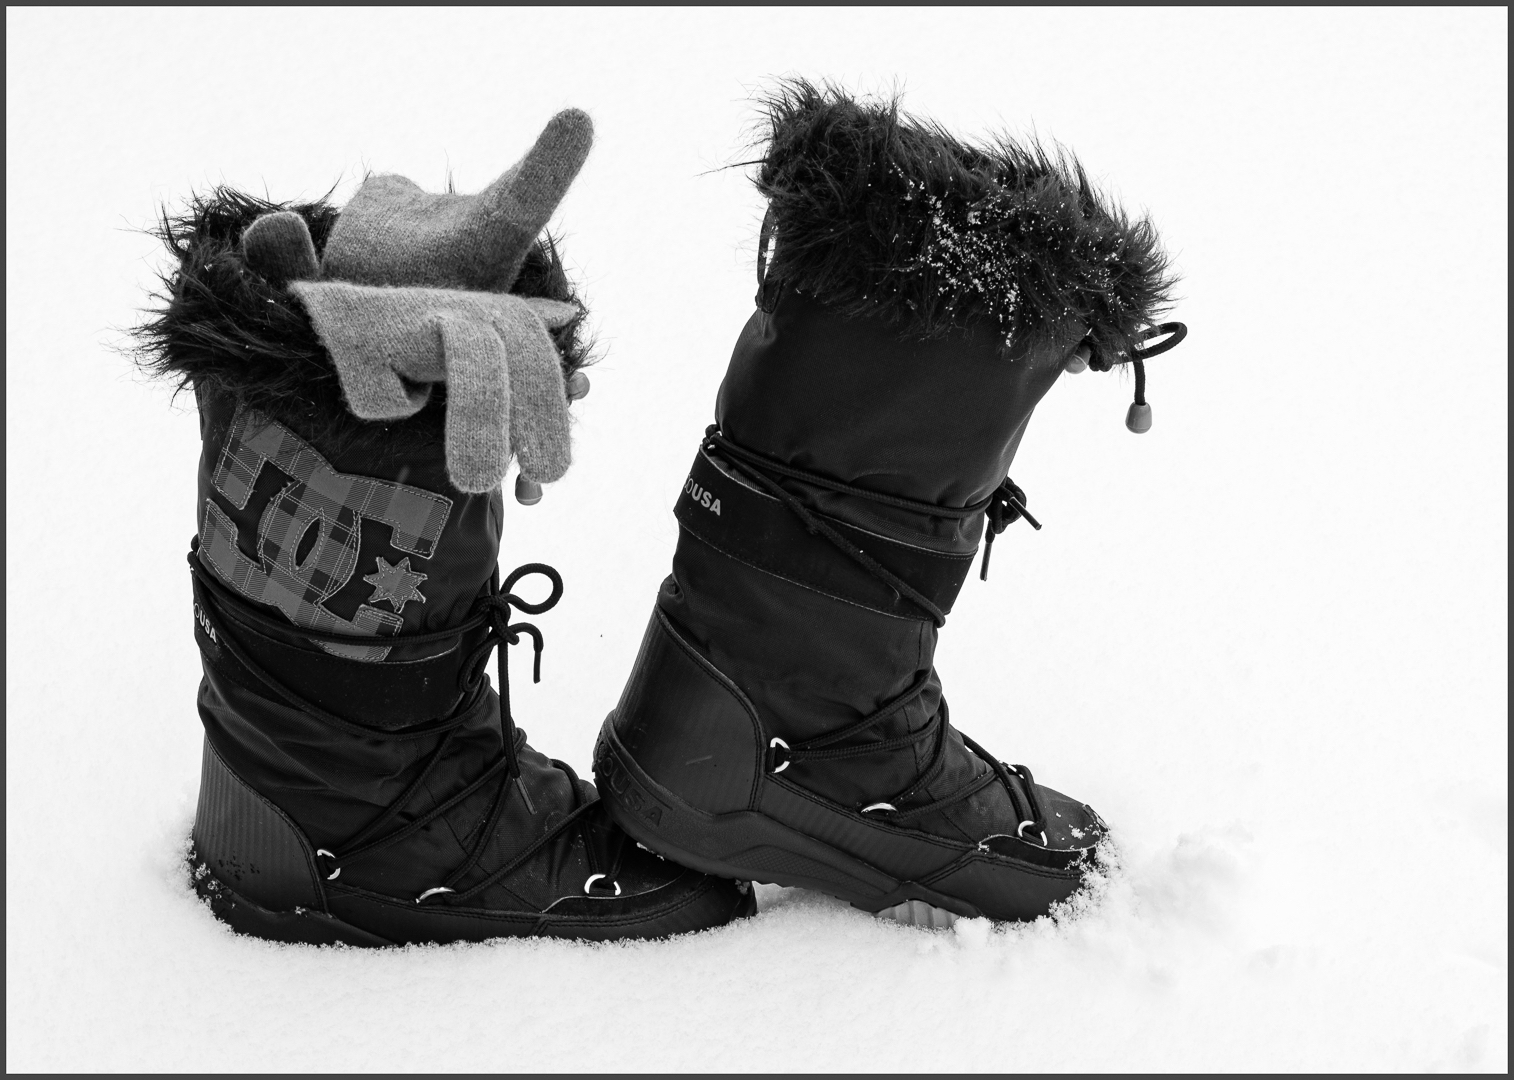
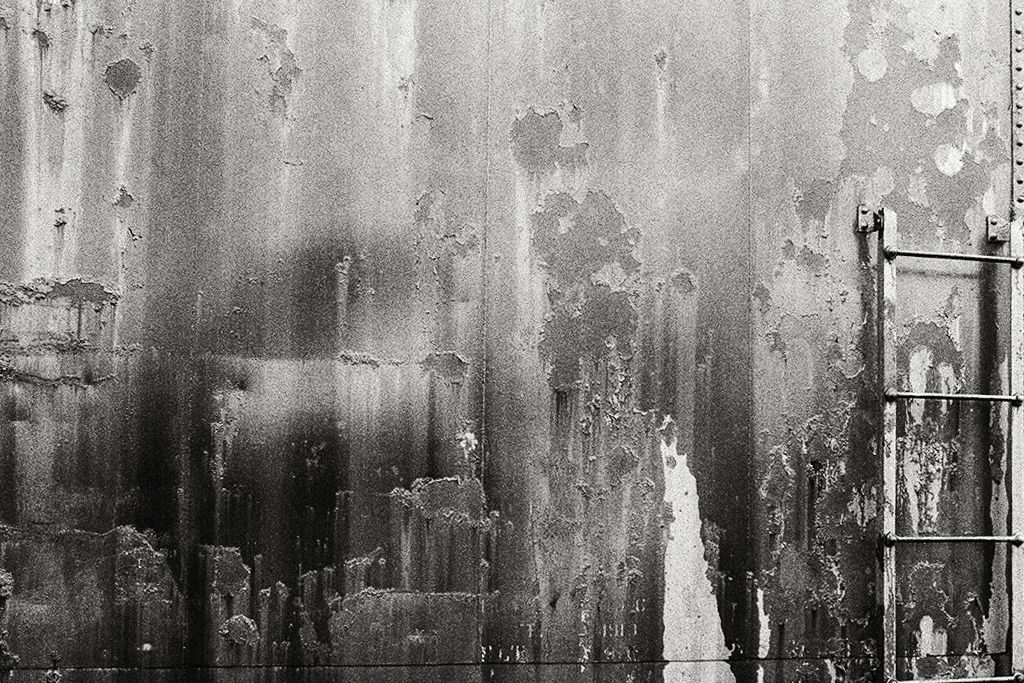
Lance
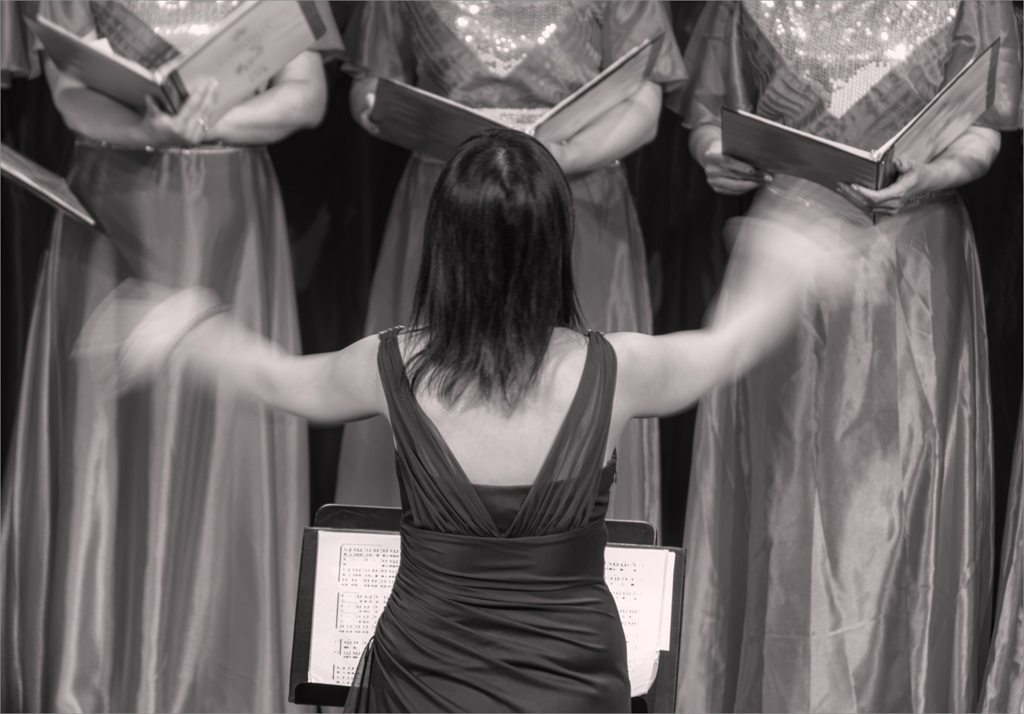
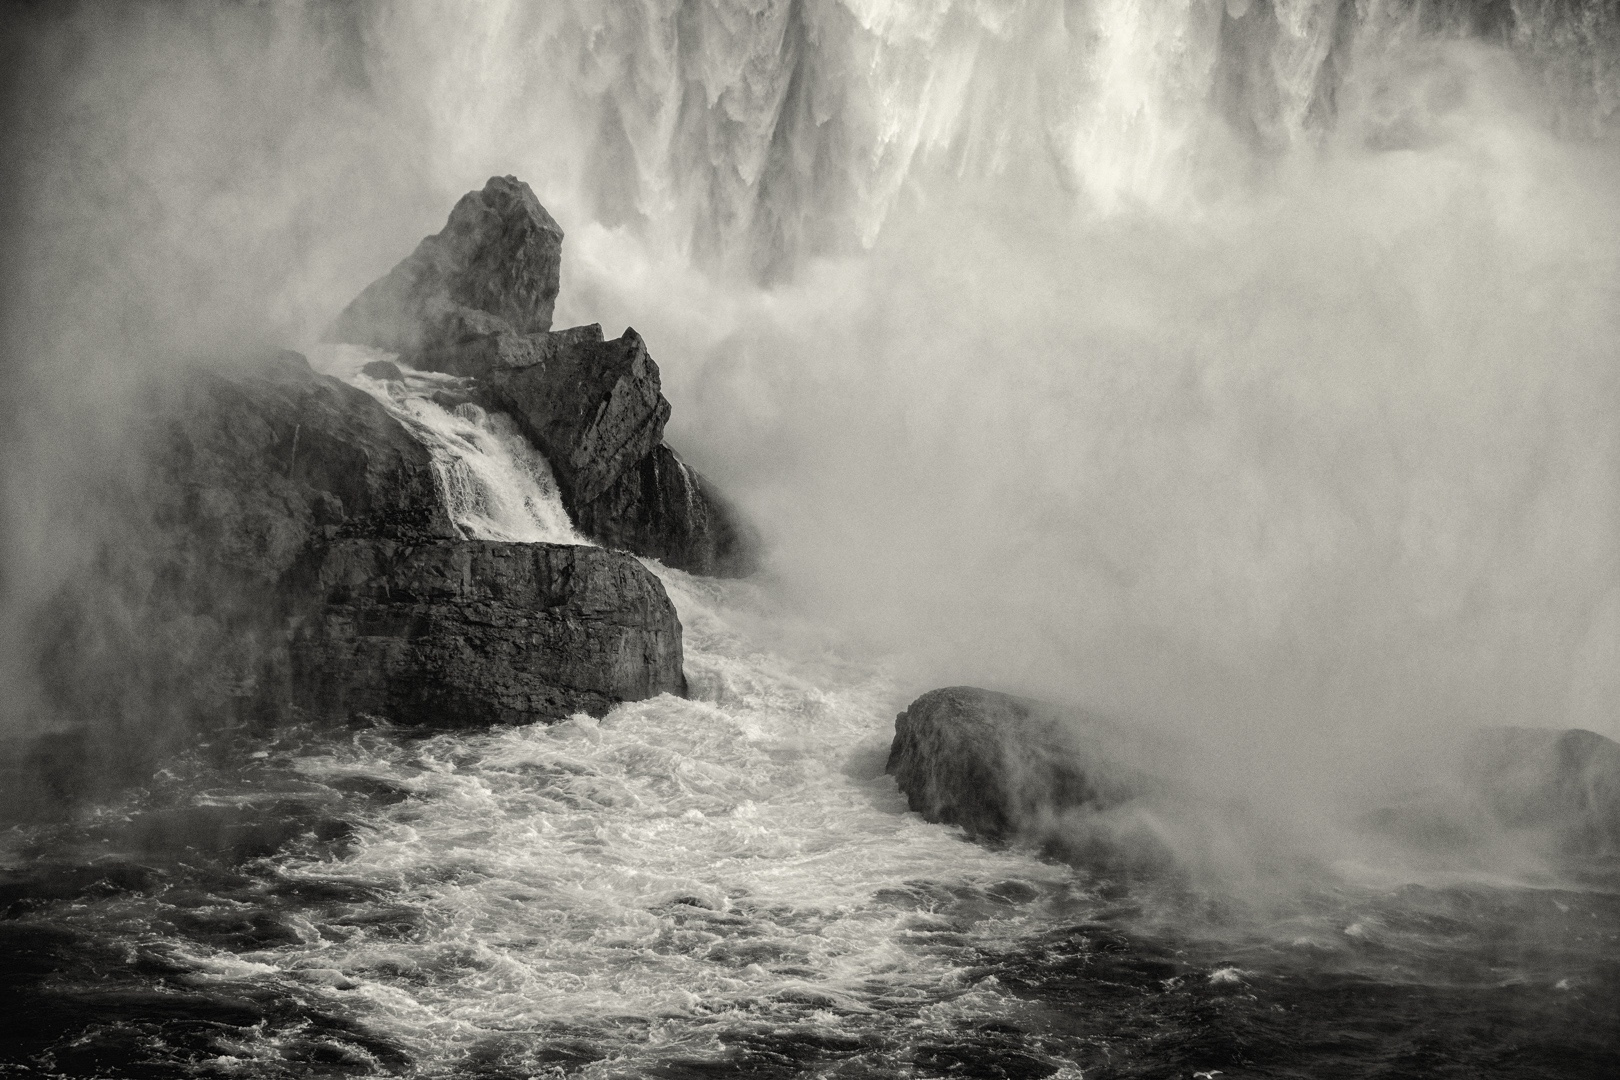
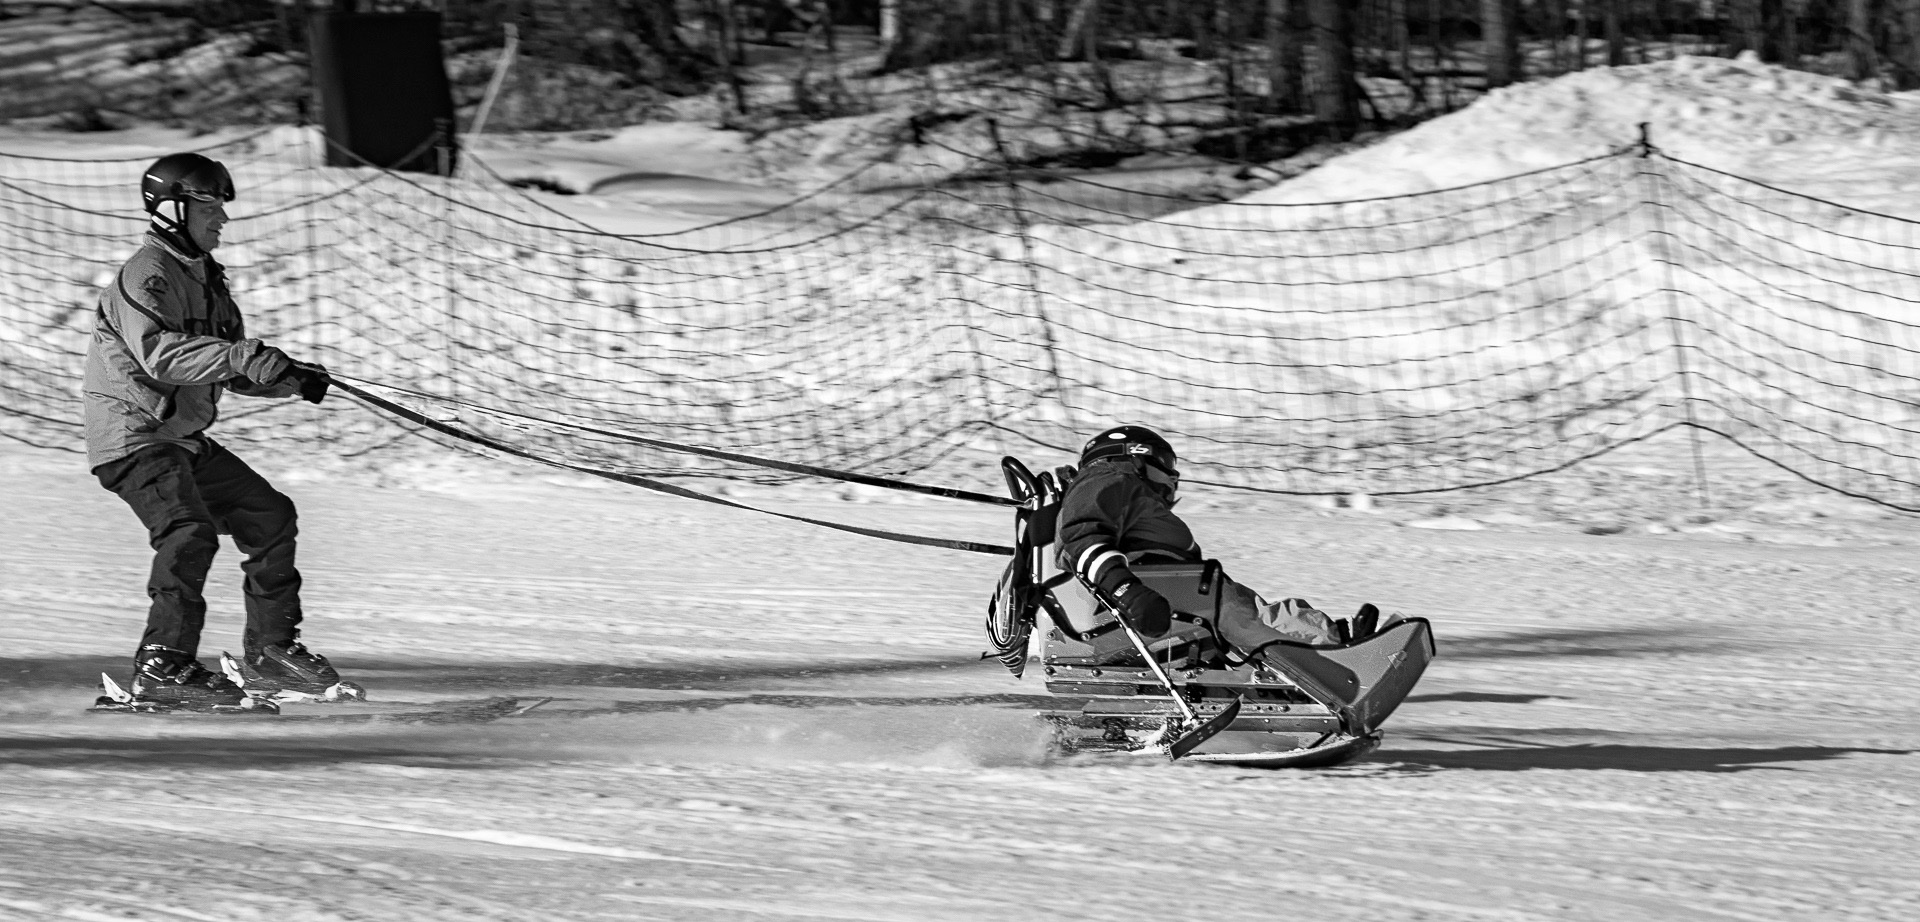
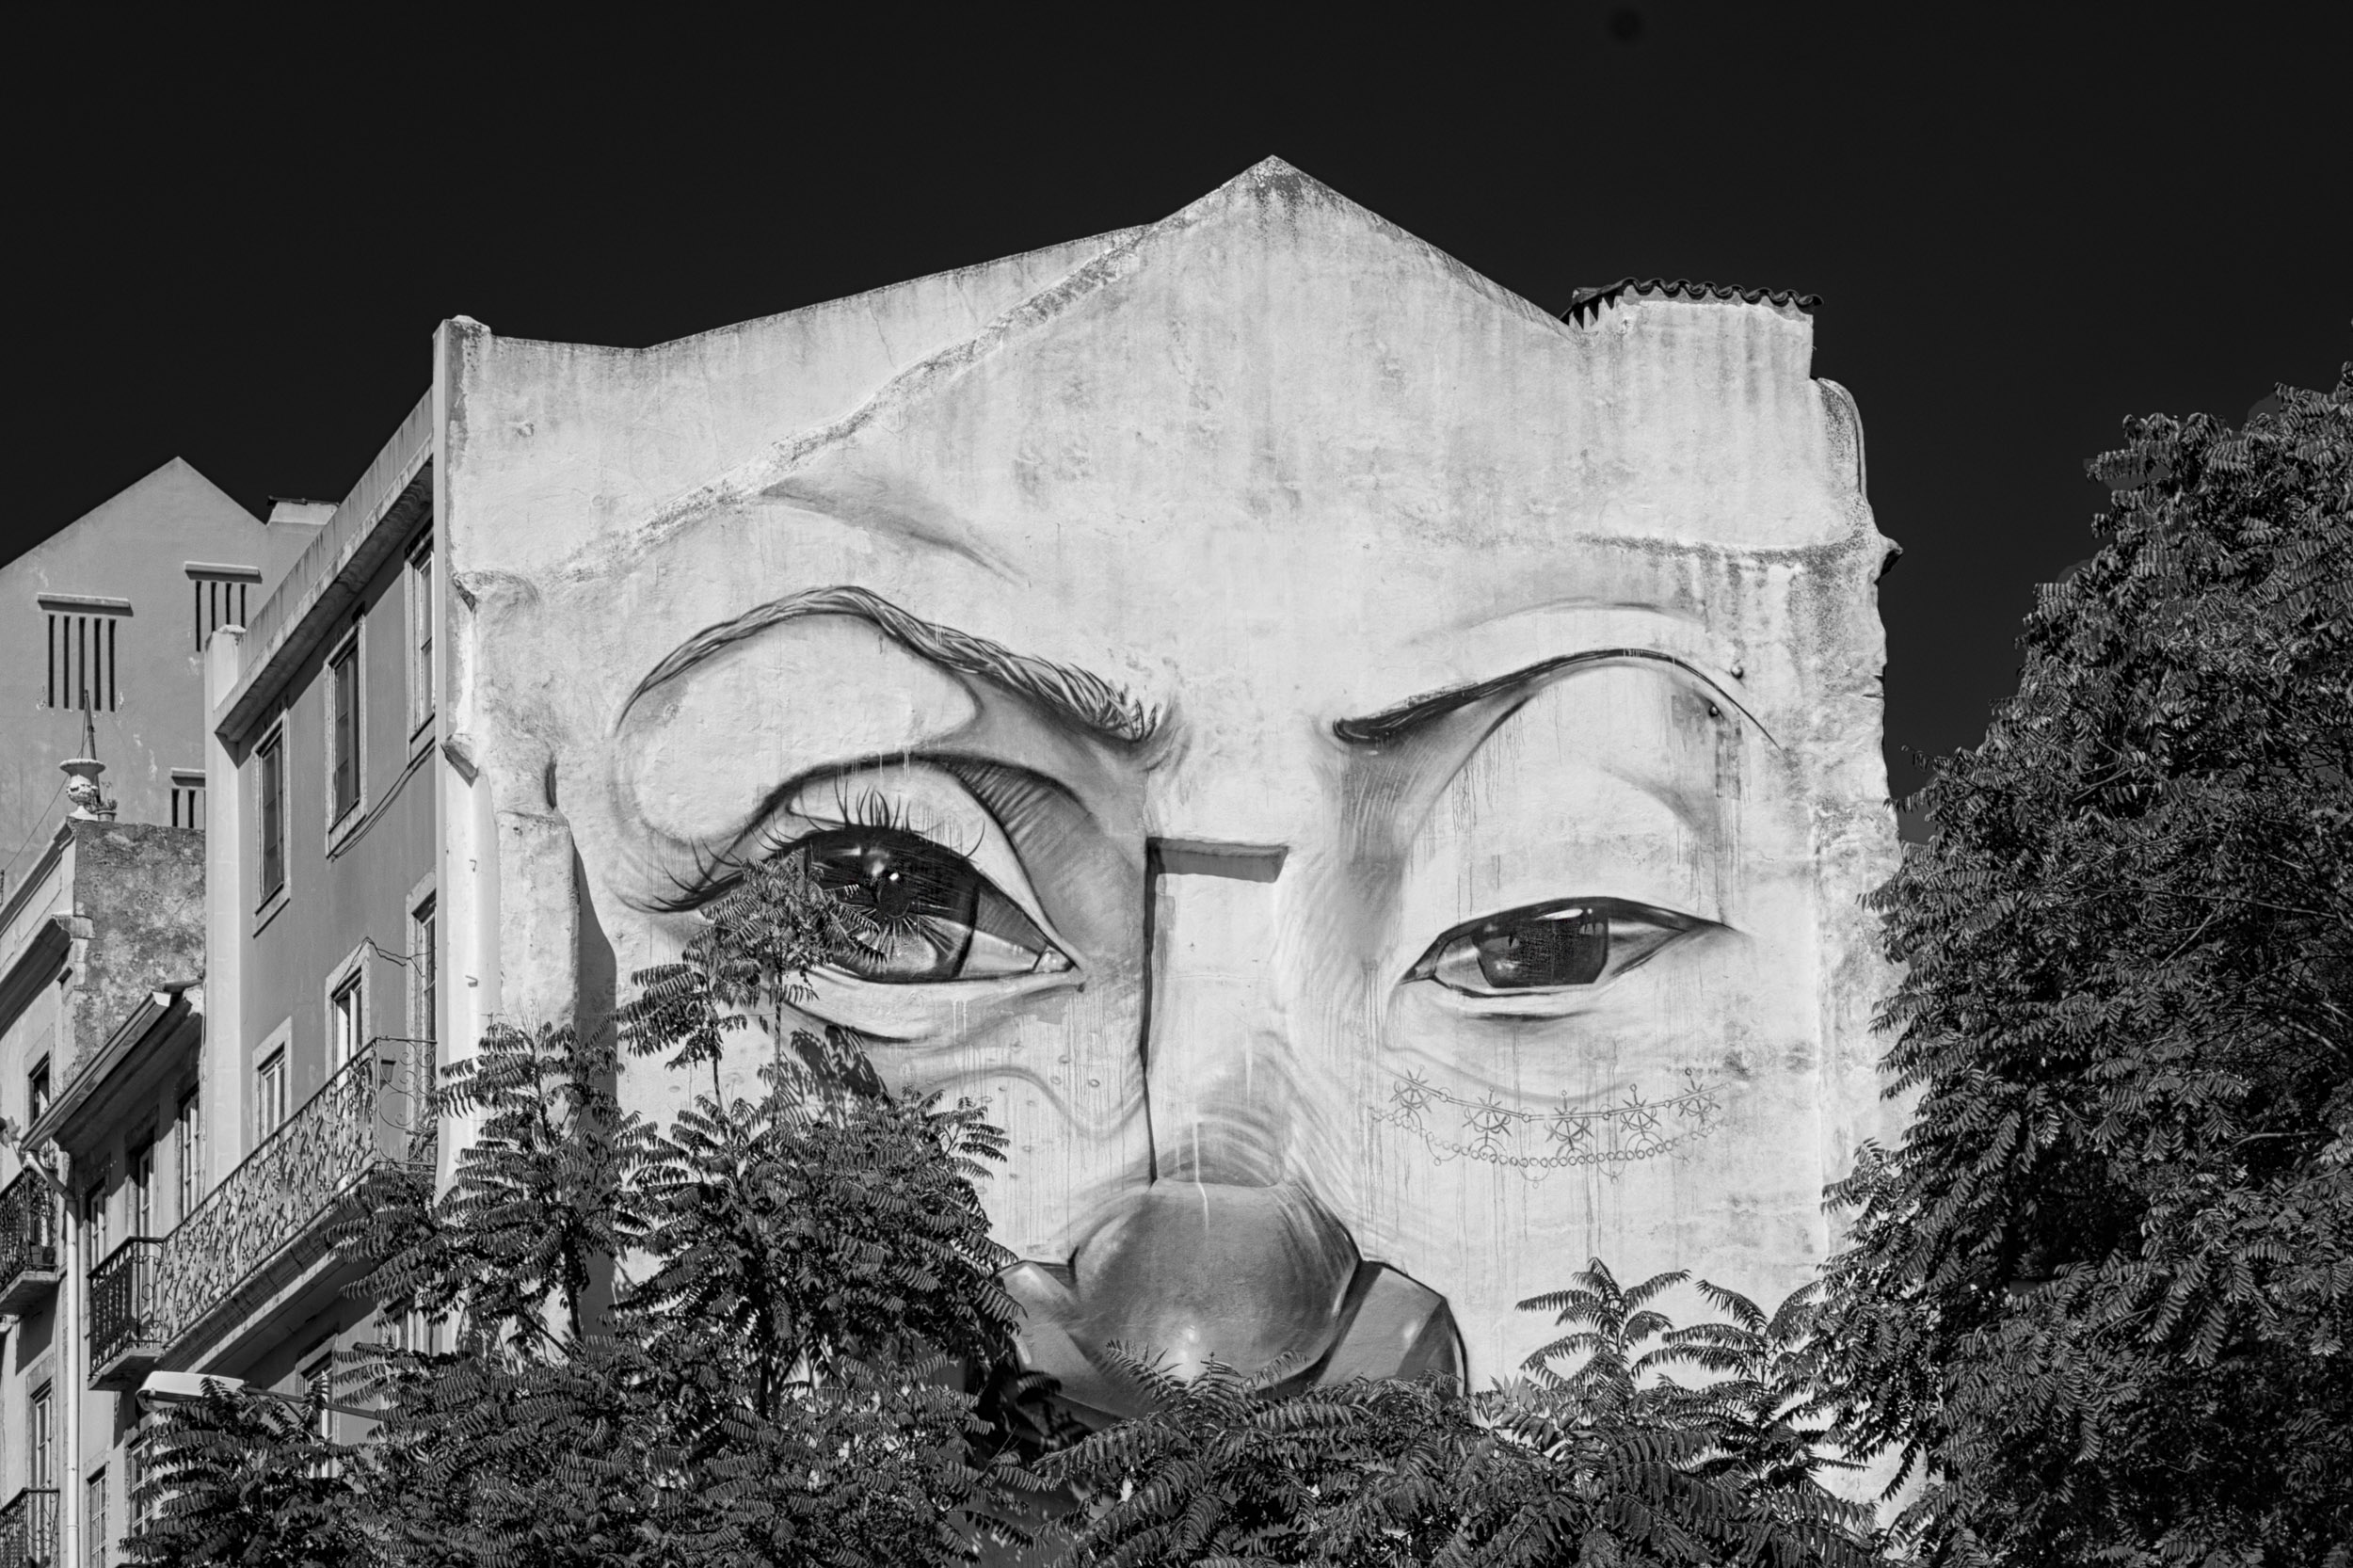
This image demonstrates that light, shape, and texture are key ingredients of a monochrome image. The white patch camera right lower 1/3 focuses our eye and brings us into the image but does not overwhelm.
I increased the contrast in the image using a curves adjustment layer with points at 66 inpupt and moved down to 61 output, and the midpoint 121 input increased to 131 output. This slight curve emphasized the direction of light in the image and made the image brighter.
Your interpretation emphasized the moodiness of the scene.
Because of where you stood, the vertical line is off while the horizontal line is straight. You may have kept it intentionally this way.
I applied the LR transform tool. However it skews the ladder slightly. If you felt it was important to have the vertical line perpendicular (0 degrees to 180 degrees) you might want to use transform>skew if there was enough space on your original file.
|
Nov 5th |
 |
| 83 |
Nov 20 |
Comment |
Dirk
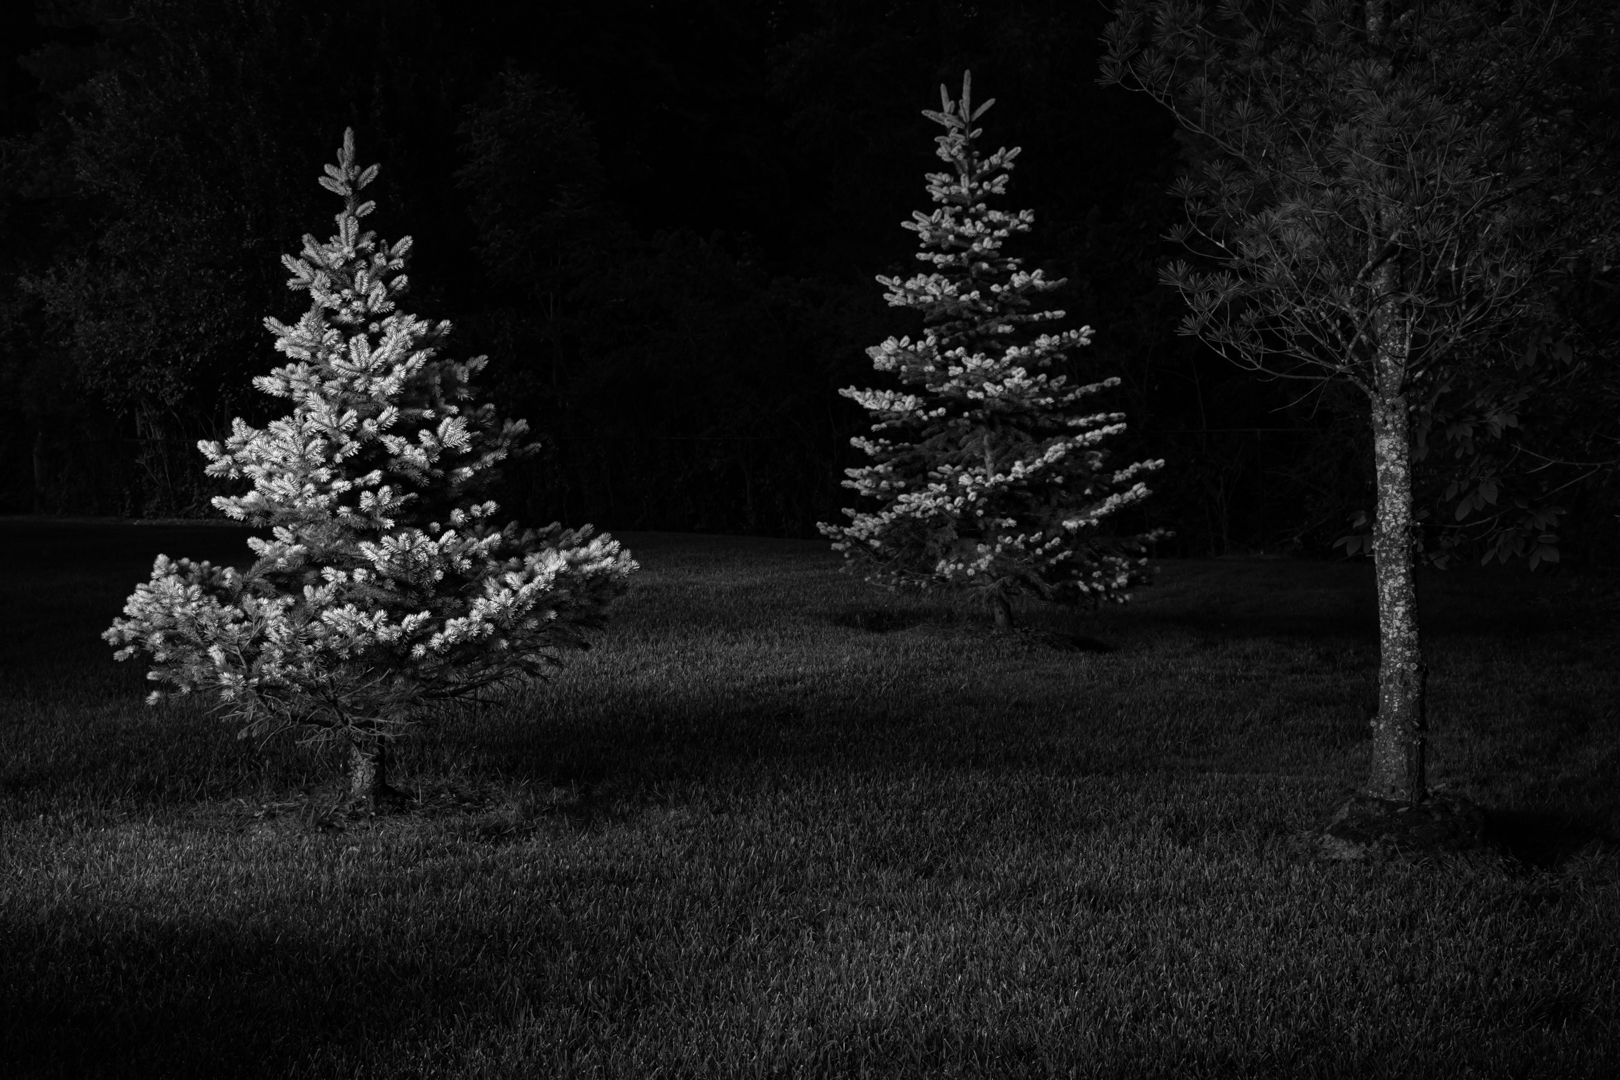
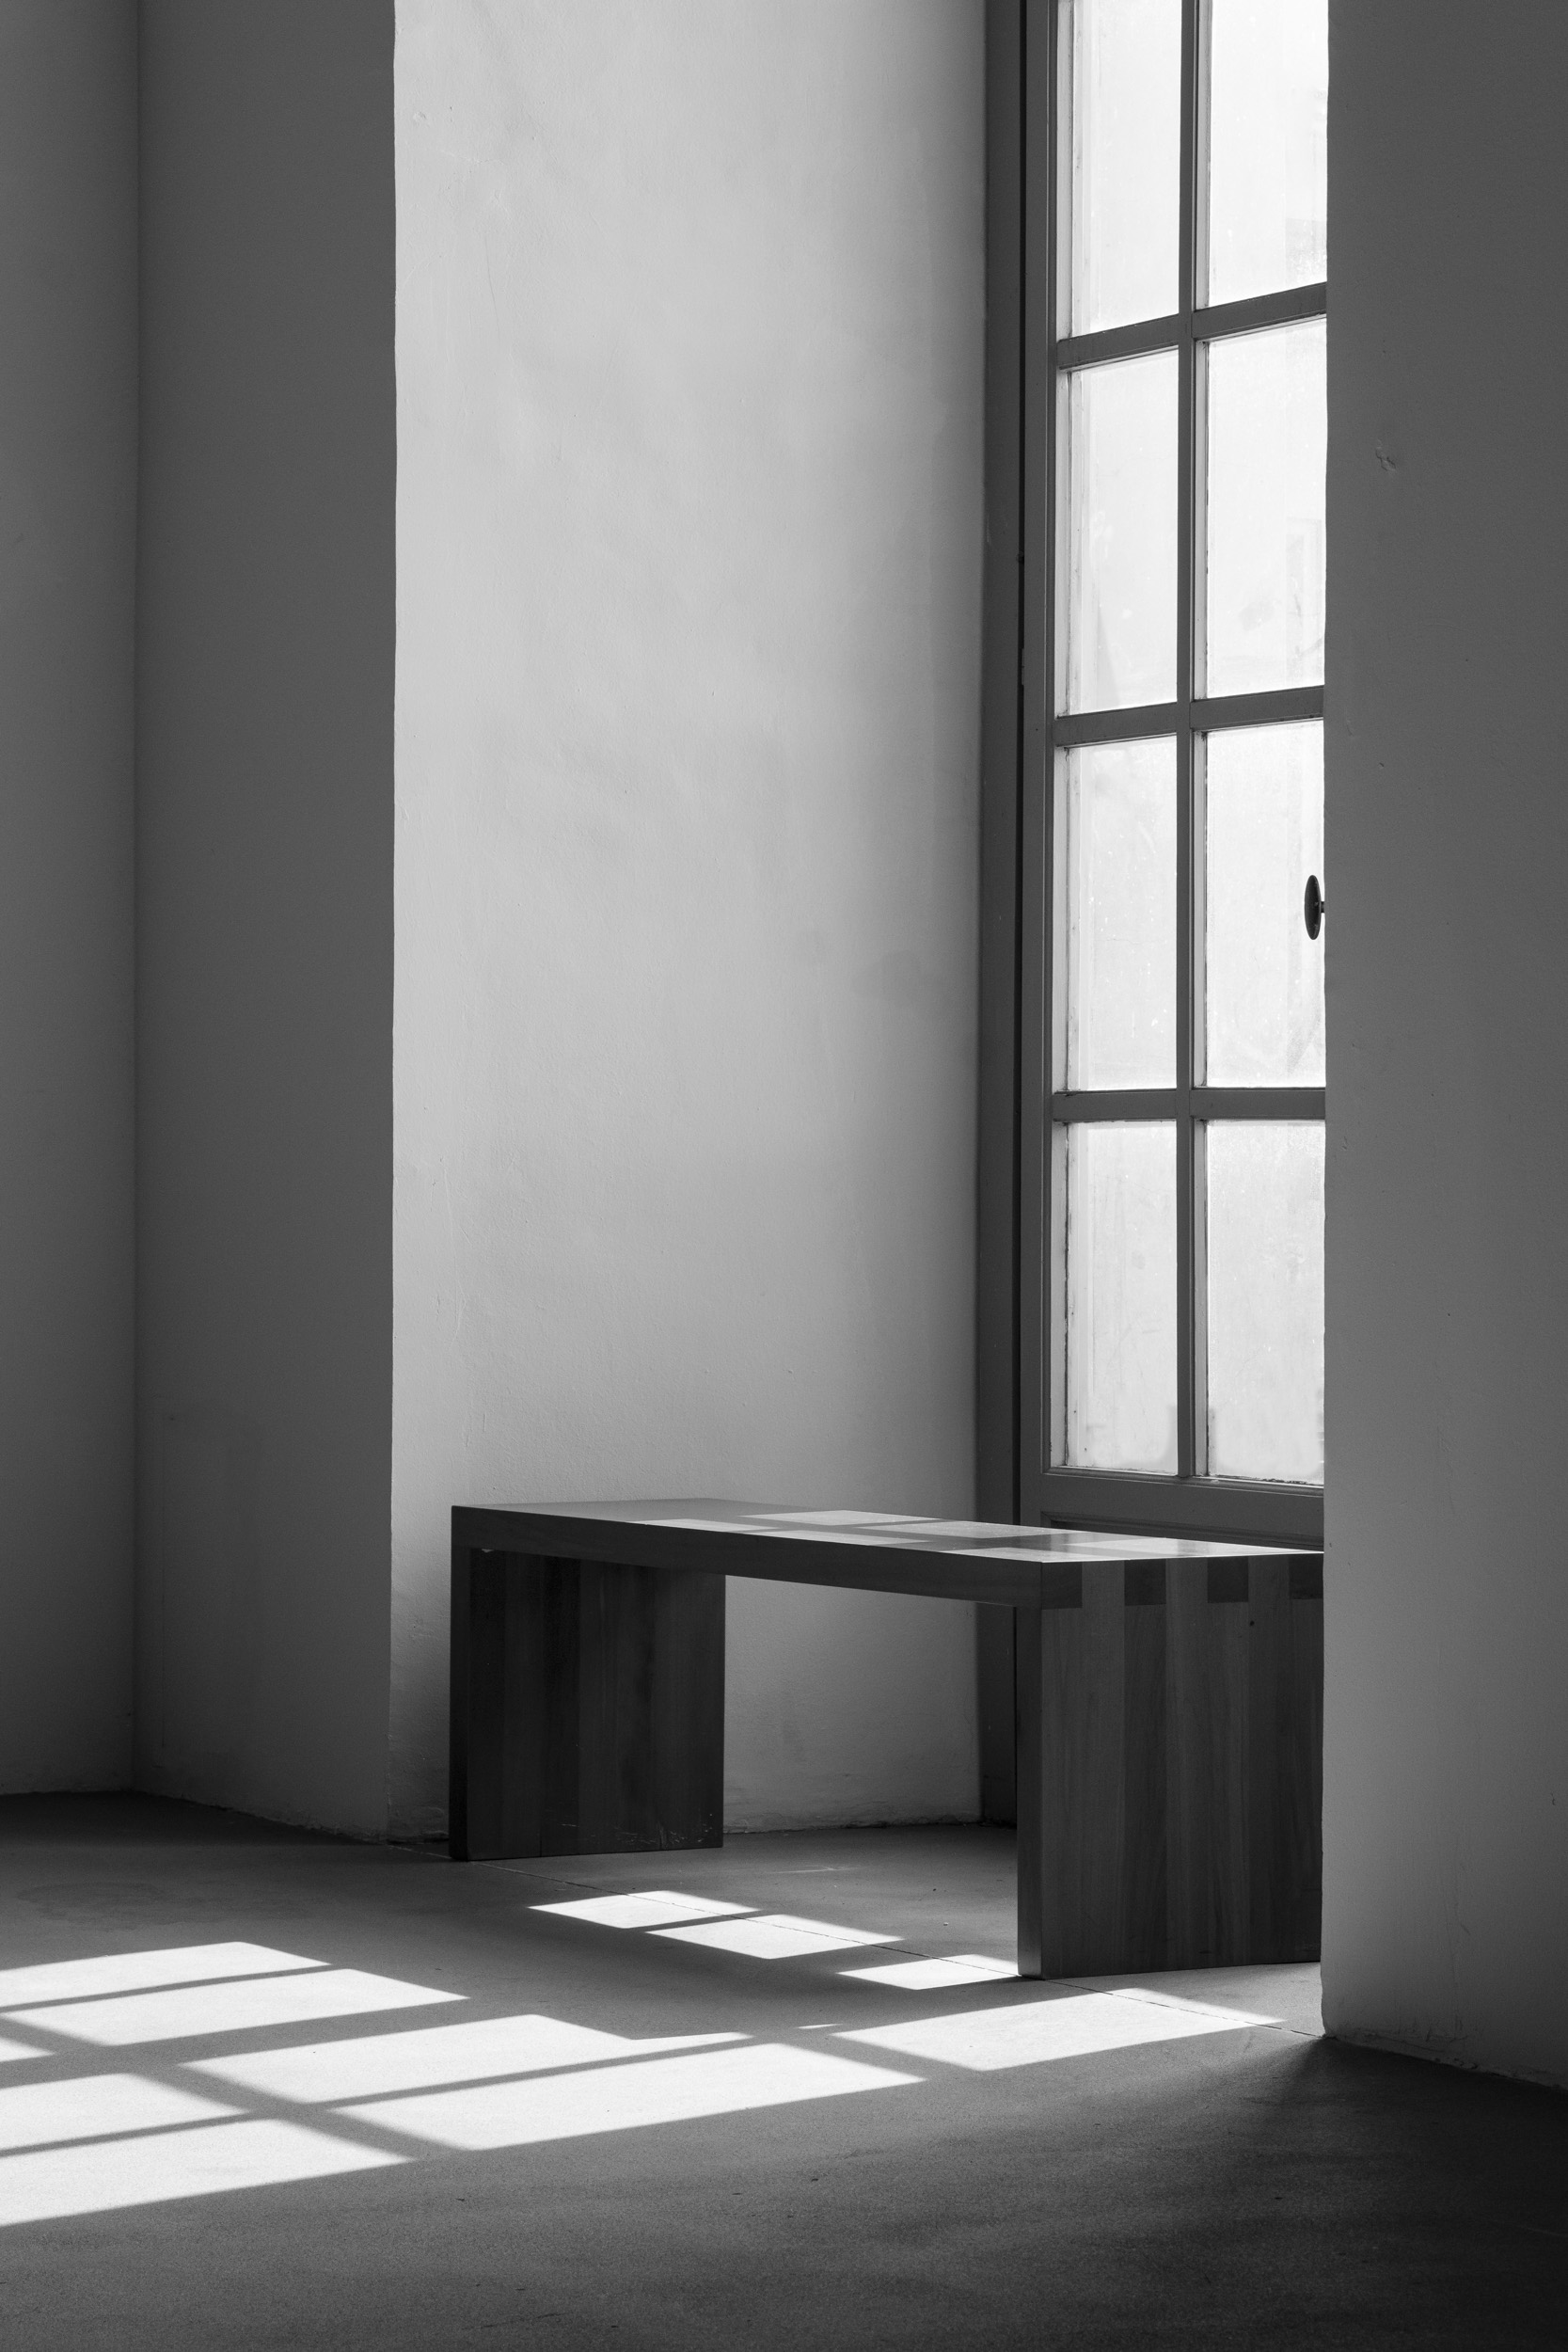
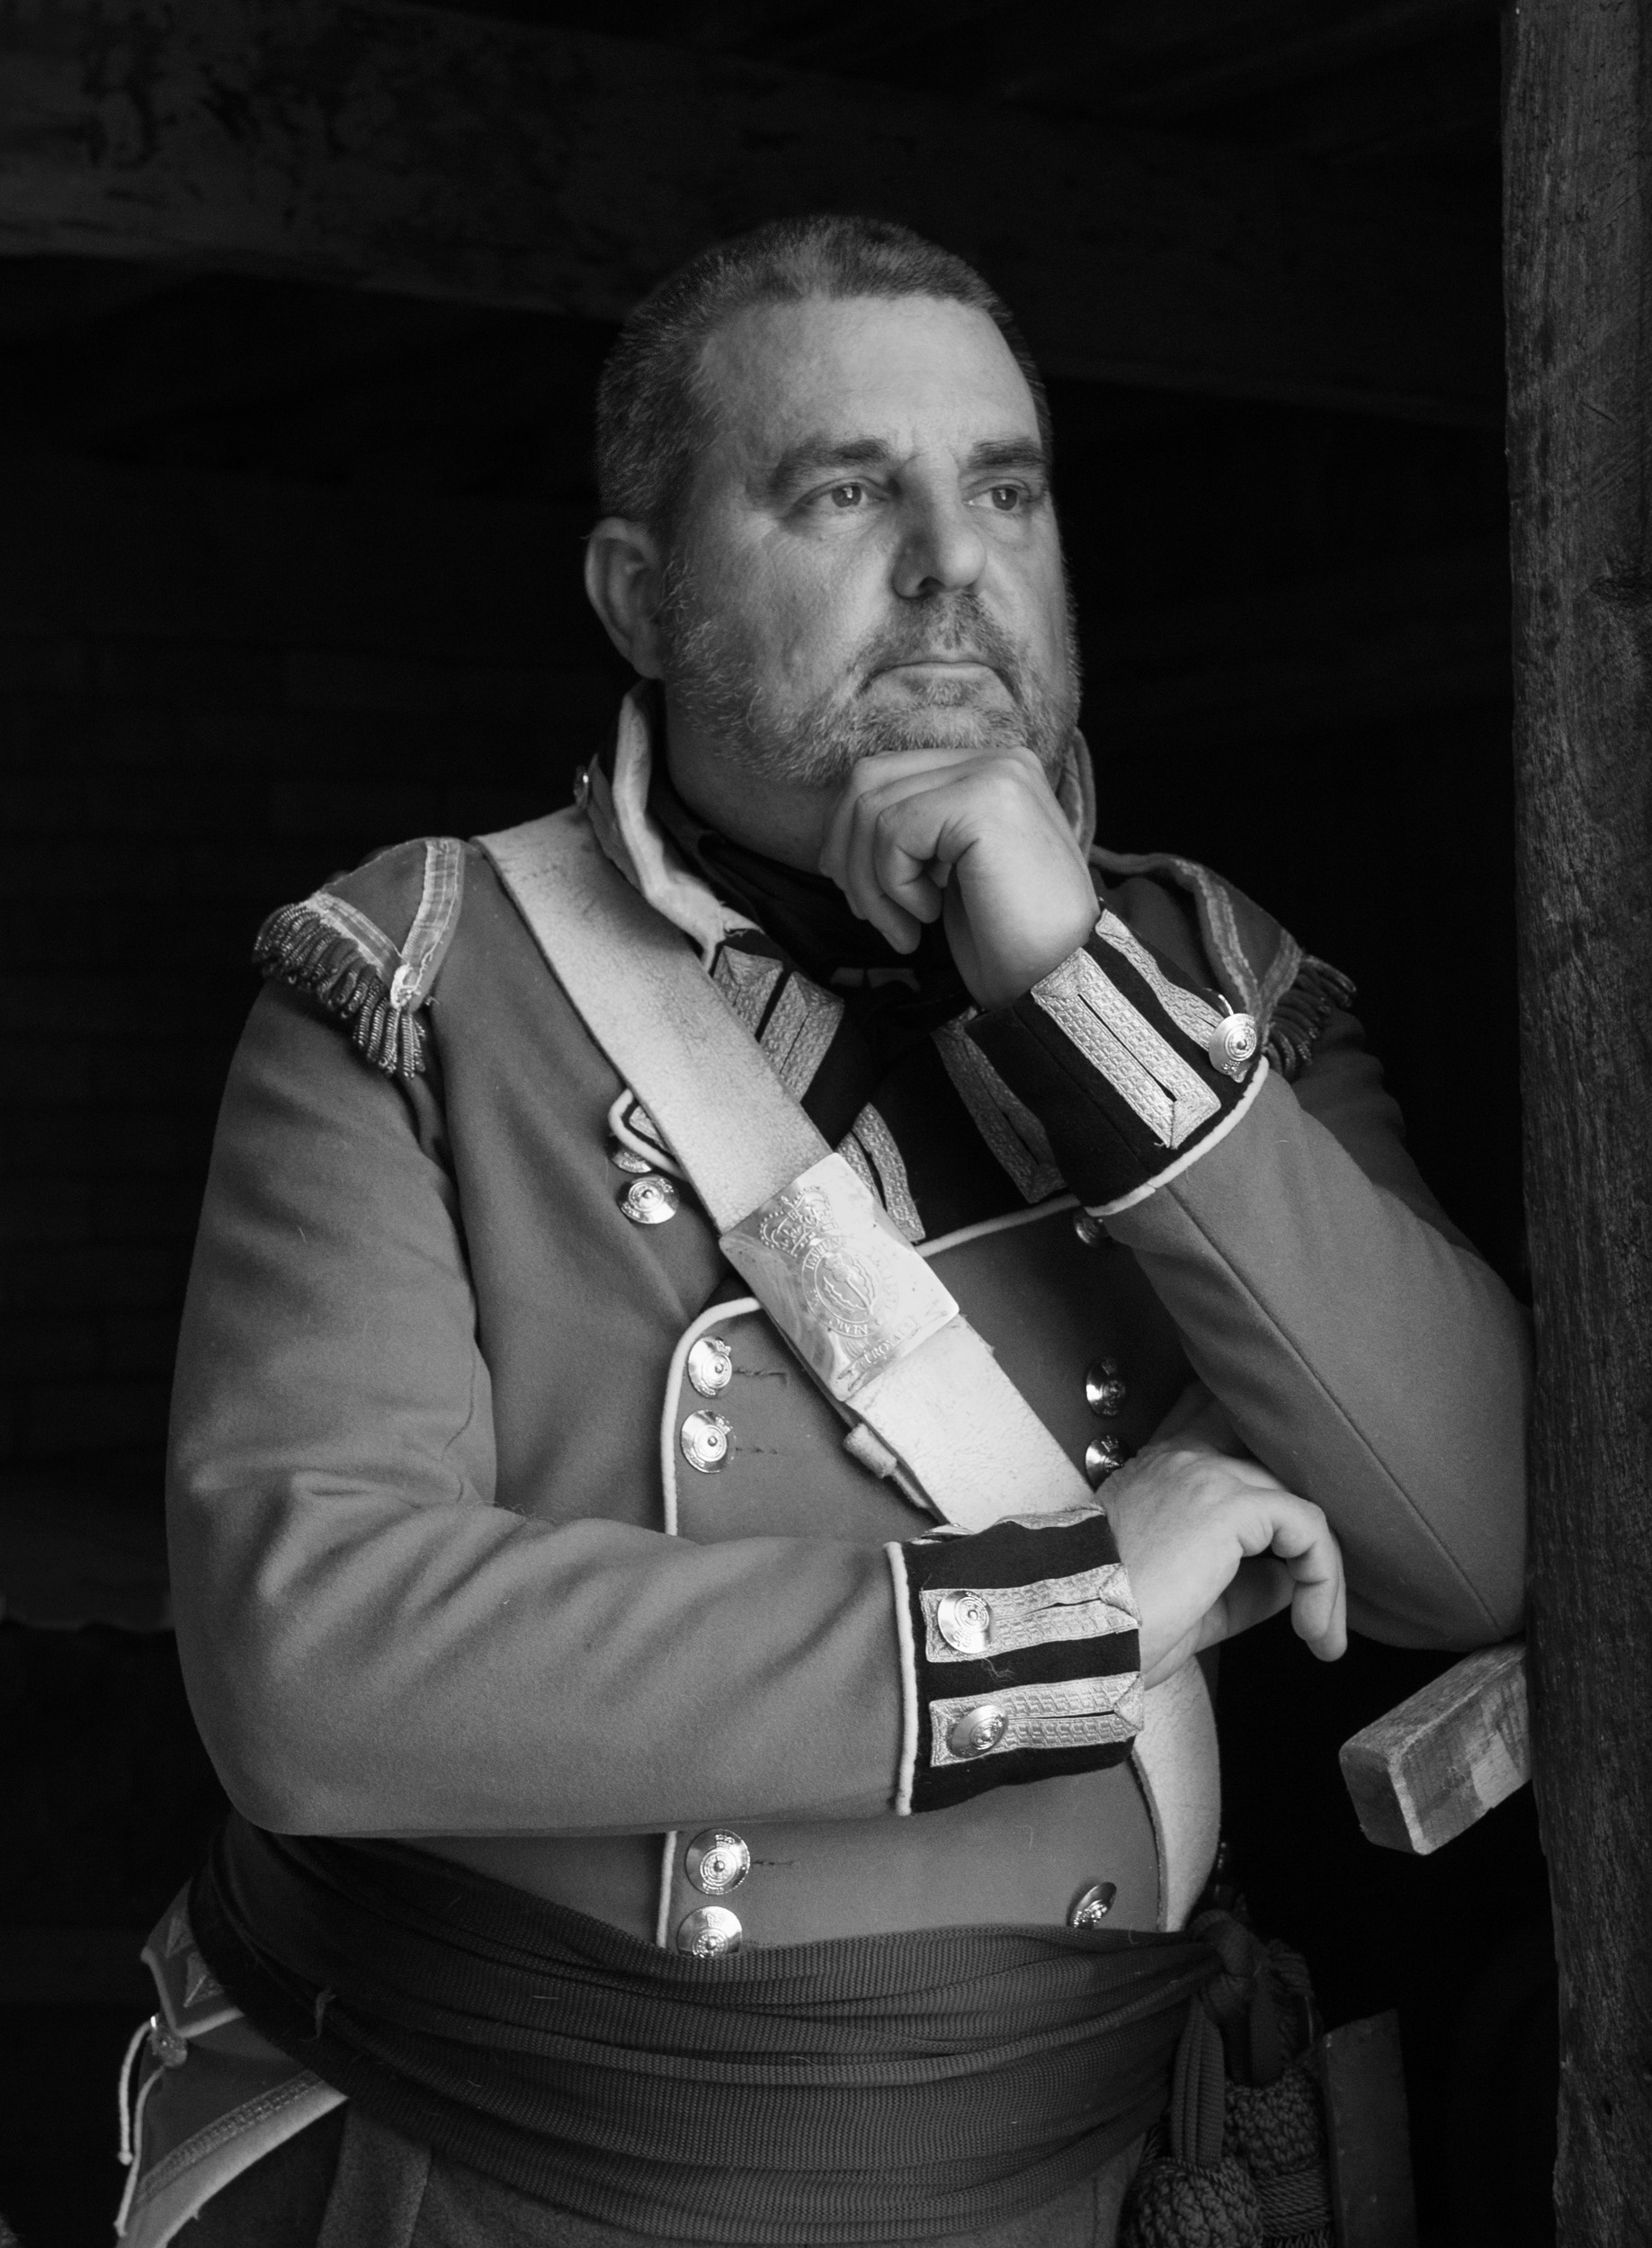
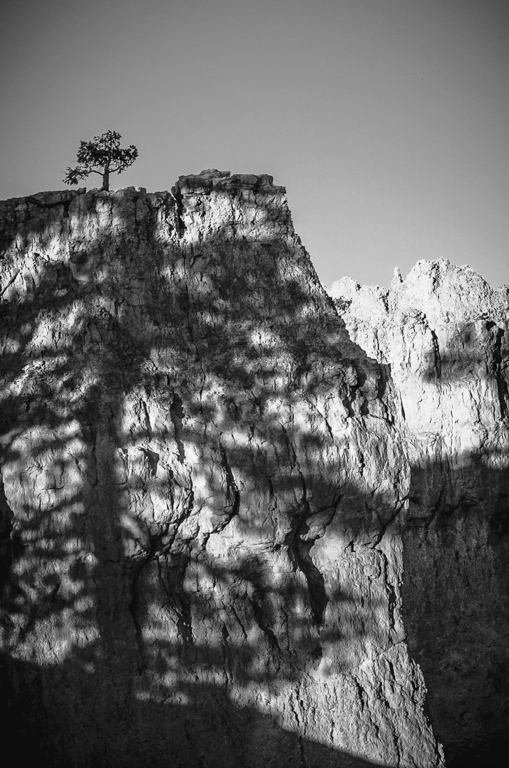
This image with the strong sweeping clouds and empty bench has a moody feeling.
I applied a PS curve layer to your image and noted that the landscape camera left lacks detail in so many areas. Therefore, I did a selection of your sky, inverted, then applied this as a mask to a curve layer. I then moved up the black point to bring more detail into the non sky area. I could have painted on this selection, so that just the black landscape was adjusted. However, I wanted you to see the difference by moving the black point for just this selection. |
Nov 5th |
 |
| 83 |
Nov 20 |
Comment |
Debasish
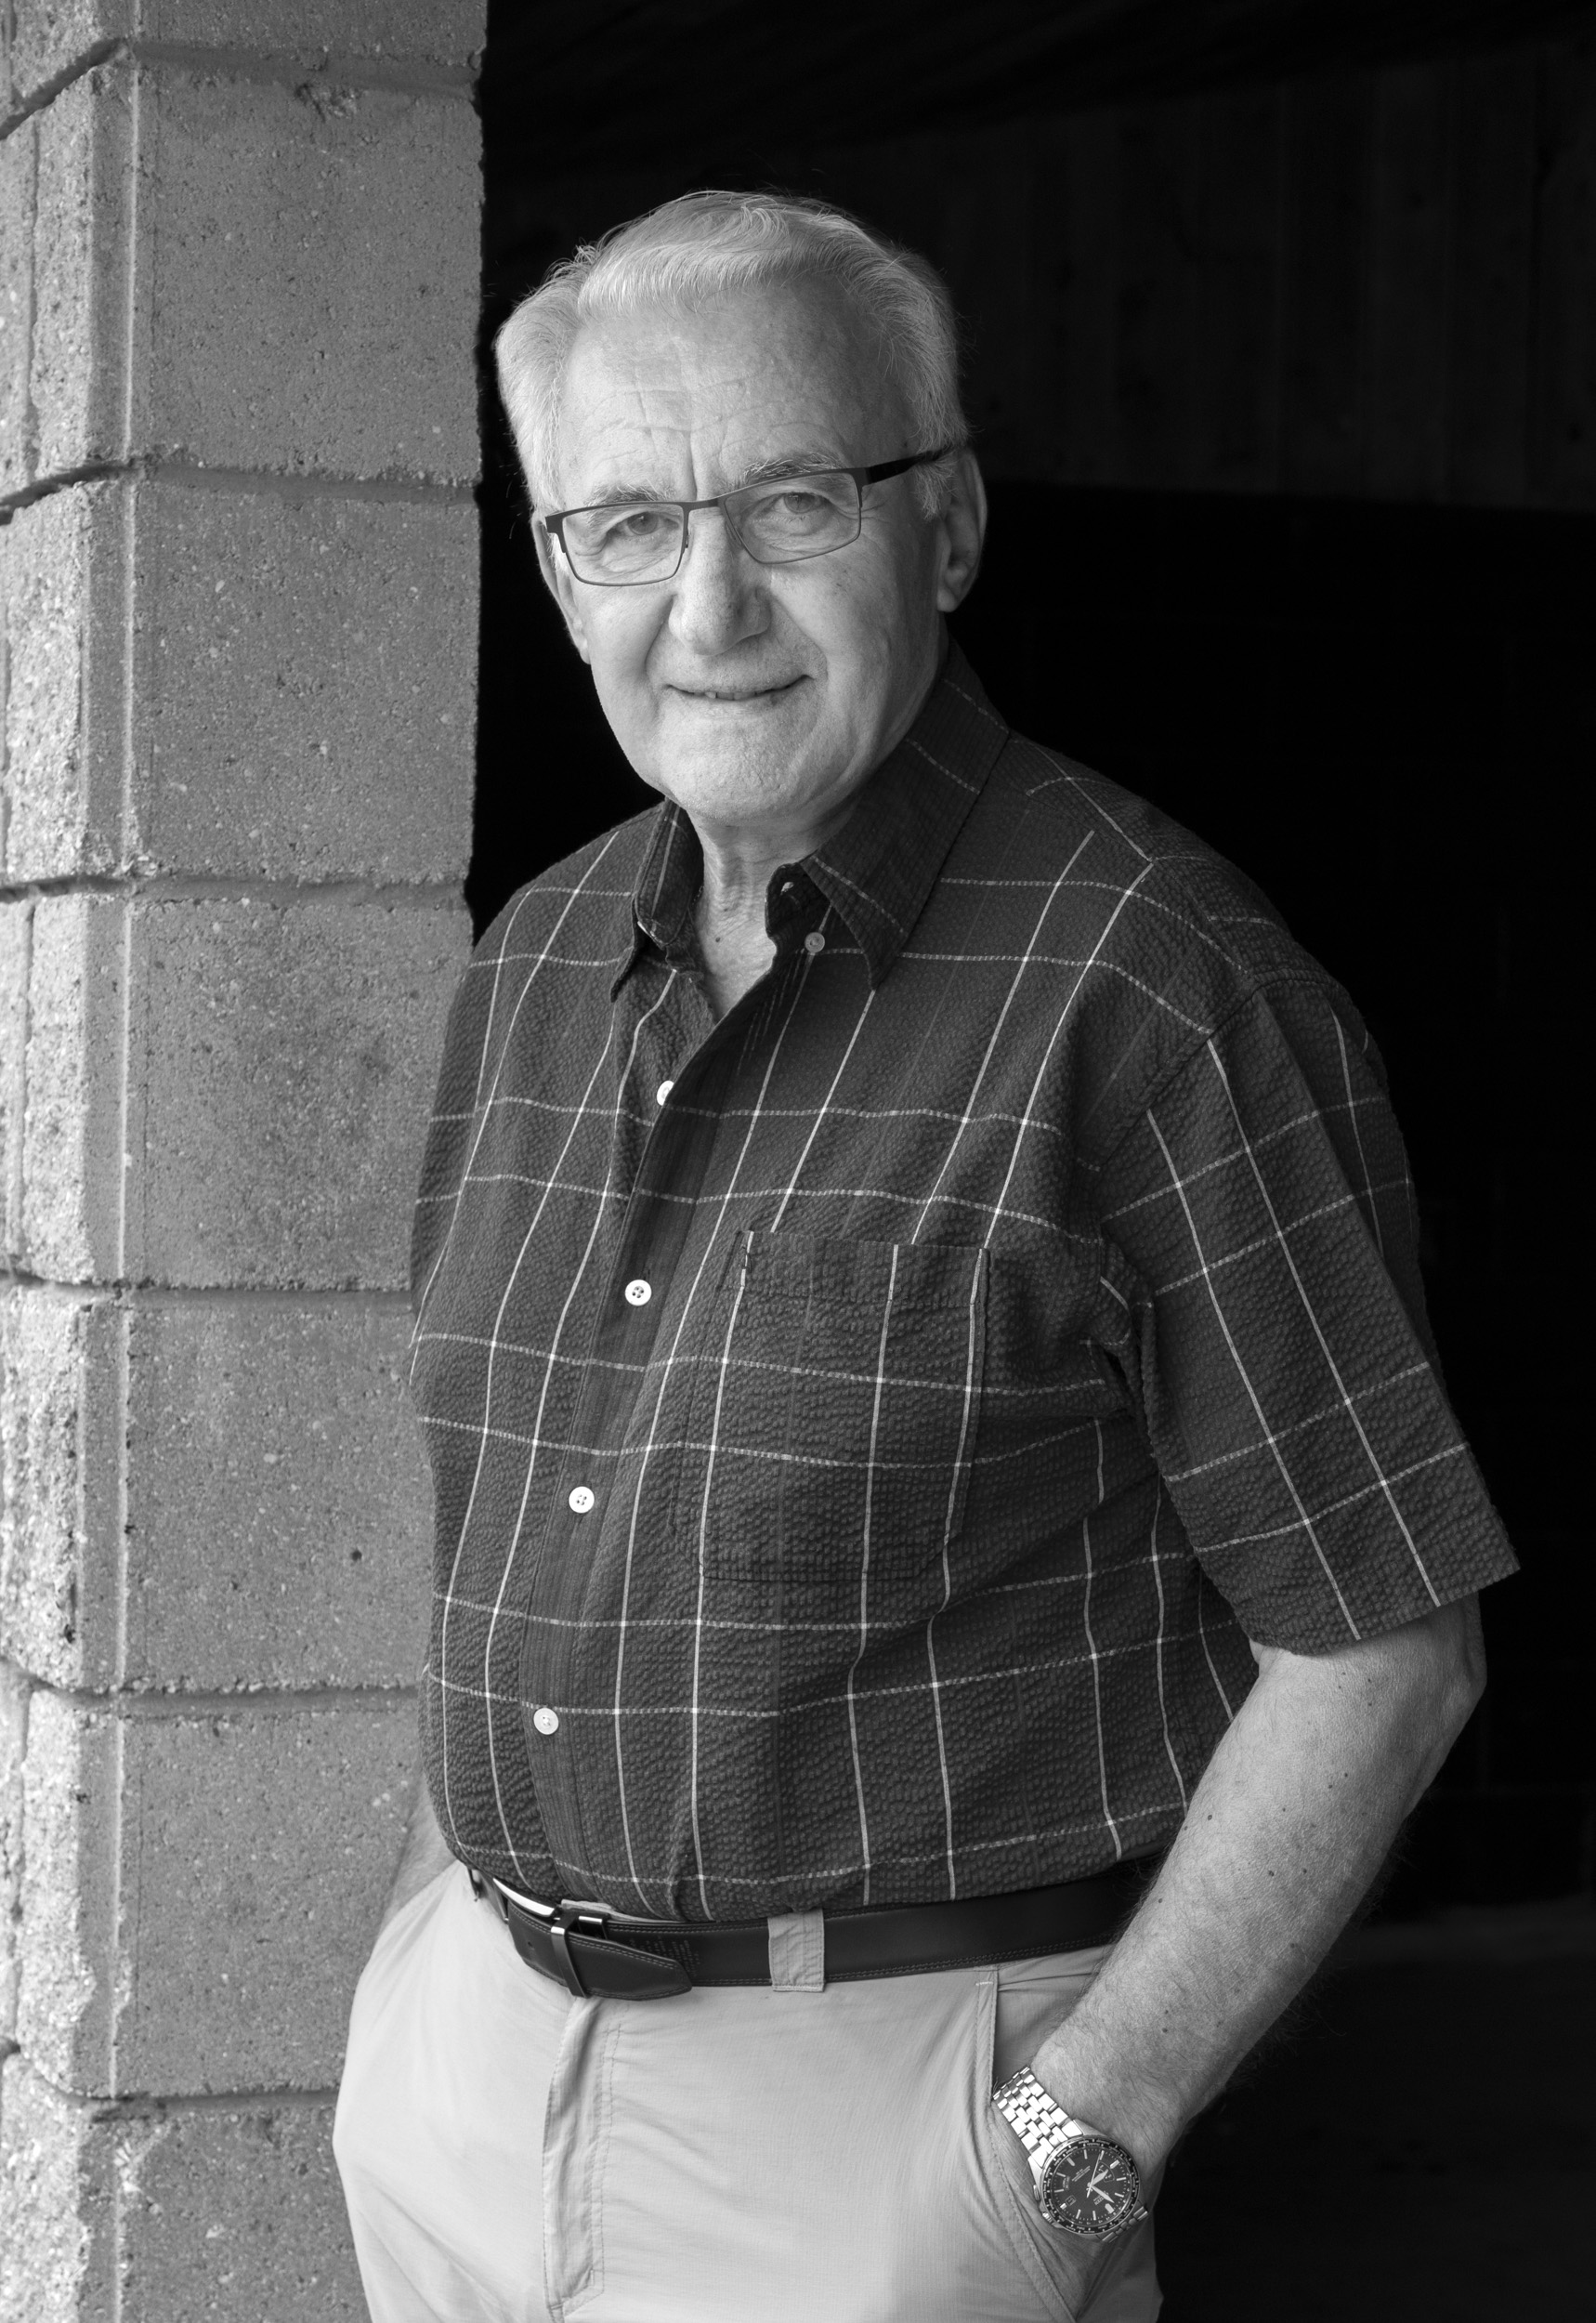
This is a lovely moody image and the vertical orientation is pleasing. The image has good tonal range and you have done a good job with your white values.
You might consider cropping a little of the top if you wished to bring the viewer closer into the image but this is an aesthetic choice.
I ran the eyedropper tool over the dark areas to look at the RGB values and have circled a couple of areas where the values are low almost complete black with no detail if you wish to print this image.
|
Nov 5th |
 |
8 comments - 4 replies for Group 83
|
11 comments - 5 replies Total
|