|
| Group |
Round |
C/R |
Comment |
Date |
Image |
| 5 |
Jun 17 |
Reply |
Thank you so much, Richard. I appreciate your very kind remarks greatly. I have made some pdf files of the layer by layer development of some of my images and I plan to make some voice over screen videos of them to put on my website. Your remarks have encouraged me to do that sooner rather than later. I'll let the group know as they become available. |
Jun 28th |
| 5 |
Jun 17 |
Reply |
Thanks Nick, The D810 is a full frame camera and has 36.3 million effective pixels (37.09 million total pixels) |
Jun 26th |
| 5 |
Jun 17 |
Reply |
Thanks, Nick |
Jun 26th |
| 5 |
Jun 17 |
Reply |
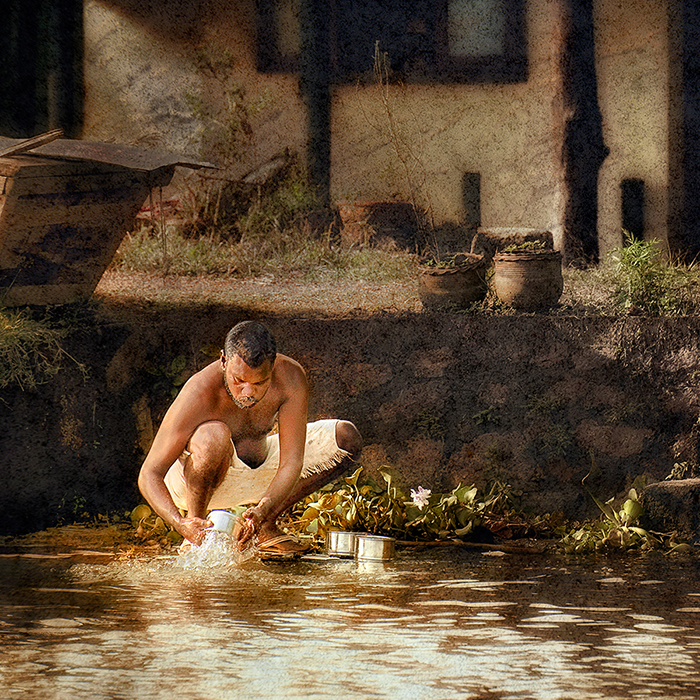
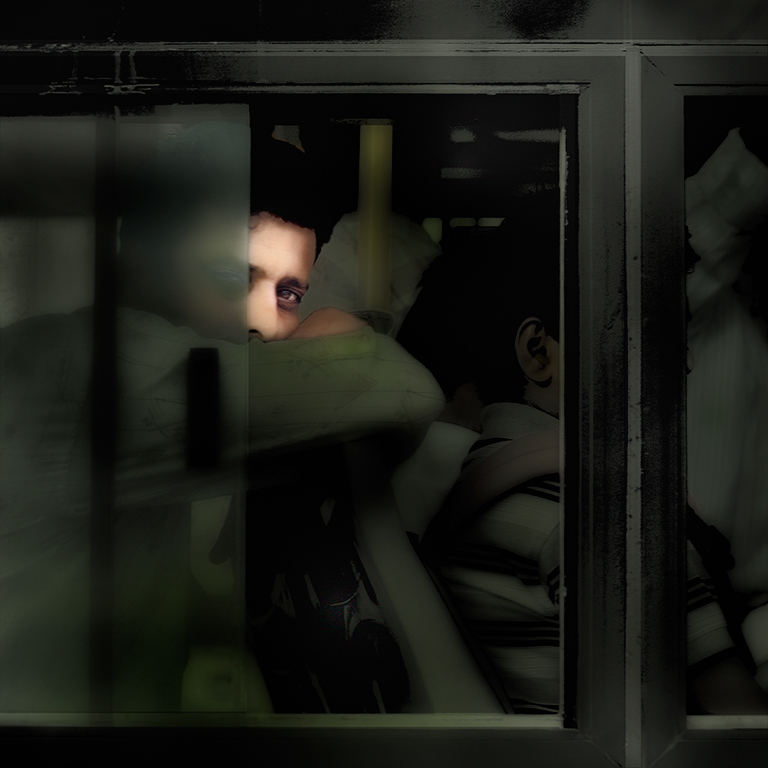
Thanks Barbara. The Man on the Bus is one of my favourite images. |
Jun 14th |
| 5 |
Jun 17 |
Reply |
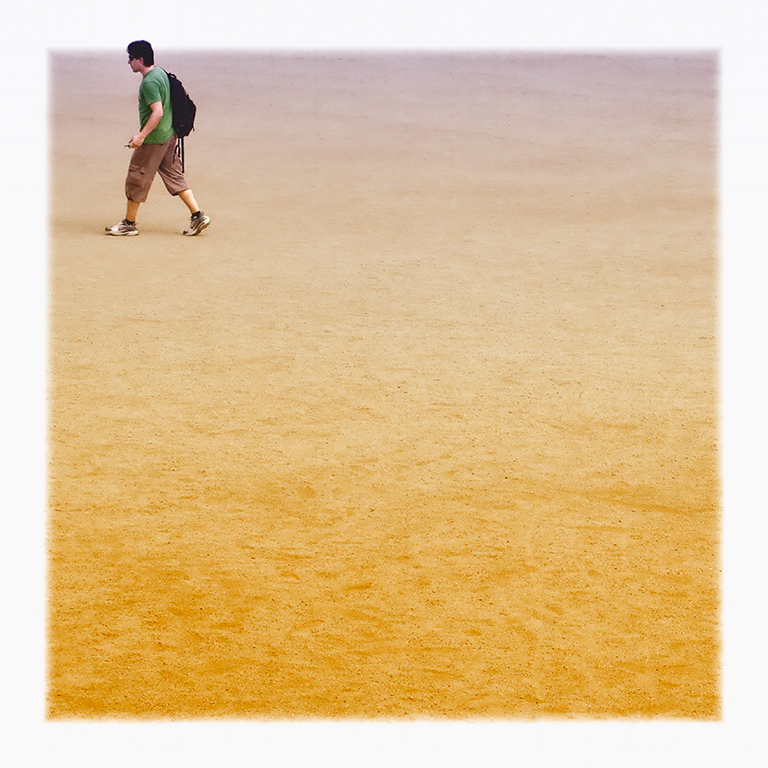
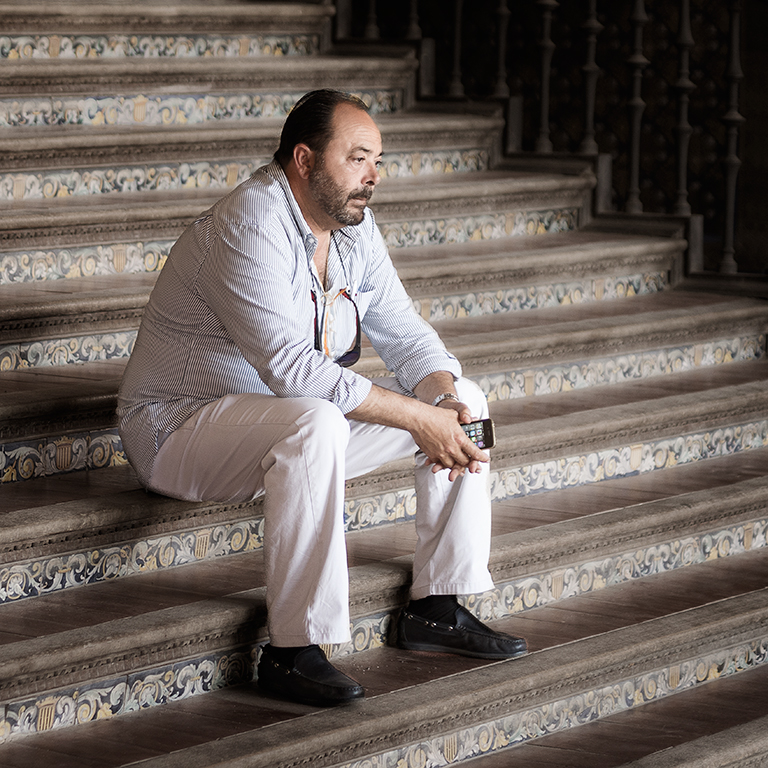
Thanks very much indeed, Barbara, for your very kind comments. Yes, the shot was hand-held as all my images are. The sharpness of it, despite the small section of the original image which I have used, is down to the camera, the excellent Sigma Art Lens and the settings. As you know, I use auto ISO so my camera acts as a ‘point and shoot’. I used a wide aperture (f/1.4) and, because the sun was so bright, the image was taken at 1/2500 of a second and there's no possibility of camera shake. |
Jun 14th |
| 5 |
Jun 17 |
Comment |
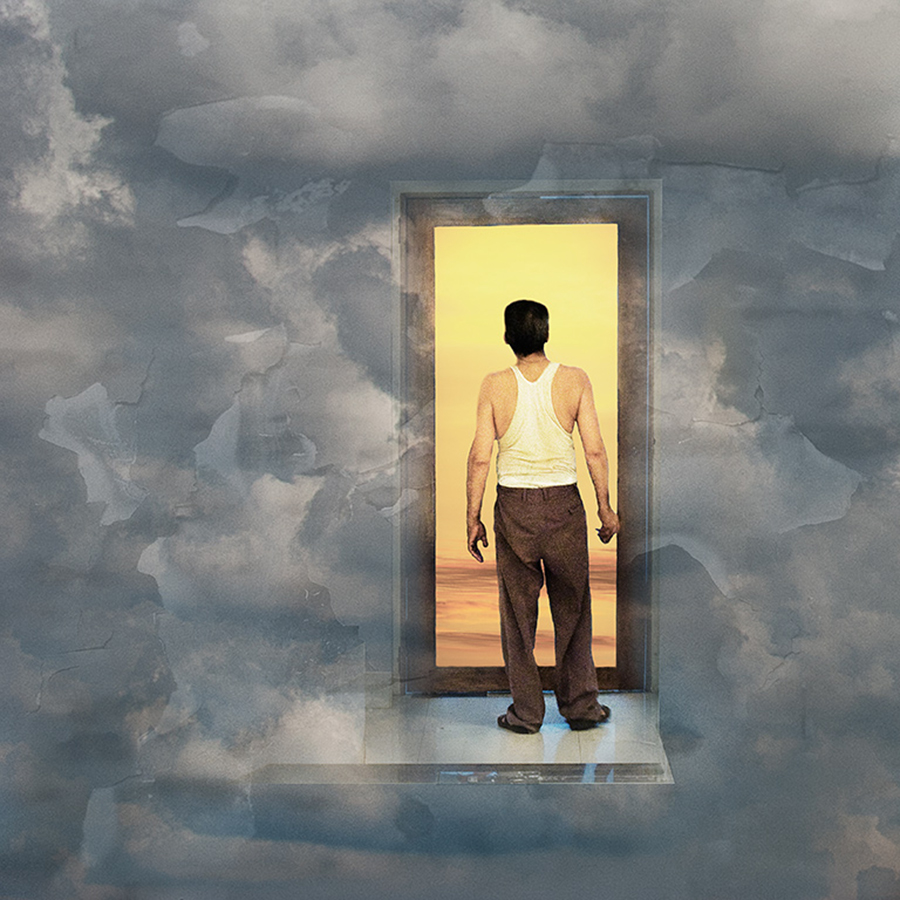
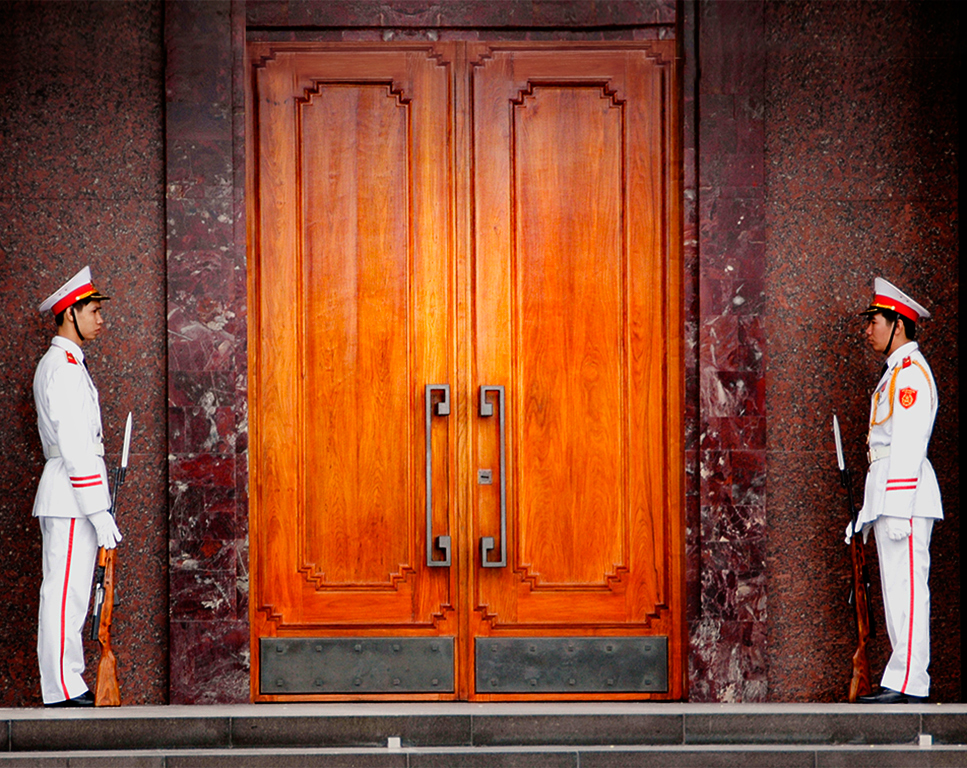
You’ve done a great job of building the top of the doors, Richard. The symmetry works well but if it were mine, I’d tidy it up a bit more by cloning out the white blocks on the bottom step and by using the Photoshop Transform tool to make the bottom step horizontal. I agree with Oliver that it’s not clear what you want me to look at. You could make this clearer by changing the lighting. Below is my attempt to do this using the NIK Darken/ Lighten Centre tool, putting the centre in the middle of the doors and darkening the background somewhat. |
Jun 13th |
 |
| 5 |
Jun 17 |
Comment |
I agree with the other comments, Nick. Beautifully put together, as ever, but a problem with the distortion of the driver’s head. The car does seem to be floating a bit too but, with your skills, I’m sure you can fix that. |
Jun 13th |
| 5 |
Jun 17 |
Comment |
I think that’s much better, Oliver. Now it’s clear what you want me to look at. |
Jun 12th |
| 5 |
Jun 17 |
Comment |
Thanks, Oliver. I’m more than happy to answer any detailed questions you have. If you think it they are too detailed for the forum, please email me at davidfcooke@btinternet.com |
Jun 12th |
| 5 |
Jun 17 |
Comment |
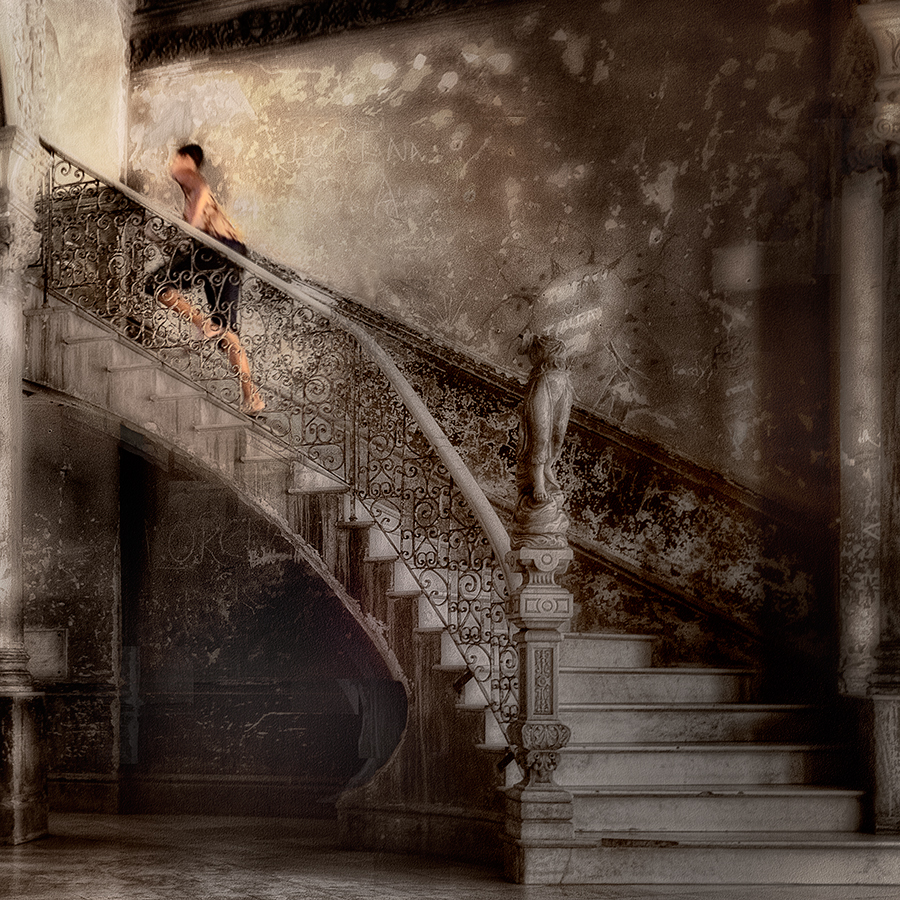
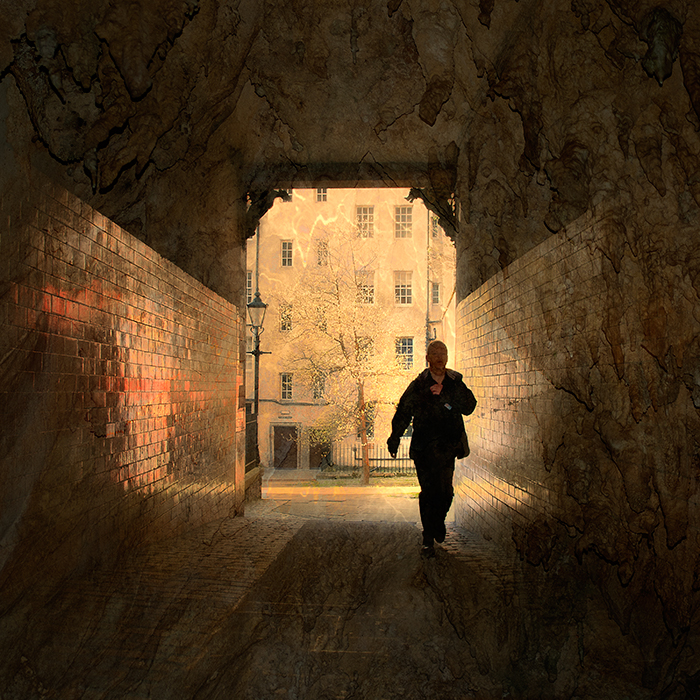
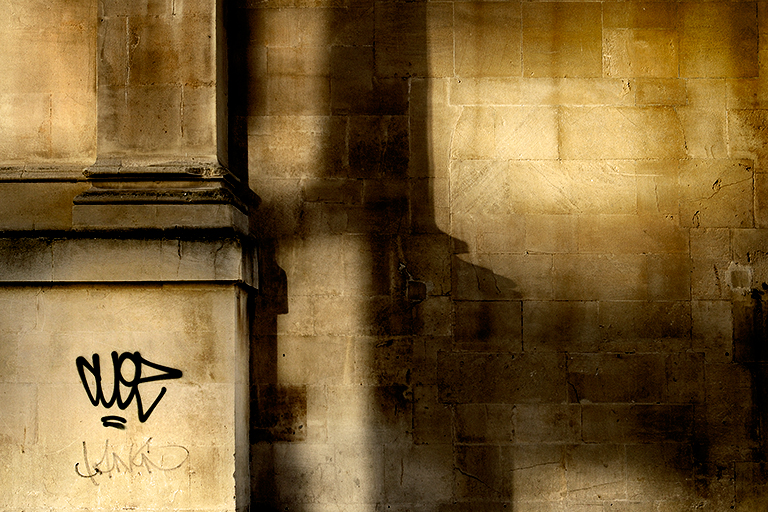
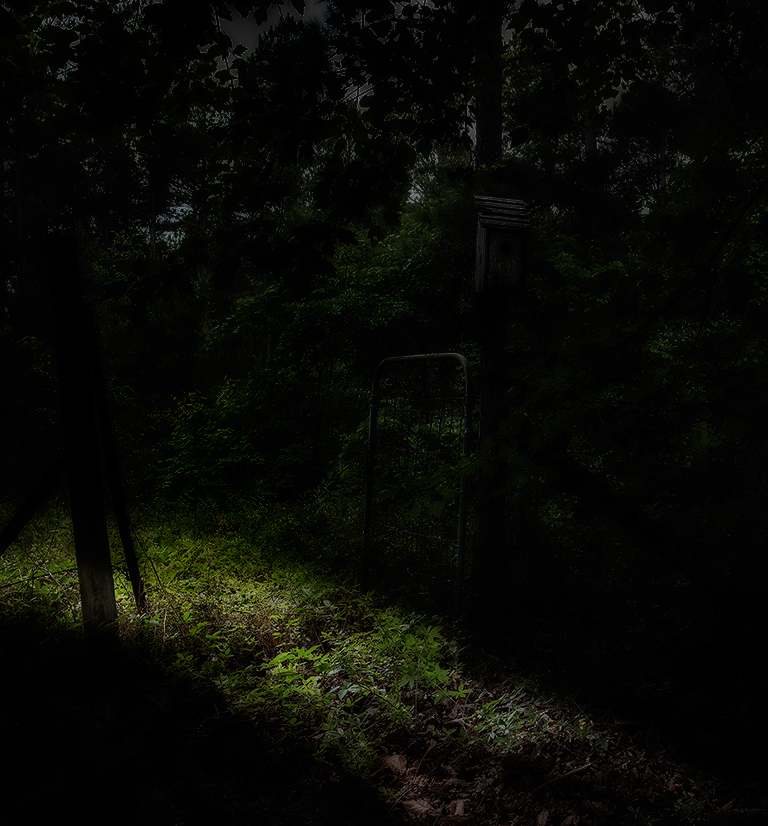
You’ve cropped the image well, Oliver and I like the off-vertical posts and gate. As an image of the bird house in the context of its environment, I’m not sure I can suggest anything to improve it. If you want it to be about the mystery of what it beyond the gate you could give it a much more dramatic treatment. There is a Nik filter called Midnight which I use occasionally and which can give you some dramatic effects (e.g. http://bit.ly/themanonthebus).
Below is a quick manipulation of your image. It's been done by applying the Nik Midnight filter and using as layer mask to remove the effect from the path. I’m not suggesting that it is anyway a good image but at least you can see the sort of thing that can be done and that you will be encouraged to play with it.
|
Jun 11th |
 |
| 5 |
Jun 17 |
Comment |
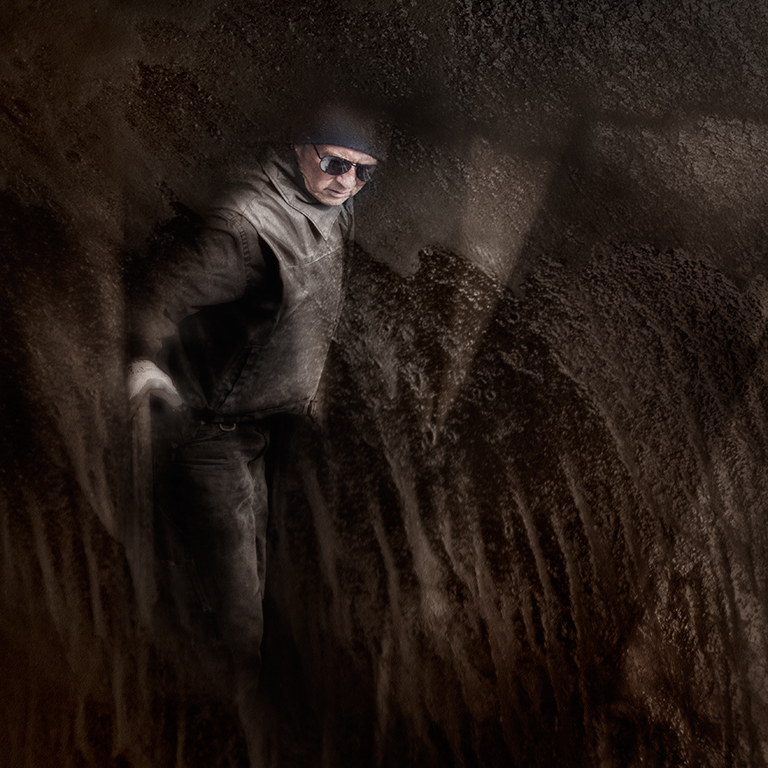
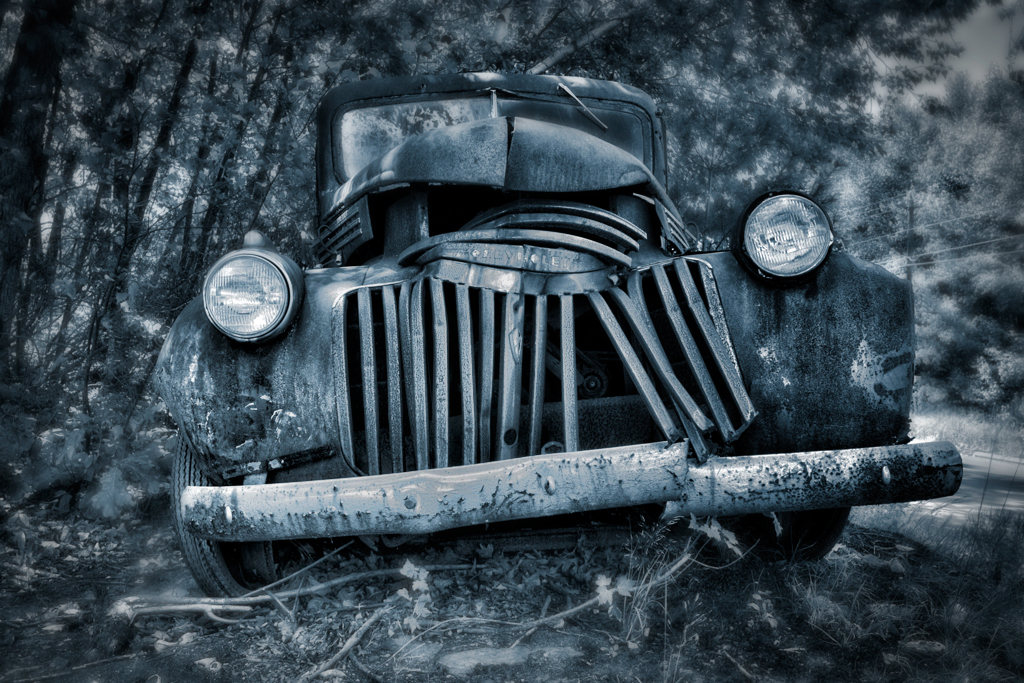
Great use of a wide angle lens to add drama to the image and the blue toning adds mystery, Phil. My initial reaction was that the car gets a bit lost in the background because of the small aperture you used. I’ve taken to shooting my images mostly on f/2.8 or wider to get separation between the main subject and the background. Like Oliver, I’ve had a go at creating the separation in Photoshop by creating a Gaussian Blur layer and removing the effect selectively from parts of the image using a layer mask with a low opacity brush. I’ve also used Nik Darken / lighten Centre with the centre at the bottom of the image to create a bit more drama in the lighting, Viveza to darken down the brighter parts of the bumper, headlights and grill and, finally, levels to give the full tonal range. My attempt it below �“ hope you like it. |
Jun 11th |
 |
| 5 |
Jun 17 |
Comment |
Thank you so much for your very kind comments, Oliver. I’m delighted that you like my work and have visited the website but I’m more delighted that you feel you have learned a great deal. As the vast amount of my professional life was as a University senior lecturer, I’m sure you’ll understand the pleasure that gives me. |
Jun 11th |
| 5 |
Jun 17 |
Comment |
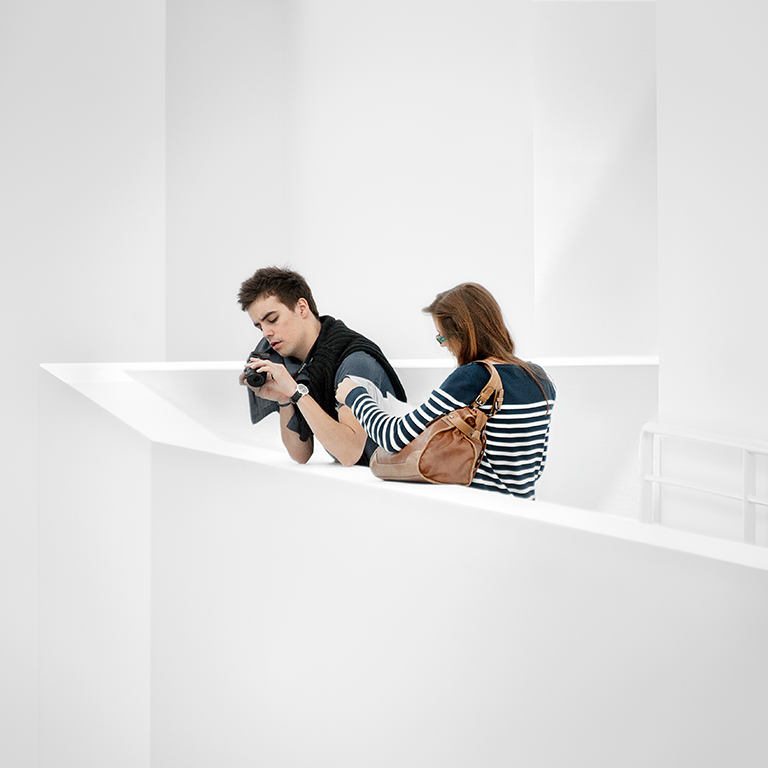
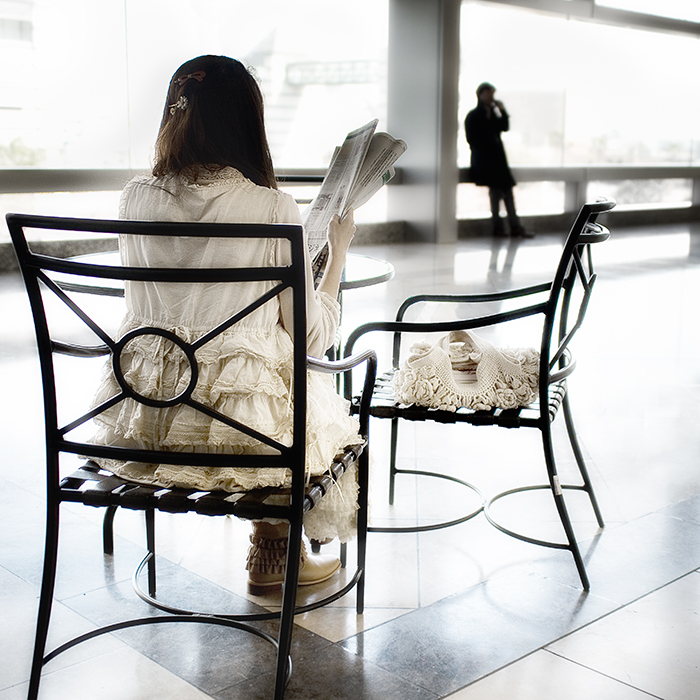
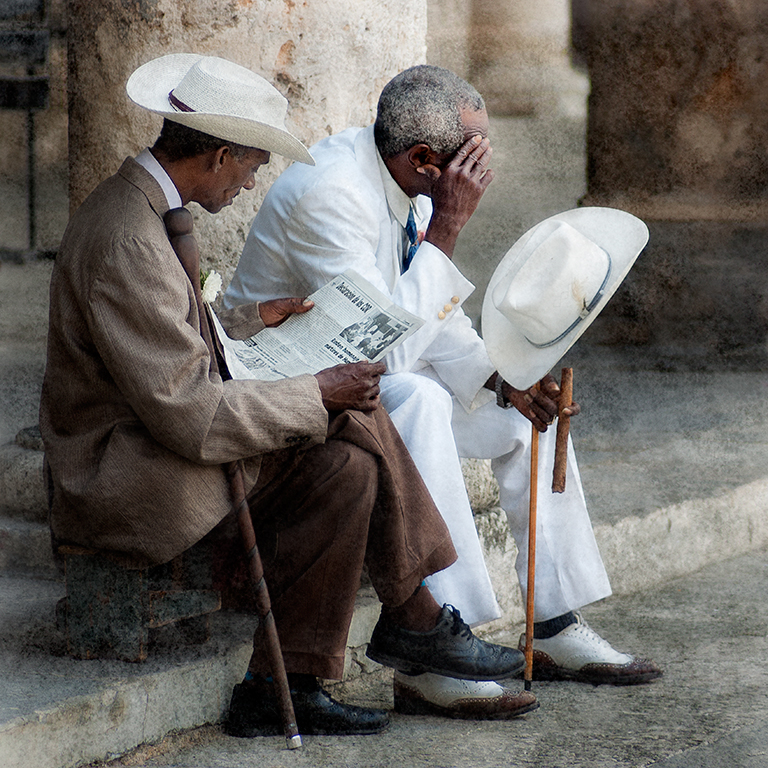
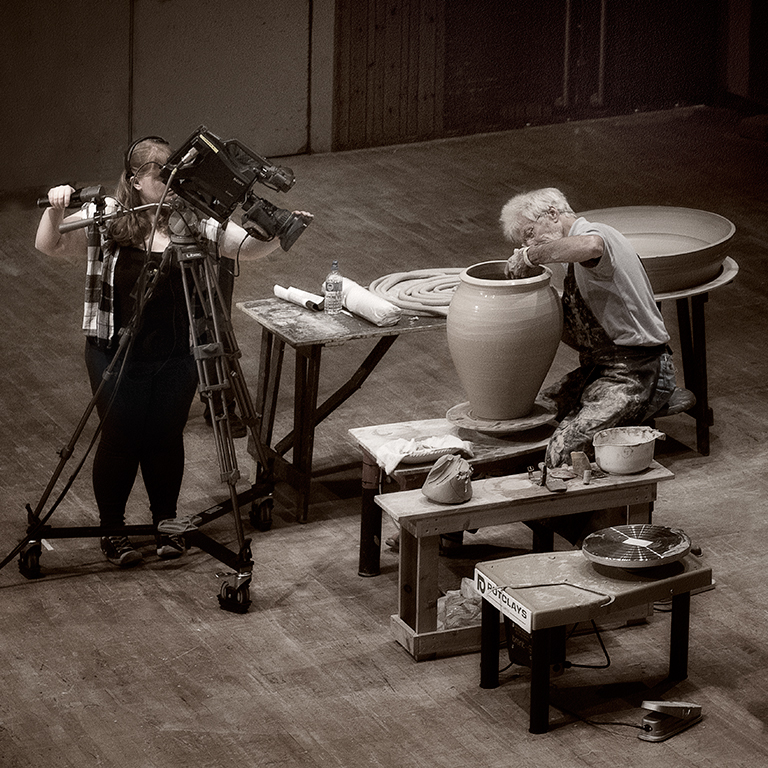
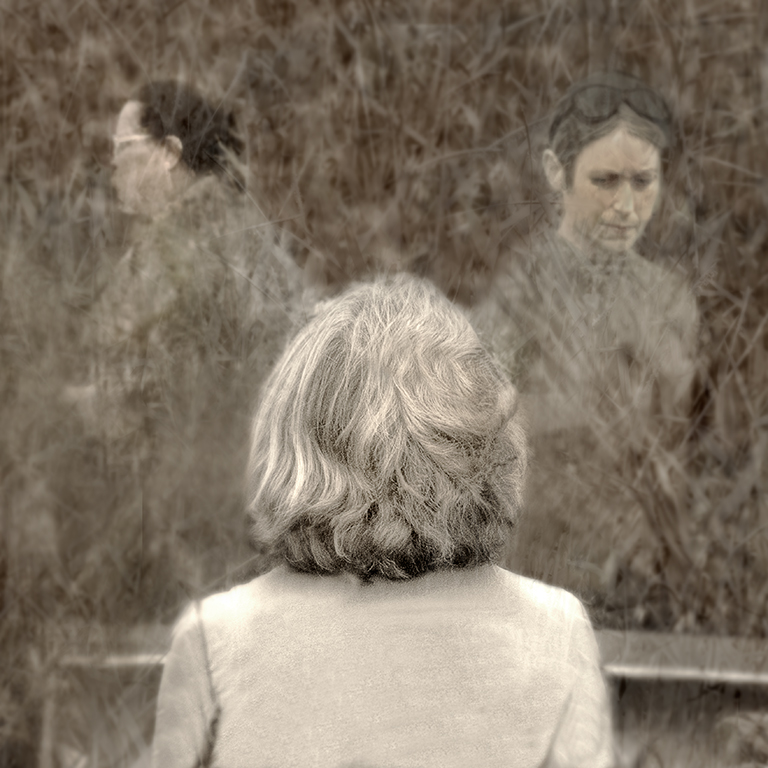
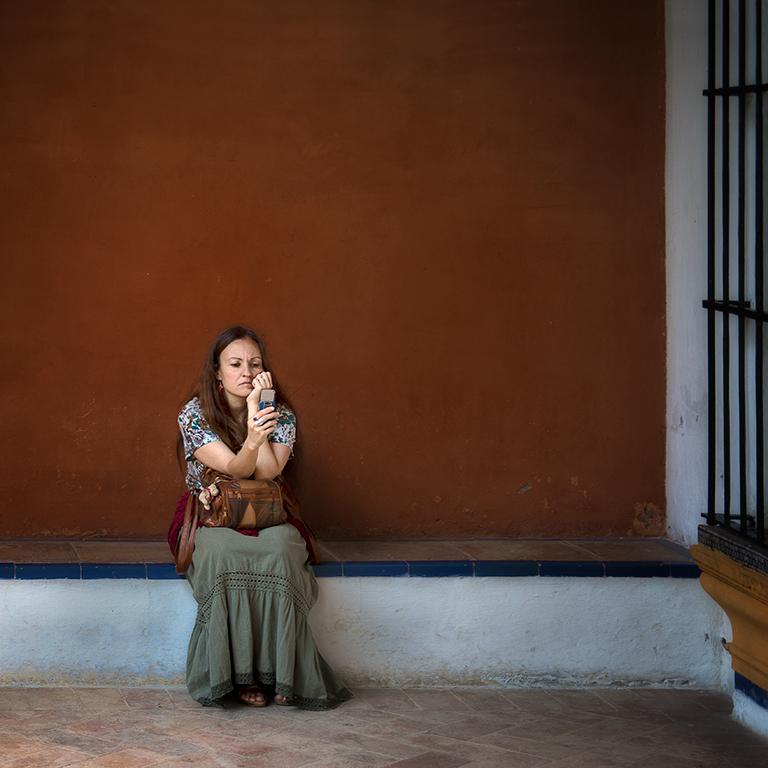
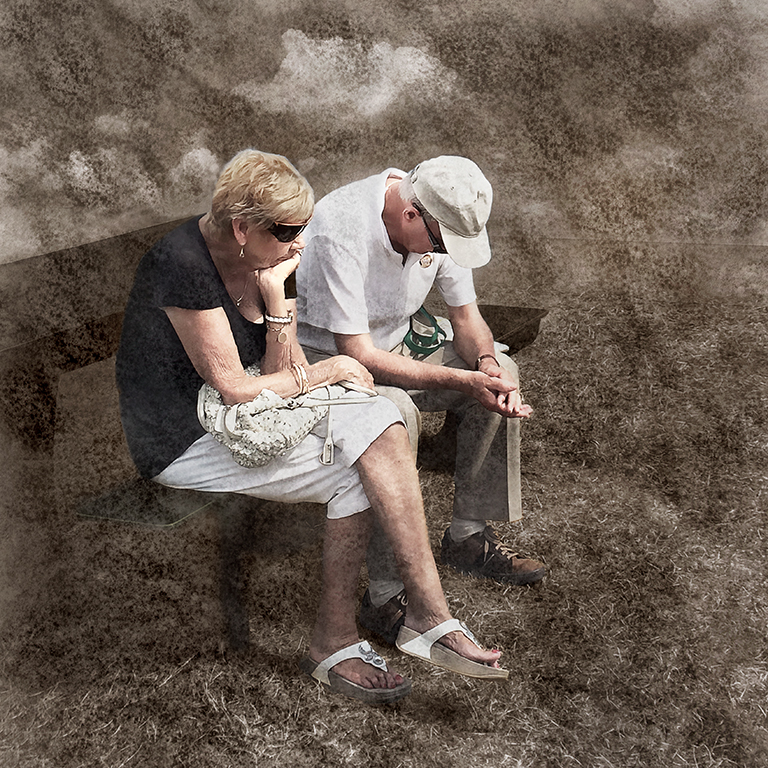
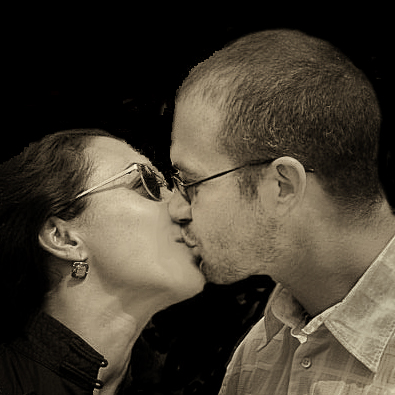
Although this it quite an attractive image, Barbara, a few things stand out for me which, I feel, need changing to make it even better. I’ve taken the liberty of doing some work on it and the result is below for your consideration.
Firstly, using the original image and after tidying up some of the outlines of the couple's heads, I did a much tighter crop to concentrate on their faces and emphasise the diagonal line running from the bottom left to the top right of the image. Cropping to a square format also emphasises this. It also removes a lot of the shirt which is distracting. Then, I used the Nik Darken / lighten Centre, with the centre place on their noses, to brighten the faces in relation to the rest of the image. I converted the image to monochrome using the Paper Toner filter. Viveza was used to brighten the faces more and to darken the shirt. The Paint tool was used to remove the strong shadows around her mouth and nose area and, finally, it was sharpened using the high pass filter. I hope you find my version interesting.
|
Jun 11th |
 |
8 comments - 5 replies for Group 5
|
8 comments - 5 replies Total
|